After a long time, another post! We have been to 4 states on the west coast of America for almost 4 weeks, after that a pneumonia kept me from doing stuff.
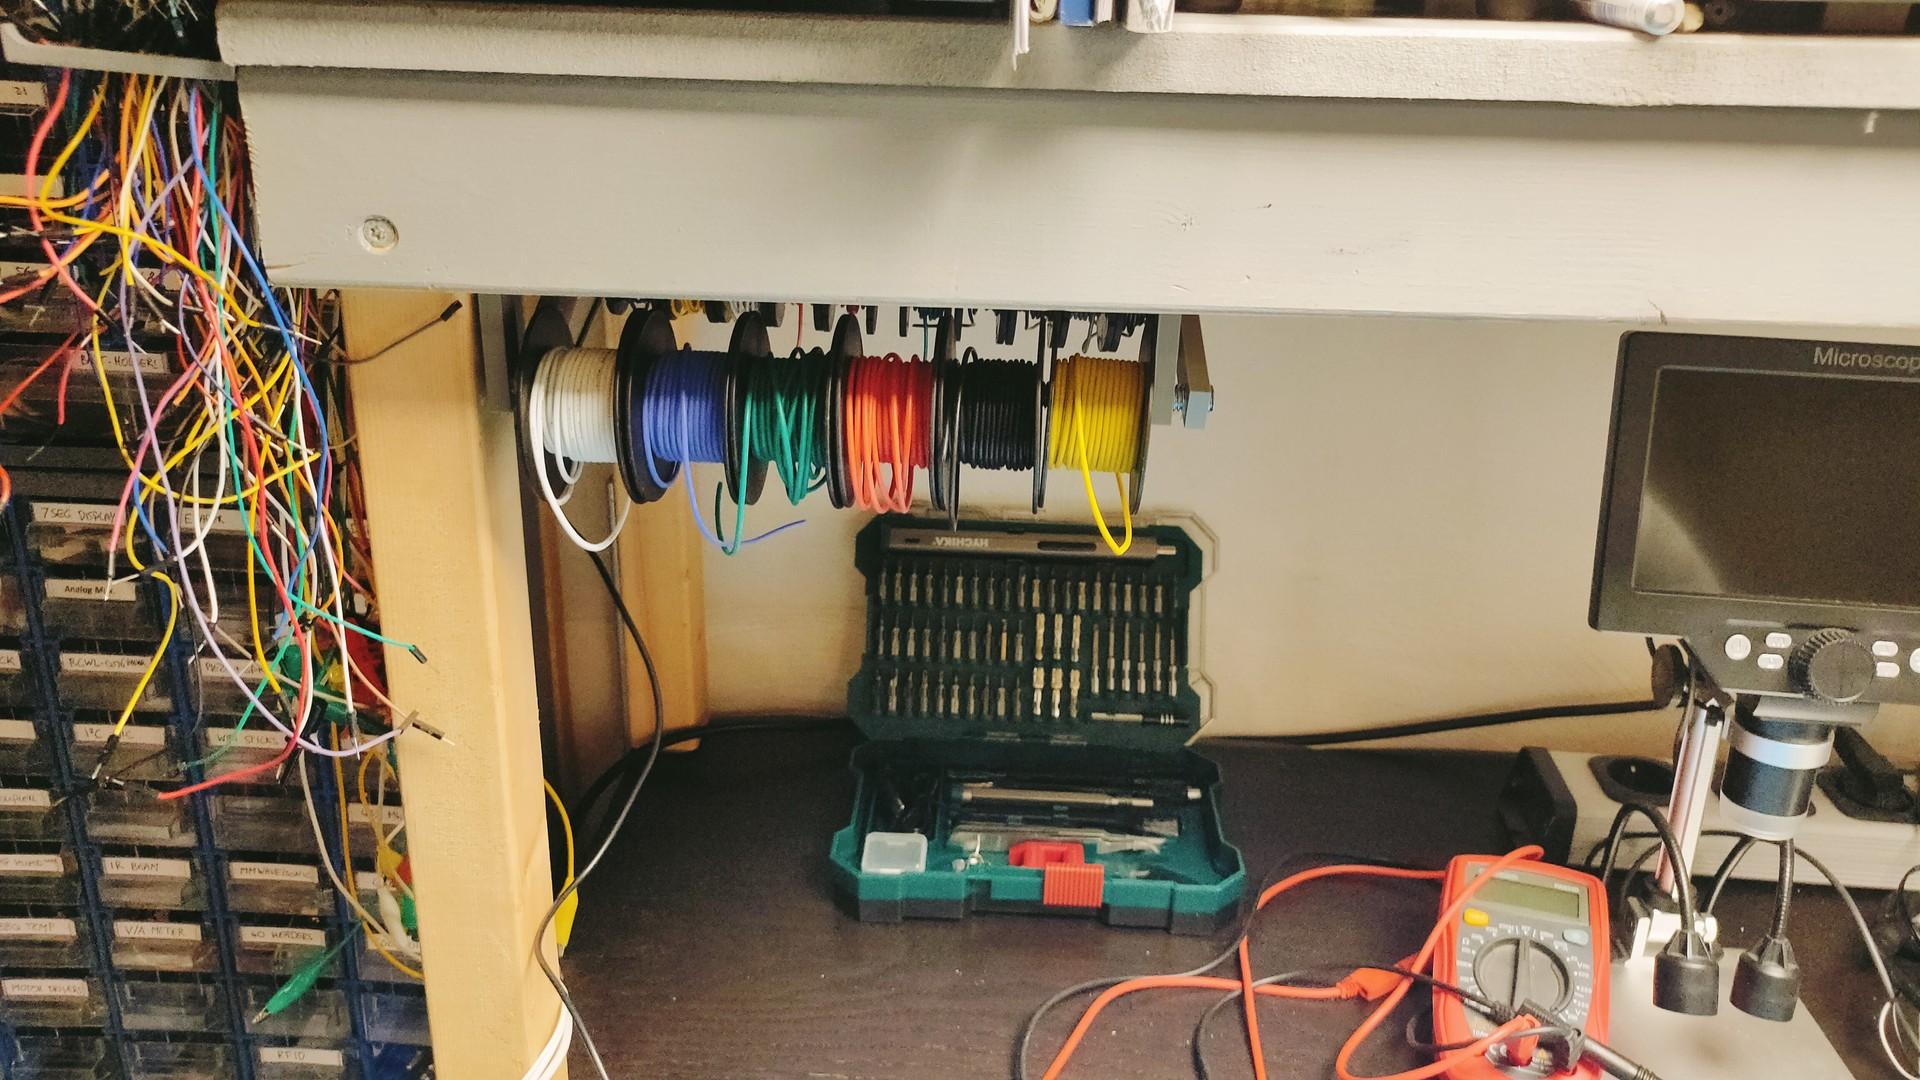
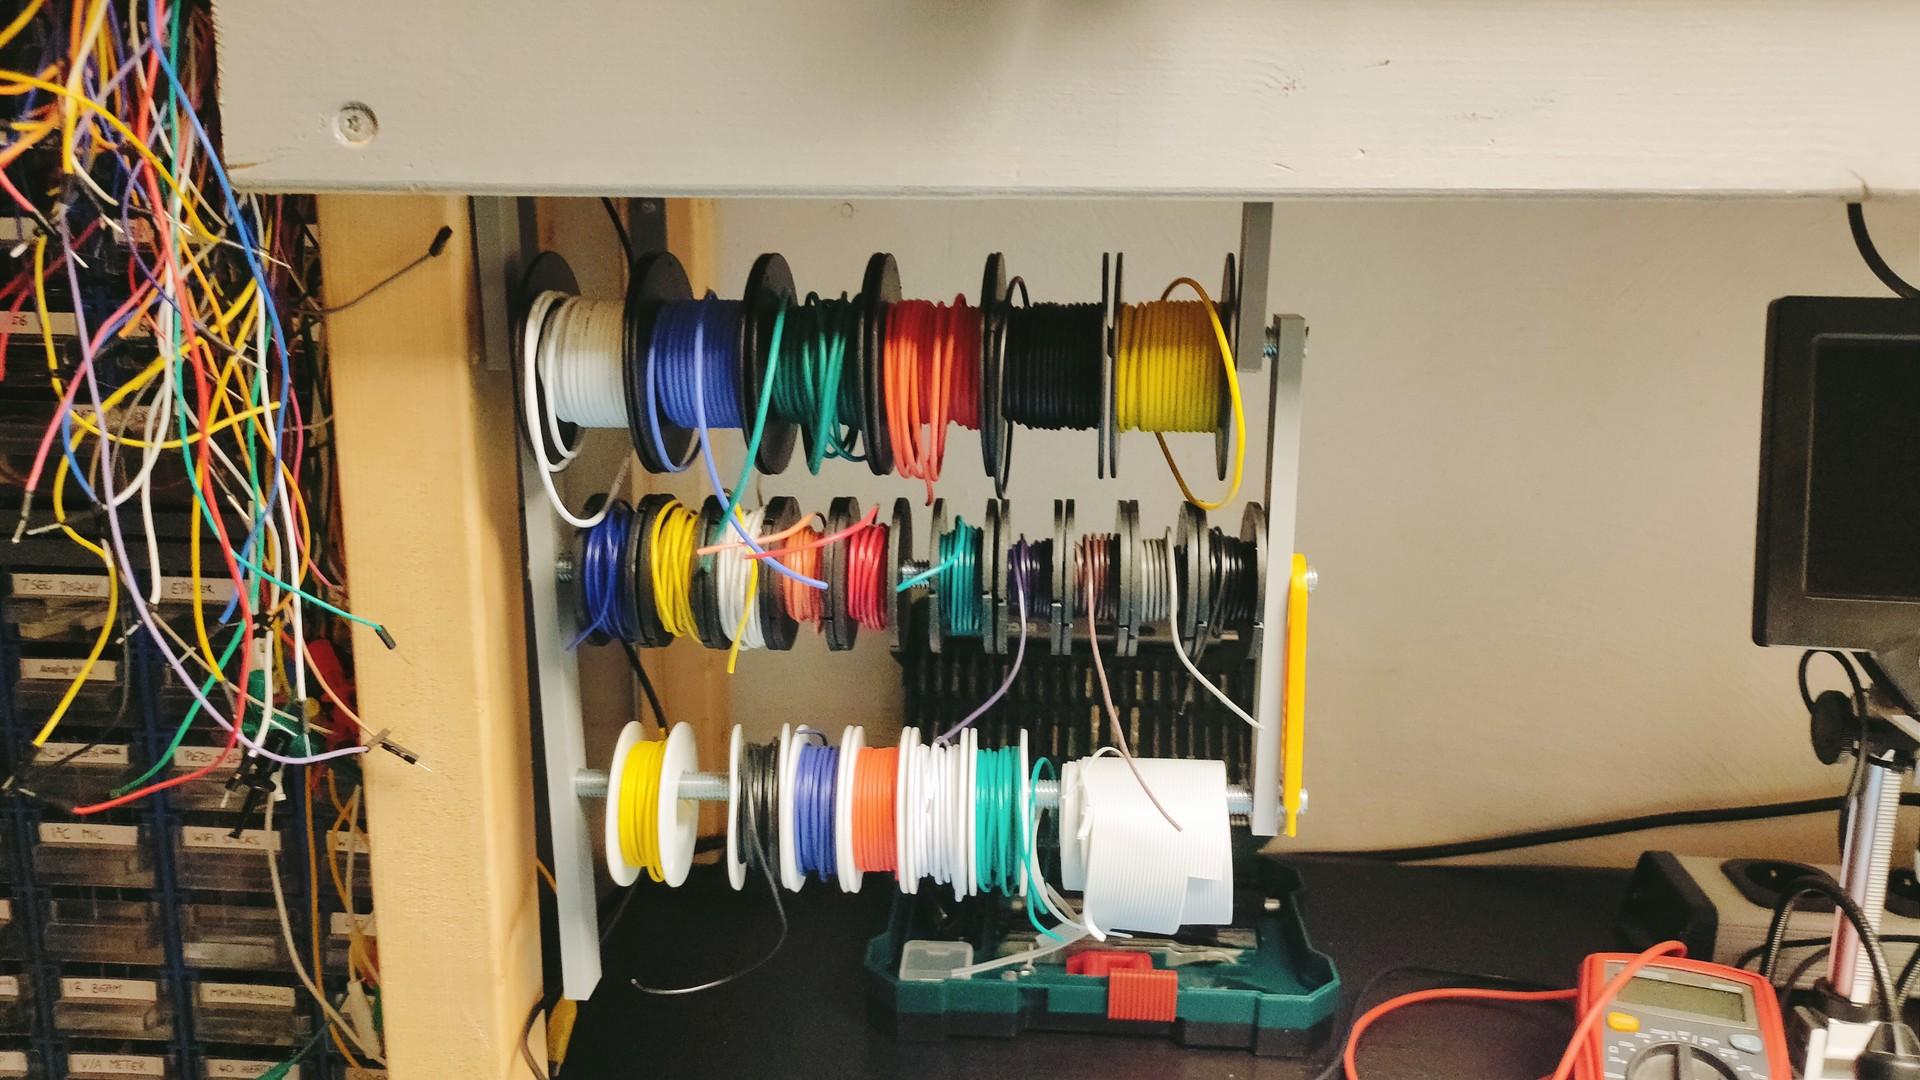
Slowly, I started finishing my Workshop/Lab for my new business. So I didn’t have many things to post about. So now I’ll post something about this Home Assistant solution, because there was not a decent post to be found about this solution.
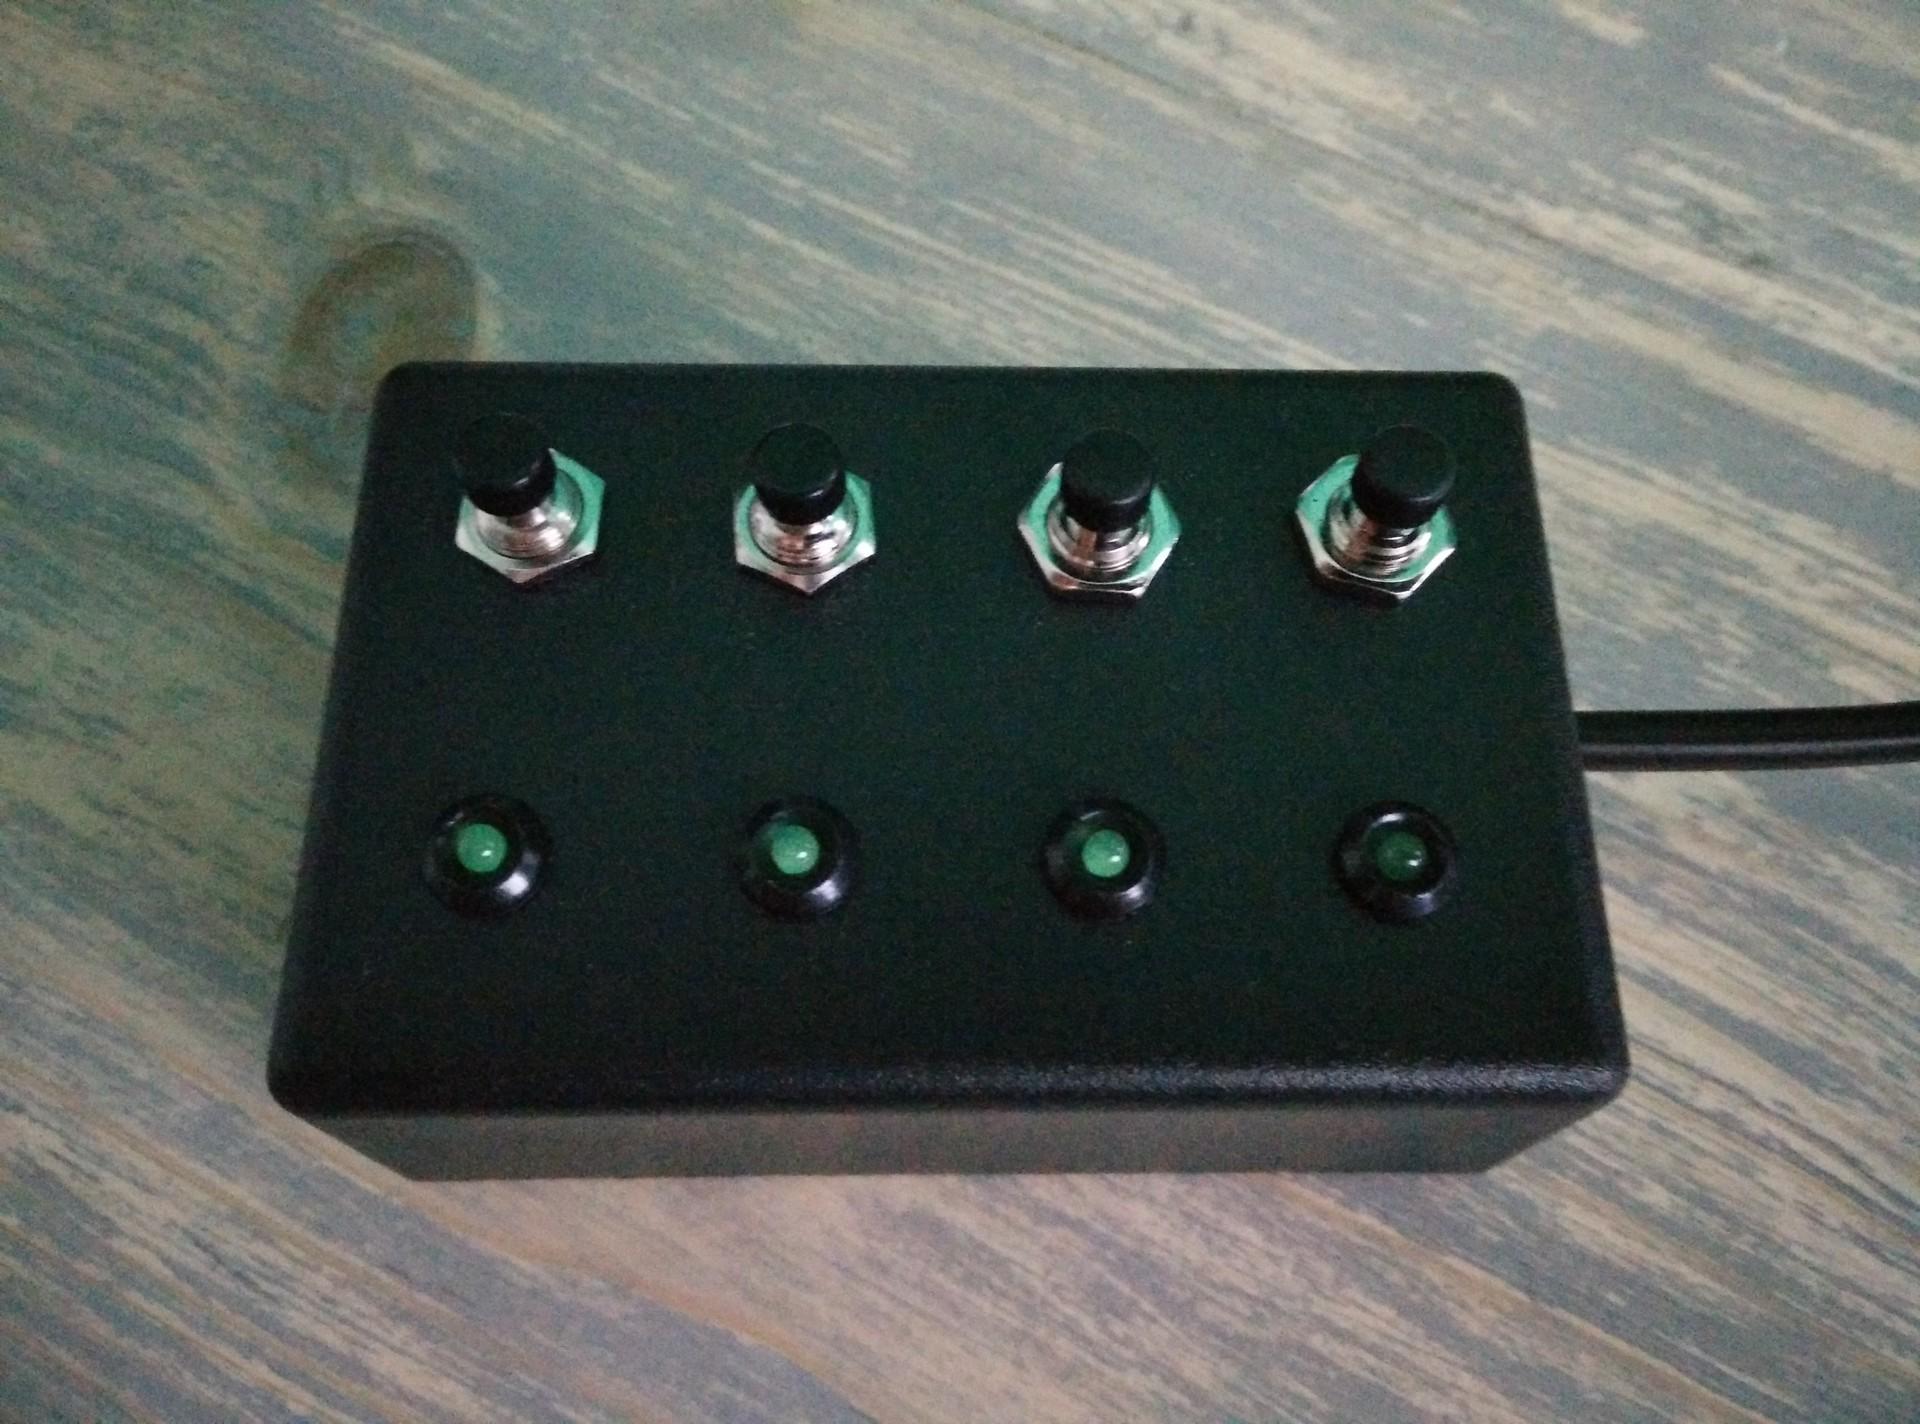
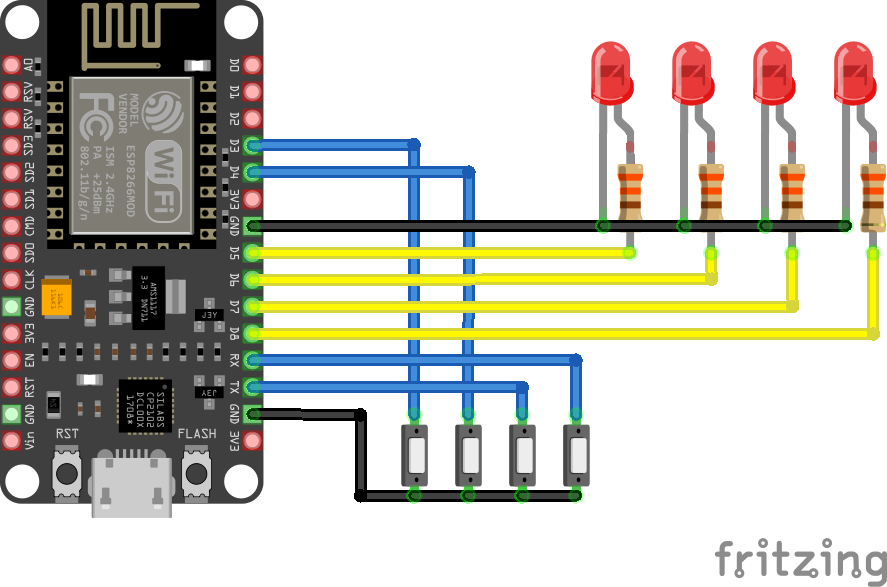
Some history: A long time ago I made a 4 button 4 led controller with my friend Duncan. At that time we were using Domoticz, and used a NodeMcu with ESP Easy to read the button states and made the leds act as status lights.
This is made using a NodeMCU (8266) but ESP32, Wemos, whatever will work also. We wanted to repurpose the old NodeMCU, instead of building a new one.
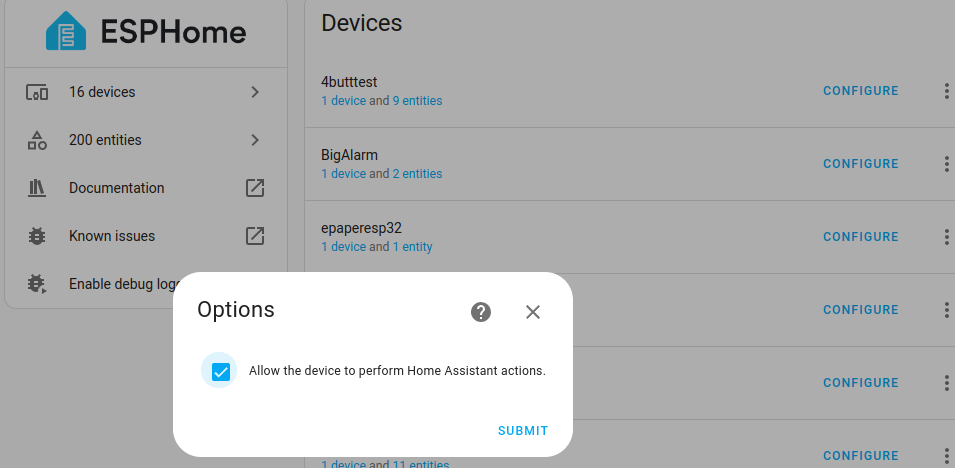
So Migrating to Home Assistant: How to install ESPHome is easy to find on the internet.
Below is an example for 4 push buttons which TOGGLE a Home Assistant entity. And the LEDs will give a feedback of the state of an entity.
Note: There is 1 out of 4 configured like that. The other ones are generic. One button toggles my shelly lab ledlight, and lights up a led when toggled!
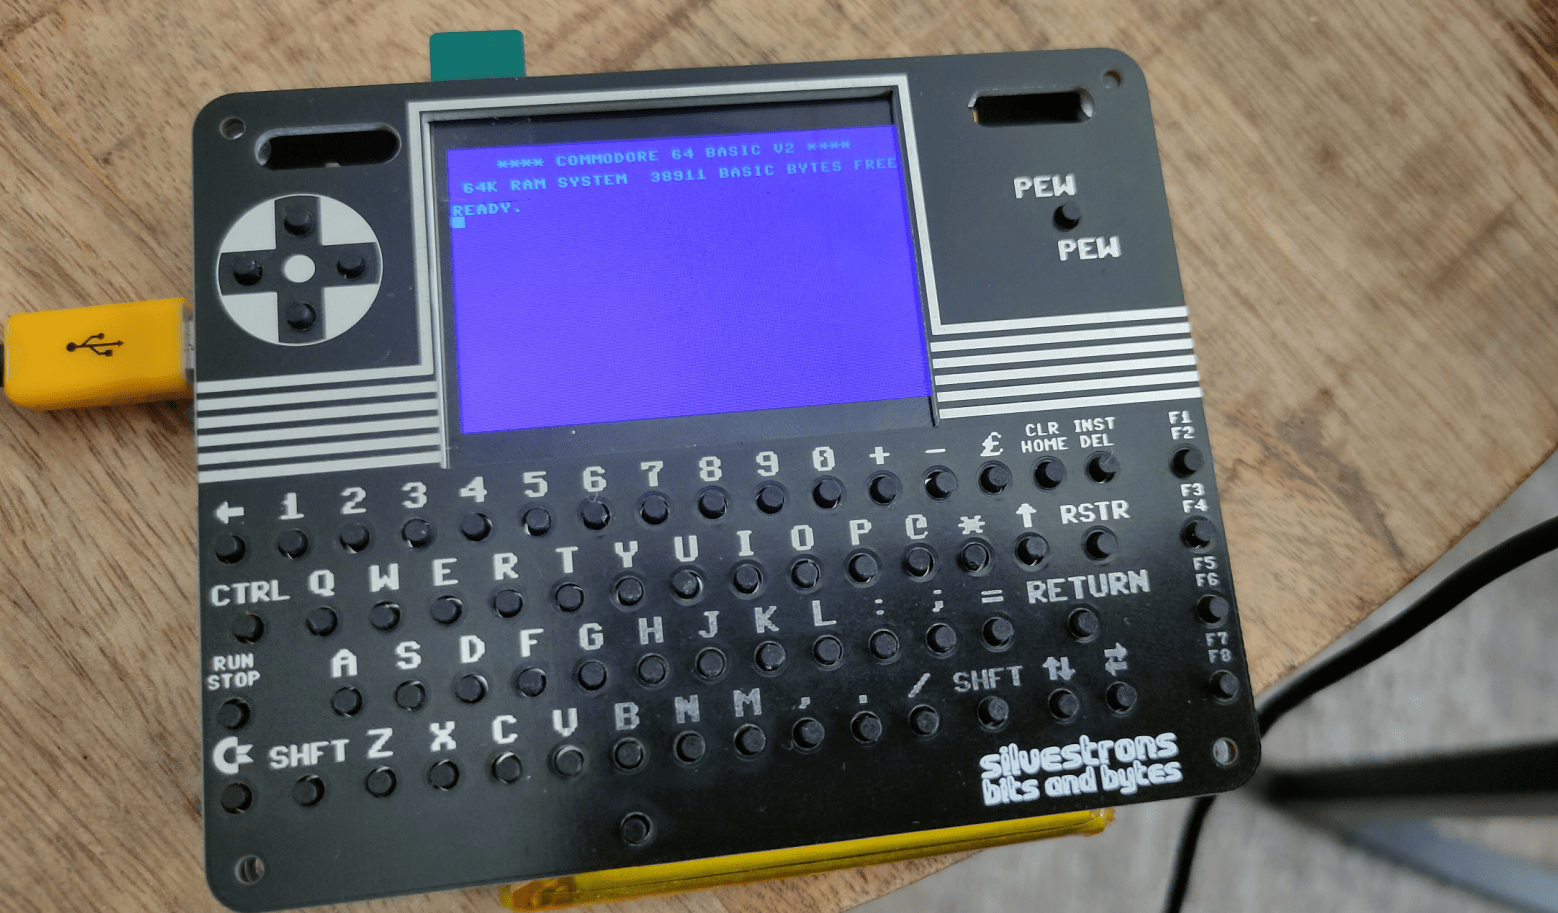
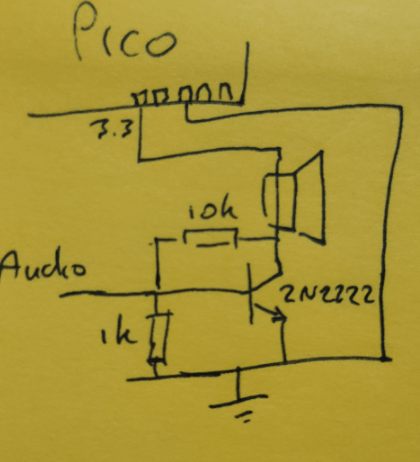
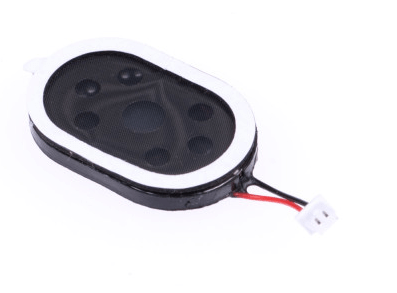
My C64 had a problem with previous attached speaker. It drew too much current to drive. And random characters where printed. Choosing another speaker and a minimal amplifier solved the issue. (Thanks to Bigred finding the problem at Bornhack 2024)
Today I made a Linux version of Tyrone’s QuickPath tool.
My friend Tyrone came up with a great idea.
A directory switching tool, to move around in often used directories. You can use a keyword to move around. These keywords are configured in a config file. Even starting Total Commander with preset directories. Work/Private/Programming environments. His version uses PowerShell, but he wanted a multiplatform version, so we have chosen to use Python on both environments.
My version uses Python and Bash. (Bash is used for a change directory workaround on Linux and bash completion.)
Source will be in Tyrone’s git when finished.
Options:
qp – lists config items with number and short key
qp 1 or qp c64demo – changes directory to below example
qp add c64demo /data/store/git/projects/c64code2024 – add a entry
qp del 1 – removes entry
qp mc tmp c64demo – starts midnight commander with left and right directories
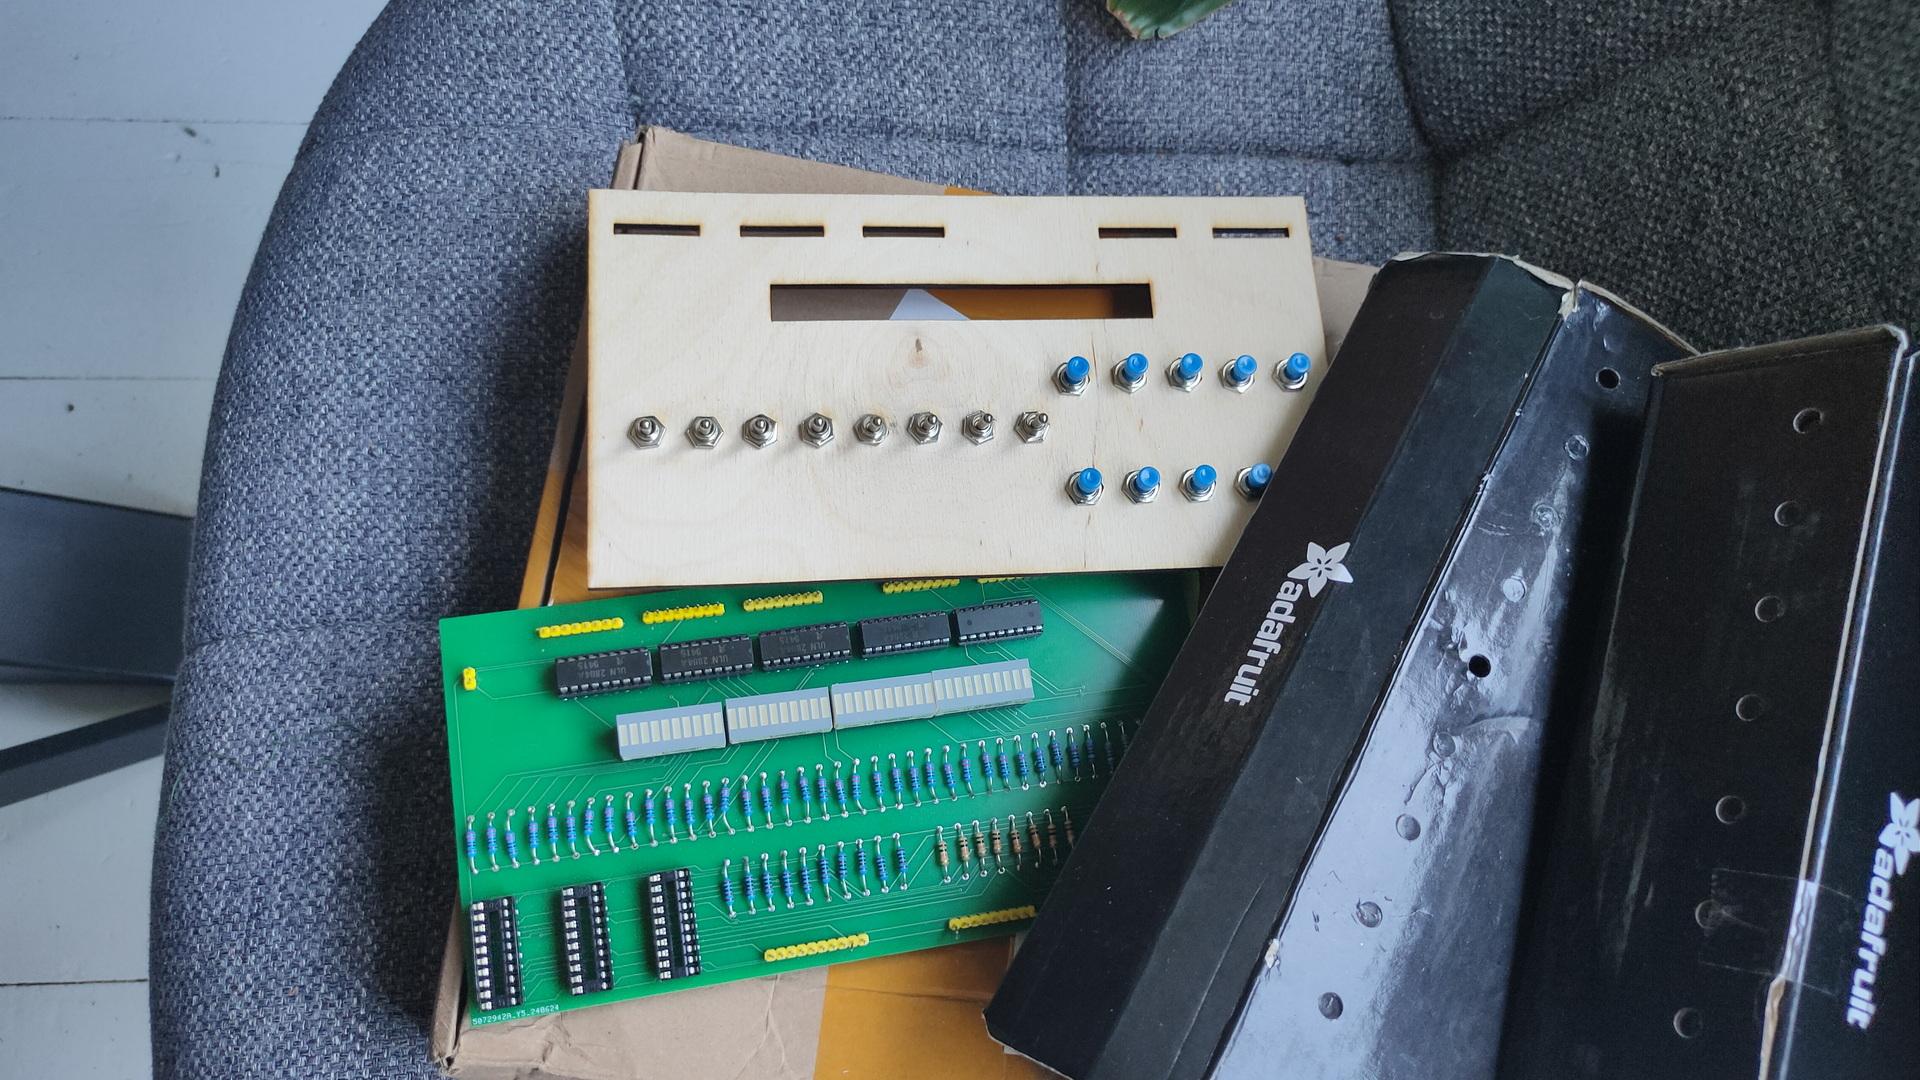
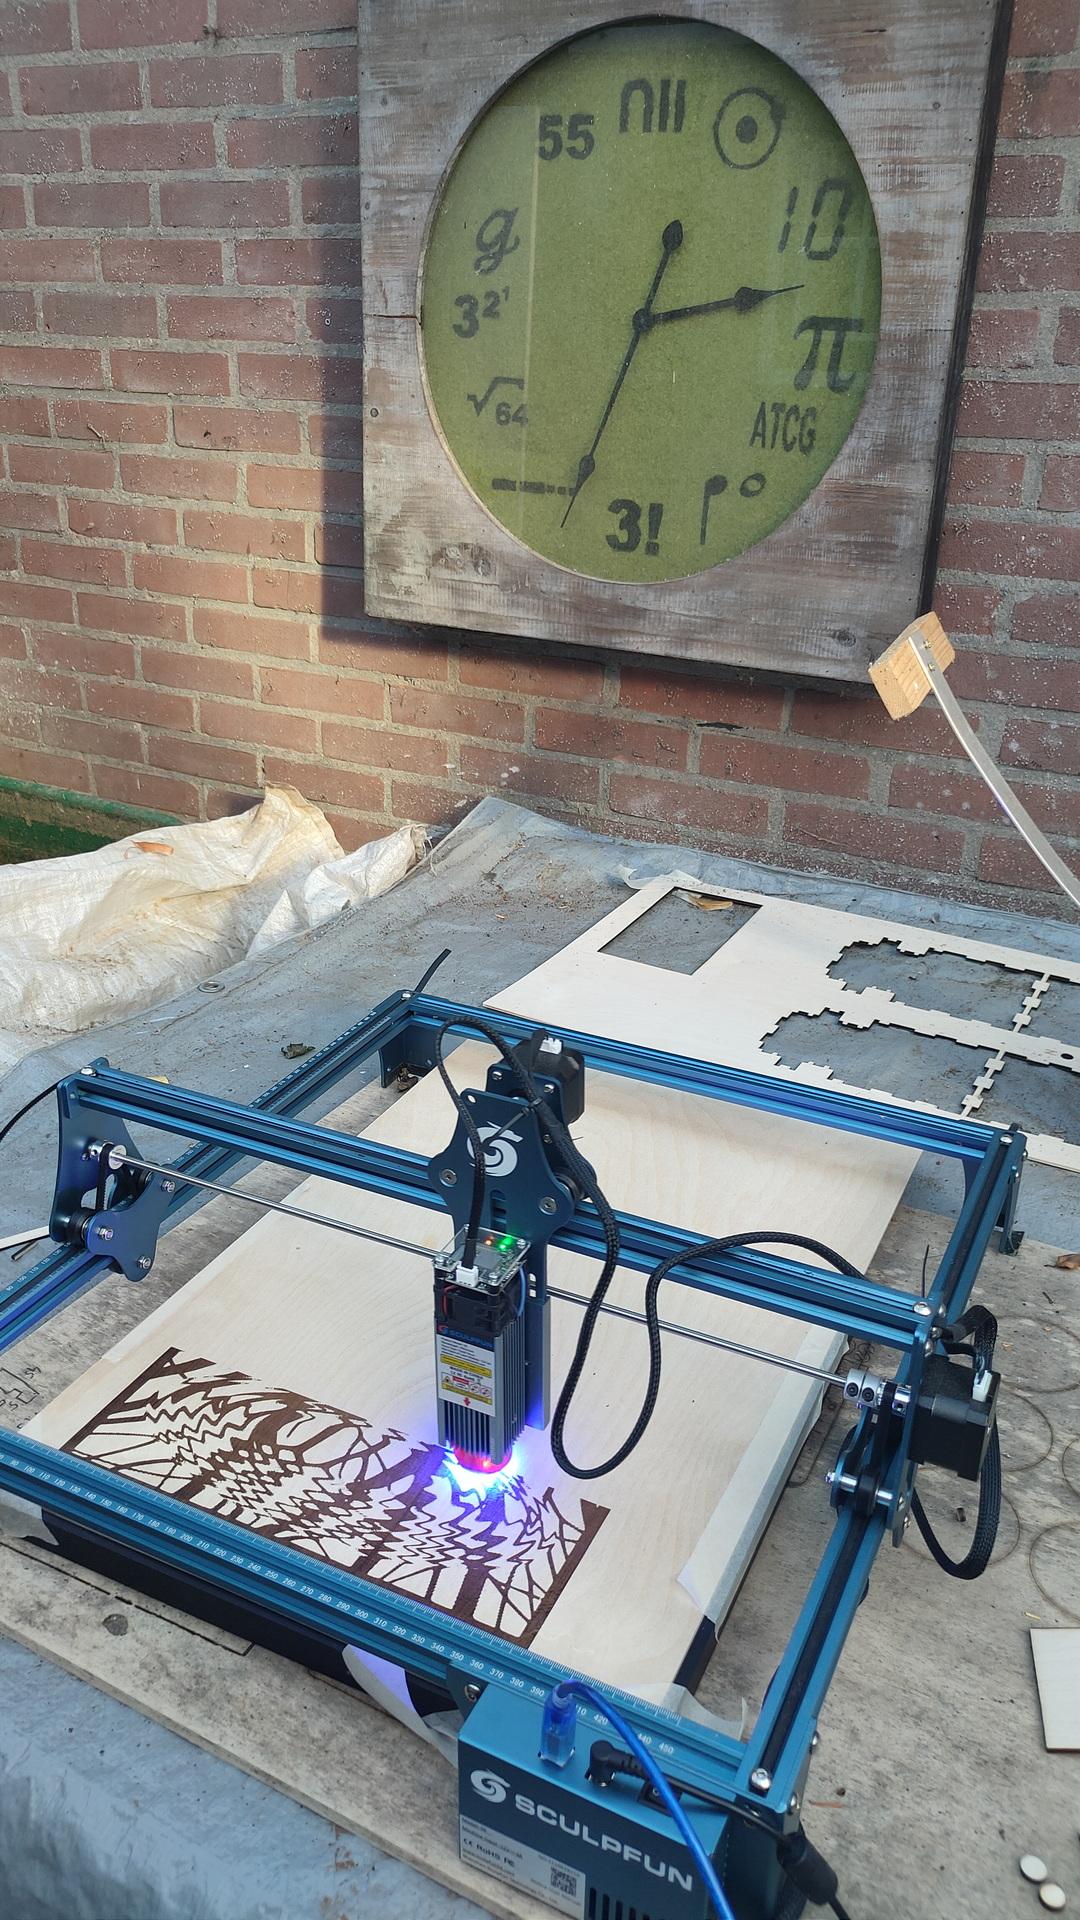
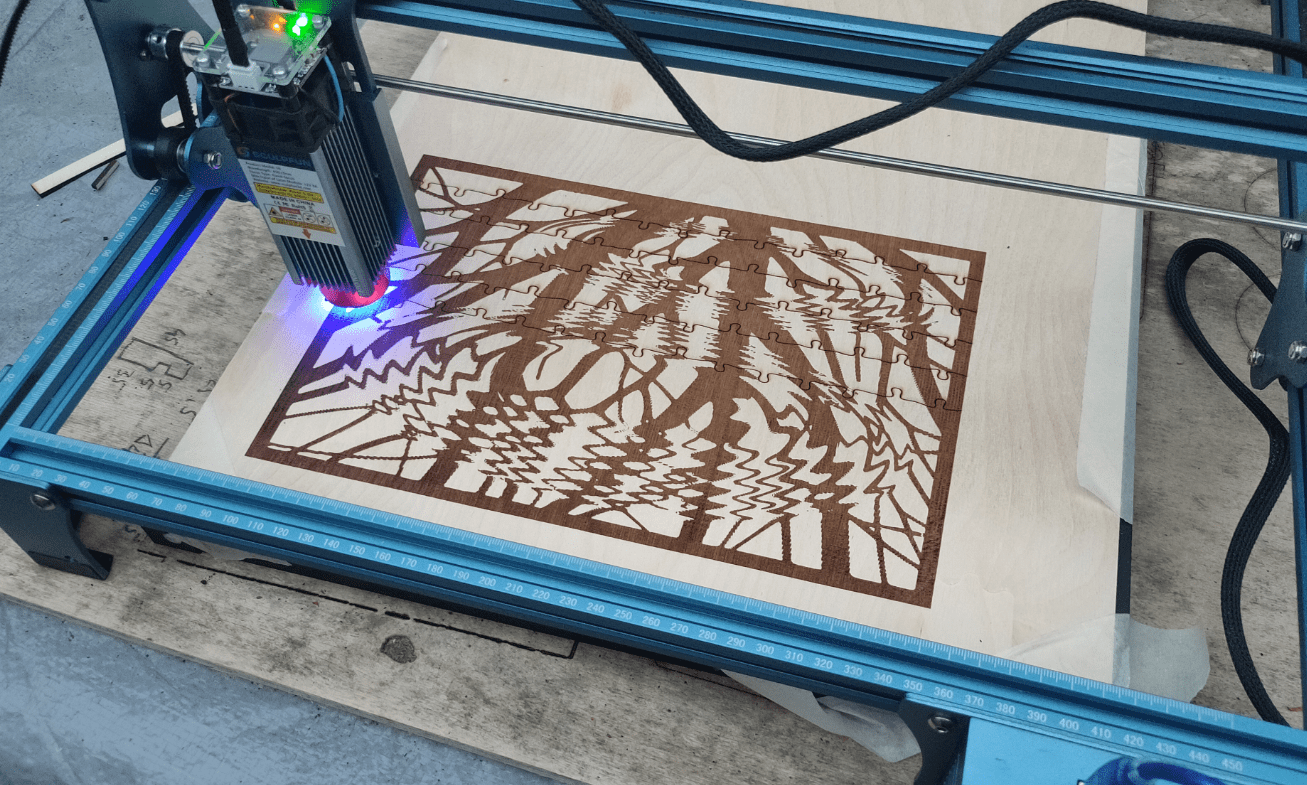
Tomorrow some laser cutting, so let’s design some things to cut.
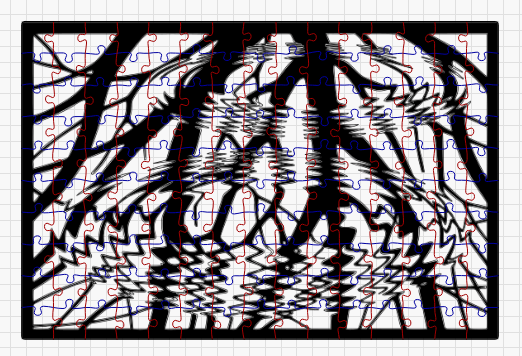
Jigsaw test – using engraving and cutting
Make a front for my bus manipulator
Make some cases for the game controllers (These are beta, and will be 3D printed at a later stage. My old 3D printer is slow)
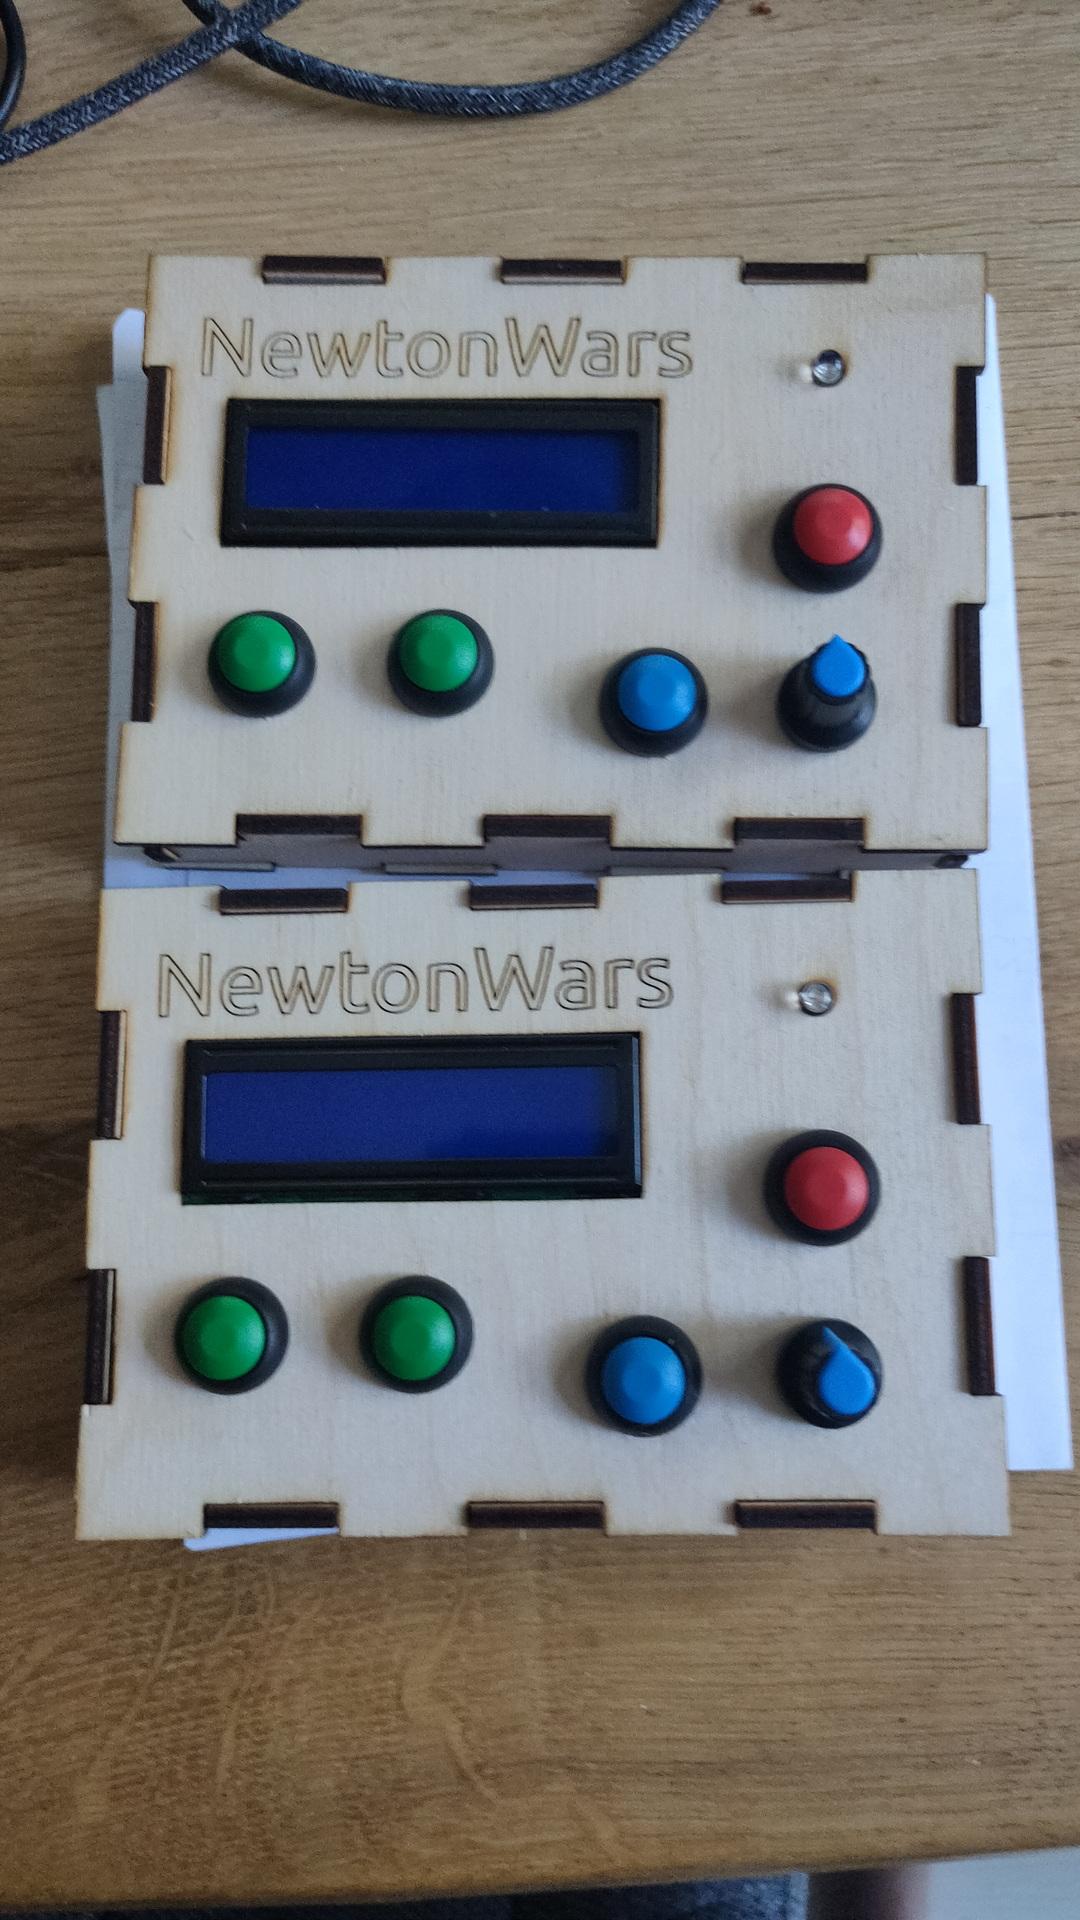
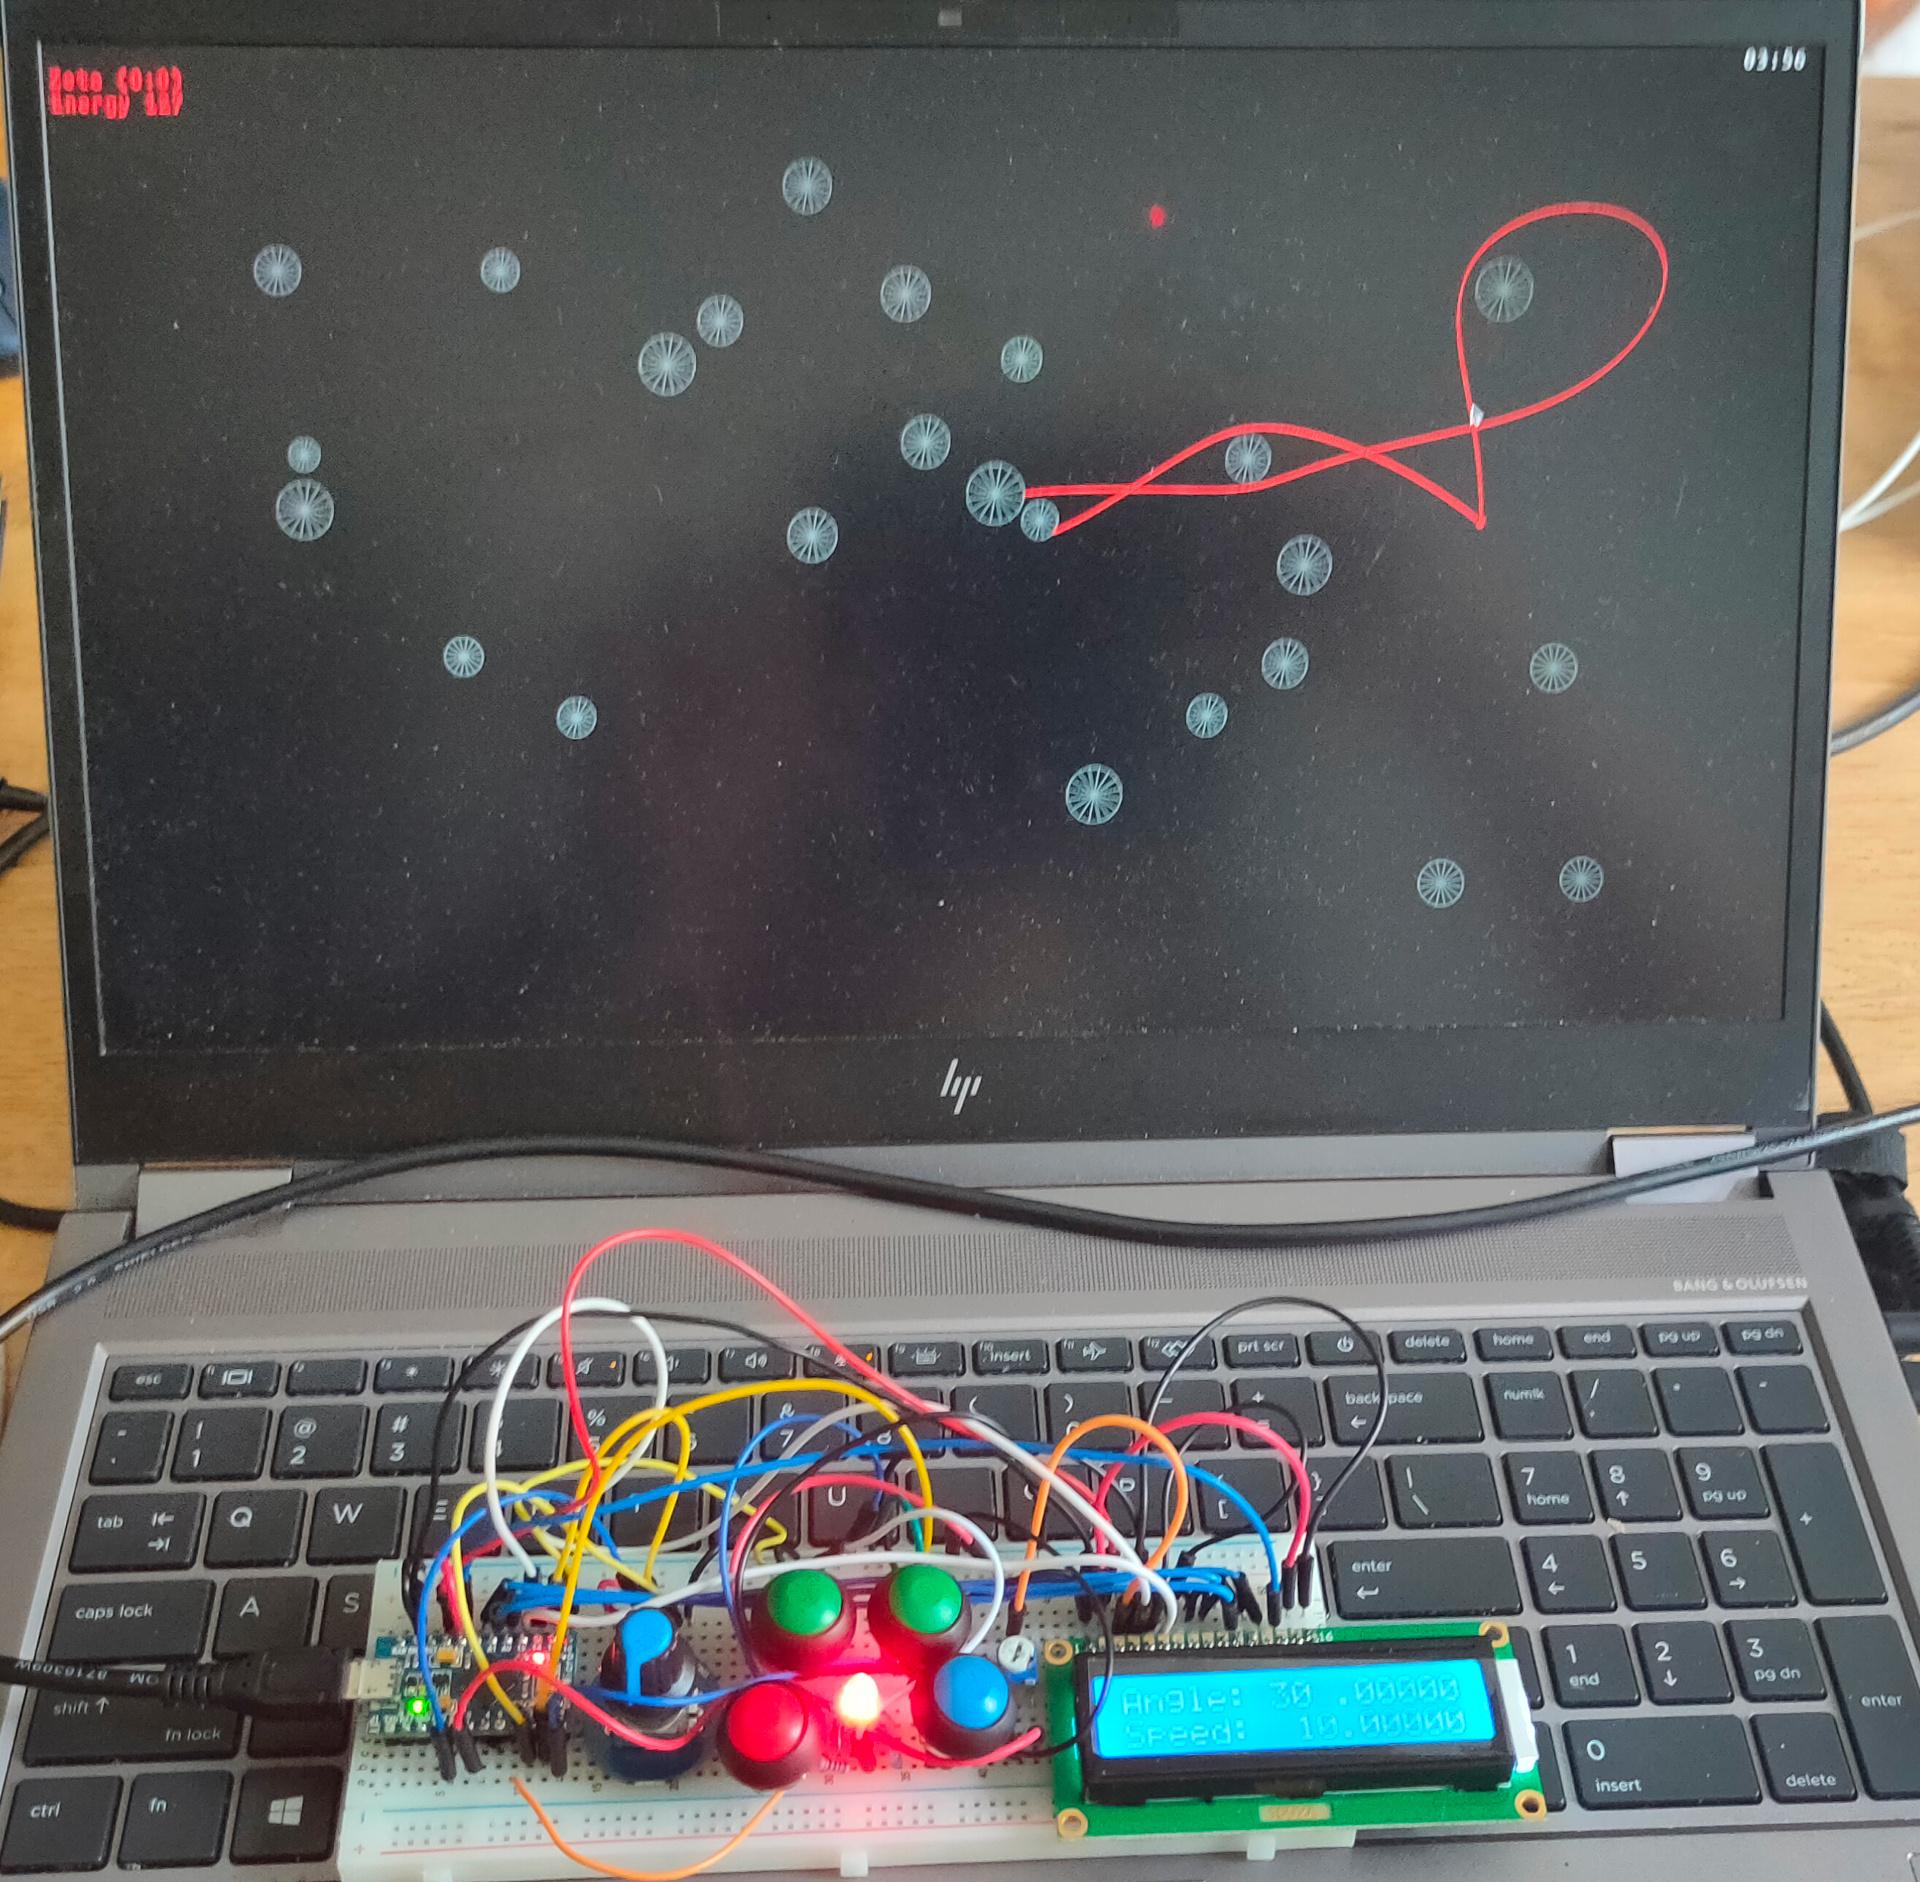
Saw a cool game a while ago, and found some old code. There was no schematic, so I had to reverse engineer it using the Arduino code. This one uses a Micro Pro.
Build a working version, now I can use this as base to create other games. But first i’m going to rebuild it so it can use Wifi and uses a Lipo Battery. Making it usable without wires.
Rotary – set angle/speed (Press resets)
Blue – toggle angle or speed ( was rotary press )
Green – select digit to change
Red – Fire
Led – not completely working yet, shows color of player Wil be changed to addressable leds with more functions (Player color, energy warning and more)
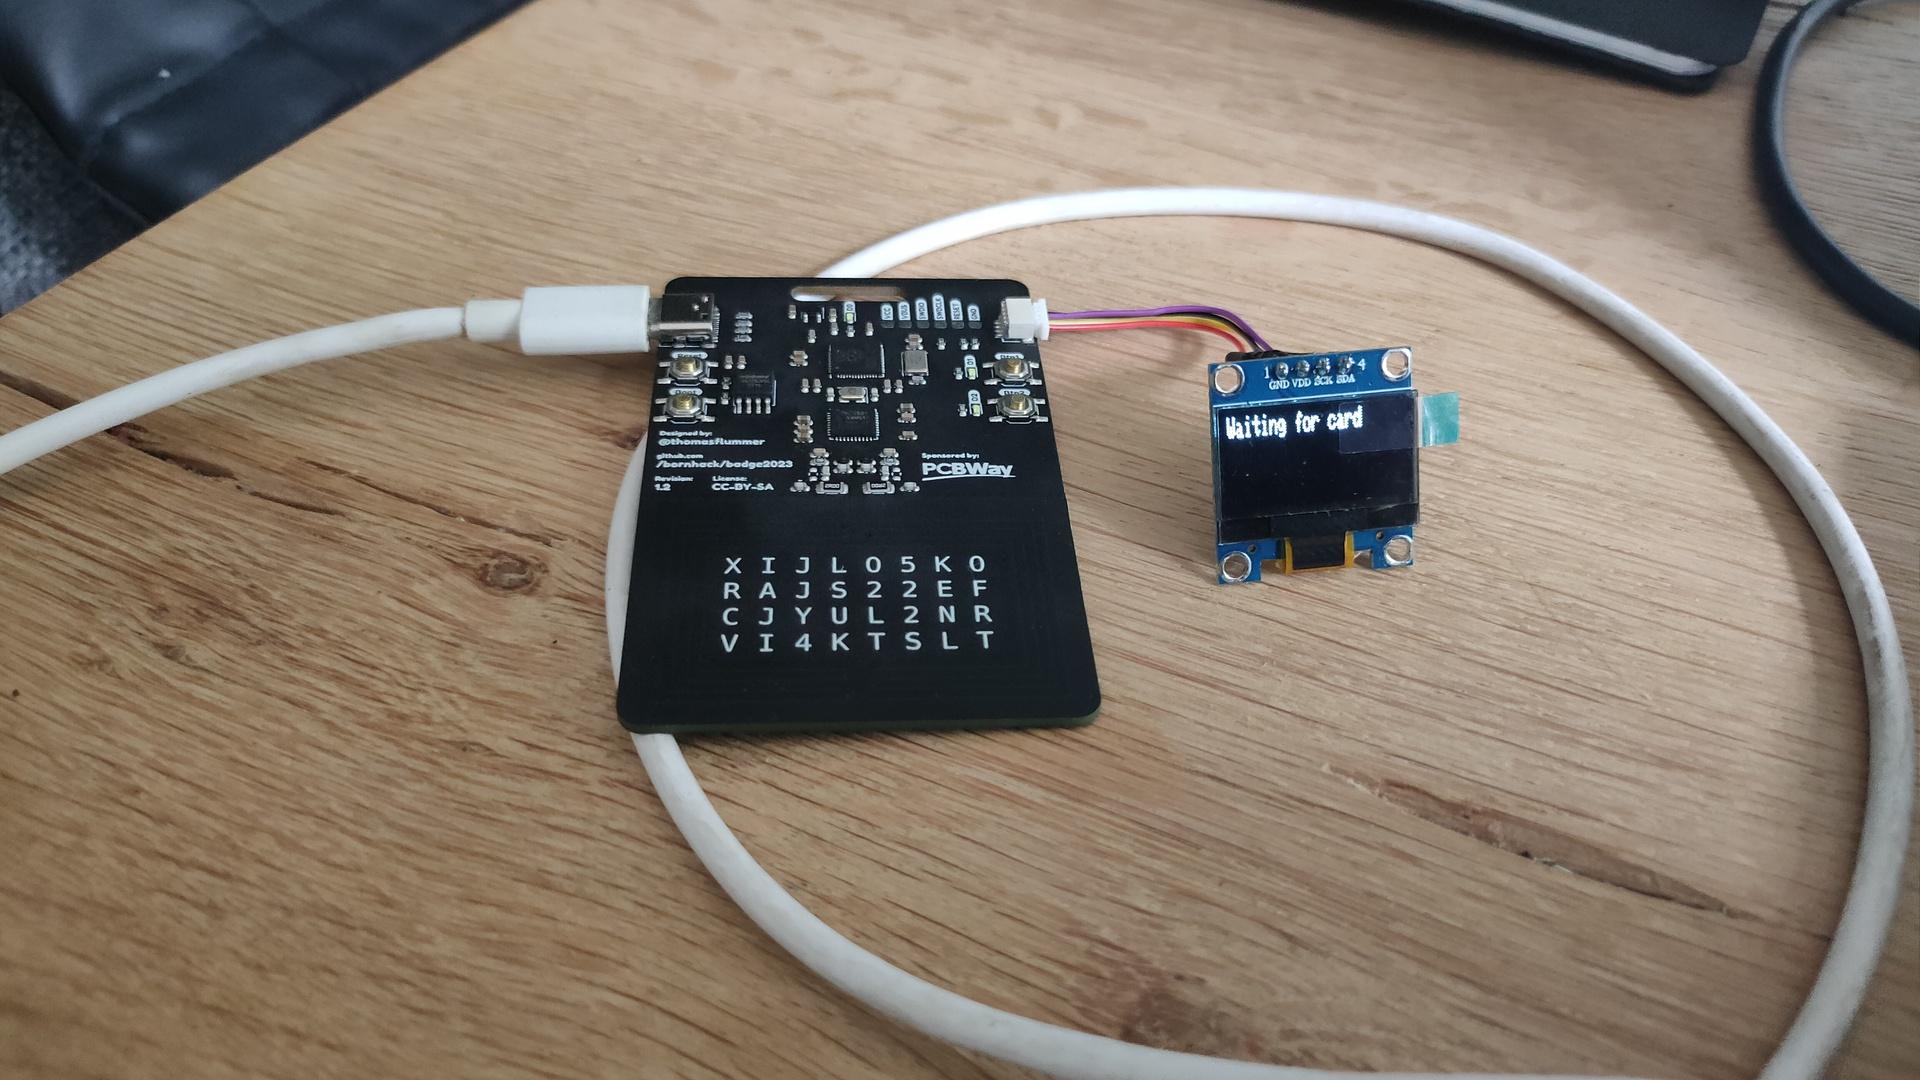
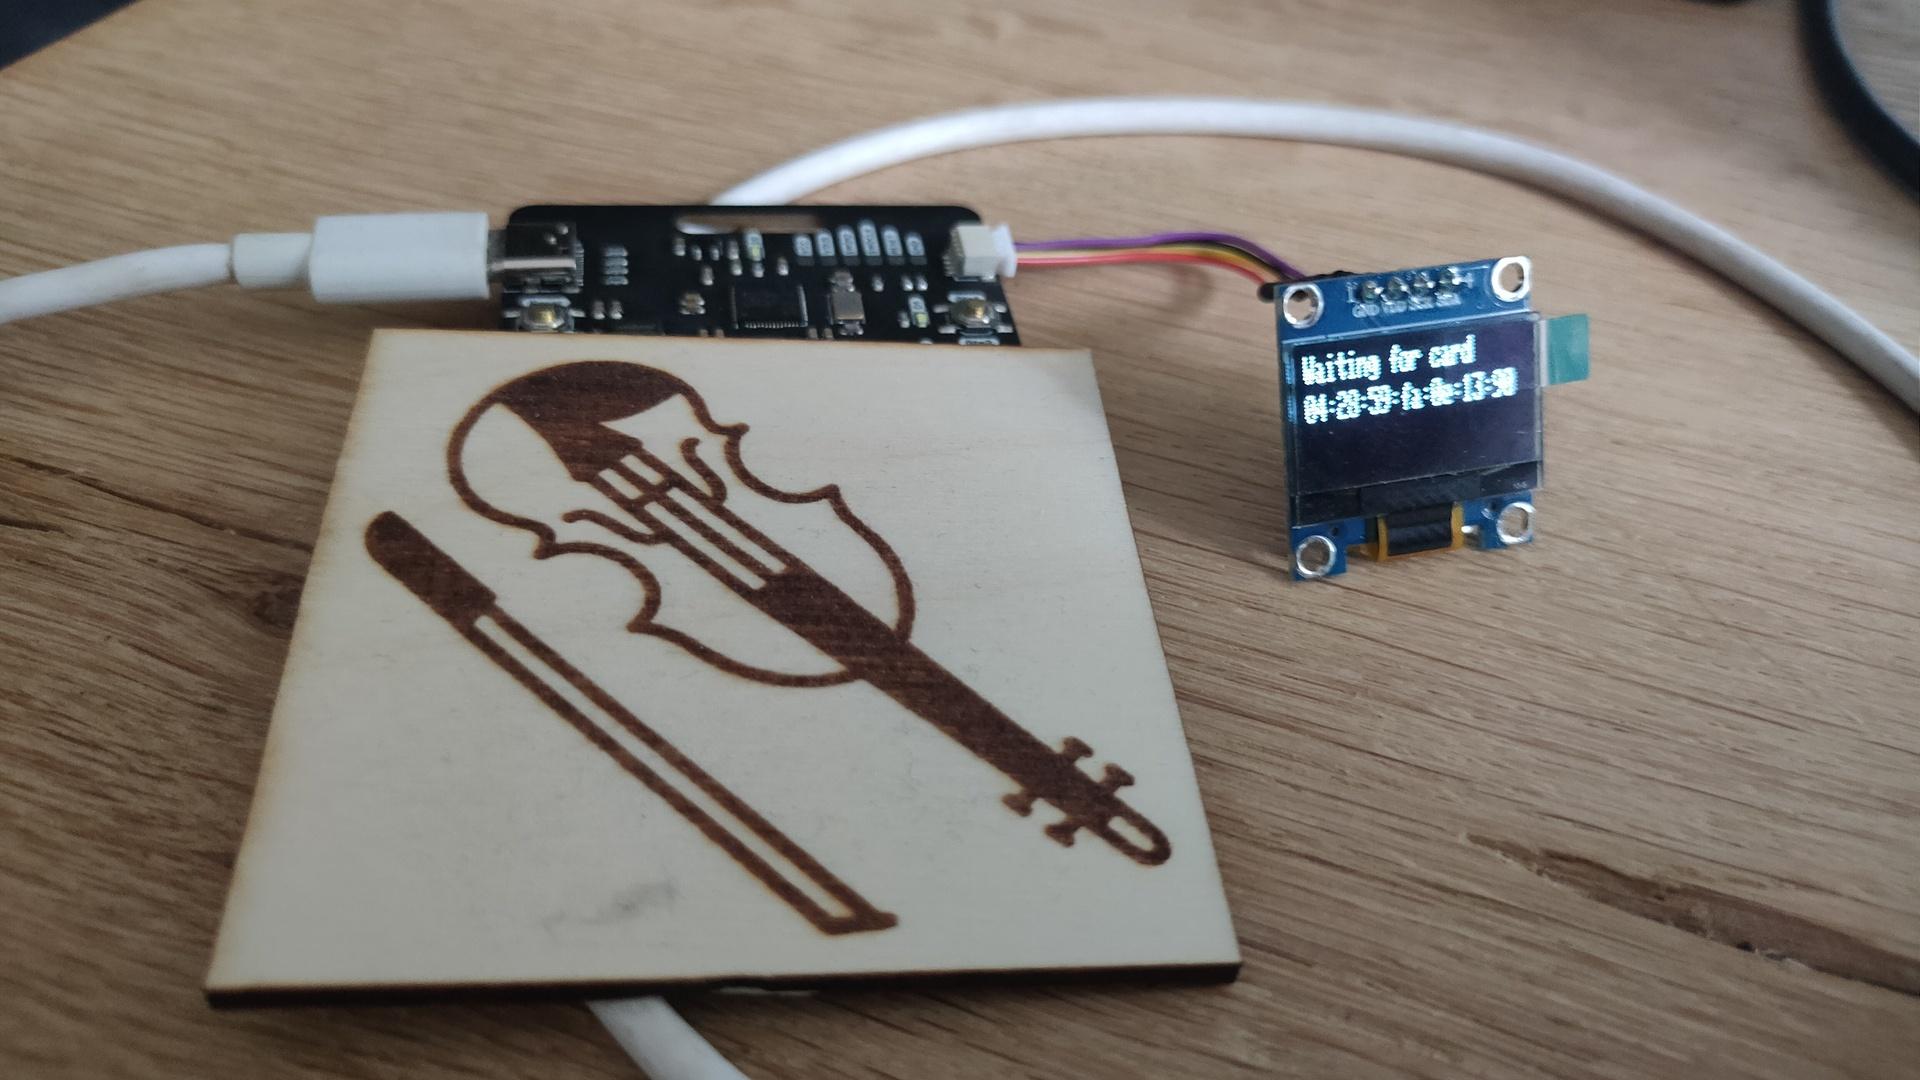
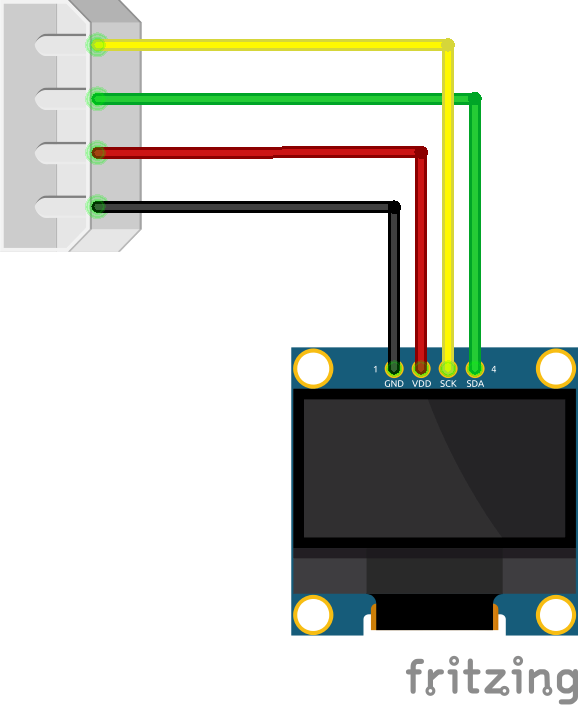
Last week I bought an old Bornhack Badge. I thought it needed a display.
Using a SSD1306 display, and Circuitpython I made this.
( Wooded thingy contains an RFID chip ( Part of my player ))
Library and files needed:
font5x8.bin in root of filesystem ( just google for this file )
copy of adafruit_framebuf.mpy in /lib
copy of adafruit_ssd1306.mpy in /lib
Code: (midway some pixel examples, just uncomment)
import board
from time import sleep
import busio
from PN7150 import PN7150
import adafruit_ssd1306
import math
import adafruit_framebuf


if True:
    # Fast 400KHz I2C
    i2c = busio.I2C(board.SCL, board.SDA, frequency = 400000)
else:
    # Regular 100kHz I2C
    i2c = board.I2C()


WIDTH = 32
HEIGHT = 8

buffer = bytearray(round(WIDTH * math.ceil(HEIGHT / 8)))
fb = adafruit_framebuf.FrameBuffer(
    buffer, WIDTH, HEIGHT, buf_format=adafruit_framebuf.MVLSB
)


nfc = PN7150(i2c, board.IRQ, board.VEN)

display = adafruit_ssd1306.SSD1306_I2C(128, 32, i2c,addr=0x3c)

assert nfc.connect()
print("Connected.")

assert nfc.modeRW()
print("Switched to read/write mode.")

display.fill(0)

display.show()

#display.fill(0)
#display.text('Hello', 0, 0, 1 )
#display.text('World', 0, 10, 1)
#display.show()
# Set a pixel in the origin 0,0 position.
#display.pixel(0, 0, 1)
# Set a pixel in the middle 64, 16 position.
#display.pixel(64, 16, 1)
# Set a pixel in the opposite 127, 31 position.
#display.pixel(127, 31, 1)
#display.show()

while True:
    display.fill(0)
    display.text('Waiting for card', 0, 0, 1 )
    display.show()

    assert nfc.startDiscoveryRW()

    print("Waiting for card..")
    card = nfc.waitForCard()
    assert nfc.stopDiscovery()

    print("ID: {}".format(card.nfcid1()))
    id = card.nfcid1()
    display.text(id, 0, 10, 1 )
    display.show()

    sleep(0.5)
Not sure about display i2c address? Use below code
import time
import board
import busio

# List of potential I2C busses
ALL_I2C = ("board.I2C()",)

# Determine which busses are valid
found_i2c = []
for name in ALL_I2C:
    try:
        print("Checking {}...".format(name), end="")
        bus = eval(name)
        bus.unlock()
        found_i2c.append((name, bus))
        print("ADDED.")
    except Exception as e:
        print("SKIPPED:", e)

# Scan valid busses
if len(found_i2c):
    print("-" * 40)
    print("I2C SCAN")
    print("-" * 40)
    while True:
        for bus_info in found_i2c:
            name = bus_info[0]
            bus = bus_info[1]

            while not bus.try_lock():
                pass

            print(
                name,
                "addresses found:",
                [hex(device_address) for device_address in bus.scan()],
            )

            bus.unlock()

        time.sleep(2)
else:
    print("No valid I2C bus found.")
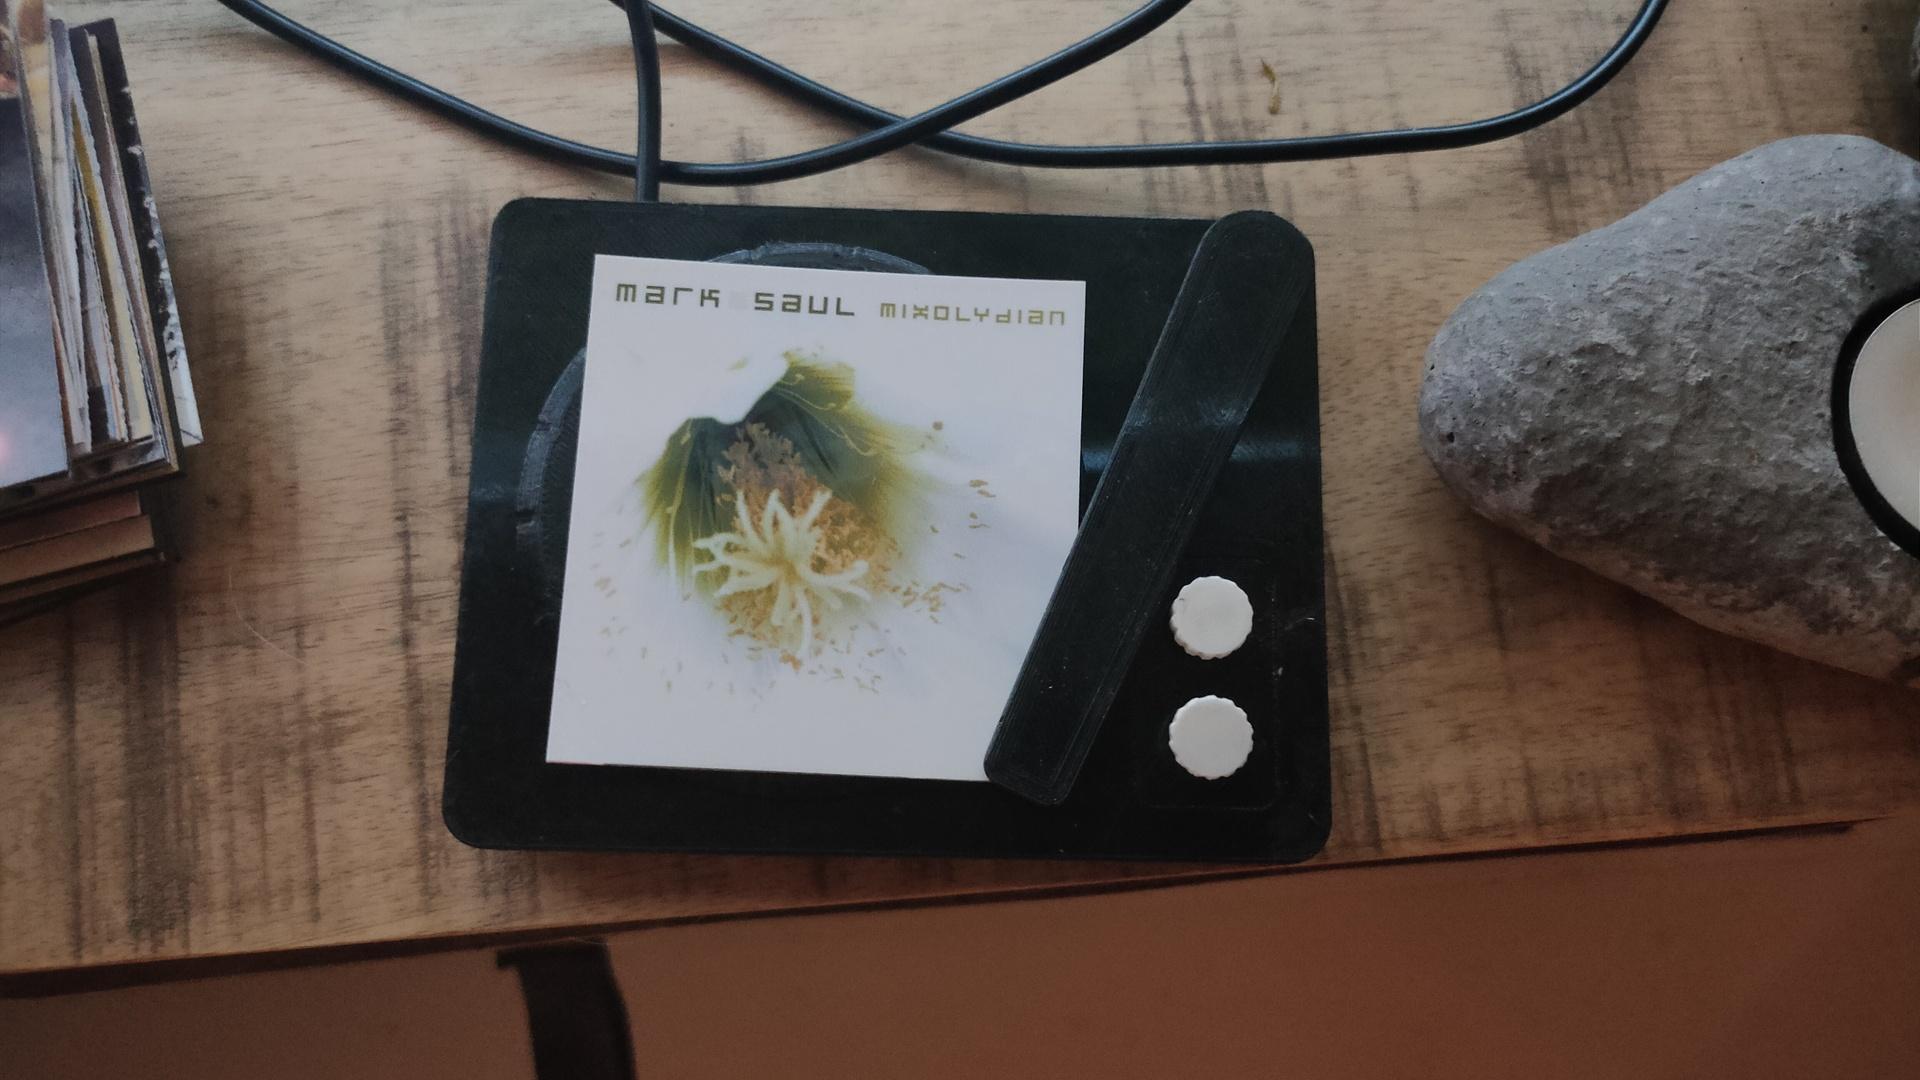
Recordplayer model by kriswillcode, but heavily remixed
Record player is going to be re-printed at a higher quality.
Put a printed image on the player, and it plays the album
Move the arm, and the next track will be played
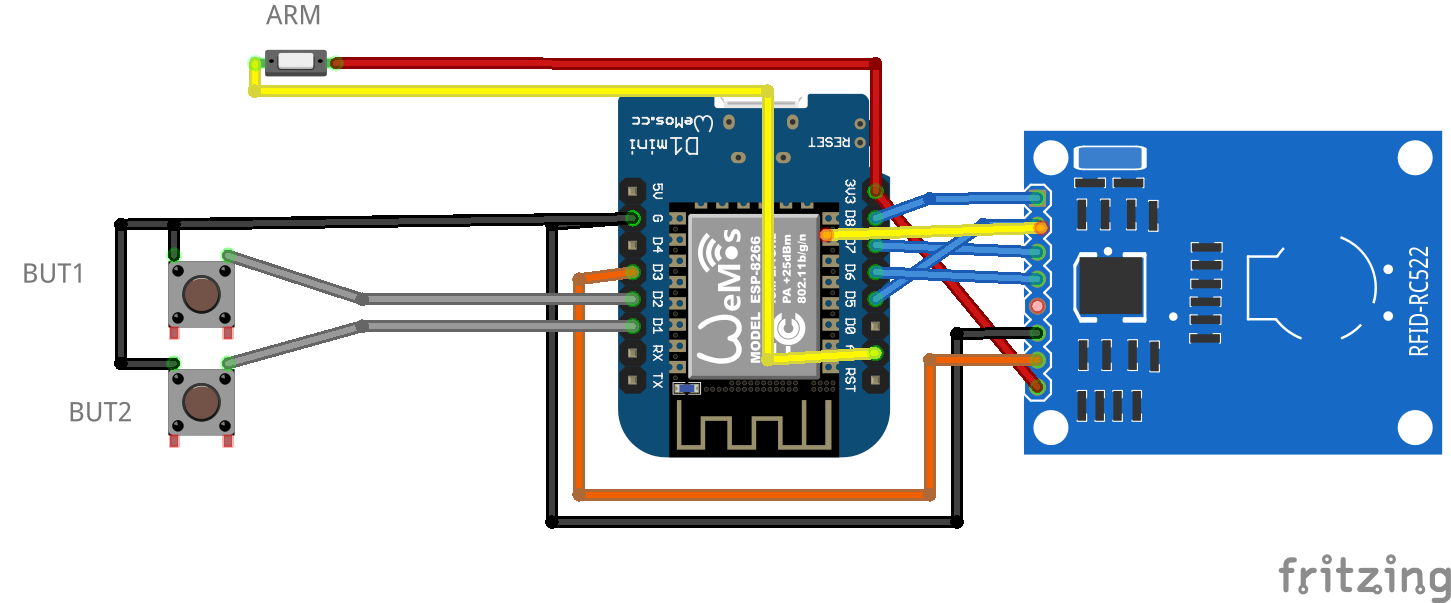
Press upper white button, and the music will pause/resume
Press lower button … ??? Don’t know yet
Updated python client (see previous posts)
import paho.mqtt.client as mqtt
import urllib.request
from time import sleep

def on_connect(client, userdata, flags, rc):  # The callback for when the client connects to the broker
        print("Connected with result code {0}".format(str(rc)))
        client.subscribe("spotify/rfid/idlms")
        client.subscribe("spotify/rfid/but1")
        client.subscribe("spotify/rfid/but2")
        client.subscribe("spotify/rfid/arm")

def on_message(client, userdata, msg):  # The callback for when a PUBLISH message is received from the server.
        print("Message received-> " + msg.topic + " " + str(msg.payload))  # Print a received msg
        if msg.topic == "spotify/rfid/idlms":
            urllib.request.urlopen("http://LMS-SERVER-IP:9000/anyurl?p0=playlistcontrol&p1=album_id:" + msg.payload.decode() + "&p2=cmd:load&player=00:04:20:16:d9:04")
        if msg.topic == "spotify/rfid/but1":
            urllib.request.urlopen("http://LMS-SERVER-IP:9000/anyurl?p0=pause&player=00:04:20:16:d9:04")
            sleep(1)
        if msg.topic == "spotify/rfid/but2":
            urllib.request.urlopen("http://LMS-SERVER-IP:9000/anyurl?p0=pause&pt=1&player=00:04:20:16:d9:04")
            sleep(1)
        if msg.topic == "spotify/rfid/arm":
            urllib.request.urlopen("http://LMS-SERVER-IP:9000/status.html?p0=button&p1=jump_fwd&player=00:04:20:16:d9:04")
            sleep(1)

client = mqtt.Client("lmsclient")  # Create instance of client with client ID “digi_mqtt_test”
client.on_connect = on_connect  # Define callback function for successful connection
client.on_message = on_message  # Define callback function for receipt of a message
client.connect('MQTTSERVER', 1883)
client.loop_forever()  # Start daemon
Wemos INO file
#include <Arduino.h>
#include <SPI.h>
#include <MFRC522.h>
#include <ESP8266WiFi.h>
#include <WiFiClient.h>
#include <PubSubClient.h>
#define SS_PIN 15
#define RST_PIN 0

const int buttonPin1 = D1;
const int buttonPin2 = D2;

int buttonState1 = 0;
int buttonState2 = 0;

MFRC522 mfrc522(SS_PIN, RST_PIN);
  MFRC522::StatusCode status; //variable to get card status

  byte buffer[18];  //data transfer buffer (16+2 bytes data+CRC)
  byte size = sizeof(buffer);

  uint8_t pageAddr = 0x06;  //In this example we will write/read 16 bytes (page 6,7,8 and 9).
                            //Ultraligth mem = 16 pages. 4 bytes per page.
                            //Pages 0 to 4 are for special functions.

unsigned long cardId = 0;
WiFiClient net;
PubSubClient client(net);
const char* mqtt_server = "MQTTBROKER";
const char* ssid = "MYSSID";
const char* password = "MYWIFIPASWORD";
String topicStr = "";
byte buffer2[8];

boolean Rflag=false;
int r_len;
char payload[5];
byte value[5];
void setup() {
  Serial.begin(9600);
    pinMode(buttonPin1, INPUT_PULLUP);
    pinMode(buttonPin2, INPUT_PULLUP  );

  SPI.begin();
  mfrc522.PCD_Init();
  WiFi.mode(WIFI_AP_STA);
  WiFi.begin(ssid, password);
  client.setServer(mqtt_server, 1883);
     delay(100);
    client.setCallback(callback);
      delay(100);
    client.subscribe("spotify/rfid/in/#");
}
void reconnect() {
  while (WiFi.waitForConnectResult() != WL_CONNECTED) {
  }
  while (!client.connected()) {
    String clientId = "rfid-";
    clientId += String(random(0xffff), HEX);
    if (!client.connect(clientId.c_str(), "rfidclient", "...")) {
      delay(5000);
    }
  }
  client.subscribe("spotify/rfid/in/#");
}
void callback(char* topic, byte* payload, unsigned int length) {
  Serial.print(F("Called"));
   Rflag=true; //will use in main loop
   r_len=length; //will use in main loop
   int j=0;
     for (j;j<length;j++) {
       buffer2[j]=payload[j];
       //Serial.print((char)payload[j]);
       }
if (r_len < 3) {
  Rflag=false;
  Serial.print(F("Set false"));
}
buffer2[j]='\0'; //terminate string
}

void loop() {
    if (!client.connected()) {
    reconnect();
  }

buttonState1 = digitalRead(buttonPin1);
  //Serial.print(buttonState1);
  if (buttonState1 == 0 ) {
    client.publish("spotify/rfid/but1", "0");
  }
buttonState2 = digitalRead(buttonPin2);
  //Serial.println(buttonState2);
  if (buttonState2 == 0 ) {
    client.publish("spotify/rfid/but2", "0");
  }

int reading = analogRead(0);
  //Serial.println(reading);
  if (reading > 500 ) {
    client.publish("spotify/rfid/arm", "0");
  }

  client.loop();
  if (!mfrc522.PICC_IsNewCardPresent()) {
    return;
  }
  if (!mfrc522.PICC_ReadCardSerial()) {
    return;
  }
if (Rflag) {
        for (int i=0; i < 4; i++) {
    //data is writen in blocks of 4 bytes (4 bytes per page)
    status = (MFRC522::StatusCode) mfrc522.MIFARE_Ultralight_Write(pageAddr+i, &buffer2[i*4], 4);
    if (status != MFRC522::STATUS_OK) {
      return;
    }

  }
  Rflag=false;
}

  cardId = getCardId();
  char buffer3[10];
  sprintf(buffer3, "%lu", cardId);
  client.publish("spotify/rfid/id", buffer3);

  status = (MFRC522::StatusCode) mfrc522.MIFARE_Read(pageAddr, buffer, &size);
  if (status != MFRC522::STATUS_OK) {
    Serial.println(F("MIFARE_Read() failed: (R)"));
    Serial.println(mfrc522.GetStatusCodeName(status));
    return;
  }

  Serial.println(F("Read data: "));
  for (byte i = 0; i < 5; i++) {
    Serial.write(buffer[i]);
       buffer2[i]=buffer[i];
    }

  client.publish("spotify/rfid/idlms", buffer,5);
  delay(1000);
  mfrc522.PICC_HaltA();
}

unsigned long getCardId() {
  byte readCard[4];
  for (int i = 0; i < 4; i++) {
    readCard[i] = mfrc522.uid.uidByte[i];
  }
  return (unsigned long)readCard[0] << 24
    | (unsigned long)readCard[1] << 16
    | (unsigned long)readCard[2] << 8
    | (unsigned long)readCard[3];
}