(Sorry except for a mikrotik script, not much details)
- Installed a new Home Assistant instance for testing on my Proxmox
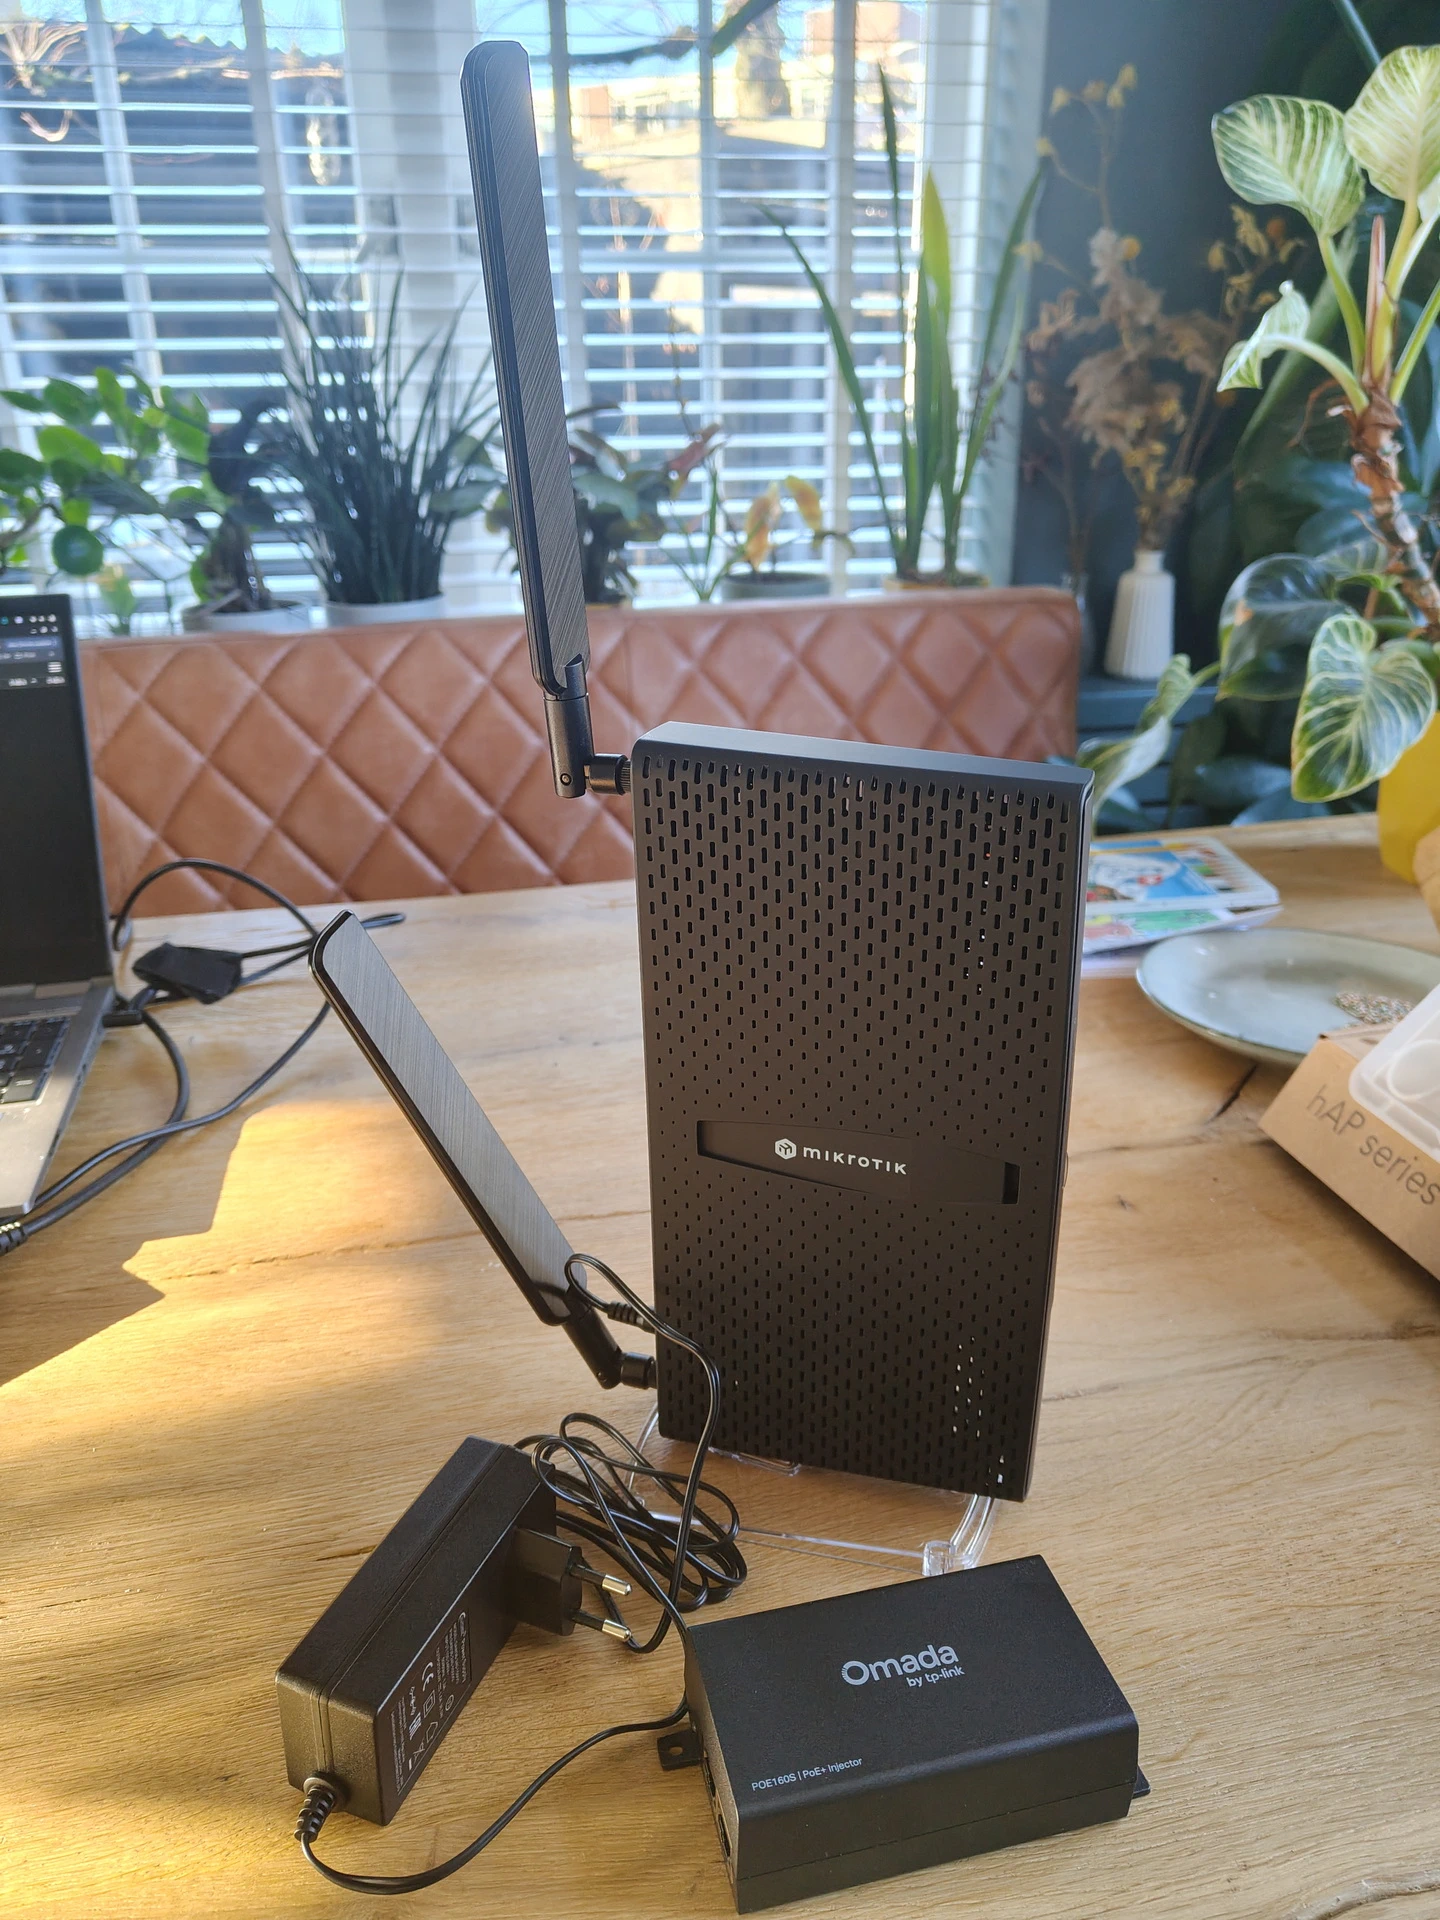
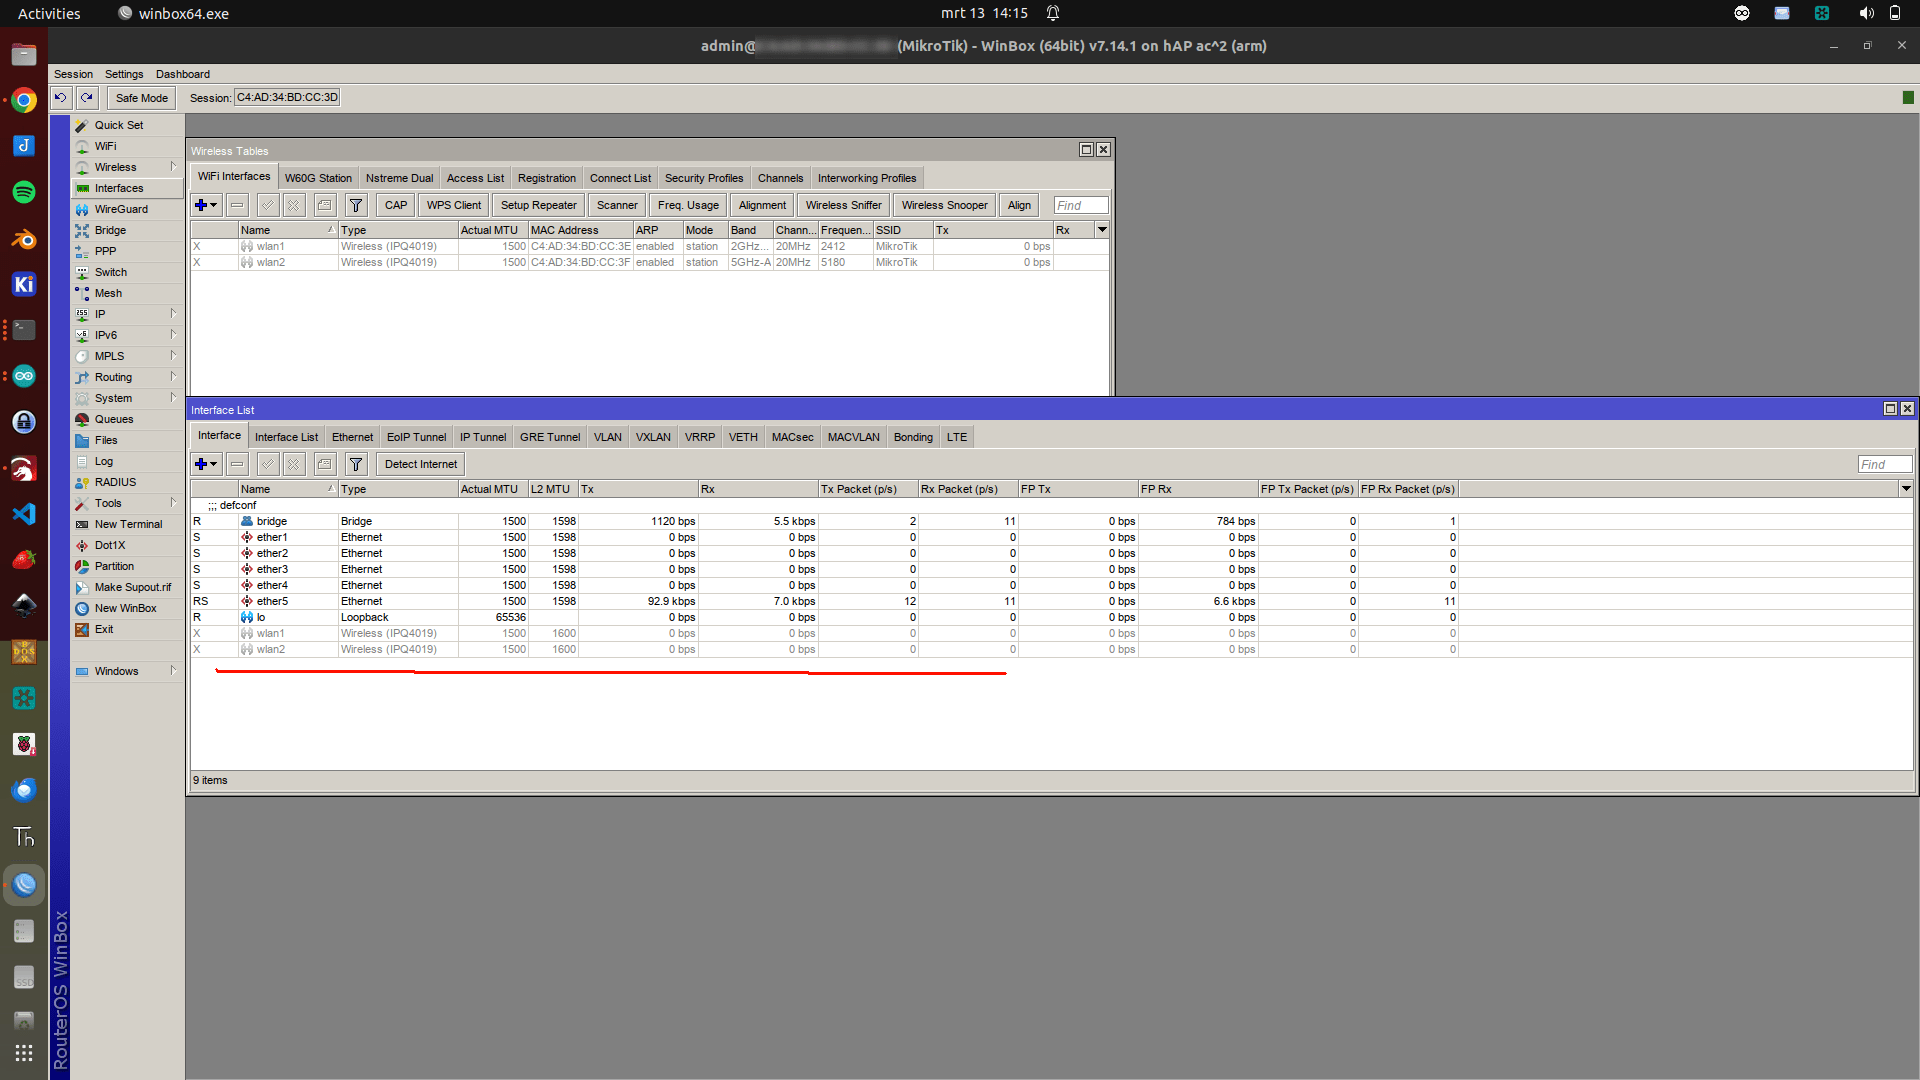
- Moved all dhcp/dns to my main Mikrotik, second backup in progress
- Decommissioned an old trunked switch (lot of work)
- Decommissioned an old router/firewall server (10+ years old)
- Redraw my network in DrawIO
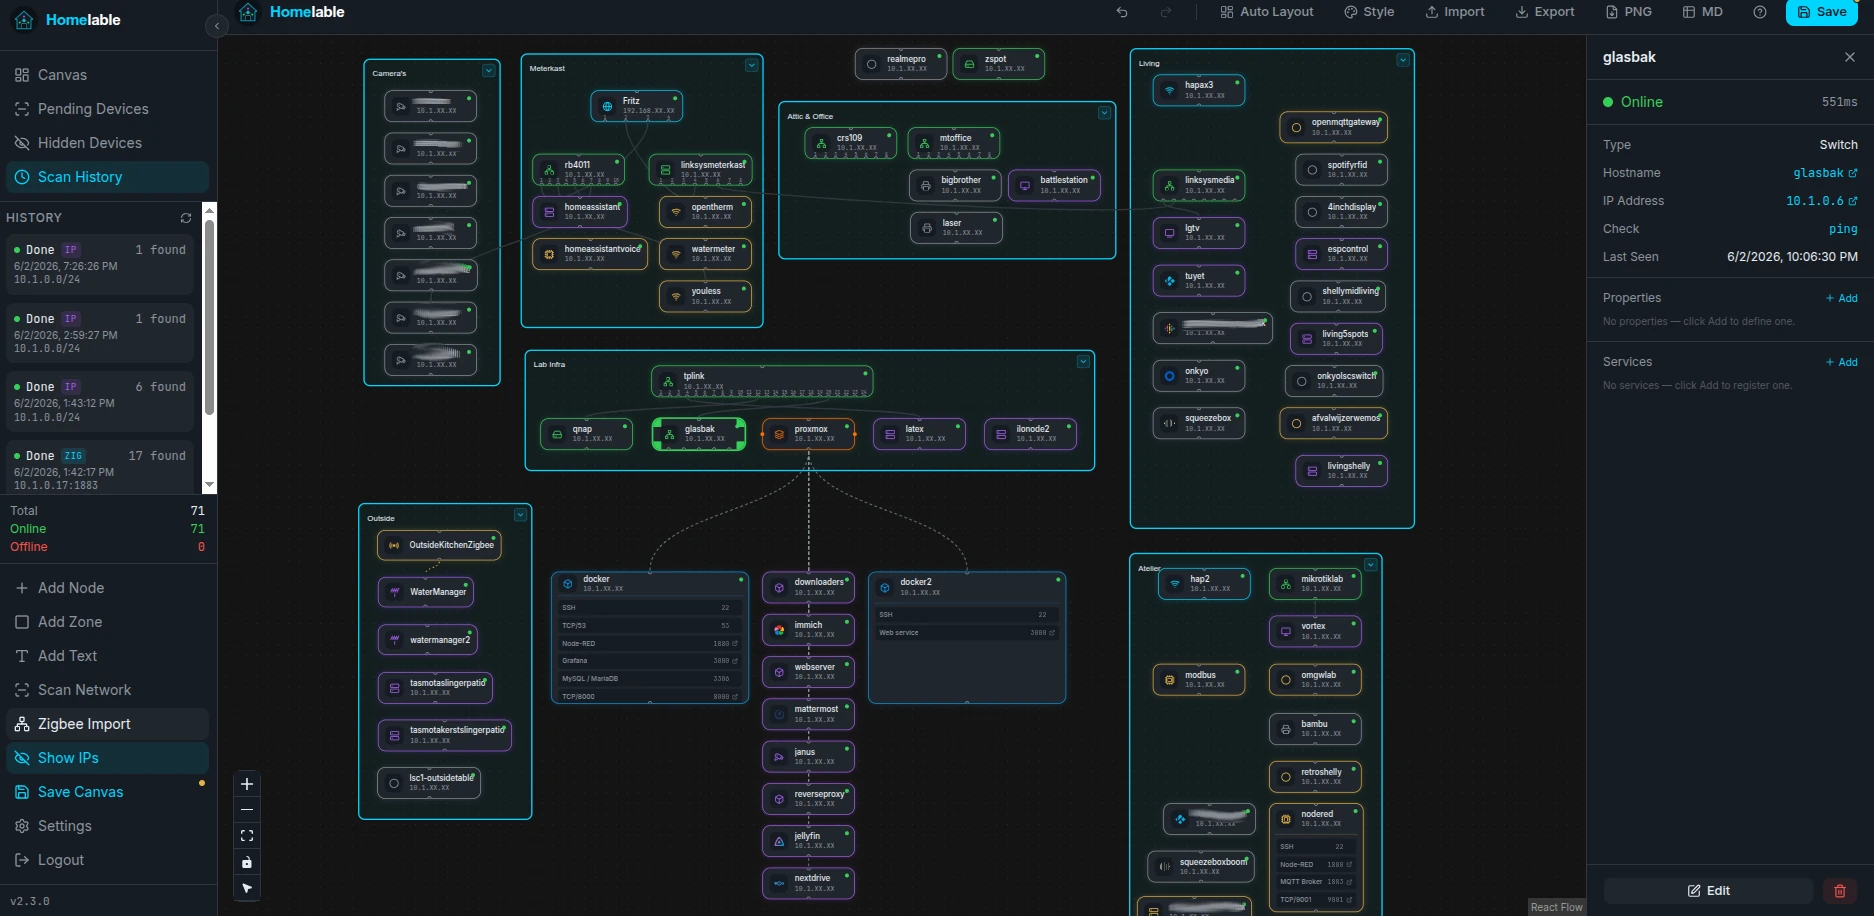
- Installed Homelable to scan and draw my network (see below)
Meanwhile I am looking for a new welder.
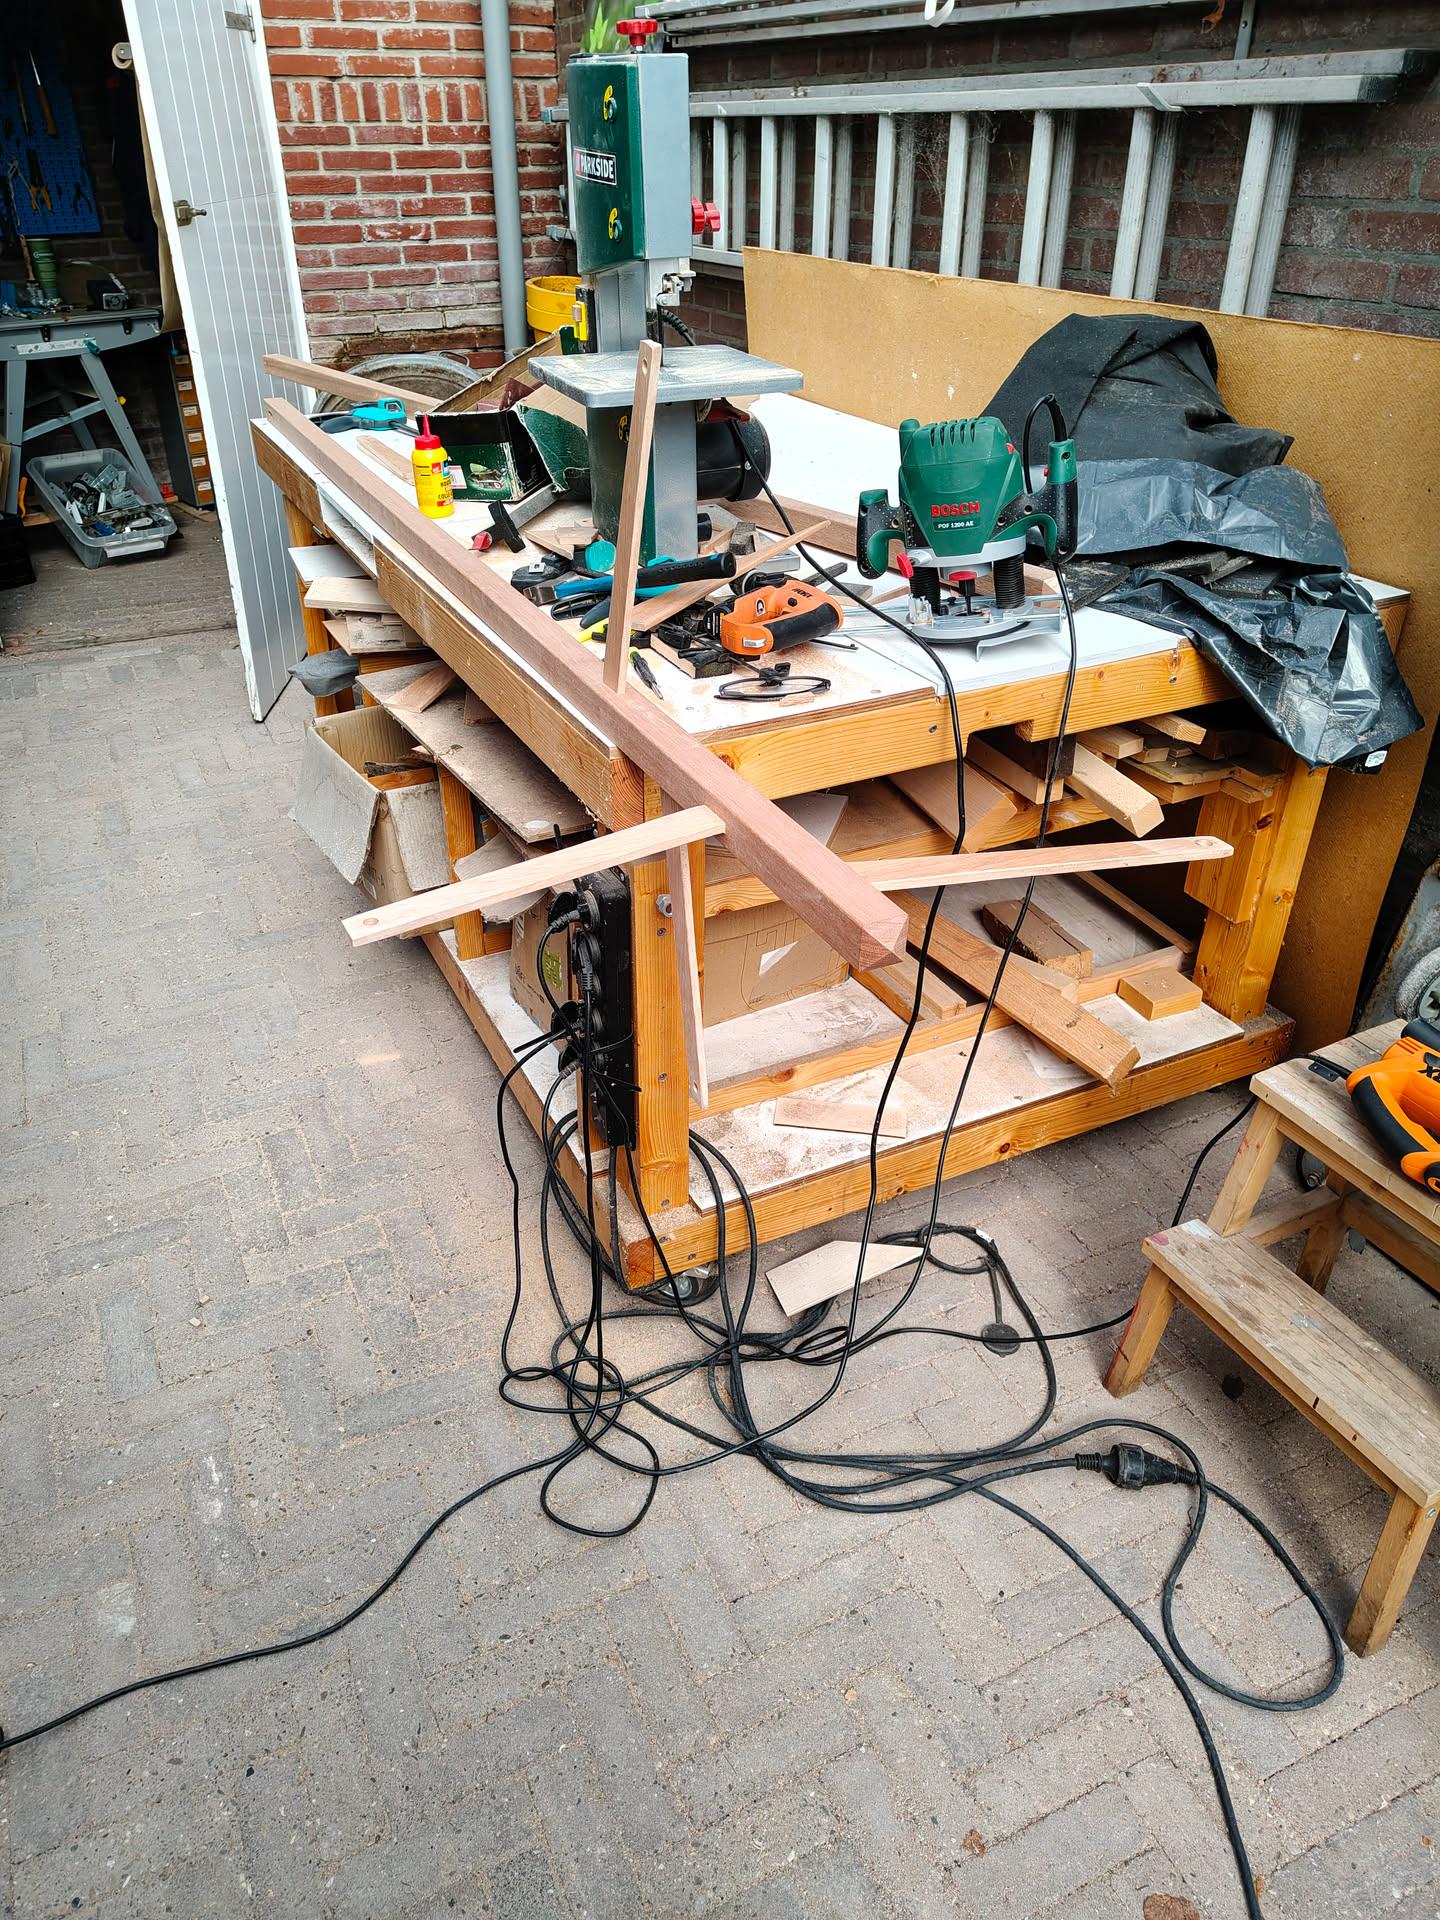
Also doing some woodwork. (bird feeder stand)
This is a cool project (Homelable). Below a still incomplete network.
Some code below to generate a CSV for DNS/DHCP entries from a Mikrotik.
(NOTE: seems spaces in comments/name/entries break stuff)
ssh admin@10.x.x.x "/ip/dns/static;export" | grep 10.1.0 | awk '{
    addr=""; comment="" ; name=""
    for(i=1;i<=NF;i++) {
        if($i ~ /^address=/) addr=$i
        if($i ~ /^comment=/) comment=$i
        if($i ~ /^name=/) name=$i
    }
    if(addr && name) print addr, name, comment
}' > dnsstatic.out

ssh admin@10.x.x.x "/ip/dhcp-server/lease;export terse" | awk '{
    addr=""; comment=""
    for(i=1;i<=NF;i++) {
        if($i ~ /^address=/) addr=$i
        if($i ~ /^comment=/) comment=$i
    }
    if(addr && comment) print addr, comment
}' > dhcpstatic.out

for f in $(seq 1 254) ; do lease=$(grep "10.1.0.$f " dhcpstatic.out | cut -f3 -d=) ; dns=$(grep "10.1.0.$f " dnsstatic.out | cut -f2,3 -d" " |sed s/name=//g | s
ed s/comment=//g | sed s/\ /,/g | head -1) ; echo -n 10.1.0.$f, ; echo -n $lease ; echo -n "," ; echo $dns  ;done > ips.csv
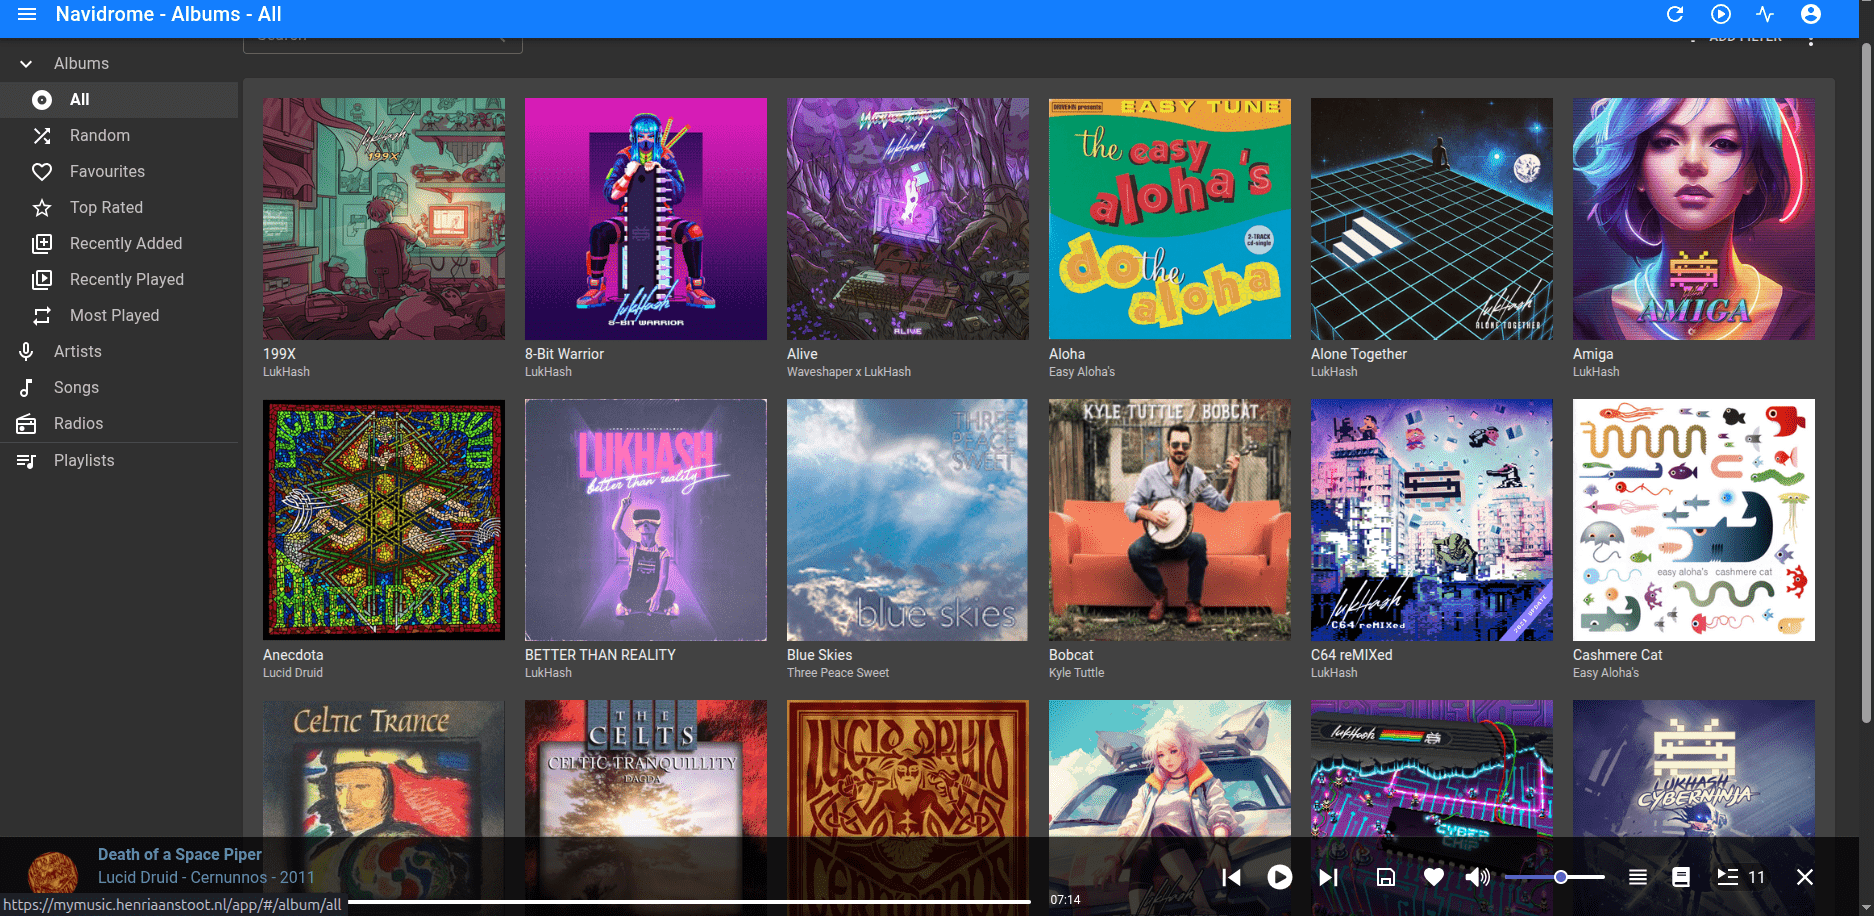
Meanwhile filling my own hosted “Spotify” clone, but better. (Navidrome)
(My immich server is also ingesting while we speak.)