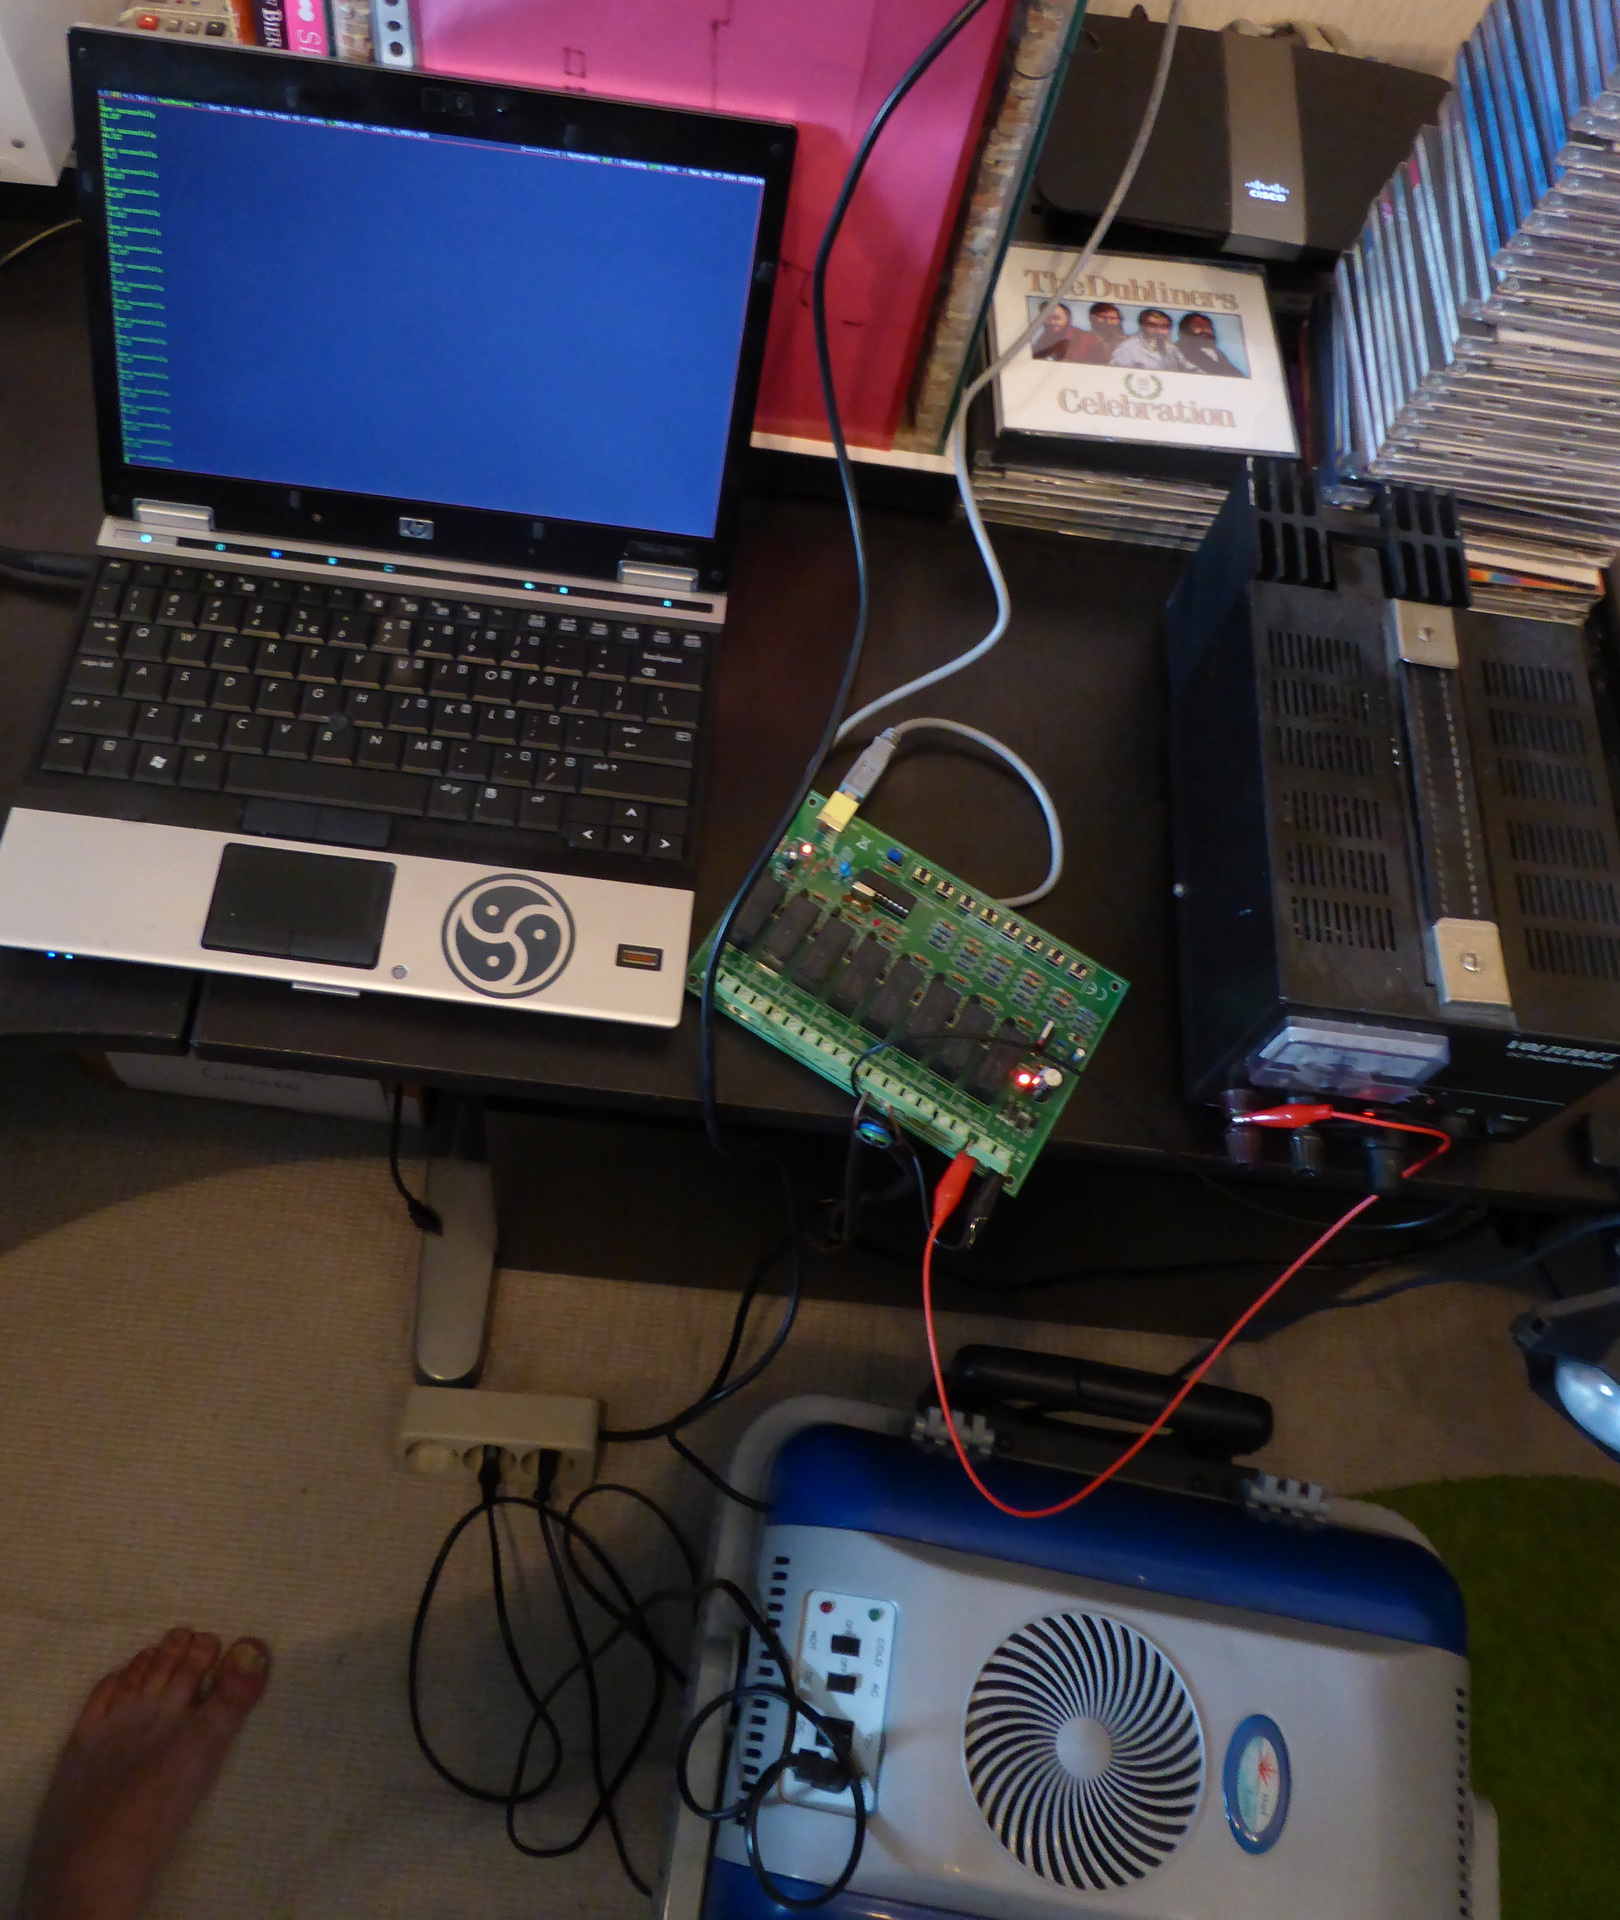
Something i made in de 90’s
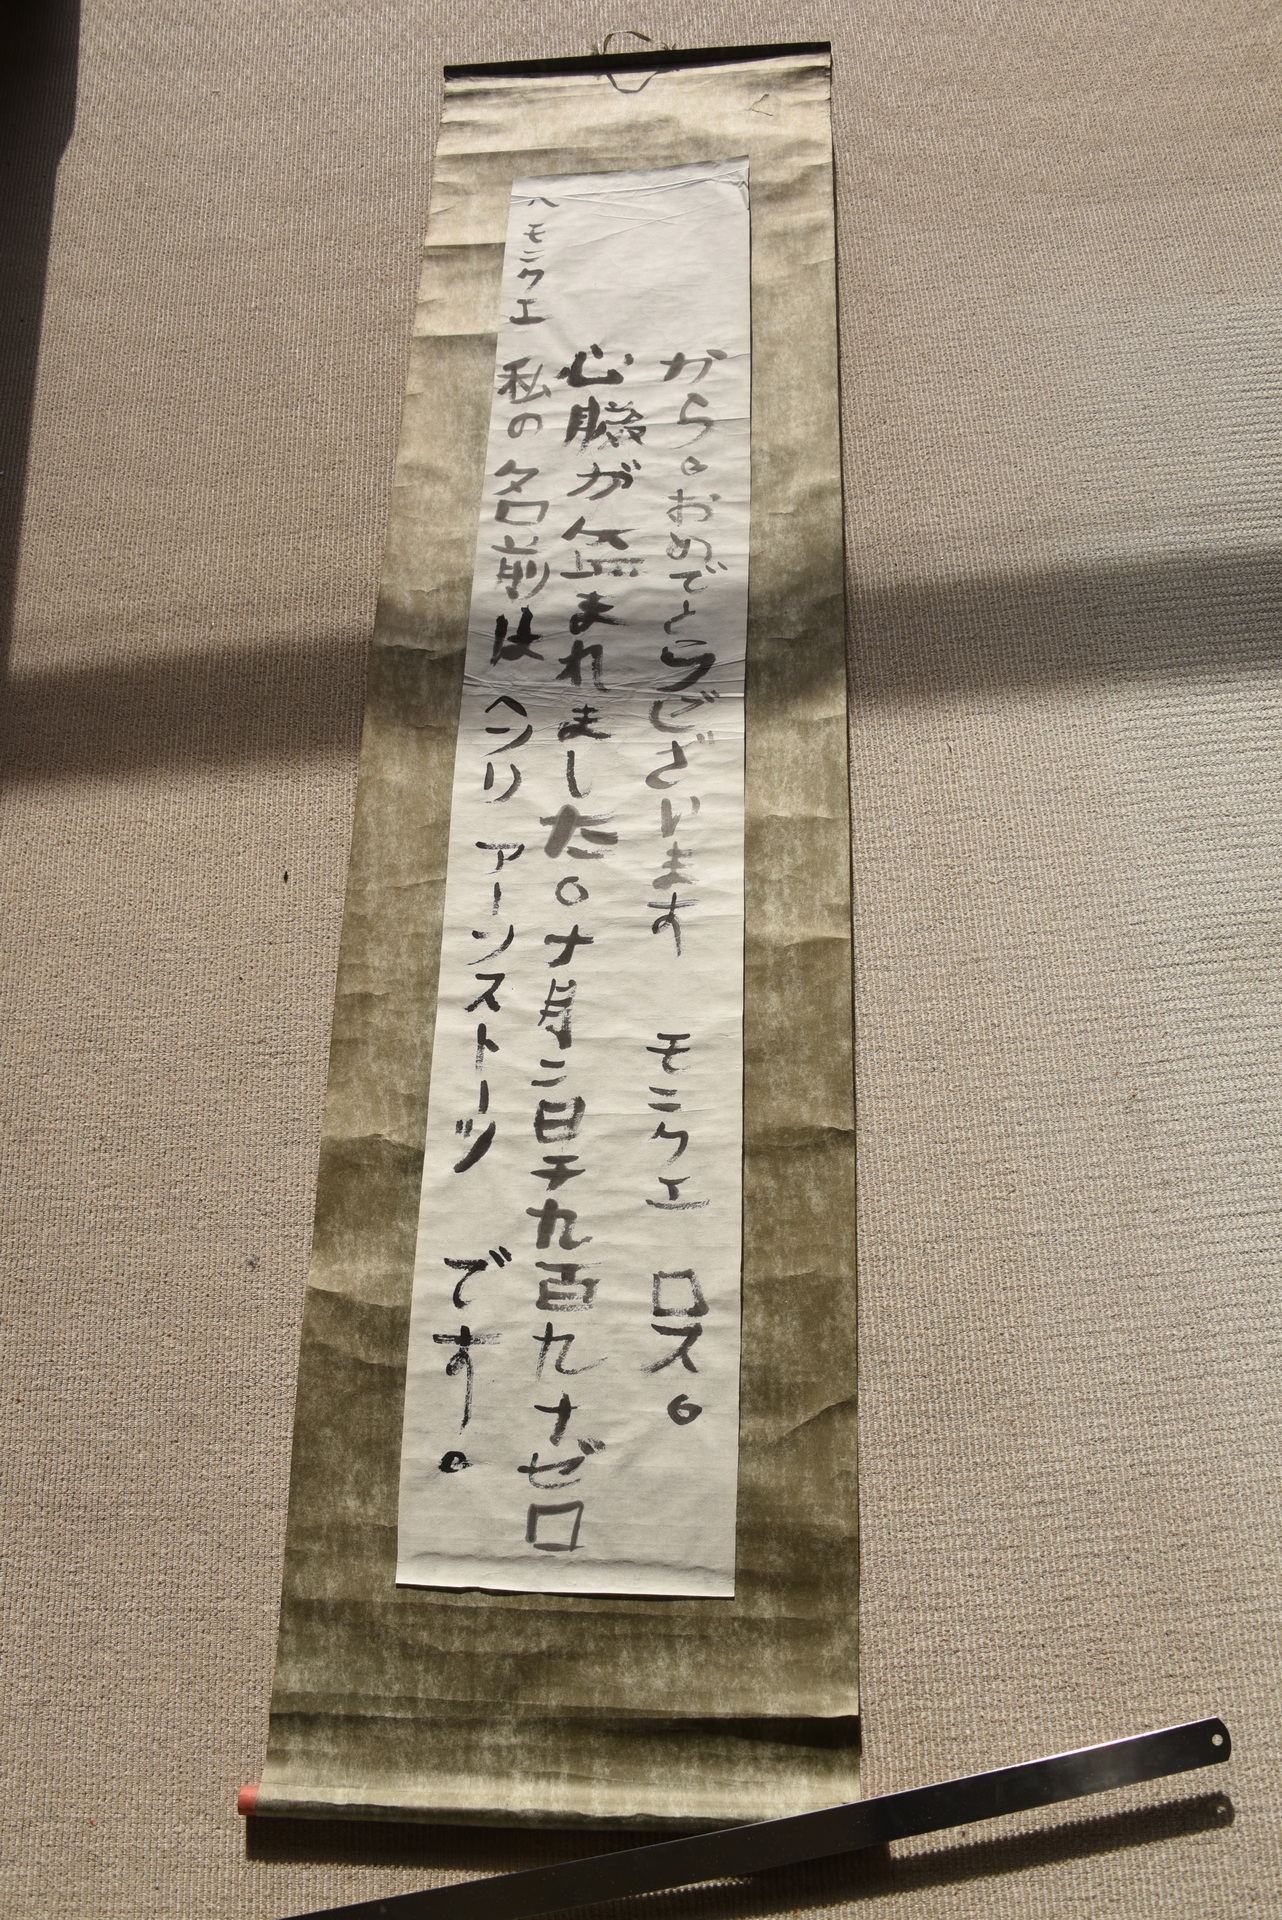
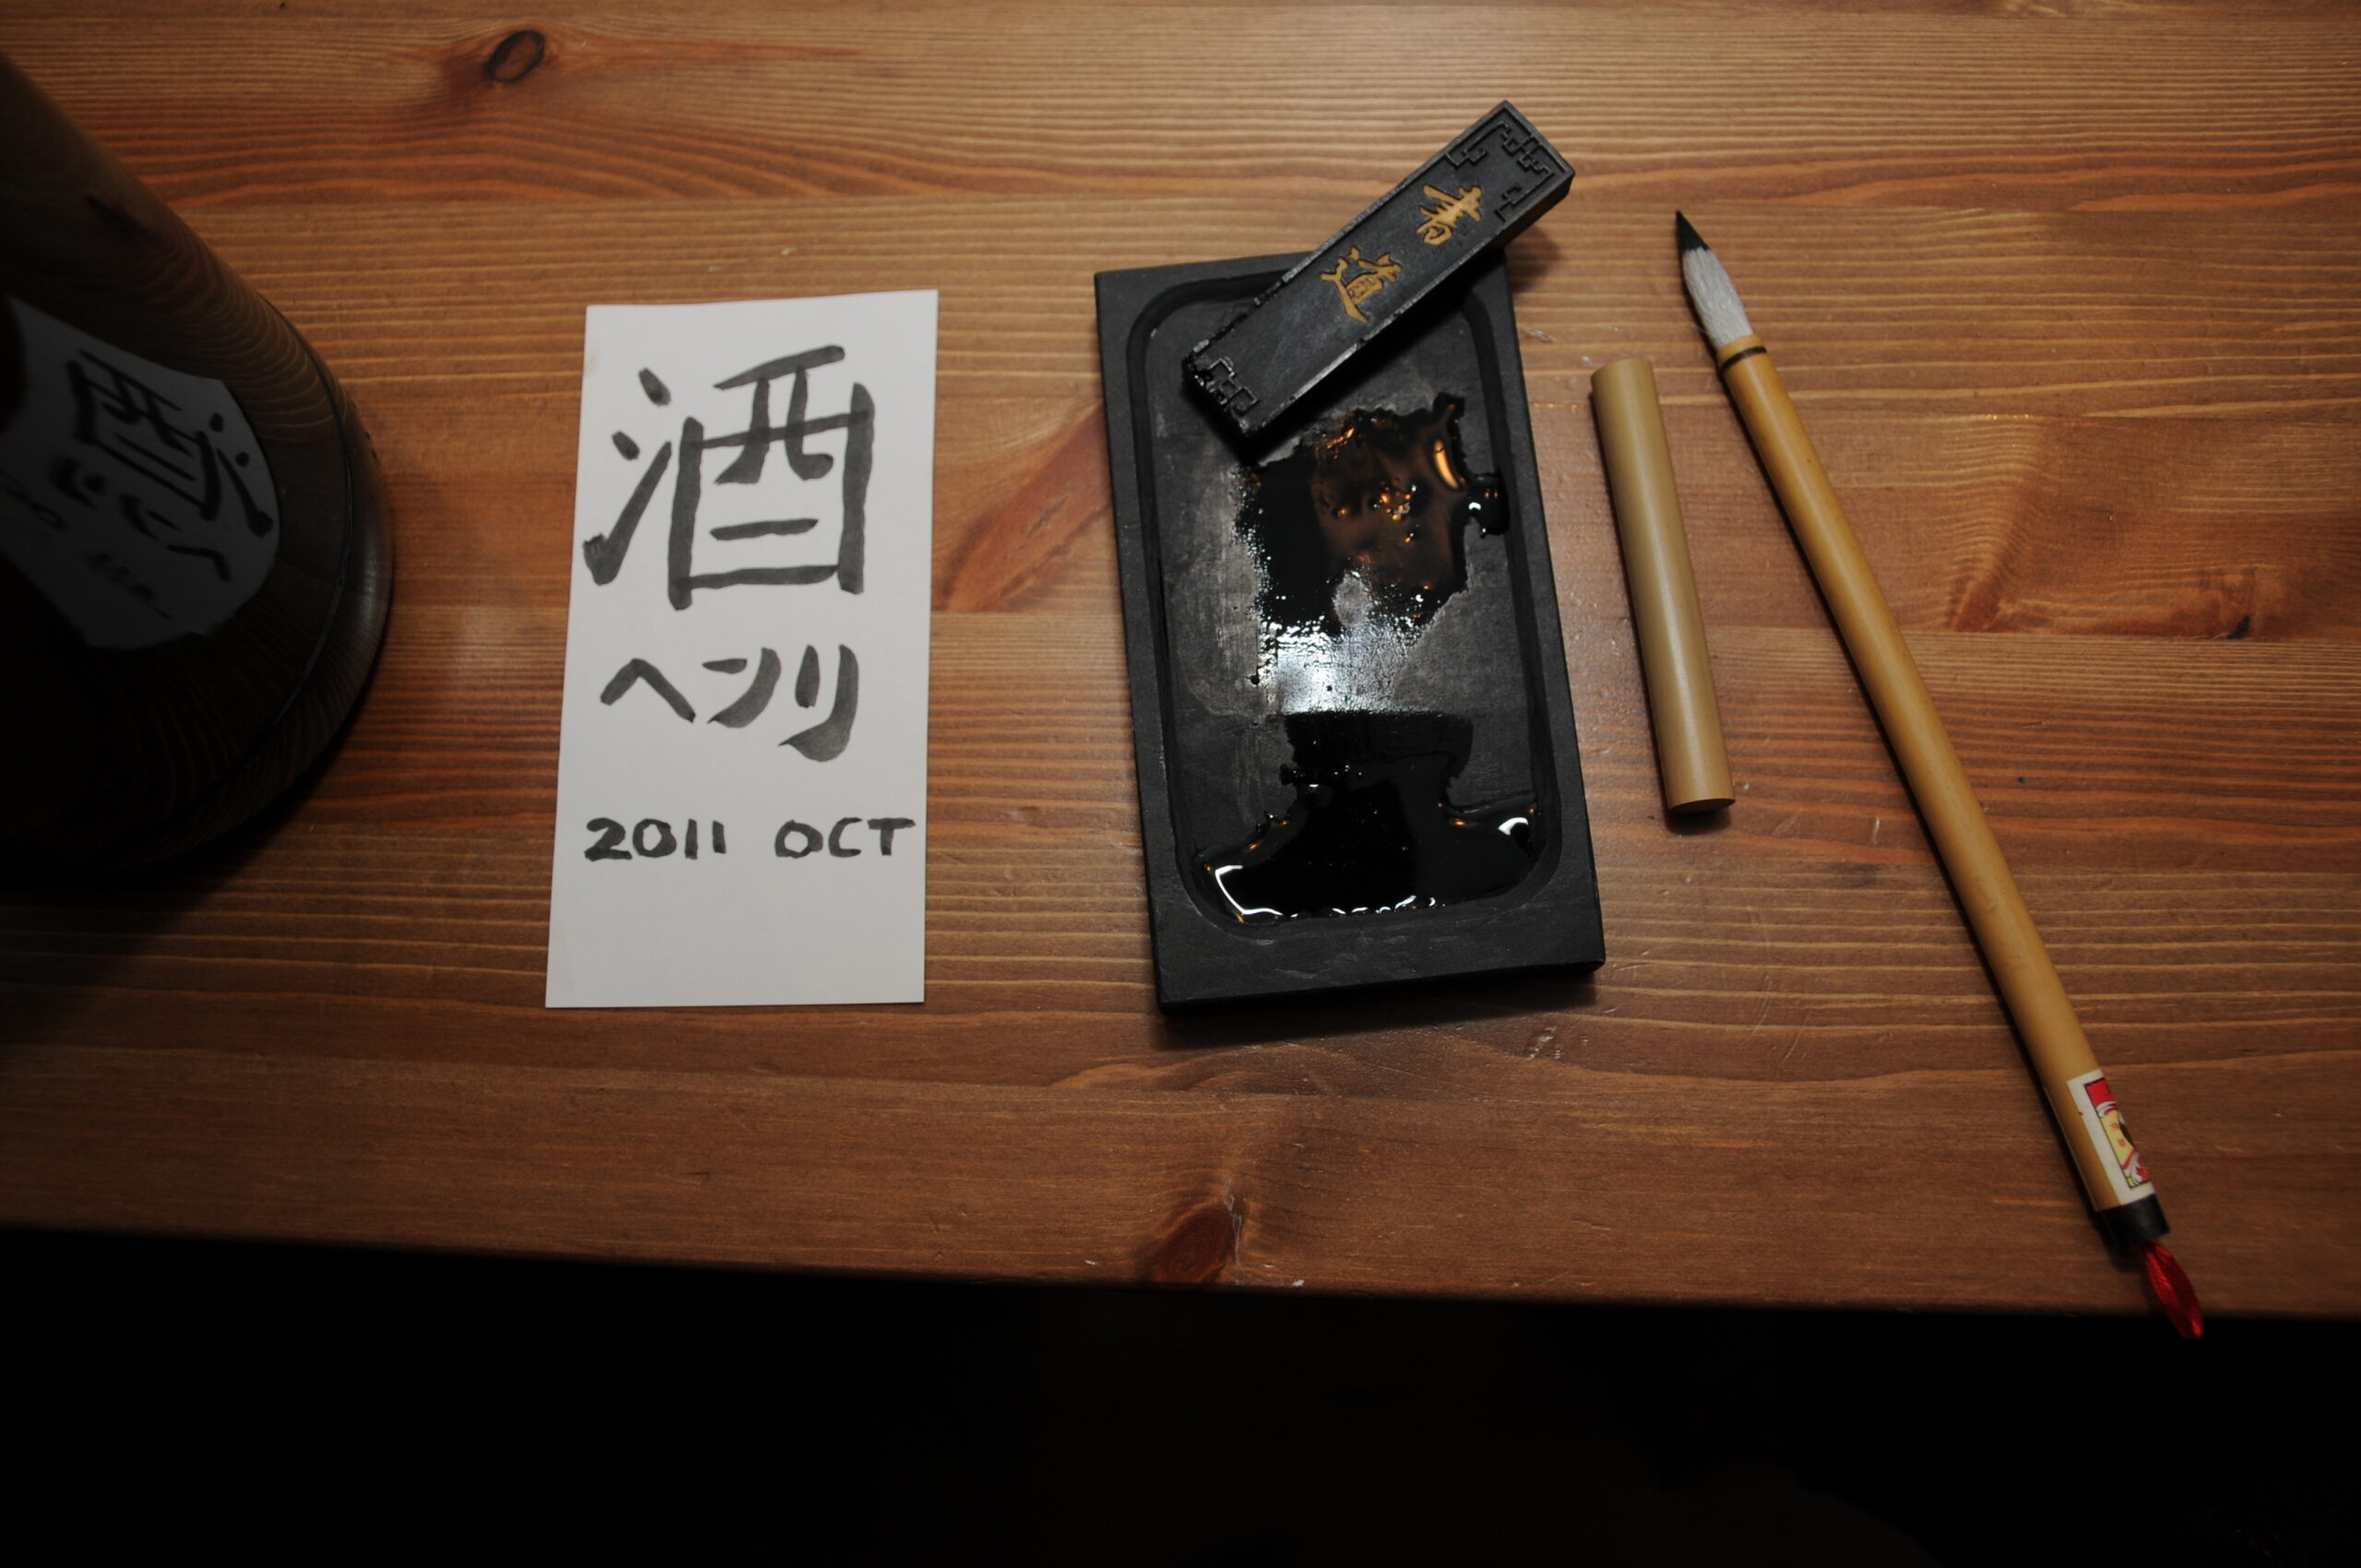
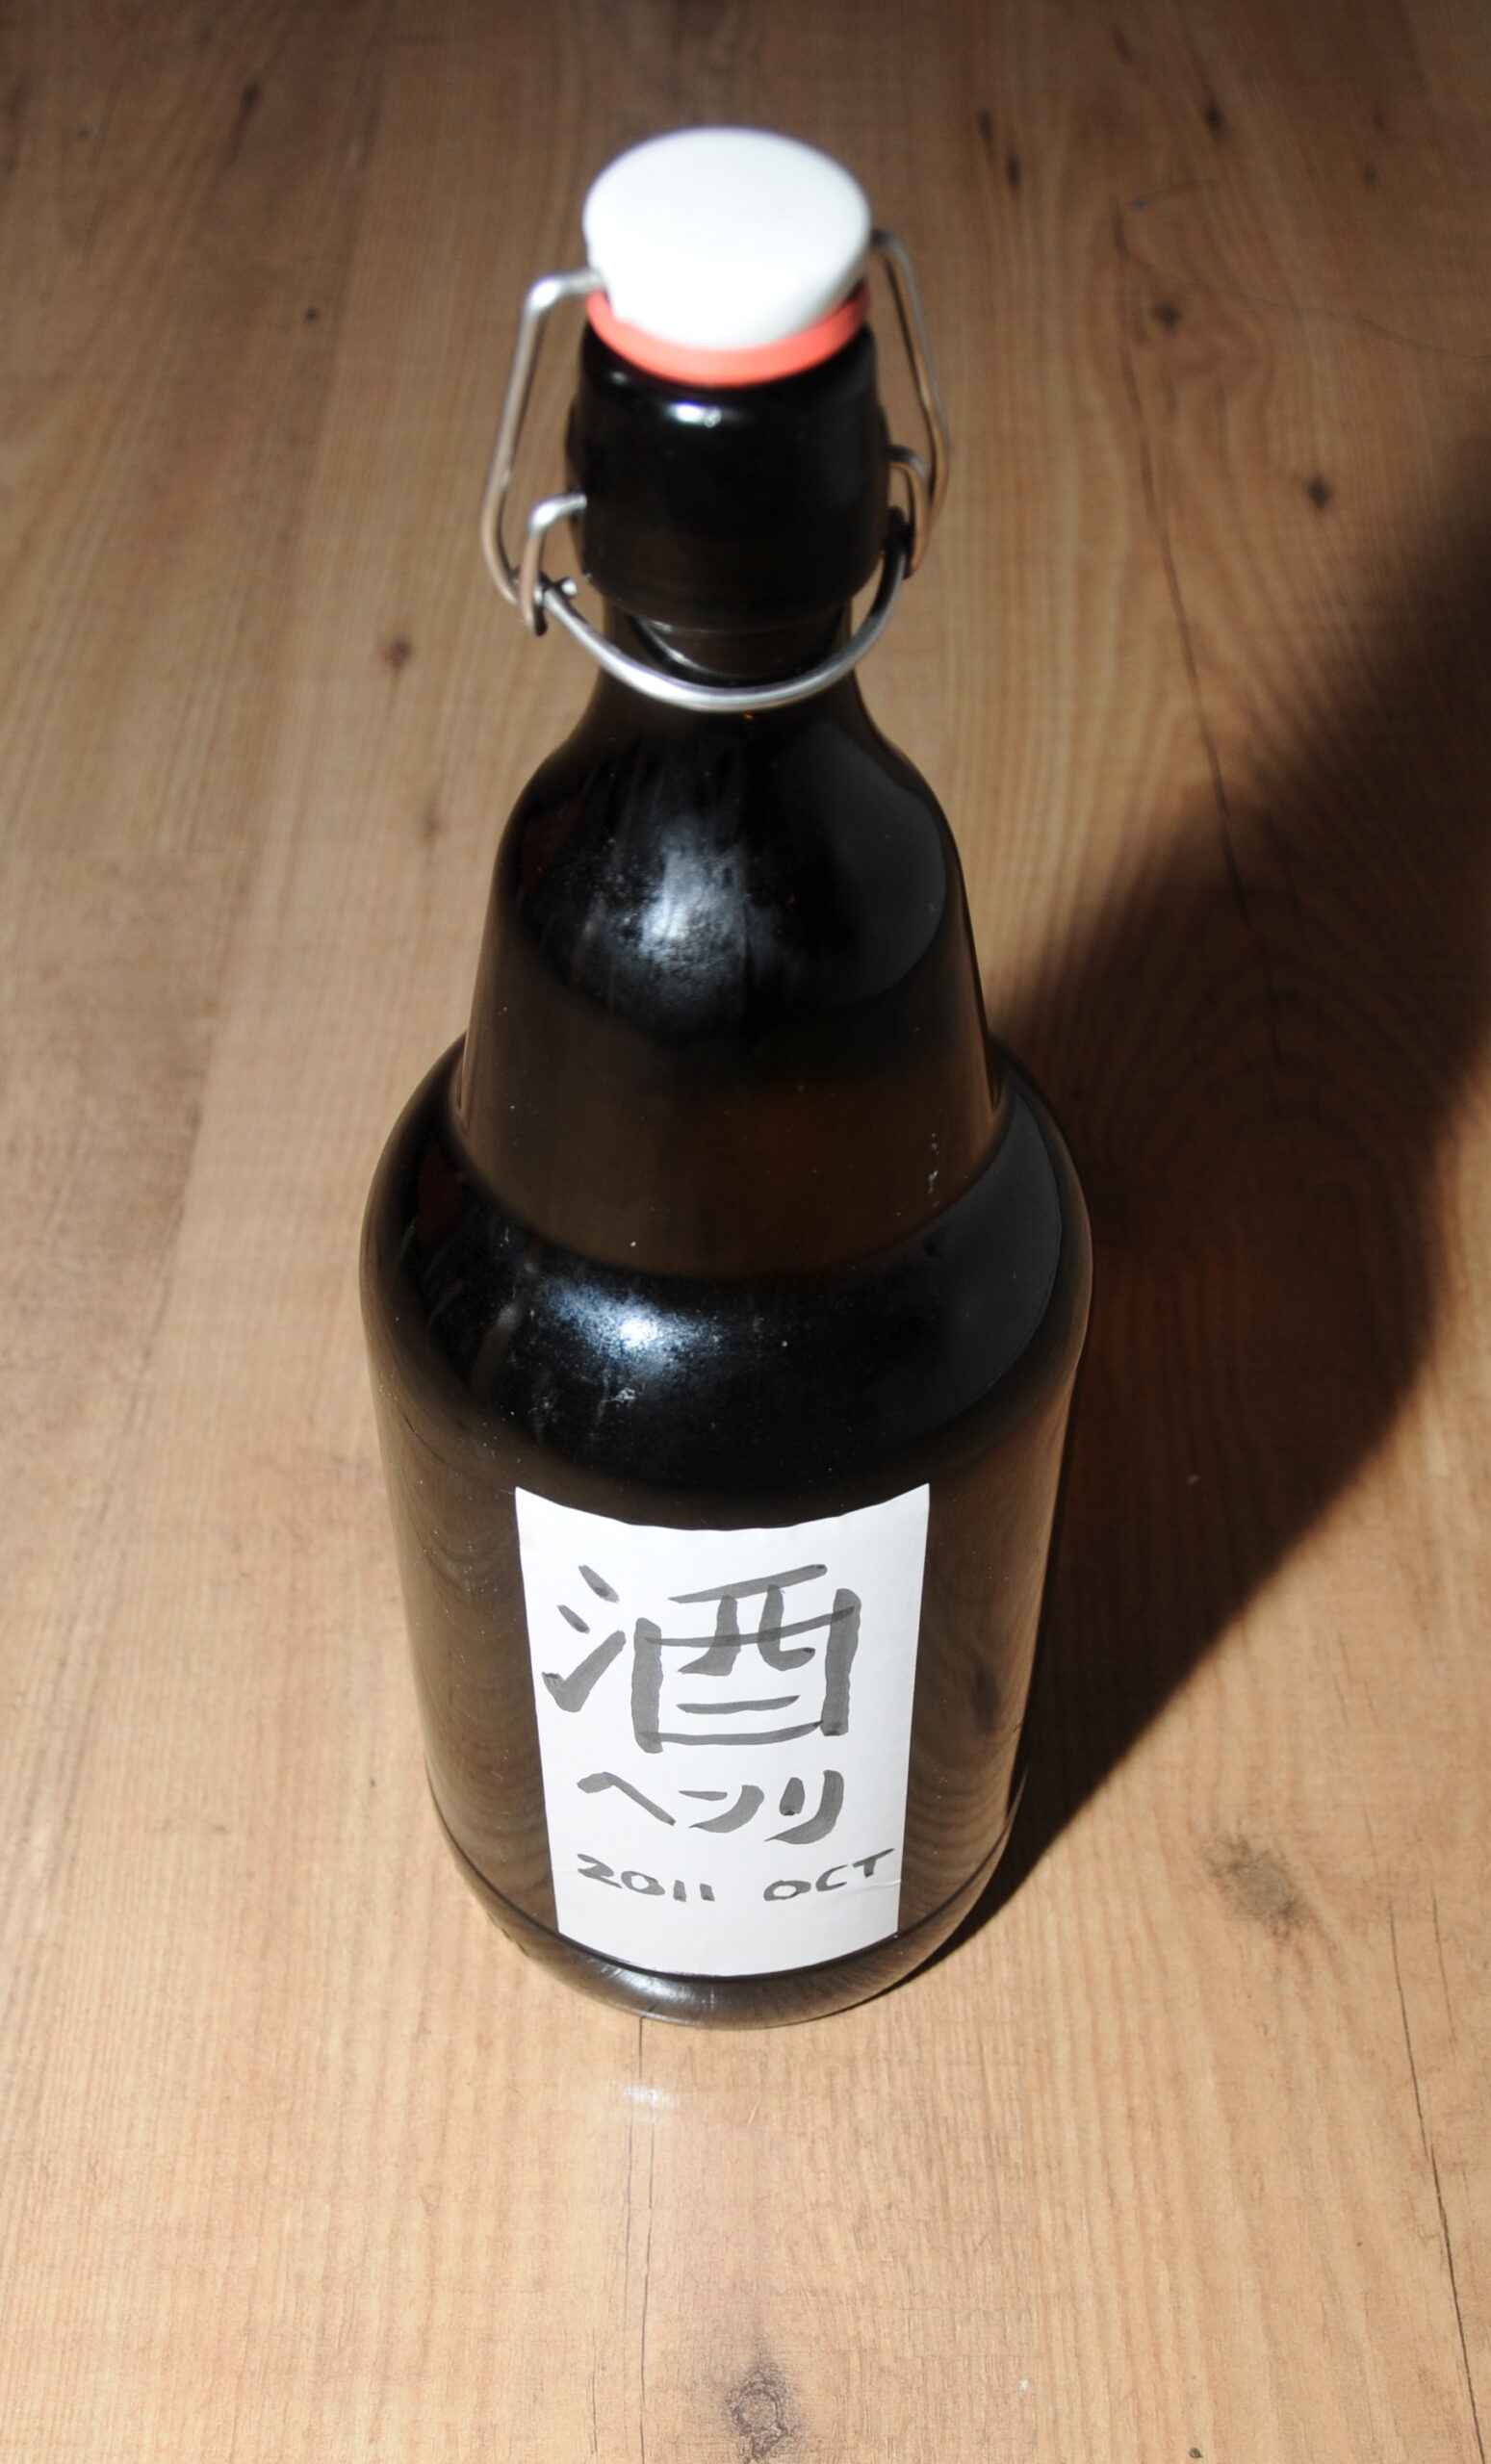
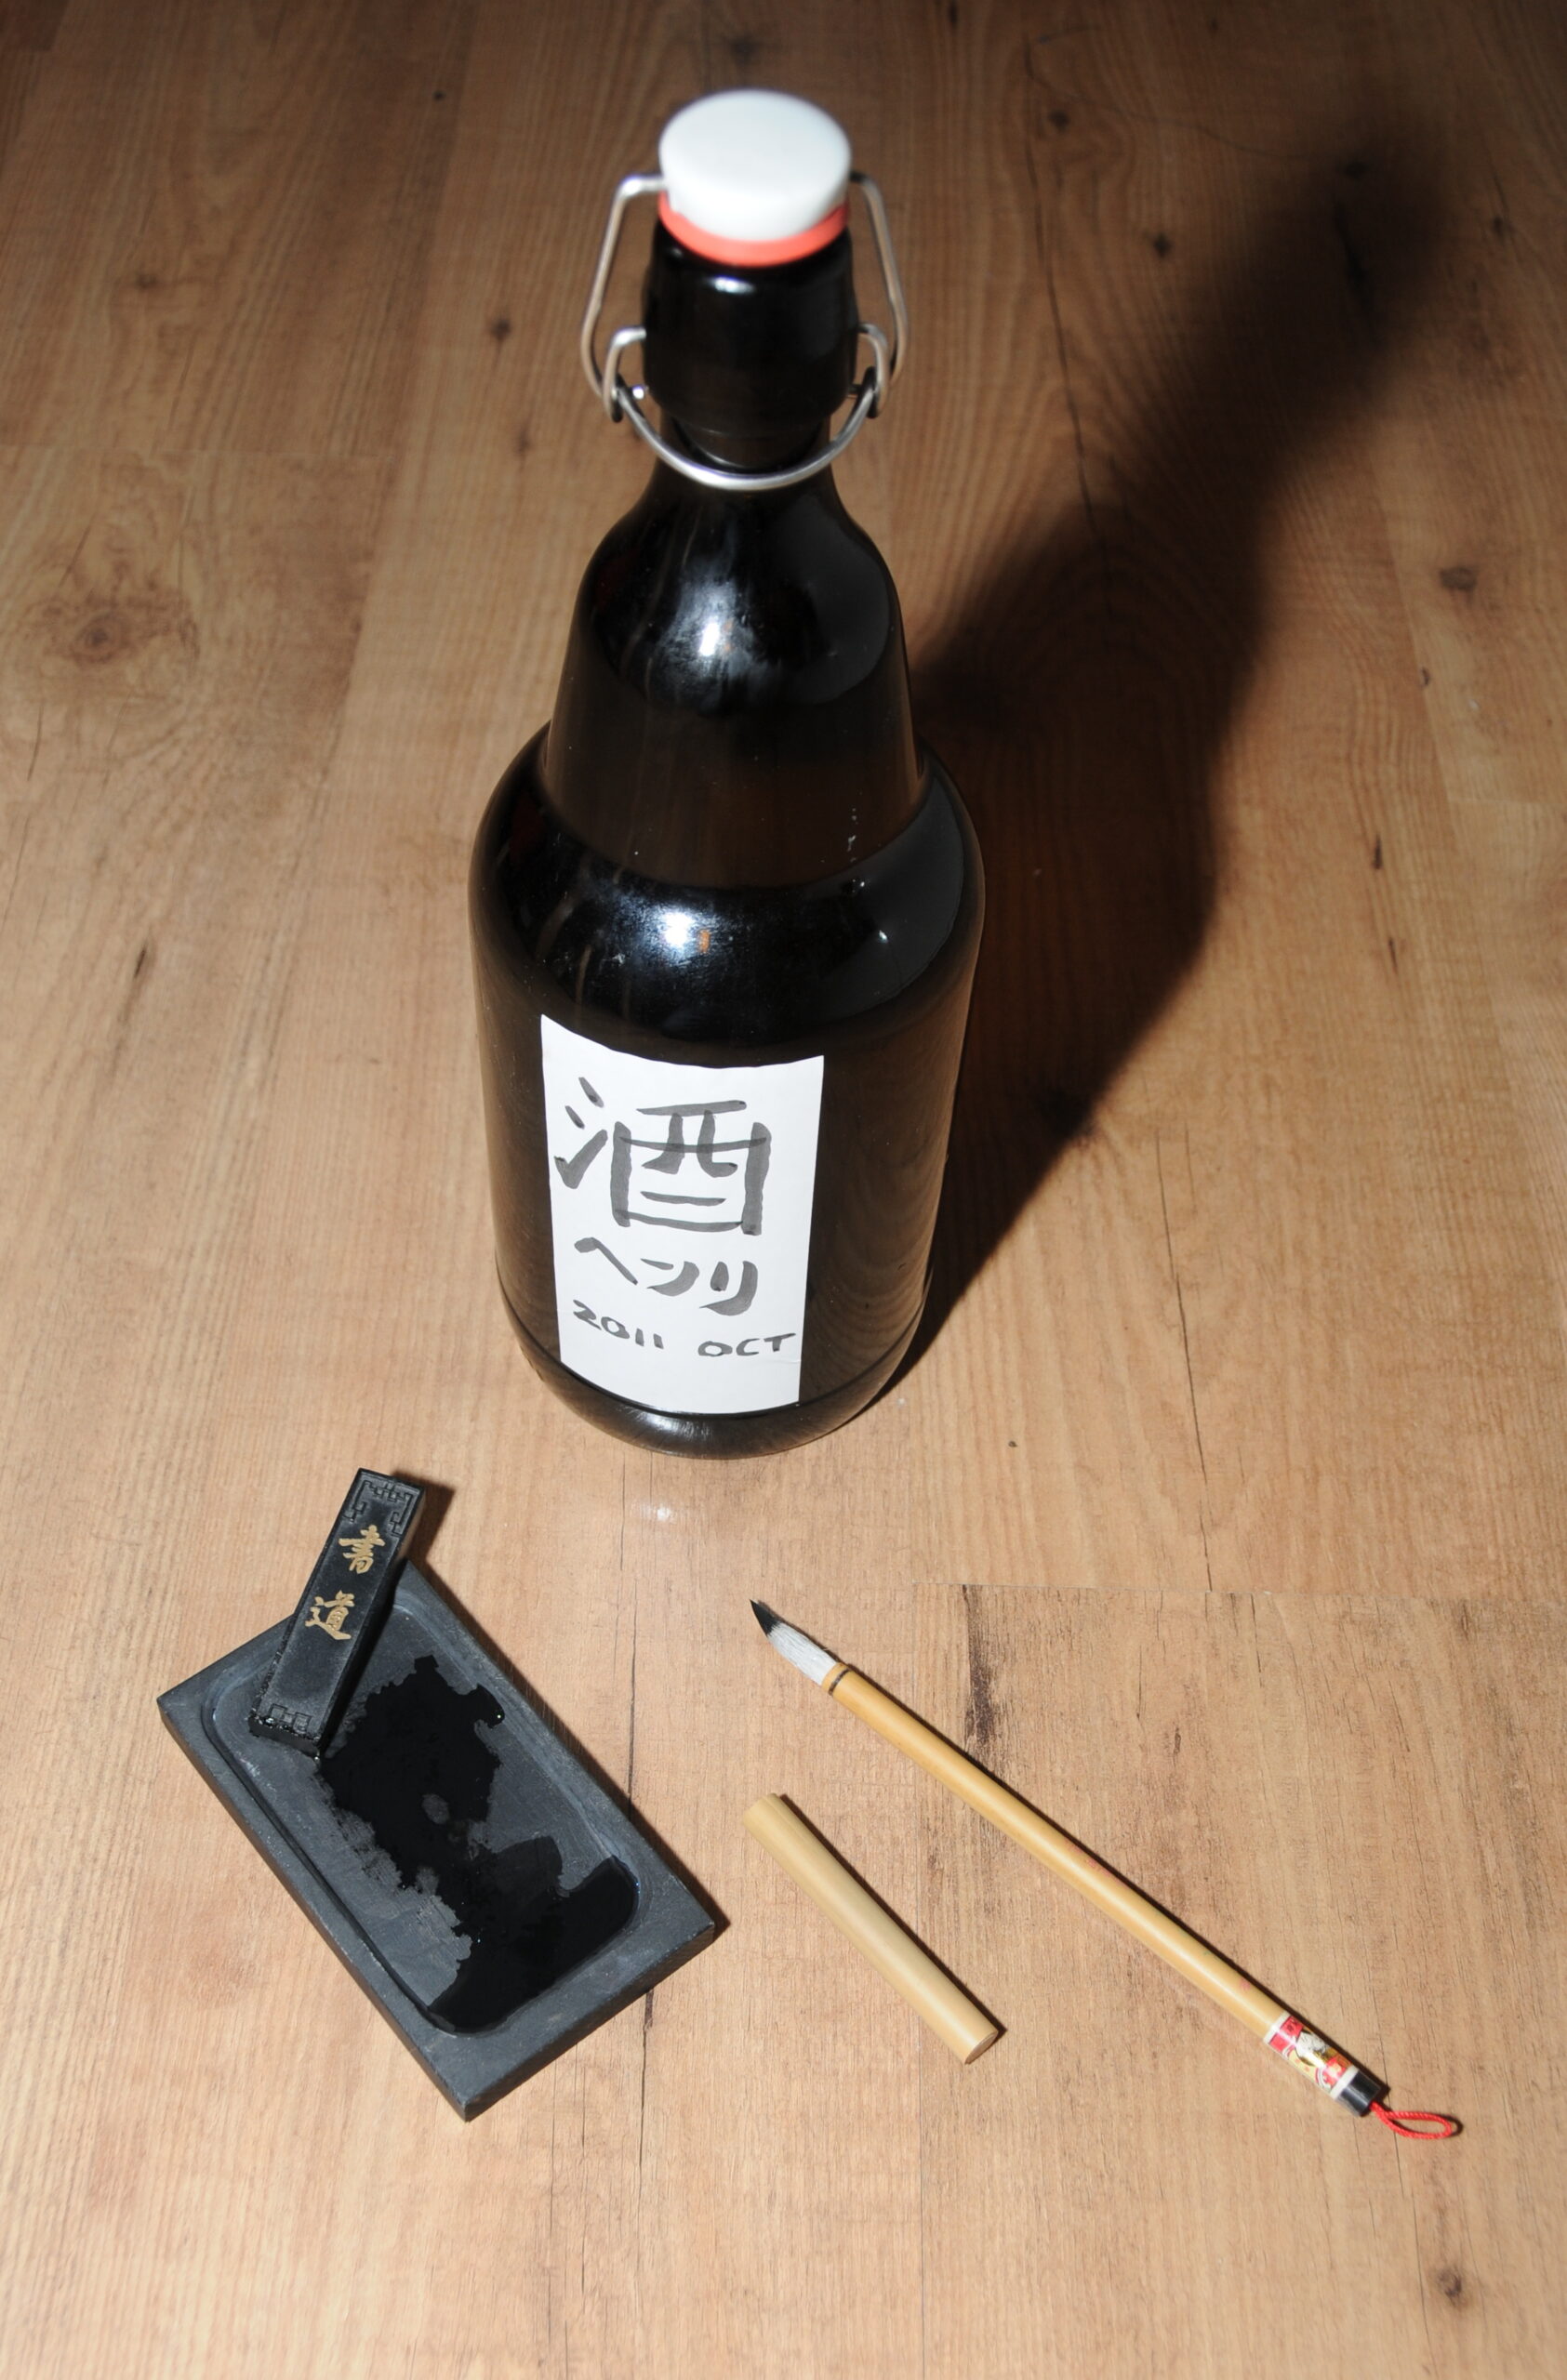
Made some sake in 2011, and used calligraphy for the label
Update 2023
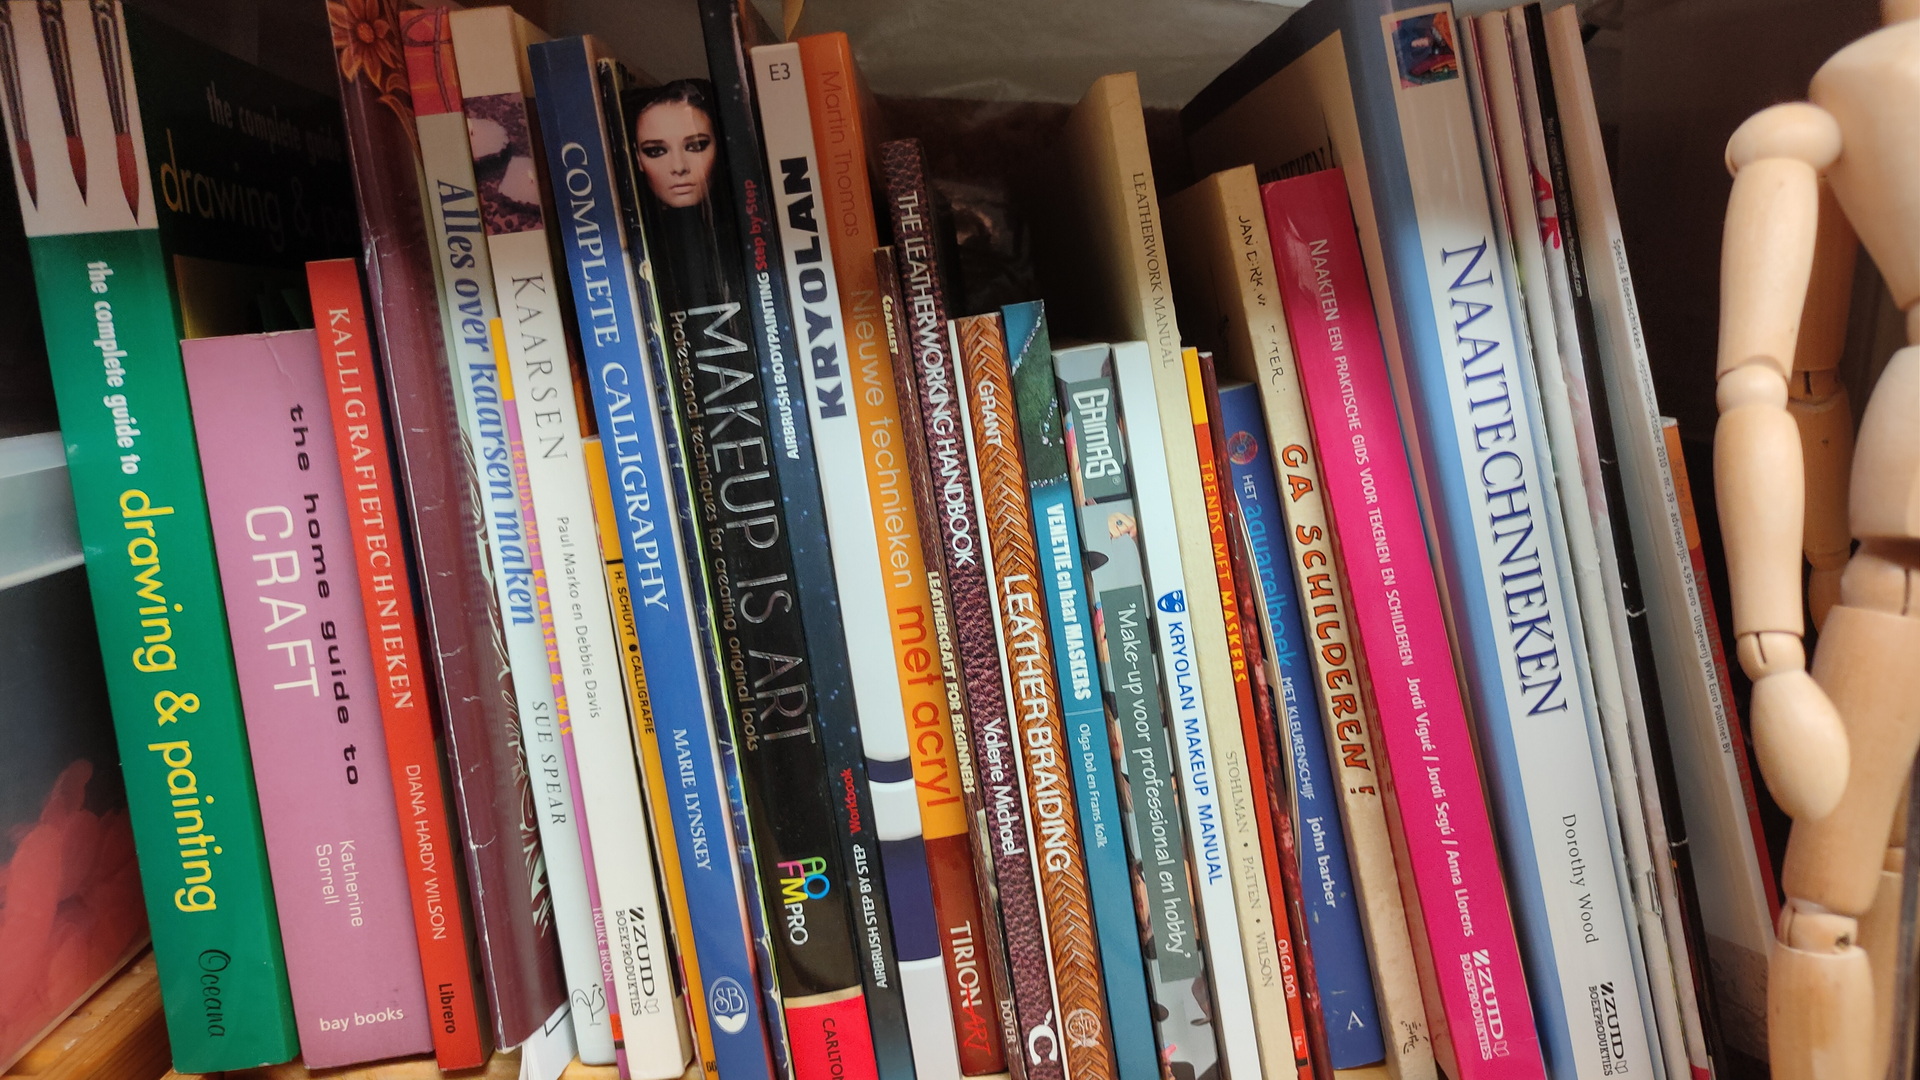
I found my books, but where are the AKASHIYA brushes?
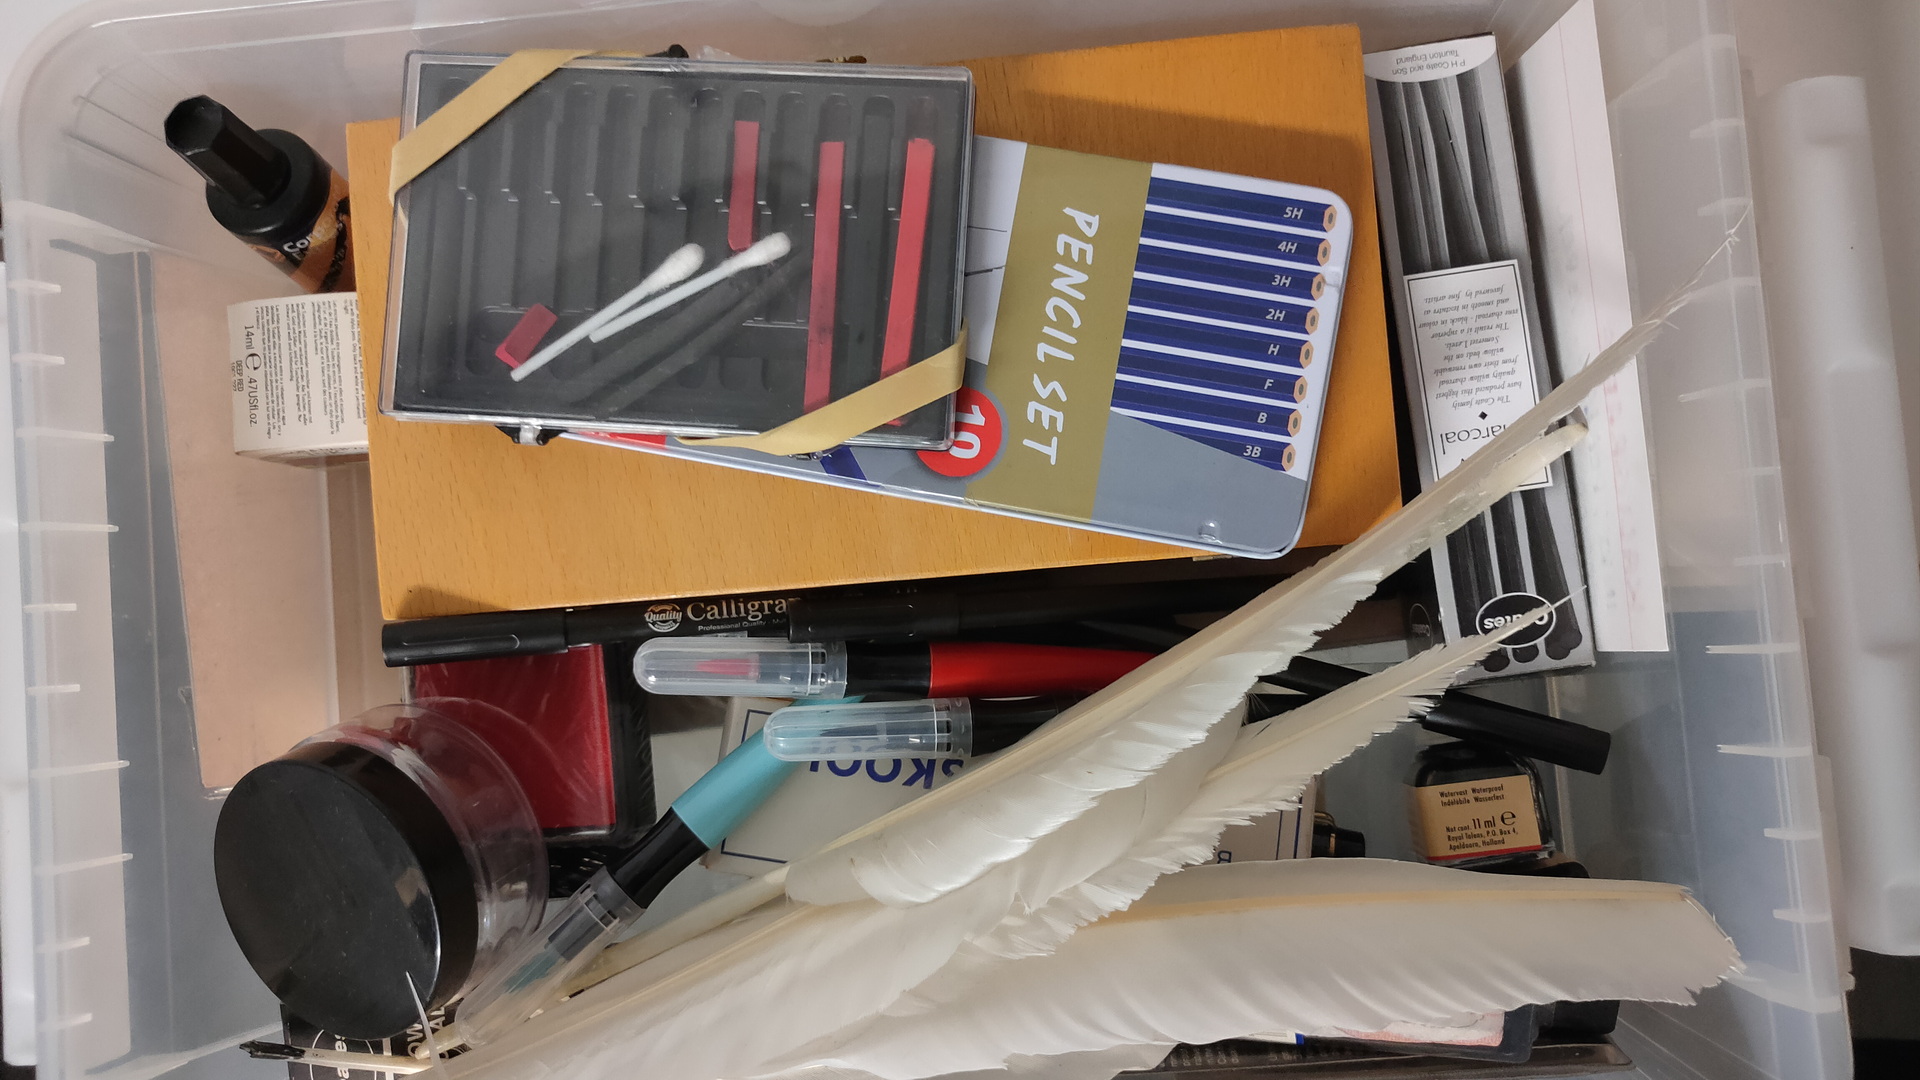
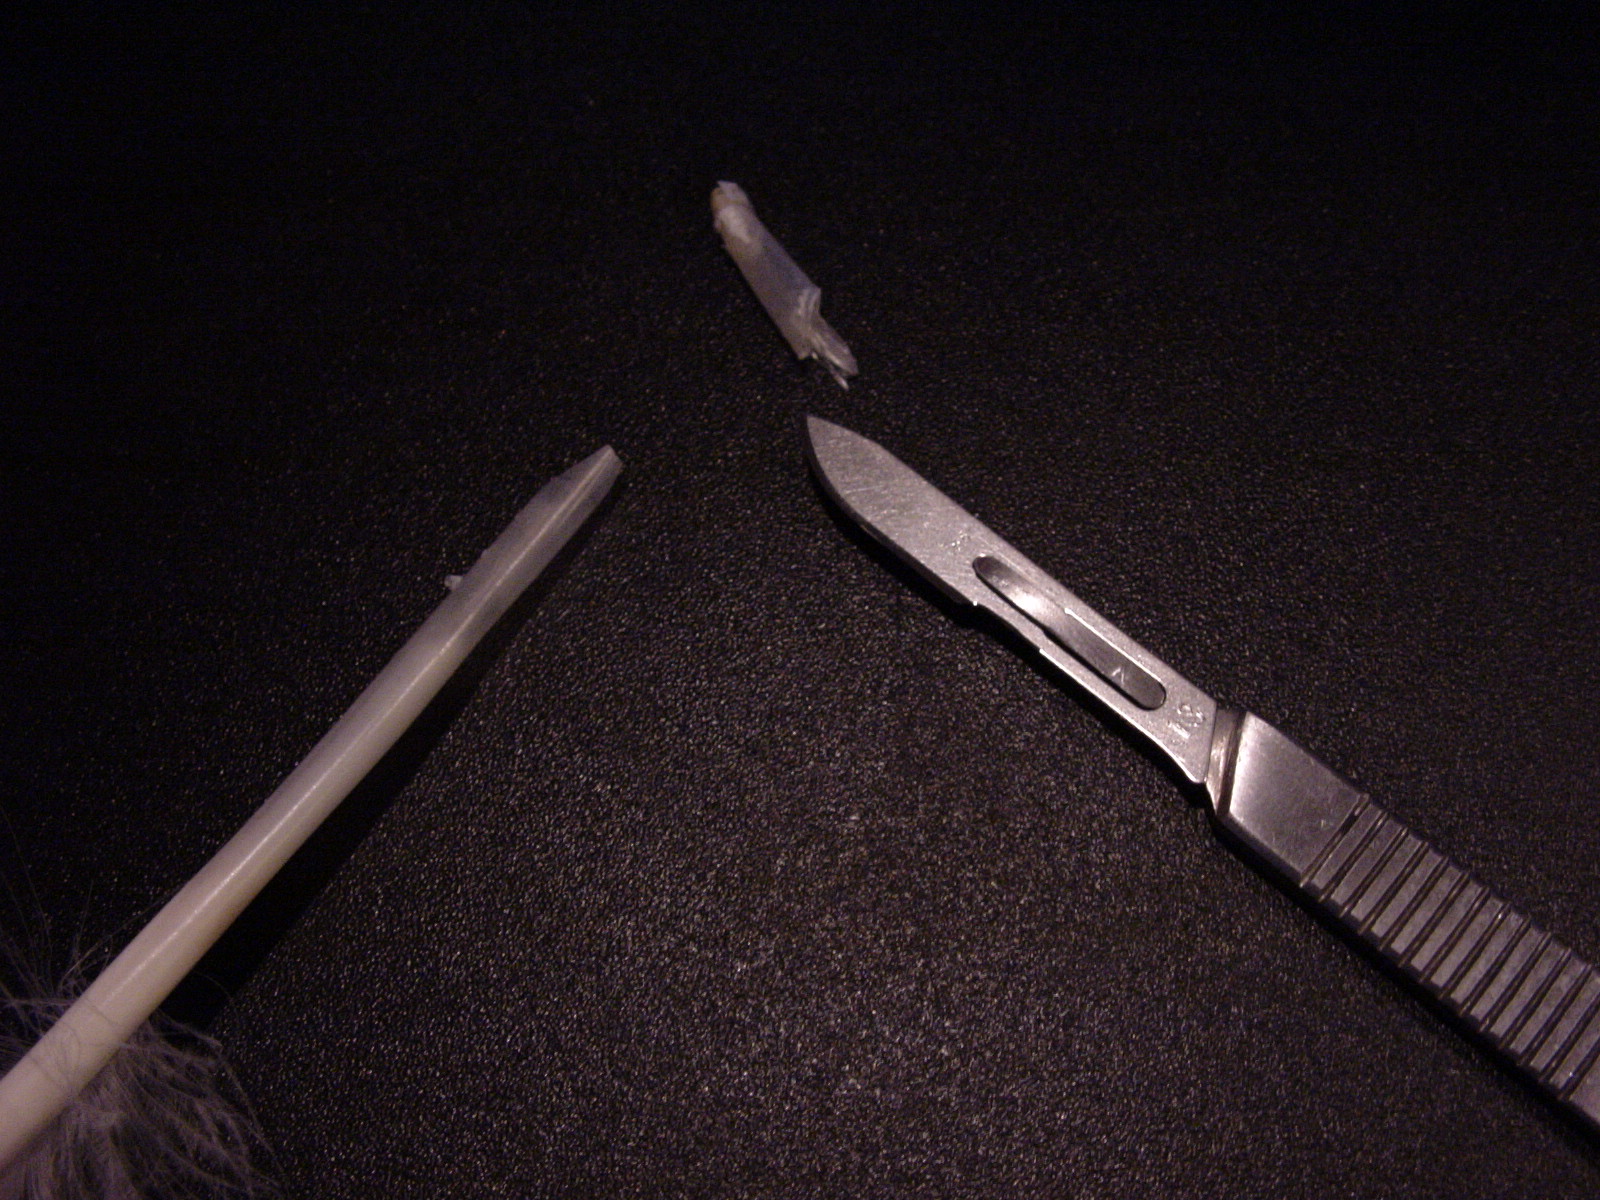
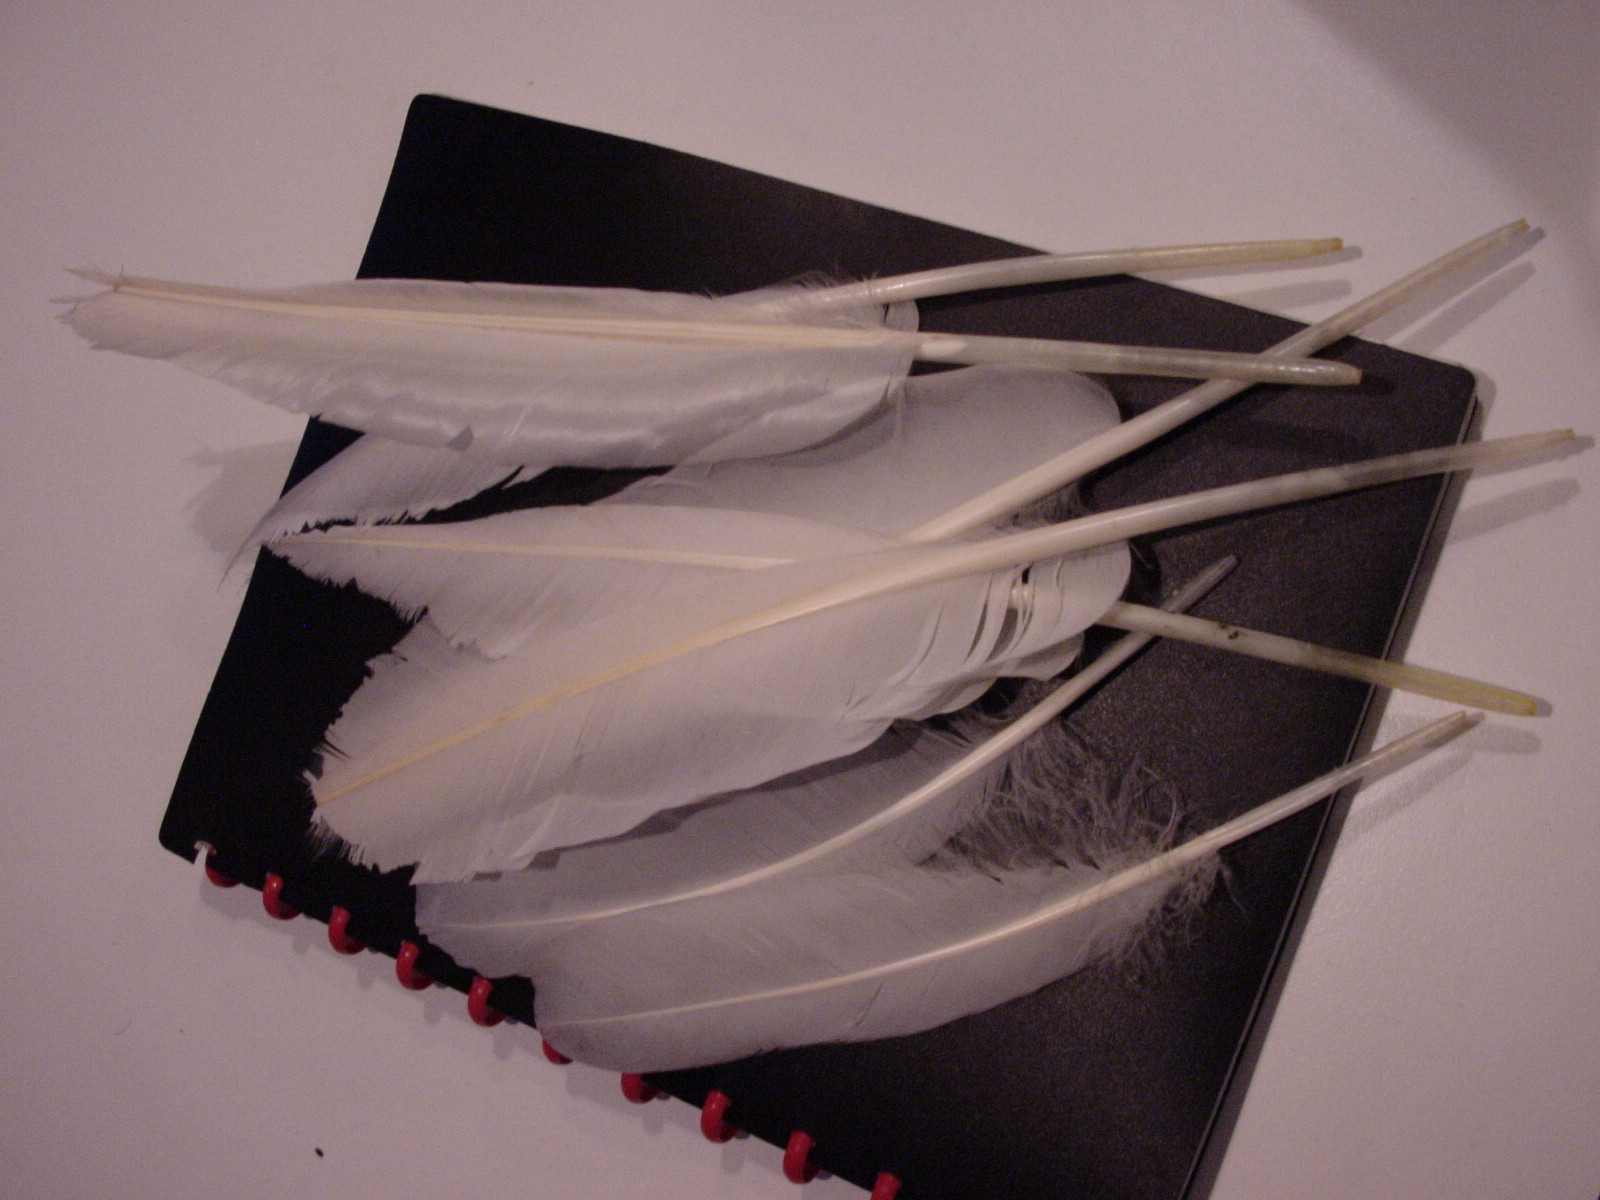
My goose feather calligraphy pens
Something i made in de 90’s
Made some sake in 2011, and used calligraphy for the label
Update 2023
I found my books, but where are the AKASHIYA brushes?
My goose feather calligraphy pens
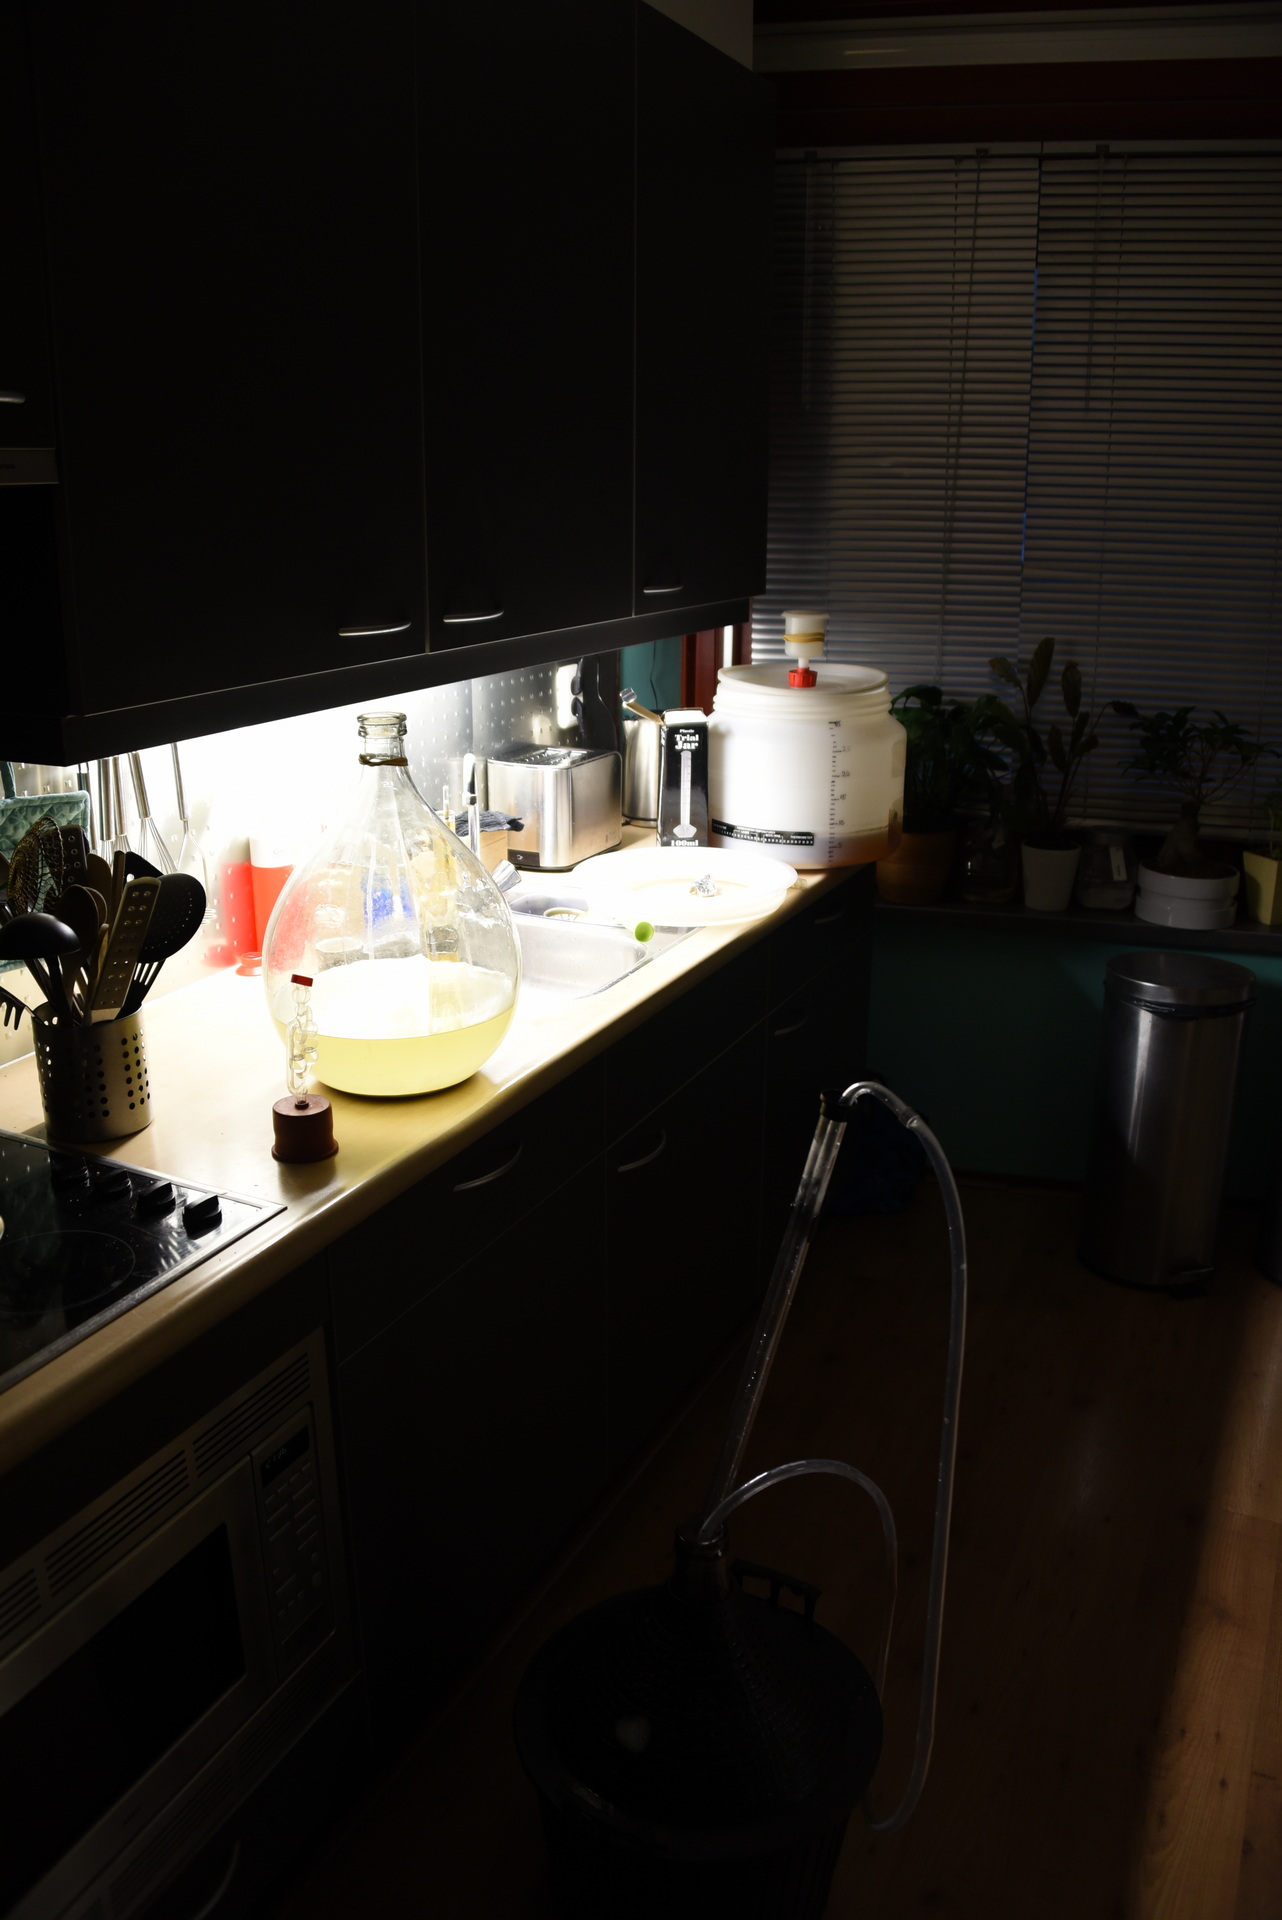
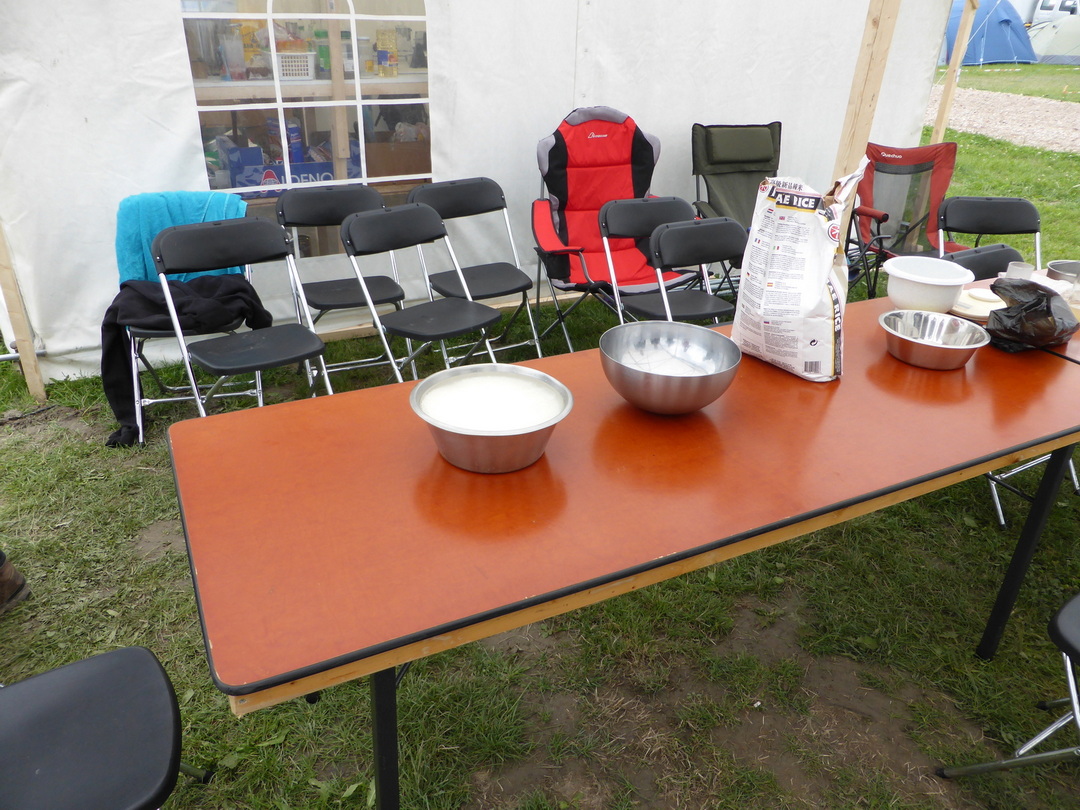
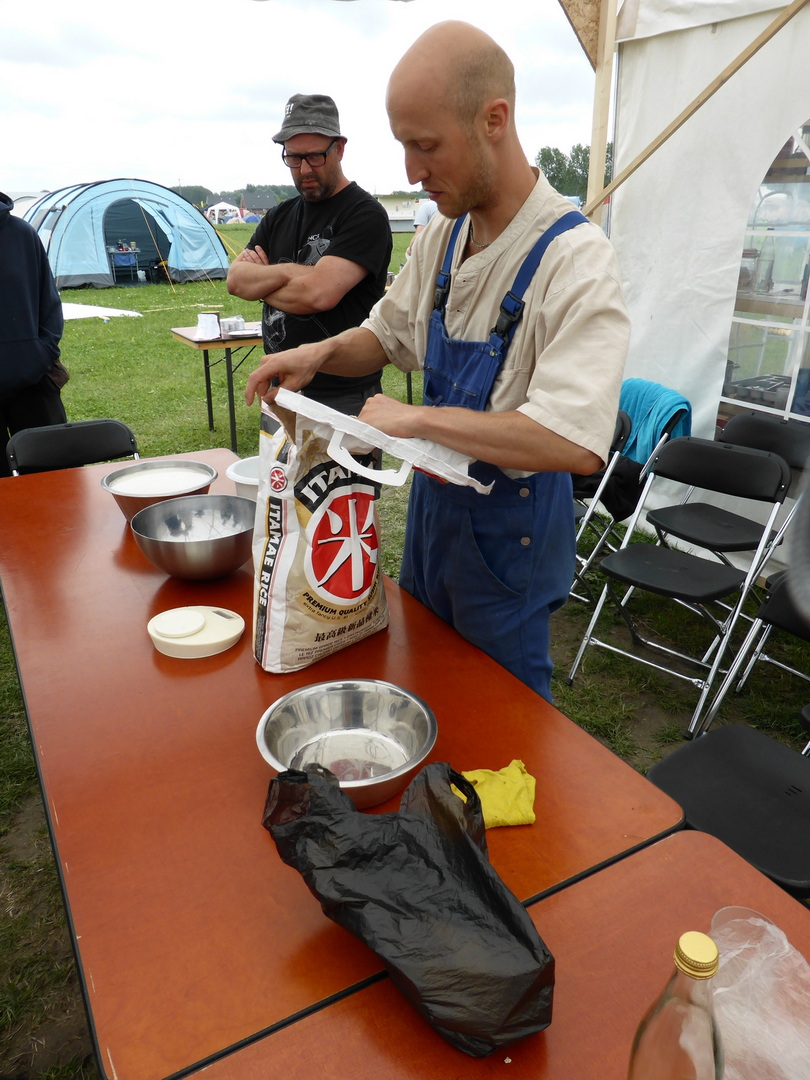
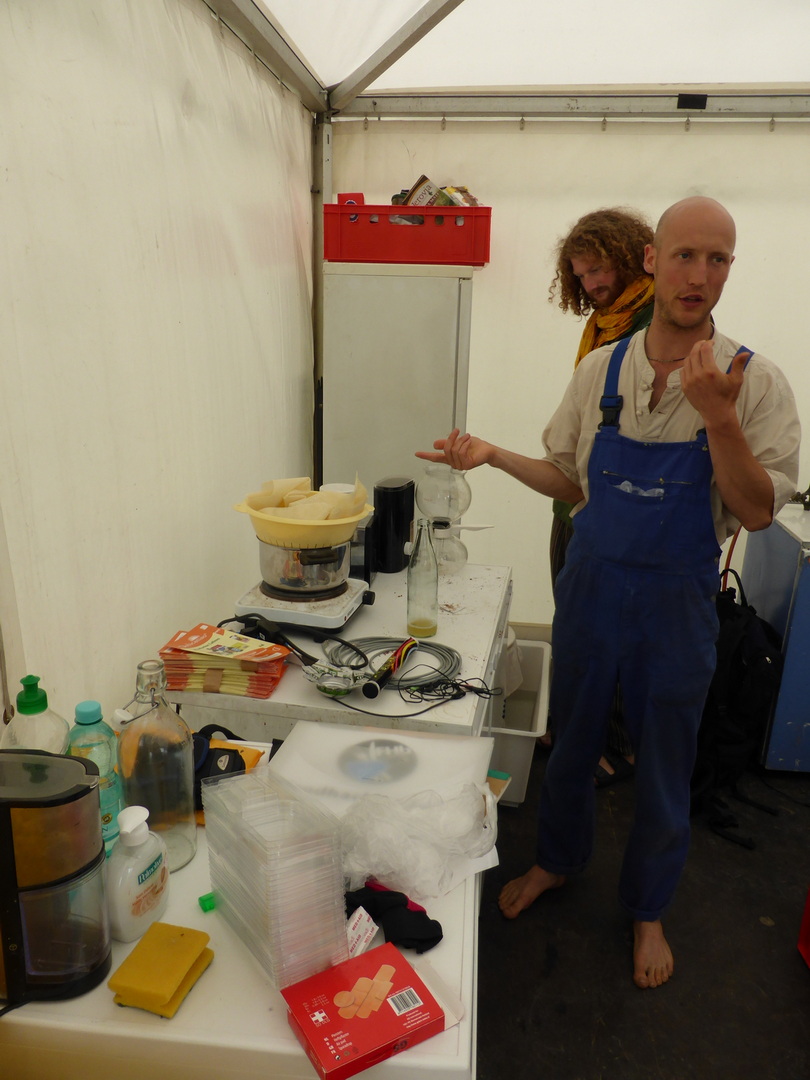
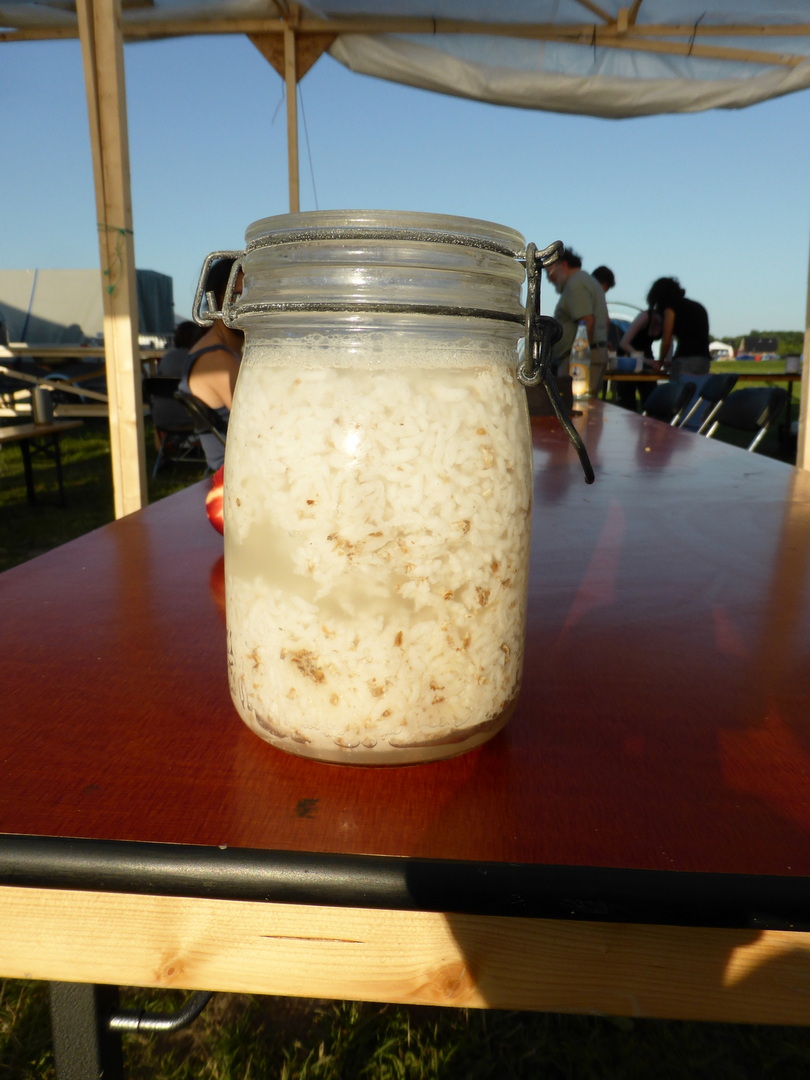
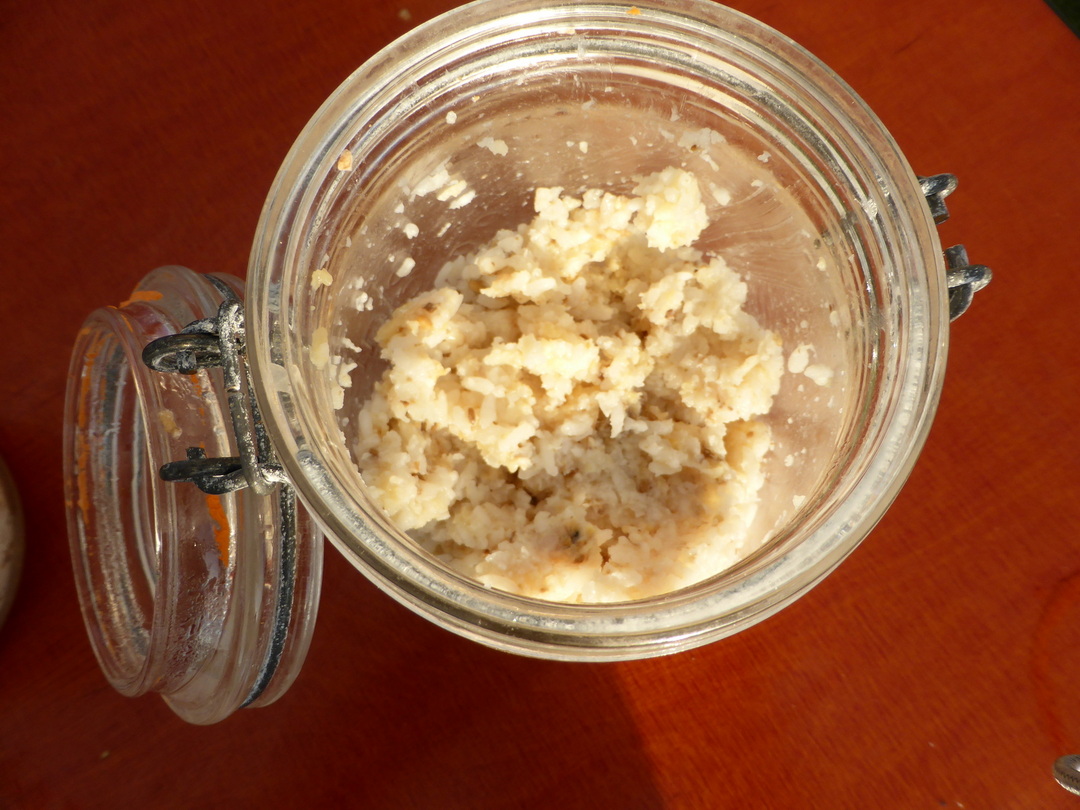
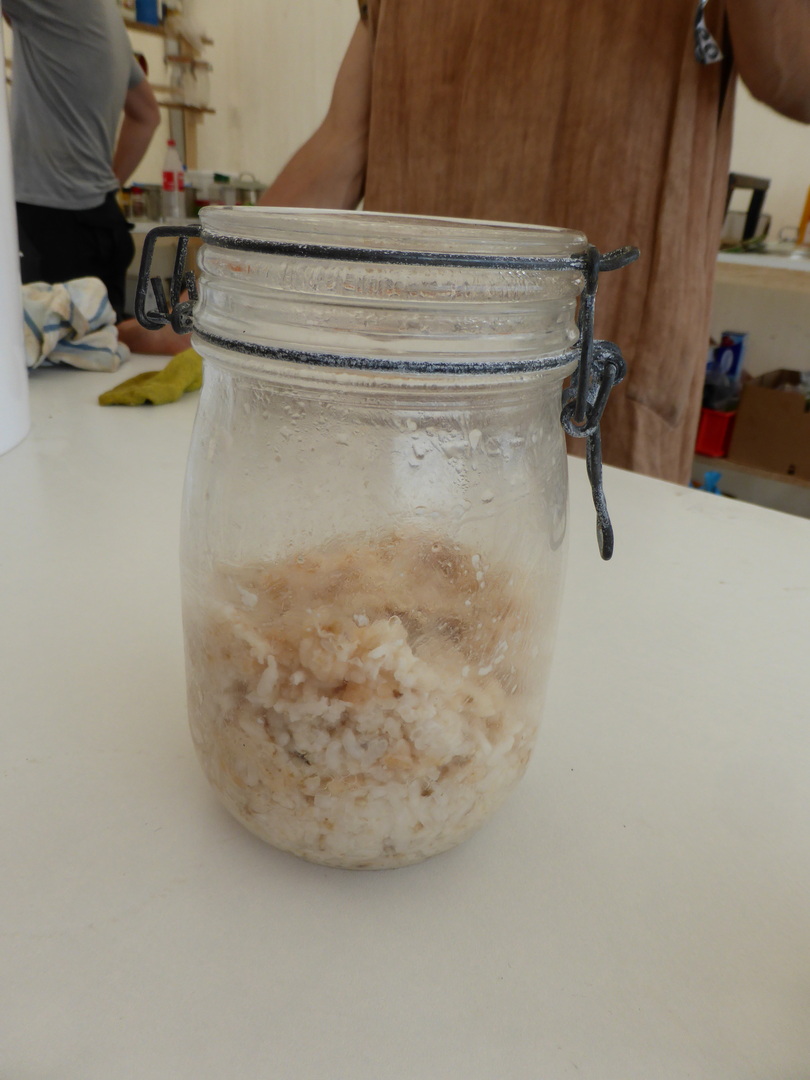
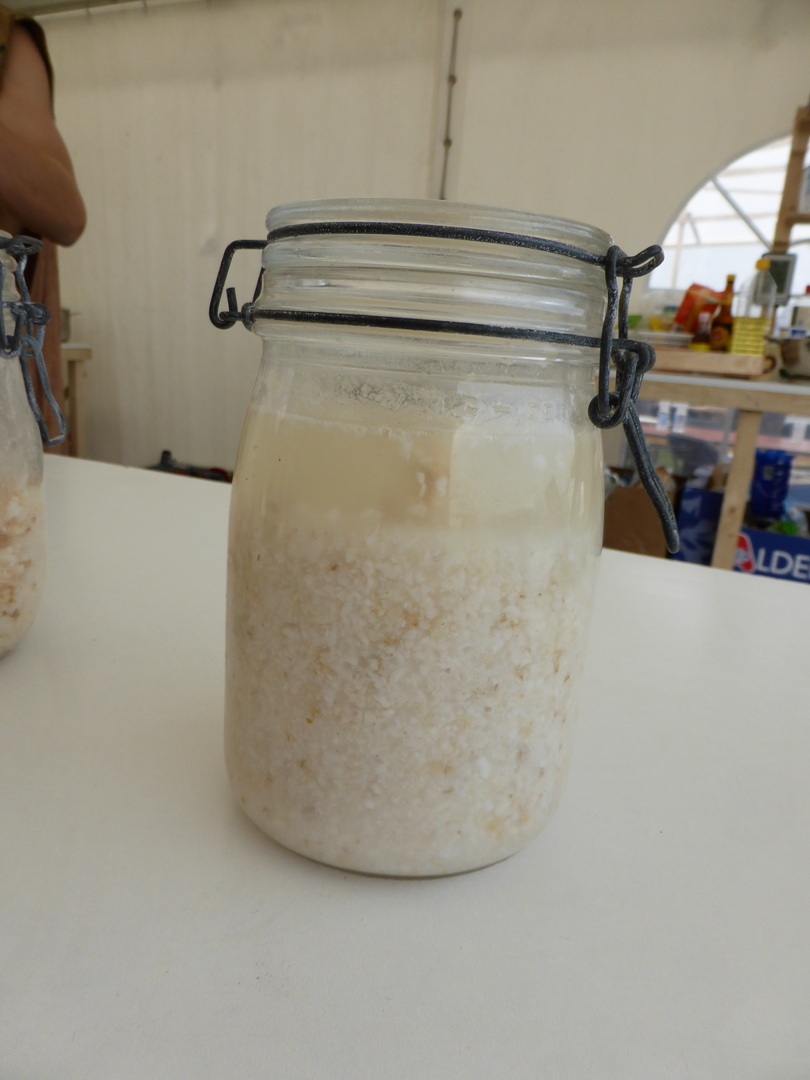
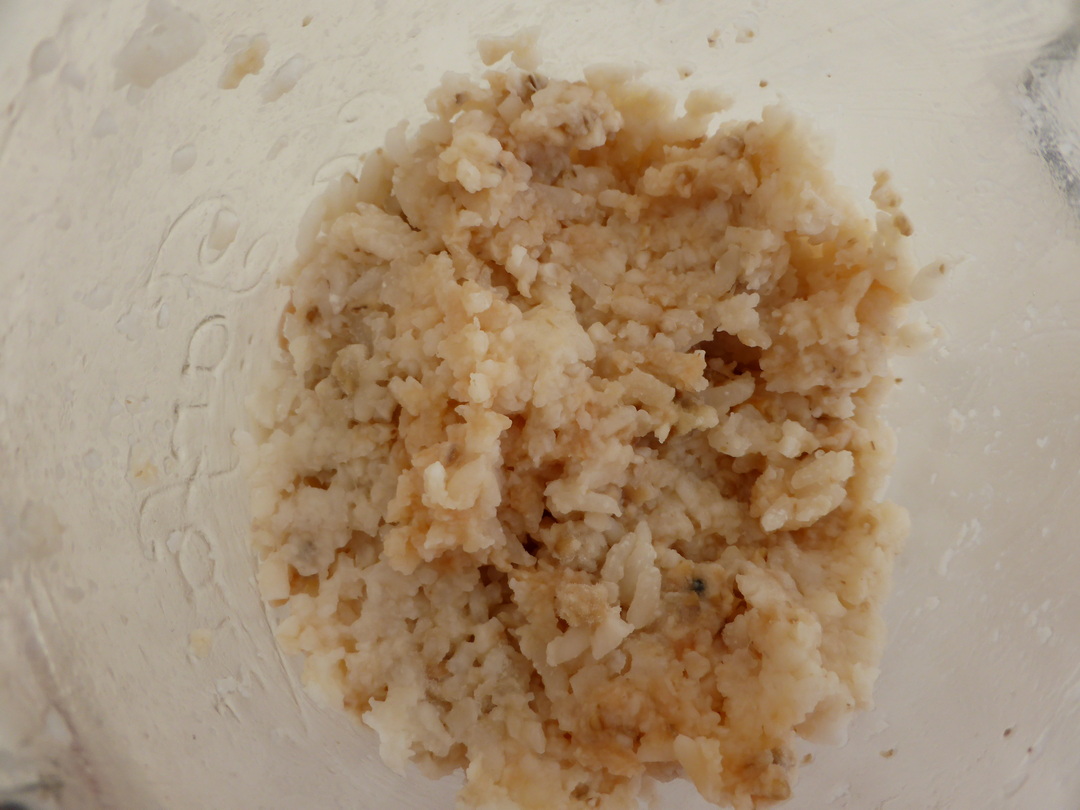
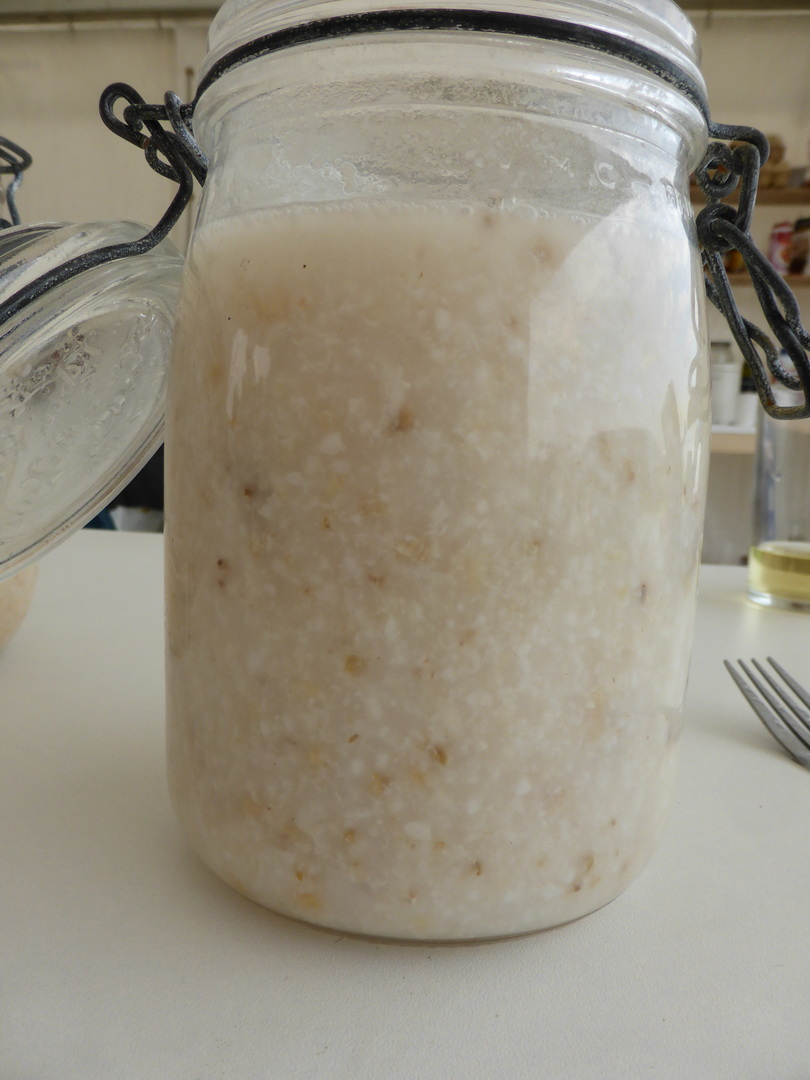
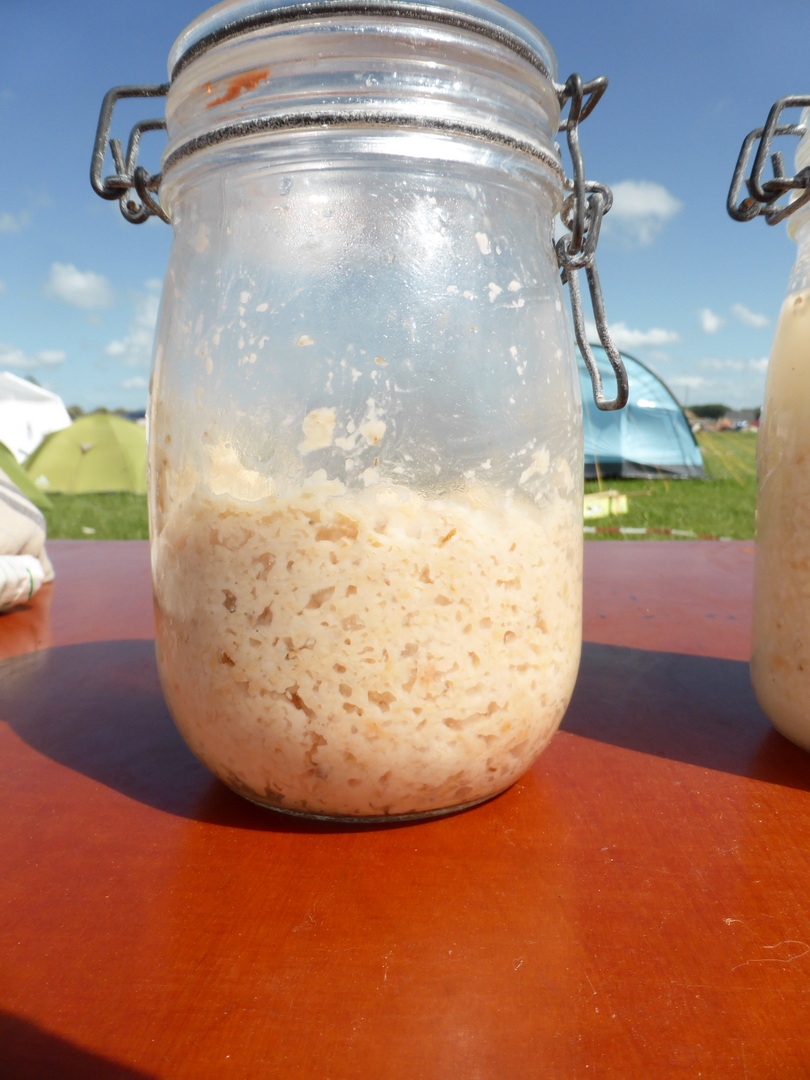
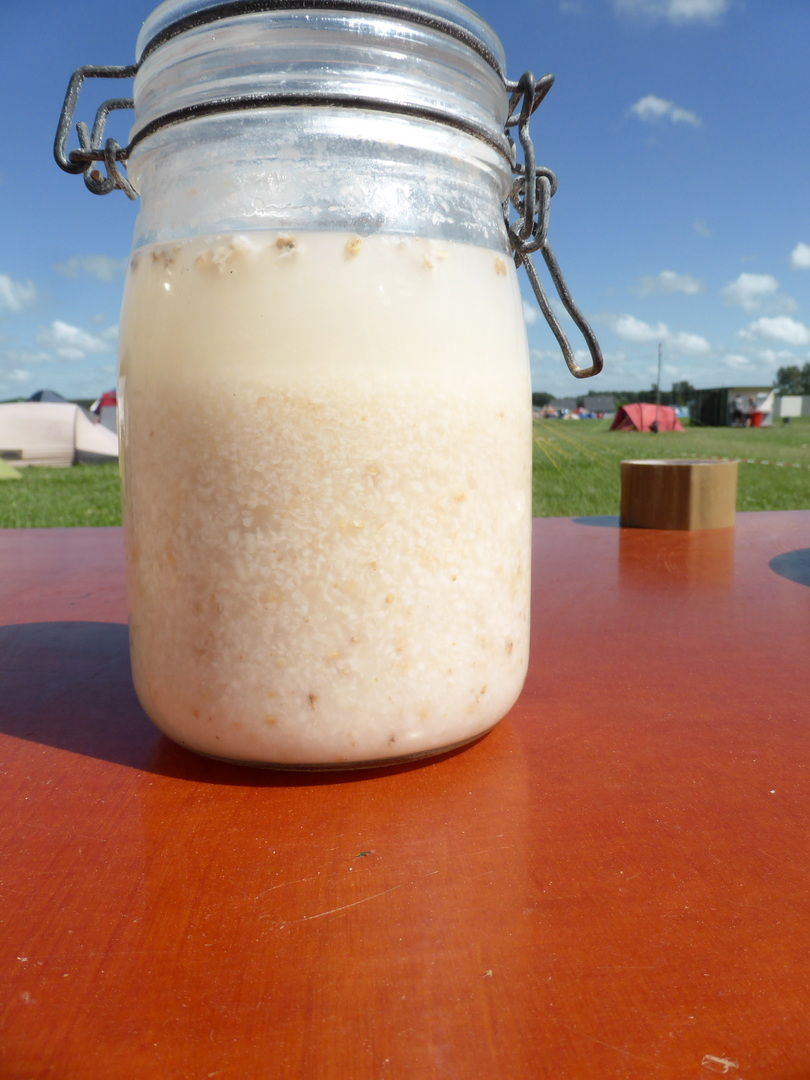
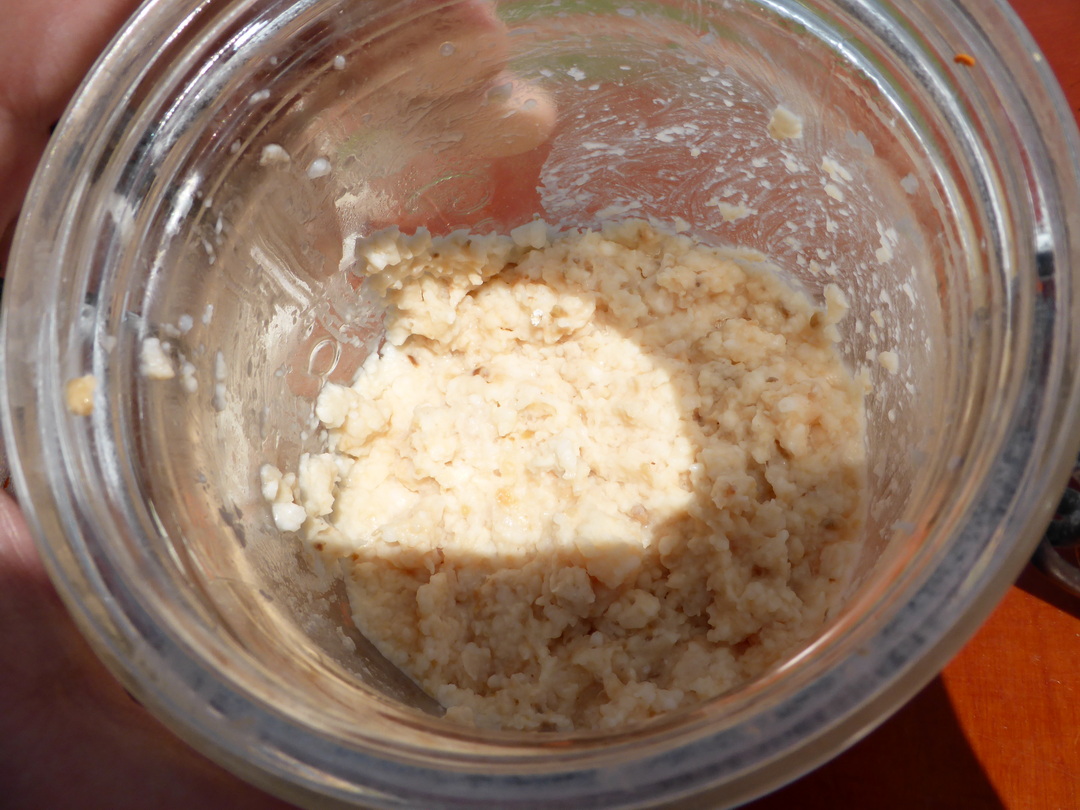
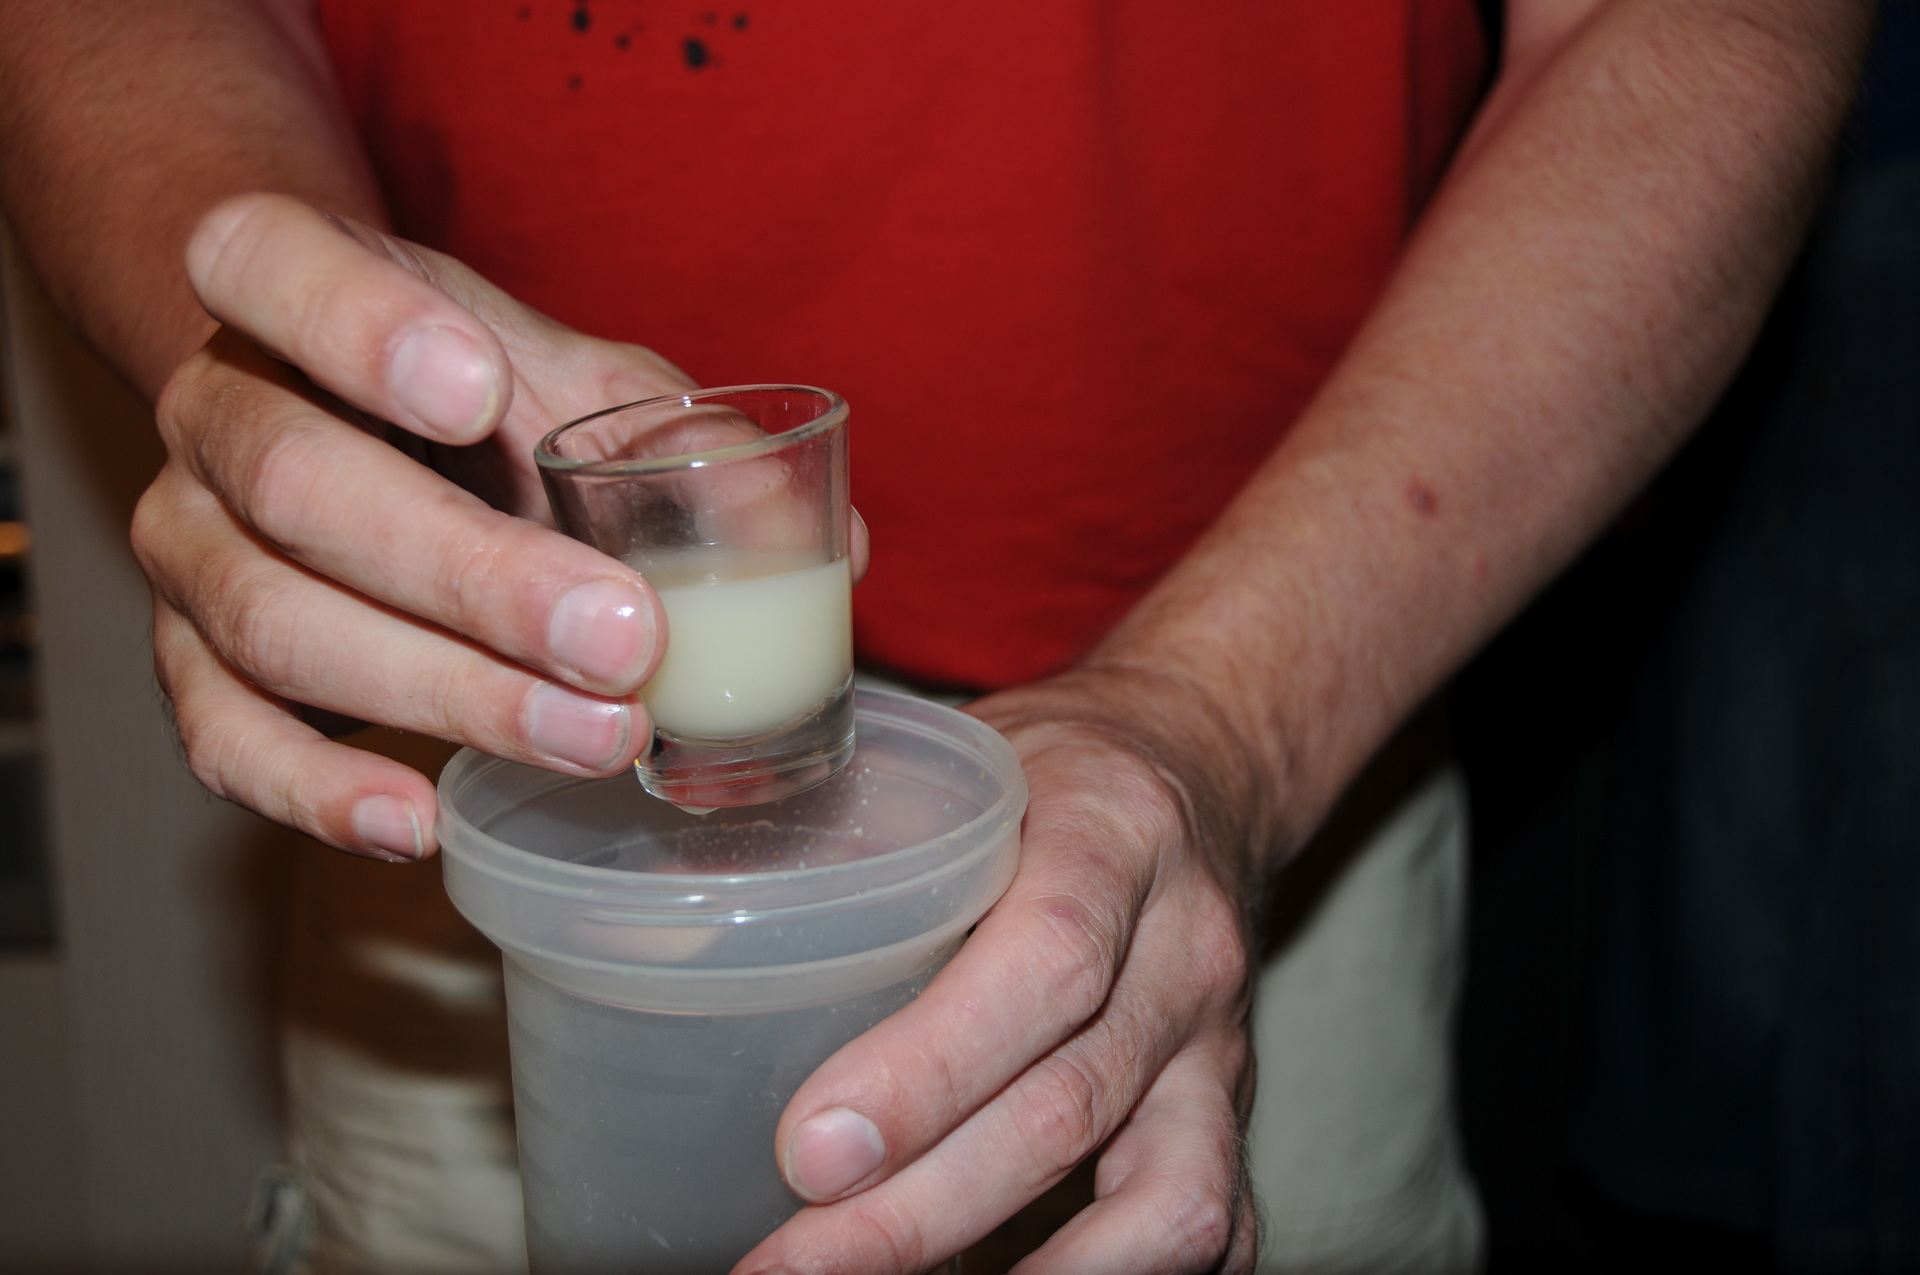
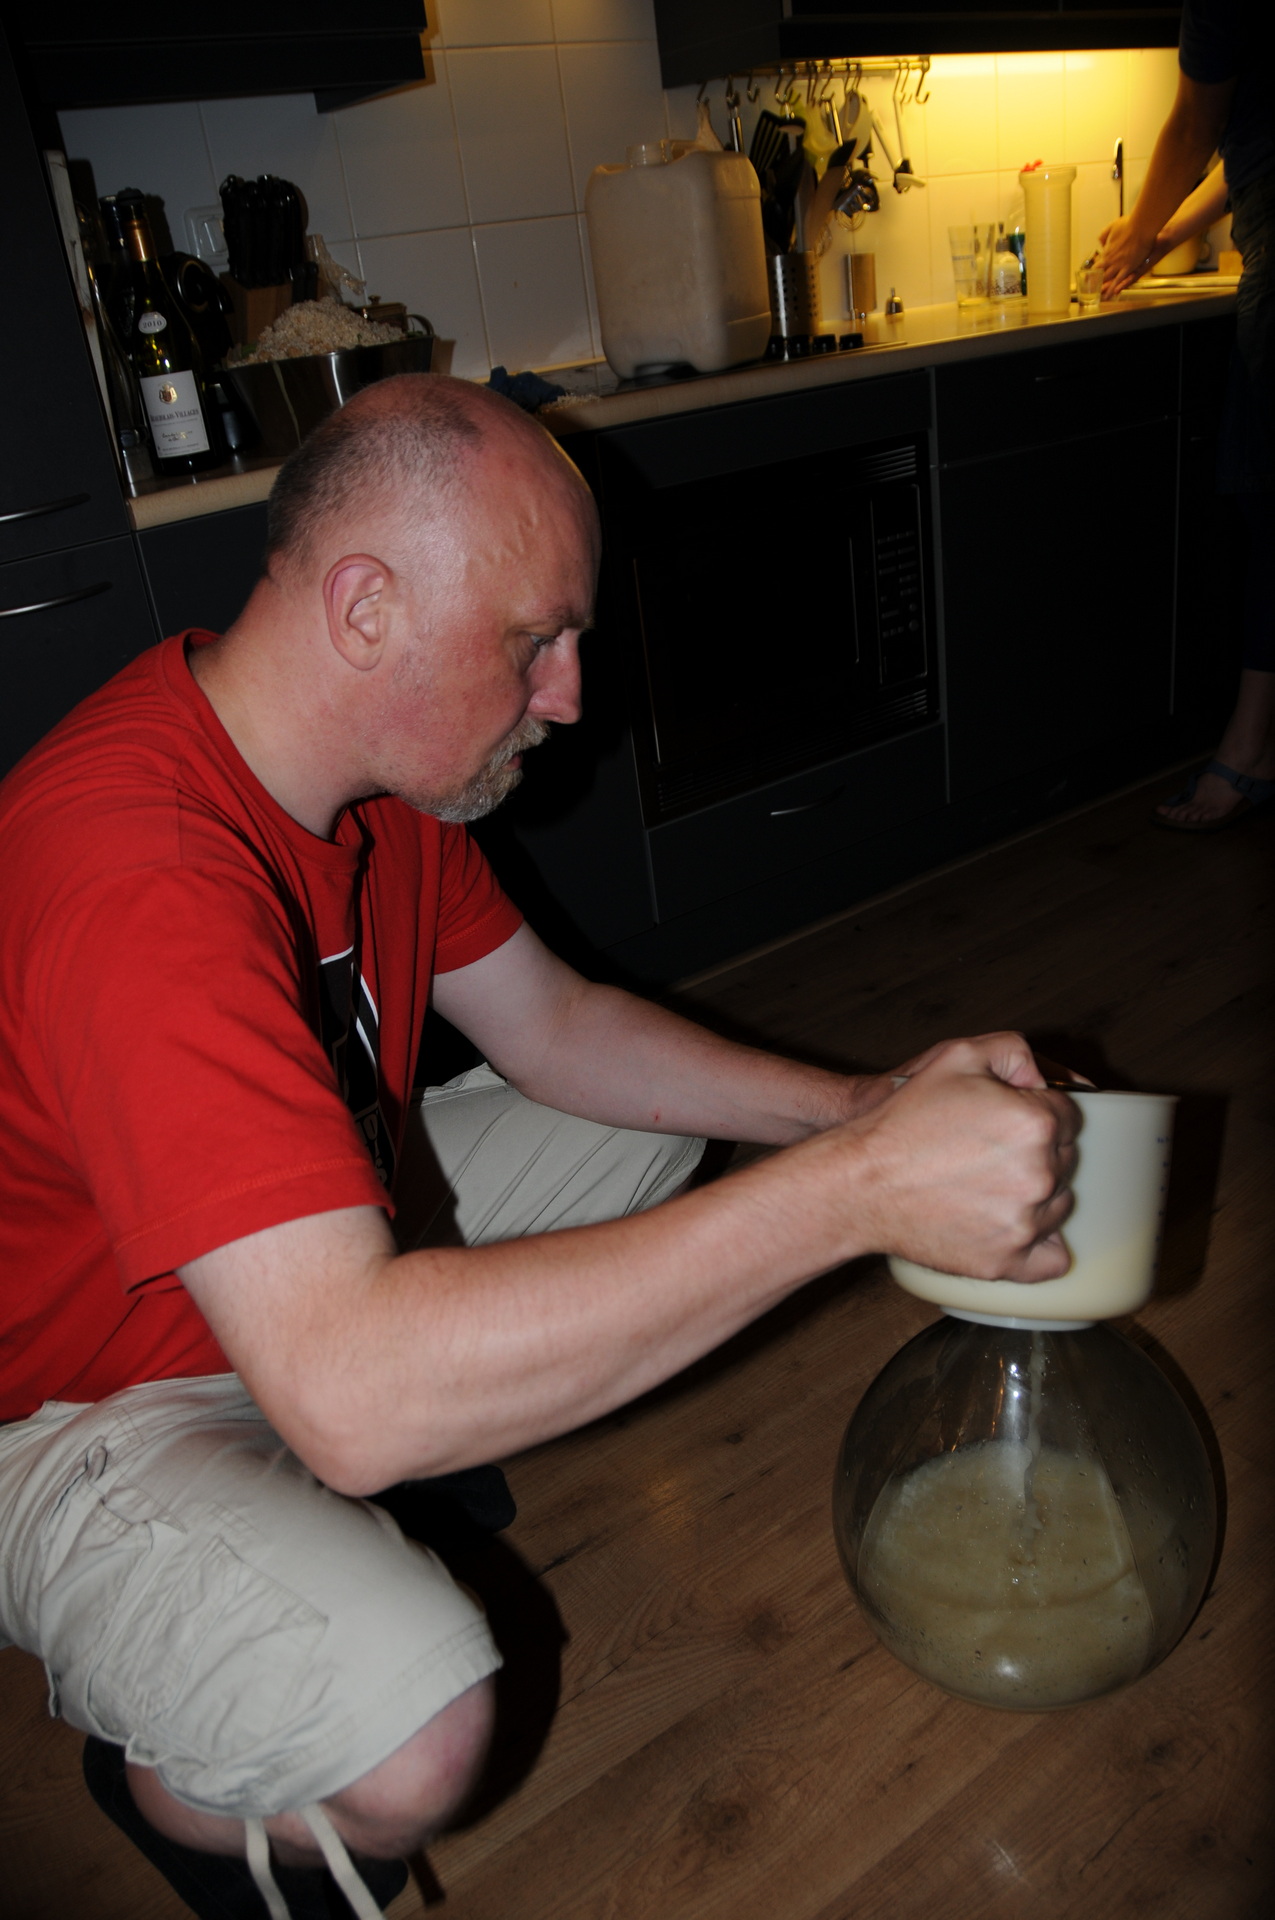
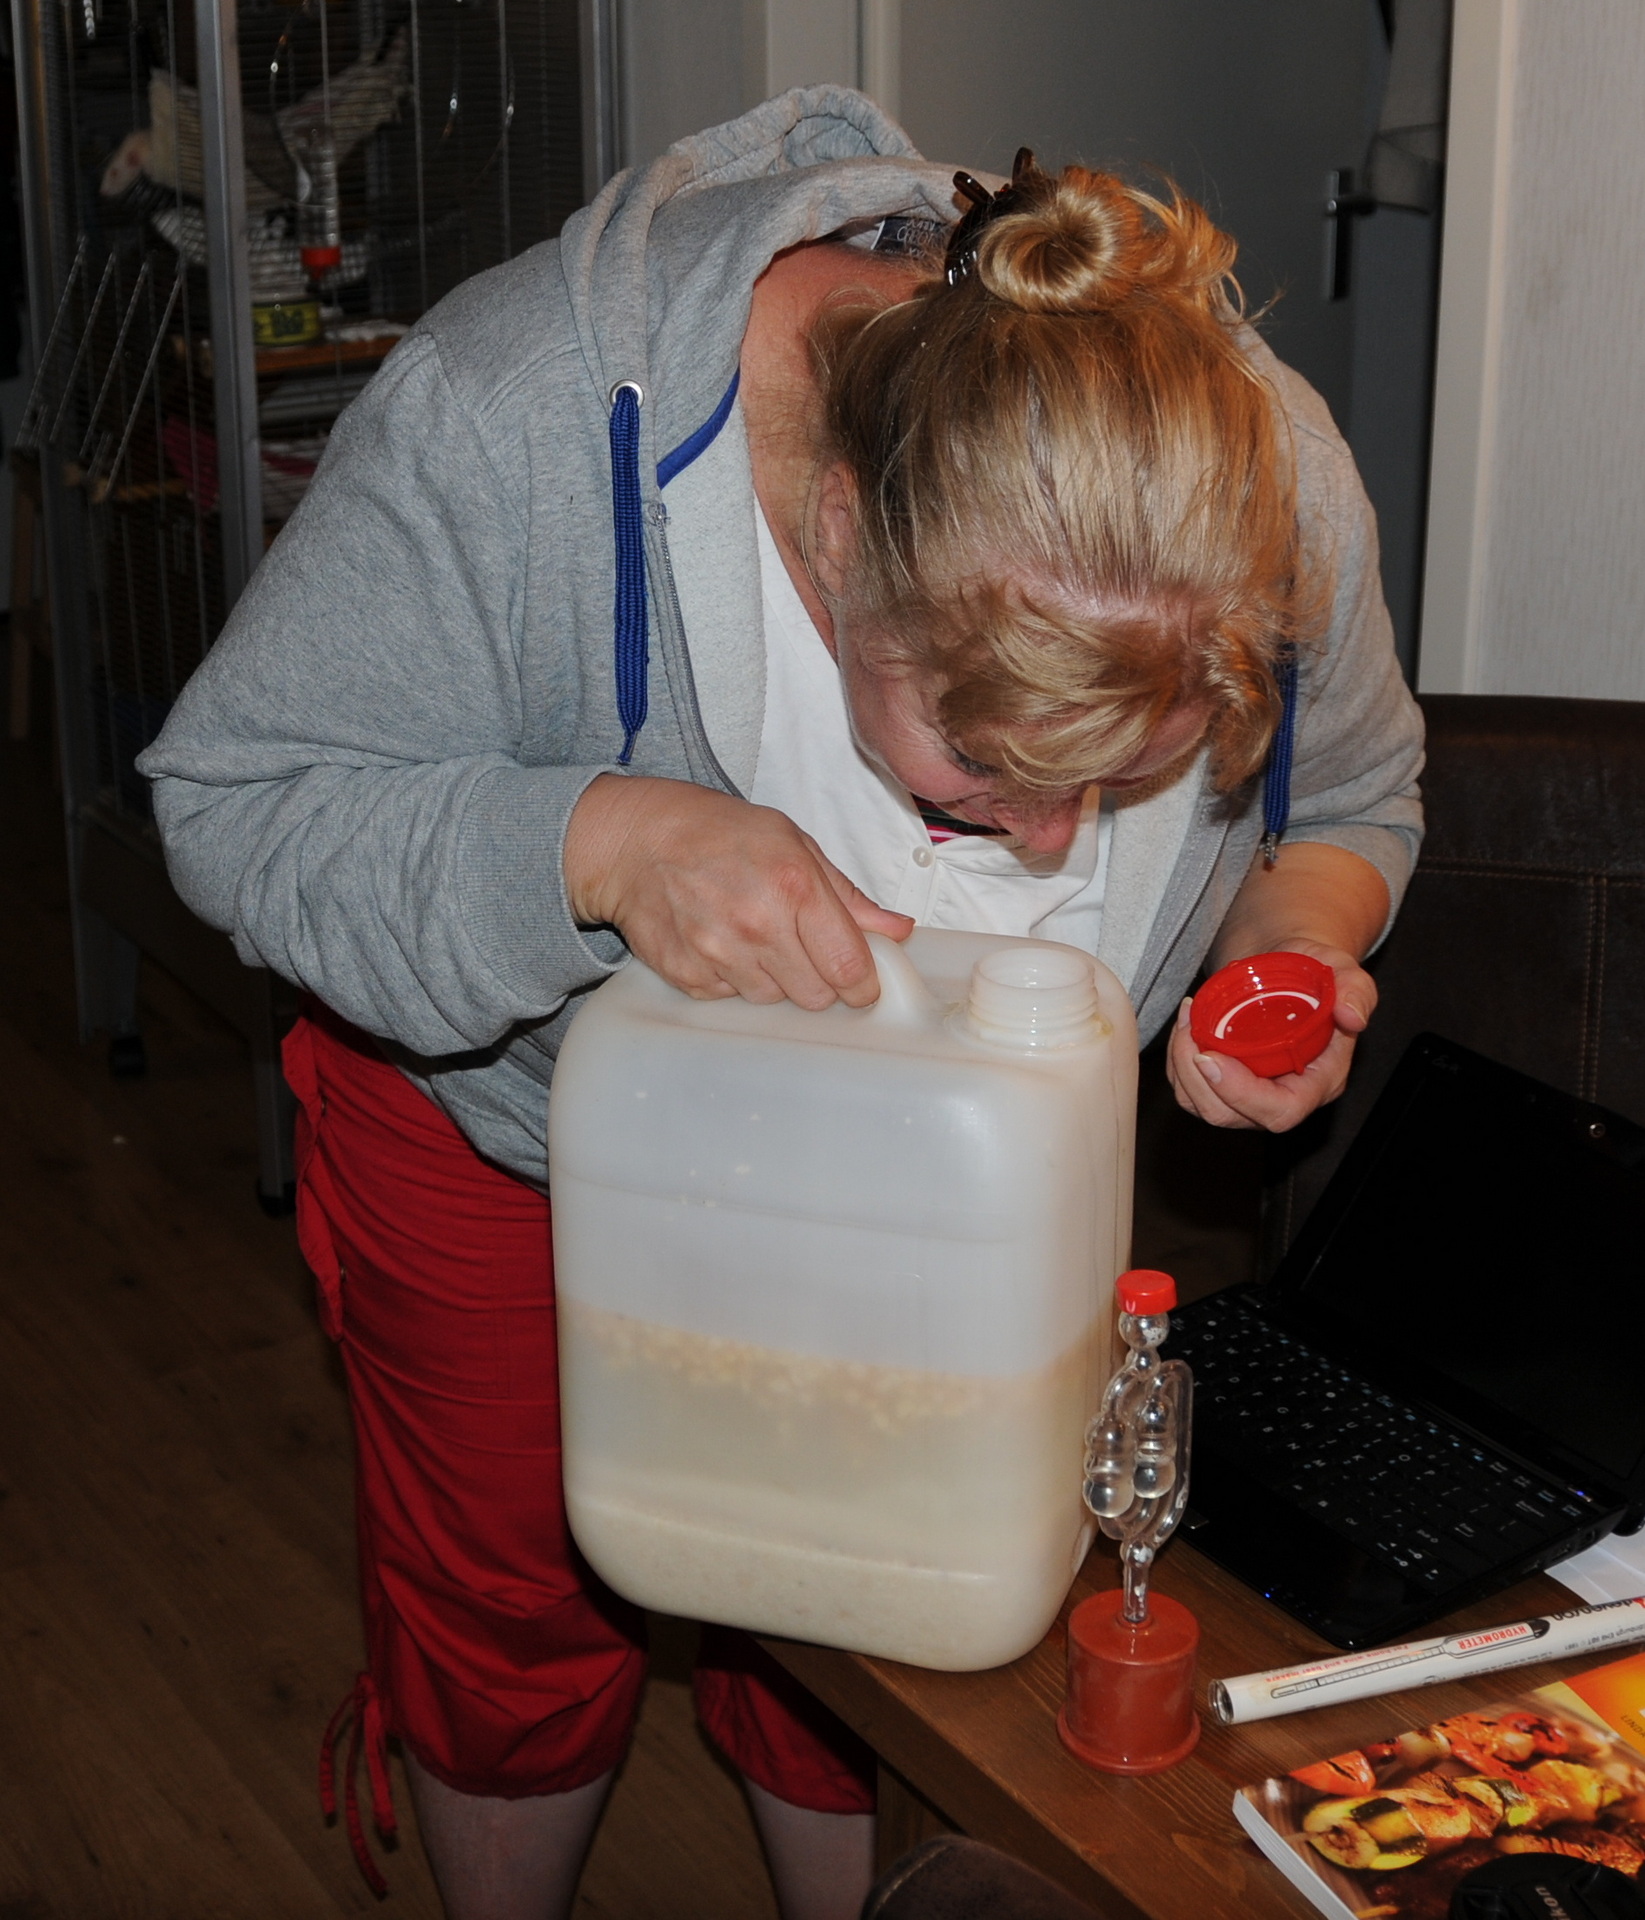
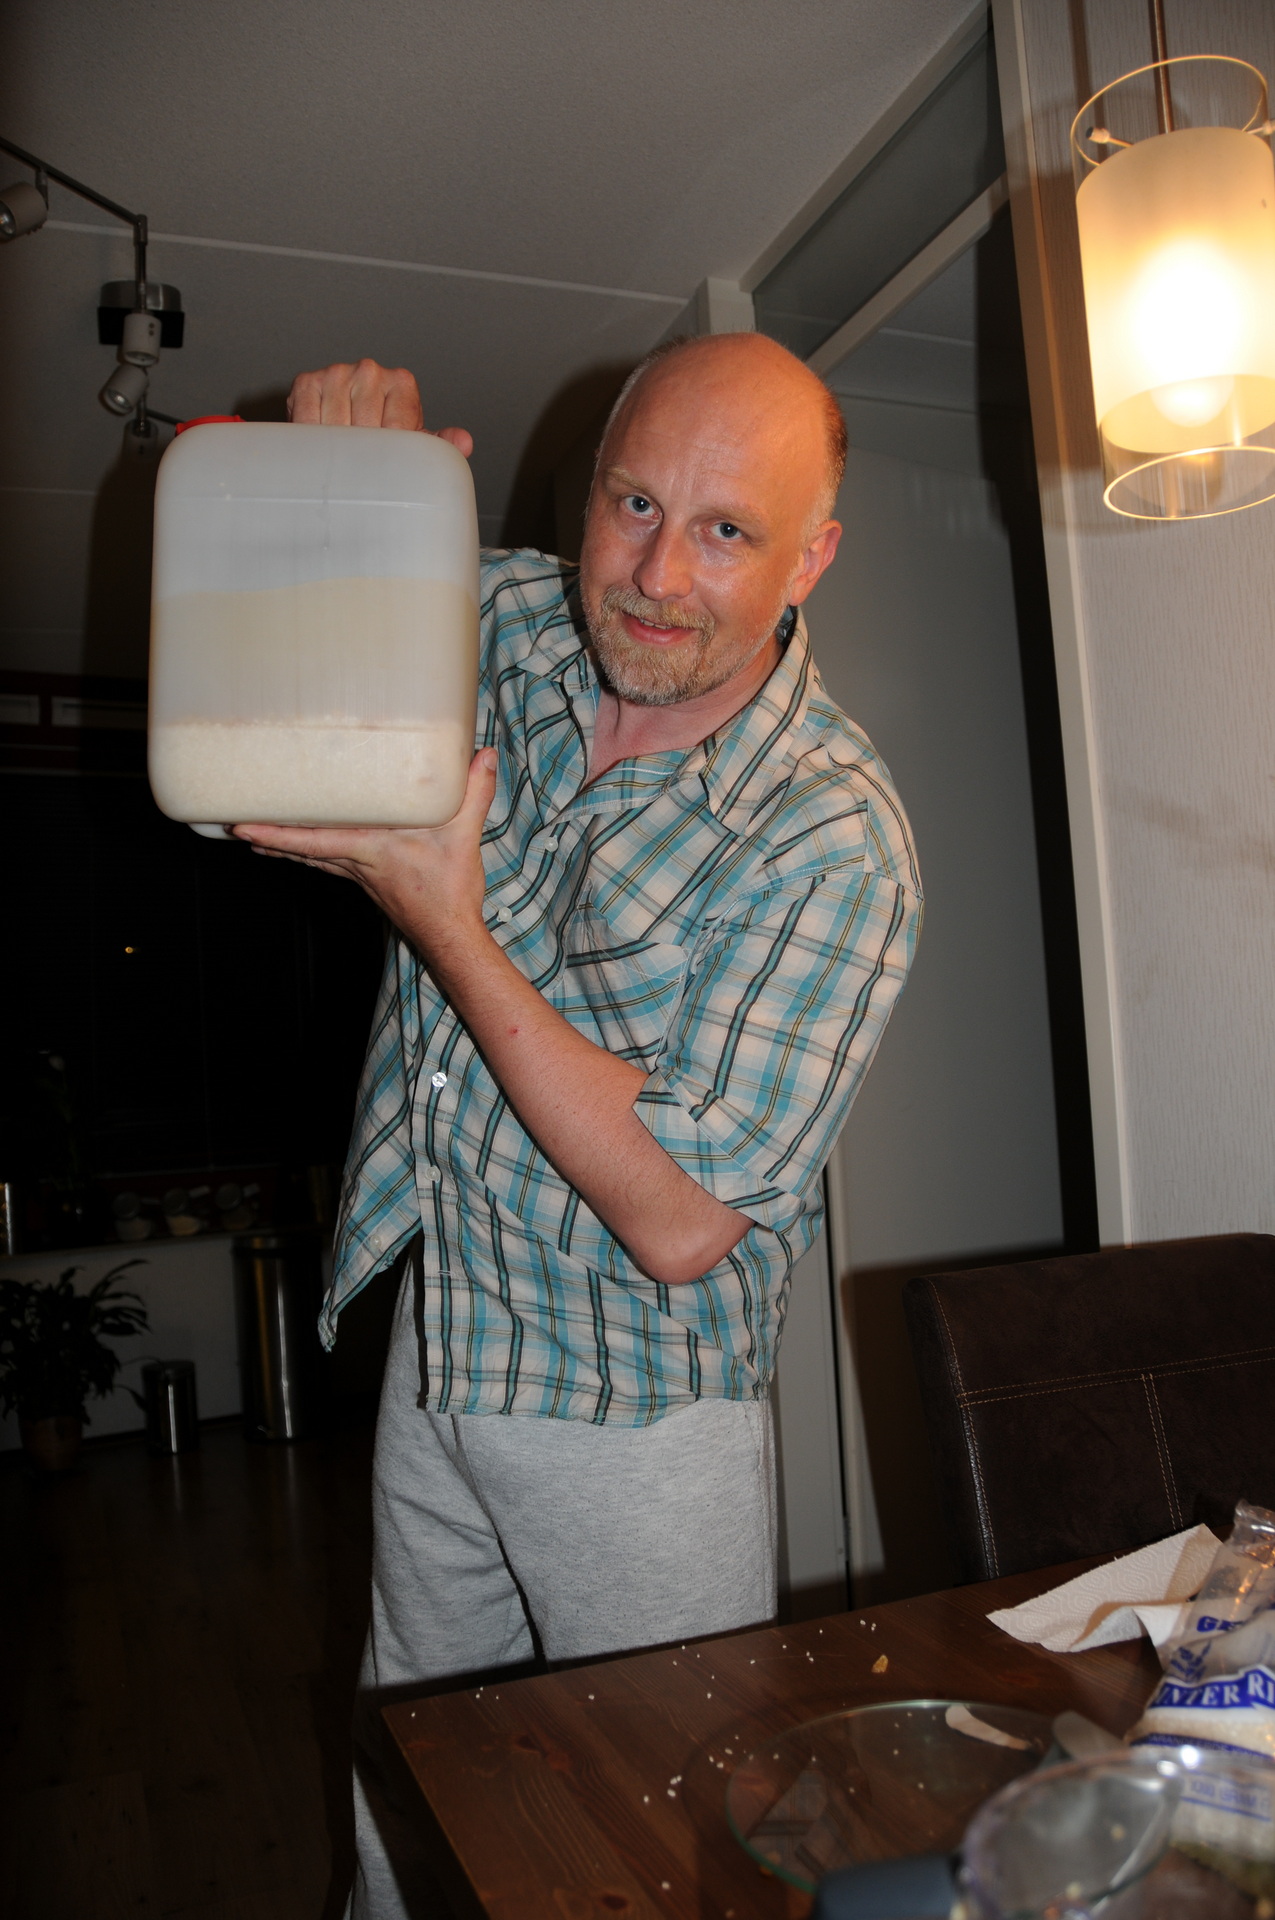
(I made makgeolli multiple times, pictures are of multiple dates.
I started with a workshop at a hackers event called OHM2013)
Much like sake, a fermented rice ‘wine’ .. see other post
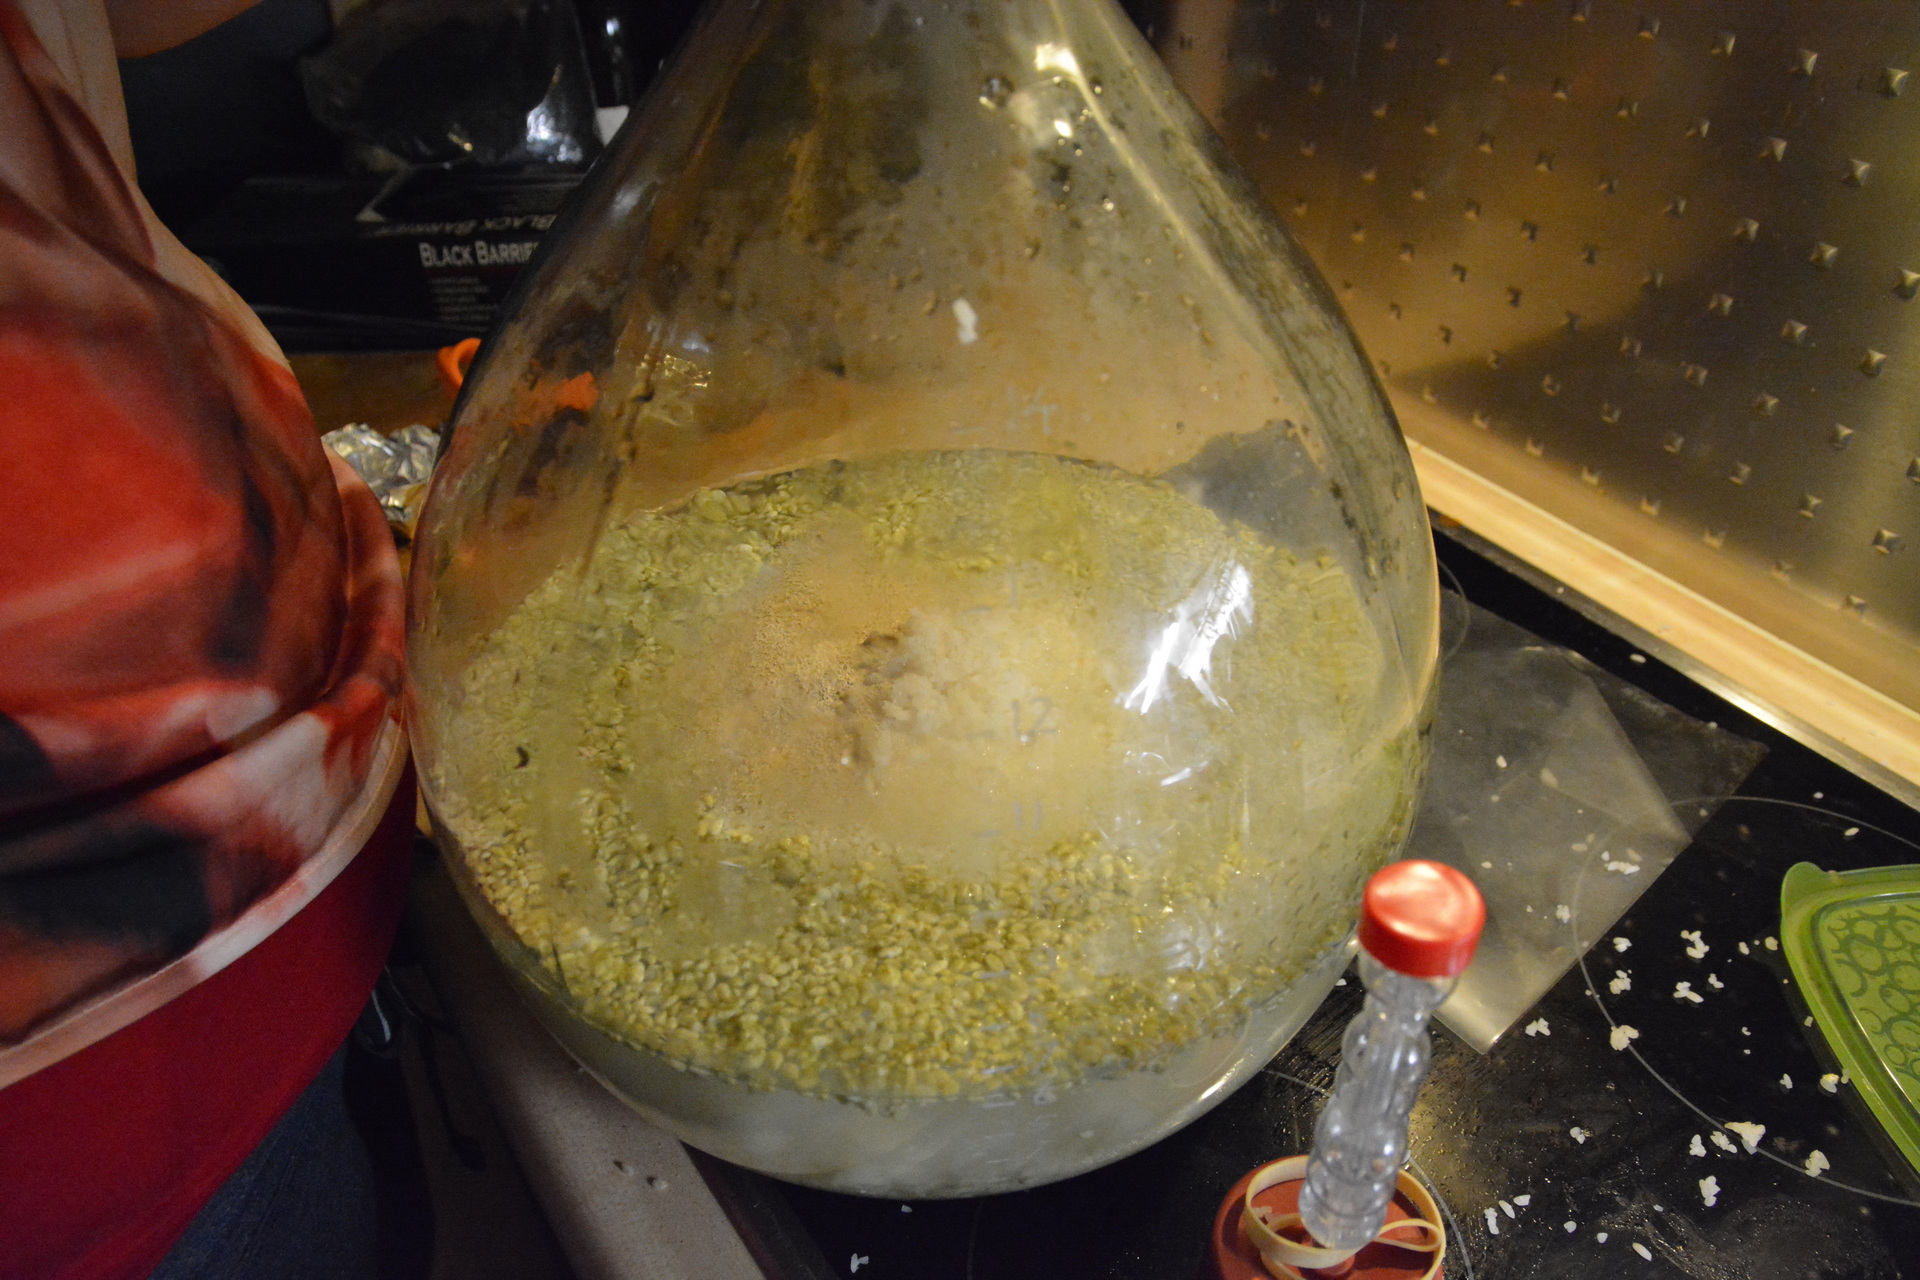
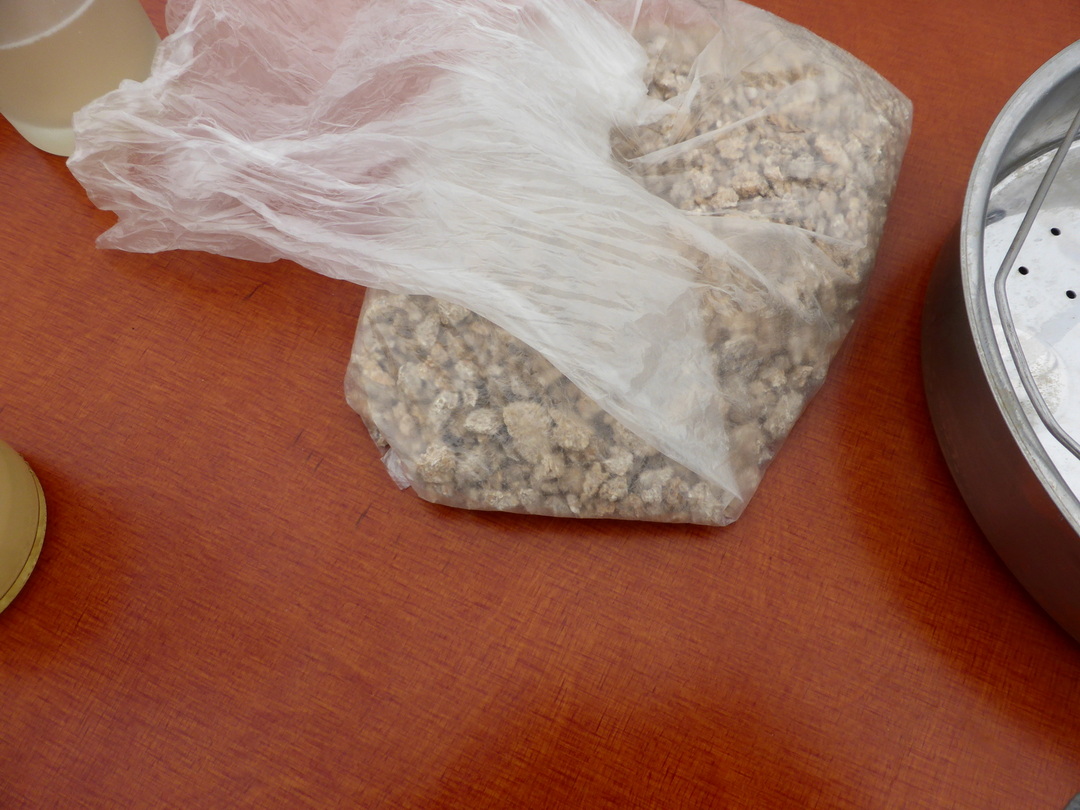
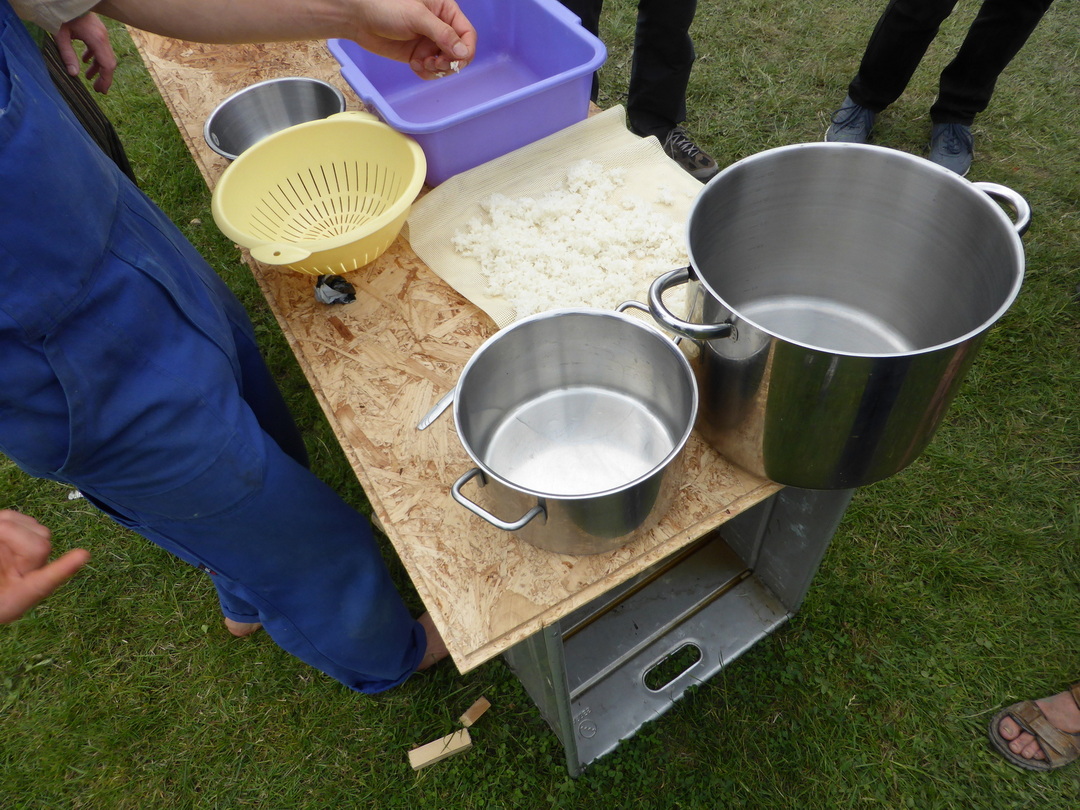
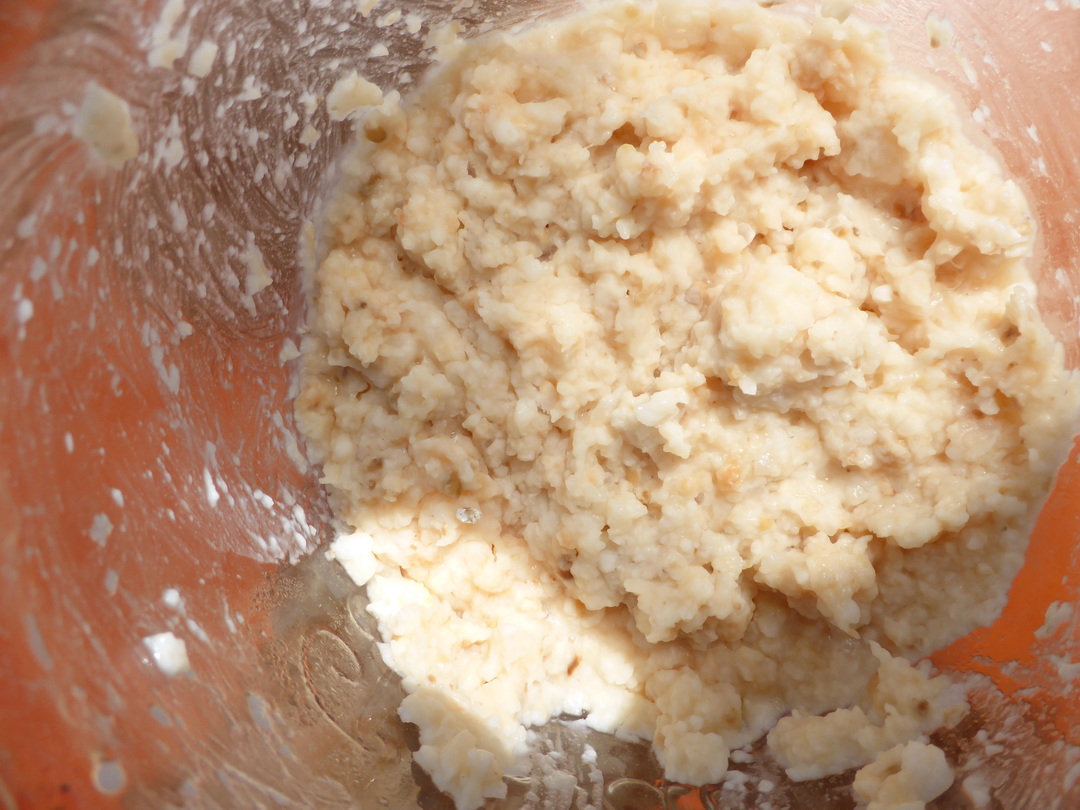
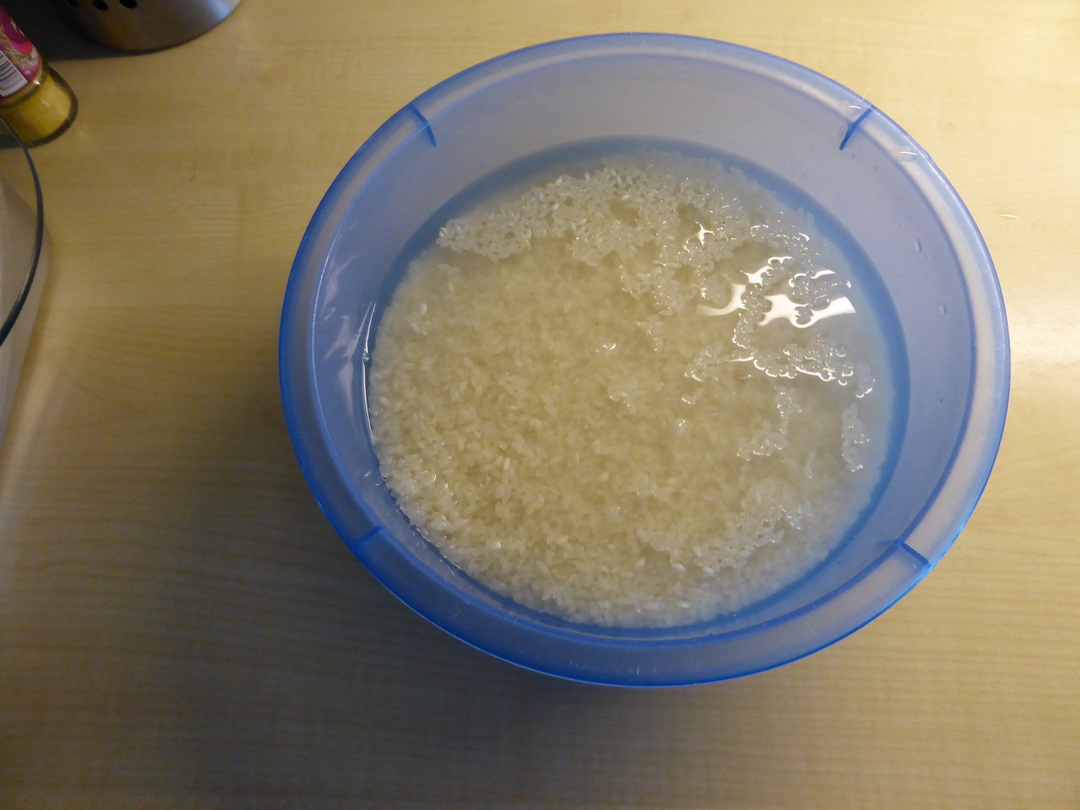
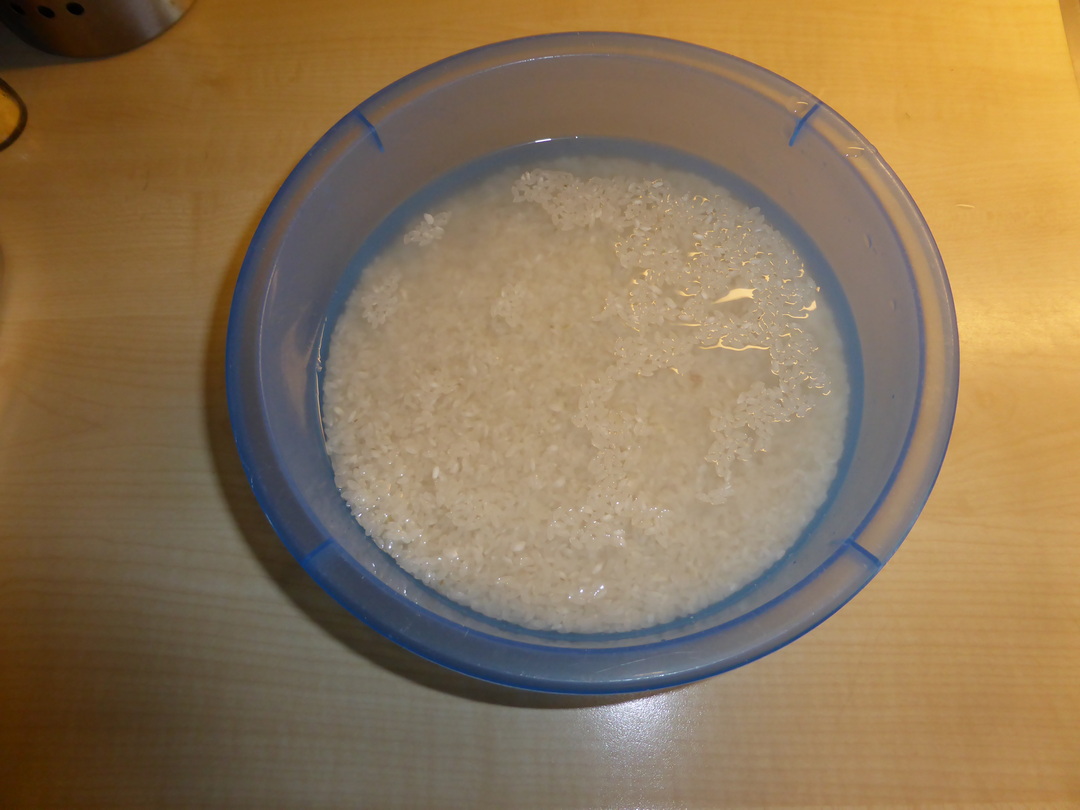
Makgeolli is a traditional Korean alcoholic beverage made from rice and nuruk culture. In this workshop we will prepare the single fermented makgeolli called “Takjangdzu”. We will focus on a proper rice preparation which includes proper washing, drying and steaming (or boiling), cooling and subsequent inoculation of the rice by the active culture in this case nuruk. If everything goes well we will also harvest the takjangdzu which was already pre-prepared and taste it. The alternative options to using nuruk as a culture will be discussed, suggesting either kōji (Aspergillus oryzae) or yeast (Saccharomyces cerevisiae).


>Just quick one. I have checked the recipes which you shared with me quickly. The first recipe is close to the todays industrial style of production of Korean Makgeolli or the Japanese style of "rice wine making" because it uses koji
>http://en.wikipedia.org/wiki/Aspergillus_oryzae
>The second recipe uses steamed rice (that is what we do at Susubori) and yeast. Using just yeast is not usual for Korea, we for example add yeast in addition to nuruk (for 1 kg of rice (chapsal - sticky ric
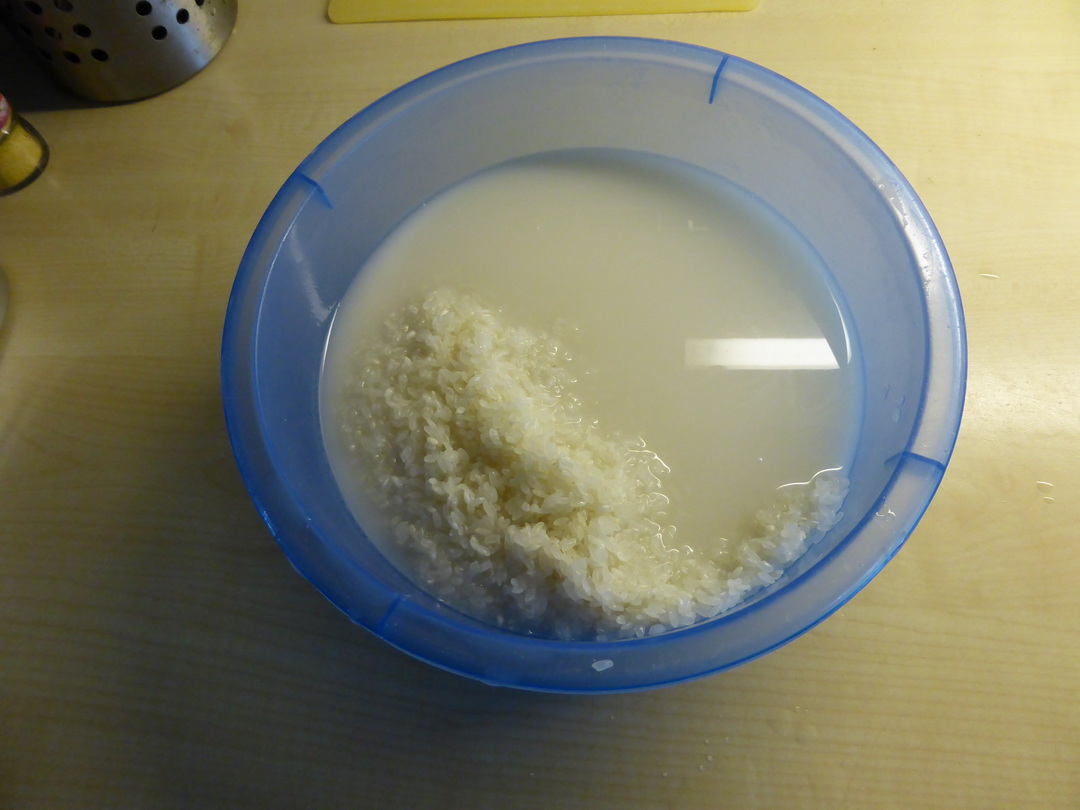
e recommended), we use 90 g of nuruk and 3 g of yeast (baker yeast I assume, no one knows which really annoys me). We wash 4-8 times the rice in cold water to get rid of the starch, let it steep for 2.5-3 hou
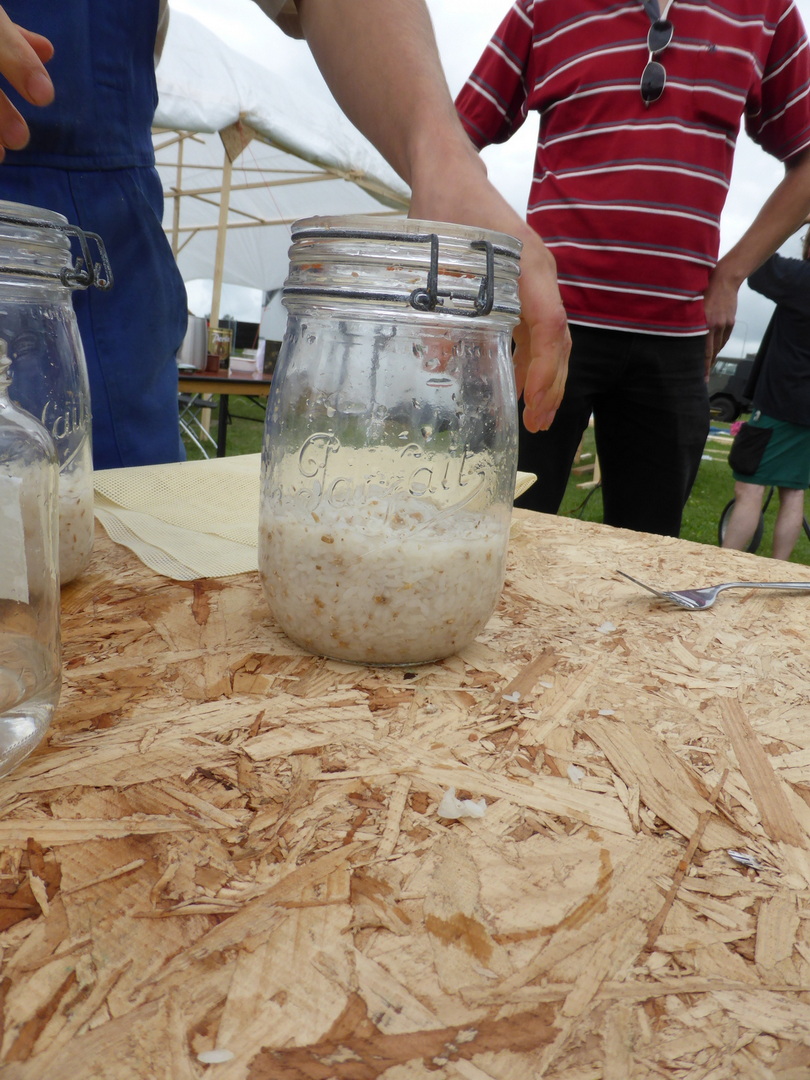
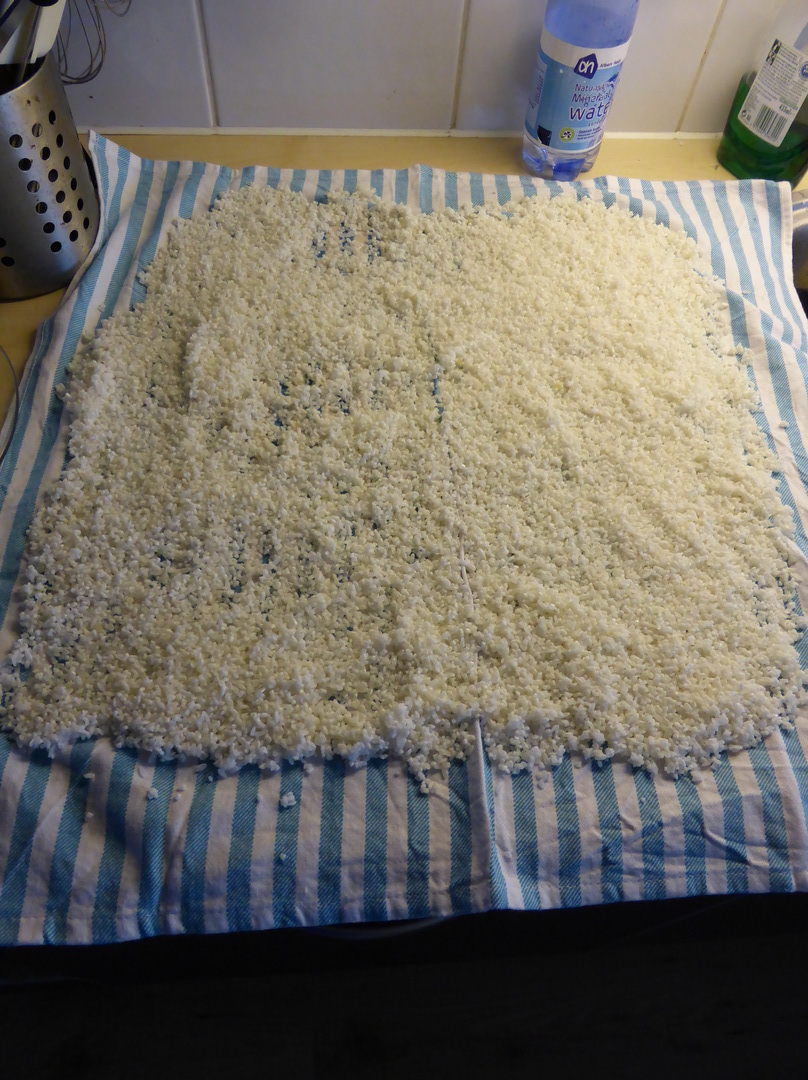
rs, dry it for 40 min and steam it for 20-25 min. Cool it down for 30-40 min to room temperature and transfer to the fermentation vessel (leave around 50-70% free place for air so 5 l wide mouth container suits well), add nuruk (90 g of wheat based nuruk, there are many different types) and yeast (3 g baker yeast should be fine) if you like and 1 l of water (rice ratio to water 1:1, that results in sweater type
and more viscous beverage, if you go 1.2 (water):1 (rice) than you get dryer and more acidic beverage), mix well but gently not rupturing the rice grains, making sure that the nuruk falls apart
>http://en.wikipedia.org/wiki/Tapai
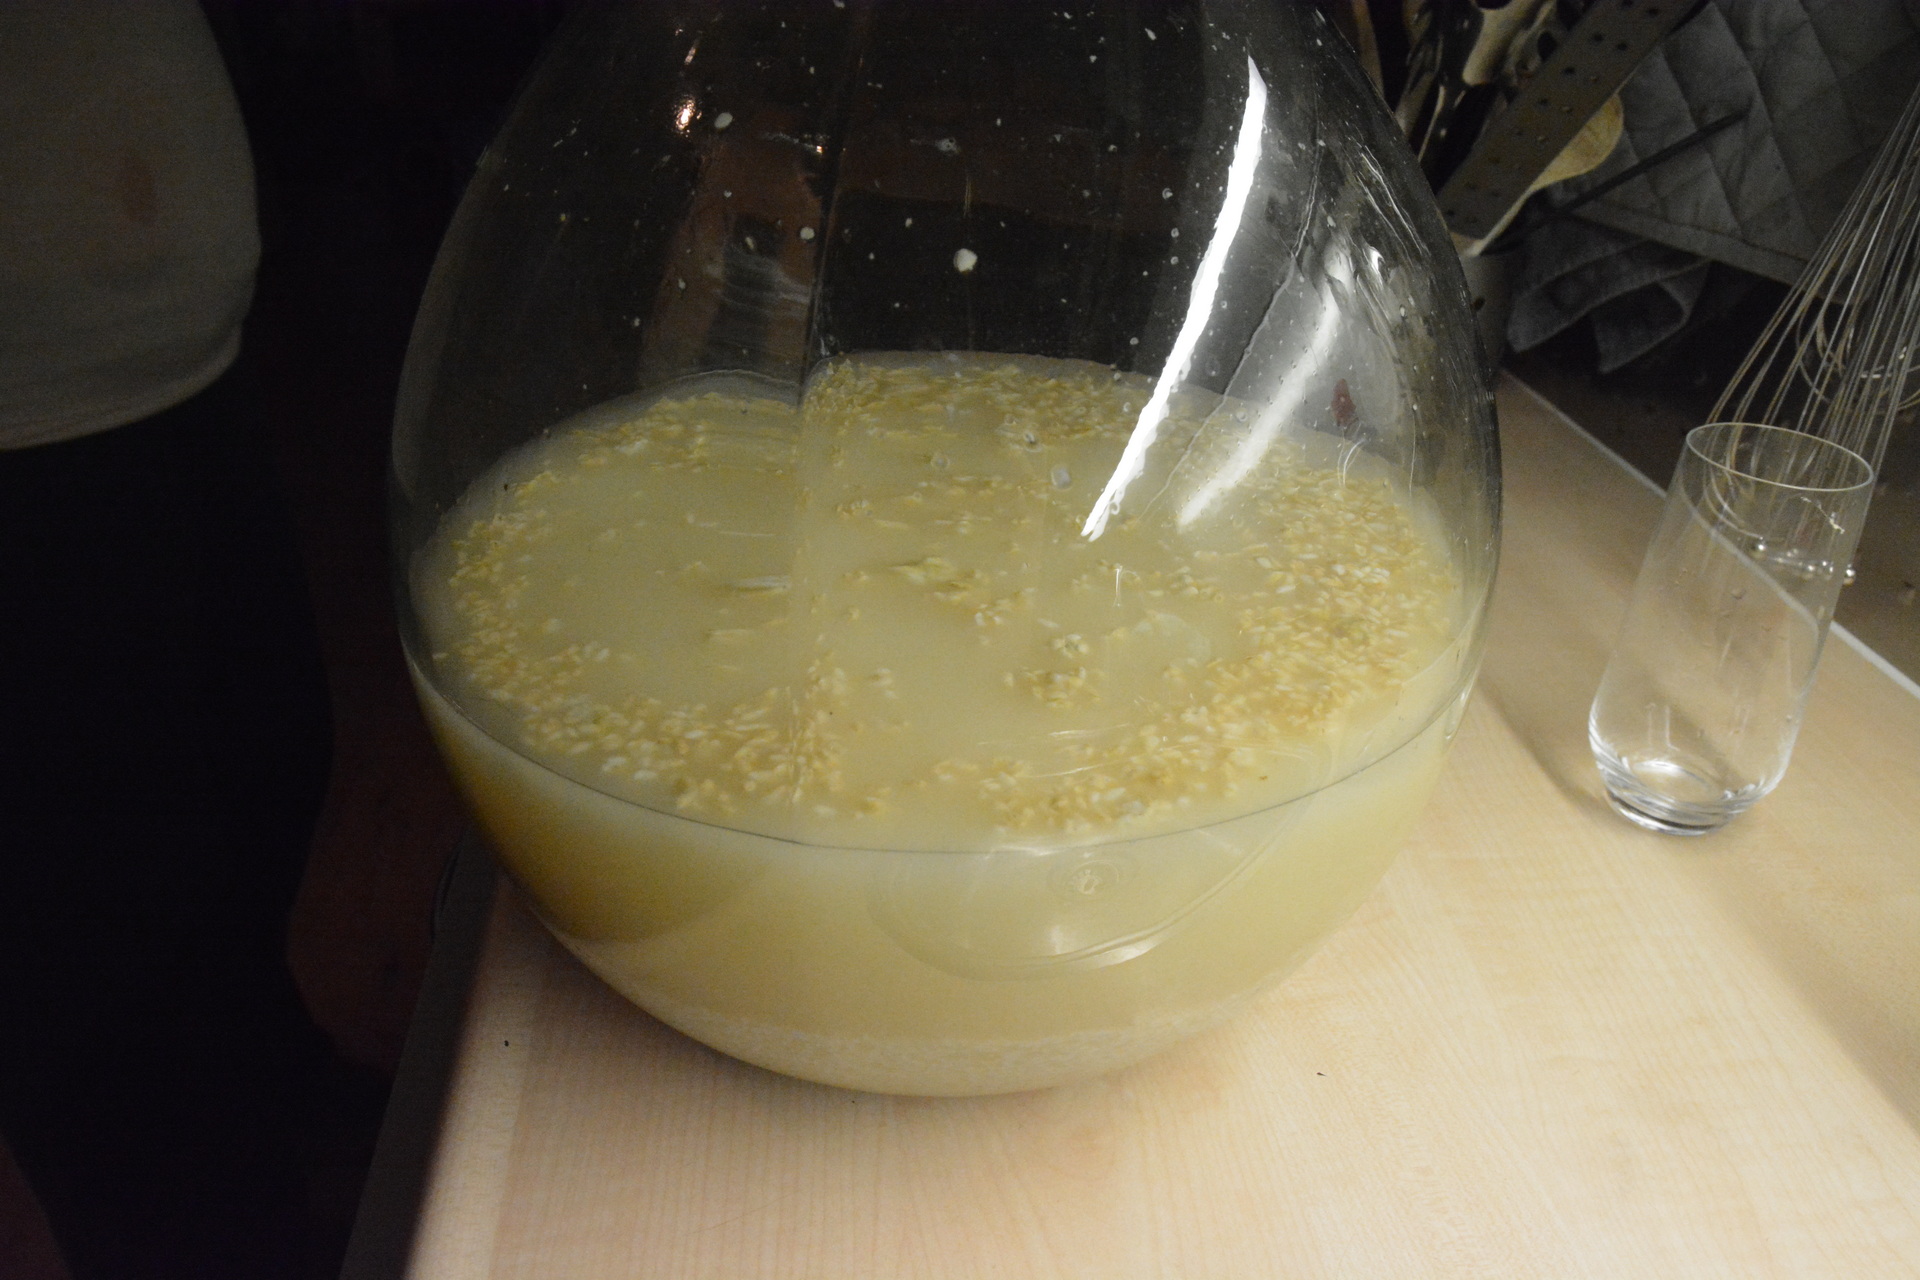
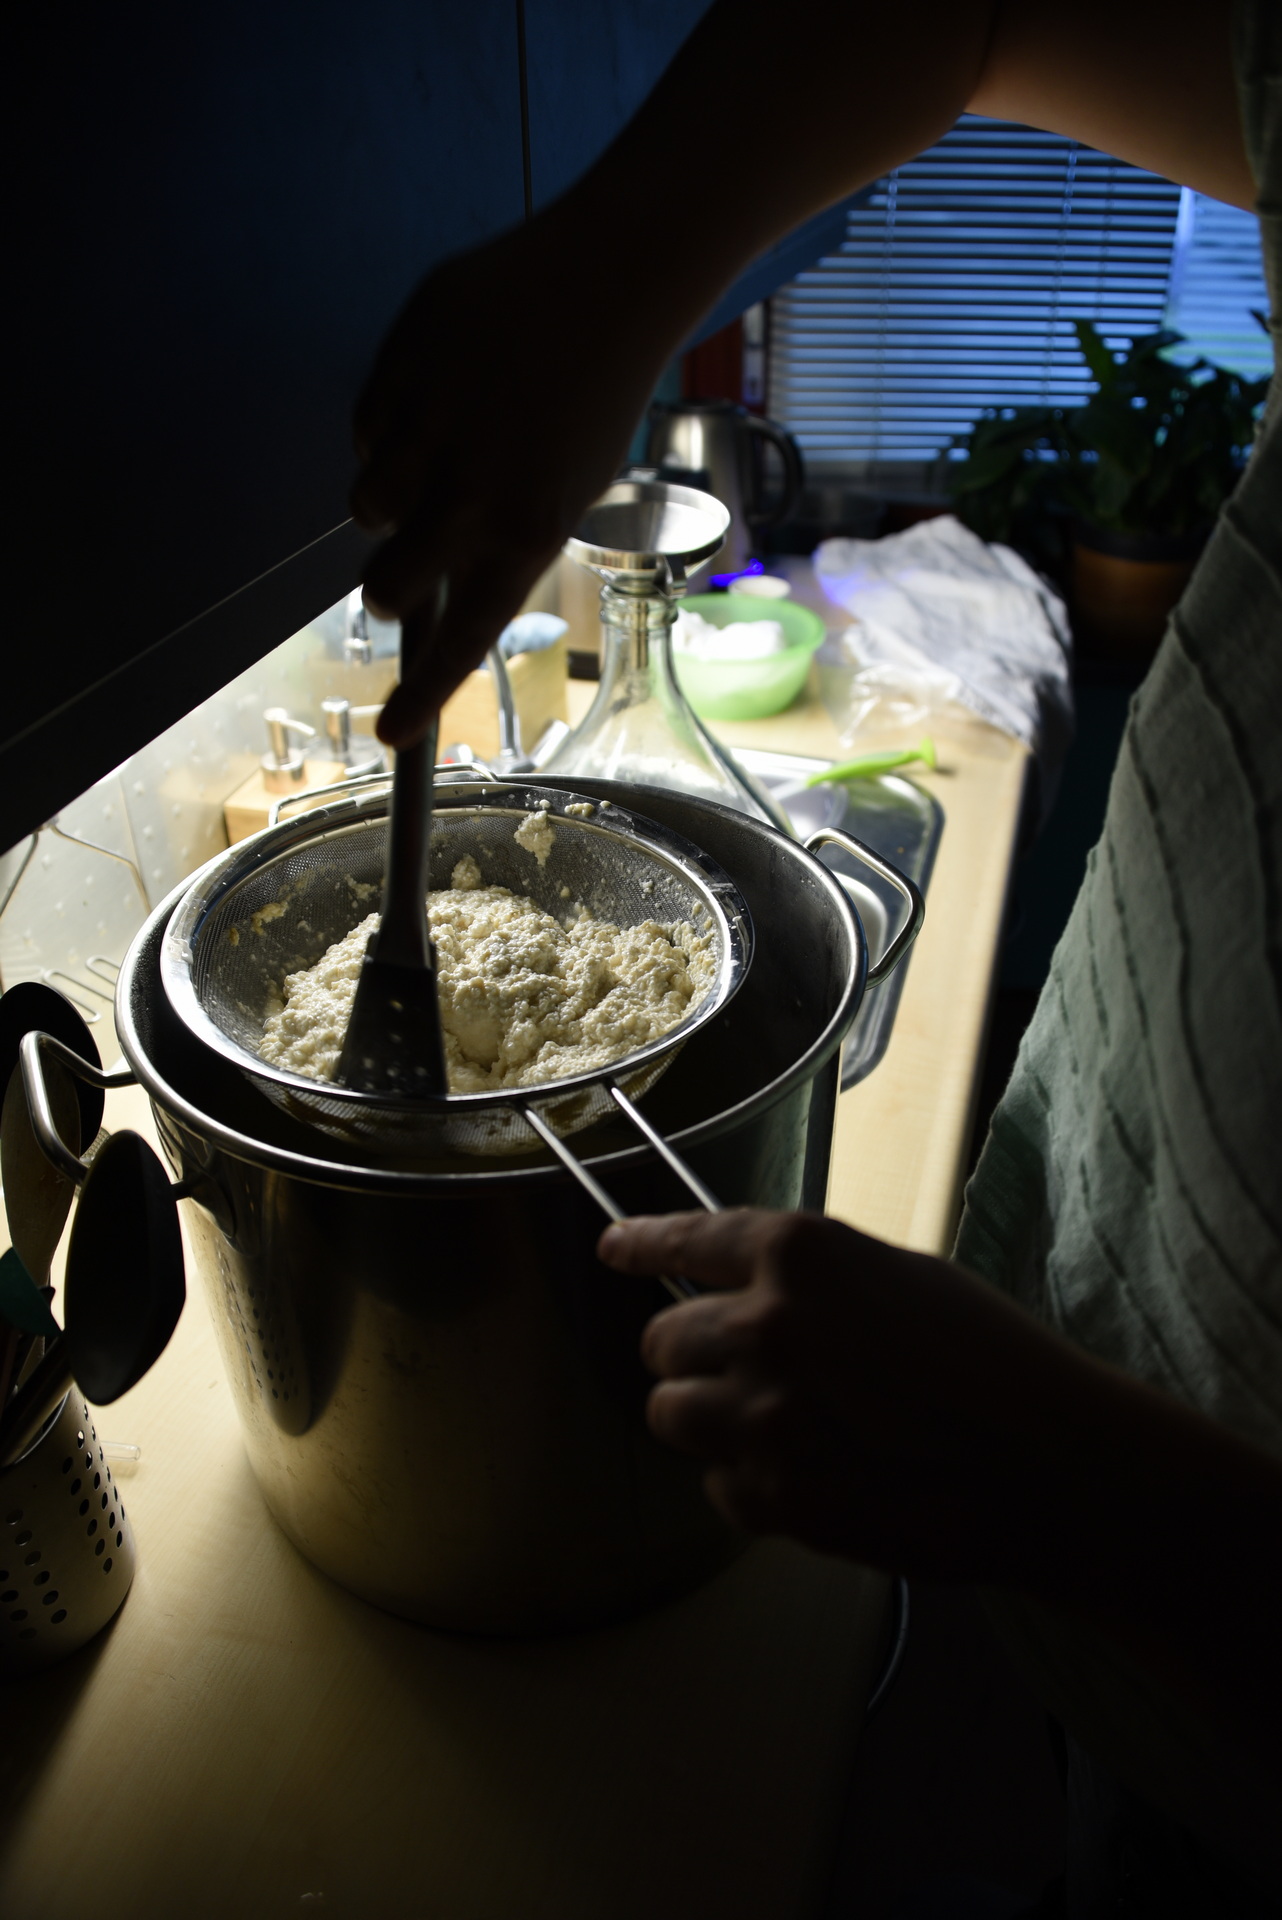
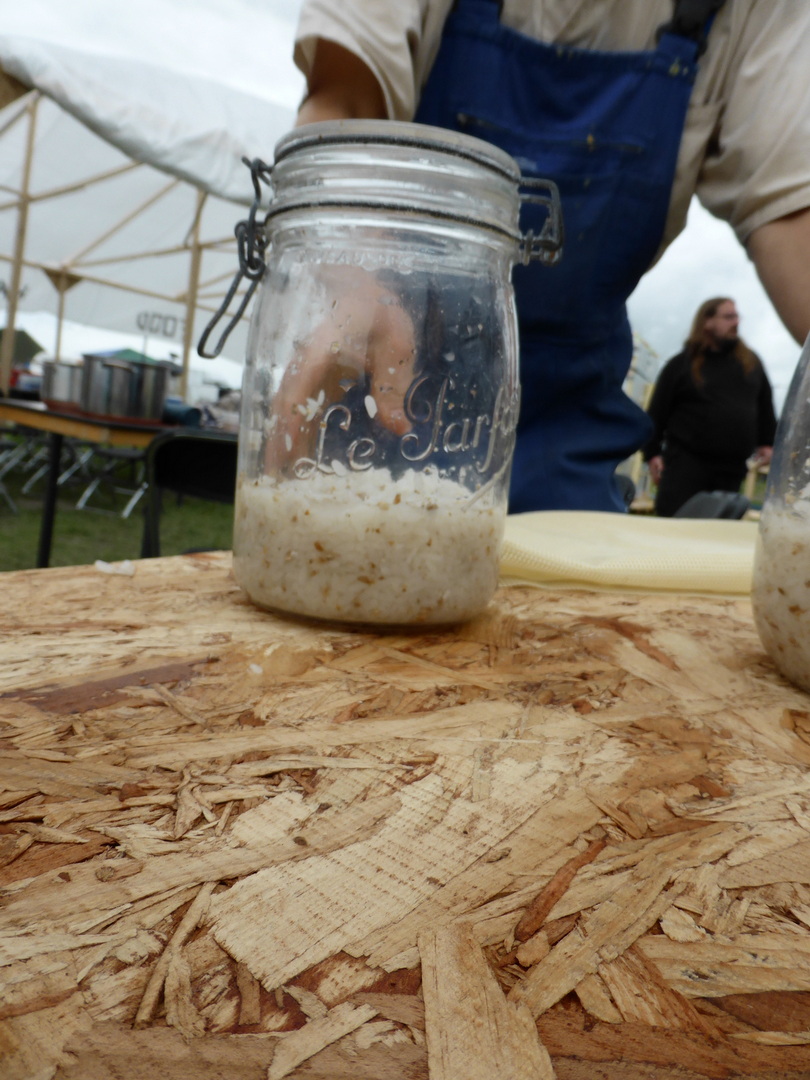
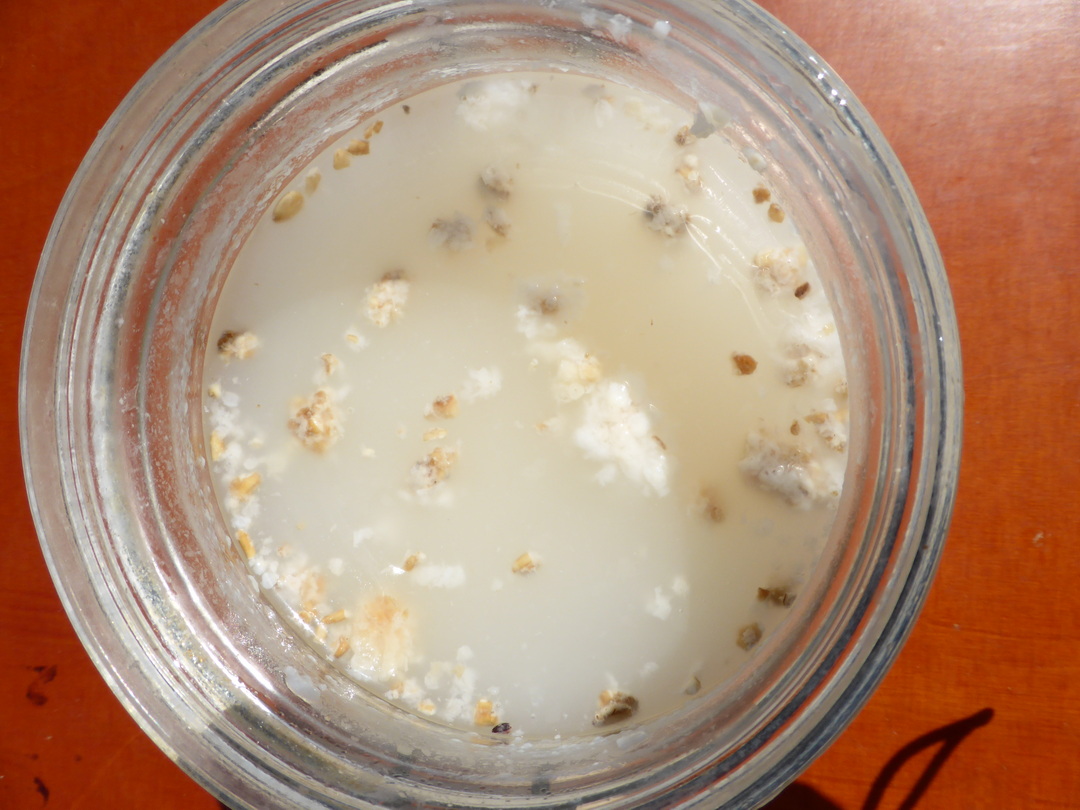
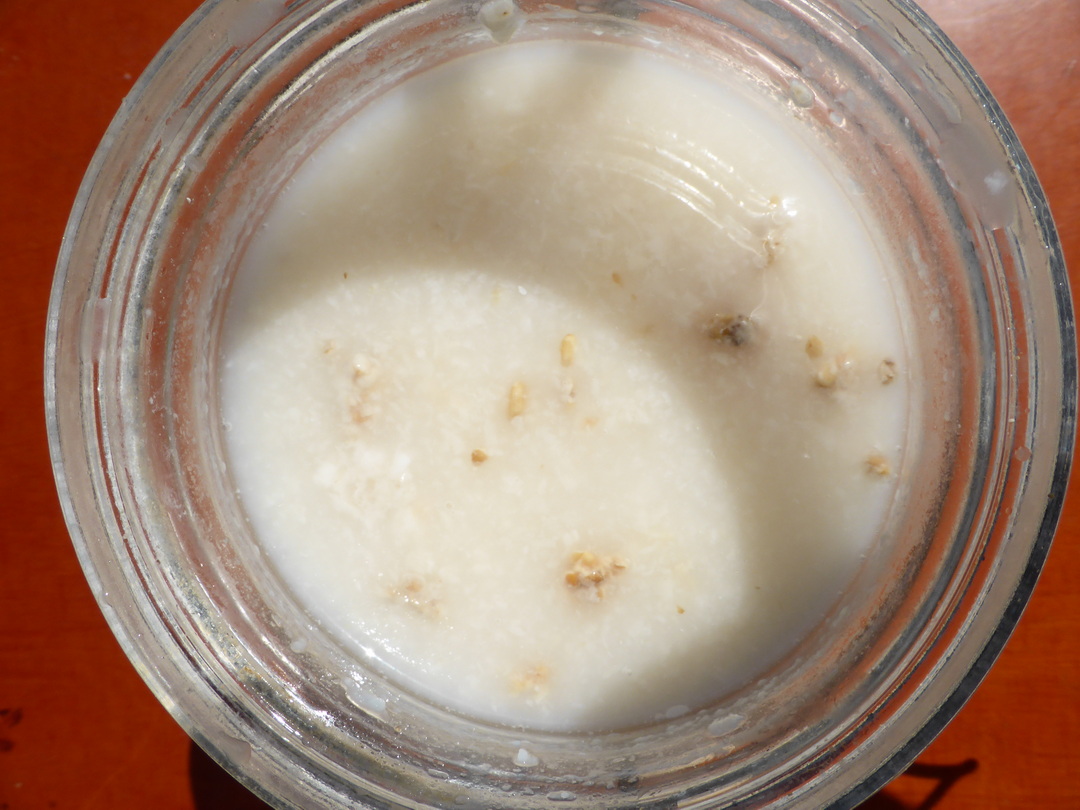
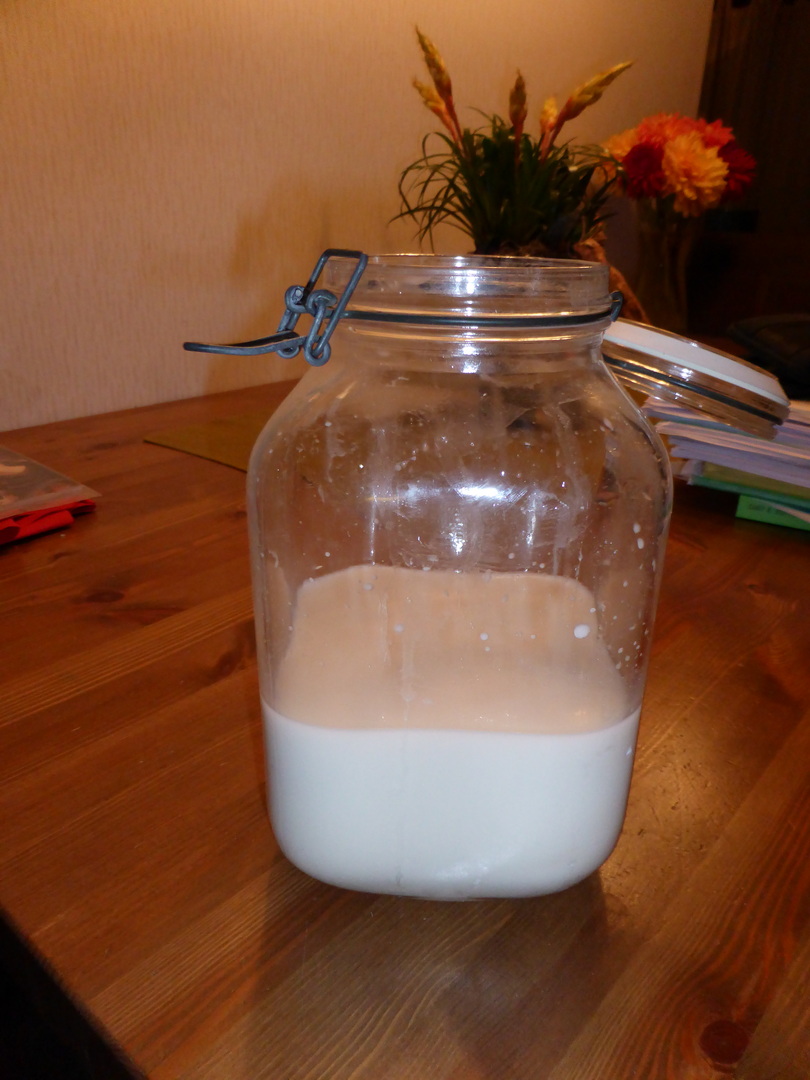
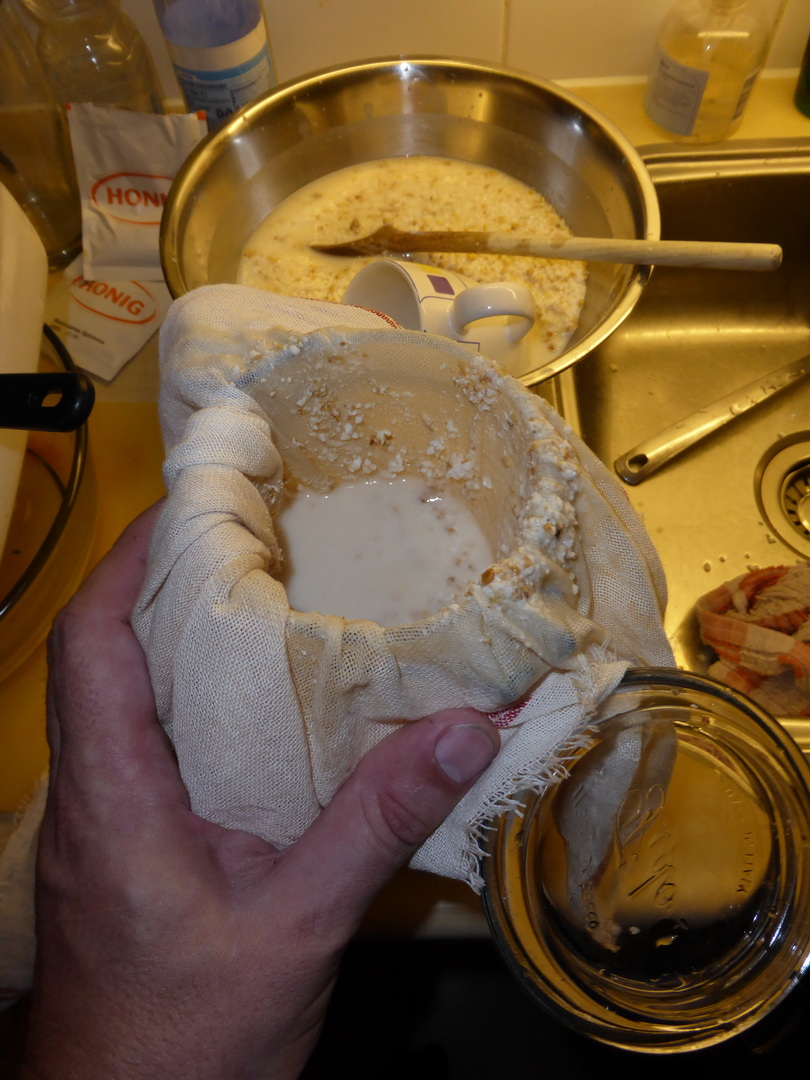
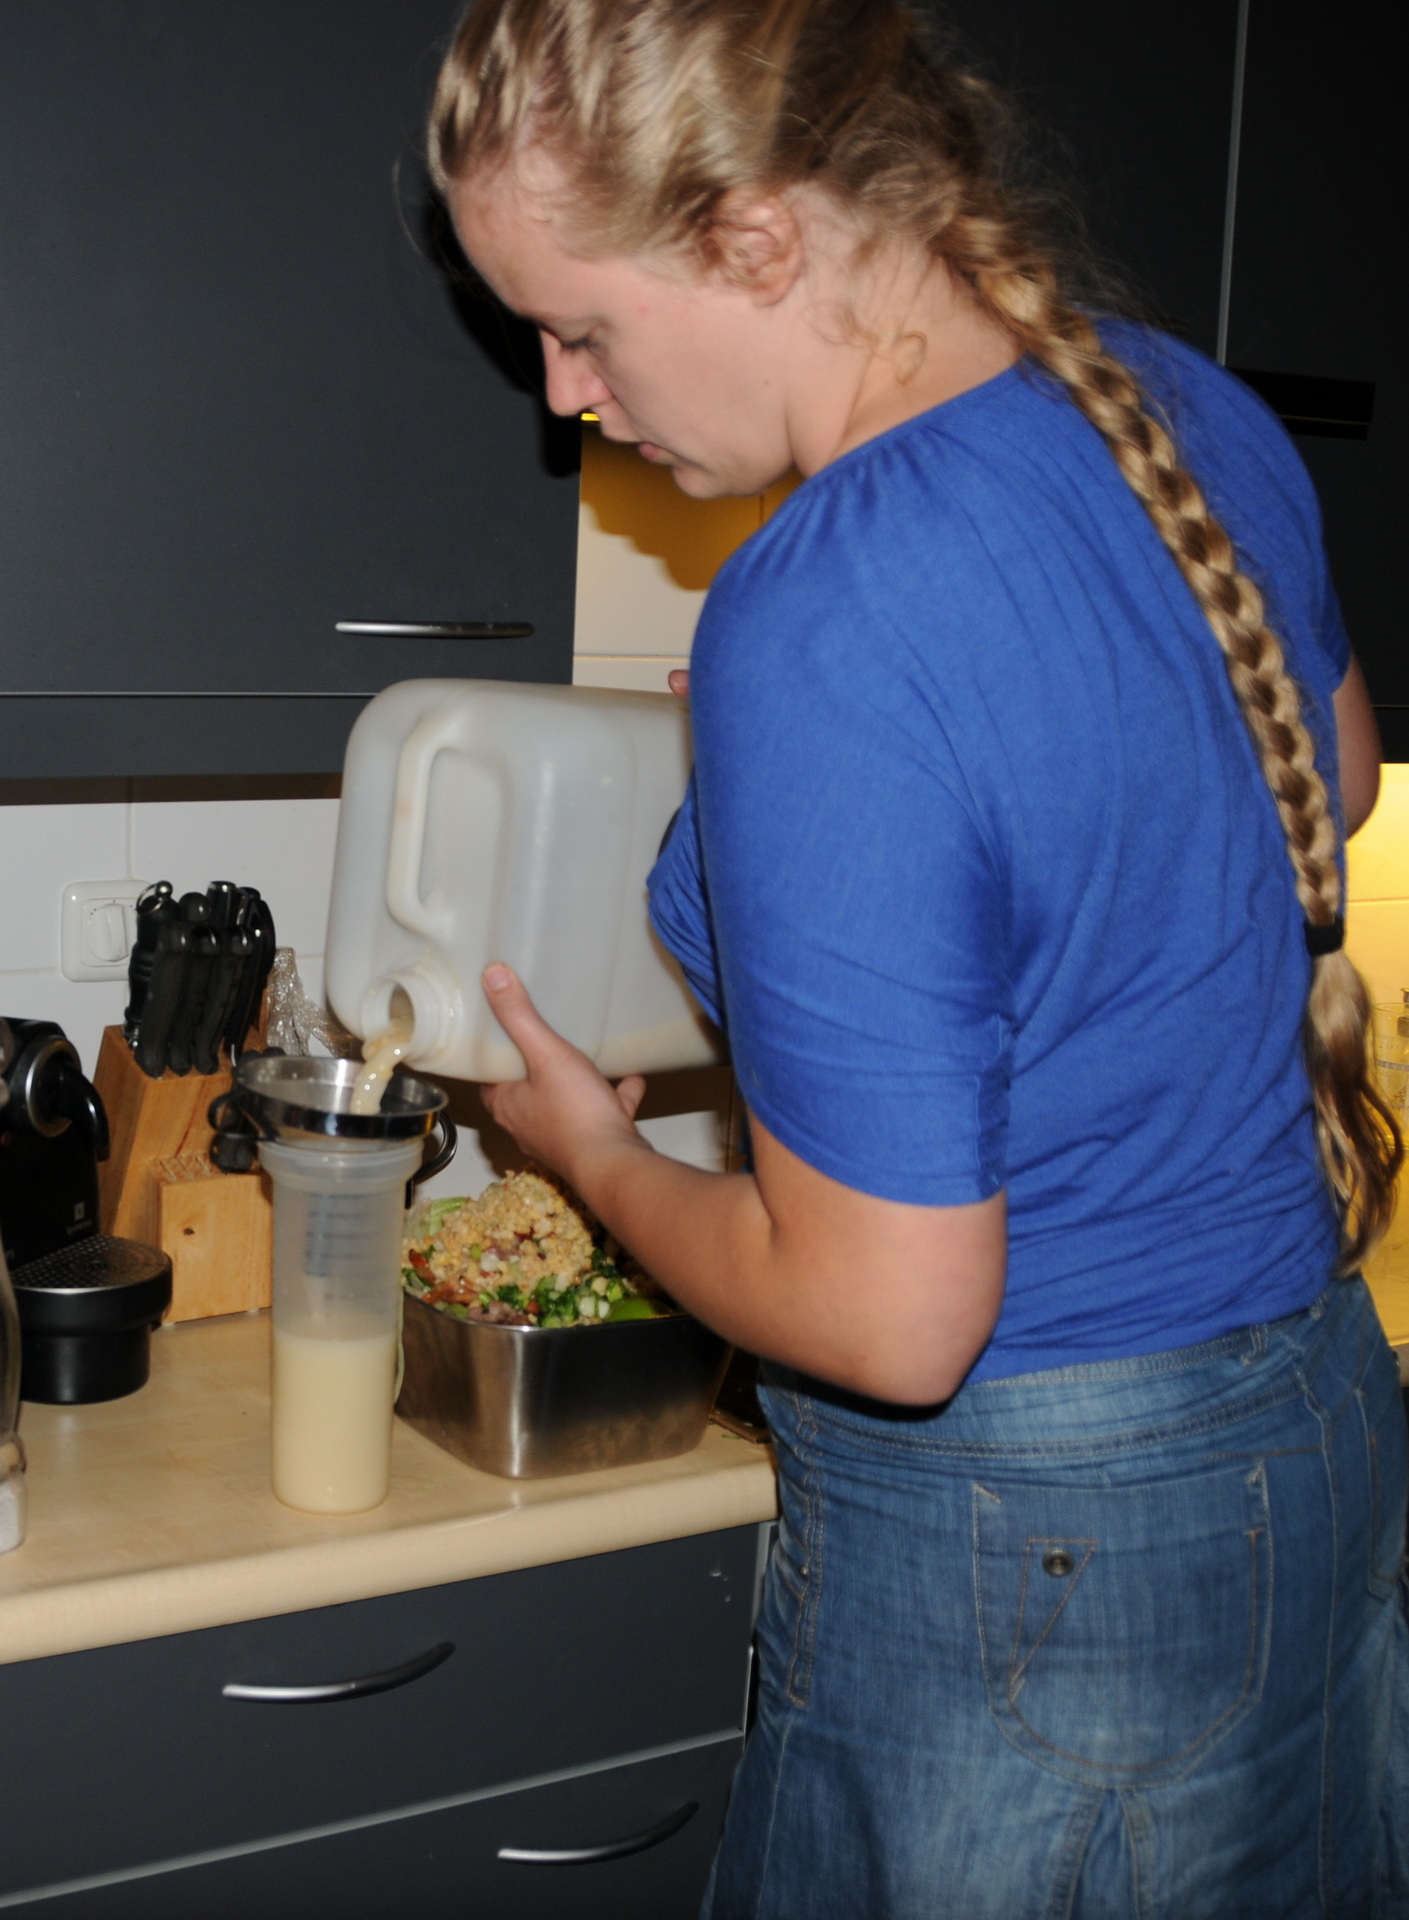
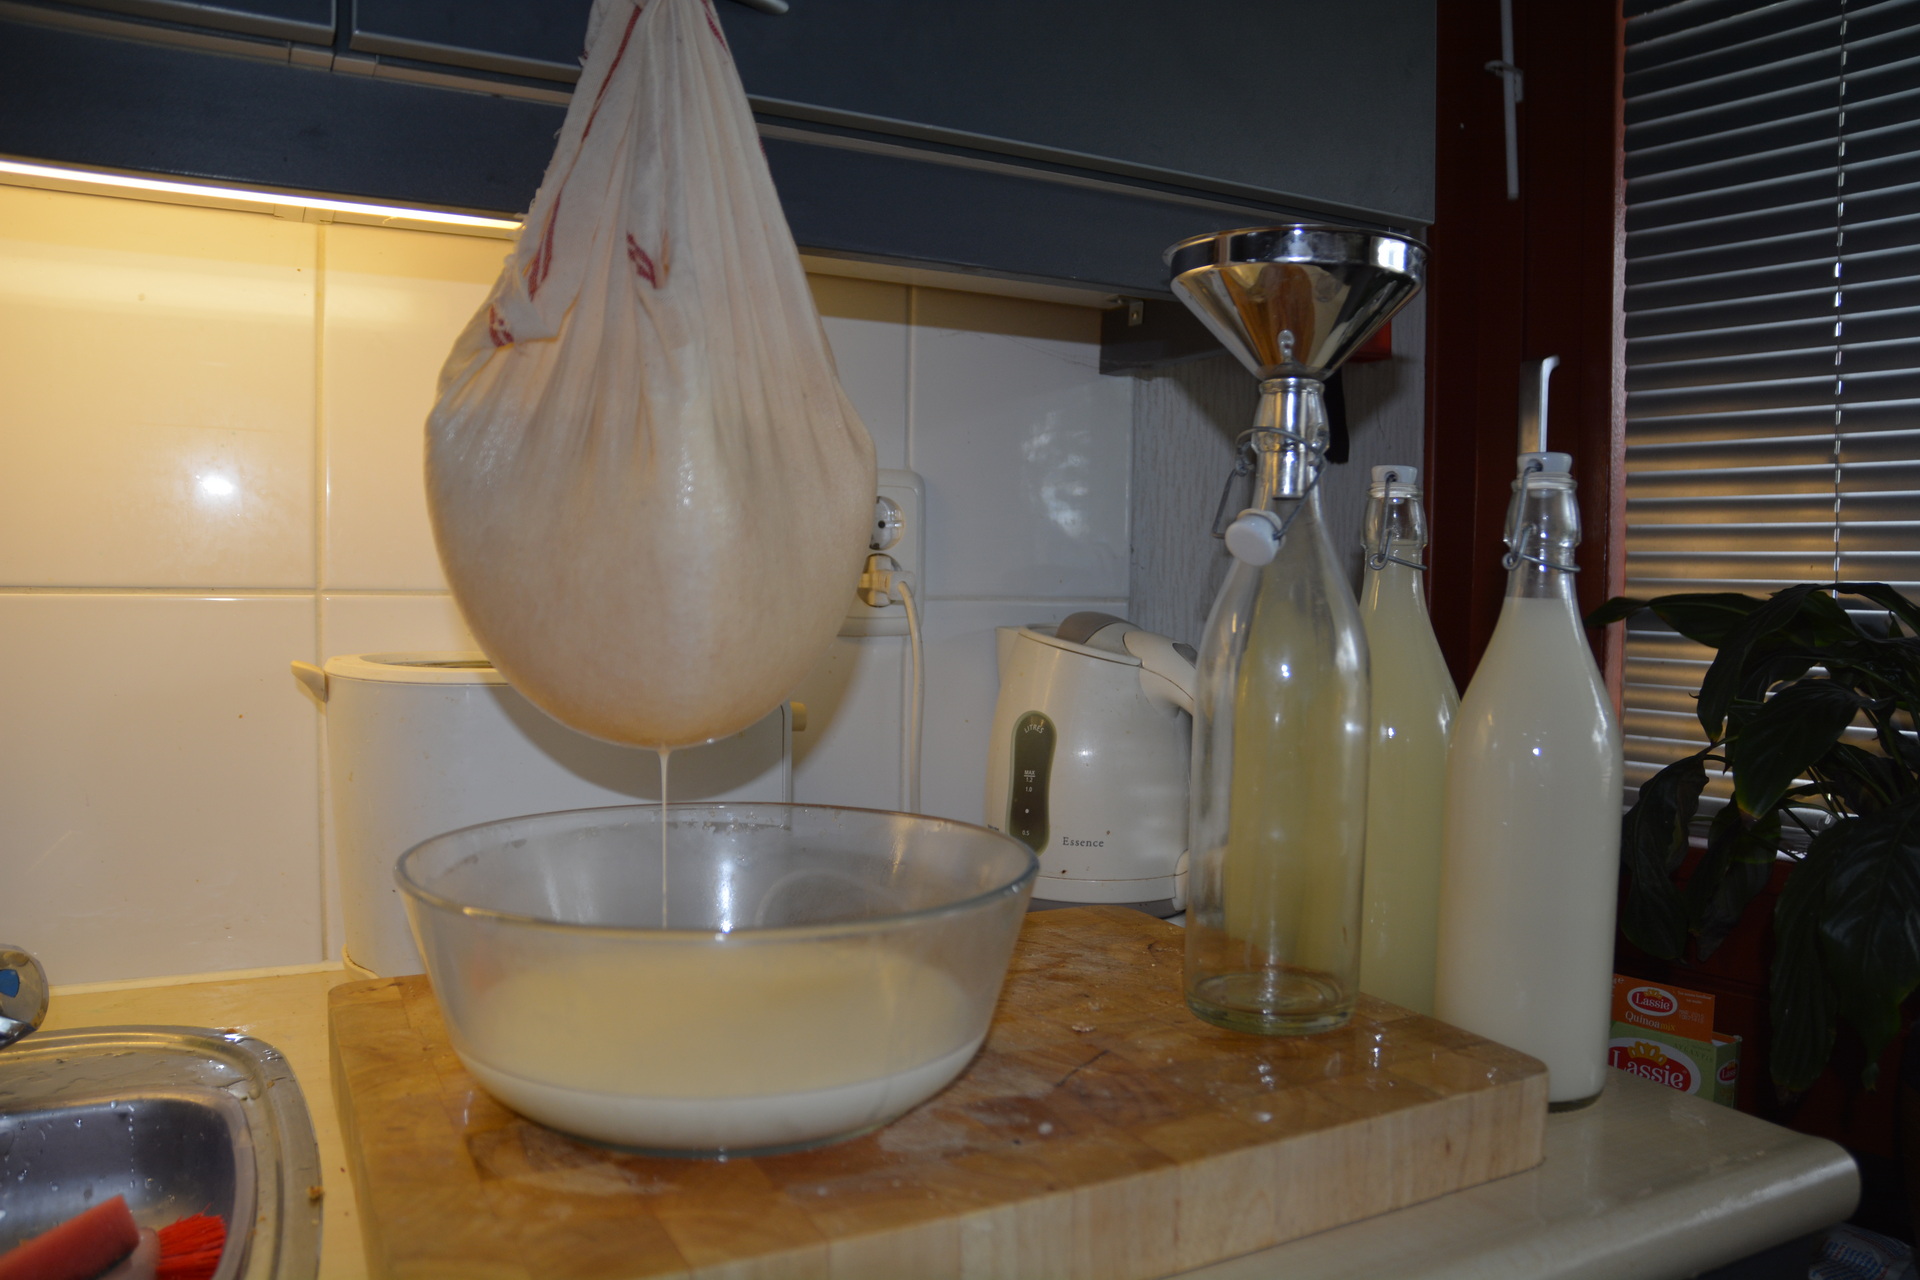
>Let to ferment with slightly "open" lid on the container for 3 days, mixing every day properly, after that let to ferment for another 3-4 days (max 5-7 days all together) and taste regularly and harvest when you feel it is right. The harvest is basically straining the mixture through the "fine straining bag" and bottling. Bottle the liquid leaving around 10-15% of the bottle to air (carbon generation can be quite vicious) and keep refrigerated.
>Anyway I hope it helps, by the way the recipe above is for single fermented makgeolli which takes in total less than 7 days and is more prone to be sour than the double fermented one.
To brew your own:
Ingredients:
Directions:
Bottling:
Serving:
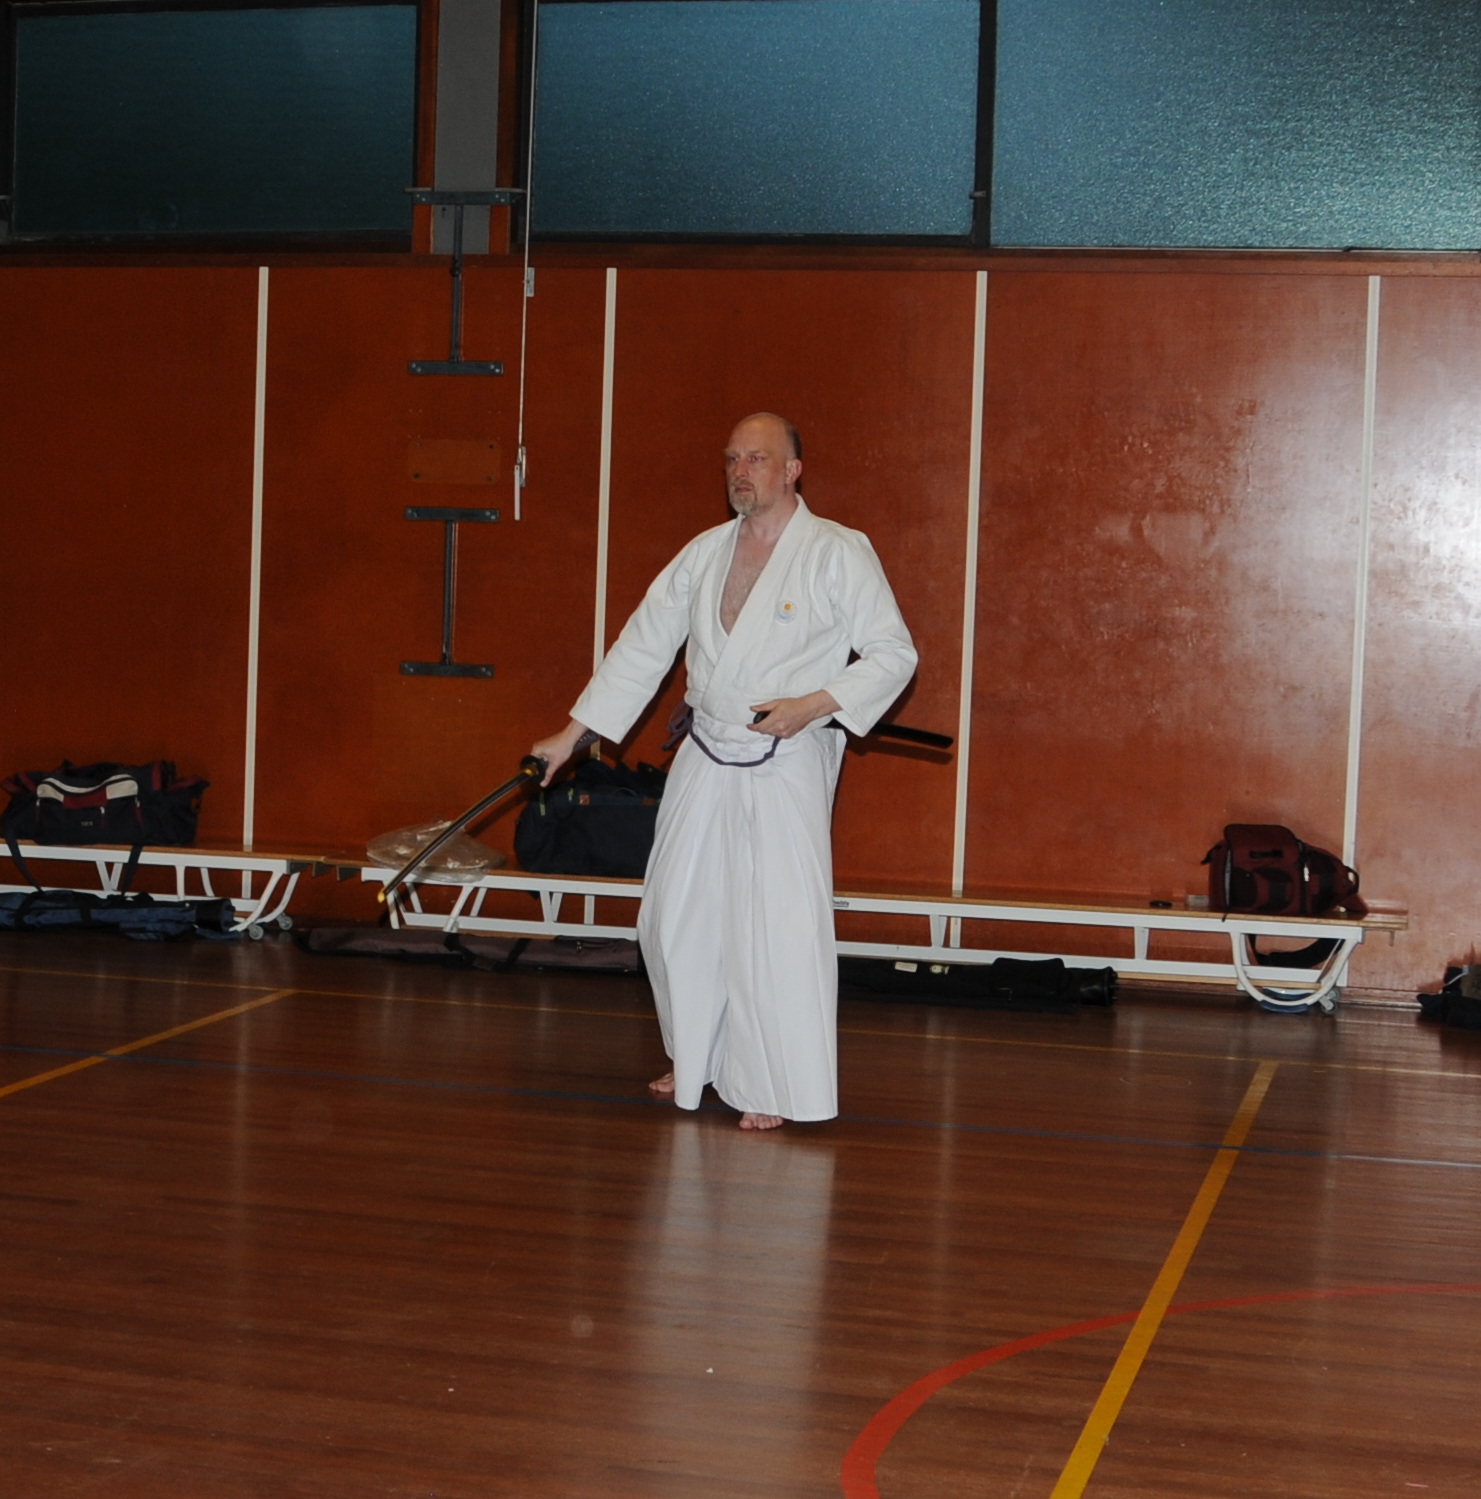
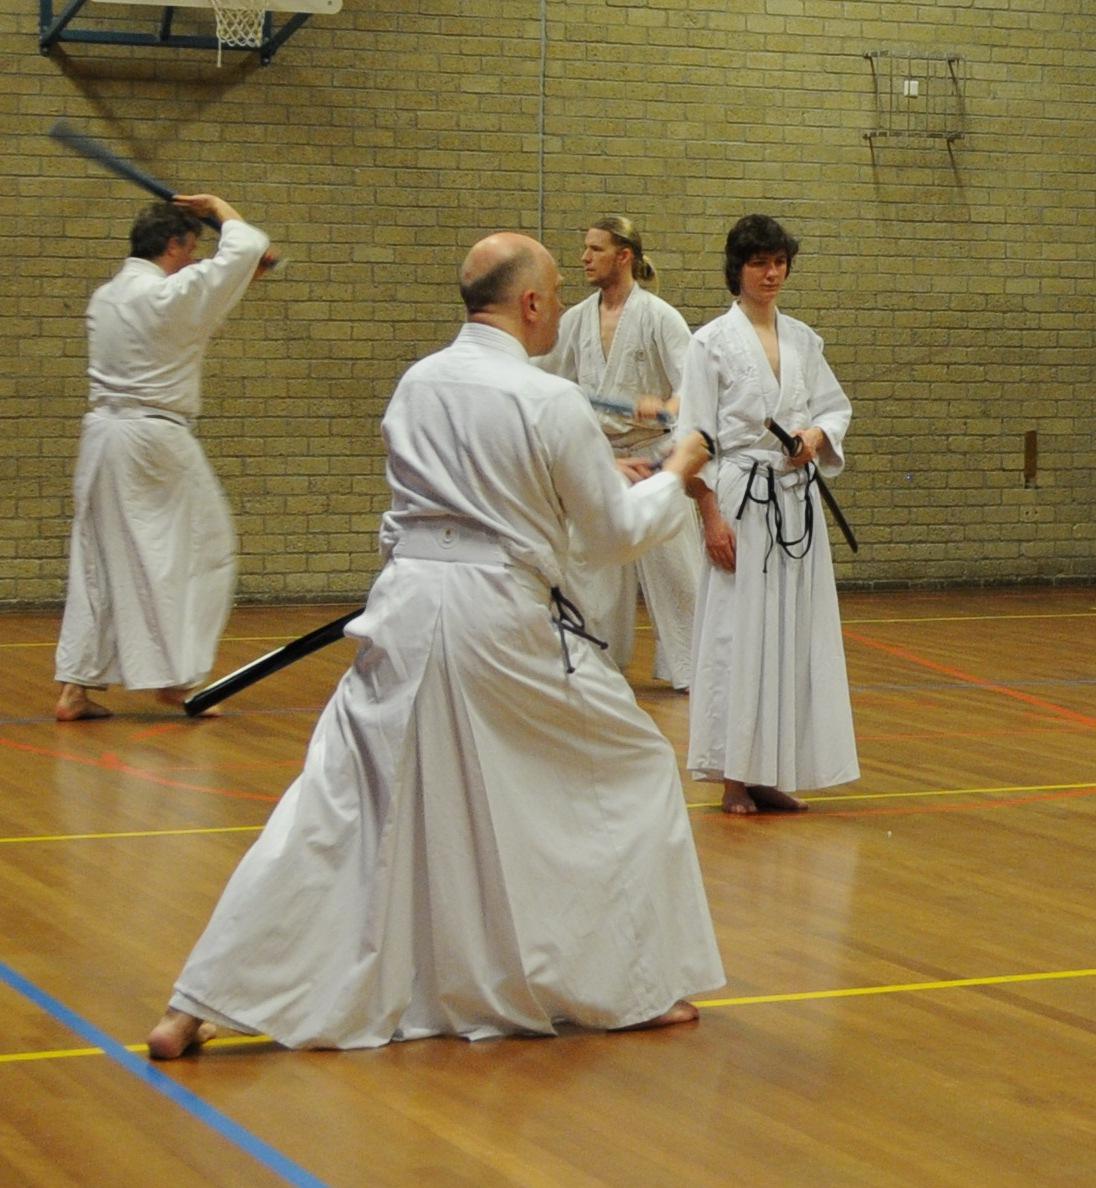
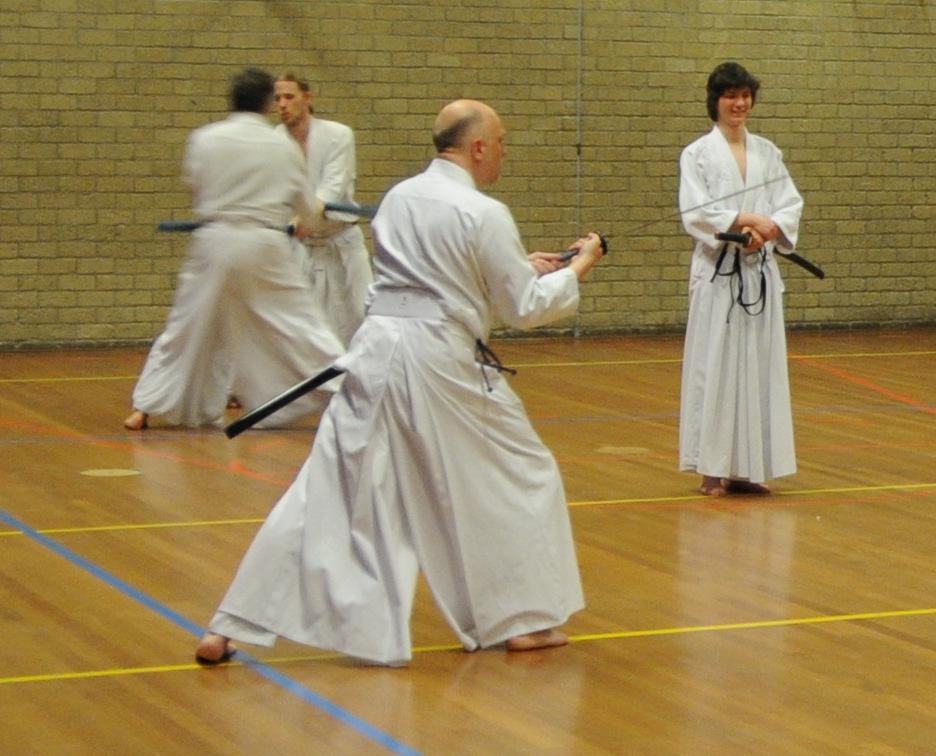
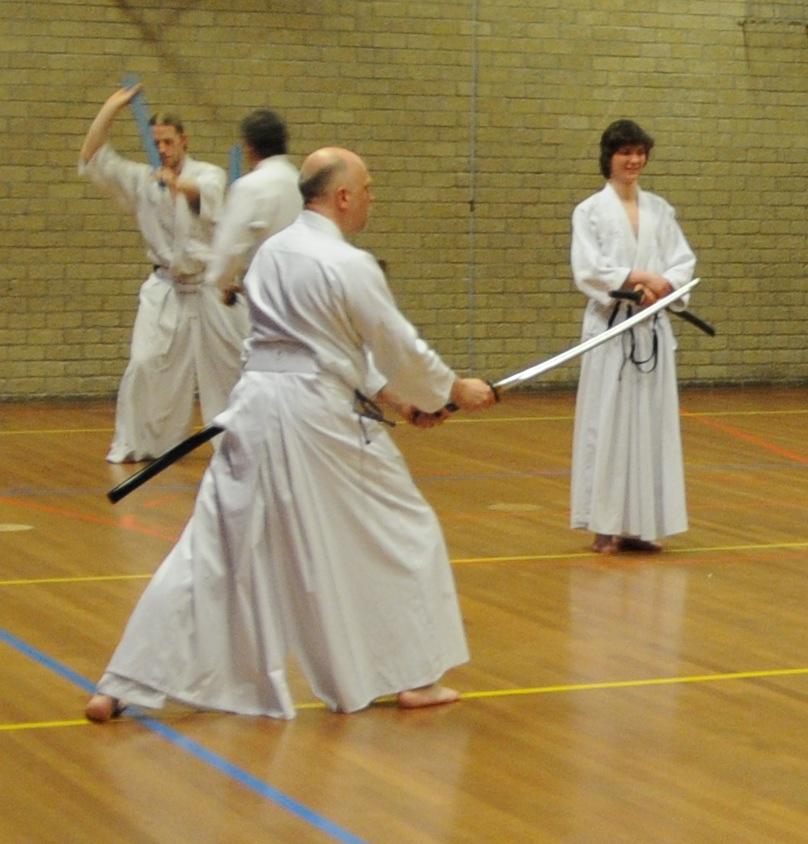
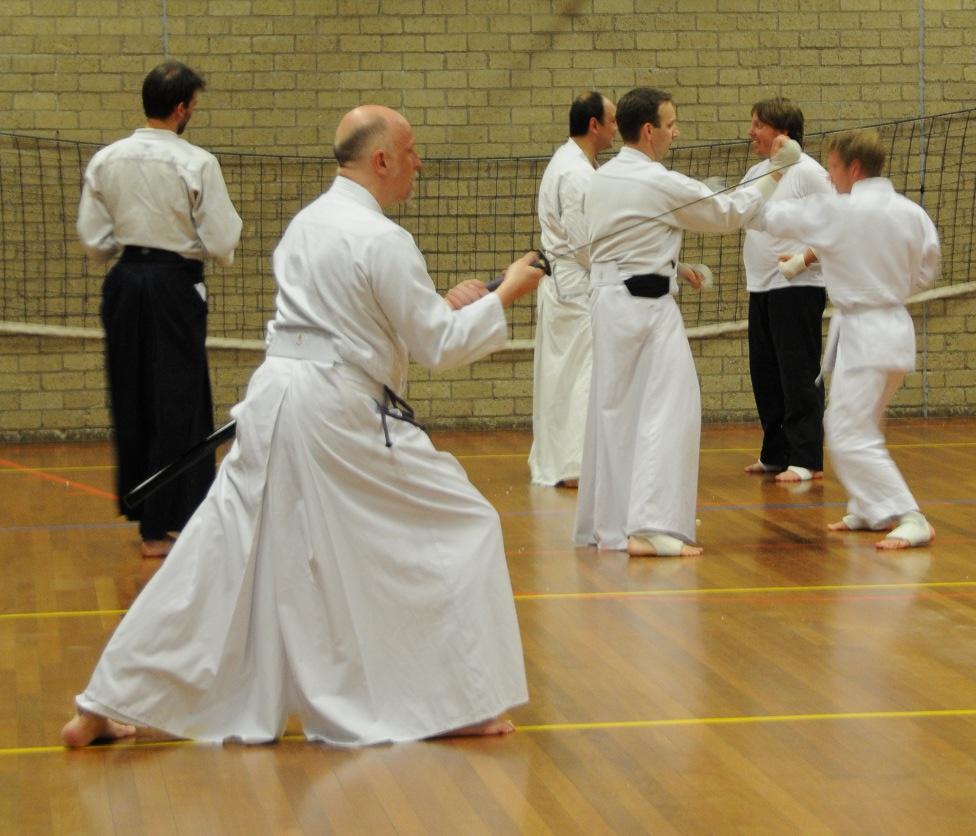
After a long pause … doing martial arts again.
I’ve studied several sports in the past, like Judo, Jiu-Jitsu, Karate, Ninjitsu.
And tried a lot of other ones .. now Iaido
( Kungfu , Bojitsu, Nunchaku-do and Hojōjutsu )
Found more


(2011) Second or third time making sake.
UPDATE: 20140914 Making sake again
UPDATE: 20170611 Making sake again
See also : https://www.henriaanstoot.nl/2013/08/02/makgeolli-2/
Rice you should use: Shuzo Kotekimai or Sakamai


One of the first recipes i’ve used was this one: (Google translated)
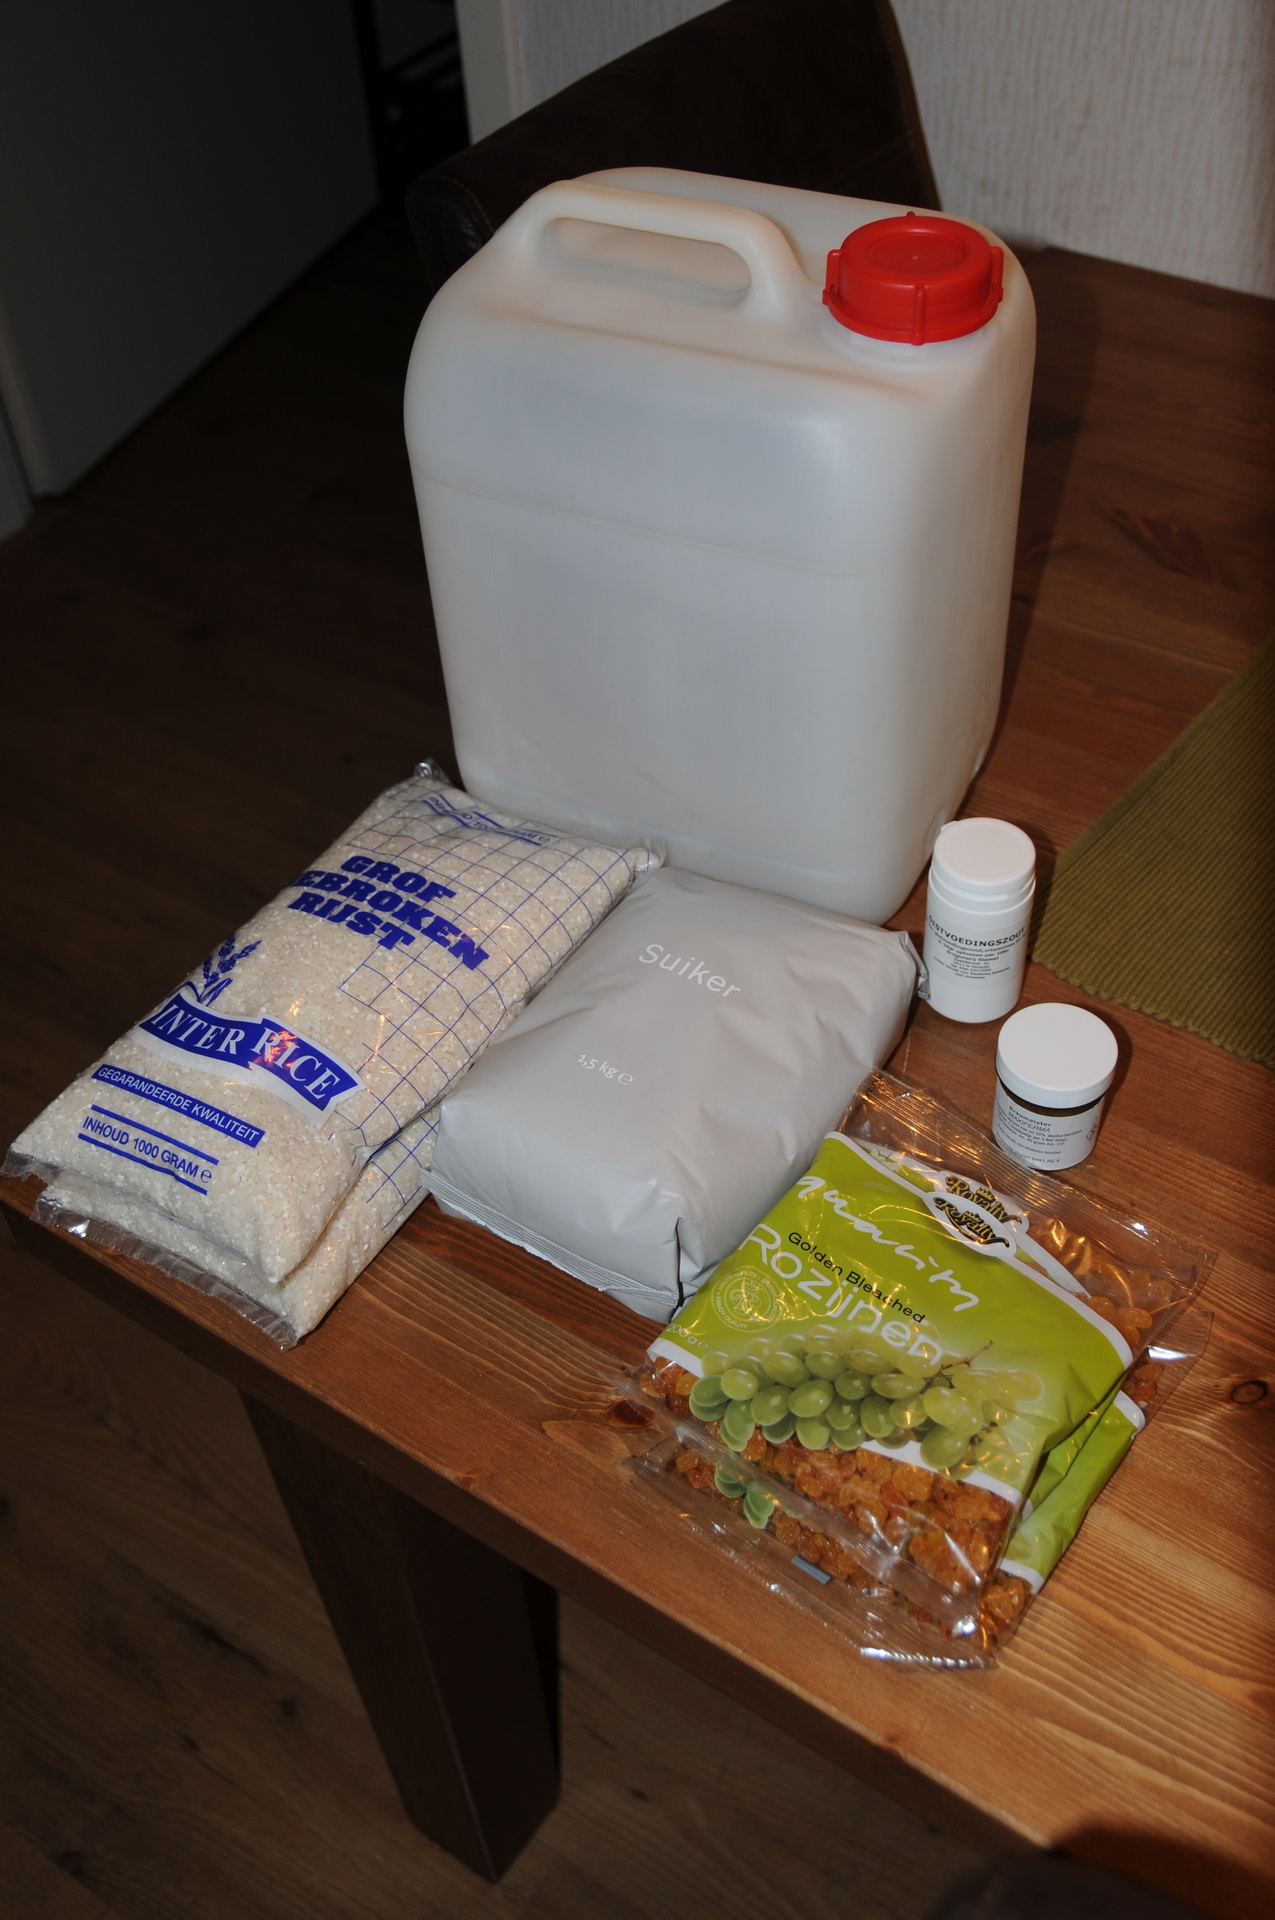
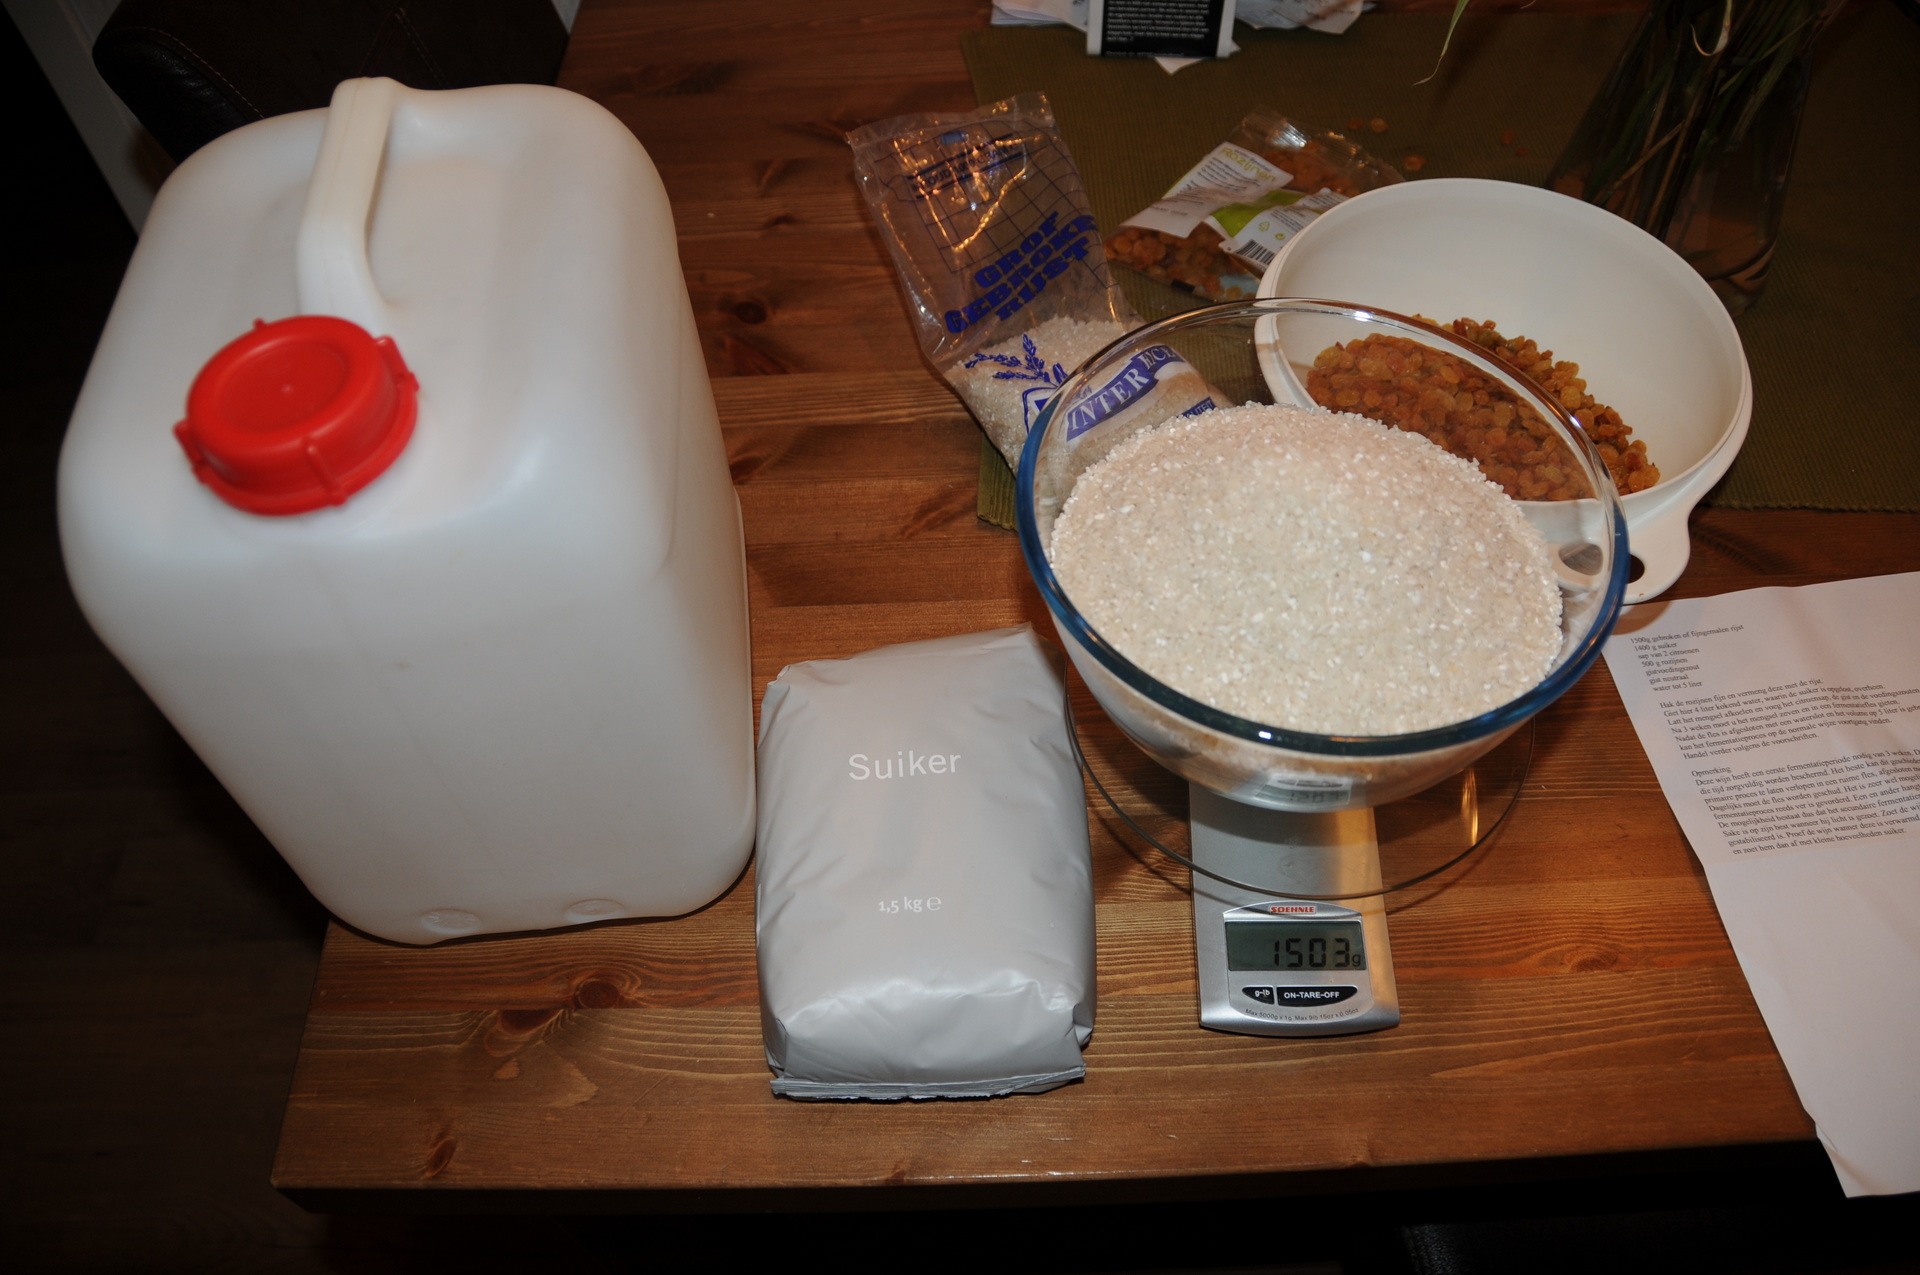
1500g broken or finely ground rice
1400 grams of sugar
juice of 2 lemons
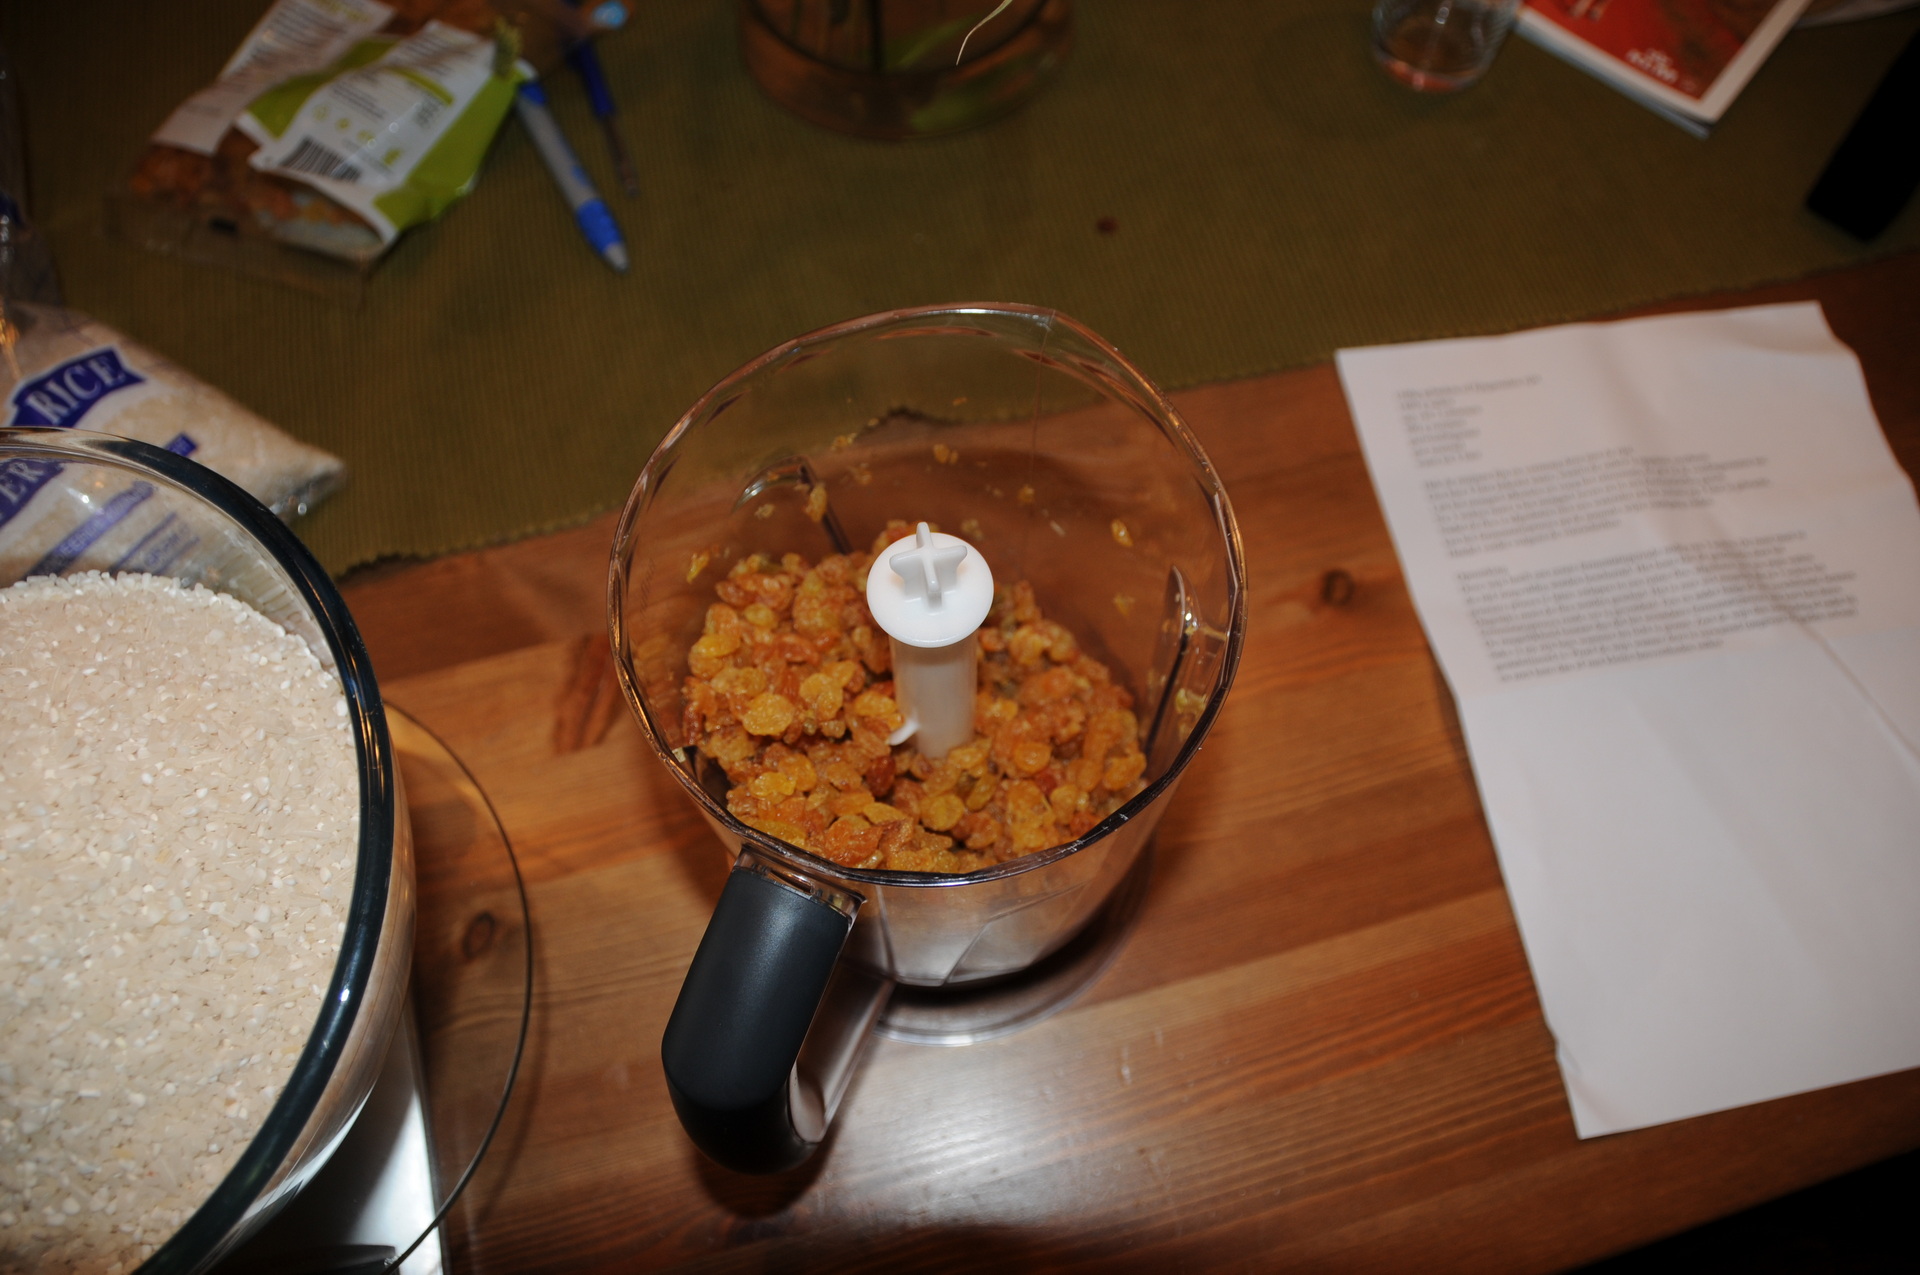
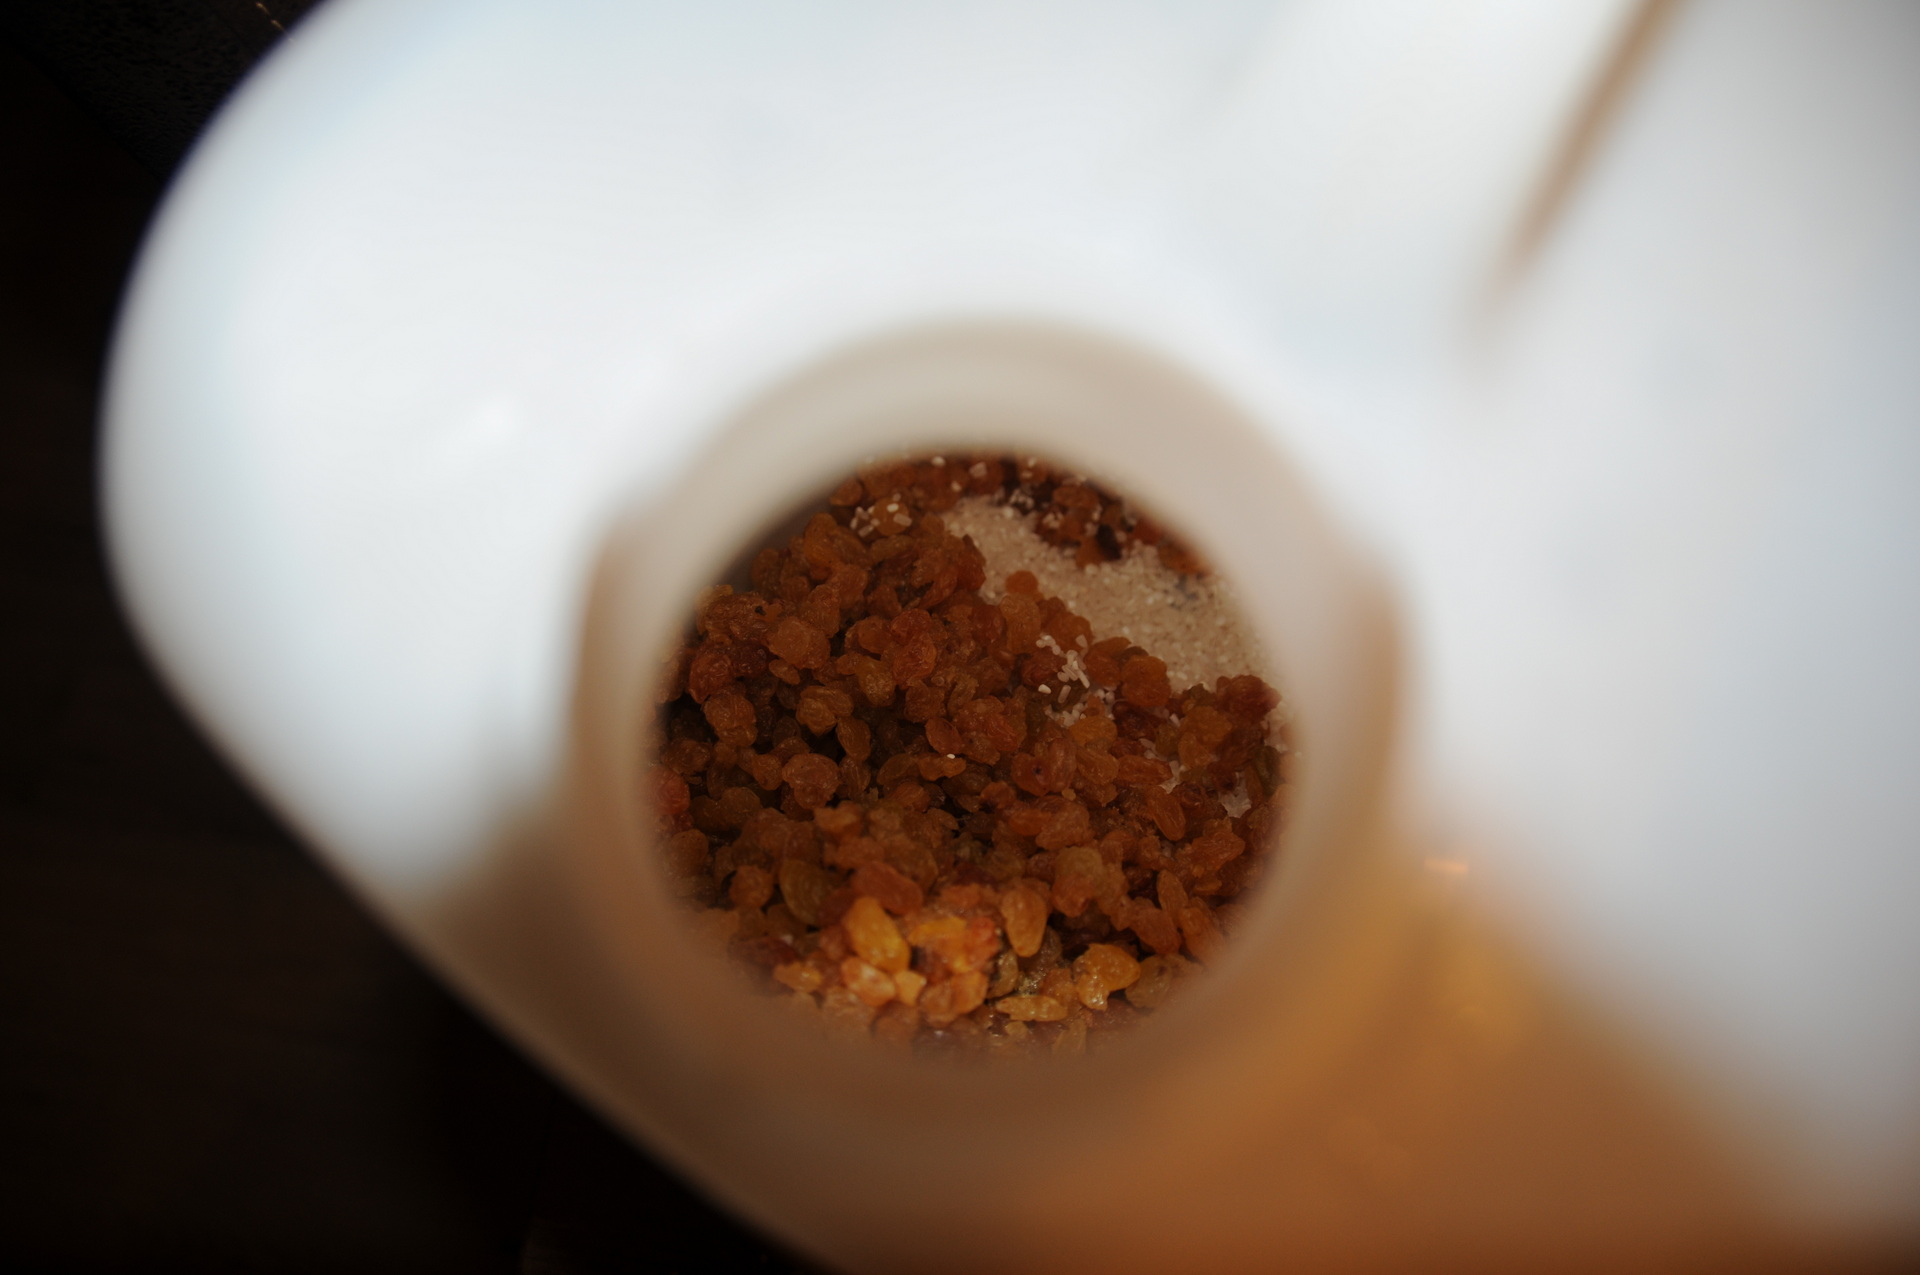
500 g of raisins
yeast nutrient salt
yeast neutral
water up to 5 liters
Finely chop the raisins and mix them with the rice.
Pour 4 liters of boiling water, in which the sugar has been dissolved, over this.
Let the mixture cool and add the lemon juice, yeast and nutrient salts.
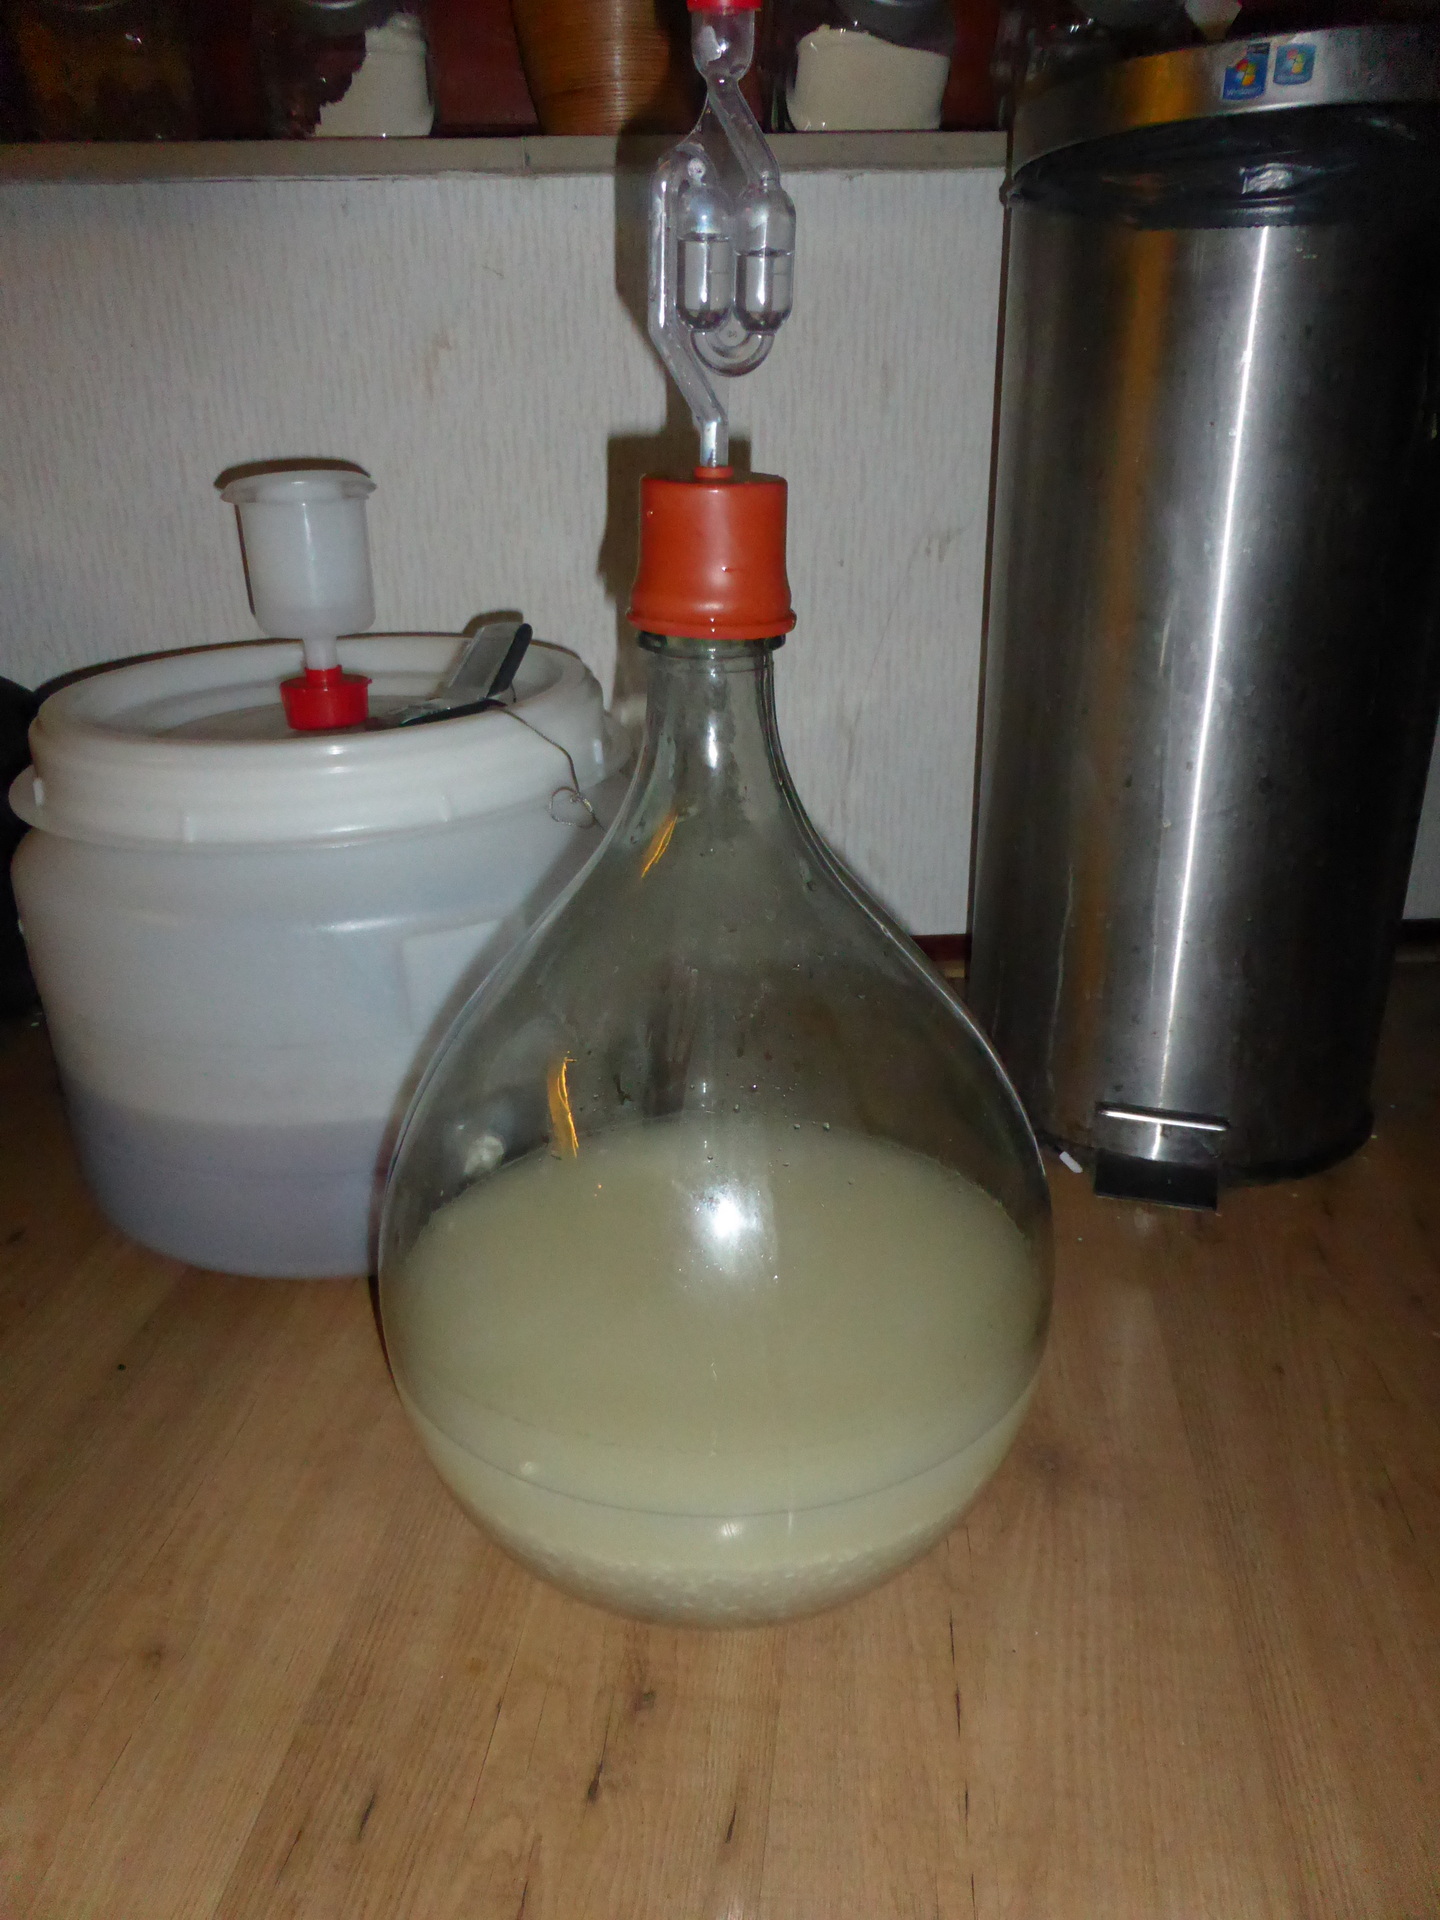
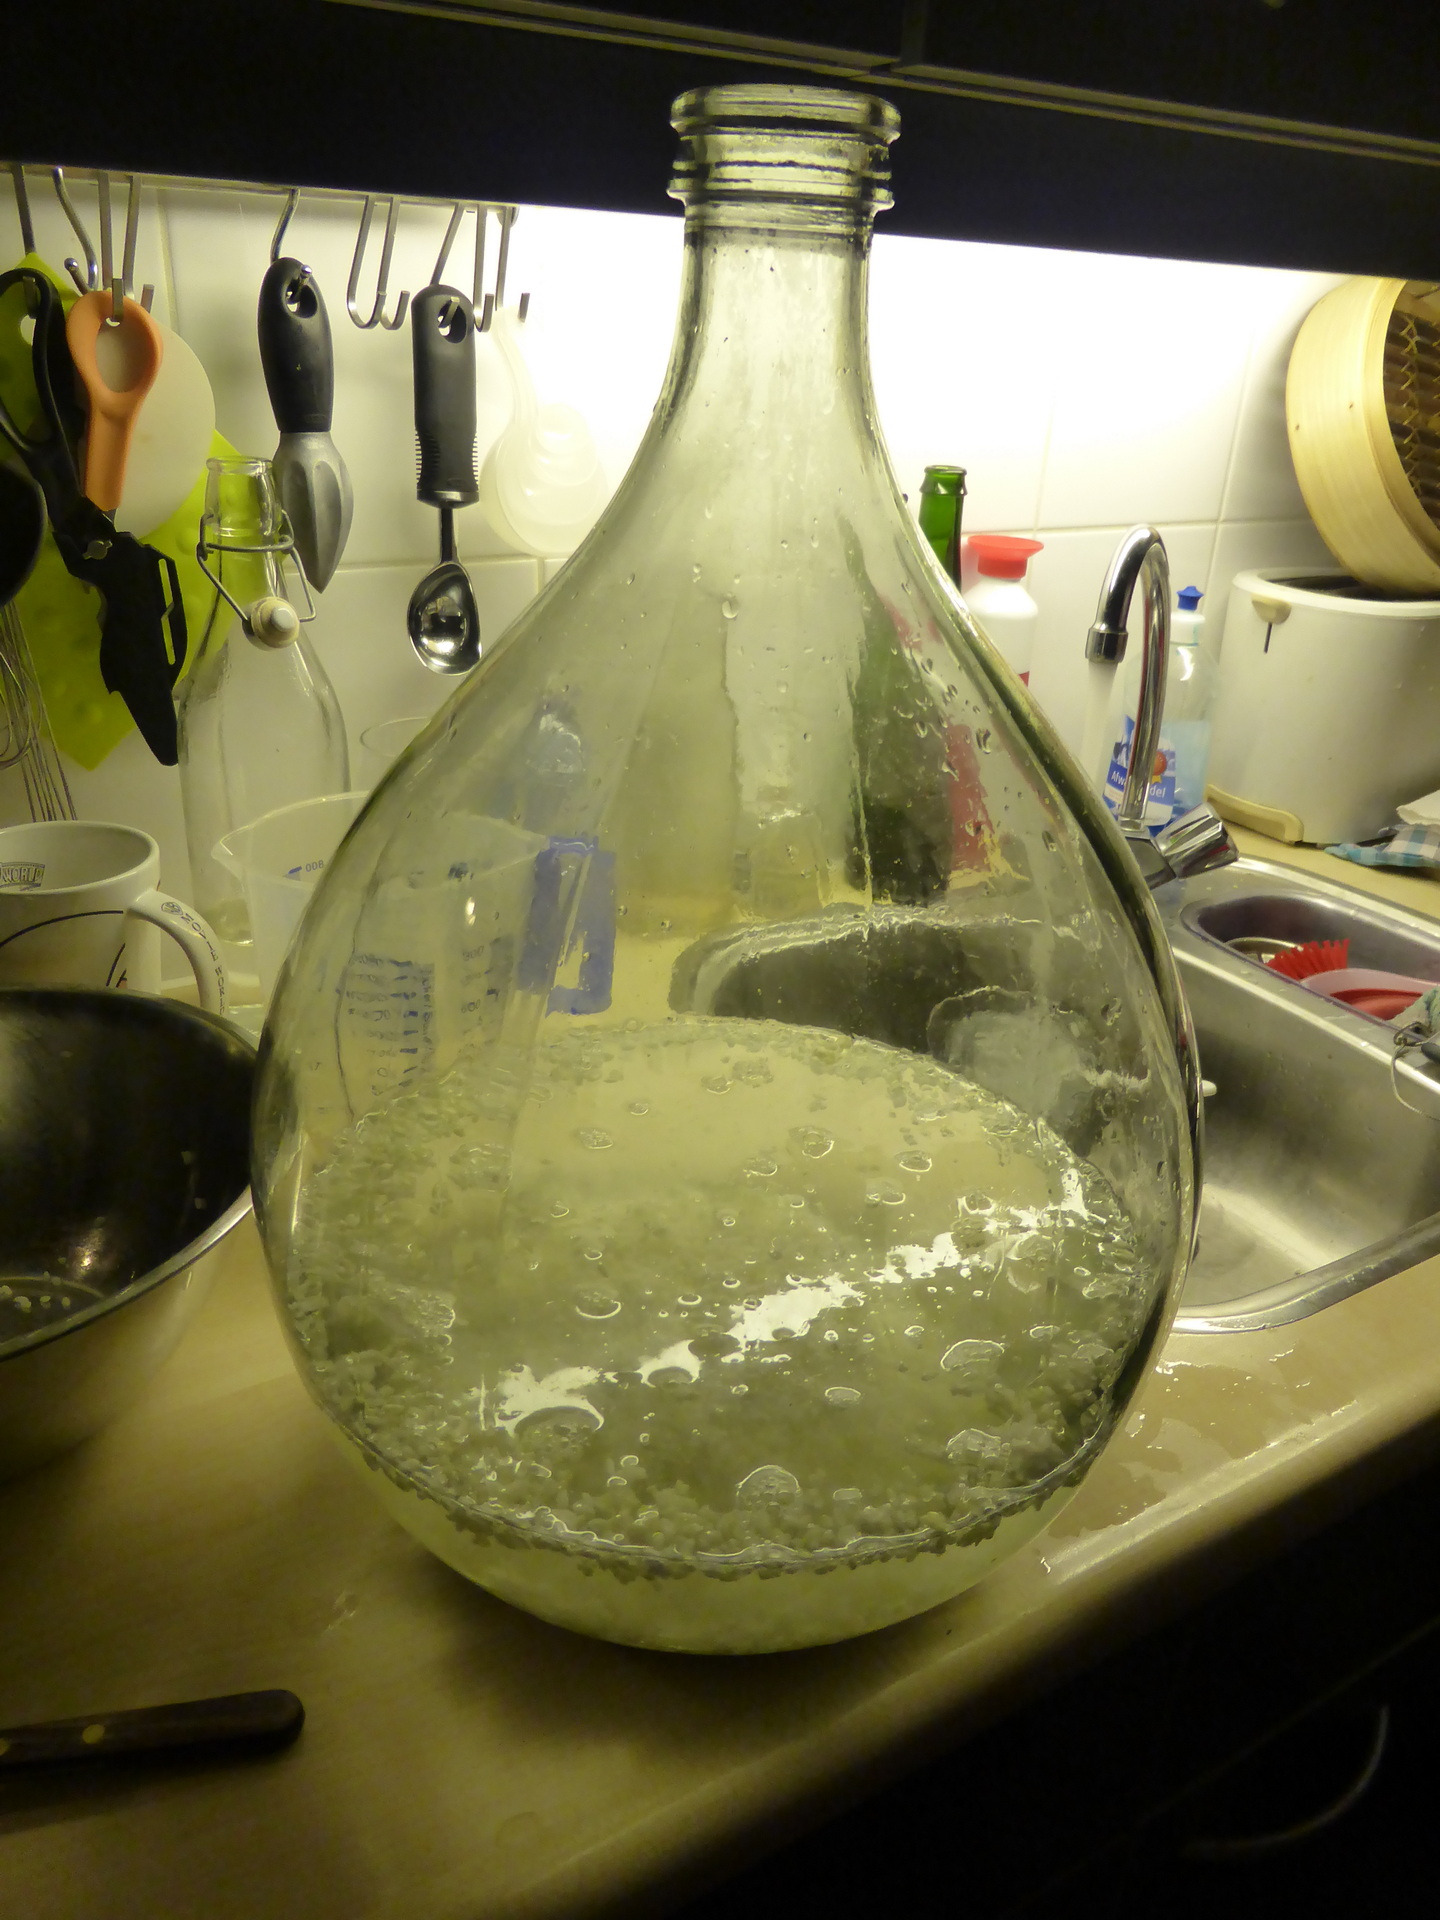
After 3 weeks, you need to strain the mixture and pour it into a fermentation bottle.
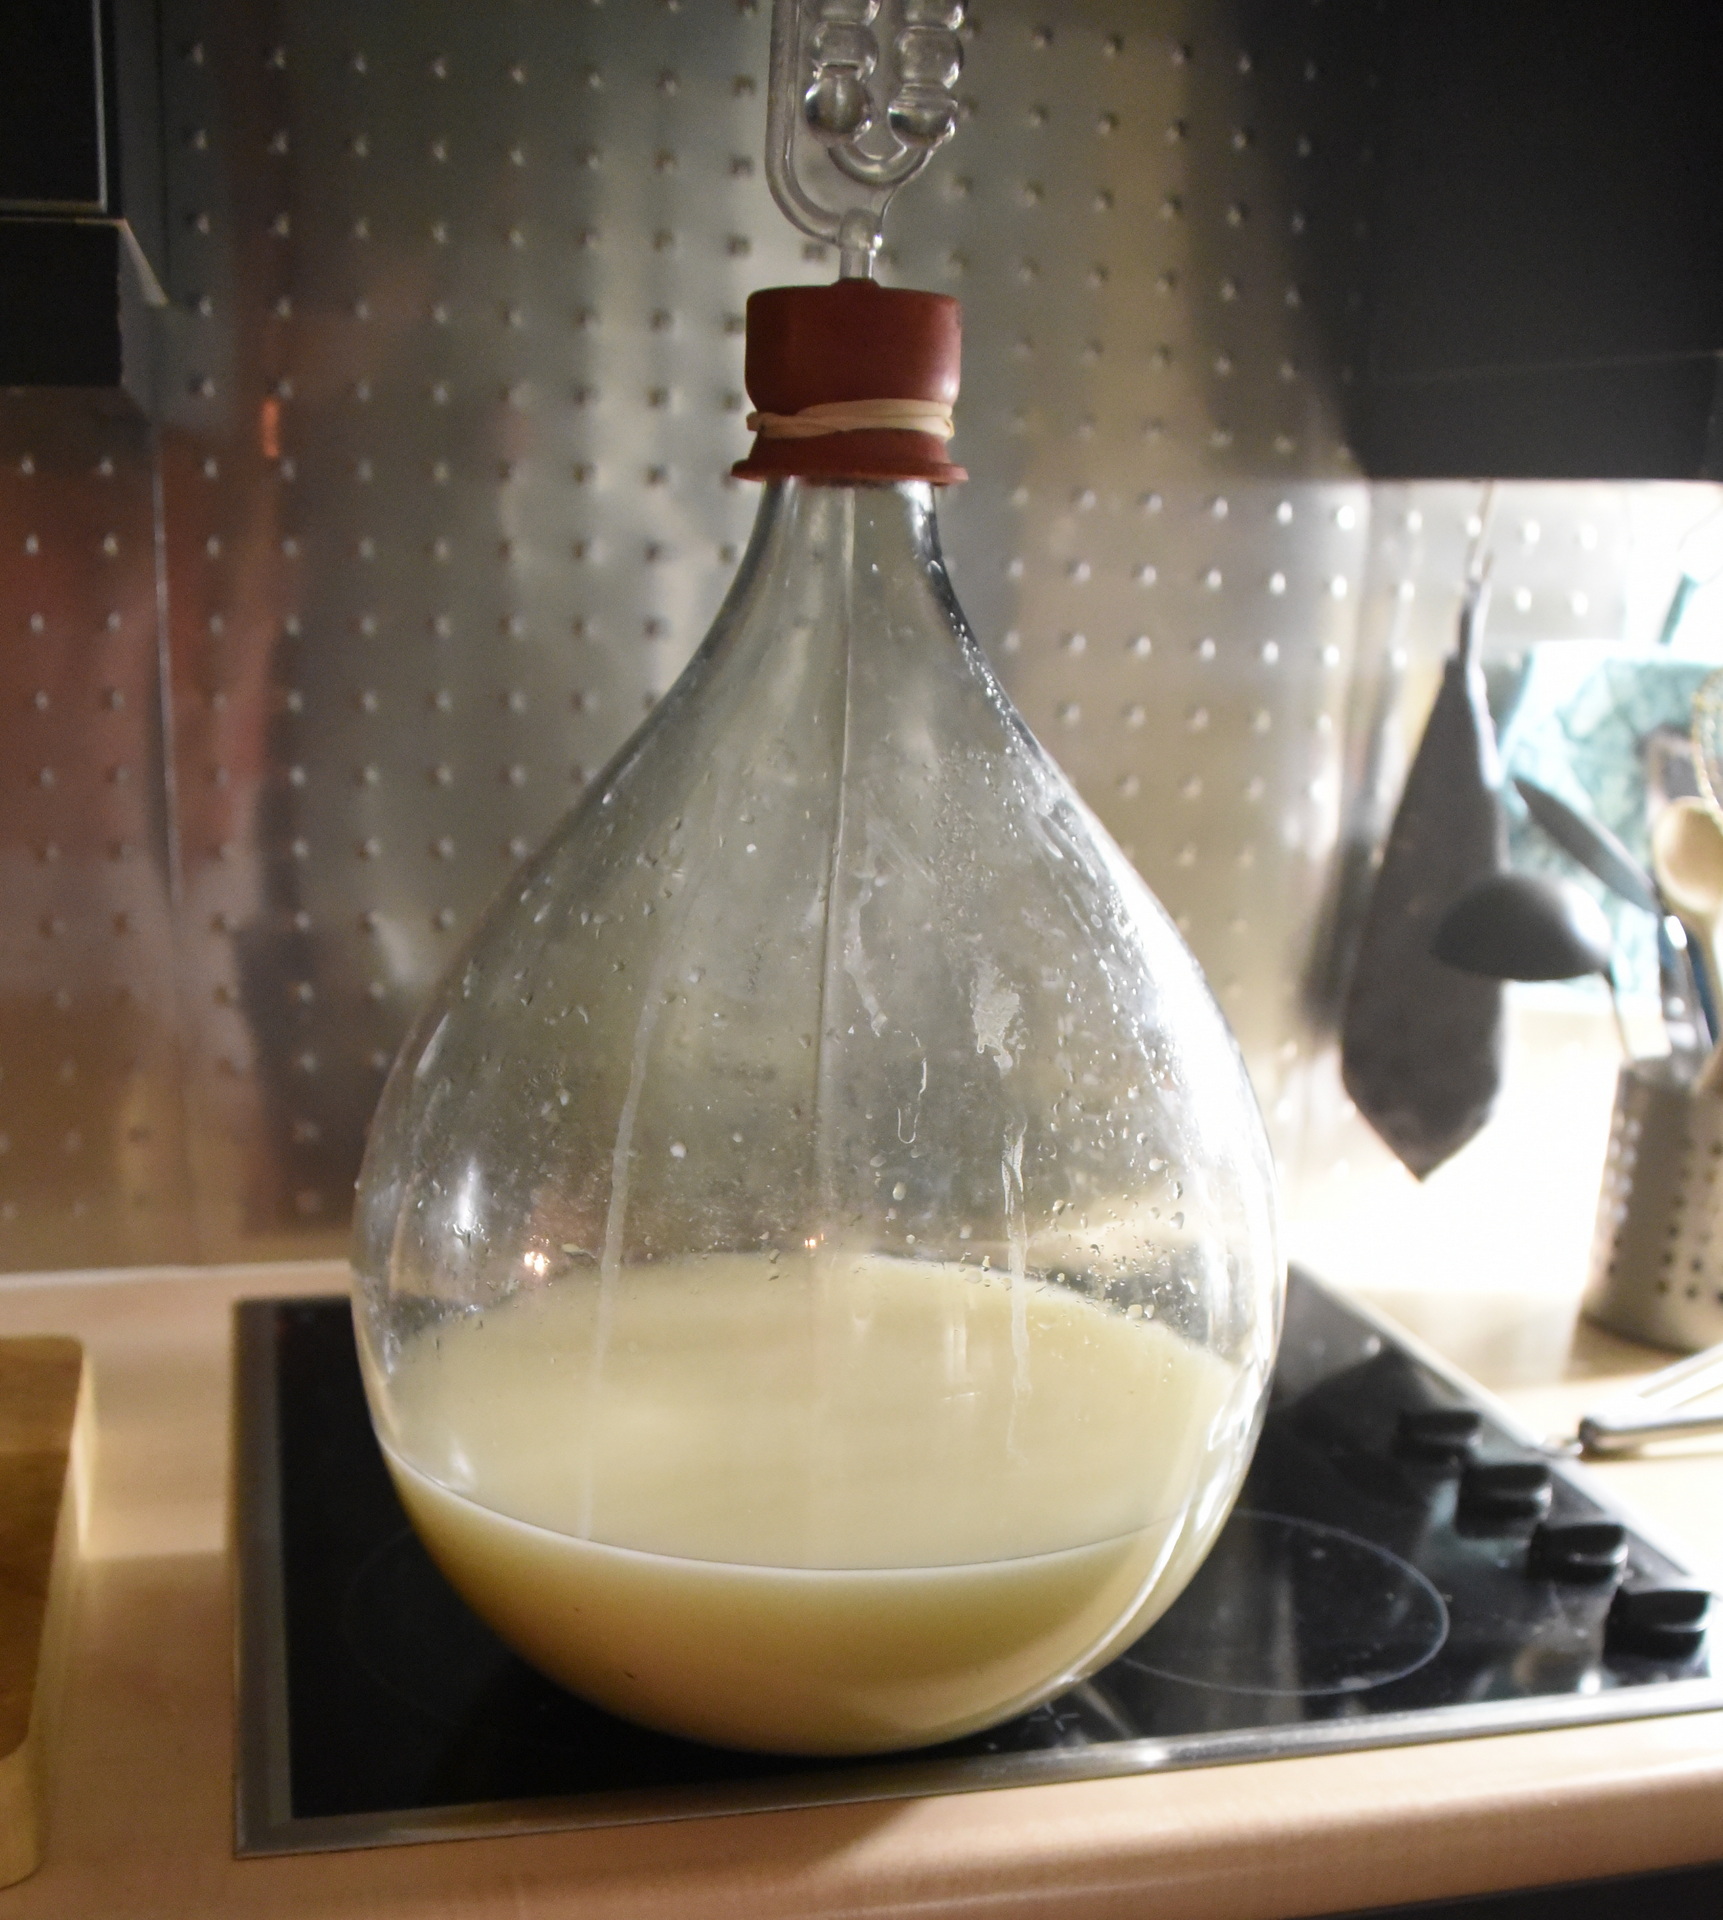
After the bottle is closed with a water seal and the volume is brought to 5 liters,
the fermentation process can proceed normally.
Continue to act according to the regulations.
Remark
This wine needs an initial fermentation period of 3 weeks. The must must go in
be carefully protected at that time. This can best be done by
primary process in a large bottle, closed with a wad of cotton wool.
The bottle should be shaken daily. It is very possible that after 3 weeks the
fermentation process is well advanced. This depends on various factors.
So there is the possibility that the secondary fermentation process could be very short.
Sake is at its best when lightly sweetened. So sweeten the wine carefully after it
has stabilized. Taste the wine when it is heated (about 50 degrees Celsius)
and then sweeten it with small amounts of sugar.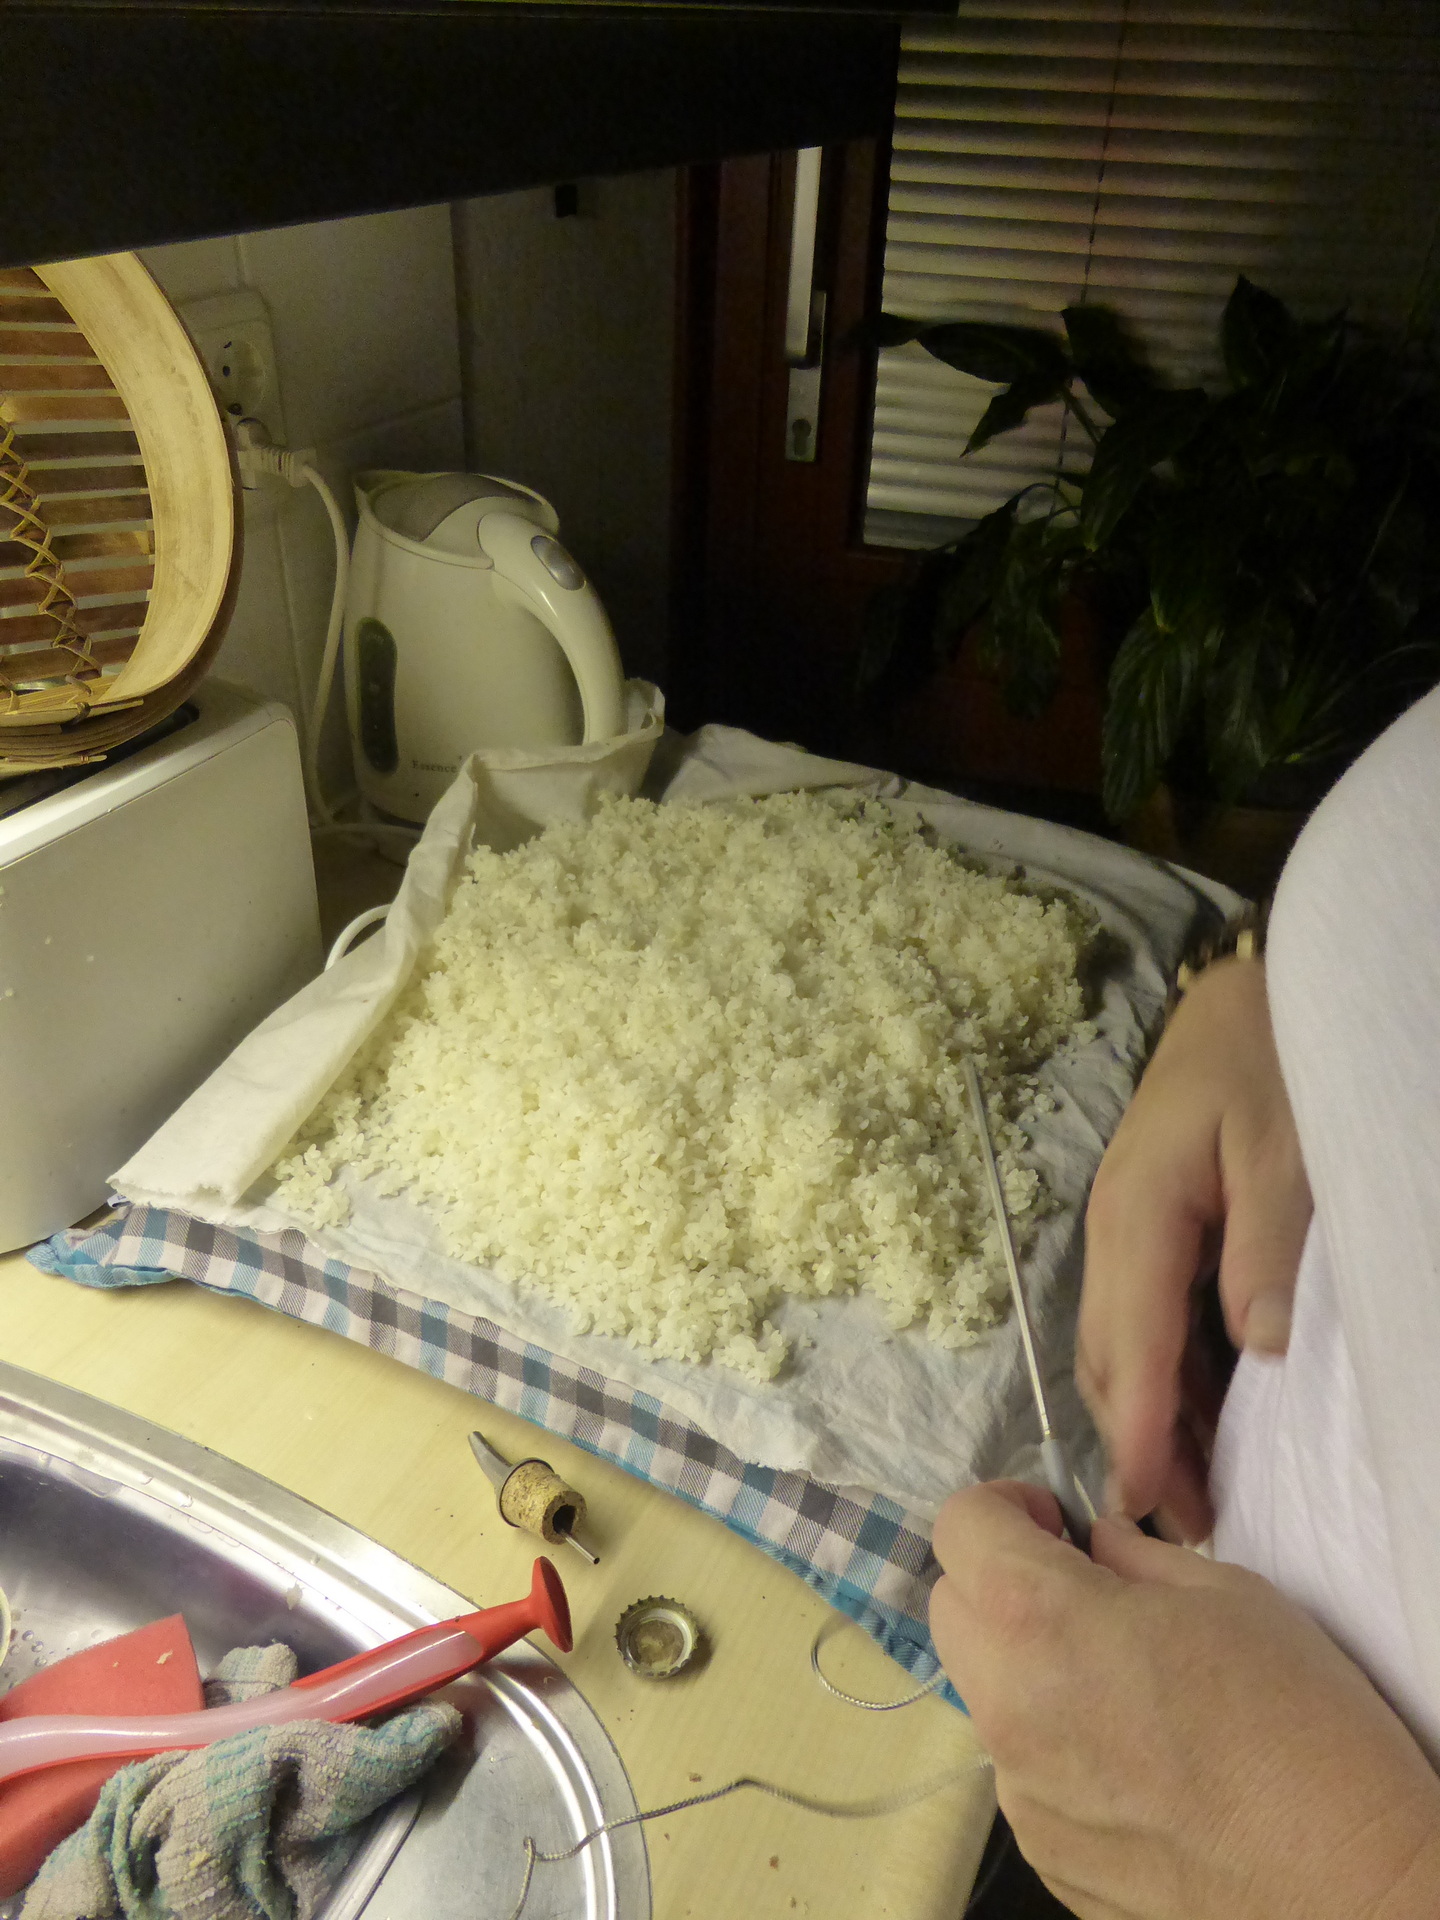

Another recipe i’ve used (source Grapestomper?)
Ingredients:
2-1/2 pounds, rice (husked or raw)
1/2 pint, grape concentrate or 1lb of light raisins
7 pints, hot water
2-1/2 pounds, corn sugar or honey
3 teaspoons, acid blend
3/4 teaspoon, yeast energizer (nutrient)
1 tablet, Campden
1 pack, sherry yeast
Procedure:
Wash and coarsely crush rice.
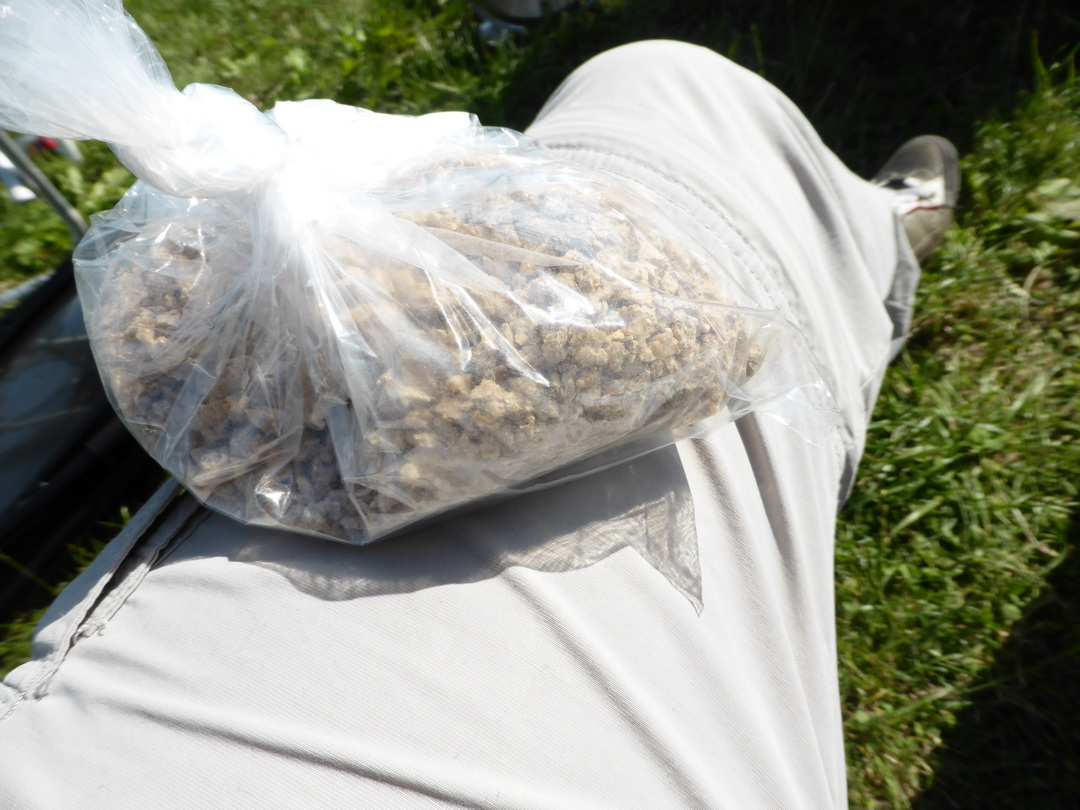
Place rice and chopped raisins in nylon straining bag, tie top and place in primary fermentation container.
Pour hot water over rice and stir in all ingredients except yeast and energizer (nutrient).
(Use grape concentrate if not using raisins)
Wait 48 hours.
Add yeast and energizer and cover primary.
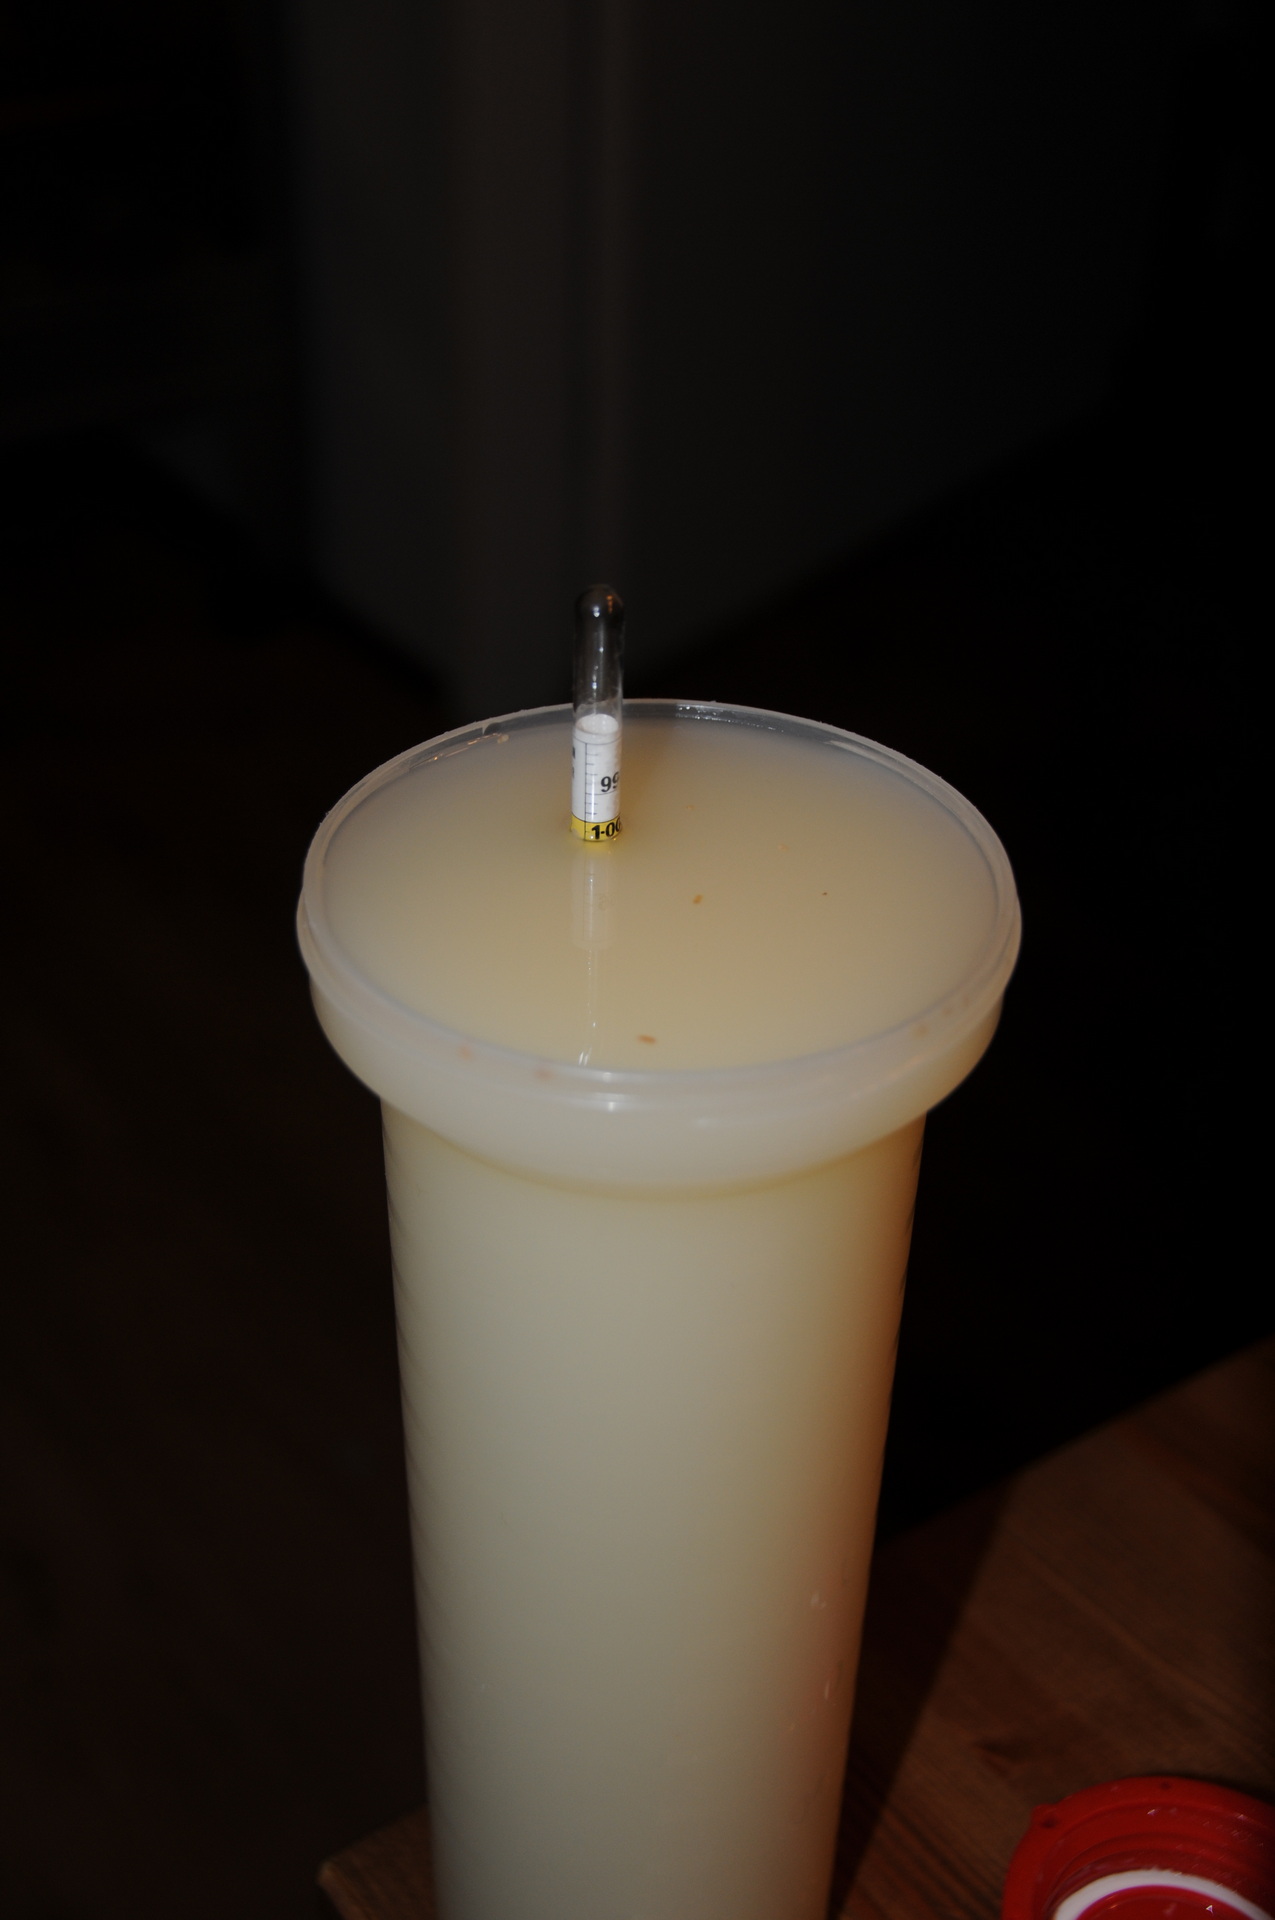
Stir daily, checking gravity and pressing pulp lightly.
When gravity reaches 1.050 (2-3 days), add 1/4 pound dissolved sugar or honey per gallon.
When gravity drops to 1.030 (6-7 days) strain juice from bag.
Siphon wine into secondary fermentation container and attach airlock.
At specific gravity 1.020 add another 1/4lb of dissolved sugar or honey per gallon.
When fermentation is complete. SG of 1.000 or less, siphon off into a clean secondary container and attach airlock.
Siphon every 2 months to aid in clearing.
Bottle when fermentation ceases or when ready.
It is possible to continue building up alcohol by adding additional sugar until fermentation ceases. For a sweeter drink, add 1/2 teaspoon stabilizer and 1/4 pound dissolved sugar, per gallon, before bottling.
Of course, you can adjust this recipe according to your past wine making experiences.
3th recipe i’ve used (Source?)
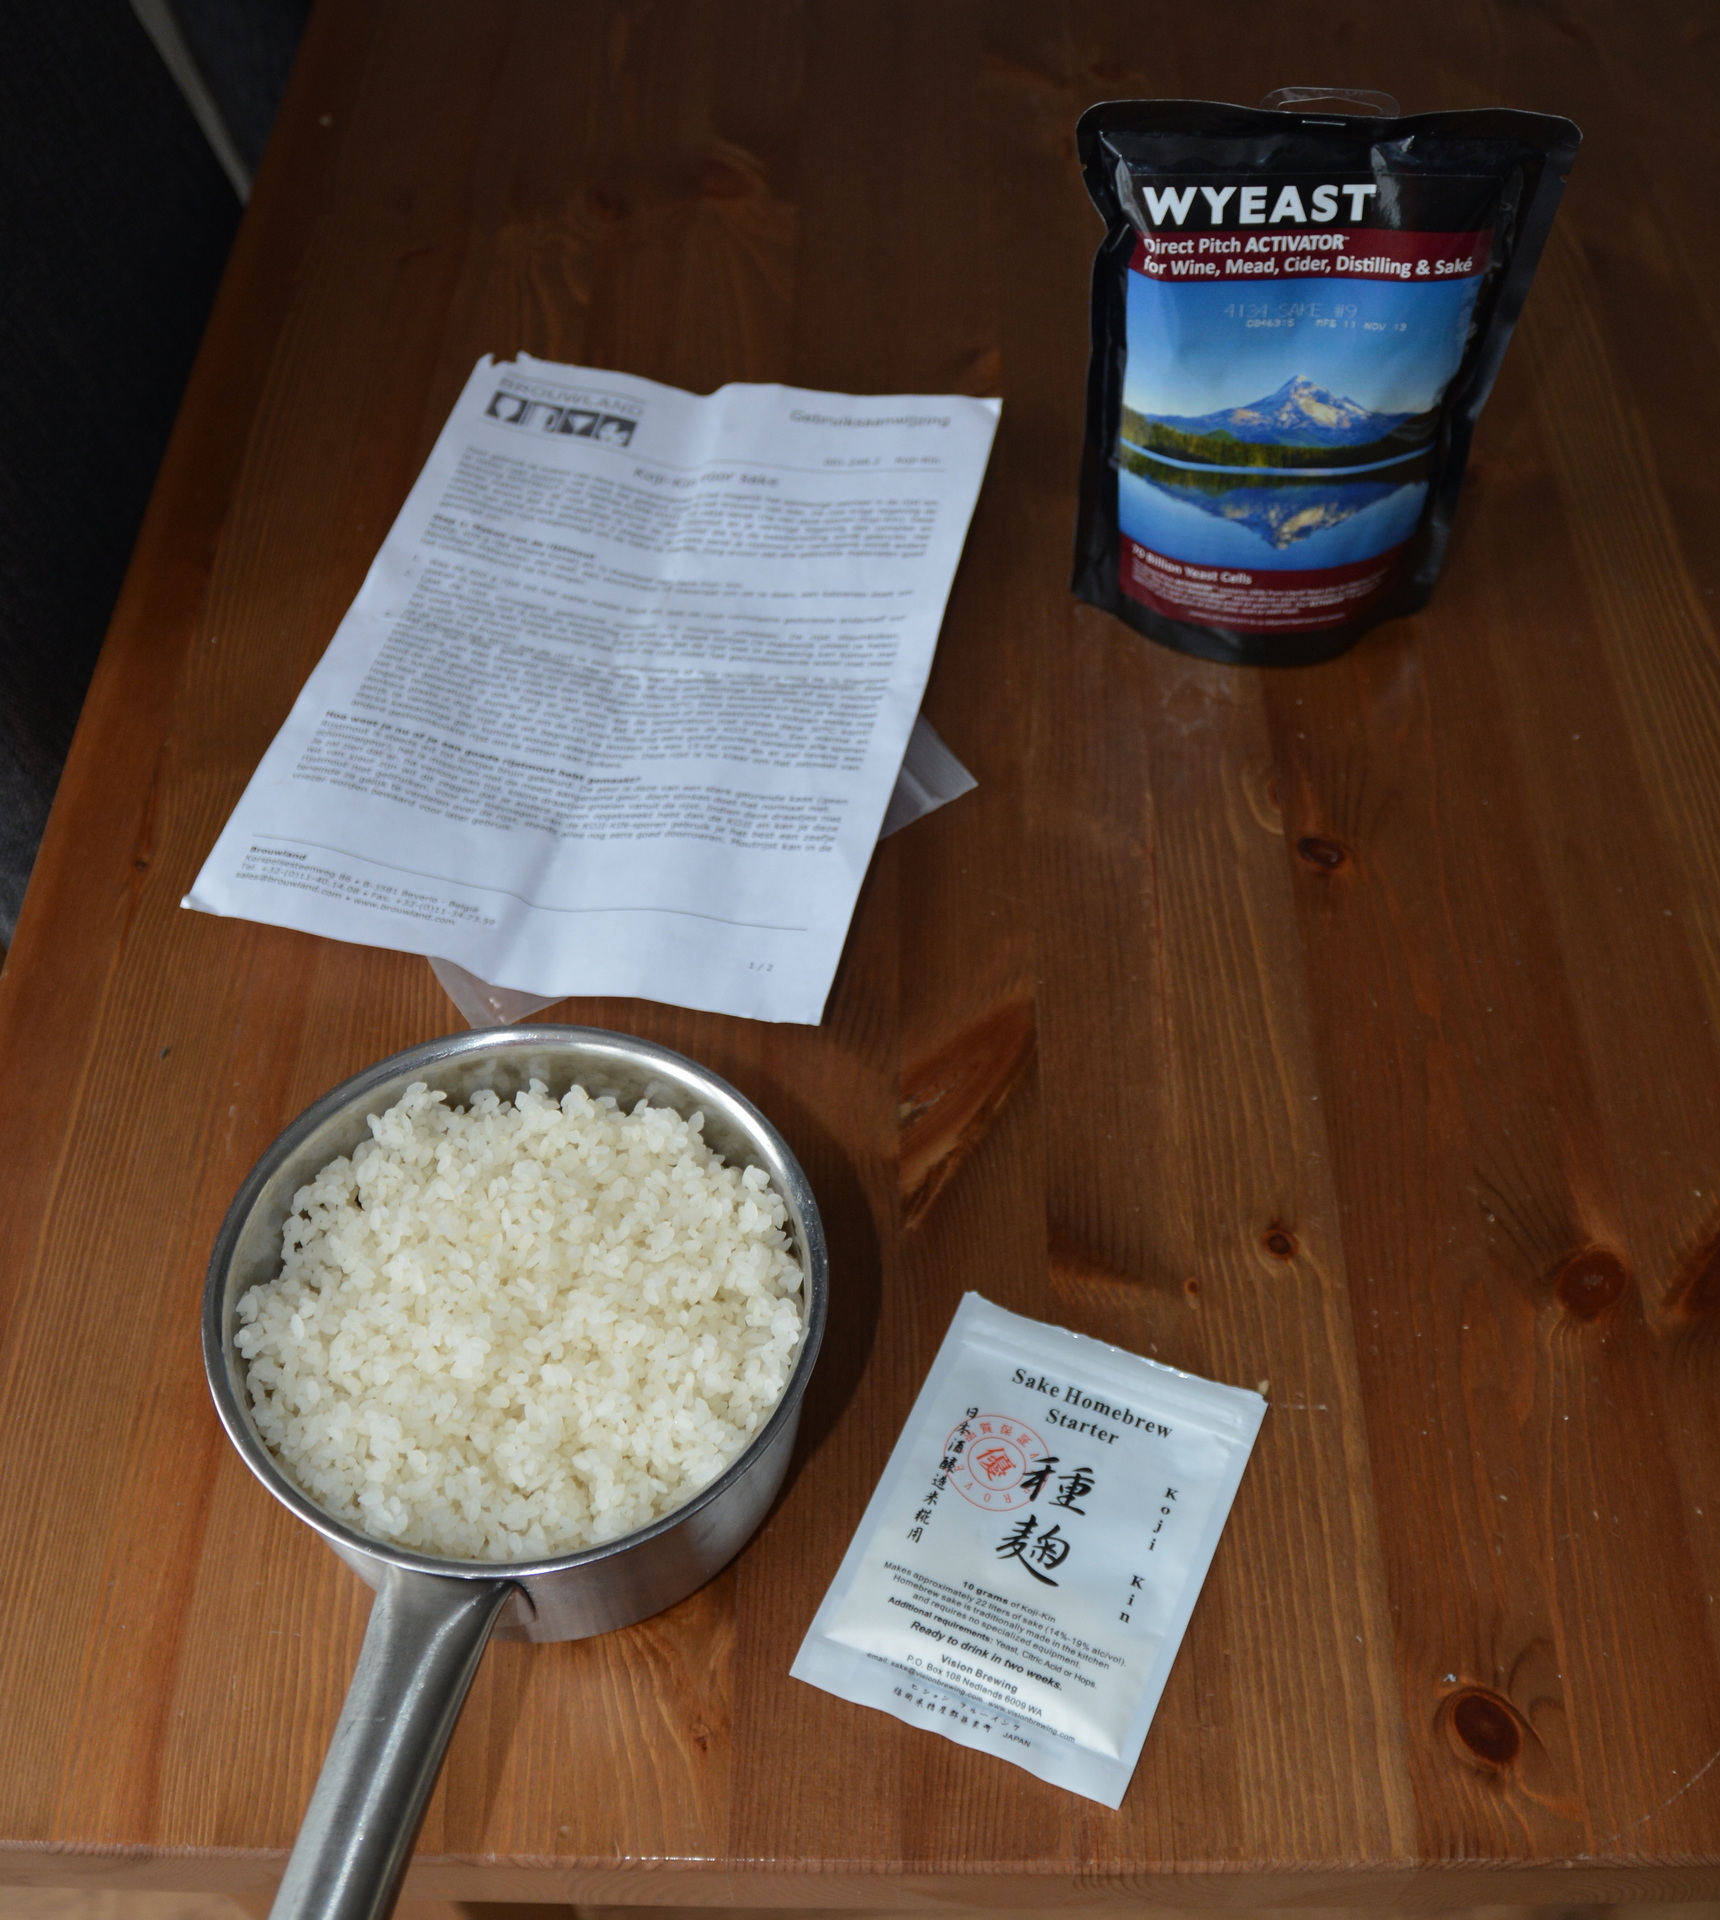
Koji-Kin for sake
By using these trace elements it is possible to convert the starch present in the rice to sugars, just as happens during the brewing of beer. The rice therefore gets the name RICE MALT (the Japanese KOME-KOJI). This sachet contains 10g of these spores (Koji-Kin). This one traces turn the rice into an enzyme-rich rice malt, resulting in a complex and
special aroma that can be compared to the mold used in cheese making. It making this drink is done in 2 steps: first you make your rice malt and then other steamed rice added to make the Sake. Make sure all materials used properly have been cleaned.
Step 1: Making the rice malt
Needed: 400 g rice (small grain) and ½ teaspoon of this Koji-Kin.
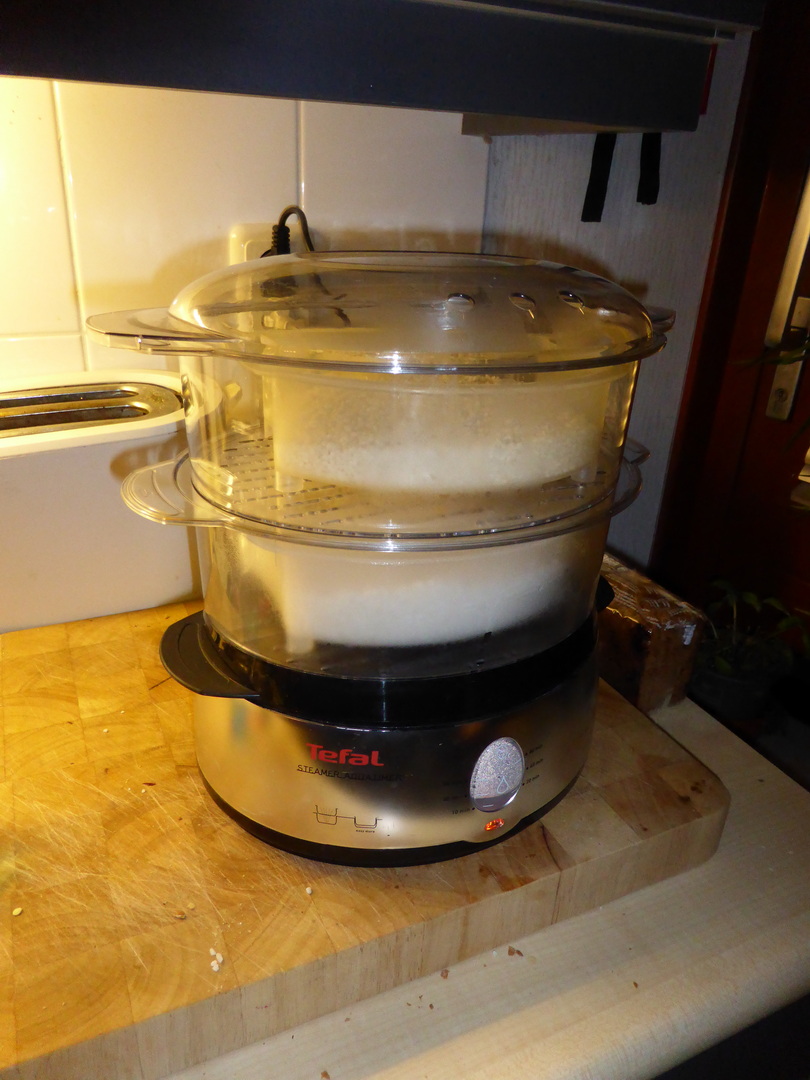
Required materials: a sieve, a steamer or material to do this, a cotton cloth to collect the condensation moisture.
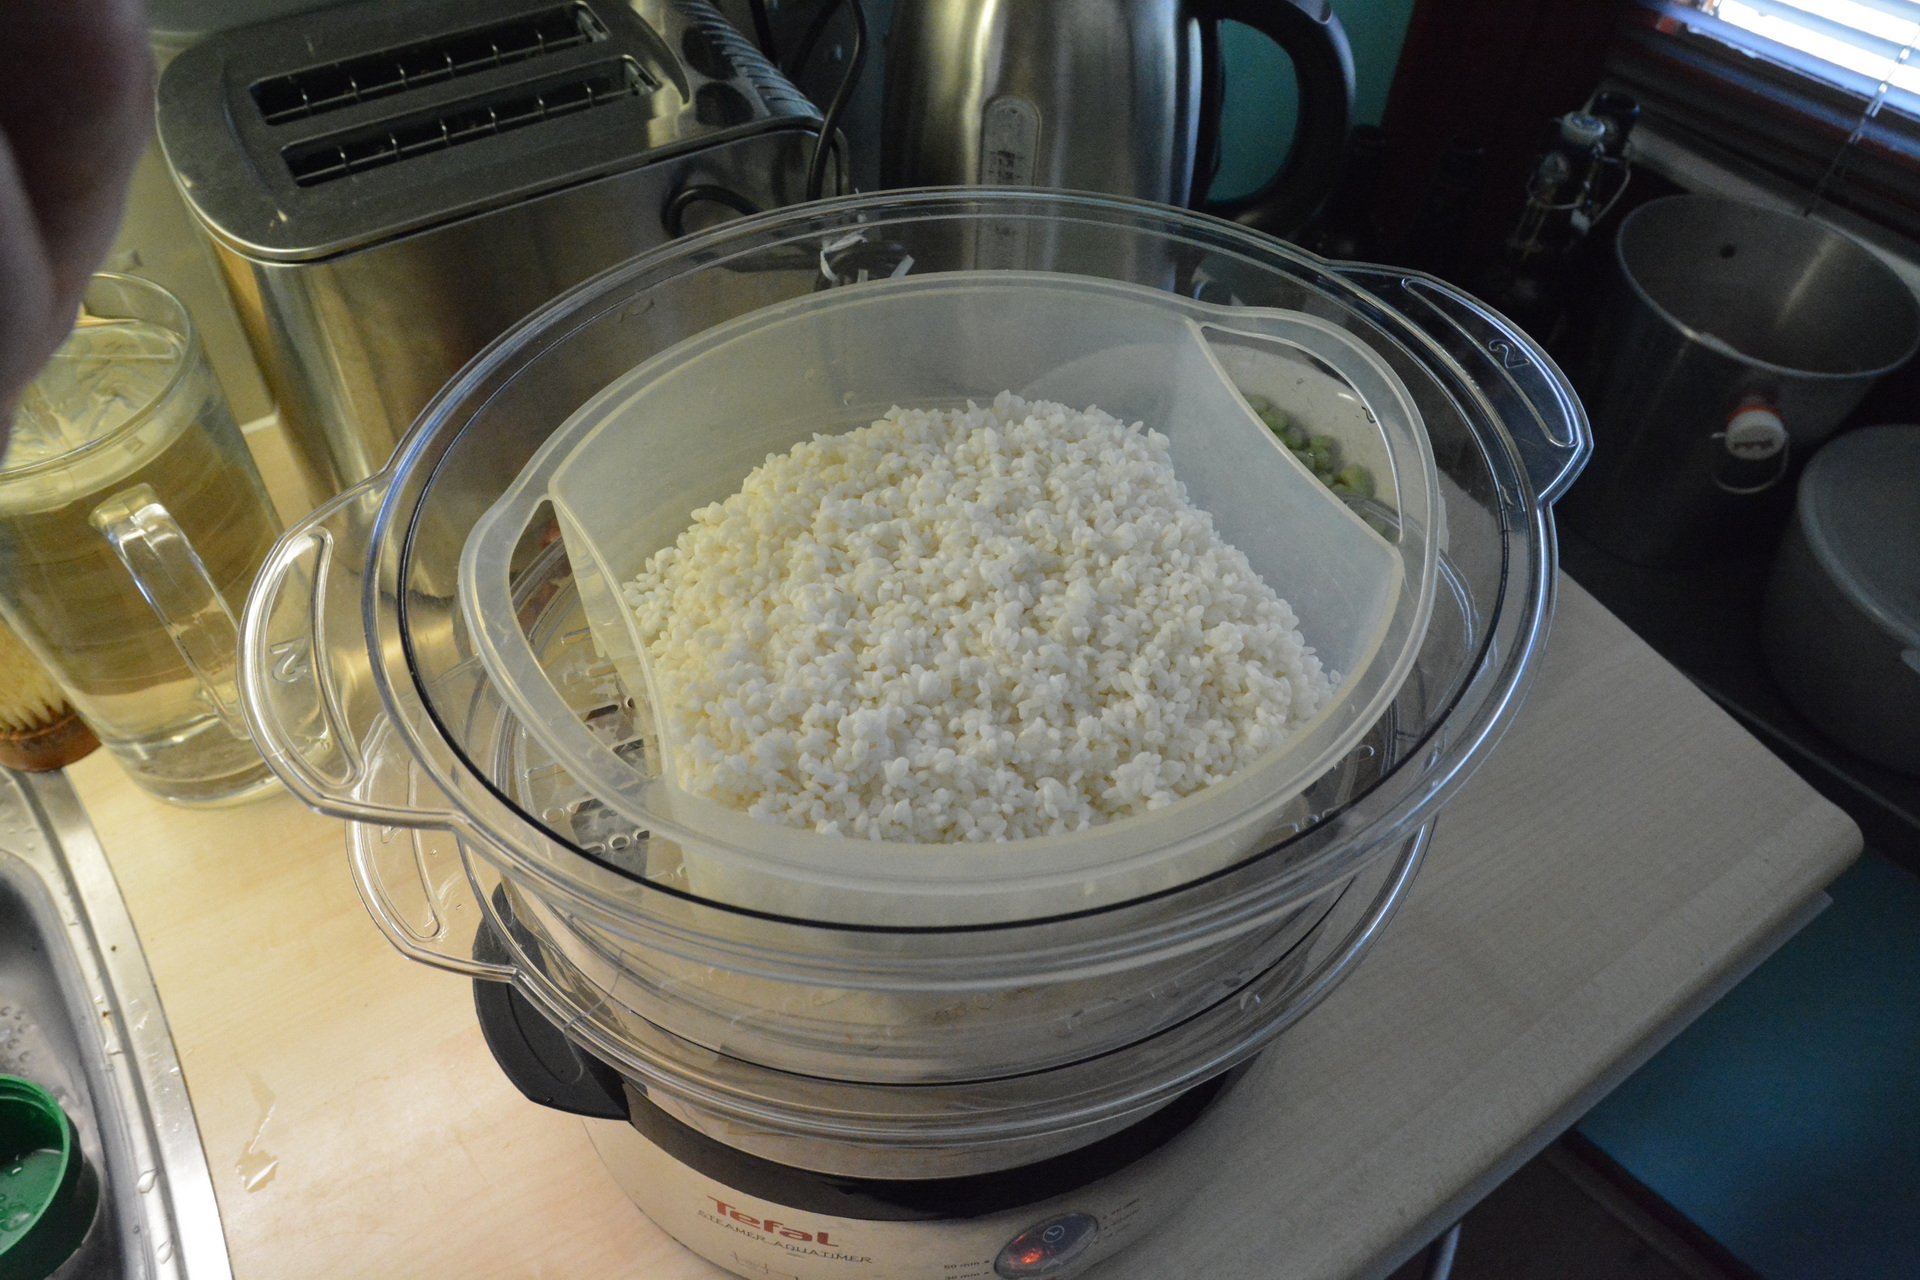
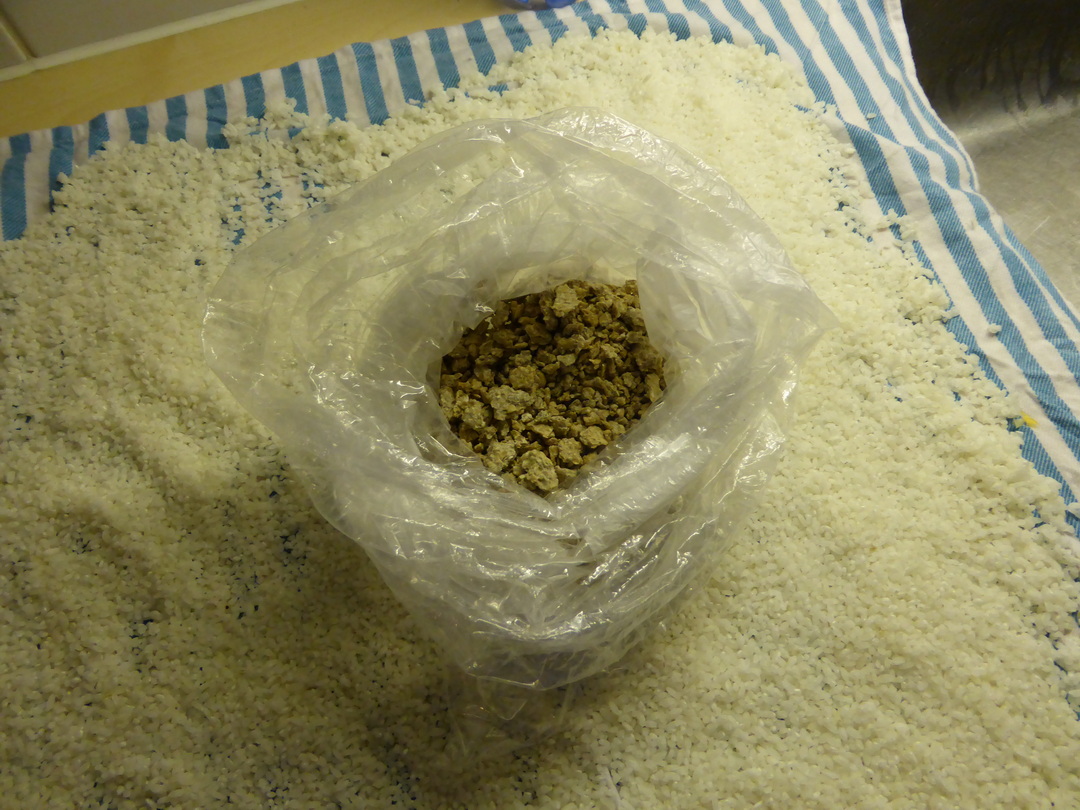
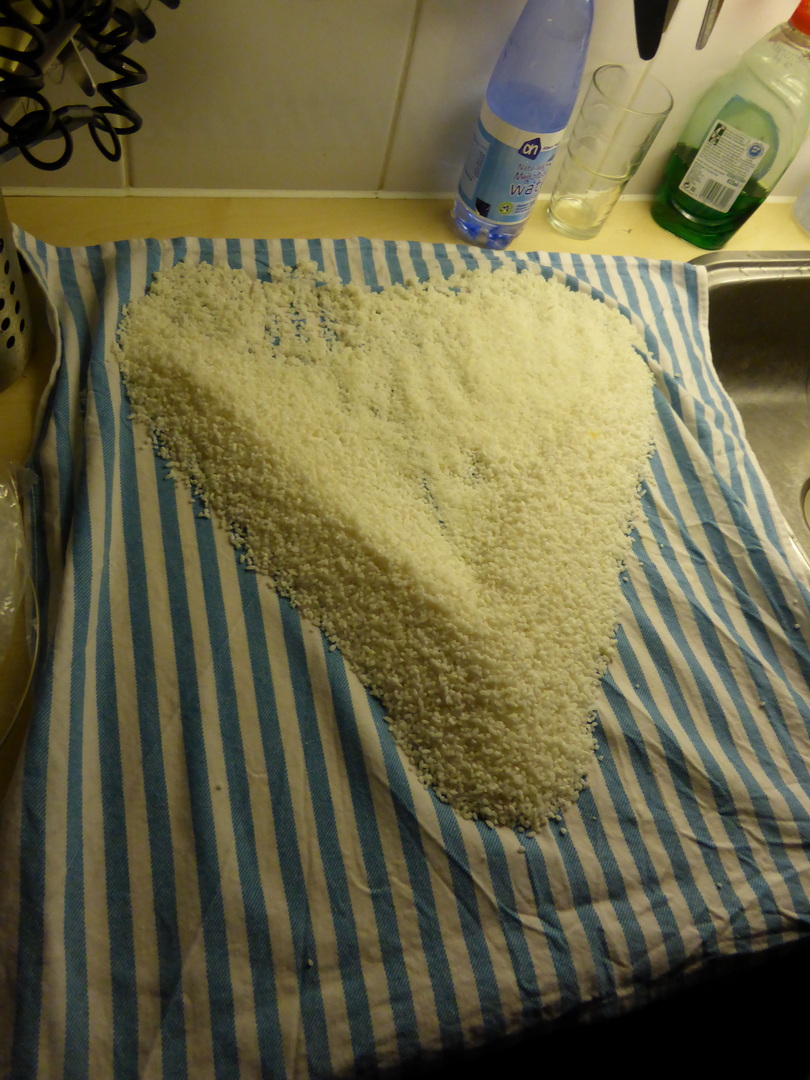
1. Wash the 400 g of rice until the water runs clear, then leave the rice for an hour and a half soak in water.
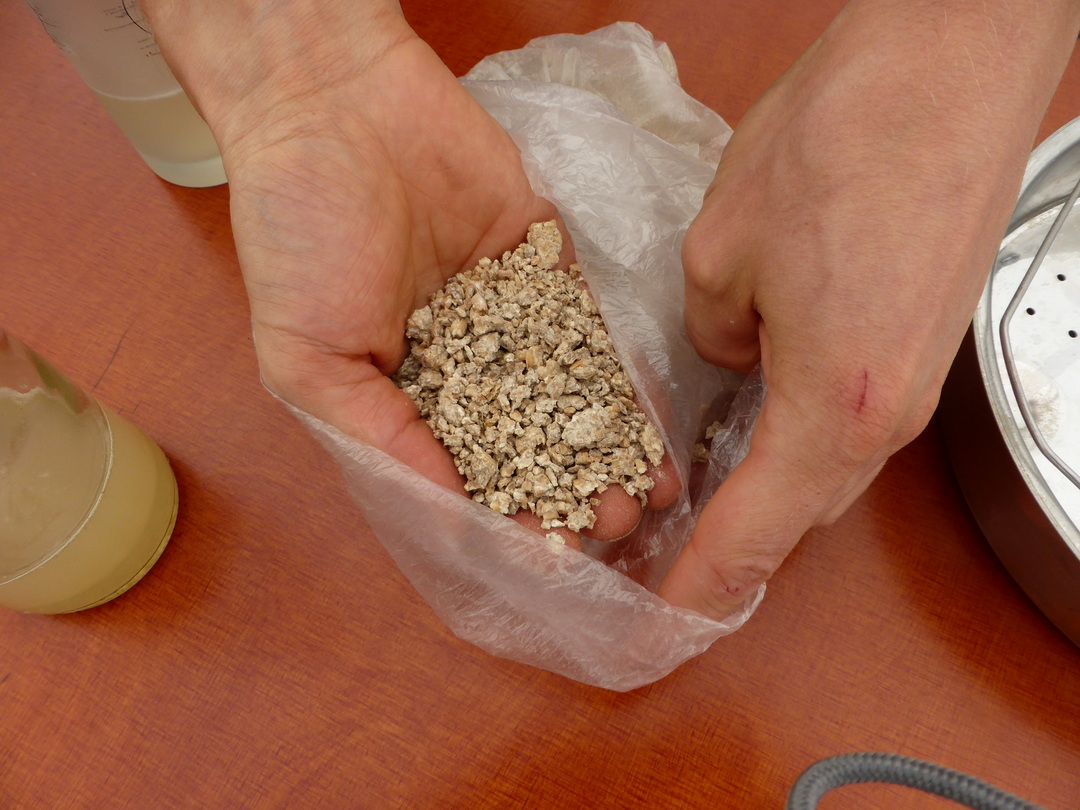
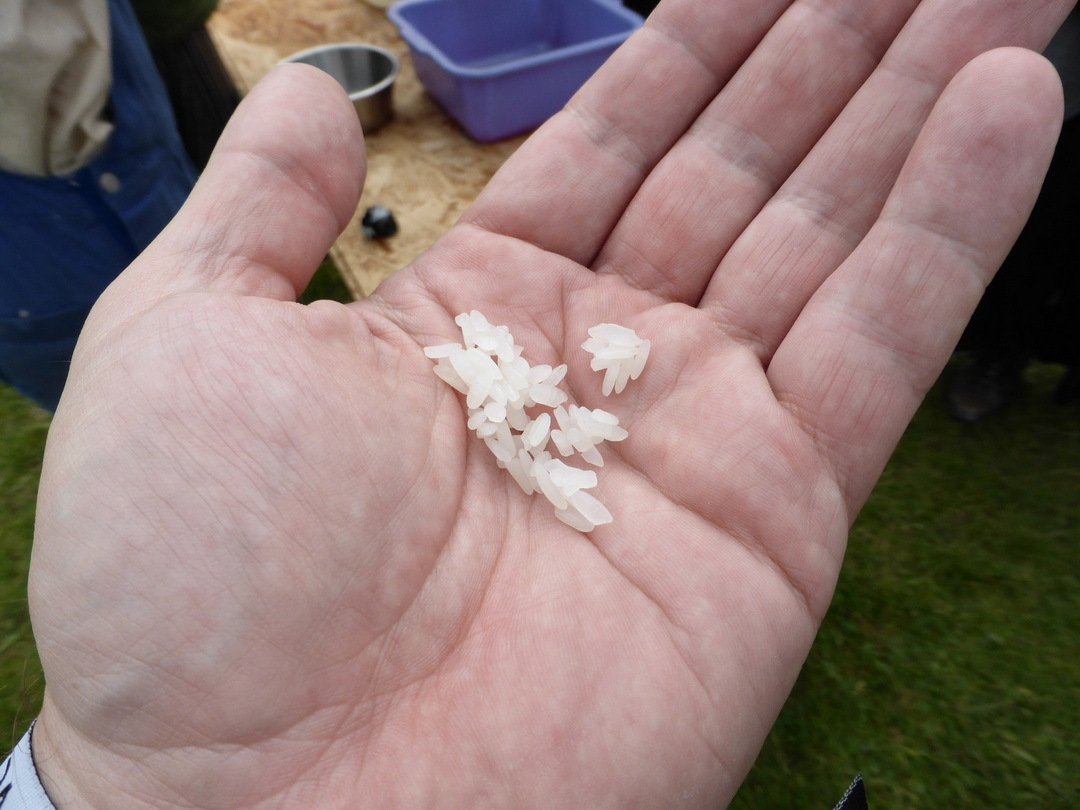
2. Then let the rice drain for at least 20 minutes. Steam the rice. Steamed rice is slightly translucent and not white, slightly sticky (easy to disassemble) and feels rubbery between the teeth. Make sure that the rice cannot come into contact with the water. To do this, place the cotton cloth over the rice so that the condensed water is no longer
drip on the rice.
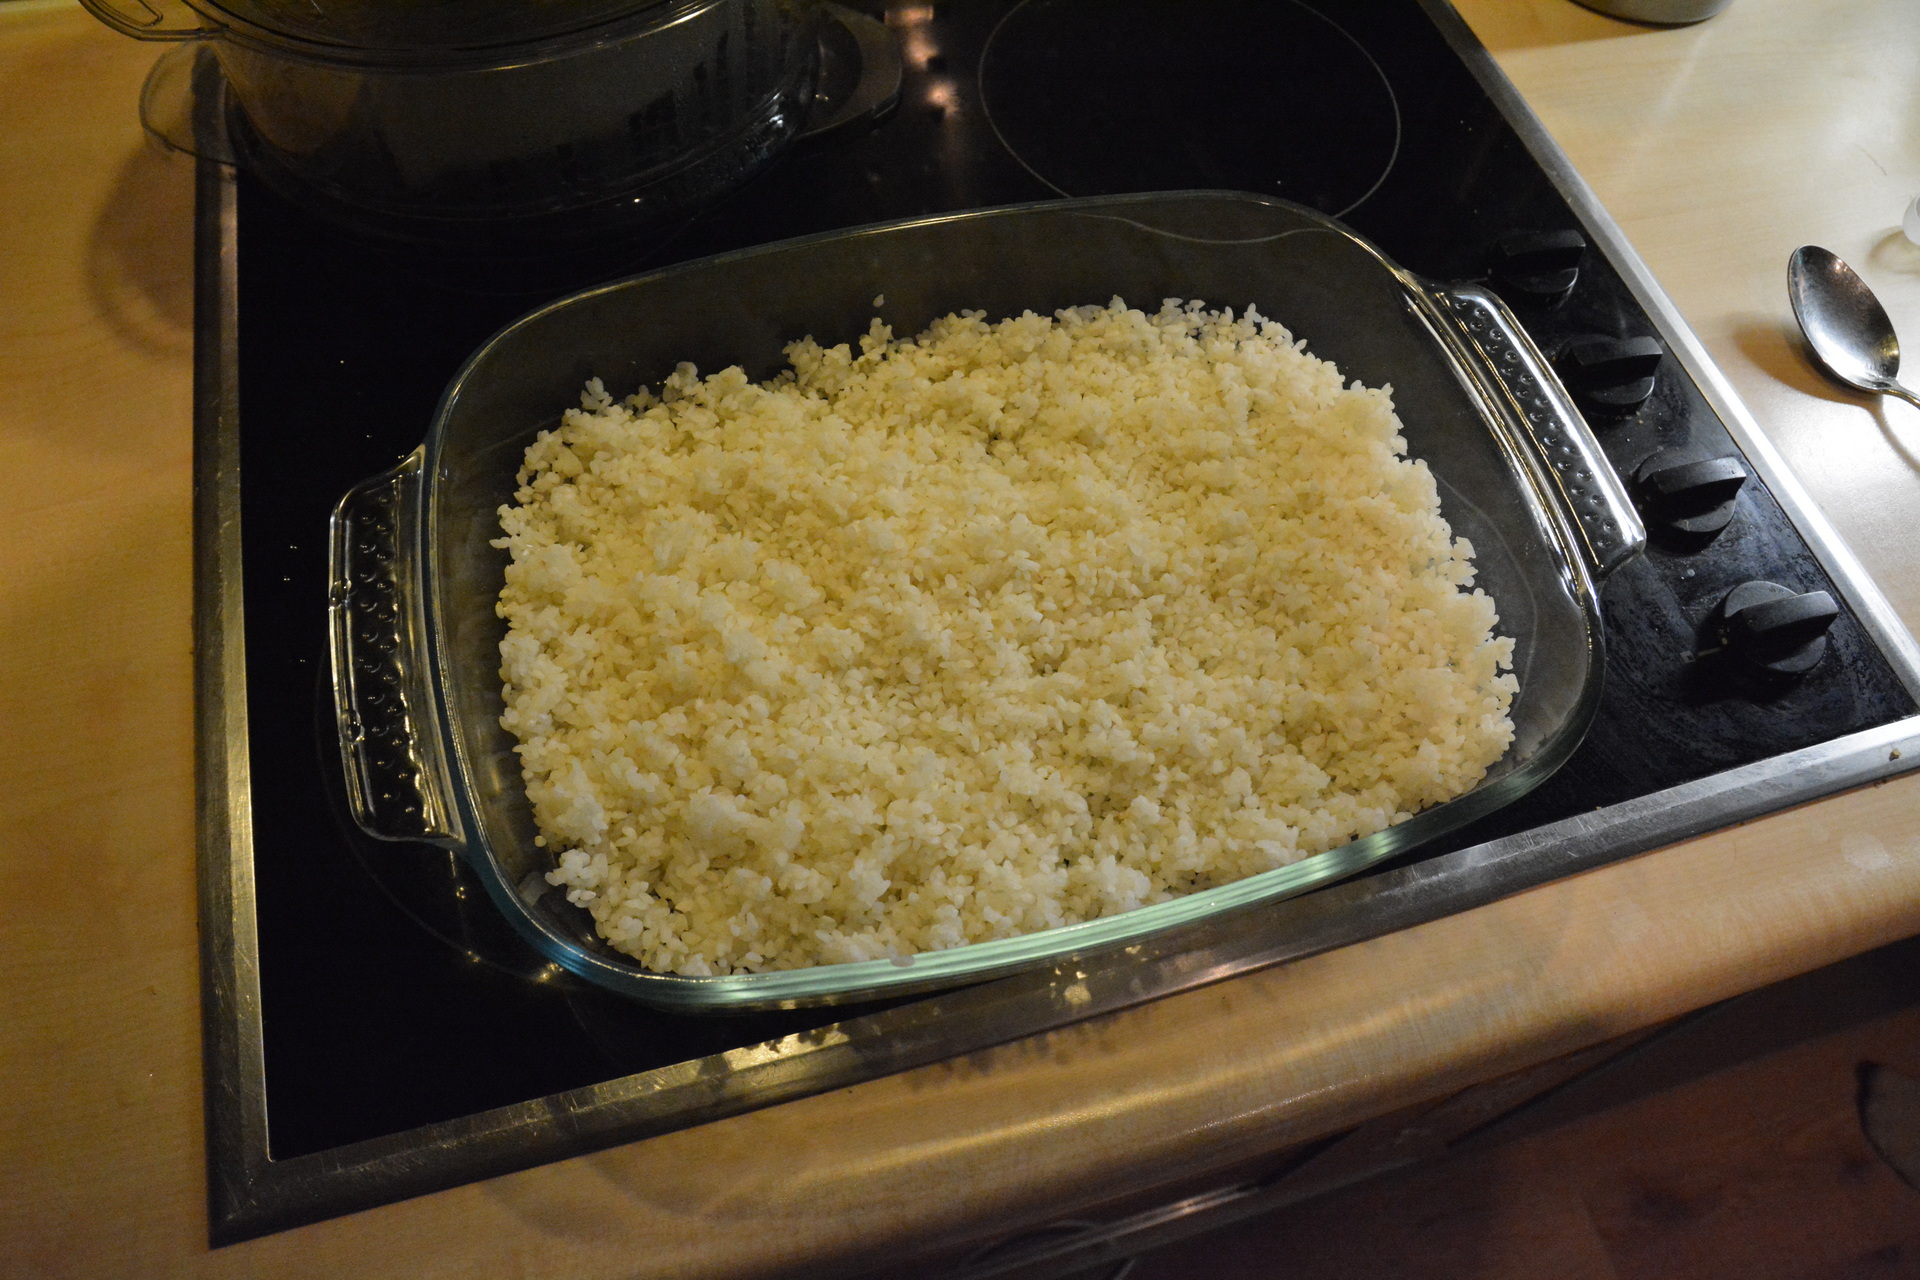
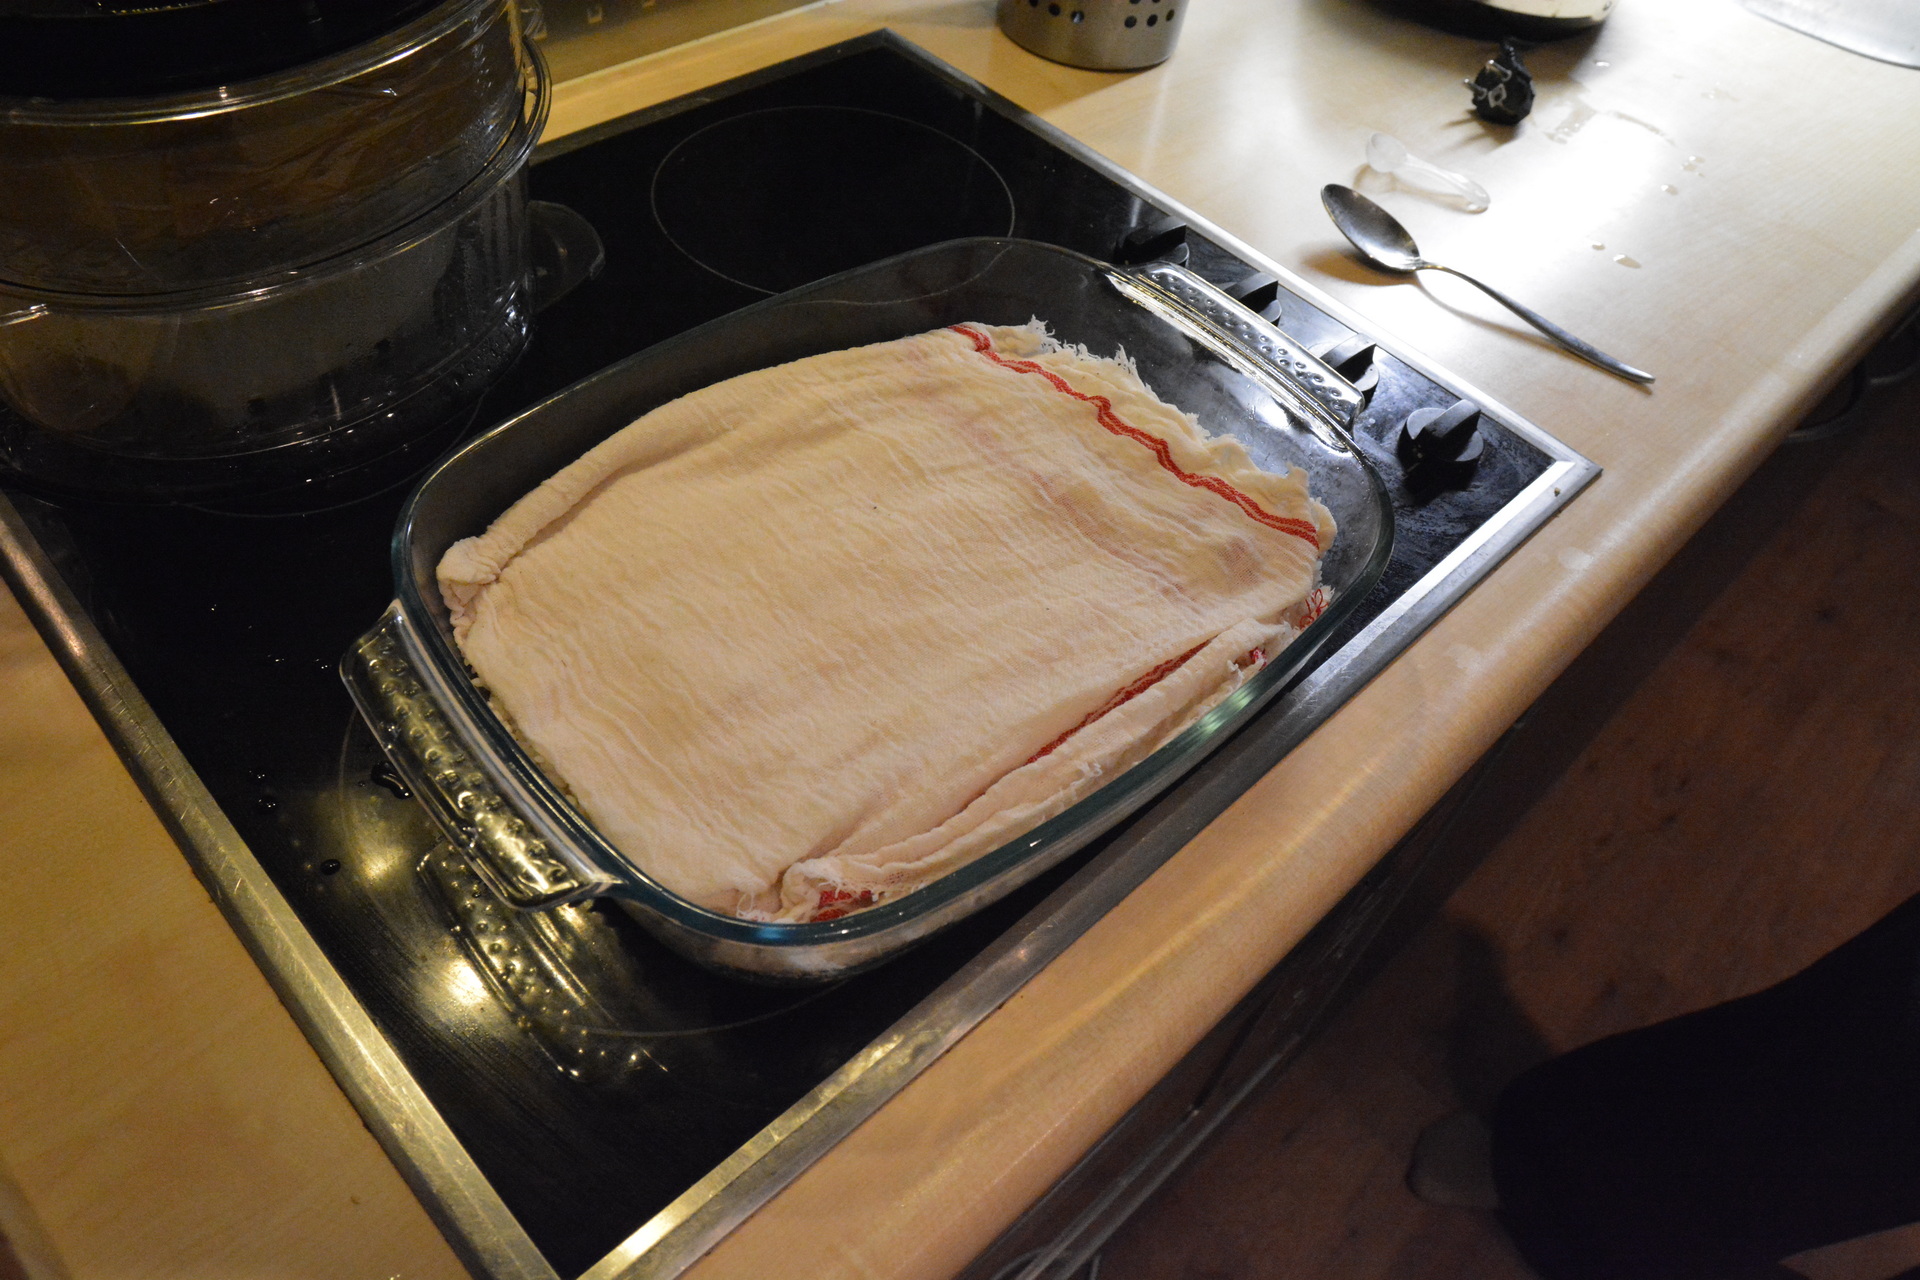
3. Let cool to 30°C. Place the rice in an enameled or stainless steel container and add ½ tsp
Koji-Kin. Stir well. Stirring can optionally be facilitated by addition of a teaspoon of wheat flour. Cover with damp cheesecloth or a damp cloth cotton cloth. The pouch of Koji-Kin remains free of infection despite frequent opening.
Keep the rice at a temperature of 30°C for 40 hours. You can use this temperature maintain by using a hot plate or an electric cooking pot which still best insulated too. Make sure that the temperature does not exceed this 30°C!
Higher temperatures can cause the growth of the KOJI to stop. A warm and dark place is therefore necessary. Stir everything well once every 10 hours to remove all traces to distribute equally. The rice will start to turn white after about 15 hours and there will be a strong cheesy smell can be perceived. This rice is now ready to starch other steam-cooked rice to sugars.
How do you know if you have made a good rice malt?
Rice malt is always white to slightly brown in color. The smell is that of a strongly scented cheese (no mold smell), it may not be the most pleasant smell, but it normally does not stink.
You will see that, over time, small threads grow from the rice. If not these threads being white in color means that you have grown other spores than the KOJI and you can use them do not use rice malt. It is best to use a sieve to add the KOJI-KIN spores in order to distribute them evenly over the rice, stir everything thoroughly. Malt rice can be used in the freezer for later use.
Step 2: Add other steamed rice
Needed: 1500 g rice (small grain), 400 g rice malt, 5 g citric acid, 4 liters of water (chlorine-free), 5 g
champagneyeast.
Materials: a sieve, a container with a lid with a capacity of 10 liters (enamel, stainless steel or glass)
1. Wash the rice until the water runs clear, then soak the rice for an hour and a half water.
2. Steam the rice.
3. Let cool to 30°C.
4. Dissolve the citric acid in the container with 4 liters of water. This citric acid will prevent possible infection
and will also give a slightly sour taste to your sake.
5. Add the rice malt and stir well.
6. Then add the cooled, just steamed rice and stir well.
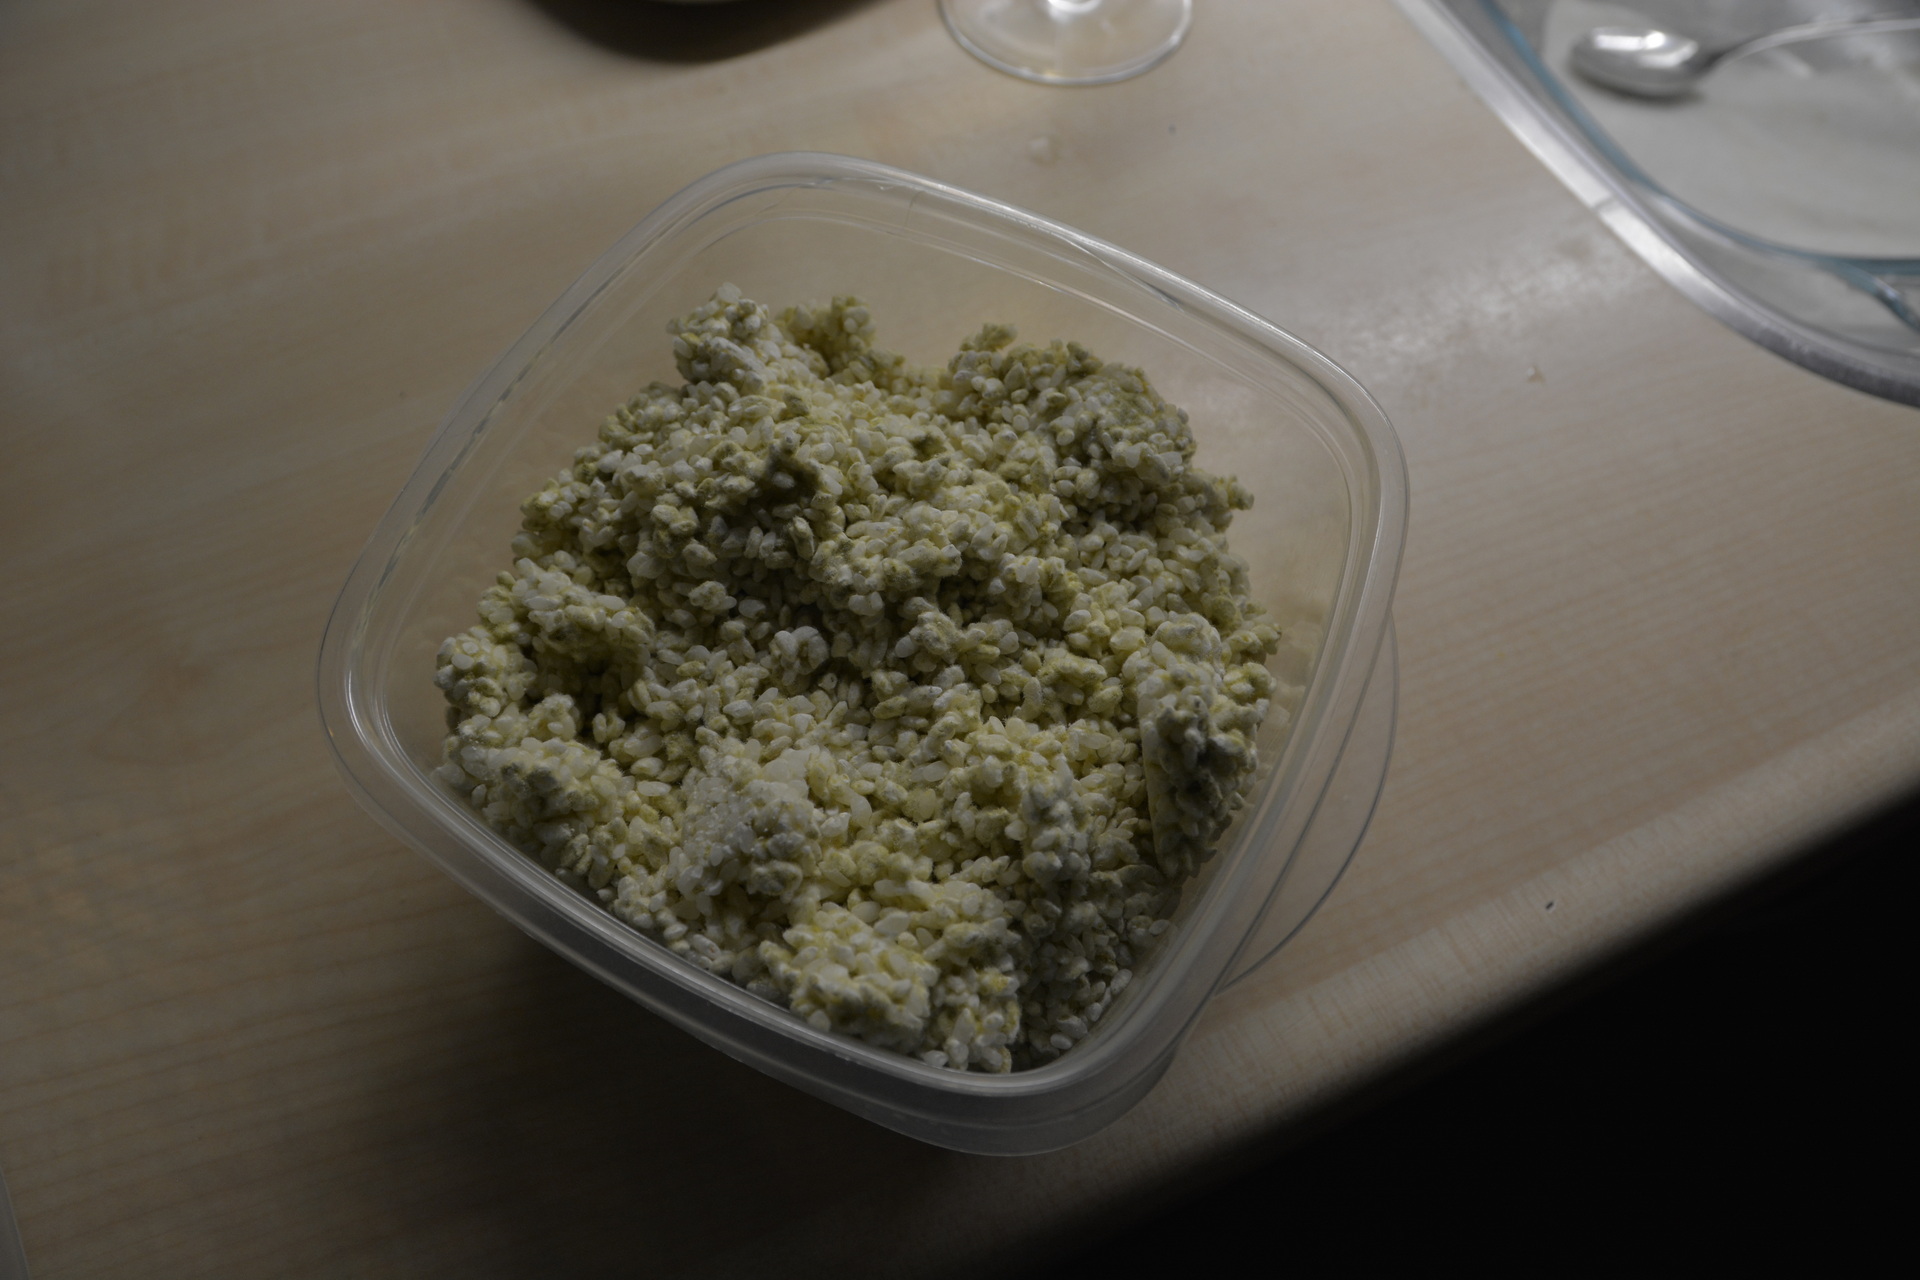
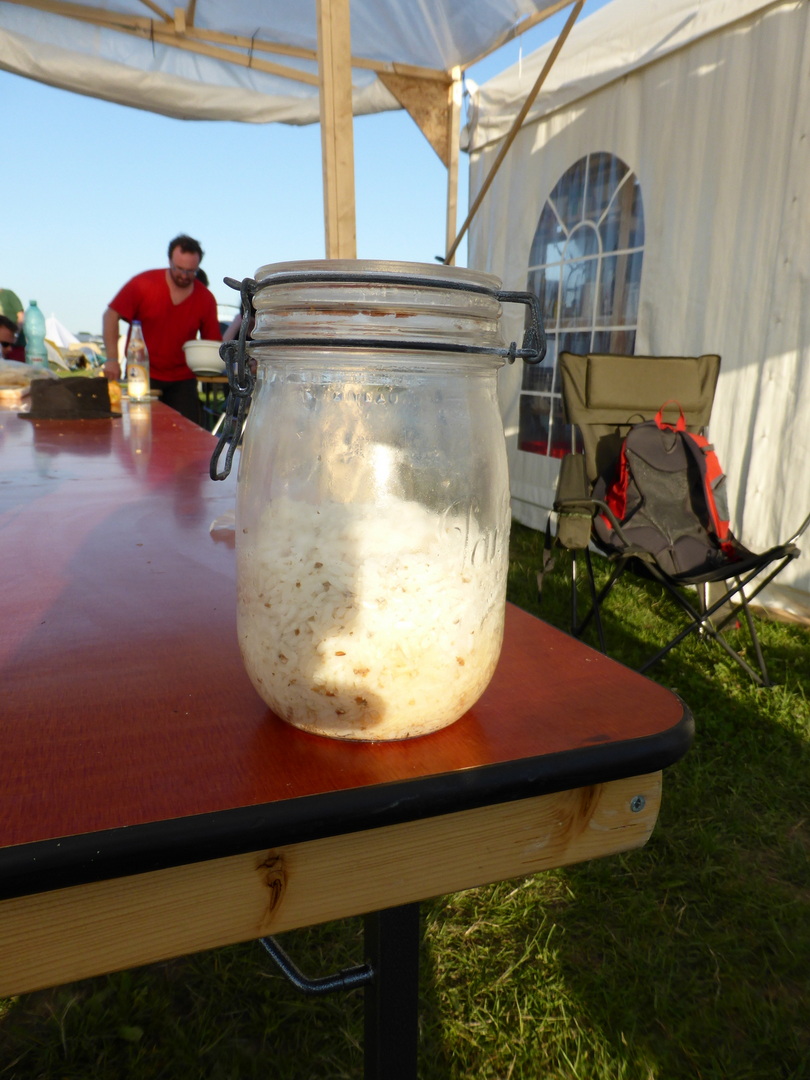
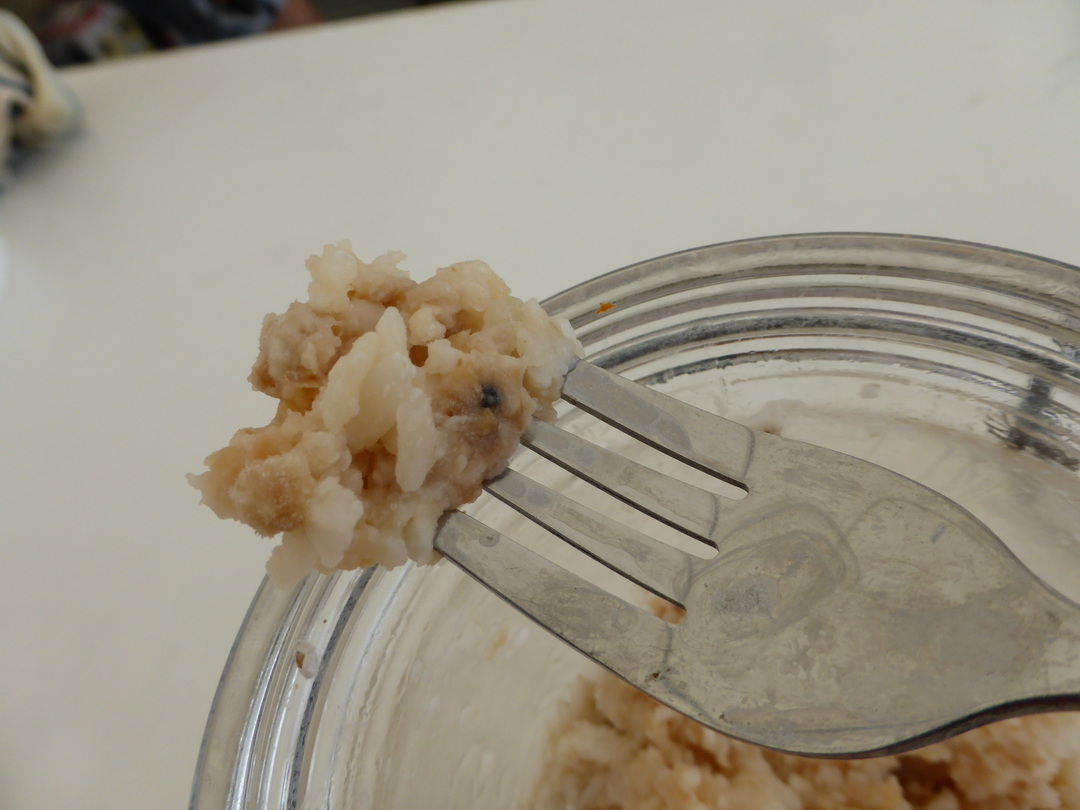
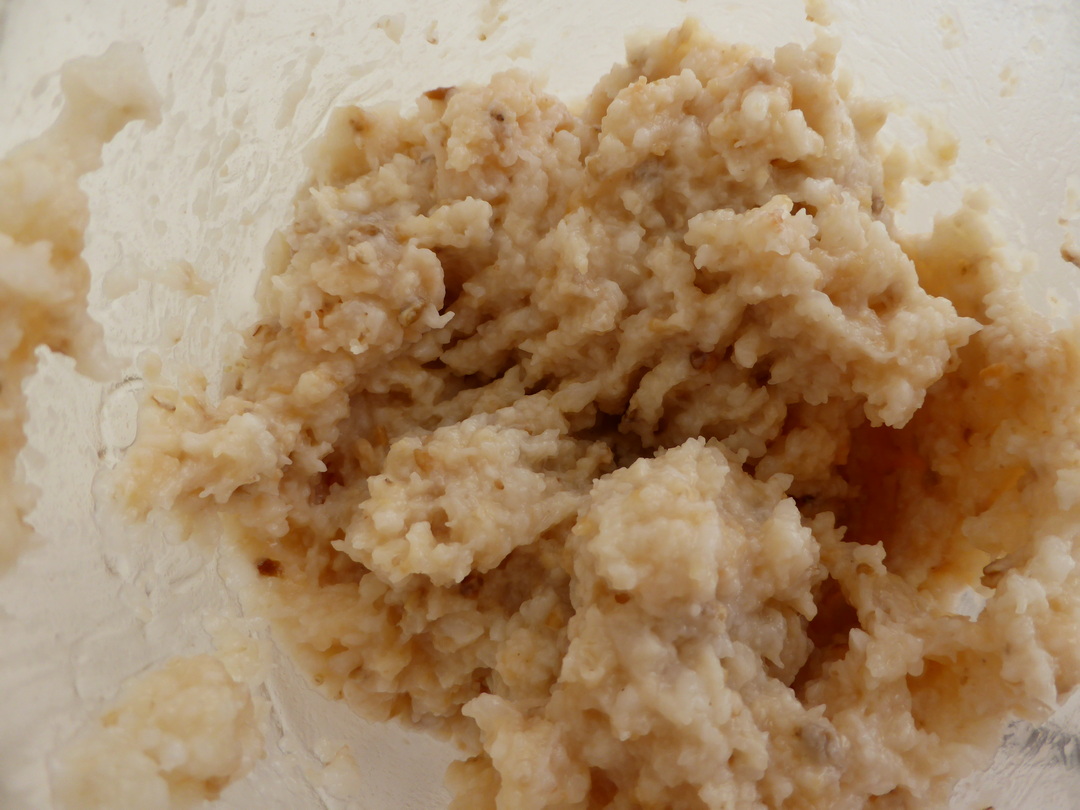
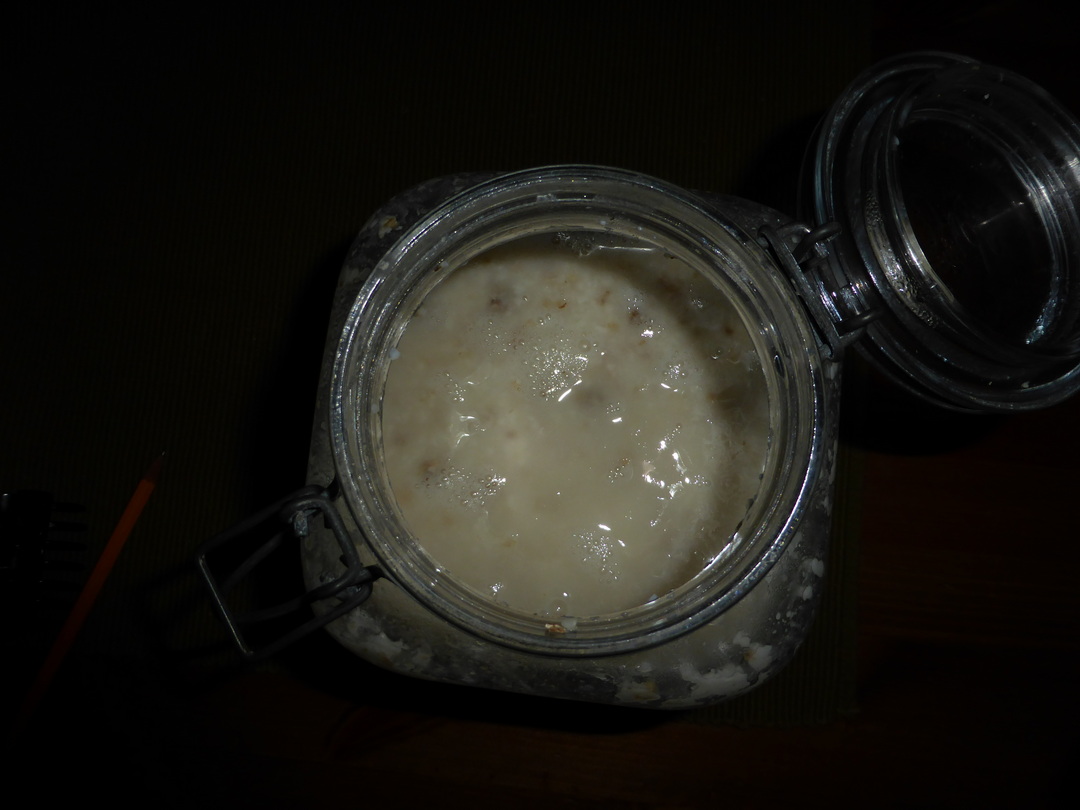
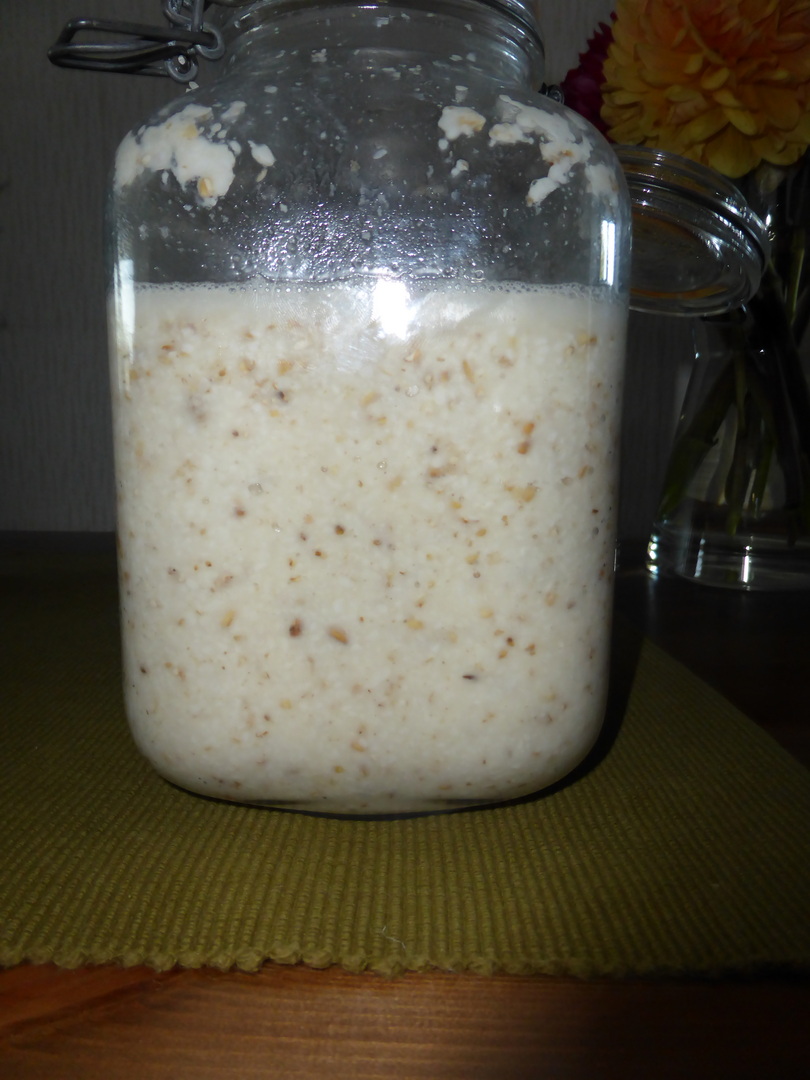
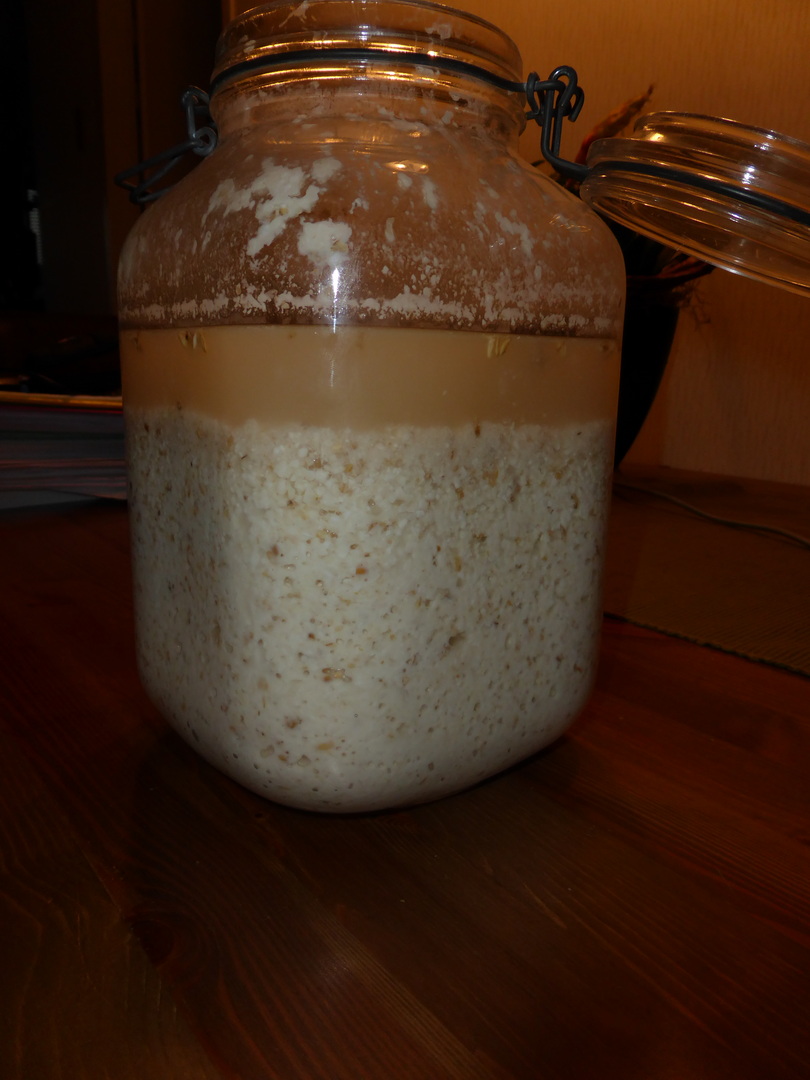
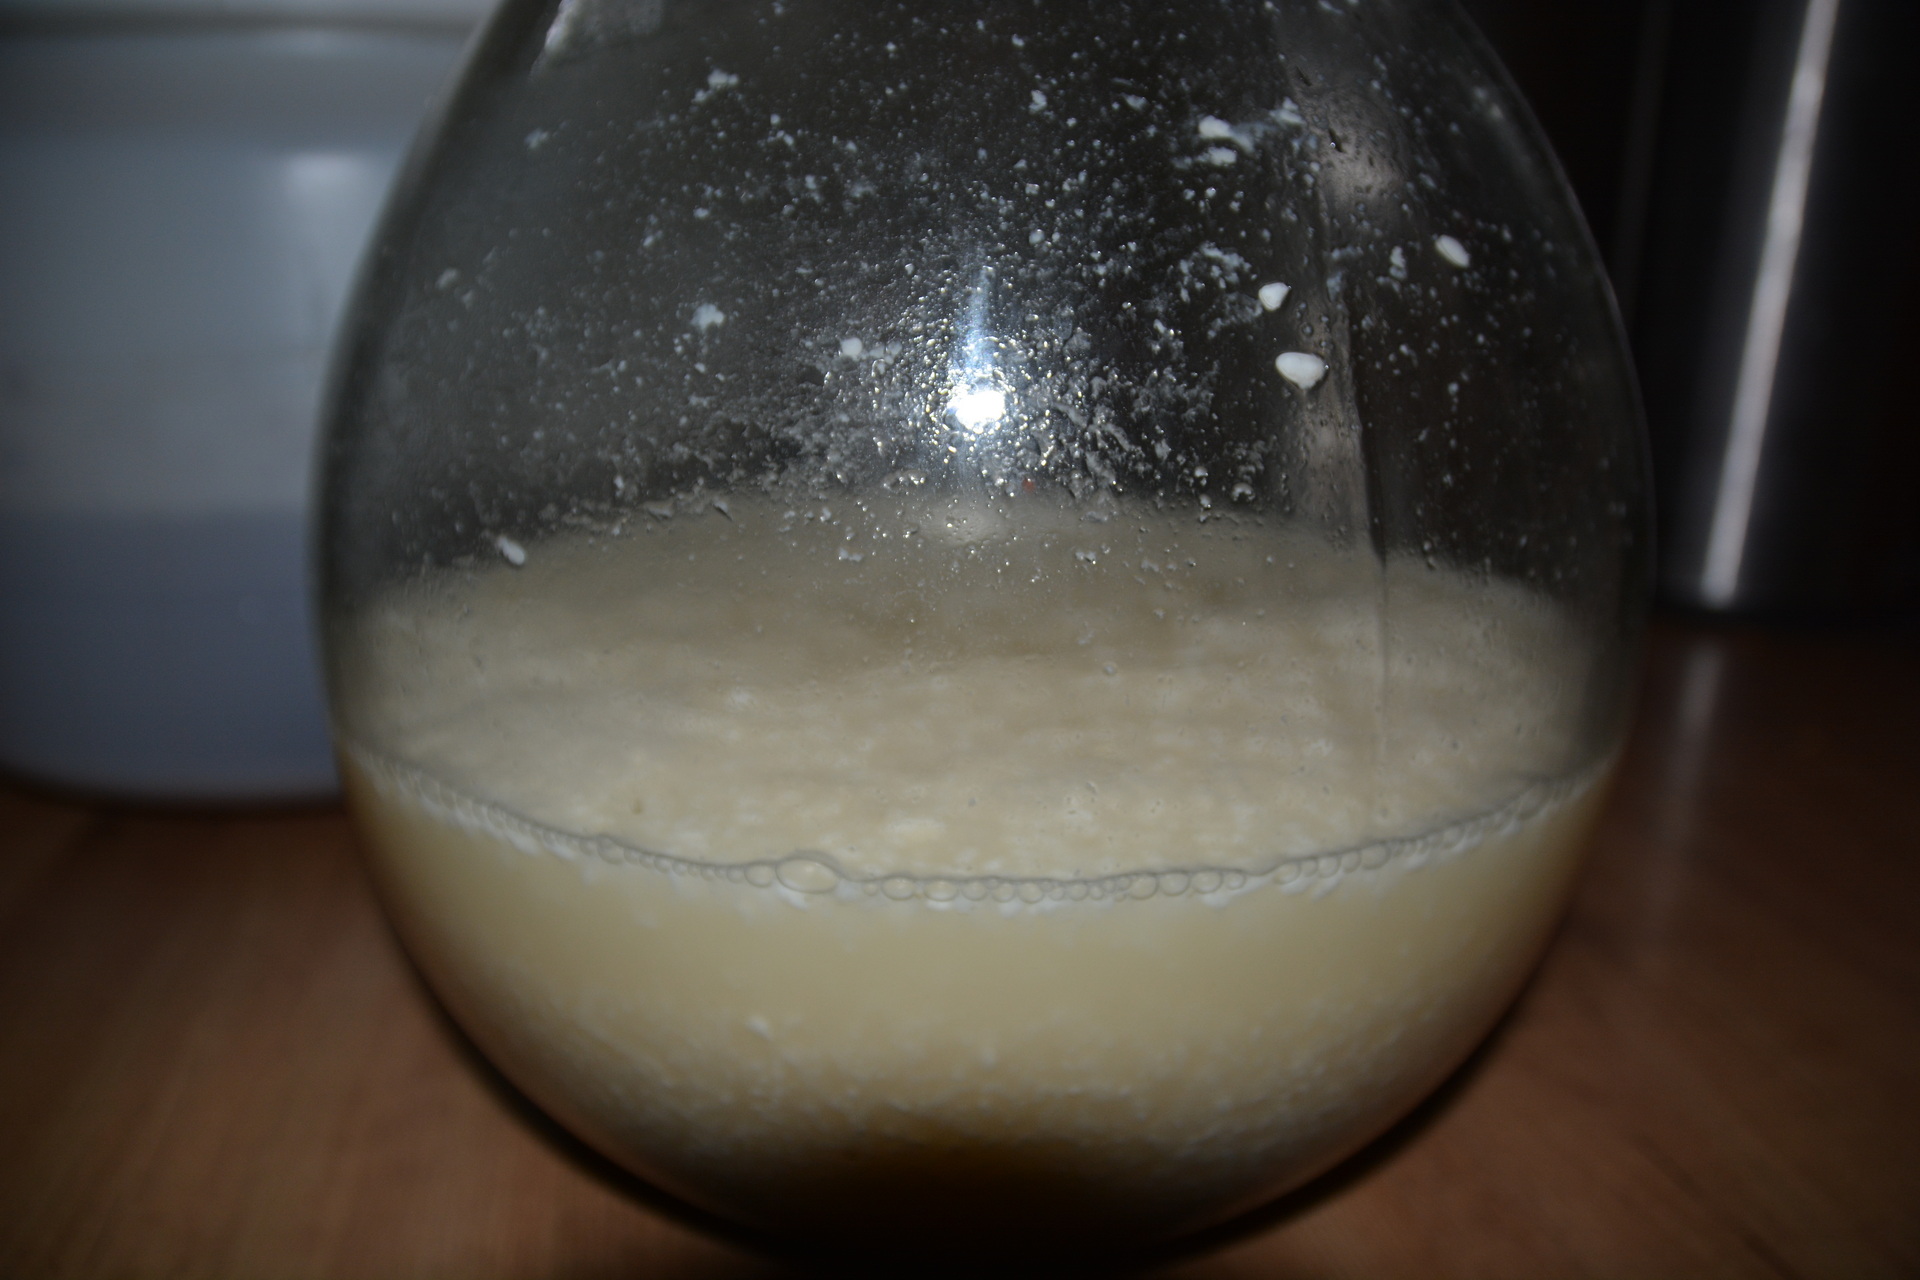
7. Add the yeast and cover with the lid. Keep it all at room temperature. The rice will be a lot of the water, after 2 days the rice breaks down into one fermenting white mush. On fermentation lower temperature will make your sake taste better. The best temperature is around 18°C.
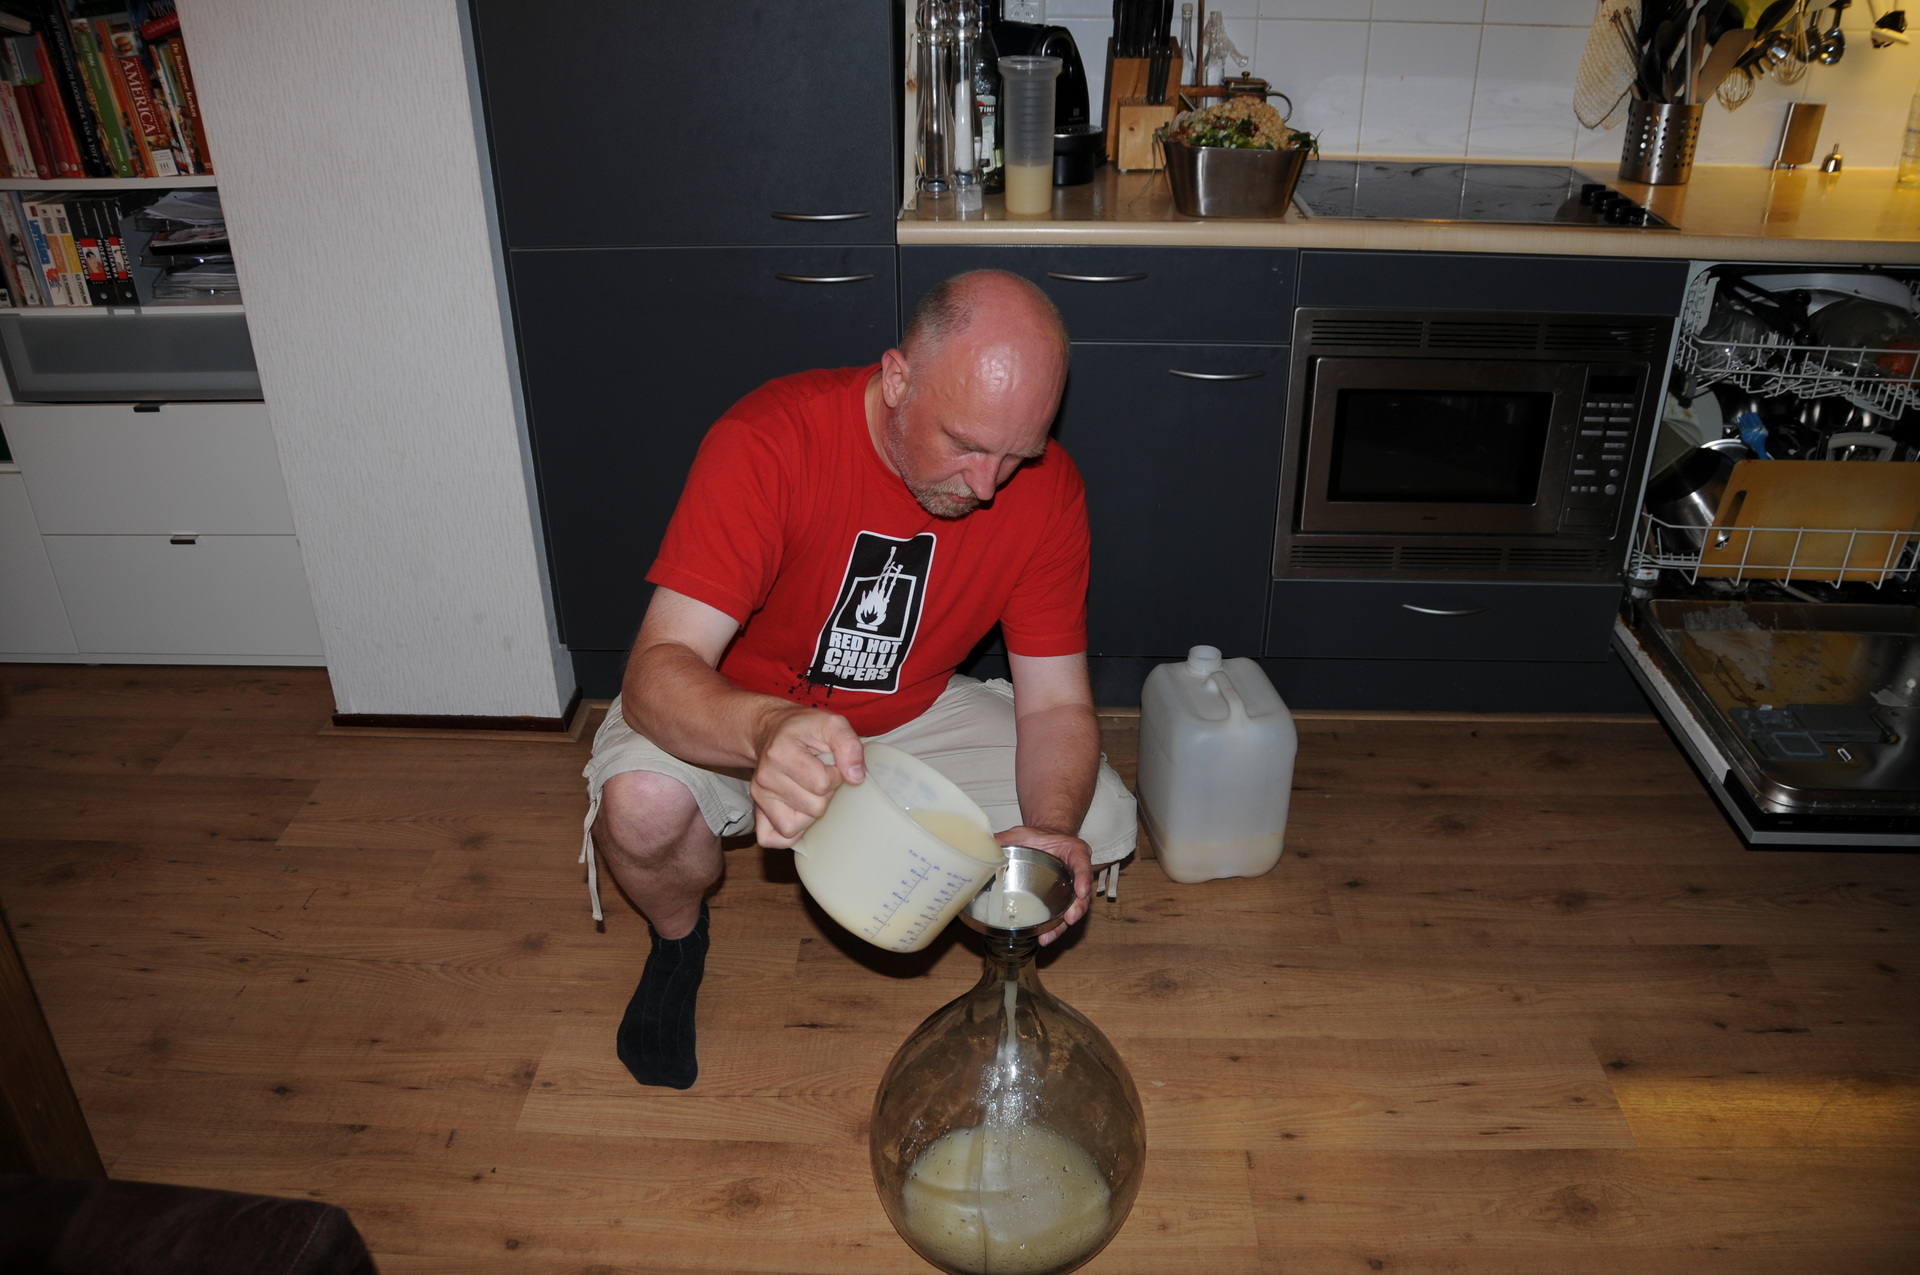
8. Stir well at least once a day. After 2-3 days you will have a pleasant smelling sake smell perceive.
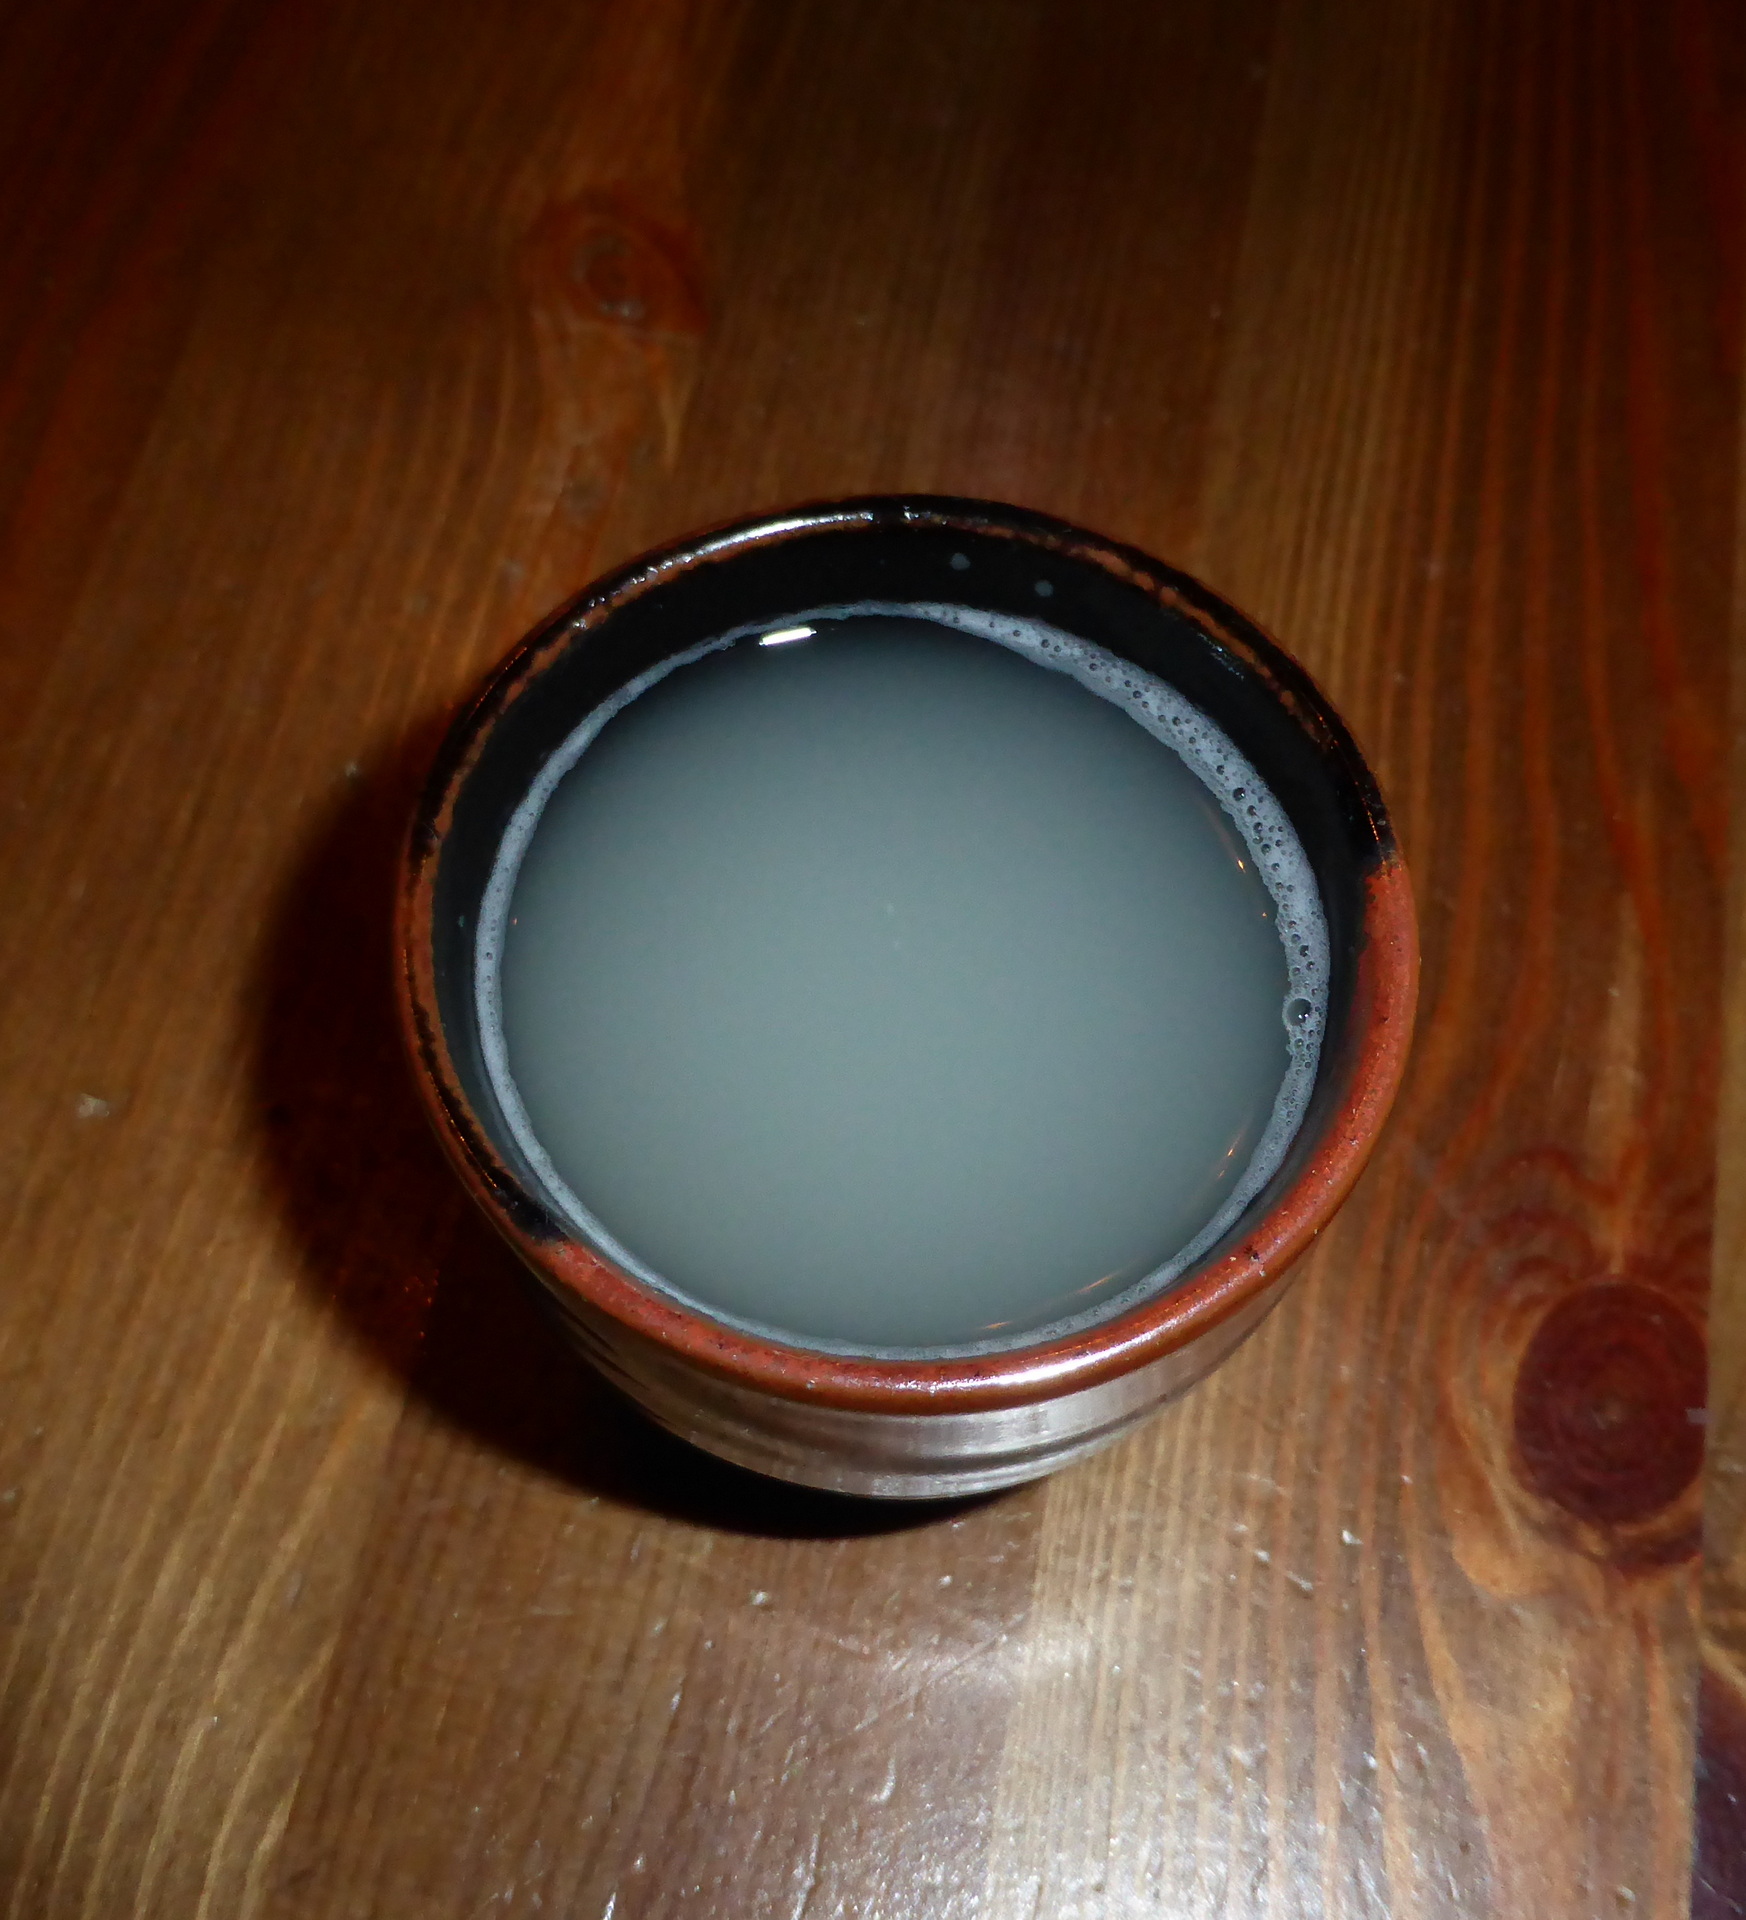
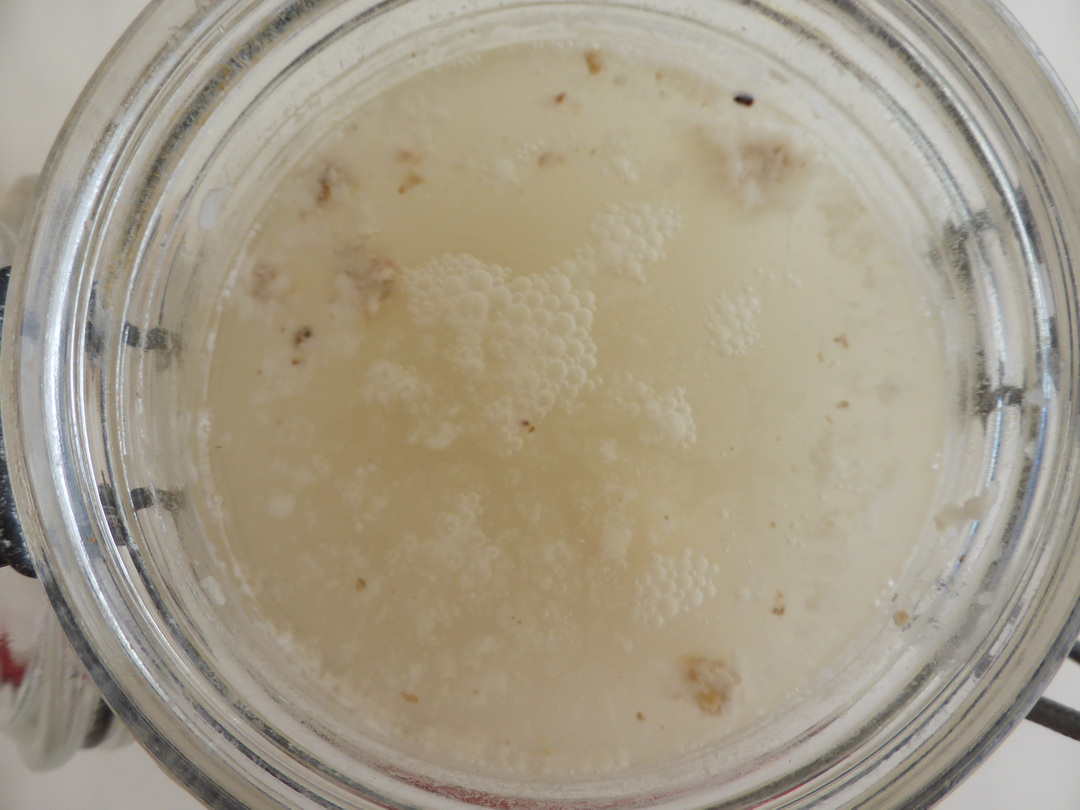
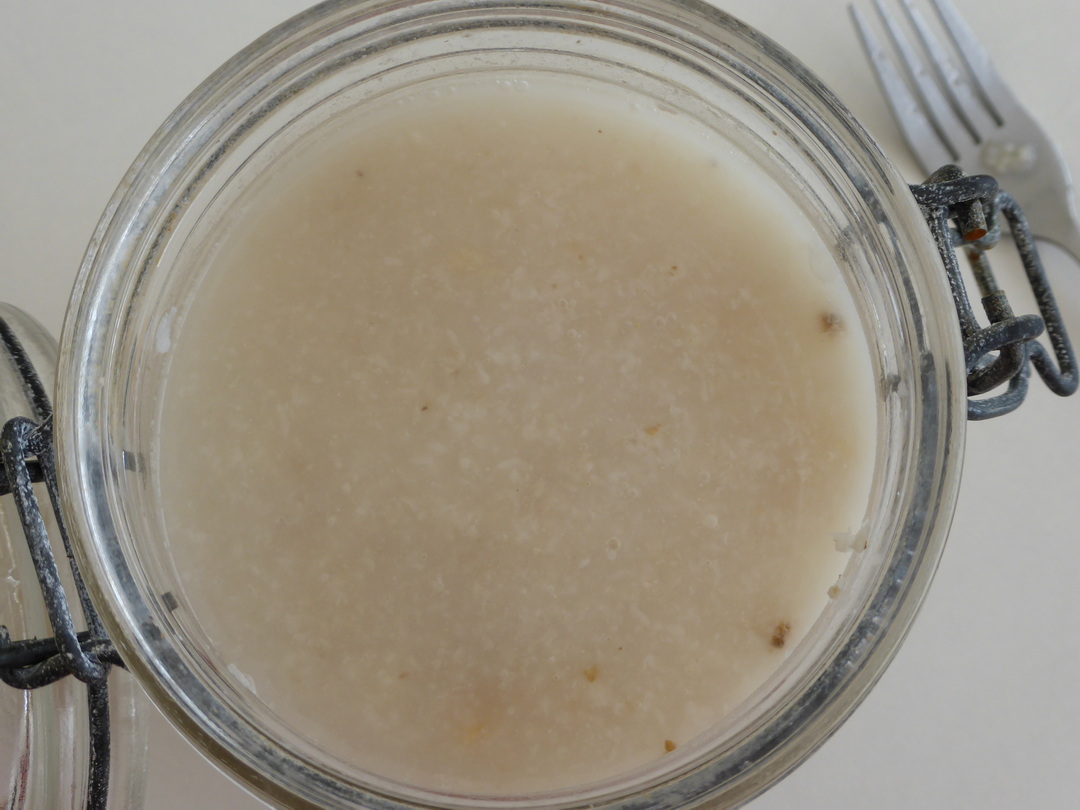
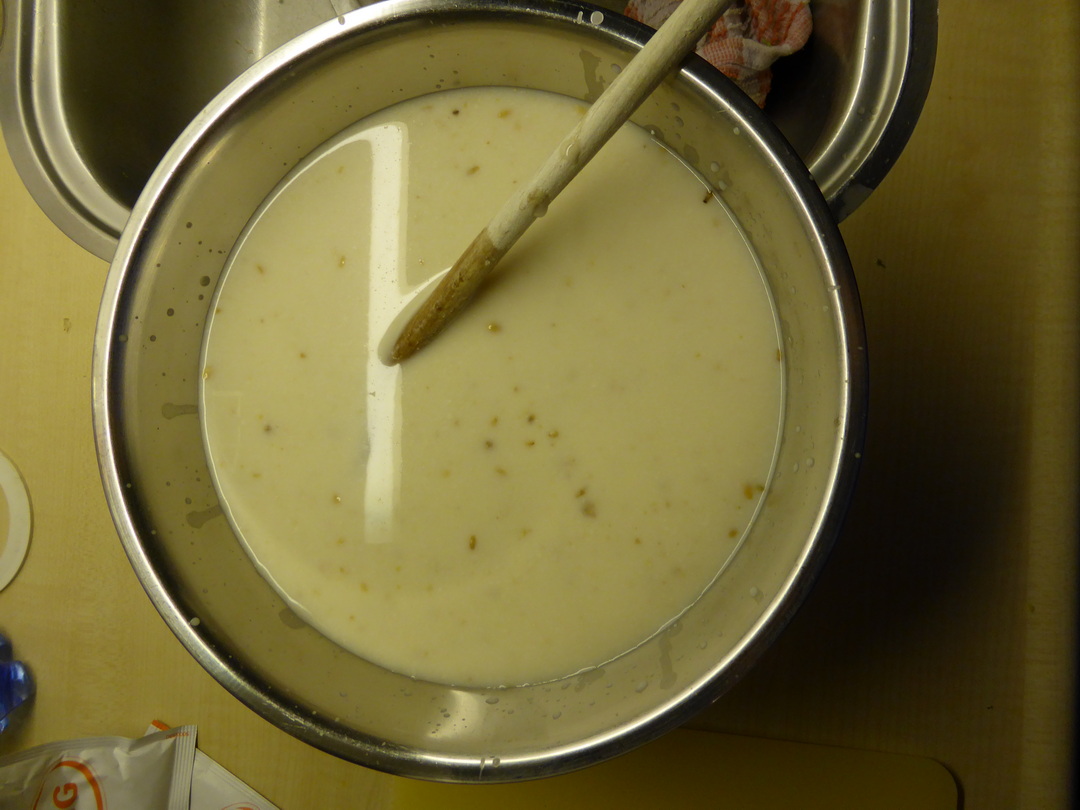
9. After two weeks, the fermentation is over. Pour everything through a sieve or any other kind filter. The filtering can take up to 24 hours. The sake is best drunk chilled, has an alcohol content from 14 to 18 vol.% alc. and can easily be served as an accompaniment to fish and cheese. Want to
if you want to give your sake a slightly sweeter character, you can still do something at the end of the fermentation
add steamed rice (it is best to use a combination of plain rice and rice malt). This starts the fermentation will return and more alcohol will be formed. Eventually, the fermentation will stop and the alcohol content can even reach 19alc. vol.% have been incurred. Of course you can taste it adjust by using sugar (sweeter) or citric acid (dryer). The shape of sake the one you have now made is called 'doburoku' and is a white cloudy drink. To make the drink longer
can be stored, you can pasteurize them (5 minutes at 55°C).