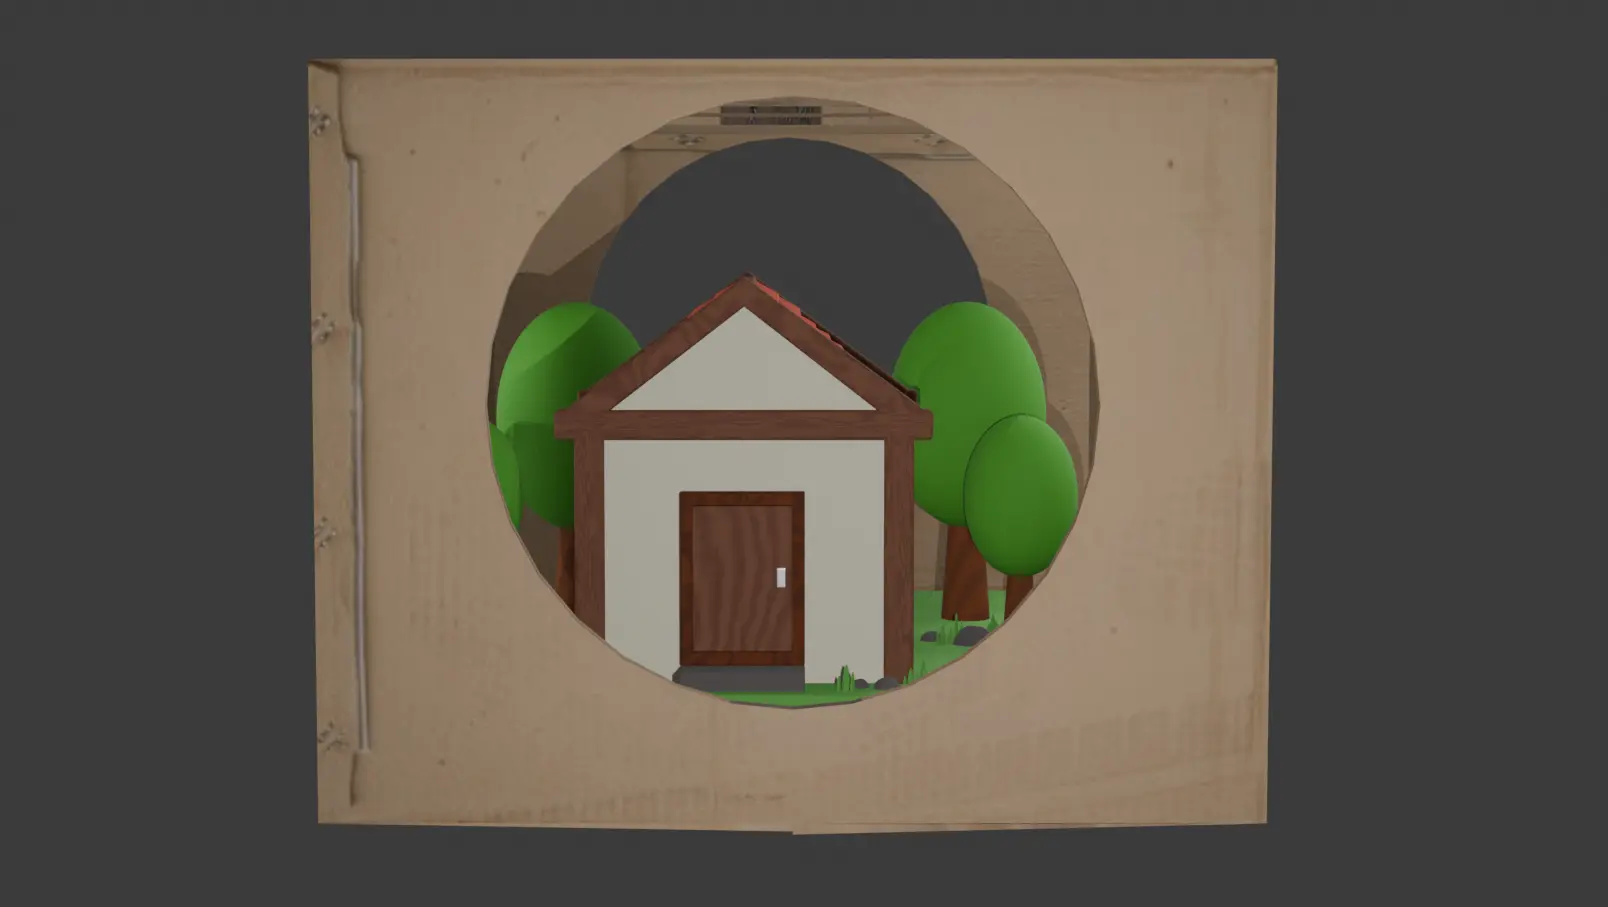
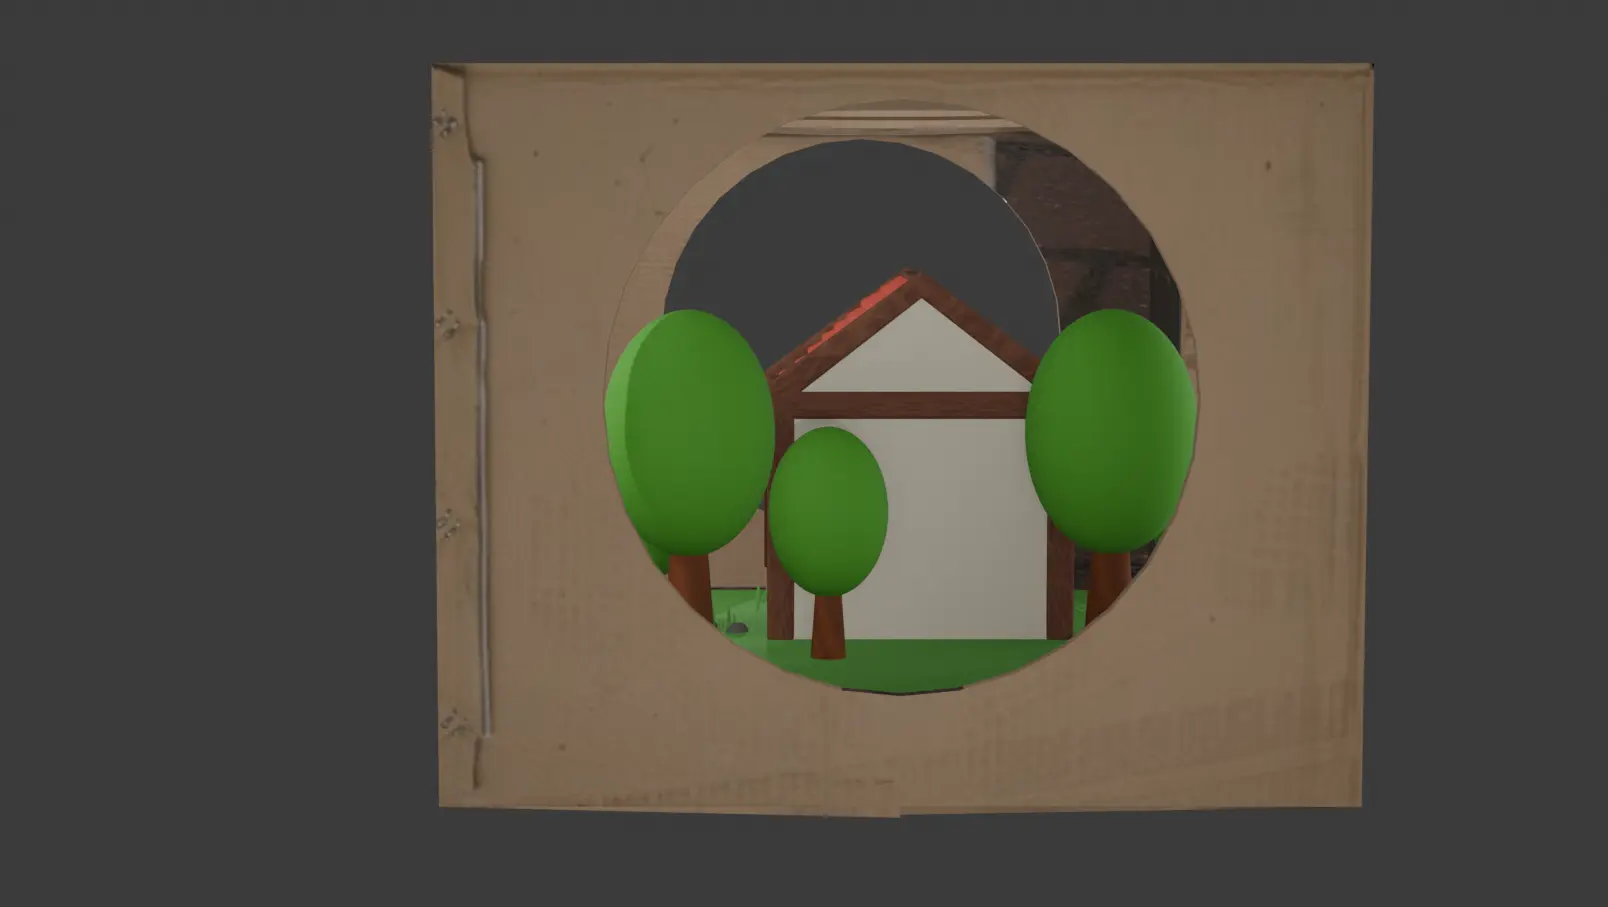
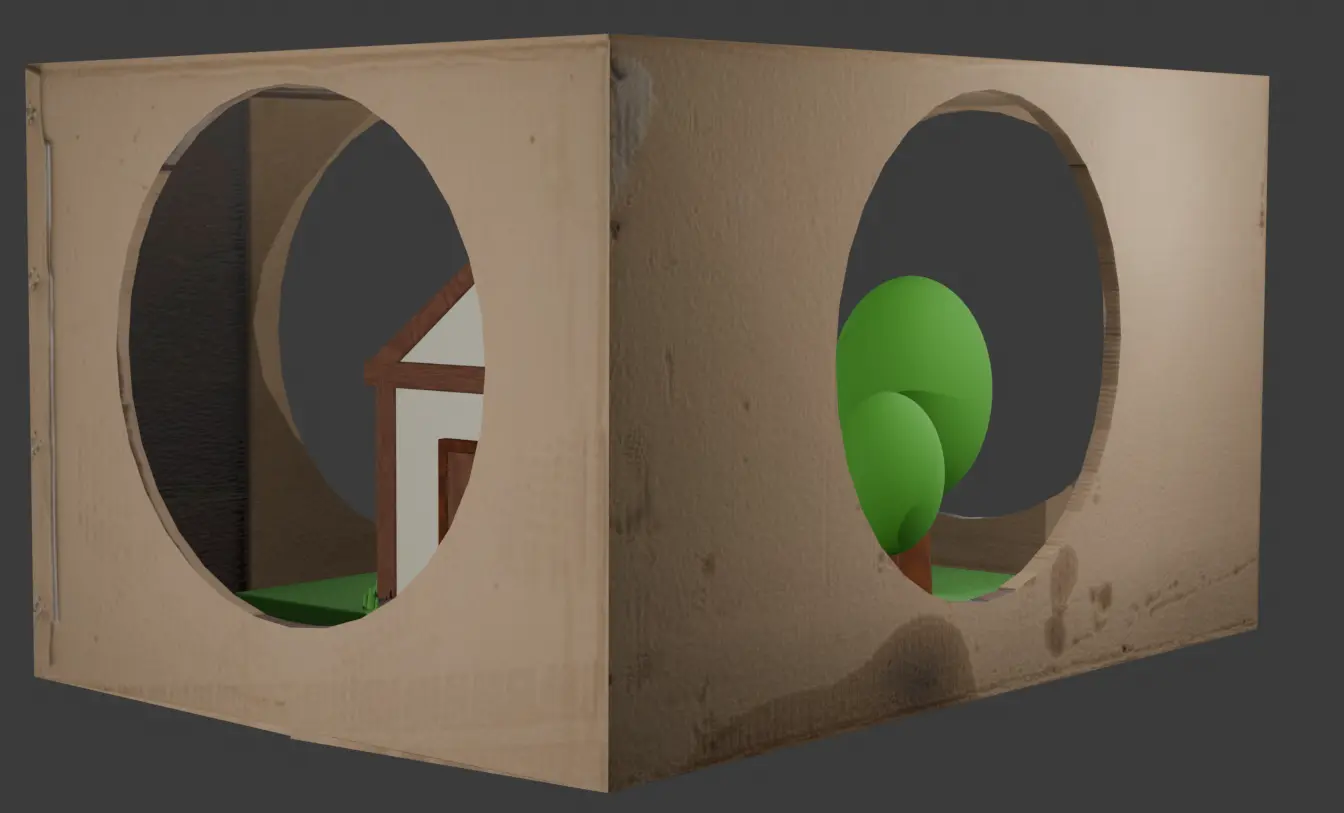
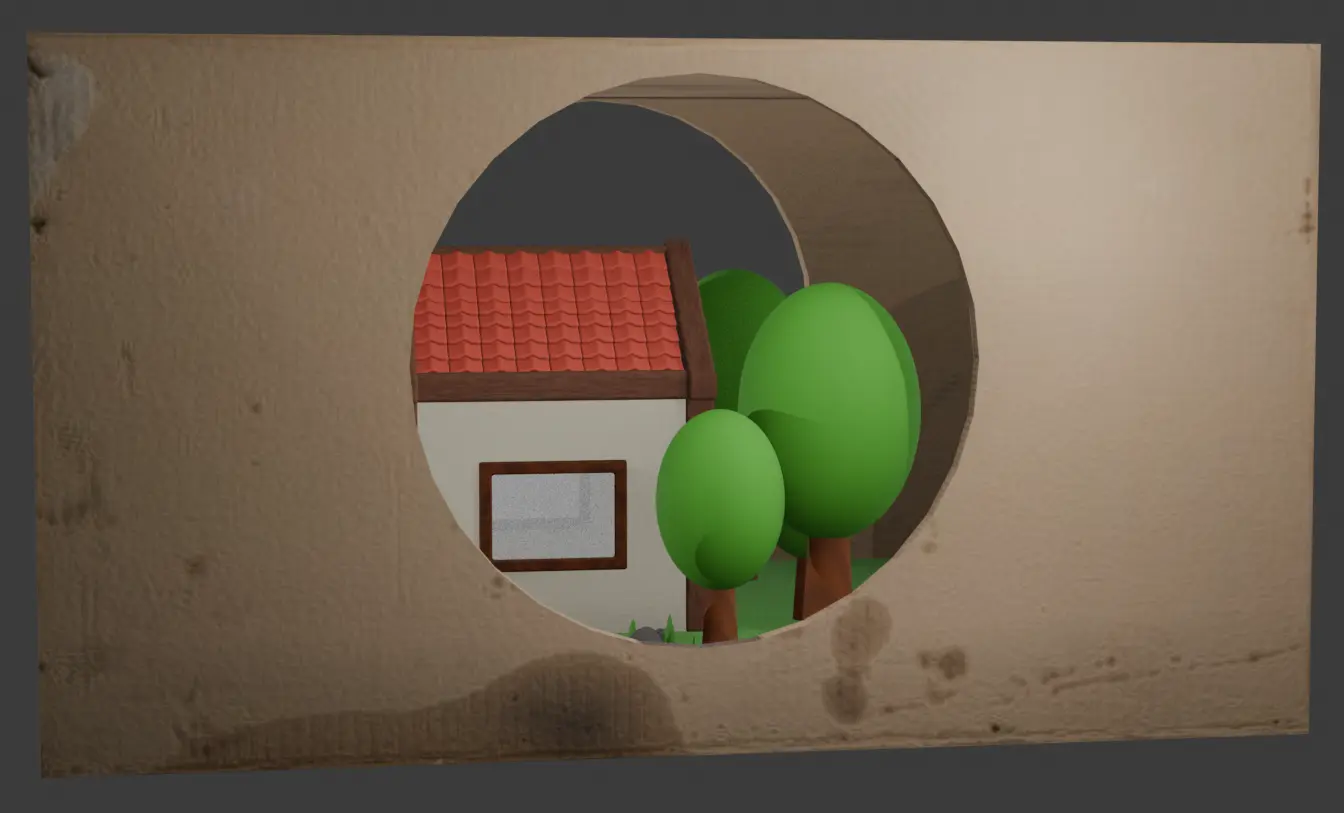
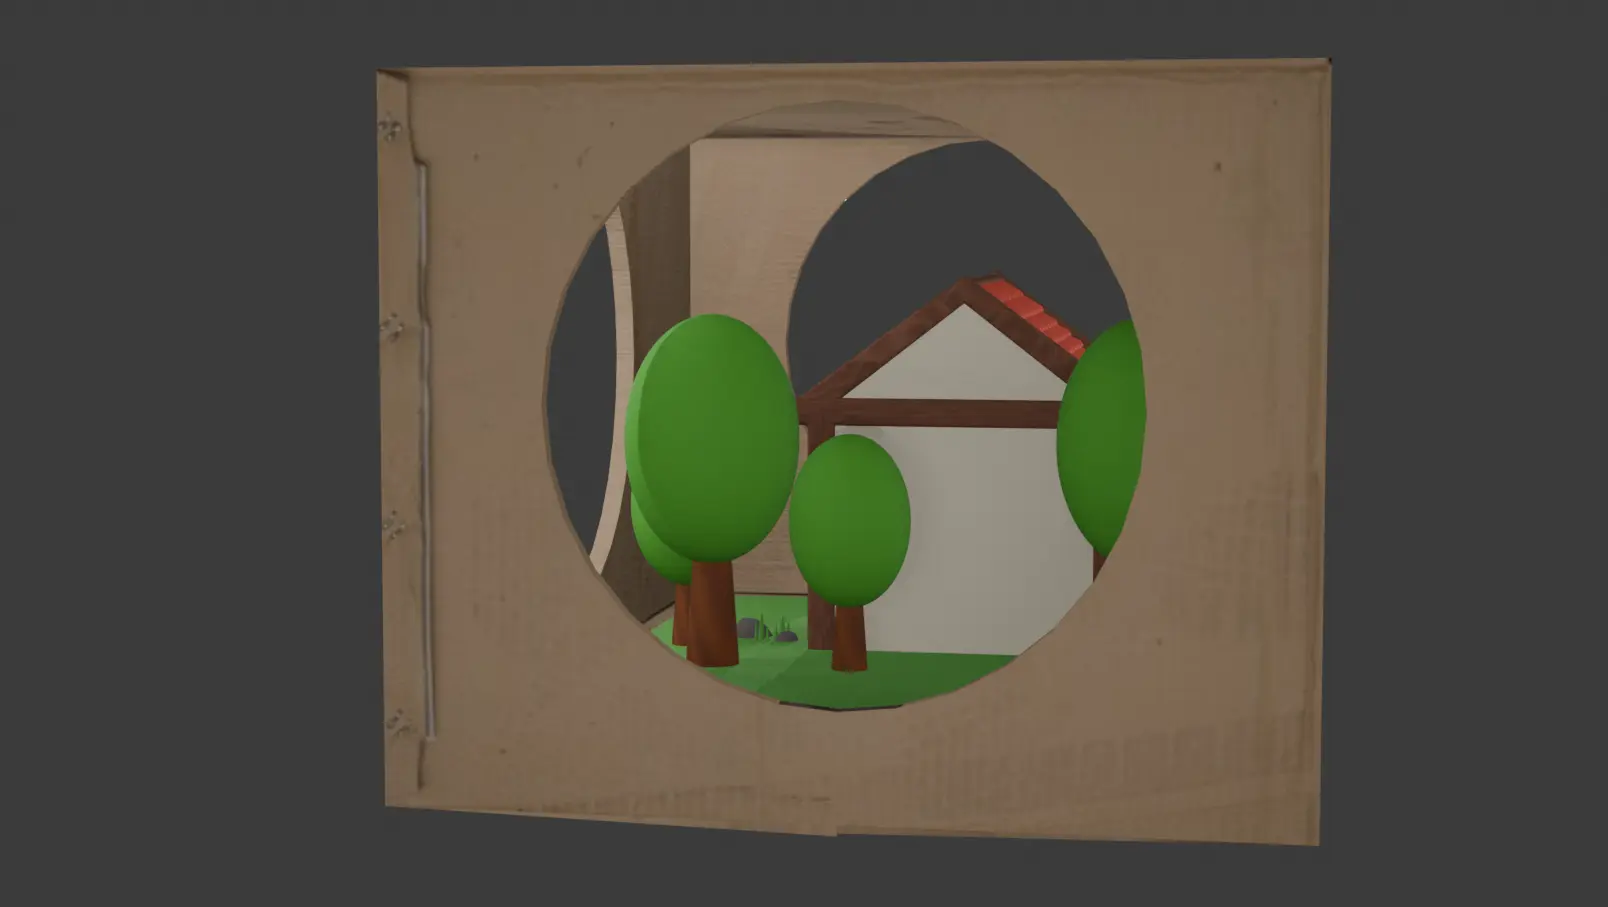
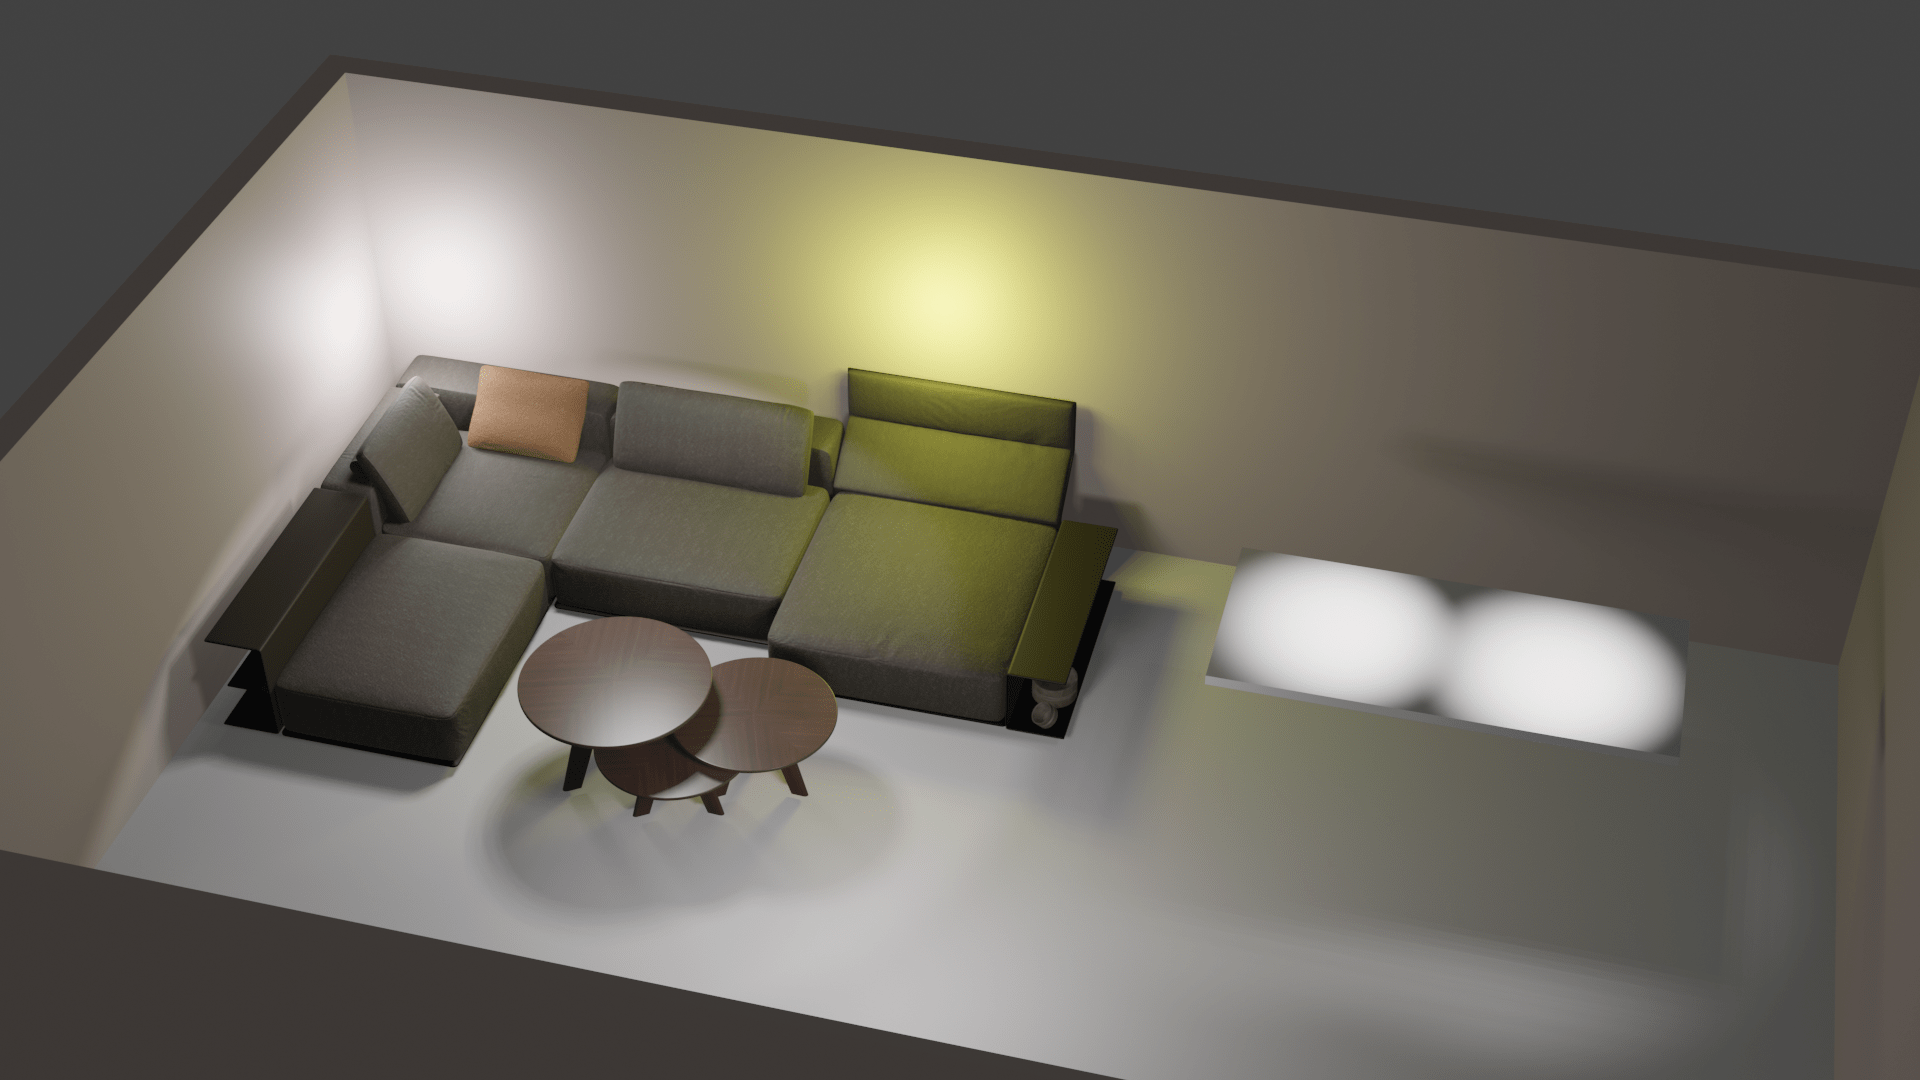
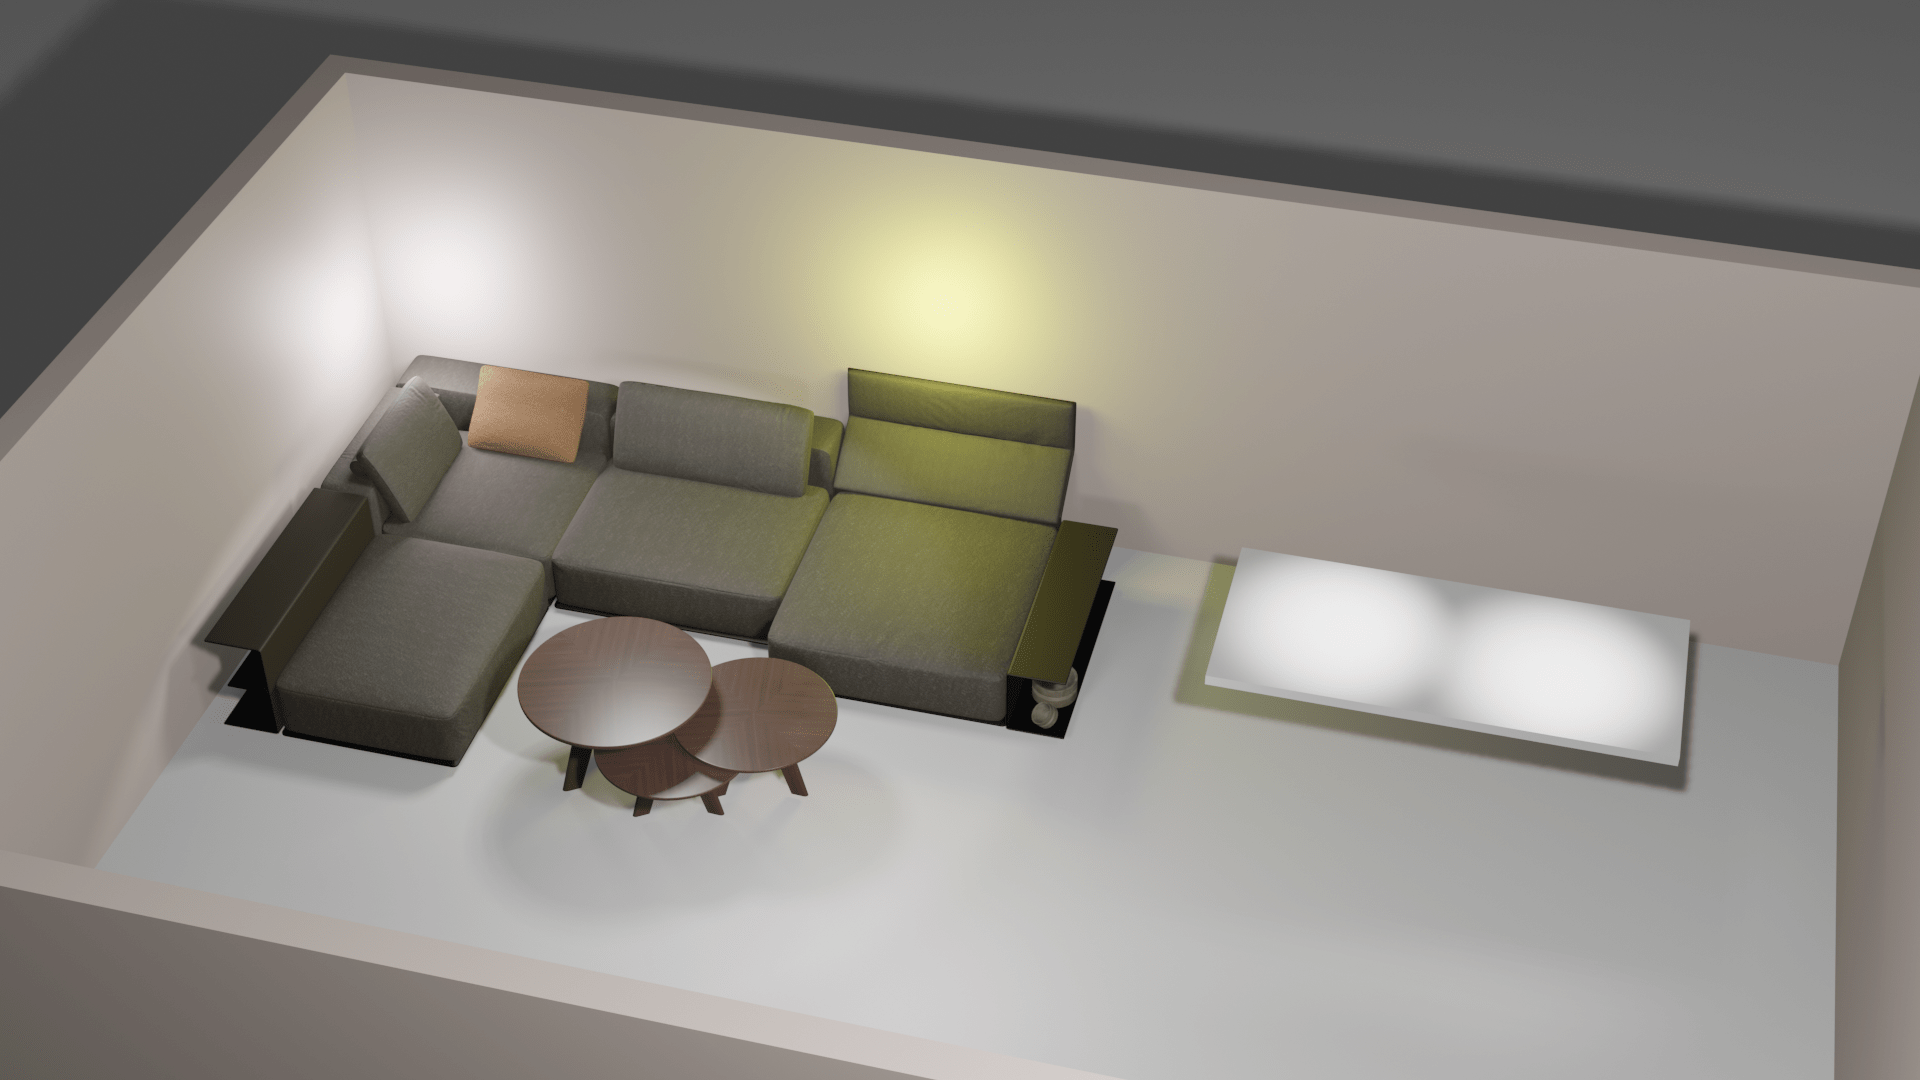
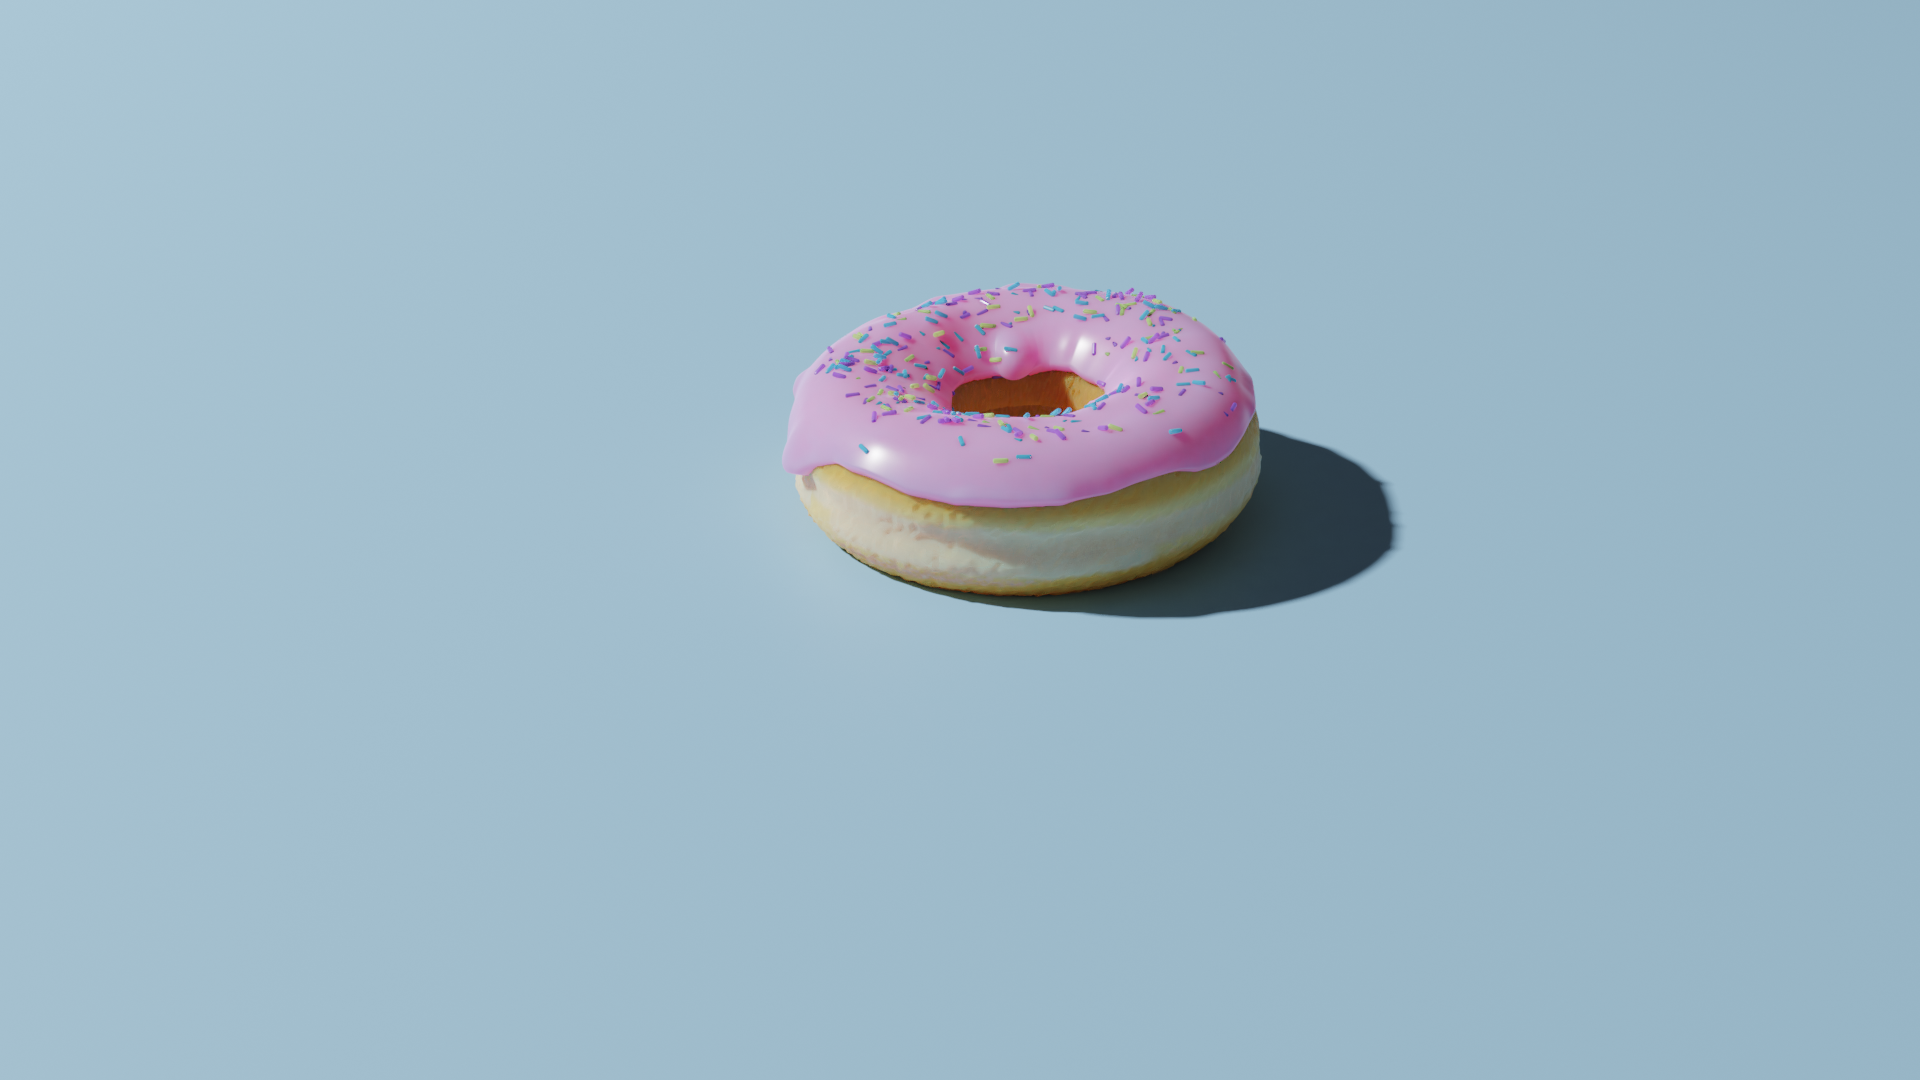
My girlfriend needed some images which shows a box and how people have different perspective on things.
AI generated images messes these up. LOL
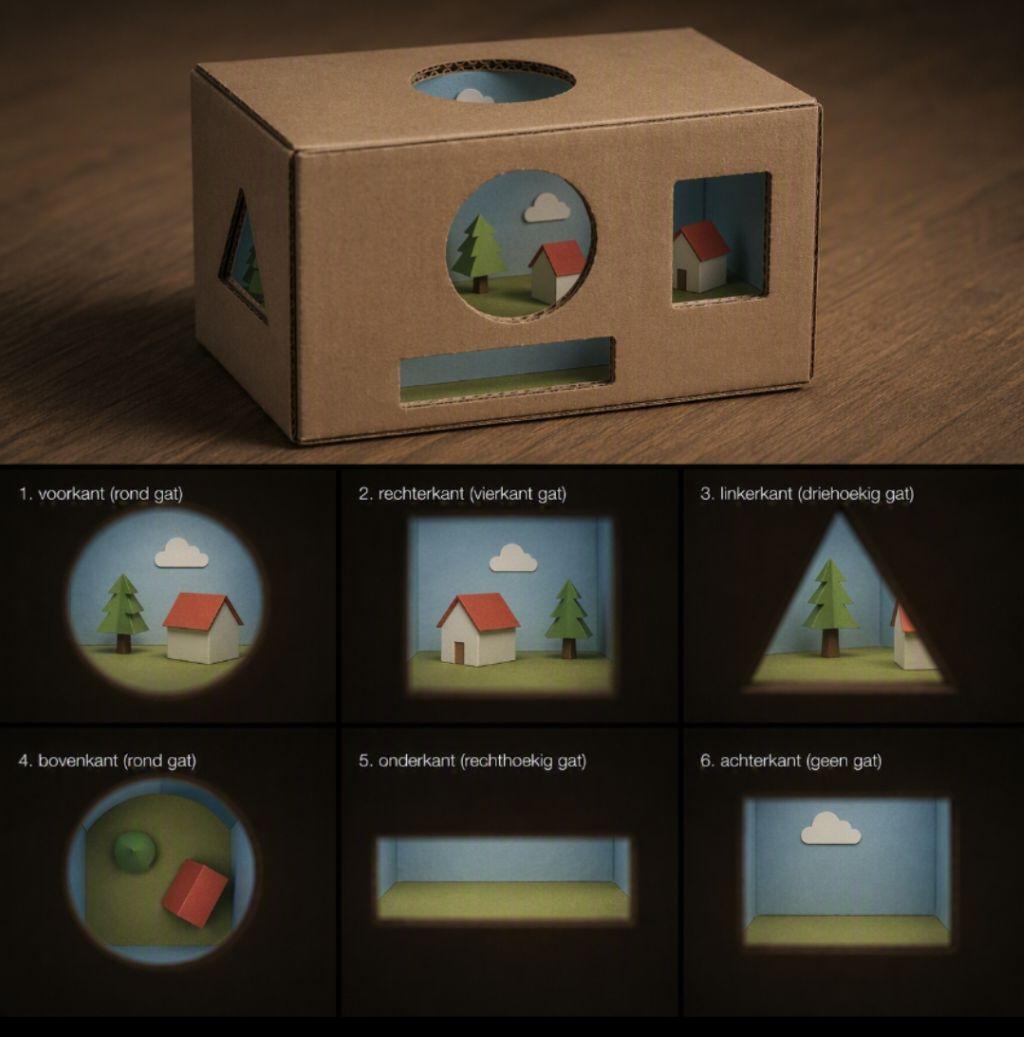
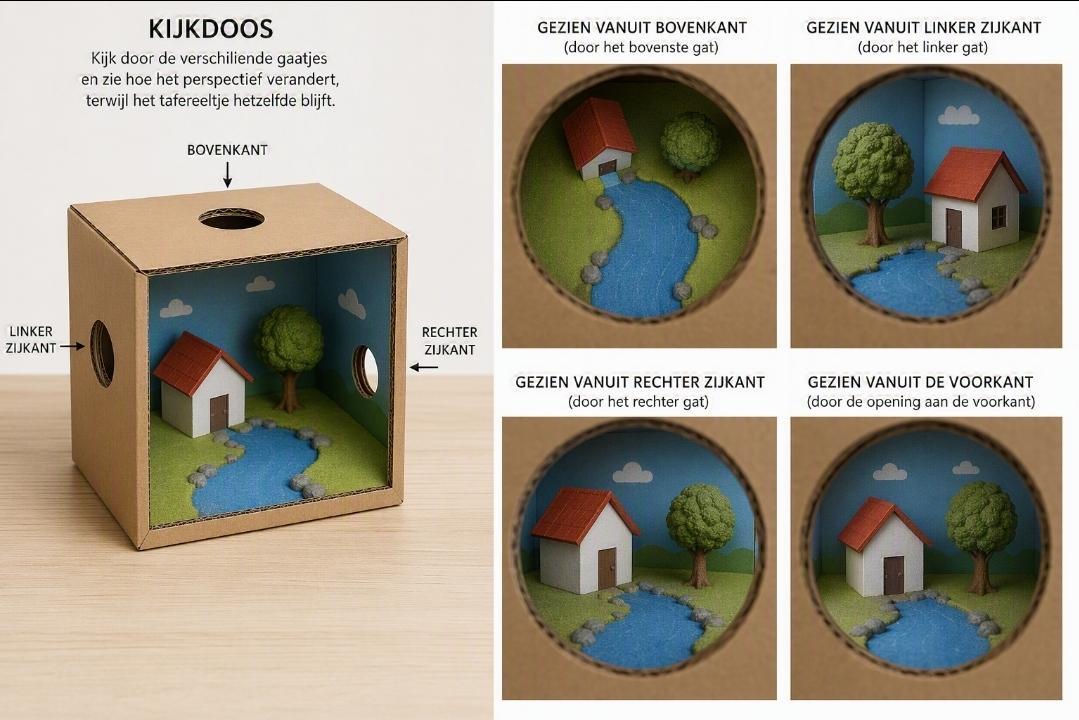
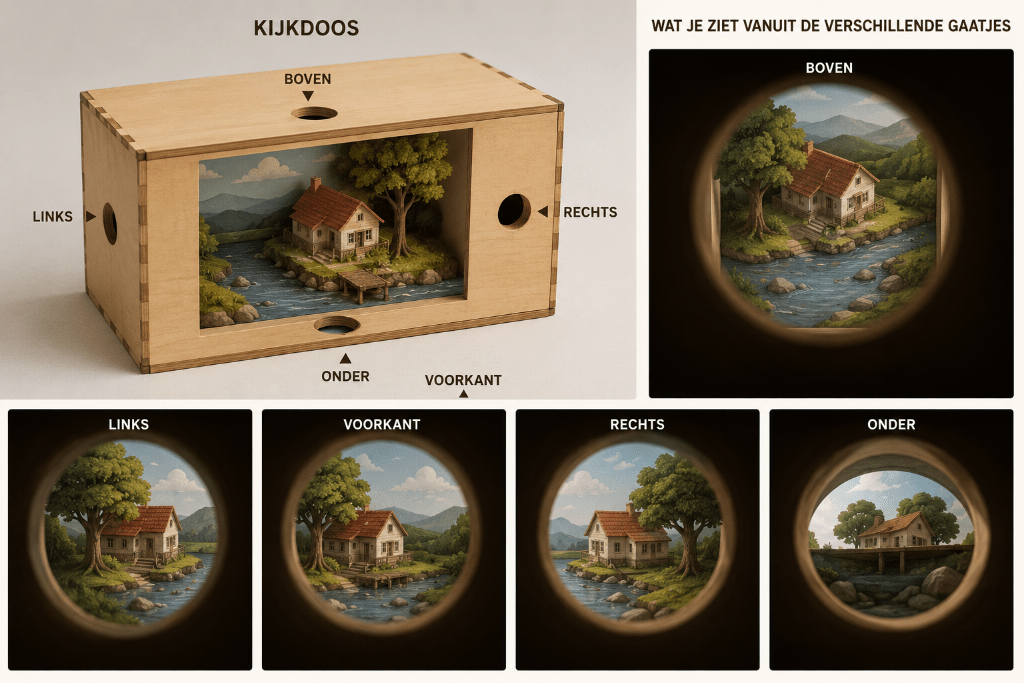
So I made a little blender scene.
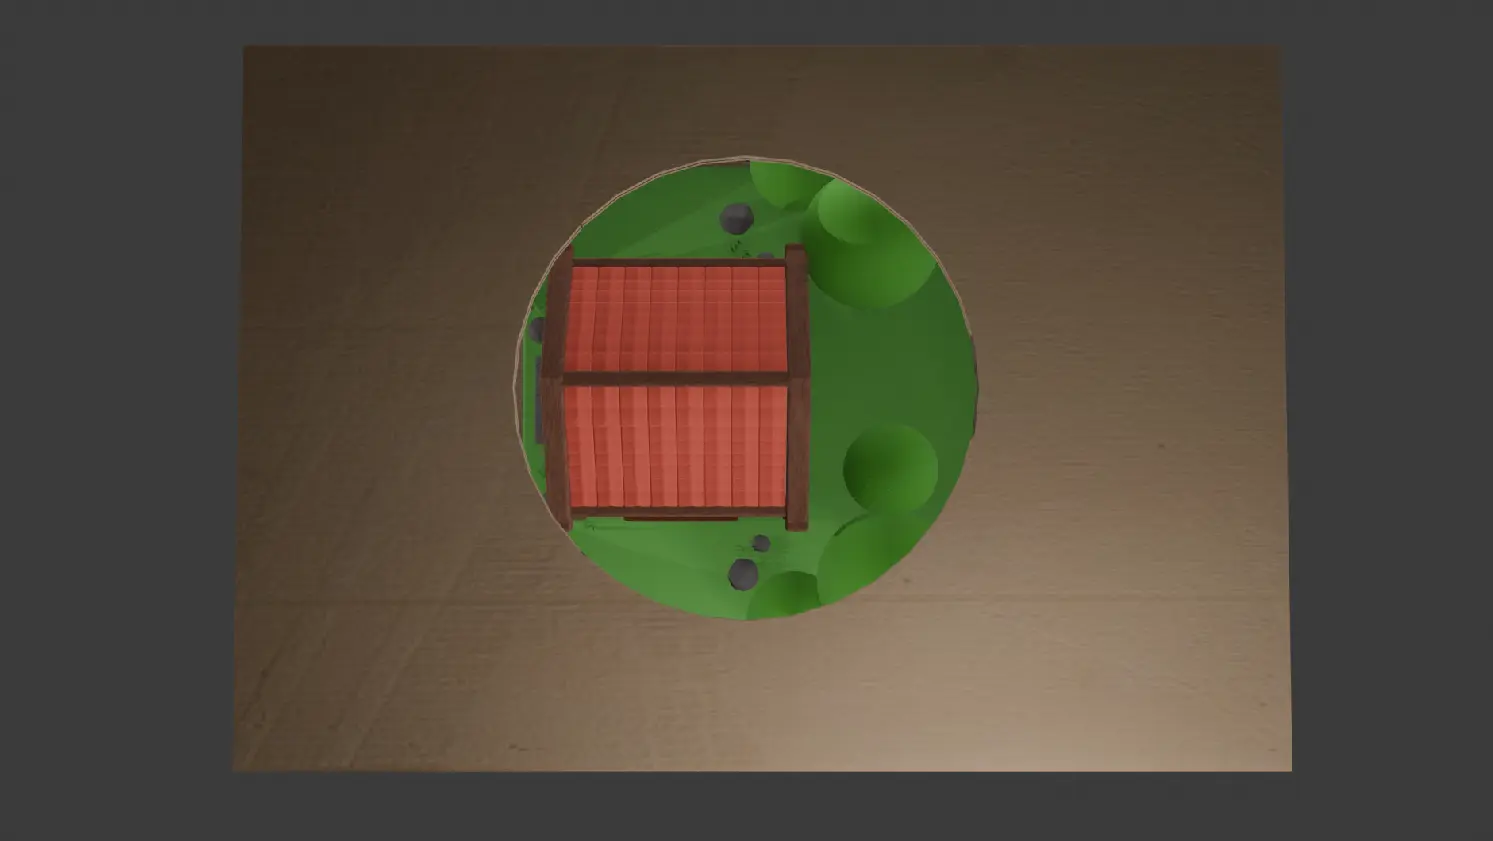


My girlfriend needed some images which shows a box and how people have different perspective on things.
AI generated images messes these up. LOL
So I made a little blender scene.
I used MCE to control some Windows VMs and programs running in it in the past. (Below link and a web interface engine which on the backend converted BWW/BMW (bagpipe music files) to PDF automated comes to mind)
Now, I implemented this:
Controlling a Windows VM using MQTT, very nice!
(Use HA mqtt or mosquitto_pub in bash)
Question: anyone got a better solution to control programs within a VM? Let me know.
Next:
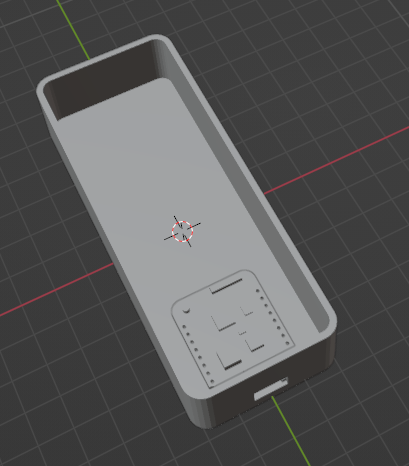
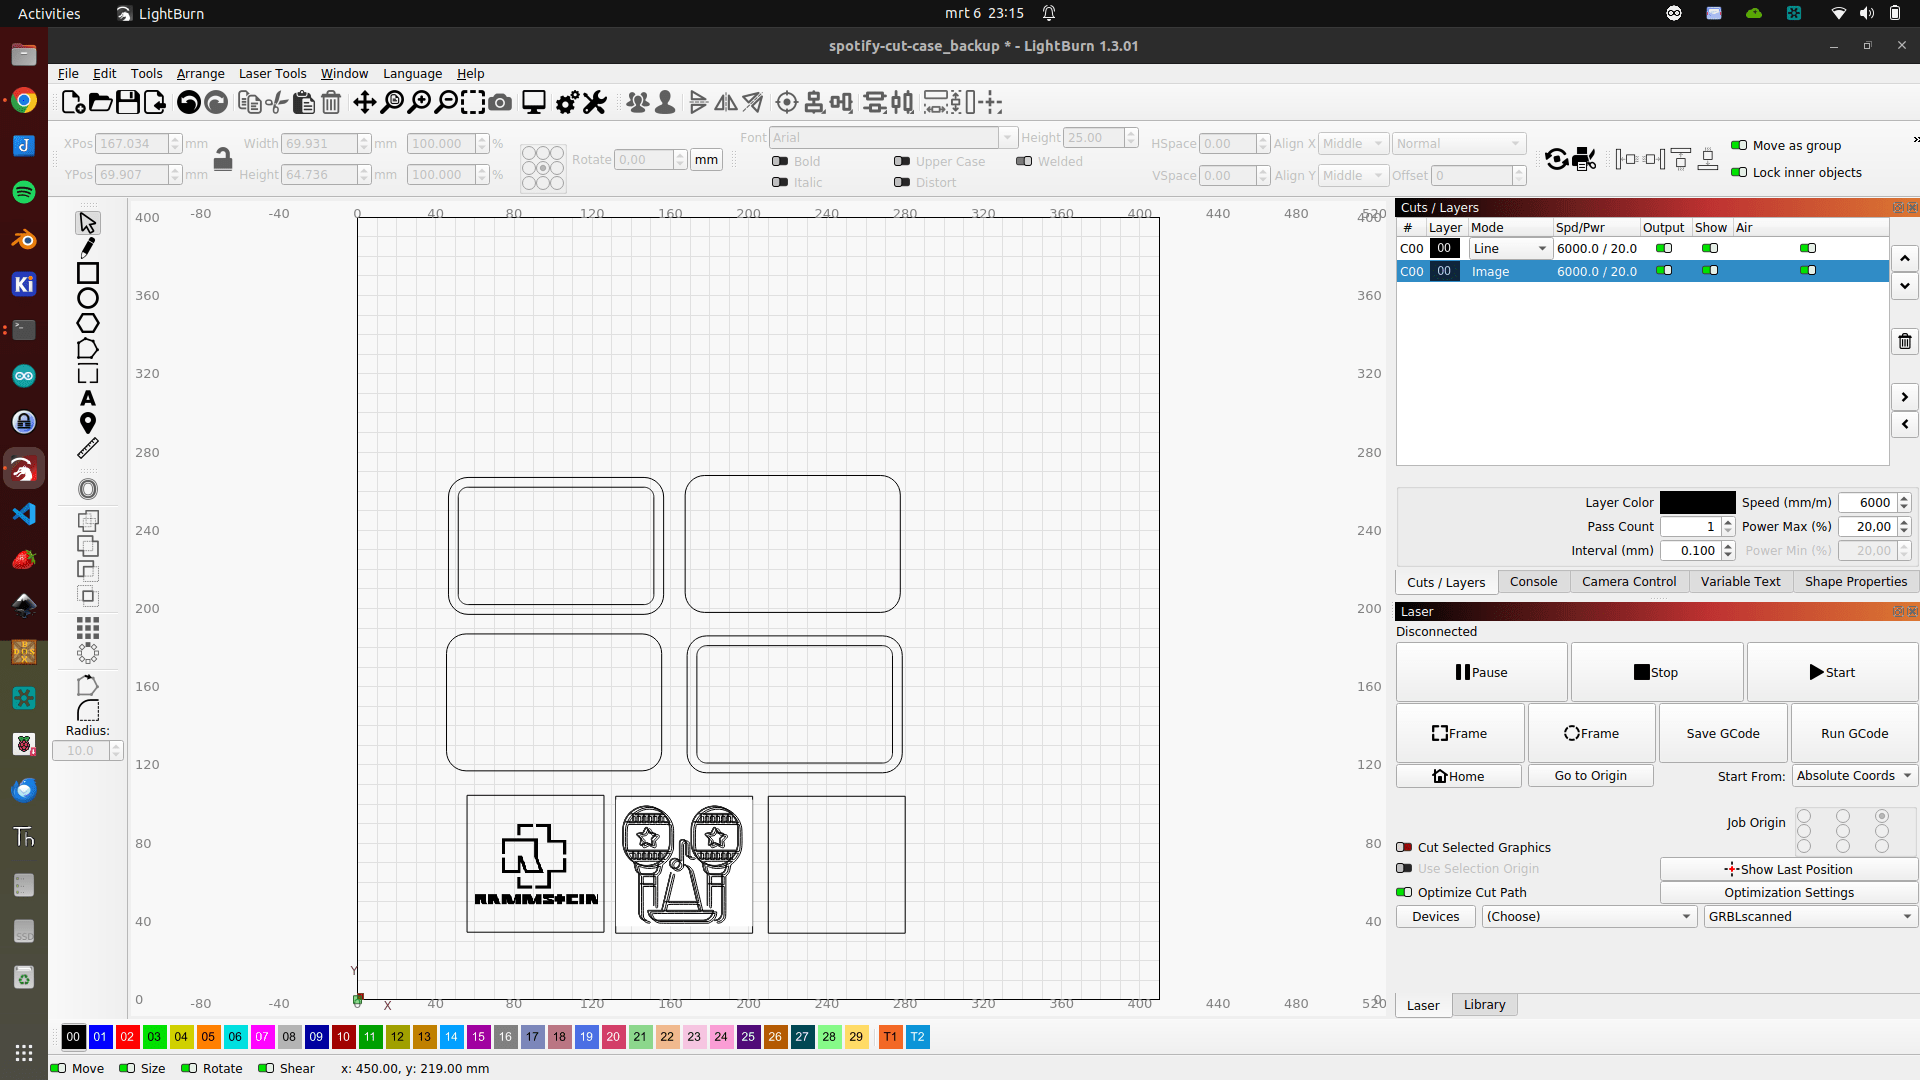
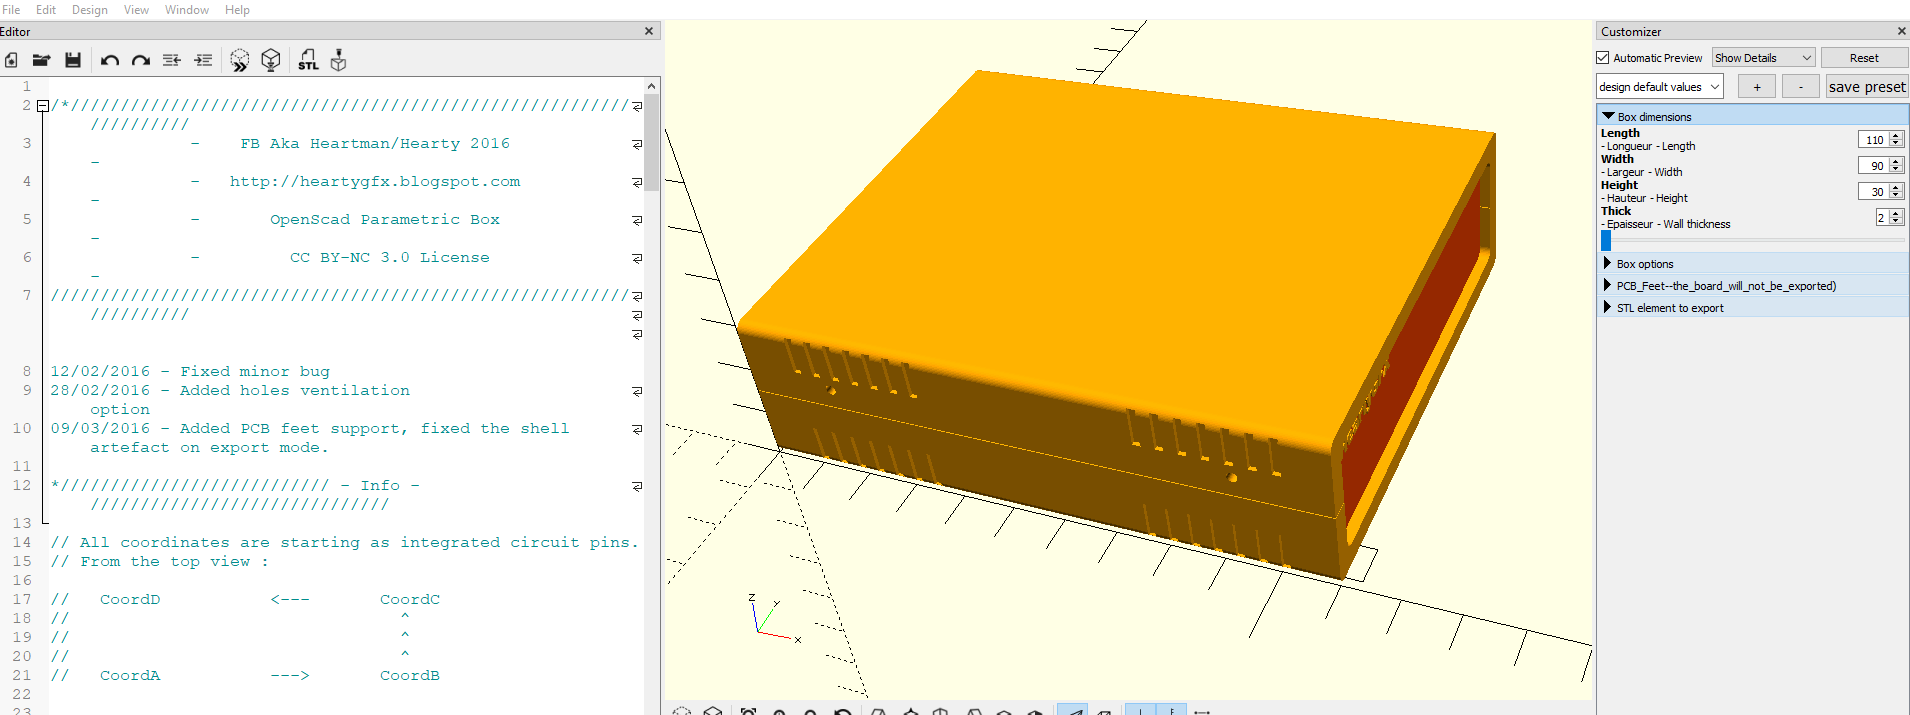
I’m creating a new case for my Wemos, LCD16x2, button, Led, Buzzer project (see other post)
I’m redesigning my previous case in blender.
But I really miss something like a generator function for different cases, like the one I made using Openscad.
Question: Anyone know a tool/add-on to generate cases?
I used a model of a wemos to get the usb connector/screw holes in place.
My spotify rfid case I will create using wooden lasercut cutouts.
https://www.henriaanstoot.nl/2024/03/06/revisiting-the-spotify-cube/
Next one:
In the past, I’ve controlled some blender lights using python and MQTT. But now I’m trying to control it using DMX.
I found a cool add-on called Blender-DMX.
(B.t.w. wled can also use DMX)
Looks cool but, can I make a floorplan with this?
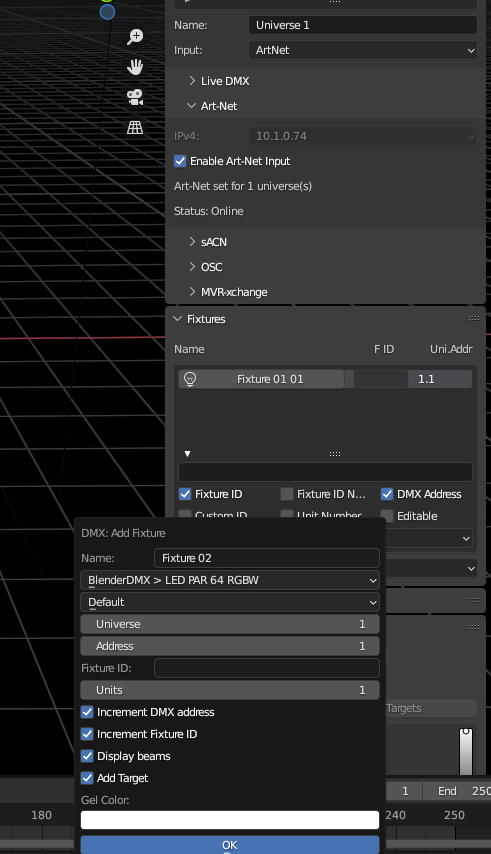
In Home Assistant I used a HACS add-on called : Art-net LED Lighting for DMX
Configuration can be done in configuration.yaml
light:
- platform: artnet_led
  host: BLENDERHOSTIP                   # IP of Art-Net Node
  max_fps: 25
  refresh_every: 0                      # Resend values if no fades are running every x seconds, 0 disables automatic refresh
  node_type: artnet-direct              # Which protocol to use
  universes:                            # Support for multiple universes
    1:                                  # .Nr of Universe (see configuration of your Art-Net Node)
      send_partial_universe: True       # Only send the universe which contains data
      devices:
        - channel: 1                    # first channel of dmx dimmer
          name: dmx_dimmer_rgbw         # name
          type: rgbw                    # type
          transition: 1                 # default duration of fades in sec.
          channel_size: 8bit            # width of the channel sent to DMX device, default "8bit", "16bit", "24bit" and "32bit"
          channel_setup: Wrgb           # This is the magic to get colors correct
It works, but I’m not happy, anyone got a better solution?
And I have to check out GDTF profiles for fixtures.
At a later stage I’m going to 3d print a white floorplan about 1cm high, with LEDs and buttons. A floorplan you can hang on your wall.
Quick mash-up as proof of concept.
400 frames
Let measure the level of beer in a metal tank .. 🙂
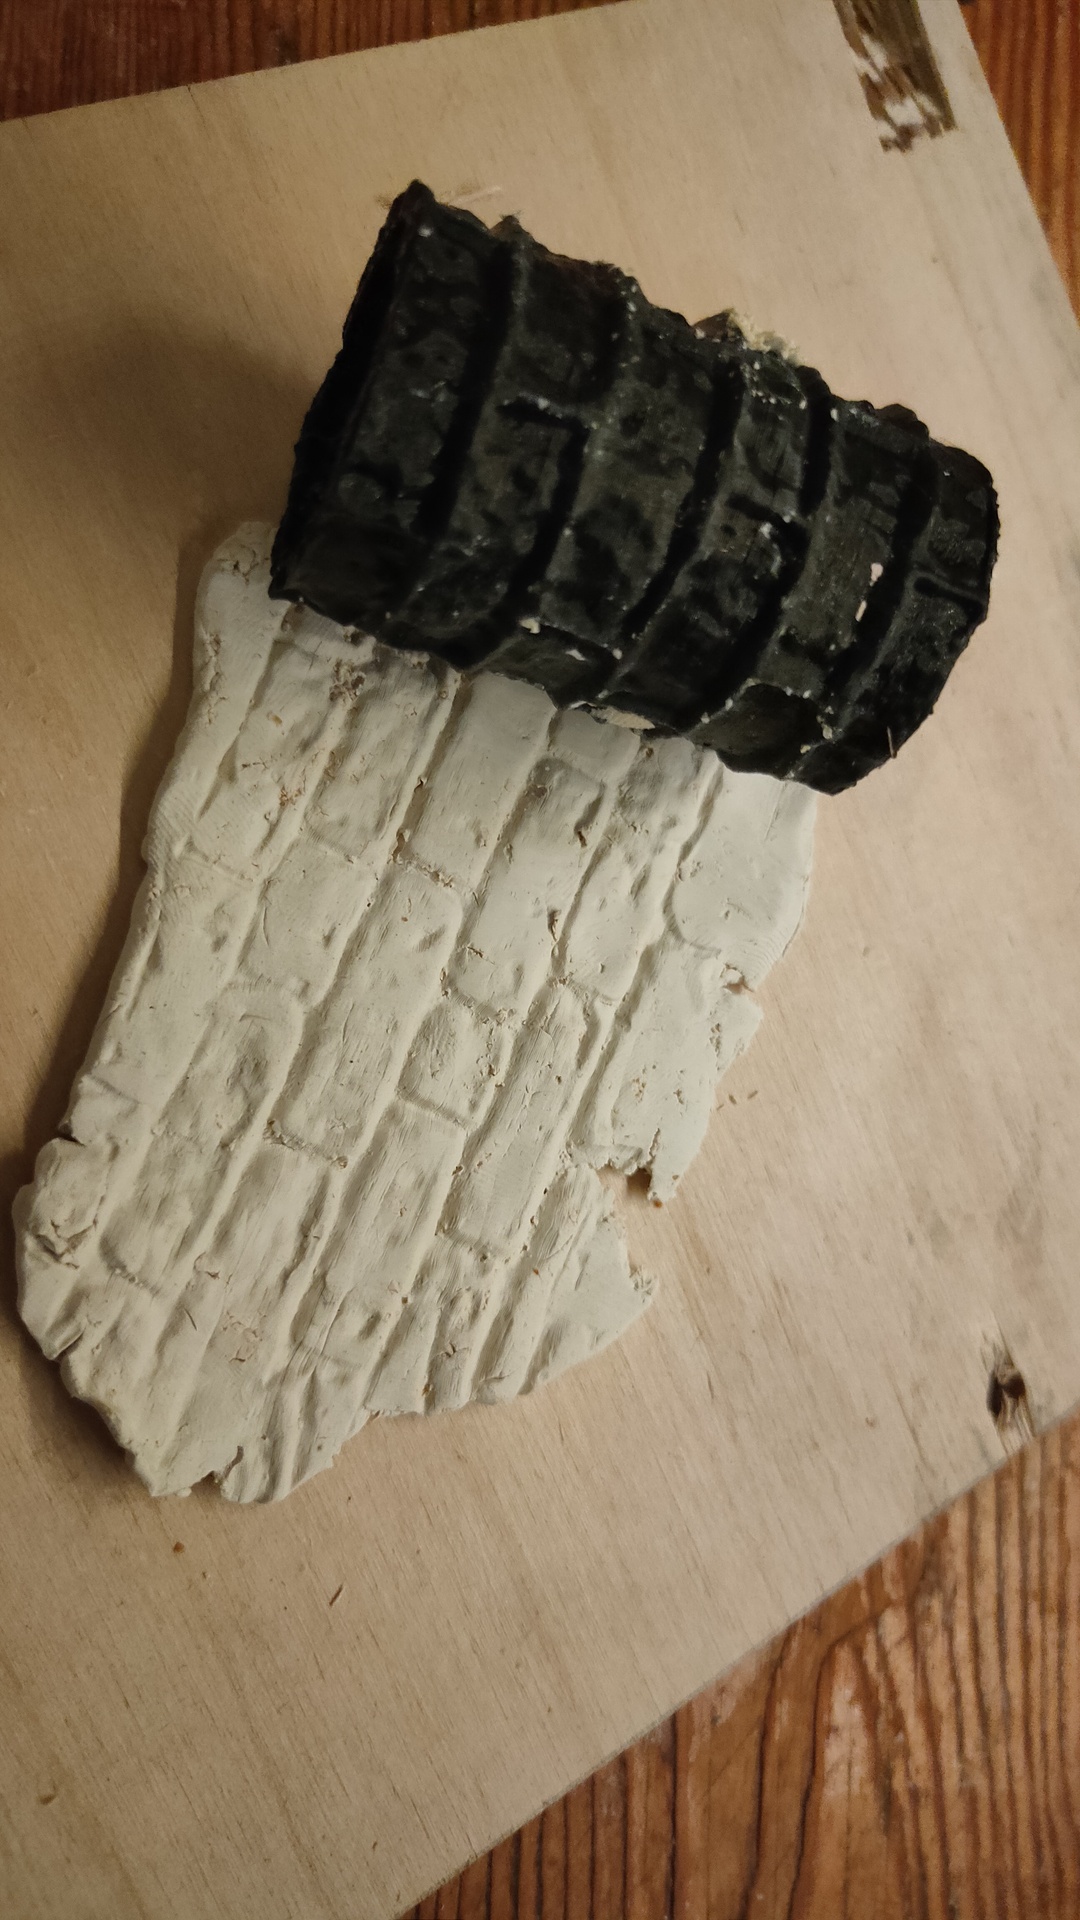
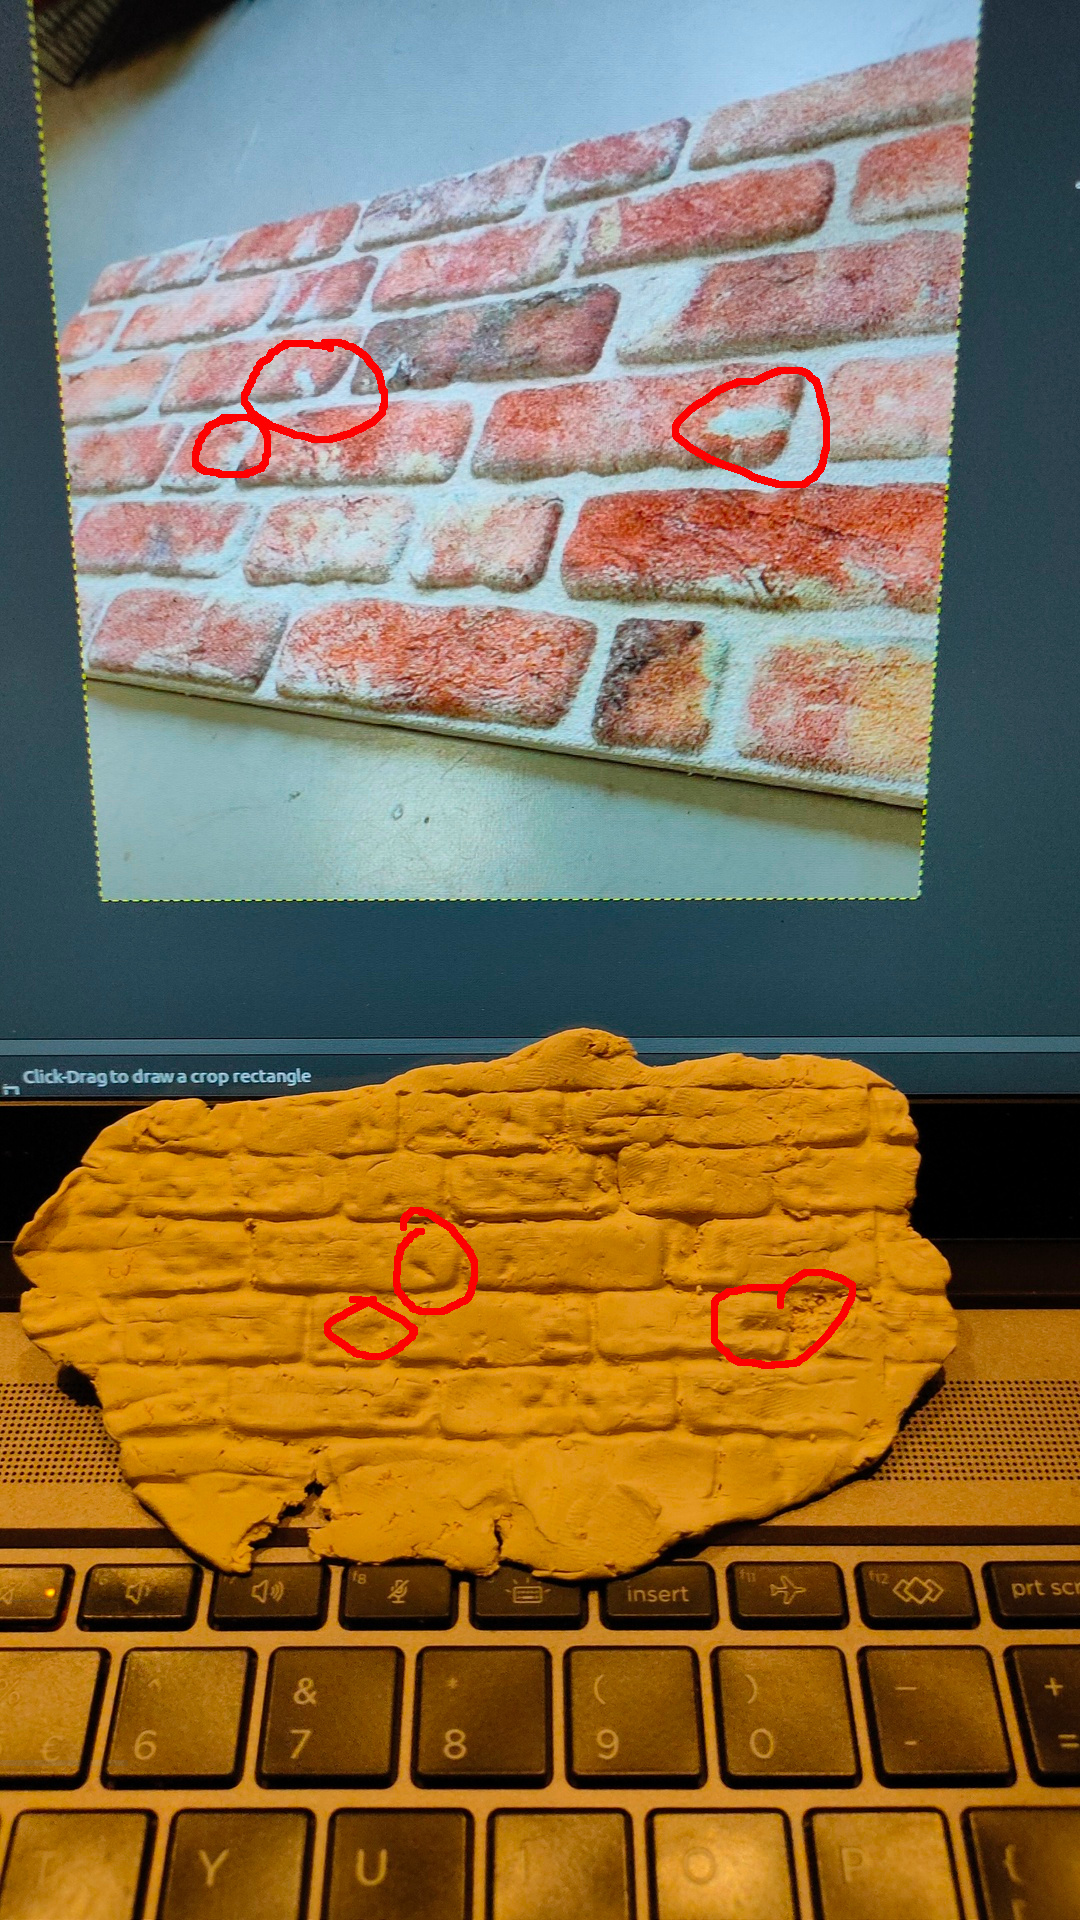
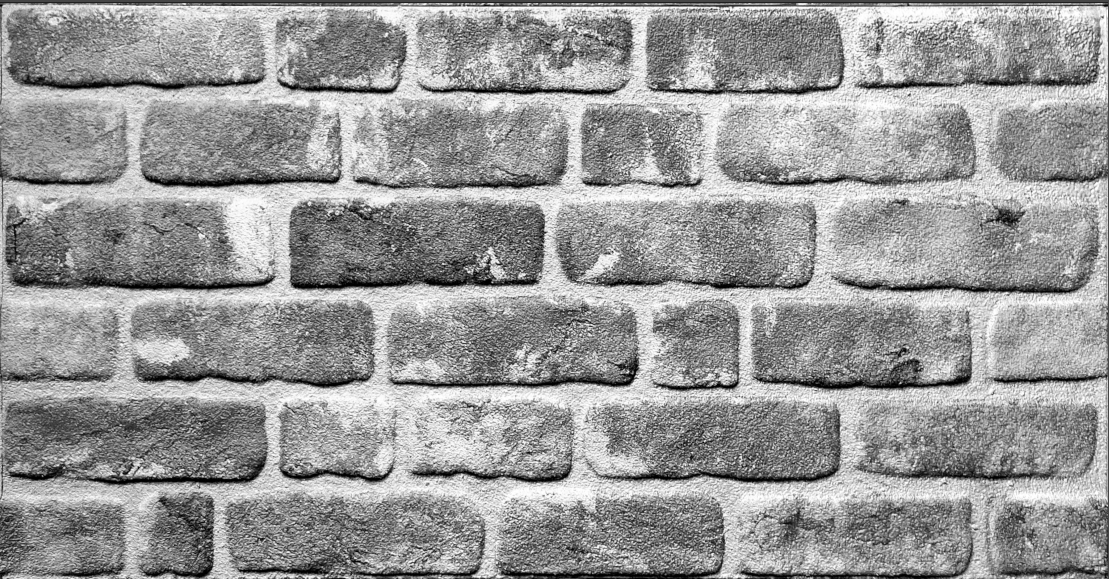
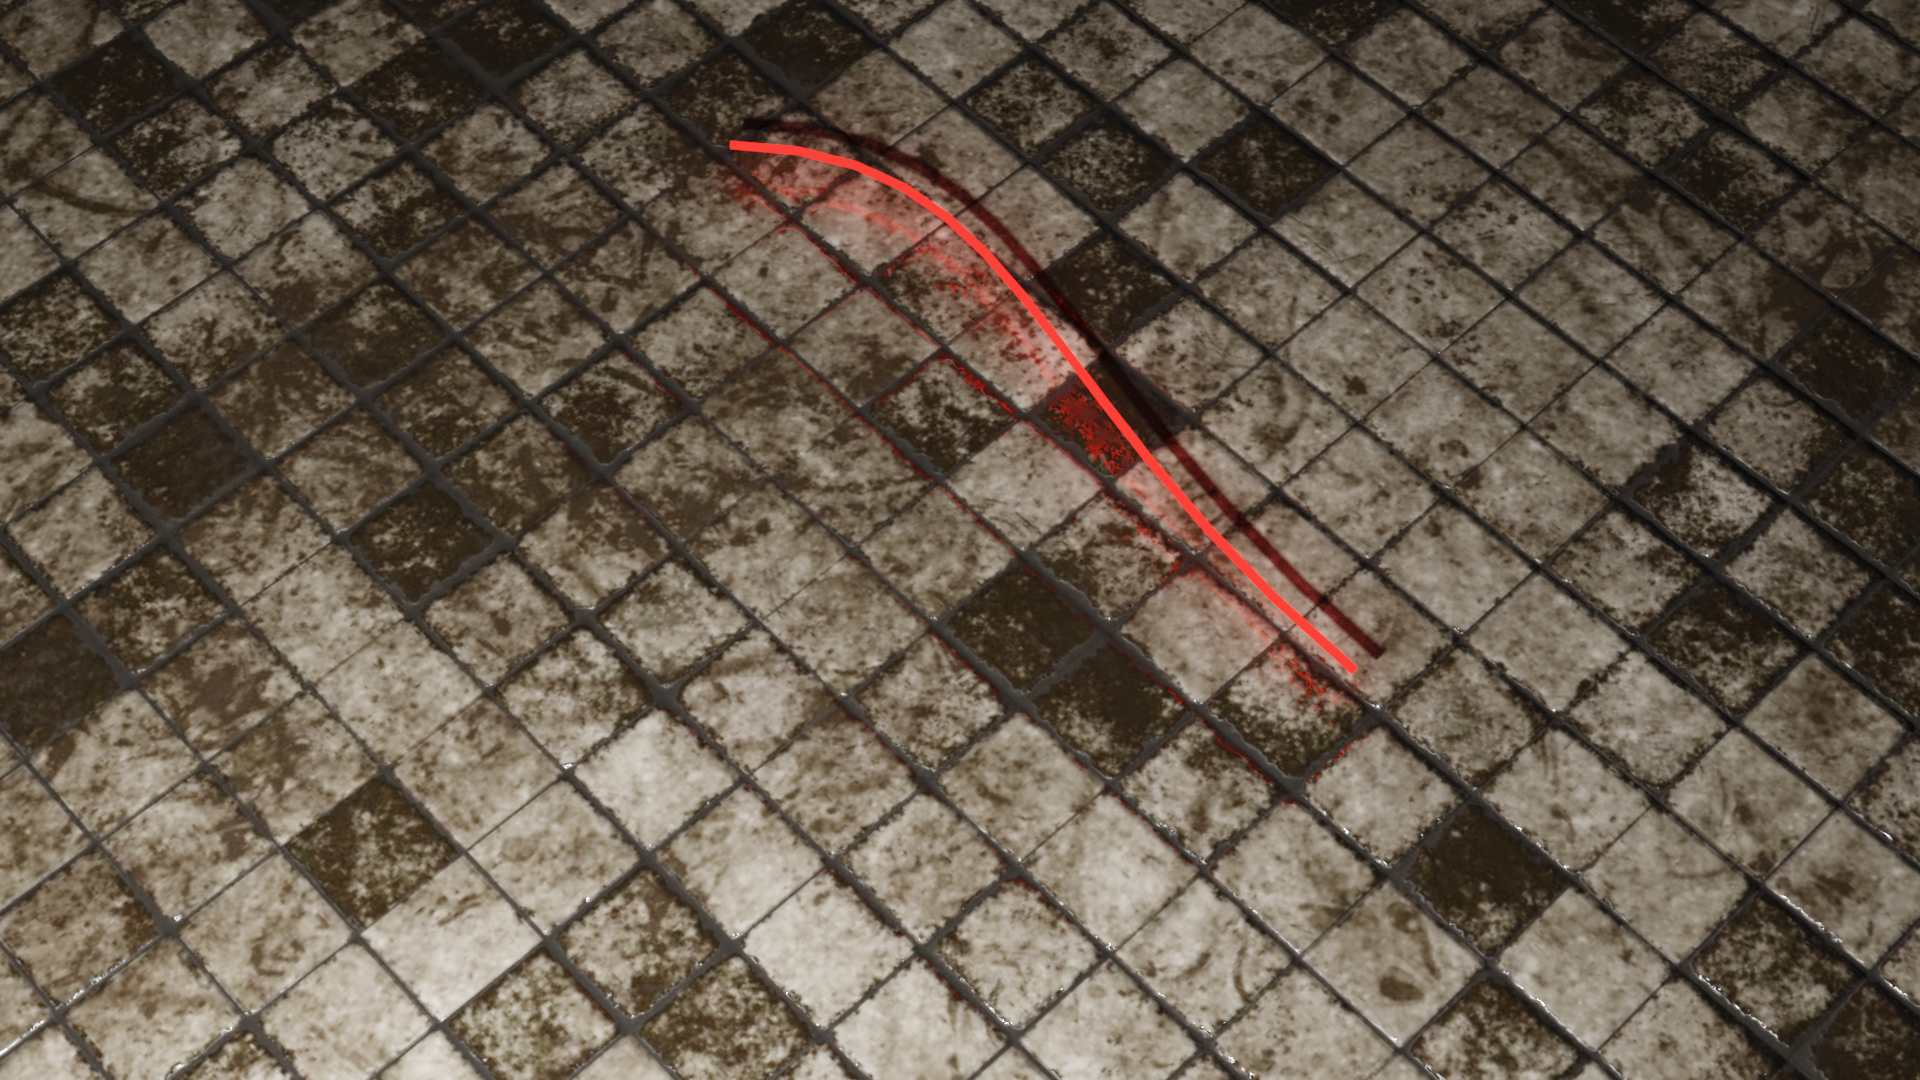
I found a nice tile-able image on the internet to make into a clay press.
UPDATE: 20230406
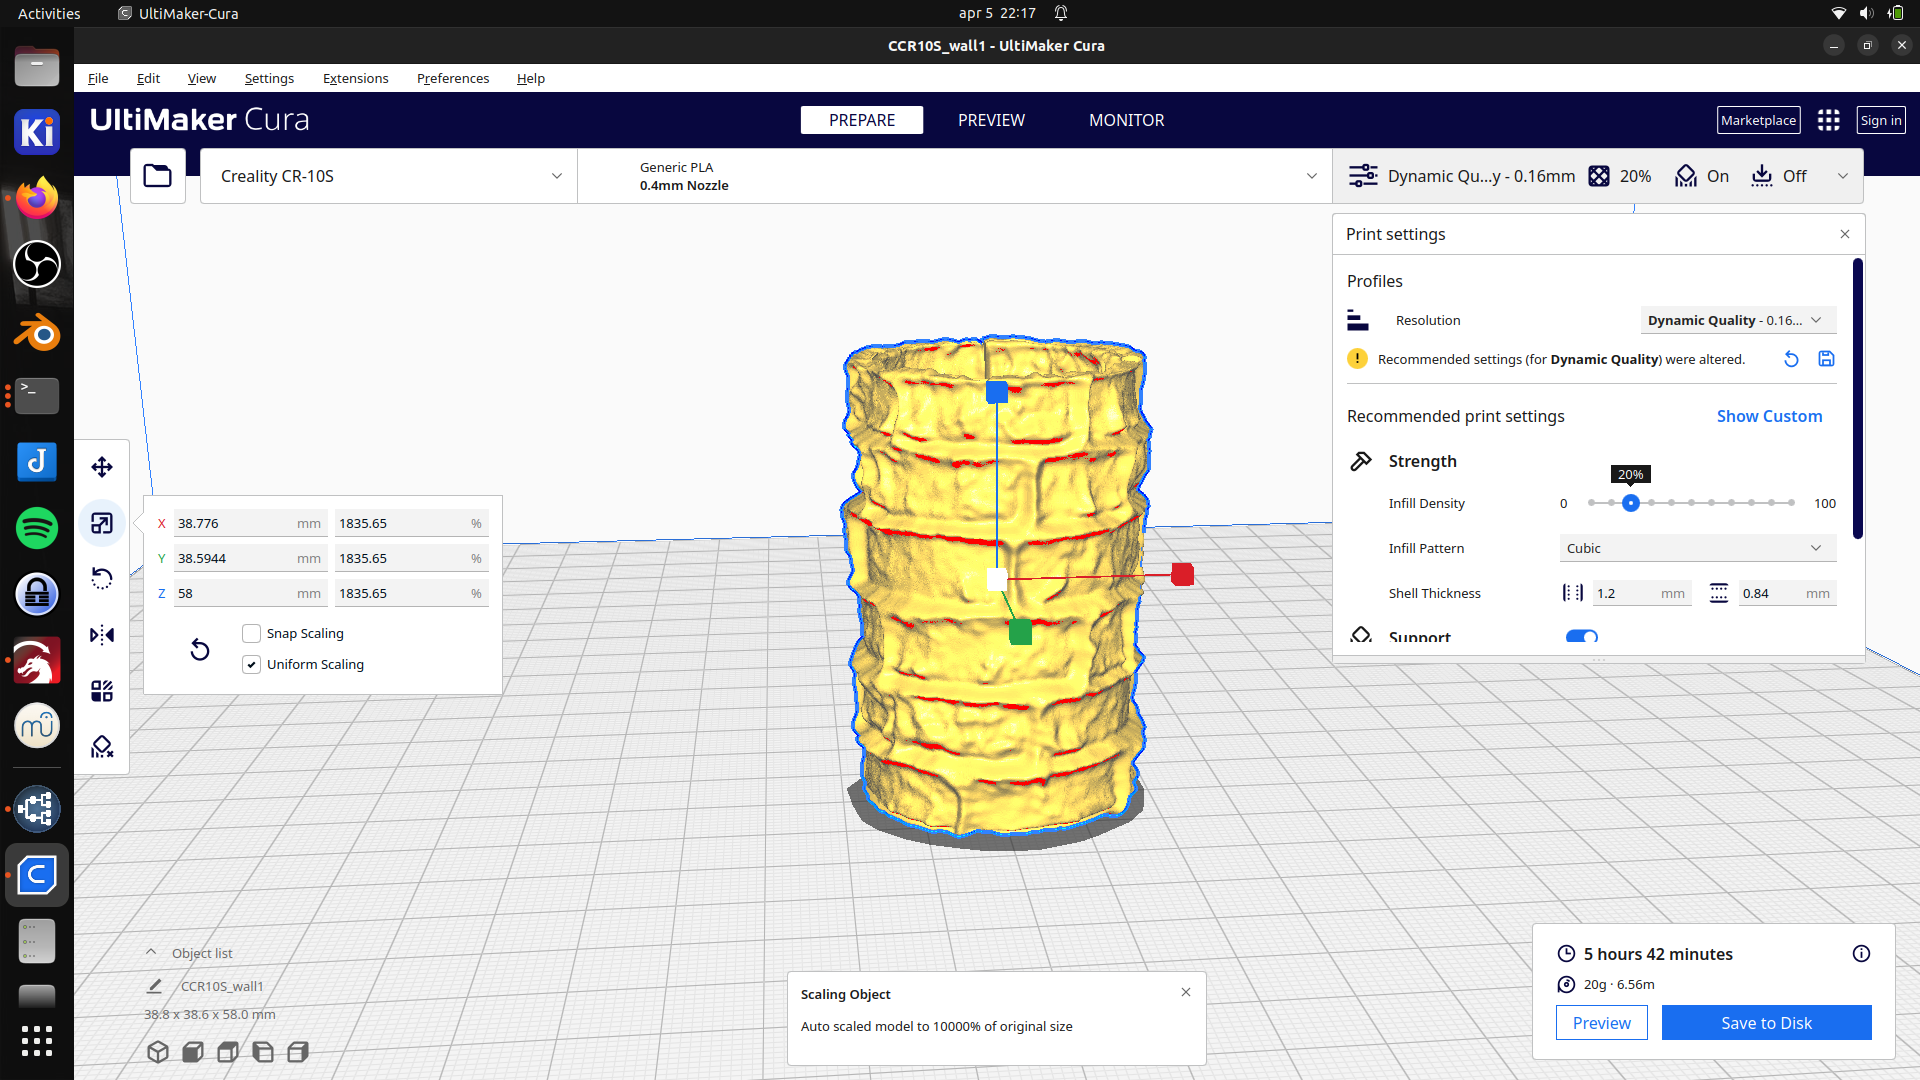
Using Blender and 3D printing, I’ve got this result.
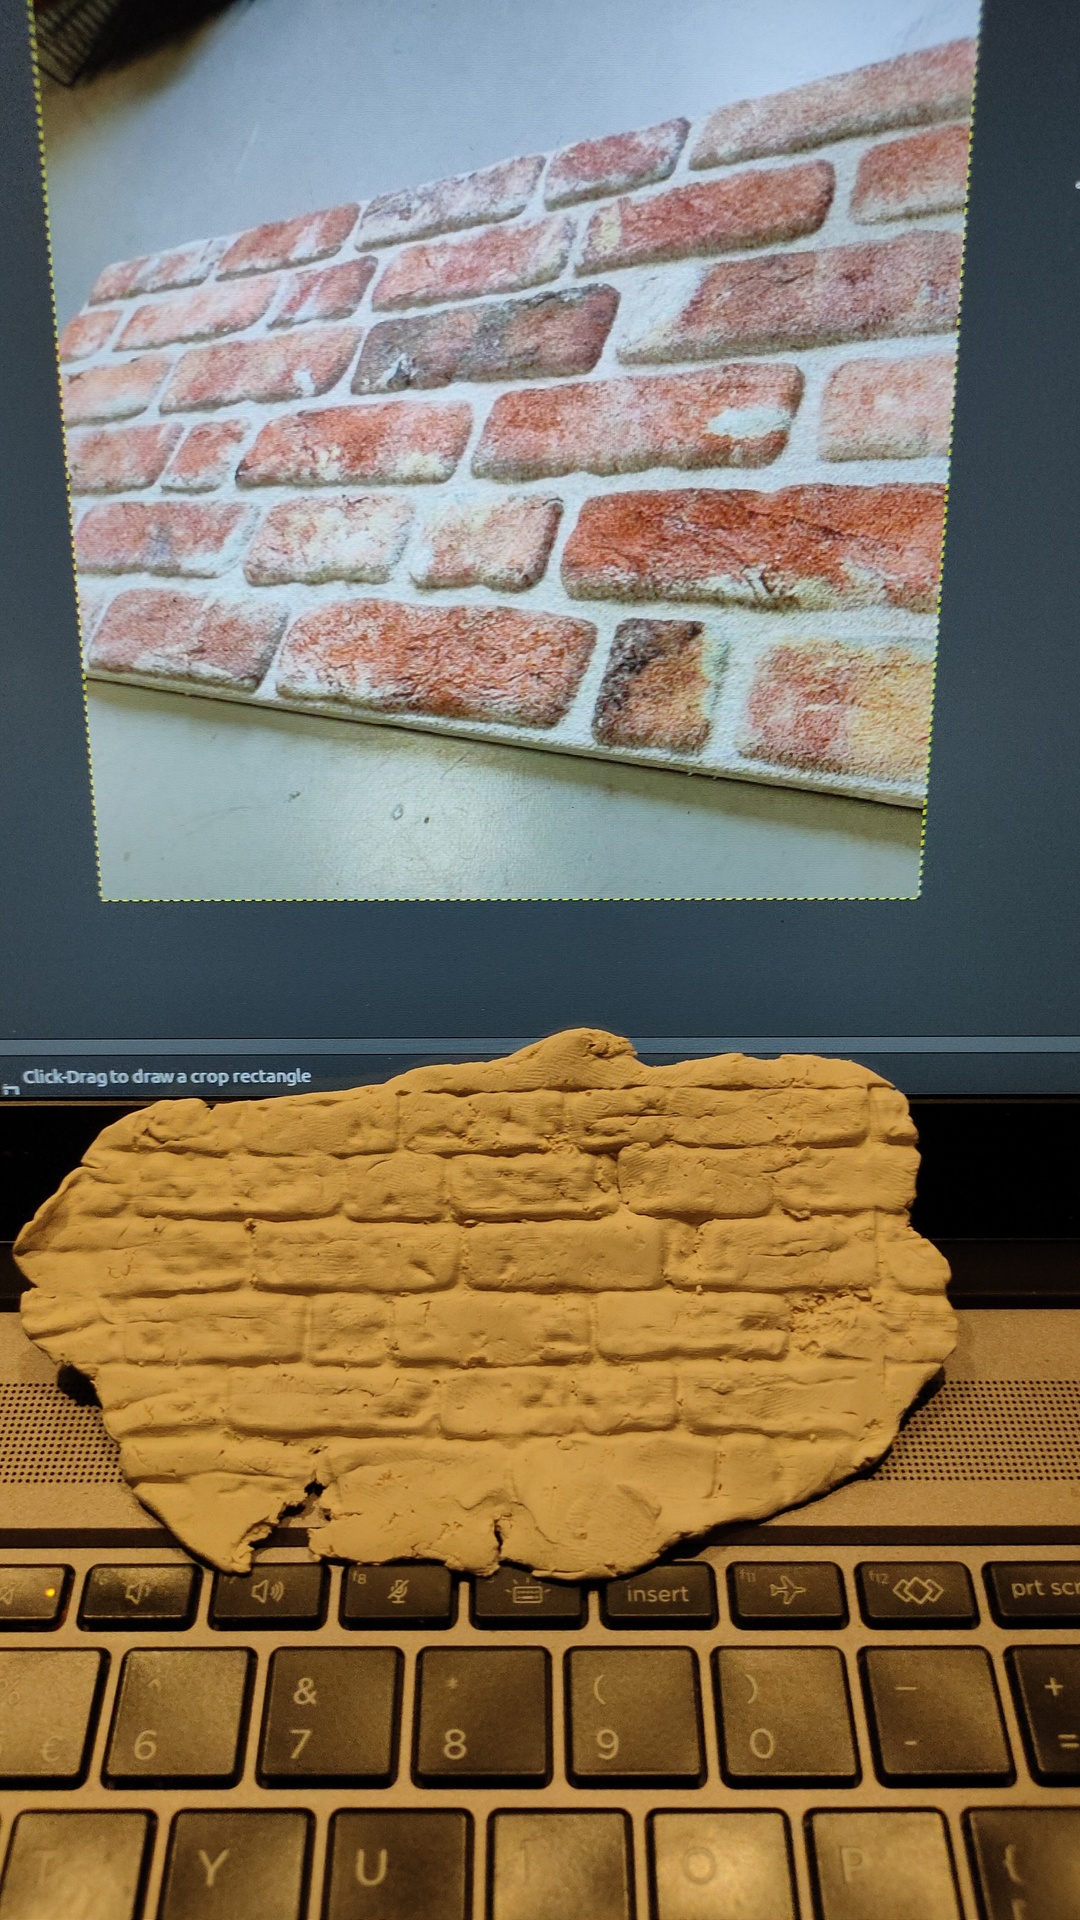
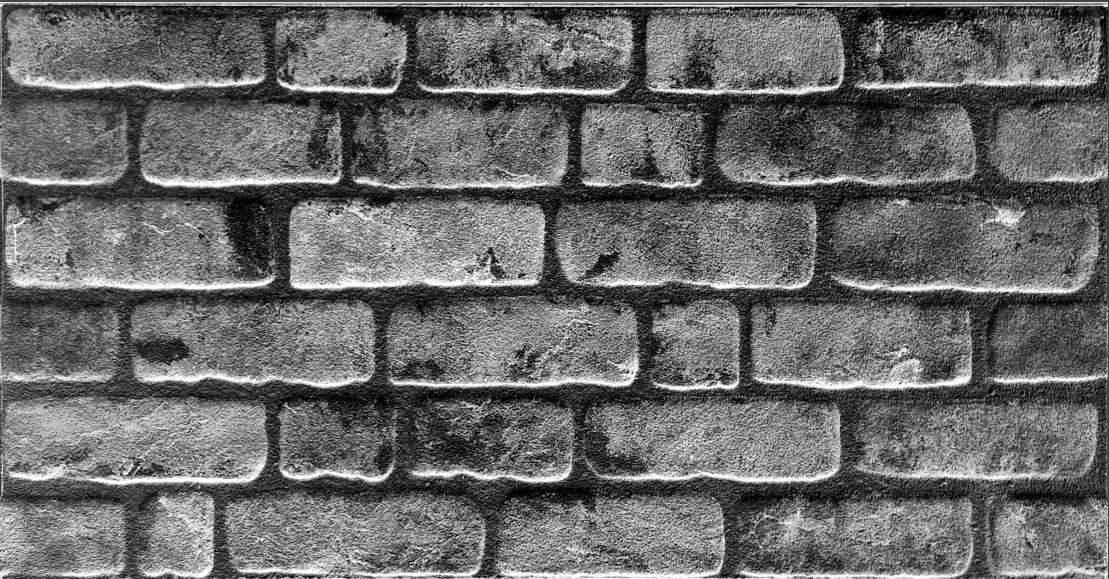
Take a flat image an convert to black-white. Then invert!
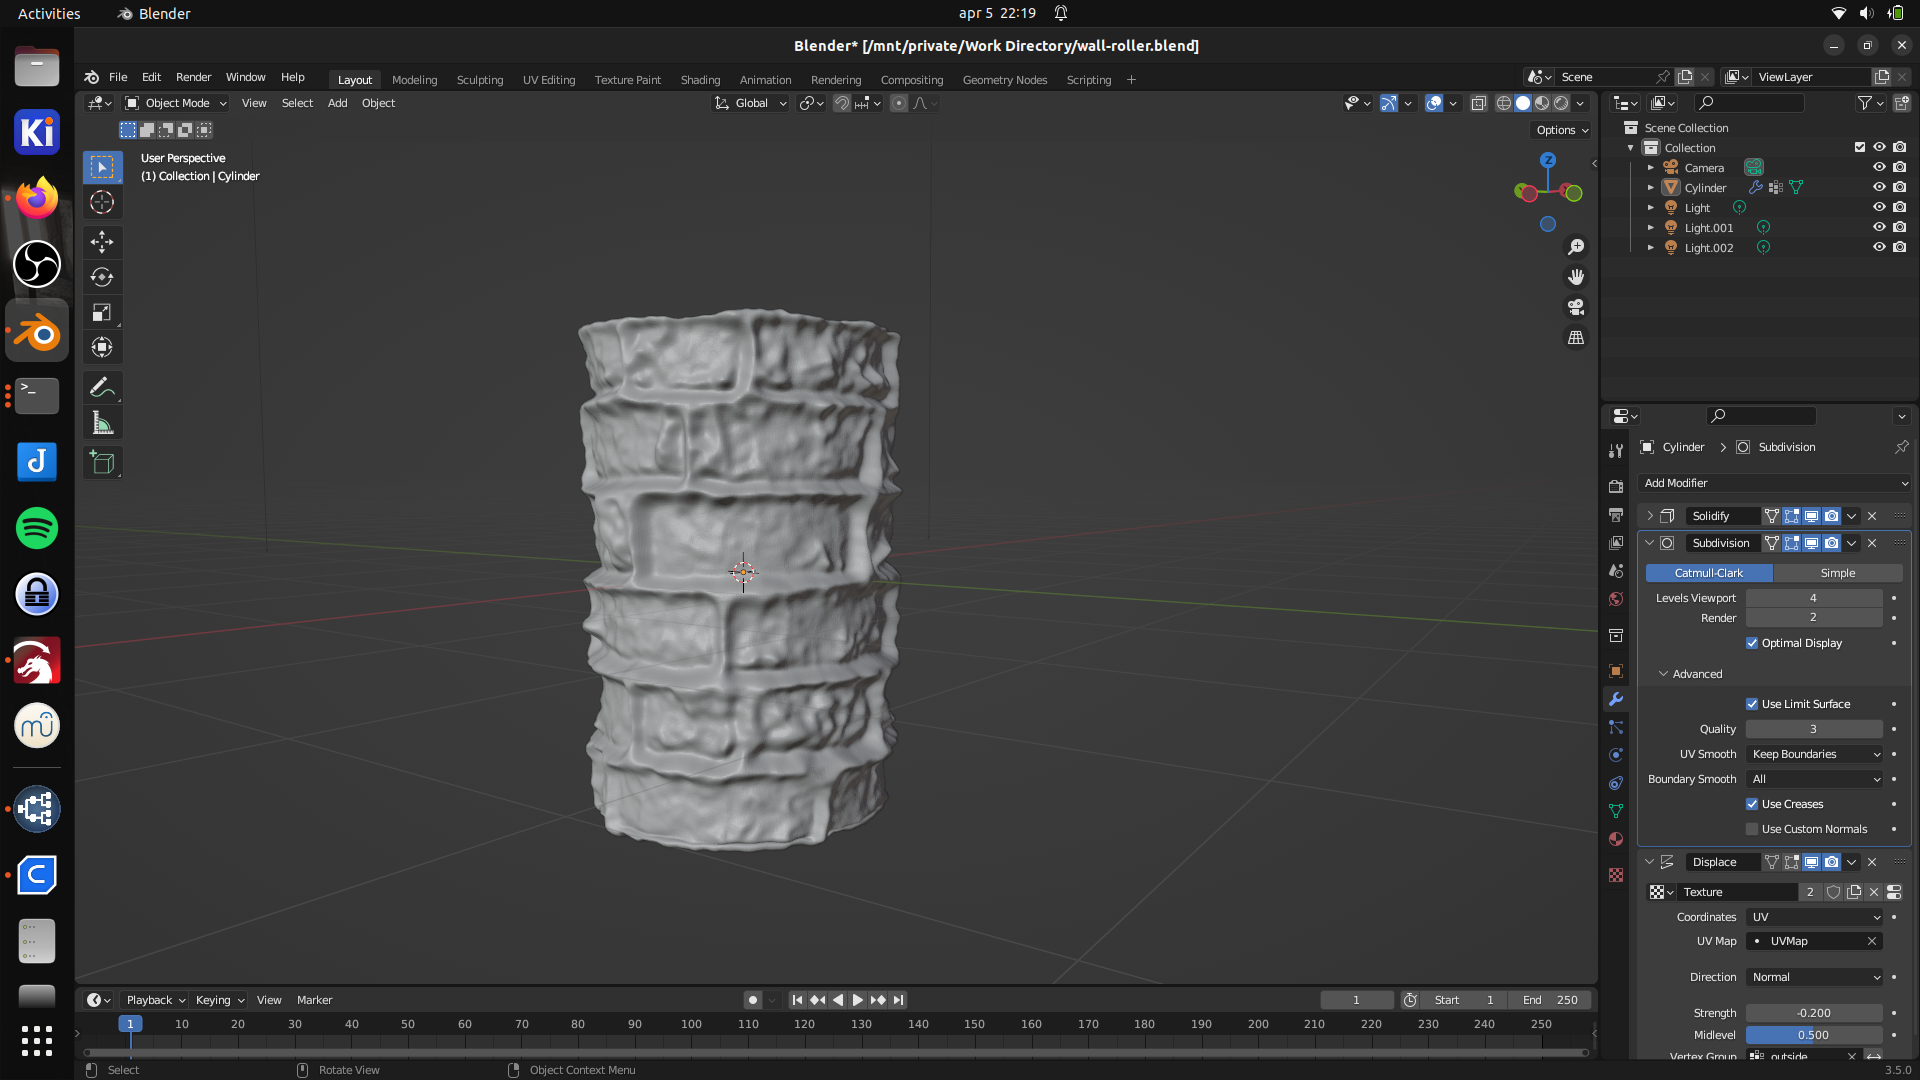
Create cylinder in blender.
Change capfill into nothing, and set sizes.
Add modifier: Solidify
Add texture
CTRL-R and divide, then subdivide
Subdivide surface
Add displace modifier.
Texture coordinates UV.
Displacement negative 0.1-0.3
UPDATE: 20230406

I need to apply the white/gray first in all cracks, and the red color is a little off.
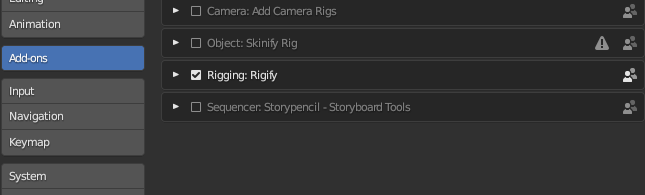
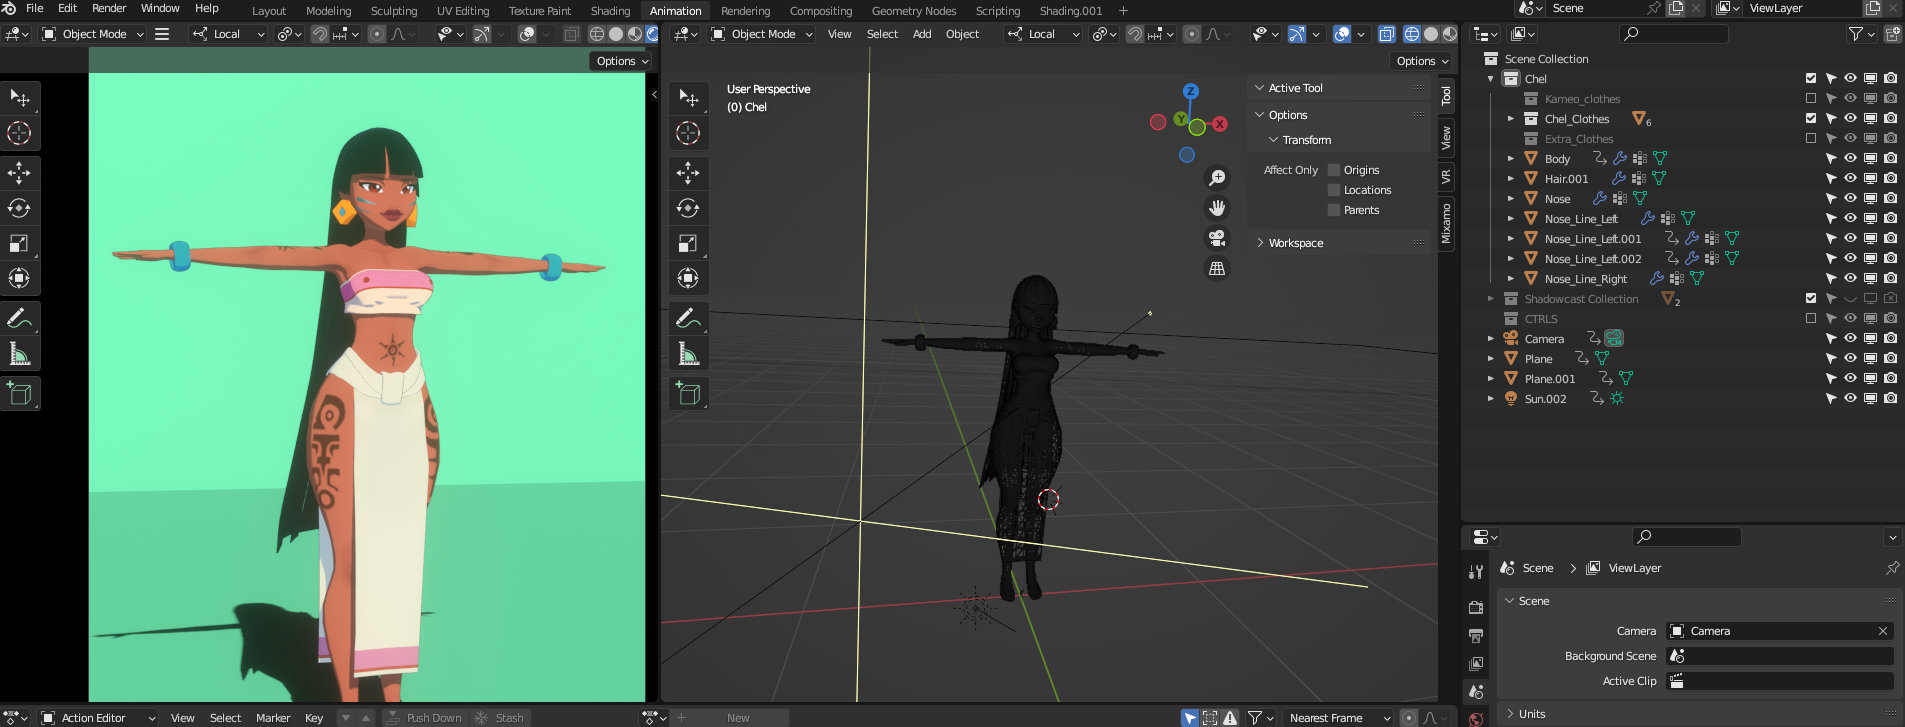
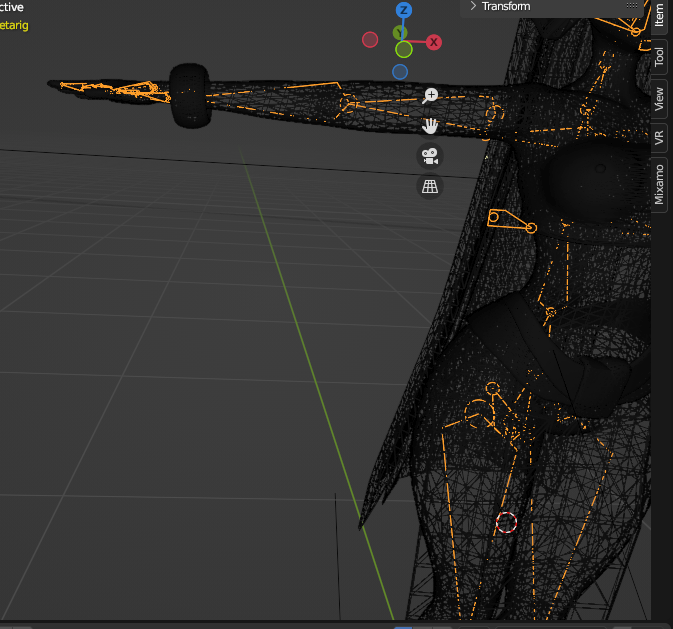
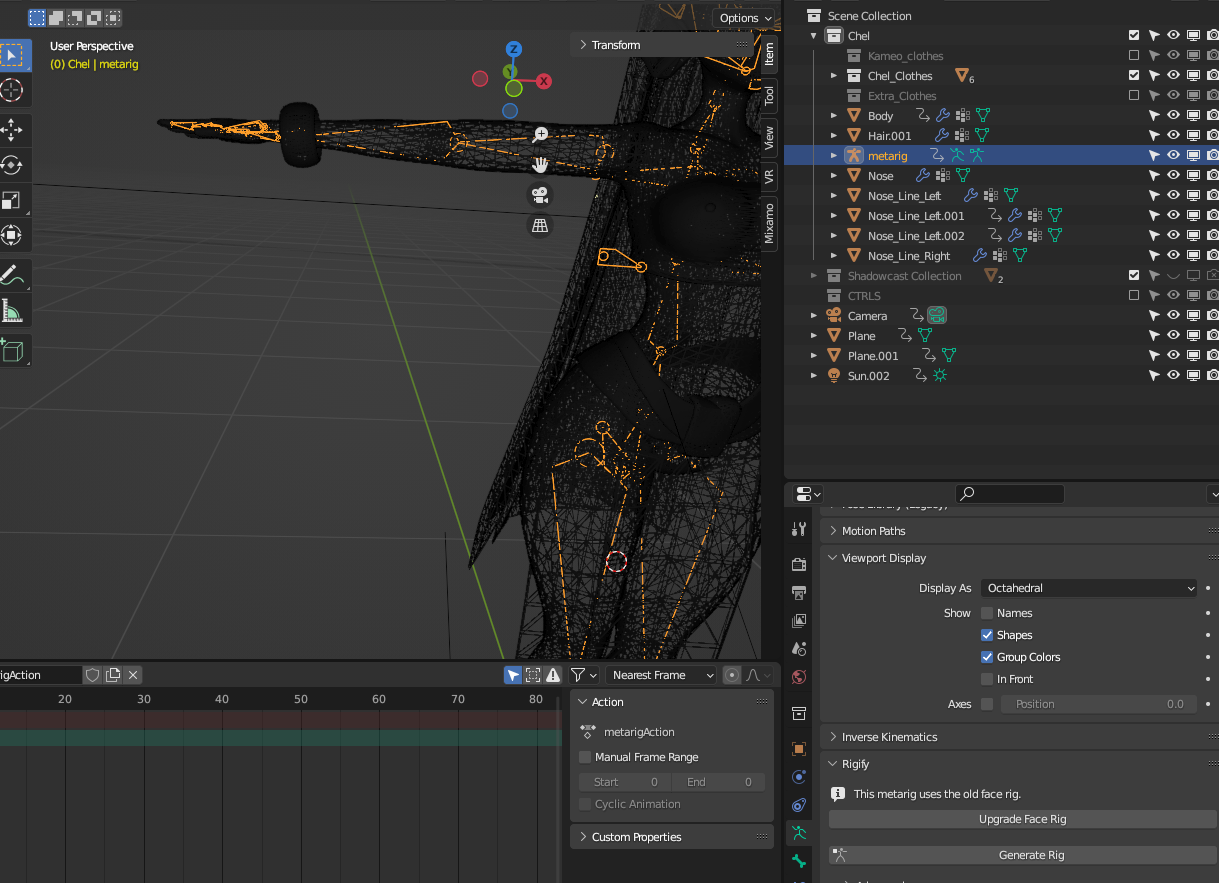
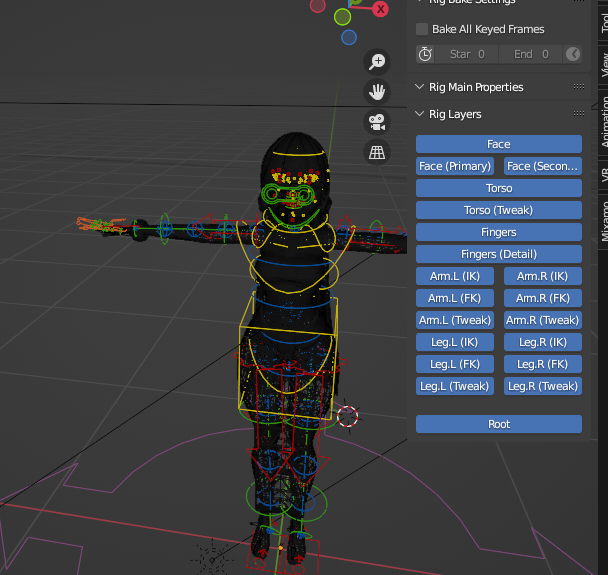
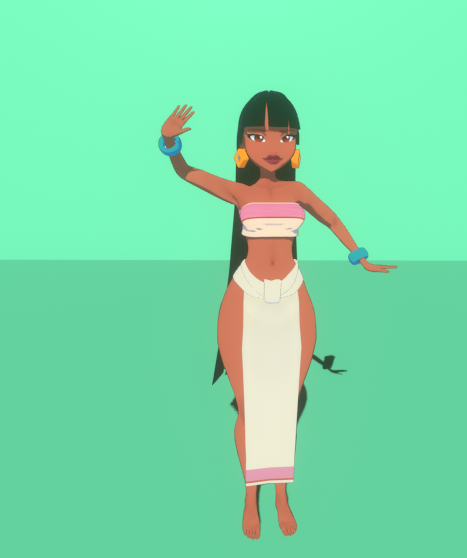
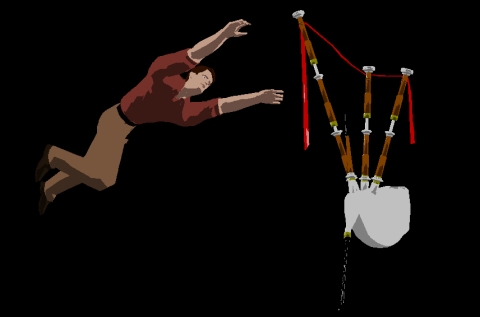
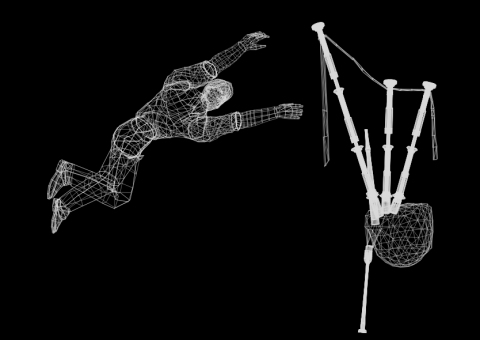
Last week i’ve been learning about rigging in blender.
Before that i’ve learned about bumpmapping .. cool stuff
Below is a little shorthand/lab notes/screenshot dump, there are far better tutorials on the interwebs!
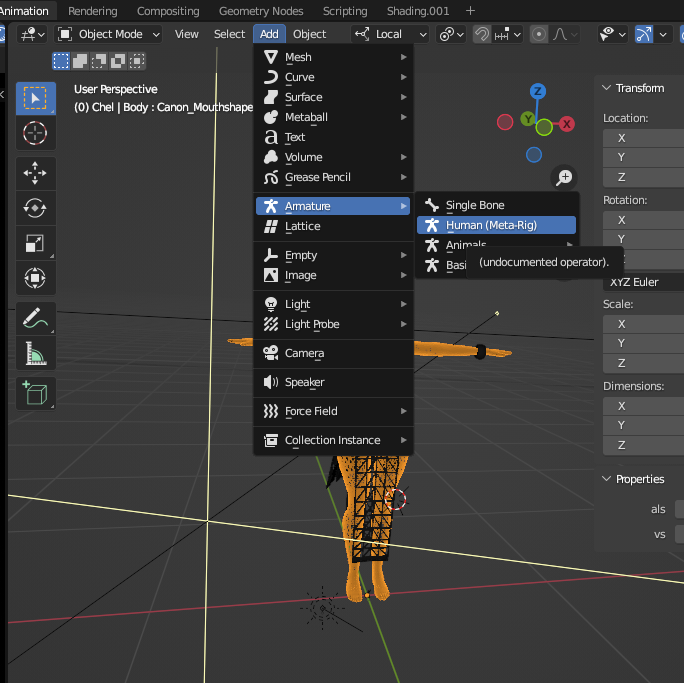
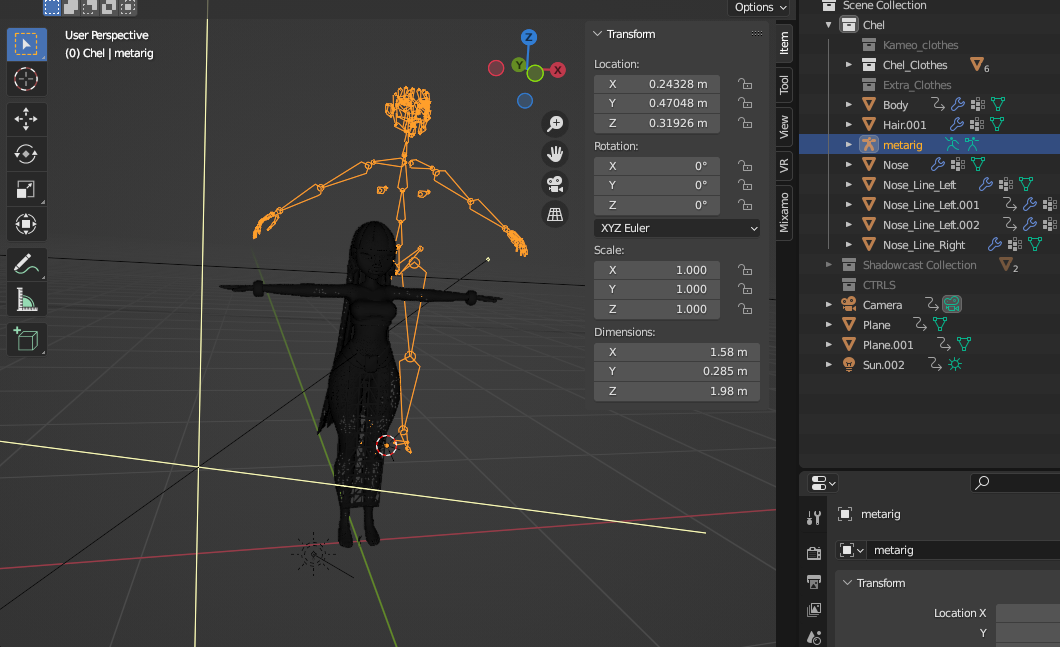
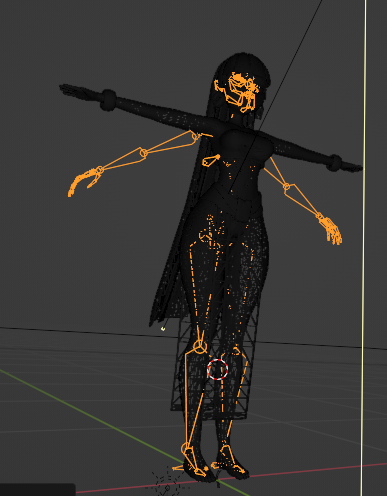
Get a model in T pose, and add armature.
(Not my model, just used for demo purposes)
I like creating Art, painting, drawing, sculpting but also computer generated. Most of the things i create are for adults. So i can’t post my best work.
Below are some of the programs i’ve used, these are NOT the generic drawing programs like Gimp, Photoshop or alike.
Ony programs that generate (photorealistic) graphics.
I tried to start with the oldest ending with Blender. There is an overlap and sometimes i’m not sure when I used these programs.
BMRT
Blue Moon Rendering Tools, or BMRT, was one of the most famous RenderMan-compliant photorealistic rendering systems.
Could not find examples?
3DS4
3D Studio, not to be confused with the later “3d Studio Max” product, is a DOS-based tool from Autodesk for creating 3d models and animations.


Vivid
This is the Vivid raytracer. It will only run in a dos environment.
http://paulbourke.net/dataformats/vivid/
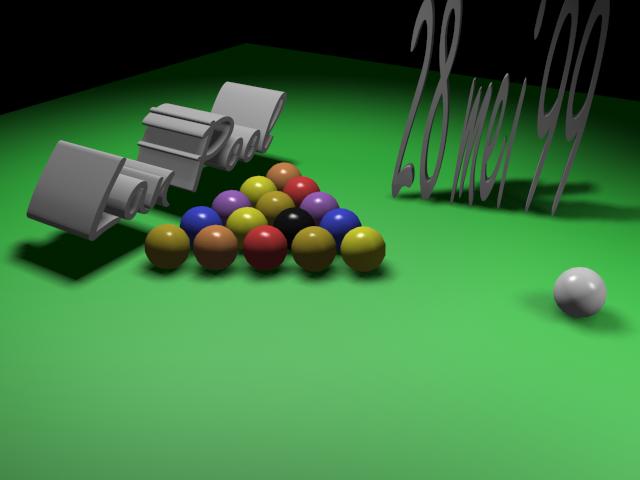
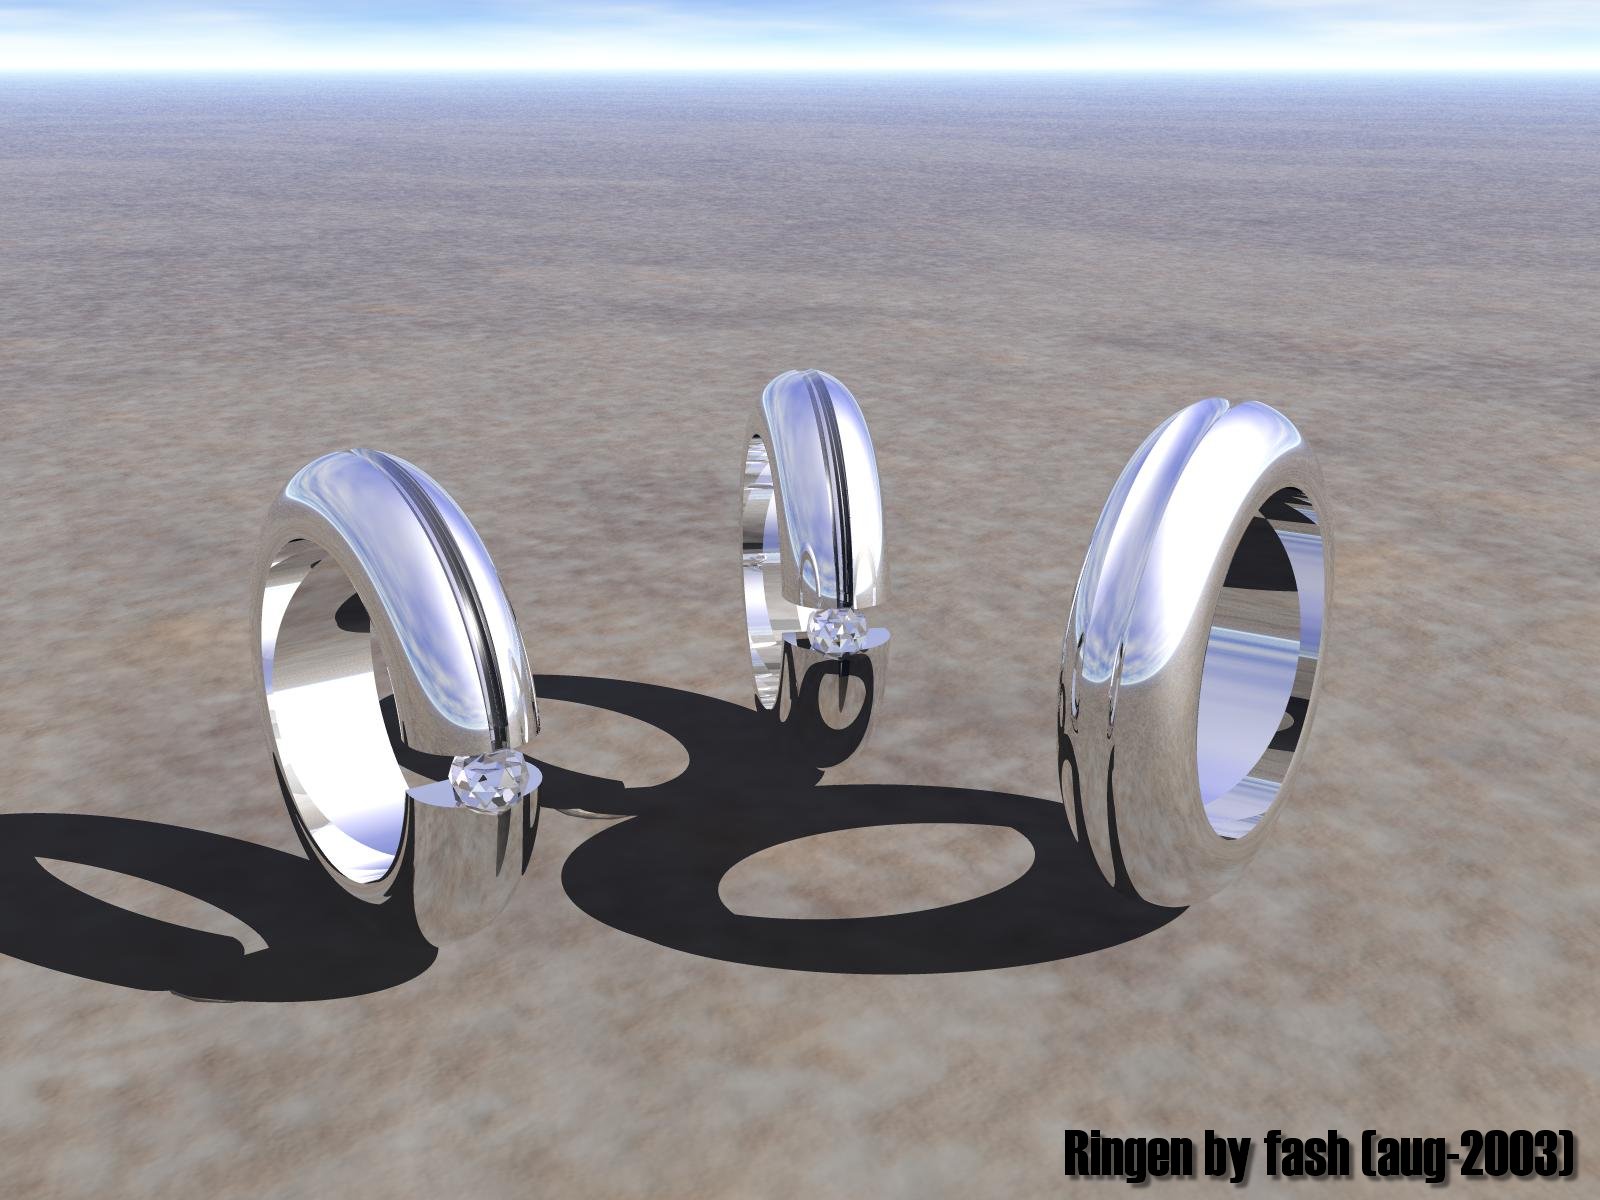
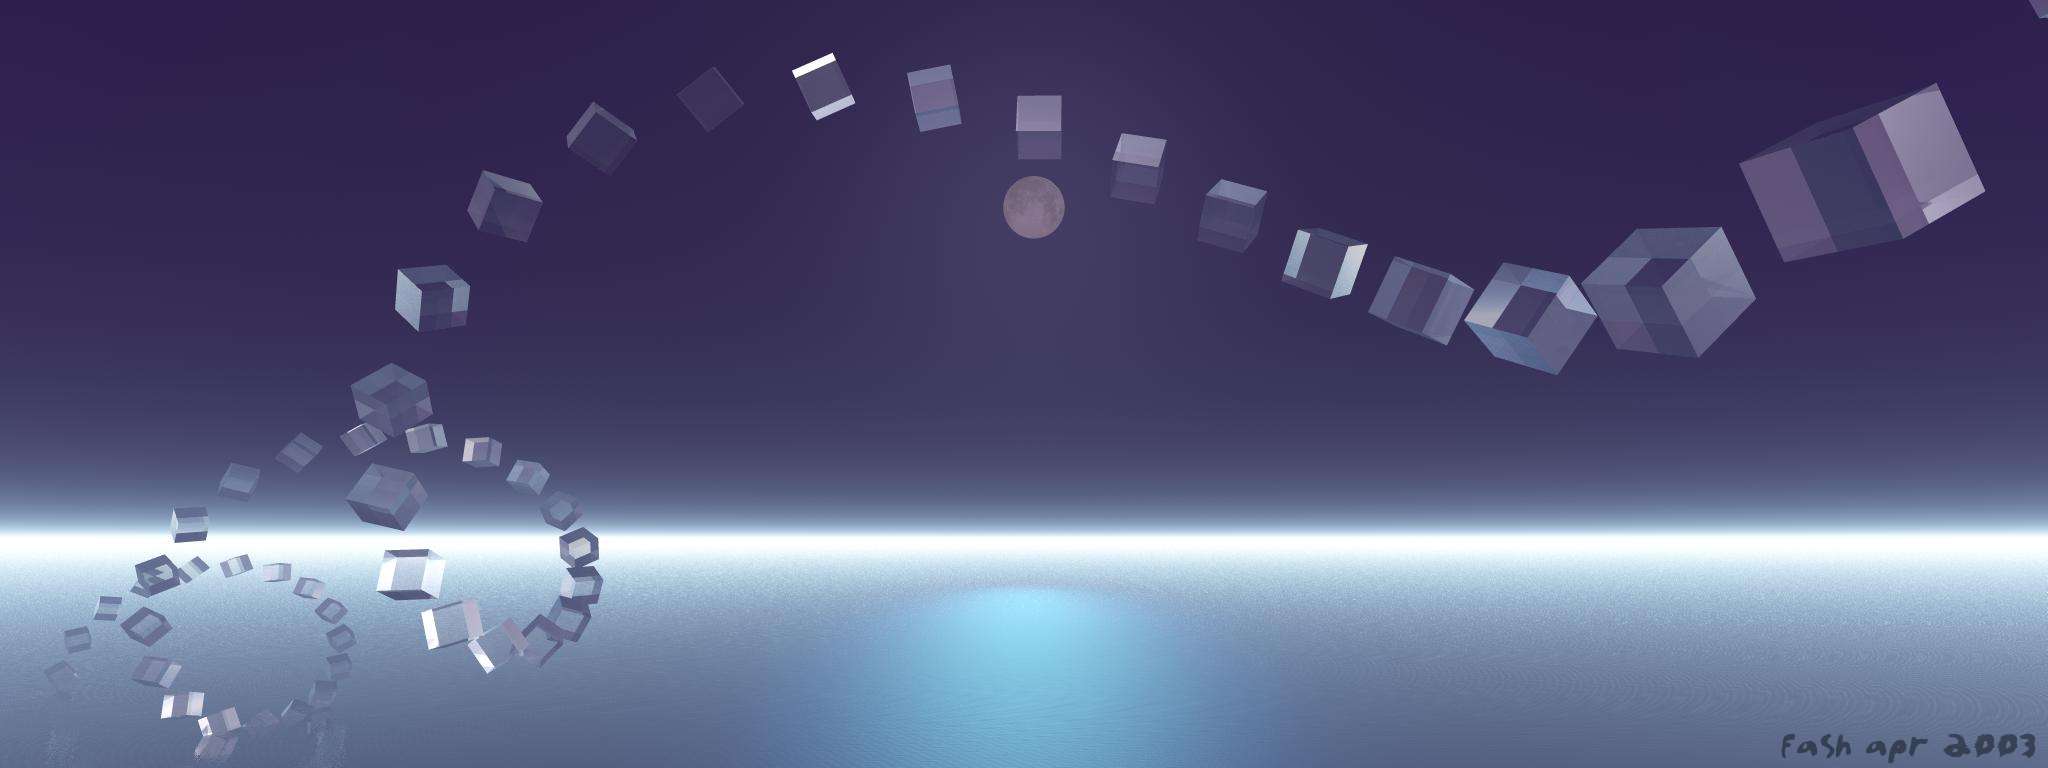
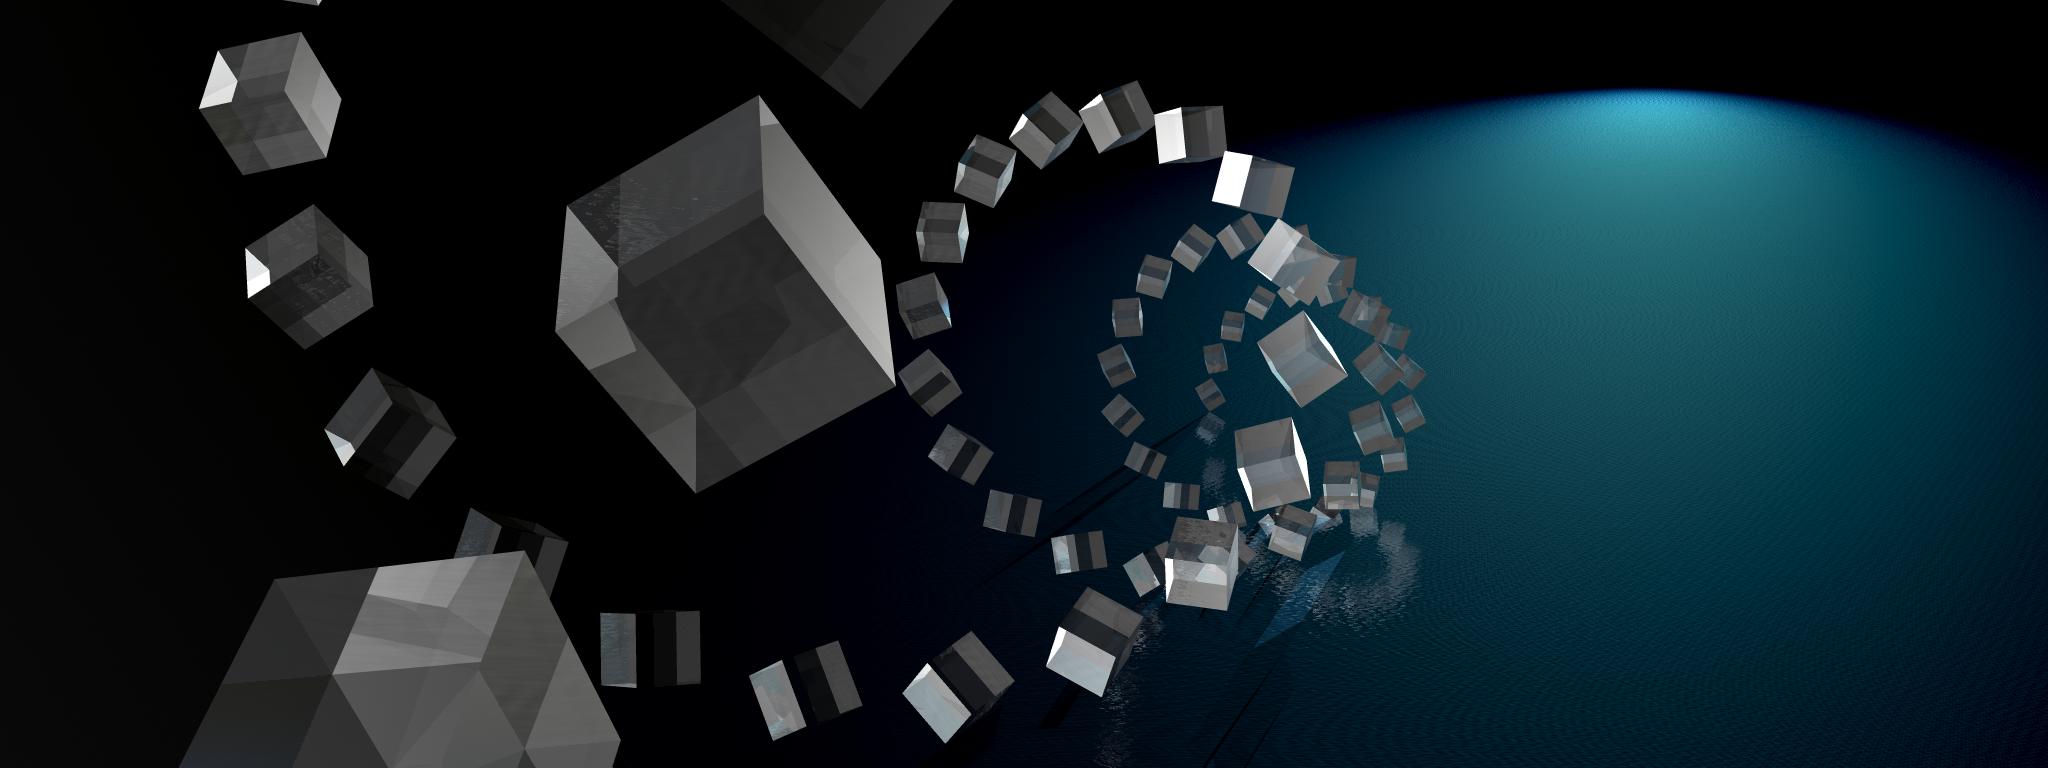
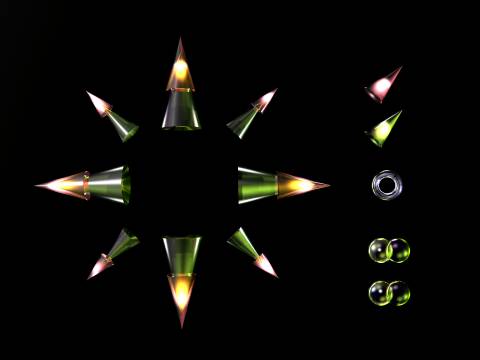
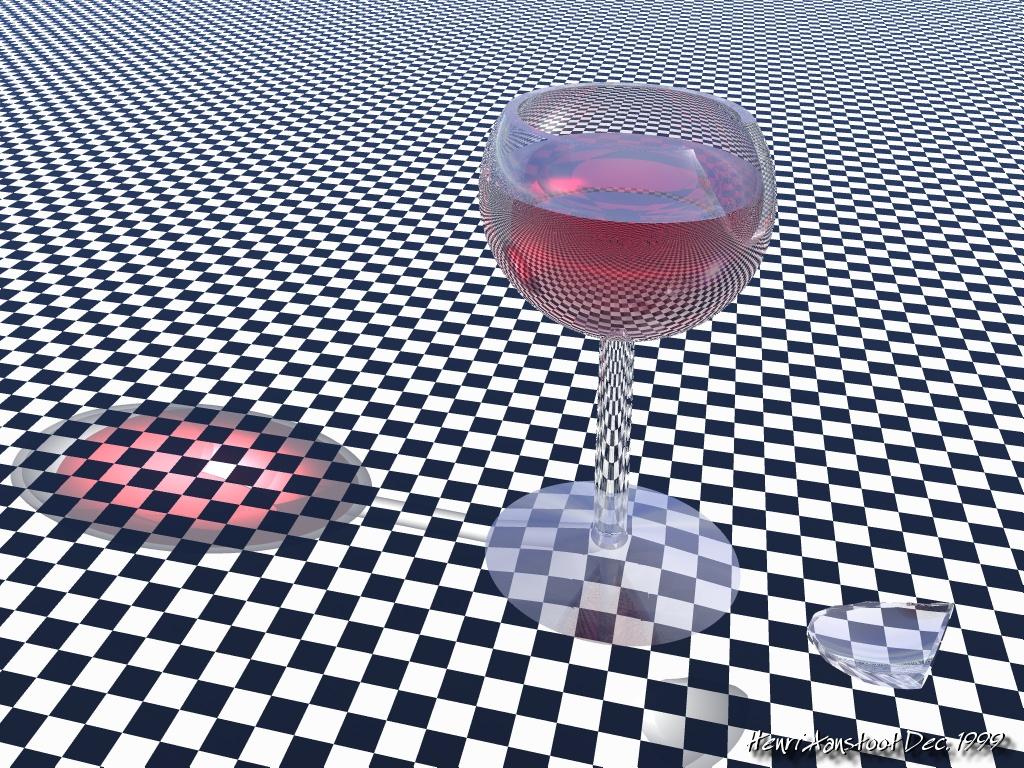
Povray
The Persistence of Vision Ray Tracer, most commonly acronymed as POV-Ray, is a cross-platform ray-tracing program that generates images from a text-based scene description.
Example povray source
megapov -geometry 1600×1200 +L /usr/share/povray/include/ +L /data/povray/megapov-1.2.1/include/ +L /data/povray/povray-3.7.0.RC3/include/ ./mine.pov
#include "colors.inc"
#include "metals.inc"
#include "woods.inc"

global_settings { ambient_light rgb<0,0,0> }

#declare Jump_Start  = 0.5;
#declare Jump_Height = 7;
#if (clock < Jump_Start )
 #declare Camera_Y = 1;
#else
 #declare Camera_Y = 1
   + Jump_Height*
     0.5*(1-cos(4*pi*(clock-Jump_Start)));
#end

camera {
 angle 38
 location <0.3,Camera_Y,-3>
 right x*image_width/image_height
 look_at <0,1,0>
 rotate<0,-360*(clock+0.01),0>
}

plane {
  y, 0
  pigment { checker color LightGray color White } // checkered floor
}

// deze later spotlight maken
//light_source { <10, 10, -10> color White }
//light_source { <-10, 5, -15> color White }

light_source
{ <100, 200, -150>/50, 1
  fade_distance 6 fade_power 2
  area_light x*3, y*3, 12, 12 circular orient adaptive 0
}


light_source {
  <3,7,-4>     // position
  color White
  spotlight    // specifies spotlight
  radius 15    // cone opening from its axis in degrees. Light start to dim outside of this.
  falloff 20   // outside of this, there is no light.
  tightness 1  // over-all coherence of the light beam
  point_at <0, 2, 0>
}

box
 { <0,-200,0>, <143,1100,33>
	scale 0.001
      texture {T_Wood4}
translate <0.42,-1,0.65>
	rotate <-20,0,0>
 }

#declare plank1 = box
 { <0,0,0>, <143,2200,33>
	scale 0.001
      texture {T_Wood4}
 }

#declare size1 = union {
object { plank1 }
#declare xpos = 153;
#declare xpos1 = -10;
#declare ypos = 90;
#declare zpos = 16;
#declare xfinal = 1000;
#declare yfinal = 2200;
#declare zfinal = 1000;
#while (ypos <= yfinal)
    #torus { 10,5 rotate<90,0,0> translate<xpos,ypos,zpos>  texture {T_Chrome_4E} scale 0.001 }
    #torus { 10,5 rotate<90,0,0> translate<xpos1,ypos,zpos>  texture {T_Chrome_4E} scale 0.001 }
  #declare ypos = ypos + 200;
#end
}

union {
object { size1
	rotate <0,0,-20>
}
object { size1
	rotate <0,180,20>
	translate <1,0,0.033>
}
	rotate <10,0,0>
}
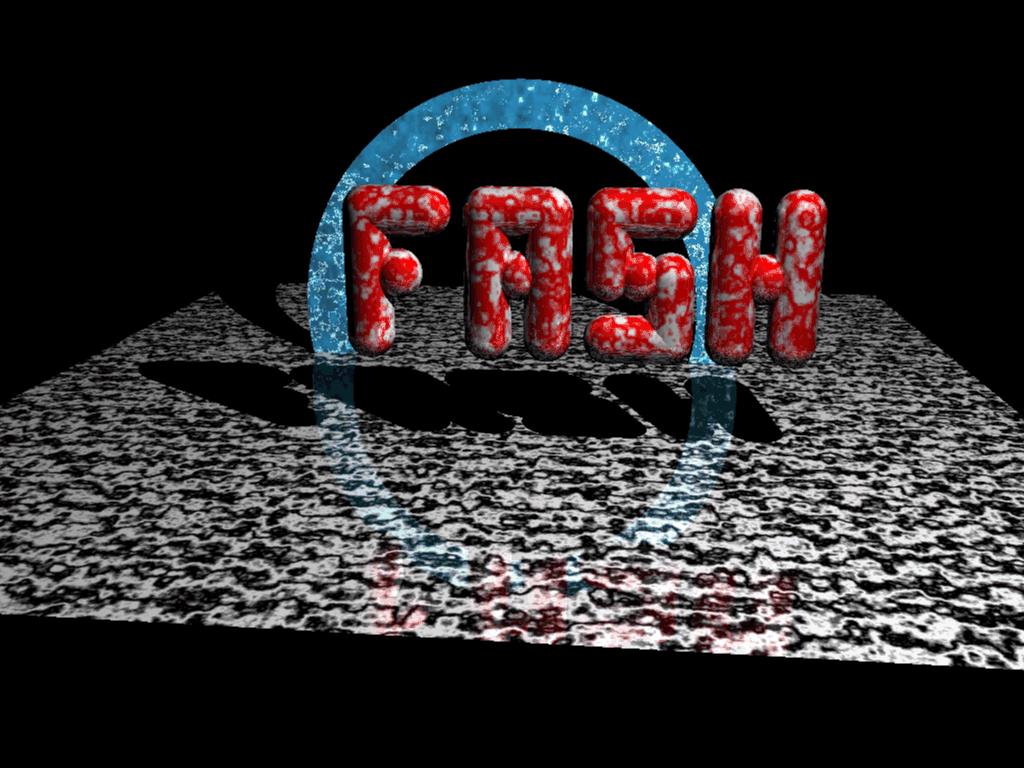
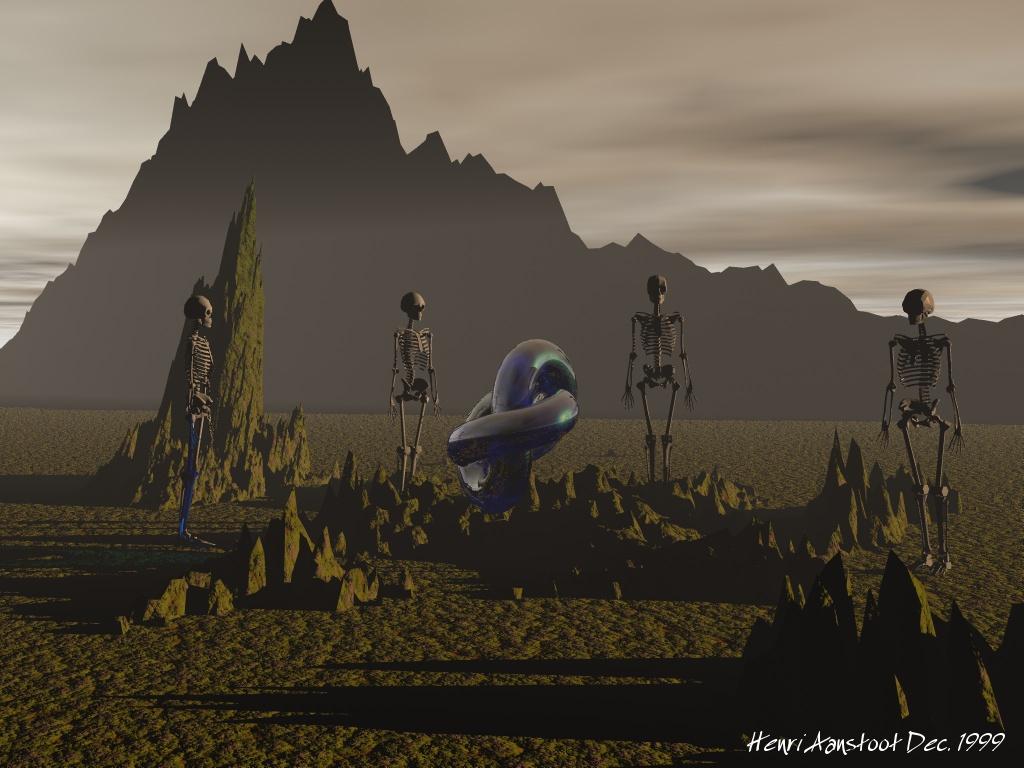
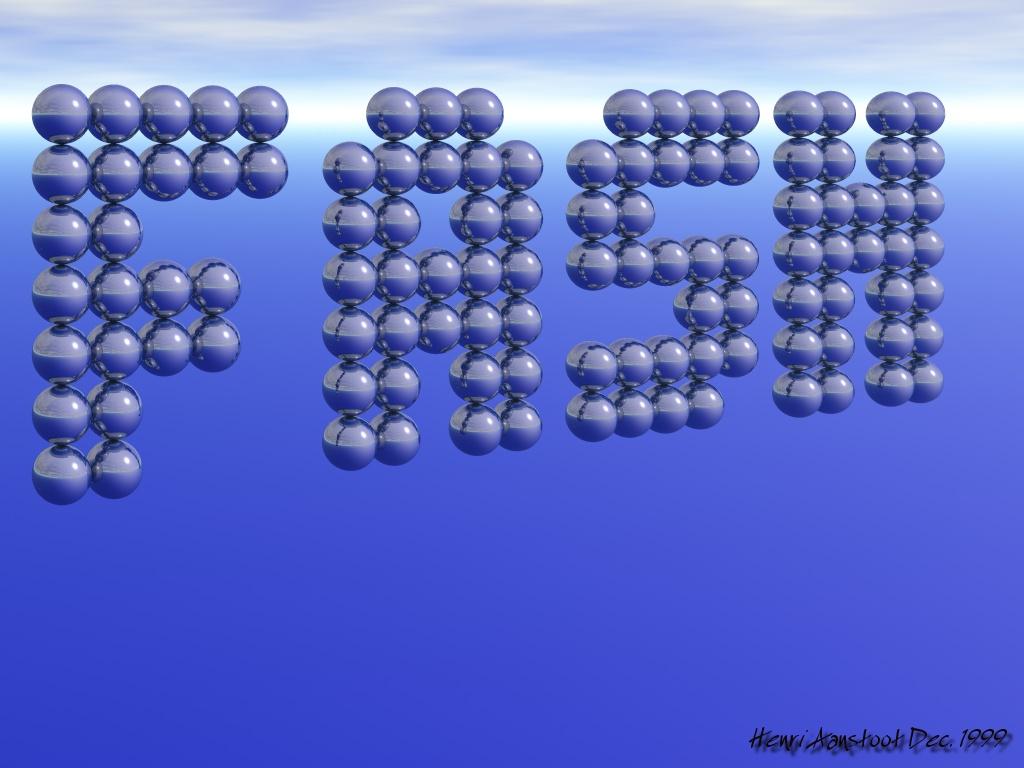
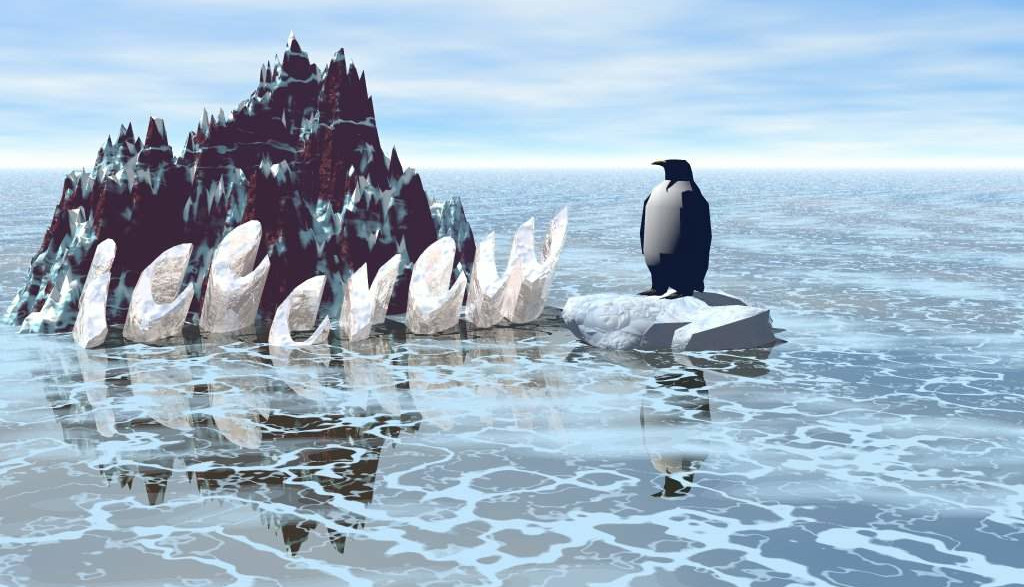
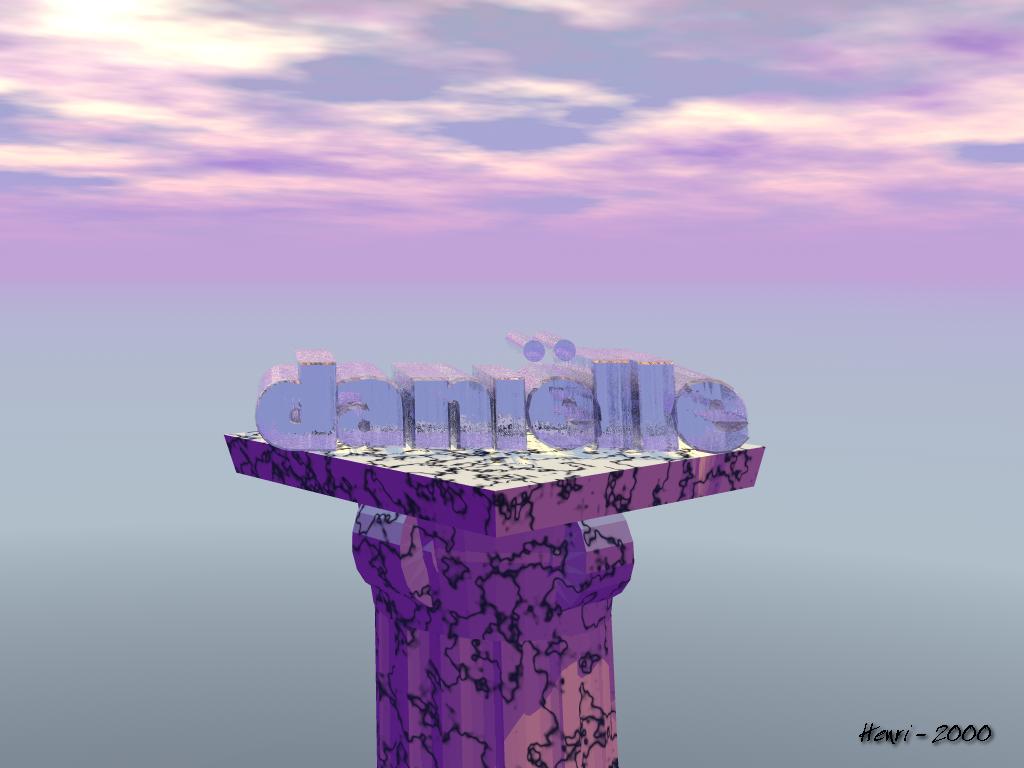
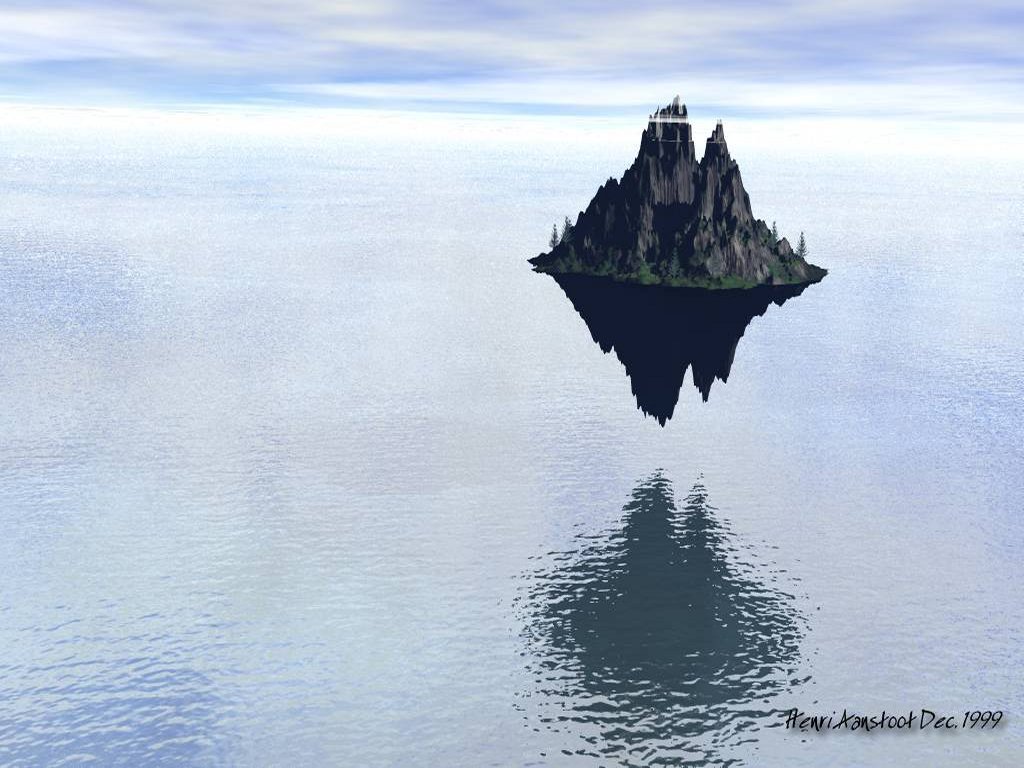
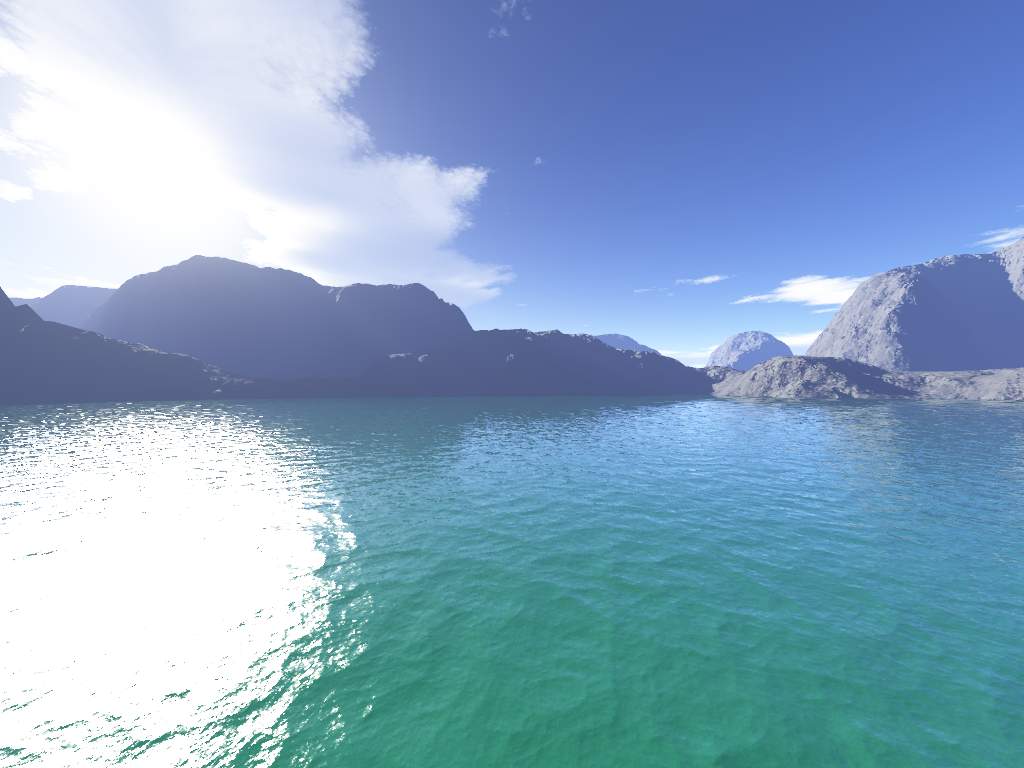
Bryce
Bryce or Bryce3D, is a 3D modeling, rendering and animation program specialising in fractal landscapes.
More about the webcam controls https://www.henriaanstoot.nl/1998/10/23/made-a-webinterface-for-my-diy-webcam/
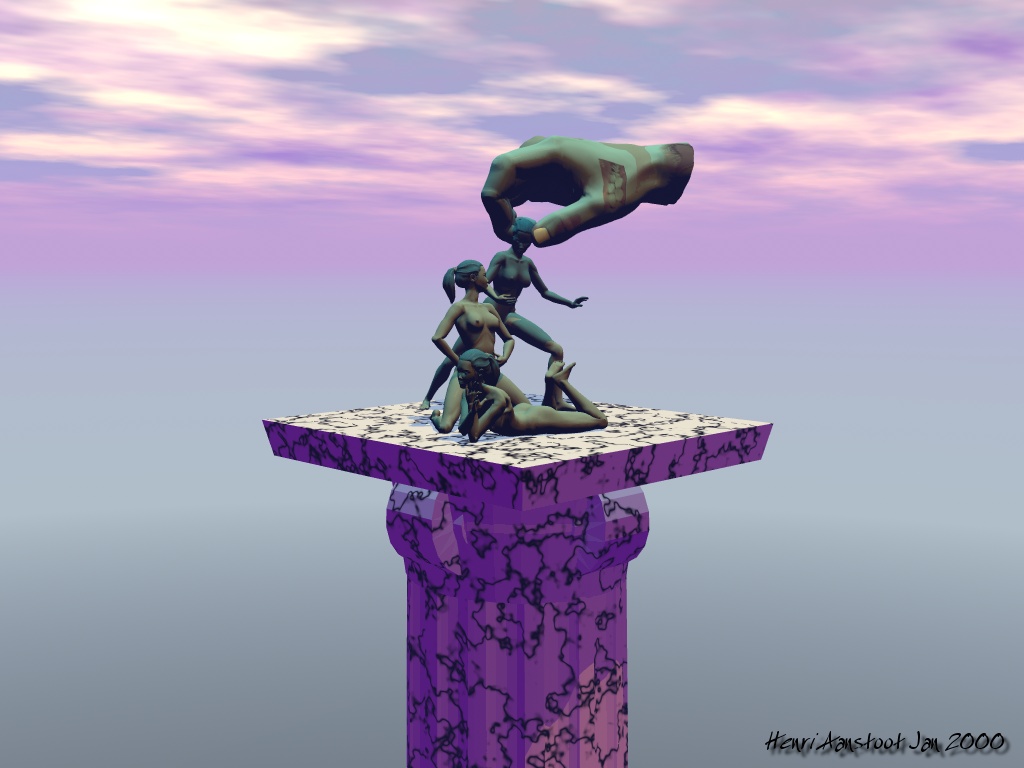
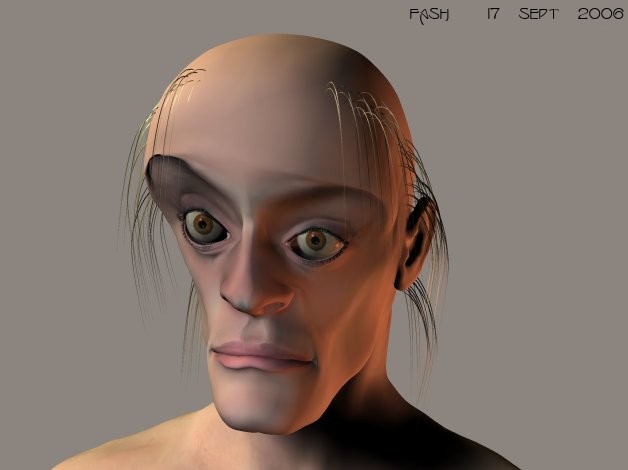
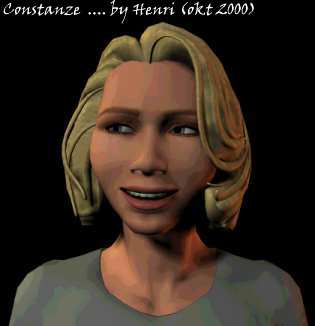
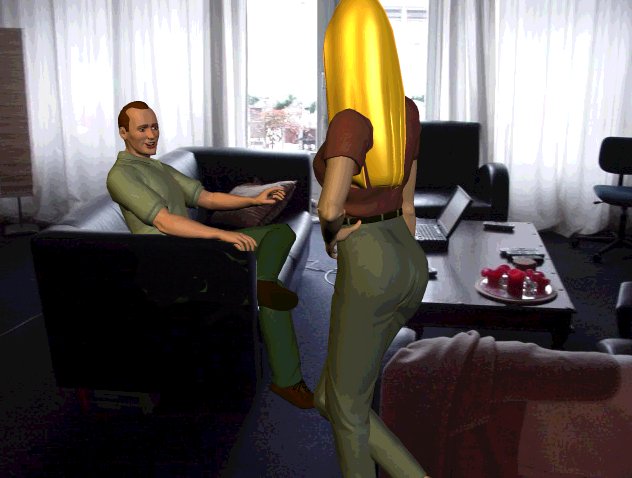
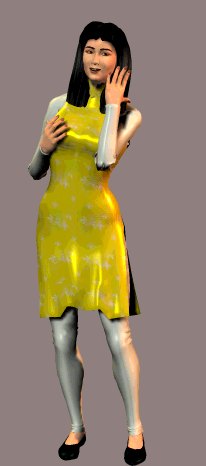
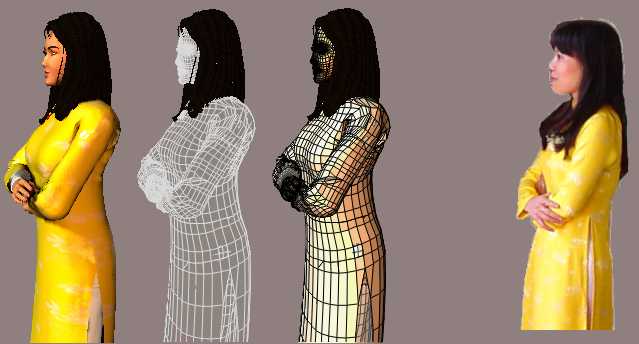
Poser
Poser (Pro) is a 3D computer graphics program optimized for the 3D modeling of human figures.

Blender
Blender is a free and open-source 3D computer graphics software tool set used for creating animated films, visual effects, art, 3D-printed models, motion graphics, interactive 3D applications, virtual reality, and, formerly, video games. Blender’s features include 3D modelling, UV mapping, texturing, digital drawing, raster graphics editing, rigging and skinning, fluid and smoke simulation, particle simulation, soft body simulation, sculpting, animation, match moving, rendering, motion graphics, video editing, and compositing. (Dutch developers started it in 1994)
https://en.wikipedia.org/wiki/Blender_(software)
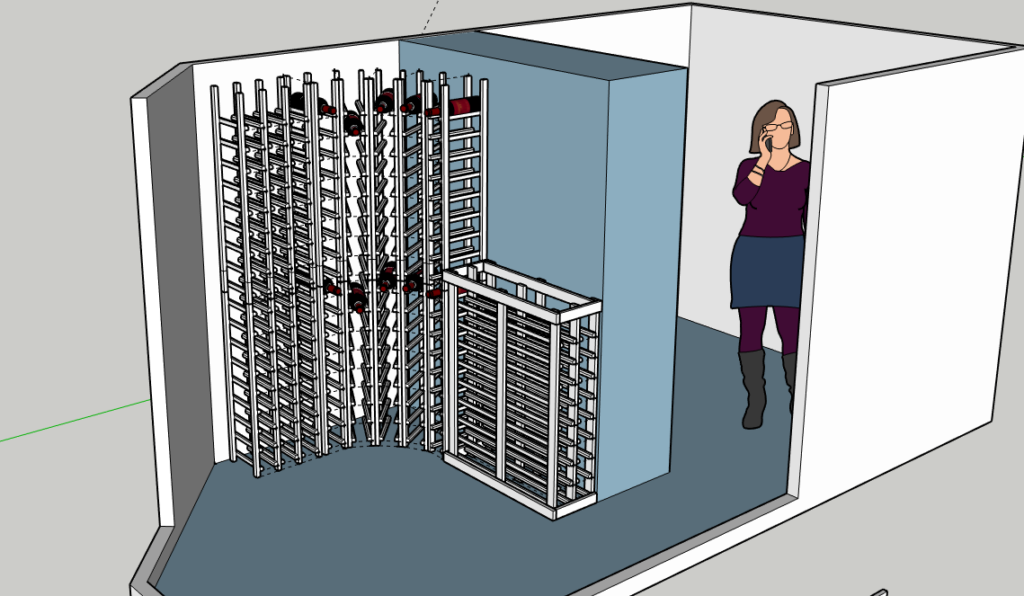
Below here not really for art but graphical generators .
Others: Zbrush, Xara3D, Sketchup, OpenScad
Terrain Maker, Terragen
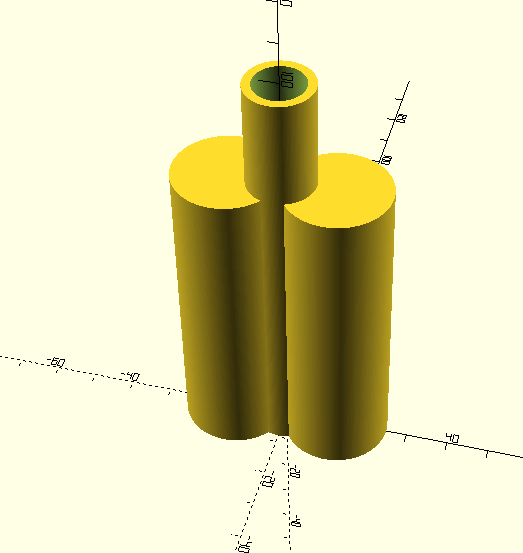
I made the double chanter in blender in this post
https://www.henriaanstoot.nl/2021/07/02/3d-printed-double-chanter-proof-of-concept/
Below my openscad version
difference(){
    difference(){
difference(){
    union(){
cylinder($fn = 180, $fa = 12, $fs = 2, h = 100, d1 = 16, d2 = 16, center = false);

translate([-12.5,0,0]){

cylinder($fn = 180, $fa = 12, $fs = 2, h = 70, d1 = 25, d2 = 25, center = false);
}
translate([12.5,0,0]){
cylinder($fn = 180, $fa = 12, $fs = 2, h = 70, d1 = 25, d2 = 25, center = false);
}
}


translate([-12.5,0,0]){
cylinder($fn = 180, $fa = 12, $fs = 2, h = 70, d1 = 17, d2 = 17, center = false);
}

translate([12.5,0,0]){
cylinder($fn = 180, $fa = 12, $fs = 2, h = 70, d1 = 17, d2 = 17, center = false);
}
}
translate([-12.5,0,65])
rotate([0,90,0])
cylinder($fn = 180, $fa = 12, $fs = 2, h = 20, d1 = 10, d2 = 10, center = false);
}
translate([0,0,70])
cylinder($fn = 180, $fa = 12, $fs = 2, h = 50, d1 = 12, d2 = 12, center = false);


}
translate([0,0,69]){
difference(){
union(){
translate([0,0,0])
cylinder($fn = 180, $fa = 12, $fs = 2, h = 5, d1 = 16, d2 = 16, center = false);
translate([-12.5,0,0])
cylinder($fn = 180, $fa = 12, $fs = 2, h = 5, d1 = 25, d2 = 25, center = false);
translate([12.5,0,0])
cylinder($fn = 180, $fa = 12, $fs = 2, h = 5, d1 = 25, d2 = 25, center = false);
}
translate([0,0,0])
cylinder($fn = 180, $fa = 12, $fs = 2, h = 5, d1 = 12, d2 = 12, center = false);
}
}
NSFW Galleries:
UPDATE: 2022-09-29
Yesterday i got two 3DConnexion 3D CAD mouses (mice) from my friend Vincent. While we where fixing his Mikrotik network i got to play with these cool devices.
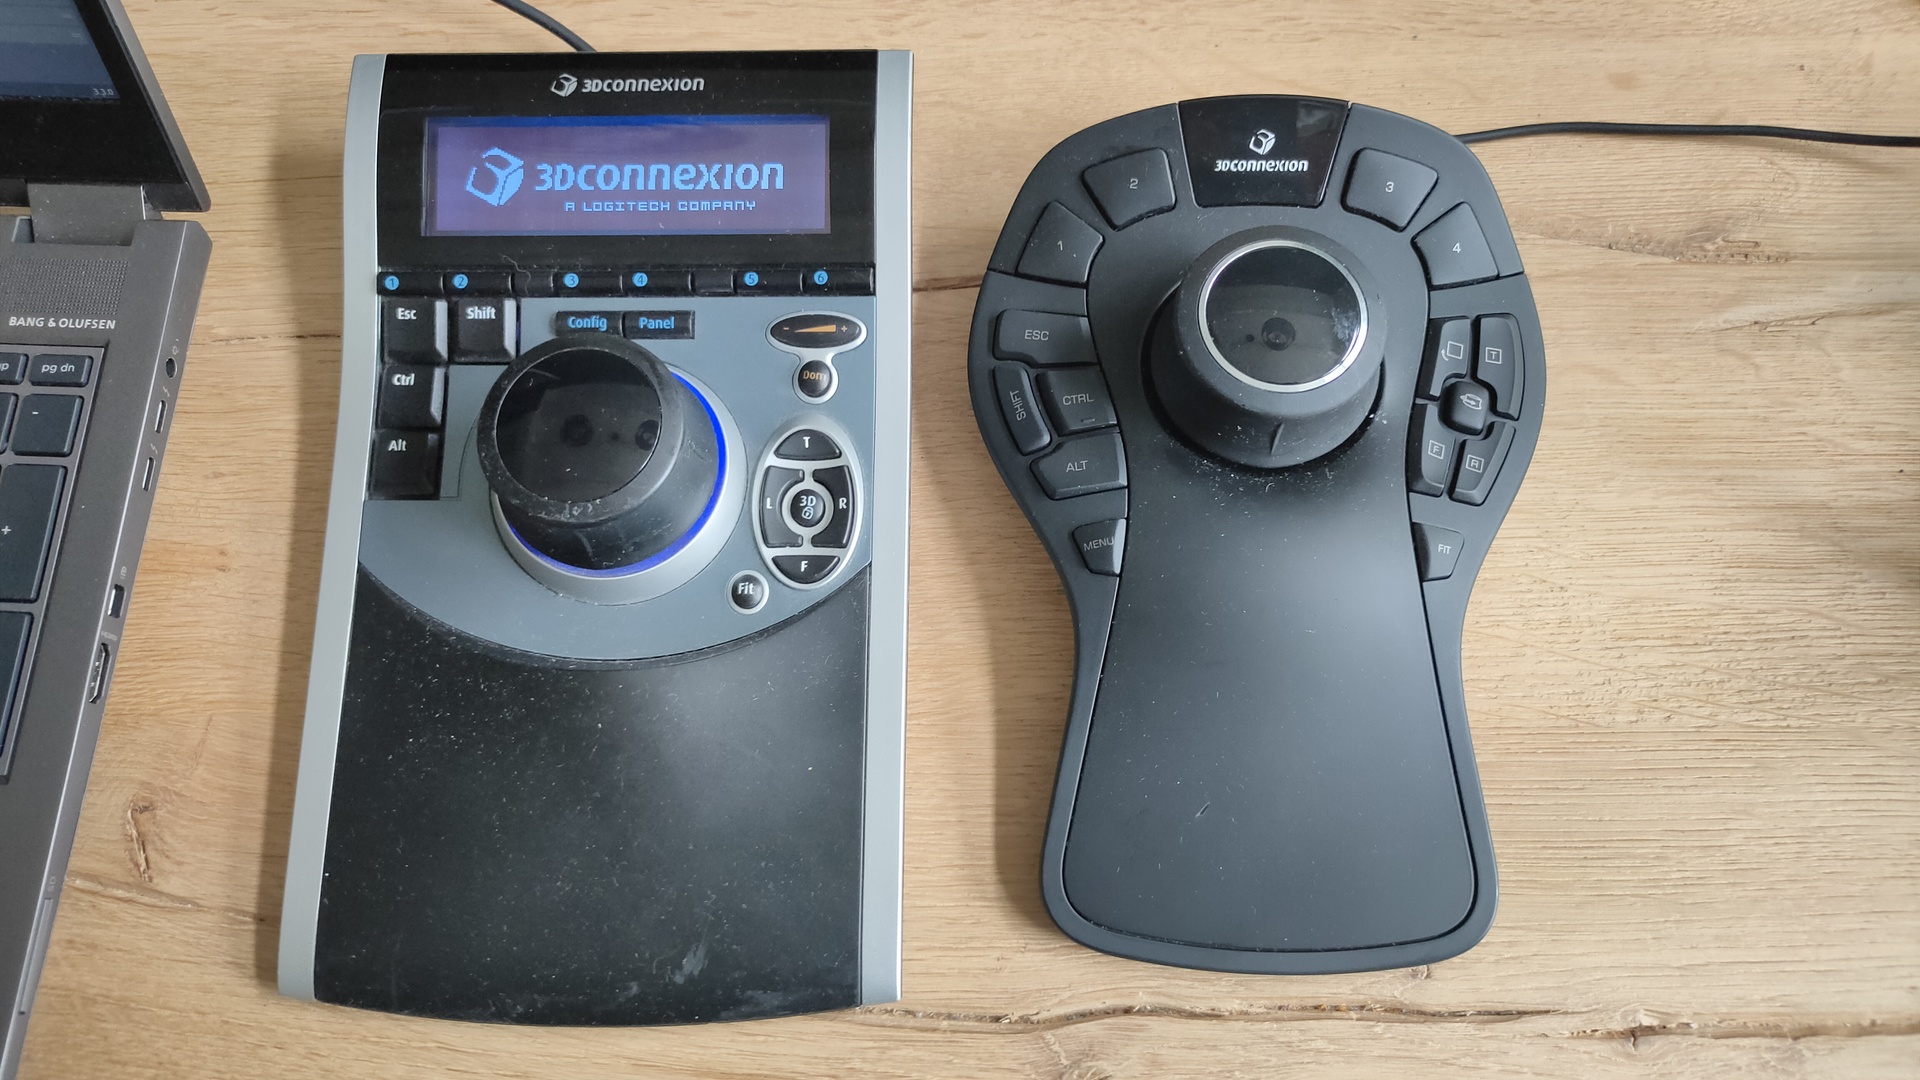
I always wanted one of those, but they are quite expensive
First i tried to install the Software from 3DConnexion. It kindda worked but needed some workarounds and still wasn’t okay.
Downloaded 3dxware-linux-v1-8-0.x86_64.tar.gz (Maybe this version is TOO new, SpacePilot i a little ouder)
there is a install-3dxunix.sh, but it was made for Suse/Redhat

This program needed motif .. and a lot of libraries (libmotif/libxm)
After that some fonts xfonts-100dpi xfonts-75dpi


workaround was starting by
sudo /etc/3DxWare/daemon/3dxsvr -userName ${USER} -d usb
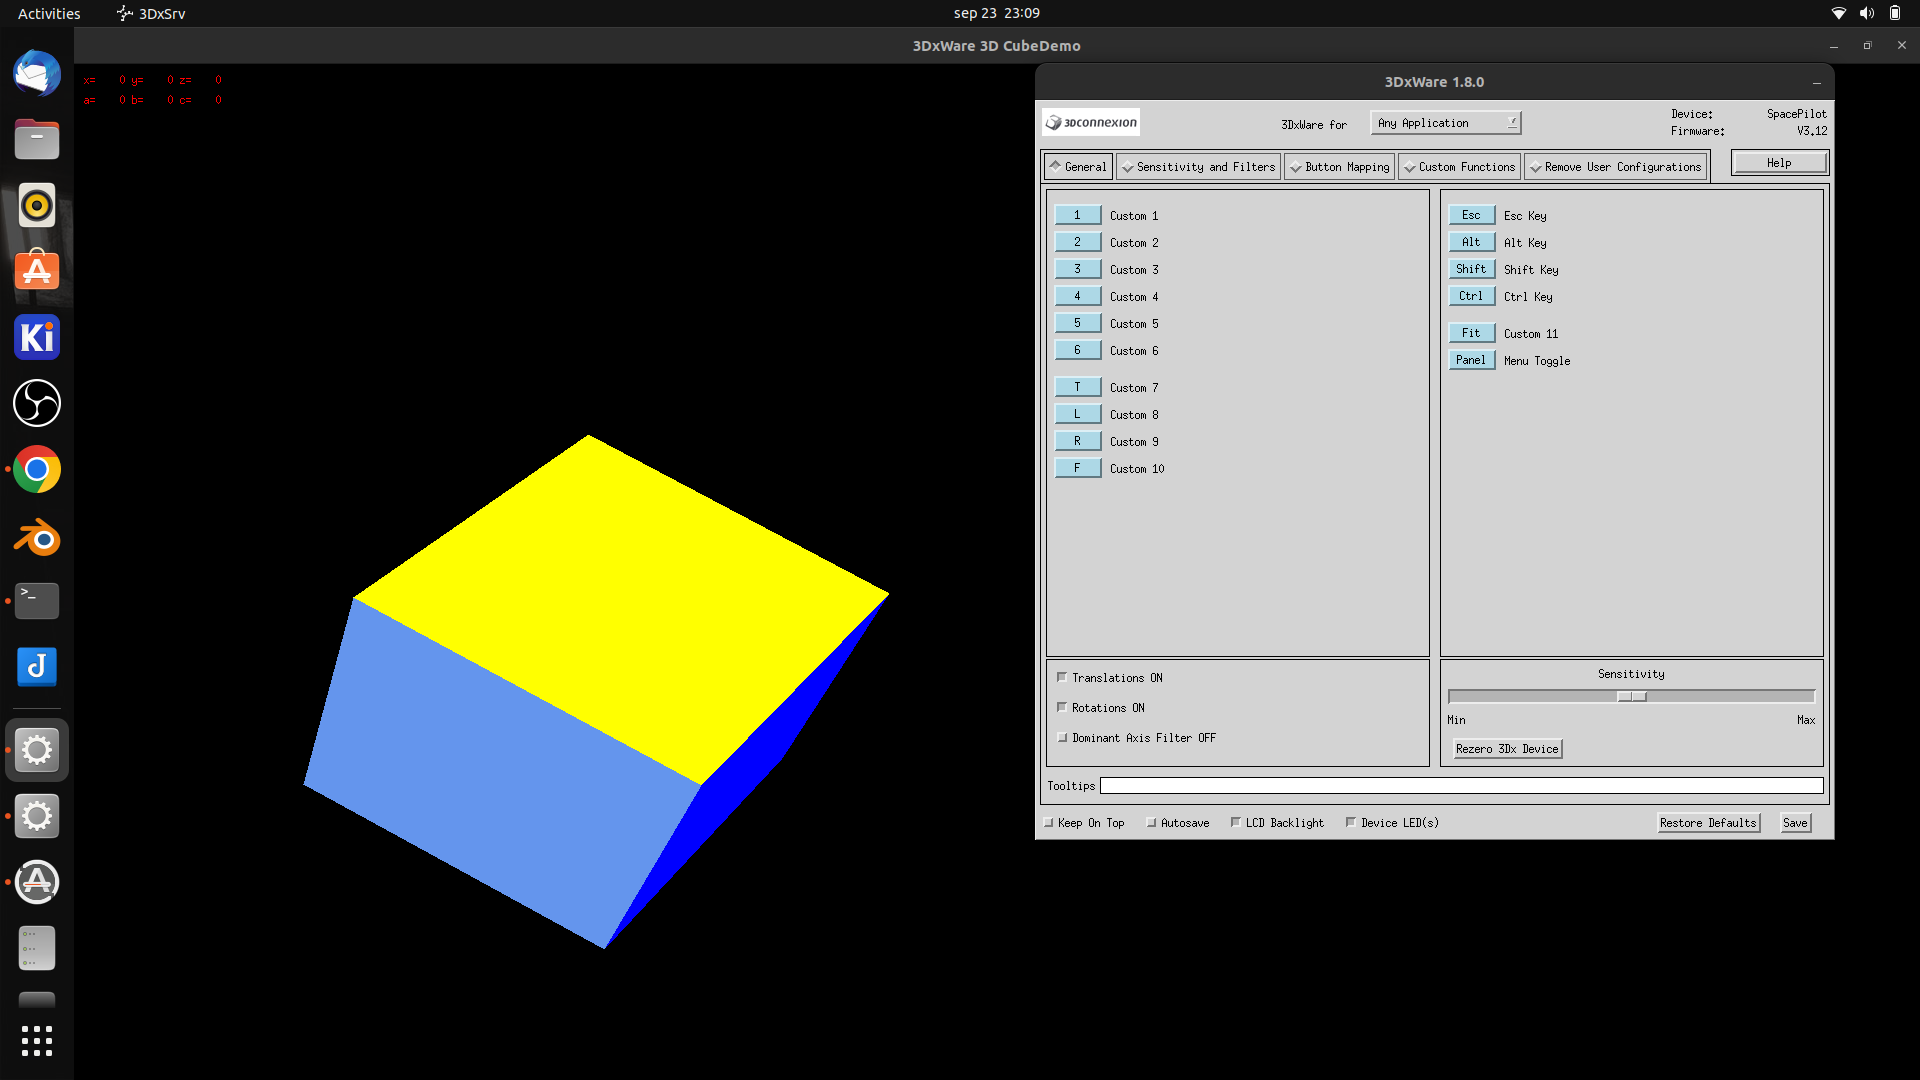
After that the demo program worked perfectly … but Blender didn’t
After some tinkering it work a little, it was far to sensitive, and was all over the place.
Luckily i found a opensource replacement. https://spacenav.sourceforge.net/
git cloned the package, then i notished .. there is a precompiled version for ubuntu!
apt-get install spacenavd .. start the service .. and go!
i cloned the test demos (libspnav) and compiled those test programs.
apt-get install libglu1-mesa-dev
git clone https://github.com/FreeSpacenav/libspnav.git
cd libspnav
./configure
make
... fly is a nice little test program
So lets start blender
This wil speedup modeling, and for sure sculpting !
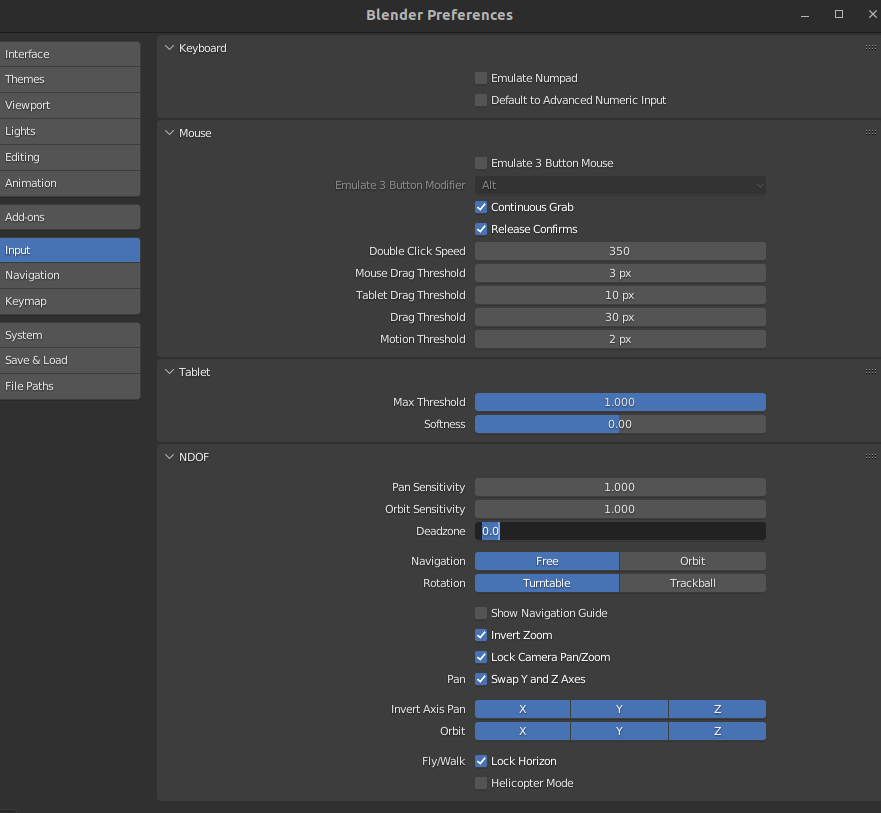
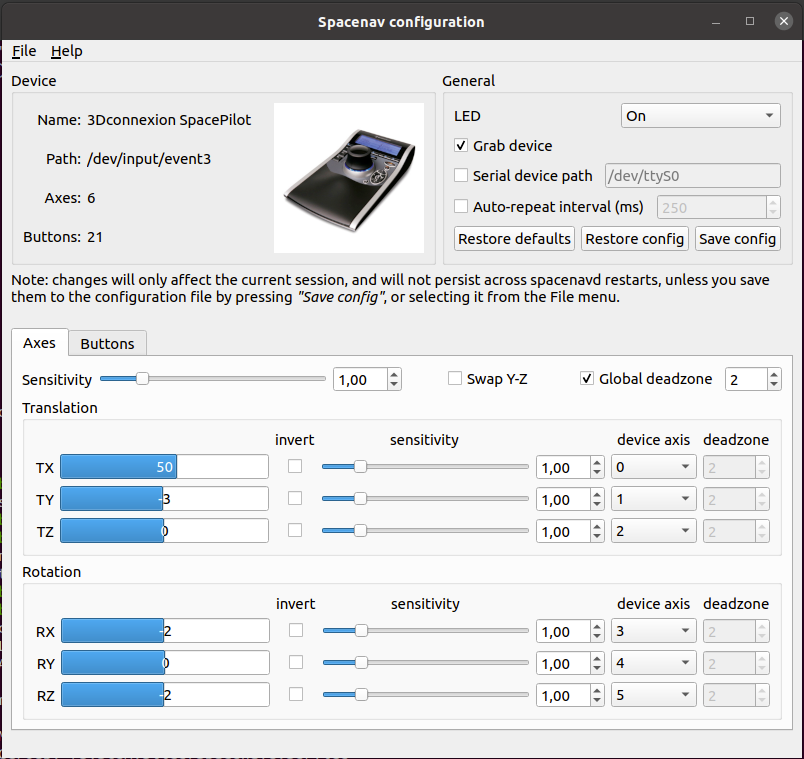
Some settings which worked for me .. let the tweaking begin!
UPDATE: 2022-09-29
I removed the version in the apt repository, and installed everything from git. Now i have a cool configure tool
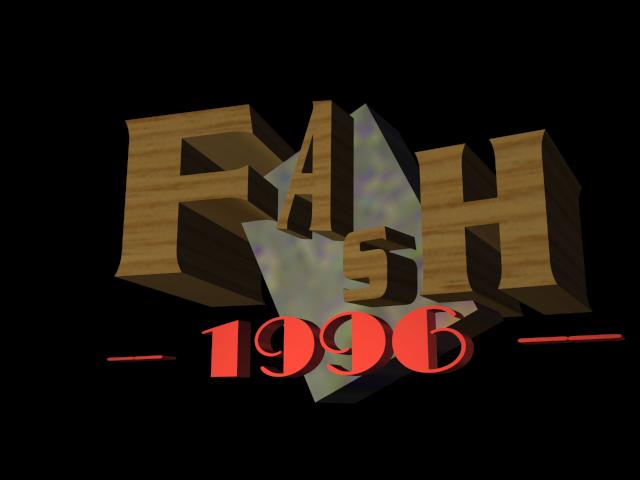
First test to make a personalised logo for myself to use embedded on movies or in OBS streams.
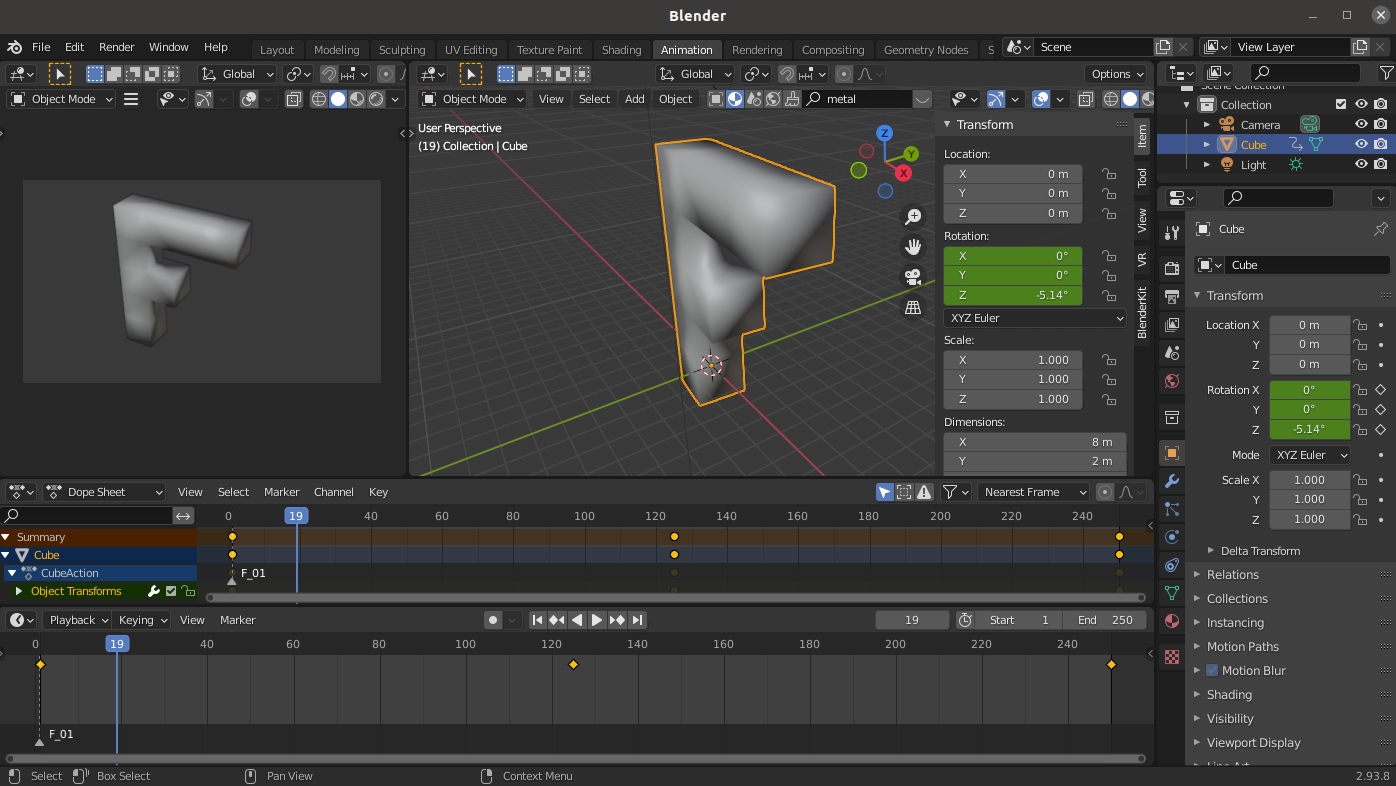
Created a simple animation in Blender.
We need to export in RGBA (A for aplha), One of the supported video codex you can use is : Quicktime – QT rle.
Select this one, and make sure it’s RGBA and not RGB
Now i can use the exported video file in OBS for streaming.
I made the animation i a way that it can be looped.
(Don’t forget to set this option in OBS.)

Also useable in Kdenlive editor as watermark.
Next to try is a VR setup.
Another blender project i’m planning to do this week is a movie displaying my logo to overlay on my videos.
So i have to render a transparent movie for this.
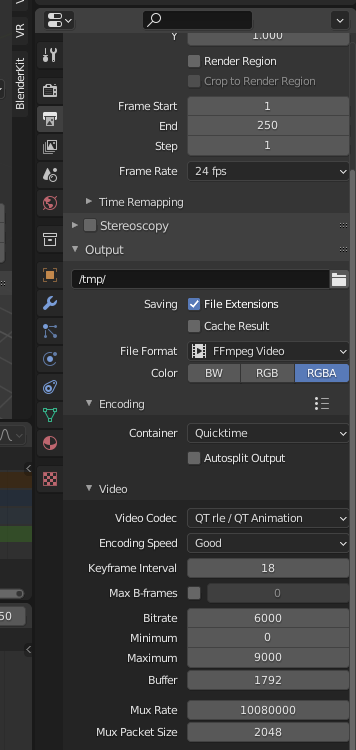
Howto:
Open a scene, i took the liberty to get one from blenderkit.
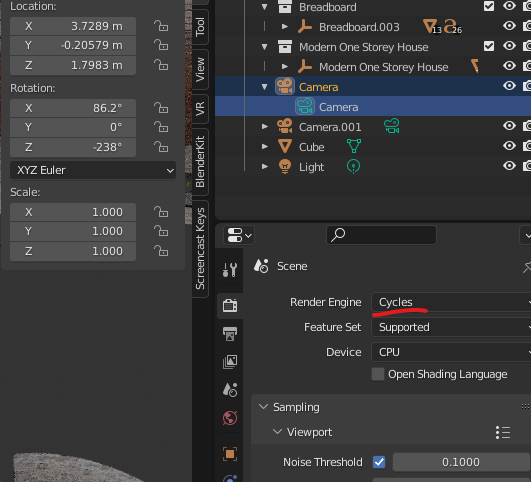
Change output to cycles, eevee doesn’t work
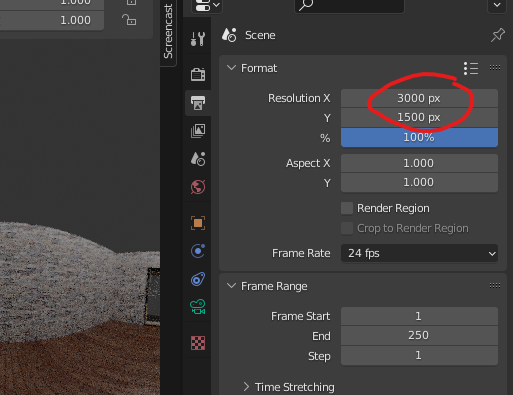
Make x/y large enough in output tab. X = 2 * Y !
Next select your camera, and open camera tab
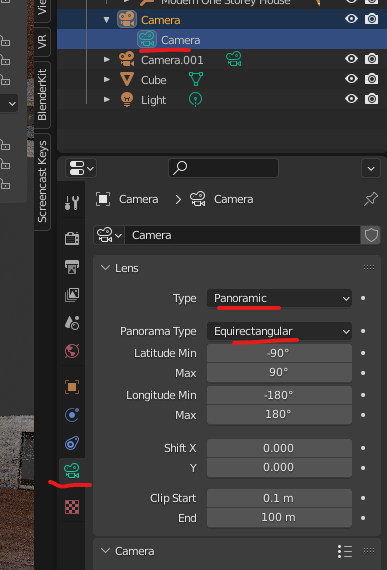
Change Type to panoramic and then you can change panorama type to Equirectangular
Position your camera and hit F12, it wil take a long time!
You get something like this
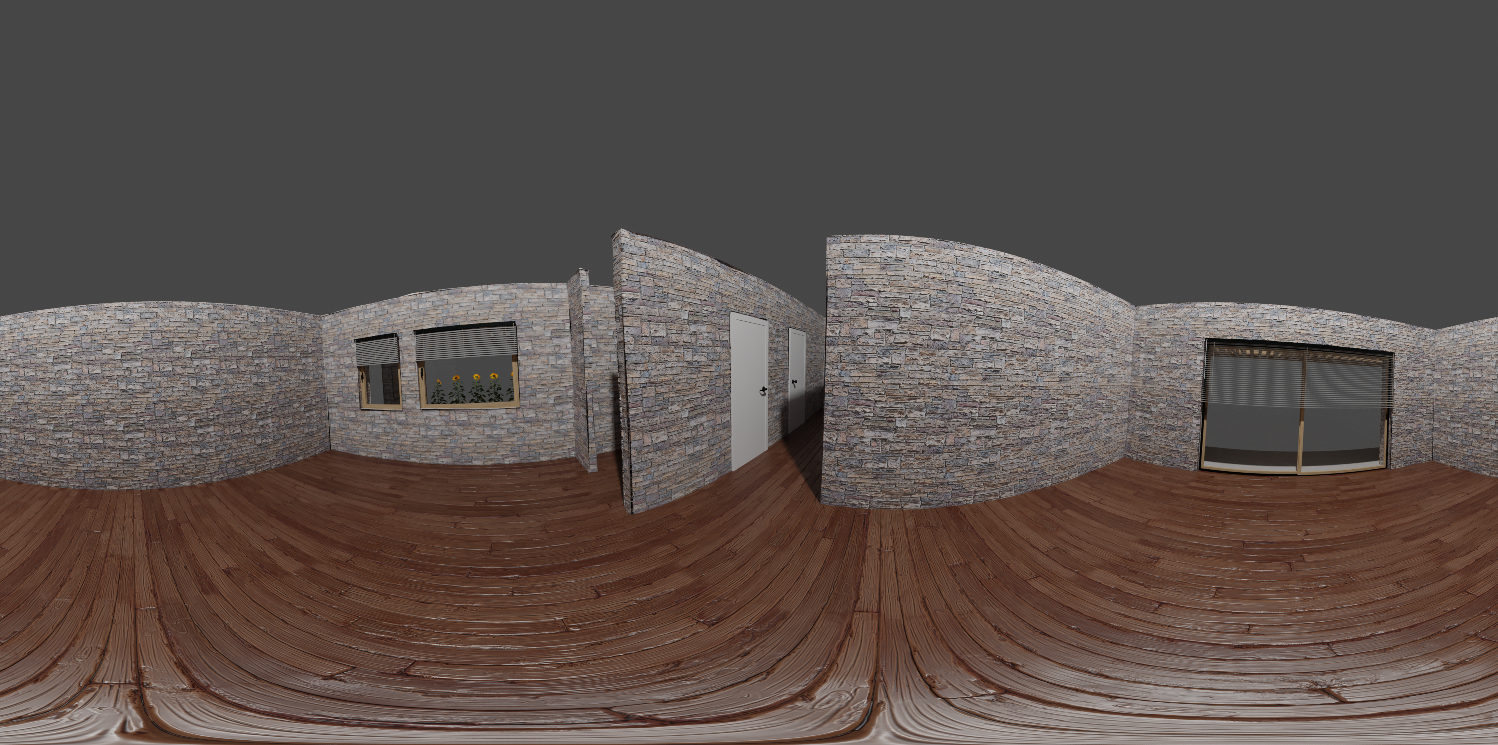
Use a proper plugin for your website, or view with your VR glasses!
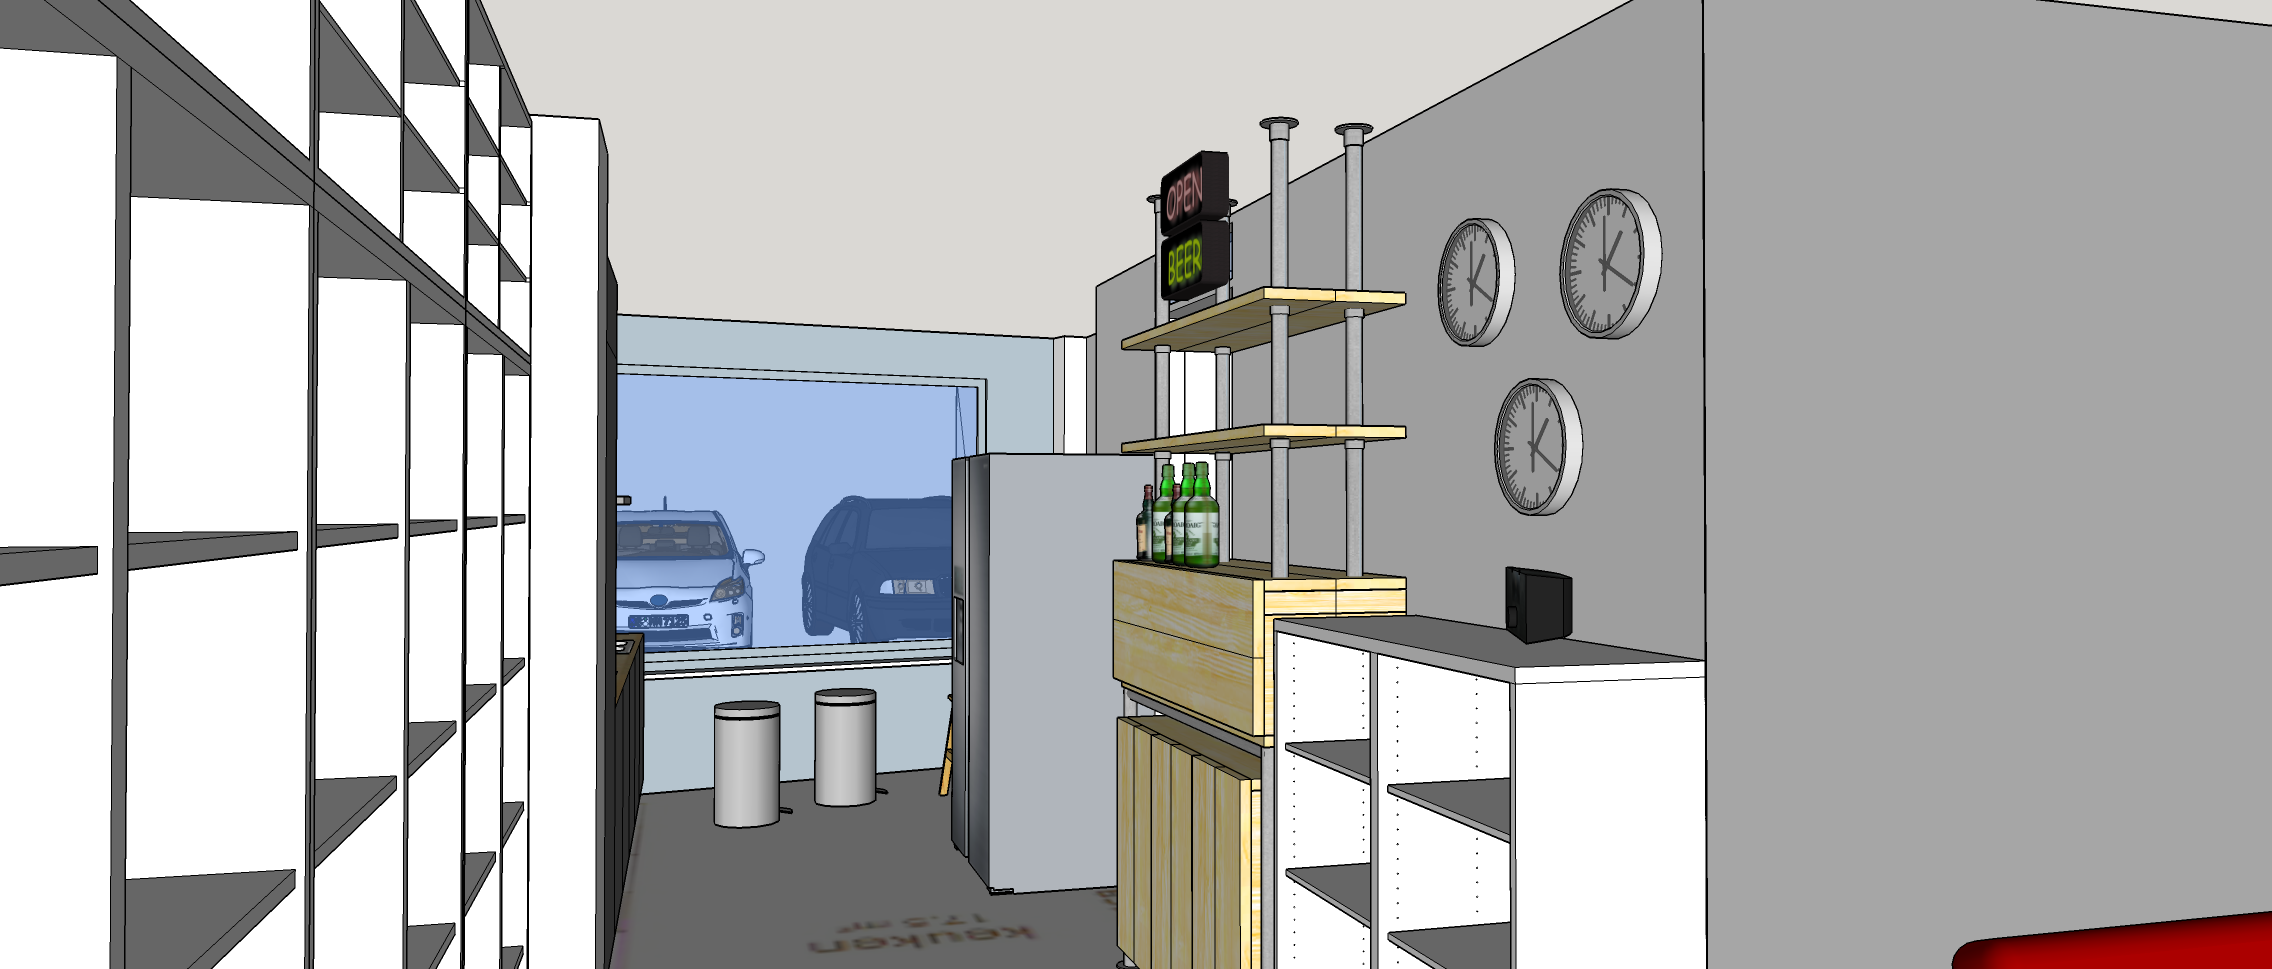
I’ve seen some commercial solutions, and some free blender solutions which where too complex or too much hassle.
I’m not paying anything when you can do it yourself for free.
And i wanted a easy to setup wall, using movieclips or pictures.
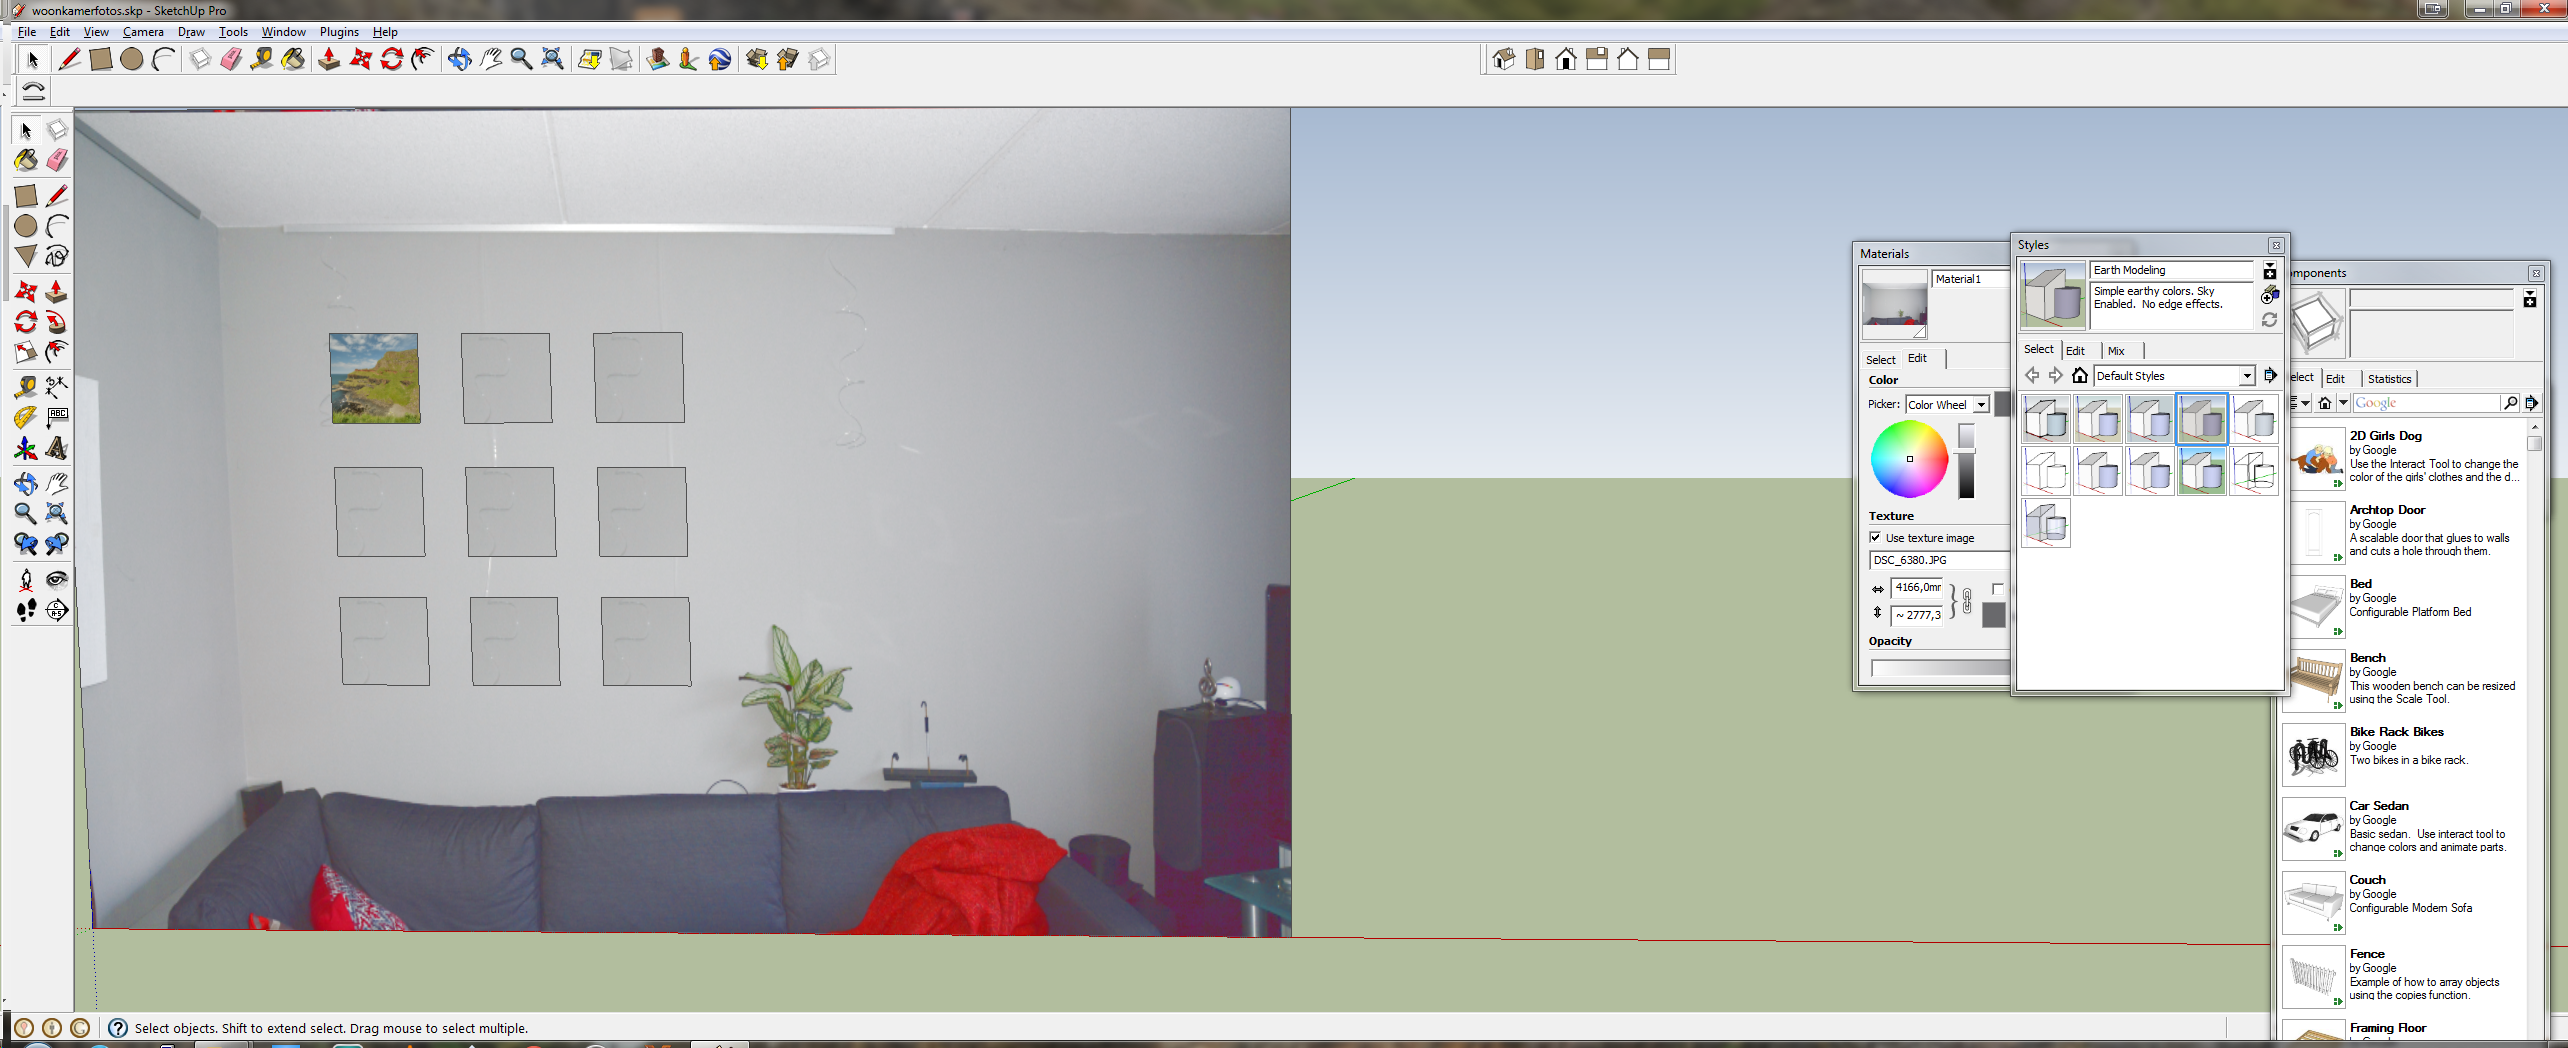
So below is a blender howto
Above also shows howto enable displaying keypresses for making howto movies and a plugin for distributing objects.