I wanted to migrate the last documents I have in google drive to my own netcloud instance with wordproccessing.
I the past I tried Collabora.
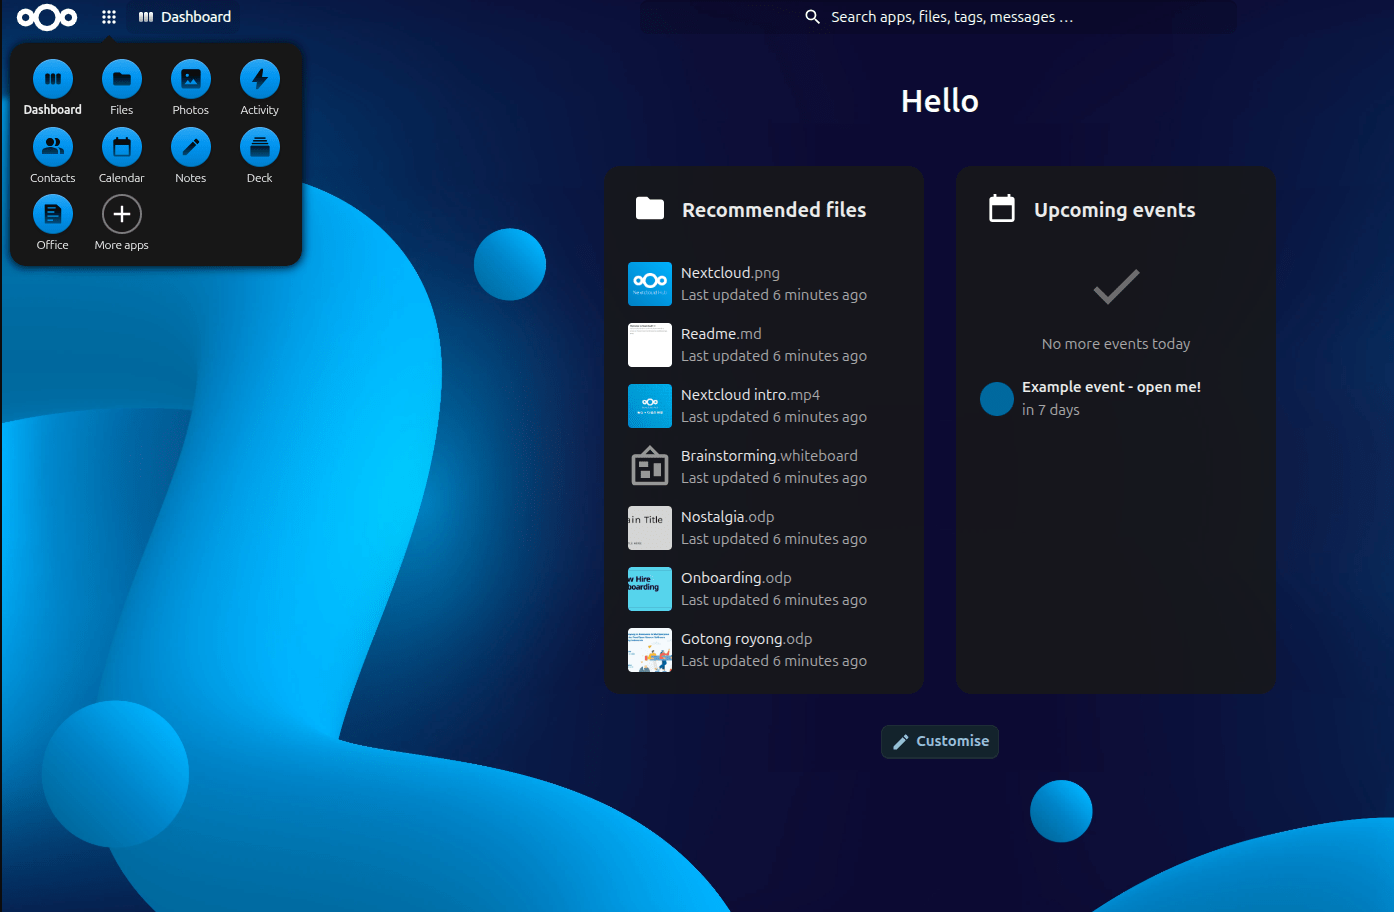
But today Nextcloud Hub 26 came out. WITH euro office!
Euro-Office is a FOSS office suite and collaborative software platform based on OnlyOffice that provides editors for documents, spreadsheets, presentations, and PDFs. The software includes web-based, desktop, and mobile applications designed for document creation, editing, and collaborative work
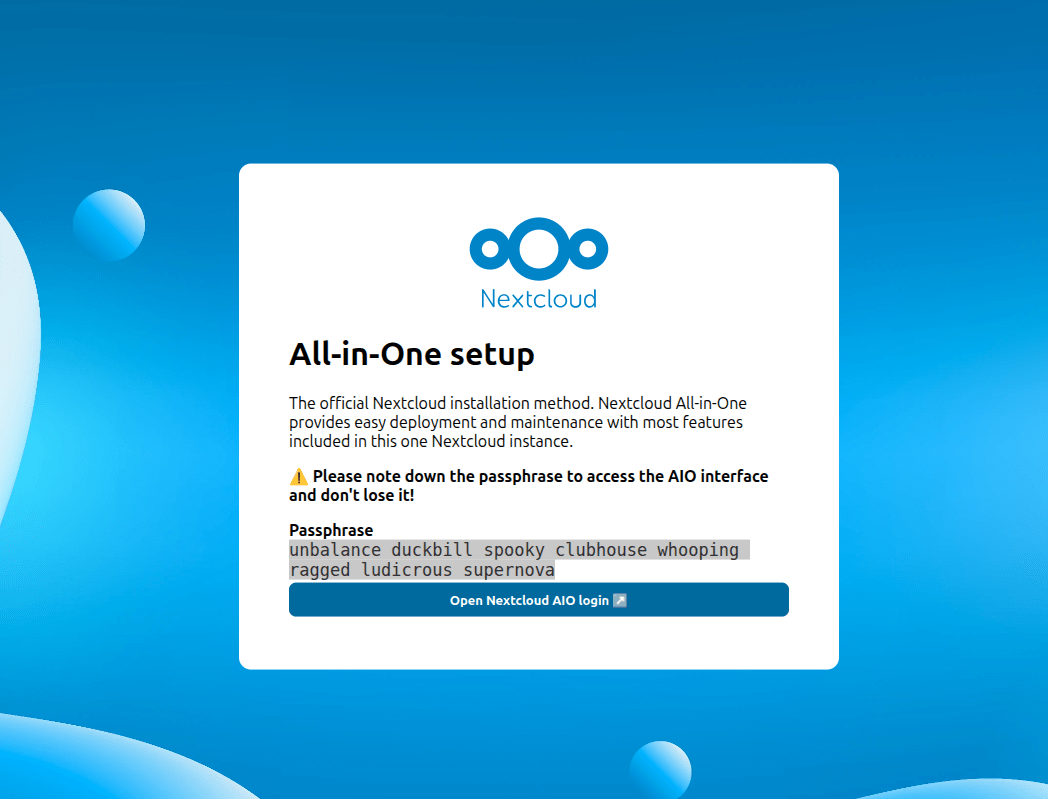
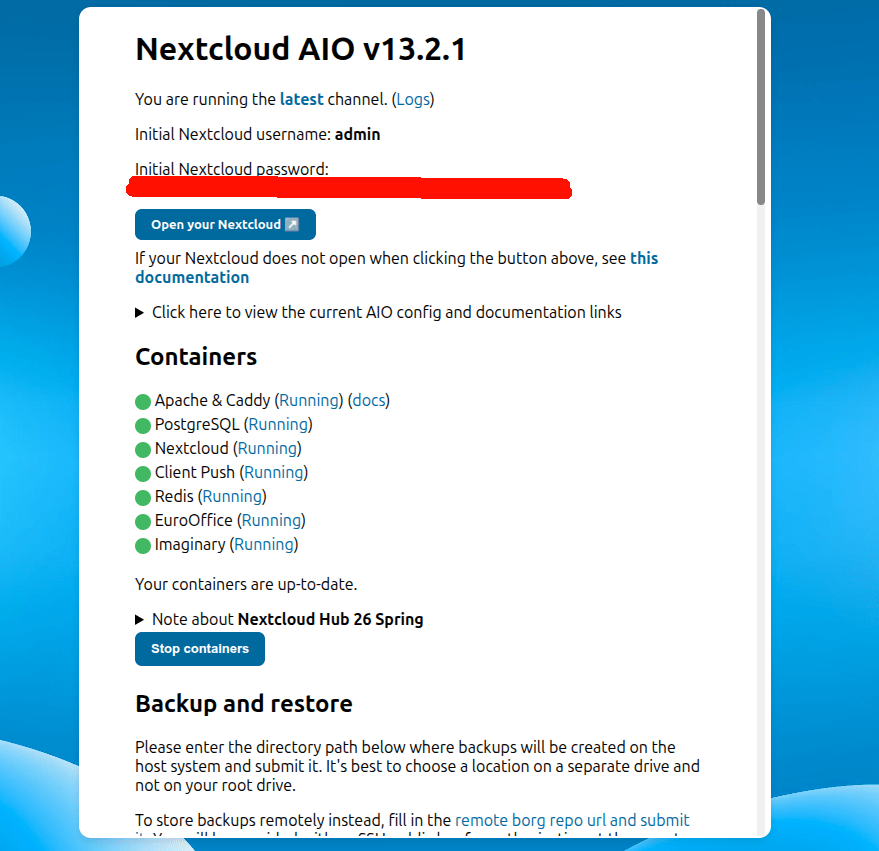
I installed Nextcloud AIO (all in one), using docker.
Easy peasy.
Even the configuration for reverse proxies are well documented.
And almost perfect (more on this futher down this post)

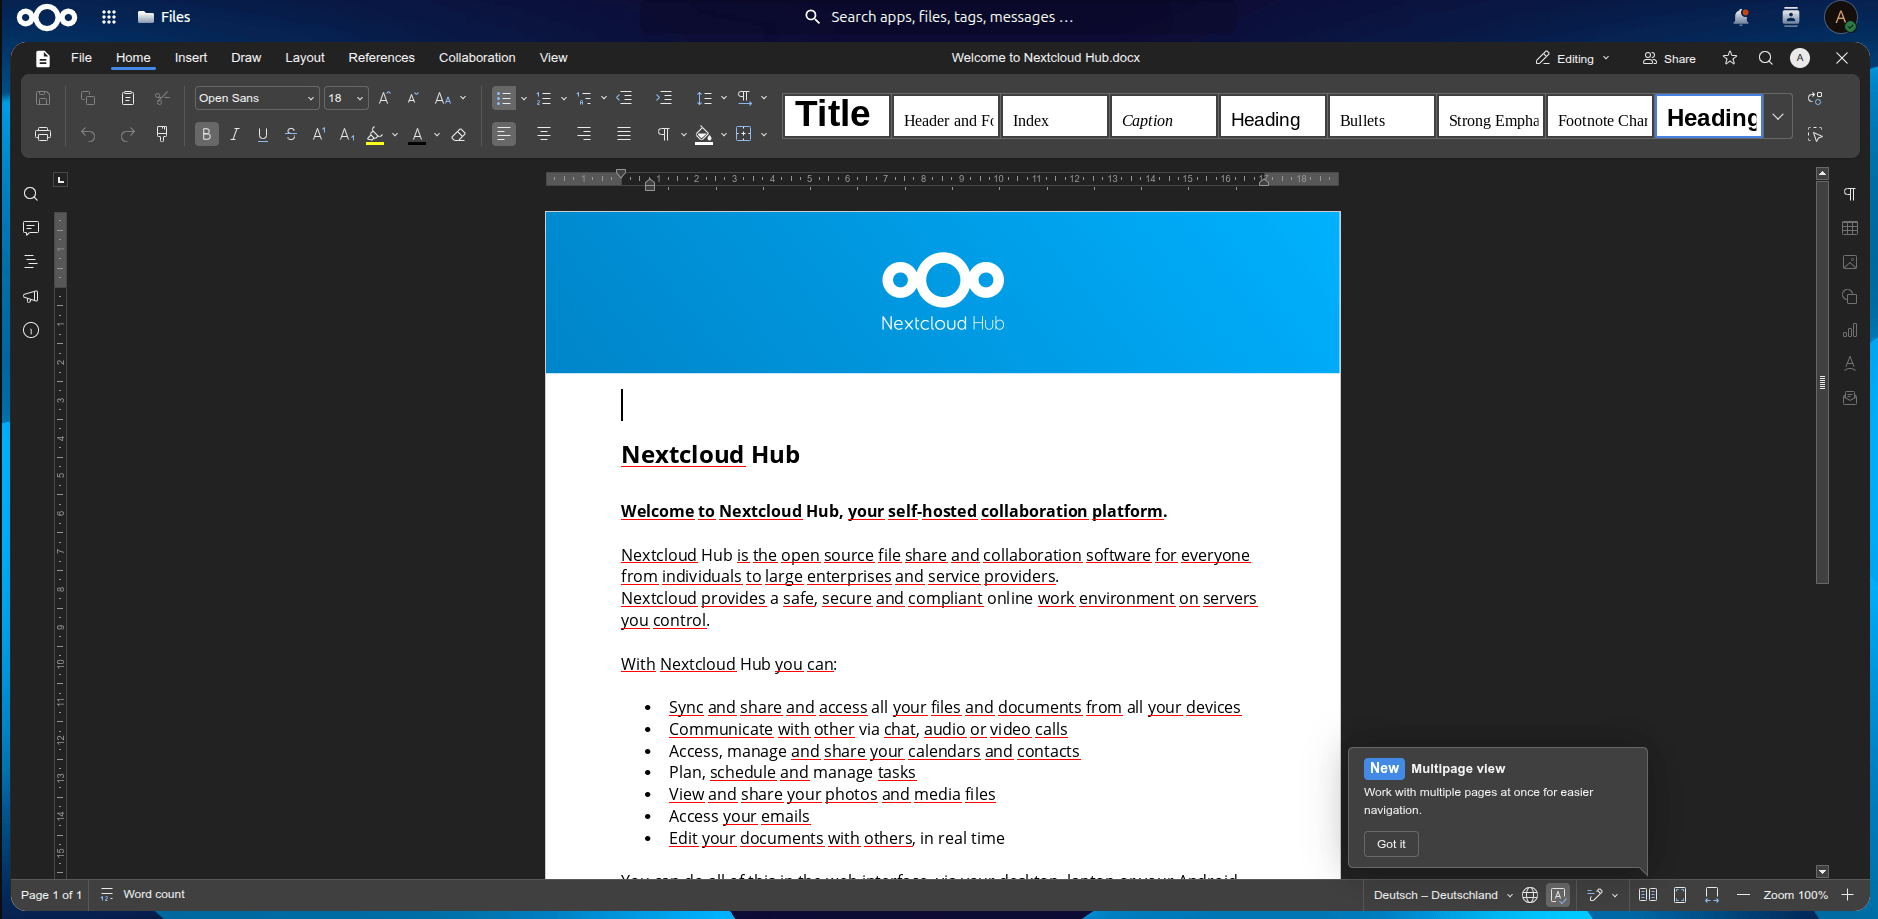
I tried to open an office document, but it gave me an error.
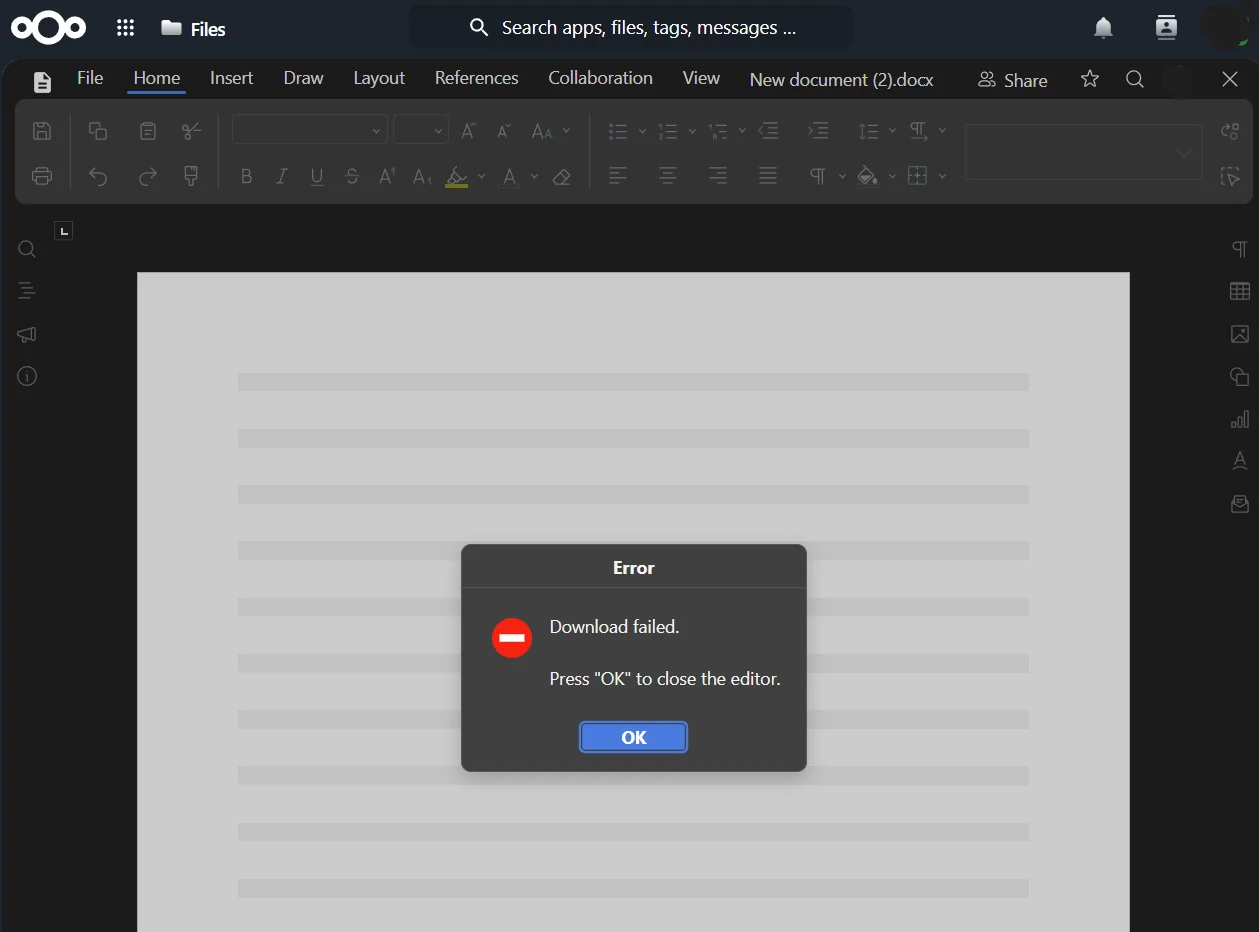
I’ve seen this mentioned online in forums. (The software is very new, and not well tested yet)
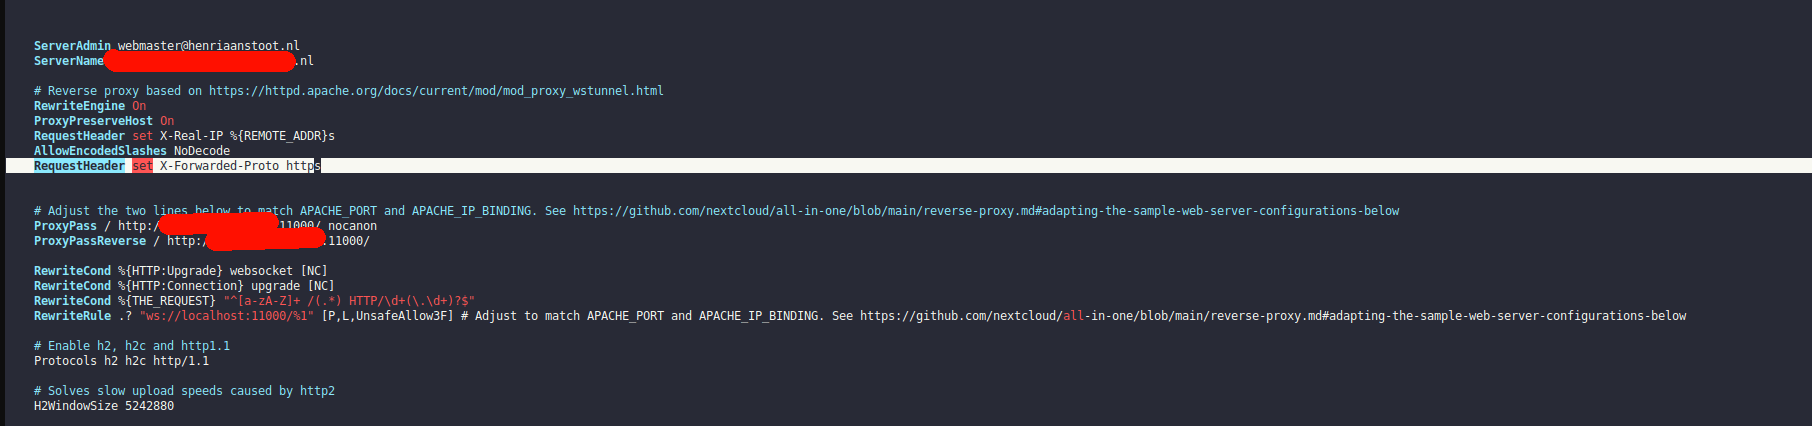
But I found the sollution to this issue. I needed to change the configuration of my apache reverse proxy.
Below in white the part of the config change. Everything else is as documented on : https://github.com/nextcloud/all-in-one