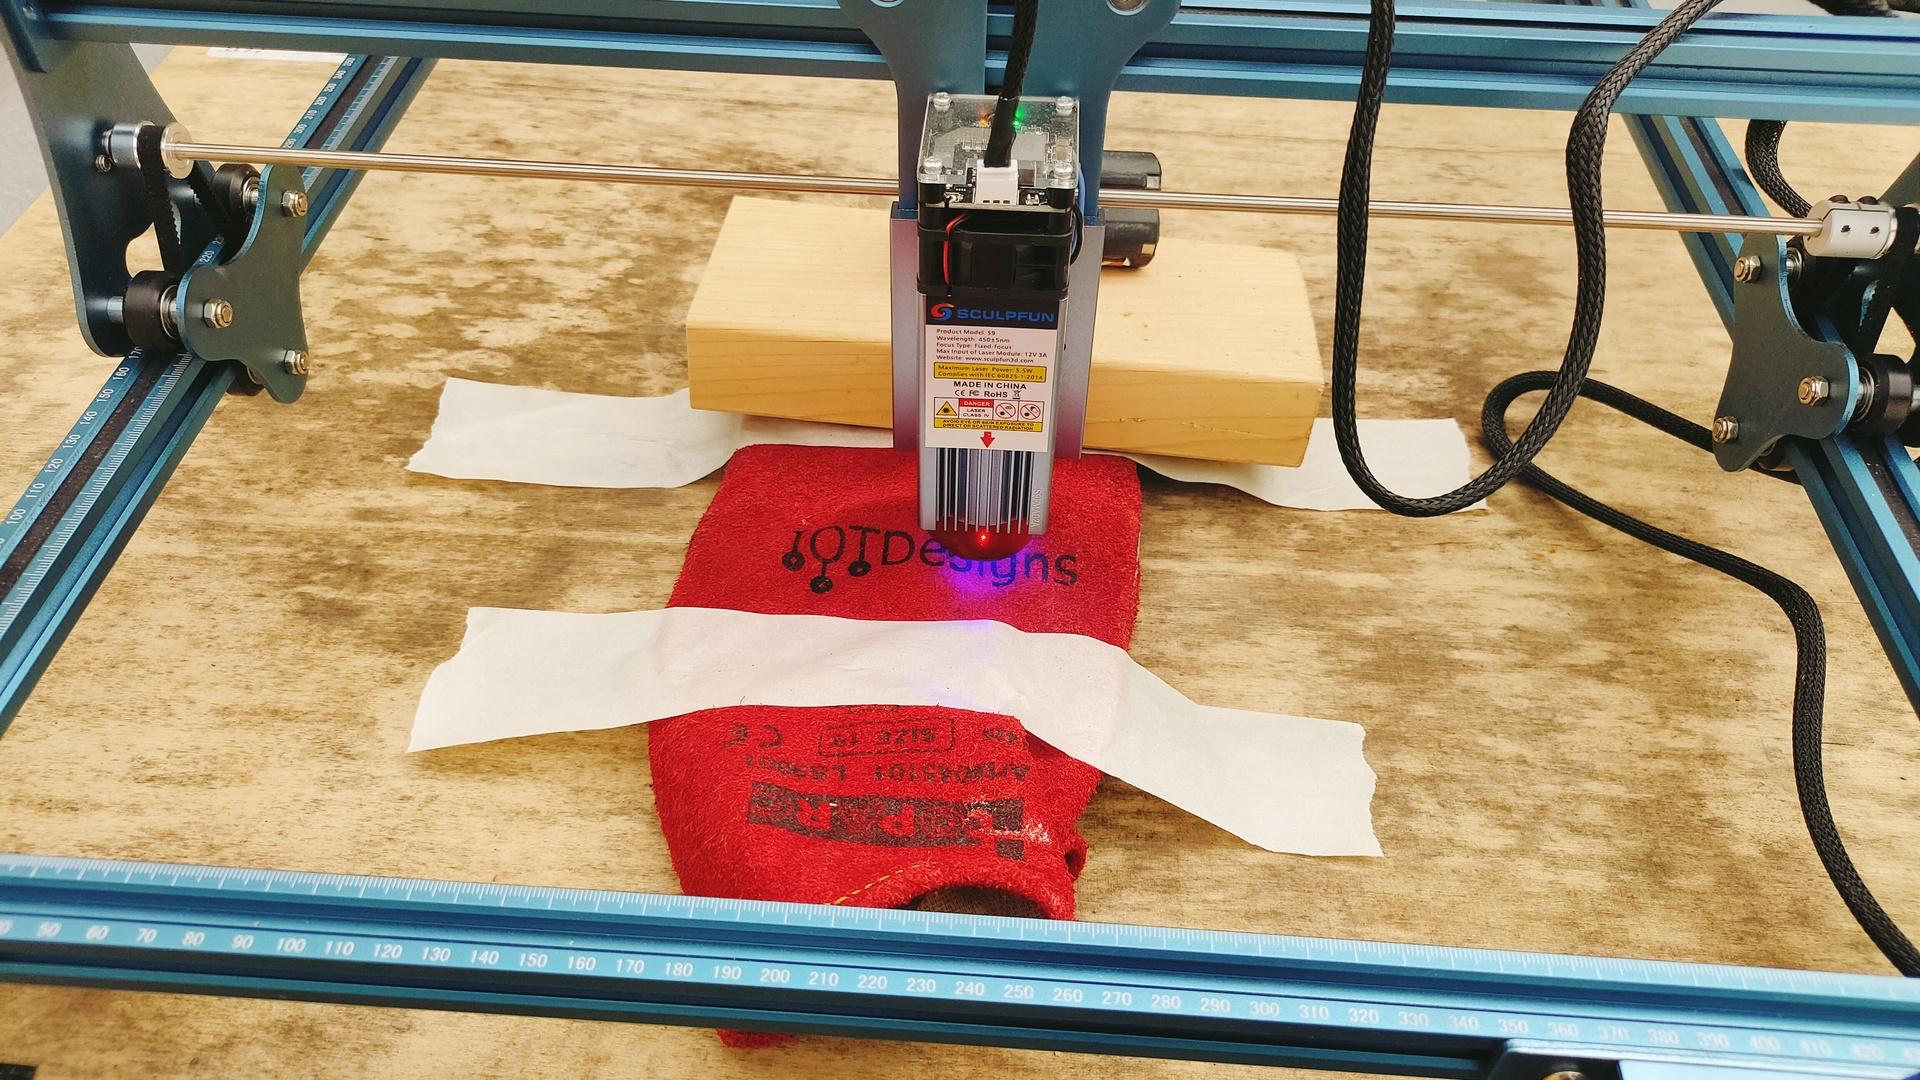
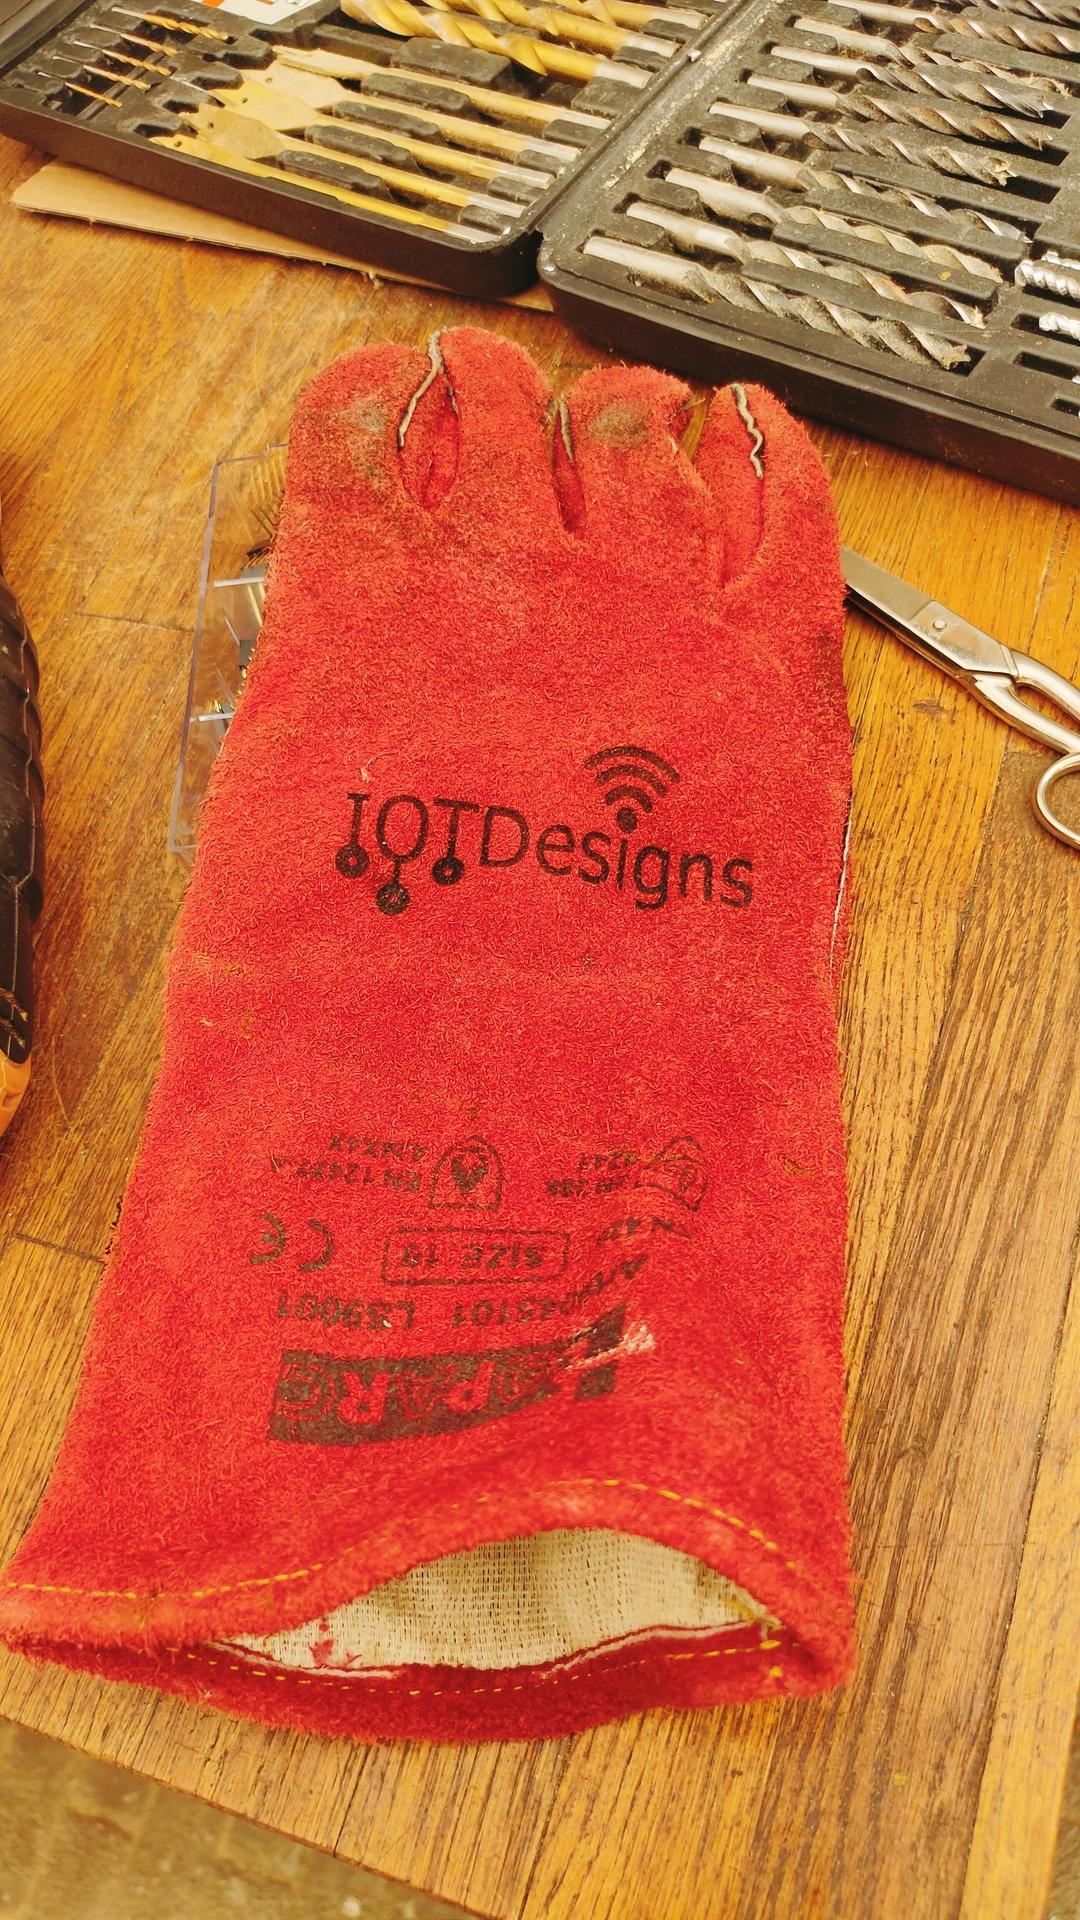
A friend asked if it was possible to use my Laser cutter to “engrave” welding gloves.
I said, “Ehh dunno, but let’s try!”
So now my welding gloves have my business logo 🙂
A friend asked if it was possible to use my Laser cutter to “engrave” welding gloves.
I said, “Ehh dunno, but let’s try!”
So now my welding gloves have my business logo 🙂
I’ve got a little SDR stick a while ago with some antenna’s.
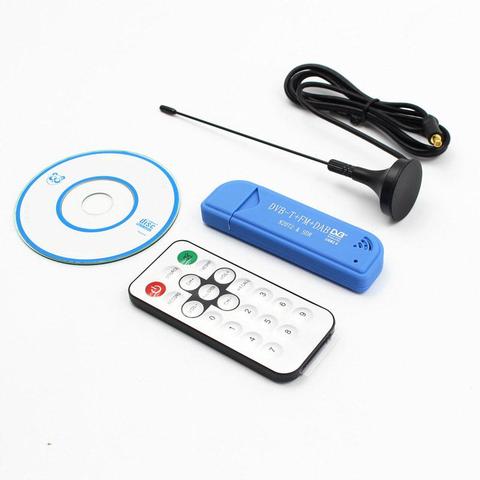
I’ve got some extra antenna’s
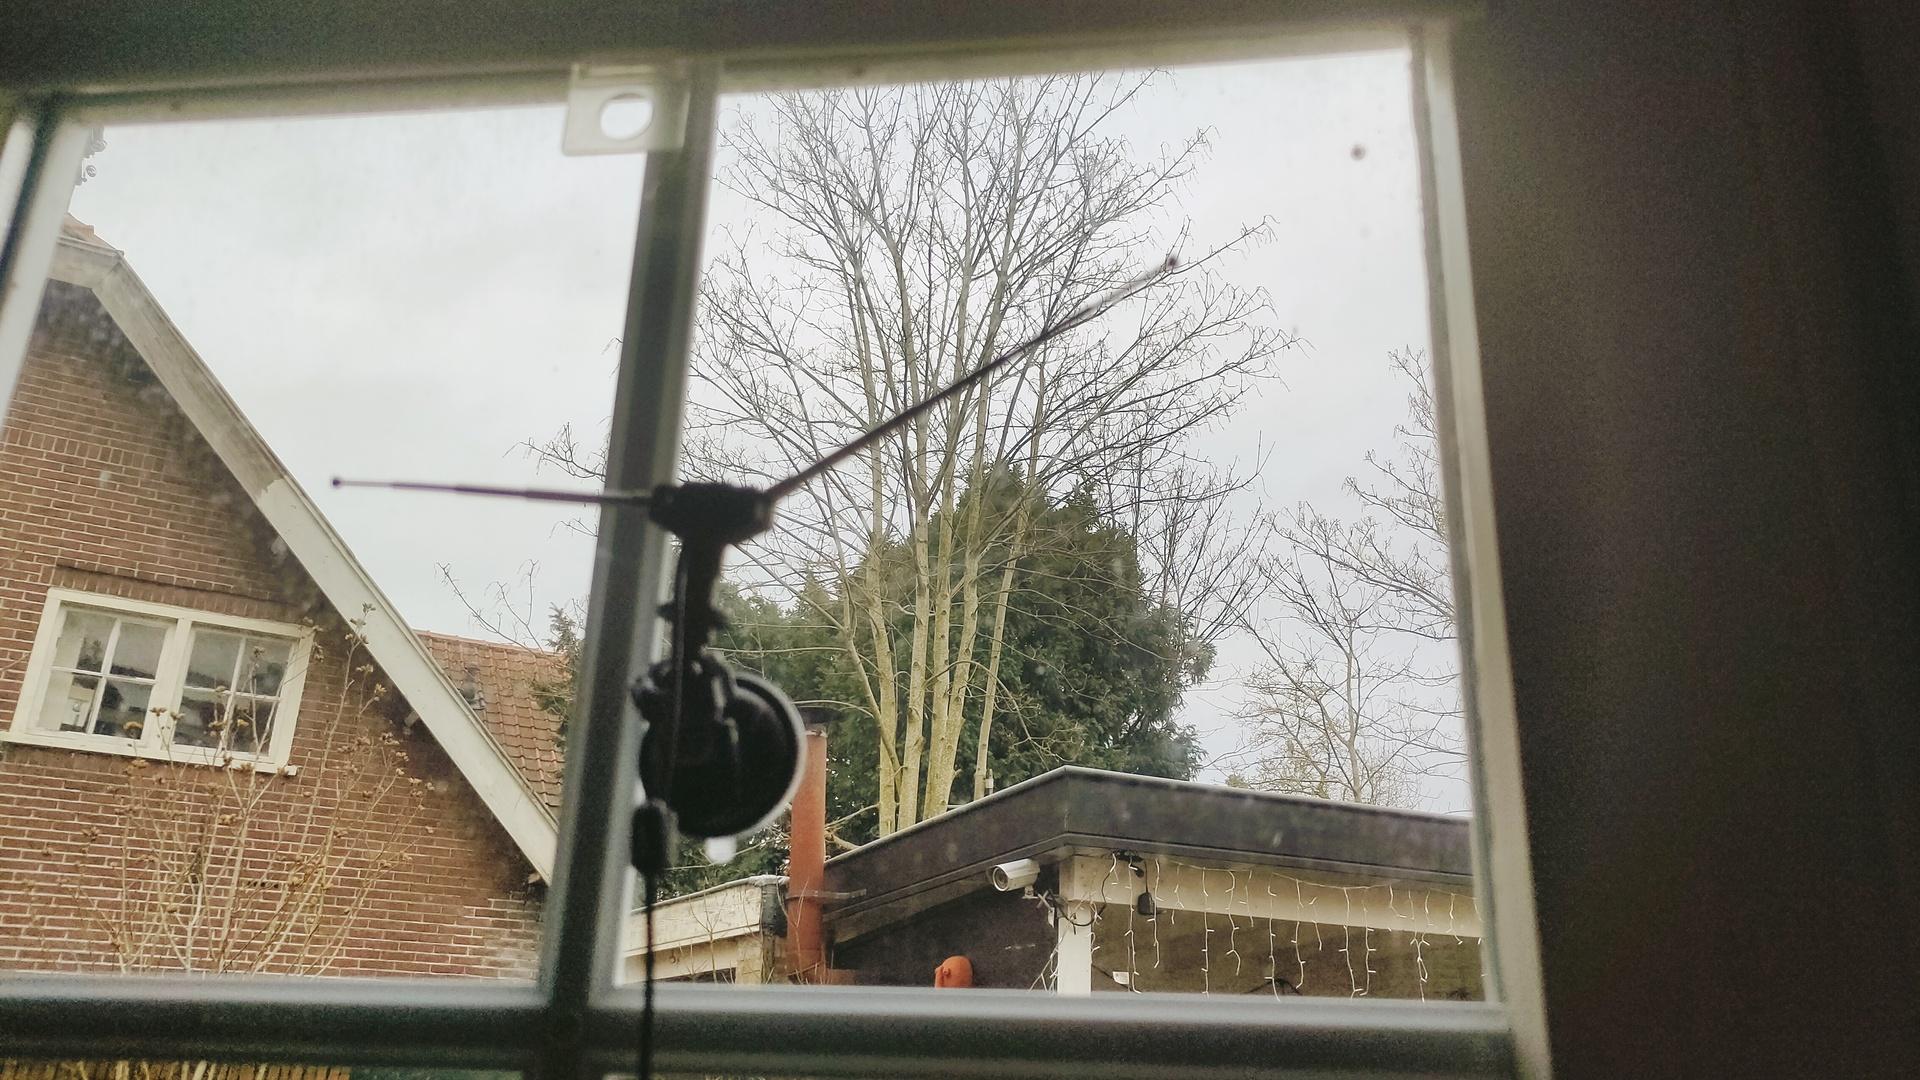
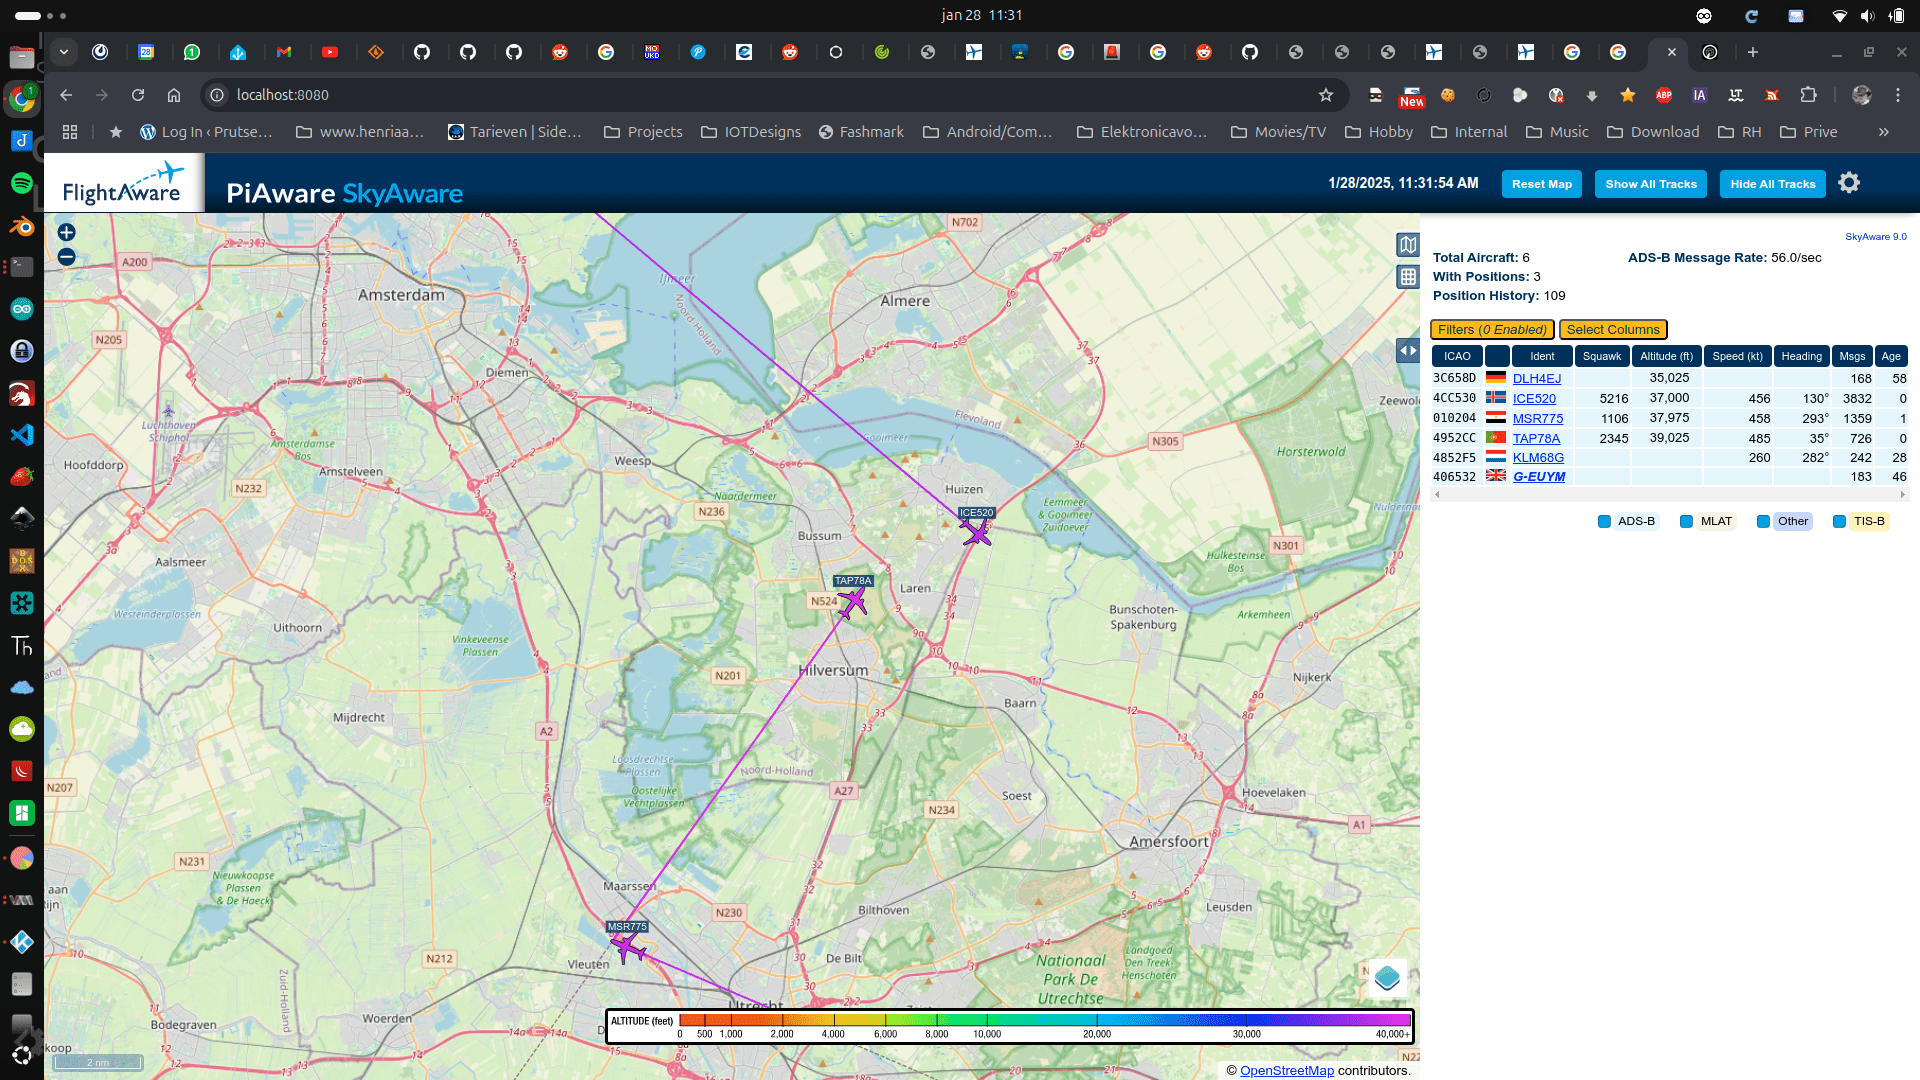
So I was playing around with P2000 and Airplane Radio (tracking overhead planes)

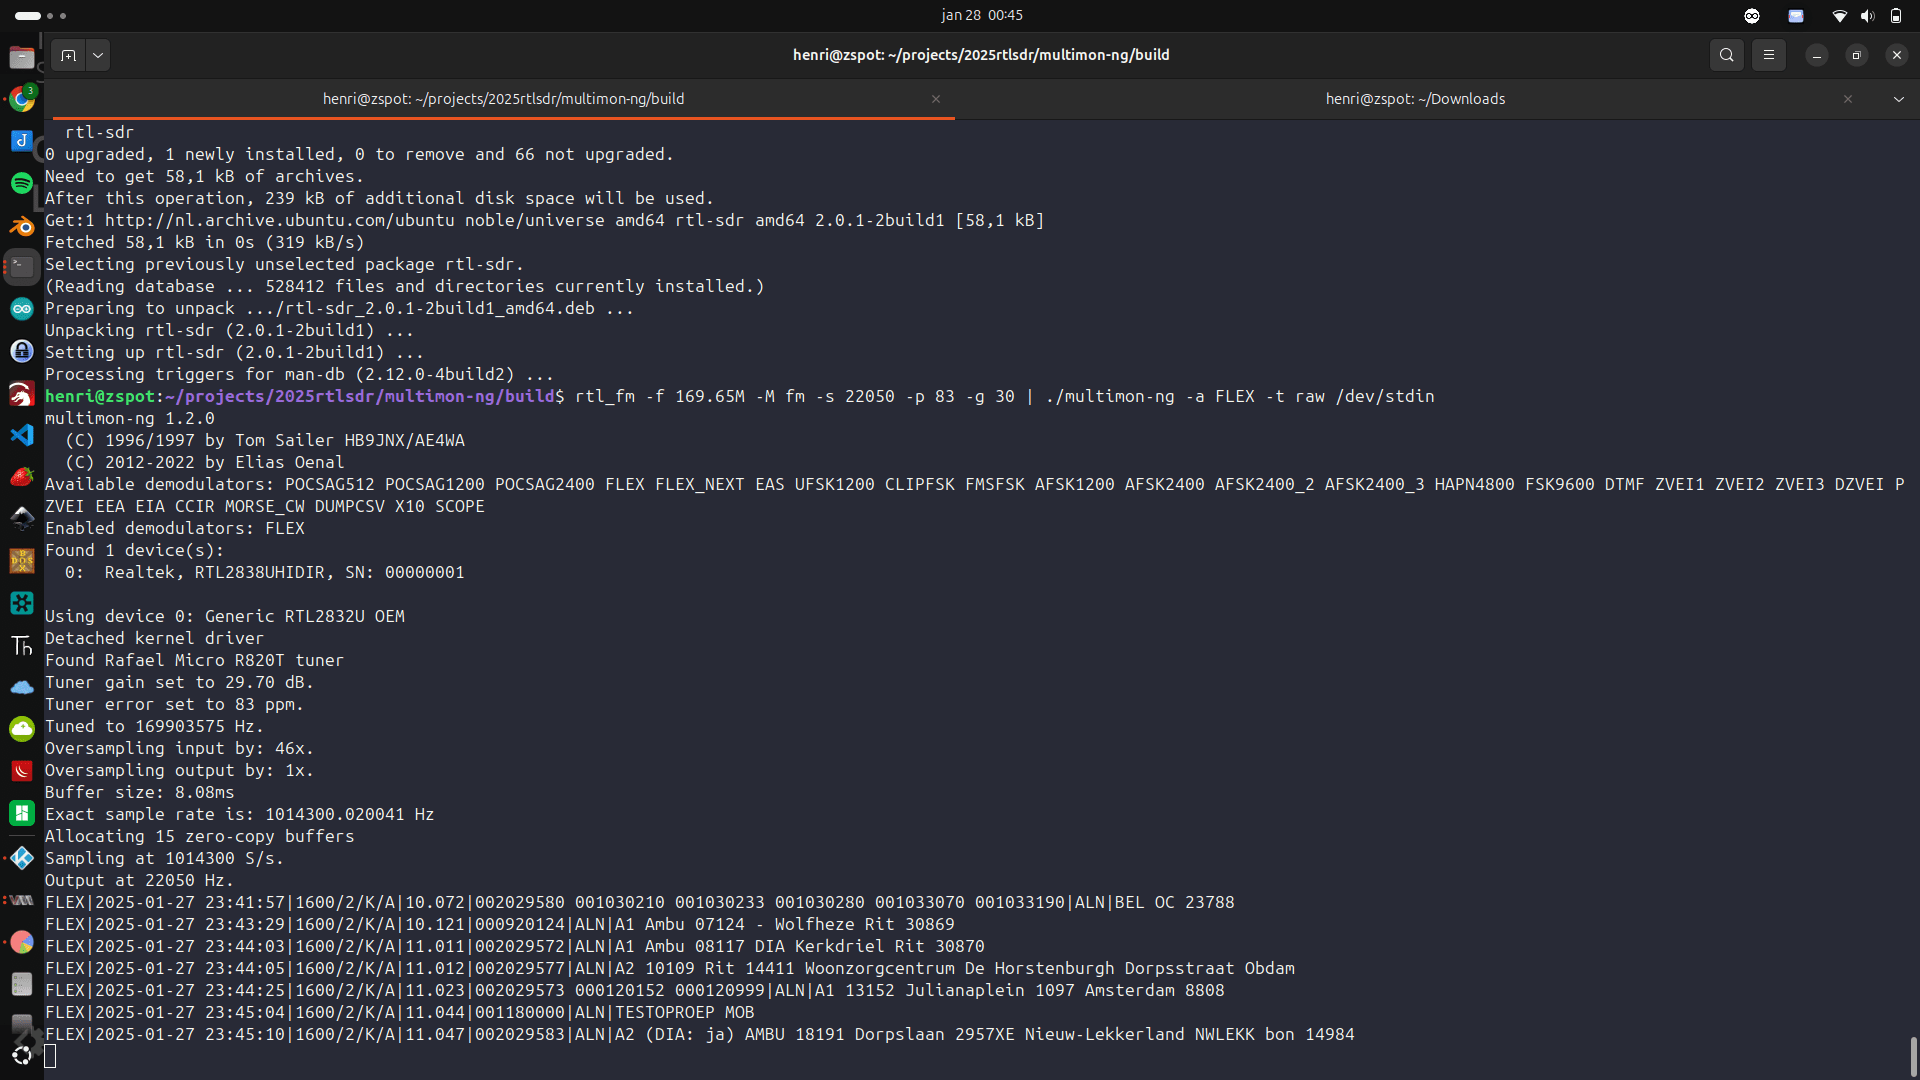
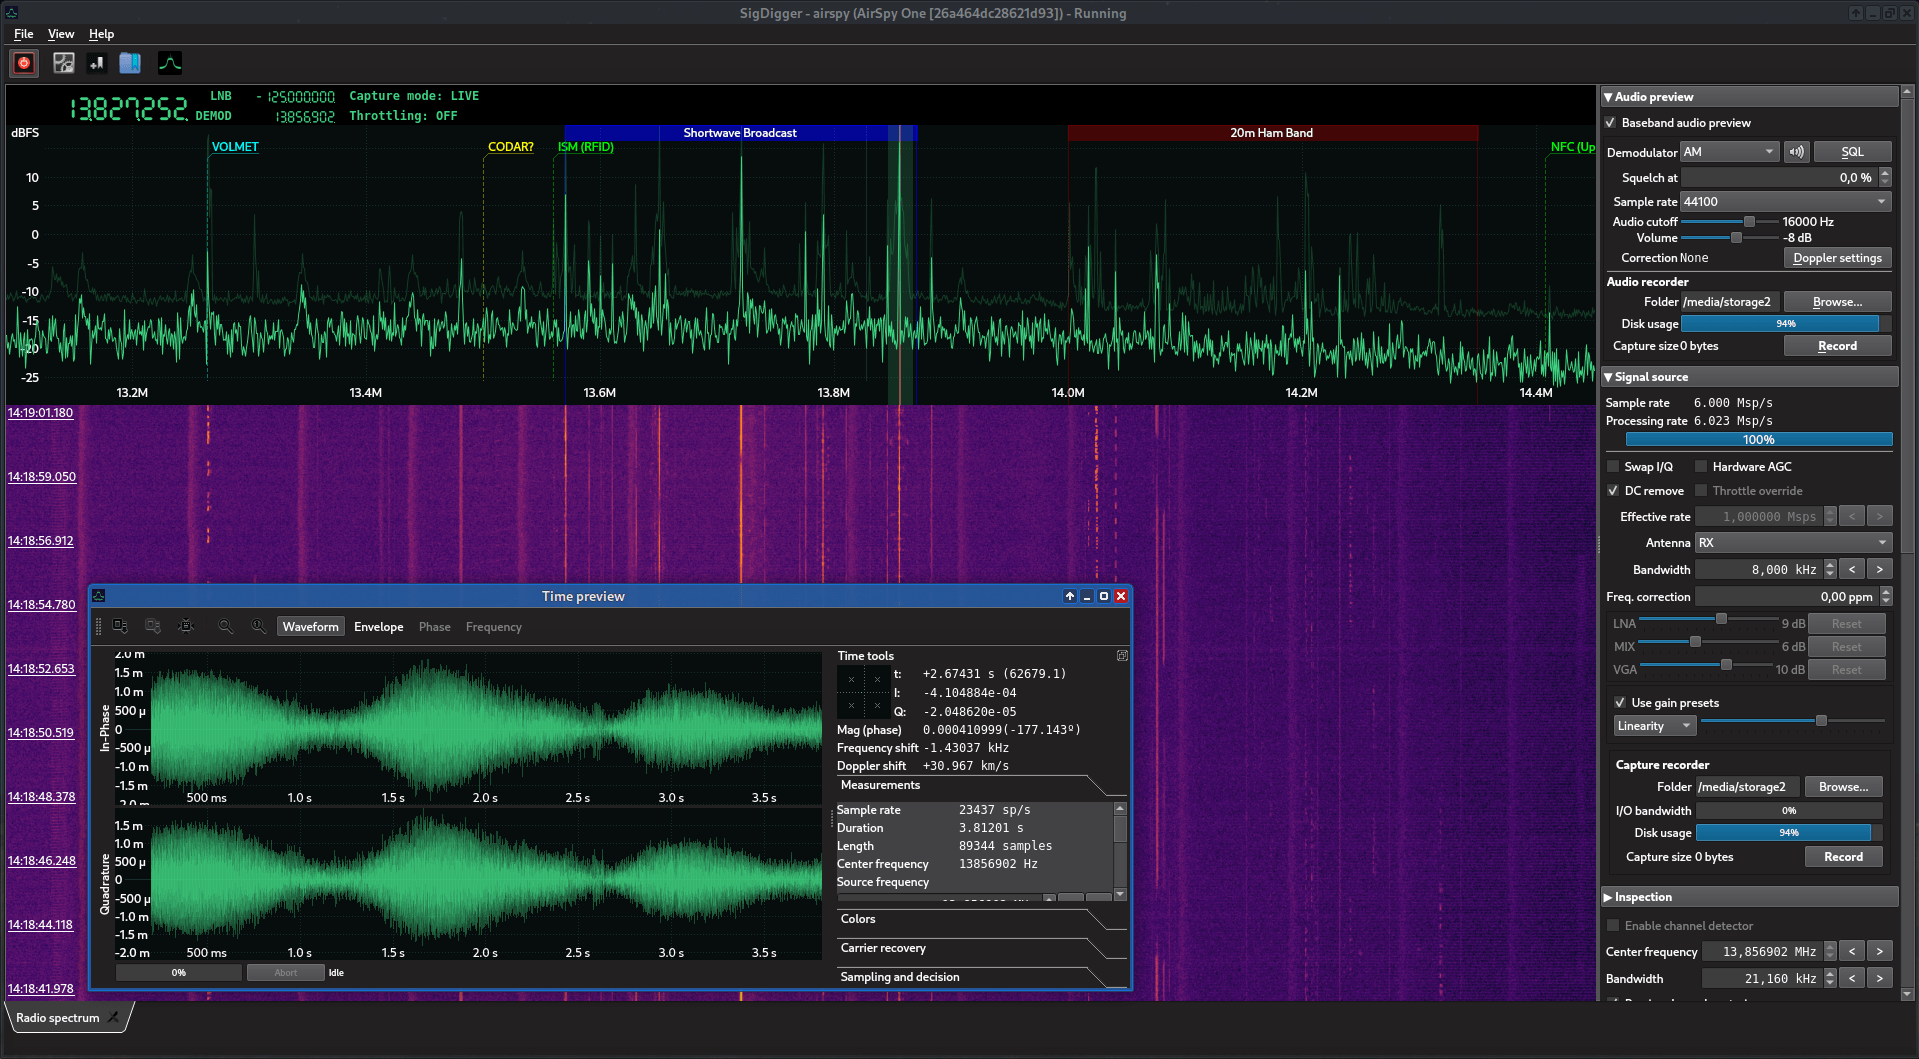
For debugging I used SigDigger
dump1090-mutability --aggressive --interactive --net --net-http-port 8080 --net-sbs-port 30003

git clone https://github.com/Zanoroy/multimon-ng.git
 cd multimon-ng/
 mkdir build
 cd build
 cmake ..
 make
rtl_fm -f 169.65M -M fm -s 22050 -p 83 -g 30 | ./multimon-ng -a FLEX -t raw /dev/stdin

dump1090-fa --interactive
Little Sunday afternoon project.
Two PHP scripts.
Install on your webserver (see previous post)
Resizes images and removes the onkyo header.
(See previous posts)
<?php
// onkyo.php
// write jpeg header
header('Content-type: image/jpg');

$lines = file_get_contents('http://IP-ONKYO-AMPLIFIER/album_art.cgi', false);
$lines = explode("\n", $lines);
// remove weird Onkyo header (3 lines)
$content = implode("\n", array_slice($lines, 3));
print $content;
?>
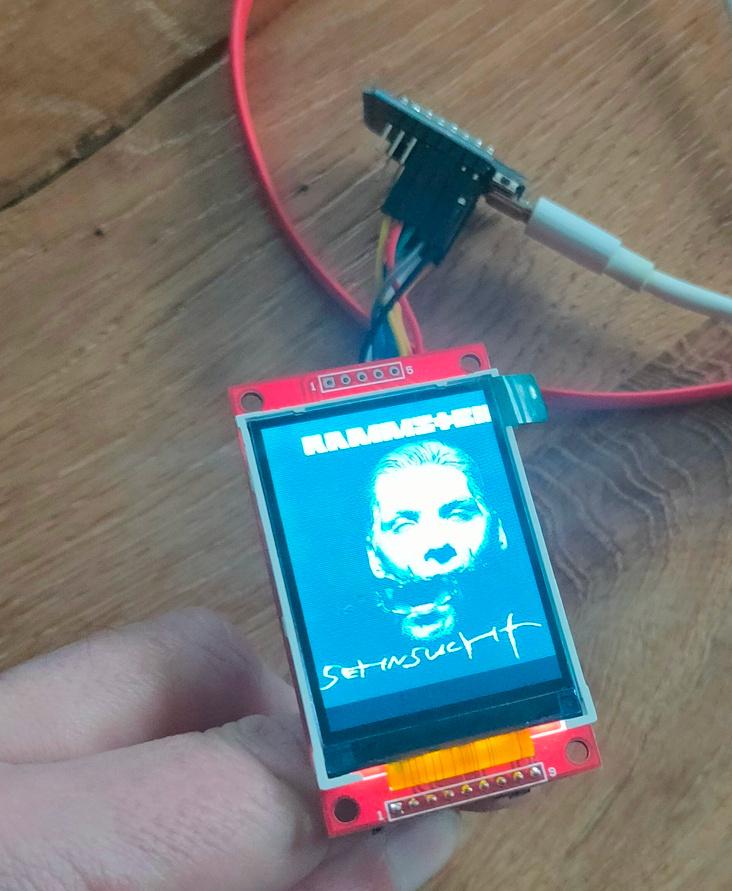
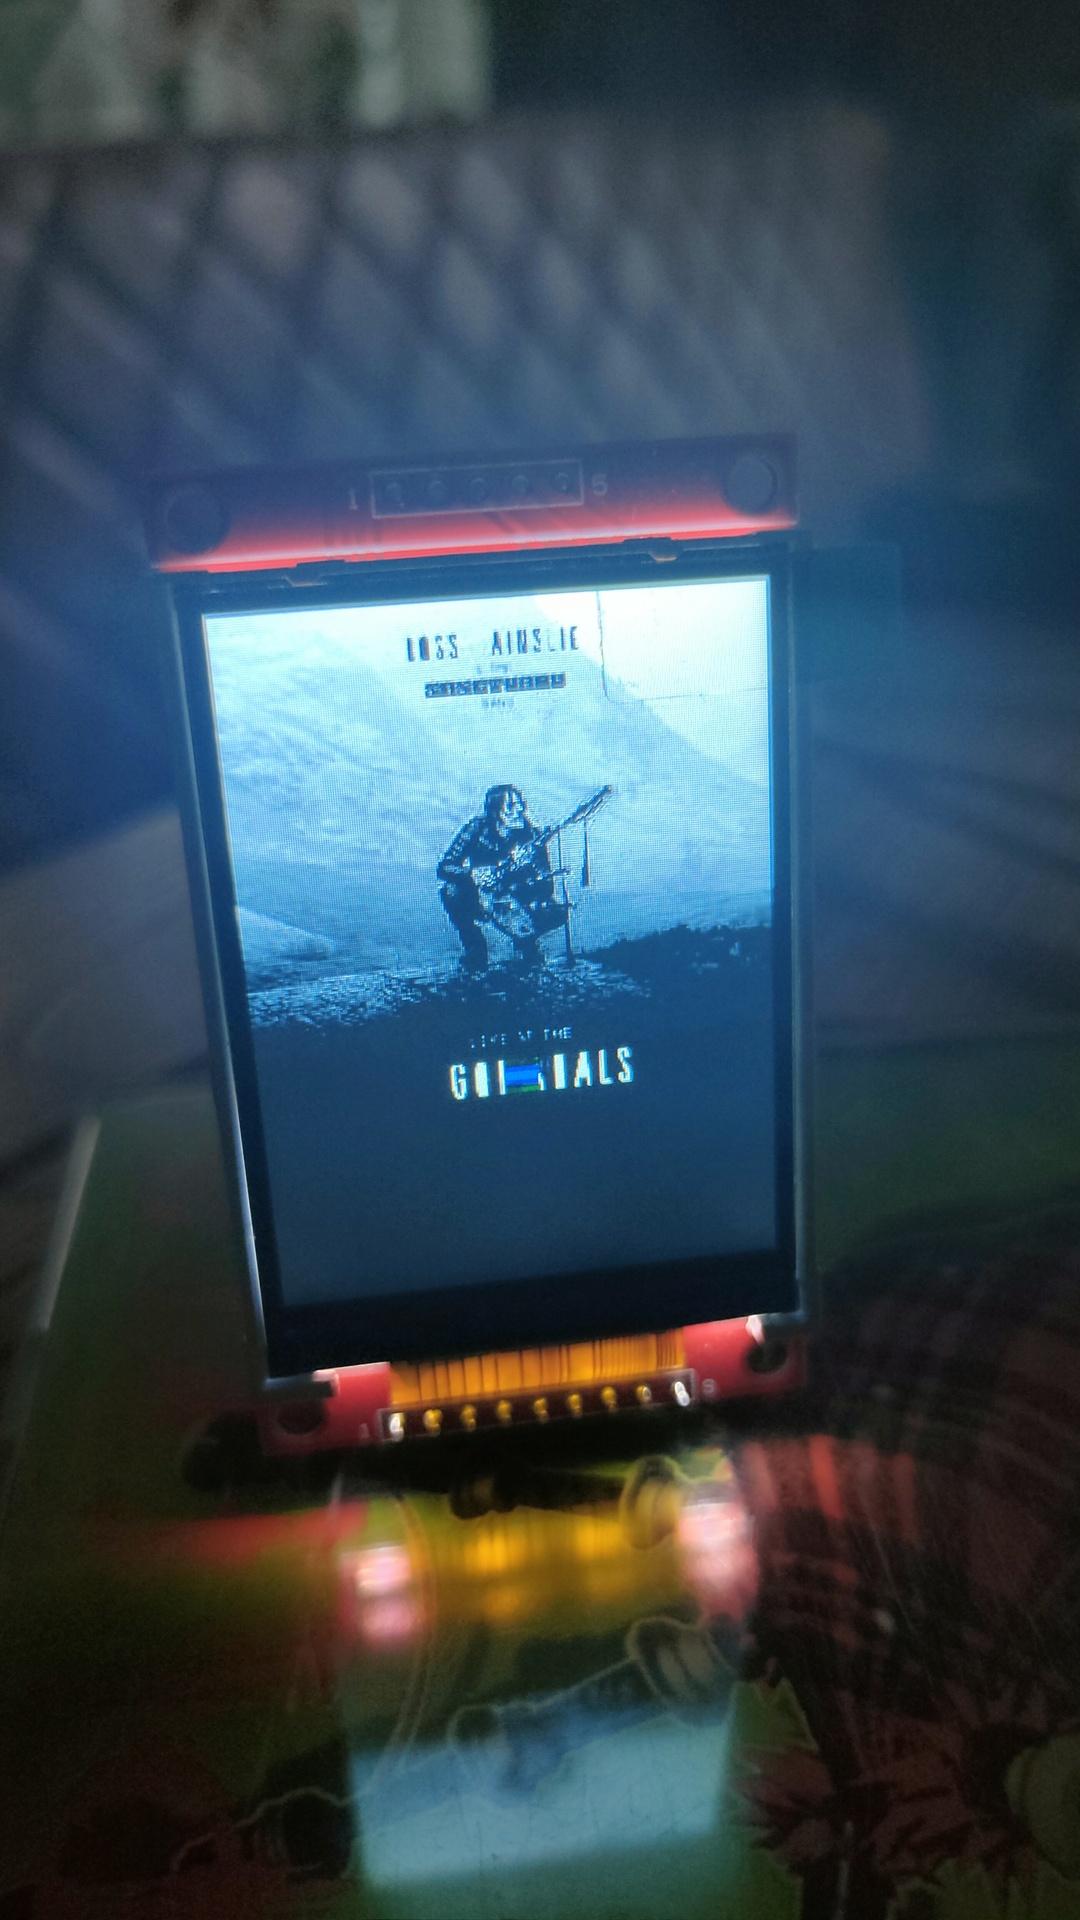
CoverArt from a squeezeboxserver
<?php
// squeezebox.php
// leave playerid as is, for the default.
// change to MAC address of player to get coverart specific player
$img = file_get_contents('http://IP-LOGITECH_MEDIA_SERVER:9000/music/current/cover.jpg?player=<playerid>');
$im = imagecreatefromstring($img);
$width = imagesx($im);
$height = imagesy($im);
$newwidth = '240';
$newheight = '240';
$thumb = imagecreatetruecolor($newwidth, $newheight);
imagecopyresized($thumb, $im, 0, 0, 0, 0, $newwidth, $newheight, $width, $height);
//imagejpeg($thumb,'small.jpg'); //save image as jpg
header('Content-Type: image/jpeg');
imagejpeg($thumb);
imagedestroy($thumb);
imagedestroy($im);
?>
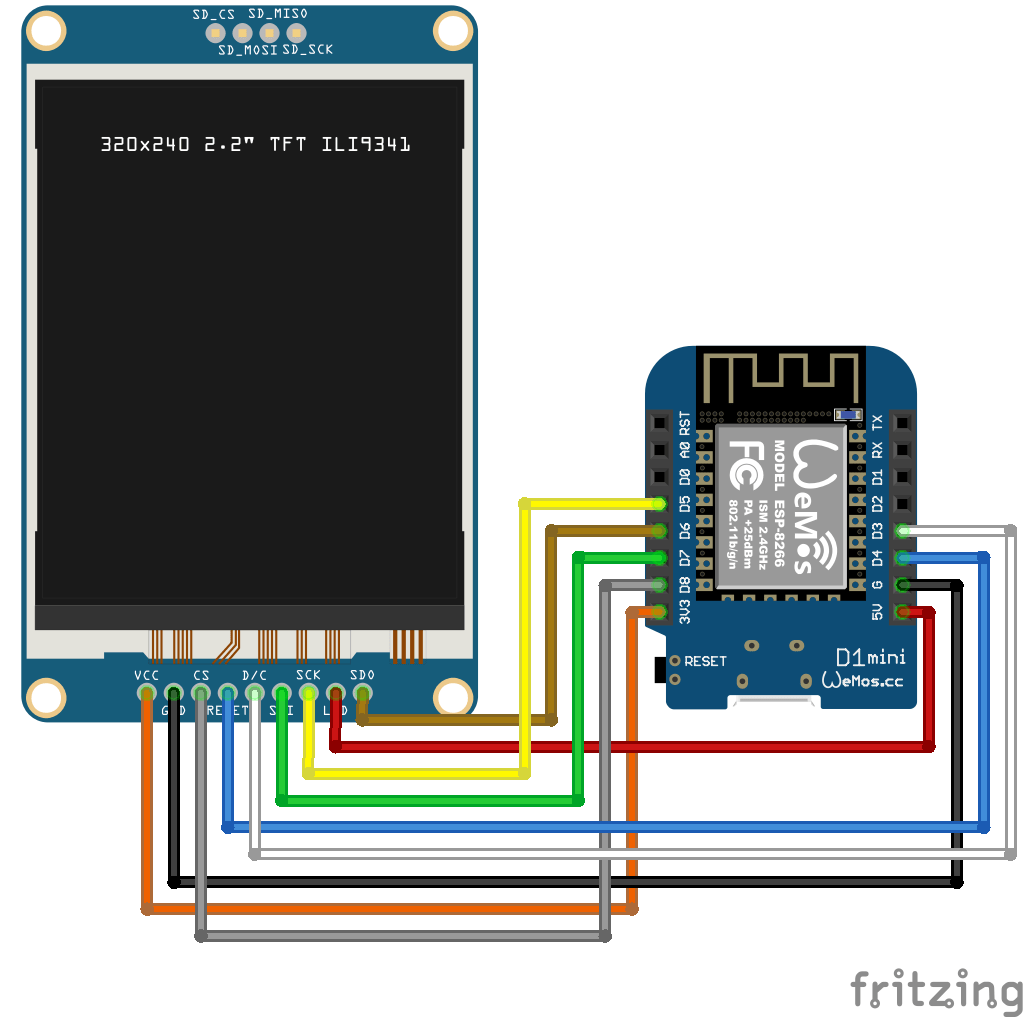
Arduino install:
Start IDE
Install TJpg_Decoder library
Open examples>Tjpeg_decoder>SPIFFS>SPIFFS_web_spiffs
change wifi credentials
and the url to your php script.
  bool loaded_ok = getFile("https://myserver/onkyo.php", "/M81.jpg"); // Note name preceded with "/"

replace bottom part with

 // while(1) yield();
 delay(5000);
     SPIFFS.remove("/M81.jpg");
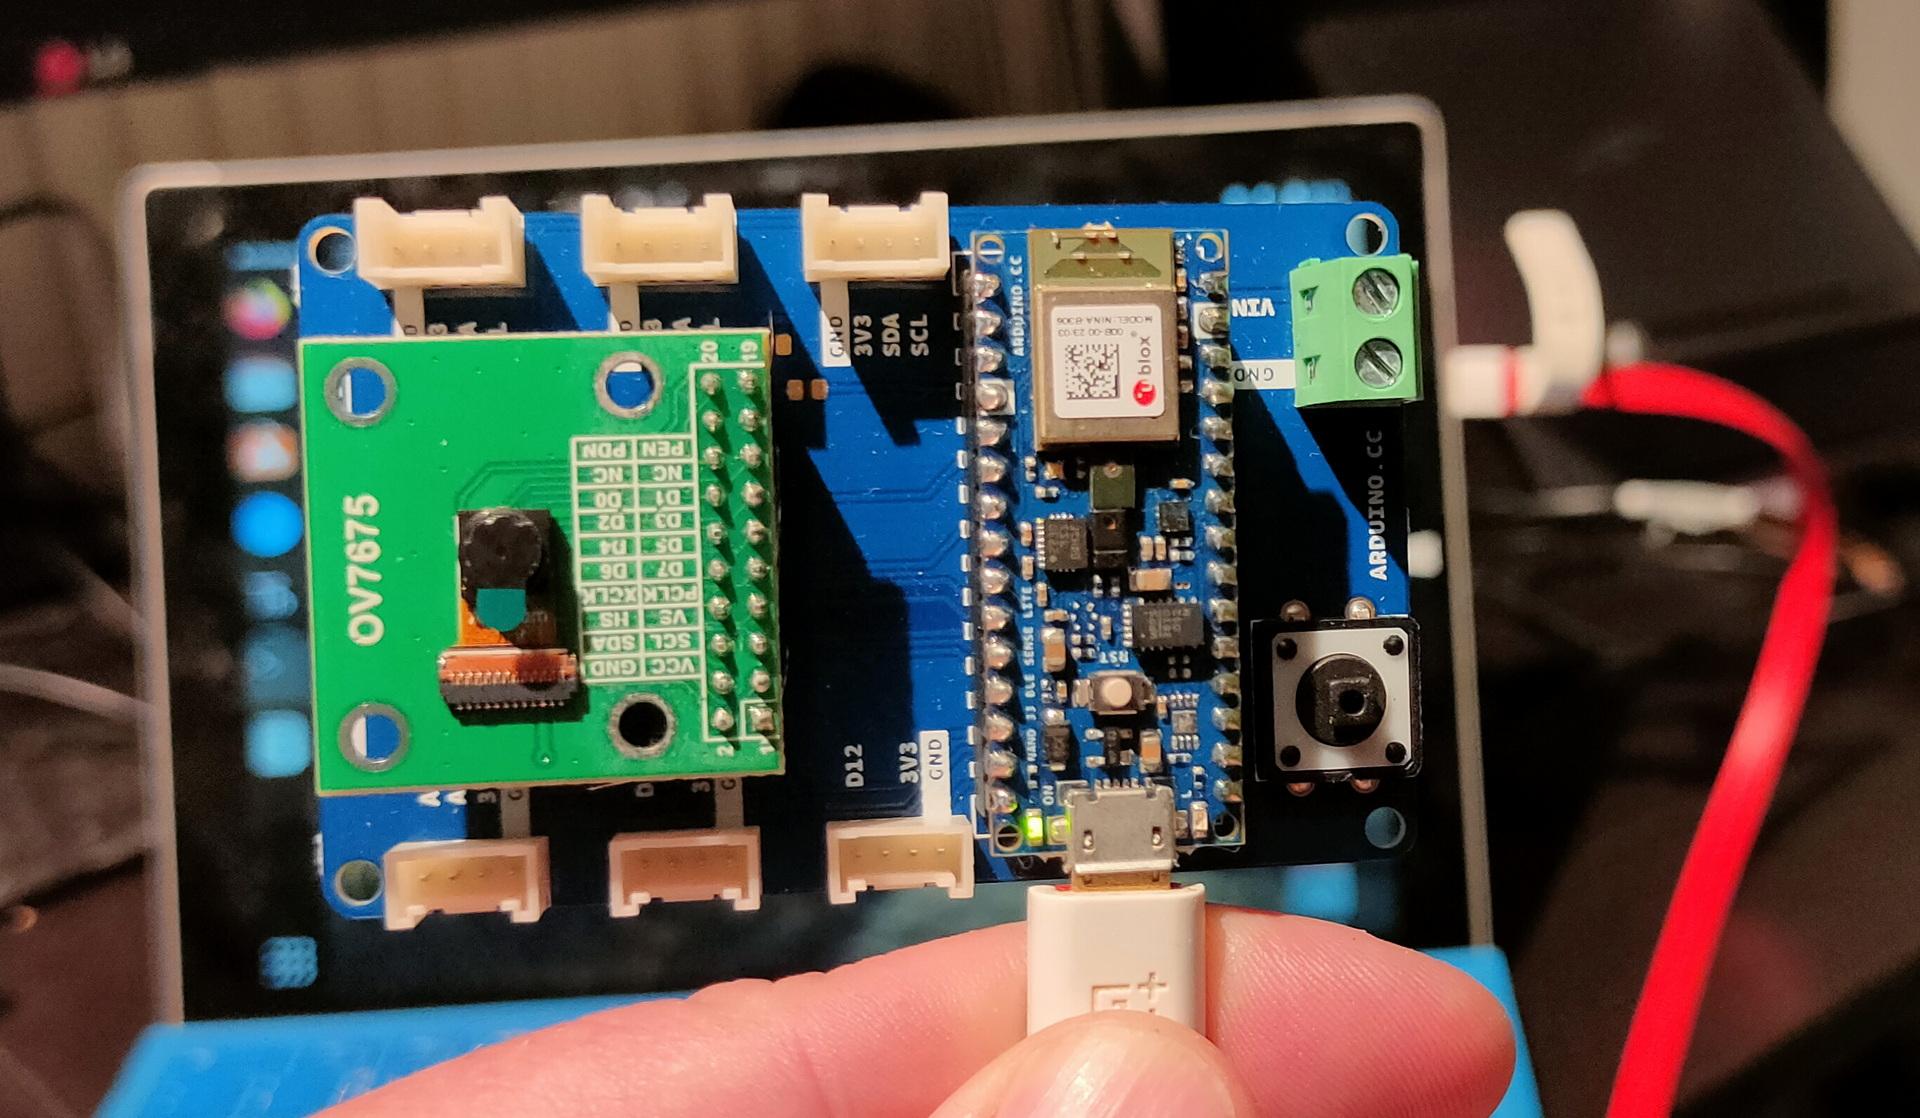
A while ago I bought a little machine learning kit.
I’ve been reading at listening to ML podcasts and websites.
One on Spotify I liked was:

Also, the following Coursera was interesting
https://www.coursera.org/learn/machine-learning

I’ve been testing using Python on my Laptop.
(see other posts)
And a camera with esp32 using face detection.
See here multiple posts about these experiments.
https://www.henriaanstoot.nl/tag/machinelearning/
Today the first experiments using this kit.
I just started and will update this page, with other experiments.
Note: displaying Arduino output without installing the IDE
stty -F /dev/ttyACM0 raw 9600
cat /dev/ttyACM0
................................
................................
................................
................................
................................
................................
................................
................................
................................
................####............
...............##..#............
..............##...##...........
..............#.....#...........
..............###...#...........
..............##.....#..........
..............##.....#..........
...............#....##..........
...............######...........
................................
................................
................................
................................In previous post I was talking about an esp32 with display for demo’s.
But my friend Erik mentioned a cheap LCD matrix from Ali.
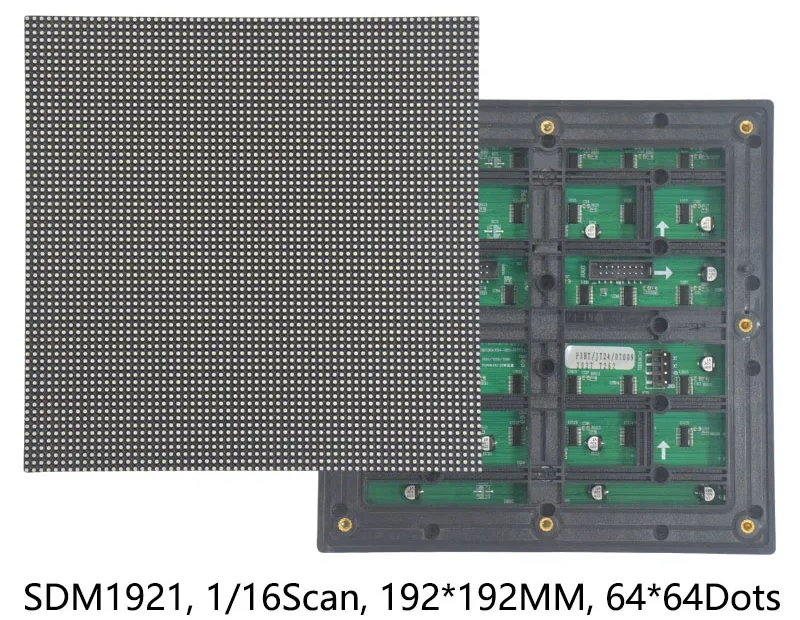
What about creating something cool with that!
My Maze project would look amazing on this!
I can draw walls now!
Or I could make a cool audio visualiser, like the posted WLED version
Ehh .. not posted (well I can’t post everything)
What about a game of life display?
Using a web interface for inputting the start situation of the cells
Conway’s Game of Life is a cellular automaton. It consists of a grid of cells, each of which can be alive or dead. The state of each cell evolves based on simple rules: any live cell with fewer than two live neighbours dies (underpopulation), any live cell with two or three live neighbours survives, and any live cell with more than three live neighbours dies (overpopulation). Additionally, any dead cell with exactly three live neighbours becomes alive (reproduction). This simple set of rules can lead to complex patterns and behaviours.
But back to the demo …
What about a 6502 with 64×64 pixel display!
What would be needed?
Using some libraries and a framework setup, maybe there is a way to make a cool and cheap demo machine
Do you have any suggestions ideas?
Comment or email me!
Quick mash-up as proof of concept.
400 frames
Let measure the level of beer in a metal tank .. 🙂
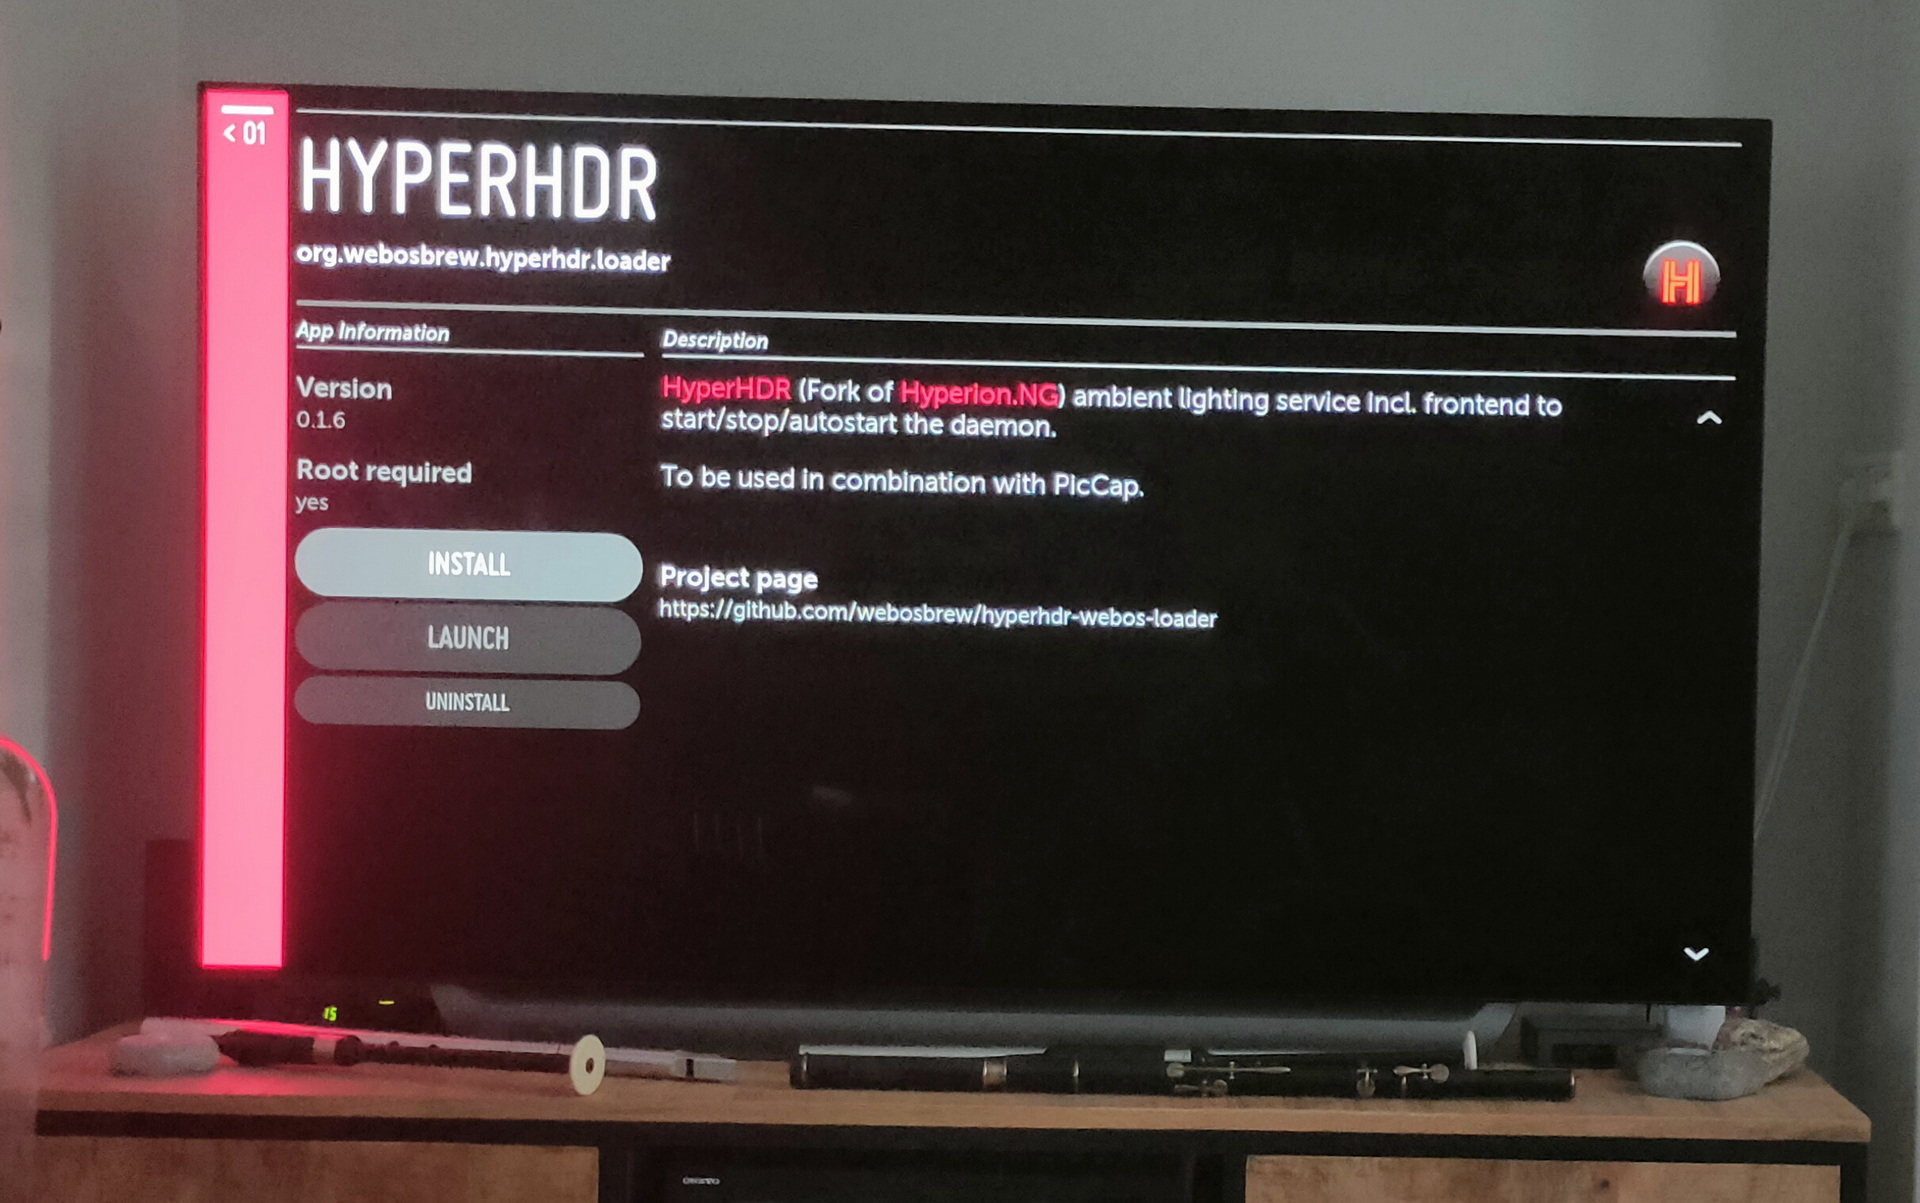
Besides sending notifications and controlling my tv using bash, Nodered and HomeAssistant, i wanted to look at developing and homebrew for WebOS.
Goto the WebOS Dev website and register.
Install Developer App on your TV.
Login and write down your access information.
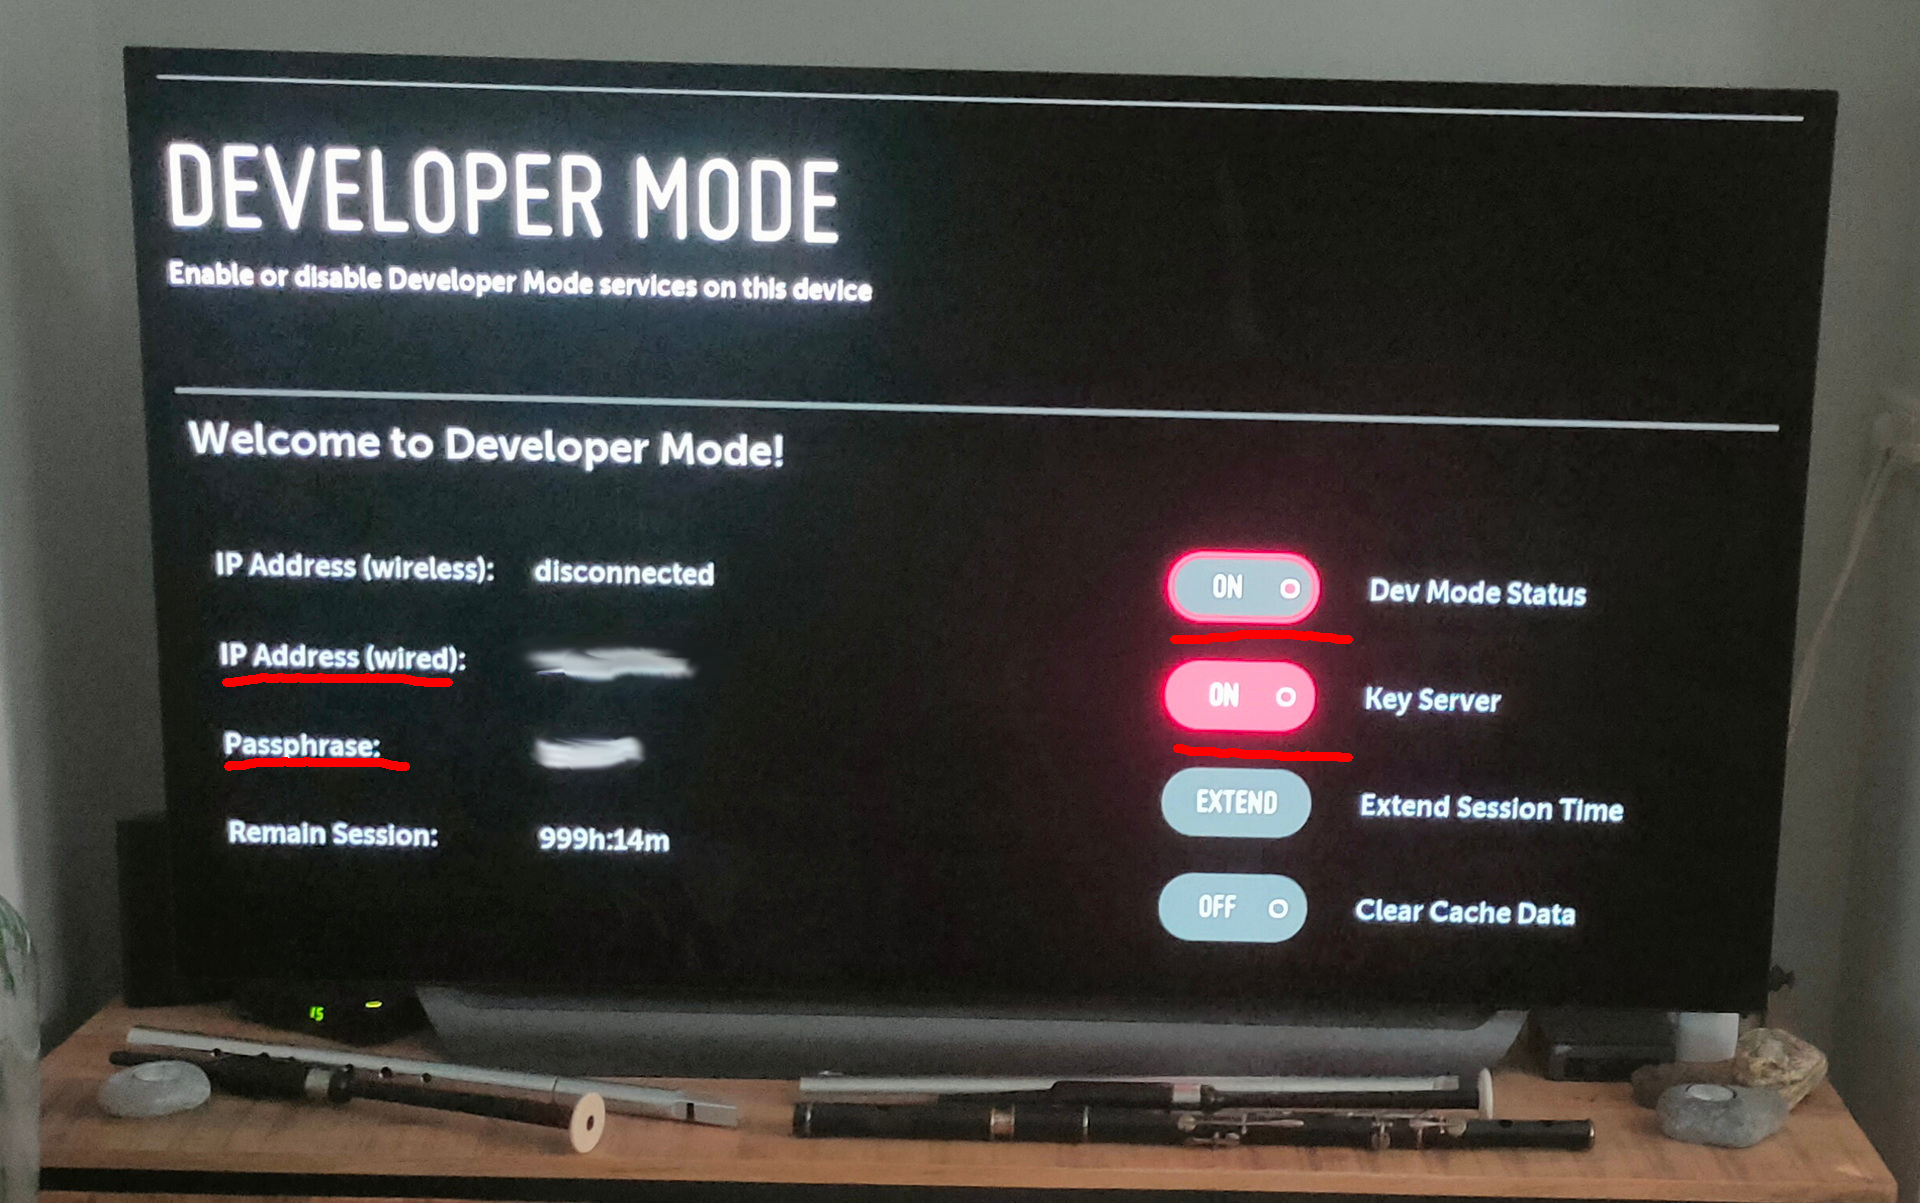
Below how to access you tv using ssh
wget http://IP_FROM_YOUR_TV:9991/webos_rsa
mv webos_rsa .ssh/
chmod 600 .ssh/webos_rsa
ssh -i .ssh/webos_rsa prisoner@10.1.0.14 -p9922 -T
       Enter passphrase for key '.ssh/webos_rsa':
Enter the key mentioned on the Developer App Screen on your TV

Note the -T .. this disables pseudo terminals,
You won't see a prompt, but commands work

You can remove passphrases on ssh keys using below
ssh-keygen -p -f .ssh/webos_rsa
Enter old passphrase:
Enter new passphrase (empty for no passphrase):
Enter same passphrase again:
Your identification has been saved with the new passphrase.
Download WebOS manager from here:
https://github.com/webosbrew/dev-manager-desktop/releases/tag/v1.11.18
Install and use same ip/access key info to install homebrew
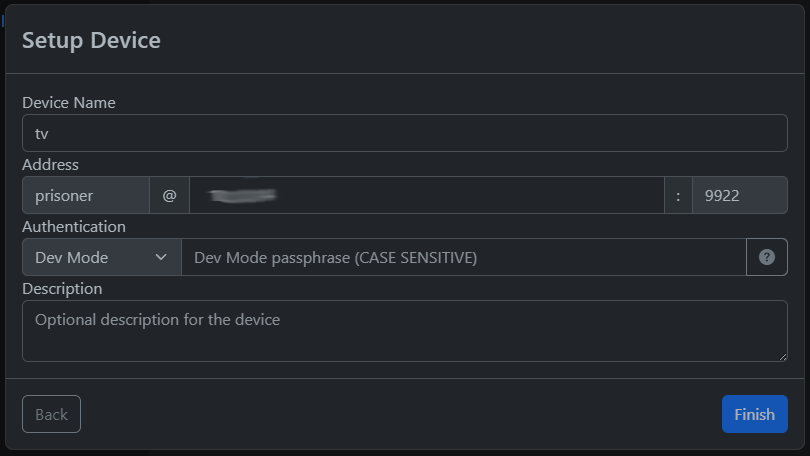
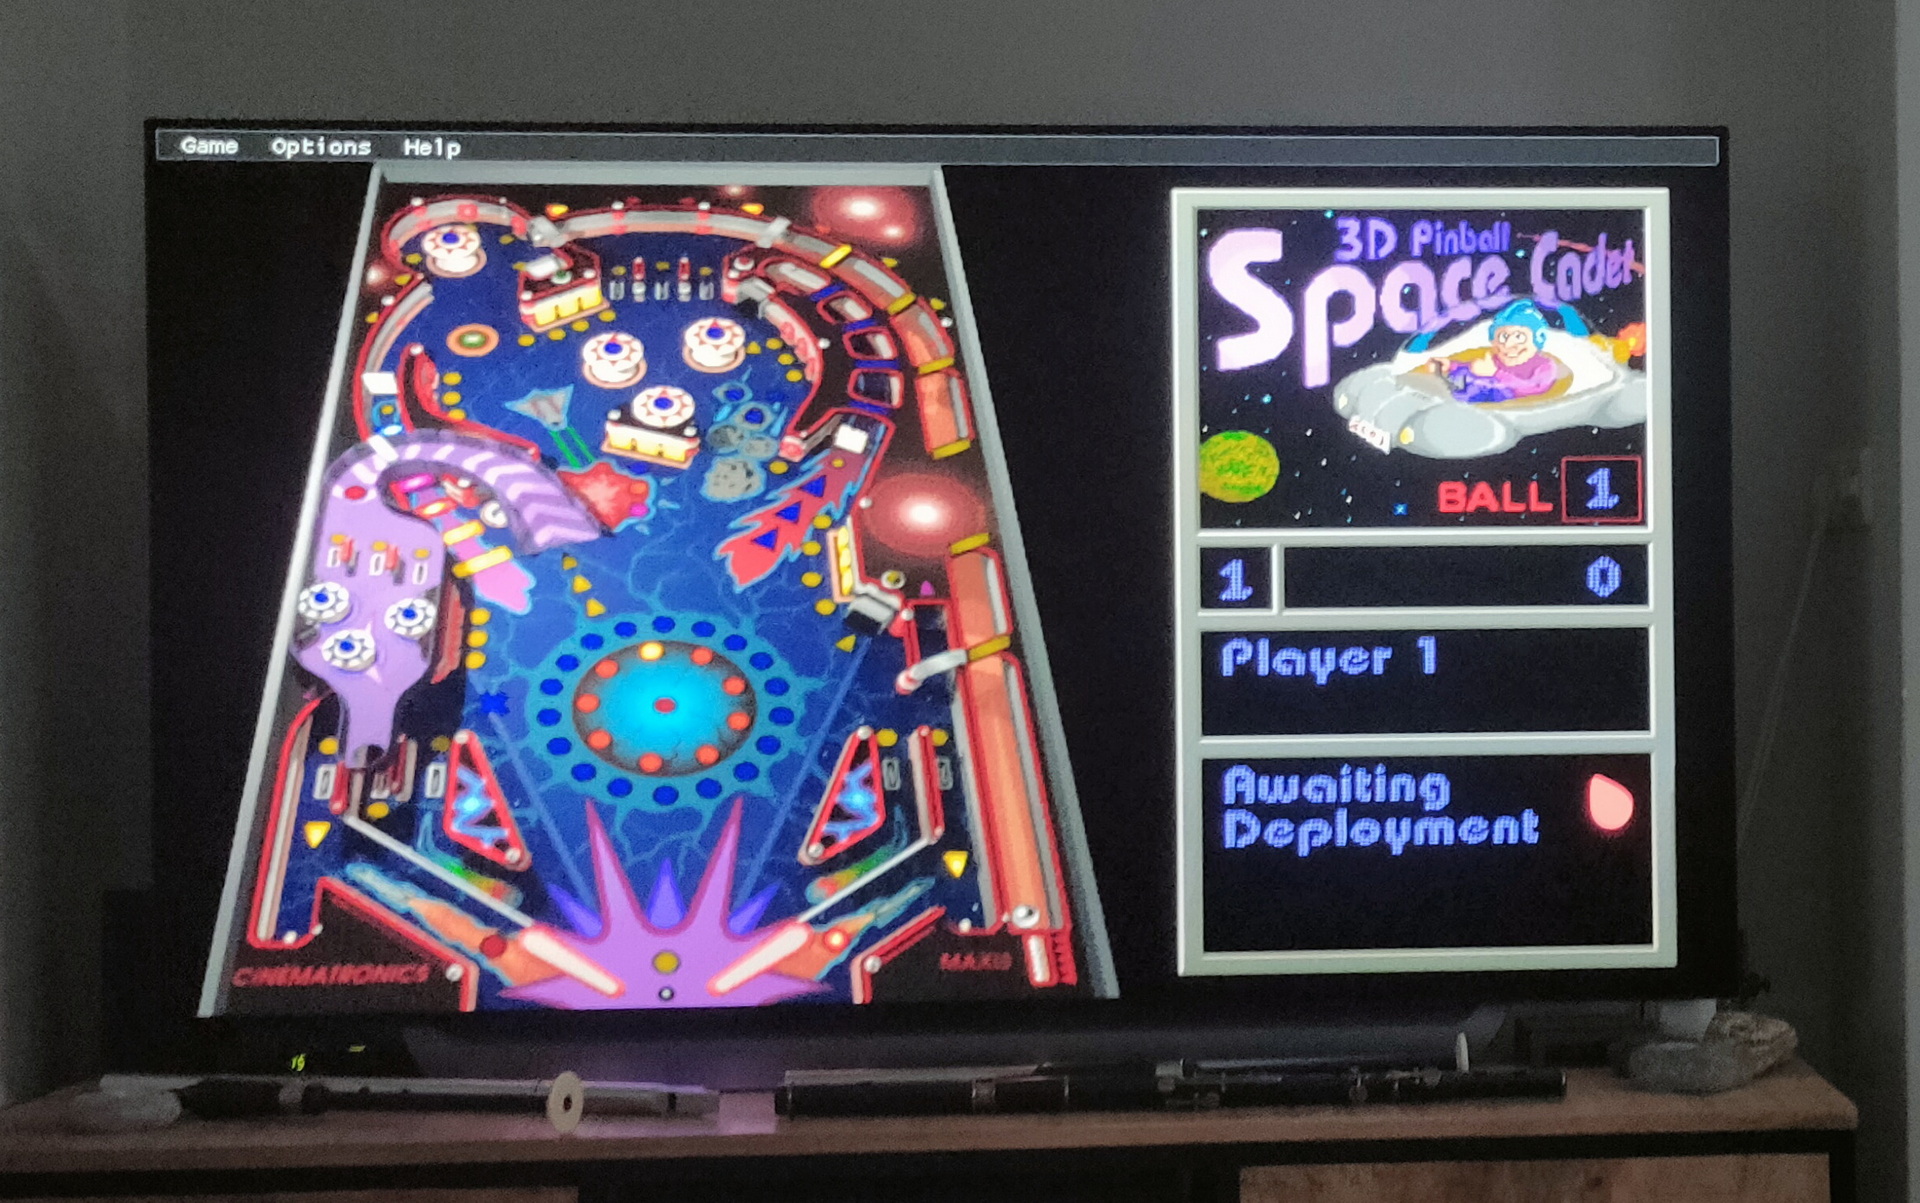
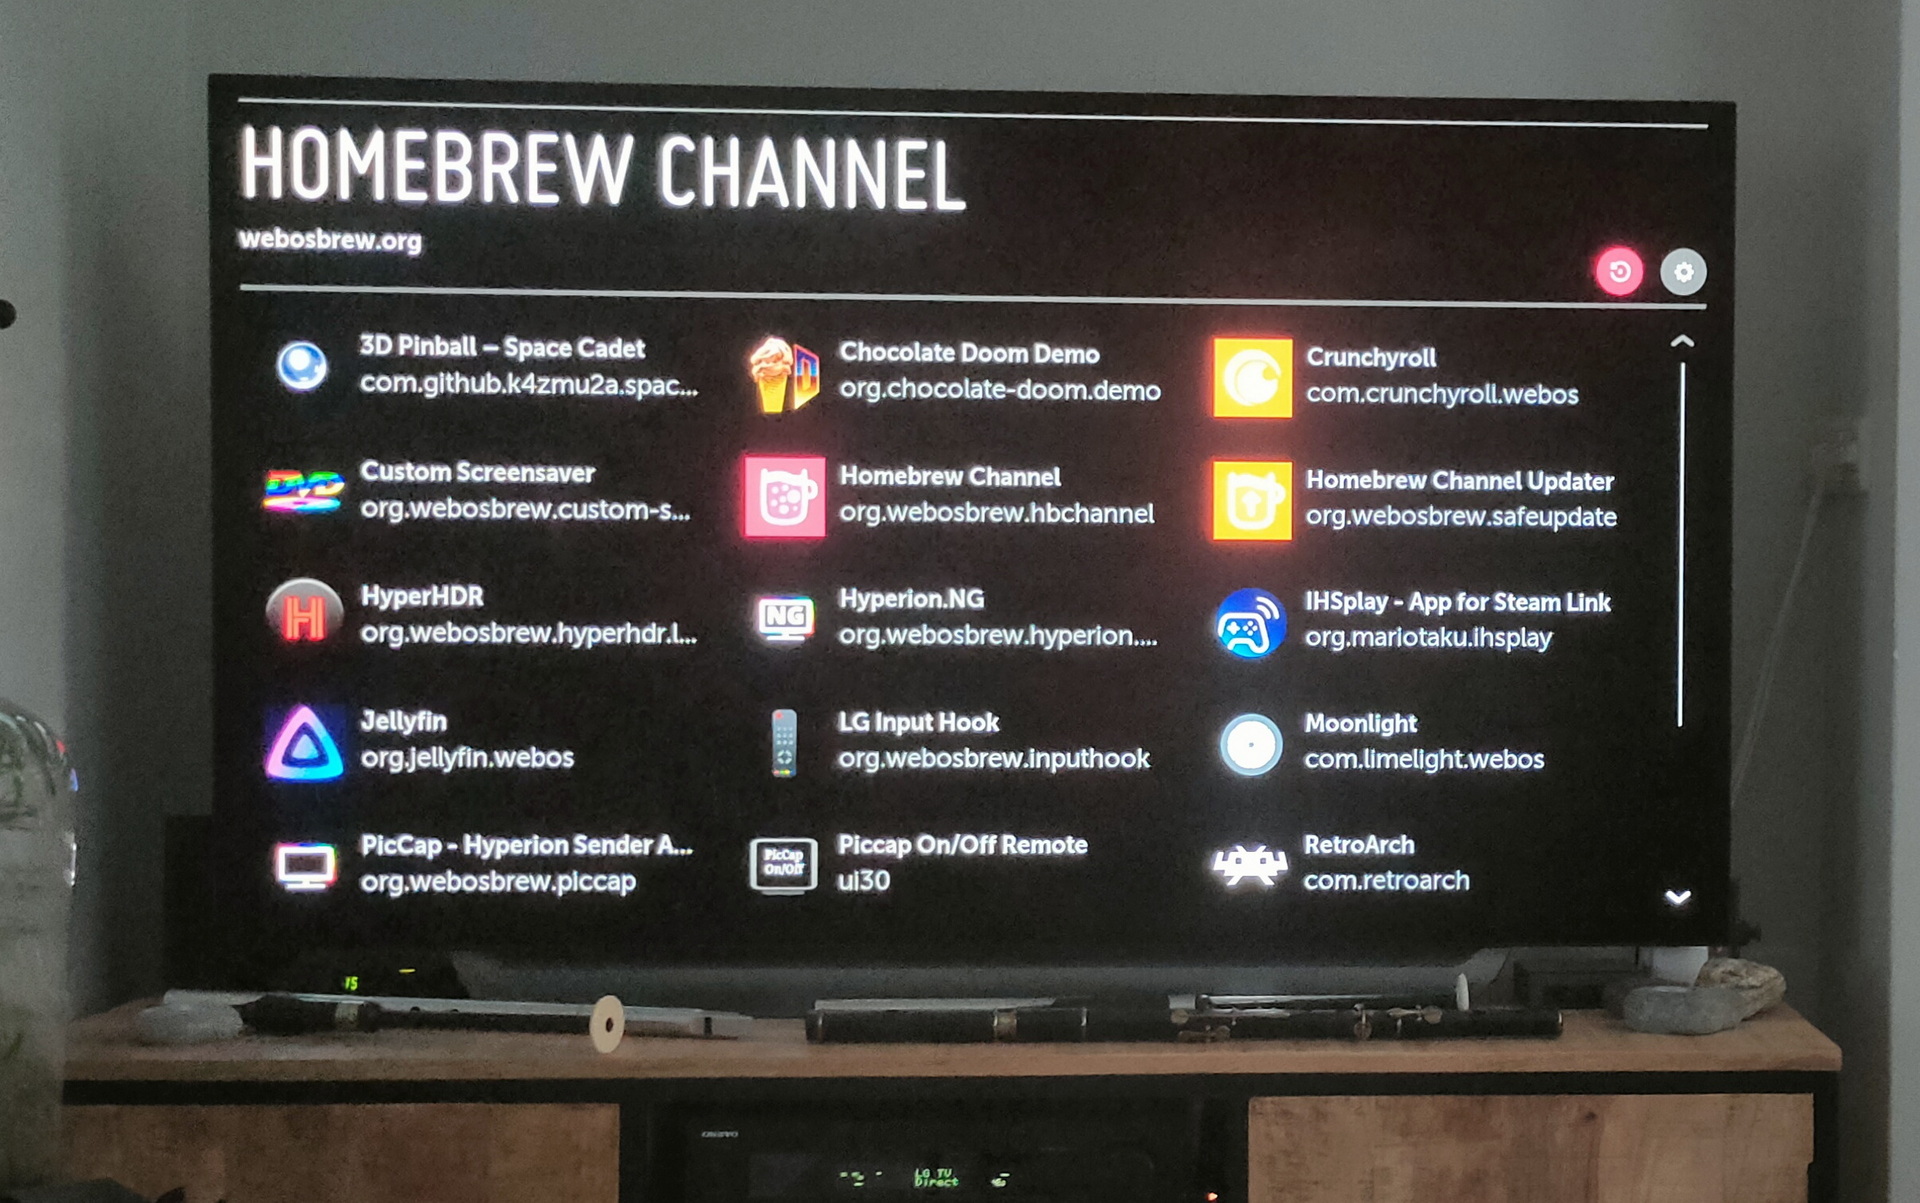
After that you can install homebrew apps using the App on your TV or via above dev-manager.
Also nice .. A ad-free version of Youtube!
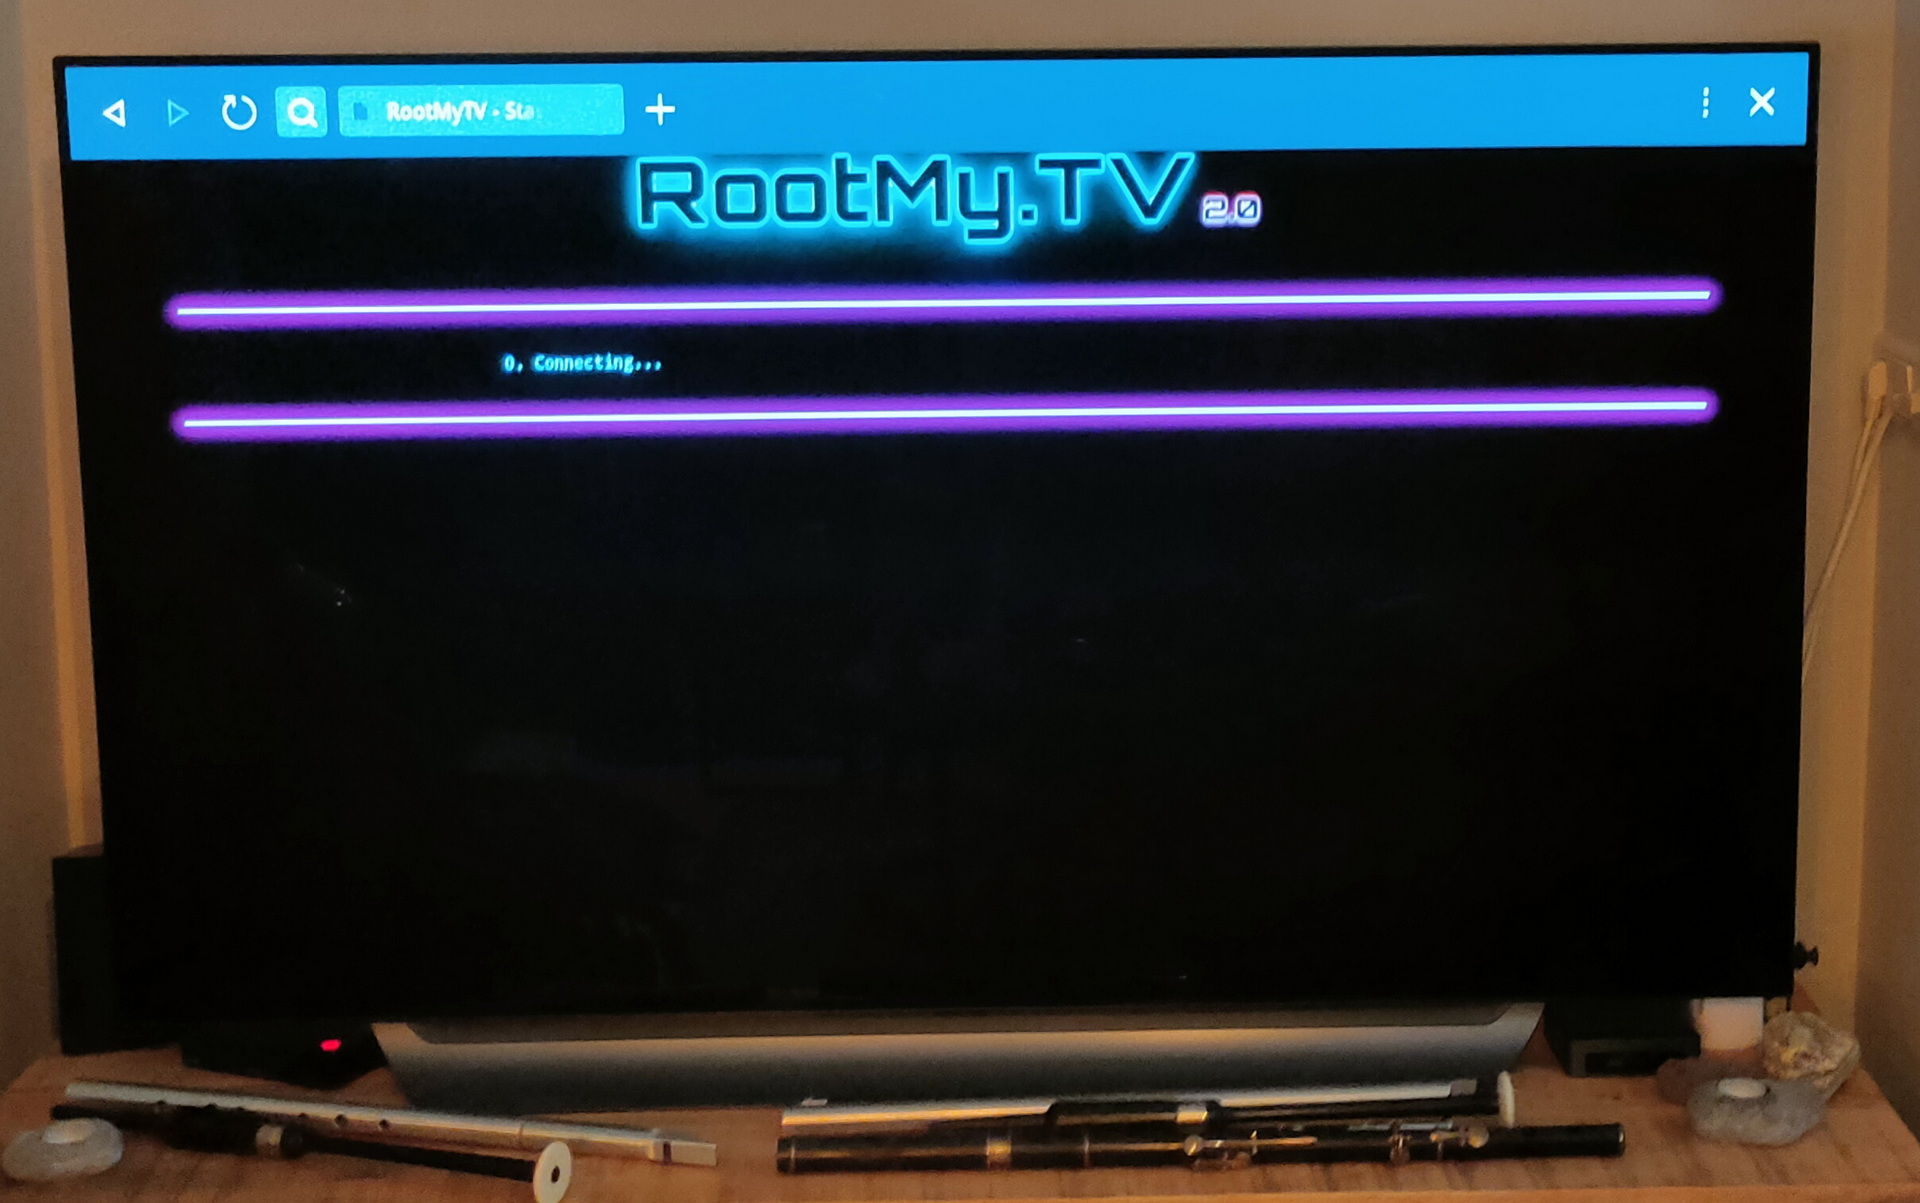
By the way, I tried rootmy.tv .. but that didn’t work for me.
My TV was already patched for that exploit
This is NOT a post about the pi-hole project. Of which I apparantly never posted my setup.
I needed an extra PI for a project, and I always try to keep one spare.
But they are always gone, in use, missing .. whatever.
So I can´t work on this project right now, so lets rant about disappearing stuff
Like they are being sucked up in another dimension .. gone. WHERE ARE THEY?!?
How to keep track of them?
Any suggestions?
I used to have a sheet, but I often forget to keep track.
Do I use a MAC address scan on my switches?
First 3 parts of the Mac address are vendor specific.
So far i’ve found : Octopi, Beerbrew computer, Retro Arcade, Picore, Nodered, Domoticz 433toMqtt, Ledserver, Lasercutter-etch-a-sketch, mobile LMS music server, Pressure Lab AP, Escape Game AP (3 of them), one unused Raspberry zero (without Wifi), One at my old work, one broke, Kodi+Netflix,Ansible project, found another one .. Jumanji/Dashticz/NoderedDashboard demo (with screen)
WHERE THE F are the rest of them?
(Sdcards with temporary projects on them 29, I need to combine project on those cards. I’ve got a 64Gb card holding a Rpi OS and only a 1K python script!)
And Arduino’s are even worse … they are all over the place.
Those are probably 100+
(ESP32, 8266, Nano’s, Mega, M5Stack and alikes)
I know i have many temporary projects, but I keep most things organized in my projects containers.
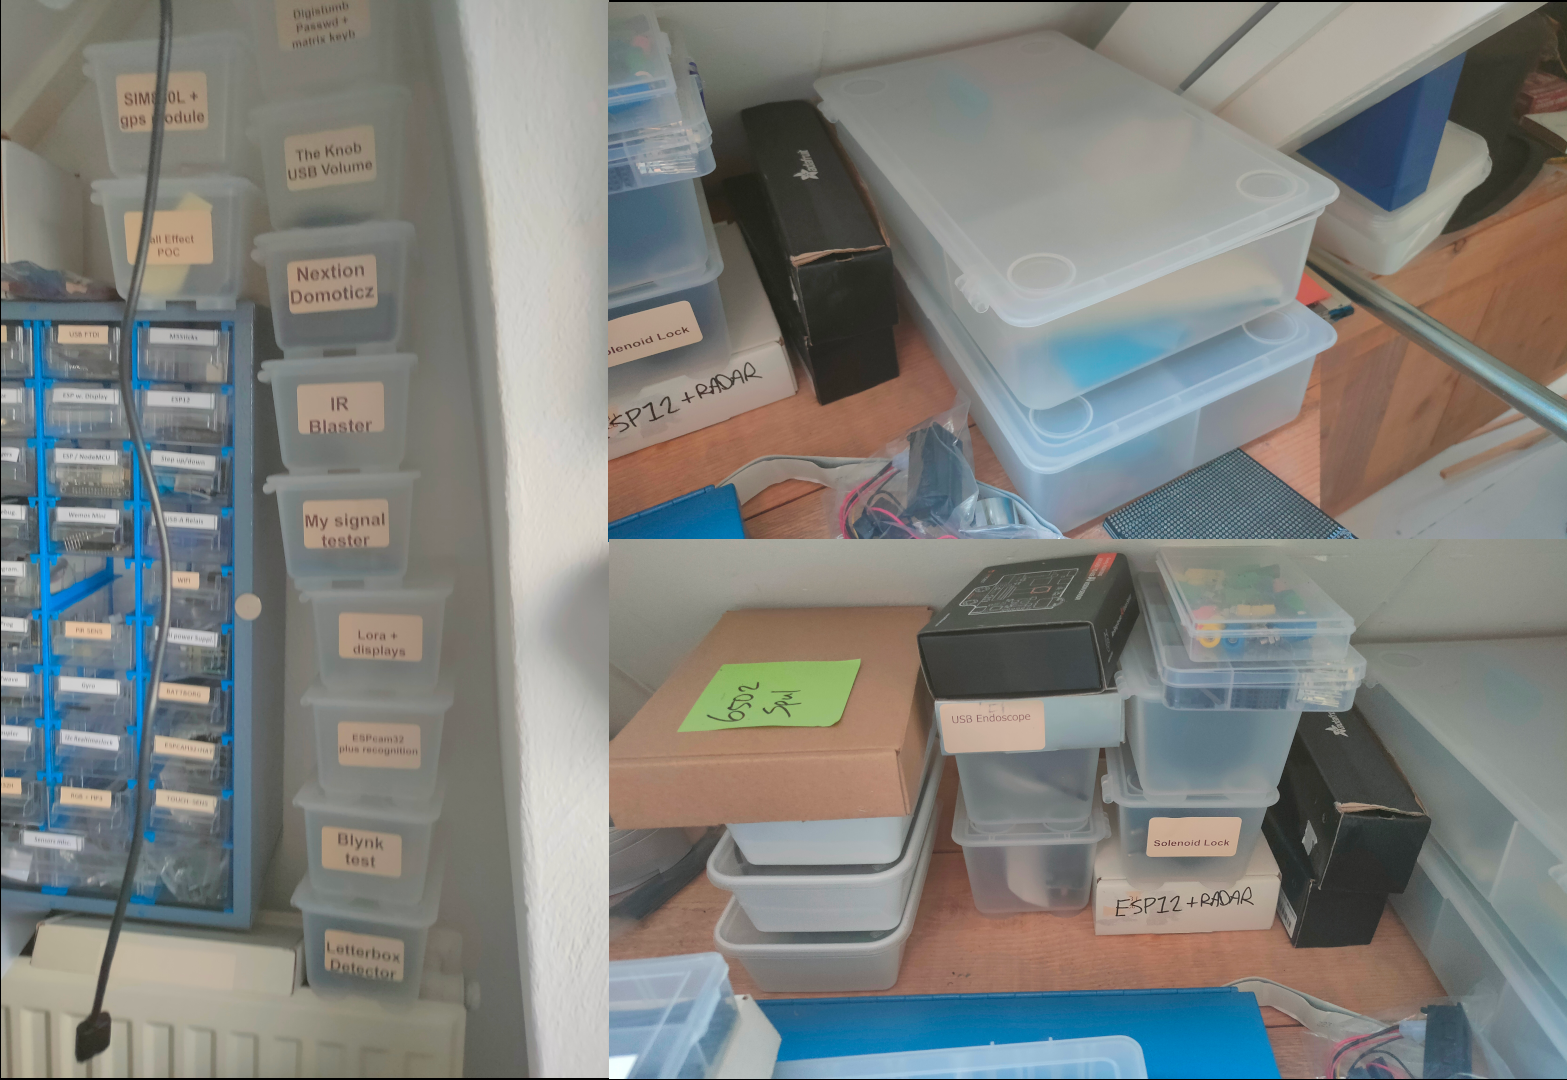
One of the rows with Ikea containers, a few for bigger projects and now i’m using the plastic boxes you get when you order chinese or thai.
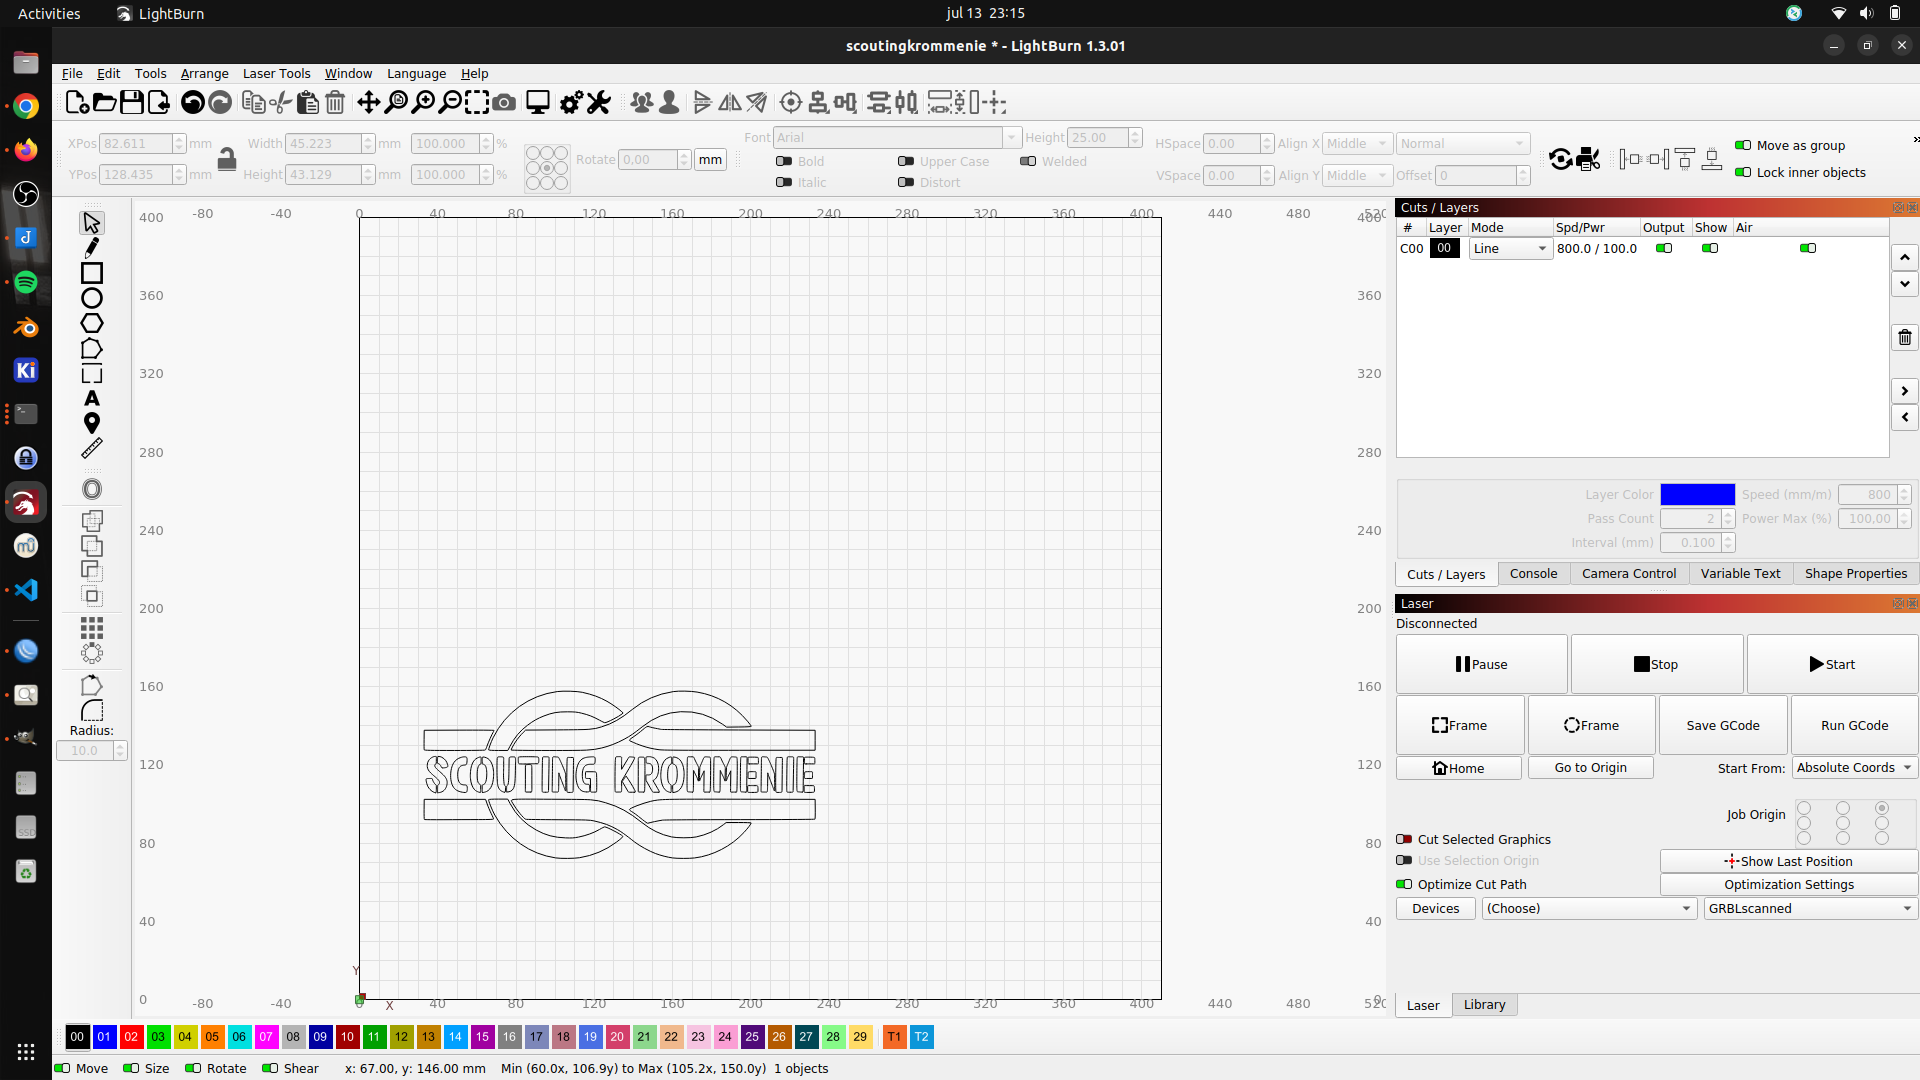
My good friend Vincent wanted to have a stencil to mark property.
Open in inkscape and use trace bitmap.
Check the movie for settings. (Re-did the process using other text)
Saved as svg (vector), and used LightBurn to lasercut this into wood.
Below a cardboard preview.
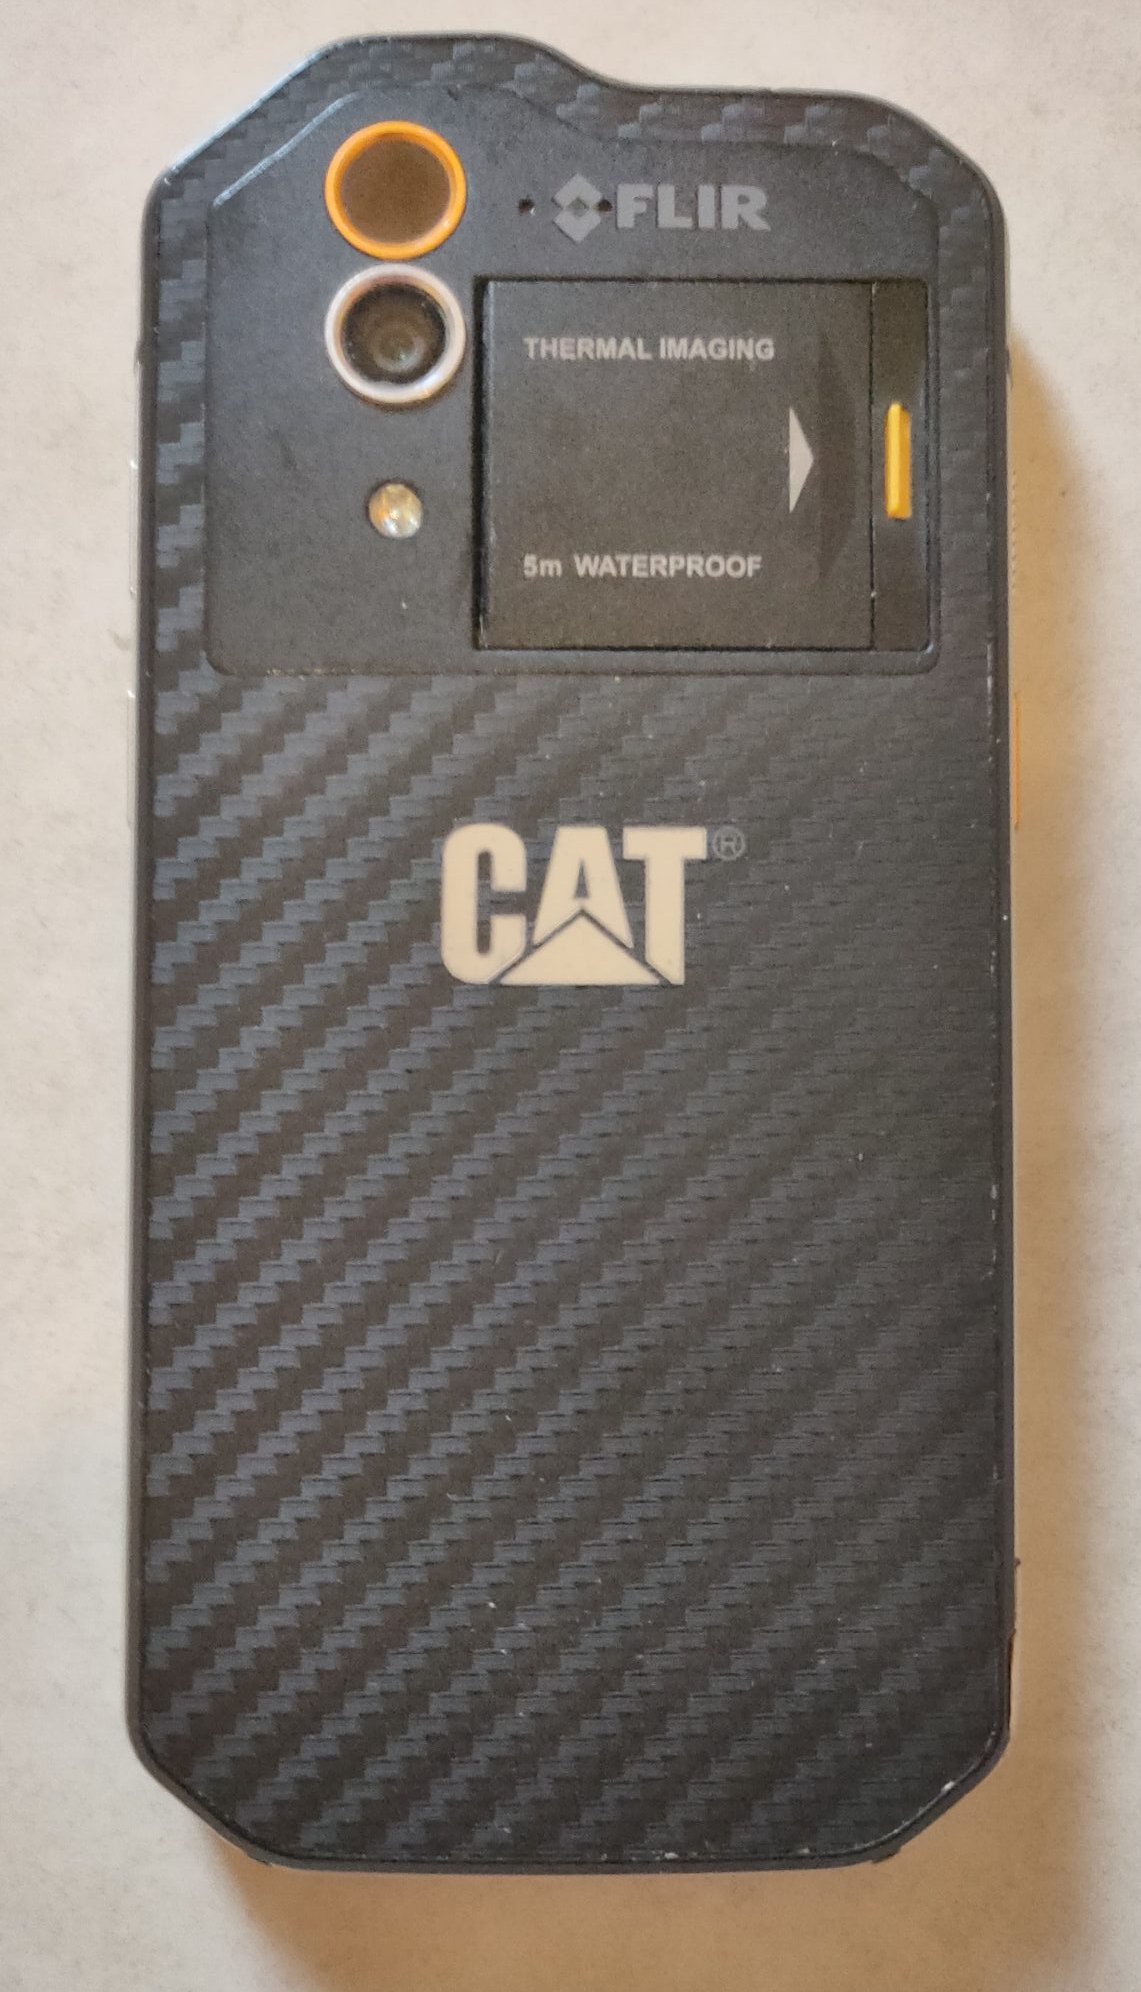
When I fix old hardware I often use a flir camera.
My brother gave me his CAT S60 mobile phone. Which has a flir camera, he used it when he was a voluntary fireman.
Forward-looking infrared (FLIR) cameras, typically used on military and civilian aircraft, use a thermographic camera that senses infrared radiation
Soo .. when testing hardware. I do the following.
Now it gets interesting. Sometimes nothing happens. Sometimes the machine runs like it suppose to do.
But old hardware can be faulty or connections are bad. IC’s run hot and they stop working. ( Untill they are cooled enough or they stop forever 🙁 )
So I start monitoring the temperature when I boot the machine. Sometimes components heat up very fast. I use my finger and the flir camera.
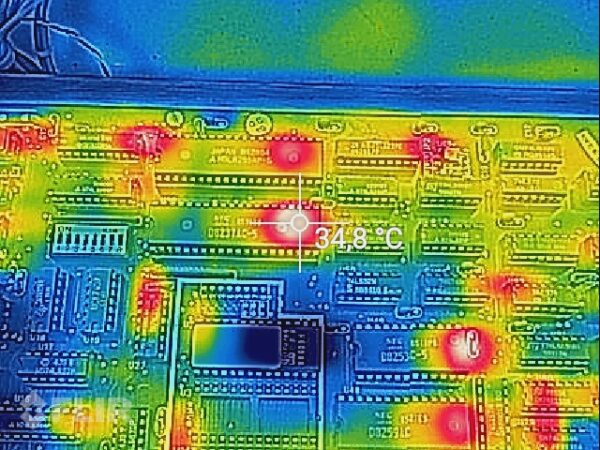
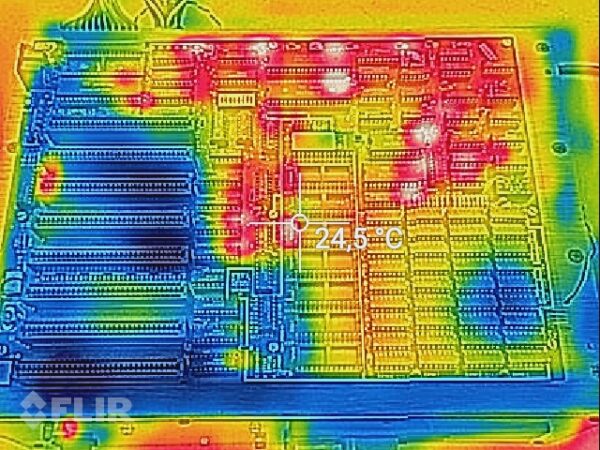
These are pictures from my 8088. Nothing runs hot