I love to bbq outside, winter, snow/rain whatever.
There is no excuse. There are periods where i use a bbq like 3-4 times per week.
Sometimes just to get a nice smokey hamburger.
I’ve written this post because sometimes i see (or smell) some rookie mistakes. (Wrong type of smoke, using accelerants)
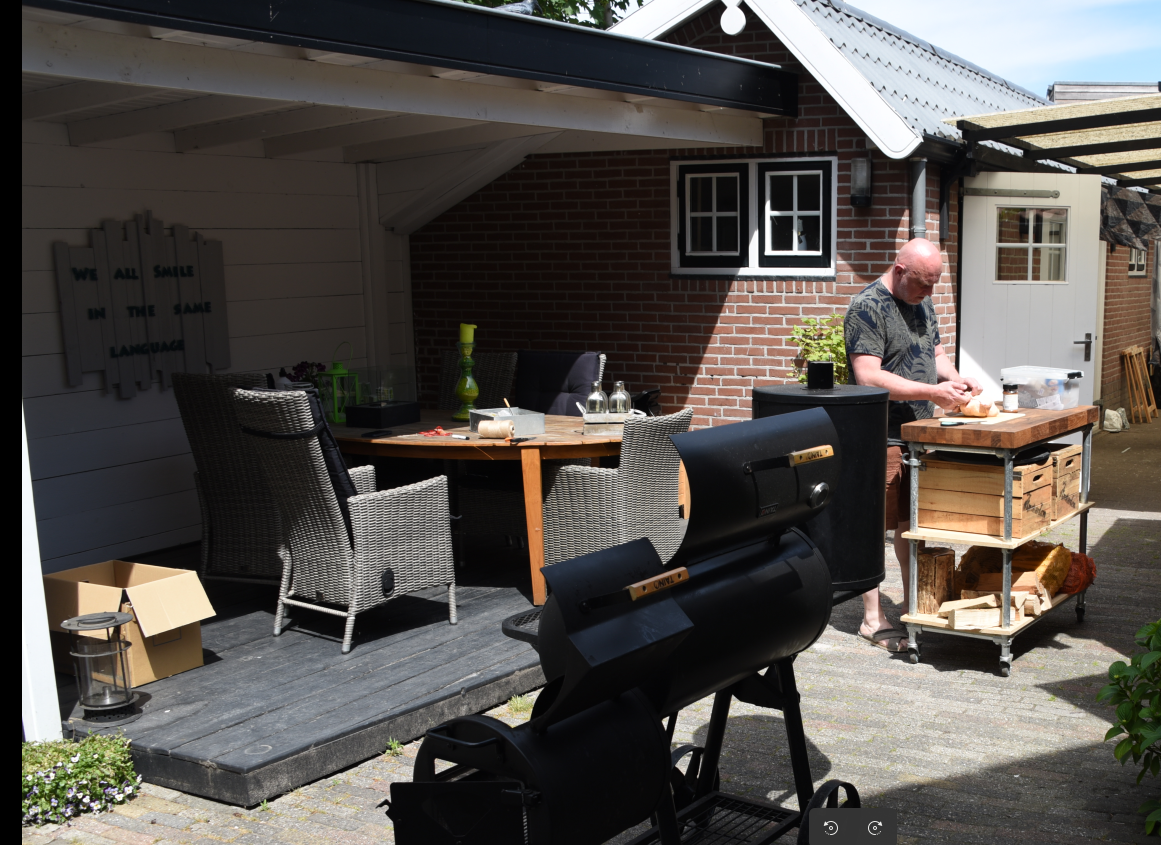
I’ve got a offset smoker
https://www.henriaanstoot.nl/2019/06/16/smoker/
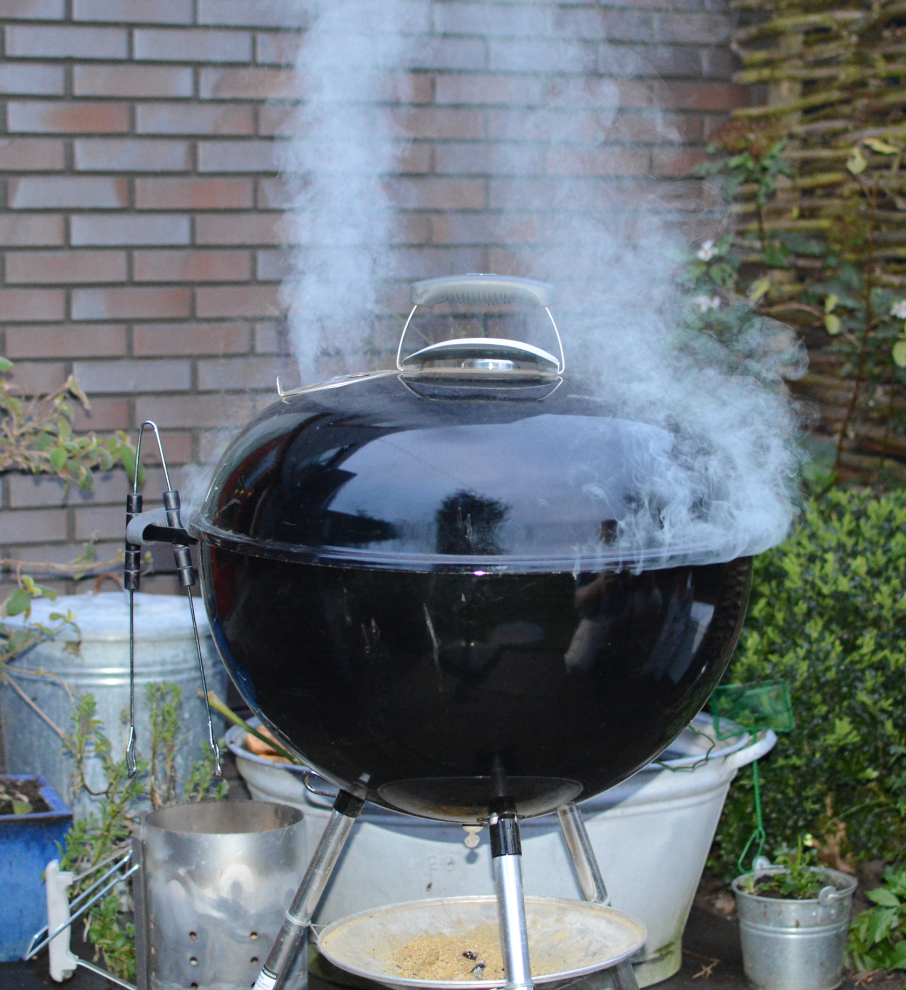
A Weber One Touch
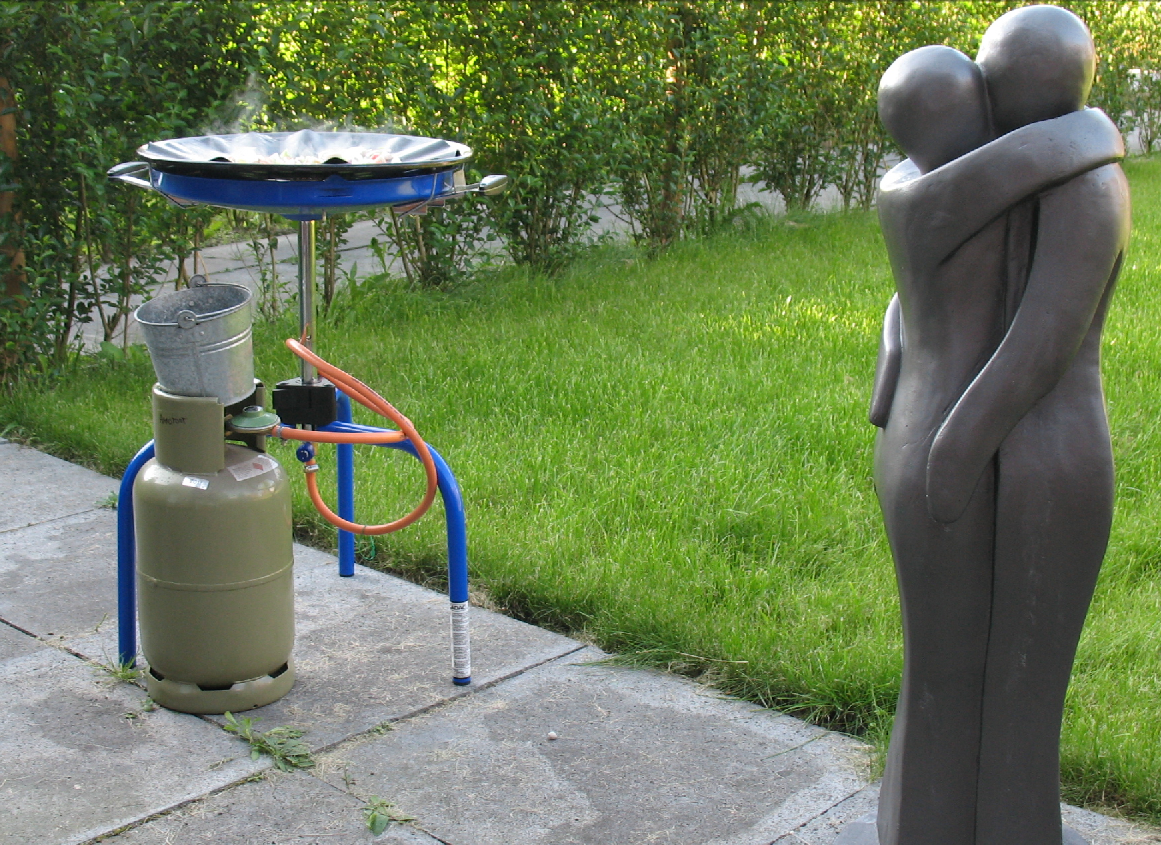
And a Skottle Braai
All have their own benefits,and restrictions.
The tips below are the ones i find useful and are MY opinion, but i’m just an amateur and could be wrong 🙂
Offset smoker:
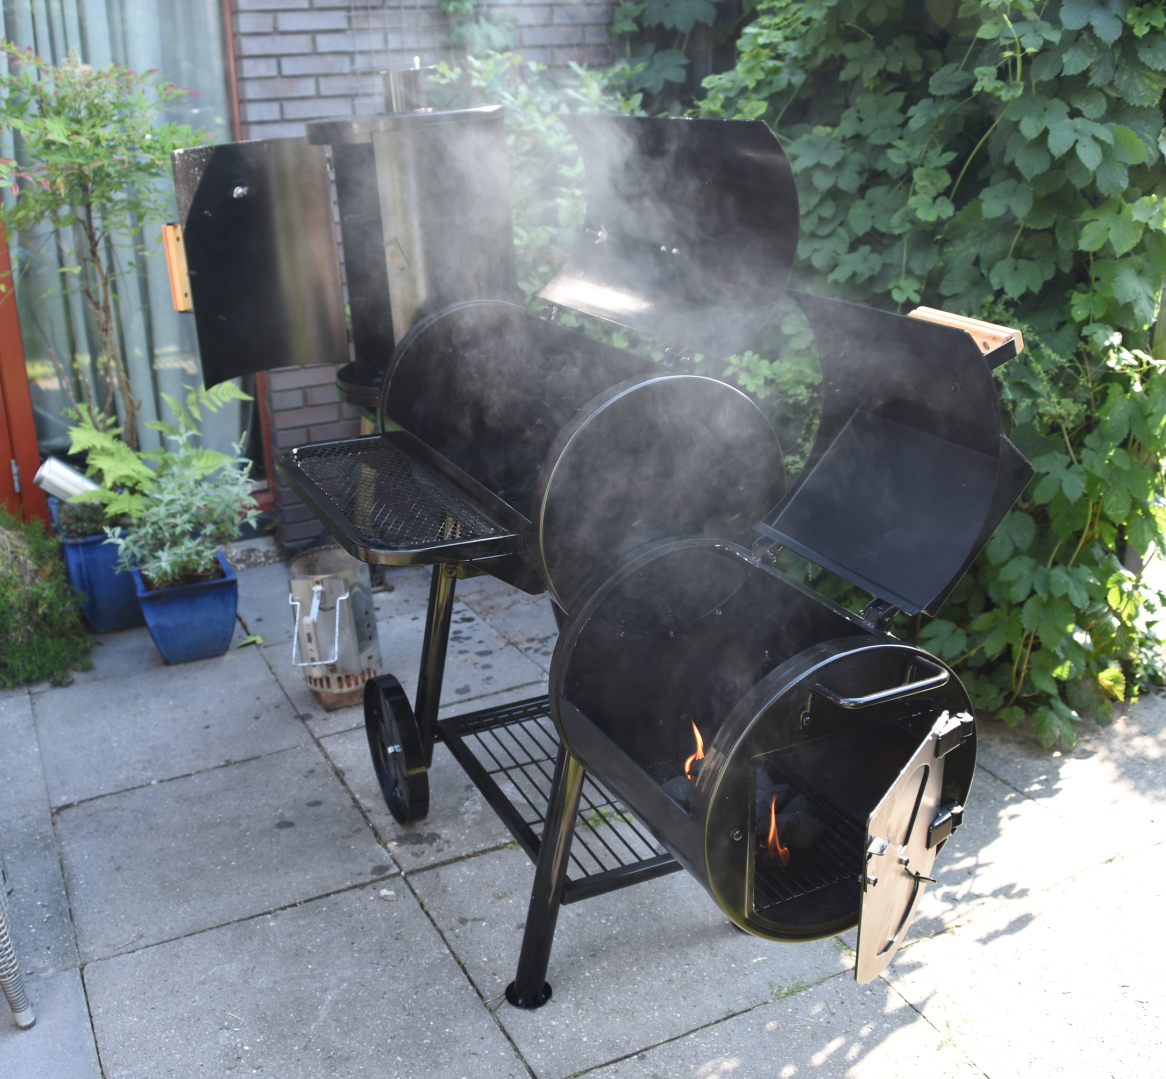
An offset smoker is perfect for ribs, brisket and other meats that are perfect to take some time to absorb smoke and get better when slowly cooked.
When going Low and slow, i follow these rules:
- Try to leave the lid closed! No need to let the slowly buildup temperature get away from your meat!
- Need to know the temperature? Use the one on your kettle or even better, one with a little cable to leave it outside of the heating chamber.
(See tools)
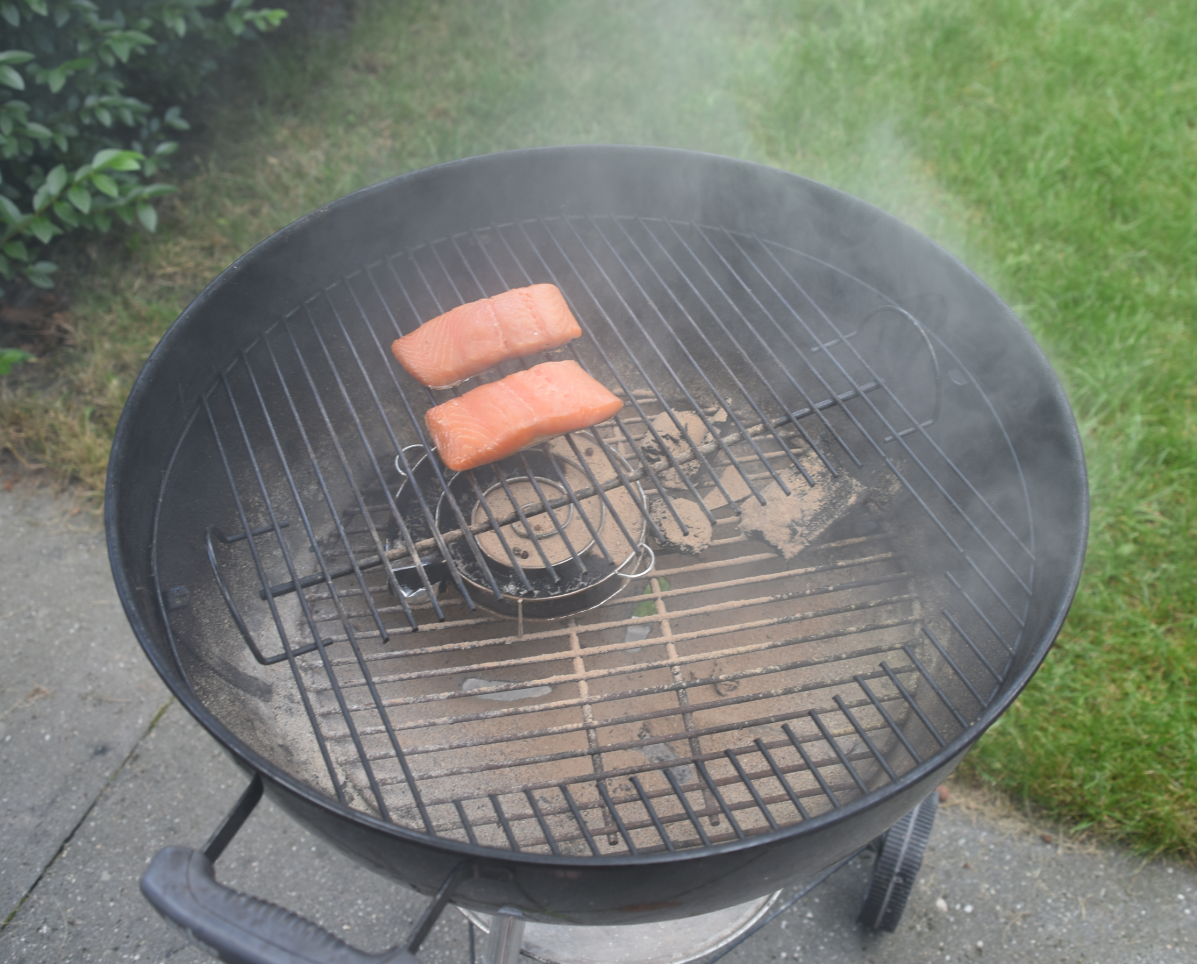
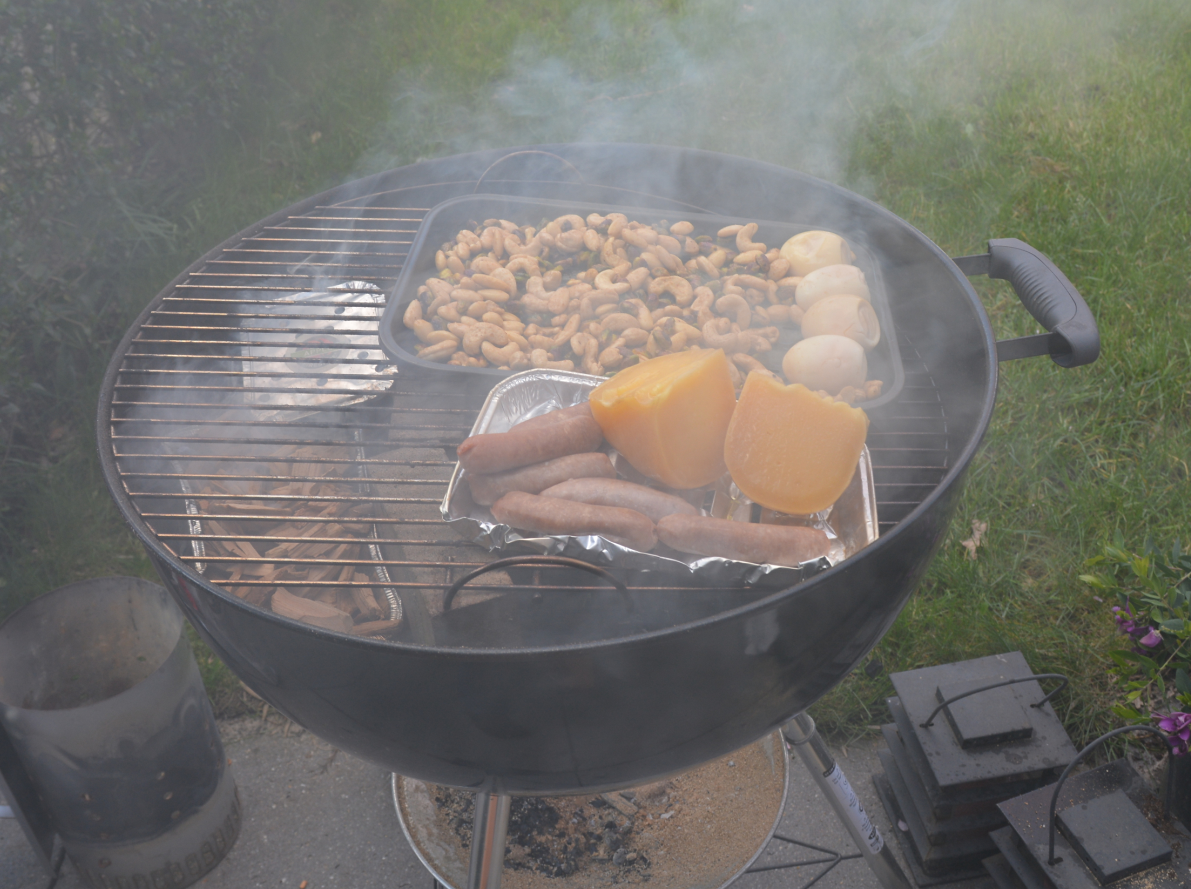
Weber:
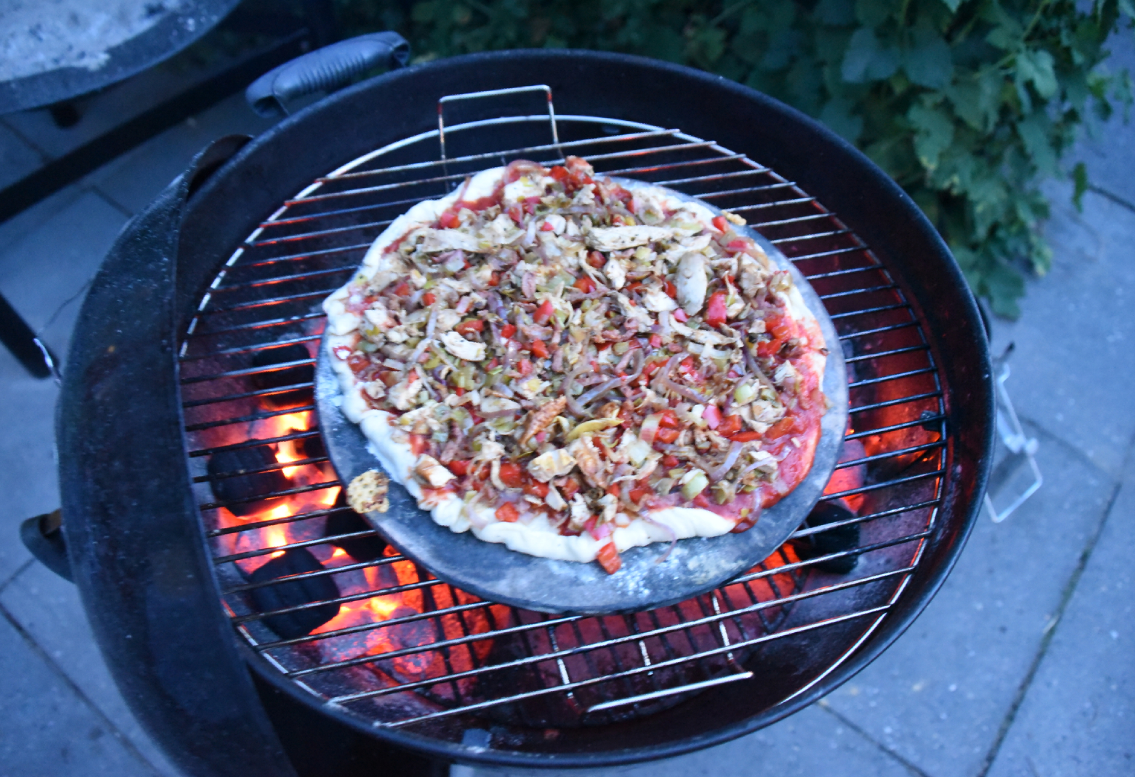
I use this one to do a fast steak (below more about this),smoking nuts and pizza.
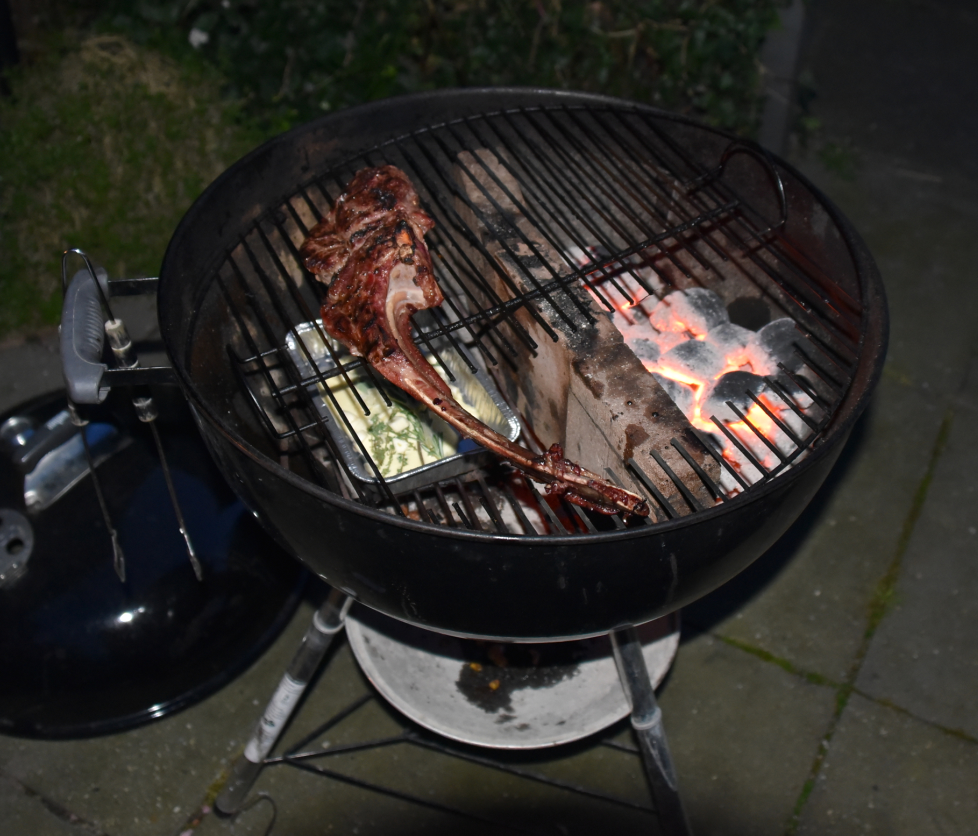
- Use a lid to hold some of the moisture.
- Use a line of bricks though the middle to create a little cold/hot zone.
(See pictures) - Buy a second grid/grate with a easy accessible opening.
I’ve used an angle grinder to open a part of the grid.
This allows easy access to the coals. - When making pizza, use a stone slate, and lay your coals at the side, in a horseshoe fashion.
Some people say .. crank the temperature up to 400 something degrees.
Far to high to my liking .. 200 is enough
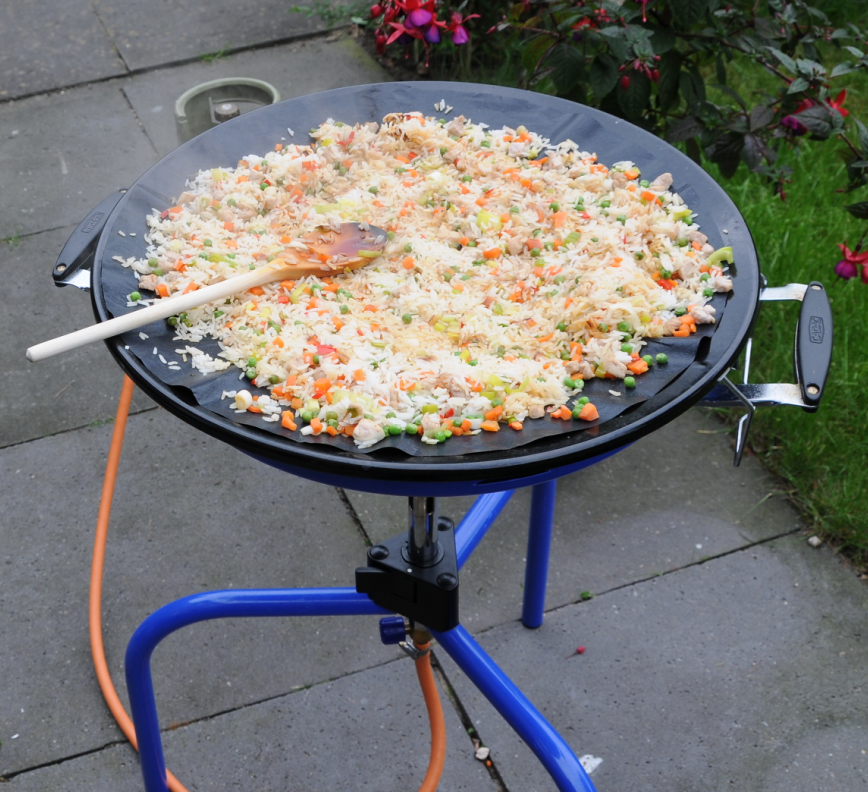
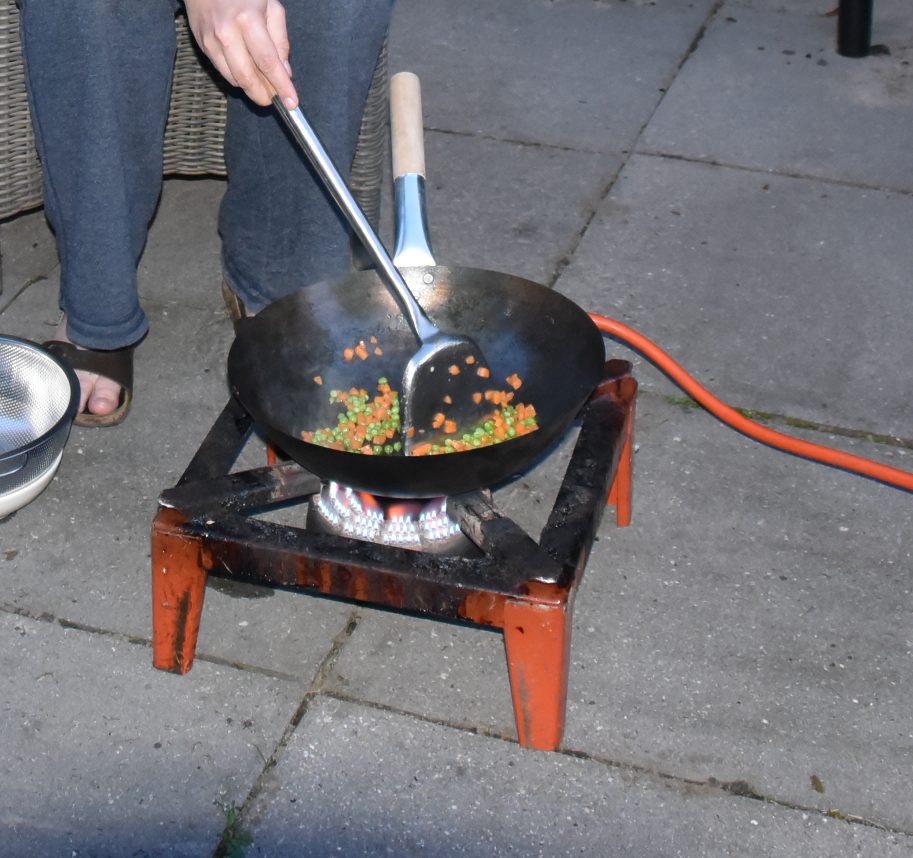
Skottle Braai:
This one is perfect for fried rice, meats/vegetables which need fluids.
(Some satay/chinese stirfries or small piece meat like Shawarma.
For all things above:
Prepare everything, get your timing right.
Sometimes you are smoking for 6+ hours, but when you forgot to make a marinade, getting things sliced or need a product you dont have/forgot/gone bad .. (i’ve been there)
For the offset smoker .. i don’t use tuning plates .. and probably never will.
Tuning plates can be used to get your smoker front to back evenly heated. This is only useful when cooking a lot of meat.
I seldom do, so i use the colder part whenever things are going too fast.
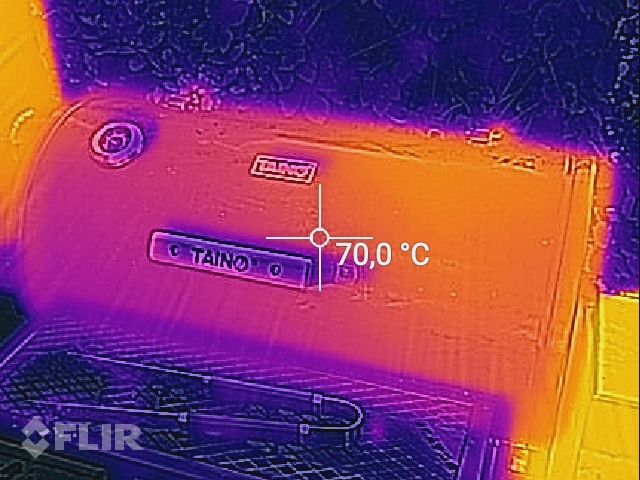
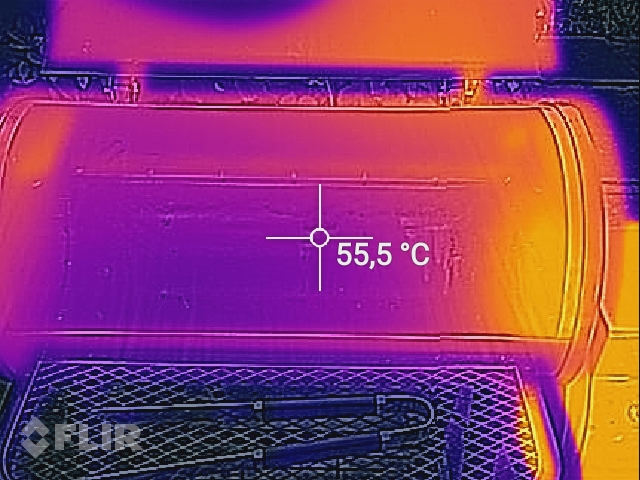
I even used a Flir camera to check the temperature distribution
Using a lot of heat? Don´t put pepper on your meat. It will burn, just wait when it’s on your plate.
Salt is fine.
Using briquettes or charcoal?
Briquettes, when properly lighted, doesn´t give you a nasty smoke as plain charcoal, charcoal needs more time to burn properly. Briquettes will last for a long time. (See below tools)
Coconut briquettes are perfect for slow cooking .. they burn for a long time.
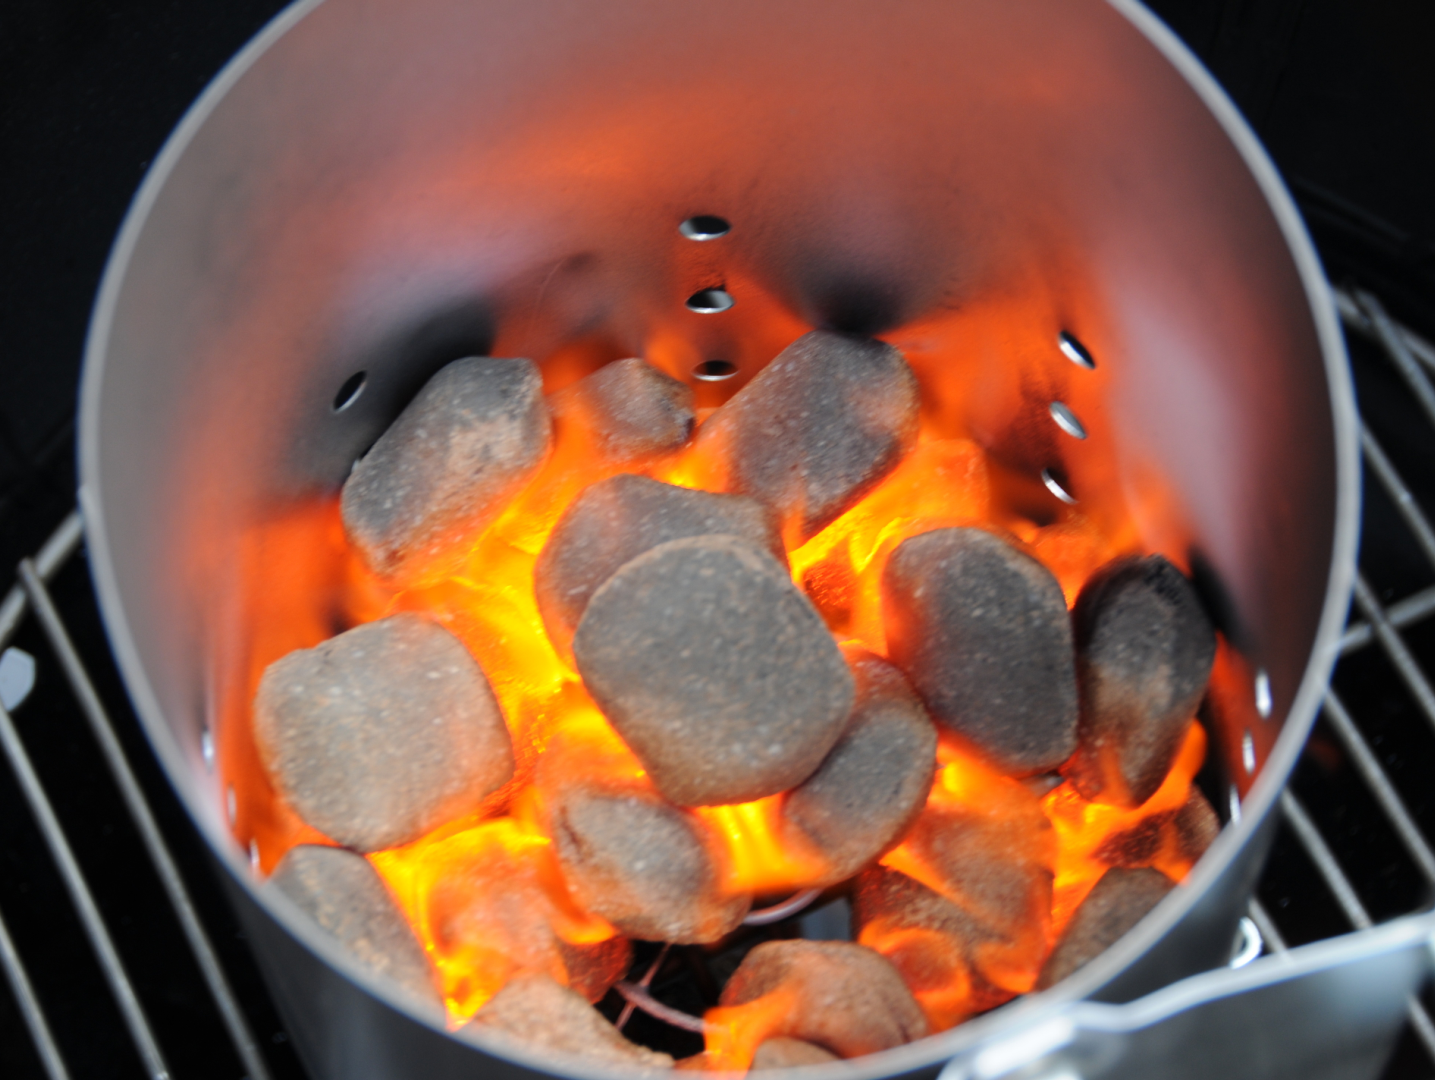
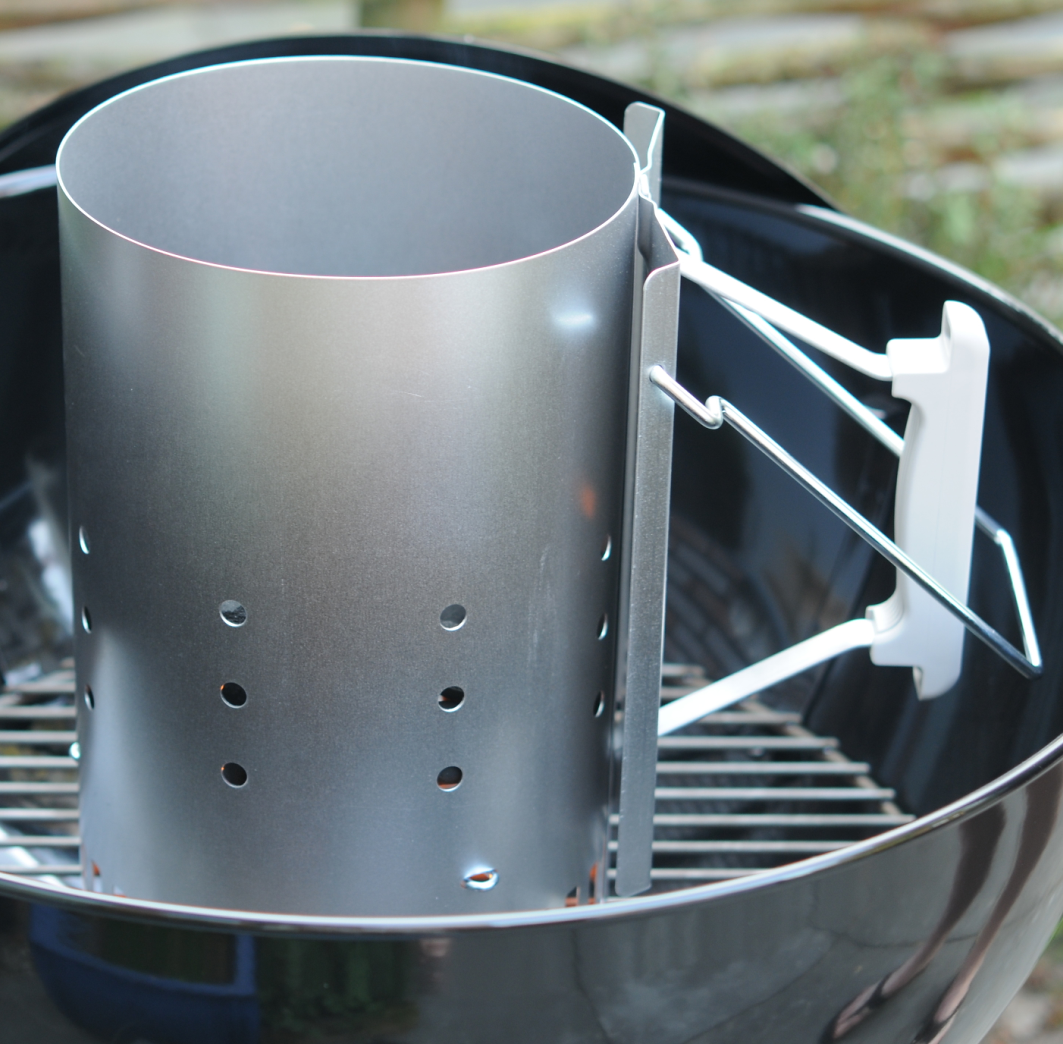
Use a chimney and wait until all briquettes are white!
Look at the smoke, it should be thin blue-ish. Not thick or white or even black.
Except for smoking woods.
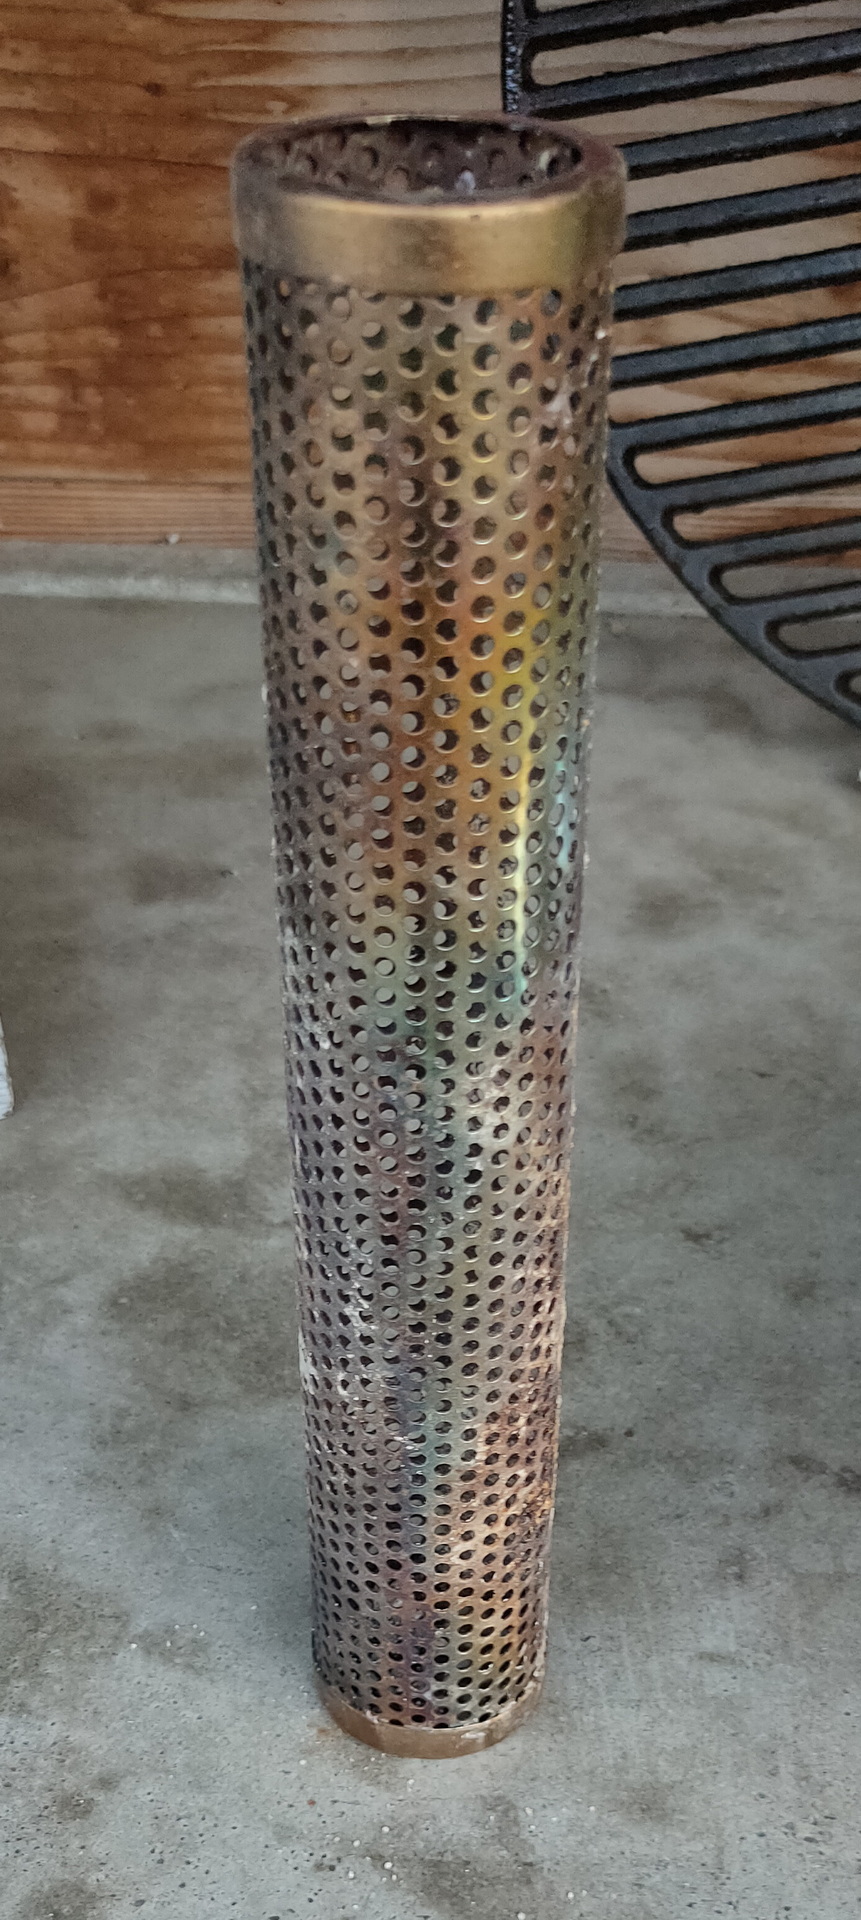
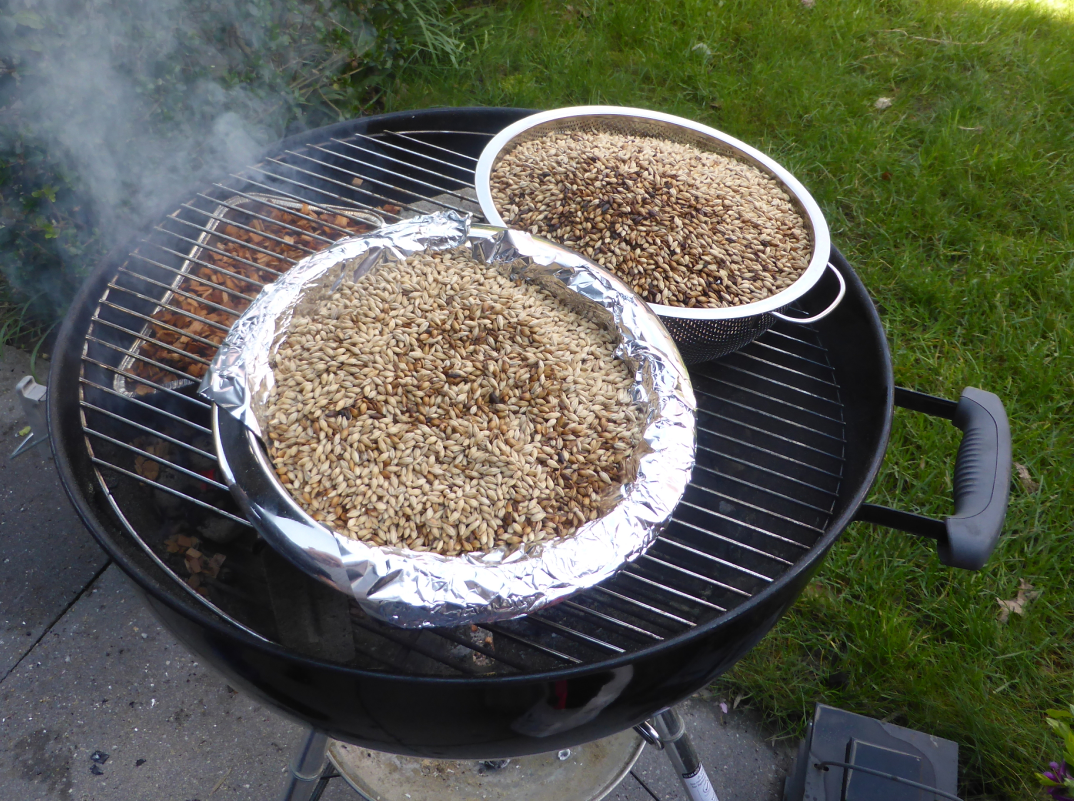
Smoke wood: I’ve tried a lot of smokewoods. Cherry, wine vines, Apple, Pear, hickory, oak, maple and more.
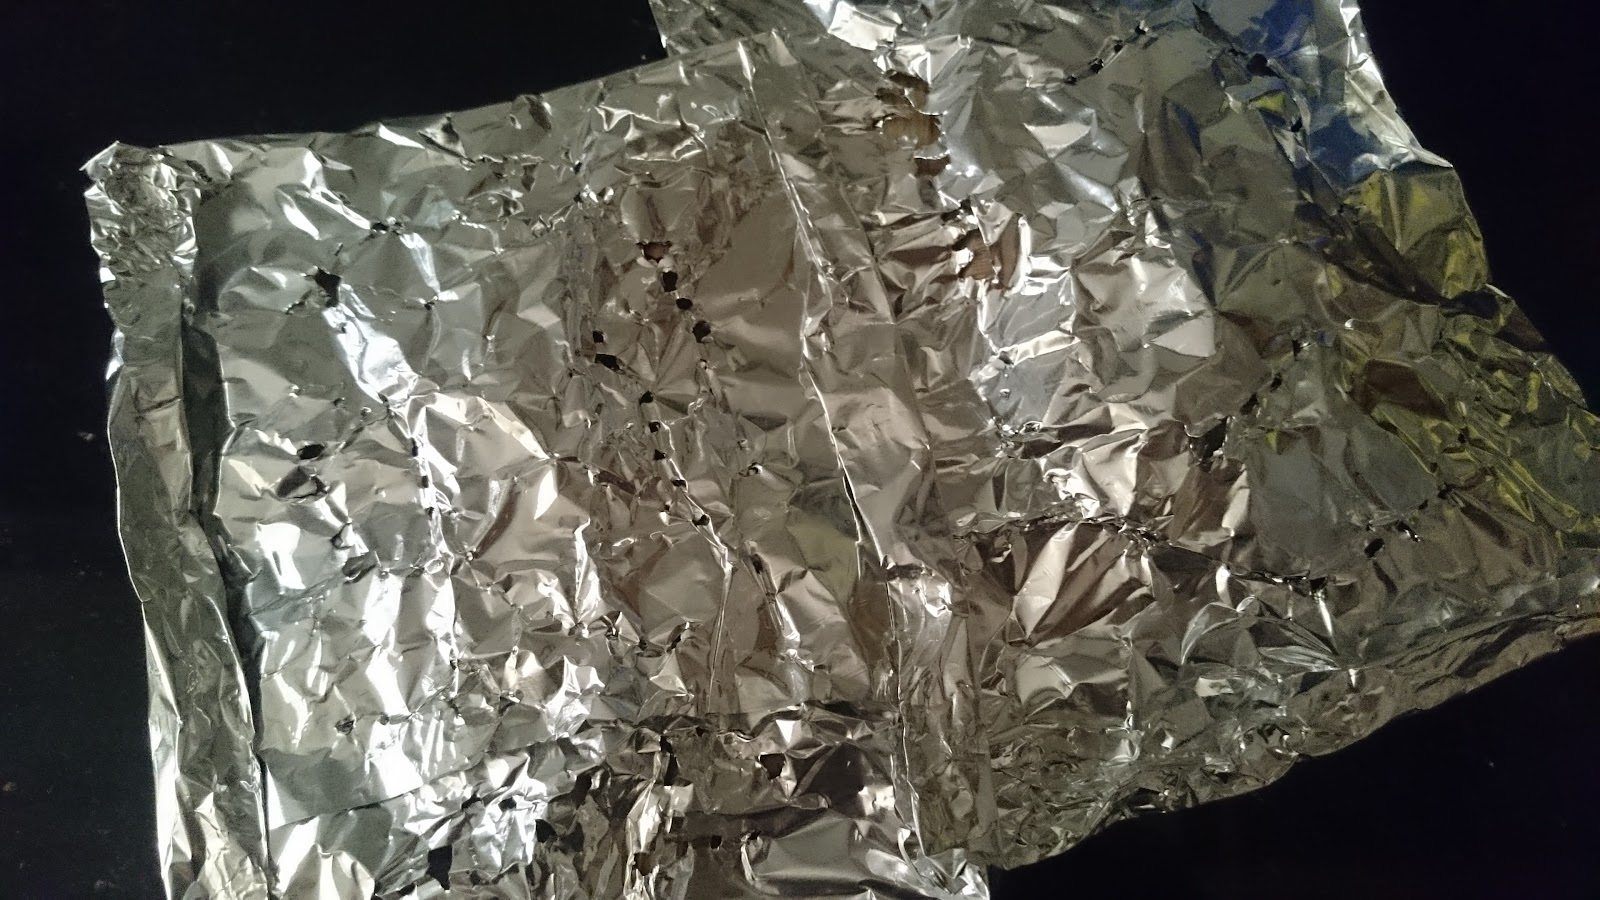
Some people and even packages say: “Soak for 30 minutes in water”
Well i don’t, then the smoke is mostly water vapor.
If you make a neat aluminum foil package with a few little holes, it won’t burst into flames and produces a nice amount of smoke which lasts a while.
Don’t use accelerants like spirit. It gives a nasty taste/smell.
Use different plates and tools for raw and cooked meat.
Look at the core temperature, for example for beef
Rare: 50 to 52 degrees
Medium rare: 55 to 58 degrees
Medium: 60 to 63 degrees
Medium Well: 65 to 67 degrees
Well done: 70 to 80 degrees
Stop before it reaches the desired temperature. Wrap in foil and wait a few minutes. The temperature will rise a few degrees
Trying to get your temperature up again by adding briquettes or wood?
Sometimes fuel is getting low and temperature is dropping.
I seldom but briquettes or wood directly in the fire, it wil give a nasty smoke when it start burning .. I use the chimney to get it burning right.
Then i will place it in the offset chamber.
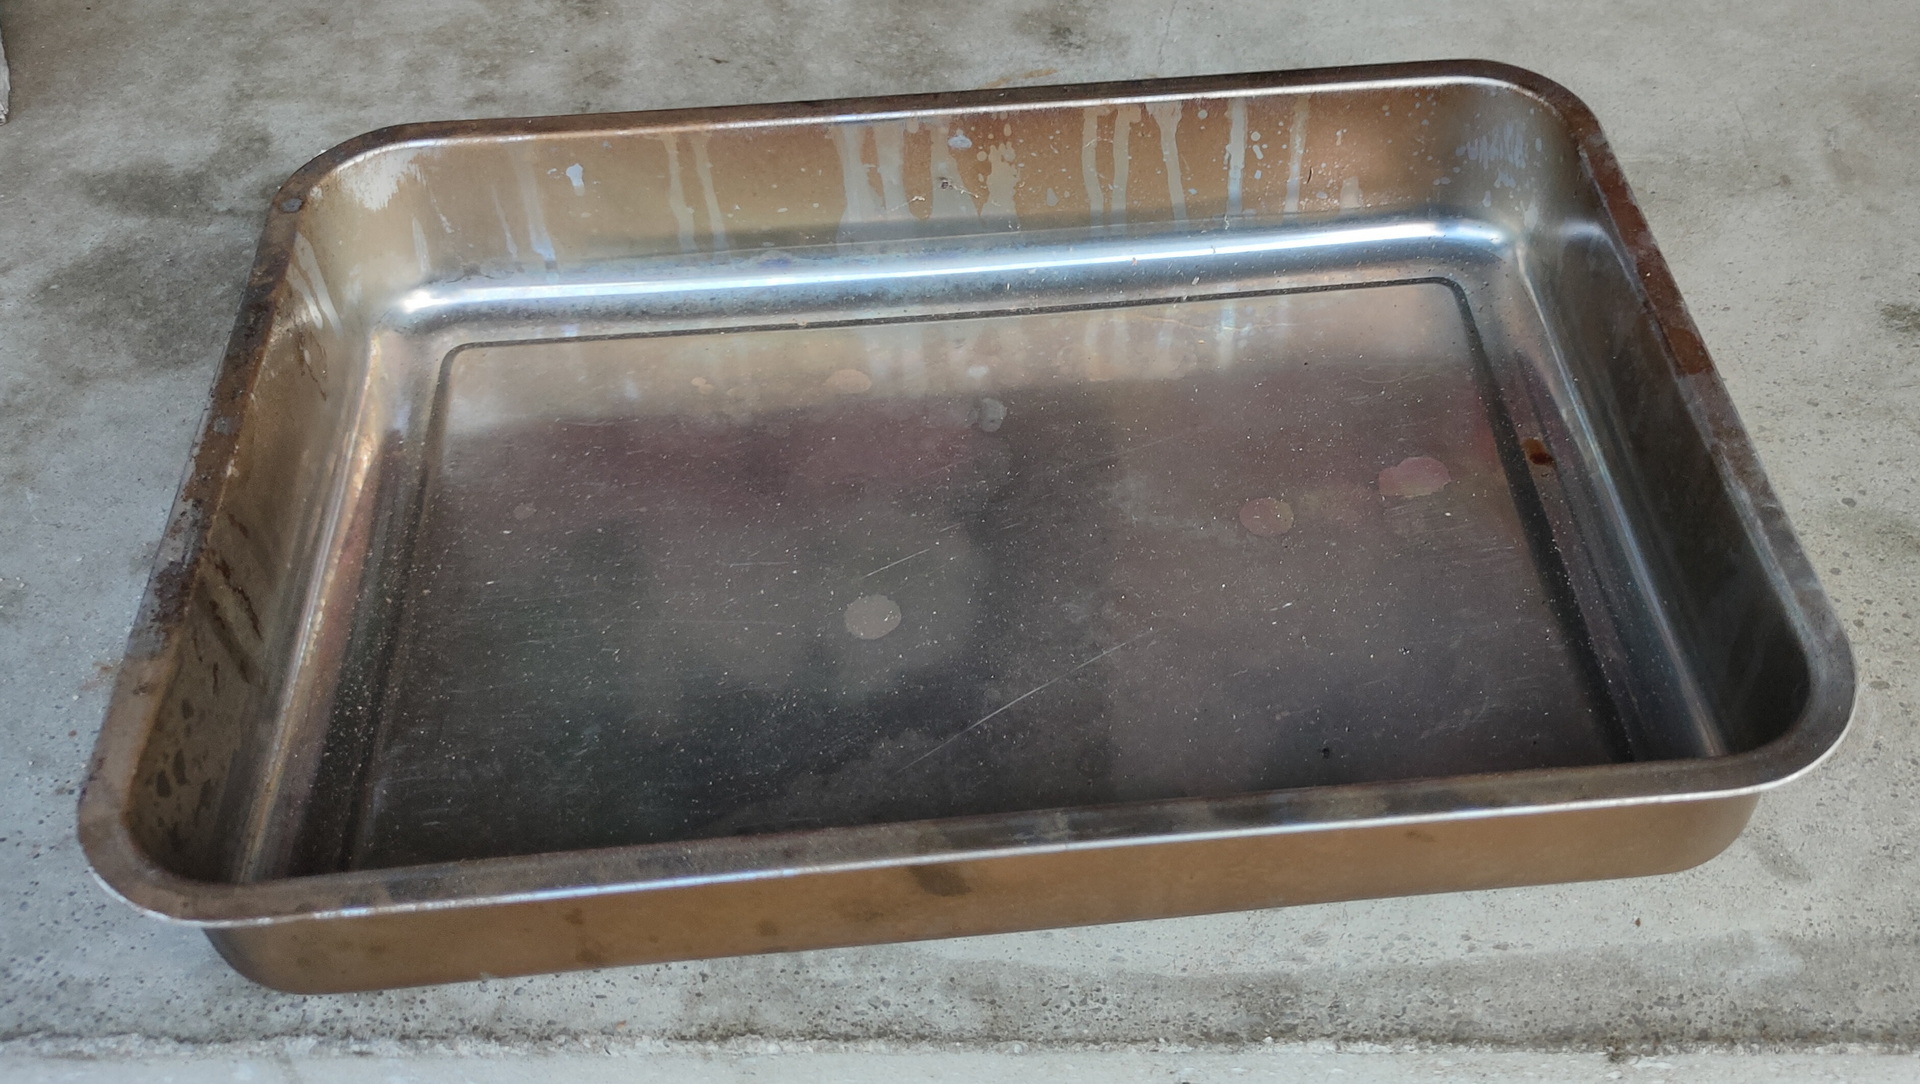
Using a drip bucket? Or want to use more moisture for your meat?
Heat some apple juice or plain water, and put this in a container below the meat. (See the tomahawk picture above)
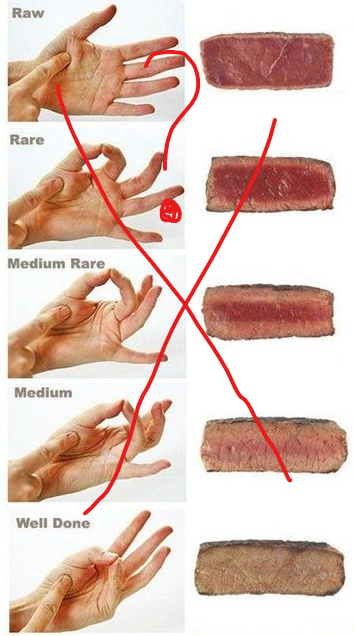
The hand trick to check your meat does not really work.
A IT consultant and a bricklayer have different hands, and muscles. 🙂
But it can be an indicator!
Tools:
Spatula, Tongs, Fork, and Basting Brush
Chimney:
You need this!
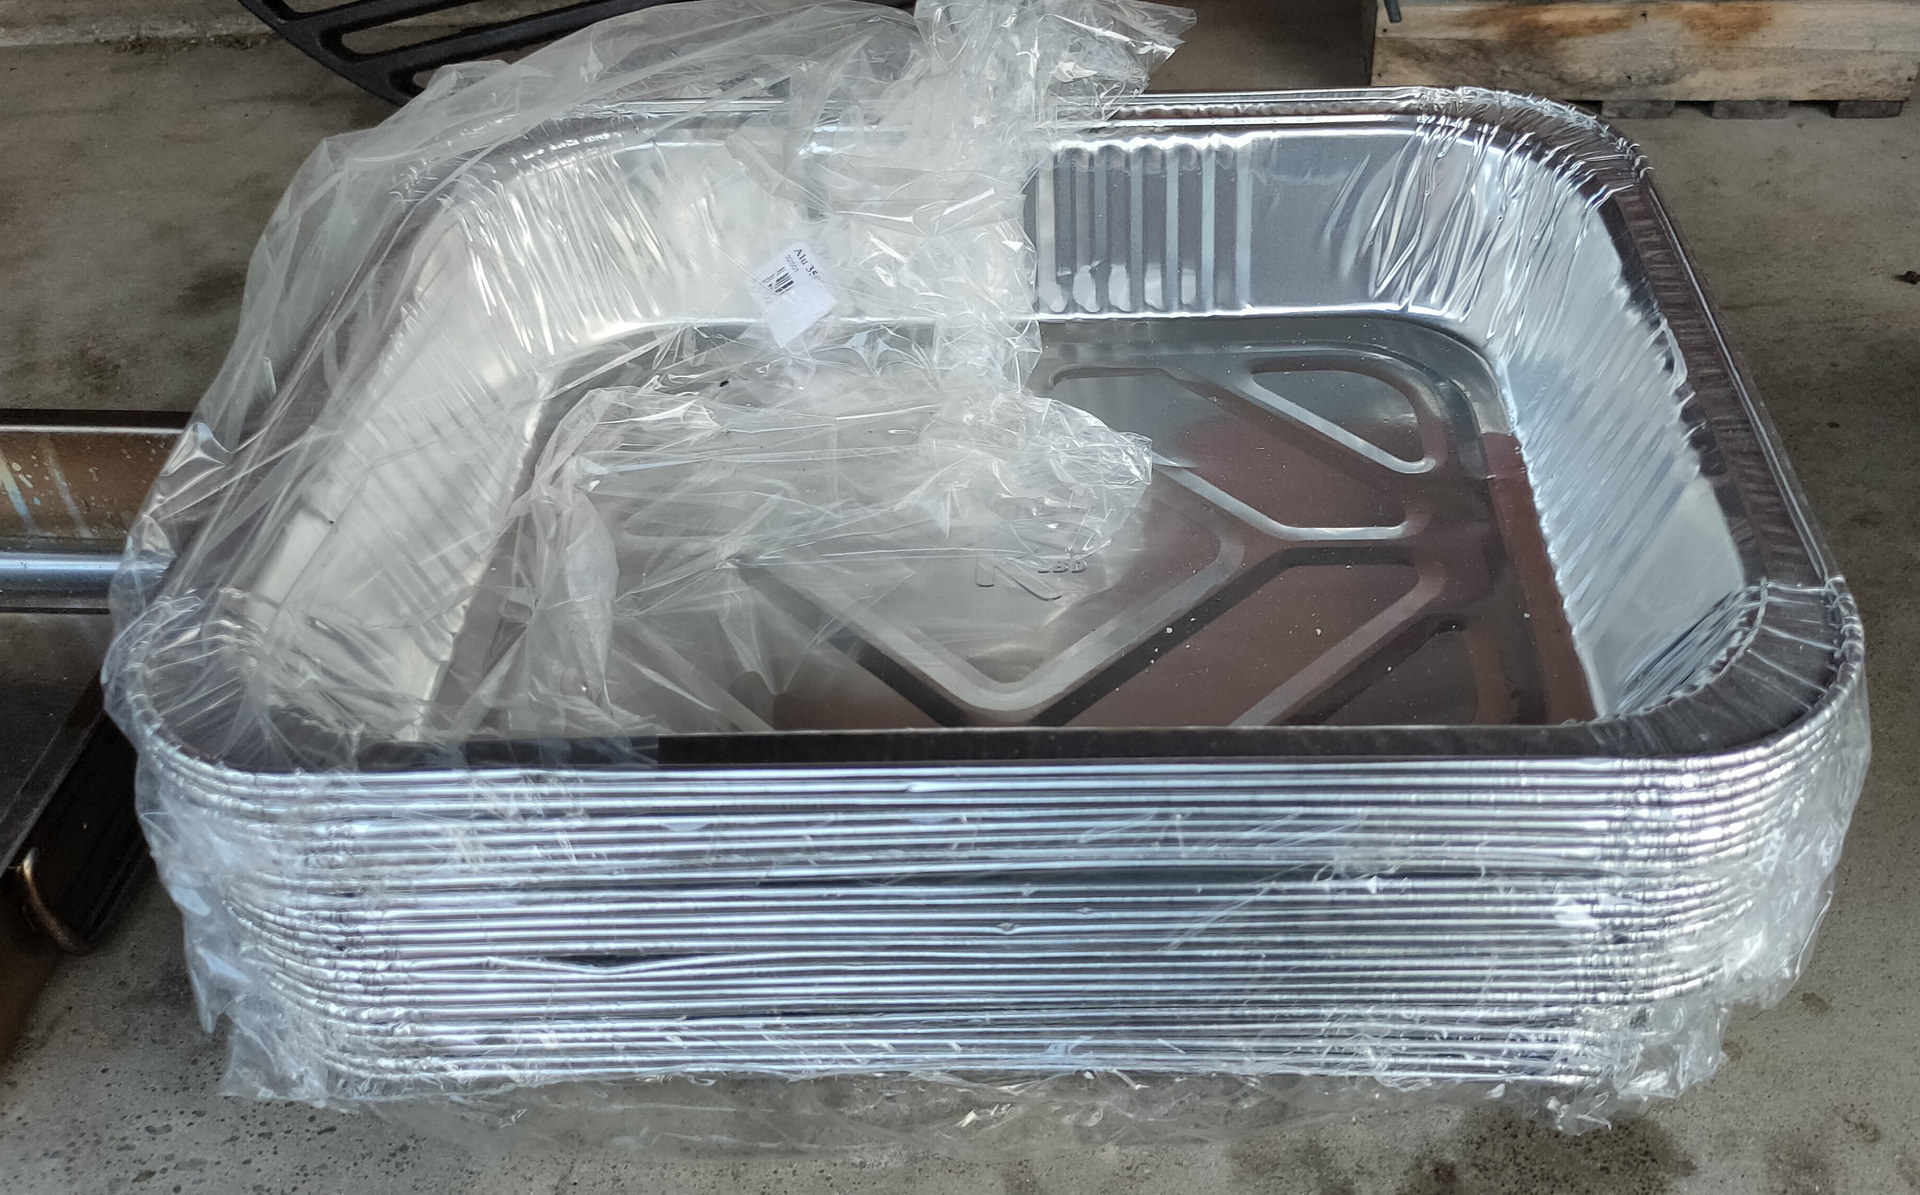
Trays and foils:
Use heavy duty aluminum foil.
Rubs, sauces and spices:
Get yourself some nice different rubs and sauces.
Make your own rubs (or sauce)
I will post some recipes for rubs and the smokey red wine sauce i’ve made.
Remember which spices are going to burn in a dry rub.
Sauce is not only to complement the meat, but you can also use it to glace the meat while cooking!
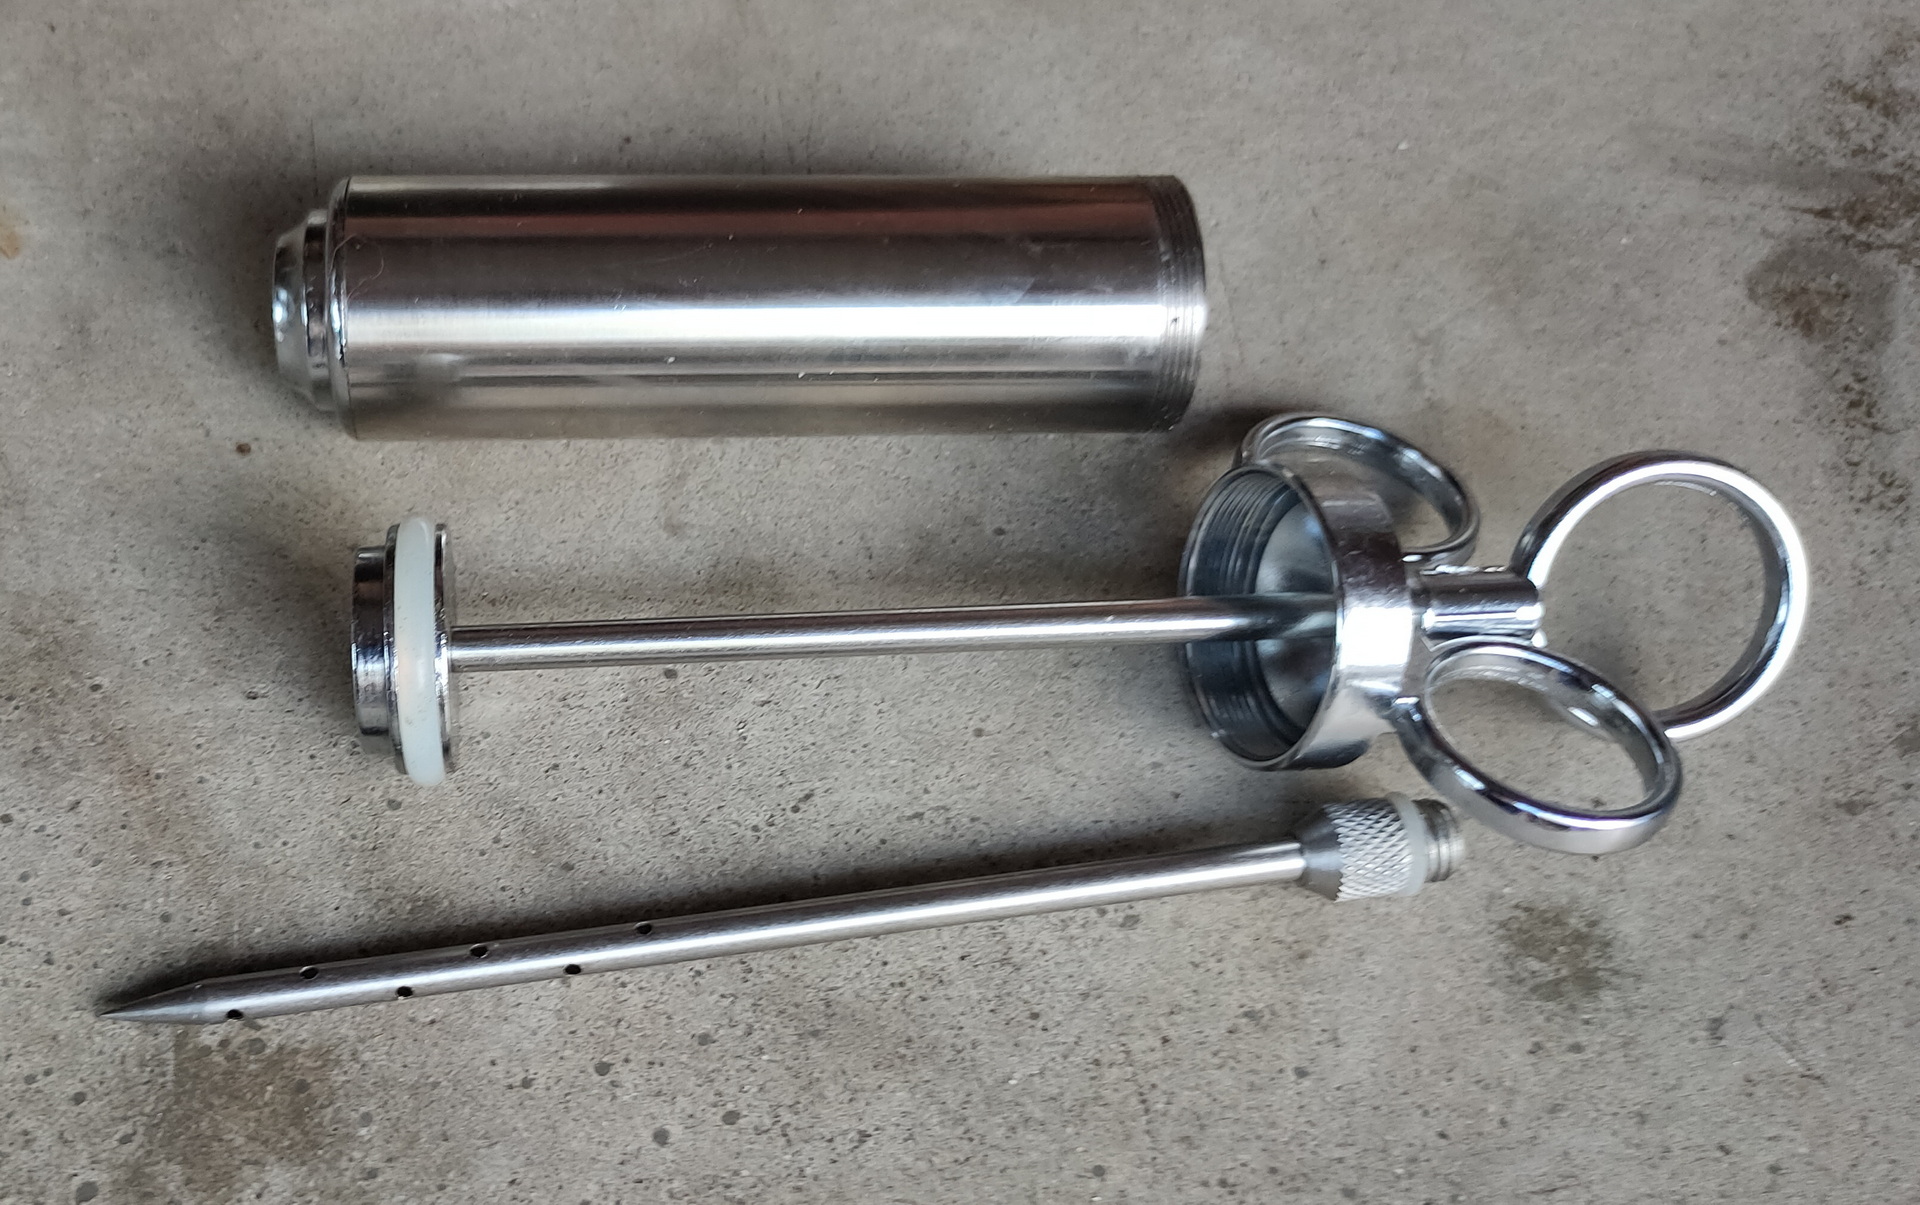
Injecting:

Injecting meat will give it a nice flavor and tenderness.
Fire starters:

Use a starter which burns clean .. no smoke no odor
Temperature:
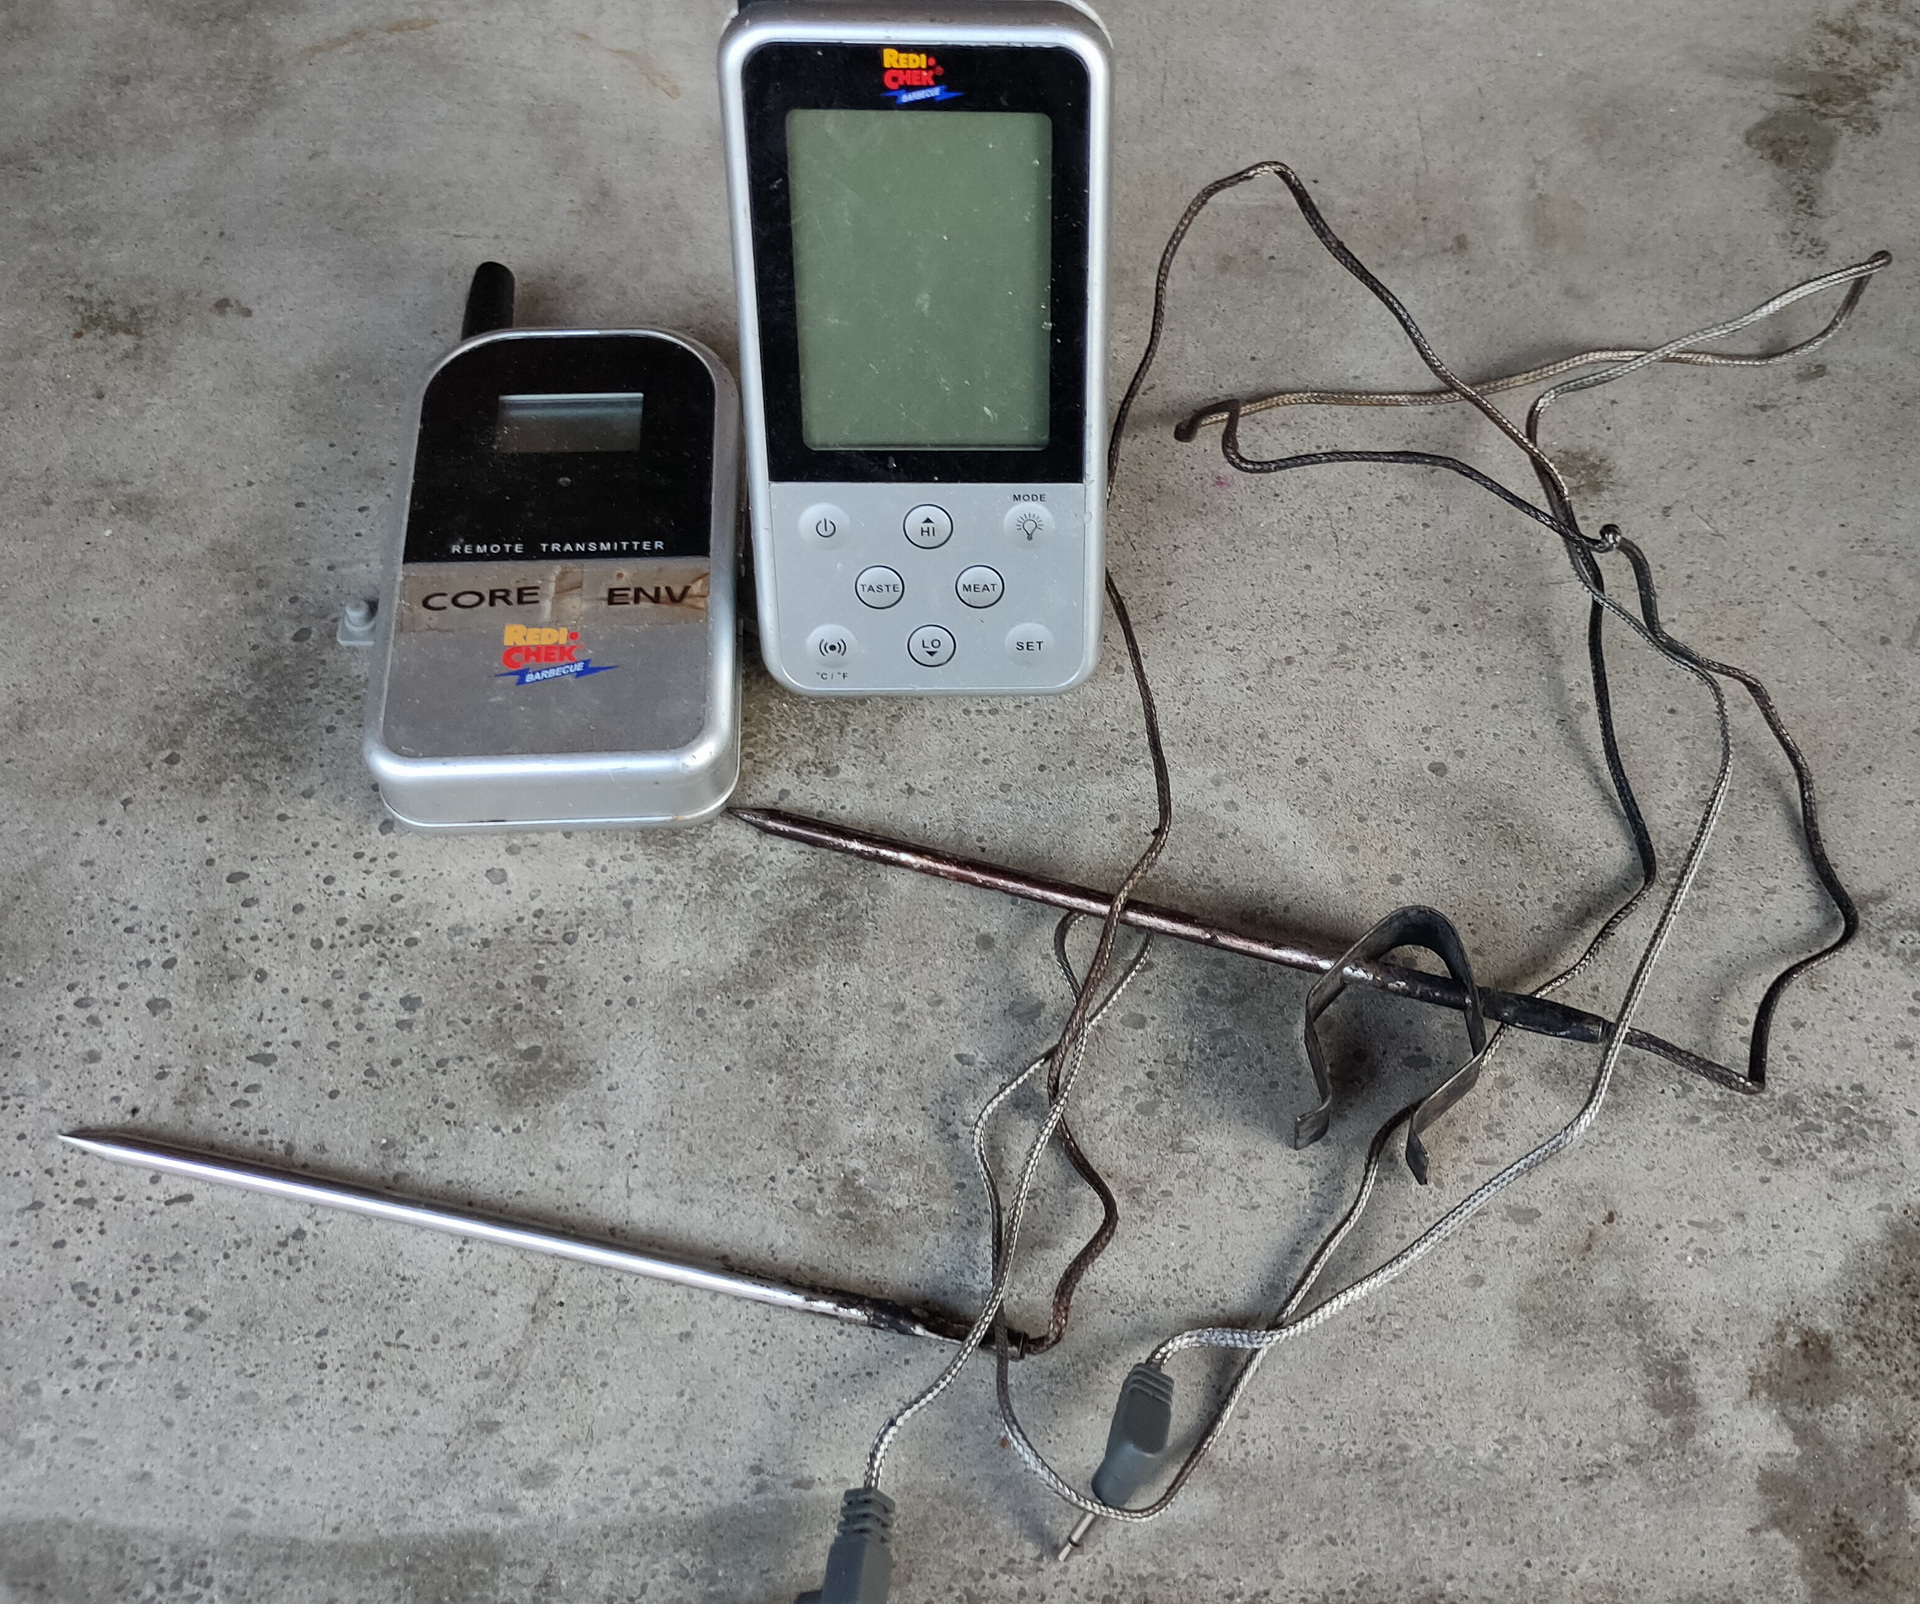
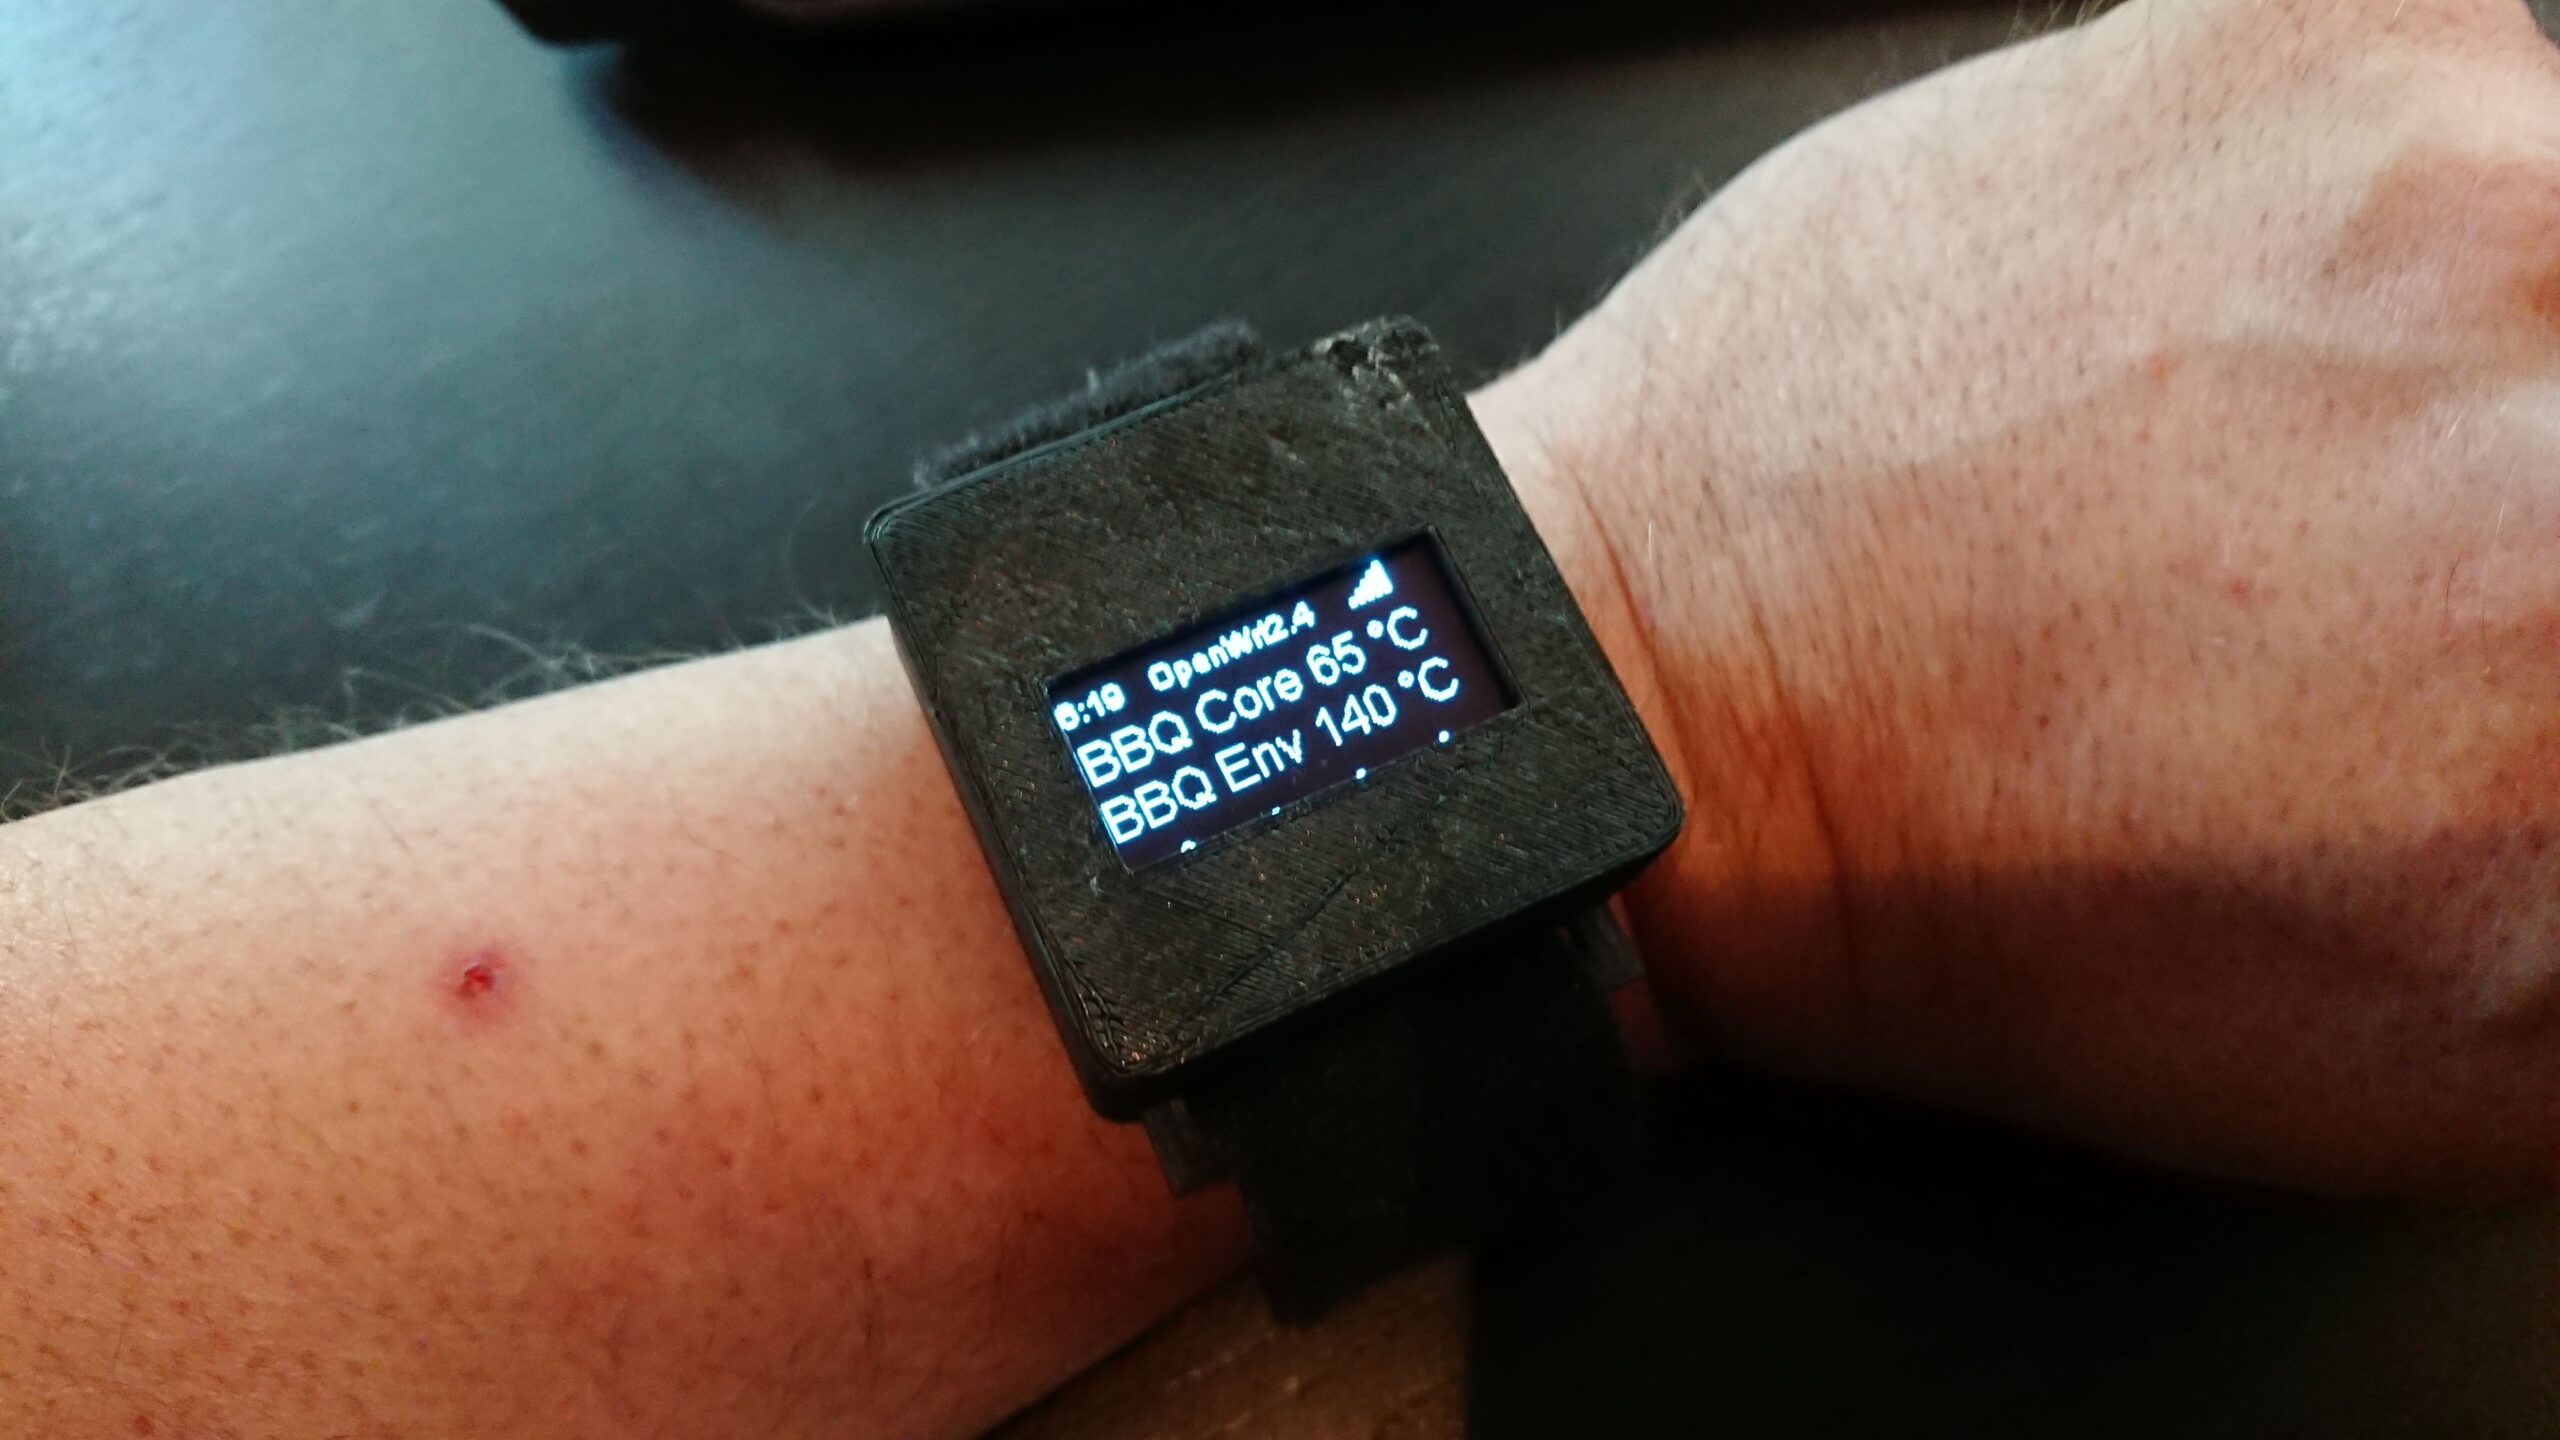
Use a wireless dual temperature sensor, one for the meat (core) and one for the temperature in the Bbq.
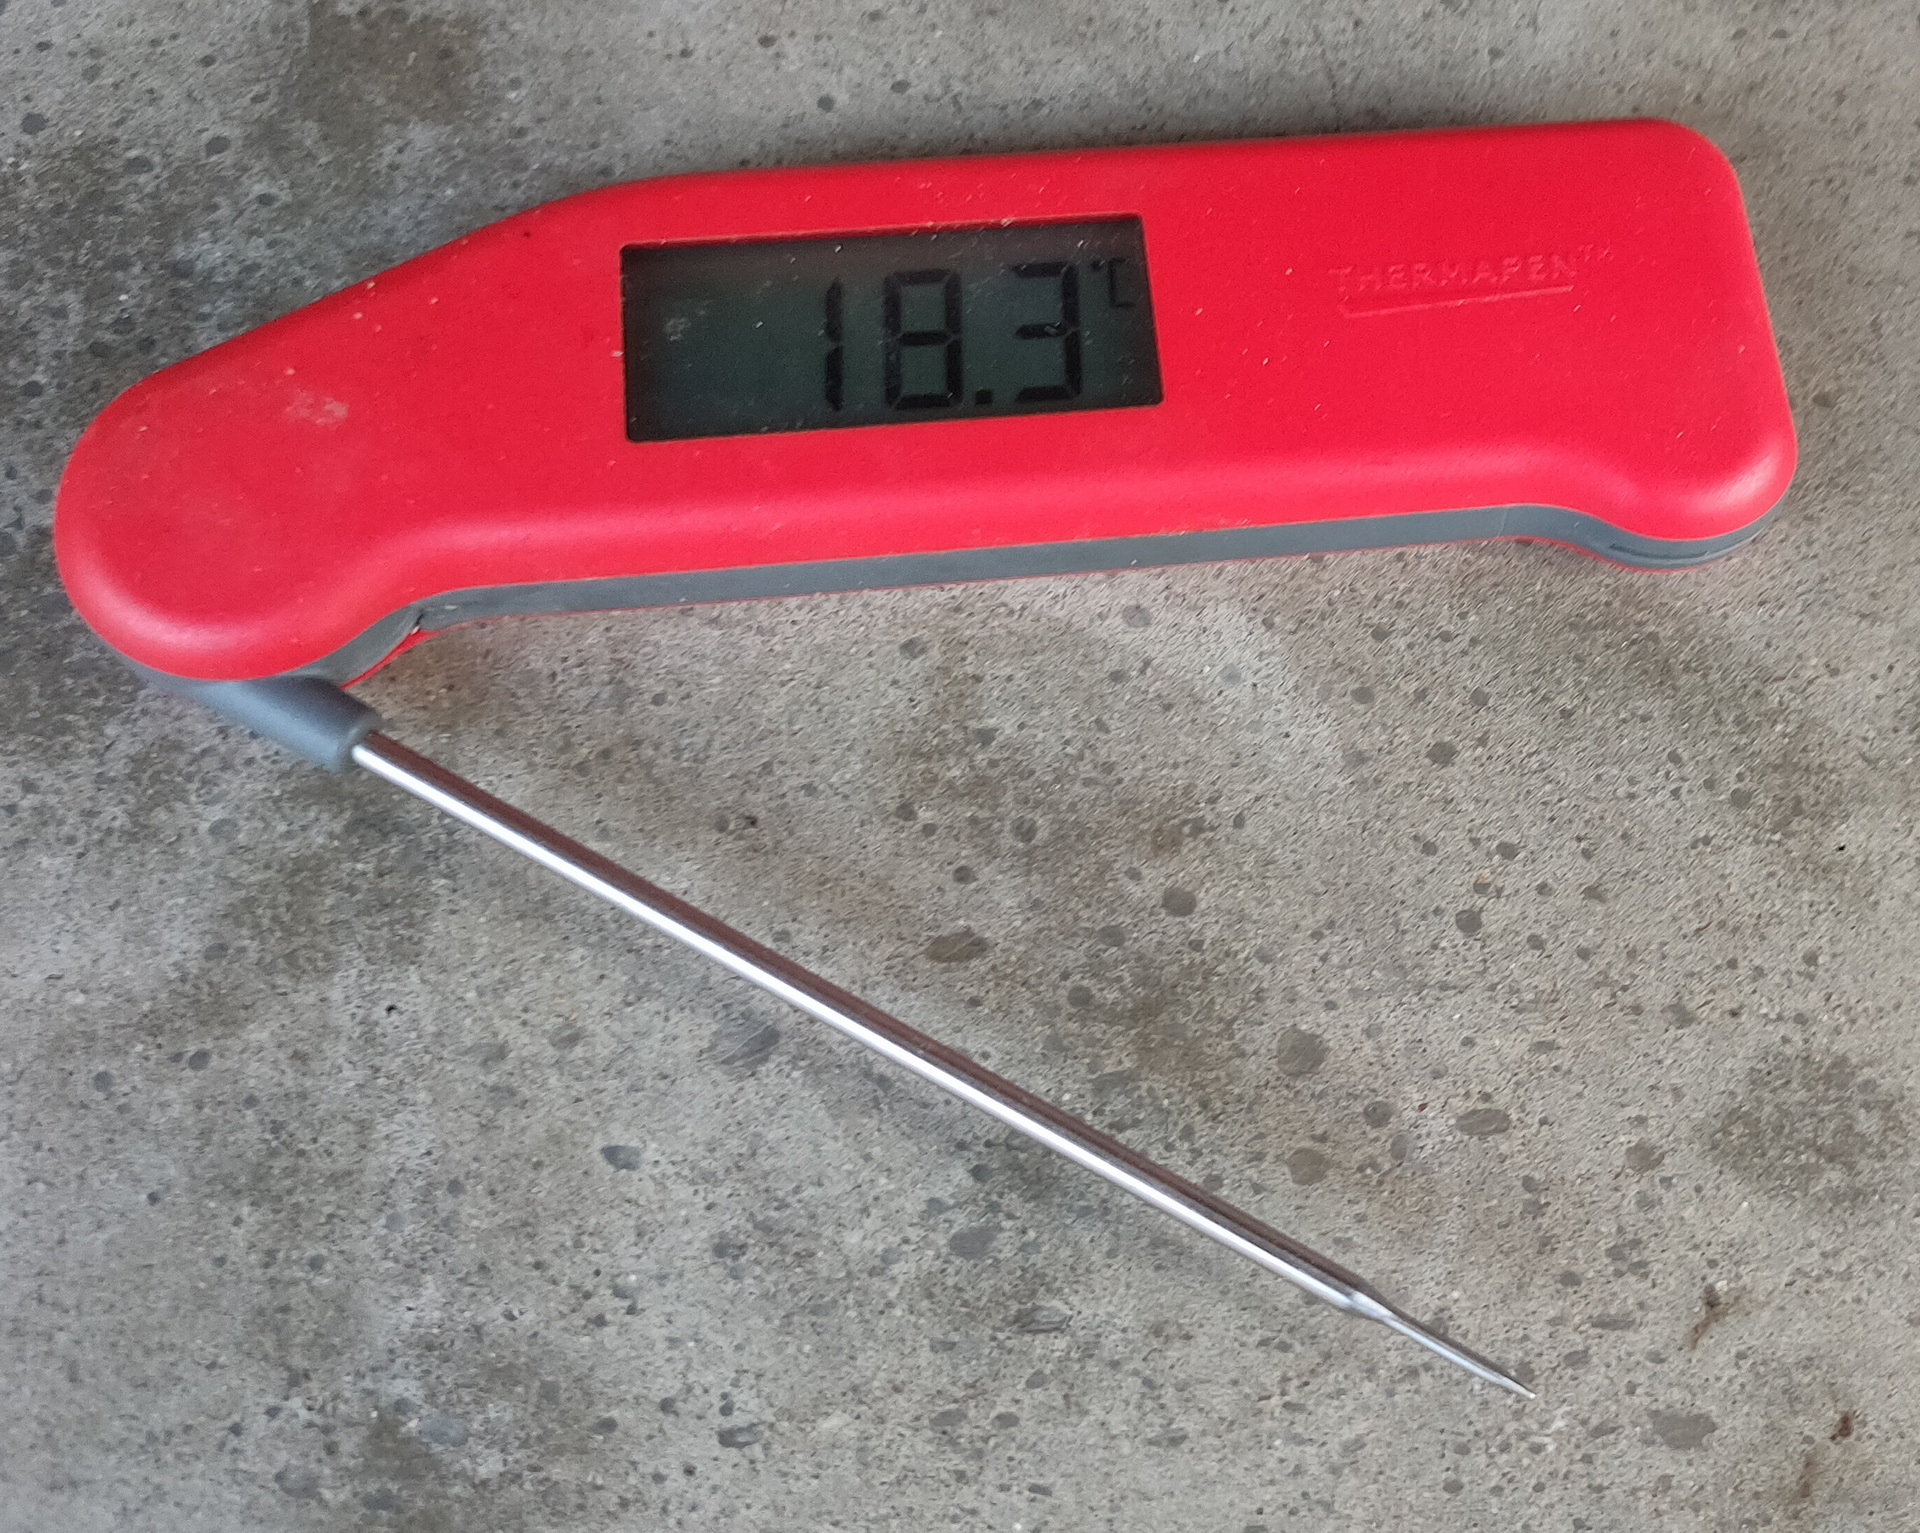
For a fast reading, for example in ribs, i use below speed sensor
Use pin for testing tenderness
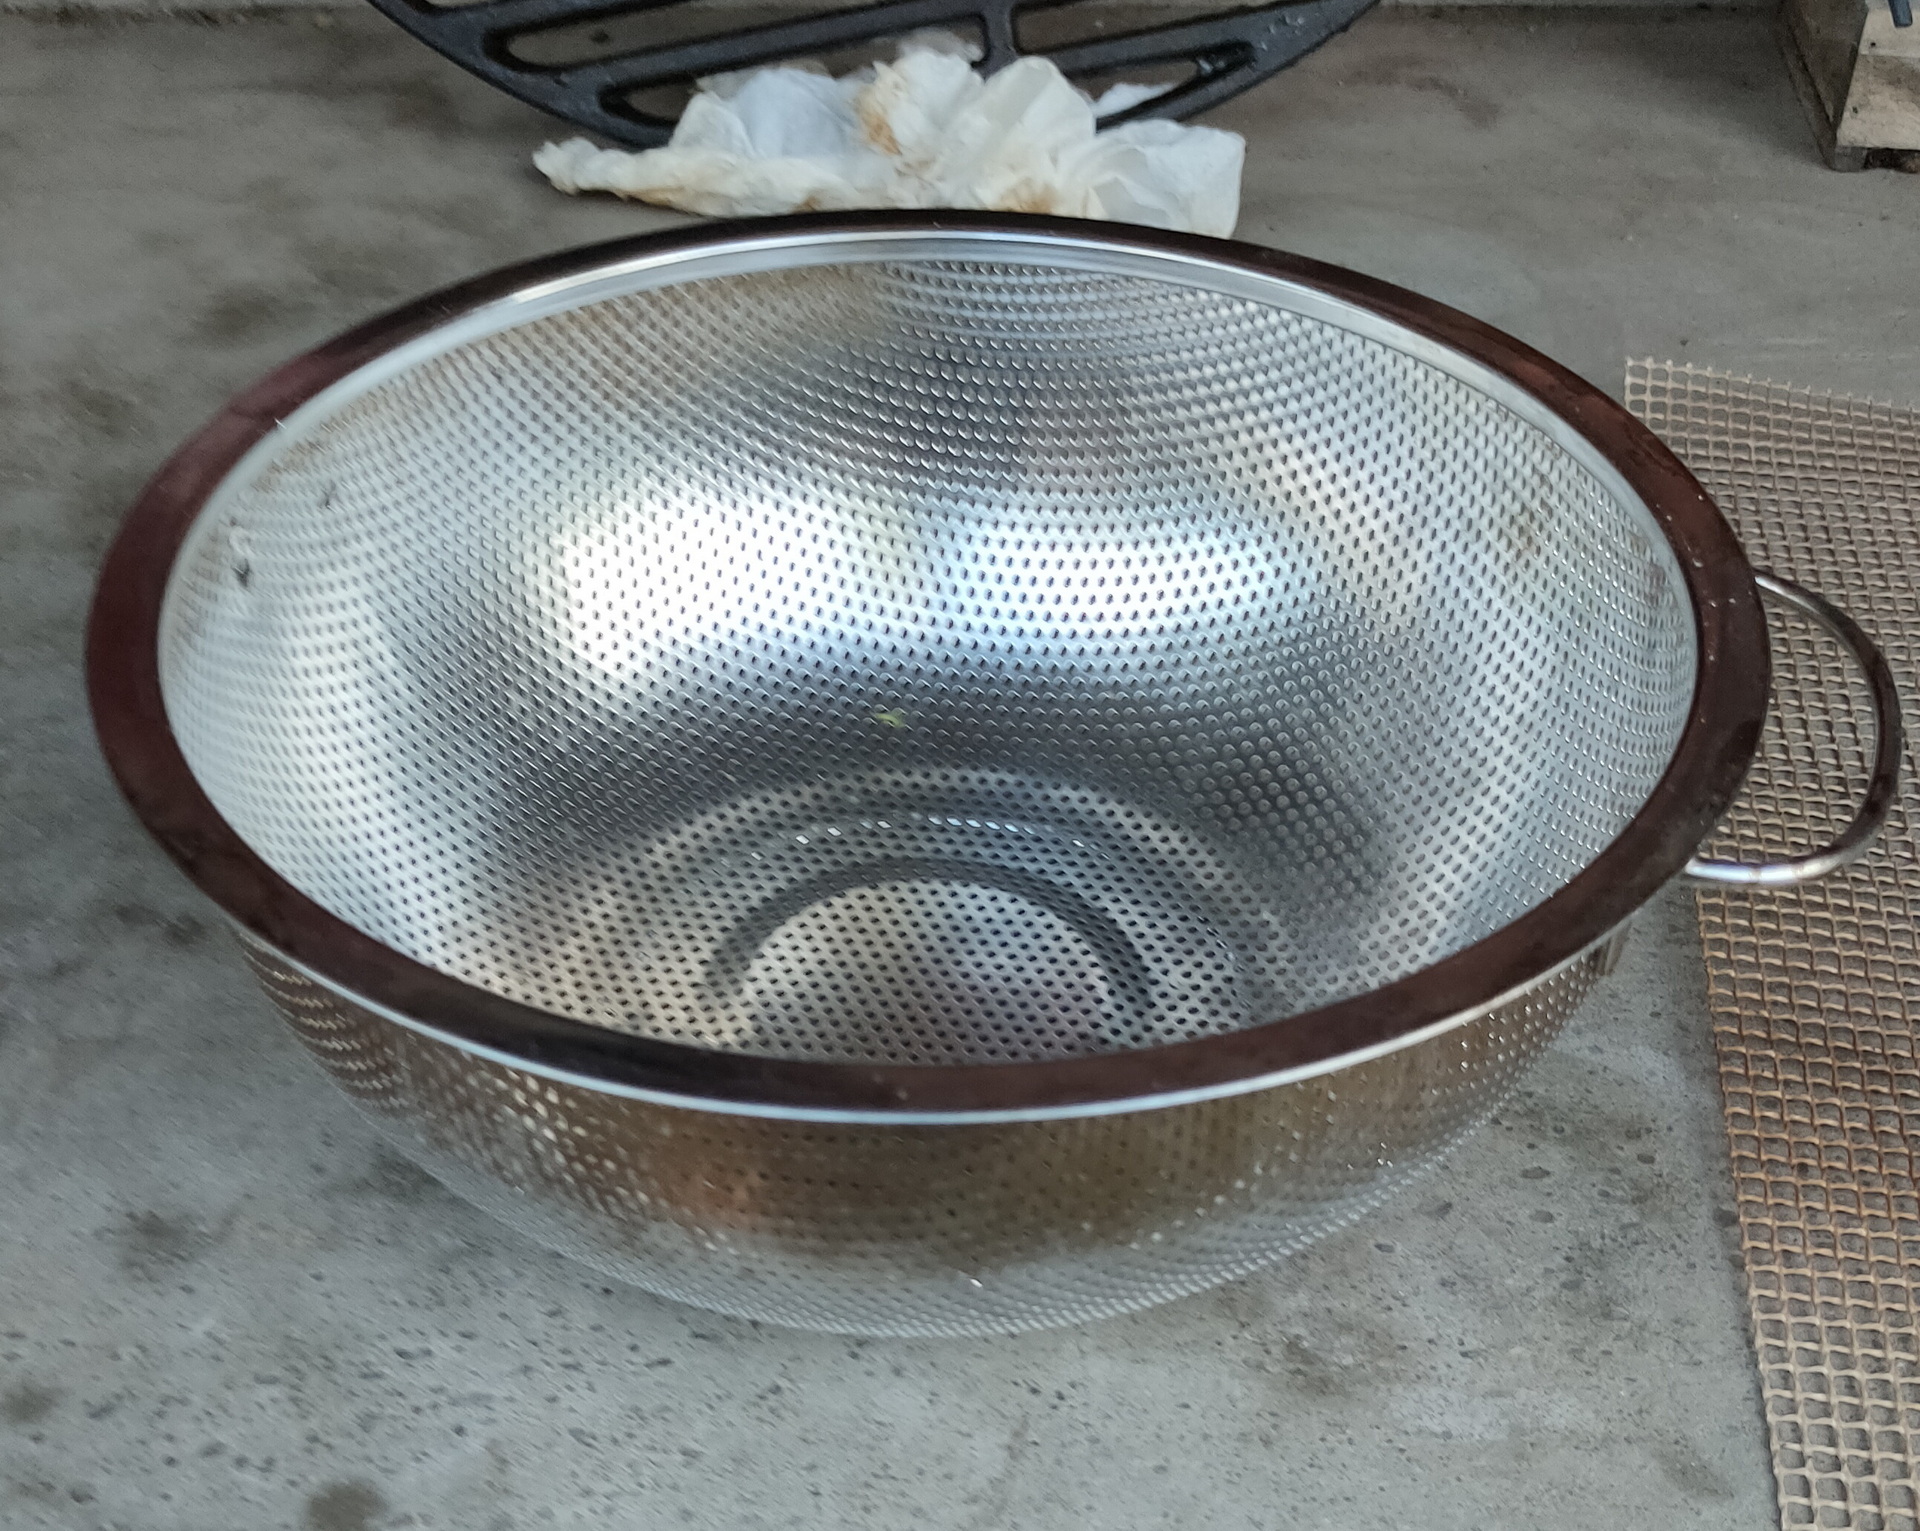
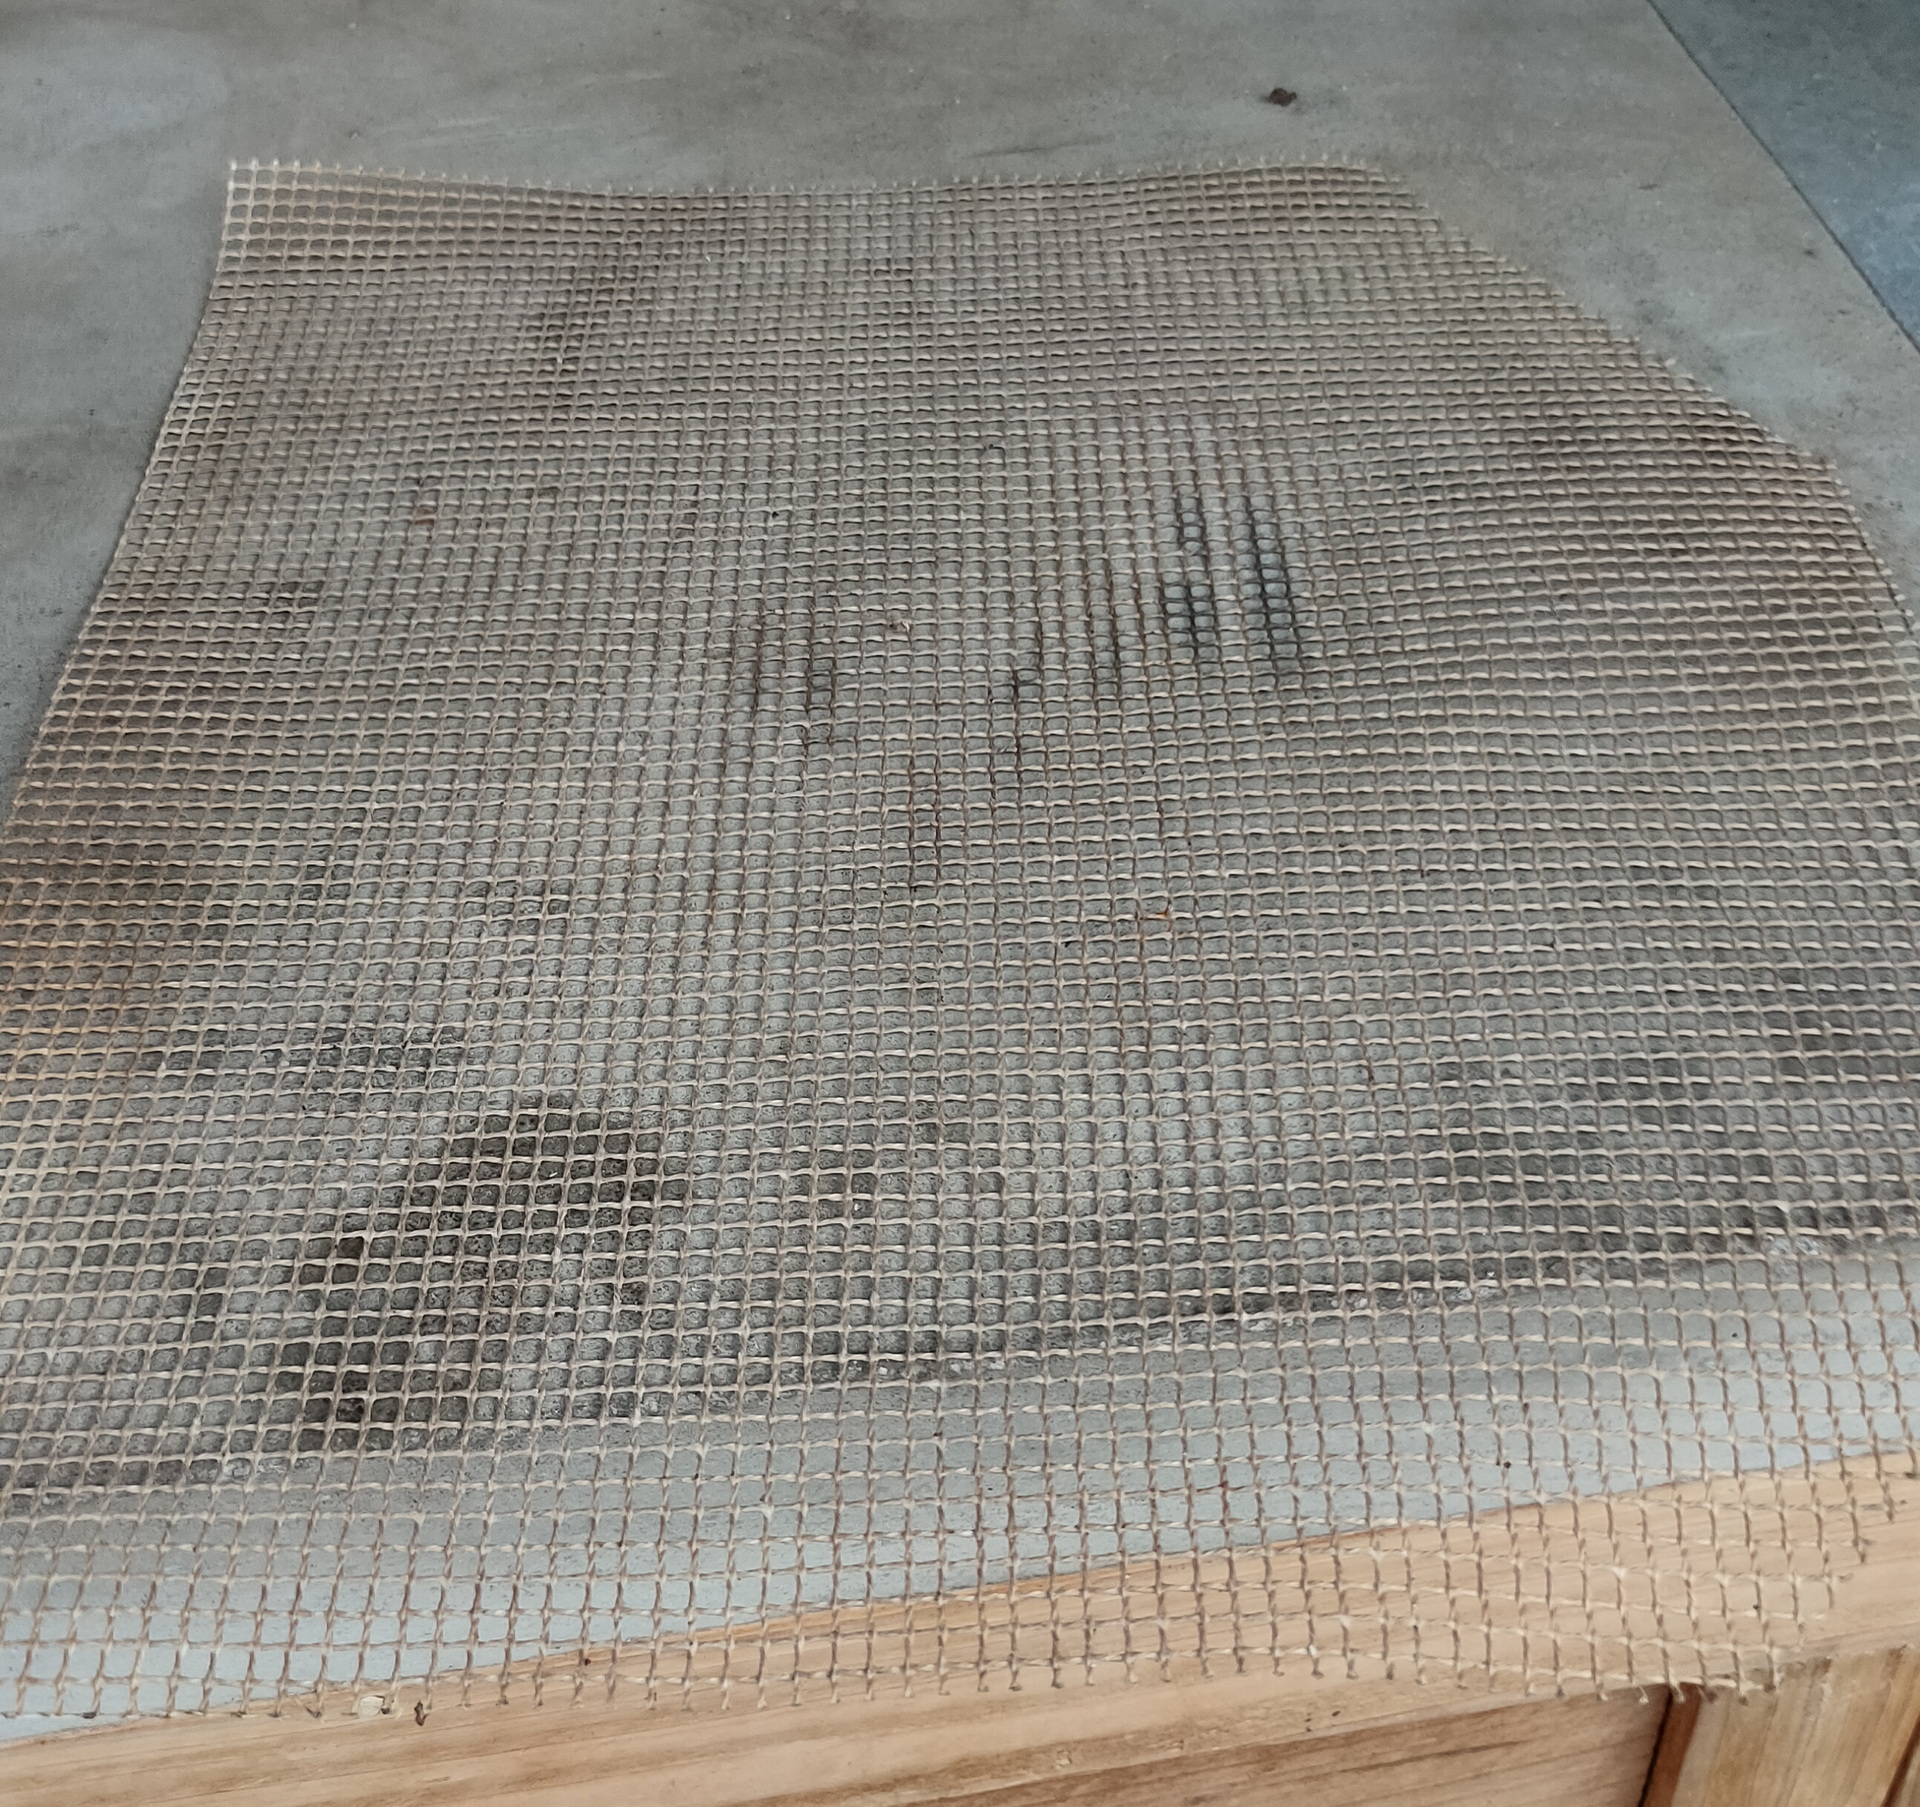
Small pieces of meat? Use a fine mazed mat like this
At last .. some tips for you to try:
(No links to recipes on the internet, just google there are many .. i will post recipes i’ve tried myself)
Ribs 3-2-1 method
Got a nice steak with a fat cap?
Try argentina style.
Just do a 3-minutes per site. (Even better .. use a pre-heated iron cast grate to get some nice lines.
At the end press the meat on the grate, so the fat melts and drips onto the coals. These wil burn and give big flames. Those burning flaming fat wil give your beef a taste to remember!

Briskett
Cold smoking
Moinkballs
Beercan Chicken