Last Updated or created 2024-05-01
Today we worked on this project again. (Bigred and me)
There were some problems we needed to fix since last time:
- It was quite hard to get the correct parts.
Our display connector was only fitted with connection pins on the wrong side of the connector. (up/down)
So I bought a connector with both positions populated.
So we had to replace this hard to solder (40 pin) connector. - It was not clear what the orientation should be of the atmega328pb.
We looked at the pinout, and followed the VCC/GND. But these are also available of the opposite side of the chip. (We missed that)
Later, we saw a tiny line on the PCB, which showed the pin 1 placement.
So we had to remove and replace the chip.
When turning on the power, (with incorrect placement) probably fried R5 (10k resistor), on both our boards.
Had to replace those also. - Programming the atmega328pb was not easy, see below fixes.
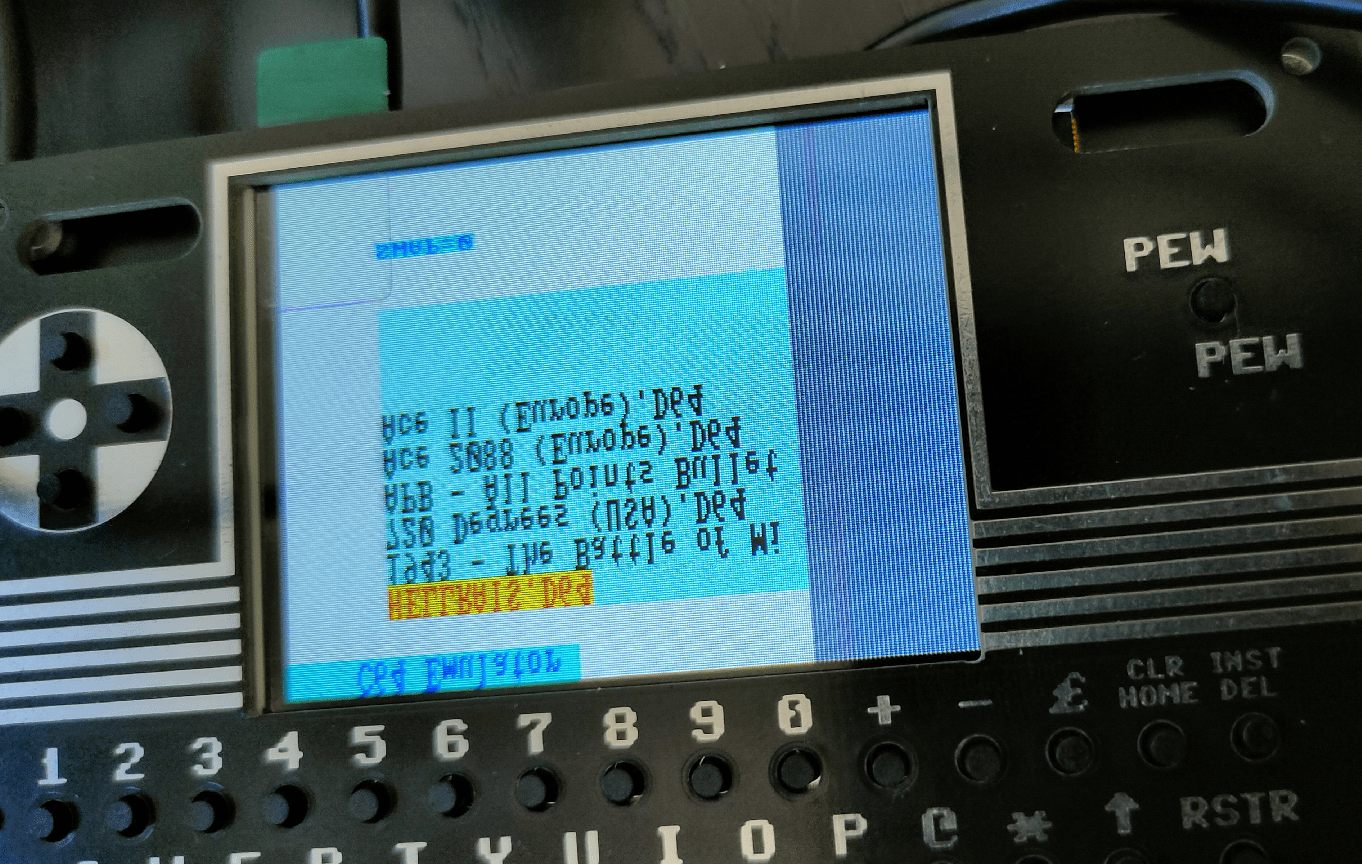
- Compiling the pico firmware resulted in a black screen.
Below the fixes I had to make to get the screen working.
Other things still to fix.
- Bigreds screen.
- atmega328p didn’t work for Bigred, so probably needs to replace with the pb version.
- My battery controller is not charging.
See bottom of page - Some of my buttons are working. The pewpew and some of the cursor keys (not as I expect, there are some up/down issues)
And none of the other keys are working.
Some other things we noticed.
- sdcard: remove partitions, format using mkfs.exfat
Create a c64 directory on this filesystem where you can put the d64 files! - 0402 SMD is far too small for me.
There is enough room on the board to use 0805 for example.
Even THT is possible, there are only a few components. - Some components are TOO close together, removing a component resulted in other small parts disconnecting also.
My friend Bigred said: If I can see it, I can solder it.
But it is not easy. This probably keeps a lot of people from building it!
Below the diff from the source we got from:
https://github.com/silvervest/MCUME/tree/c64pico
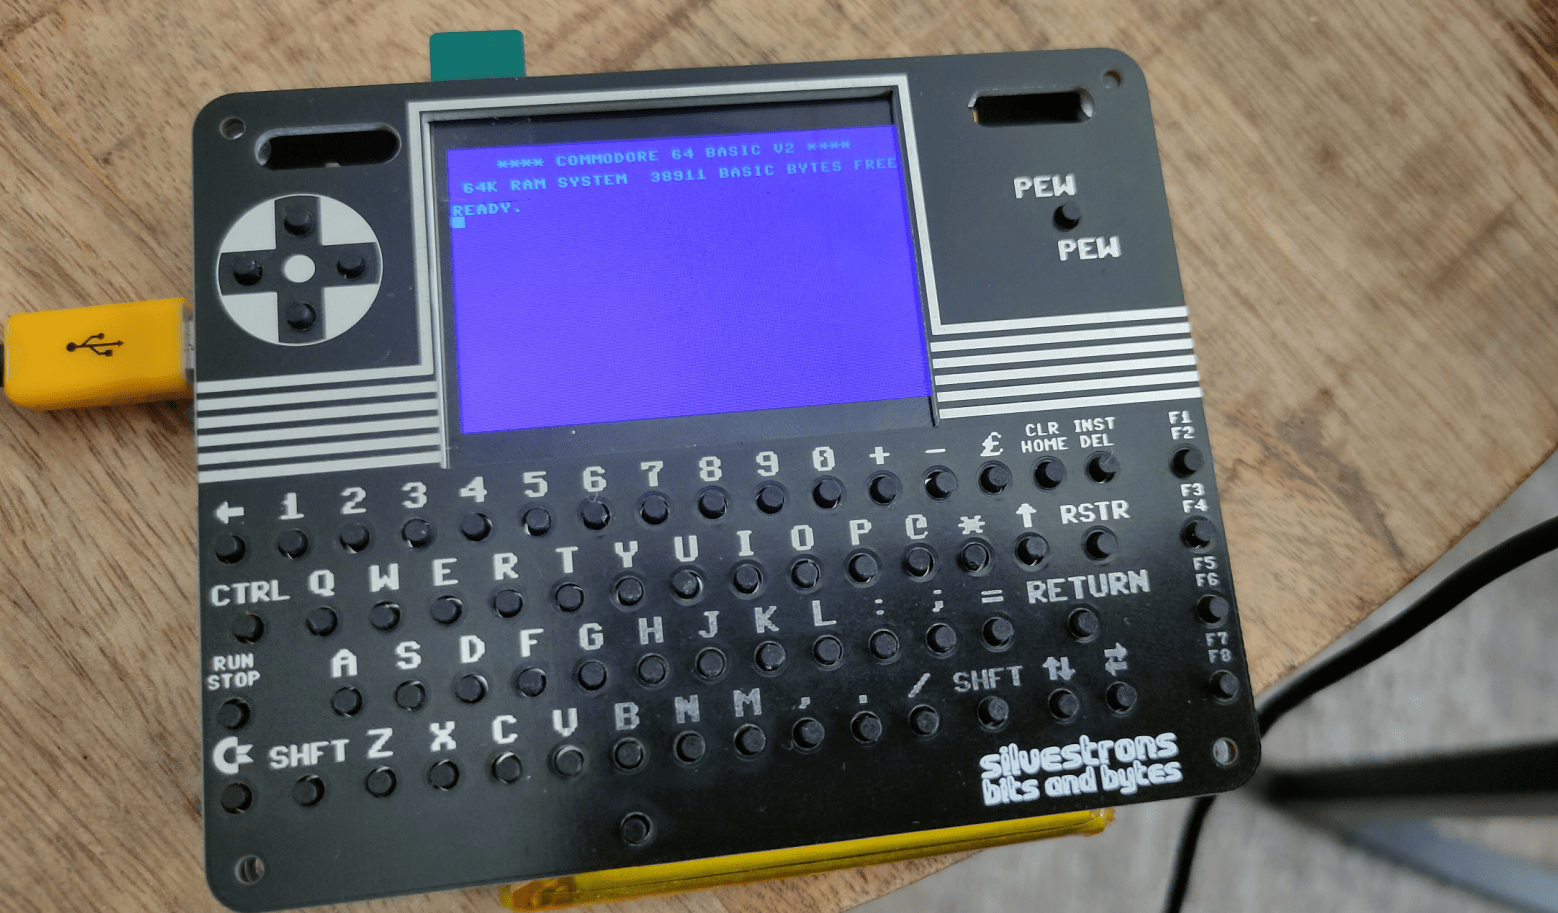
UPDATE 20240501: We needed to clone the c64pico branch!
git clone -b c64pico https://github.com/silvervest/MCUME.git
Then it worked with the screen and keyboard!
Programming the atmega328pb using usbasp
https://www.henriaanstoot.nl/2022/06/30/morse-with-a-attiny85/
Link above shows the programmer.
To get your Arduino IDE up and running
- Open the Arduino IDE.
- Open the File > Preferences menu item.
- Enter the following URL in Additional Boards Manager URLs:
https://mcudude.github.io/MiniCore/package_MCUdude_MiniCore_index.json - Open the Tools > Board > Boards Manager… menu item.
- Wait for the platform indexes to finish downloading.
- Scroll down until you see the MiniCore entry and click on it.
- Click Install.
- After installation is complete close the Boards Manager window.
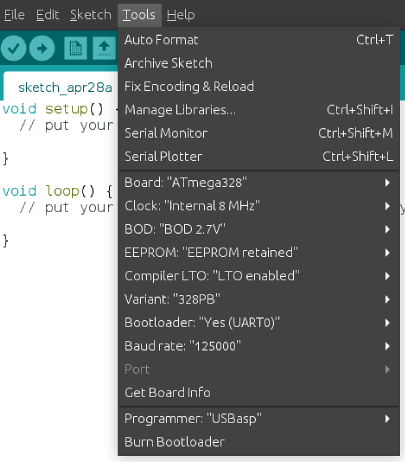
Above settings worked for me, maybe you can also try Programmer: usbasp (slow)
First install the bootloader.
When compiling the keyboard program of silvervest, you can find “Upload using programmer” in the Sketch menu!
(https://github.com/silvervest/c64pico/tree/master/keyboard)
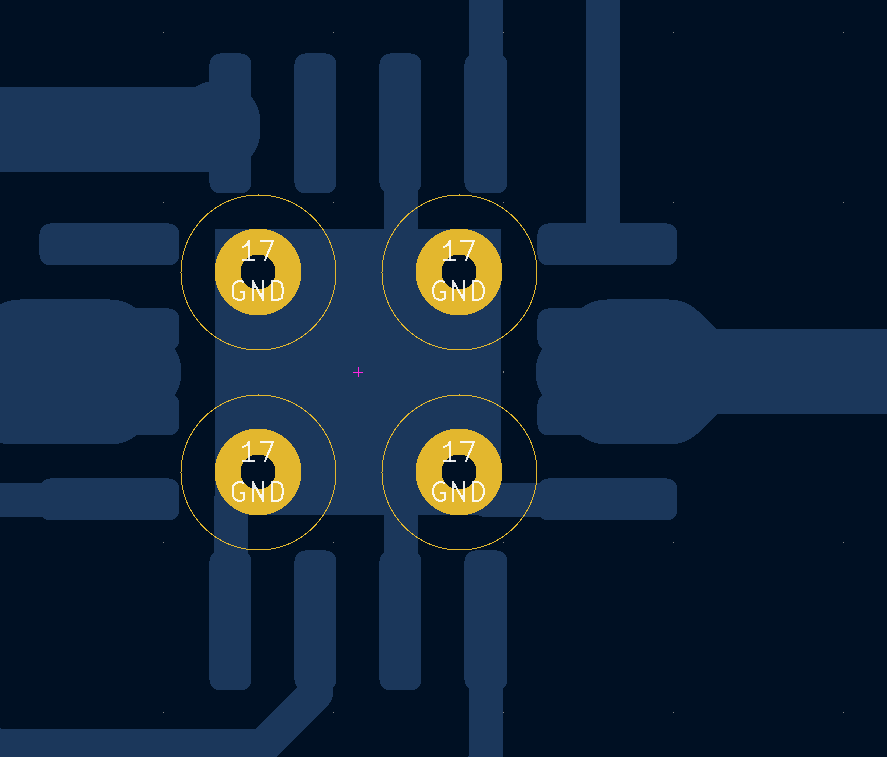
CHARGING using BQ24230RGTT
Maybe I’ve got a problem with the ground plating of the charger.
Also very hard to solder the sides!