Welllll .. kinda .. blender using cloth simulation.
I started using cloth simulation to get a blanket “natural/using folds, so not perfect” on a bed scene.
Very cool

Welllll .. kinda .. blender using cloth simulation.
I started using cloth simulation to get a blanket “natural/using folds, so not perfect” on a bed scene.
Very cool
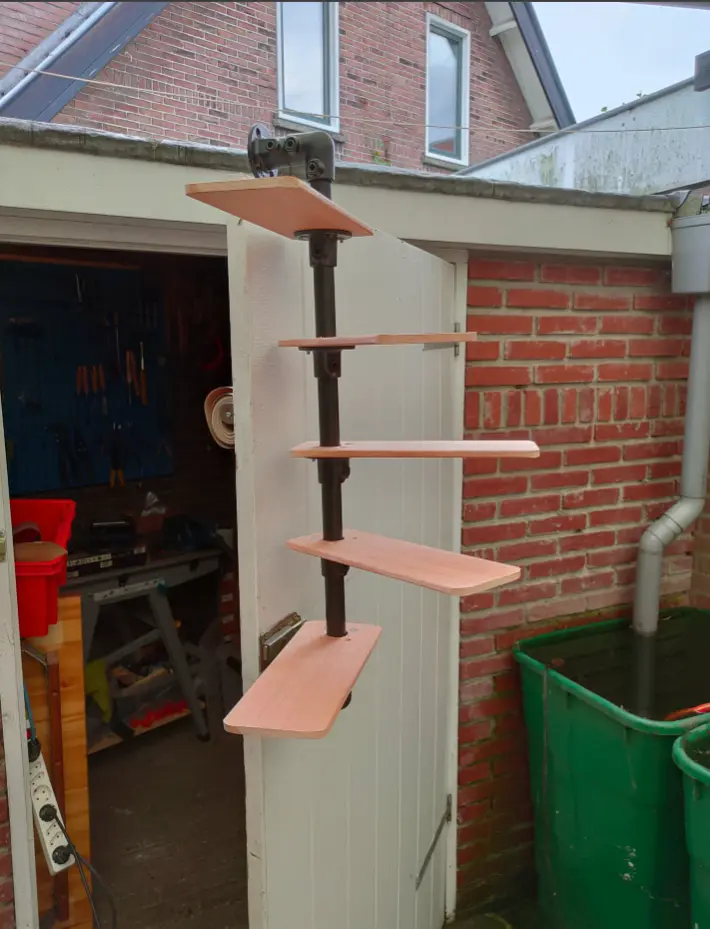
Make a thing .. for a mancave.
Simple setup using wood and scaffolding tubes.
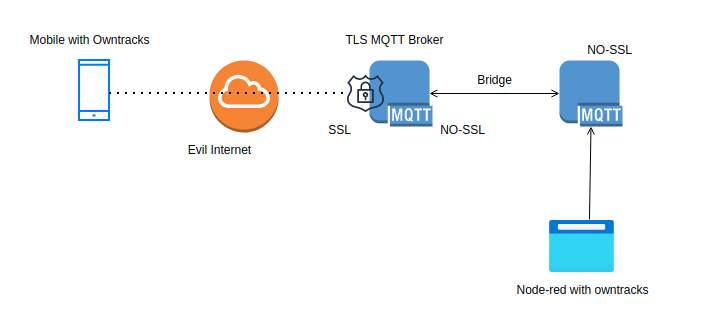
A little diagram explaining what i’m using to get a secure mqtt owntracks setup. (reinstall)
Mobile connects with certificates and password to my server in DMZ using port 8883 (no sockets activated at the moment)
Mqtt server in DMZ connects via a bridge to my internal mqtt server. (Both Mosquitto)
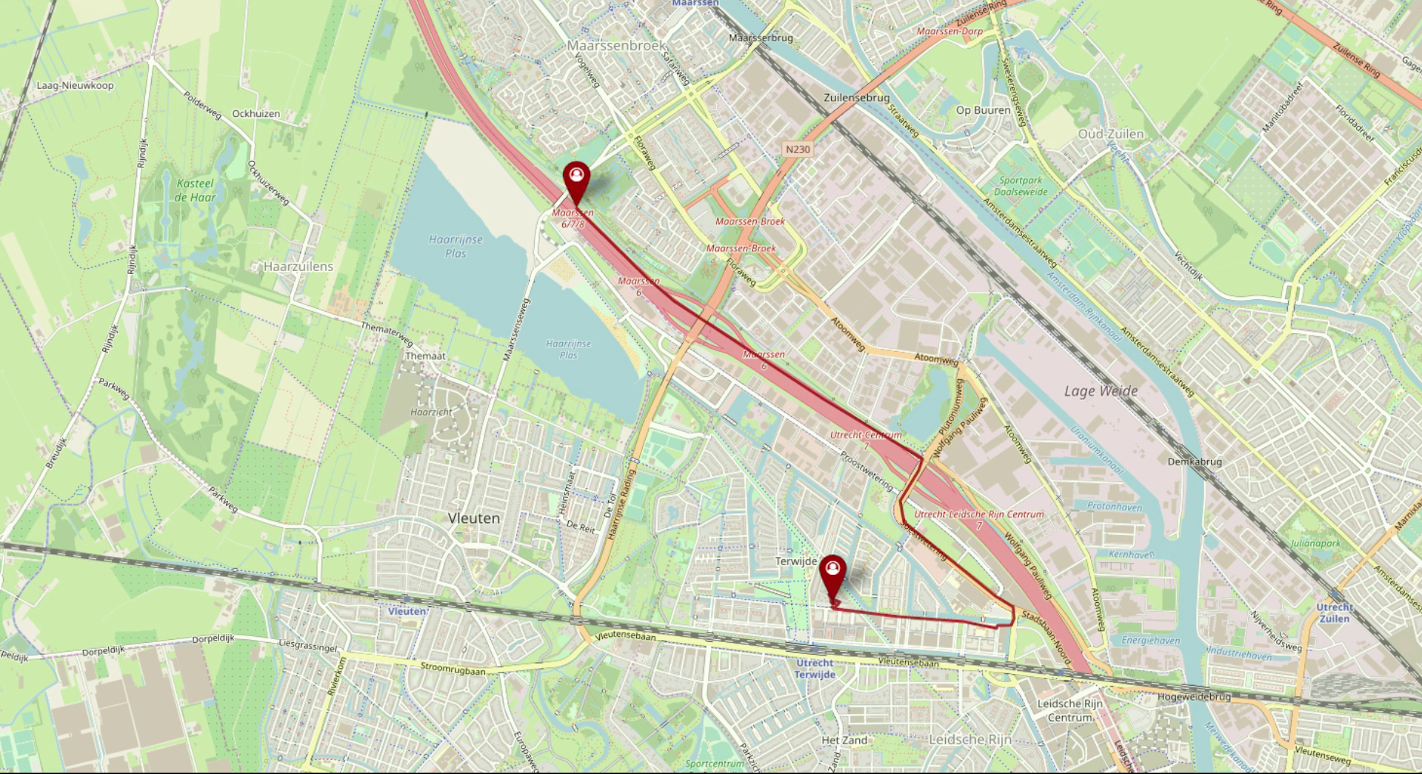
Node-red using a worldmap plugin displays the current position of my mobile. Coordinates are stored in a InfluxDB and geolocation is being used to activate/de-activate other node-red nodes.
Start with downloading :
https://github.com/owntracks/tools/blob/master/TLS/generate-CA.sh
Get some environment stuff into place
export IPLIST="83.161.x.x 192.168.1.1 10.12.1.1"
export HOSTLIST="internalhostname.my.lab henriaanstoot.nl mqtt.henriaanstoot.nl"
Generate Certificates and client certificates.
./generate-CA.sh # creates ca.crt and server.{key,crt}
./generate-CA.sh mqttserver # creates server certs
./generate-CA.sh client workstation # creates client certs
./generate-CA.sh client mobile # creates mobile cert
NOTE:
My workstation client is MQTT-explorer, no need to change anything
For owntracks on your mobile you need a P12 certicate, thats a combined cert+key certificate.
openssl pkcs12 -export -in mobile.crt -inkey mobile.key -out mobile.p12Check certs with
openssl x509 -noout -text -in server.crt | grep DNS:
Download p12 and ca.crt to you mobile.
MQTT-explorer, add a new connection and select workstation.crt ca.crt and workstation.key
Create a mqtt password file
mosquitto_passwd -c /etc/mosquitto/passwordfile firstuser
mosquitto_passwd -b /etc/mosquitto/passwordfile nextuser
TLS mosquitto example, change where needed. (this is a multi setup, portforward ONLY 8883 to this instance)
1883 is only for internal bridge communication.
# Place your local configuration in /etc/mosquitto/conf.d/
#
# A full description of the configuration file is at
# /usr/share/doc/mosquitto/examples/mosquitto.conf.example
pid_file /var/run/mosquitto.pid
persistence true
persistence_location /var/lib/mosquitto/
# Plain MQTT protocol
listener 1883
# End of plain MQTT configuration
# MQTT over TLS/SSL
listener 8883
cafile /etc/mosquitto/certs/ca.crt
certfile /etc/mosquitto/certs/server.crt
keyfile /etc/mosquitto/certs/server.key
allow_anonymous false
password_file /etc/mosquitto/passwords
# End of MQTT over TLS/SLL configuration
listener 9001
protocol websockets
# End of plain Websockets configuration
# WebSockets over TLS/SSL
listener 9883
protocol websockets
cafile /etc/mosquitto/certs/ca.crt
certfile /etc/mosquitto/certs/server.crt
keyfile /etc/mosquitto/certs/server.key
log_dest file /var/log/mosquitto/mosquitto.log
#include_dir /etc/mosquitto/conf.d
connection bridge-01
address INTERNALIP:1883
topic owntracks/# both 0
Plain internal ‘open’ mosquitto setup only needs bridge config
connection bridge-01
address TLSMOSQUITTOINSTANCE-IP:1883
topic # in 2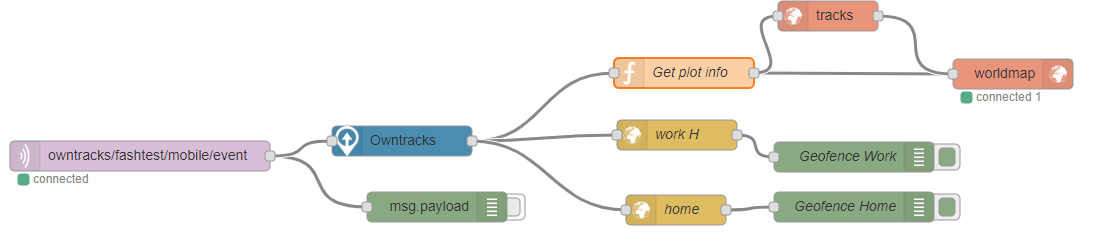
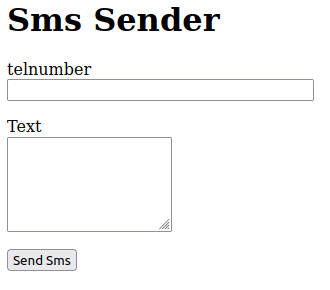
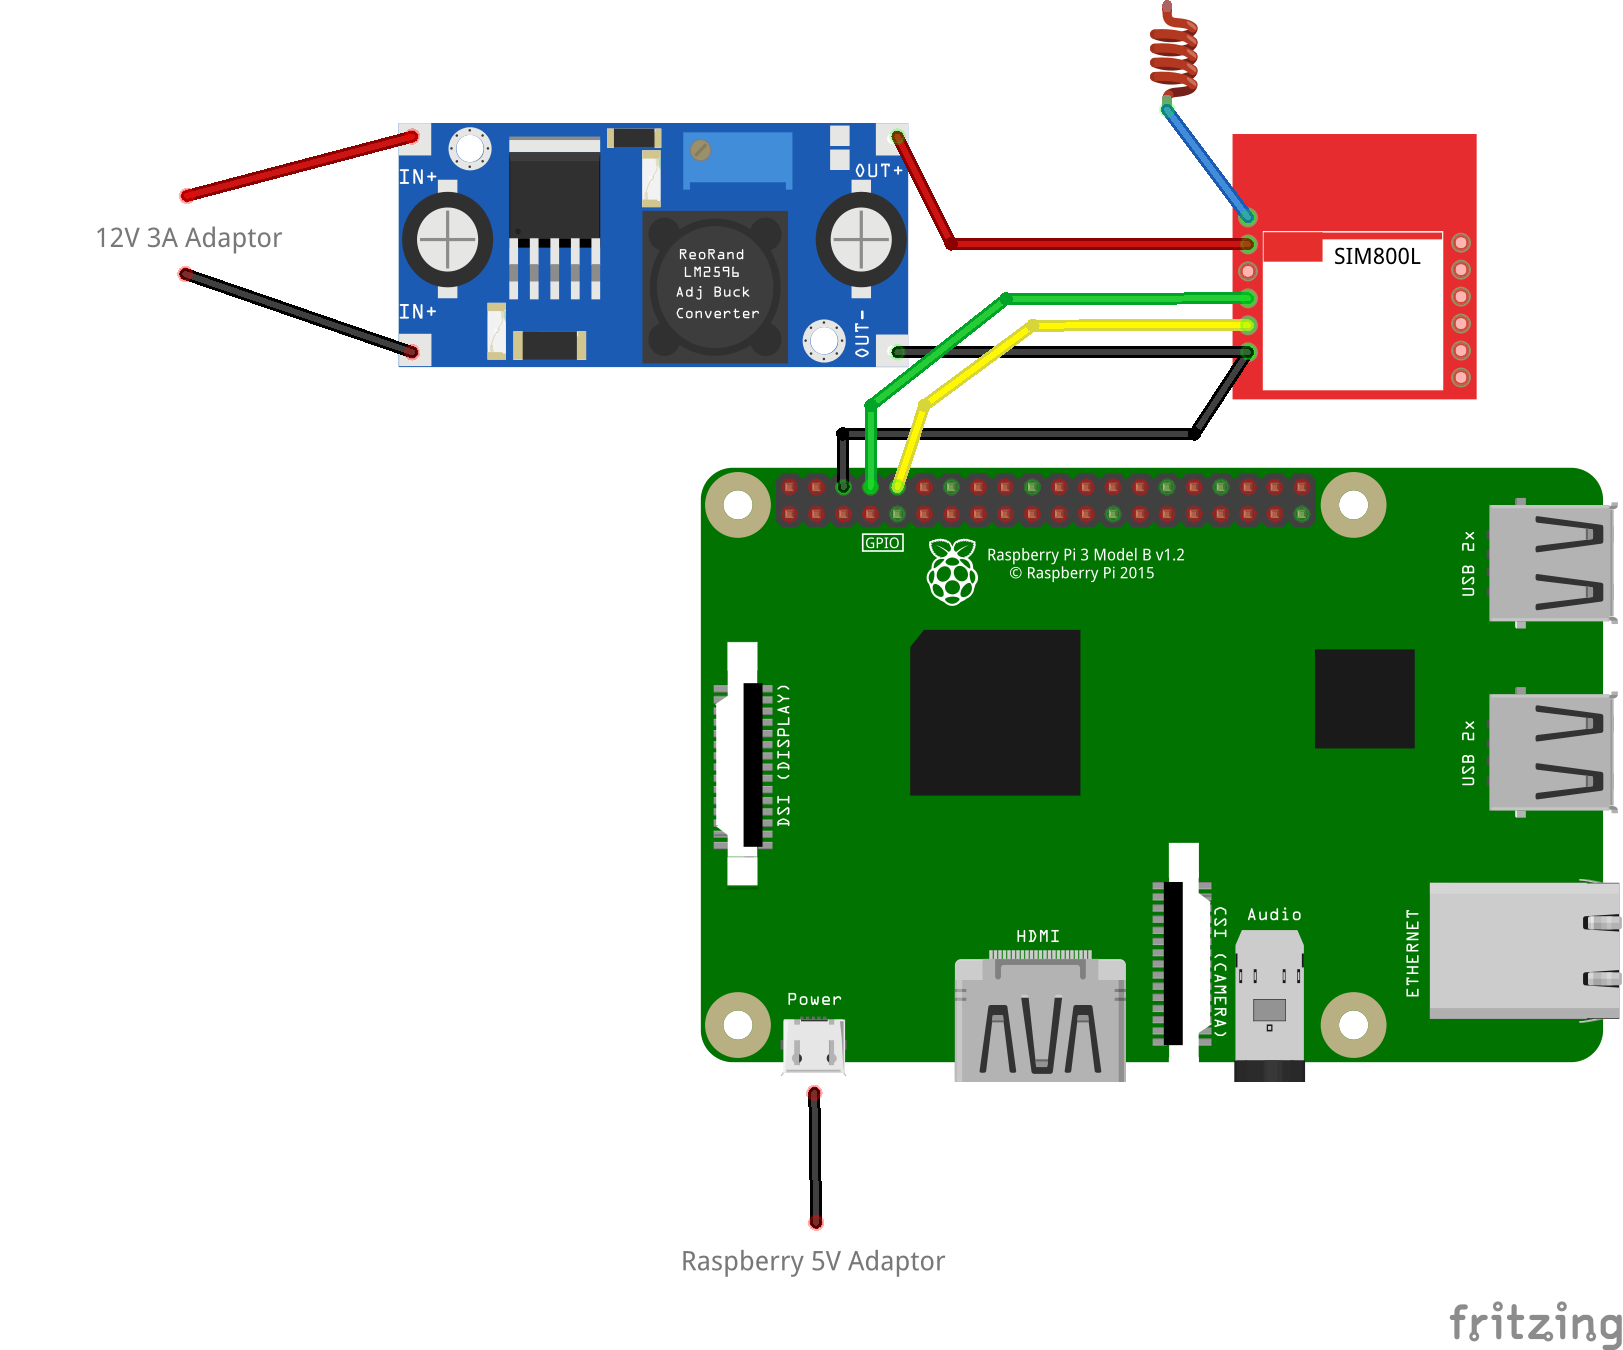
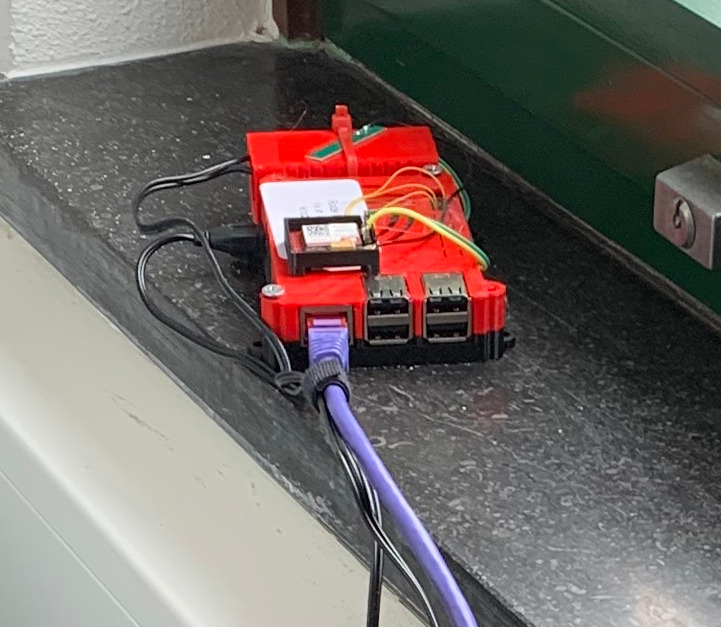
Made a generic sms sender, for check_mk monitoring + sending password of accounts.
You can send sms by filling in a form, or using a url like:
http://smsgateway.local:8080/sms/0612341234/Message%20met%20spatiesIt uses a Raspberry and a sim800L module.
Remove pin from simcard fix:
sudo minicom -b 115000 -o -D /dev/serial0

 AT+CPIN?
+CPIN: SIM PIN

AT+CPIN=0000
OK

AT+CLCK=”SC”,0,”0000″
OK

AT+CPIN?
+CPIN: READY
Cron
@reboot sh /home/pi/launcher.sh Launcher
cat /home/pi/launcher.sh
#!/bin/bash
cd /home/pi
while true; do
/usr/bin/python newapi.py
done
newapi.py (uses flask)
import serial
import RPi.GPIO as GPIO
import os, time
import sys

from flask import Flask, render_template, request
app = Flask(__name__)

from flask_wtf import FlaskForm
from wtforms import StringField, PasswordField, BooleanField, SubmitField, TextAreaField
from wtforms.validators import DataRequired

from flask import render_template

app.config['SECRET_KEY'] = 'you-will-never-guess'

class FormForm(FlaskForm):
    telnumber = StringField('telnumber', validators=[DataRequired()])
    messagepart = TextAreaField('Text', render_kw={"rows": 5, "cols": 20})
    submit = SubmitField('Send Sms')

@app.route("/sms/<number>/<message>")
def action(number, message):
        num = number.encode()
        mes = message.encode()
	GPIO.setmode(GPIO.BOARD)
	# Enable Serial Communication
	port = serial.Serial("/dev/serial0", baudrate=9600, timeout=1)

	# Transmitting AT Commands to the Modem
	# '\r\n' indicates the Enter key
	port.write('AT'+'\r\n')
	rcv = port.read(10)
	print rcv
	time.sleep(1)
	#port.write('ATE0'+'\r\n')      # Disable the Echo
	#rcv = port.read(10)
	#print rcv
	#time.sleep(1)
	port.write('AT+CMGF=1'+'\r\n')  # Select Message format as Text mode
	rcv = port.read(10)
	print rcv
	time.sleep(1)
	port.write('AT+CNMI=2,1,0,0,0'+'\r\n')   # New SMS Message Indications
	rcv = port.read(10)
	print rcv
	time.sleep(1)
	port.write('AT+CSCS="GSM"'+'\r\n')
	rcv = port.read(10)
	print rcv
	time.sleep(1)
	# Sending a message to a particular Number
	port.write('AT+CMGS="'+num+'"\r\n')
	rcv = port.read(10)
	print rcv
	time.sleep(1)
	port.write(mes+'\r\n')  # Message
	rcv = port.read(10)
	print rcv
	port.write("\x1A") # Enable to send SMS
	for i in range(10):
	    rcv = port.read(10)
	    print rcv
        return 'OK'
@app.route("/form")
def form():
    form = FormForm()
    return render_template('web.html', title='Web Sms', form=form)
@app.route('/data', methods = ['POST', 'GET'])
def data():
    if request.method == 'GET':
        return "The URL /data is accessed directly. Try going to '/form' to submit form"
    if request.method == 'POST':

        telnumber = request.form['telnumber']
        messagepart = request.form['messagepart']
        num = telnumber.encode()
        mes = messagepart.encode()
	GPIO.setmode(GPIO.BOARD)
	# Enable Serial Communication
	port = serial.Serial("/dev/serial0", baudrate=9600, timeout=1)
	# Transmitting AT Commands to the Modem
	# '\r\n' indicates the Enter key
	port.write('AT'+'\r\n')
	rcv = port.read(10)
	print rcv
	time.sleep(1)
	#port.write('ATE0'+'\r\n')      # Disable the Echo
	#rcv = port.read(10)
	#print rcv
	#time.sleep(1)
	port.write('AT+CMGF=1'+'\r\n')  # Select Message format as Text mode
	rcv = port.read(10)
	print rcv
	time.sleep(1)
	port.write('AT+CNMI=2,1,0,0,0'+'\r\n')   # New SMS Message Indications
	rcv = port.read(10)
	print rcv
	time.sleep(1)
	port.write('AT+CSCS="GSM"'+'\r\n')
	rcv = port.read(10)
	print rcv
	time.sleep(1)
	# Sending a message to a particular Number
	port.write('AT+CMGS="'+num+'"\r\n')
	rcv = port.read(10)
	print rcv
	time.sleep(1)
	port.write(mes+'\r\n')  # Message
	rcv = port.read(10)
	print rcv
	port.write("\x1A") # Enable to send SMS
	for i in range(10):
	    rcv = port.read(10)
	    print rcv

        return '<a href="/form">Nog een SMS sturen</a>'
@app.route("/checkmk")
def checkmk():
        # Enable Serial Communication
        port = serial.Serial("/dev/serial0", baudrate=9600, timeout=1)

        port.write('AT'+'\r\n')
        rcv1 = port.read(30)
        time.sleep(1)

        port.write('AT+CPAS'+'\r\n')
        rcv2 = port.read(30)
        time.sleep(1)

        port.write('AT+CGREG?'+'\r\n')
        rcv3 = port.read(30)
        time.sleep(1)

        port.write('AT+CGATT?'+'\r\n')
        rcv4 = port.read(30)
        time.sleep(1)

        port.write('AT+CSQ'+'\r\n')
        rcv5 = port.read(30)
        time.sleep(1)

        return 'OK of niet' + rcv1 + rcv2 + rcv3 + rcv4 + rcv5
if __name__ == "__main__":
   app.run(host='0.0.0.0', port=8080, debug=True)
I did the donut in Blender!

A few days later i used blender tracking to move around a (incomplete render) of the donut.
I’ve learned a lot by following YT blender tutorials
Printable tracker marks ( https://www.herma.nl/kantoor-thuis/gratis-software/etiketten-assistent-online/etiketten-assistent-online/ )
Herma round labels
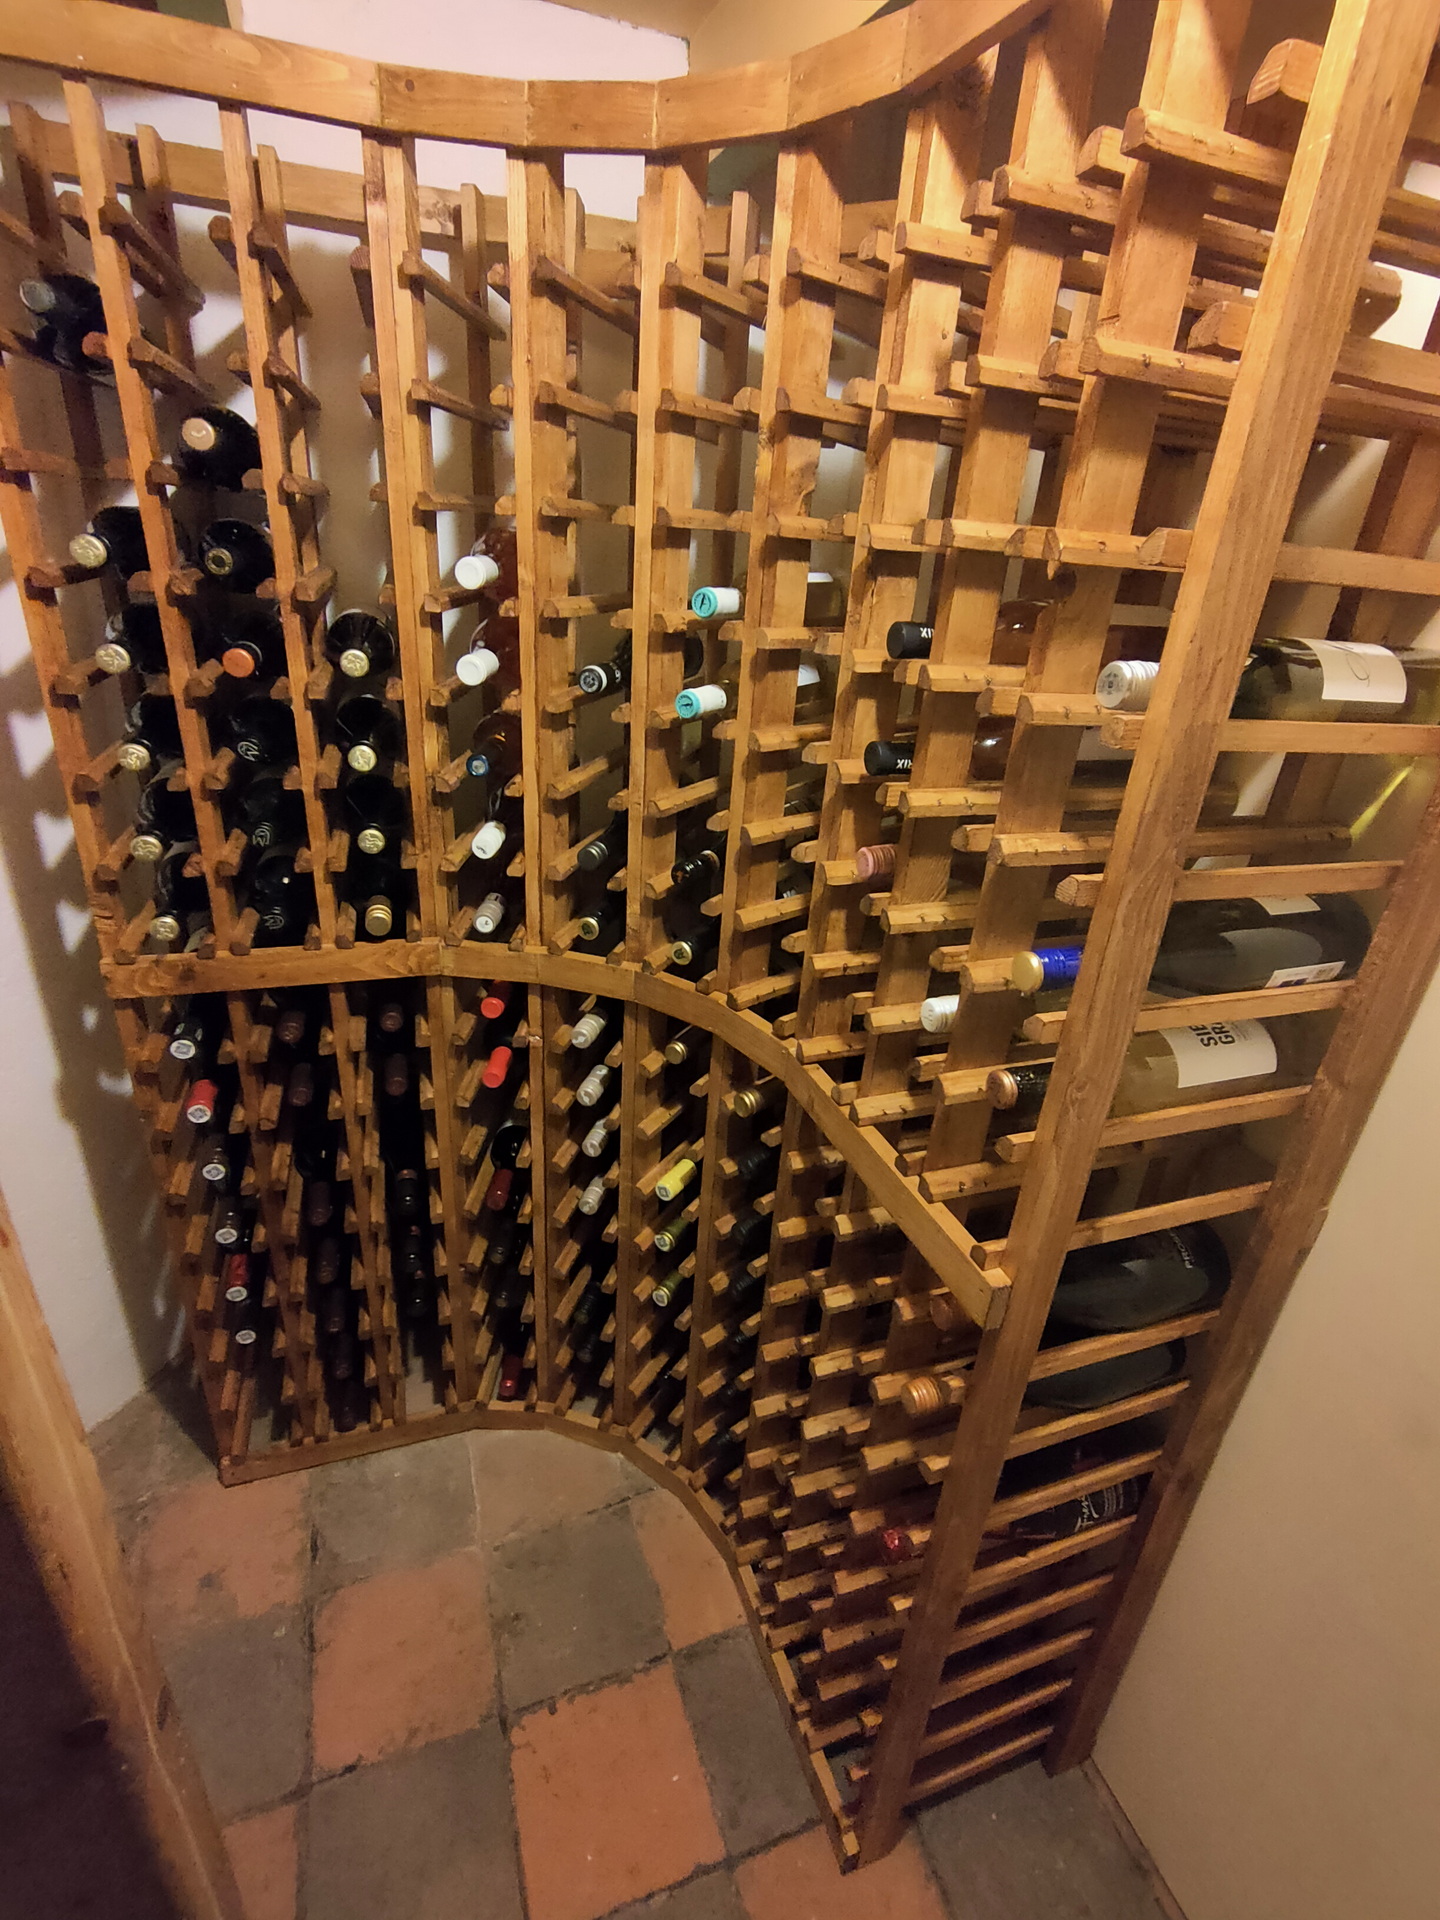
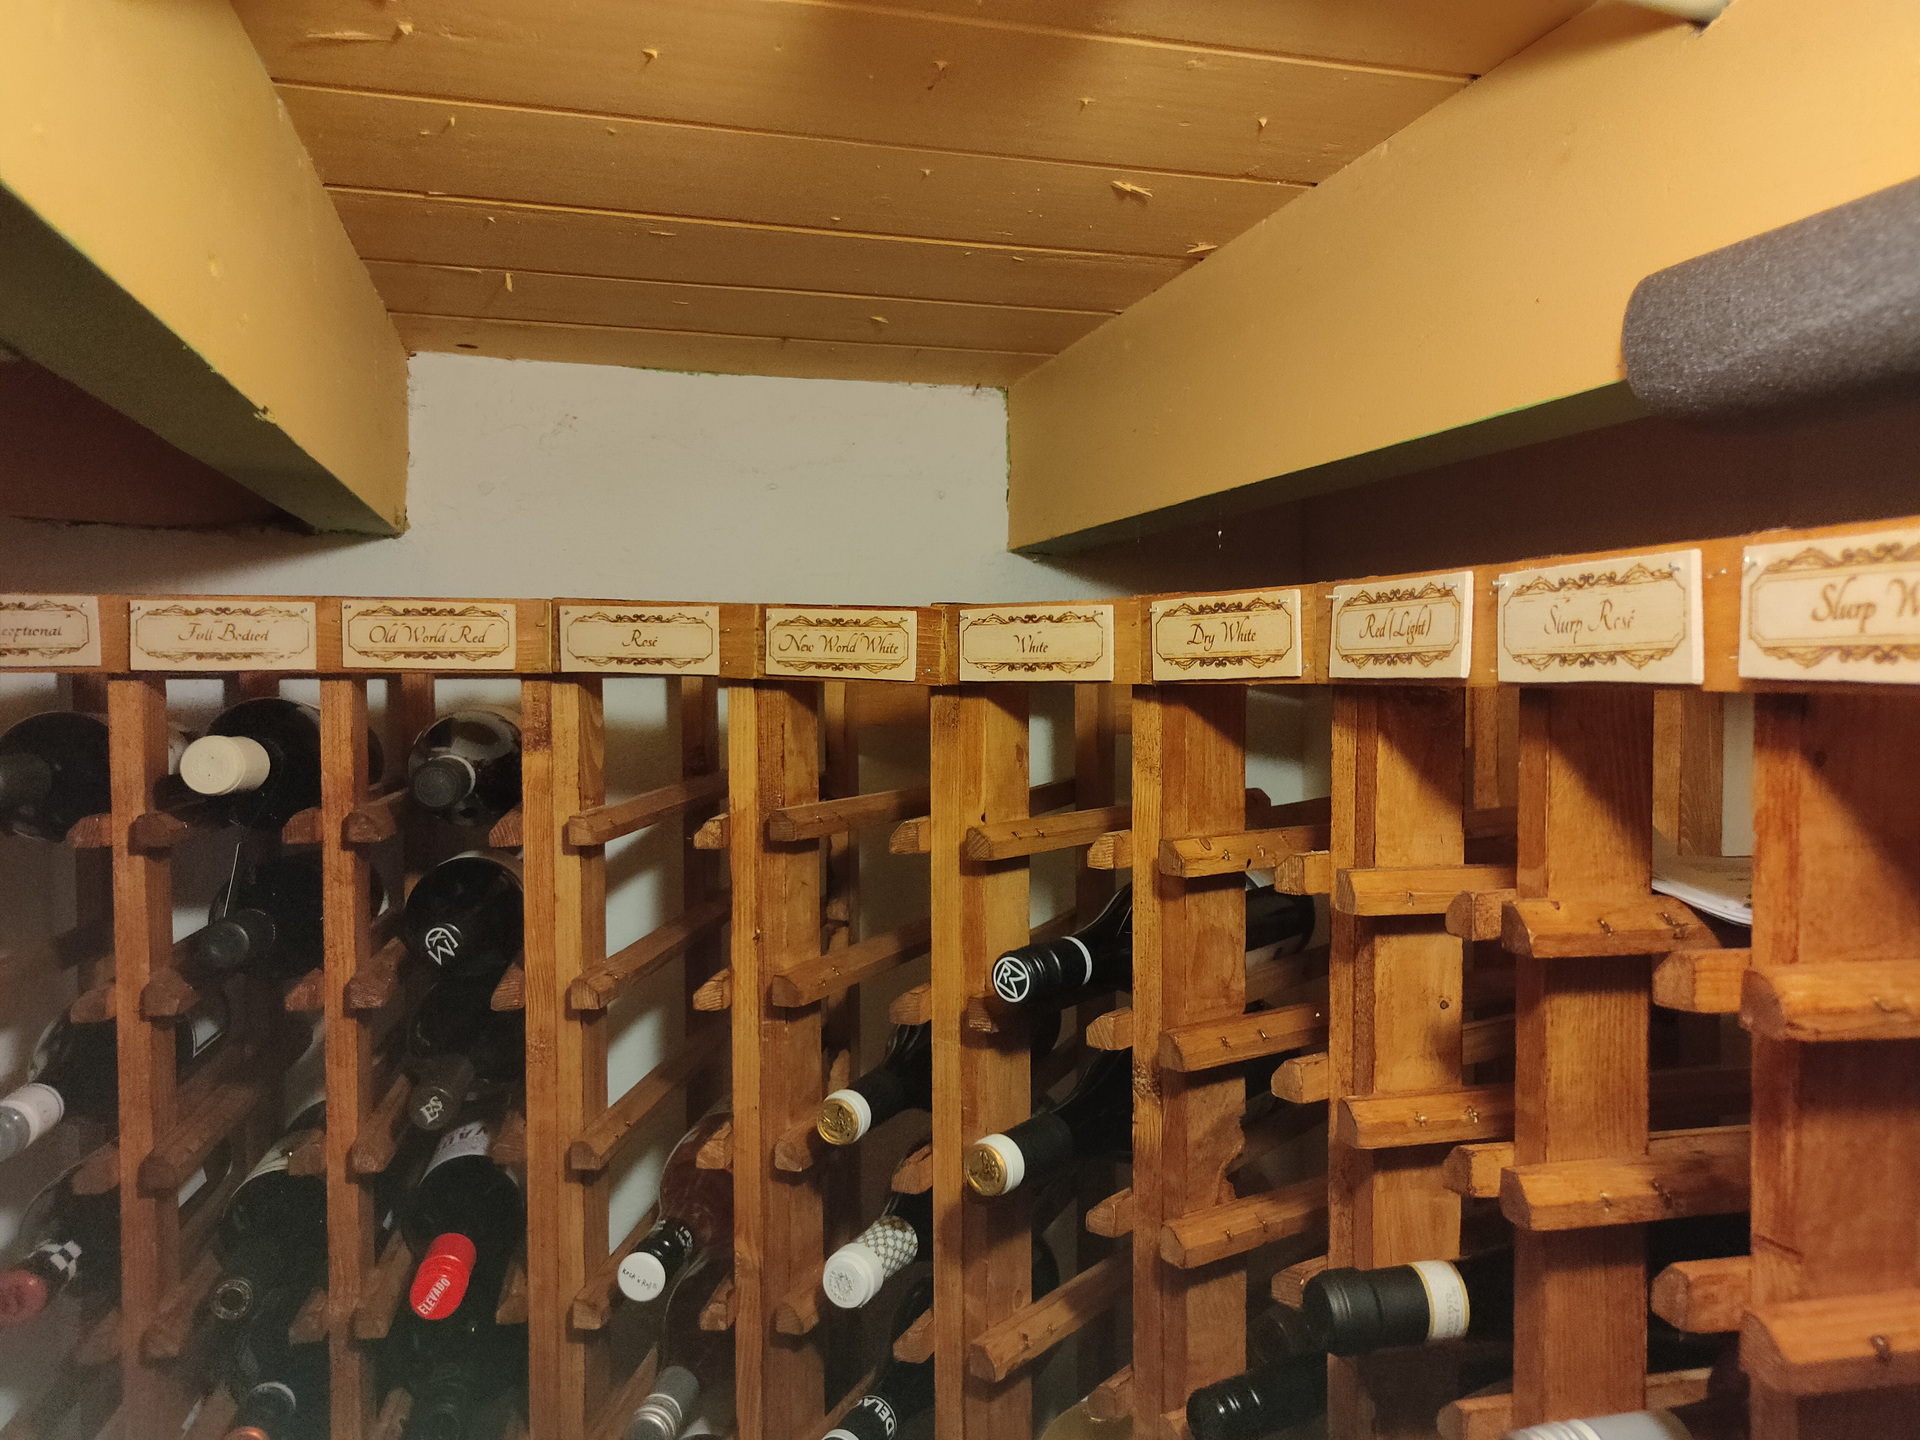
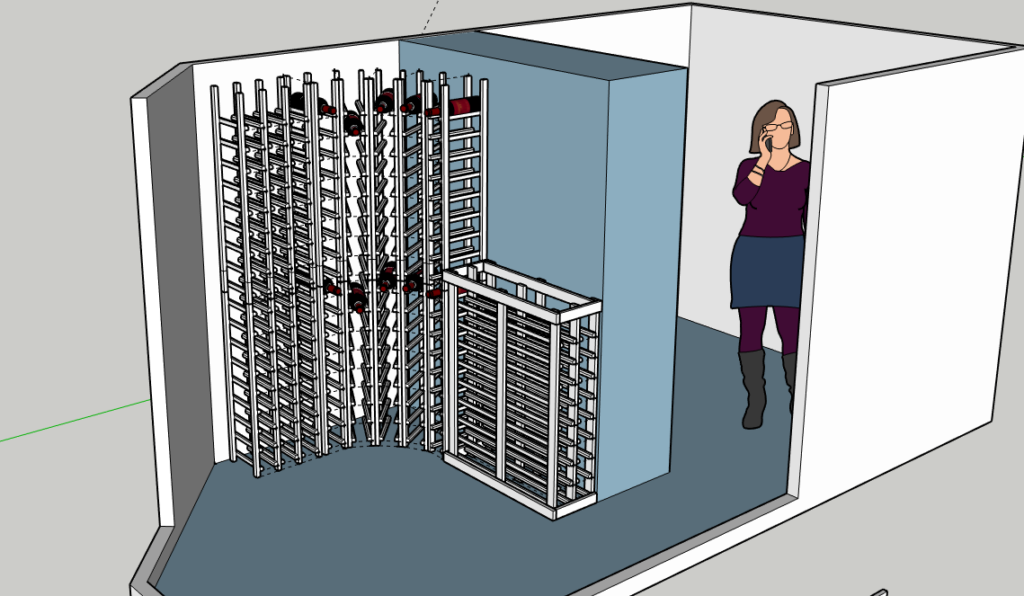
Winerack finished .. at last, with laser engraved labels. (See 3D printer posts)
Enough space for 160 bottles.
No glue, only tacks.
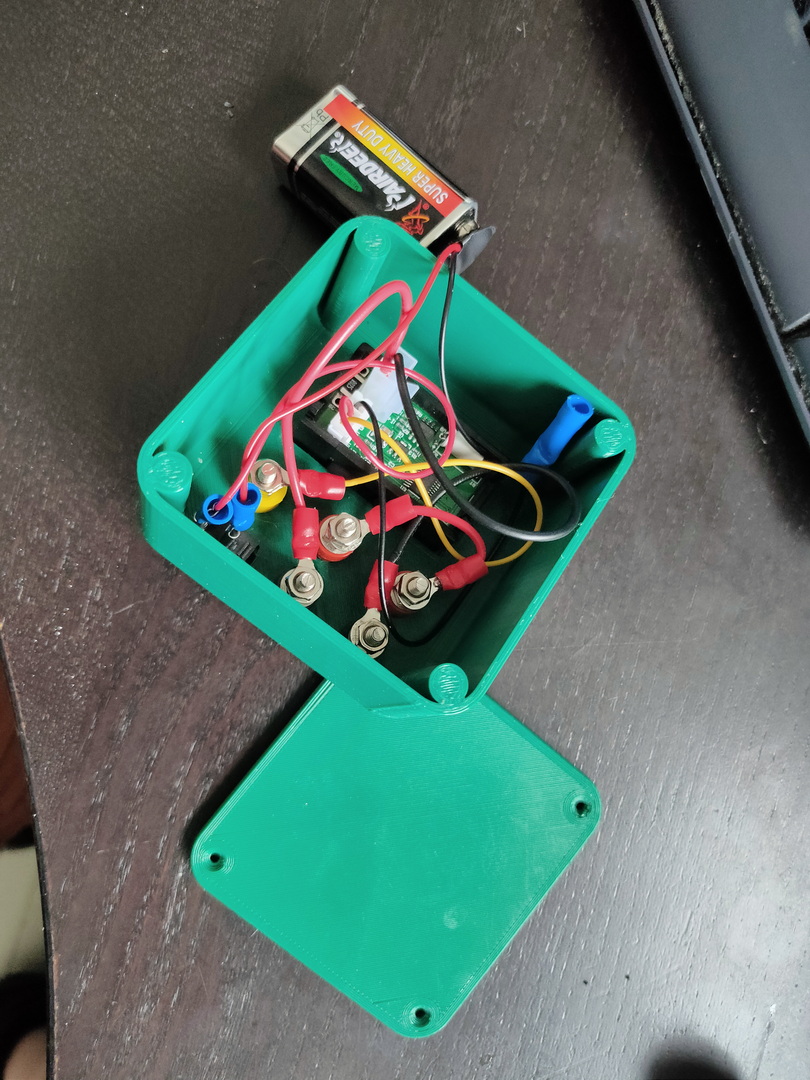
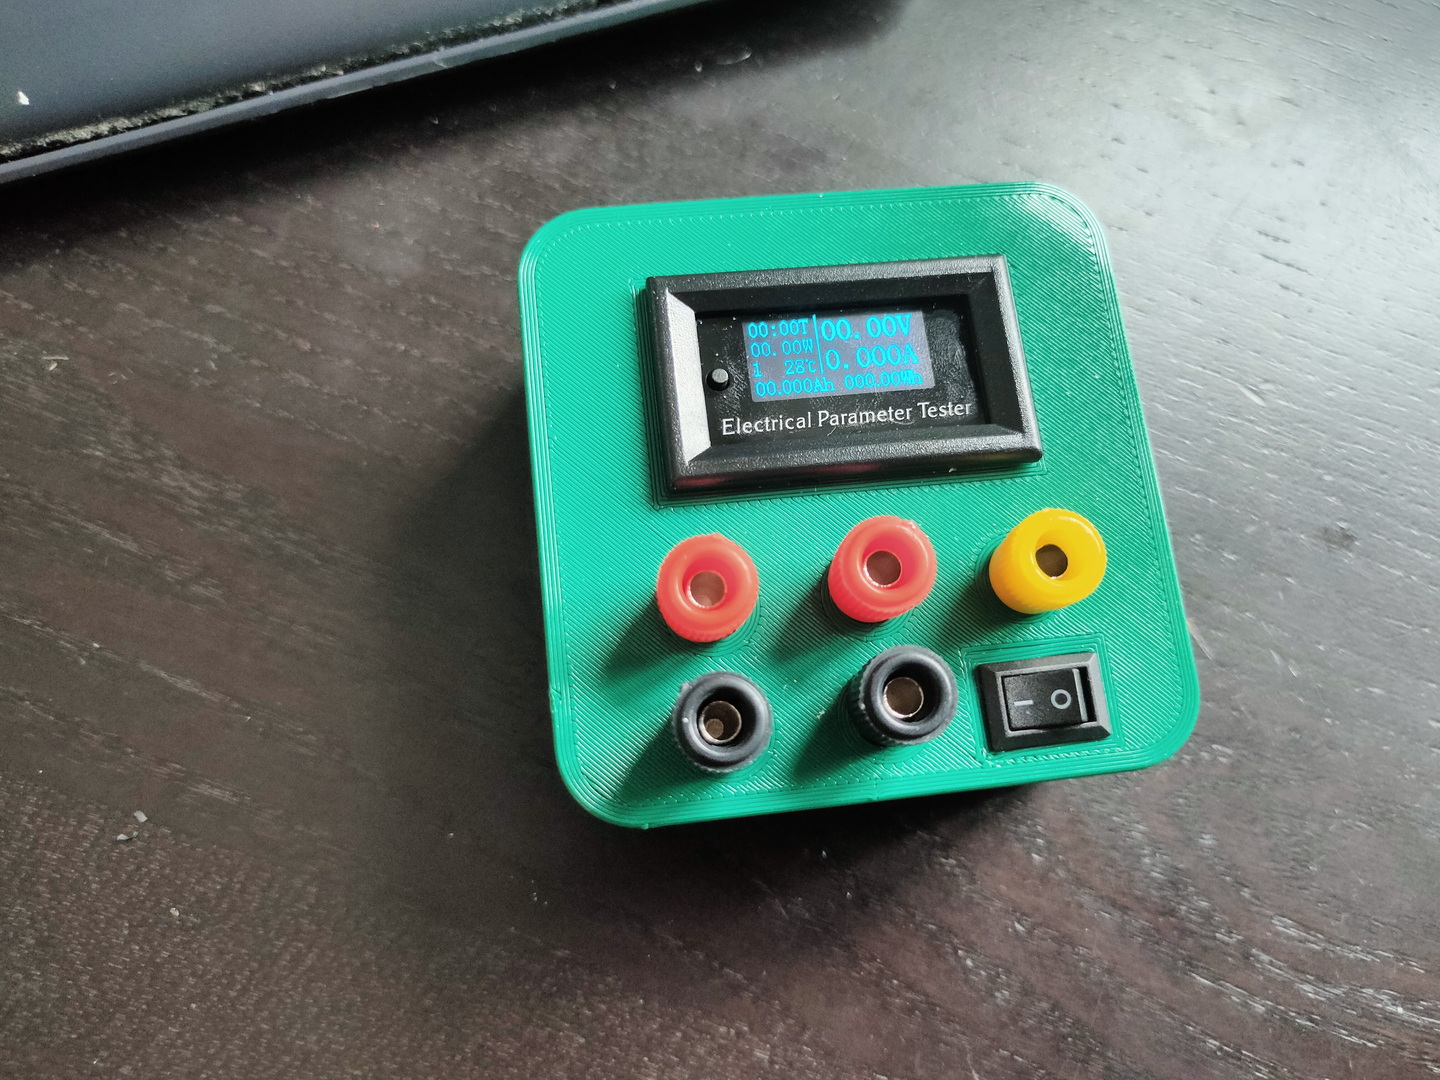
Printed a case for a little meter i use to check power consumption of accu powered devices.
Like the arduino project which uses a 18650 (Li-ion)
3D printed on my Creality 3D CR-10S.
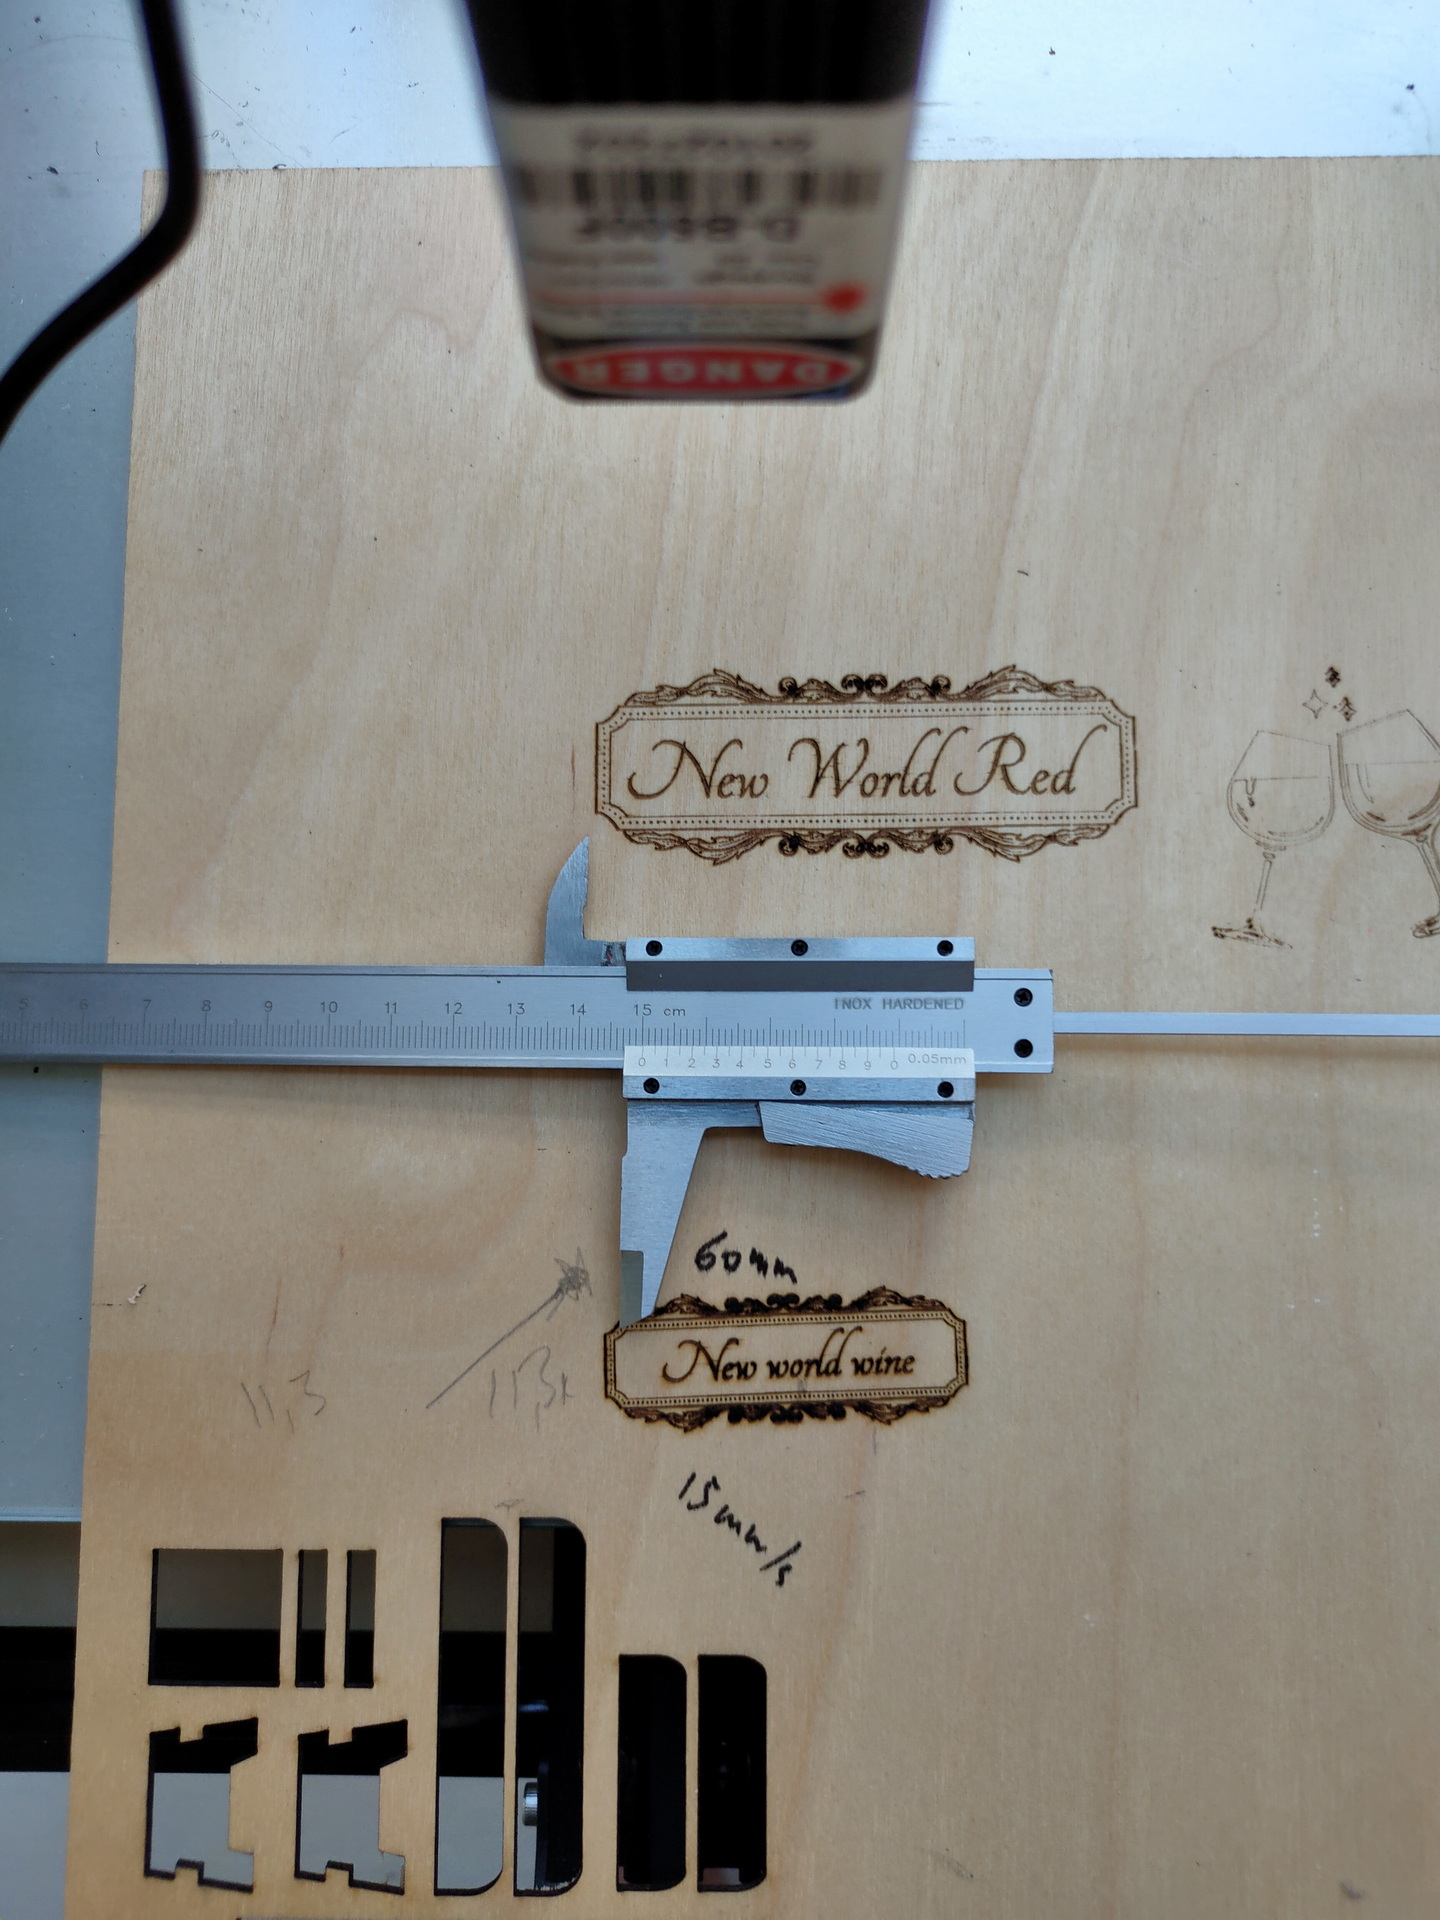
For my winerack i engraved some wooden panels.
When doing so, i needed to fix the height of the engraver to get the focus of the beam right.
At start i removed all Z positions from the GCODE file after calibrating. Later i used a script wrote that fixed the height setting to 110.
#!/bin/bash
# Usage: confirm height focus at 110
# ./scriptname filetofix.gcode
myz=110
cat "$1" | sed s/Z1/Z${myz}/g | sed s/Z6/Z${myz}/g > "fixed.$1"
Another tool i made is the one below, it takes a GCODE file, calulates where the borders are (min/max x and y)
And sets the FAN2 (laser intensity to a minimum)
After that it generates GCODE to draw a box wherein the to be engraved object is made
Now you can run the GCODE file multiple times to position it on the wood to you can get the minimum of spoils.
#!/bin/bash
# Usage: scriptname file.gcode
# It wil create a pointtest file for test running
myz=110
MAXX=$(cat "$1" | grep "G0 X" | awk '{ print $2 }' | cut -c2- | sort -n | tail -1)
MINX=$(cat "$1" | grep "G0 X" | awk '{ print $2 }' | cut -c2- | sort -n | head -1)
MAXY=$(cat "$1" | grep "G0 X" | awk '{ print $3 }' | cut -c2- | sort -n | tail -1)
MINY=$(cat "$1" | grep "G0 X" | awk '{ print $3 }' | cut -c2- | sort -n | head -1)

cat > "pointtest - $1" << EOF
;BingoStart
G90
M17 Z
G0 F3000
G0 Z${myz} F3000
M18 Z
G0 X${MINX} Y${MINY}
M106 S2
G0 F3000
G0 X${MINX} Y${MAXY}
M106 S2
G0 F3000
G0 X${MAXX} Y${MAXY}
M106 S2
G0 F3000
G0 X${MAXX} Y${MINY}
M106 S2
G0 F3000
G0 X${MINX} Y${MINY}
M106 S2
G0 F3000
G0 X${MINX} Y${MAXY}
M106 S2
G0 F3000
G0 X${MAXX} Y${MAXY}
M106 S2
G0 F3000
G0 X${MAXX} Y${MINY}
M106 S2
G0 F3000
G0 X${MINX} Y${MINY}
M106 S2
M107
;end
EOF
GCODES
More info about gcodes: http://www.science.smith.edu/cdf/pdf_files/Techno_GCODE%20Commands.pdf
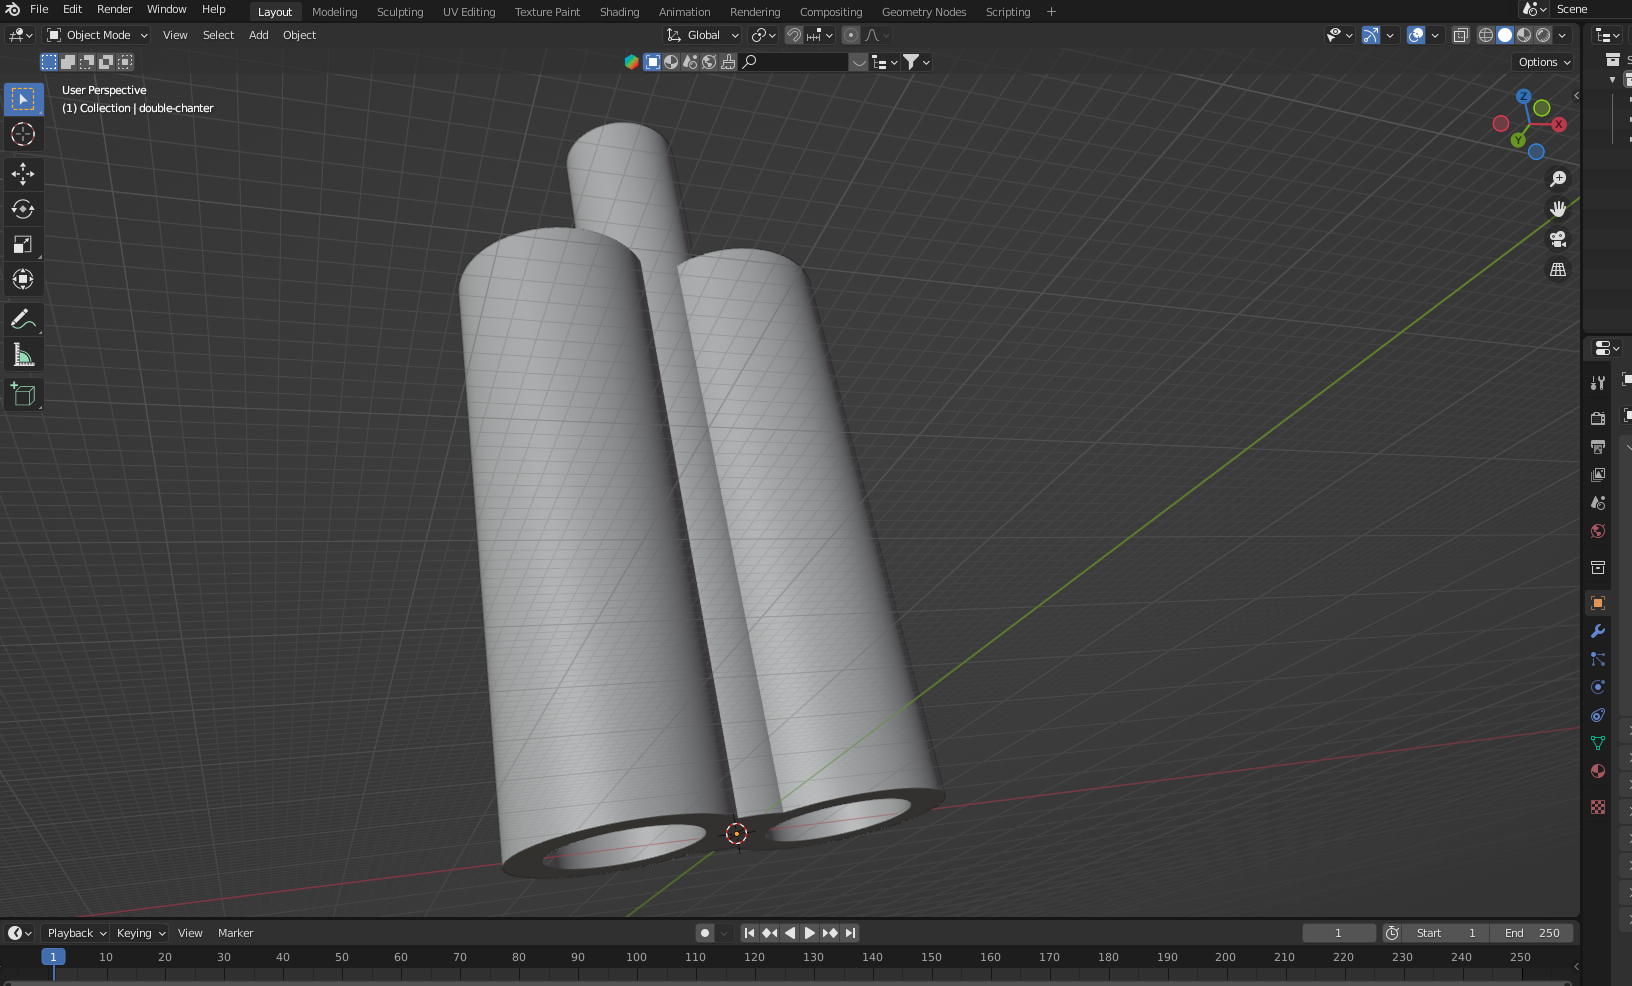
We both got a smallpipe, so there are 2 chanters in the house.
I designed a 3D adaptor for two chanters, and 3D printed this.
Taping the bottom part of one of the chanters and a part of the other, gave me the possibillity to play harmony’s.
There are only a few tunes which are suitable for playing like this.
Blender model
I used OpenCV to track my face, and draw something that moves with me when i move.
Just a prove of concept. I will post used code when i find it back.