Category Archives: Art
Charcoal Nude Art
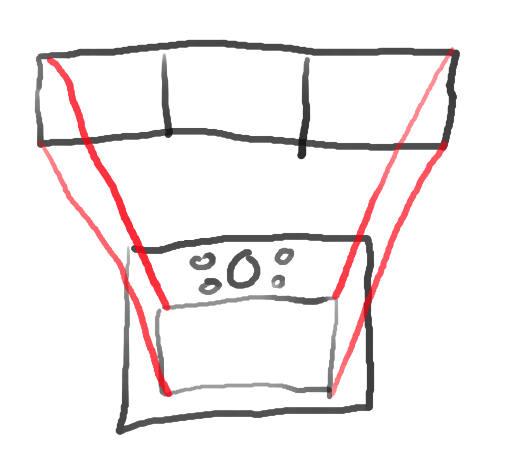
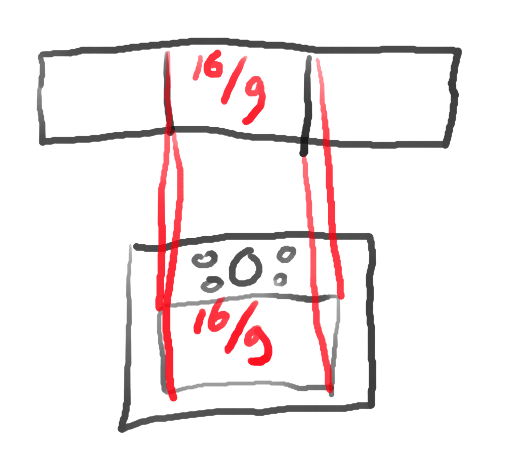
Layer effect Art proof of concept
I took a picture, converted it to grayscale.
Then used Inkscape trace bitmap, brightness cutoff.
With some other options to get multiple gray layers.
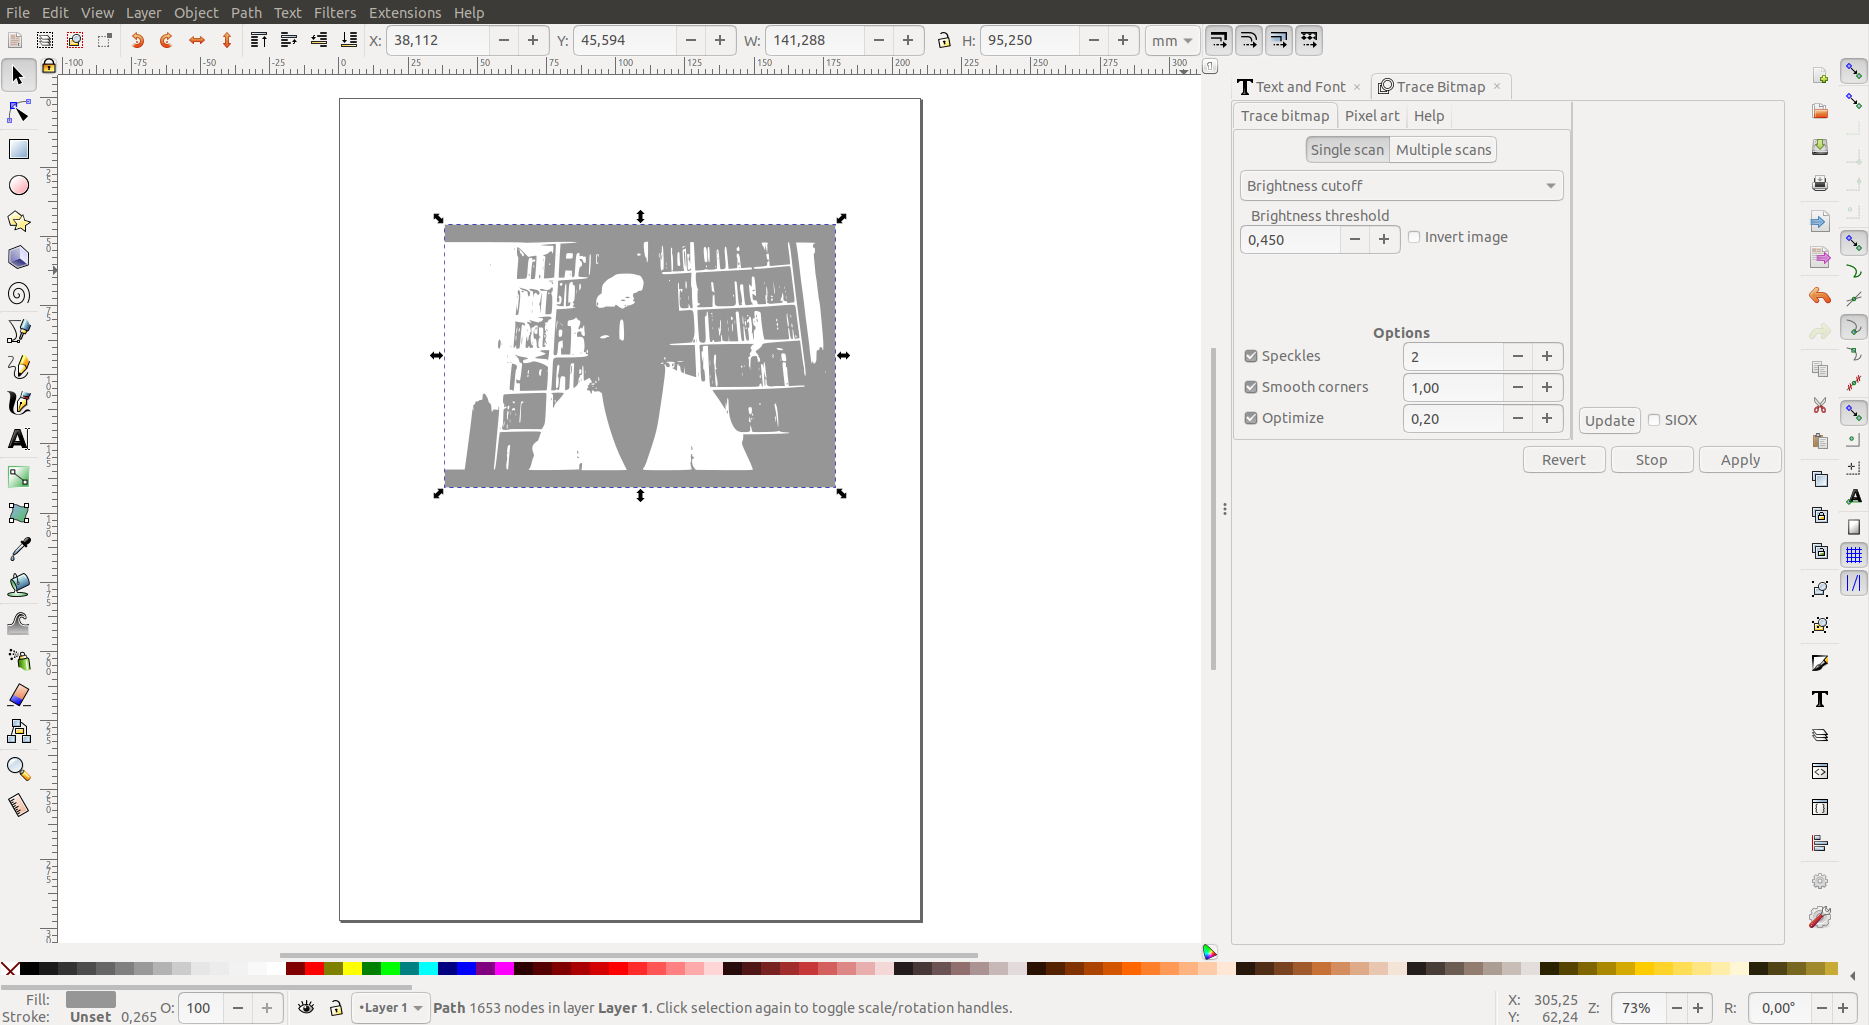
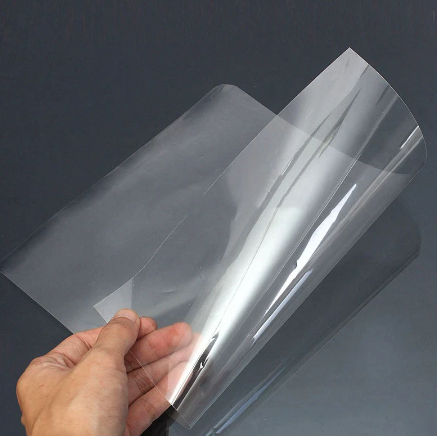
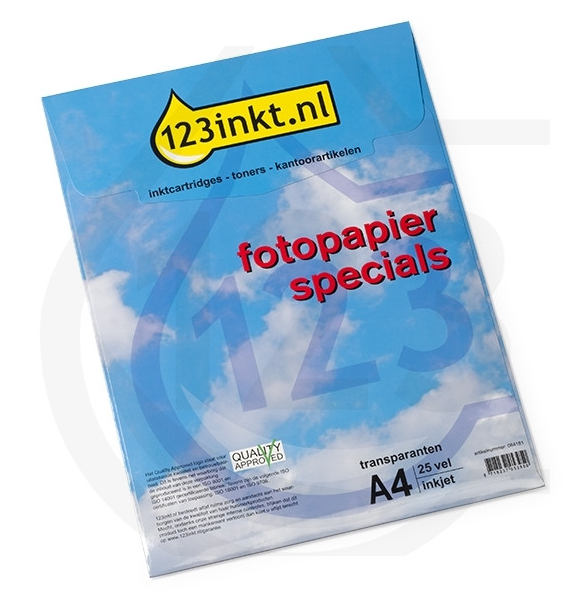
I printed these on transparant sheets, using a laser printer.
Made 7-8 layers with a light behind it, it produces a really cool effect.
Blender-ing a Tubeman
Welllll .. kinda .. blender using cloth simulation.
I started using cloth simulation to get a blanket “natural/using folds, so not perfect” on a bed scene.
Very cool

Blender donut/doughnut
I did the donut in Blender!

A few days later i used blender tracking to move around a (incomplete render) of the donut.
I’ve learned a lot by following YT blender tutorials
Printable tracker marks ( https://www.herma.nl/kantoor-thuis/gratis-software/etiketten-assistent-online/etiketten-assistent-online/ )
Herma round labels
Laser engrave tools
For my winerack i engraved some wooden panels.

When doing so, i needed to fix the height of the engraver to get the focus of the beam right.
At start i removed all Z positions from the GCODE file after calibrating. Later i used a script wrote that fixed the height setting to 110.
#!/bin/bash
# Usage: confirm height focus at 110
# ./scriptname filetofix.gcode
myz=110
cat "$1" | sed s/Z1/Z${myz}/g | sed s/Z6/Z${myz}/g > "fixed.$1"
Another tool i made is the one below, it takes a GCODE file, calulates where the borders are (min/max x and y)
And sets the FAN2 (laser intensity to a minimum)
After that it generates GCODE to draw a box wherein the to be engraved object is made
Now you can run the GCODE file multiple times to position it on the wood to you can get the minimum of spoils.
#!/bin/bash
# Usage: scriptname file.gcode
# It wil create a pointtest file for test running
myz=110
MAXX=$(cat "$1" | grep "G0 X" | awk '{ print $2 }' | cut -c2- | sort -n | tail -1)
MINX=$(cat "$1" | grep "G0 X" | awk '{ print $2 }' | cut -c2- | sort -n | head -1)
MAXY=$(cat "$1" | grep "G0 X" | awk '{ print $3 }' | cut -c2- | sort -n | tail -1)
MINY=$(cat "$1" | grep "G0 X" | awk '{ print $3 }' | cut -c2- | sort -n | head -1)

cat > "pointtest - $1" << EOF
;BingoStart
G90
M17 Z
G0 F3000
G0 Z${myz} F3000
M18 Z
G0 X${MINX} Y${MINY}
M106 S2
G0 F3000
G0 X${MINX} Y${MAXY}
M106 S2
G0 F3000
G0 X${MAXX} Y${MAXY}
M106 S2
G0 F3000
G0 X${MAXX} Y${MINY}
M106 S2
G0 F3000
G0 X${MINX} Y${MINY}
M106 S2
G0 F3000
G0 X${MINX} Y${MAXY}
M106 S2
G0 F3000
G0 X${MAXX} Y${MAXY}
M106 S2
G0 F3000
G0 X${MAXX} Y${MINY}
M106 S2
G0 F3000
G0 X${MINX} Y${MINY}
M106 S2
M107
;end
EOF
GCODES
- M17 Z – disable Z movement
- G0 – rapid move
G0 X100 Y100 (Goto 100,100)
G0 F3000 (speed) - M106 – set fan speed (I my case, this is laser intensity)
M106 – S2 - G90 – set absolute coordinates
- M107 – fan off
More info about gcodes: http://www.science.smith.edu/cdf/pdf_files/Techno_GCODE%20Commands.pdf
Wacom tablet doesn’t behave
Changed some code controlling my wacom drawing tablet.
I use this one to draw Art, diagrams and touch up photo’s.
When using multiple screens, i had the problem it would stretch the draw area over multiple screens, streching the ratio. Or it took the work screen to work on.
#!/bin/bash
# using xinput here, check post about two mouses/keyboards on one machine

# Use xrandr to check names check
MONITOR="DP-1"
PAD_NAME='Wacom BambooFun 6x8 Pad pad'

#undo
xsetwacom --set "$PAD_NAME" Button 1 "key +ctrl +z -z -ctrl"
xsetwacom --set "$PAD_NAME" Button 2 "key e"
xsetwacom --set "$PAD_NAME" Button 3 "key h"

ID_STYLUS=`xinput | grep "Pen stylus" | cut -f 2 | cut -c 4-5`
xinput map-to-output $ID_STYLUS $MONITOR
ID_STYLUS_2=`xinput | grep "Pen eraser" | cut -f 2 | cut -c 4-5`
xinput map-to-output $ID_STYLUS_2 $MONITOR

exit 0
Most of the times i use Krita and Gimp.
Making Art using 220V
I have a rol of printer paper that was used by an old 8bit computer. I forgot which one, one out of my collection.
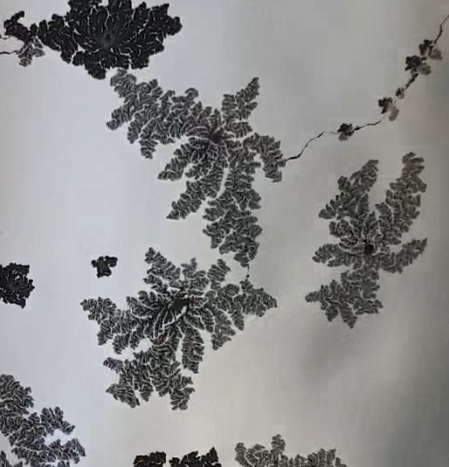
I dont think it is thermal paper, maybe the printer uses electricity just like the movie clip you see below. (Well .. not using 220V directly on the paper maybe) 🙂
3D Printing
In 2012 I started with 3D printing, I didn’t have my own yet. So it was done using shapeways.
April 2019 I ordered my own, a Creality CR-10S.
Specs
- Build Volume: 300 x 300 x 400mm
- Layer Thickness: 0.1-0.4mm
- Positioning Precision: Z-axis – 0.0025mm, X & Y-axis – 0.015mm
- Nozzle Temperature: 250°C
- Printing Speed: 200mm/s
- Filament Diameter: 1.75mm
- Printer Weight: 9kg
- Printing Filament: PLA, ABS, TPU, Wood, Carbon fiber, etc.
- Input Support: SD card/USB
- File Types: STL/OBJ/G-Code/JPG
- Supports(OS): Windows/Linux/Mac/XP
- Printing Software: Cura/Repetier-Host
- Frame & Body: Imported V-Slot Aluminum Bearings
- Power Requirement Input: AC110V~220V, Output: 12V, Power 270W
- Output: DC12V, 10A 100~120W (Support storage battery)
- Working Condition Temp:10-30°C, Humidity: 20-50%
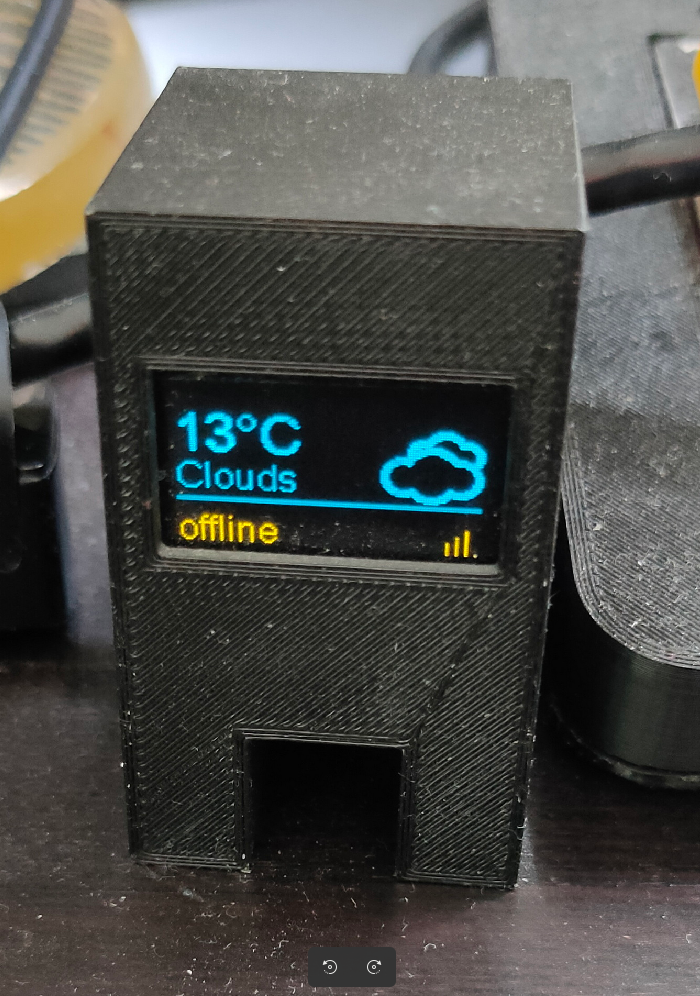
Problem with this 3D Printer is the lack of a thermal runaway detection. My solution is a MQTT/Nodered warning system which plays an alarm and uses a shelly to disconnect the power.
https://www.henriaanstoot.nl/2022/05/11/mqtt-bash-nodered-notify/
Software I Use – see other posts
- Openscad
- Cura
- Meshroom
- Blender
- Sketchup
Hardware
- Octoprint on a raspberry pi – (with Octoscreen)
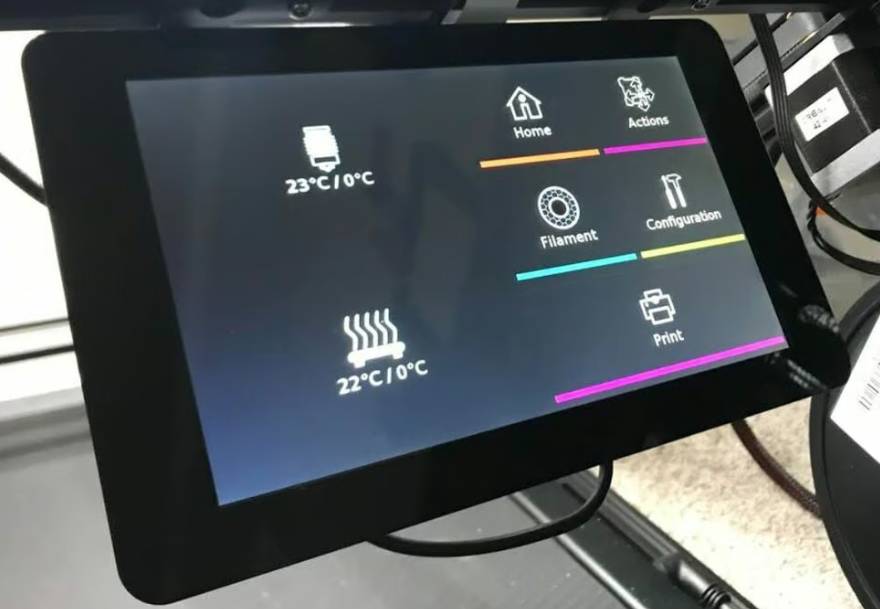
- Octoprint monitor
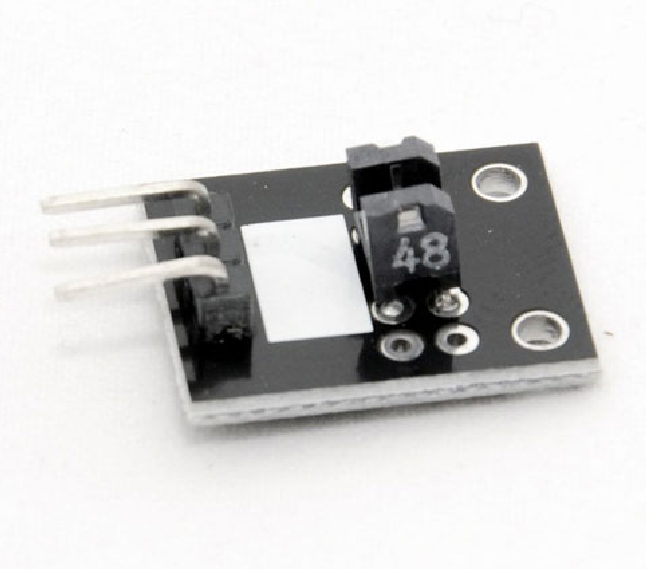
I’m using a filament sensor like the one in below picture

It used to be a DIY thingy using an arduino. (below)
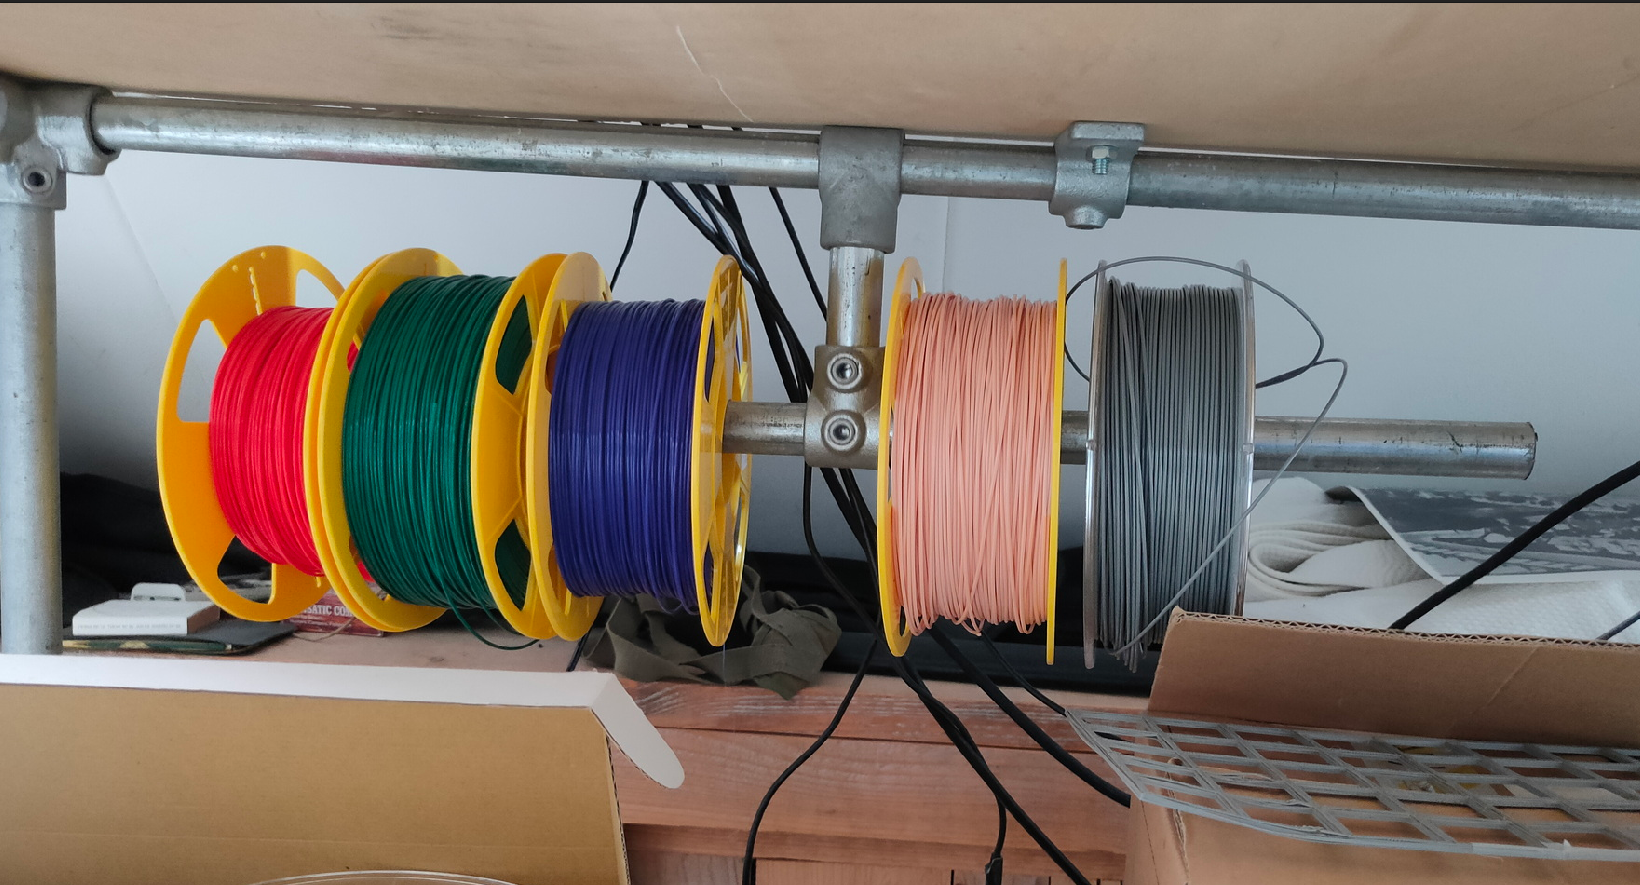
Filament under my table ( in the “dark” )
Software on my mobile
- Octoremote
https://play.google.com/store/apps/details?id=com.kabacon.octoremote
Hints and tips
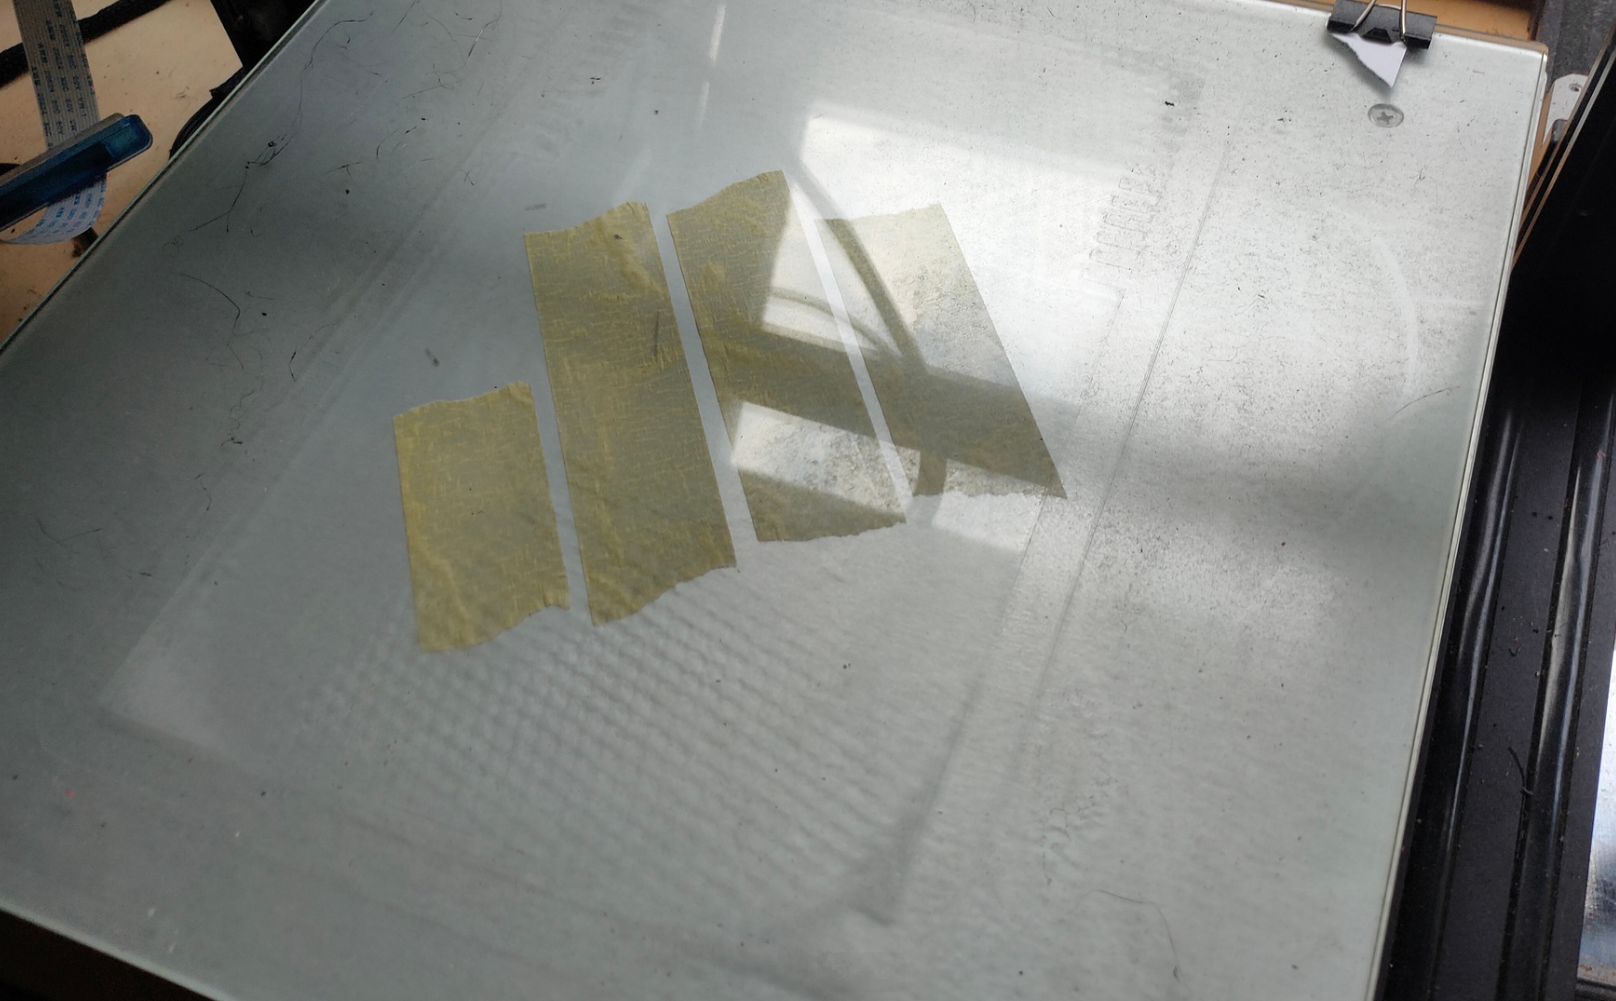
- Use painters tape against bending of the glass, it will warp because of the heat.
- Use 3D spray to fix model to base-plate.
(I used a gluestick before) - Always think of model placement, less support the better.
- Try to remember which fill-in is the best for your purpose.
- Calibrate distance print tool and glass using printing paper.
- Know your printer, make a lot of test prints when starting.
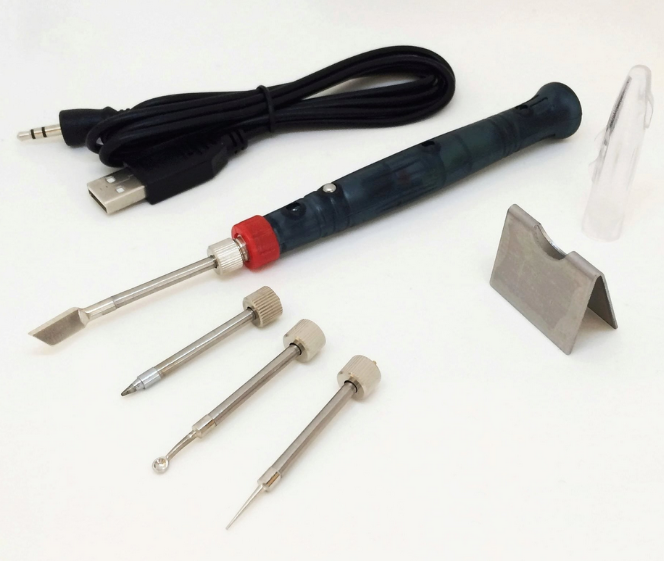
- Learn / read about 3D printing finishing. Sanding/smoothing/melting.
I’ve got some smoothing liquid (print coating) , a dremel and below tool
- Use a print model to test your leveling
( https://www.printables.com/model/69956-bed-level-calibration-square-grid ) - Learn how gcode’s work!
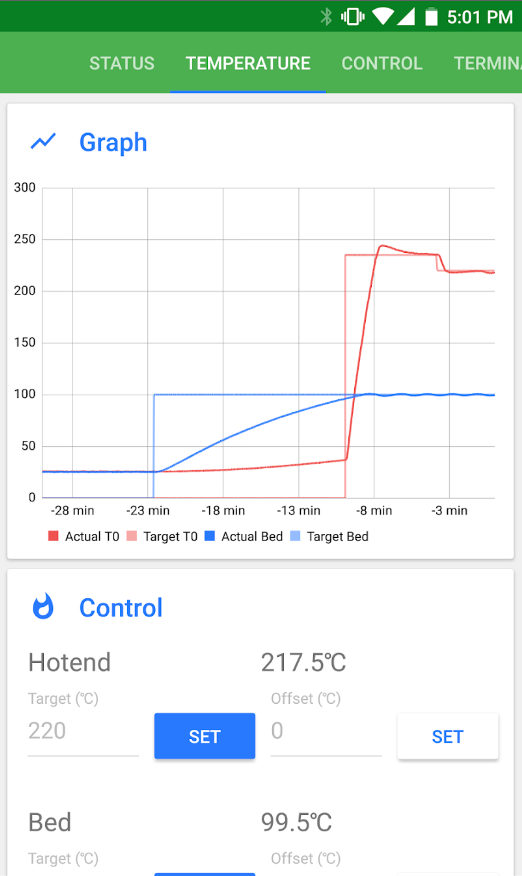
Want to know what filament is in your gcode?
grep M104 <file.gcode>

# M104 is the temperature

M104 200 -> PLA
M104 240 -> PETG
Laser engraving using my 3D printer (pre lasercutter)
Websites
- Yeggi
- Thingiverse
- printables – not that much
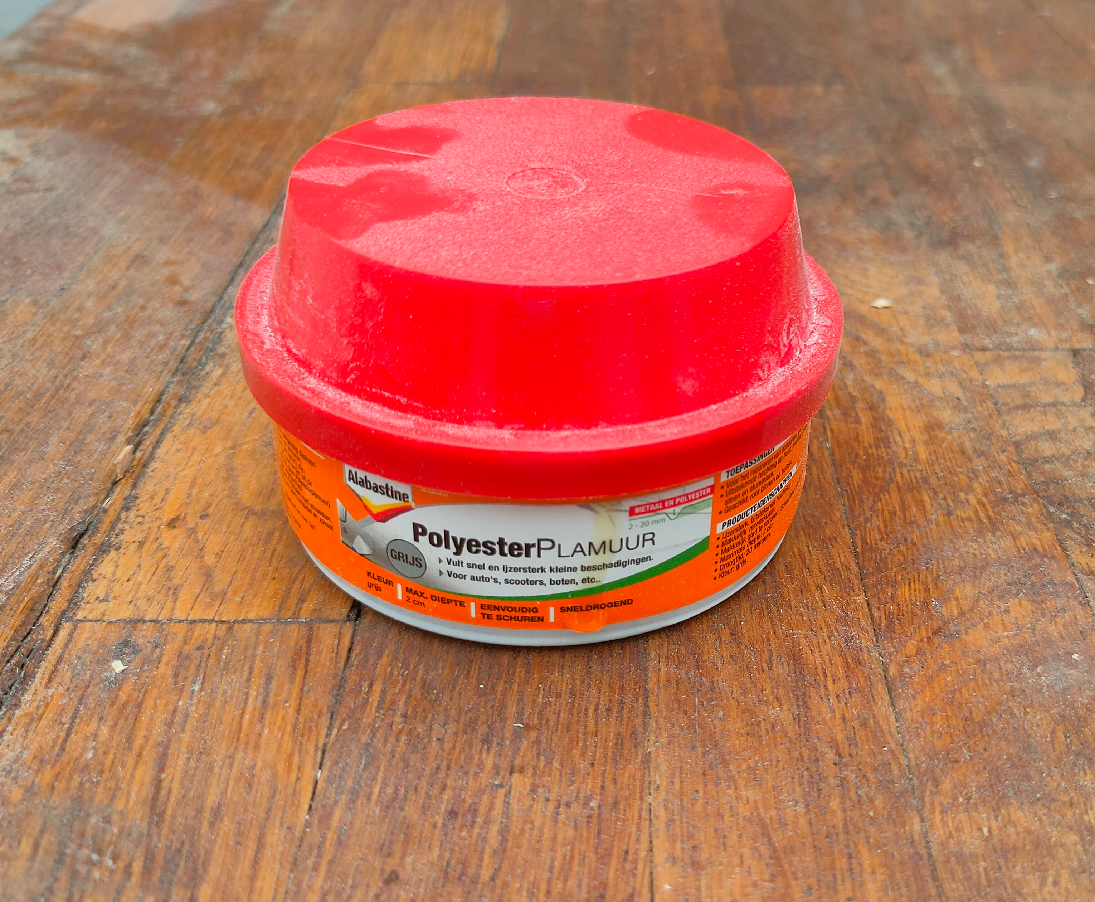
UPDATE 20230803
Best gap filler i found which is easily sanded down with a dremel.
Alabastine Polyester Plamuur
Workshop pottery
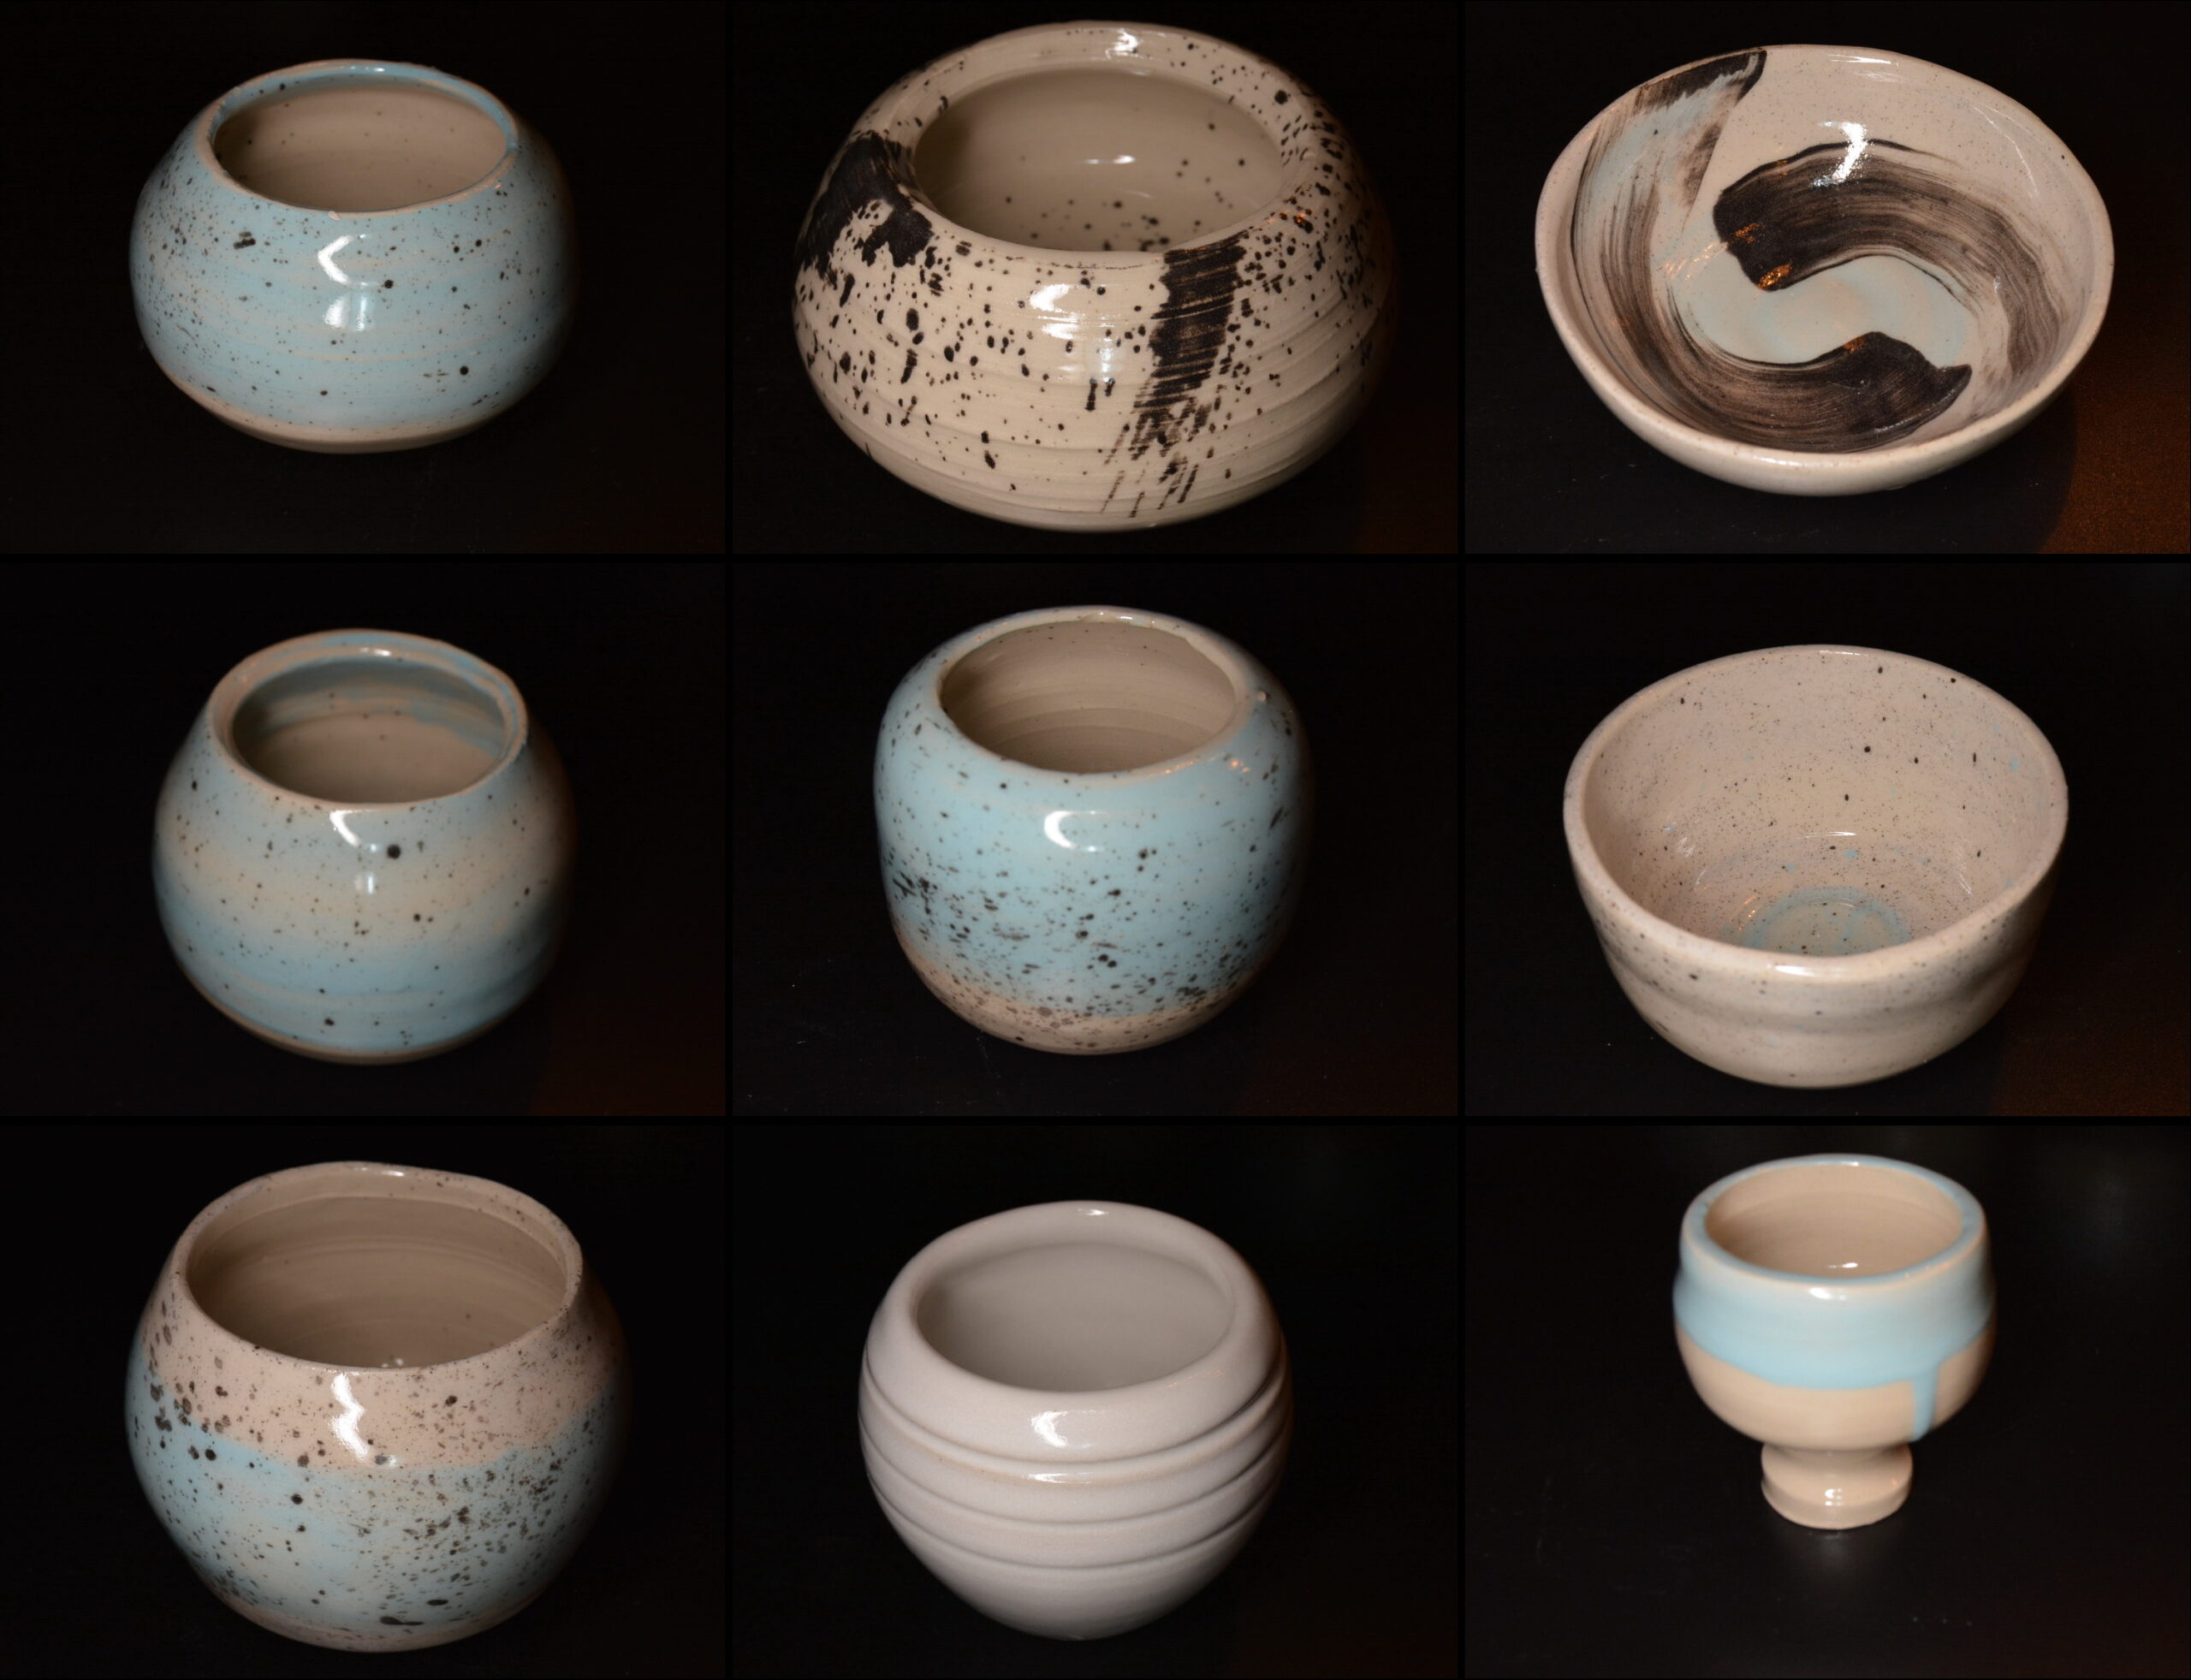
Location Noot en Zo Utrecht .. with Arja en Coline