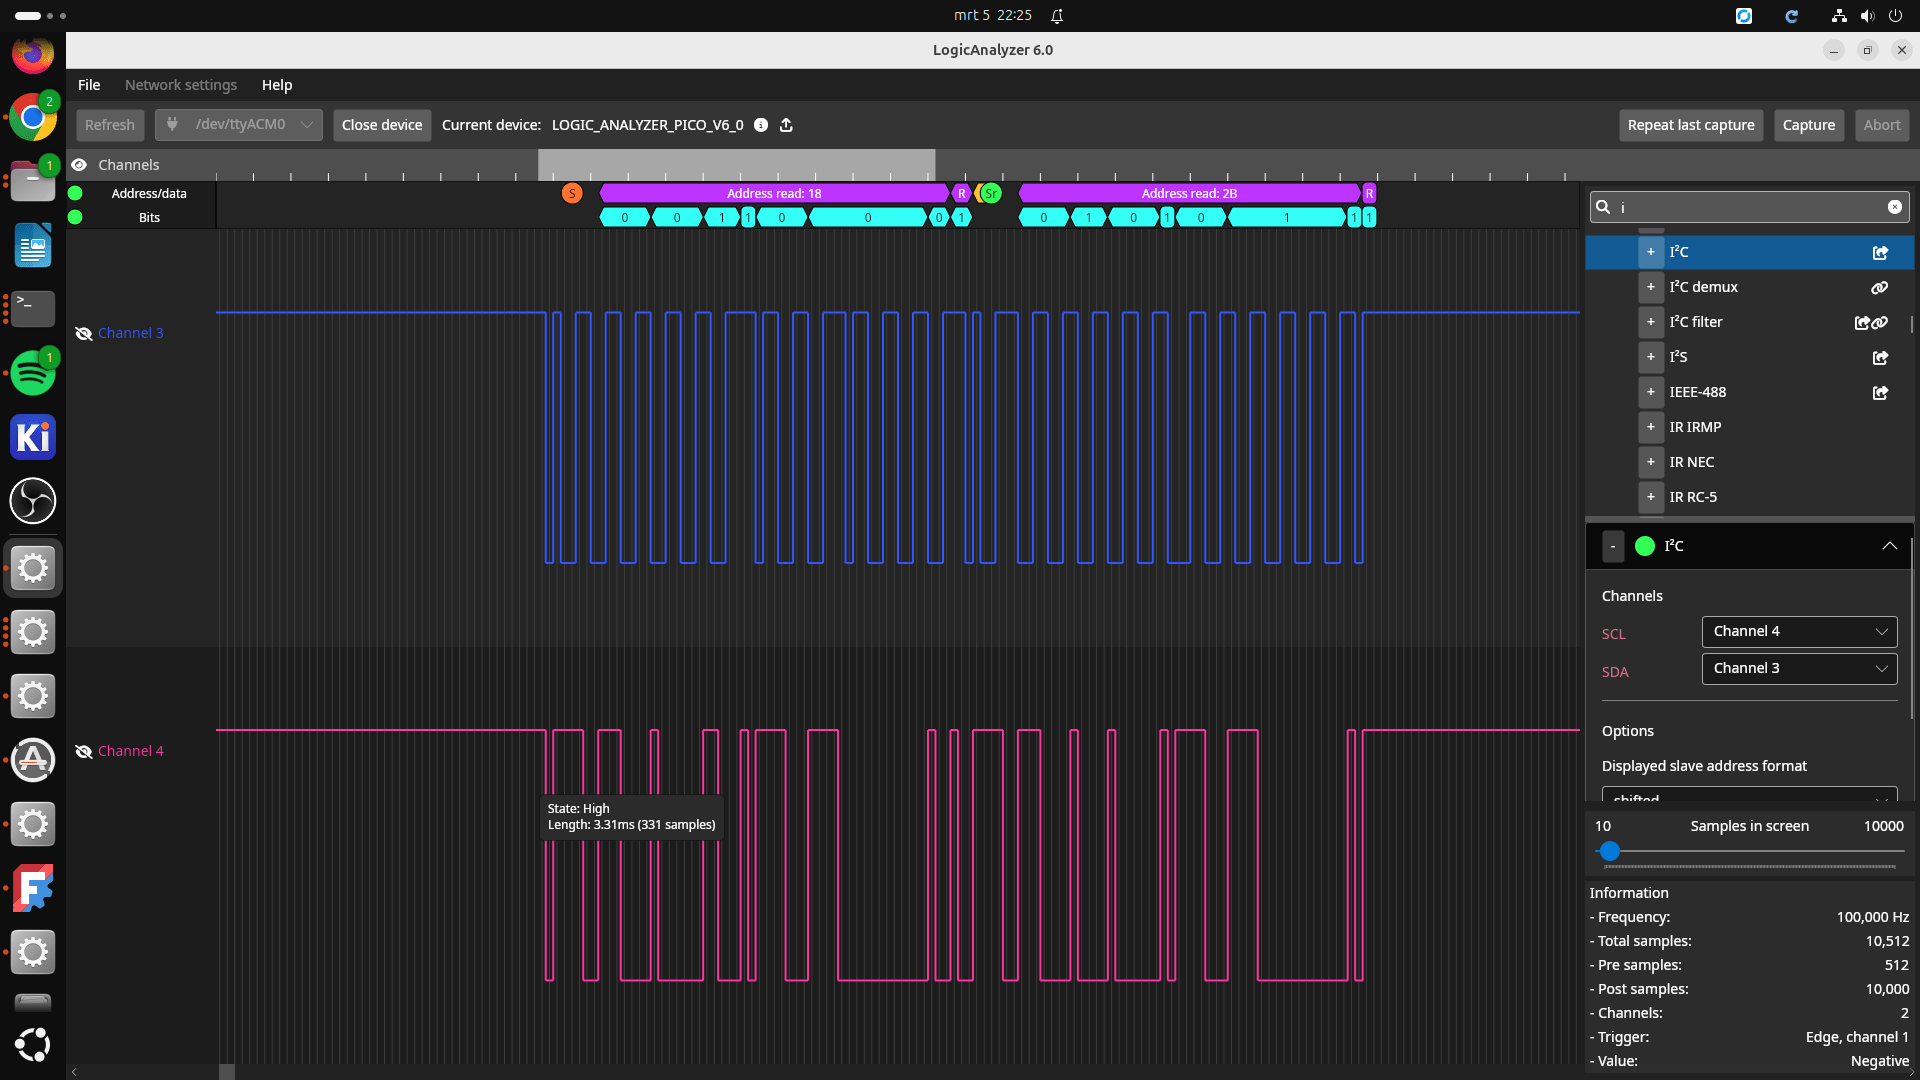
Example is for a UPS, but other generic uses can be setup in same manner.
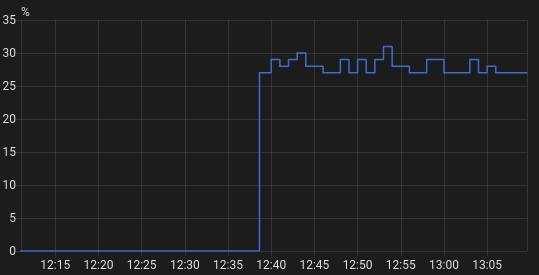
Create helper (1-100 unit %)
input_number.uspload
Create curl command in configuration.yaml
(Fix grep/cut accordantly )
shell_command:
    getups: curl -s  "http://x.x.x.x/cgi-bin/apcupsd/upsstats.cgi?host=127.0.0.1&img1=5&img2=6&img3=5&temp=C&refresh=30" | grep "UPS Load" | grep img  | cut -f4 -d= | cut -f1 -d. | head -1
Automation
alias: UPStest
description: ""
triggers:
  - trigger: time_pattern
    minutes: /5
conditions: []
actions:
  - action: shell_command.getups
    metadata: {}
    data: {}
    response_variable: upsload
  - action: input_number.set_value
    metadata: {}
    data:
      value: " {{ upsload['stdout'] }} "
    target:
      entity_id: input_number.uspload
mode: single