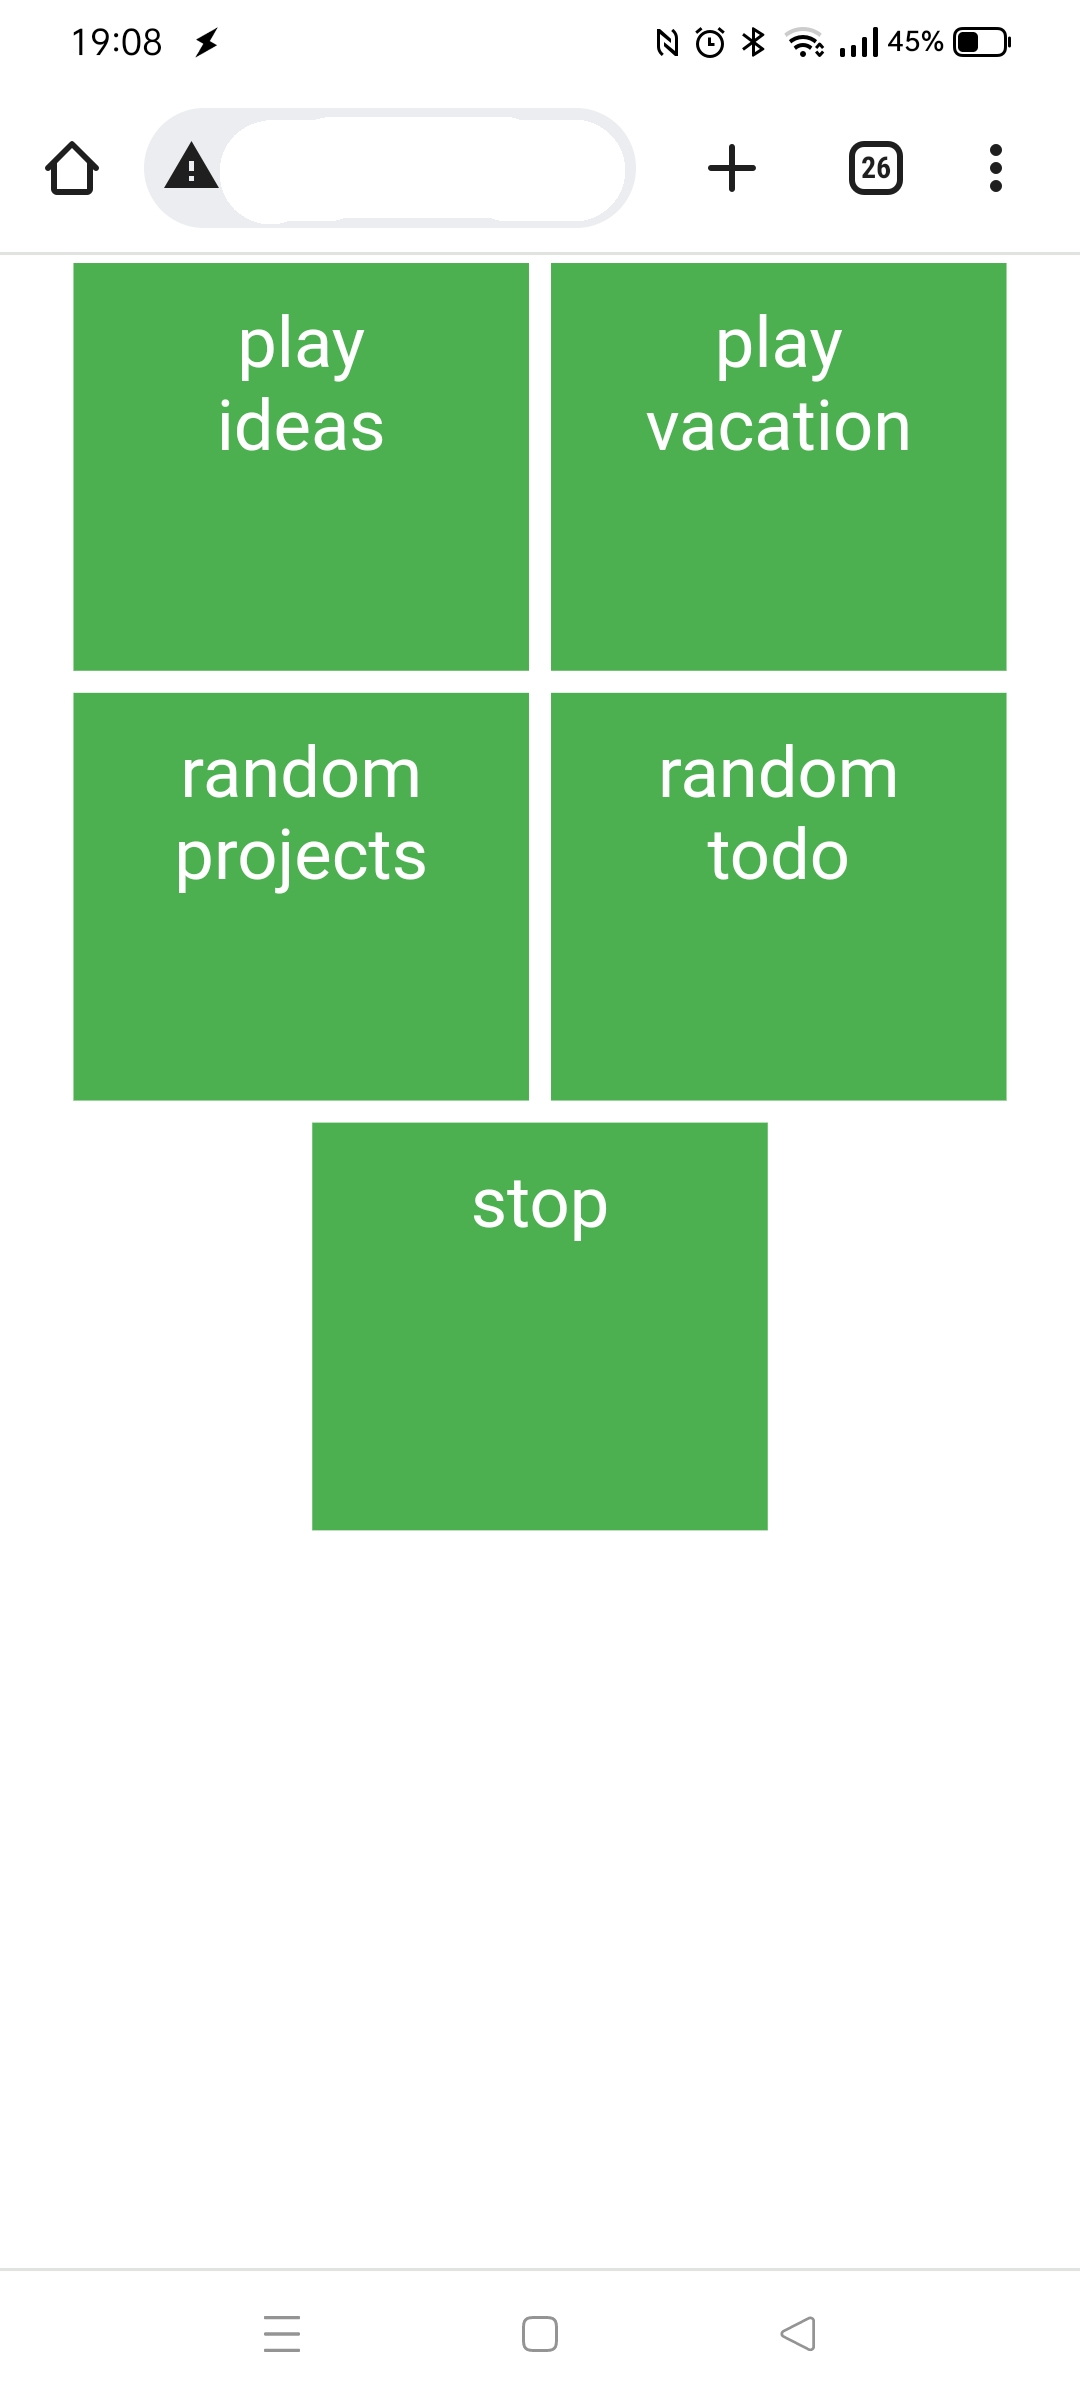
Drag and drop image for displaying on a kodi instance
Button to start slideshow of a directory
Open image in browser with obfuscated image url (not shown in movie)
Stop image playing
Json RPC used:
# Playing a single file
curl -H "content-type:application/json" -i -X POST -d '{"jsonrpc":"2.0","id":1,"method":"Player.Open","params":{"item":{"file":"'.$dir2.'"}}}' http://KODI-IP:8080/jsonrpc &';

# Playing a directory
curl -H "content-type:application/json" -i -X POST -d '{"jsonrpc":"2.0","id":1,"method":"Player.Open","params":{"item":{"directory":"/path/'.$dir.'"}}}' http://KODI-IP:8080/jsonrpc &';

# Stop playing (i'm stopping player 1 and 2) You can query which player is active, this works also
curl -H "content-type:application/json" -i -X POST -d '{"jsonrpc": "2.0", "method": "Player.Stop", "params": { "playerid": 1 }, "id": 1}' http://10.1.0.73:8080/jsonrpc';
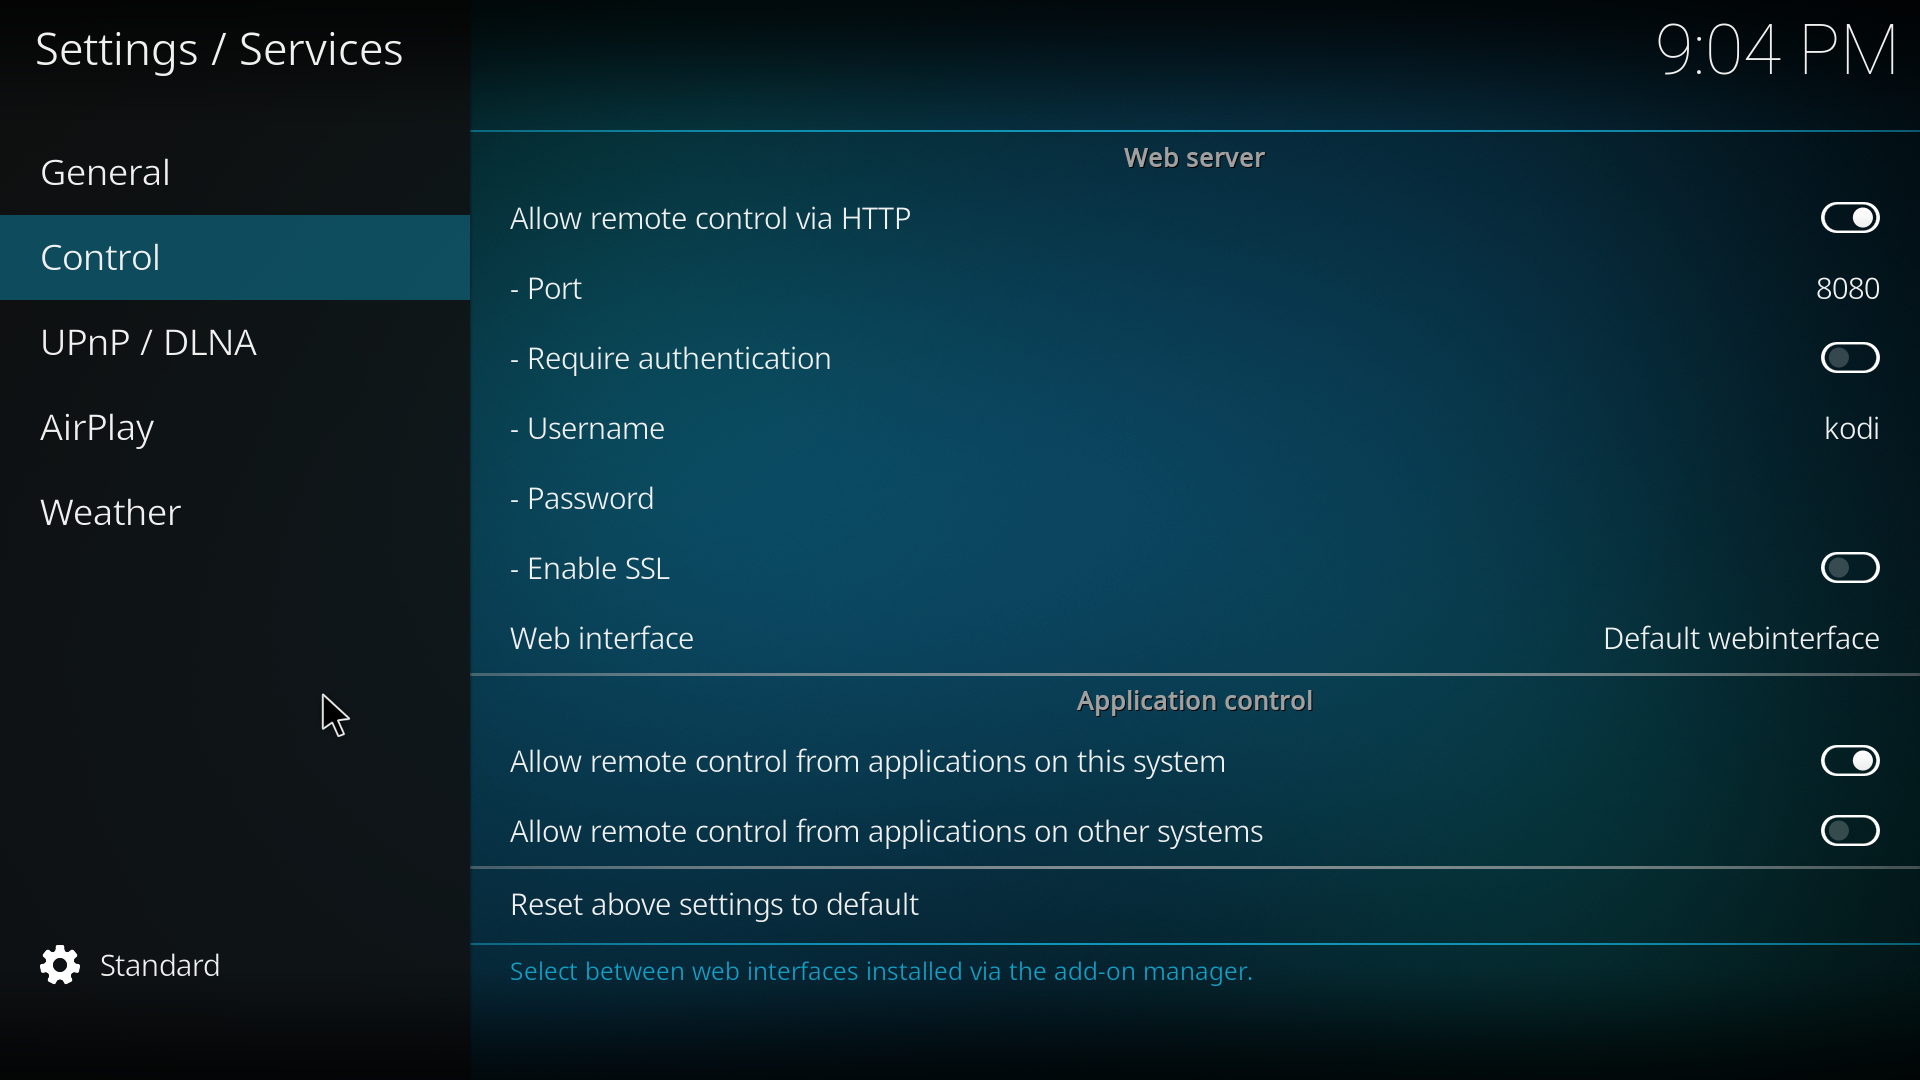
Kodi enable http control and disable authentication (if you want to use authentication, change the curl commands accordingly)
Below the multiple PHP files, i’ve removed a lot of code specific for my manager.
By the way, I love this trick:
header("HTTP/1.1 204 NO CONTENT");
I’ve you put this in the top of your php script which is linked from the first page, you won’t open this link in your browser, but it gets executed nevertheless!
::::::::::::::
push.php
::::::::::::::
<!DOCTYPE html>
<html>
<head>
</head>
<body>

<div id="dropbox">Drop Image</div><br>
<a href="playpush.php?dir=TEMP/Sake">playdir</a>
<a href="stoppush.php">stop</a>

# Here i have a generated part to list my photoalbum photos in this format

<a href='getimg.php?imagepath=/mnt/fileserver/TEMP/1.jpg'><img src='getimg2.php?imagepath=/mnt/fileserver/TEMP/1.jpg' width=300 title='1.jpg'></a>
<a href='getimg.php?imagepath=/mnt/fileserver/TEMP/2.jpg'><img src='getimg2.php?imagepath=/mnt/fileserver/TEMP/2.jpg' width=300 title='2.jpg'></a>

<script
    type="text/javascript"
    src="javascript2.js"

  ></script>
</body></html>
::::::::::::::
getimg.php - Displays photo in browser (forgotten in movie)
::::::::::::::
<?php
Header("Content-Type: image/jpeg");
$file = $_GET['imagepath'];
$file = str_replace("%20", "\ ", $file);
$file = str_replace("(", "\(", $file);
$file = str_replace(")", "\)", $file);
$log =  'imggetlog';
file_put_contents($log, $file, FILE_APPEND);
file_put_contents($log, "\n\r", FILE_APPEND);
header('Content-Length: ' . filesize($file));
readfile($file);
?>

::::::::::::::
getimg2.php - makes a caching thumbnail
/long/image/path/to/photo.jpg -> cachedir/longimagepathtophoto.jpg
::::::::::::::
<?php
Header("Content-Type: image/jpeg");
$file = $_GET['imagepath'];
$file = str_replace("%28", "\(", $file);
$file = str_replace("%29", "\)", $file);
$file = str_replace("%20", "\ ", $file);

$cachename = str_replace("/", "", $file);
$cachename = str_replace(" ", "", $cachename);
$cachename = "cachedir/$cachename";
$log =  'imggetlog';
file_put_contents($log, $file, FILE_APPEND);
file_put_contents($log, "\n\r", FILE_APPEND);
if (!file_exists("$cachename")) {

exec("convert -resize 300x300 \"$file\" \"$cachename\"");
}
header('Content-Length: ' . filesize("$cachename"));
readfile("$cachename");
?>

::::::::::::::
playpush.php - Pushes DIRECTORY play to Kodi
::::::::::::::
<?PHP
header("HTTP/1.1 204 NO CONTENT");

header("Cache-Control: no-cache, no-store, must-revalidate"); // HTTP 1.1.
header("Pragma: no-cache"); // HTTP 1.0.
header("Expires: 0"); // Proxies.

$dir=$_GET['dir'];

$command='nohup curl -H "content-type:application/json" -i -X POST -d \'{"jsonrpc":"2.0","id":1,"method":"Player.Open","params":{"item":{"directory":"/mnt/fileserver/'.$dir.'"}}}\' http://IPKODI:8080/jso
nrpc &';
exec($command, $output, $retval);
?>

::::::::::::::
stoppush.php - stops displaying
::::::::::::::
<?PHP
header("HTTP/1.1 204 NO CONTENT");

header("Cache-Control: no-cache, no-store, must-revalidate"); // HTTP 1.1.
header("Pragma: no-cache"); // HTTP 1.0.
header("Expires: 0"); // Proxies.

$command='curl -H "content-type:application/json" -i -X POST -d \'{"jsonrpc": "2.0", "method": "Player.Stop", "params": { "playerid": 1 }, "id": 1}\' http://IPKODI:8080/jsonrpc';
exec($command, $output, $retval);
$command='curl -H "content-type:application/json" -i -X POST -d \'{"jsonrpc": "2.0", "method": "Player.Stop", "params": { "playerid": 2 }, "id": 1}\' http://IPKODI:8080/jsonrpc';
exec($command, $output, $retval);
?>
::::::::::::::
javascript2.js
::::::::::::::
function getAllElementsWith(tag, attribute, value)
{
  var matchingElements = [];
  var allElements = document.getElementsByTagName(tag);
  for (var i = 0; i < allElements.length; i++)
  {
    if (value.indexOf(allElements[i].getAttribute(attribute)) != -1)
    {
      // Element exists with attribute. Add to array.
      matchingElements.push(allElements[i]);
    }
  }
  return matchingElements;
}

// onDrop
function onDrop(evt) {
    evt.stopPropagation();
    evt.preventDefault();
    var imageUrl = evt.dataTransfer.getData("URL");
    var links = getAllElementsWith("a", "href", imageUrl);
    var image;
     console.log(links, evt);

    if(links.length){
        image = links[0].getElementsByTagName("img");
        if(image.length)
            imageUrl = image[0].getAttribute("src");
        else
            imageUrl = "#no-image";
    }

///    alert(imageUrl);
var res = imageUrl.replace(/getimg/, "pushplay2");

location.href = (res);

};

// onDragOver
function onDragOver(evt){
    evt.preventDefault();
}

var dropbox = document.getElementById('dropbox');
dropbox.addEventListener('drop', onDrop);
dropbox.addEventListener("dragover", onDragOver, false);
Random picture push
file=$(find /mnt/fileserver/examples -type f  | shuf | head -1)
post_data="{\"jsonrpc\":\"2.0\",\"id\":1,\"method\":\"Player.Open\",\"params\":{\"item\":{\"file\":\"$file\"}}}"
curl --user user:pass  -H "content-type:application/json" -i -X POST --data "${post_data}" http://KODI-IP:8080/jsonrpc
Below a example of what your can do with the code above
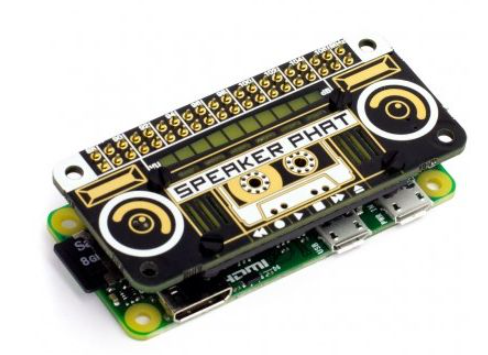
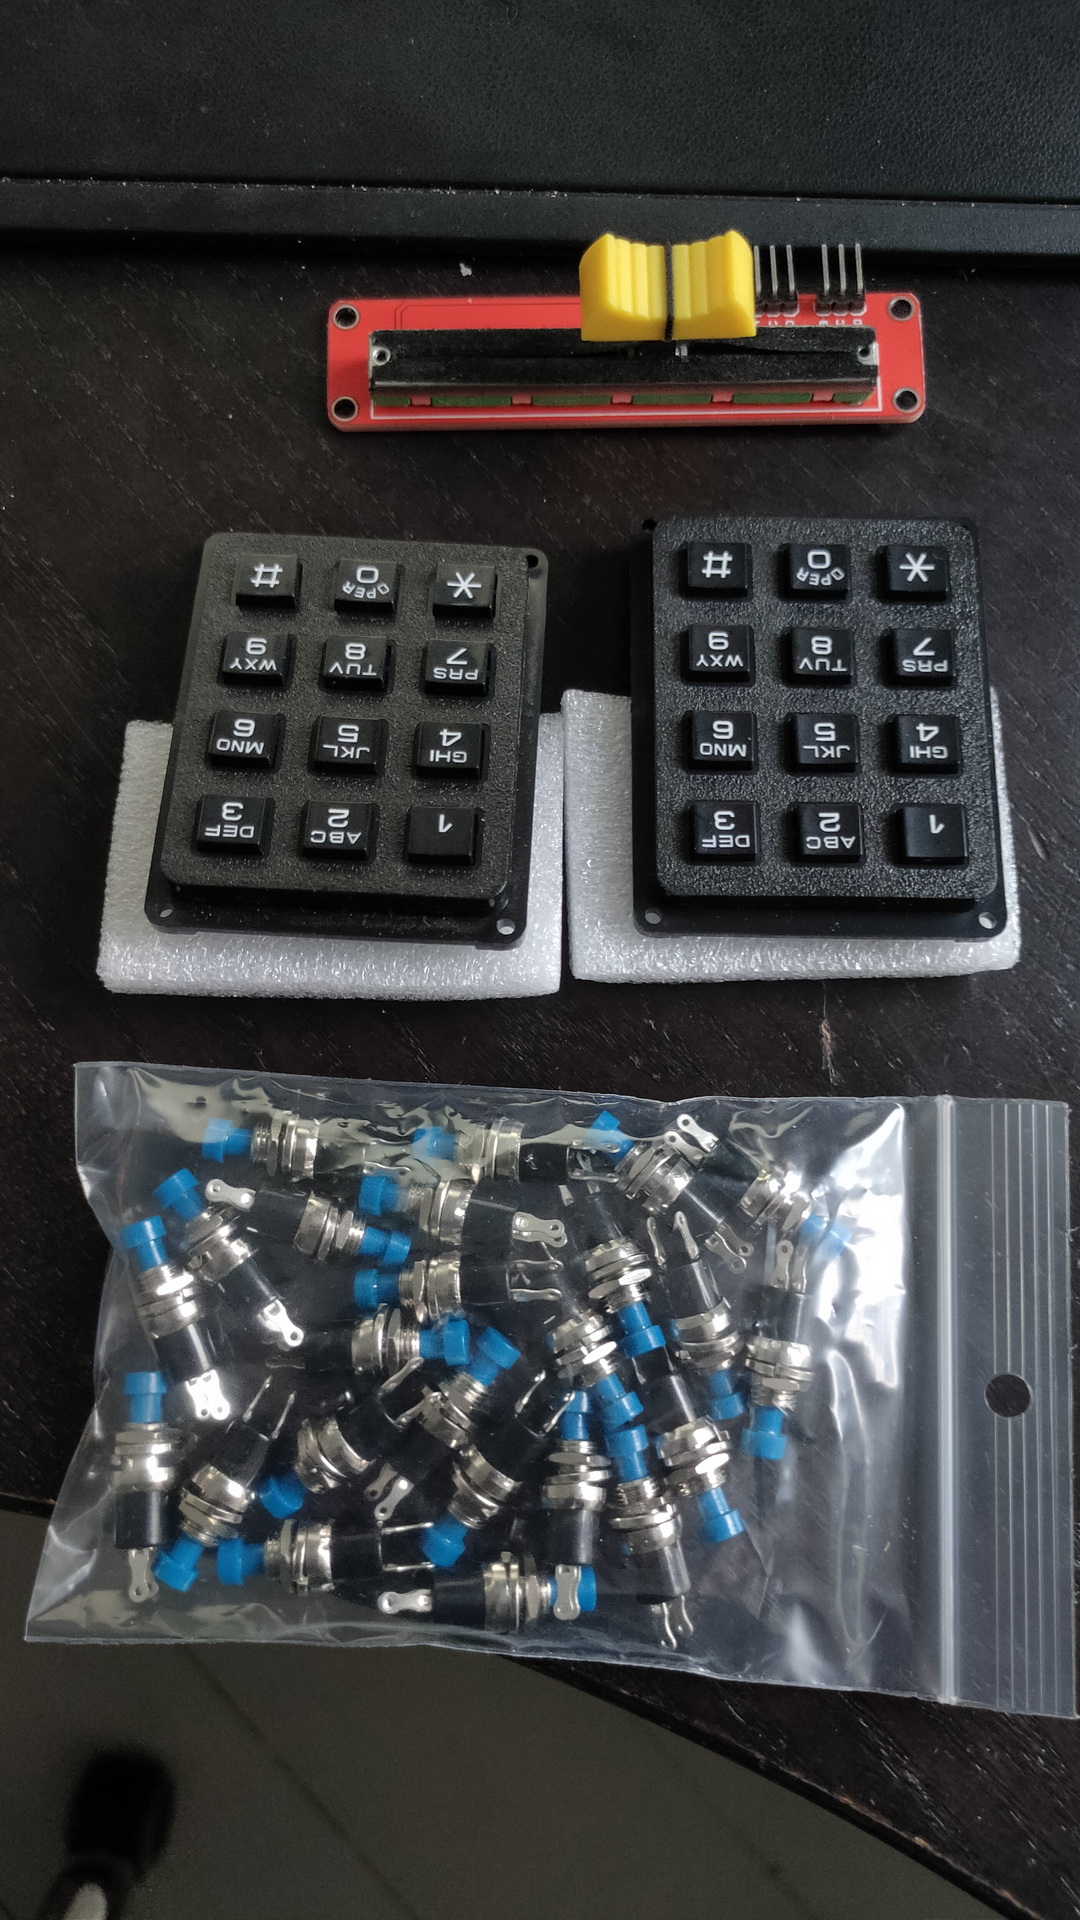
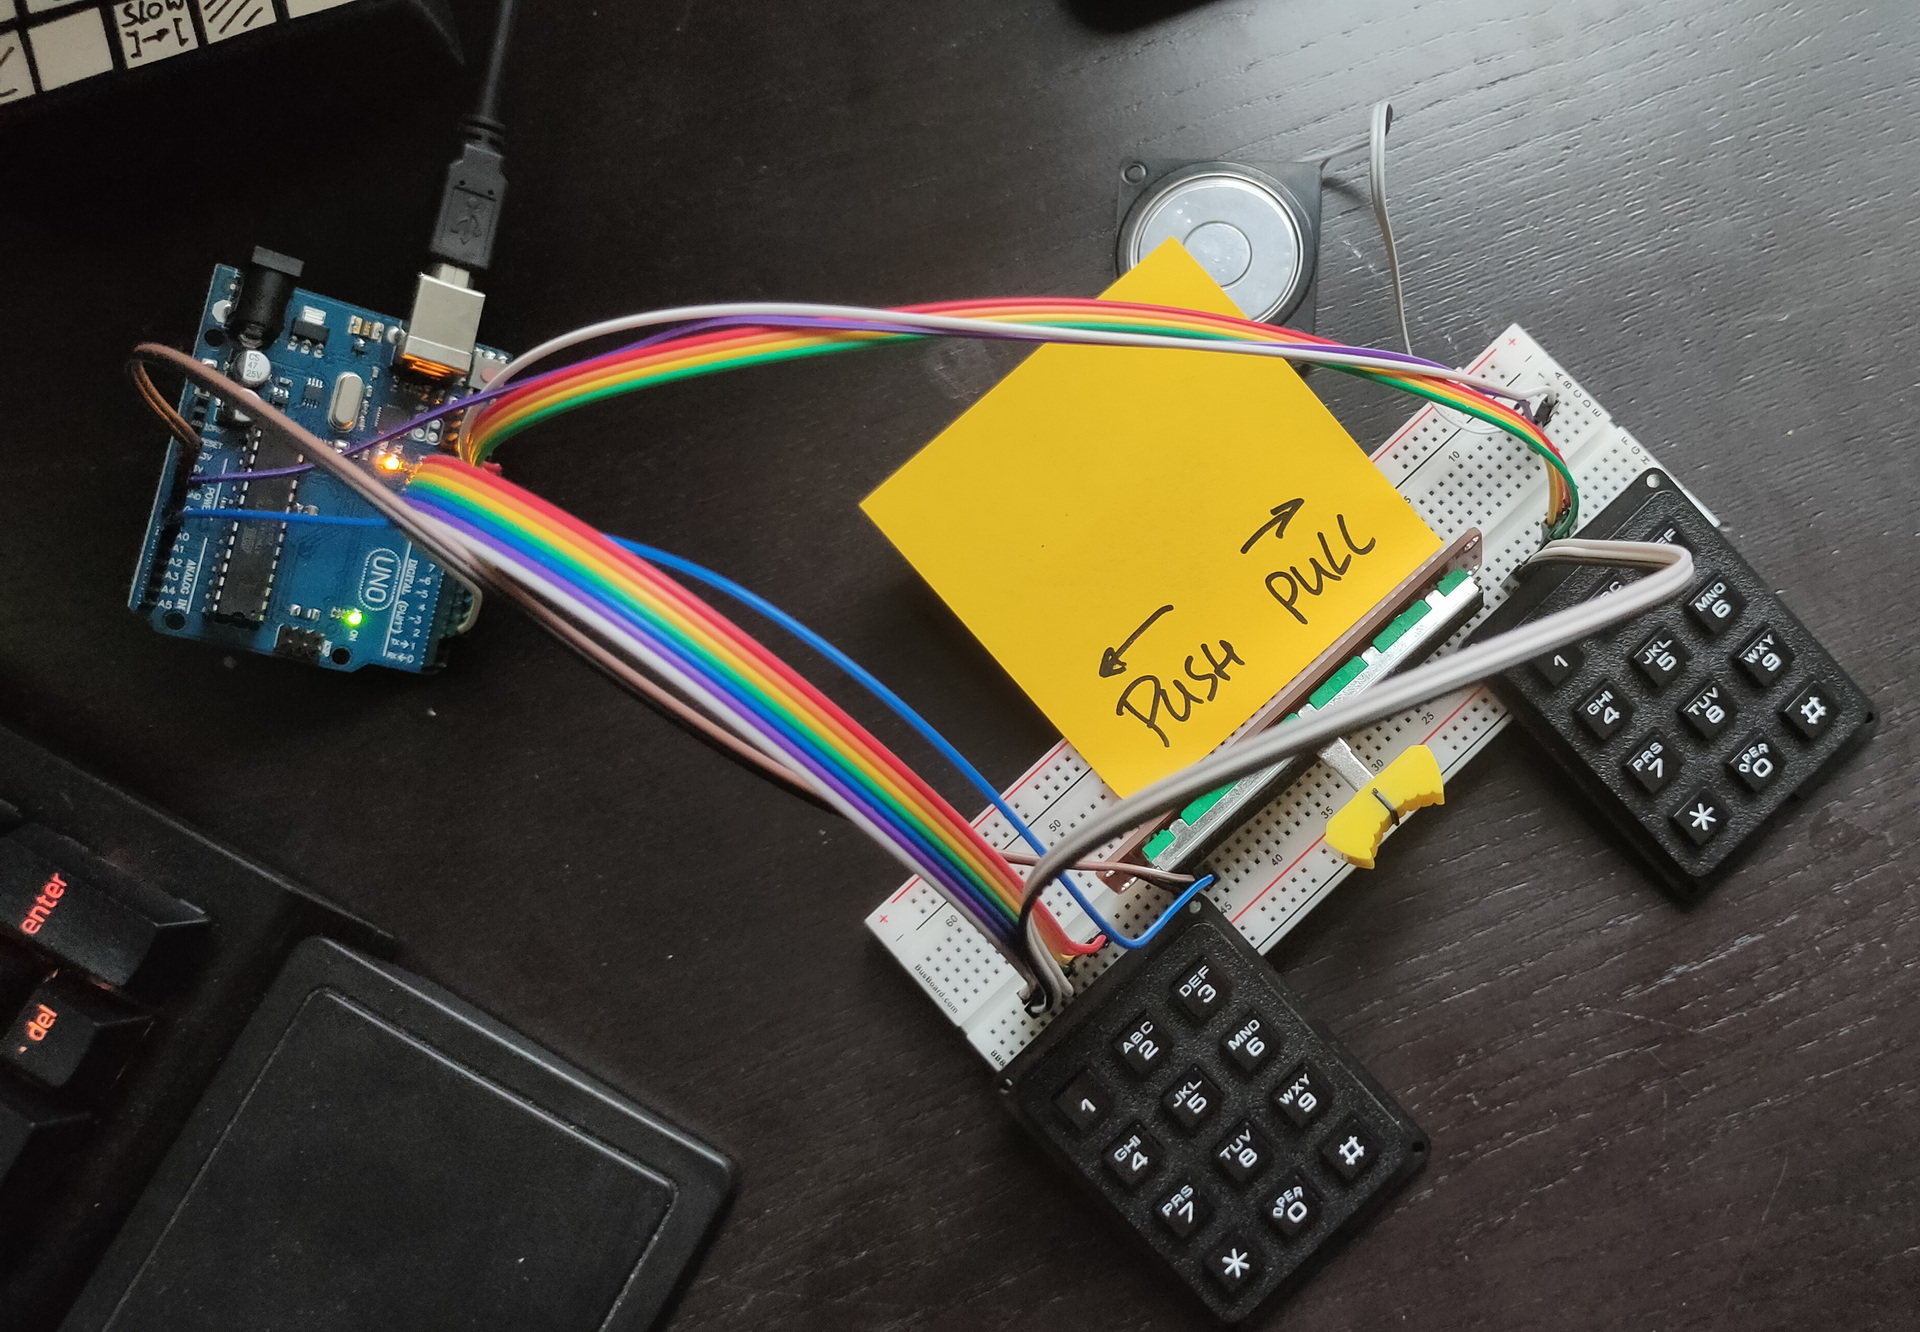
I’ve got an old Speaker Phat, and a Raspberry Zero
An audio add-on board for Raspberry ( same size as the Zero )
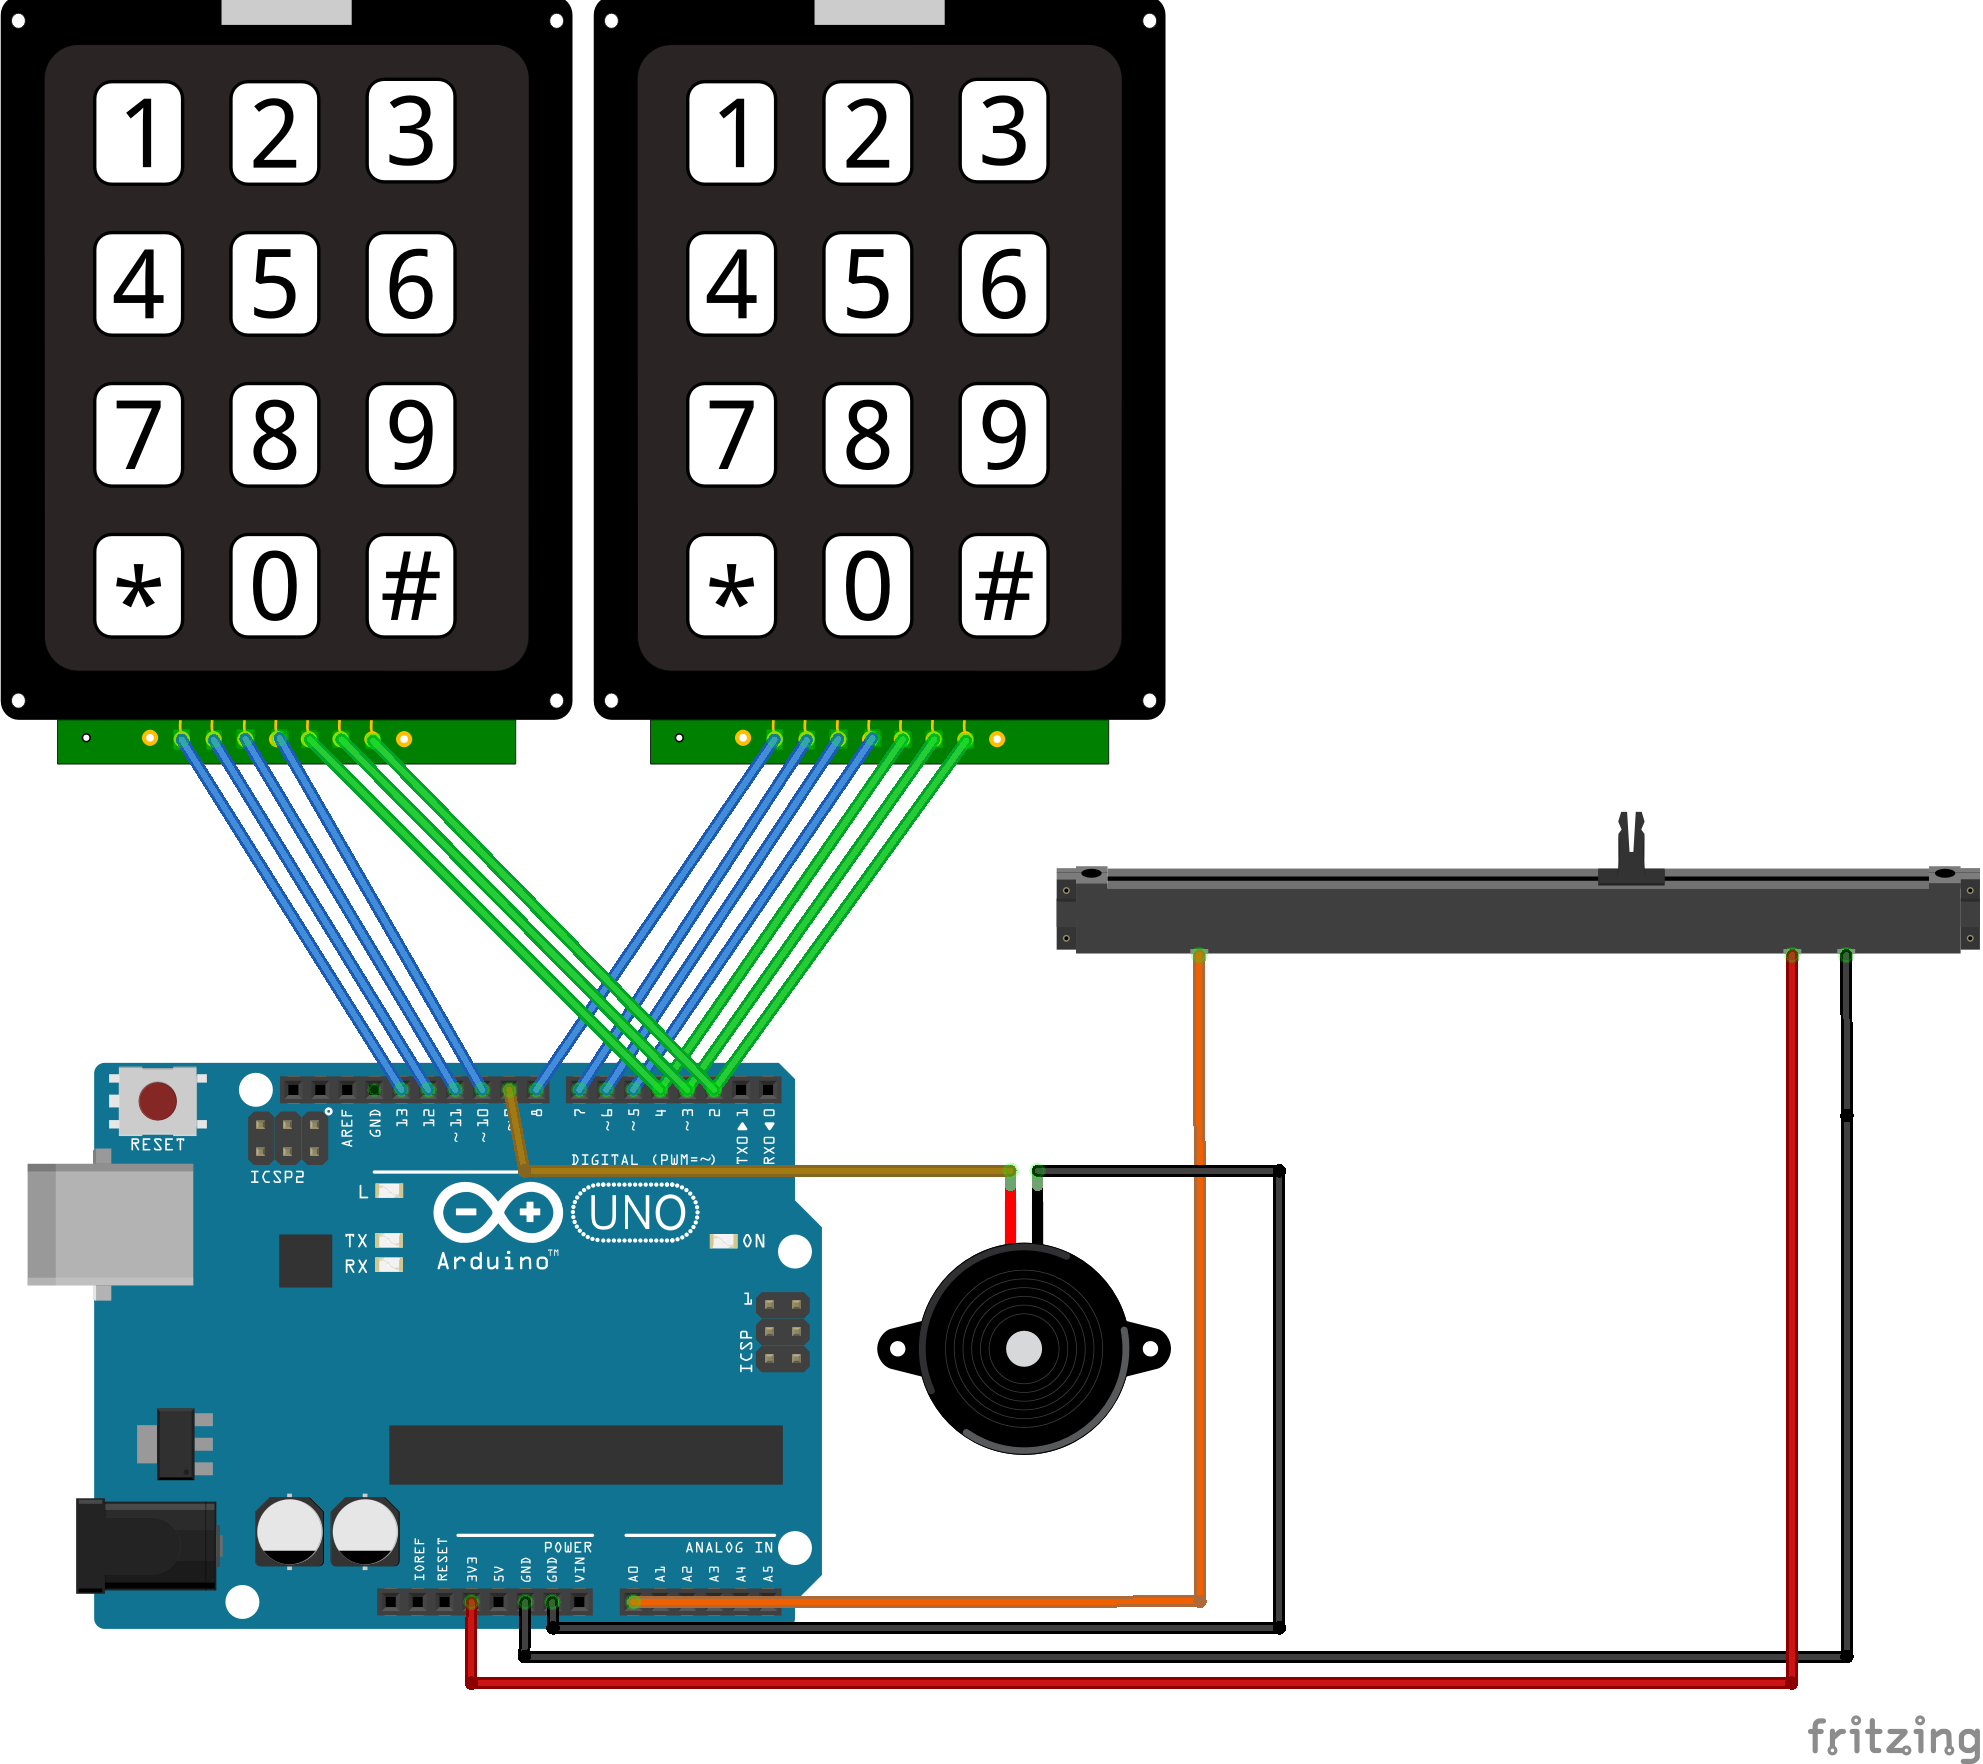
Connections
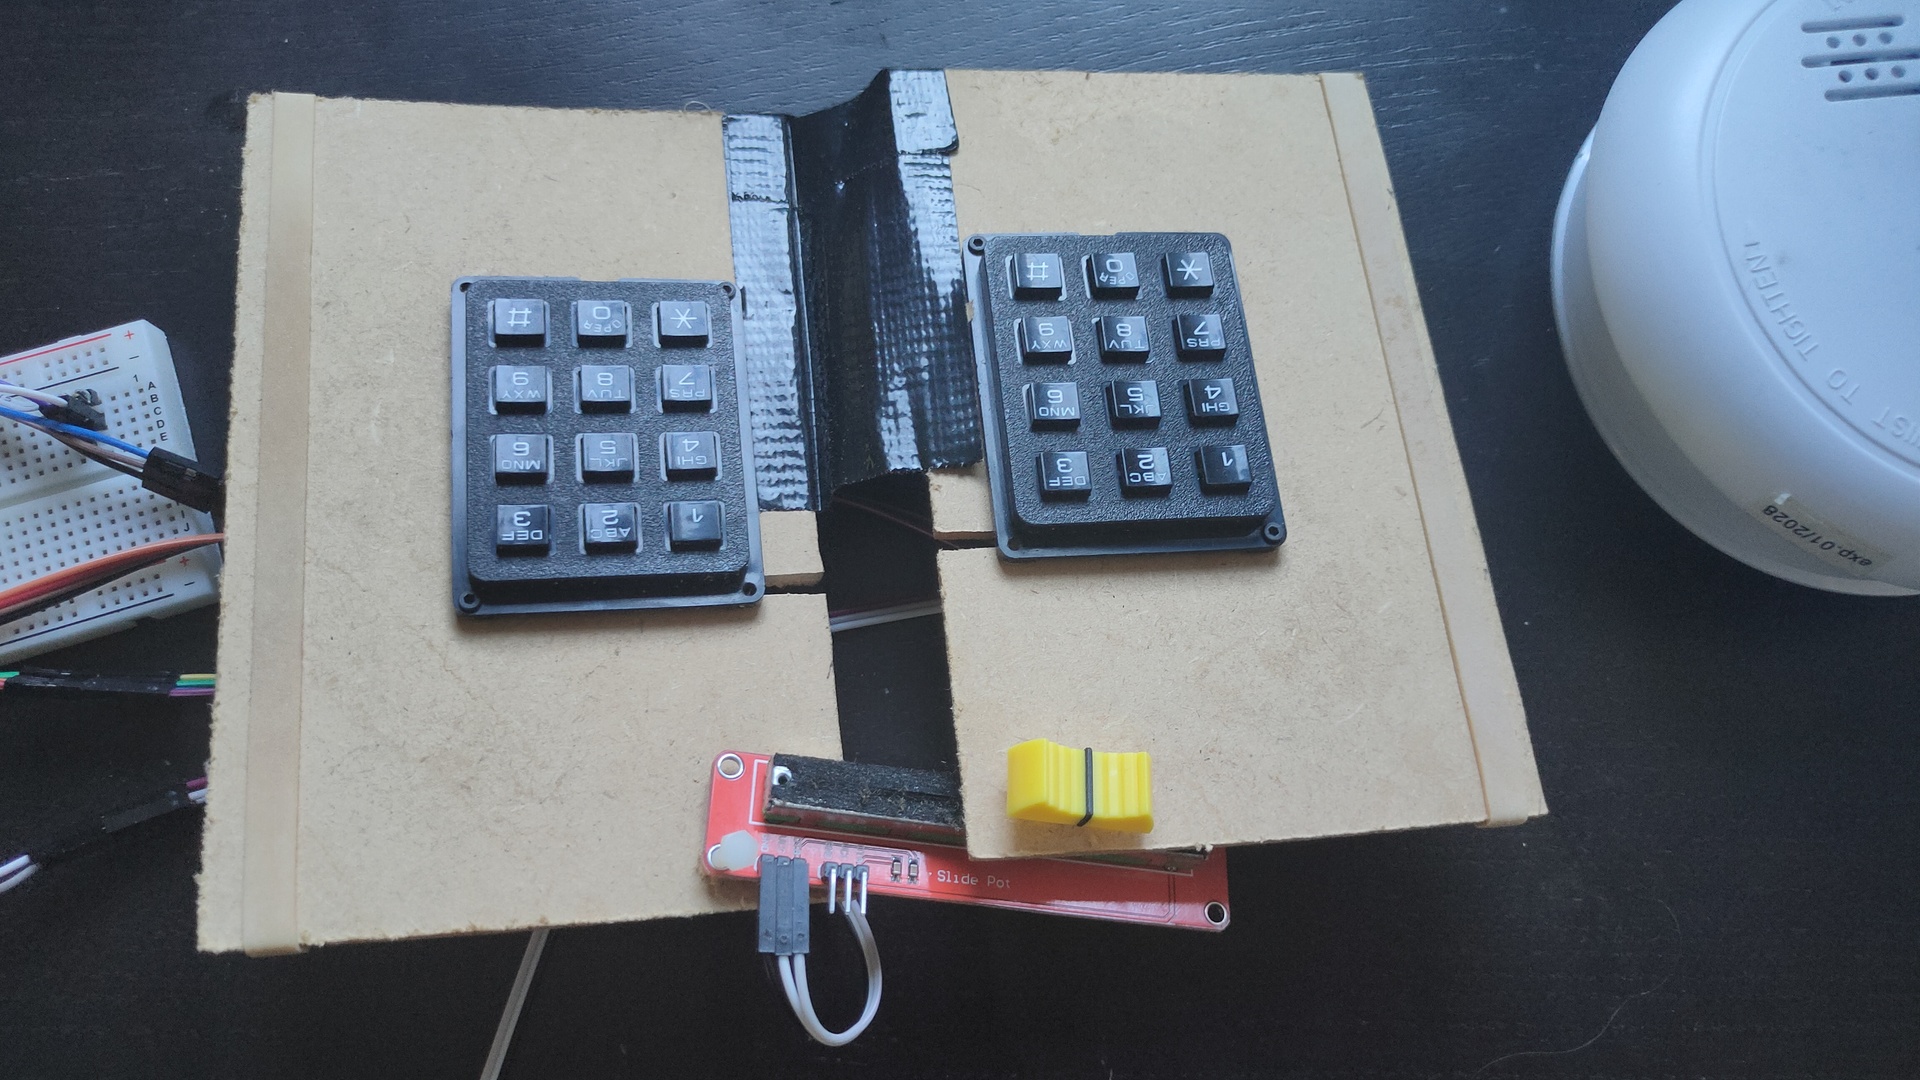
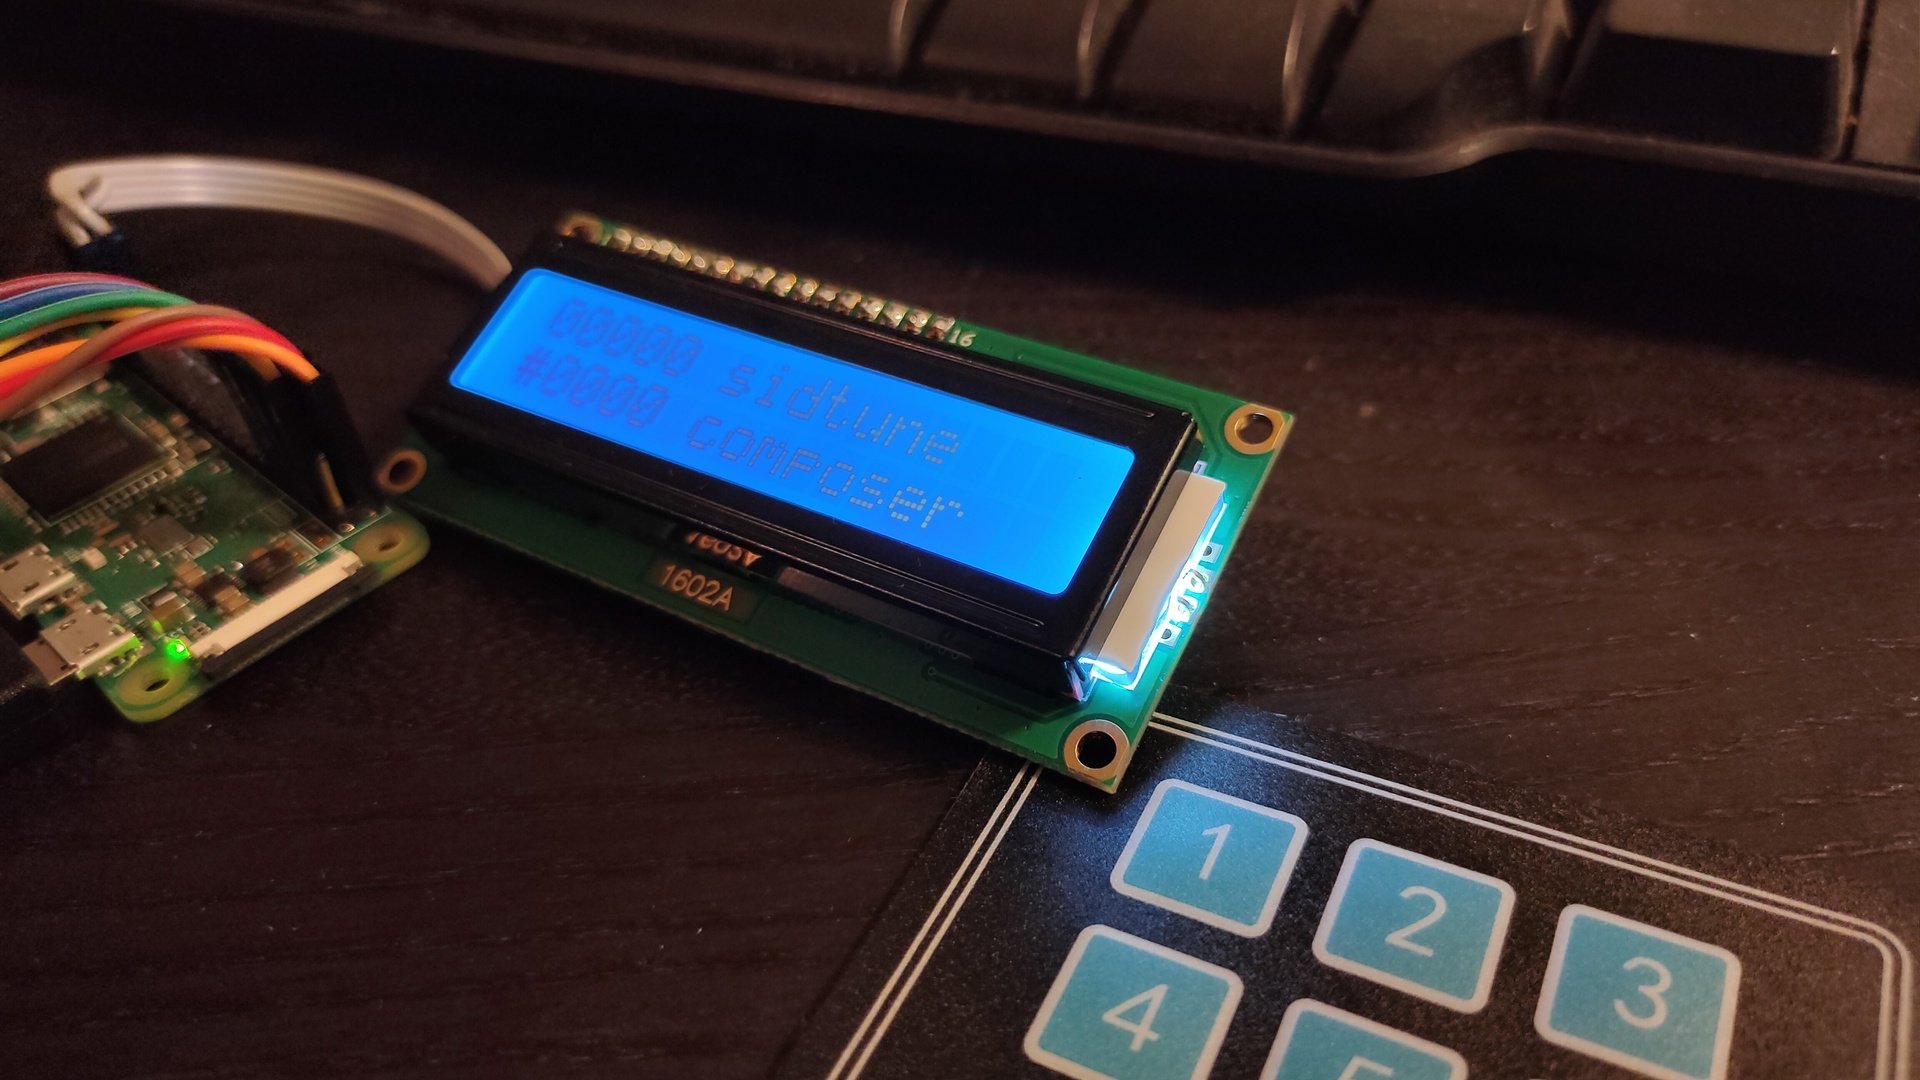
My initial idea was to have the “High Voltage Sid Collection” (Downloaded the 55000 pack) On a mini device, battery operated and with a little keypad.
On the keypad i can select the Sidtune to play, or pressing A and a number the Sids from a certain artist.
The display gives you information about the tune being played. ( The display has an I2C hat to convert 8bits to I2C )
See pinout phat above. I’ve got three choices for I2C connection (green/blue to the Phat)
Direct connect and use different addresses
Use a I2C hub and different addresses
Define a secondary I2C on the raspberry
So I made the first test setup …
Underrun occurred .. So back to the drawingboard. I probably need a better Audio Hat. First to try .. Zero fast enough for sidplay2? Maybe audio over hdmi works??
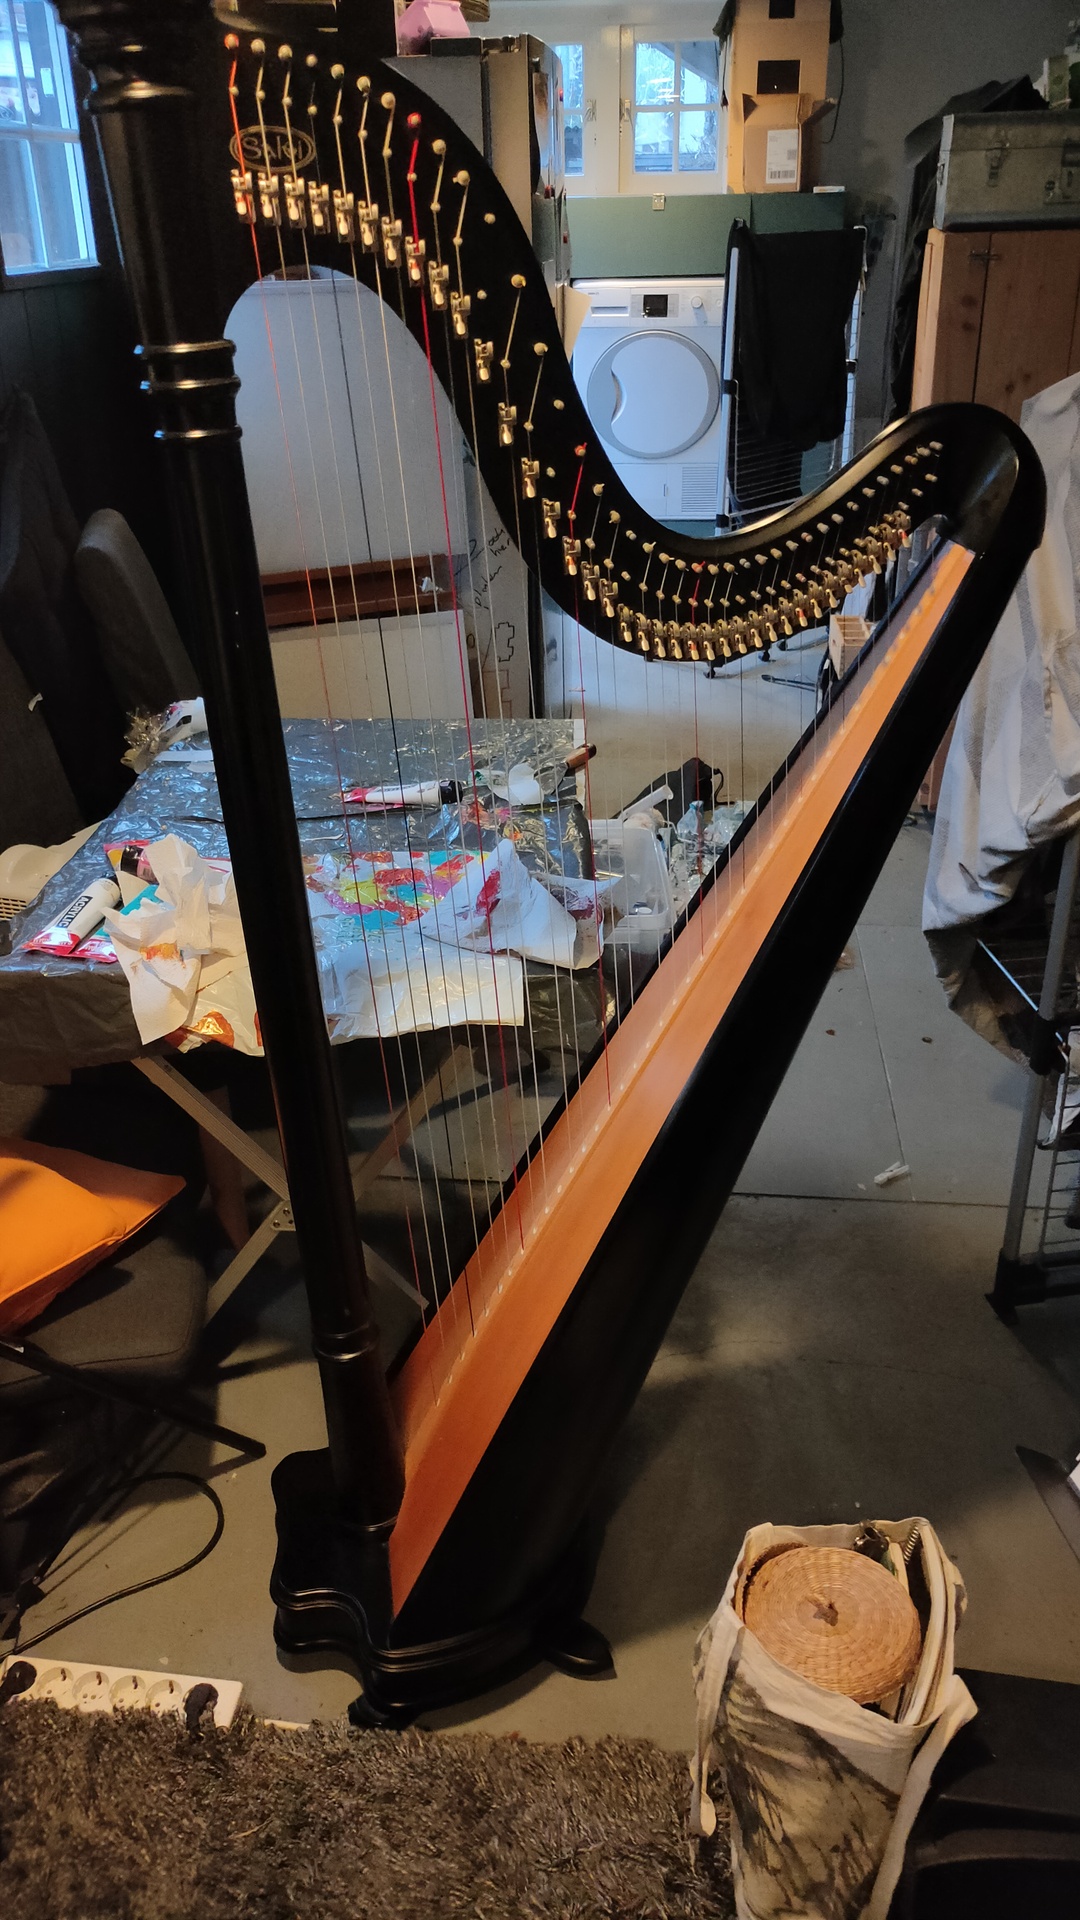
I’ve replaced strings before so that’s no problem. Starting all over again.
Our Folk Band Harp player wants to due some duets. So lets get playin’
http://pinnerstringquartet.com/
UPDATE: 20230119 Replaced the 4 strings yesterday, not fully tuned yet. Gave the string some time to rest. Looking at the harp this morning. G4 was broken .. d*mn
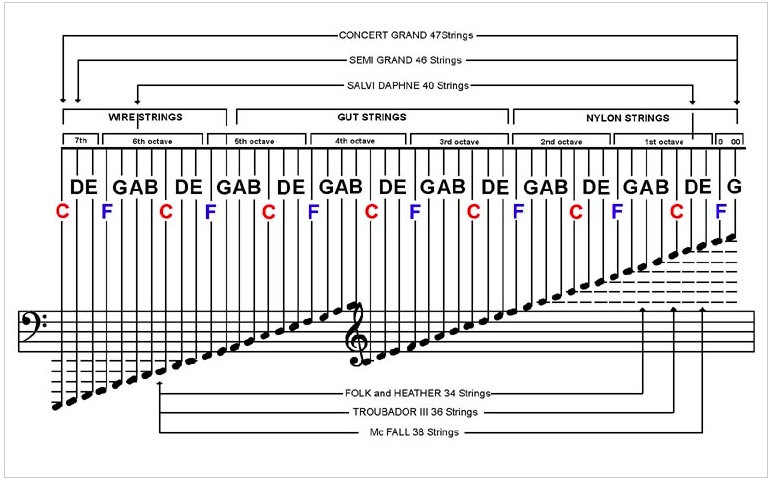
UPDATE: 20230126 Replaced also the G4, all done. Tuning this kind of Harp. (Salvi Lever harp) You have to put all levers down, and tune them from lowest note to highest. The A B and E strings have to be tuned flat! So by using the levers you can play in all kinds of different keys.
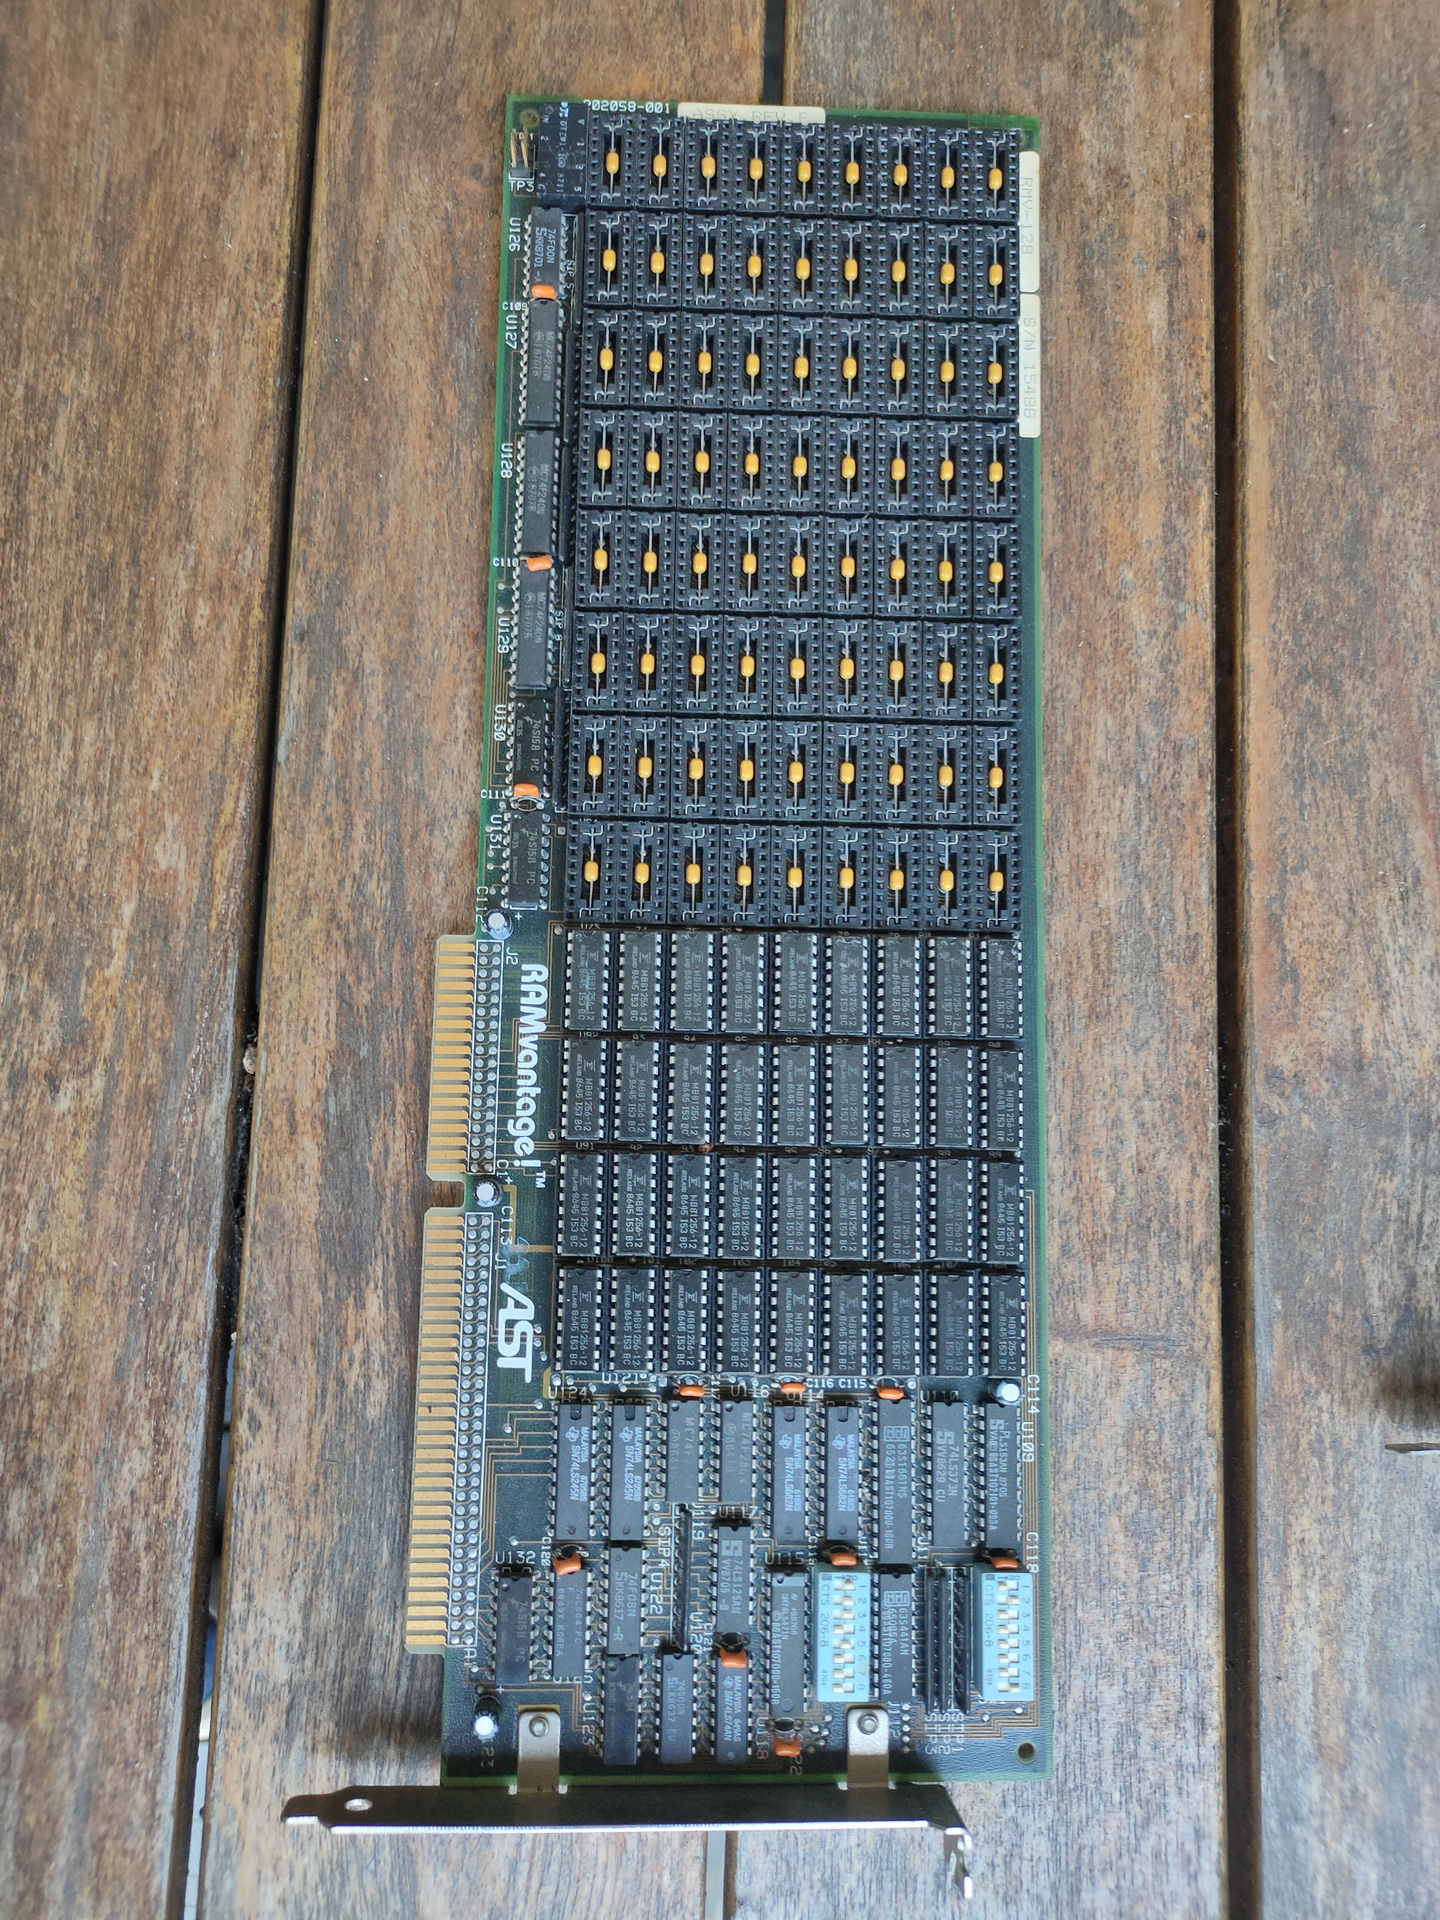
Only cards worth mentioning. I will add more information to this page
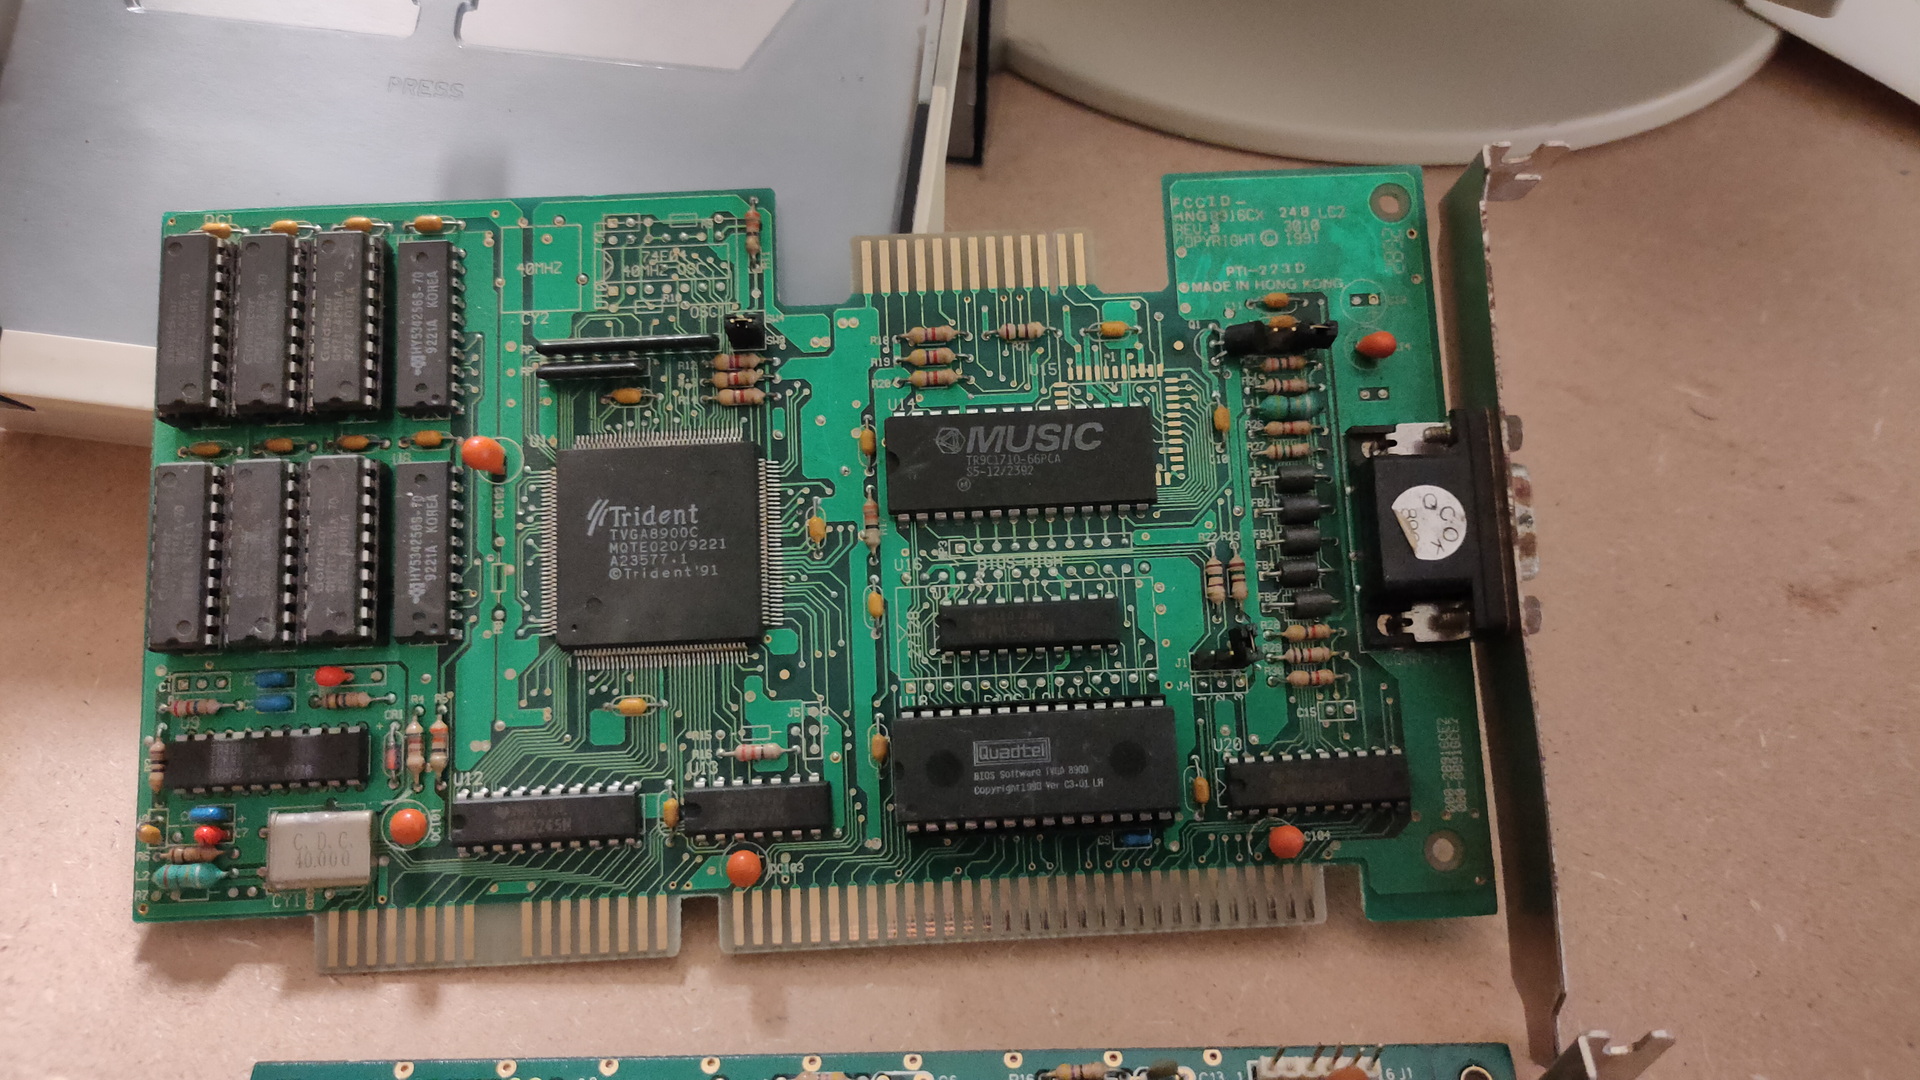
Graphics:
Hercules ???? – Did a lot of machinecode on this one. (Which?) CGA/EGA Card ??? – Machinecode hacking VGA .. first card also machine code hacking Matrox Some cards i knew a lot about, i did some manipulations using assembly that were very interesting, but only worked on that specific brand.
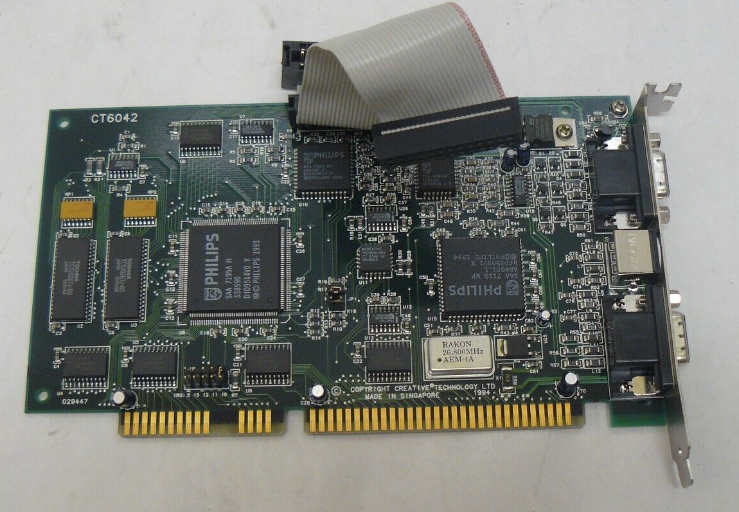
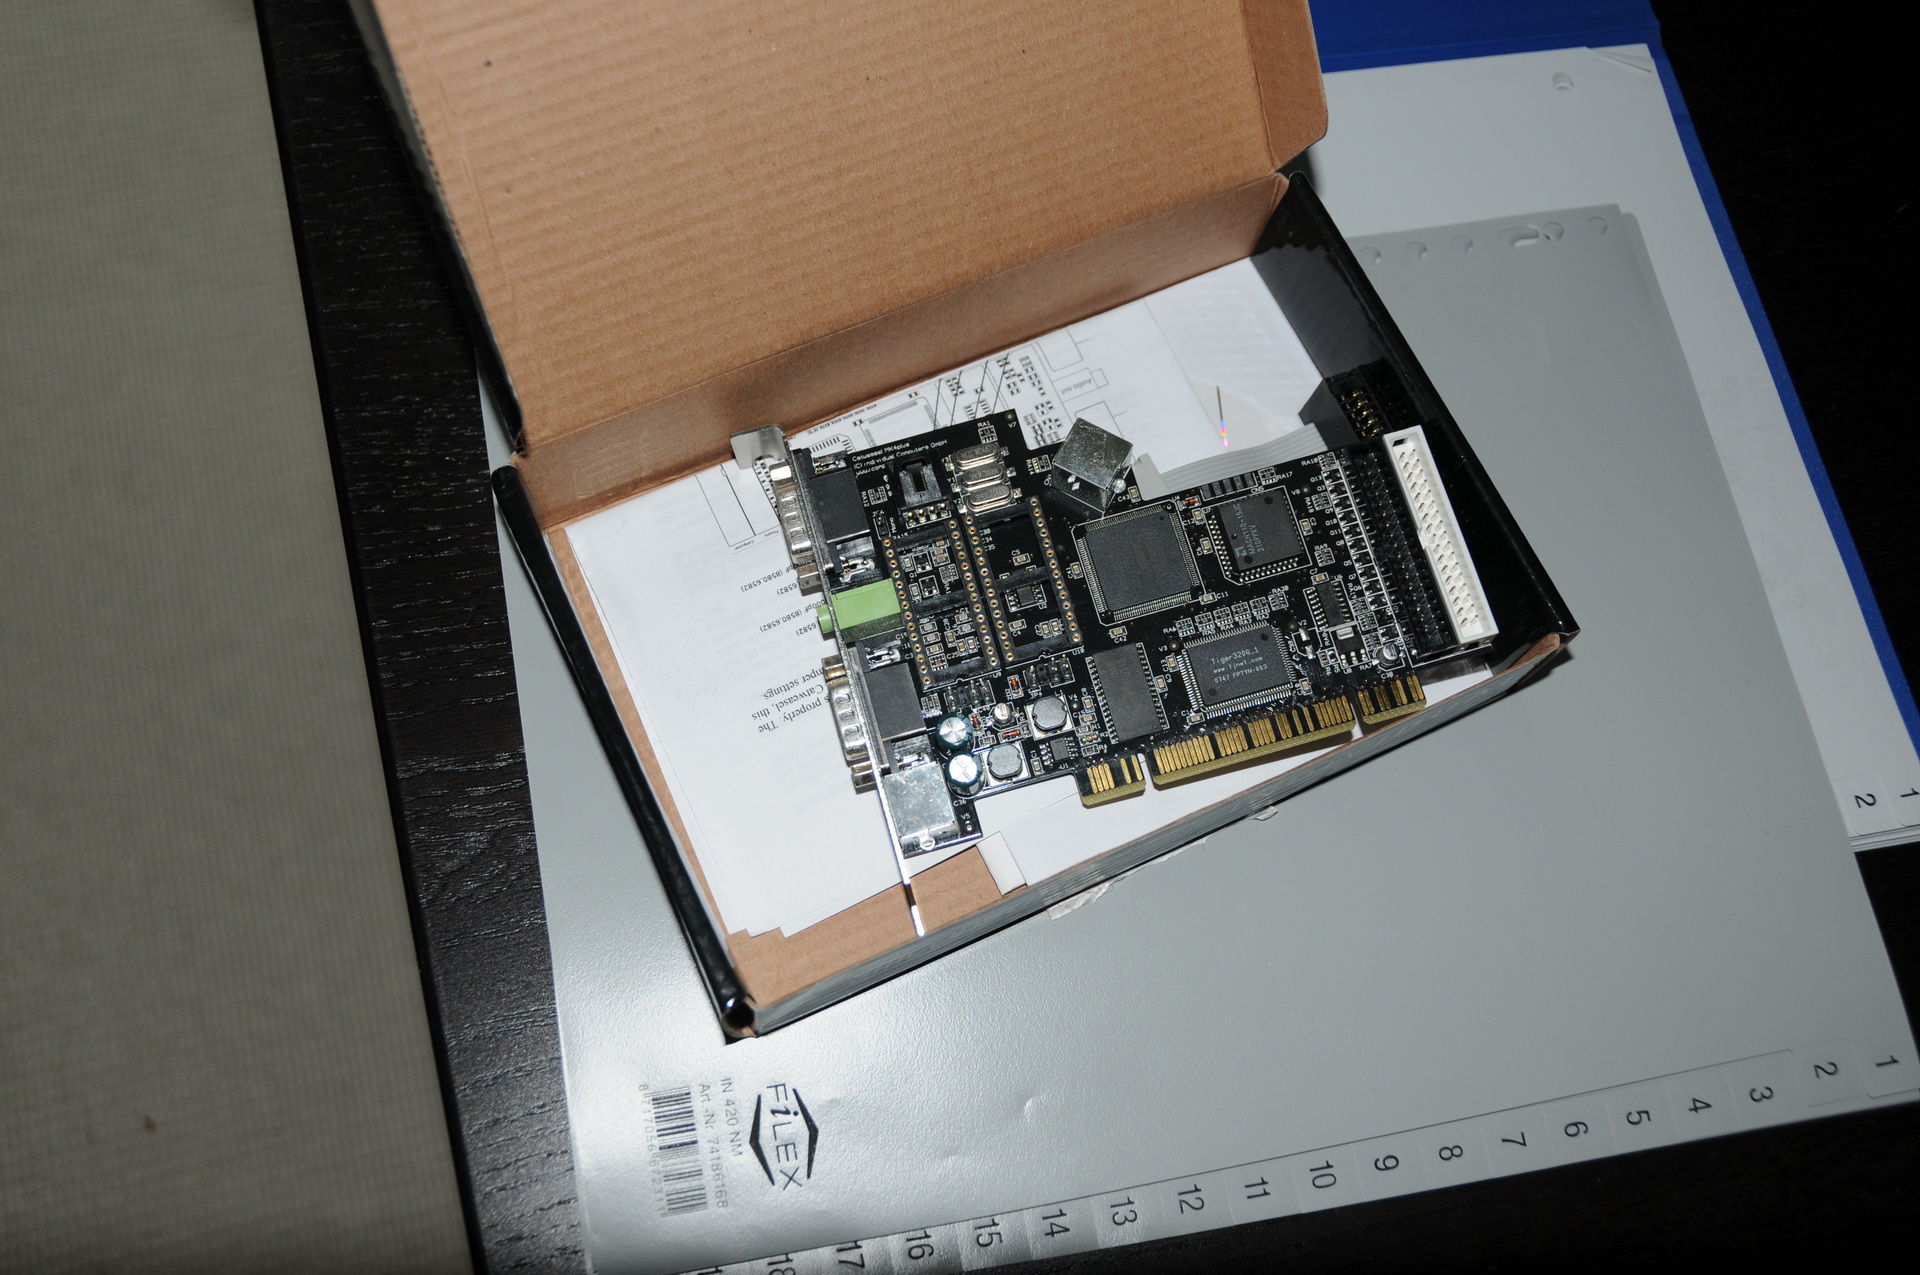
The Catweasel is a family of enhanced floppy-disk controllers from German company Individual Computers. These controllers are designed to allow more recent computers, such as PCs, to access a wide variety of older or non-native disk formats using standard floppy drives.
You could connect joysticks and there is a socket for a SID chip on the card.
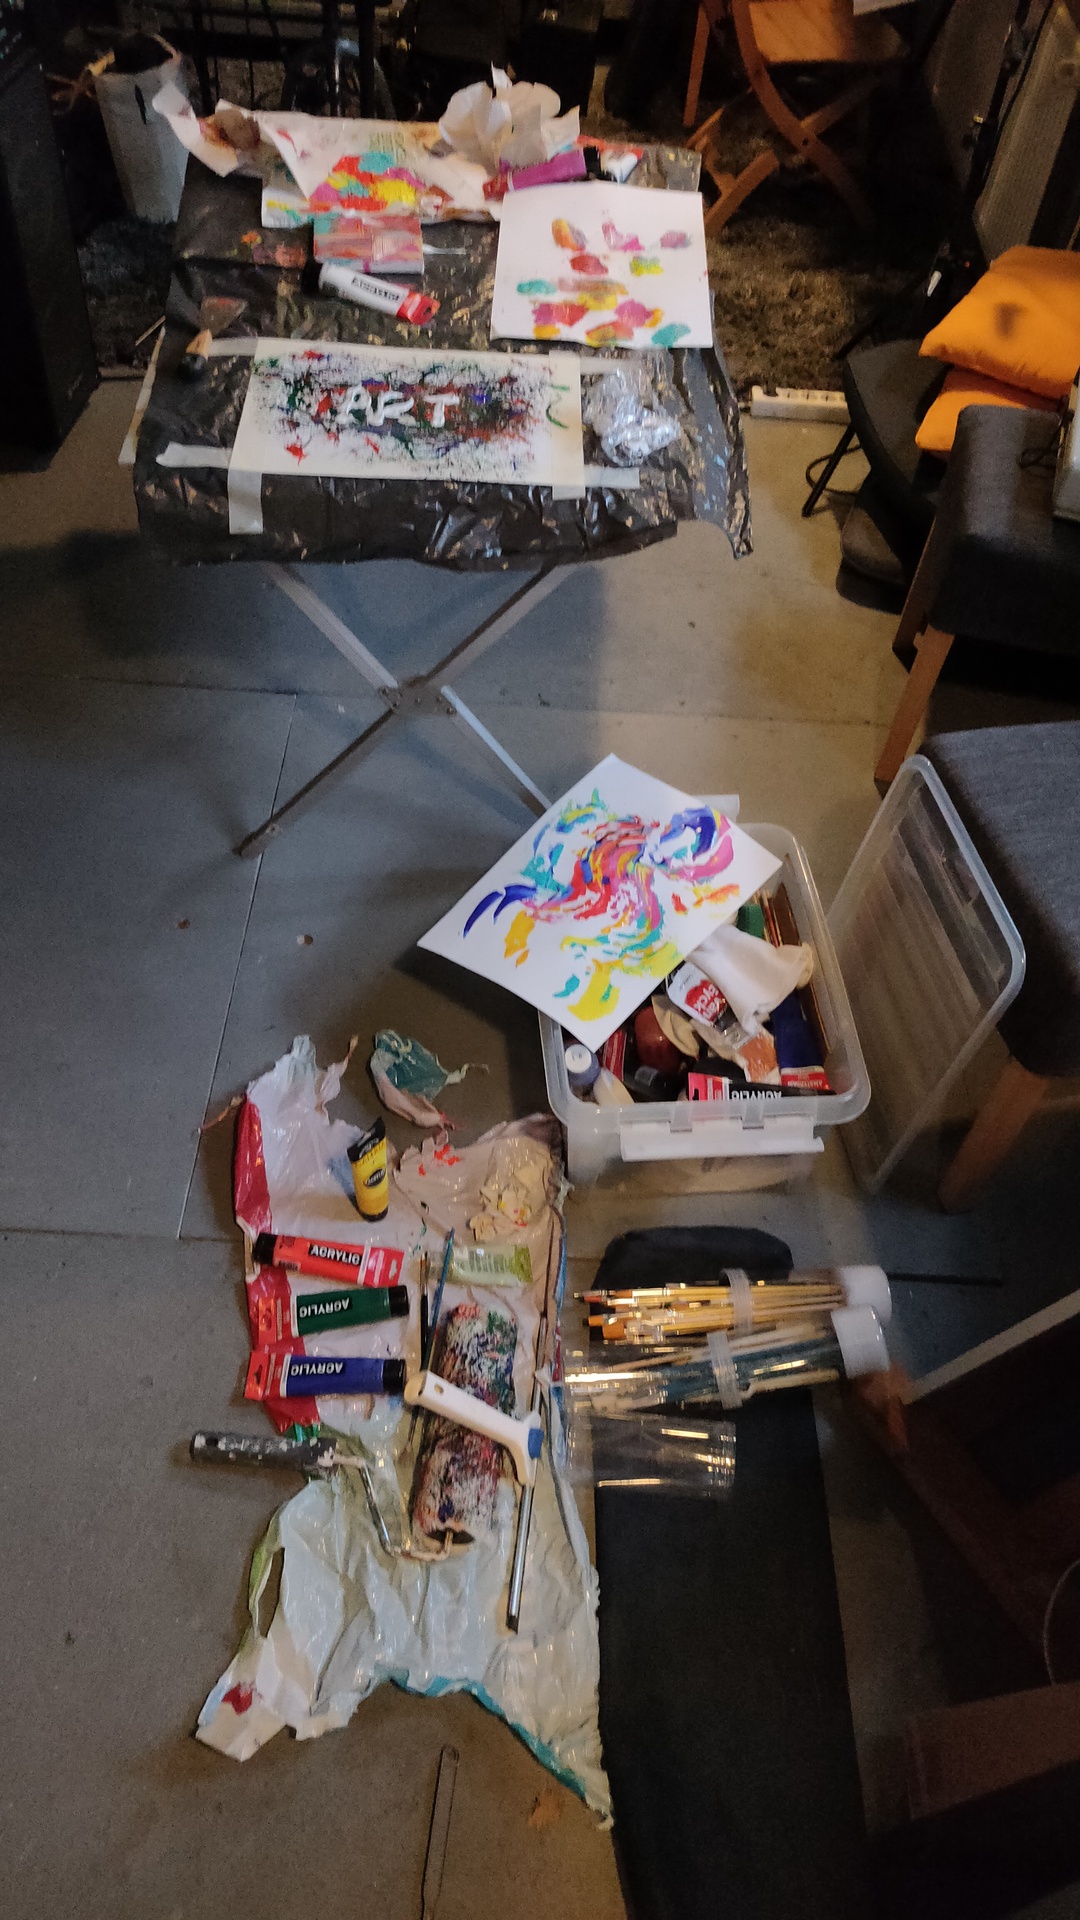
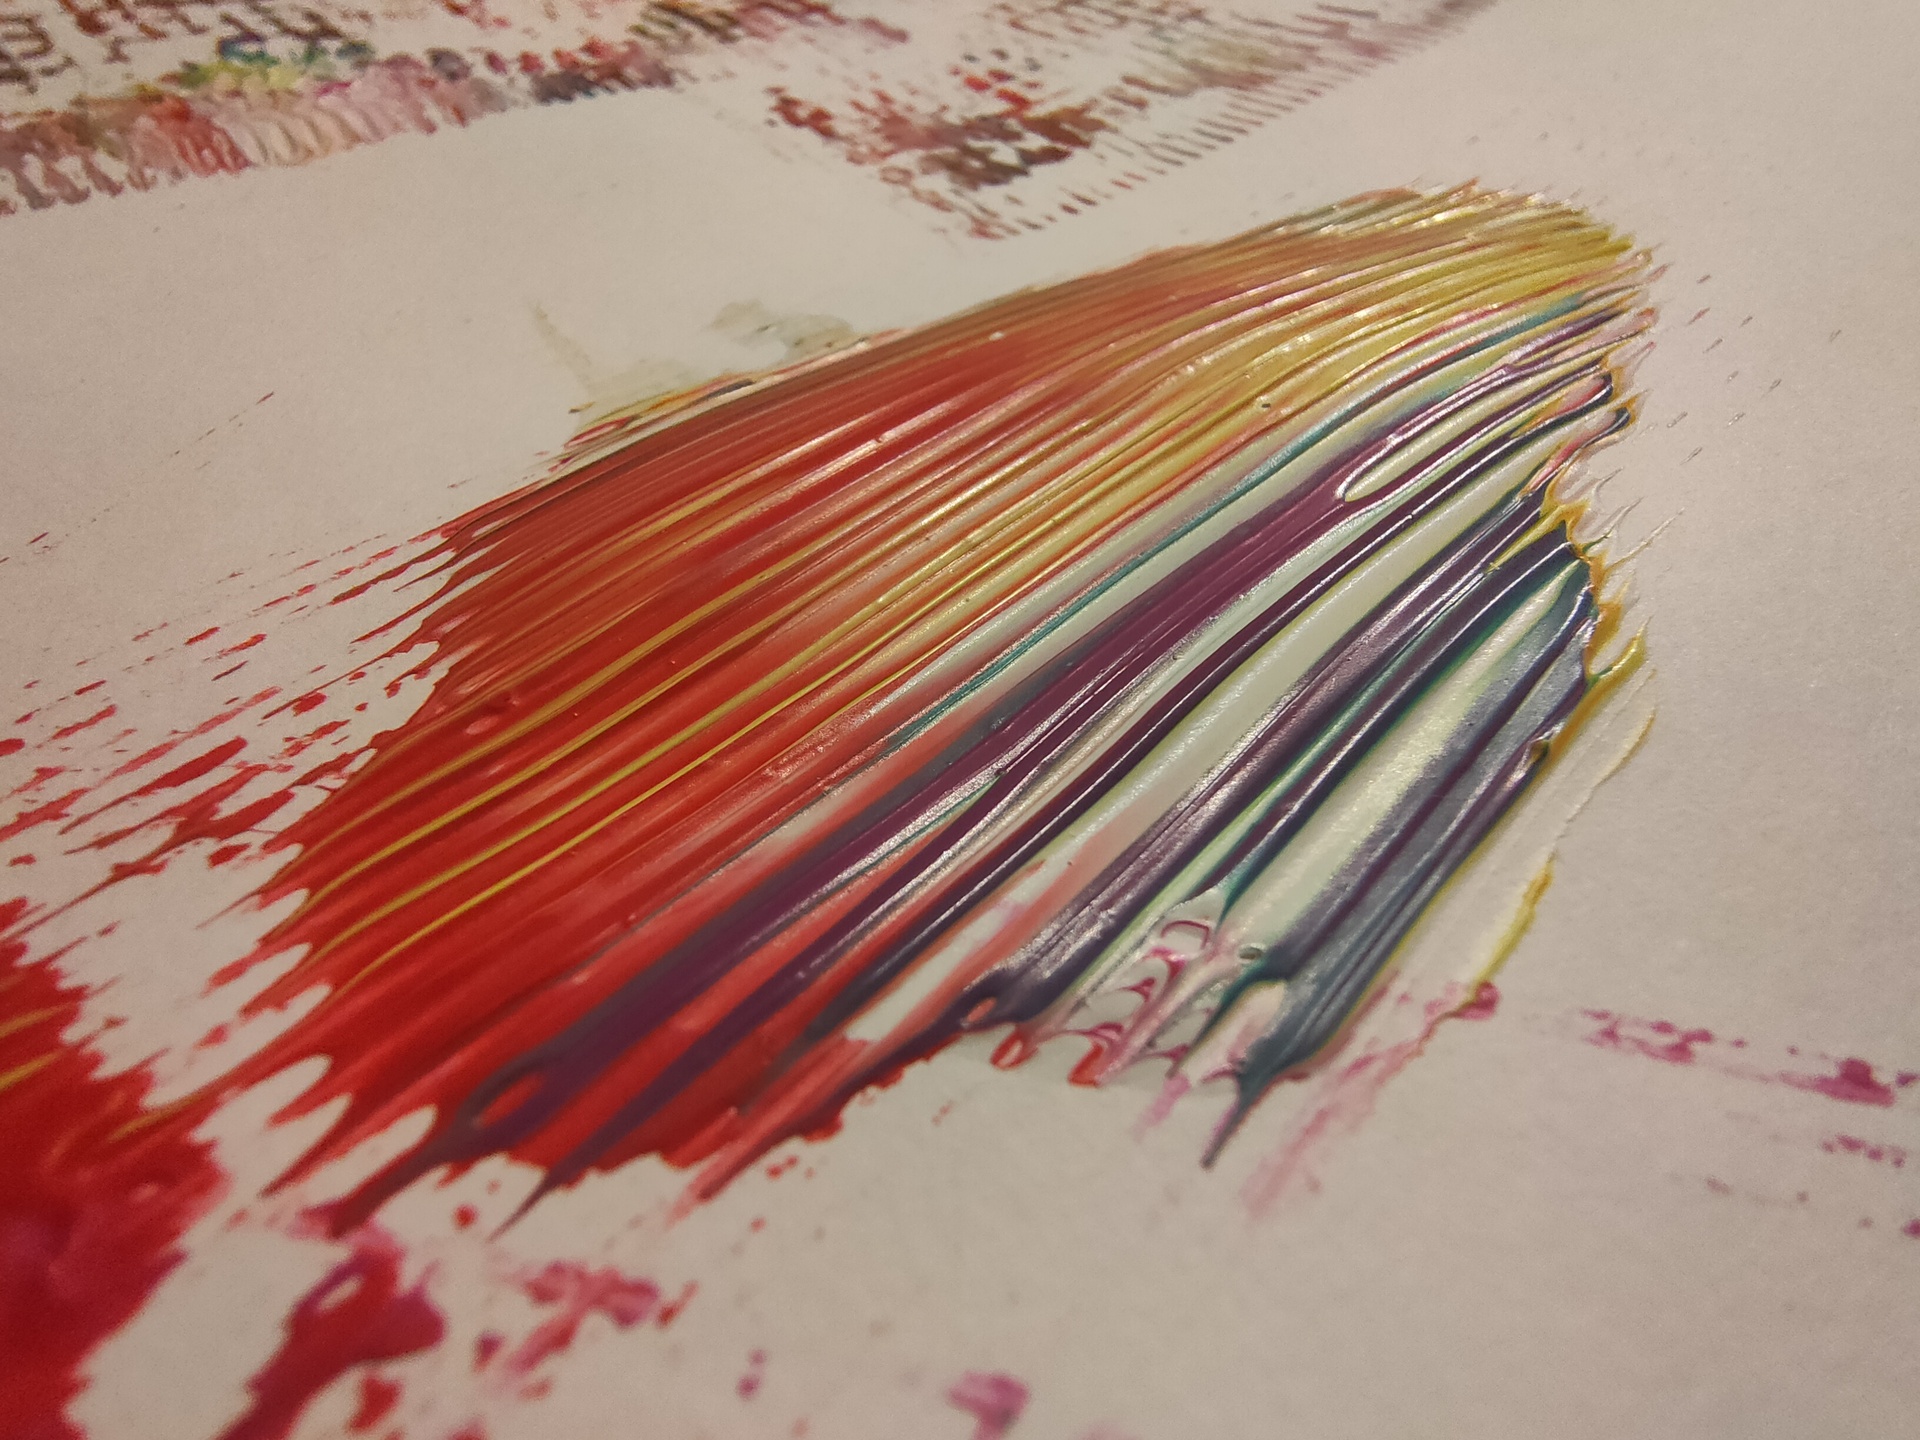
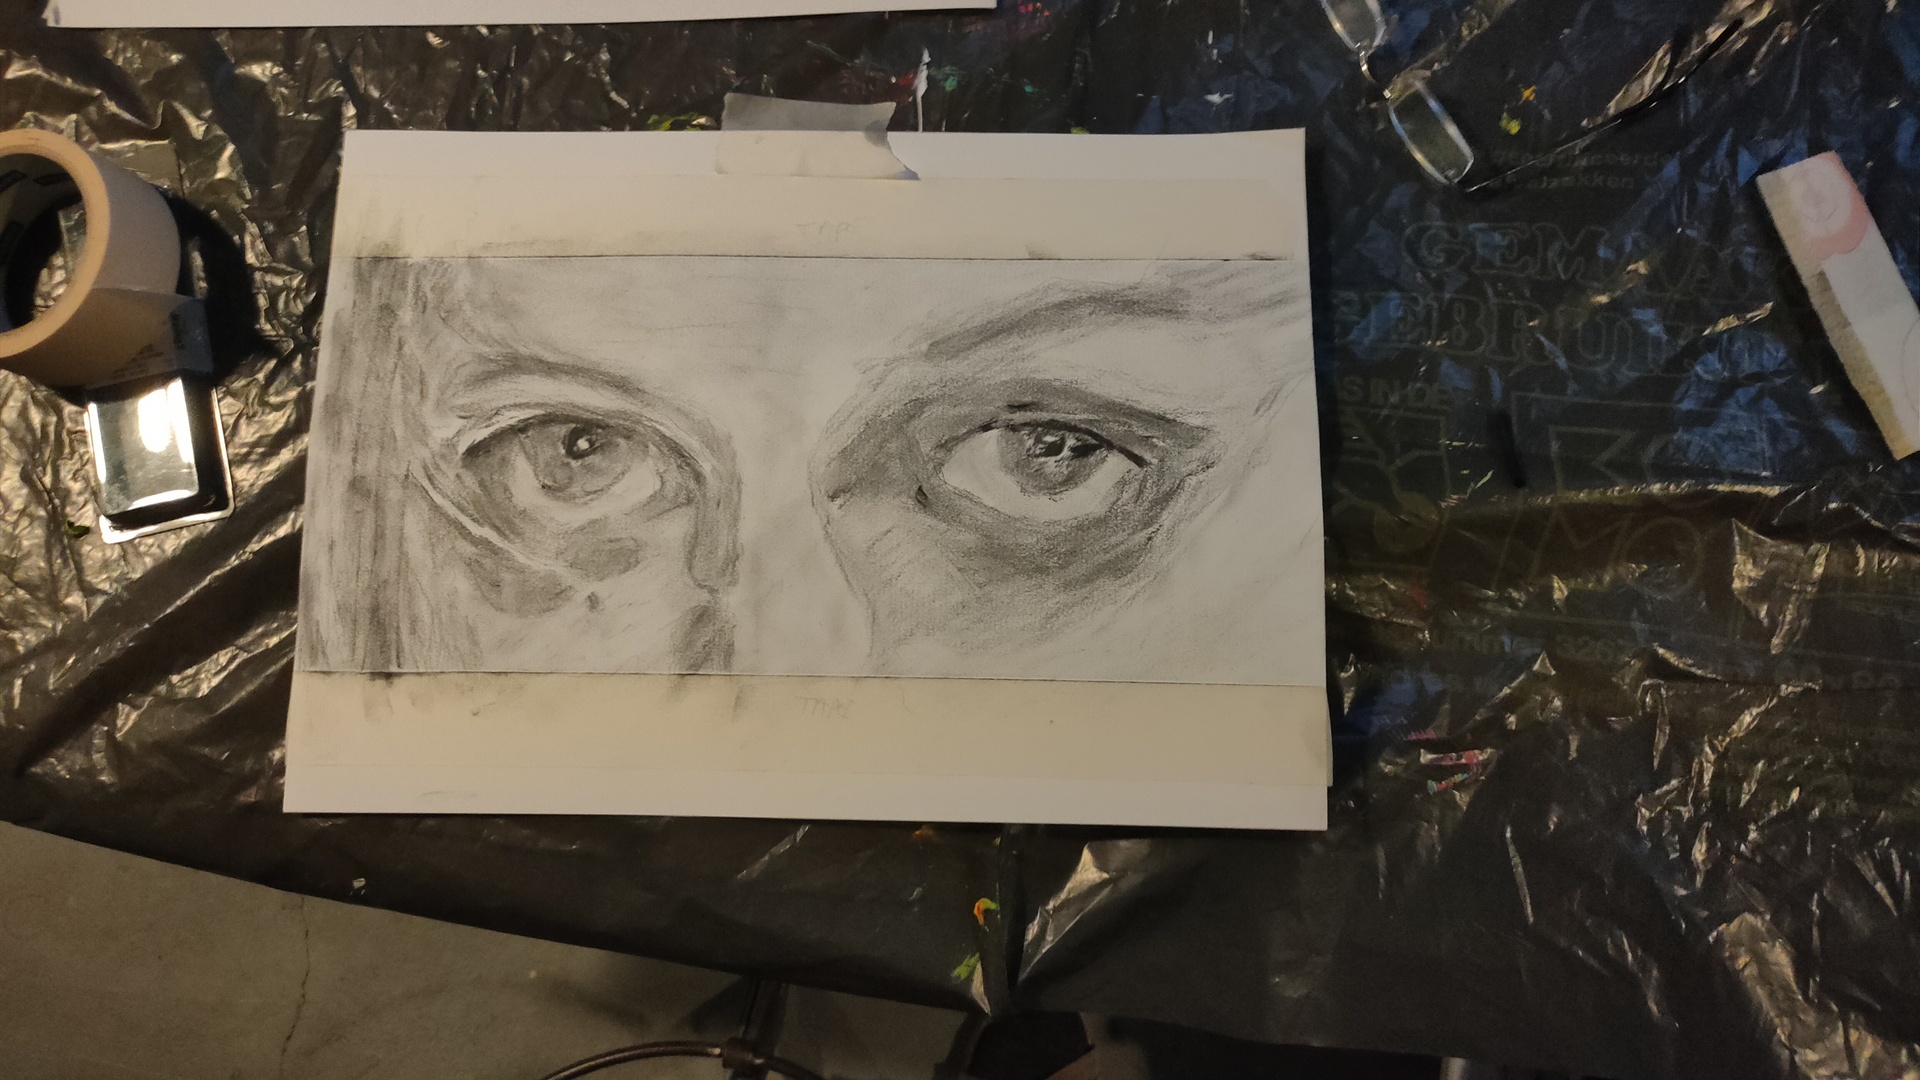
I like creating Art, painting, drawing, sculpting but also computer generated. Most of the things i create are for adults. So i can’t post my best work.
Below are some of the programs i’ve used, these are NOT the generic drawing programs like Gimp, Photoshop or alike. Ony programs that generate (photorealistic) graphics. I tried to start with the oldest ending with Blender. There is an overlap and sometimes i’m not sure when I used these programs.
BMRT
Blue Moon Rendering Tools, or BMRT, was one of the most famous RenderMan-compliant photorealistic rendering systems.
Could not find examples?
3DS4
3D Studio, not to be confused with the later “3d Studio Max” product, is a DOS-based tool from Autodesk for creating 3d models and animations.
Website for female student society Woodstock For our computer magazine (with Martin)Just a logoLogo for a work thingyAlso work relatedSome examples, i did some animations also
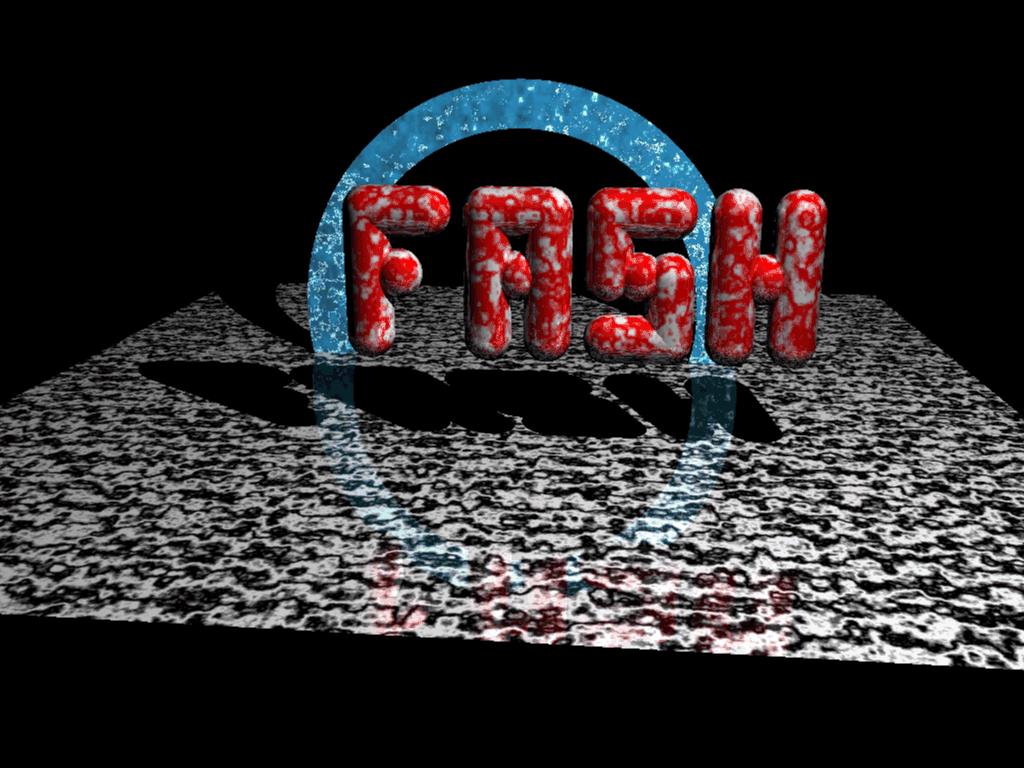
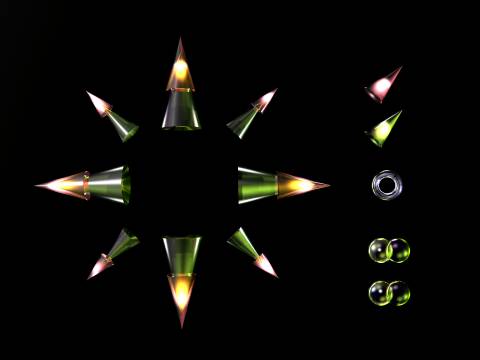
Vivid
This is the Vivid raytracer. It will only run in a dos environment. http://paulbourke.net/dataformats/vivid/
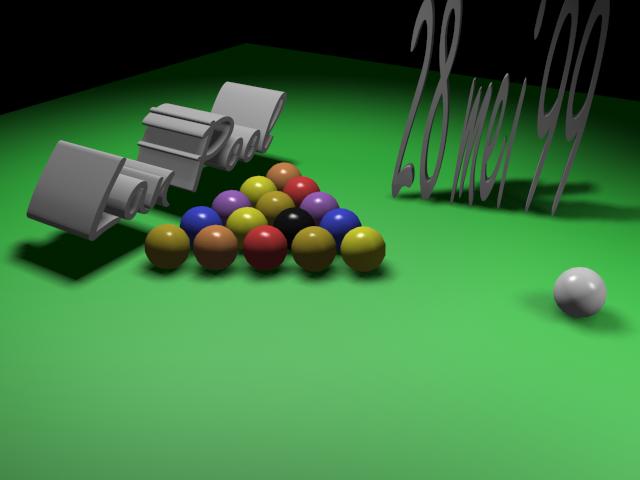
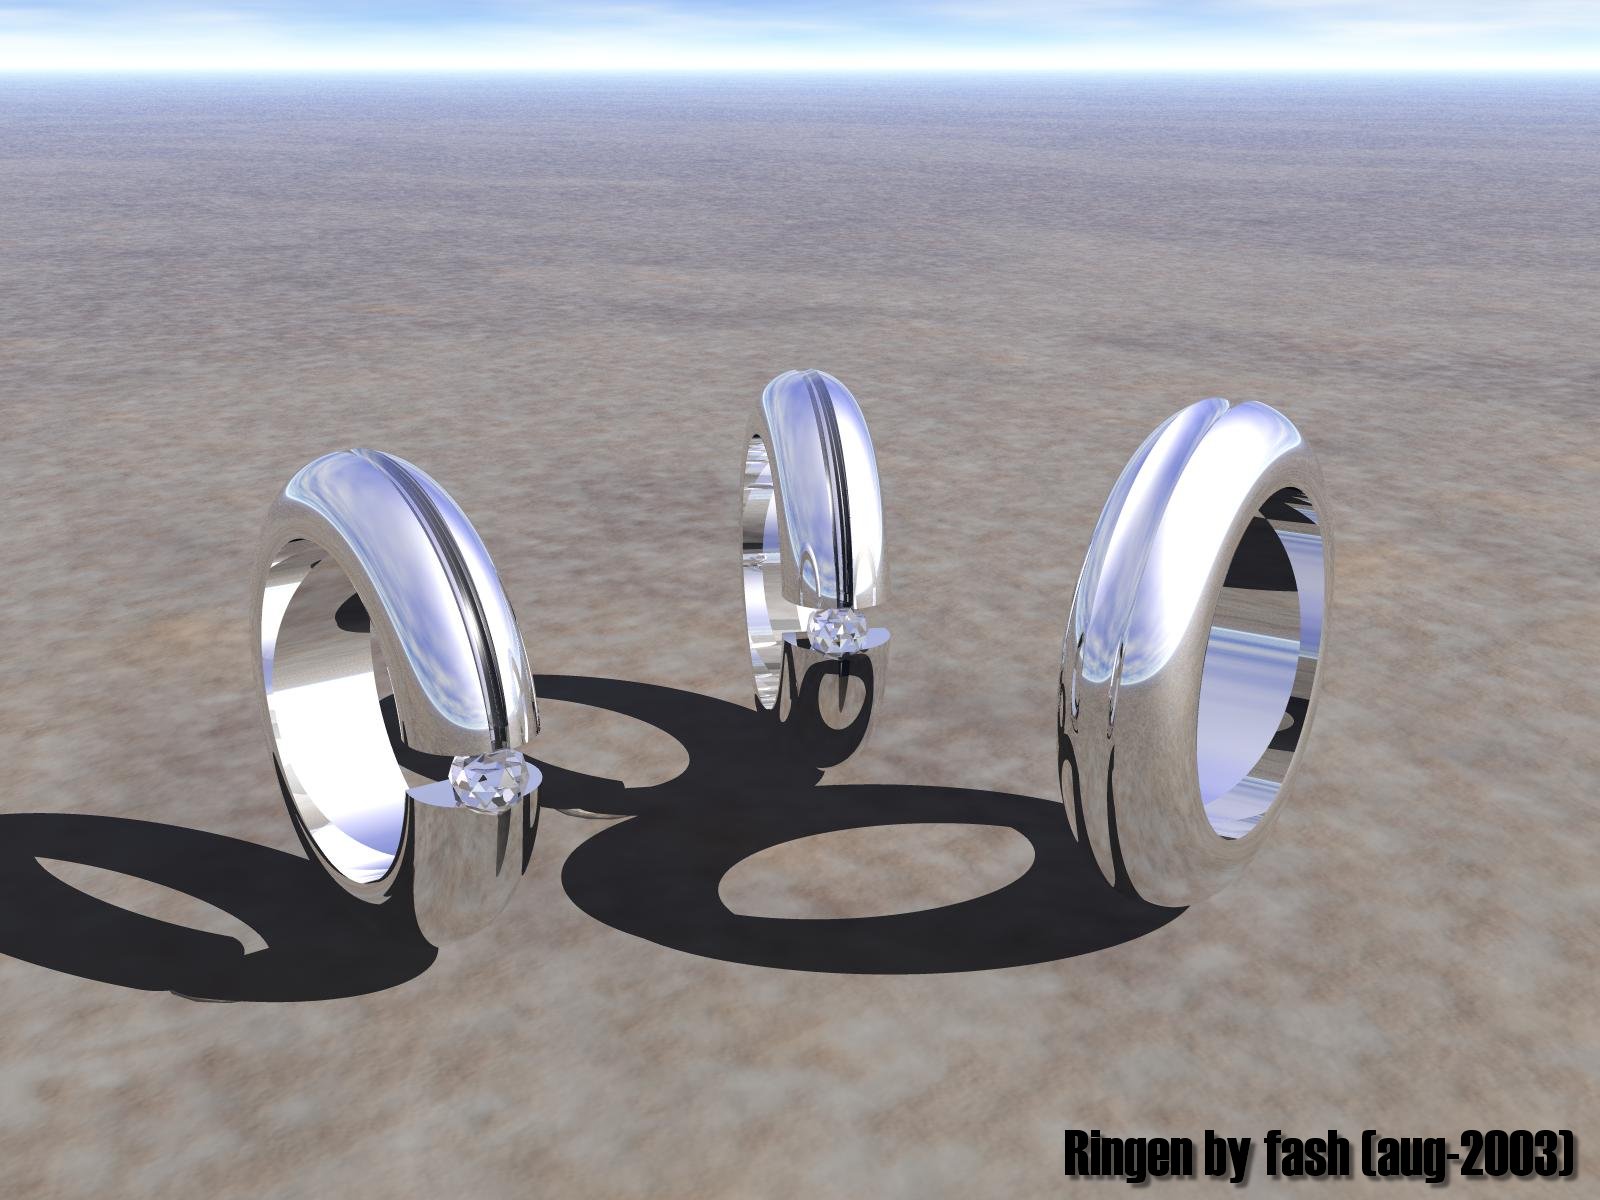
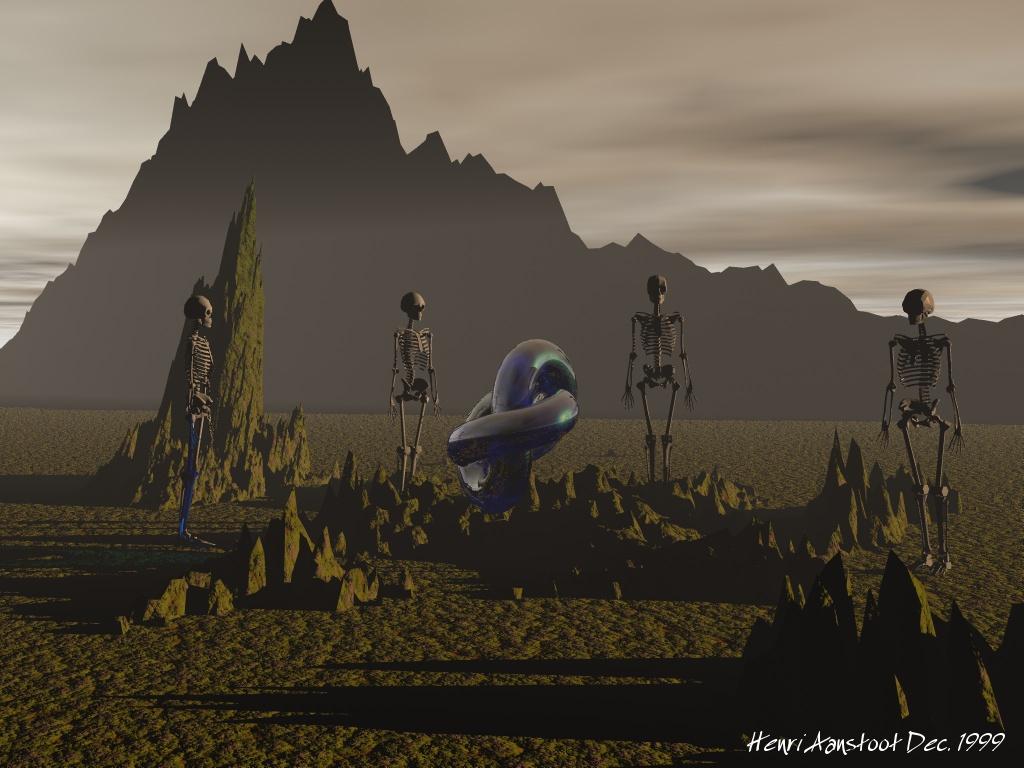
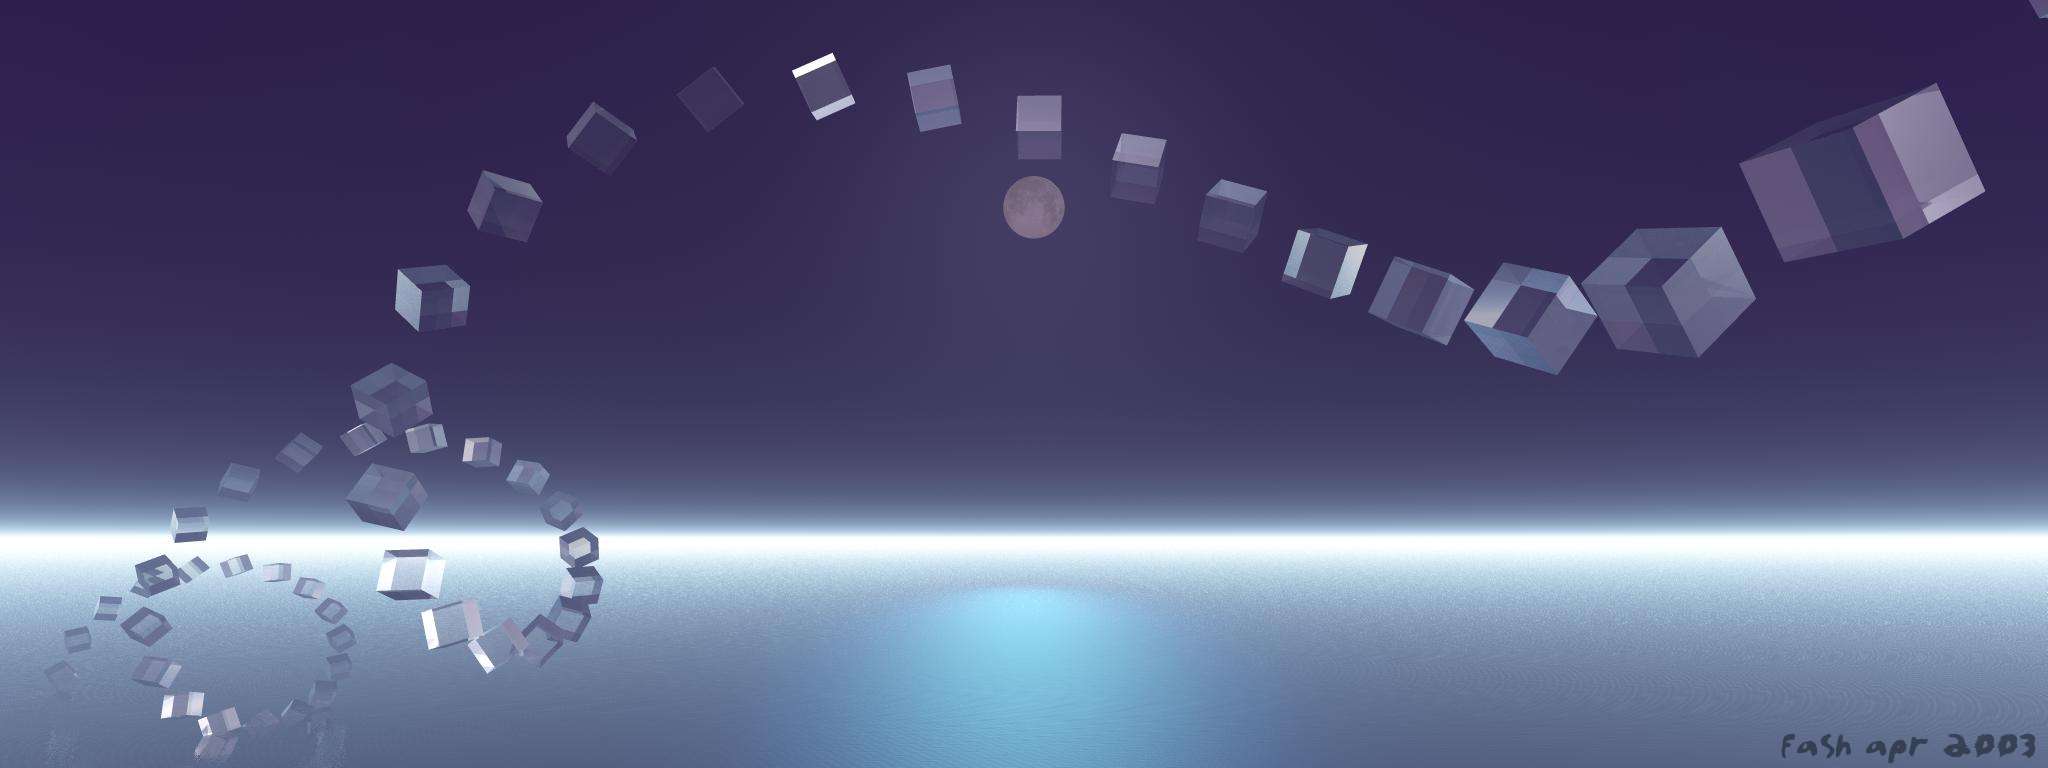
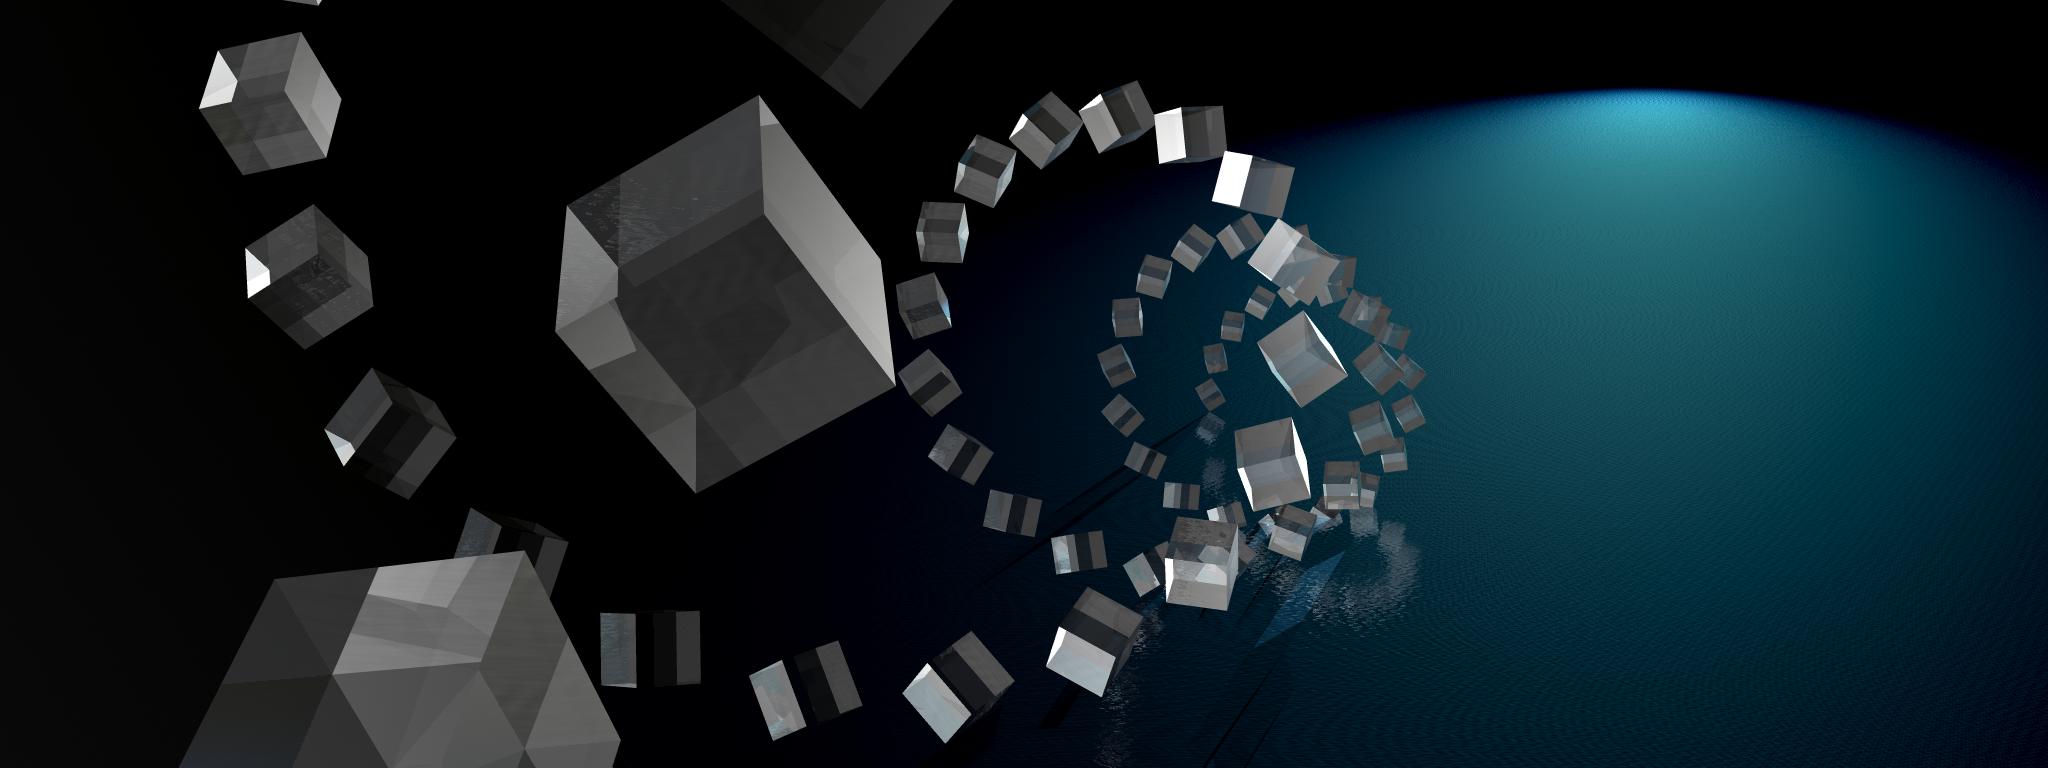
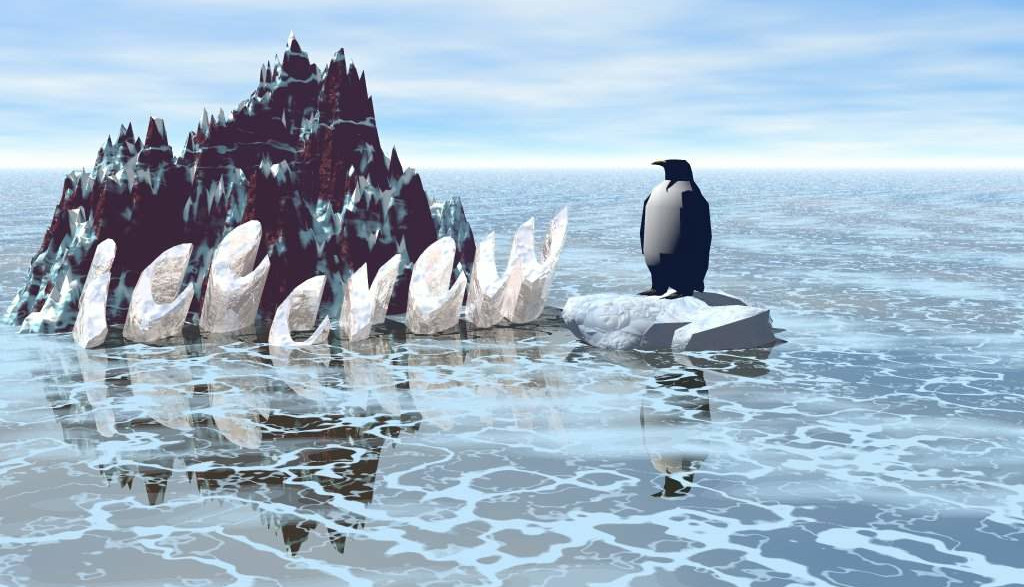
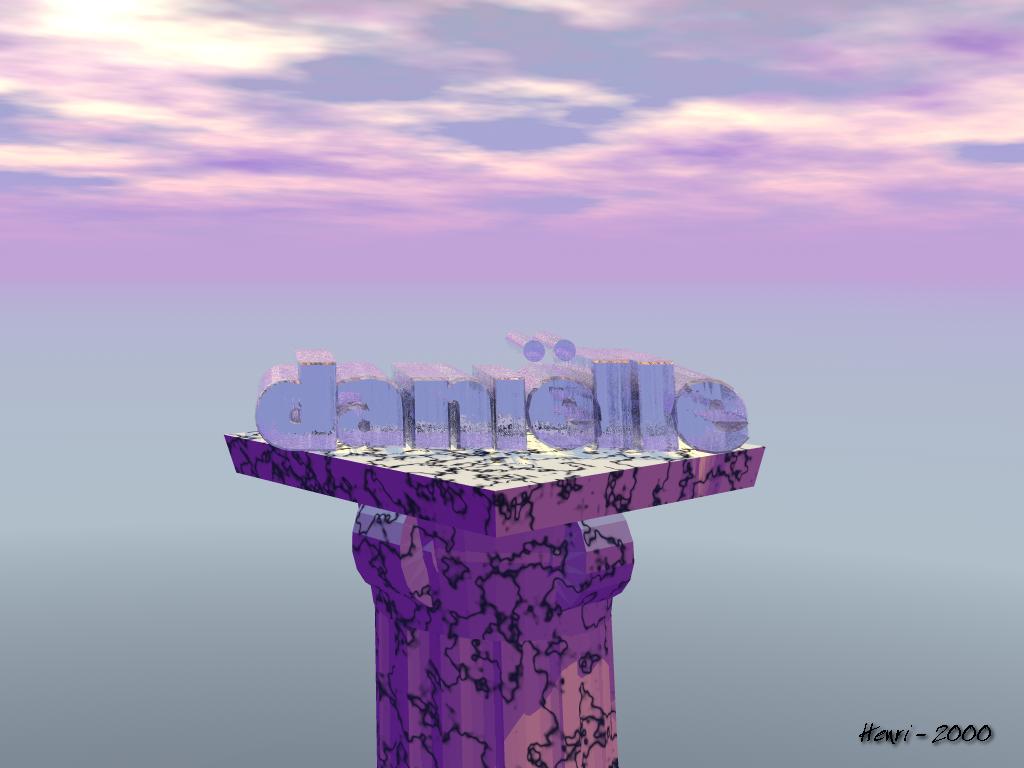
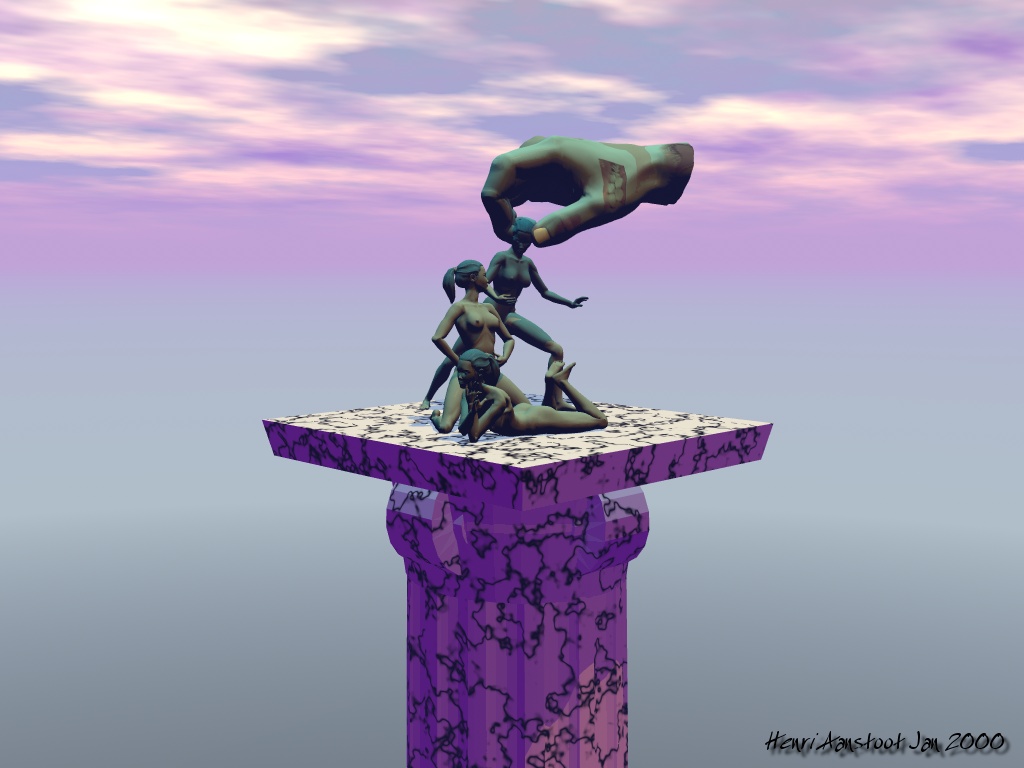
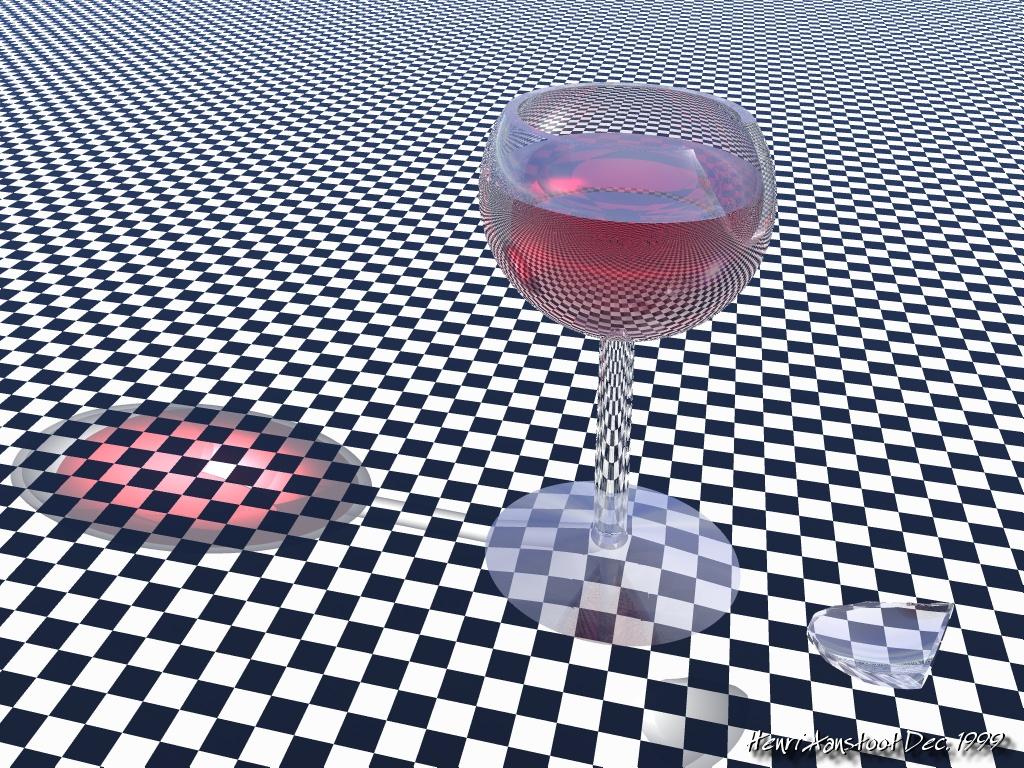
Povray
The Persistence of Vision Ray Tracer, most commonly acronymed as POV-Ray, is a cross-platform ray-tracing program that generates images from a text-based scene description.
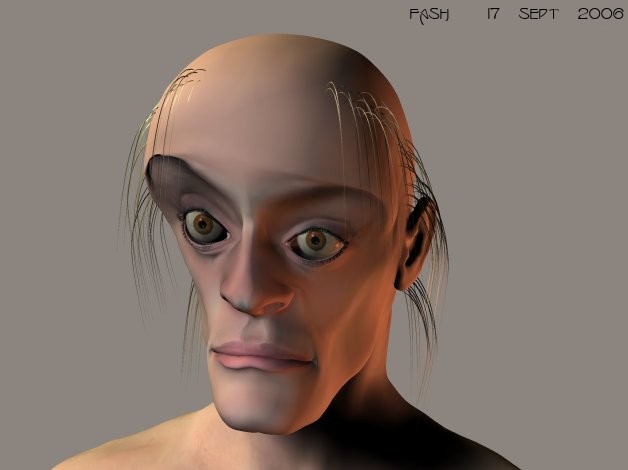
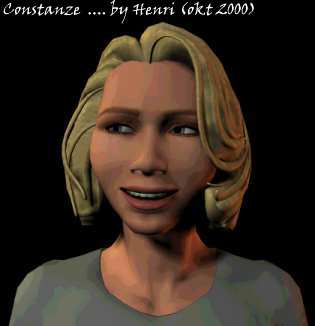
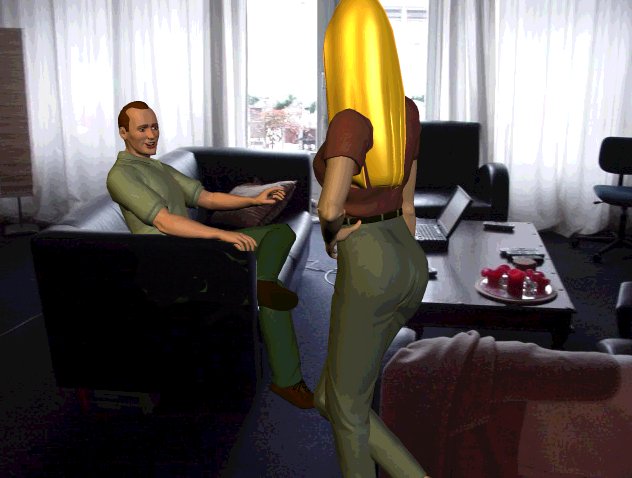
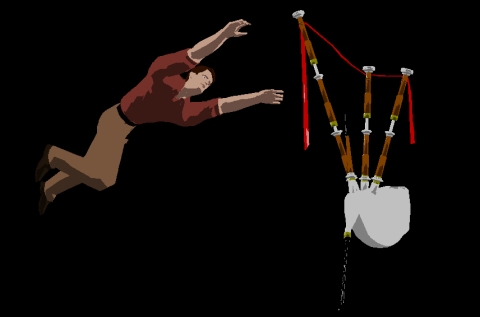
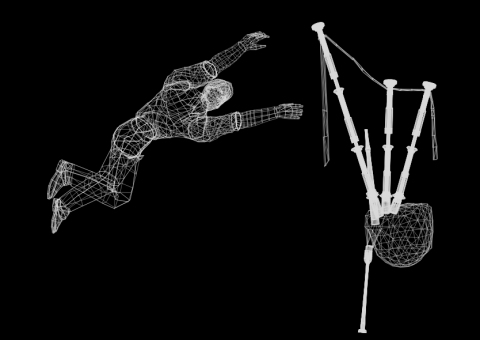
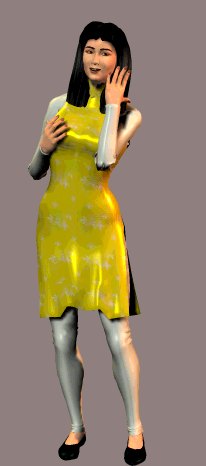
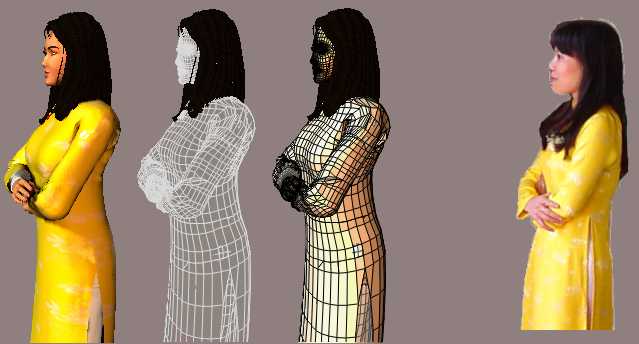
Poser (Pro) is a 3D computer graphics program optimized for the 3D modeling of human figures.
MonsterOne cell of a comic i made using PoserTuyet Study
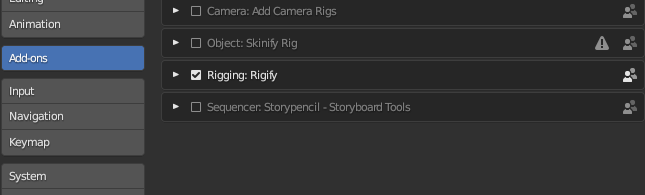
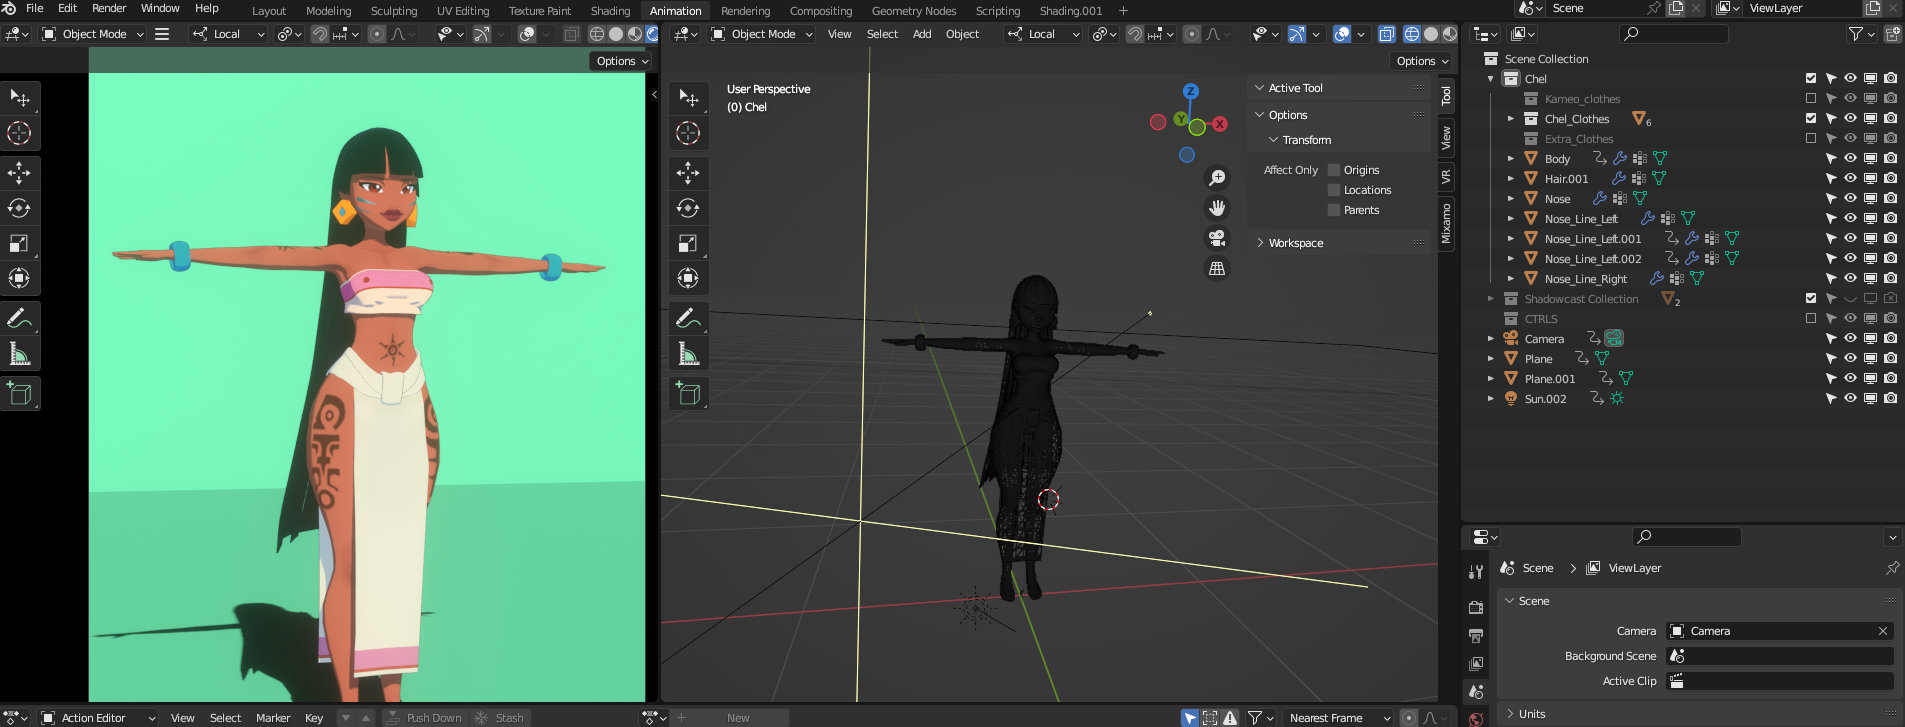
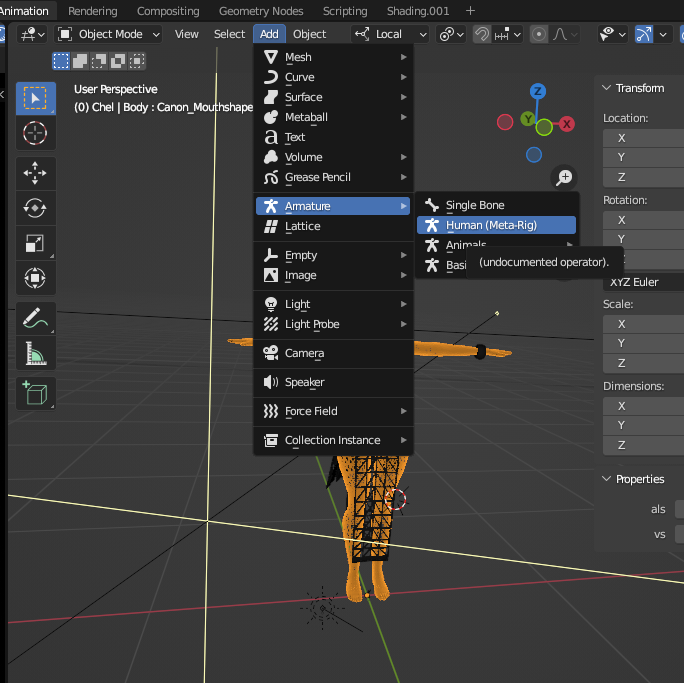
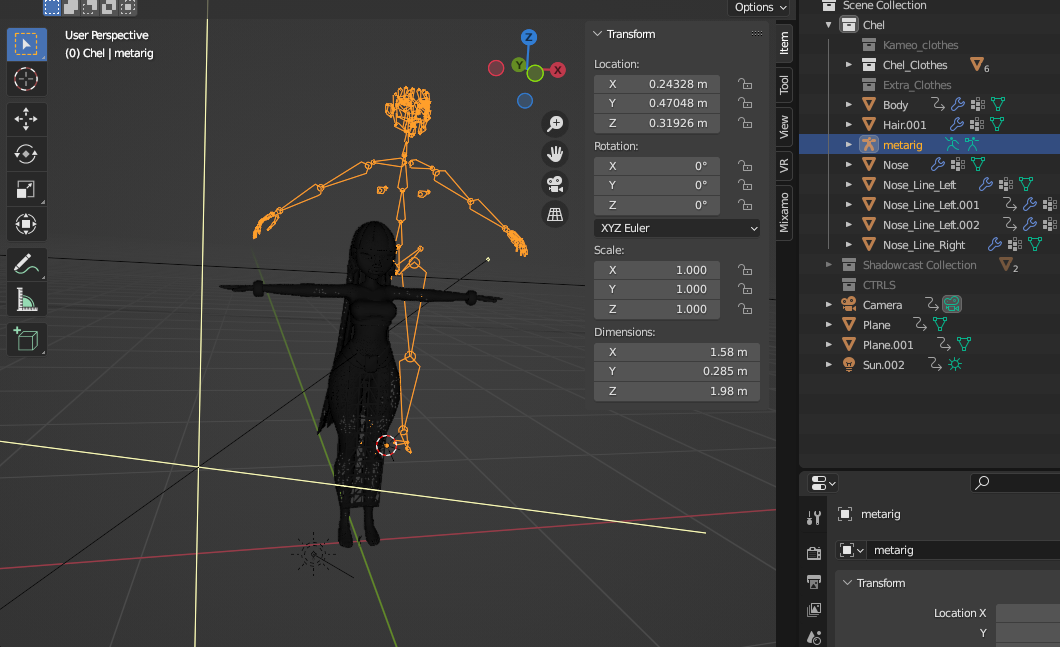
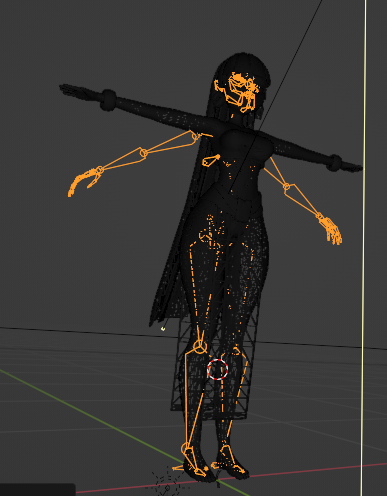
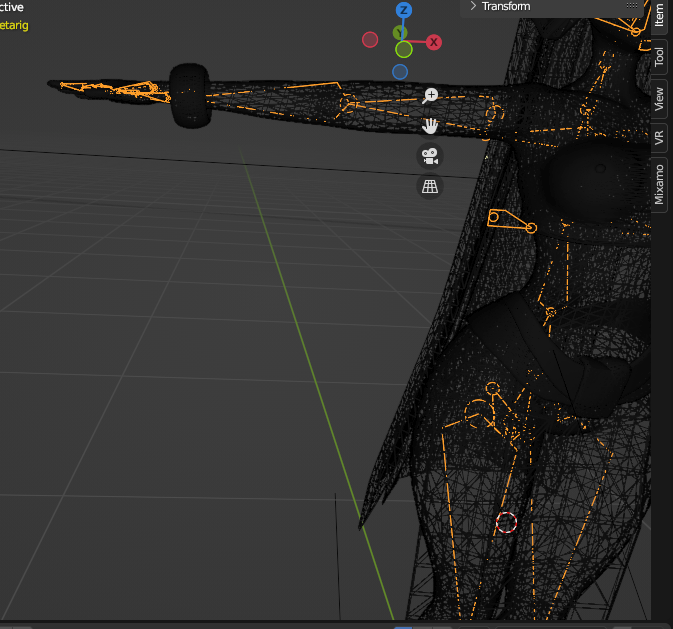
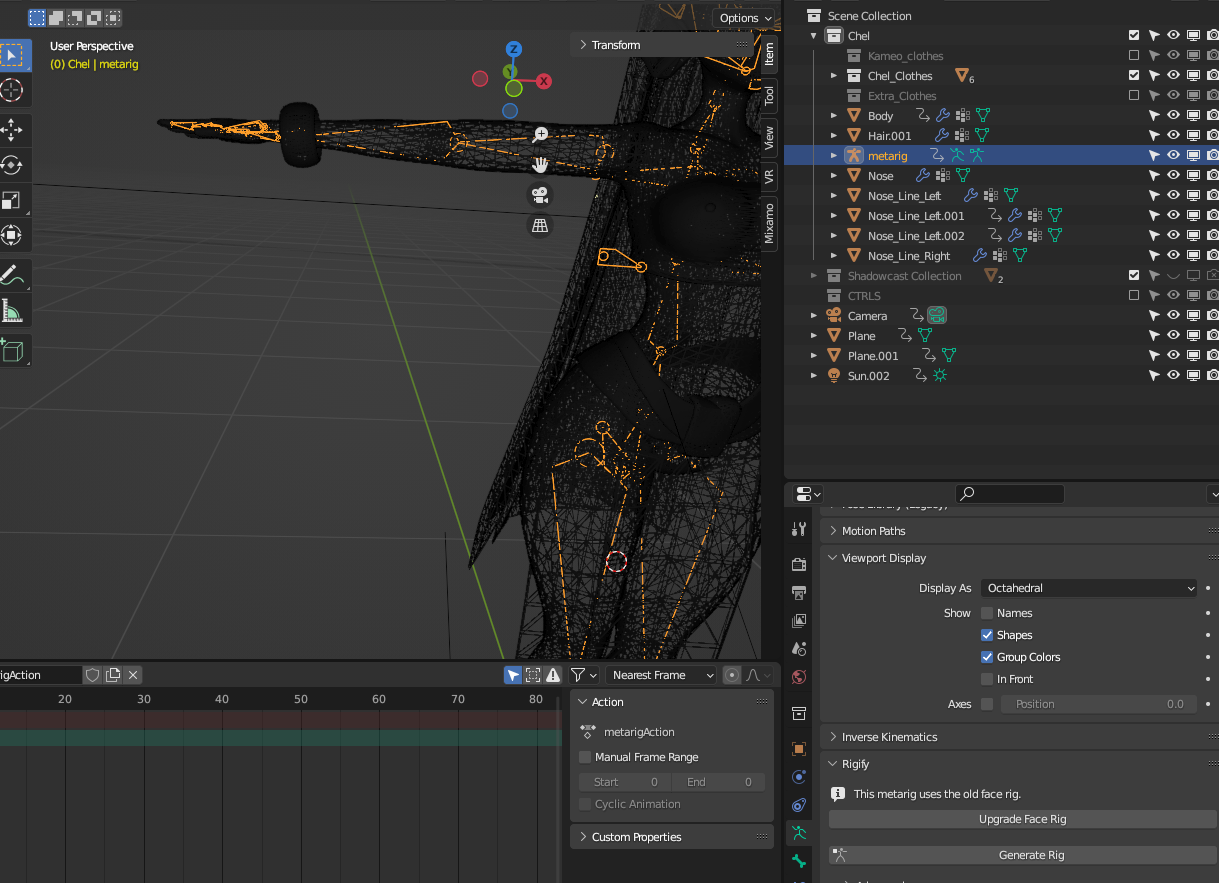
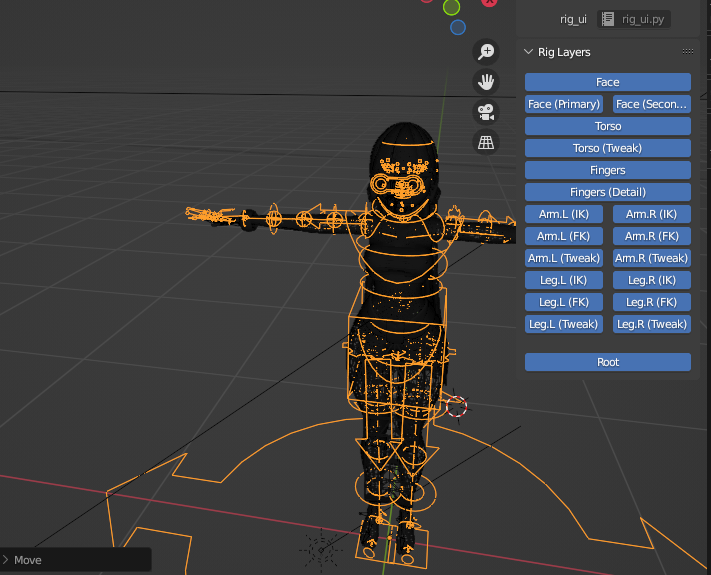
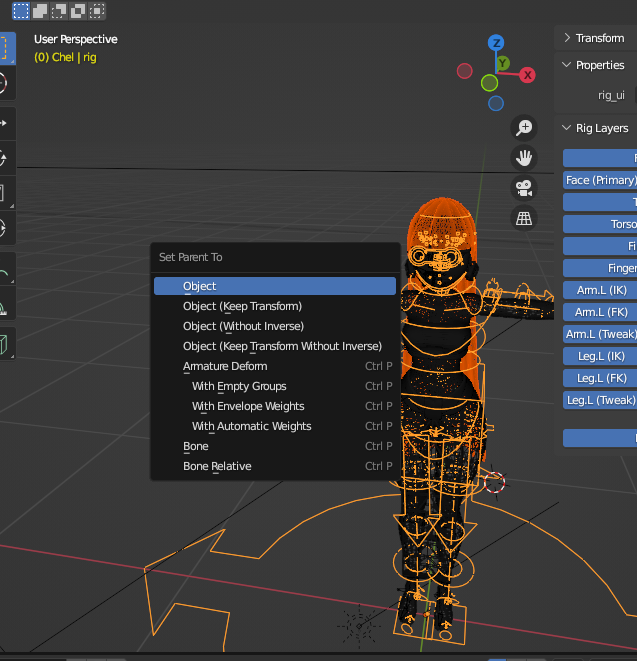
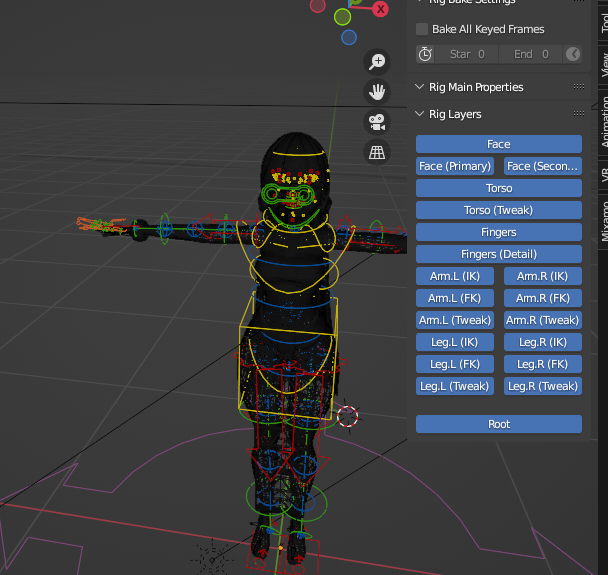
Blender
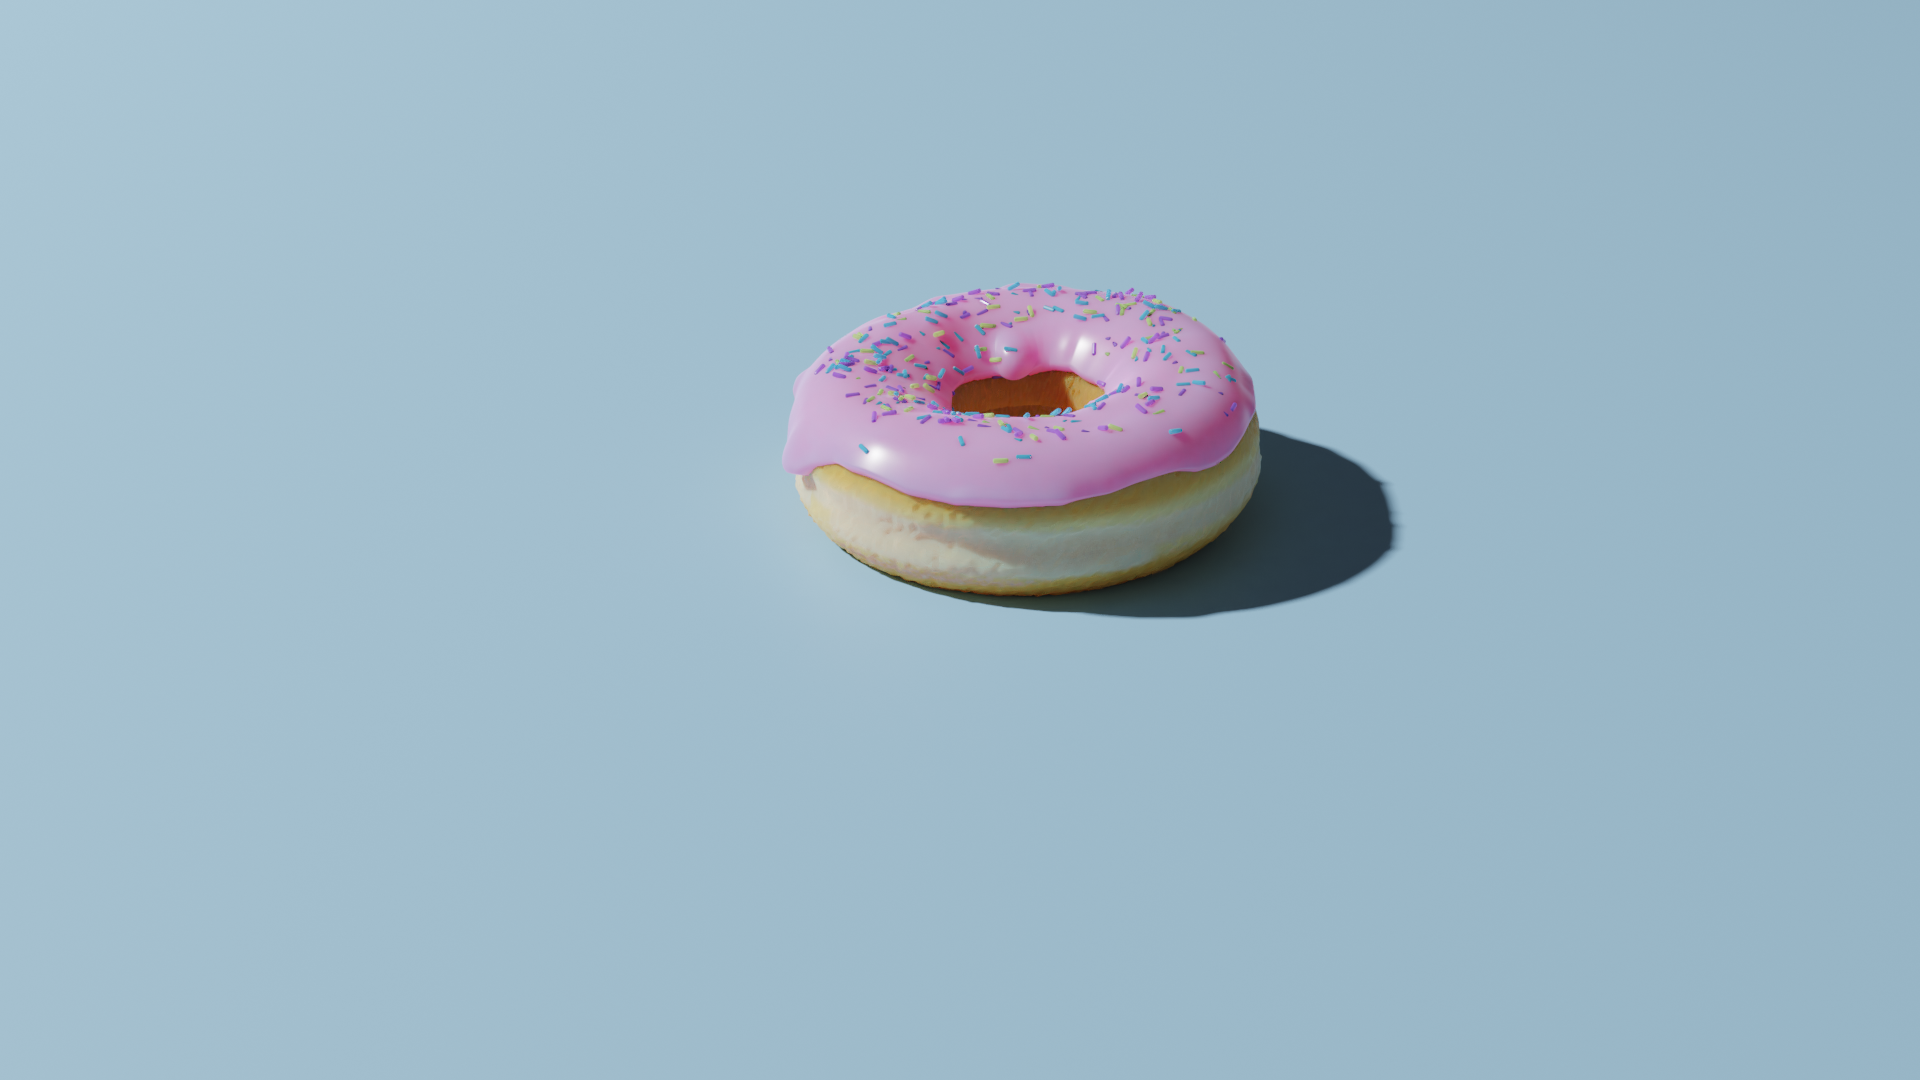
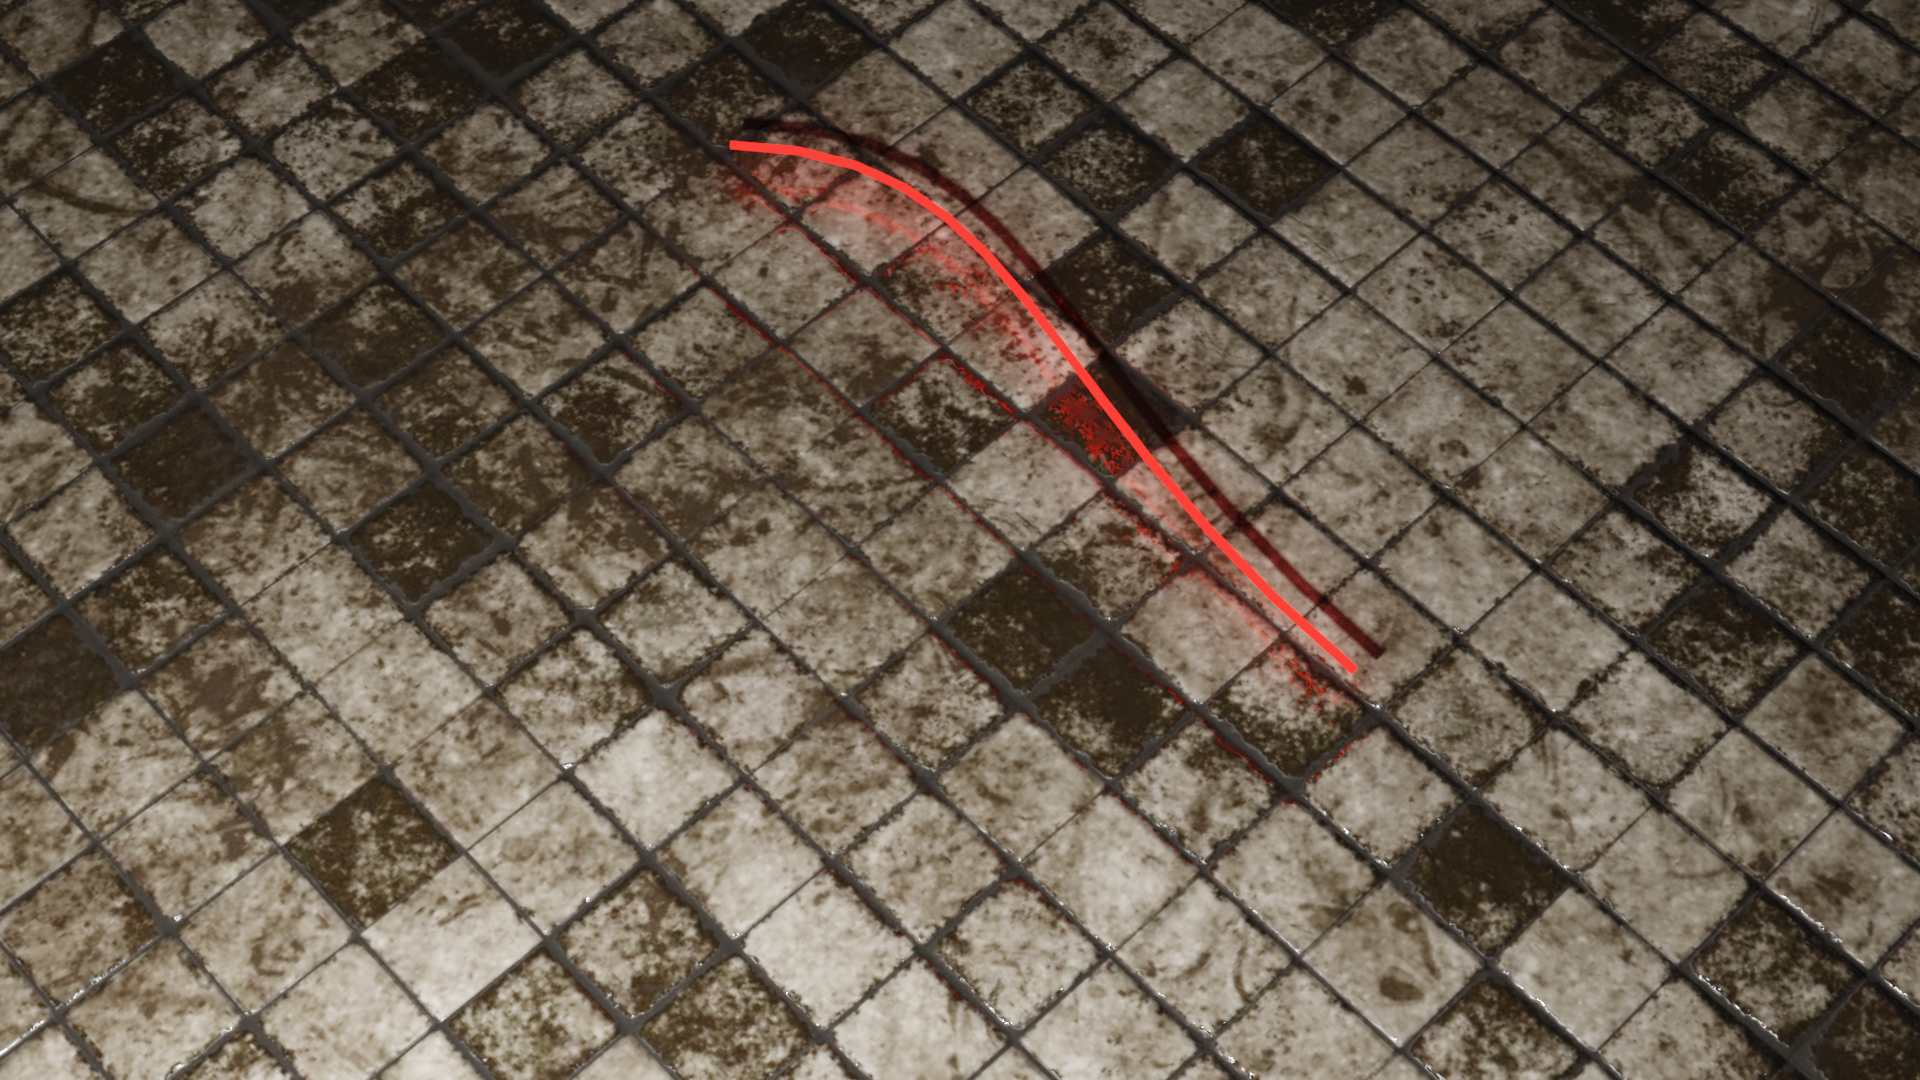
Blender is a free and open-source 3D computer graphics software tool set used for creating animated films, visual effects, art, 3D-printed models, motion graphics, interactive 3D applications, virtual reality, and, formerly, video games. Blender’s features include 3D modelling, UV mapping, texturing, digital drawing, raster graphics editing, rigging and skinning, fluid and smoke simulation, particle simulation, soft body simulation, sculpting, animation, match moving, rendering, motion graphics, video editing, and compositing. (Dutch developers started it in 1994) https://en.wikipedia.org/wiki/Blender_(software)
DonutNeon effect testSee rest blog for more blender examples (VR/Tracking/Animated/Mqtt-control)
Below here not really for art but graphical generators .