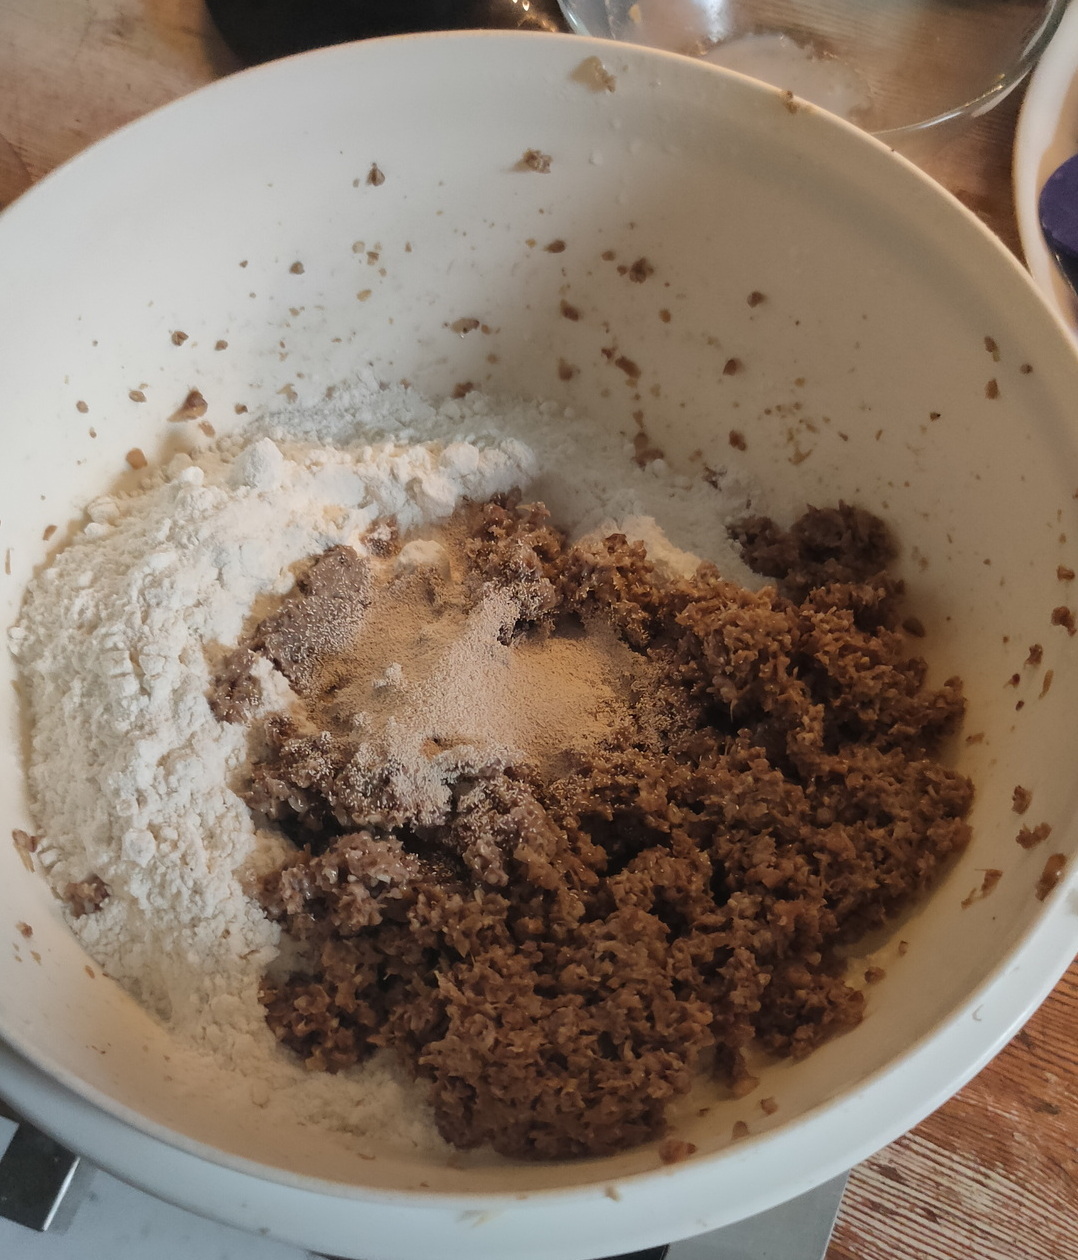
Last saturday we were brewing beer, ending up with a lot of spent grain. (Bier borstel in Dutch) These are the processed grains from the brewing.
Well, let’s bake a delicious bread, very tasty with, for example, salted butter.
Preparation time : 135 minutes Baking time : 60 minutes
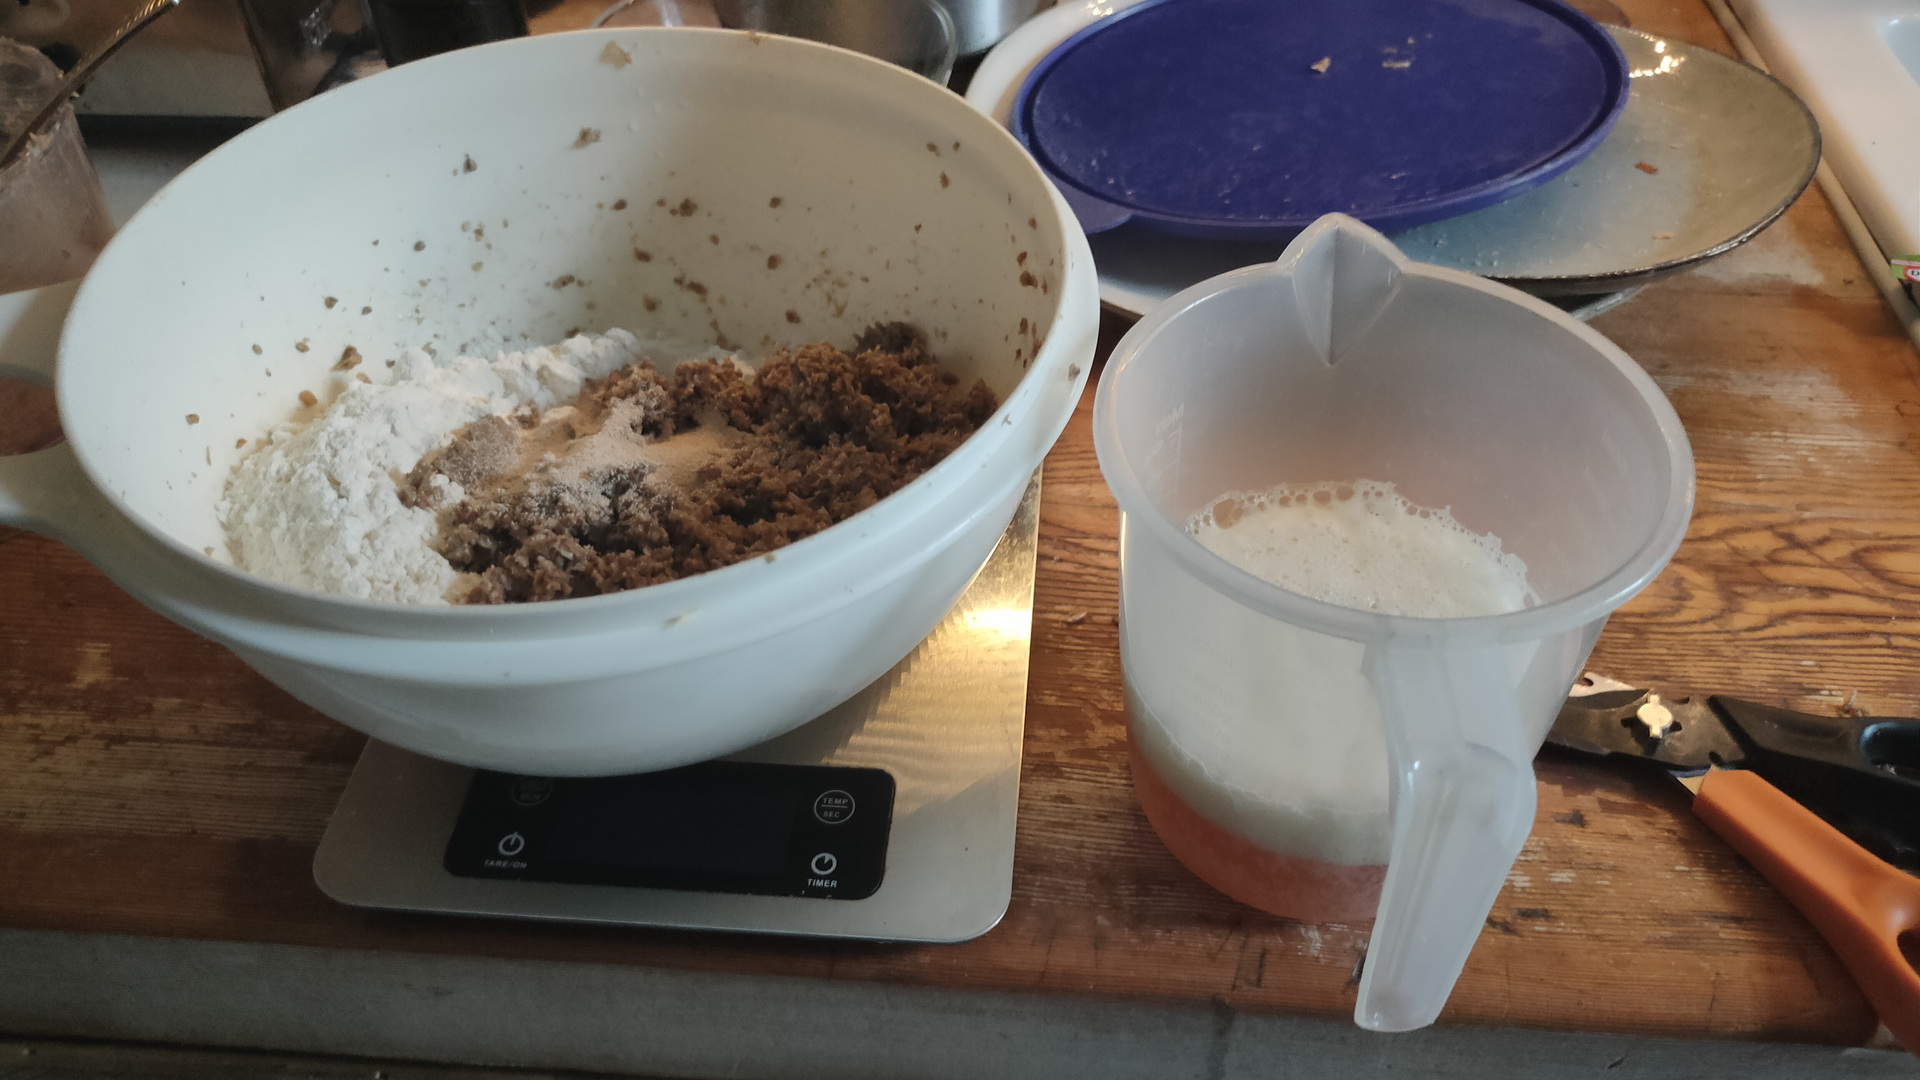
What do you need 225 grams of spent grain from the brewing 400 grams of flour 200 ml beer ( I use Leffe Blond) 7 grams of baker’s yeast 50ml olive oil
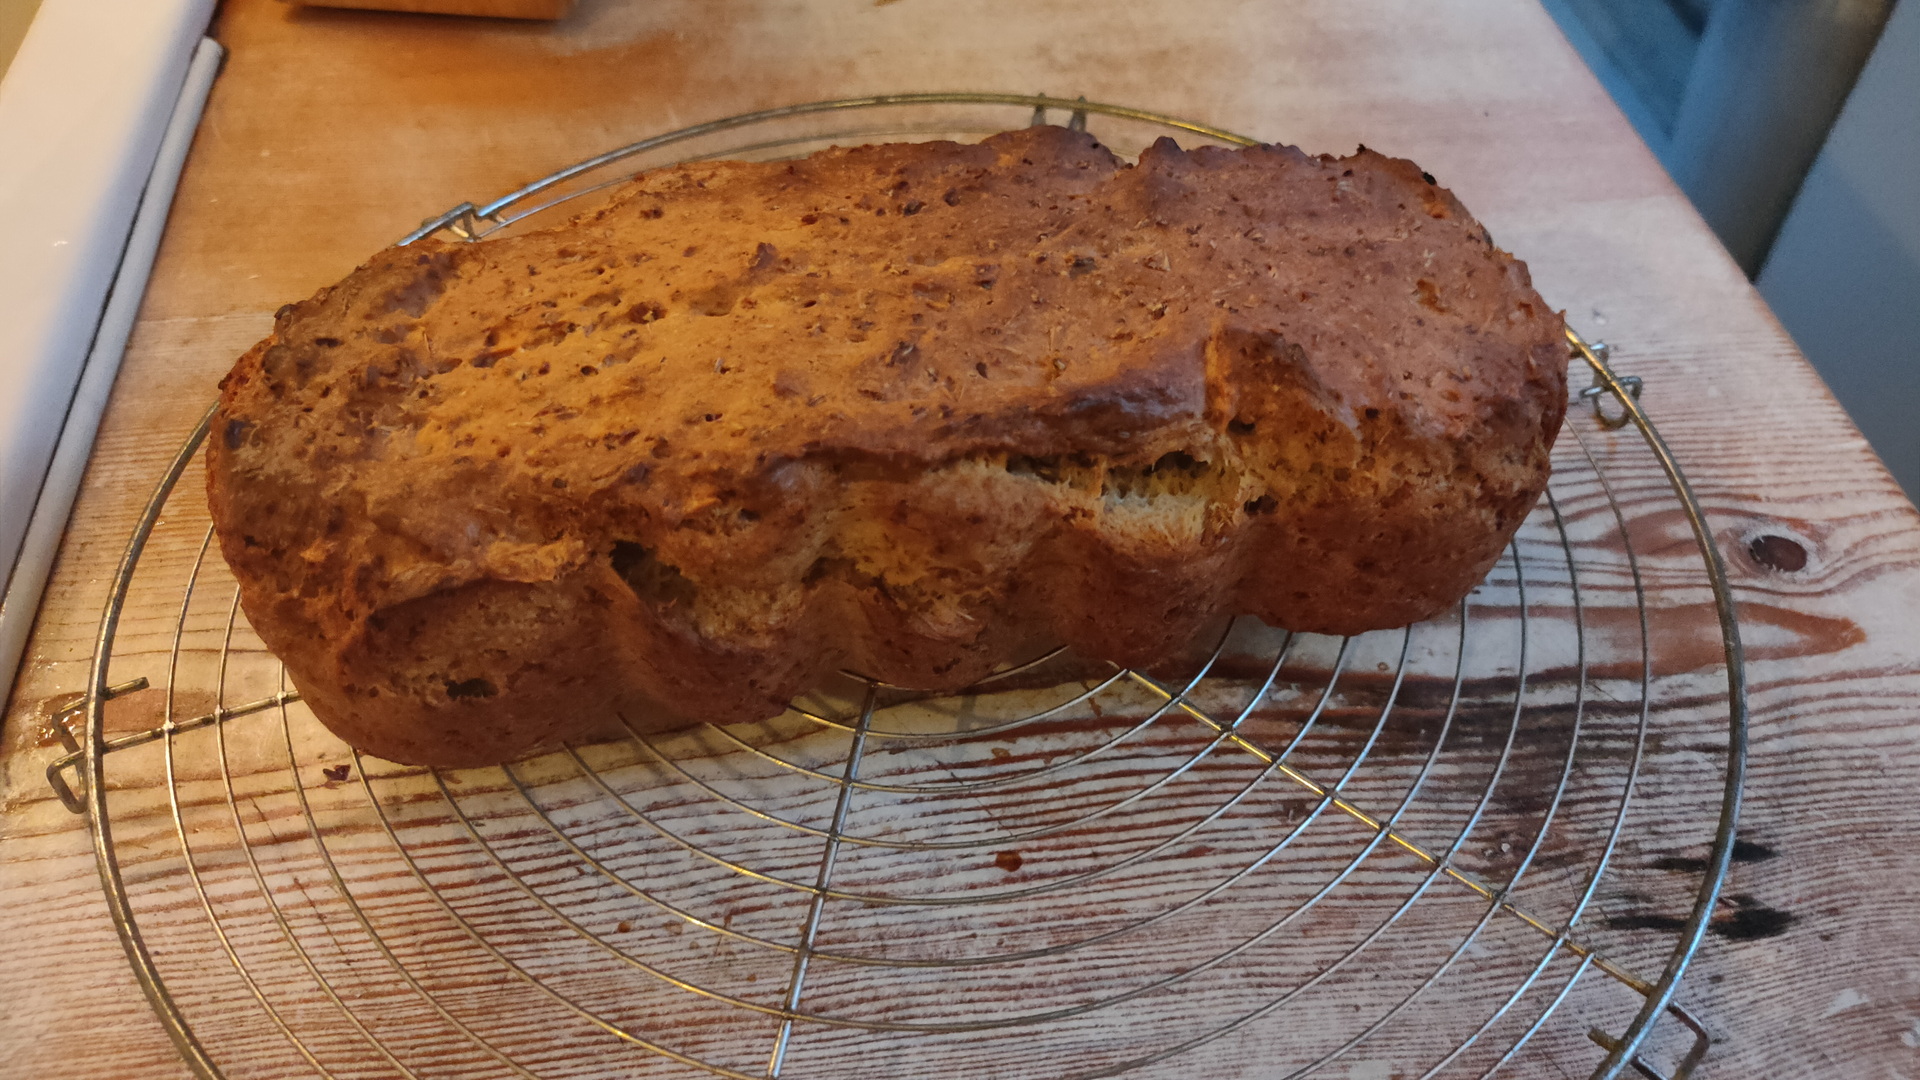
Put the brewer’s grains in the food processor. (Removes the sharp edges of the malt.) Put the yeast and a little sugar in the beer. This causes the yeast to become active. Knead all ingredients together until it becomes an airy ball. Then let this dough rise for an hour and a half in a warm place in a bowl that is covered with plastic. Then knead the dough briefly and let it rest for another half hour. Preheat the oven to 200º C. Pour the batter into a greased baking pan. Then place the dough in the center of the oven. After about an hour the bread should be ready. You can check this by knocking on the bread. If it sounds hollow, the bread is ready.
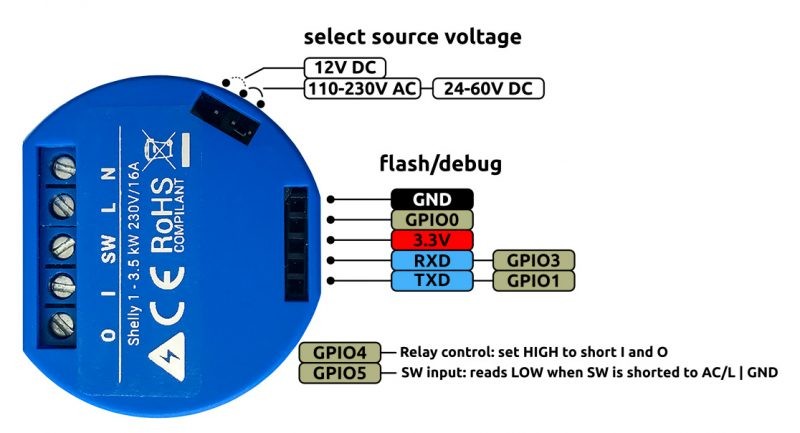
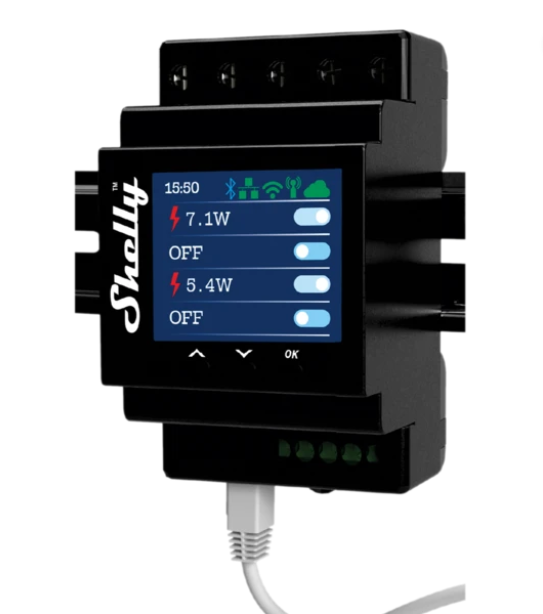
I love shellies, easy to implement and hacker friendly.
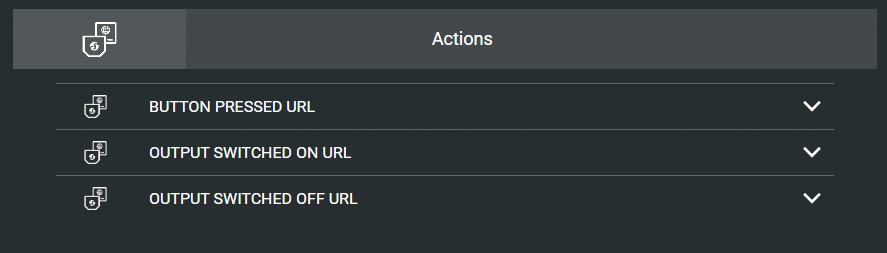
MQTT out of the box. Curl in and out – you can switch it on/off using curl, but it can send a http command also. I’ve used this with Domoticz and Home Assistant. It has a webinterface, with timers, and there is also a client for Android/Iphone You’ve got some own gpio pins to your disposal and the unit is flash-able!
curl -X POST https://shellydevice/device/relay/control -d "channel=IDHERE&turn=on&id=ID&auth_key=AUTH"
The device is not isolated from the mains. To flash it, the mains must be disconnected.
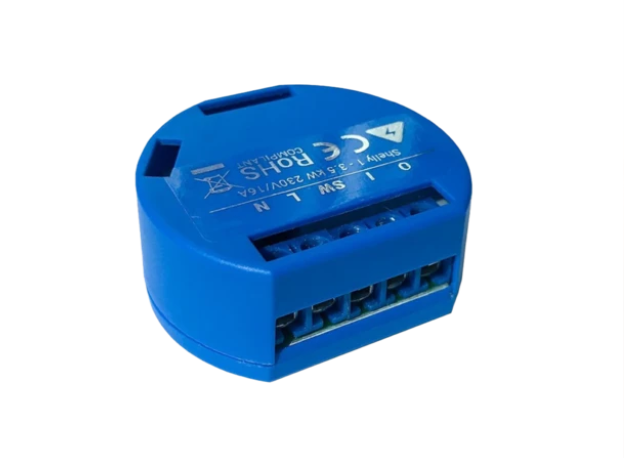
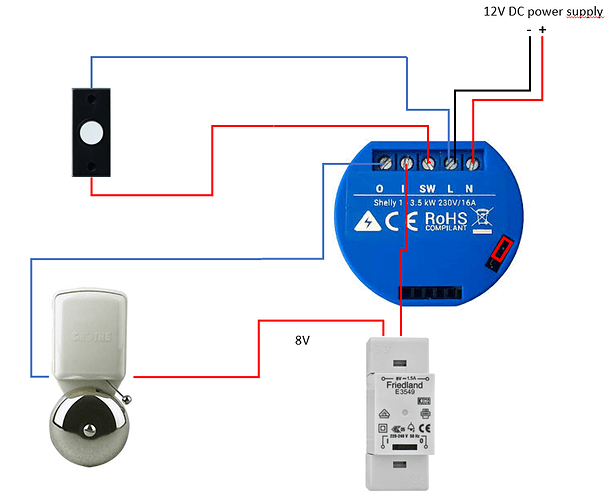
SHELLY 1
I use this for simple on/off switches around the house. Using it with a physical switch and MQTT (Nodered)
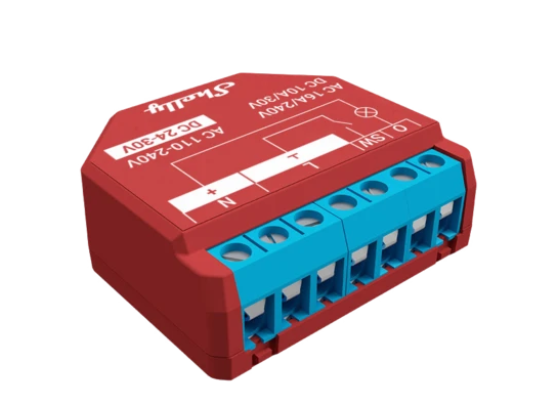
Same as above but this one has a build in power meter
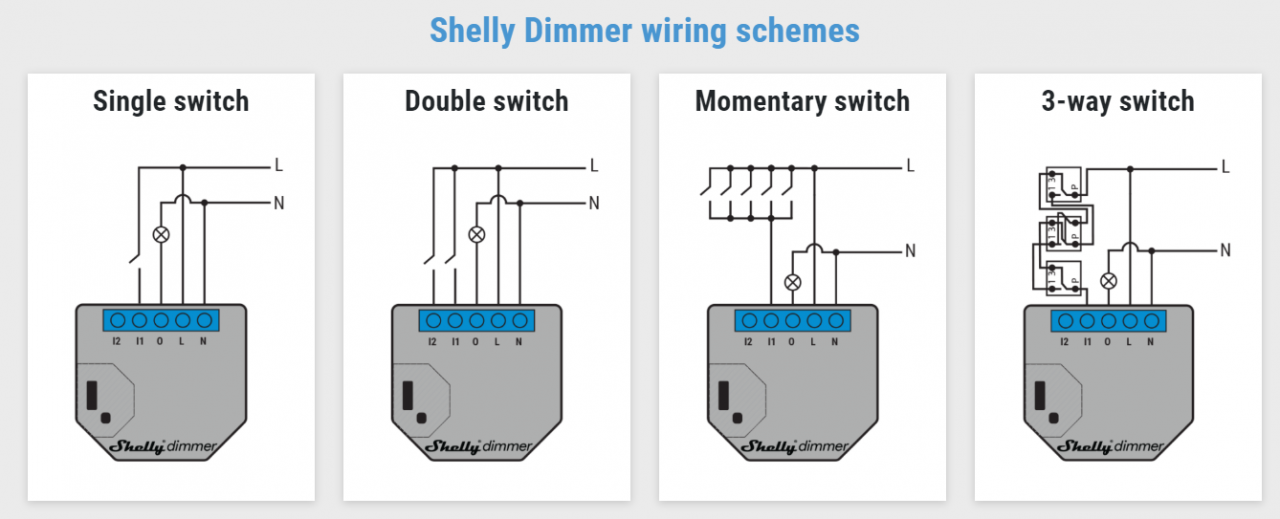
SHELLY DIMMER
Generic dimmer
Dimmer with low voltage rotary encoder! https://www.instructables.com/Shelly-Dimmer-Wall-Switch-With-Rotary-Knob-and-Hom/
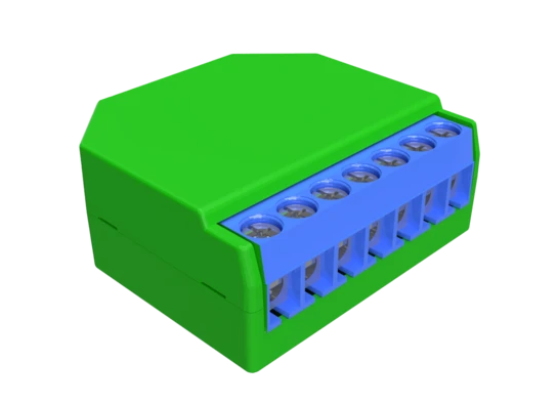
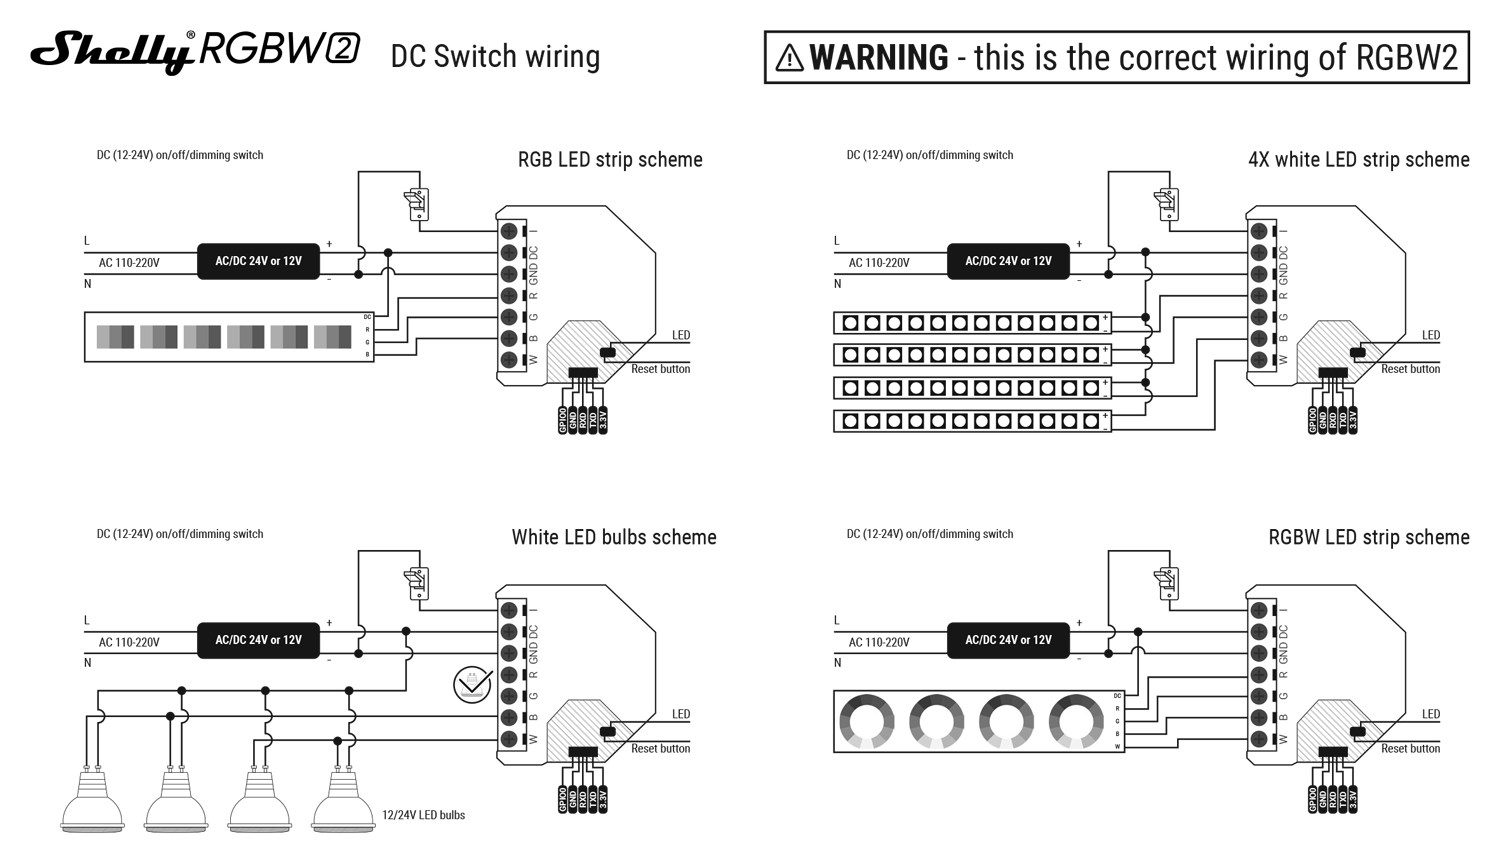
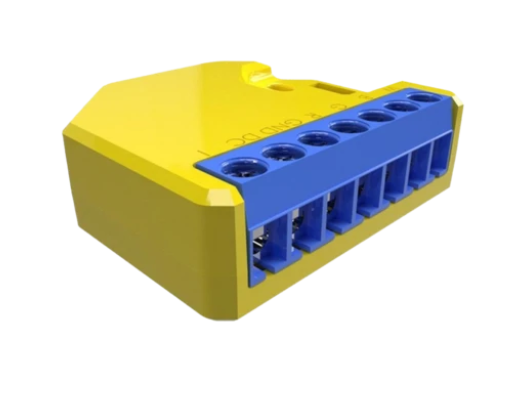
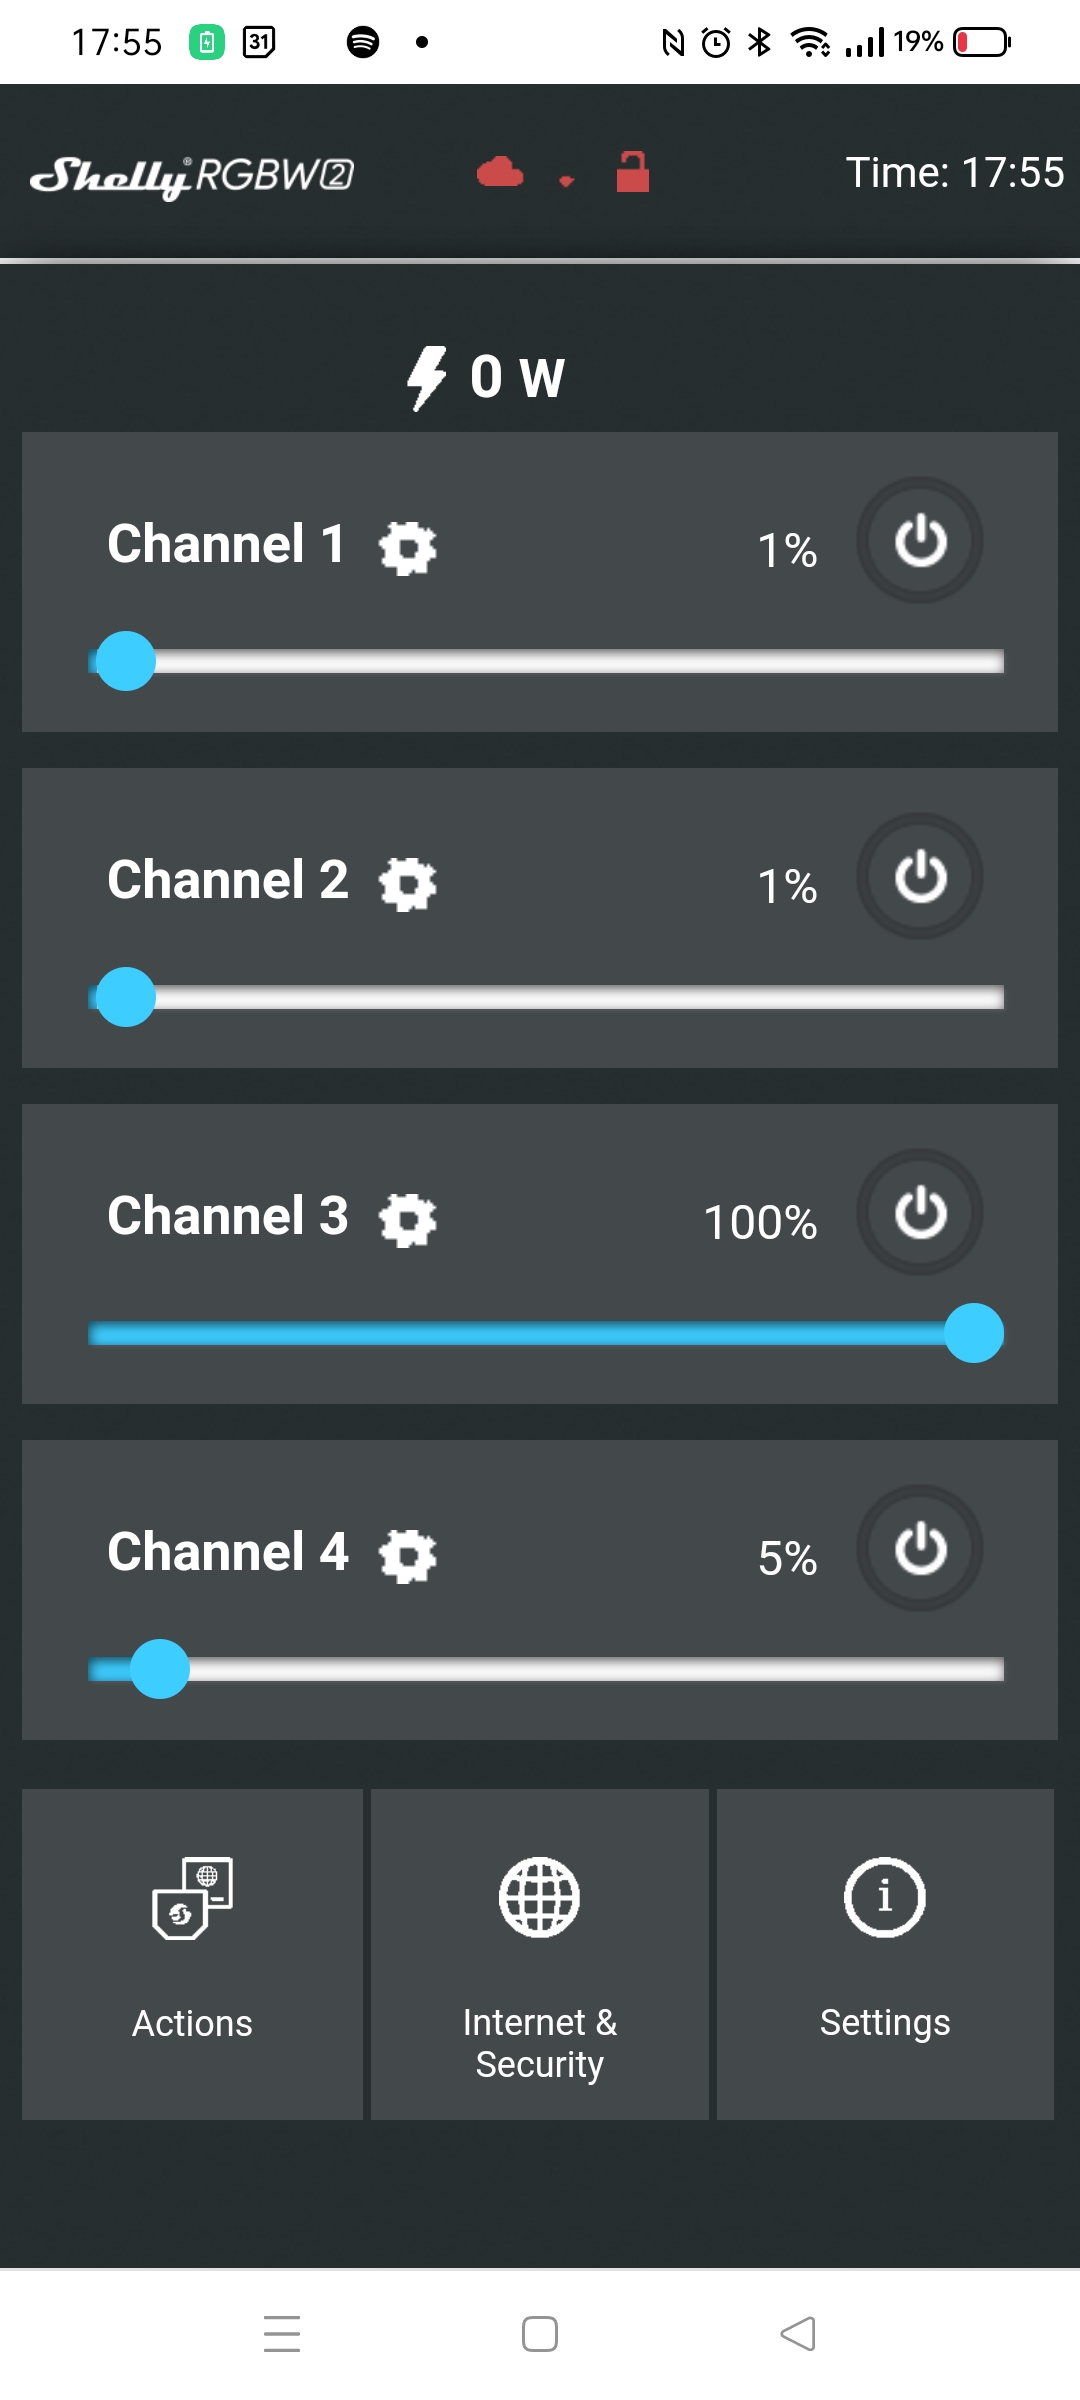
SHELLY RGBW2
A RGBW / 4 Channel controller You can connect RGB strips, but also dimmable white strips in 4 channels. 12V or 24V. NOTE! : There is a common 12V connection, and GND will be controlled!
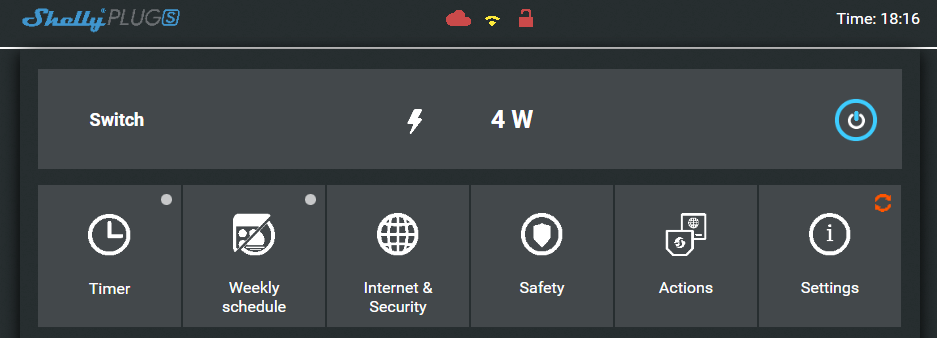
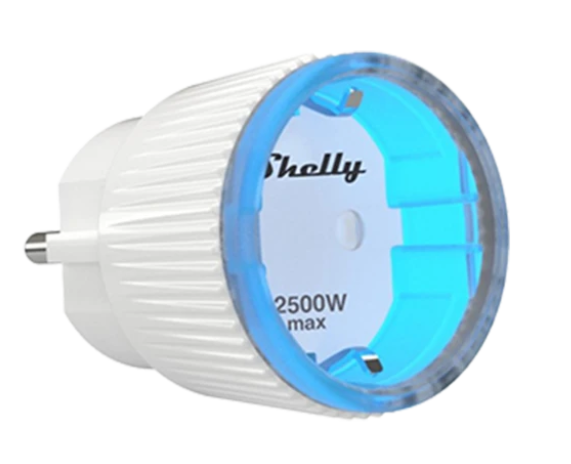
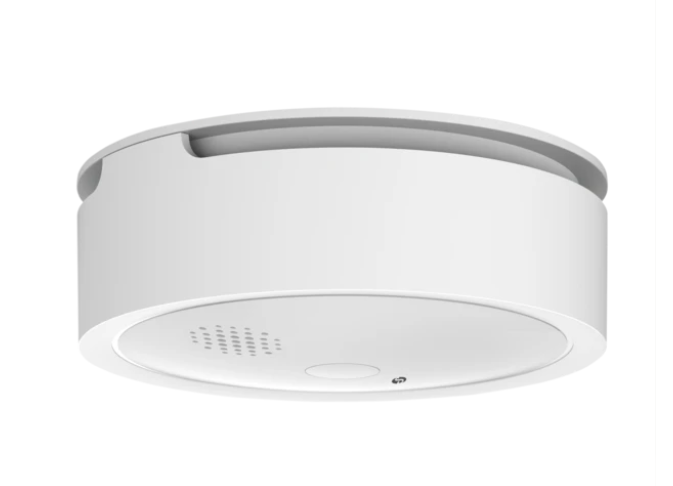
SHELLY PLUG S
I love these small wall plugs, i’ve used these also to find power consuming devices around the house.
For example, i made a nodered flow, to see if the washing machines are running or not.
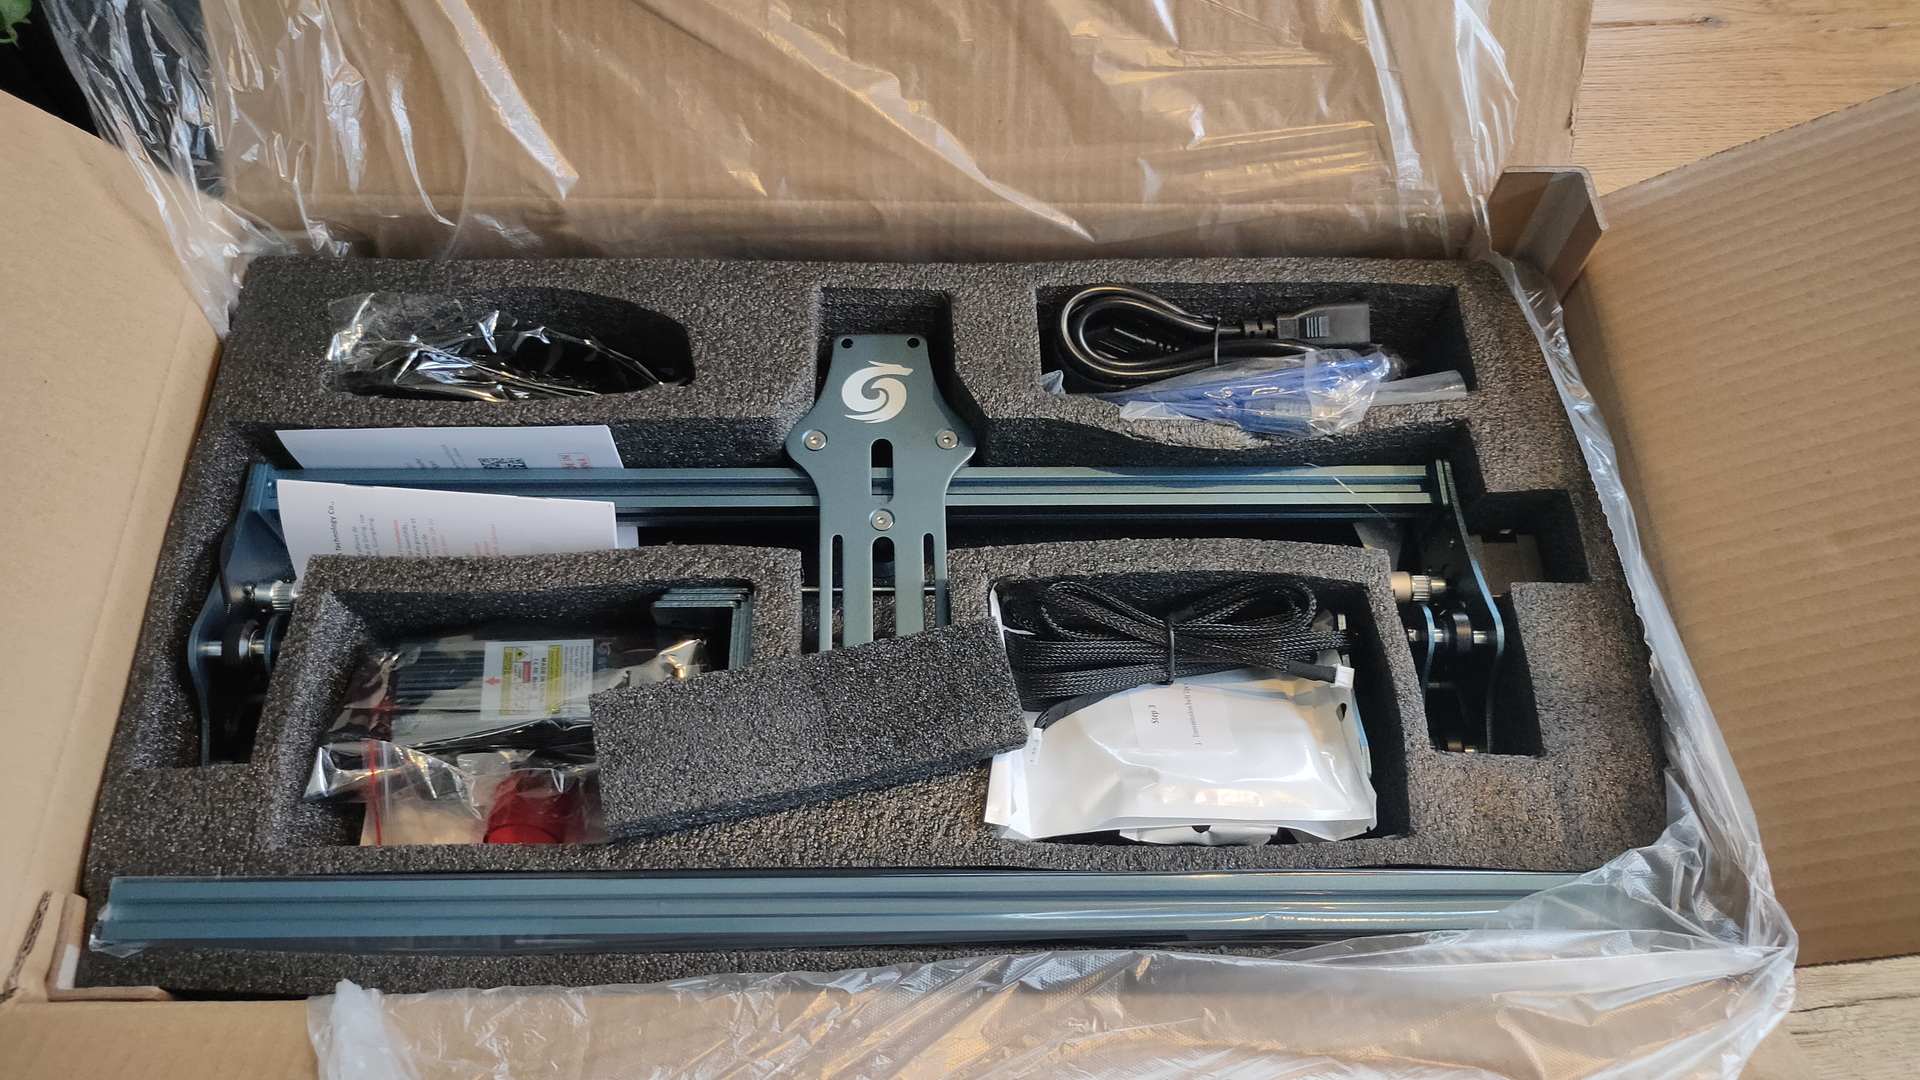
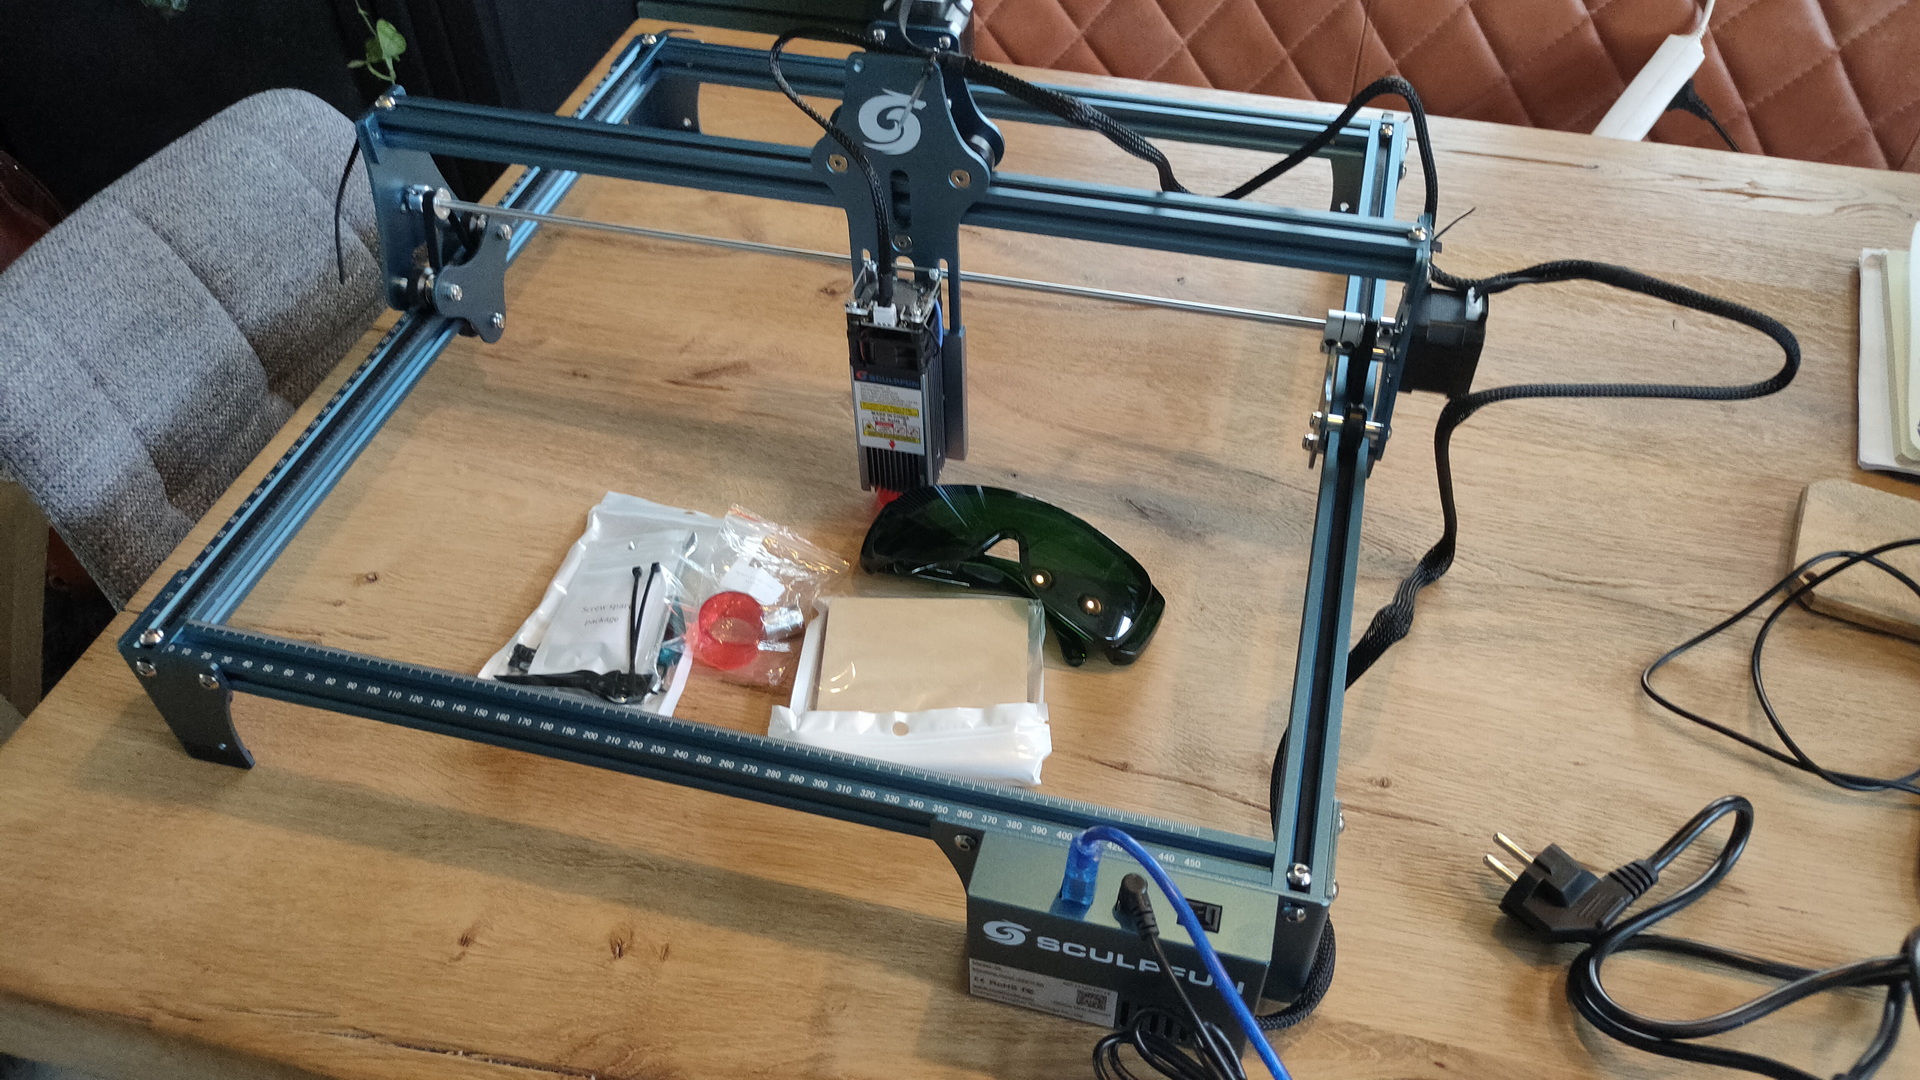
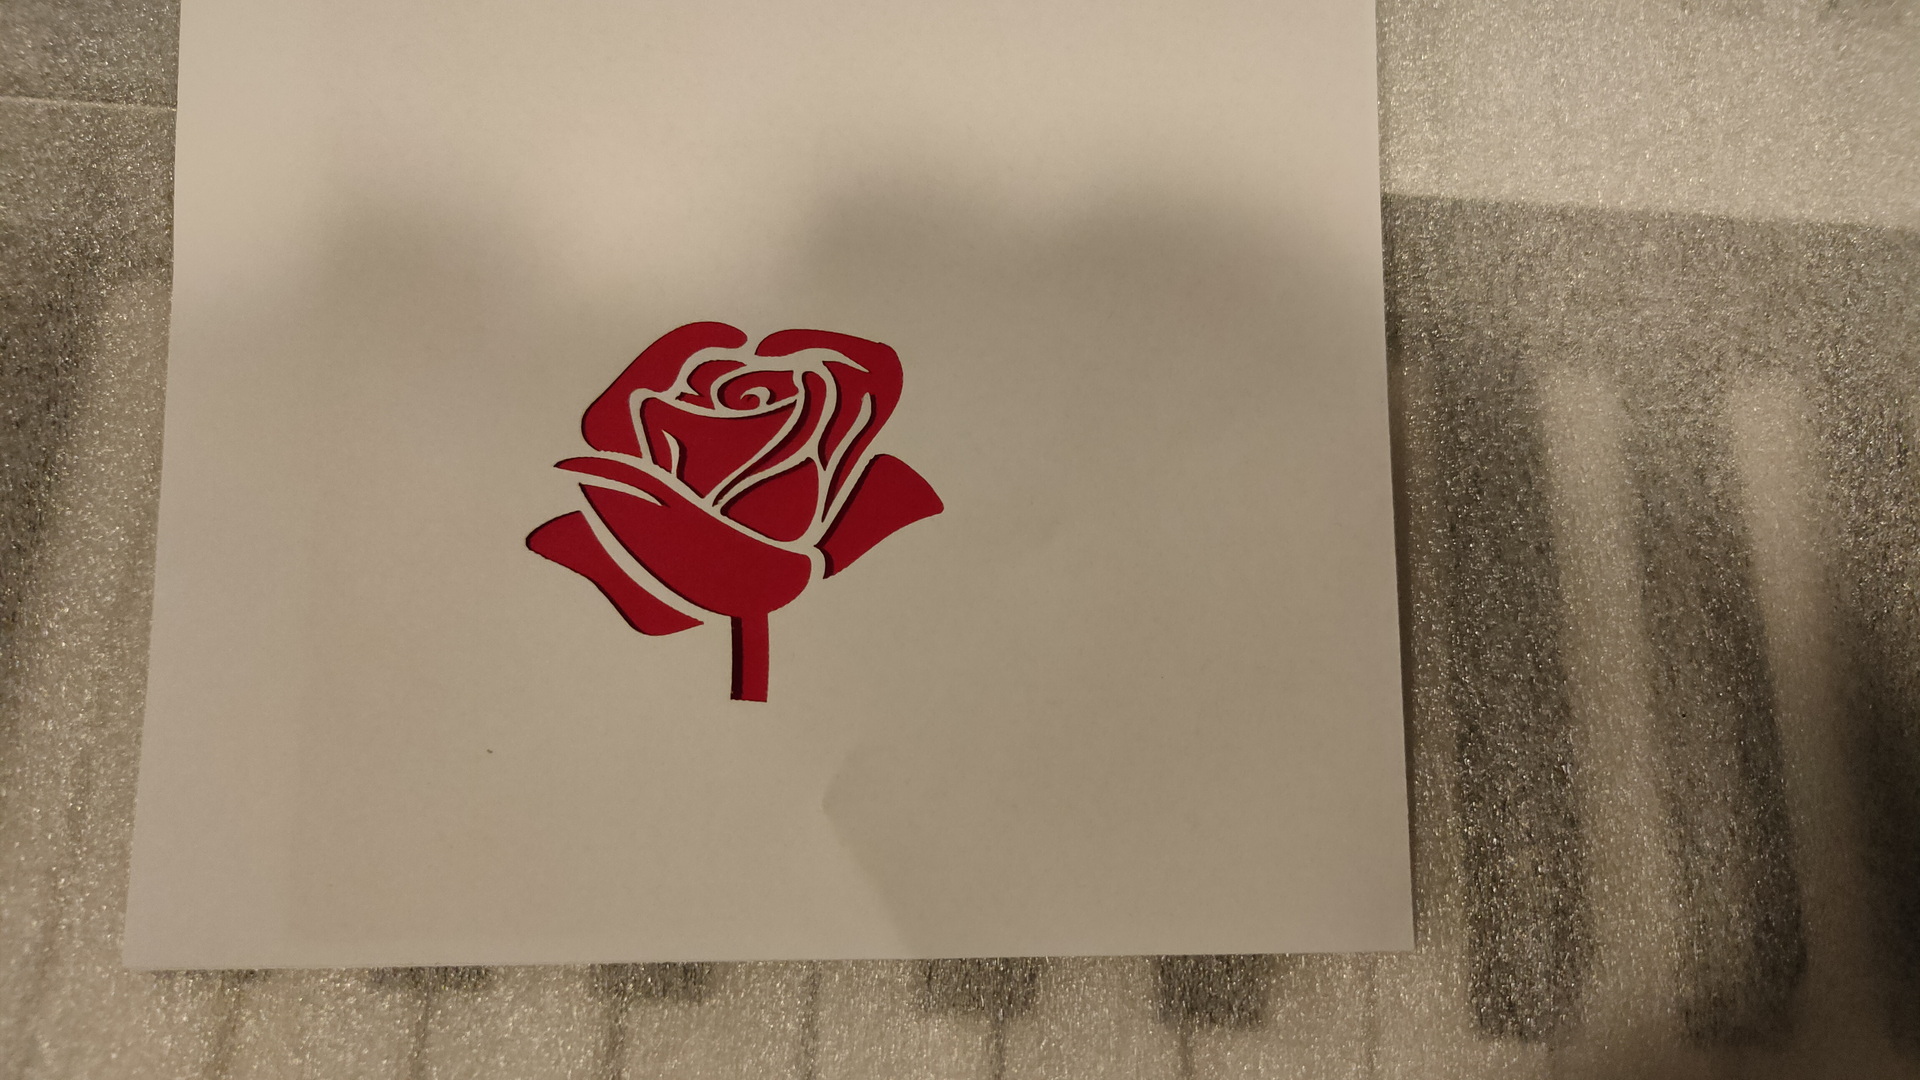
But I really wanted a cutter, so there it is … the Sculptfun S9
First test. crafting paper. No burning and a really high resolution!
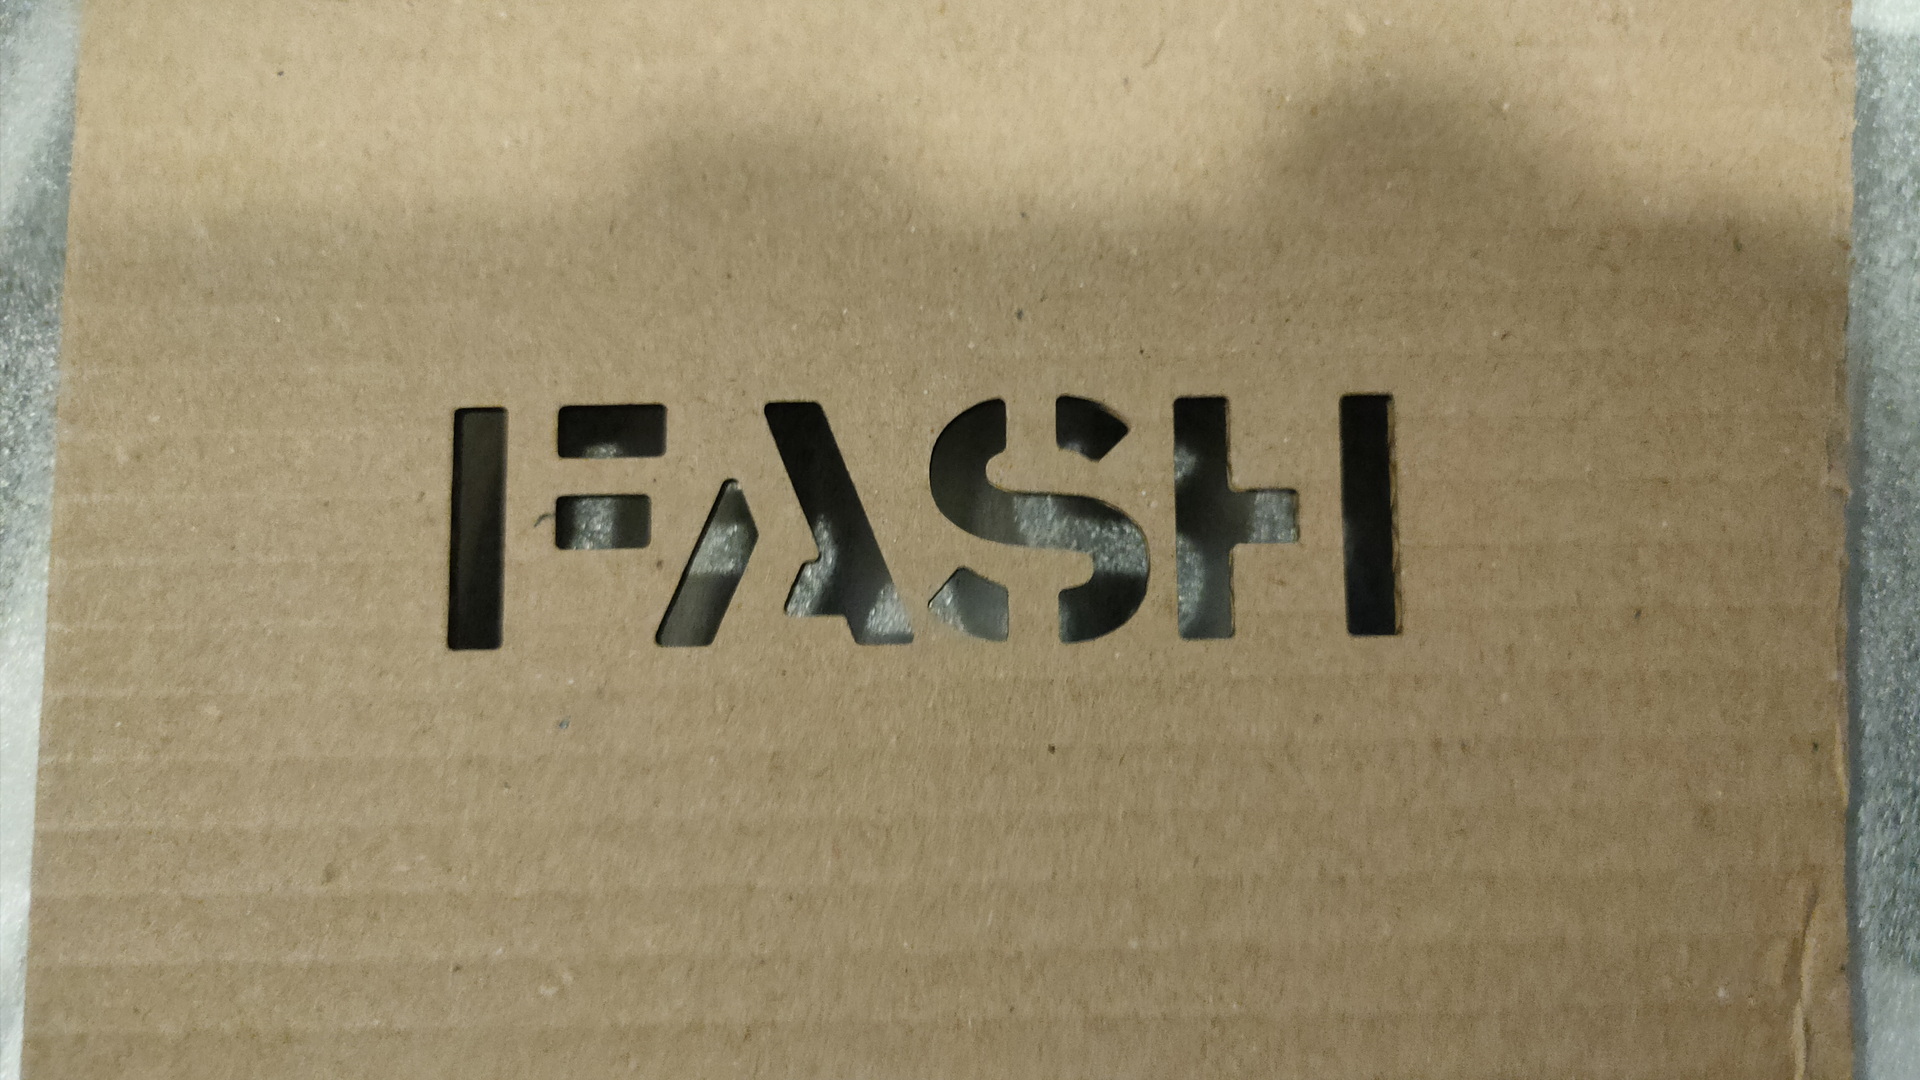
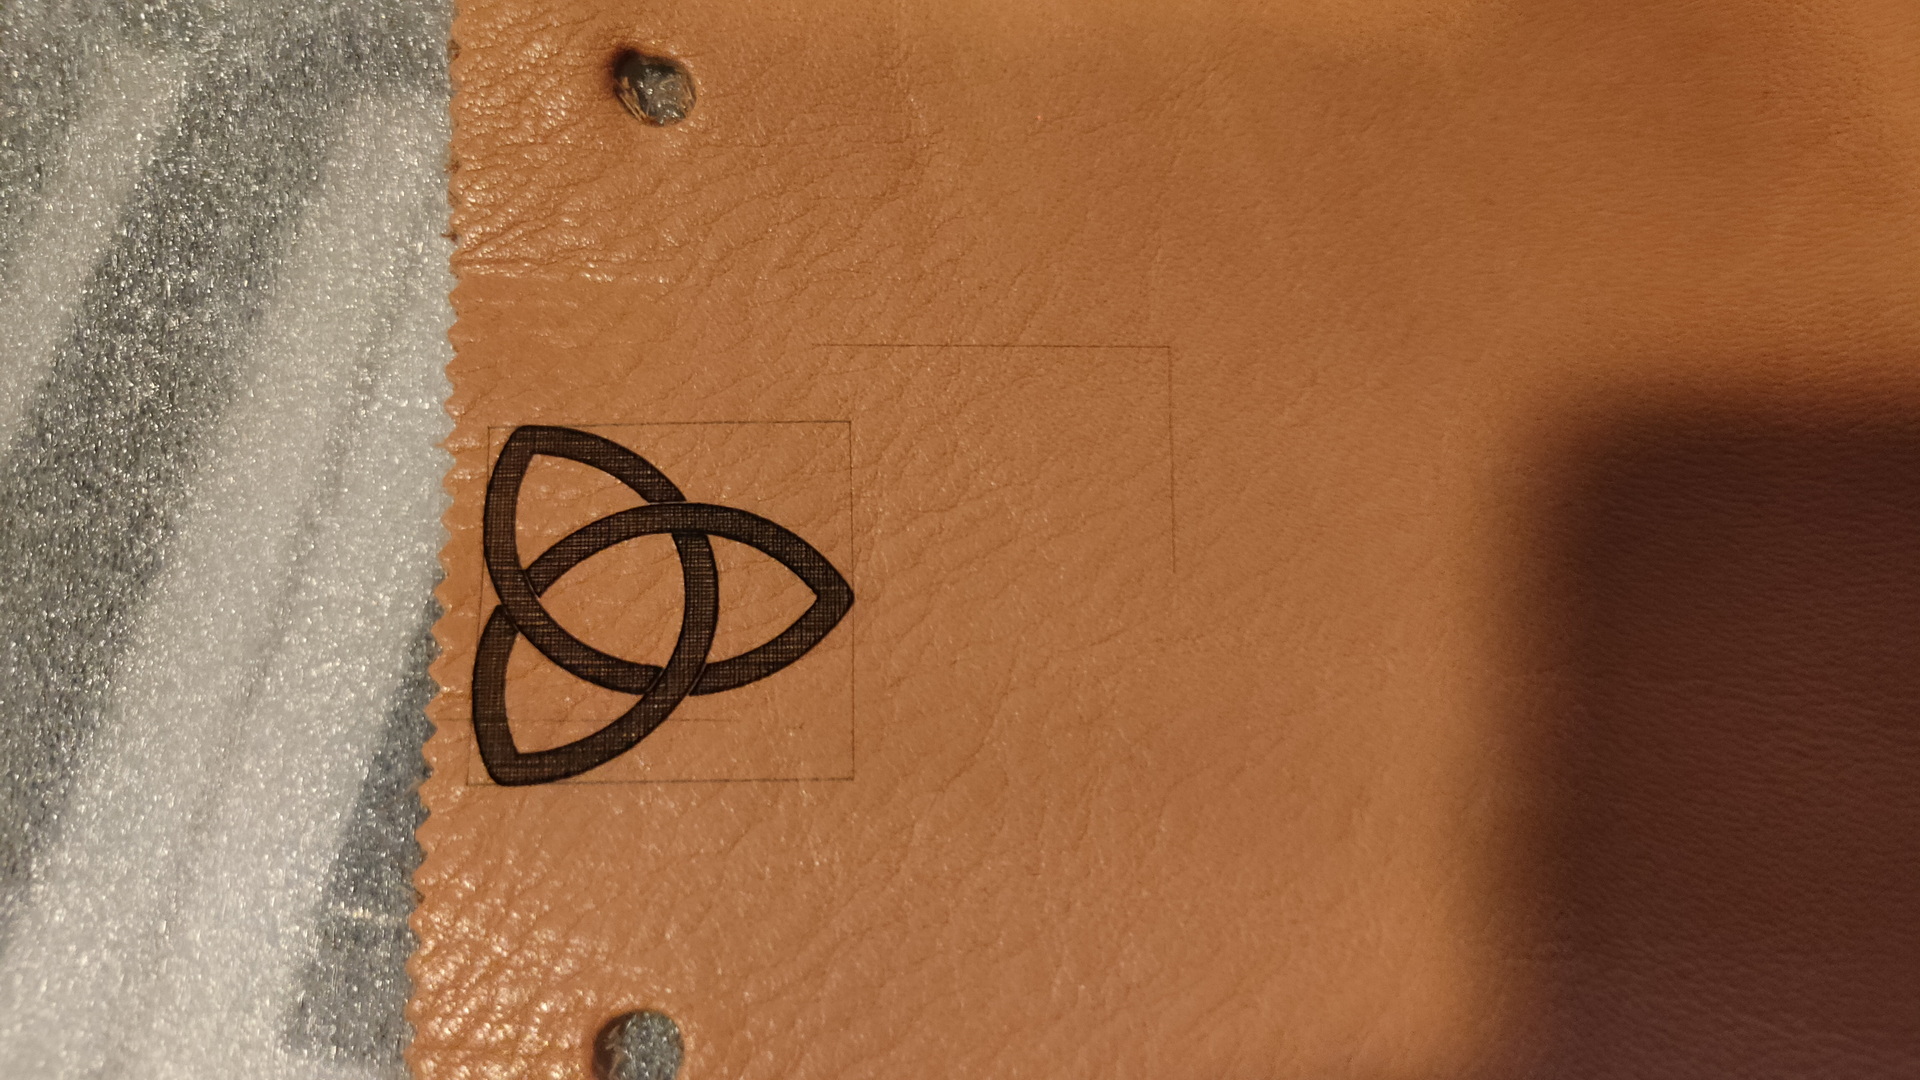
This laser module has a new optical design, so it can cut wood as thick as 10+ mm. It can engrave metal, cut non-transparant acrylic, leather and more.
Software:
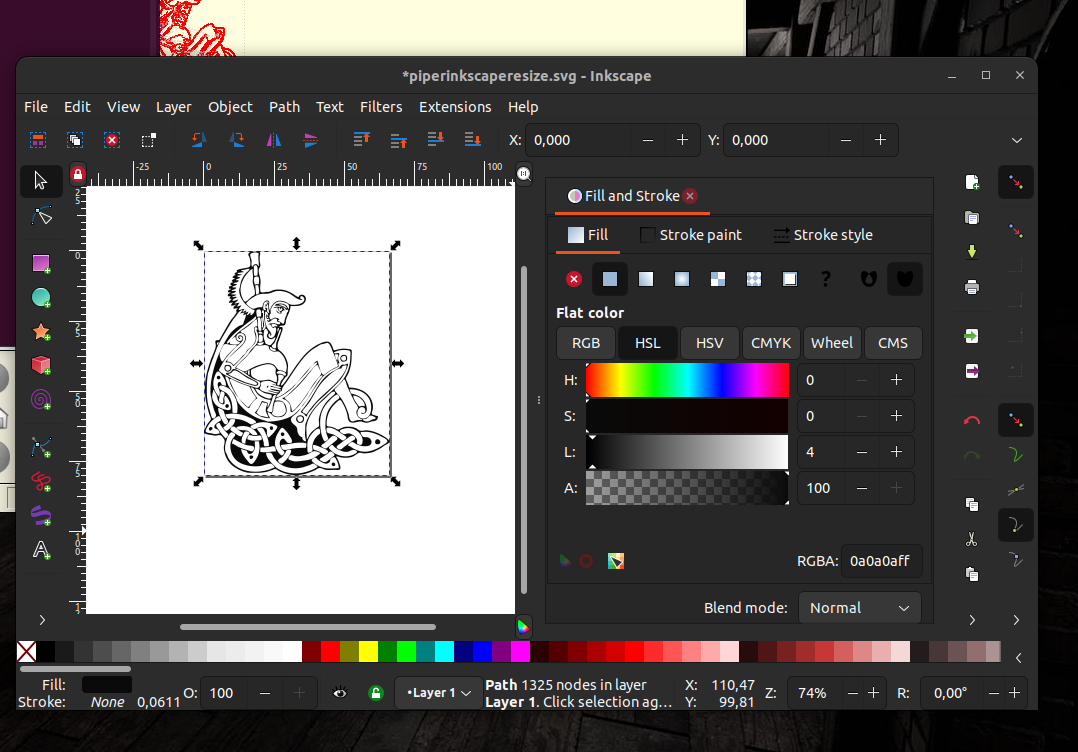
I’m using Inkscape, with the lasercutter tool plugin from Jtech. https://jtechphotonics.com/
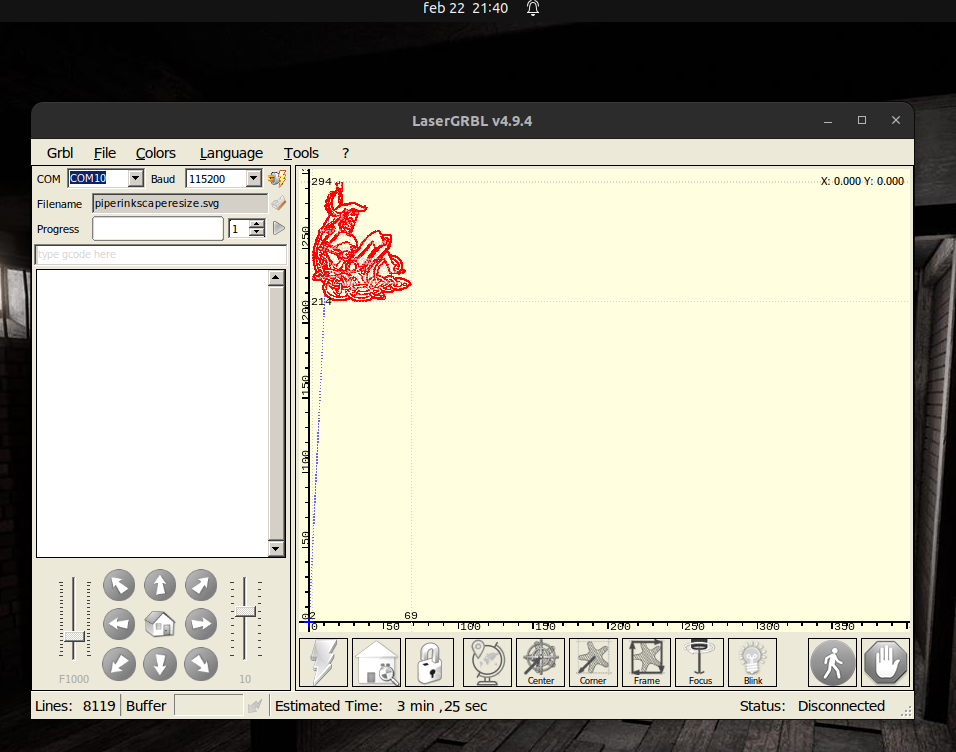
I’ve also tested with LaserGRBL, which can be run under linux using Wine.
I’m trail testing LightBurn. (Native Linux App)
I will post my findings and test on this post.
UPDATE: 20230221
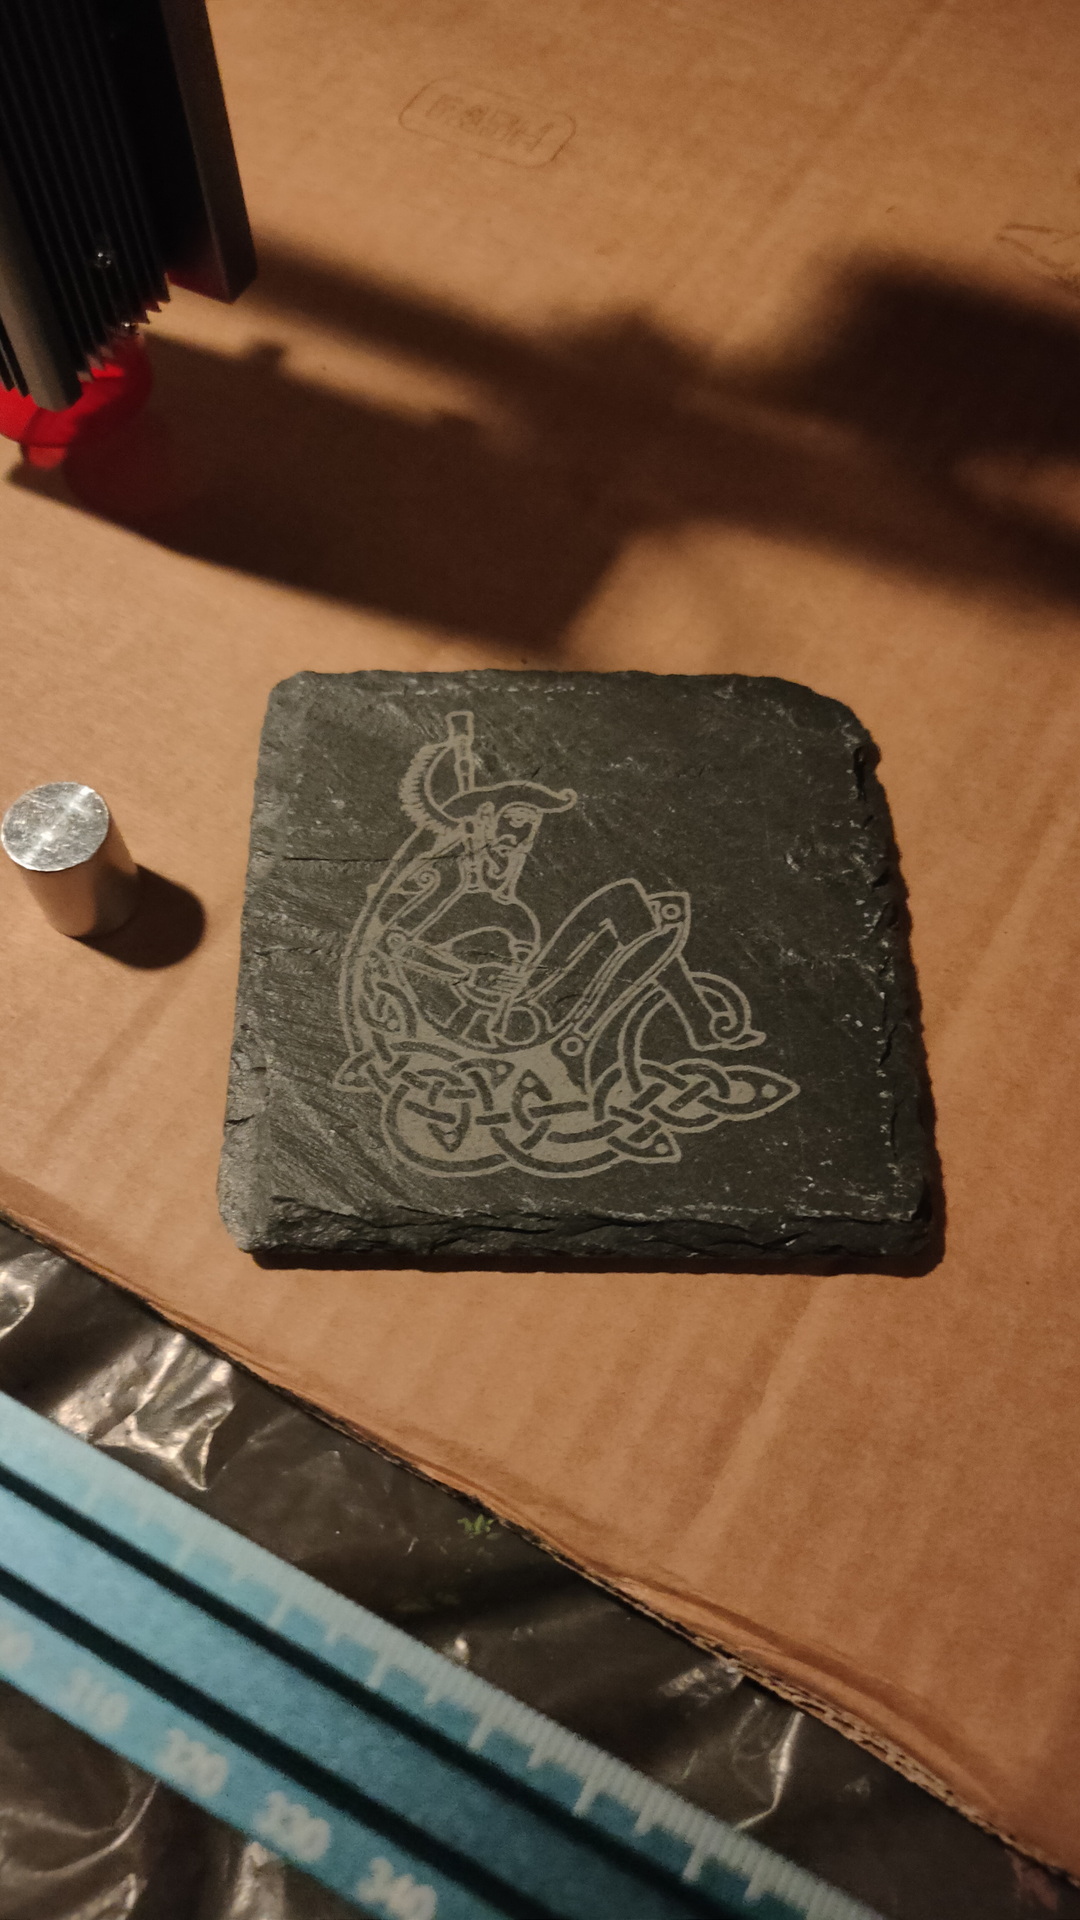
A stone slate engraved
Speed
3000 mm/s
Laser Power
100%
Lines per mm
10
UPDATE: 20230306
Calibrate your machine! .. But NOT as found on YouTube using a 10x10mm or 1 inch by 1 inch. square. As big as you can. This is far more precise!
Old files, own created stuff, downloaded stuff. Sometimes there are no viewers anymore, or you thrown devices away.
(I will add to this when i find more information)
These are the tools i’ve used to convert them to a newer format.
NOTE: Converting will always impact the quality
IMAGES
LBM (amiga)
ilbmtoppm < test.LBM | pnmtopng - > test.png
RAM (video files)
ffmpeg -i file.ram file.mp4
or
ffmpeg -i file.ram file.gif
Own DVD’s NOTE: VOB files are mpg, to keep same quality i use stream copy (-c copy) , besides mpg i´d like to have movies in a web streamable format like MP4, so i DO convert these
http://www.swffileplayer.com/ https://flasharch.com/en/downloads .. and record with OBS
AMR ( Adaptive Multi-Rate audio codec )
ffmpeg -i folkband.amr -ar 22050 folkband.mp3
3GP
ffmpeg -i pipes.3gp -vcodec h264 -c:a aac pipes.mp4
If your 3gp is recent and has a x264 tag (check with mediainfo)
then you can convert lossless with
ffmpeg -i 10026202.3gp -c:v copy -c:a copy 10026202.mp4
QTVR (need to get a better solution for this) I’ve used this for rendered scenes
This server was running nginx
drwxrwx---.  2 root apache     6 Jan  3 18:19 wsdlcache
drwxrwx---.  2 root apache 16384 Jan  3 18:19 session
drwxrwx---.  2 root apache     6 Jan  3 18:19 opcache

fixed with:
chown root:nginx /var/lib/php/session
chown root:nginx /var/lib/php/opcache
chown root:nginx /var/lib/php/wsdlcache
Other things to check (Generic)
Really slow storage can cause problems, check with iotop
Check selinux! (temporary test with : setenforce 0 )
Behind a reverse proxy? remove these options in your config.php and check a local connection. This is a test for: reverseproxy, firewall and proxy settings in config.php. Need to test a localhost connection with your browser? ssh -L8080:localhost:80 nextcloudserver (and connect to http://localhost:8080 with your browser
Check your services! .. memcache, nginx, apache, mysql/mariadb
Some directories on my fileserver are encrypted using ecryptfs.
eCryptfs is a POSIX-compliant enterprise cryptographic stacked filesystem for Linux. eCryptfs stores cryptographic metadata in the header of each file, so that encrypted files can be copied between hosts; the file will be decrypted with the proper key in the Linux kernel keyring. There is no need to keep track of any additional information aside from what is already in the encrypted file itself. You may think of eCryptfs as a sort of “gnupg as a filesystem”.
Example crypted directory using filename encryption
You can use the same dir for mounting! Filenames are encrypted also. Use umount go back to the crypted state
NOTE: You can write files to the crypted dir, if you are NOT using filename encryption, you can’t see which one is crypted and which is not. Use the script below to get hints of the readable files!
mount -t ecryptfs securedir securedir
Passphrase:
Select cipher:
 1) aes: blocksize = 16; min keysize = 16; max keysize = 32
 2) blowfish: blocksize = 8; min keysize = 16; max keysize = 56
 3) des3_ede: blocksize = 8; min keysize = 24; max keysize = 24
 4) twofish: blocksize = 16; min keysize = 16; max keysize = 32
 5) cast6: blocksize = 16; min keysize = 16; max keysize = 32
 6) cast5: blocksize = 8; min keysize = 5; max keysize = 16
Selection [aes]:
Select key bytes:
 1) 16
 2) 32
 3) 24
Selection [16]:
Enable plaintext passthrough (y/n) [n]:
Enable filename encryption (y/n) [n]: y
Filename Encryption Key (FNEK) Signature [xxxxxxxxxxxxxxxxxx]:
Attempting to mount with the following options:
  ecryptfs_unlink_sigs
  ecryptfs_fnek_sig=xxxxxxxxxxxxxxxxxx
  ecryptfs_key_bytes=16
  ecryptfs_cipher=aes
  ecryptfs_sig=xxxxxxxxxxxxxxxxxxx
Mounted eCryptfs
Crypting disks for travel/backup
For this i’m using Luks
The Linux Unified Key Setup (LUKS) is a disk encryption specification created by Clemens Fruhwirth in 2004 and was originally intended for Linux.
While most disk encryption software implements different, incompatible, and undocumented formats , LUKS implements a platform-independent standard on-disk format for use in various tools. This not only facilitates compatibility and interoperability among different programs, but also assures that they all implement password management in a secure and documented manner
Formatting a disk and mounting
cryptsetup luksFormat /dev/sdb1

WARNING!
========
This will overwrite data on /dev/sdb1 irrevocably.

Are you sure? (Type uppercase yes): YES
Enter passphrase for /dev/sdb1:
Verify passphrase:
root@workstation:~# cryptsetup luksOpen /dev/sdb1 crypto
Enter passphrase for /dev/sdb1:
root@workstation:~# mkfs.ext4 /dev/mapper/crypto
mke2fs 1.44.1 (24-Mar-2018)
Creating filesystem with 244188672 4k blocks and 61054976 inodes
Filesystem UUID: 844eb9ee-d4da-4dfd-9d94-b62987e96b93
Superblock backups stored on blocks:
        32768, 98304, 163840, 229376, 294912, 819200, 884736, 1605632, 2654208,
        4096000, 7962624, 11239424, 20480000, 23887872, 71663616, 78675968,
        102400000, 214990848

Allocating group tables: done
Writing inode tables: done
Creating journal (262144 blocks): done
Writing superblocks and filesystem accounting information: done

root@workstation:~# mount /dev/mapper/crypto /backup/
Umount and close
umount /backup
cryptsetup luksClose crypto
File crypt checker (checks for data files which COULD be crypted)
#!/bin/bash
find secure -type f  -exec file {} \;| egrep -v "ASCII text|MS Windows shortcut|ISO-8859 text|image data|PDF document|PC bitmap|Composite Document File|WebM|ISO Media|Microsoft Word|HTML| Microsoft Excel|Matroska|vCard|Microsoft ASF|Web/
P|RIFF|MPEG|RealMedia|UTF\-8 Unicode|Zip archive data|Macromedia Flash|RAR archive|EPUB document|Adobe Photoshop Image|AppleDouble|OpenType|empty|gzip compressed data|MS Windows|OpenDocument|Paint Shop Pro|executable|PostScript document|
Rich Text|audio data|SVG Scalable|UDF filesystem|very short file|Web Open Font Format|IFF |TrueType|BeautifulWatches|MTS:" > data-or-not

OR
File crypt checker ( When the directory is in crypted state ) All files should be raw data
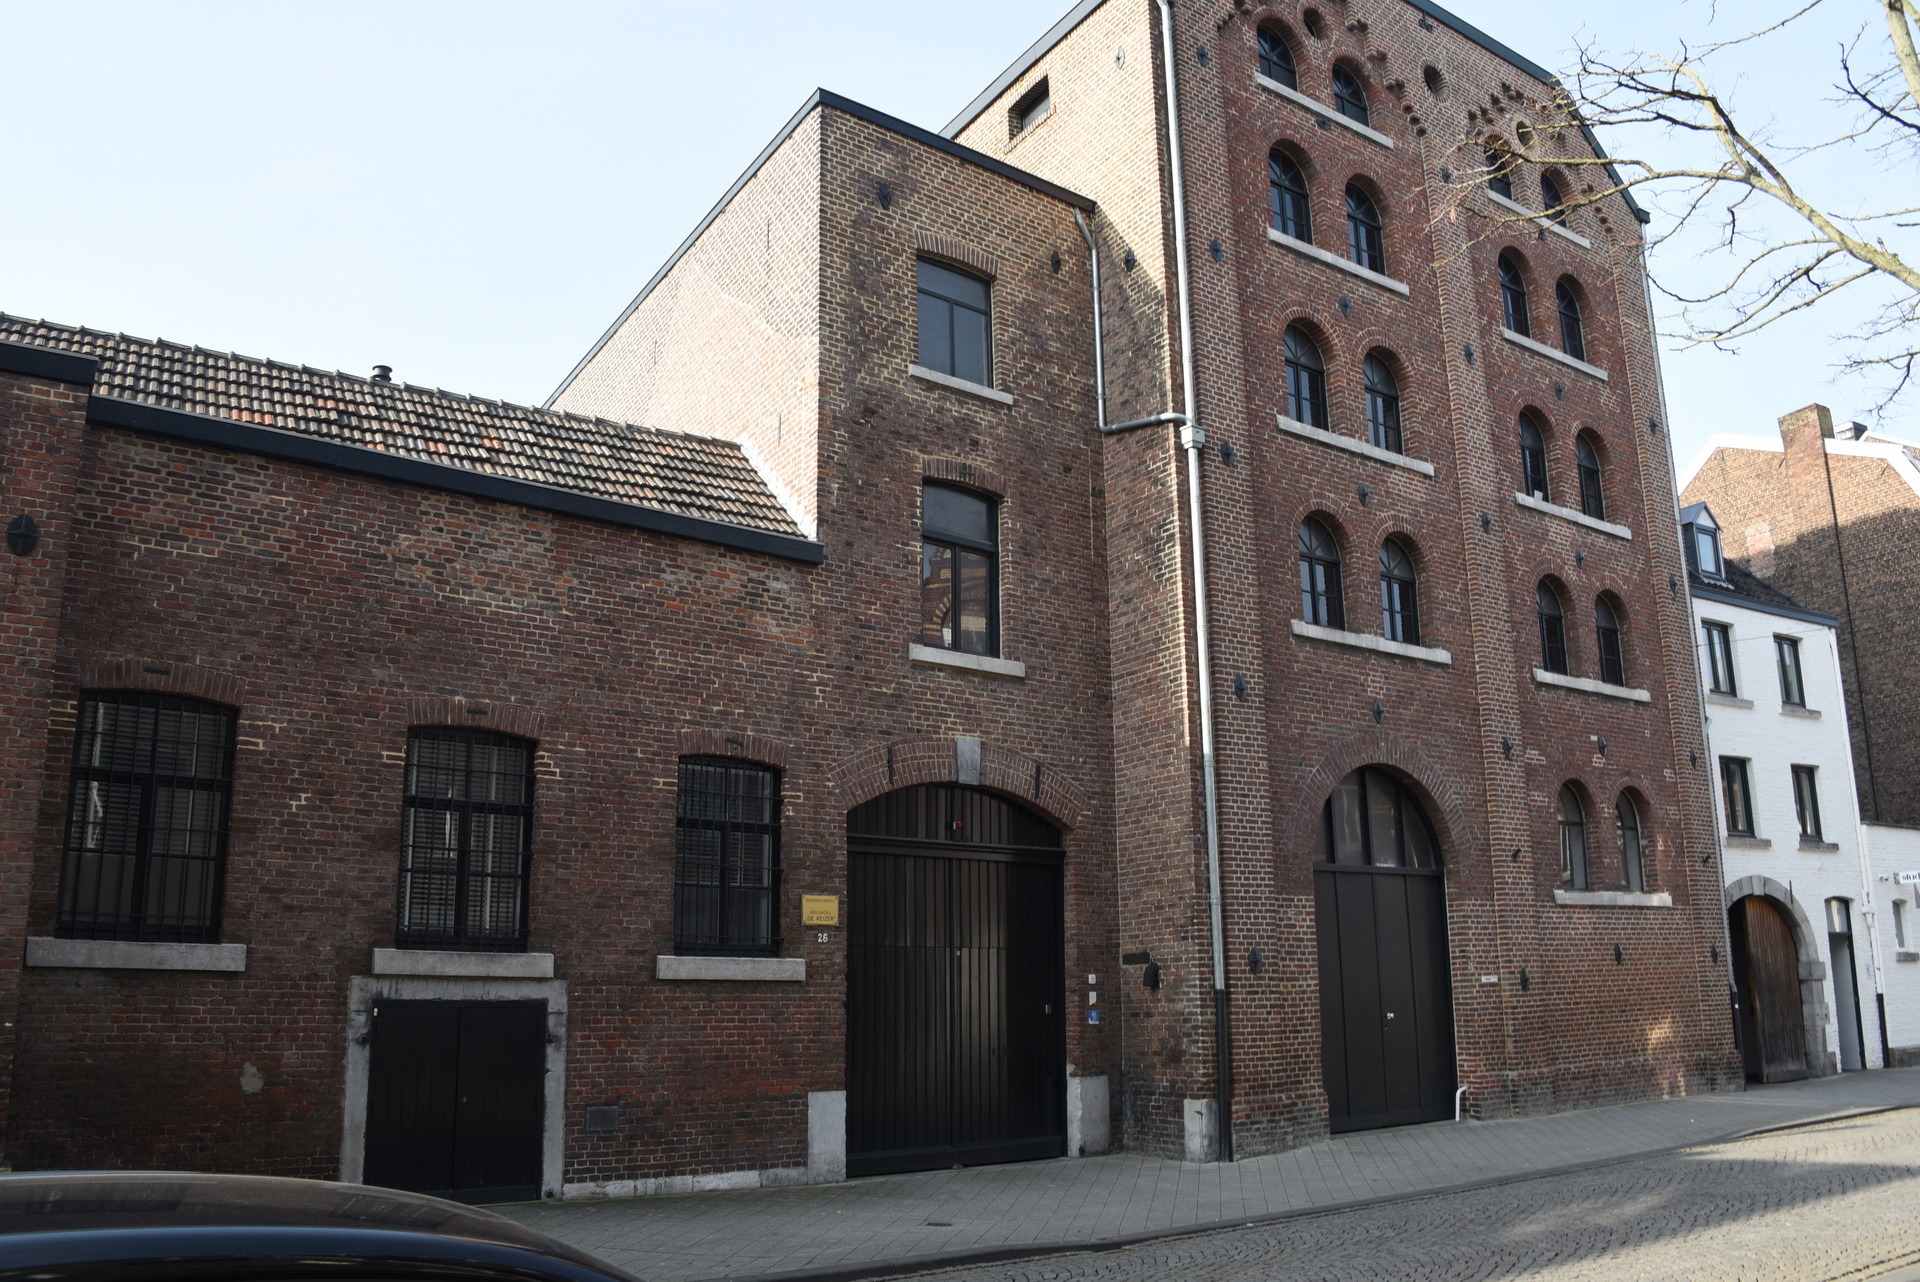
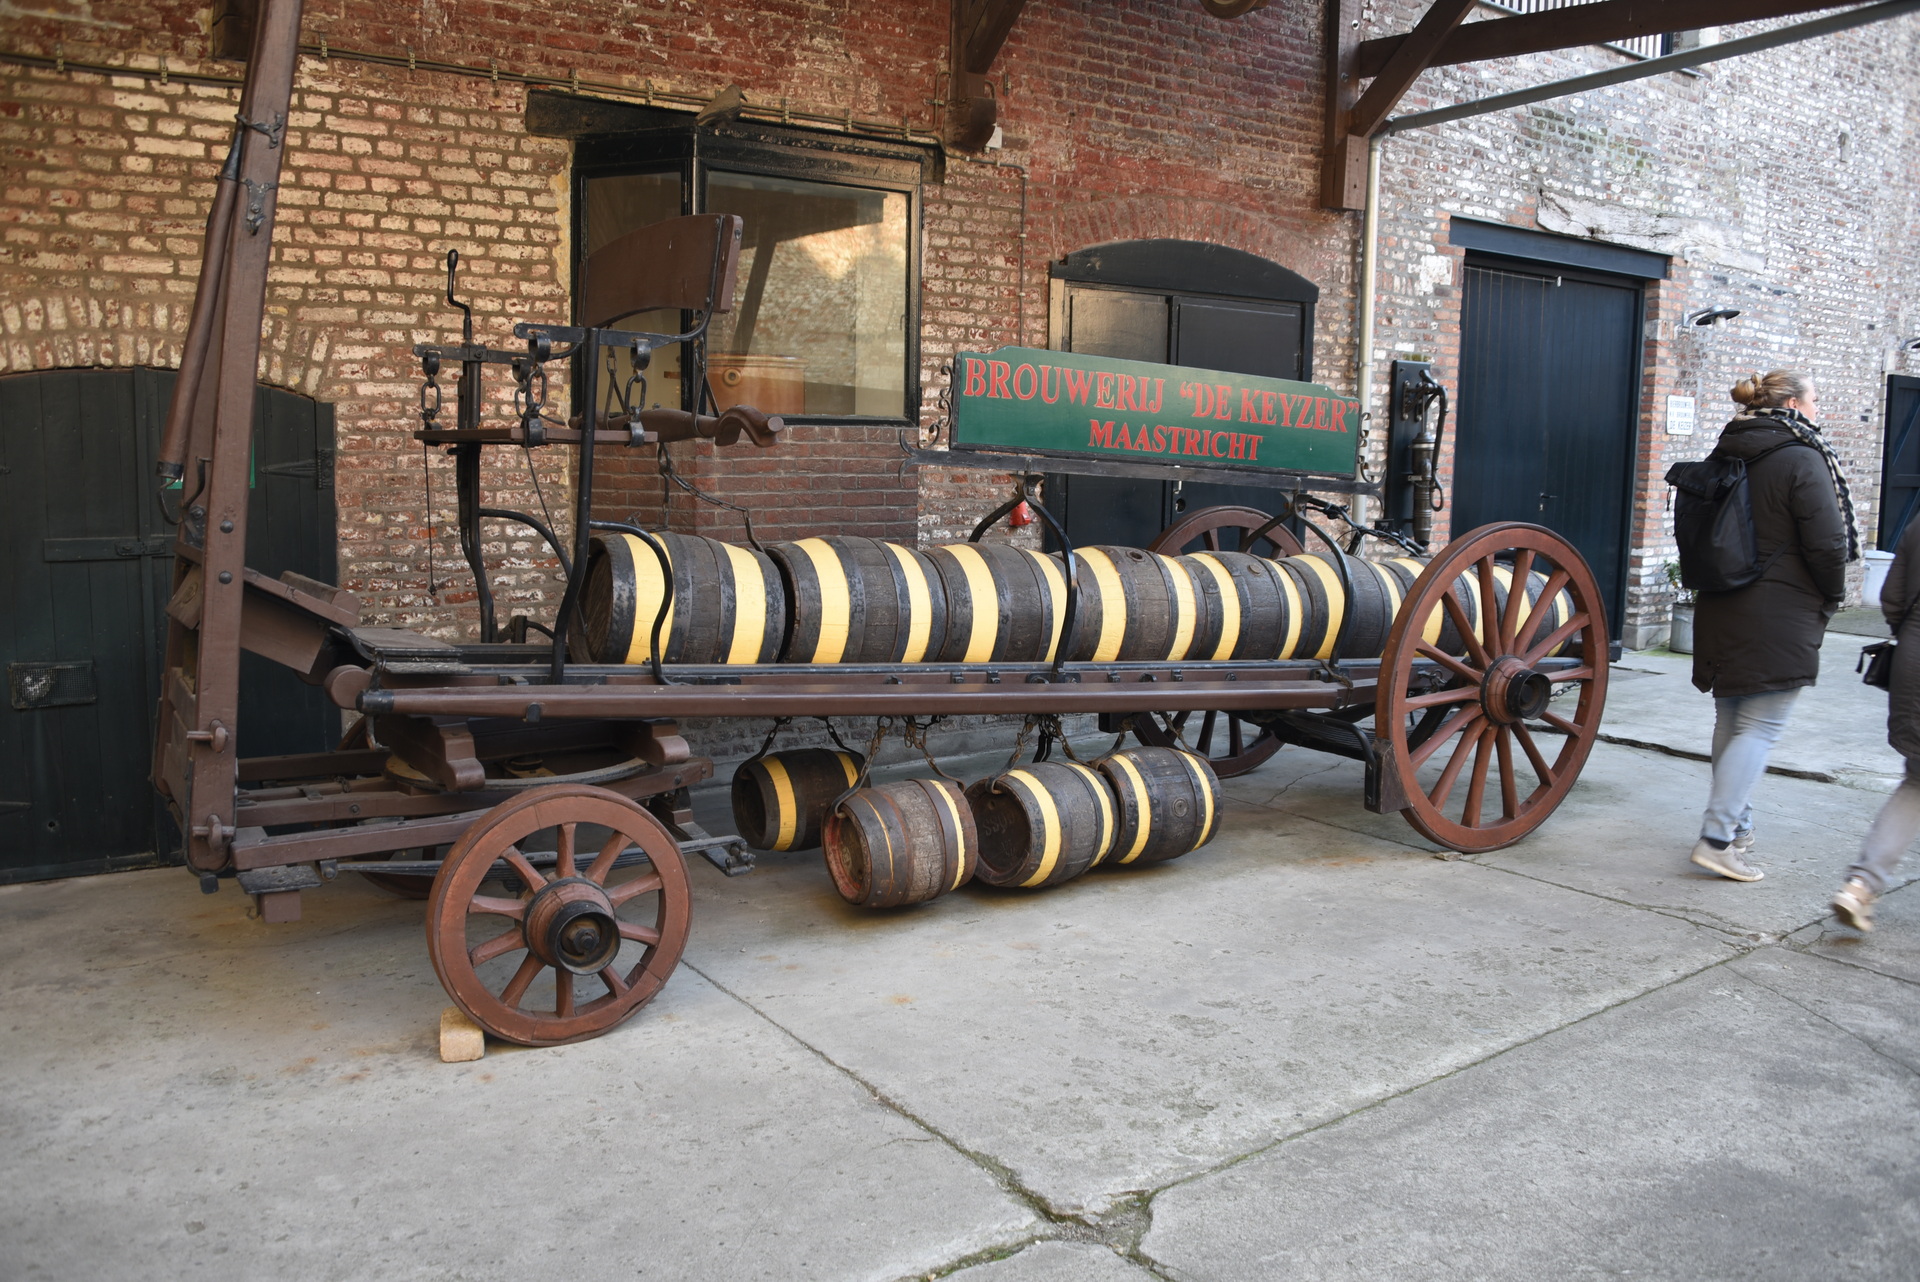
We have been to Limburg for a few days. Visiting the Kasematten, La Trappe brewery, Fortifications in and around Maastricht, Thermenmuseum, Castles and more. (We even slept in a Castle and a Castlegate)
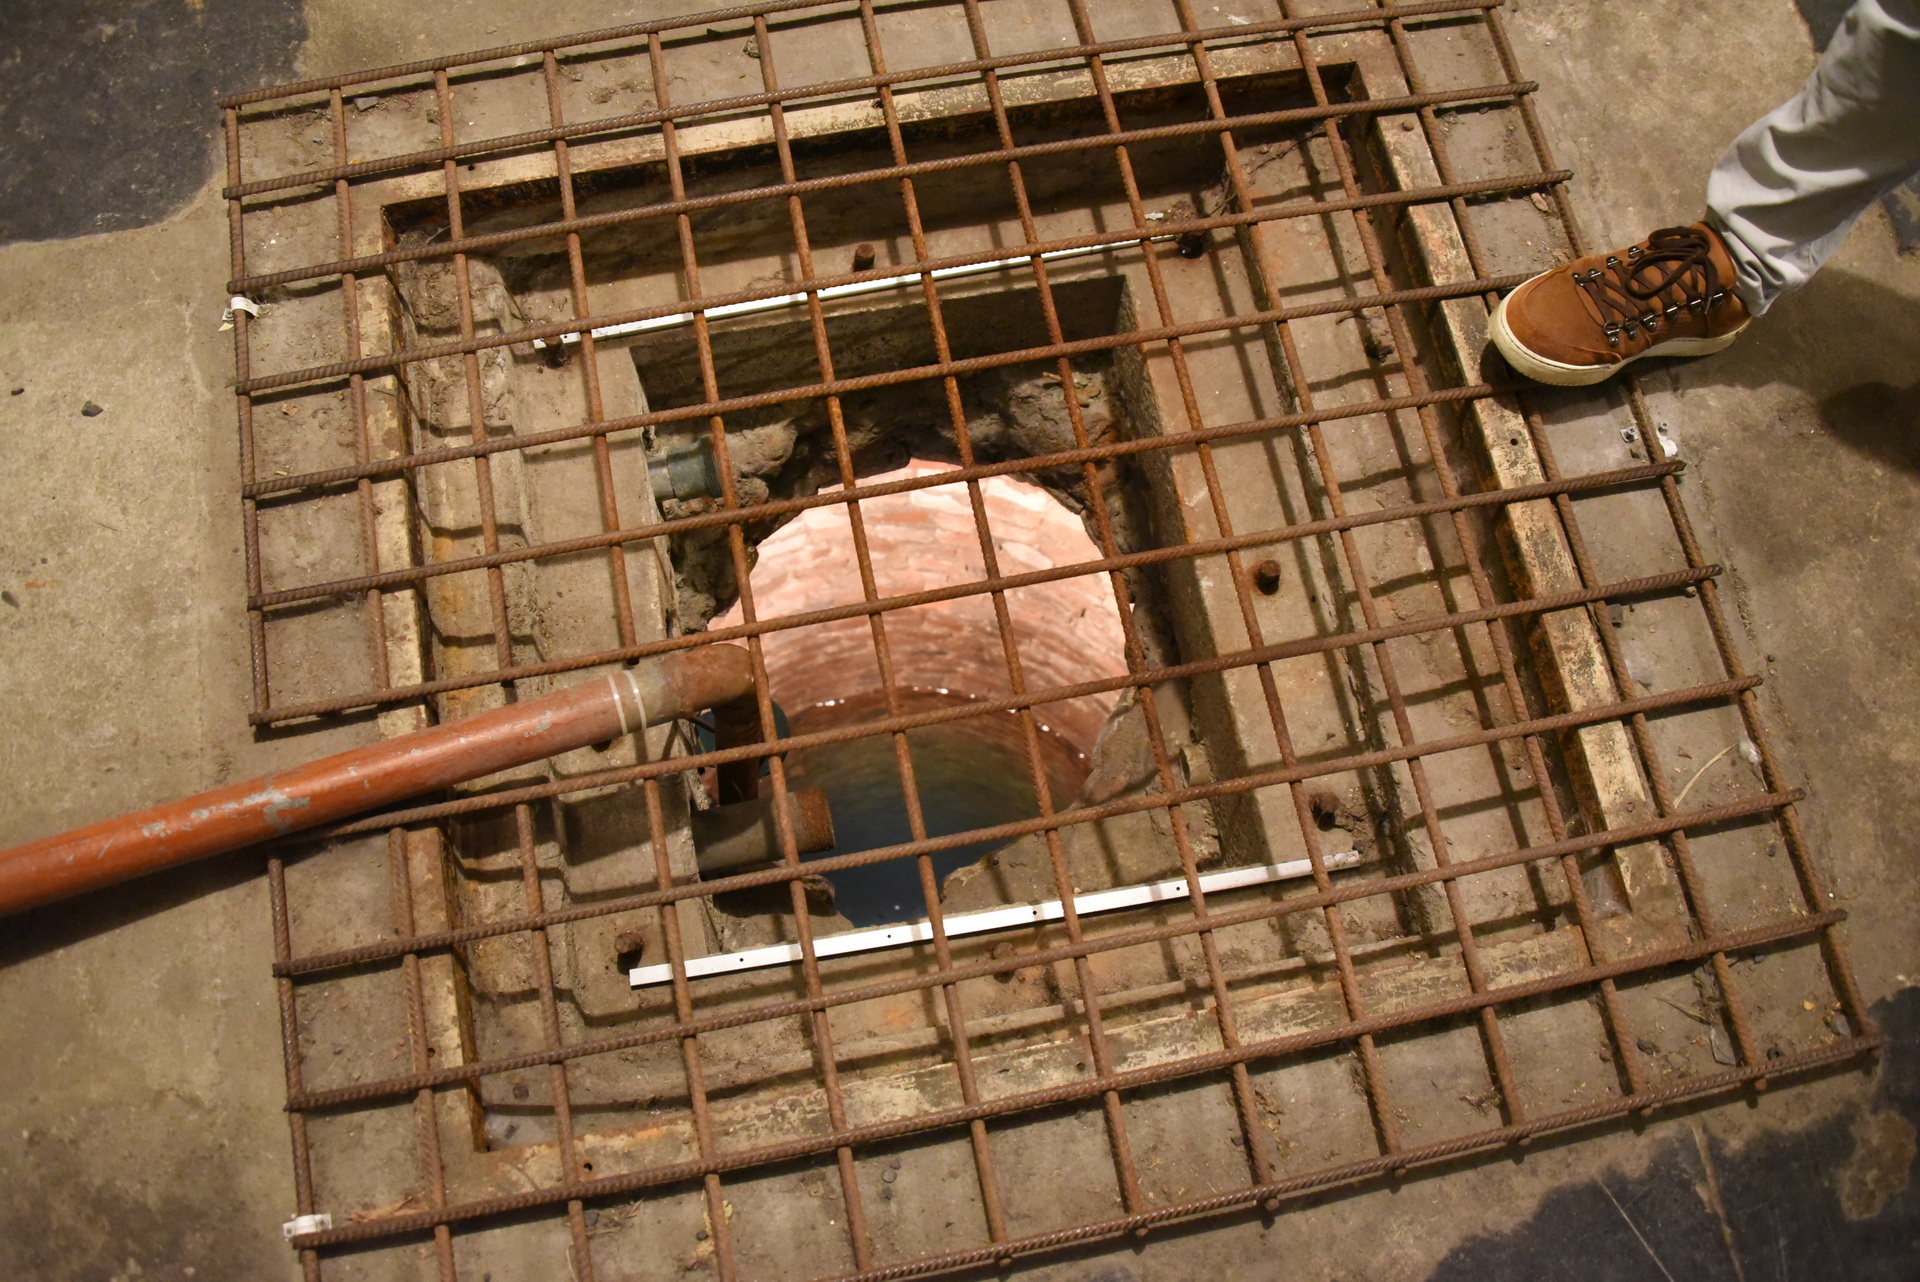
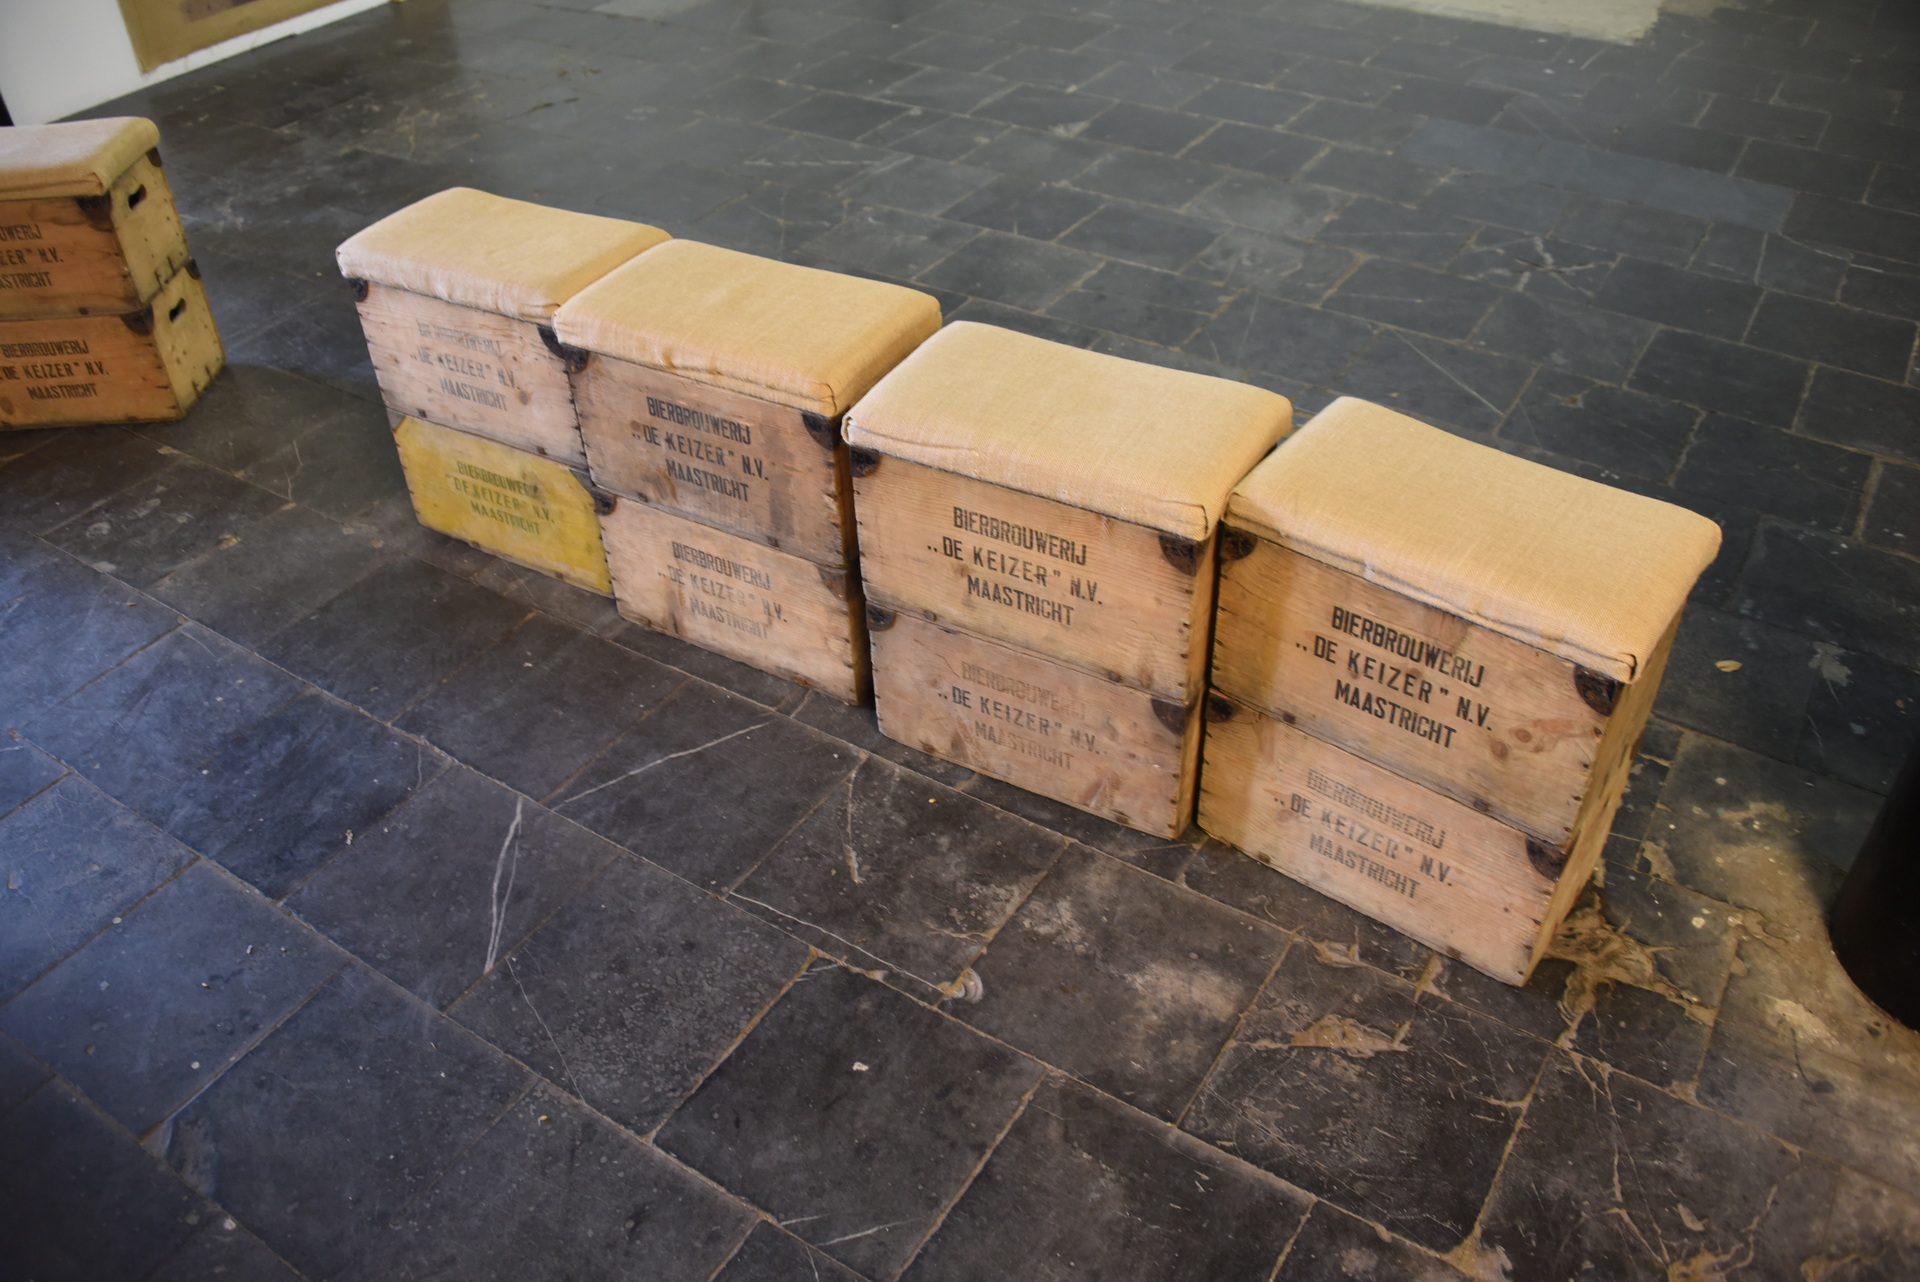
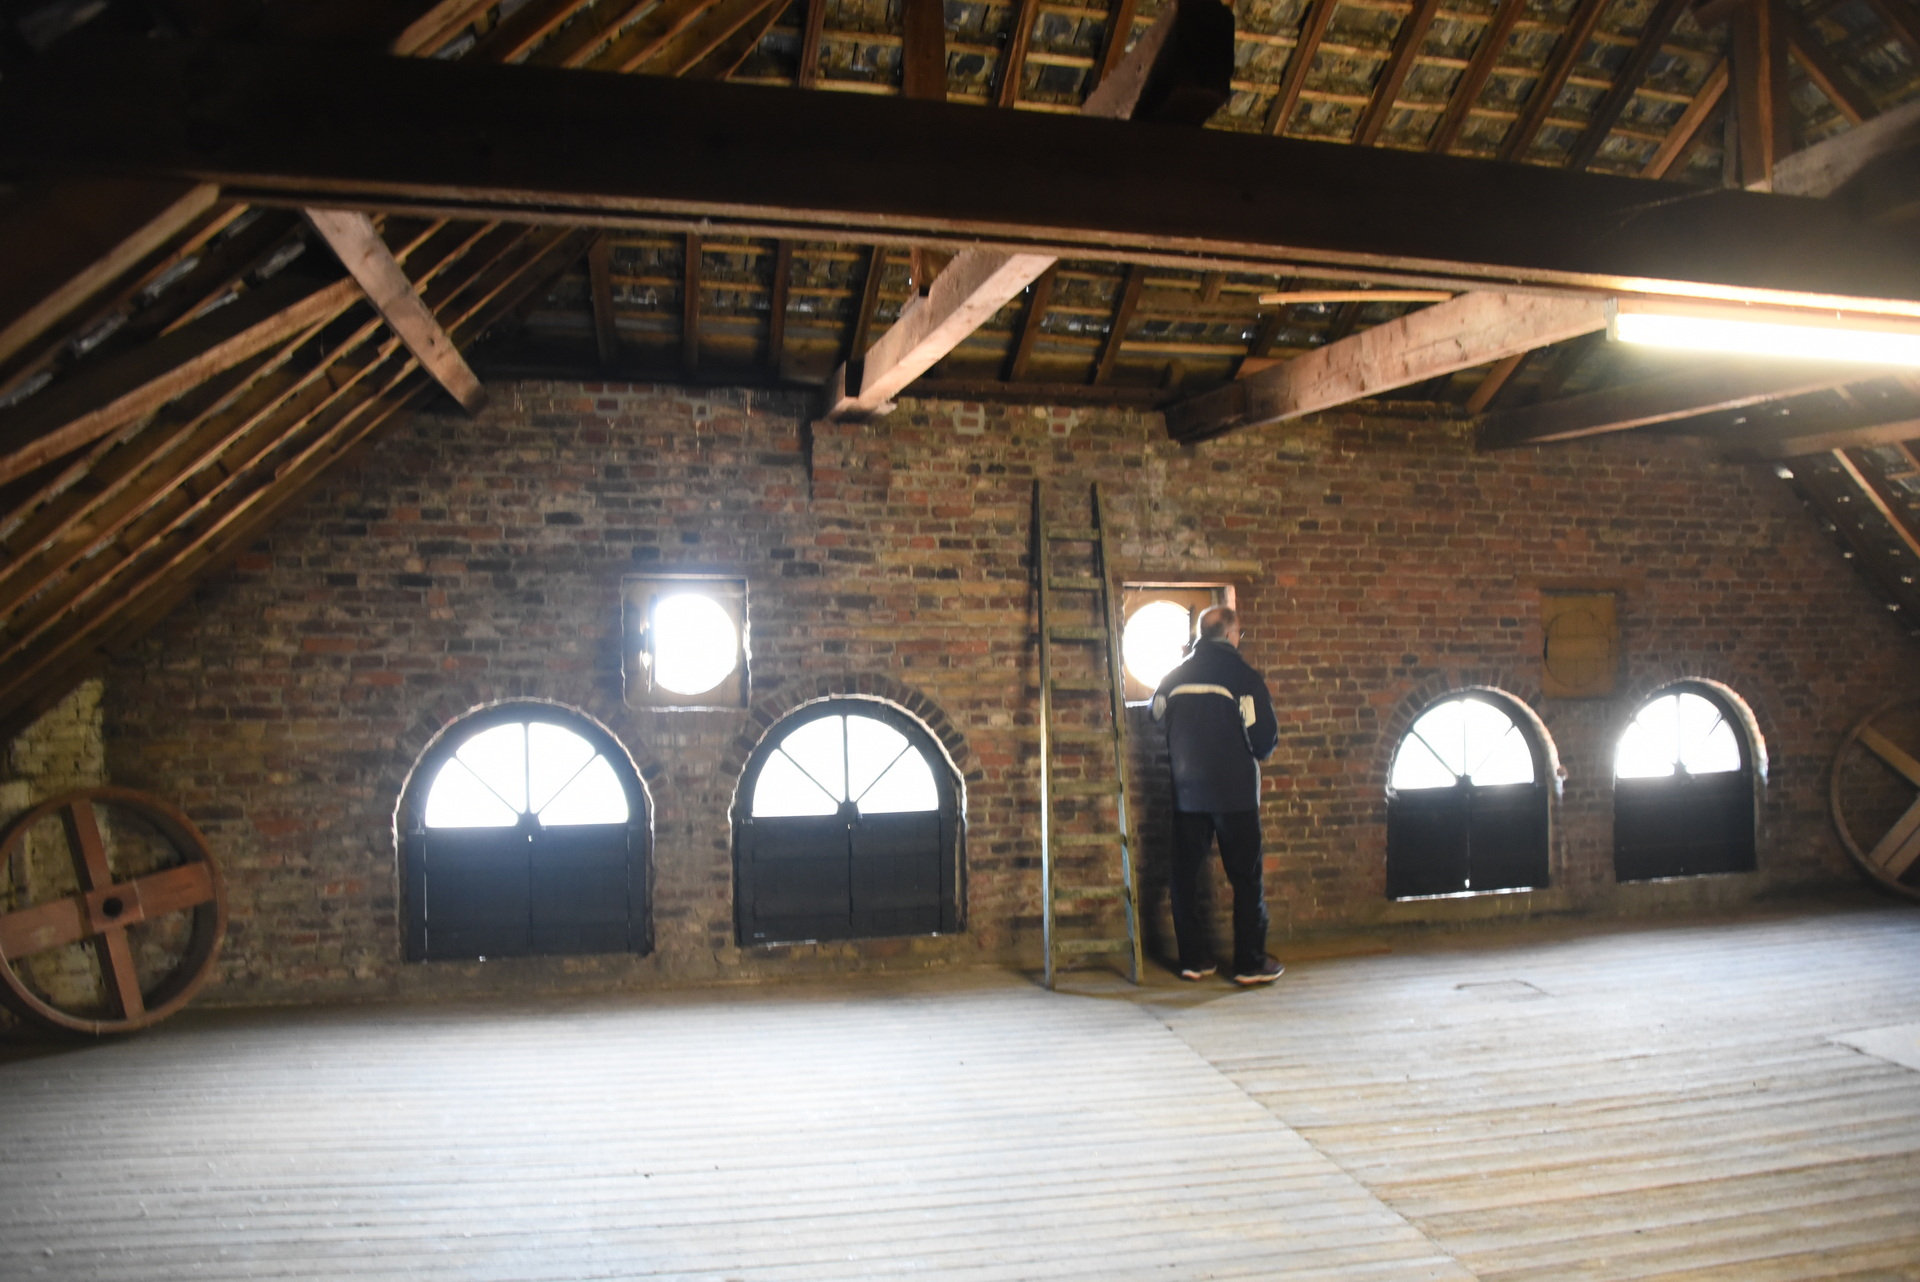
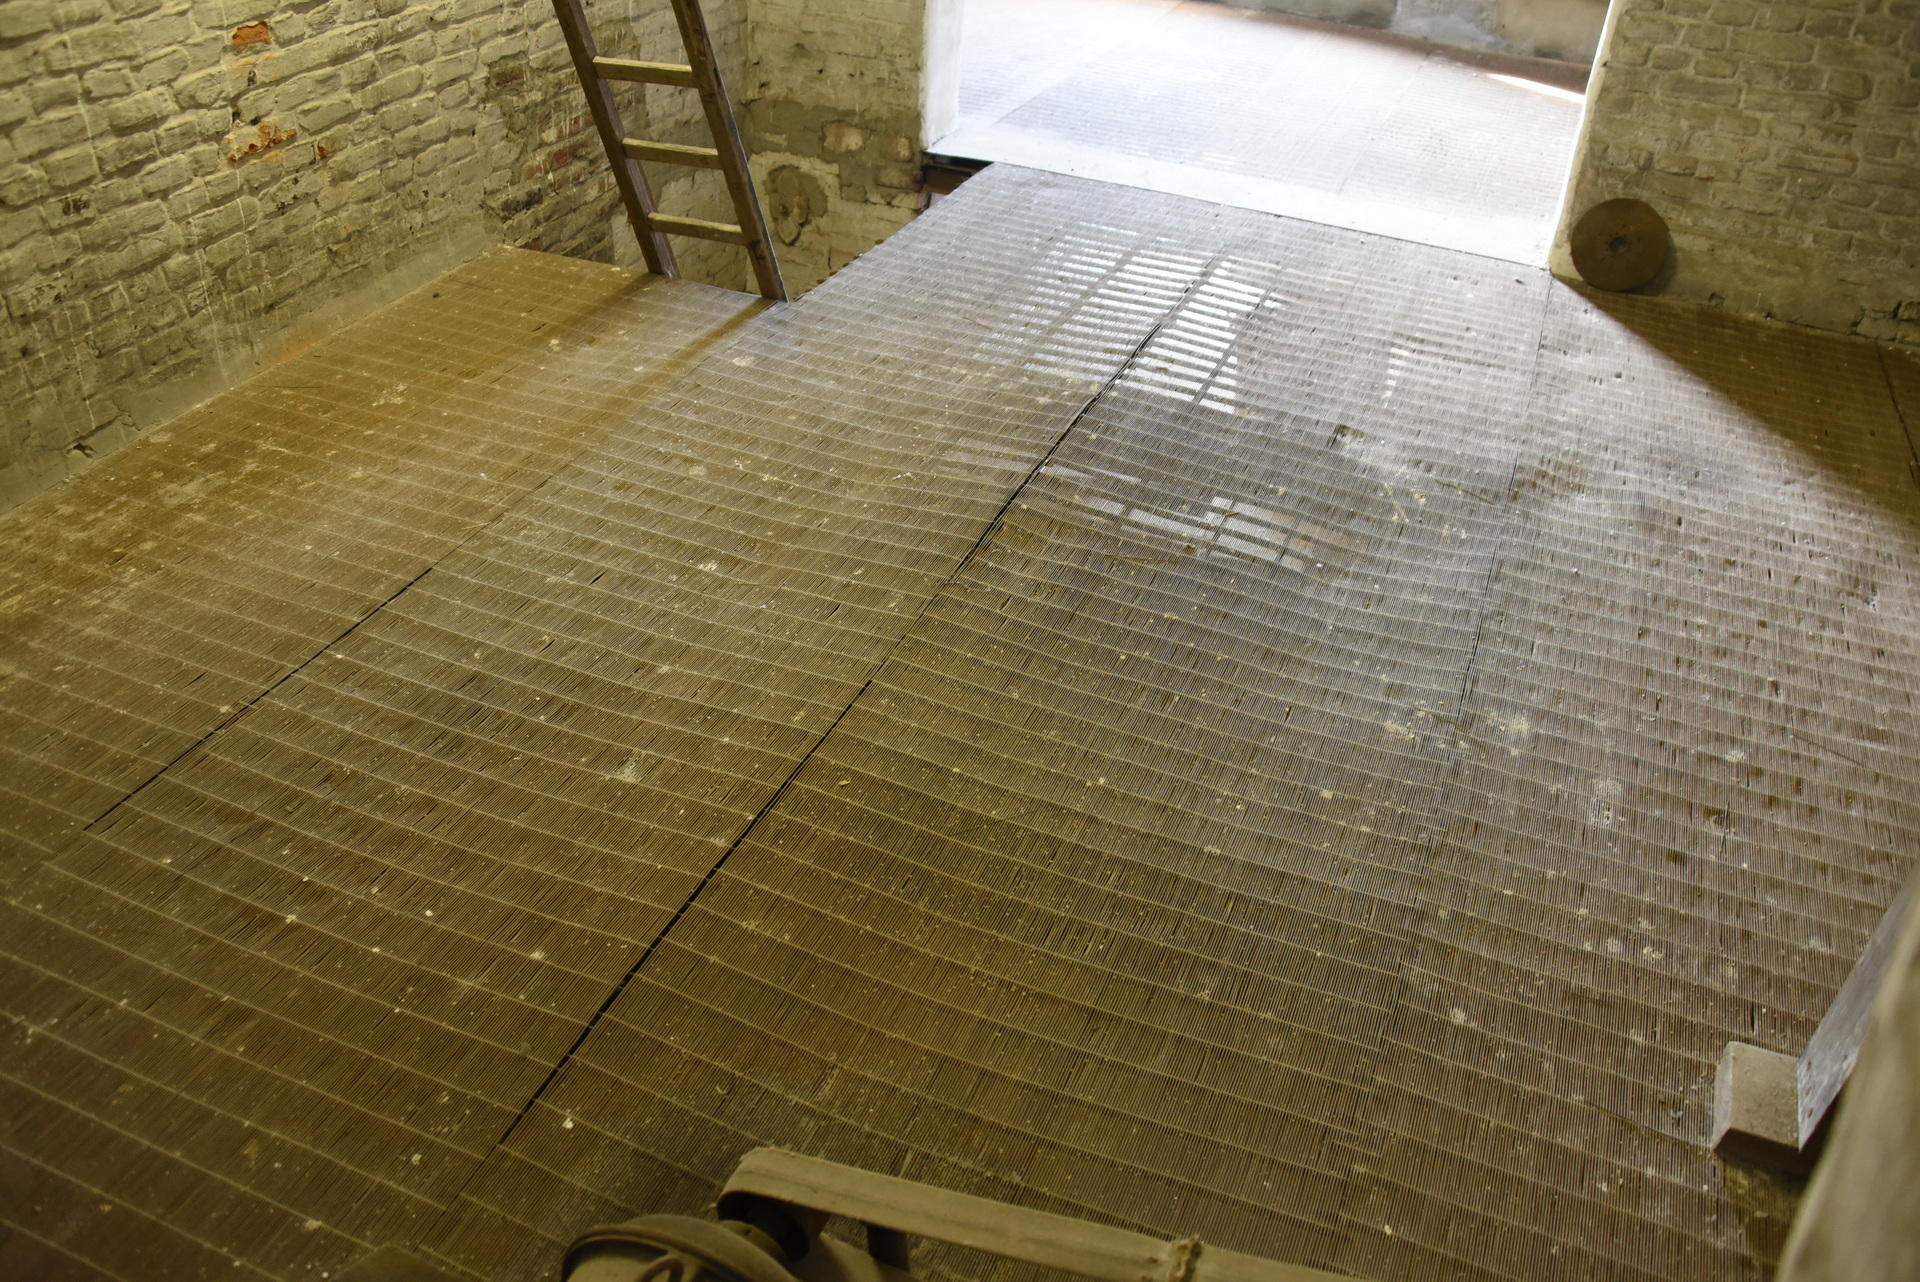
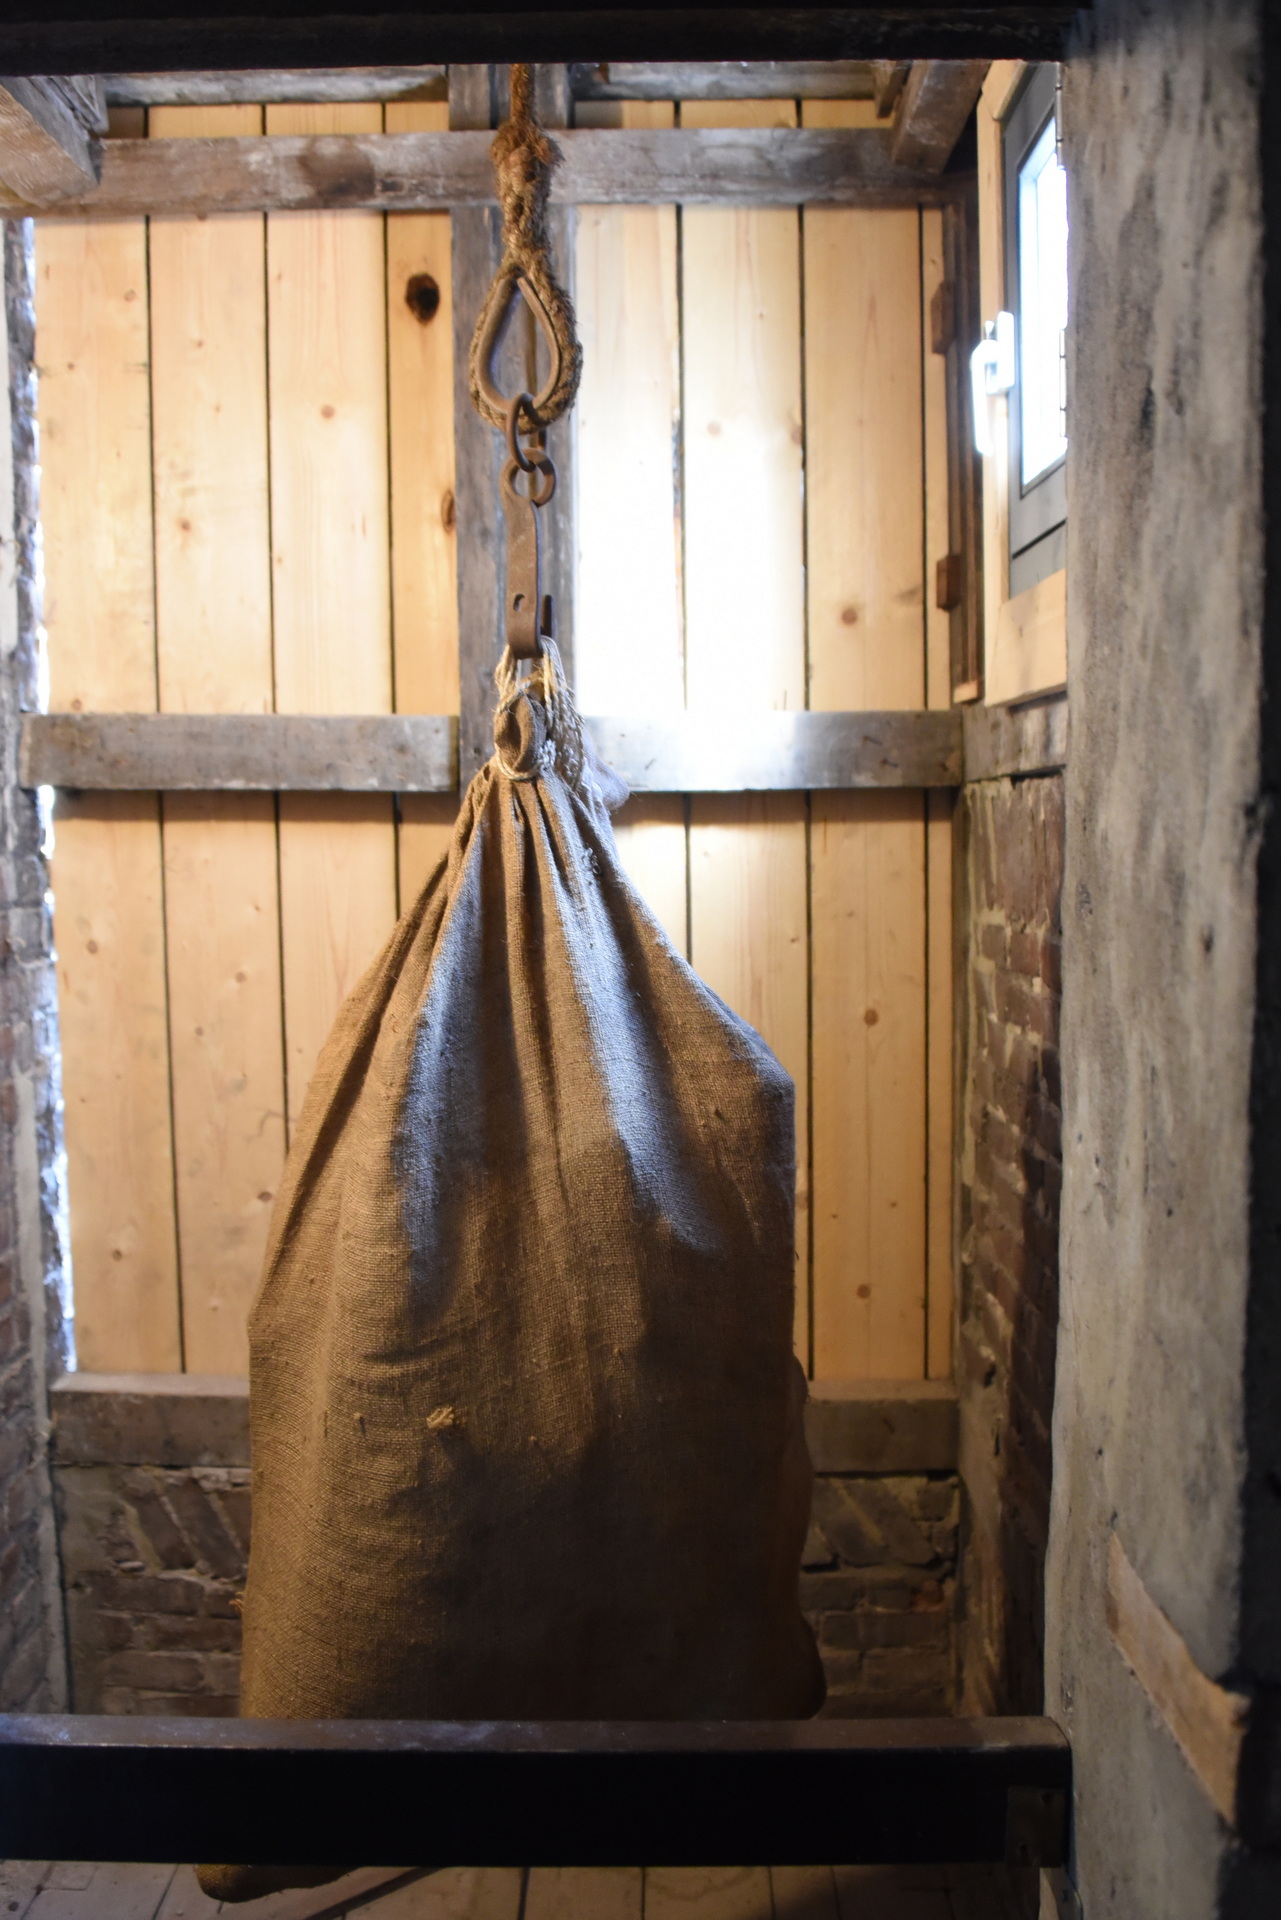
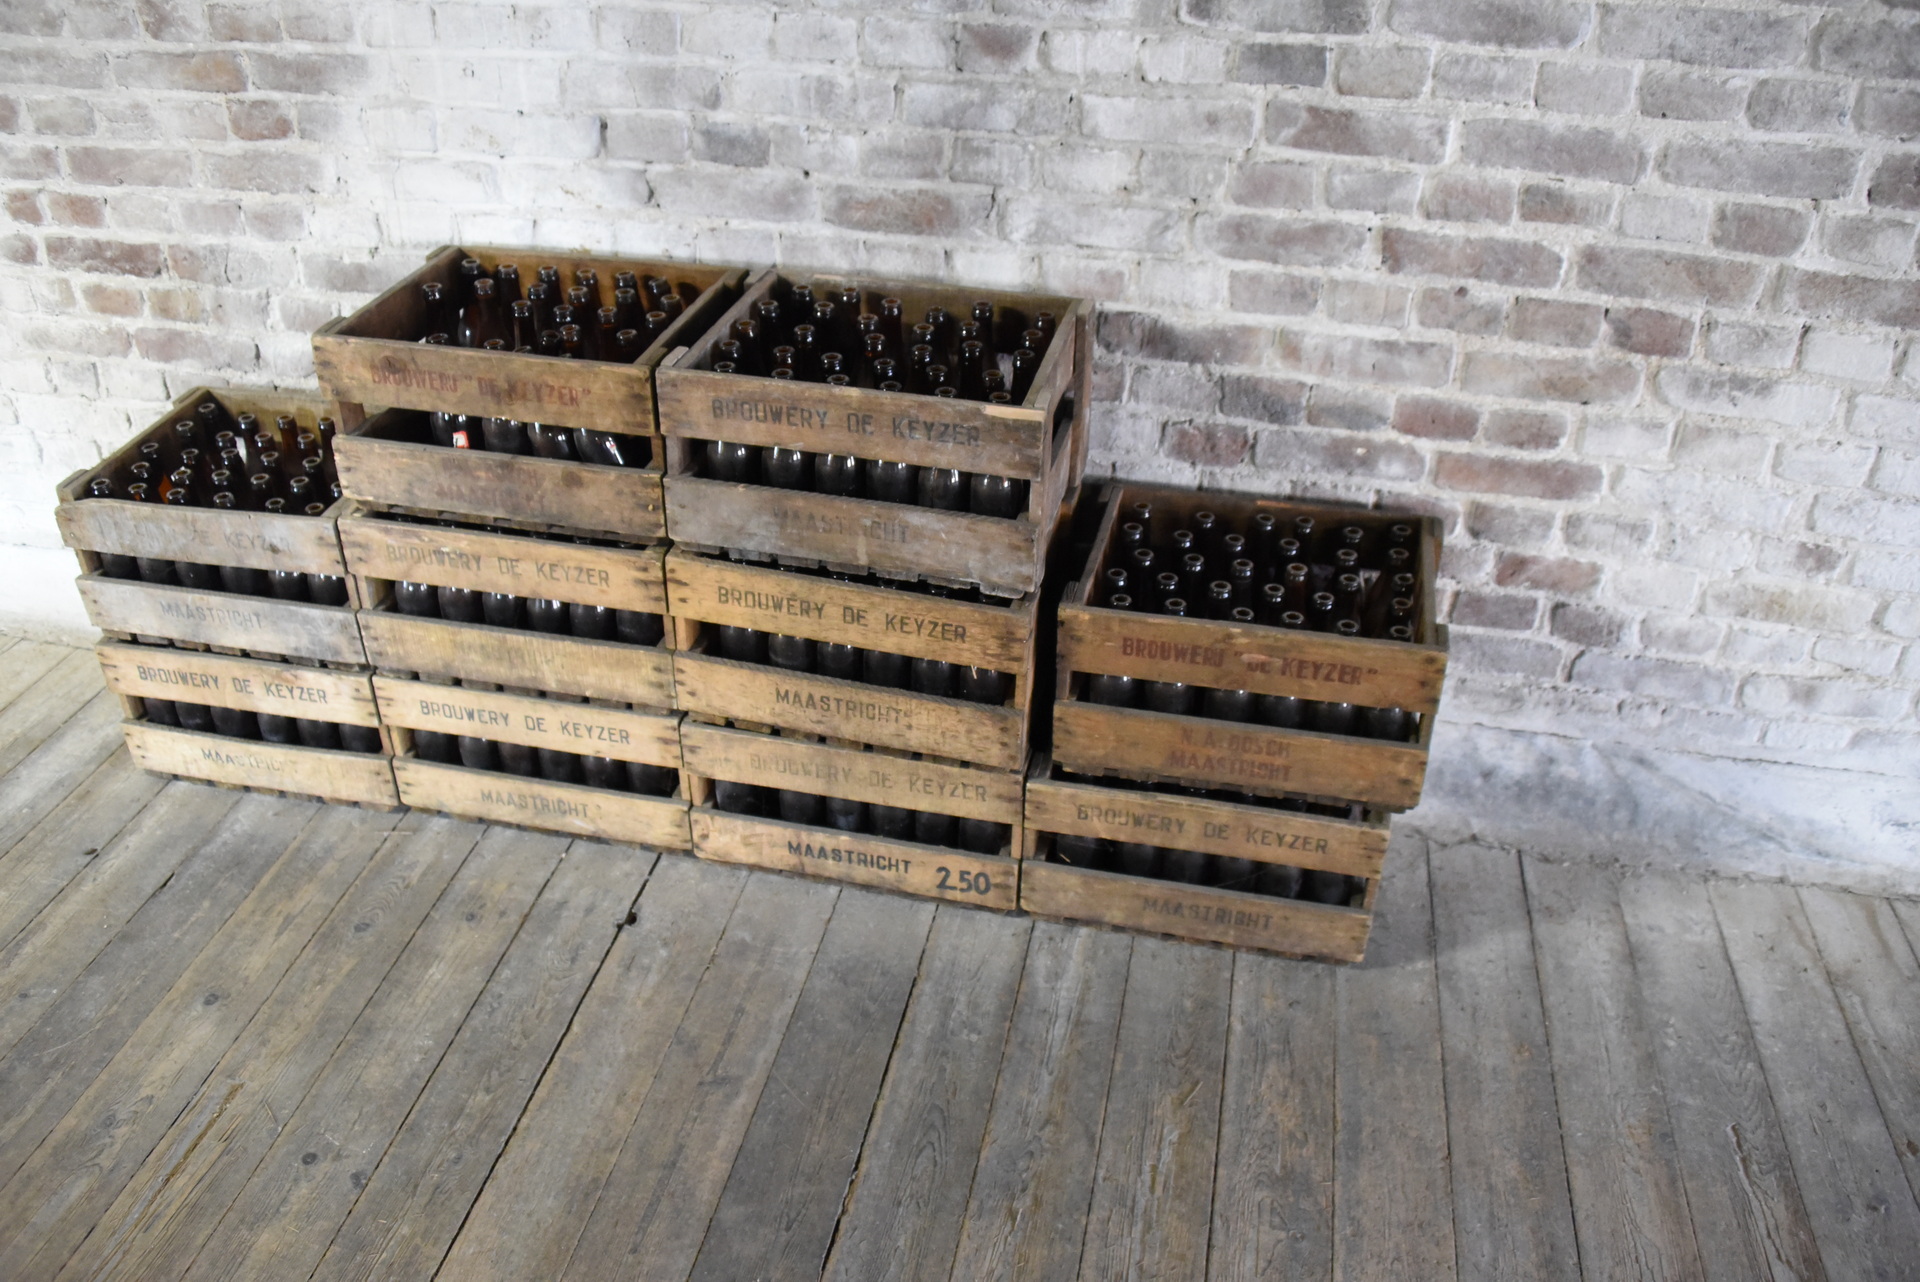
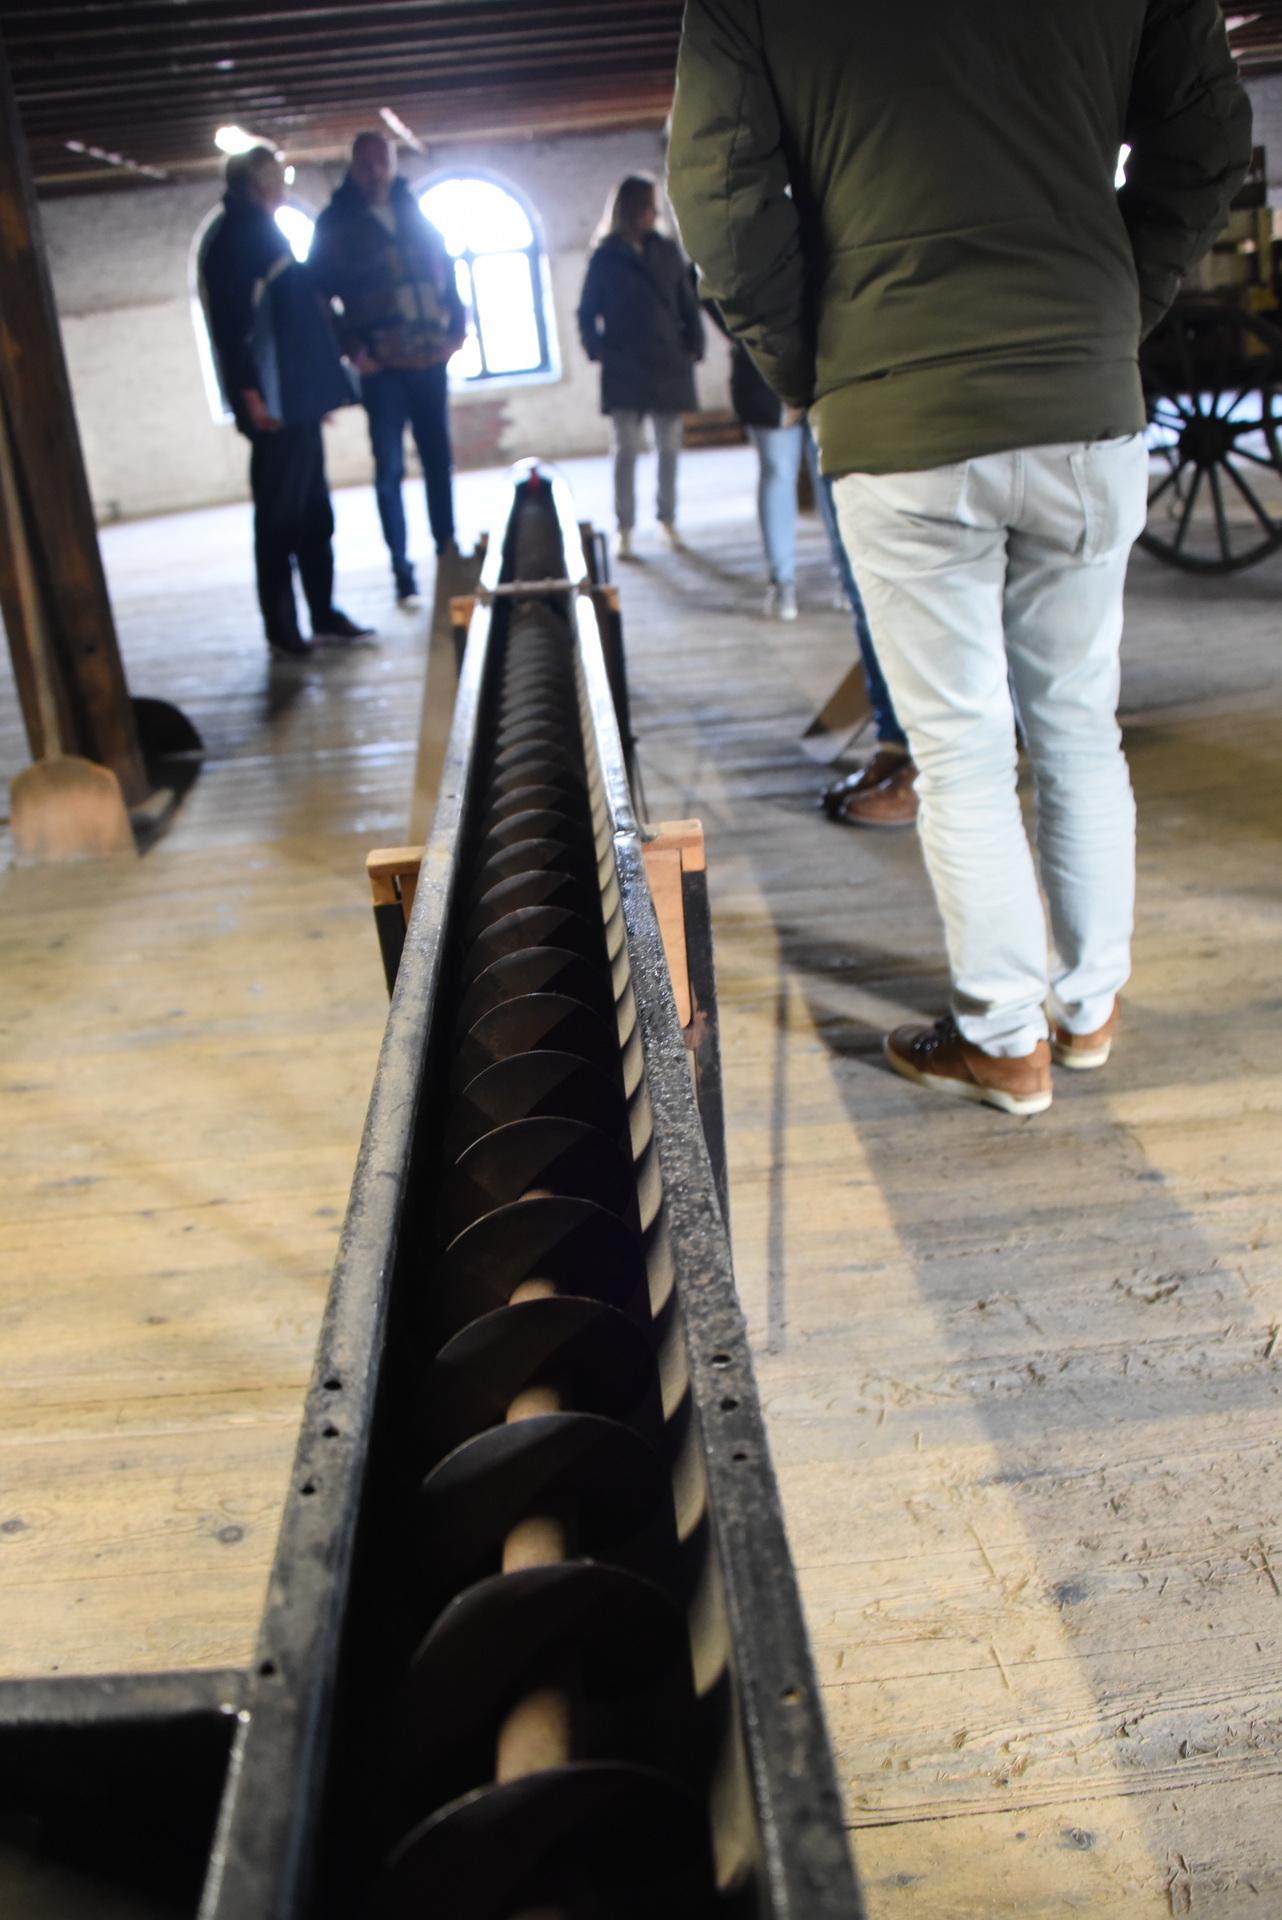
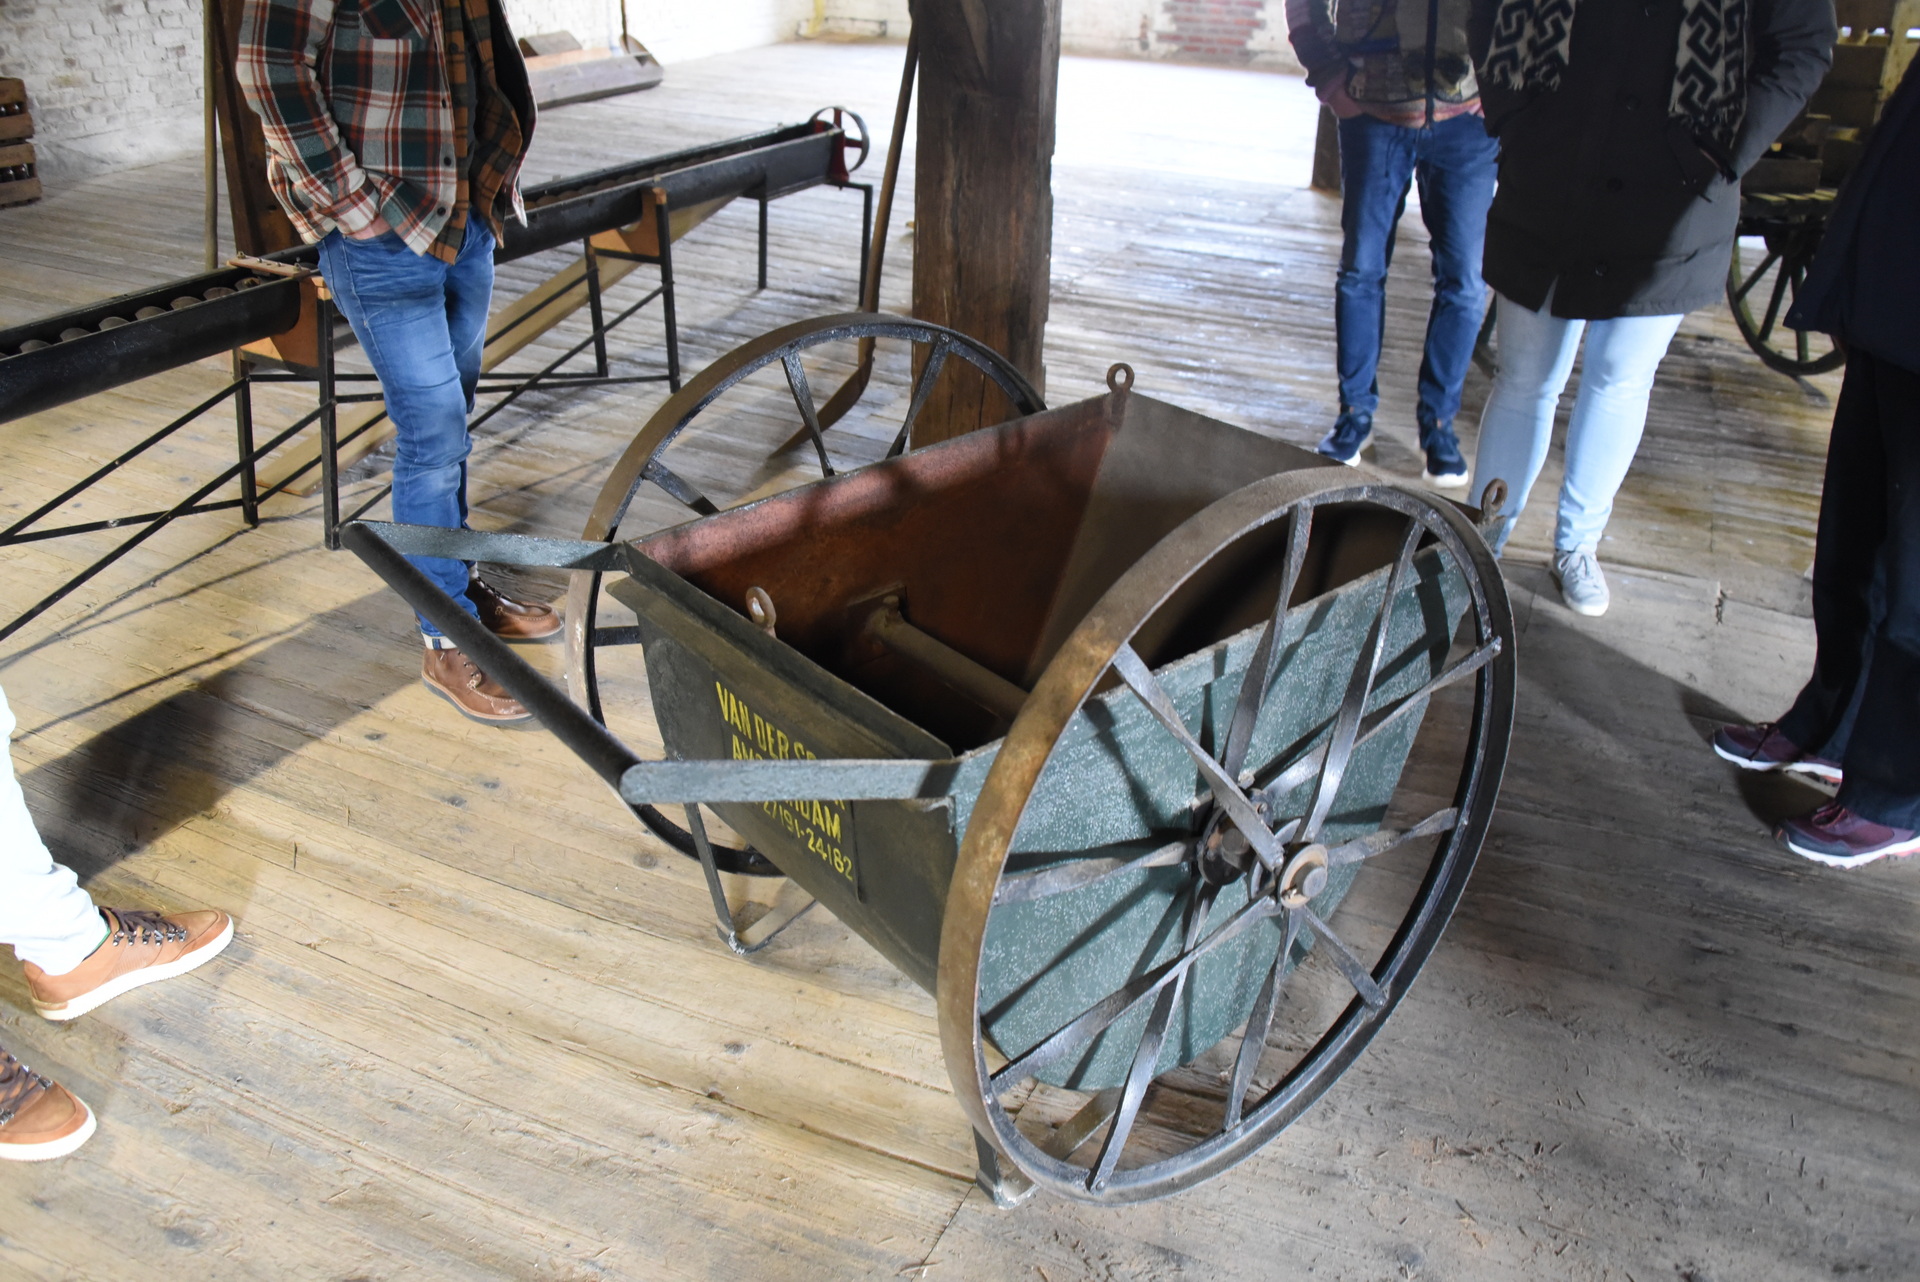
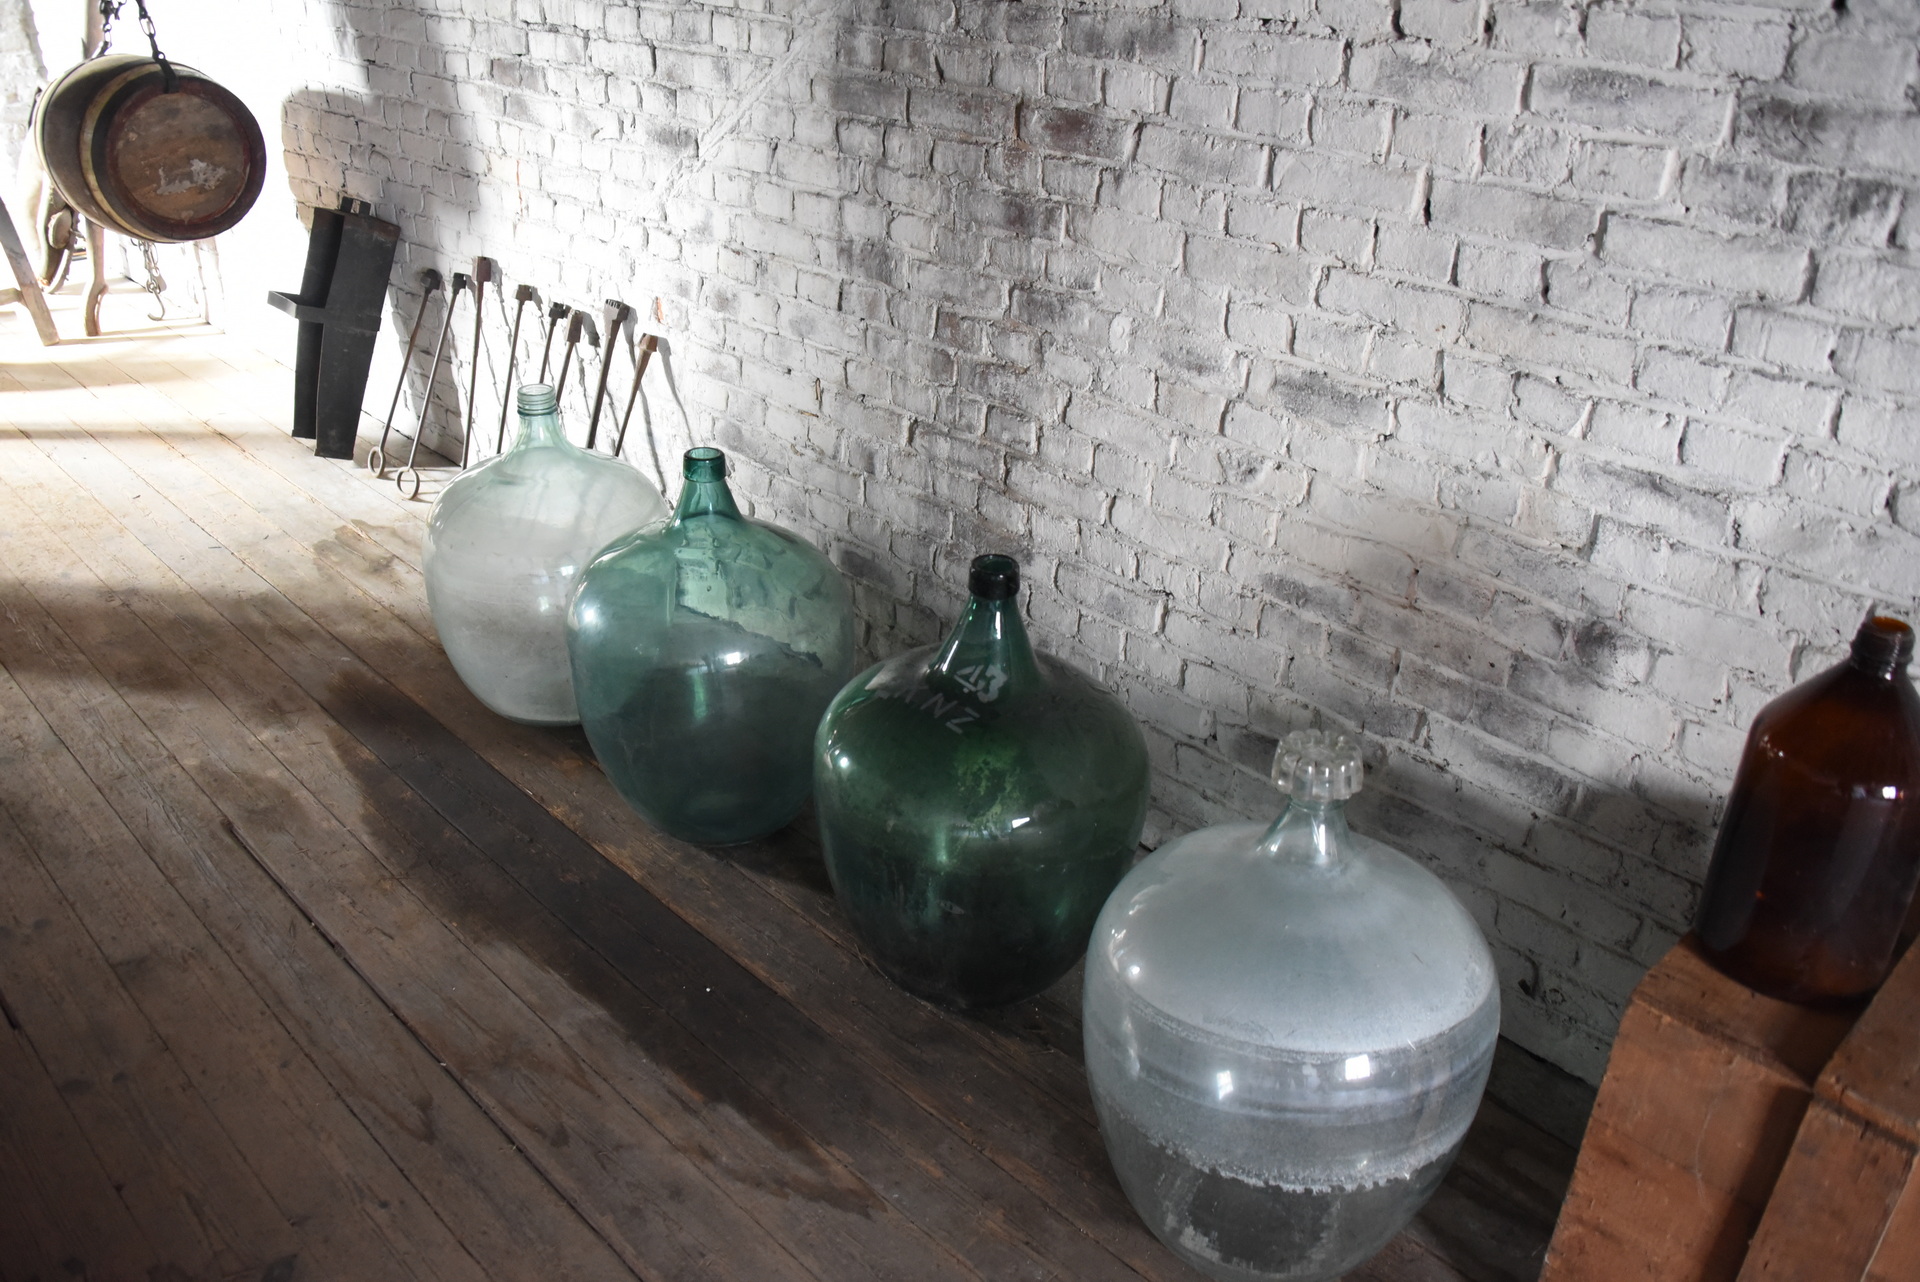
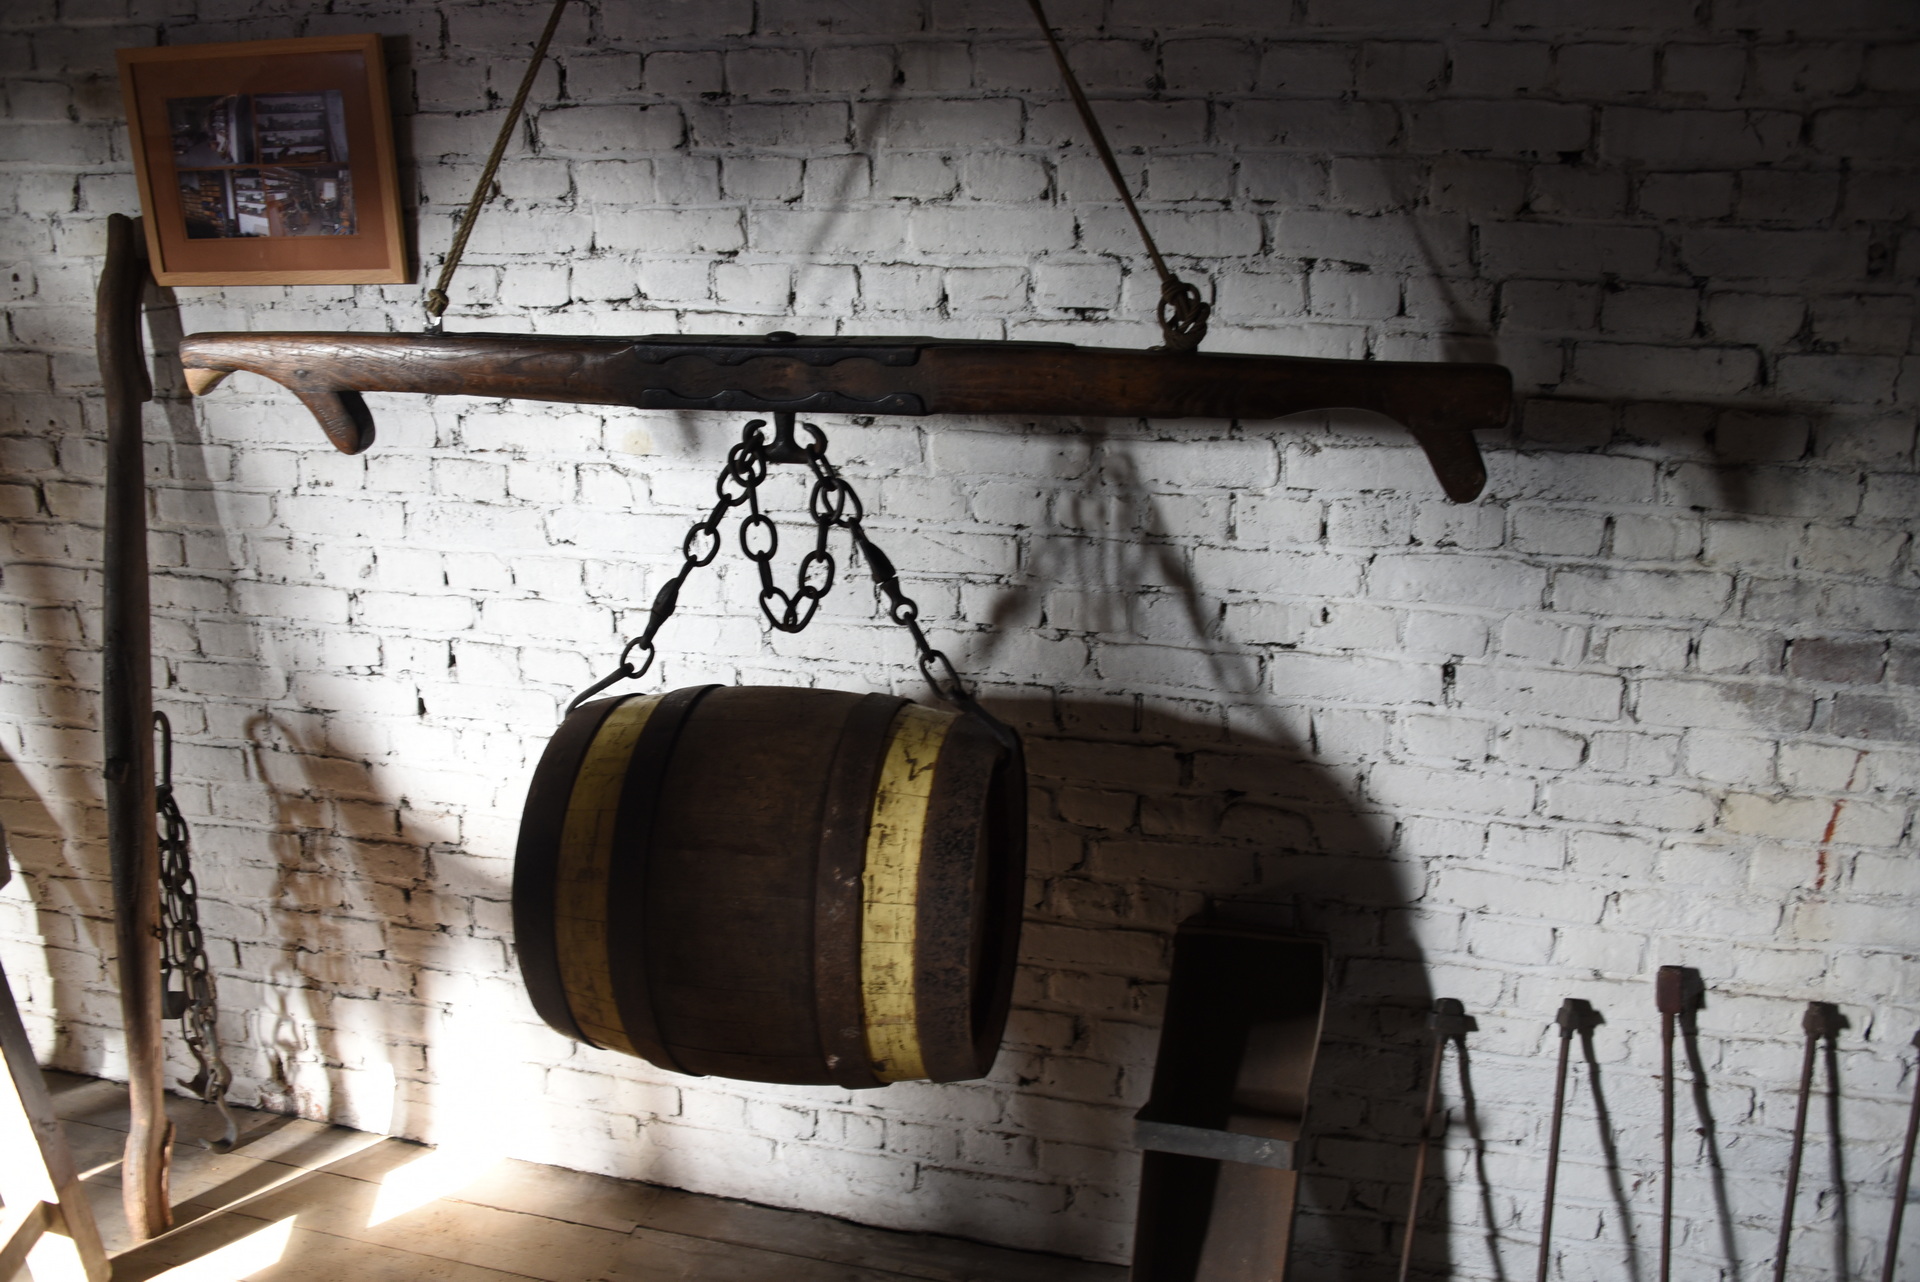
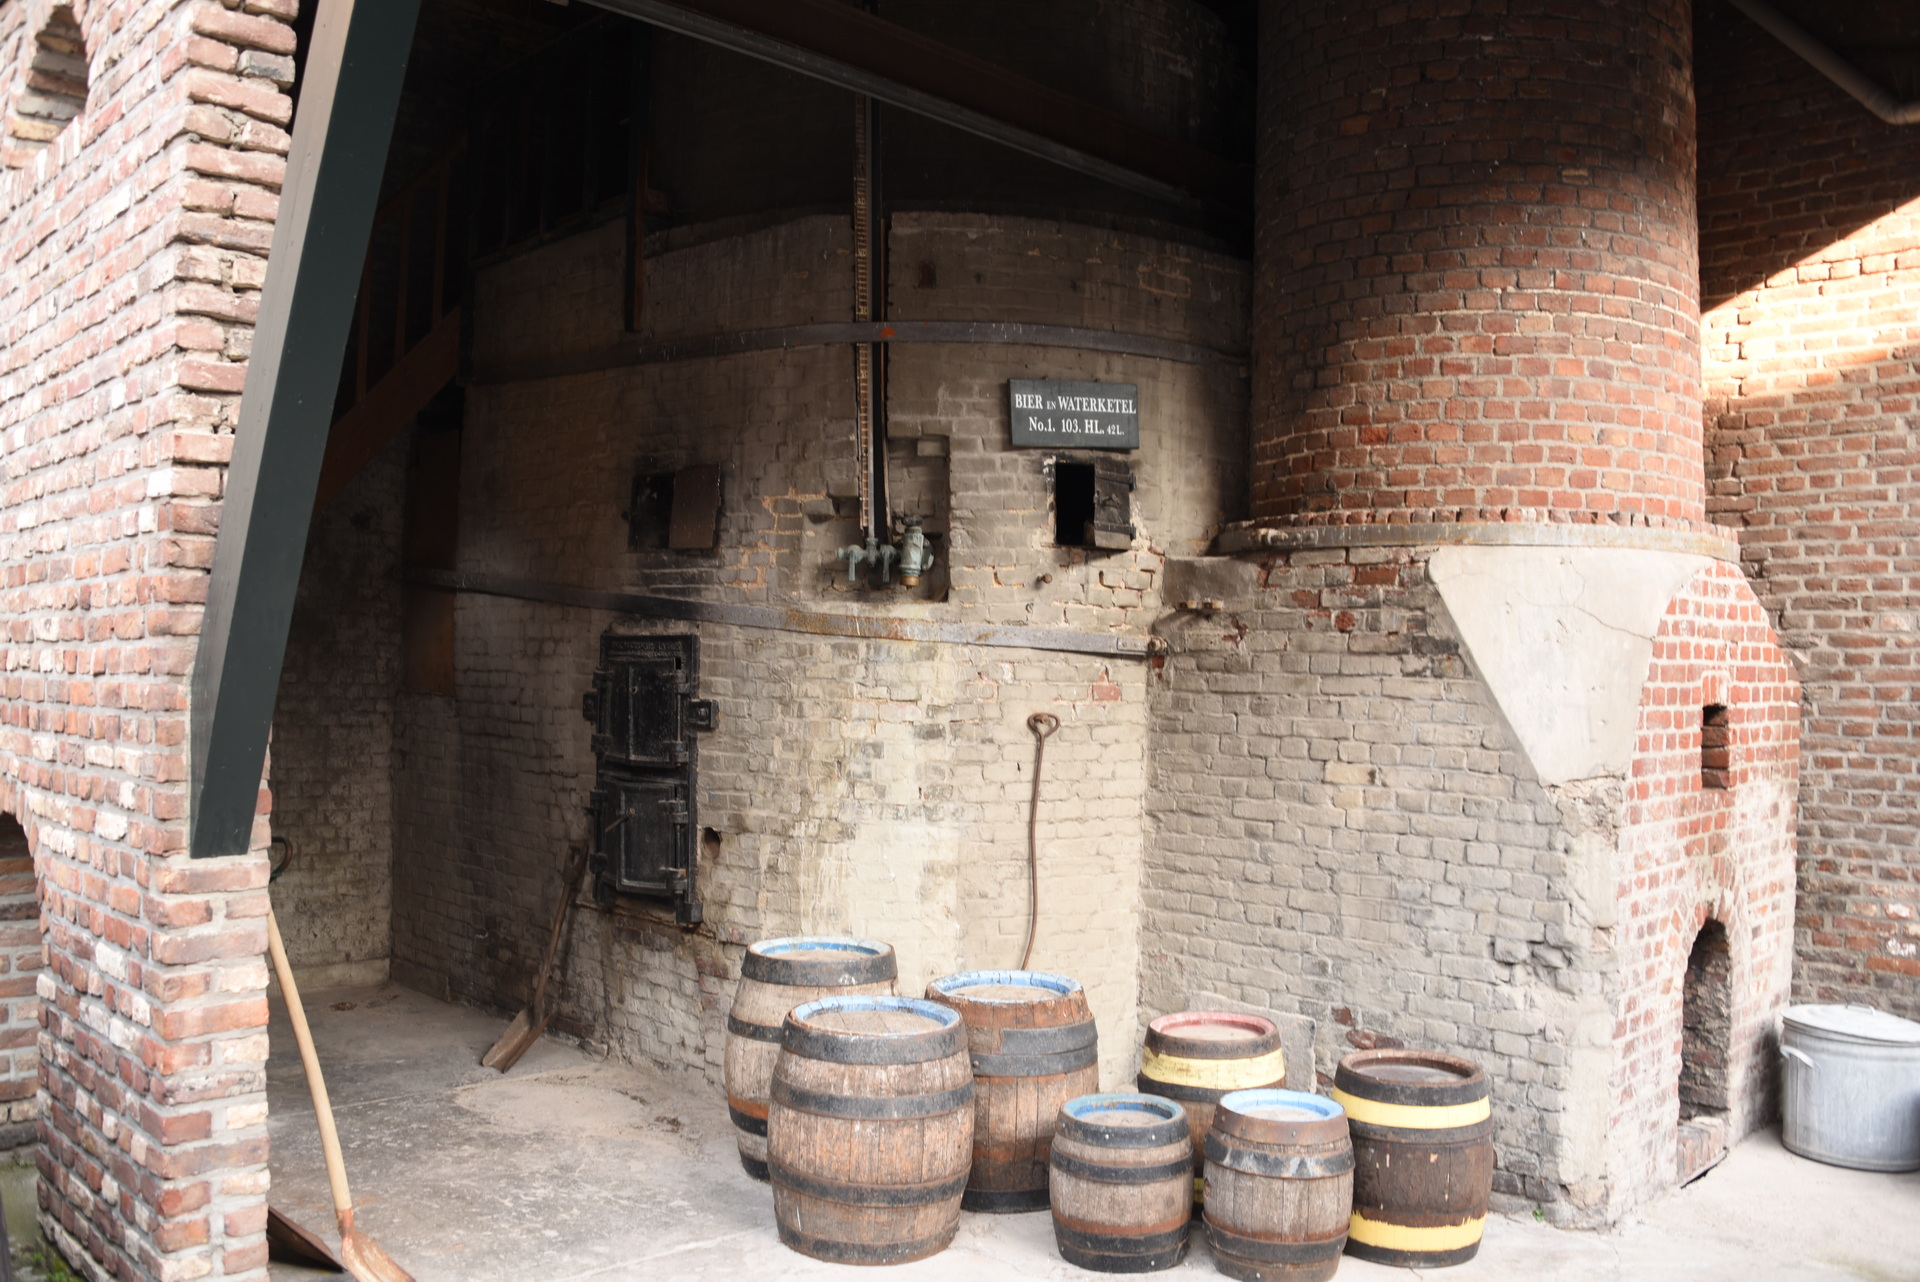
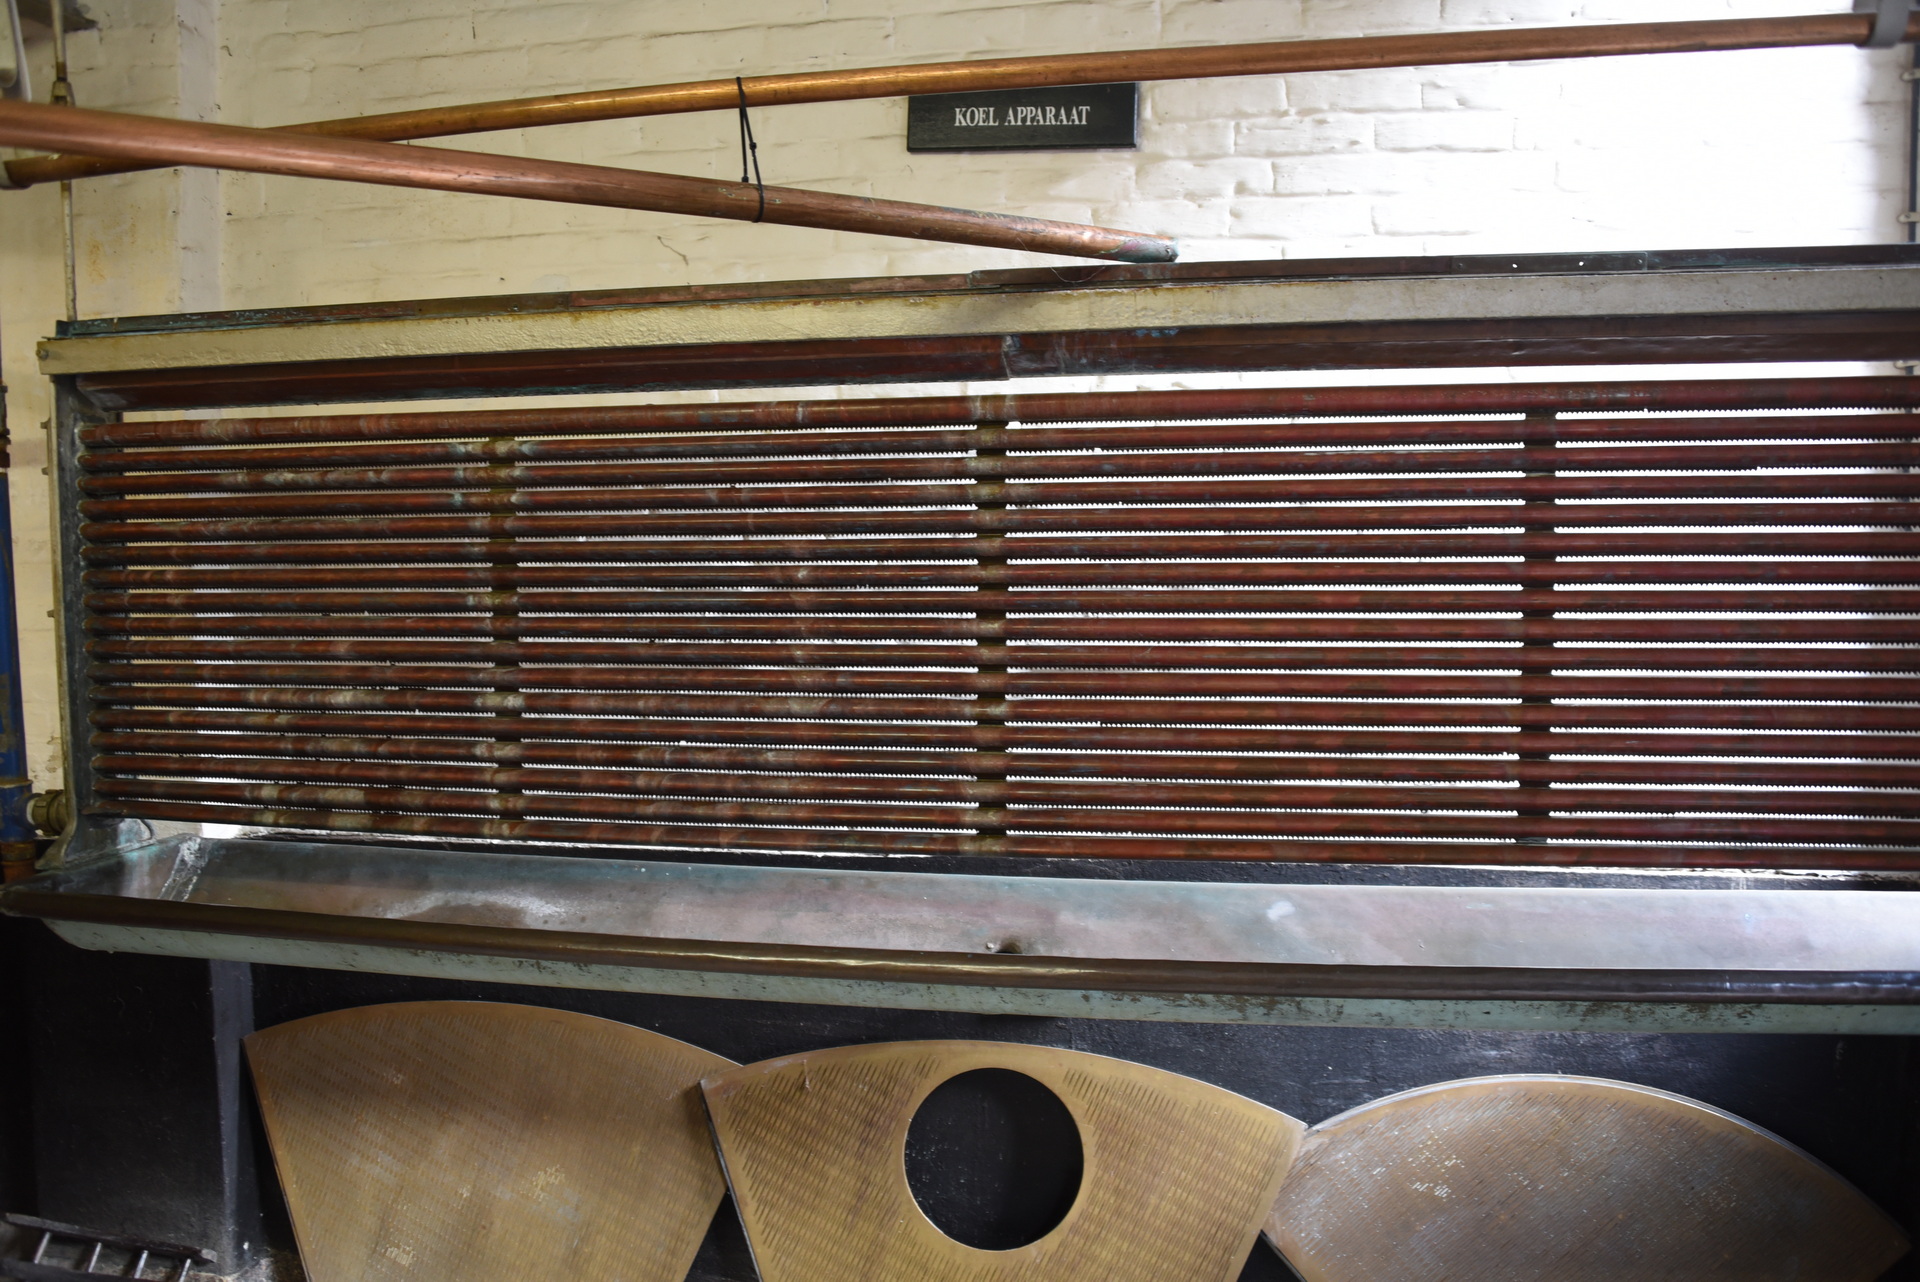
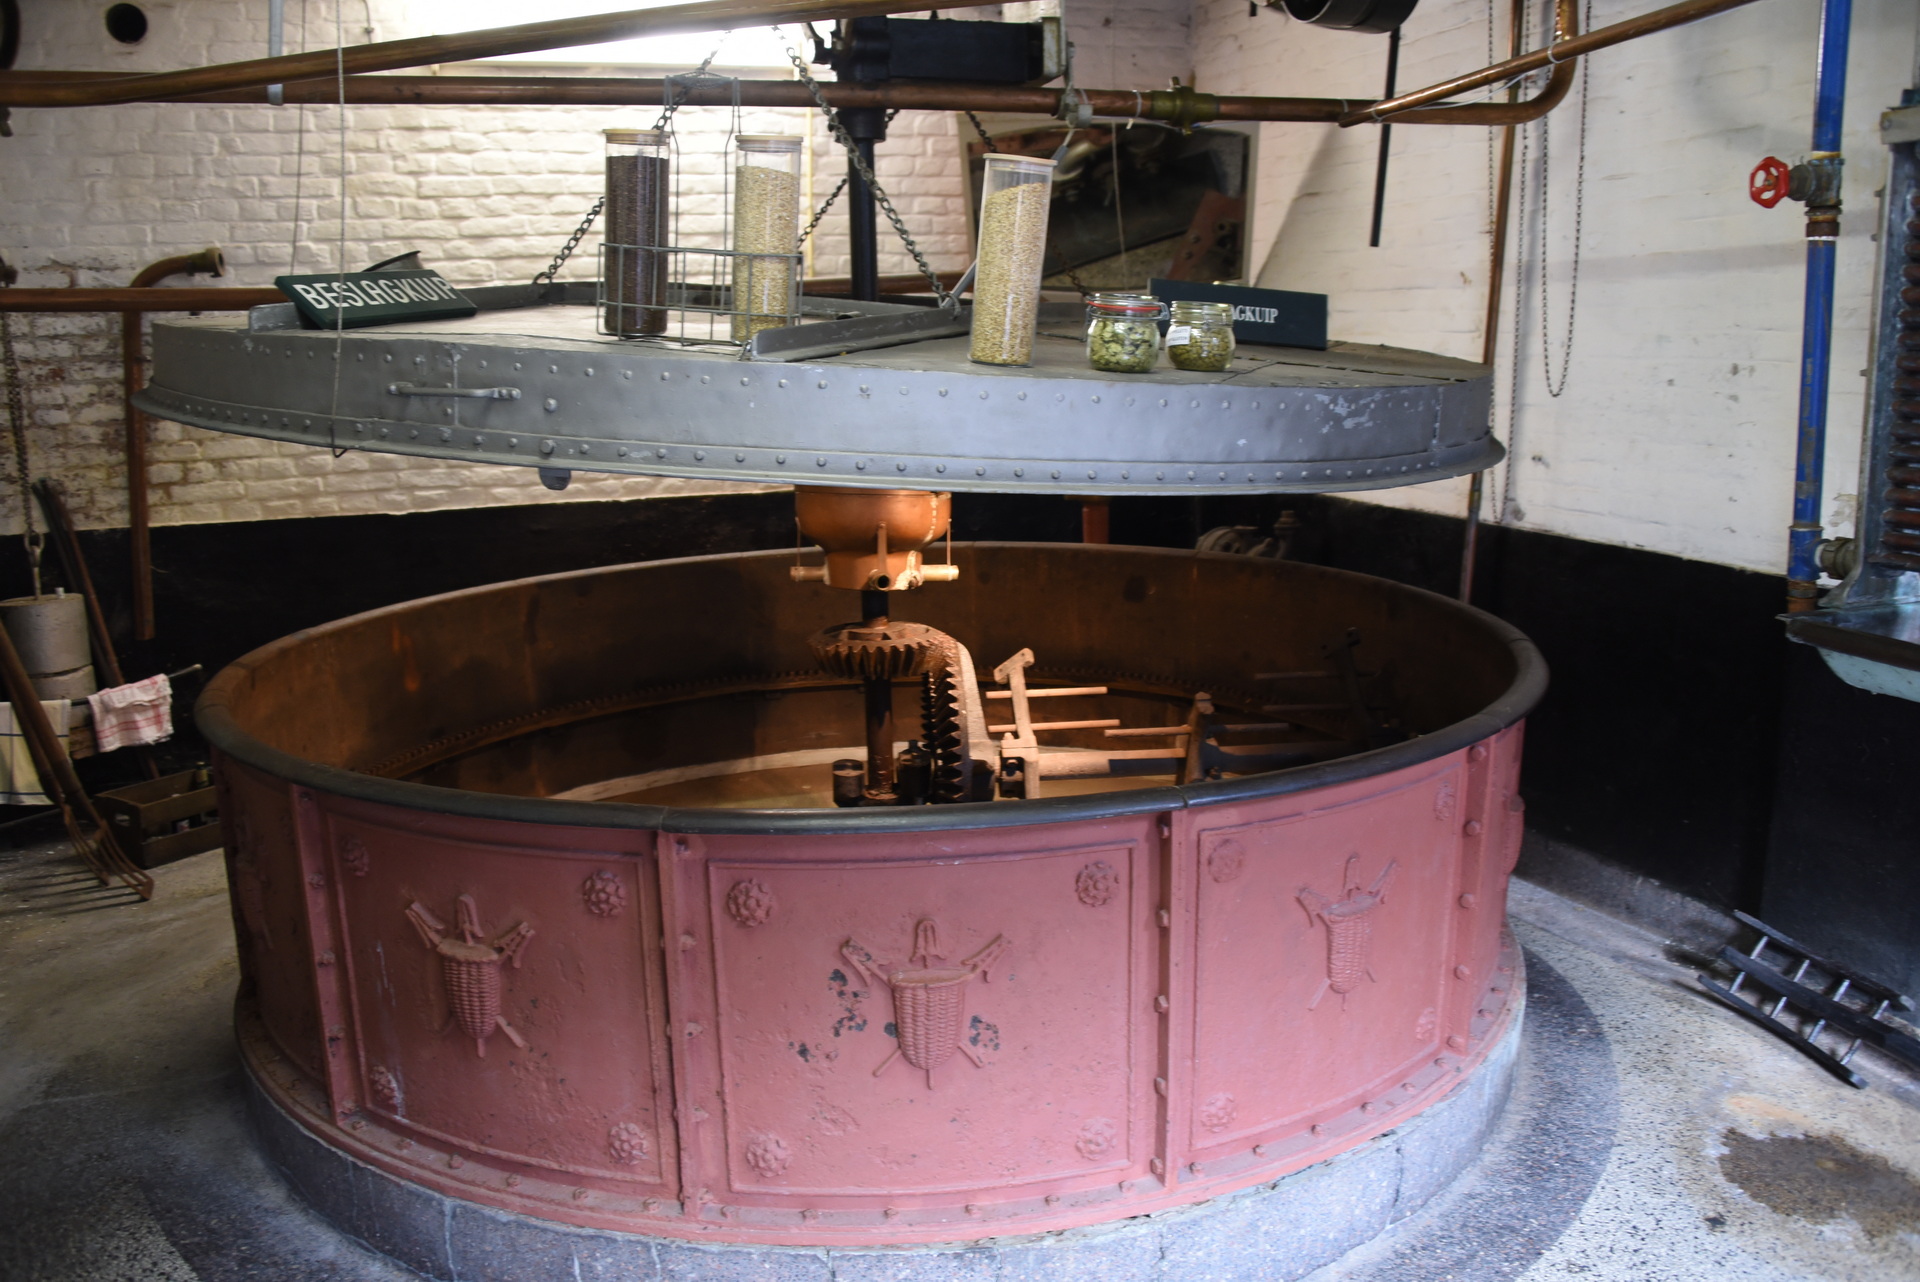
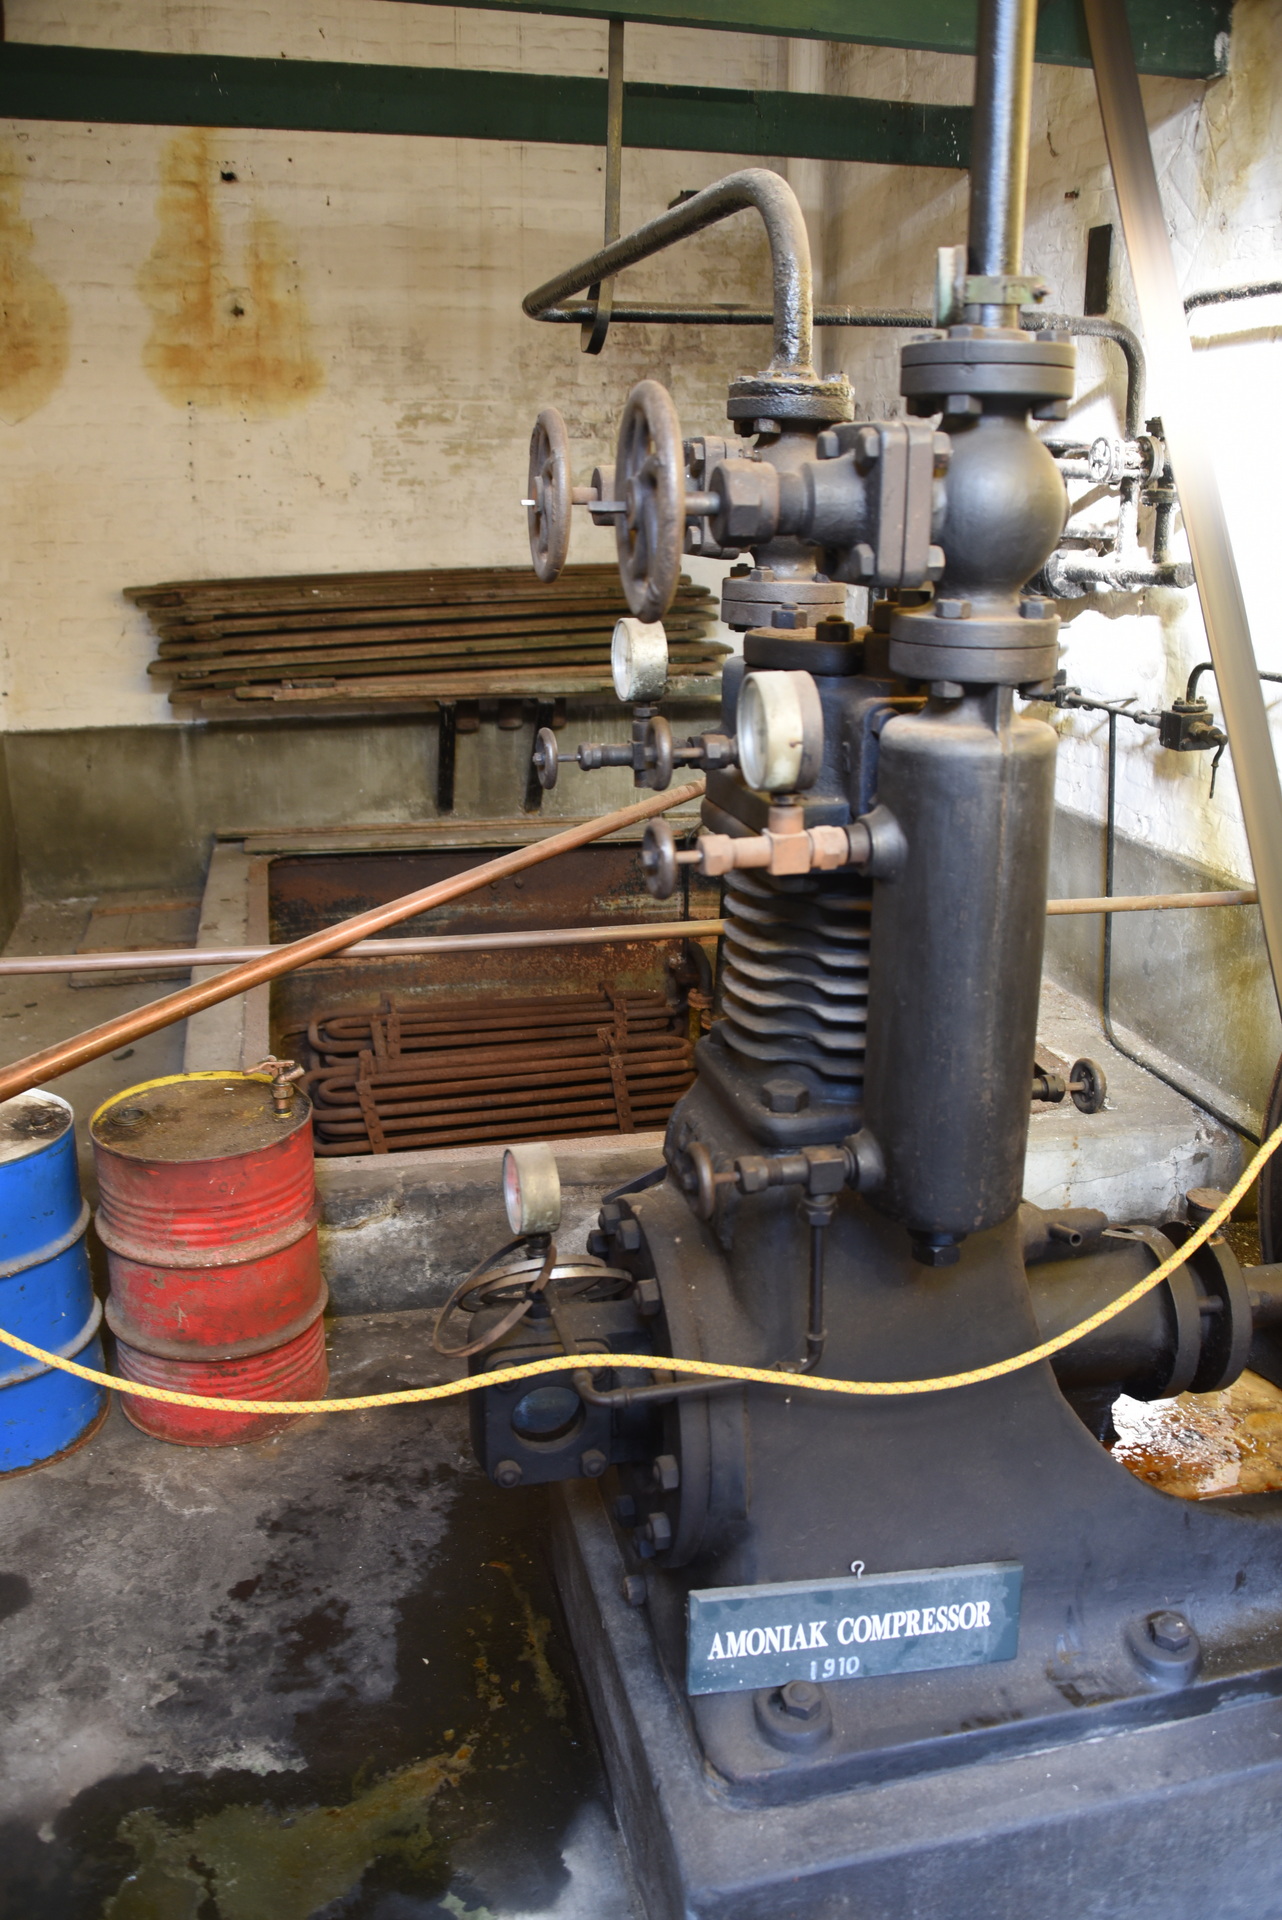
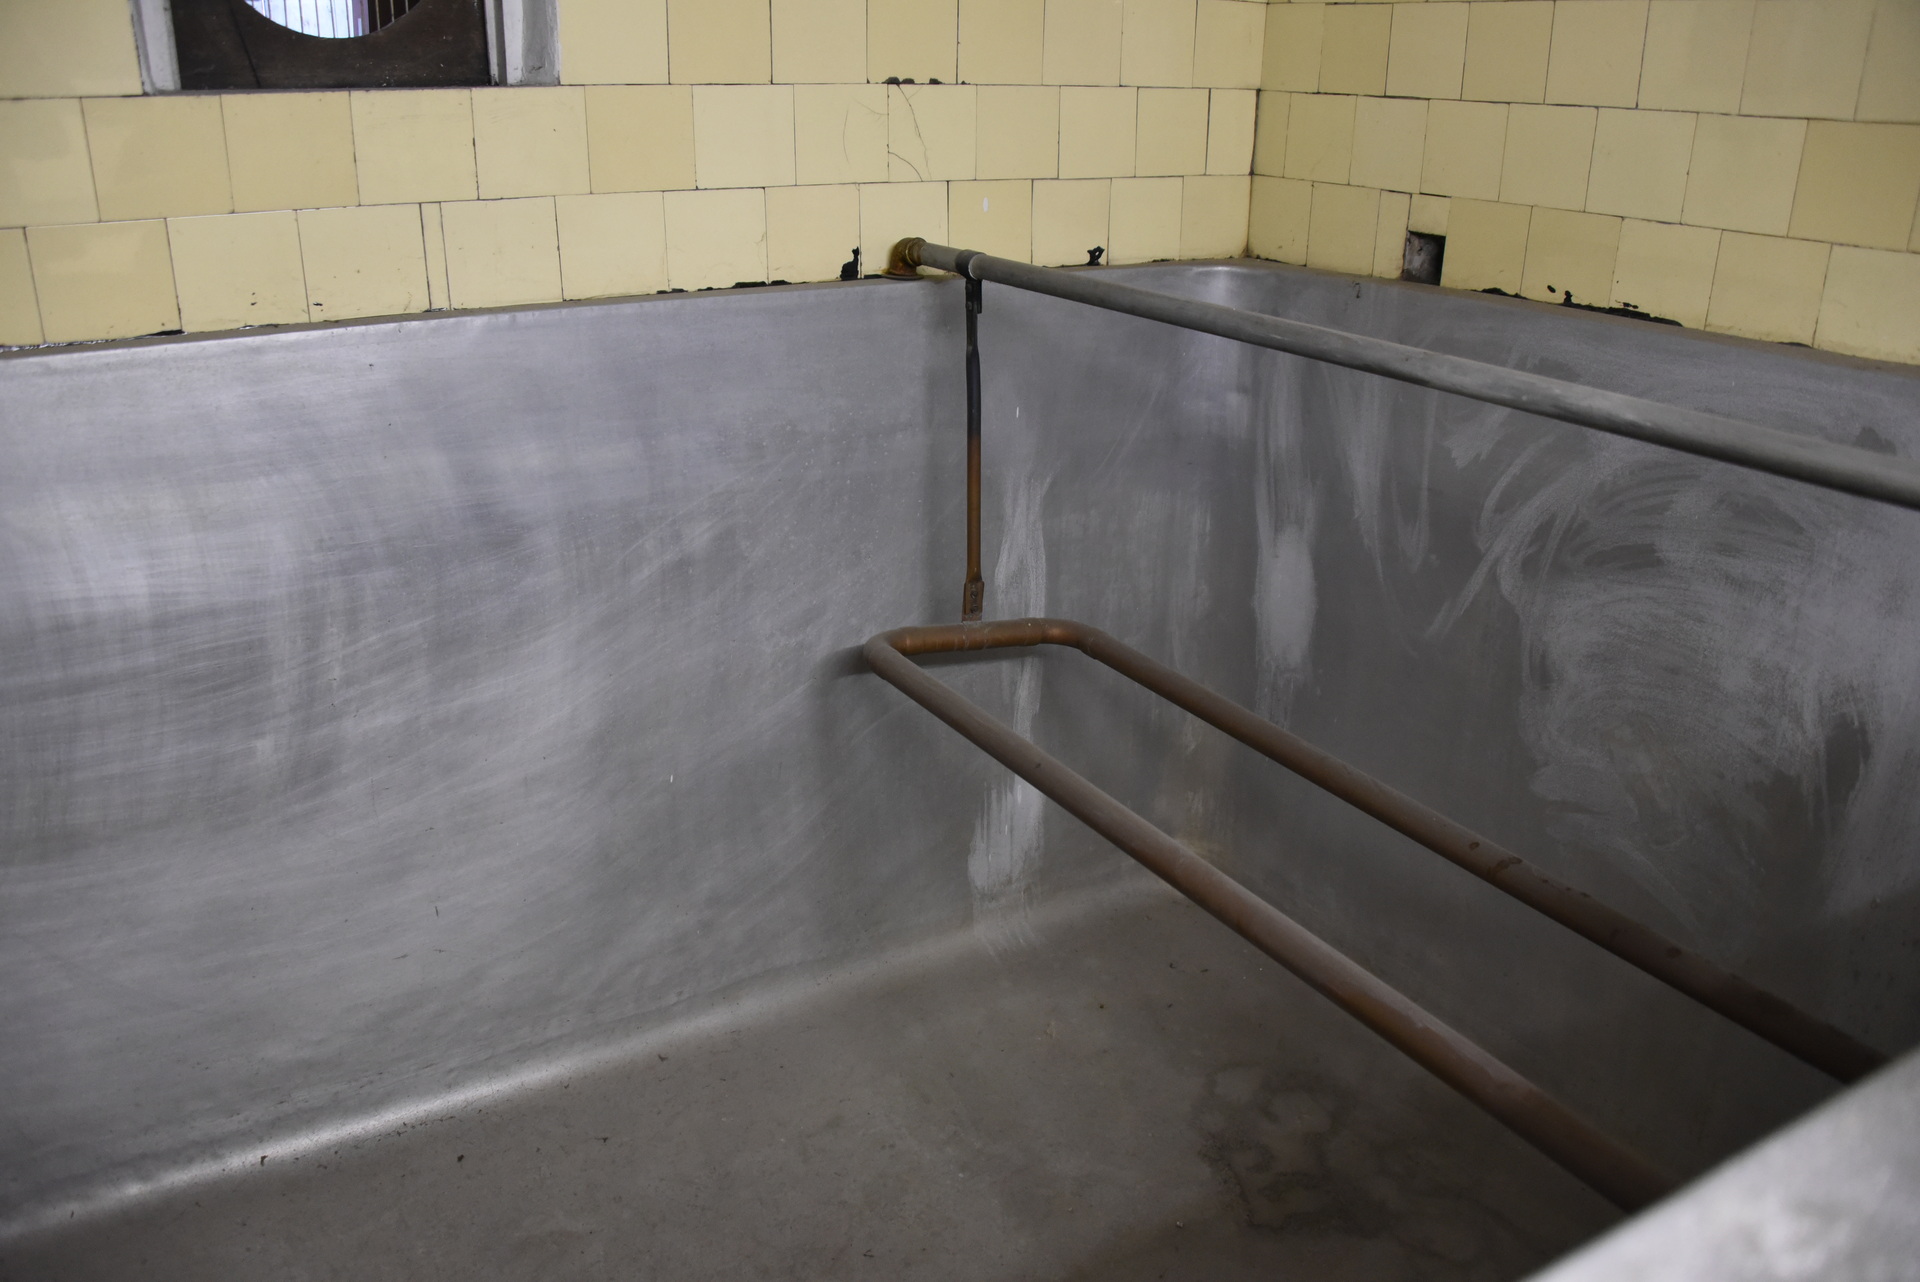
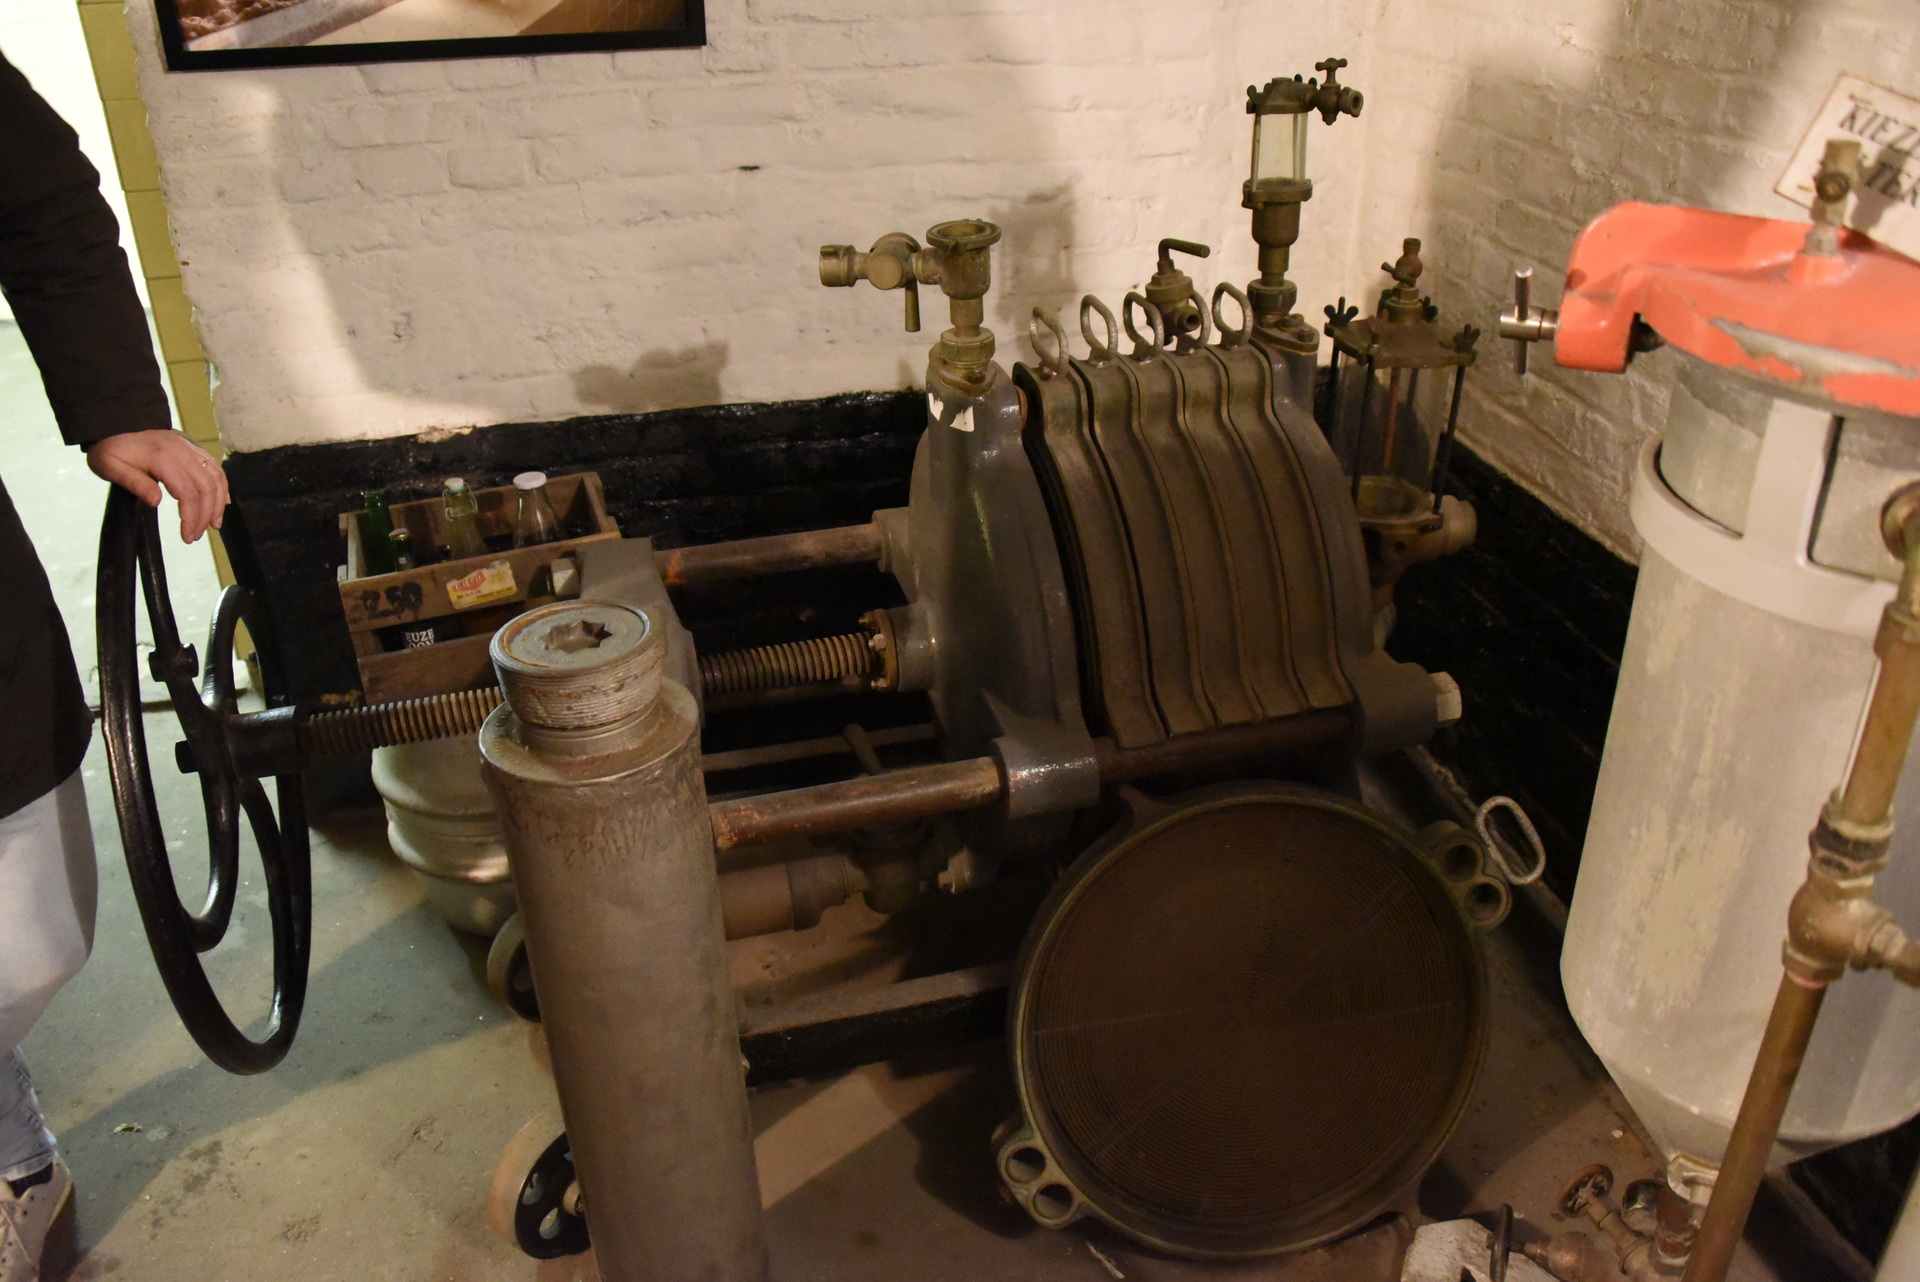
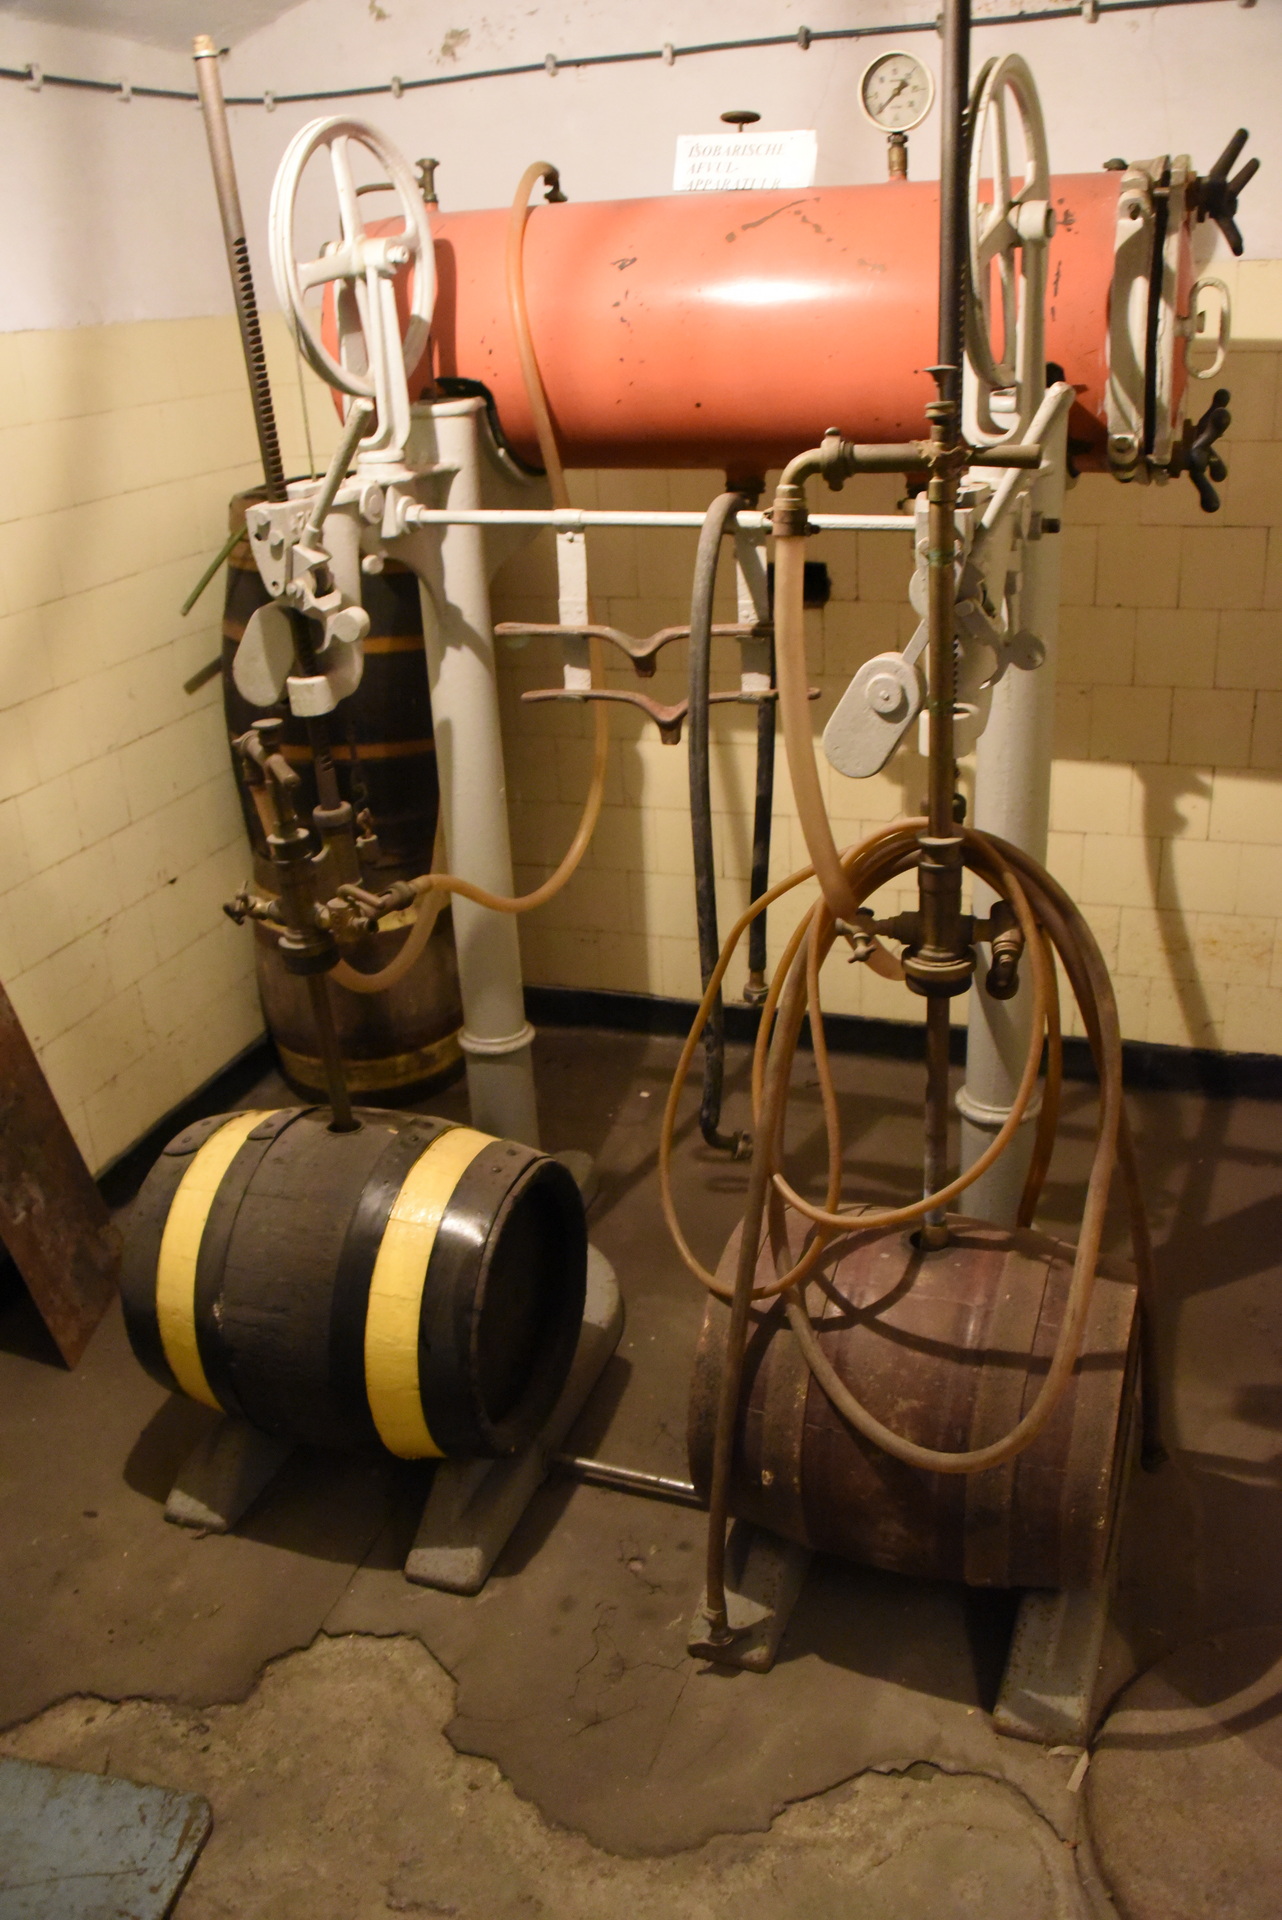
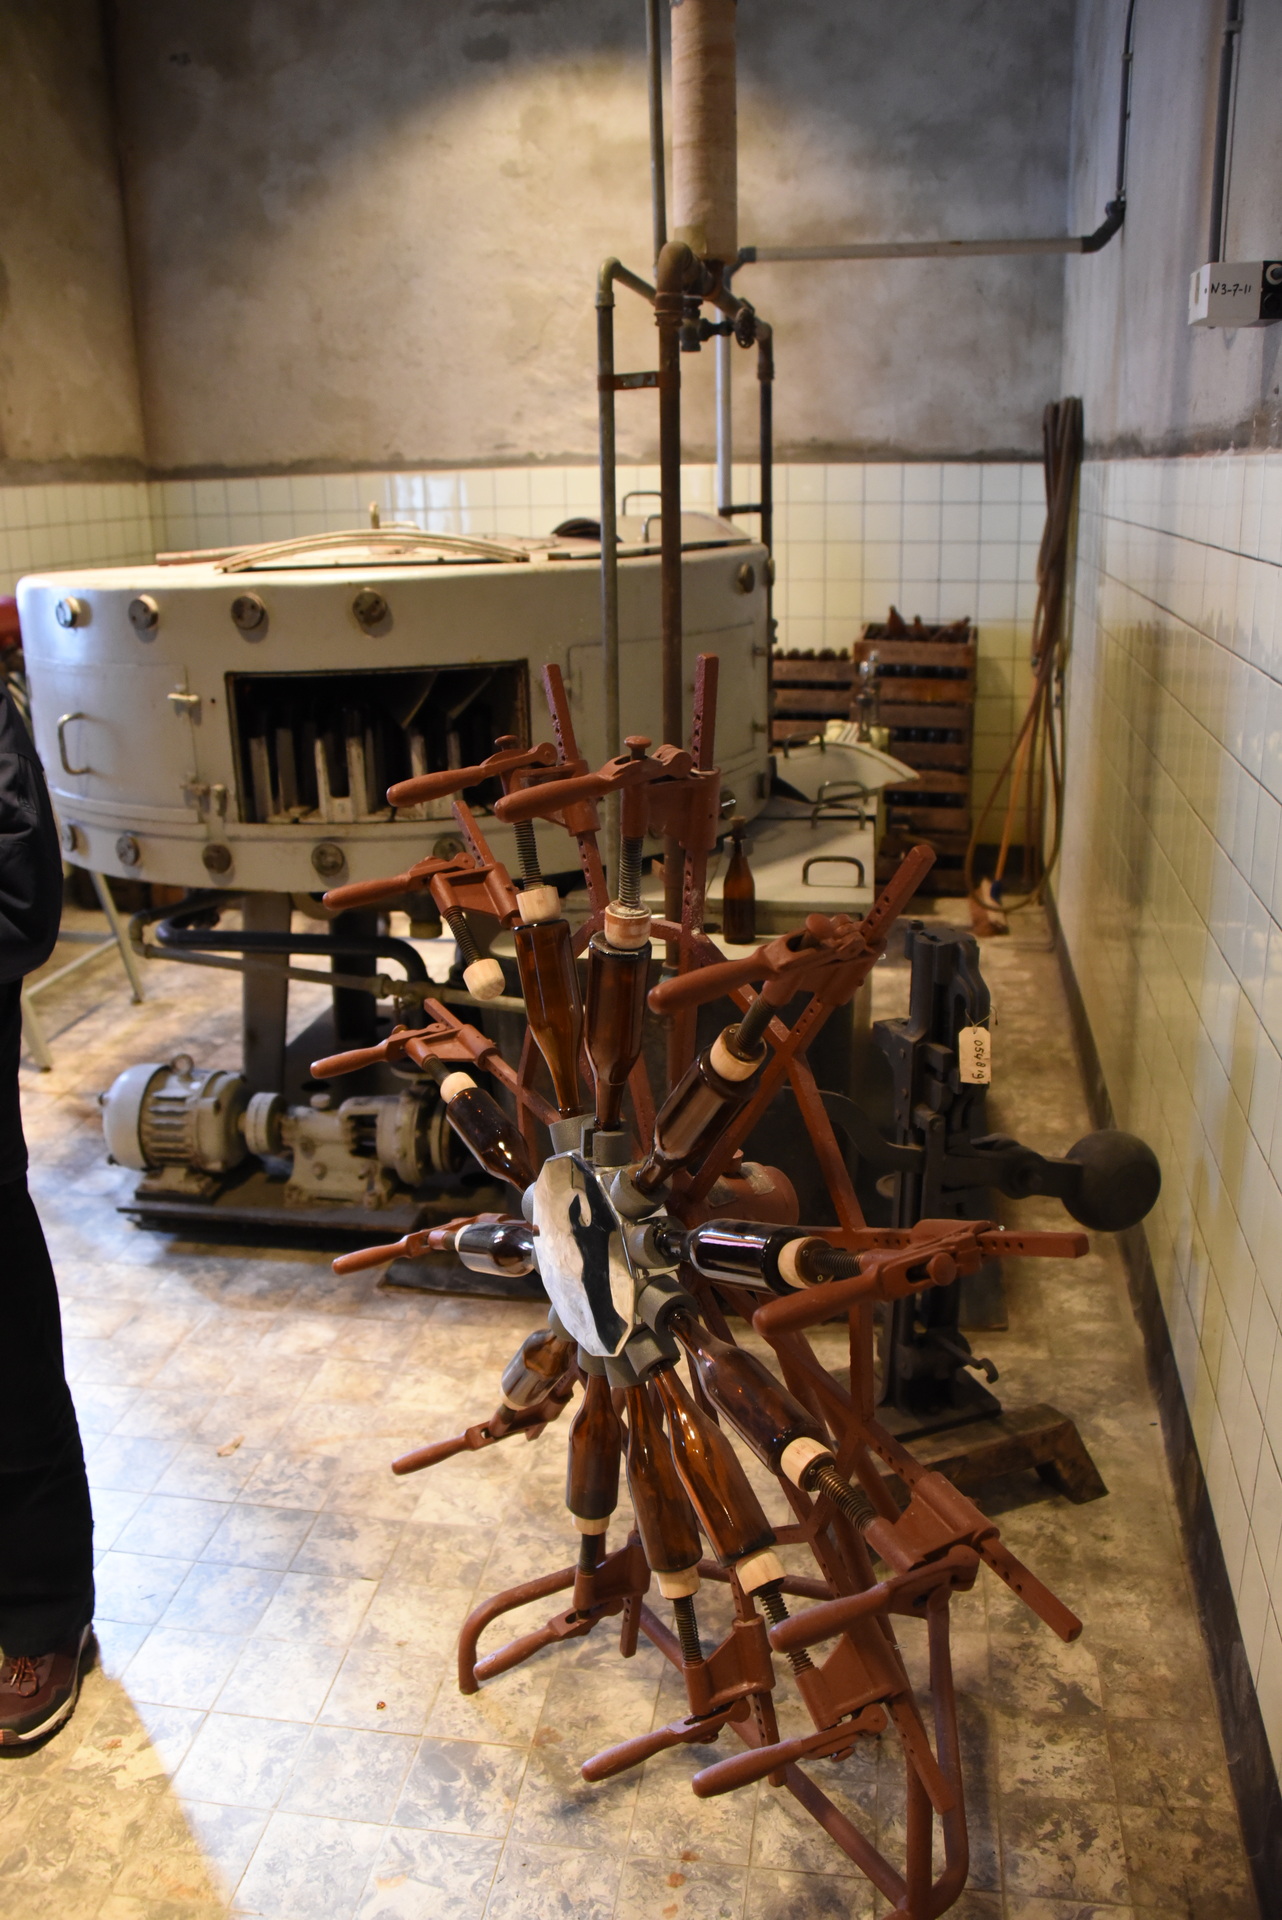
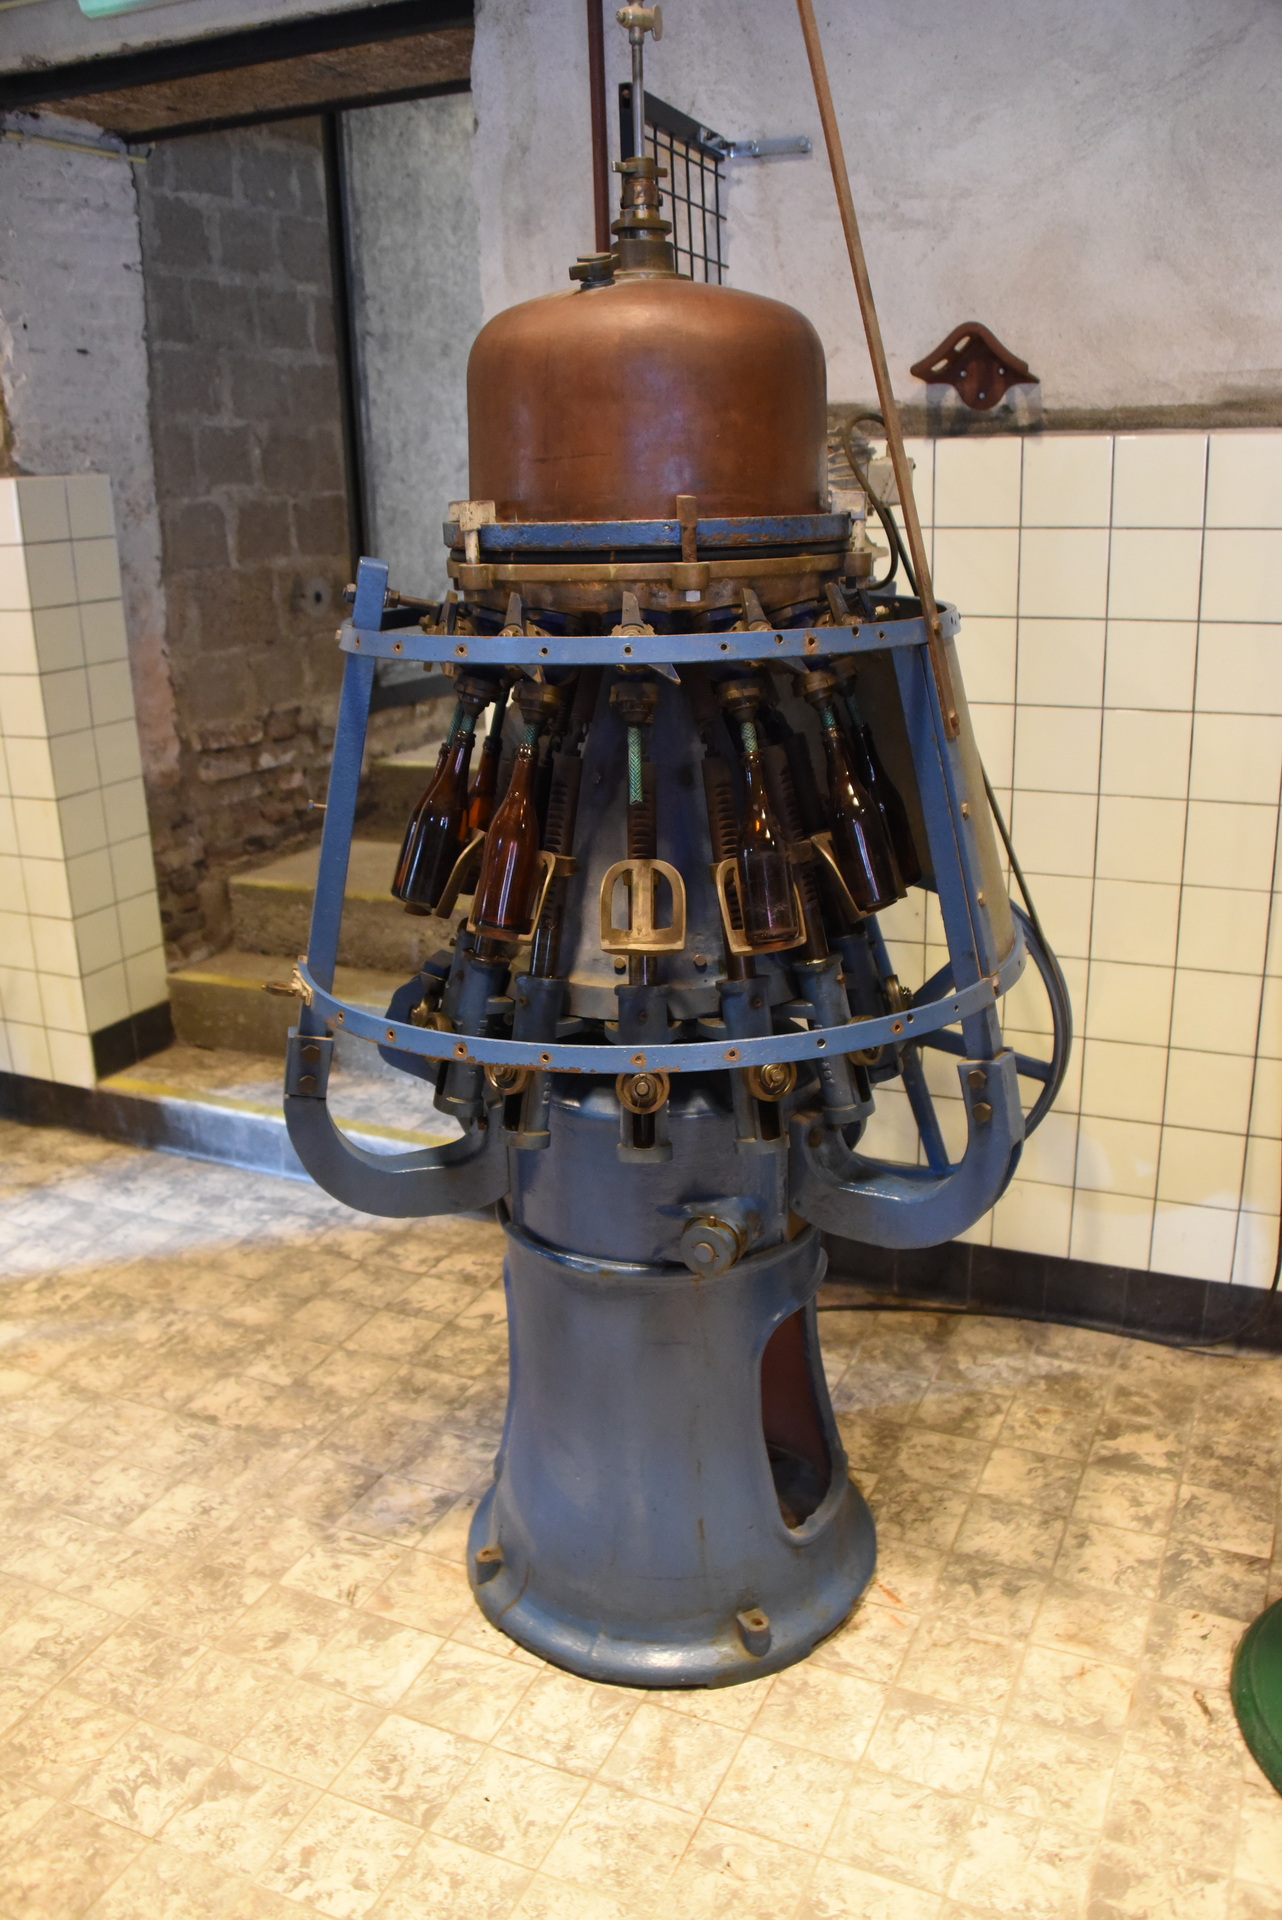
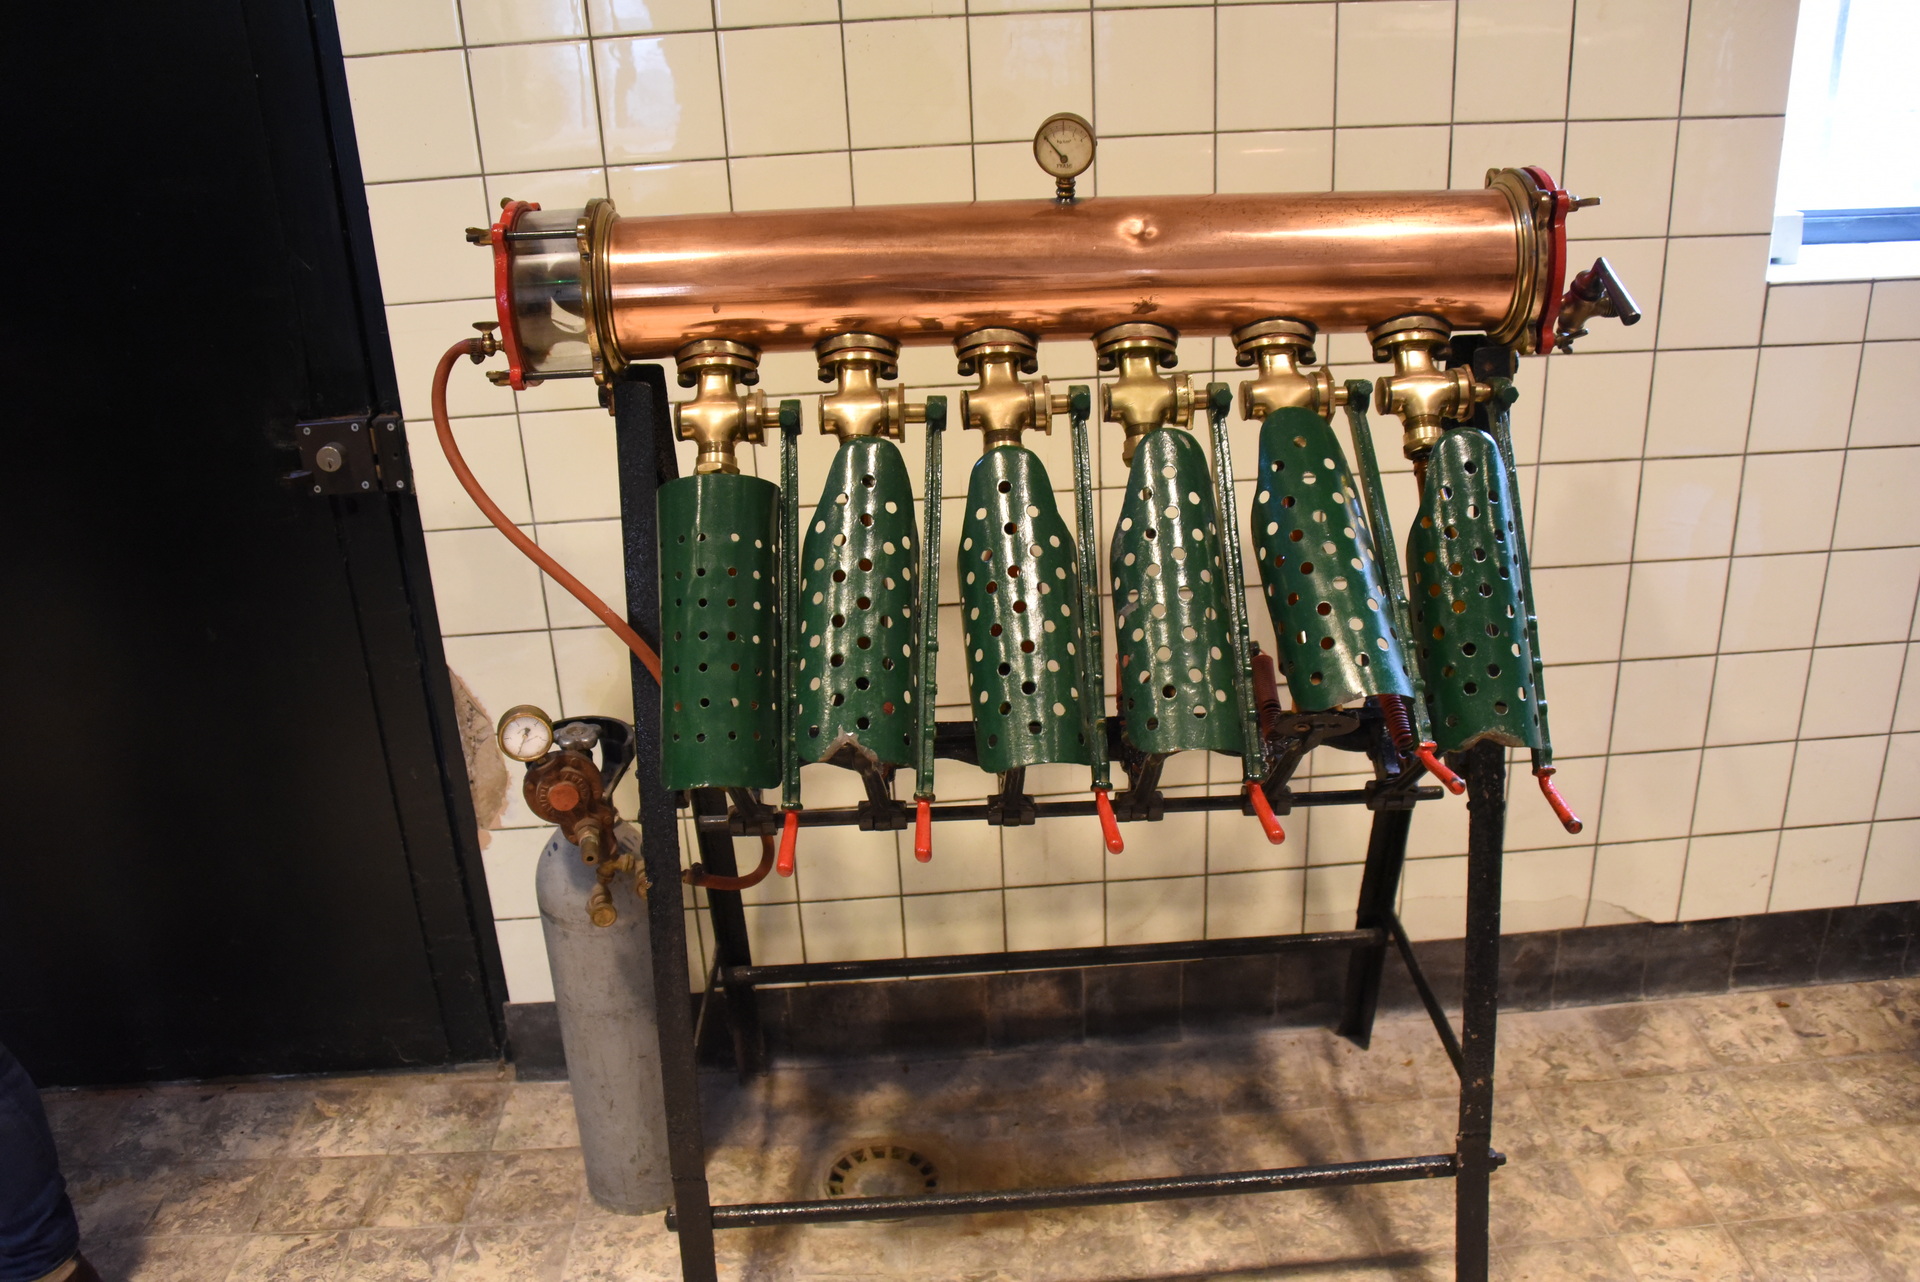
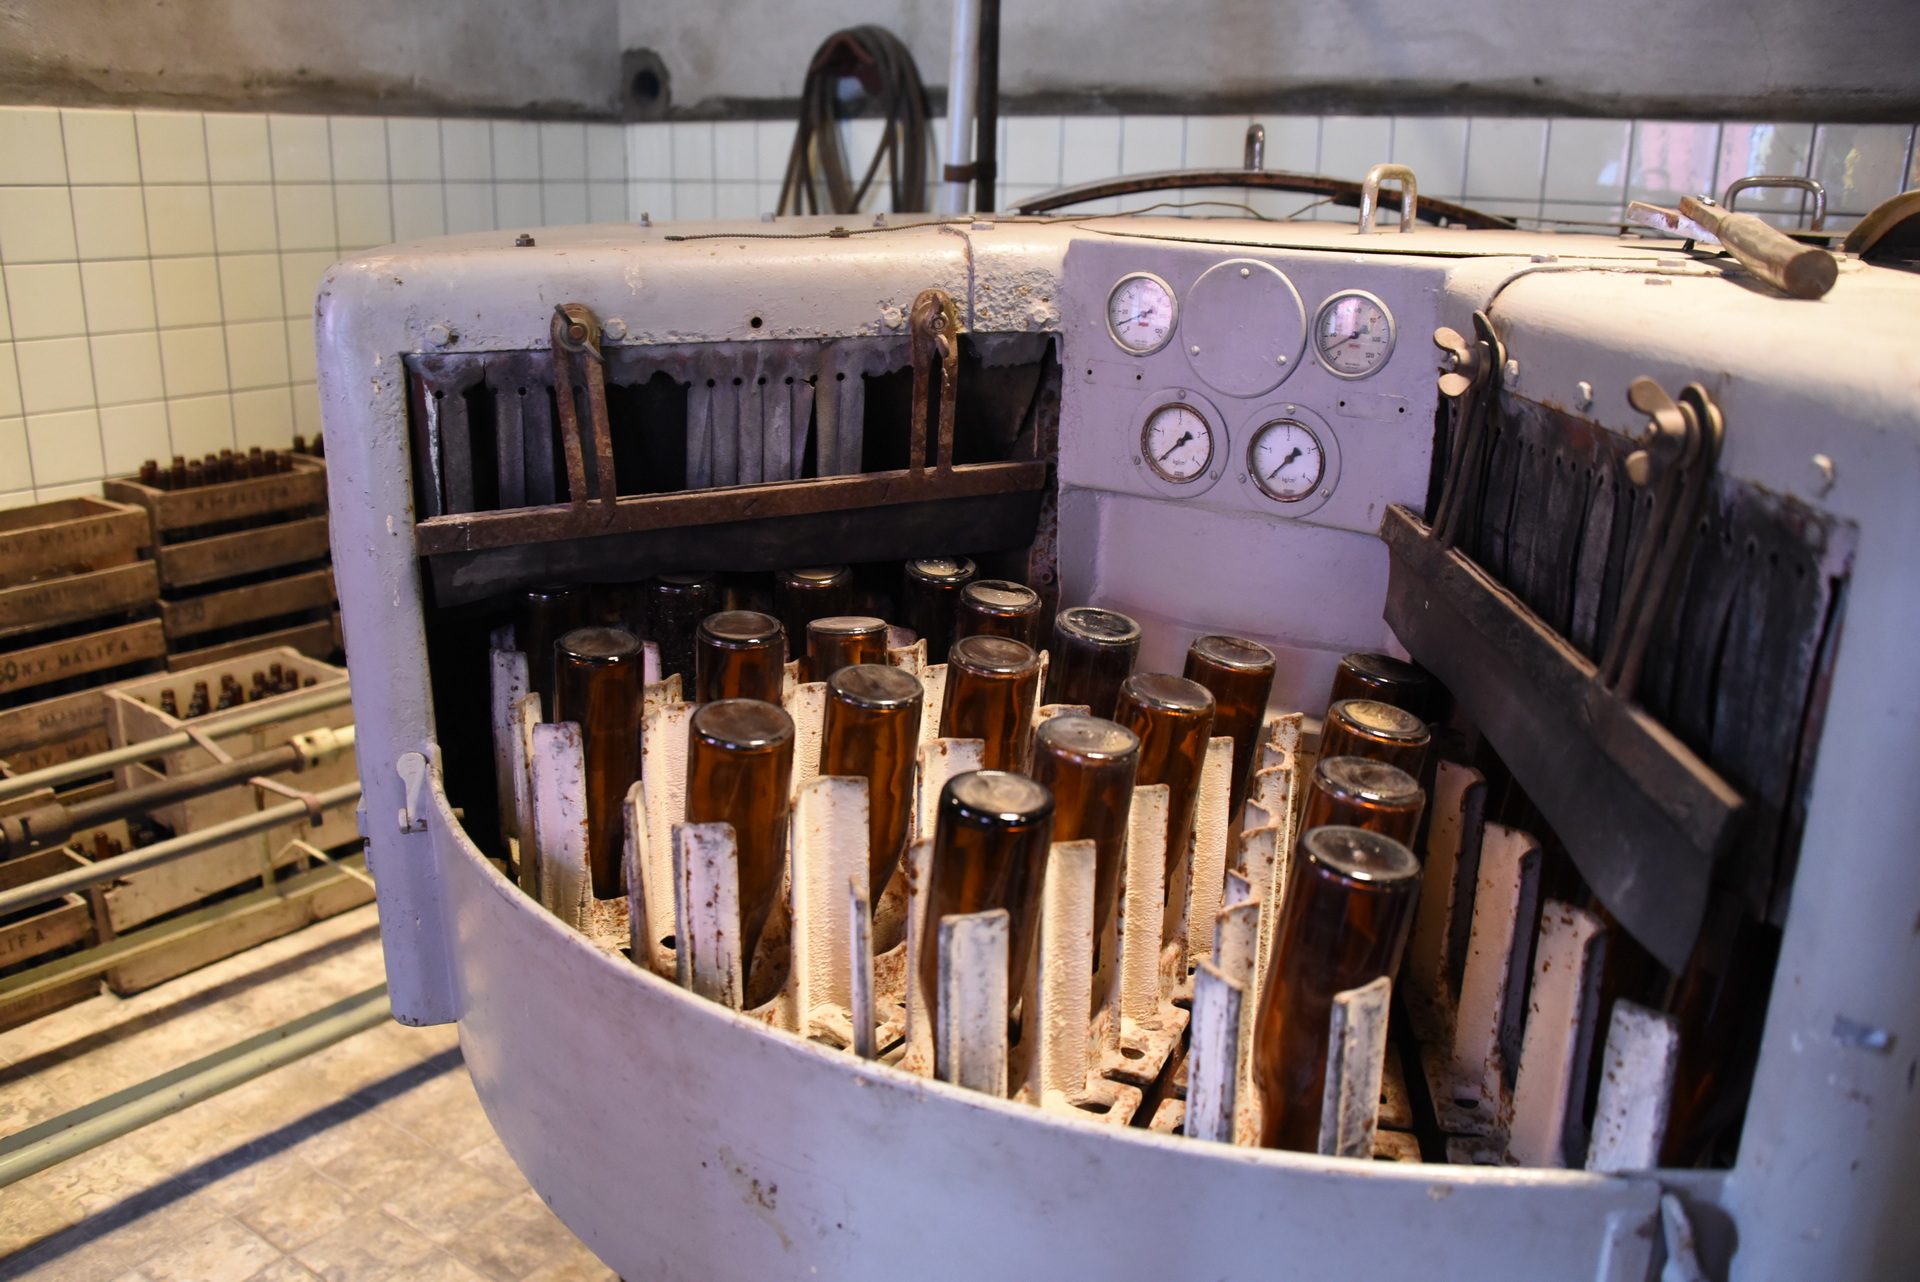
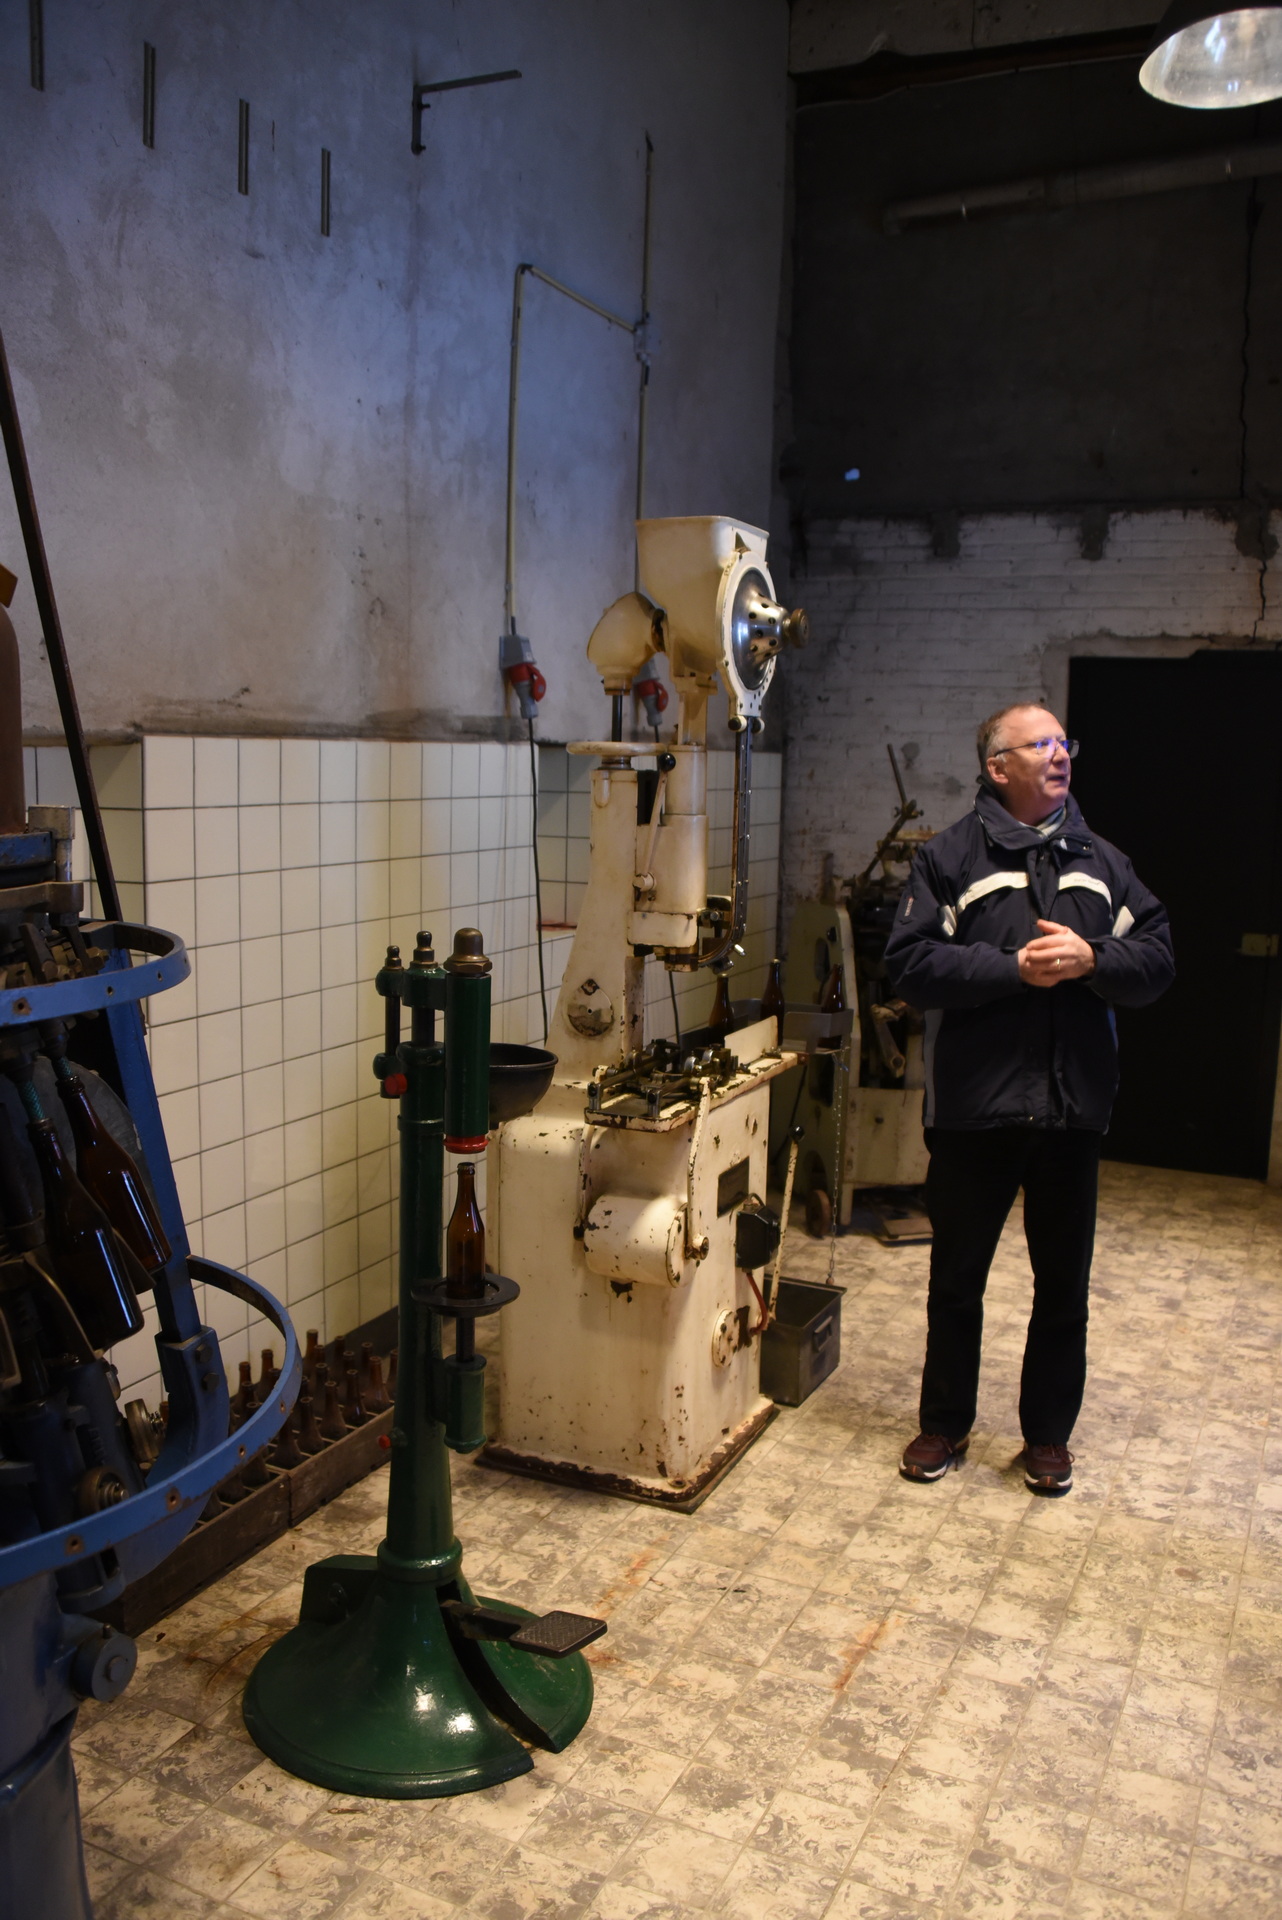
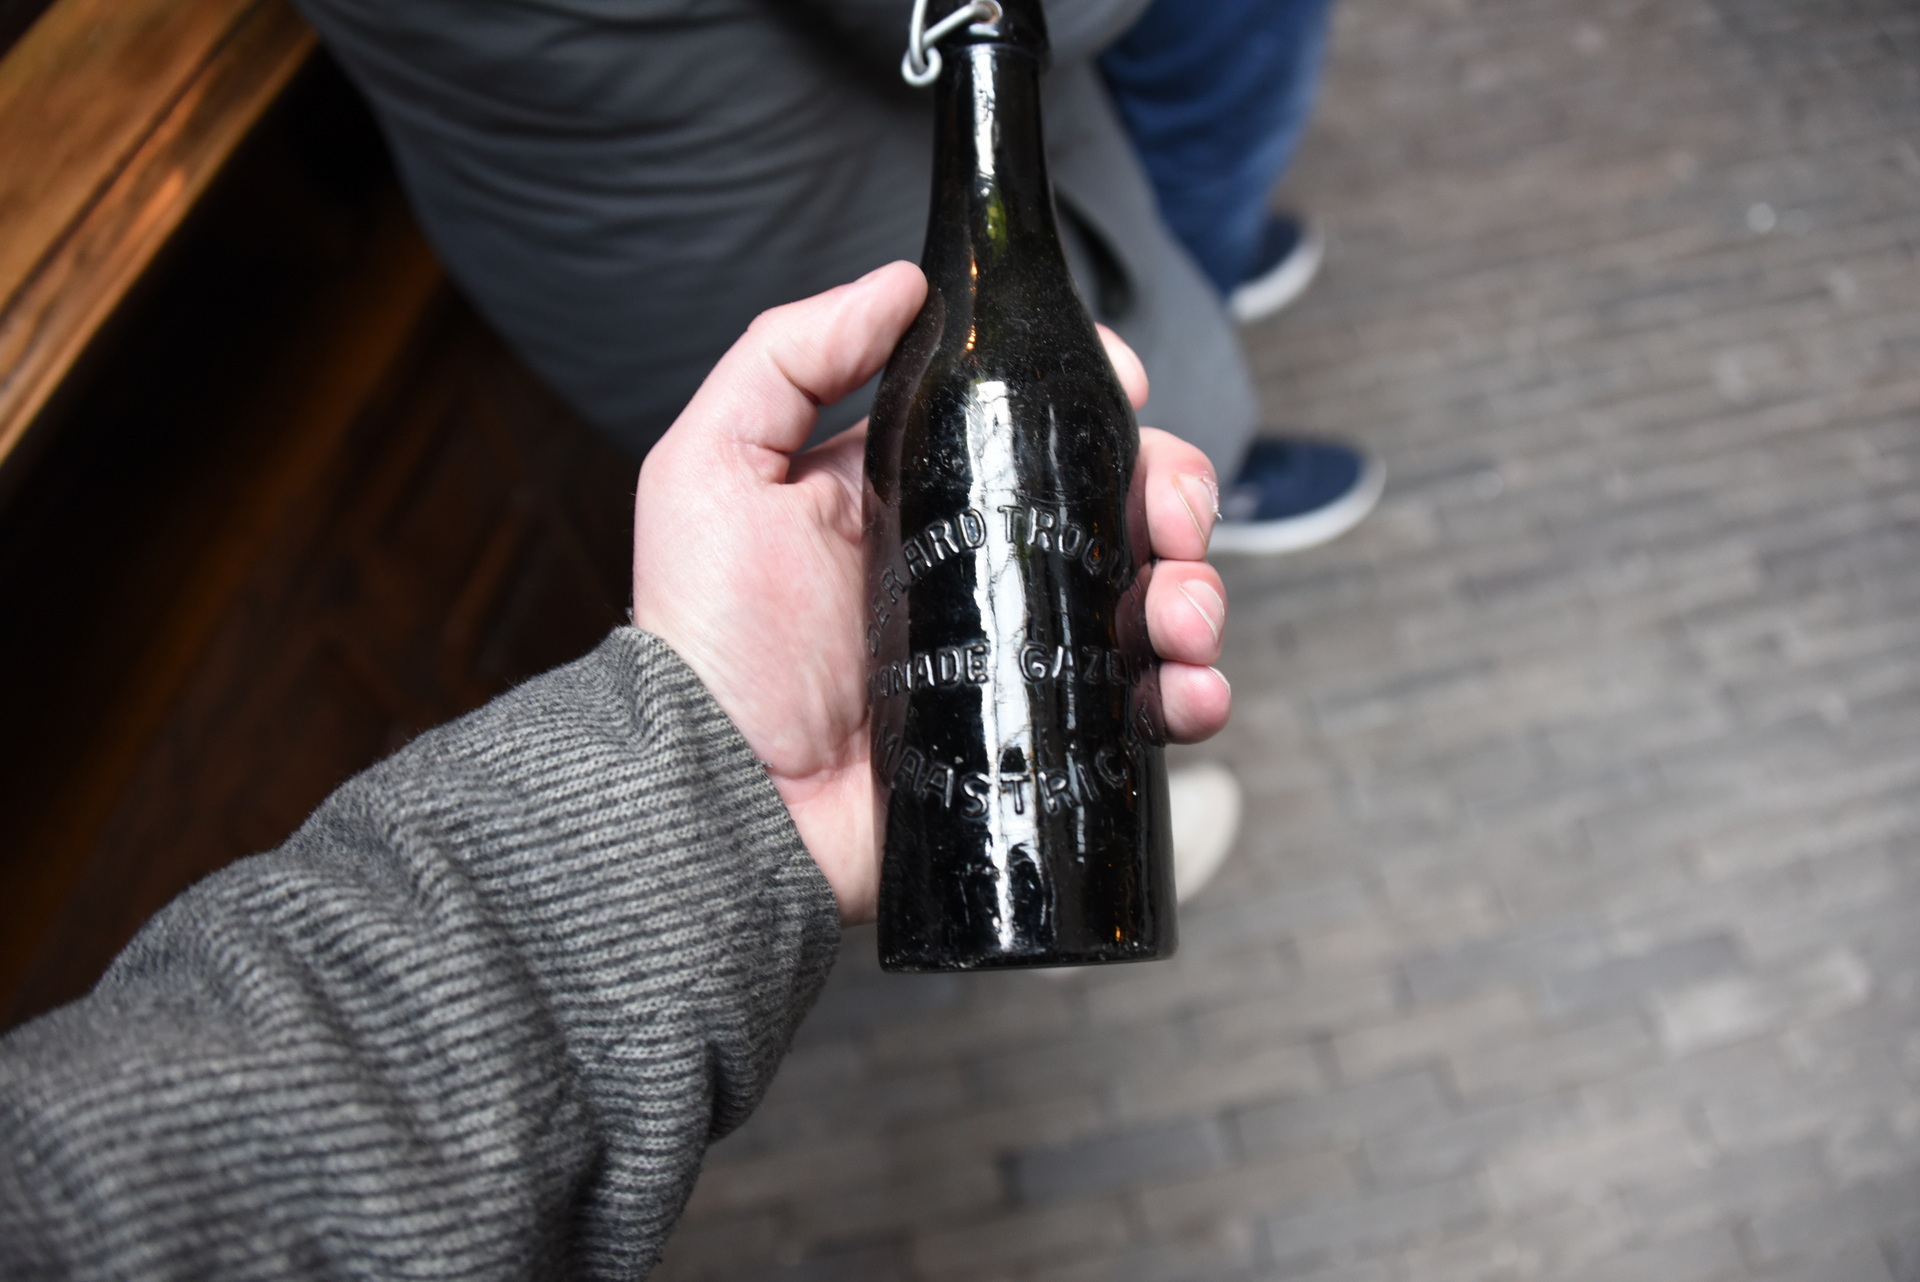
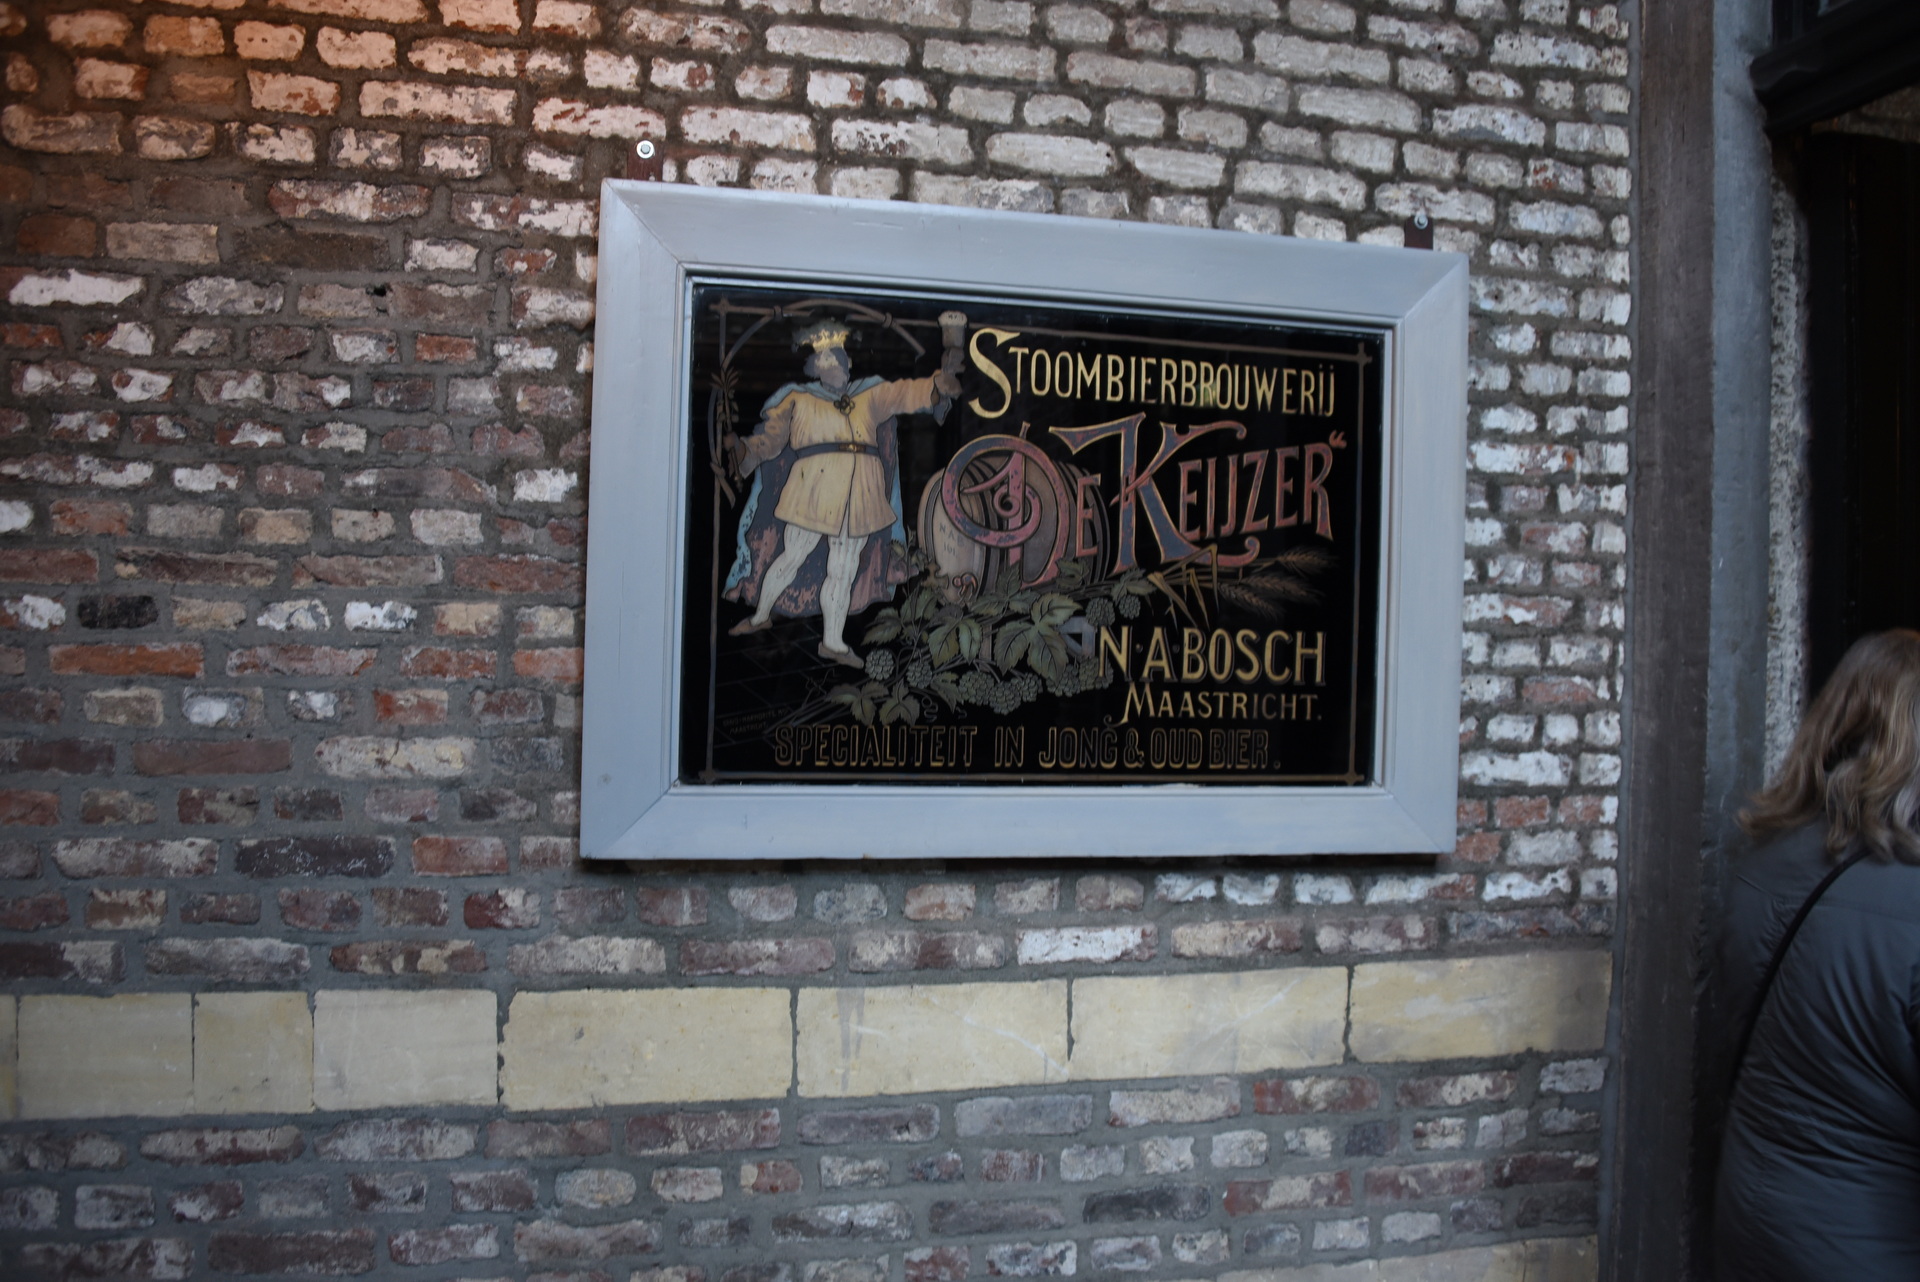
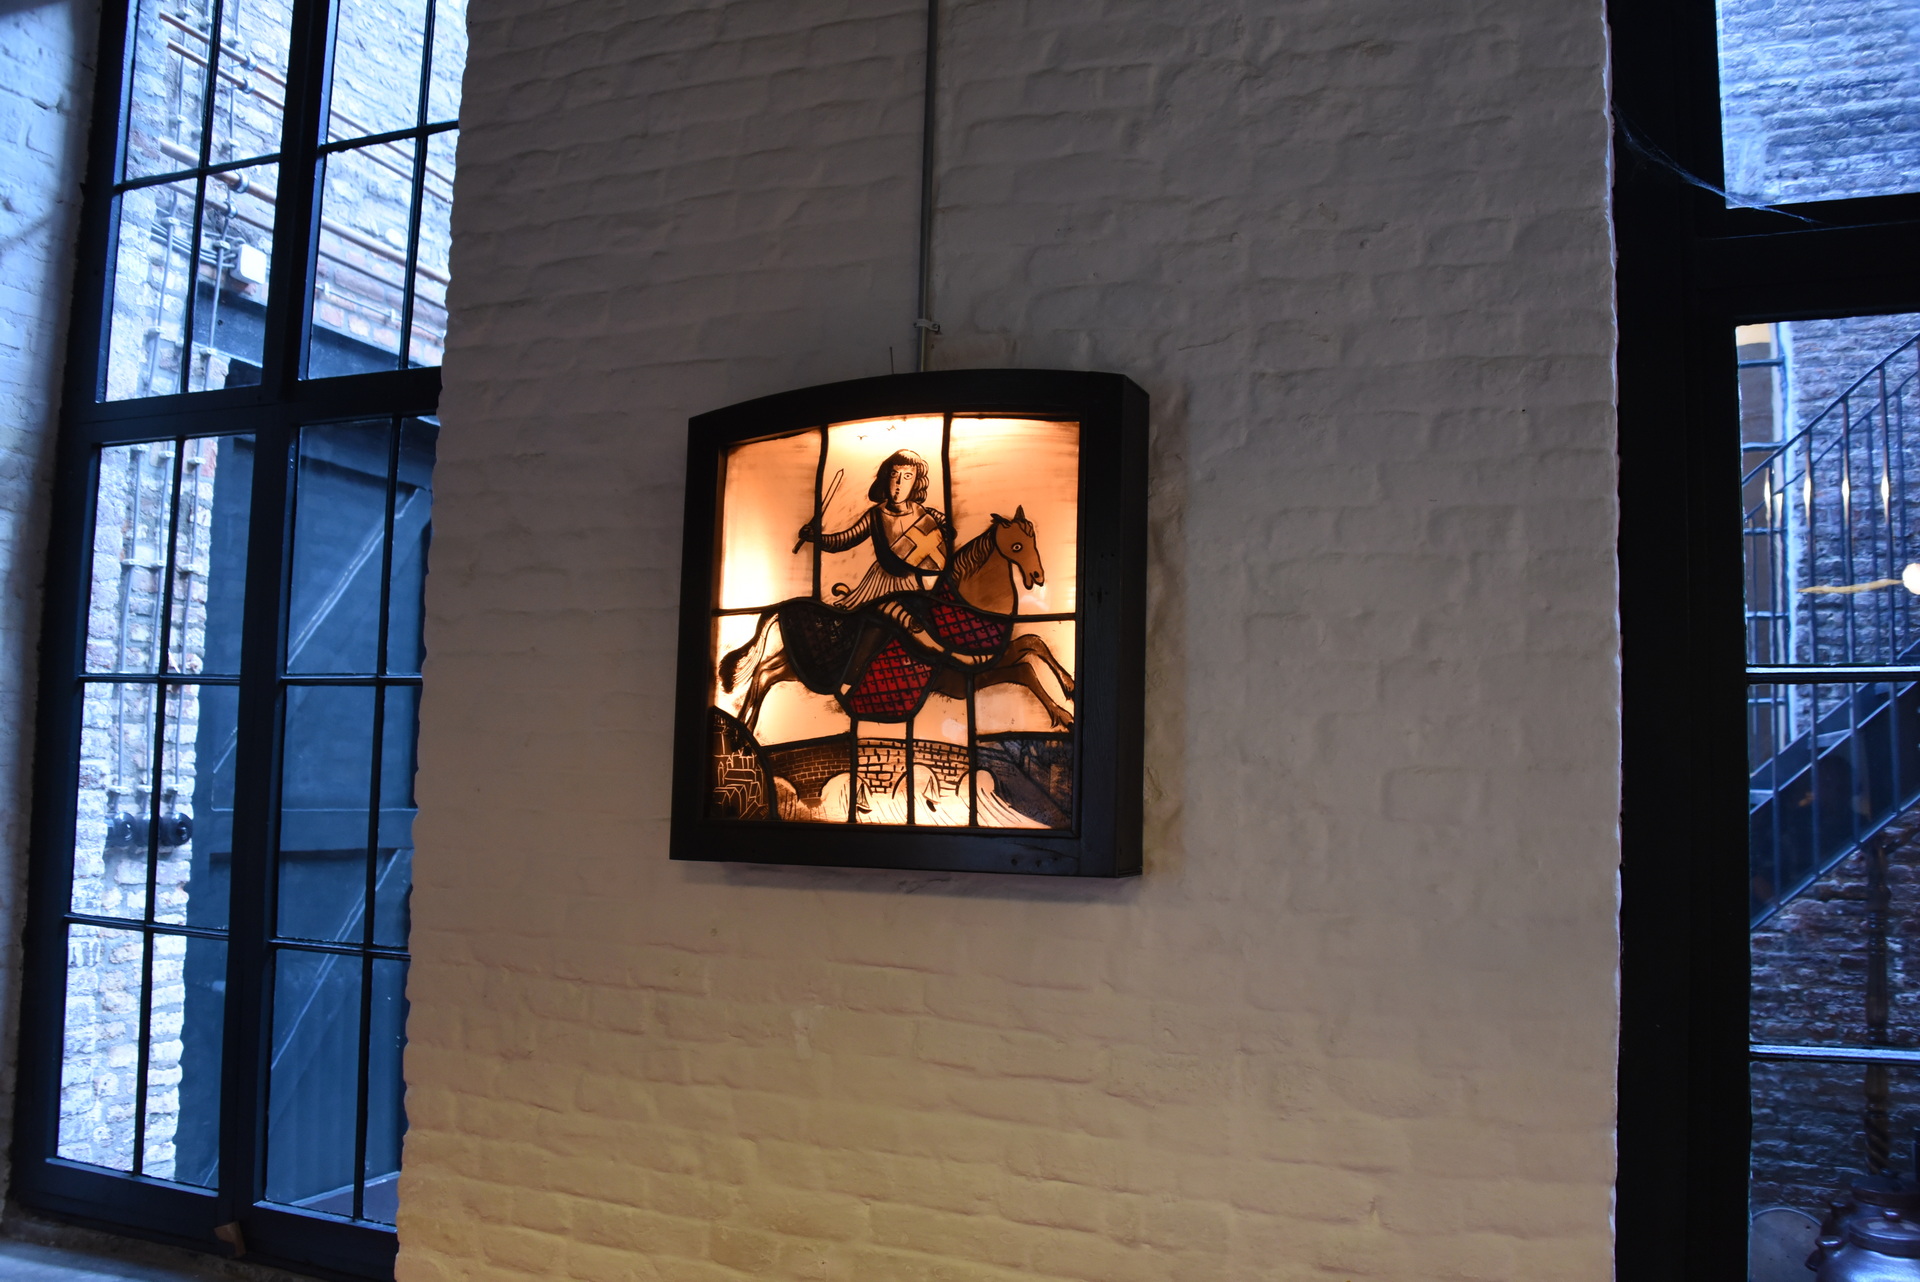
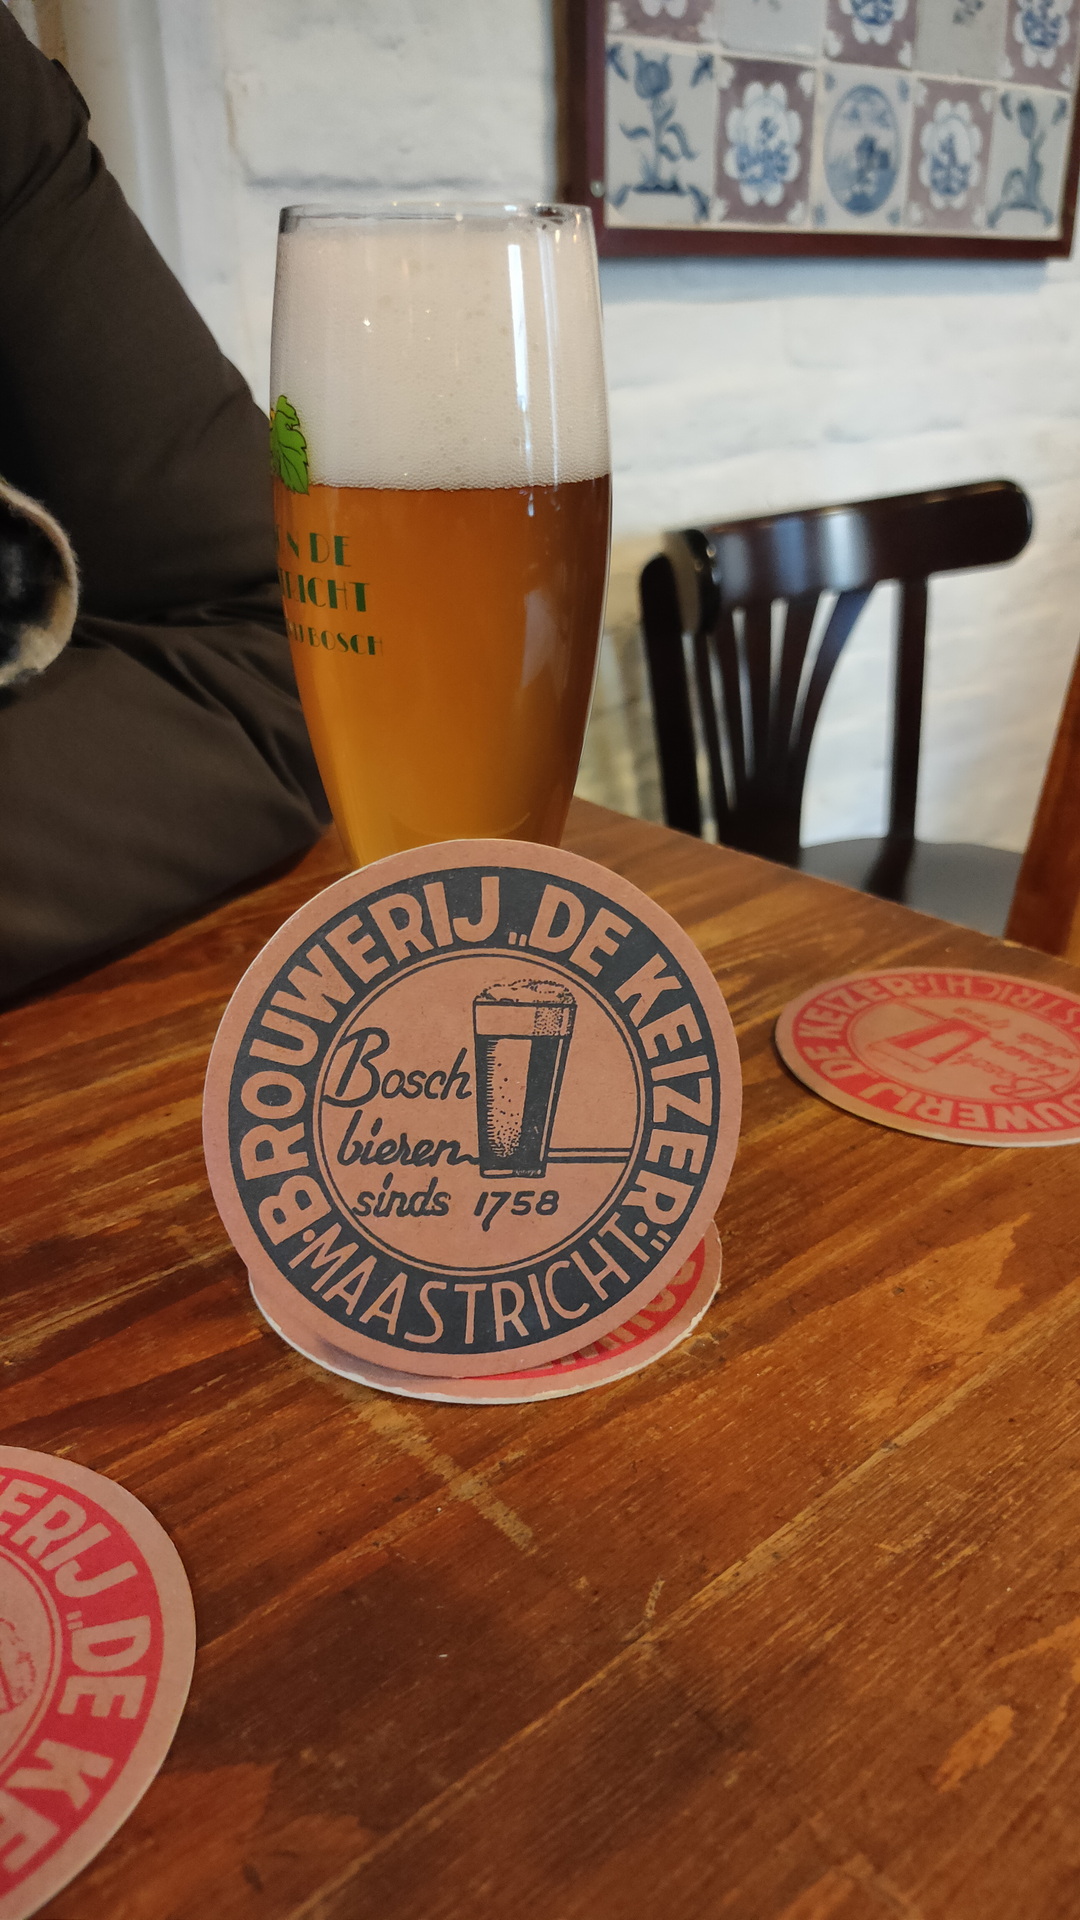
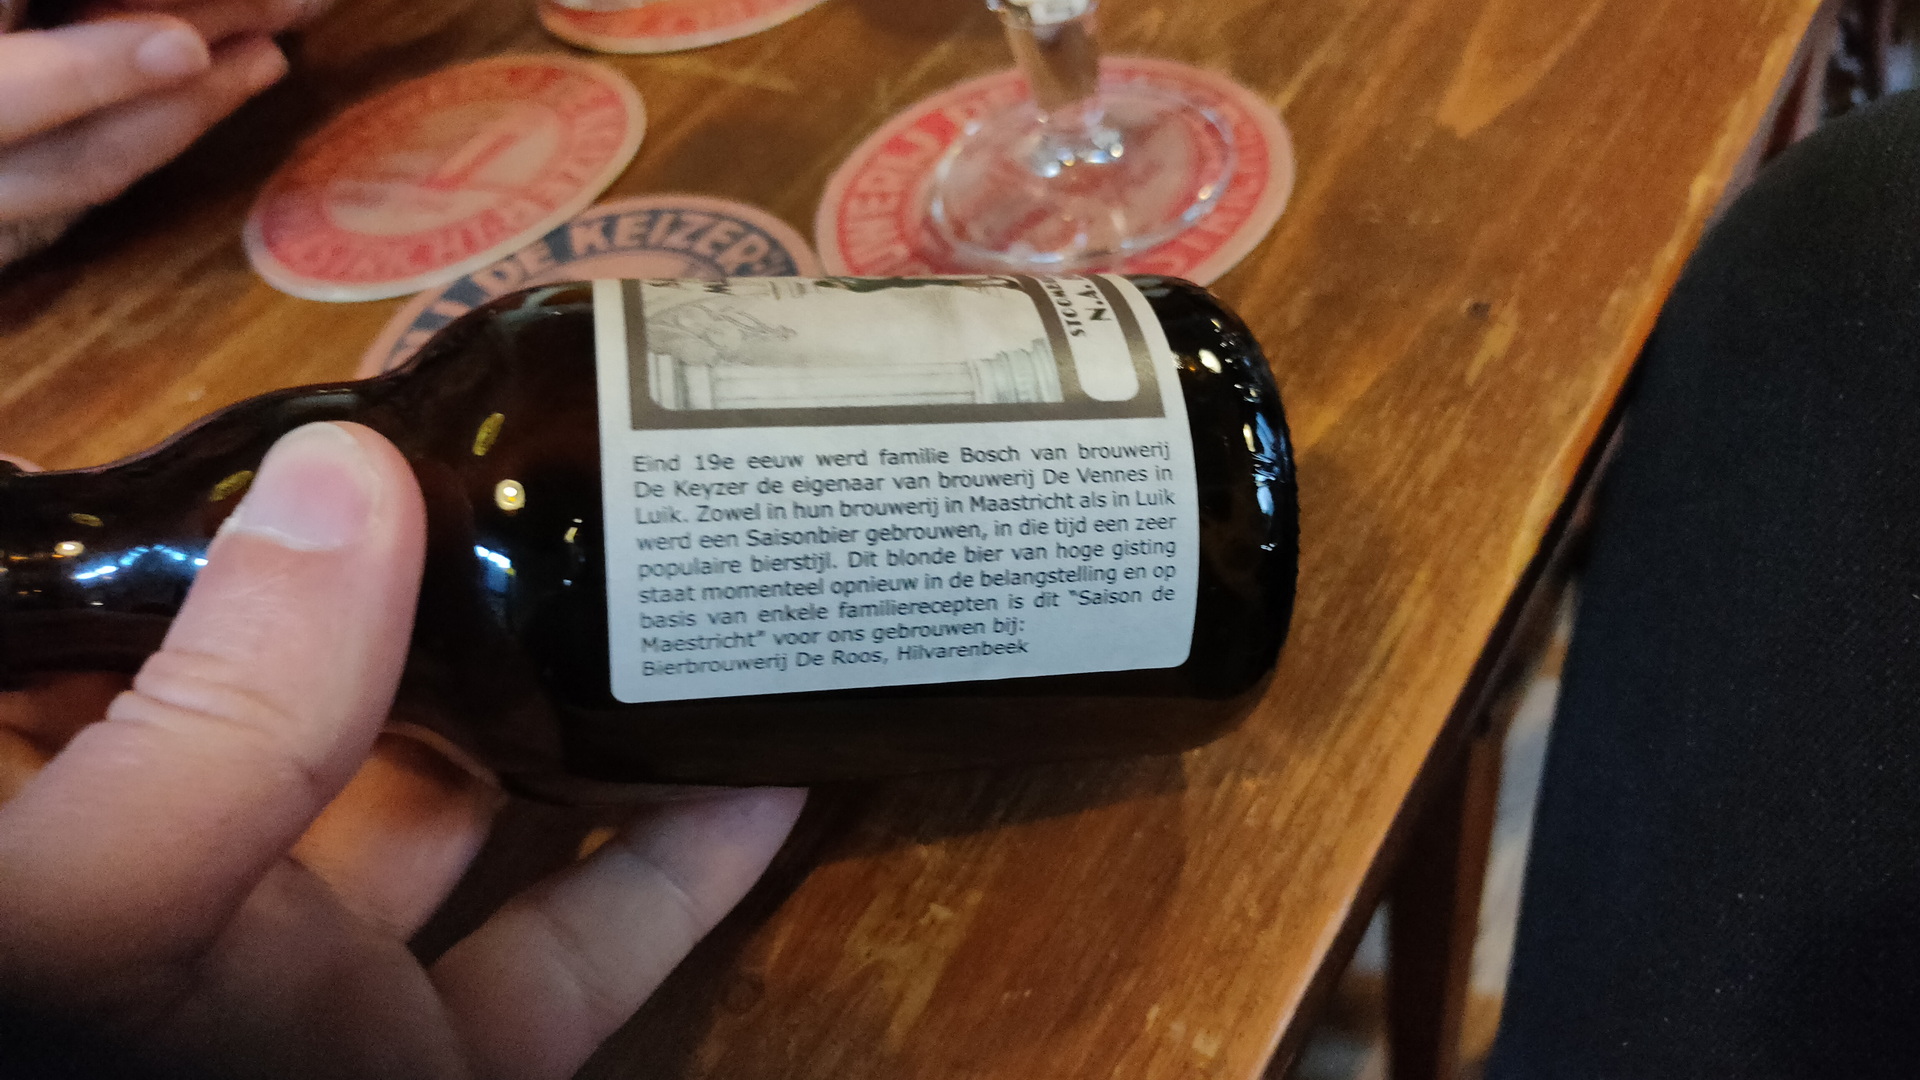
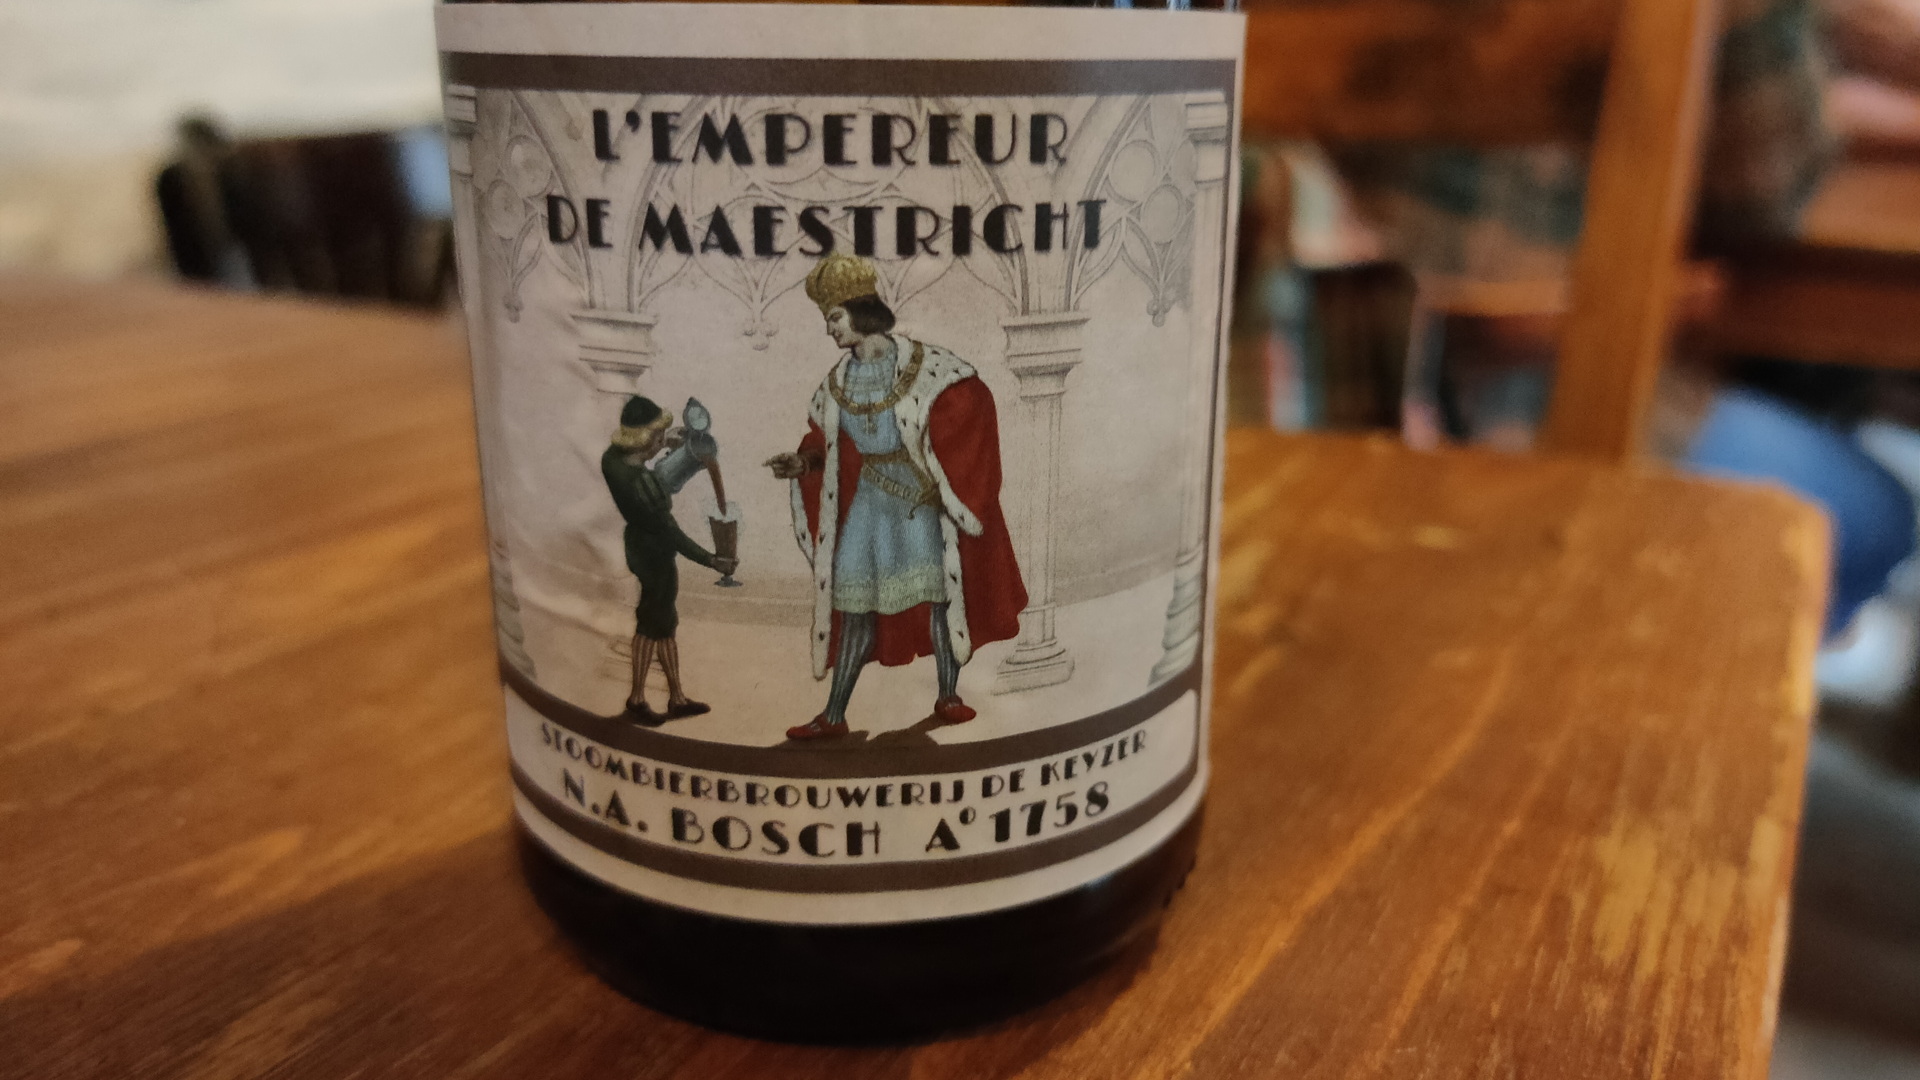
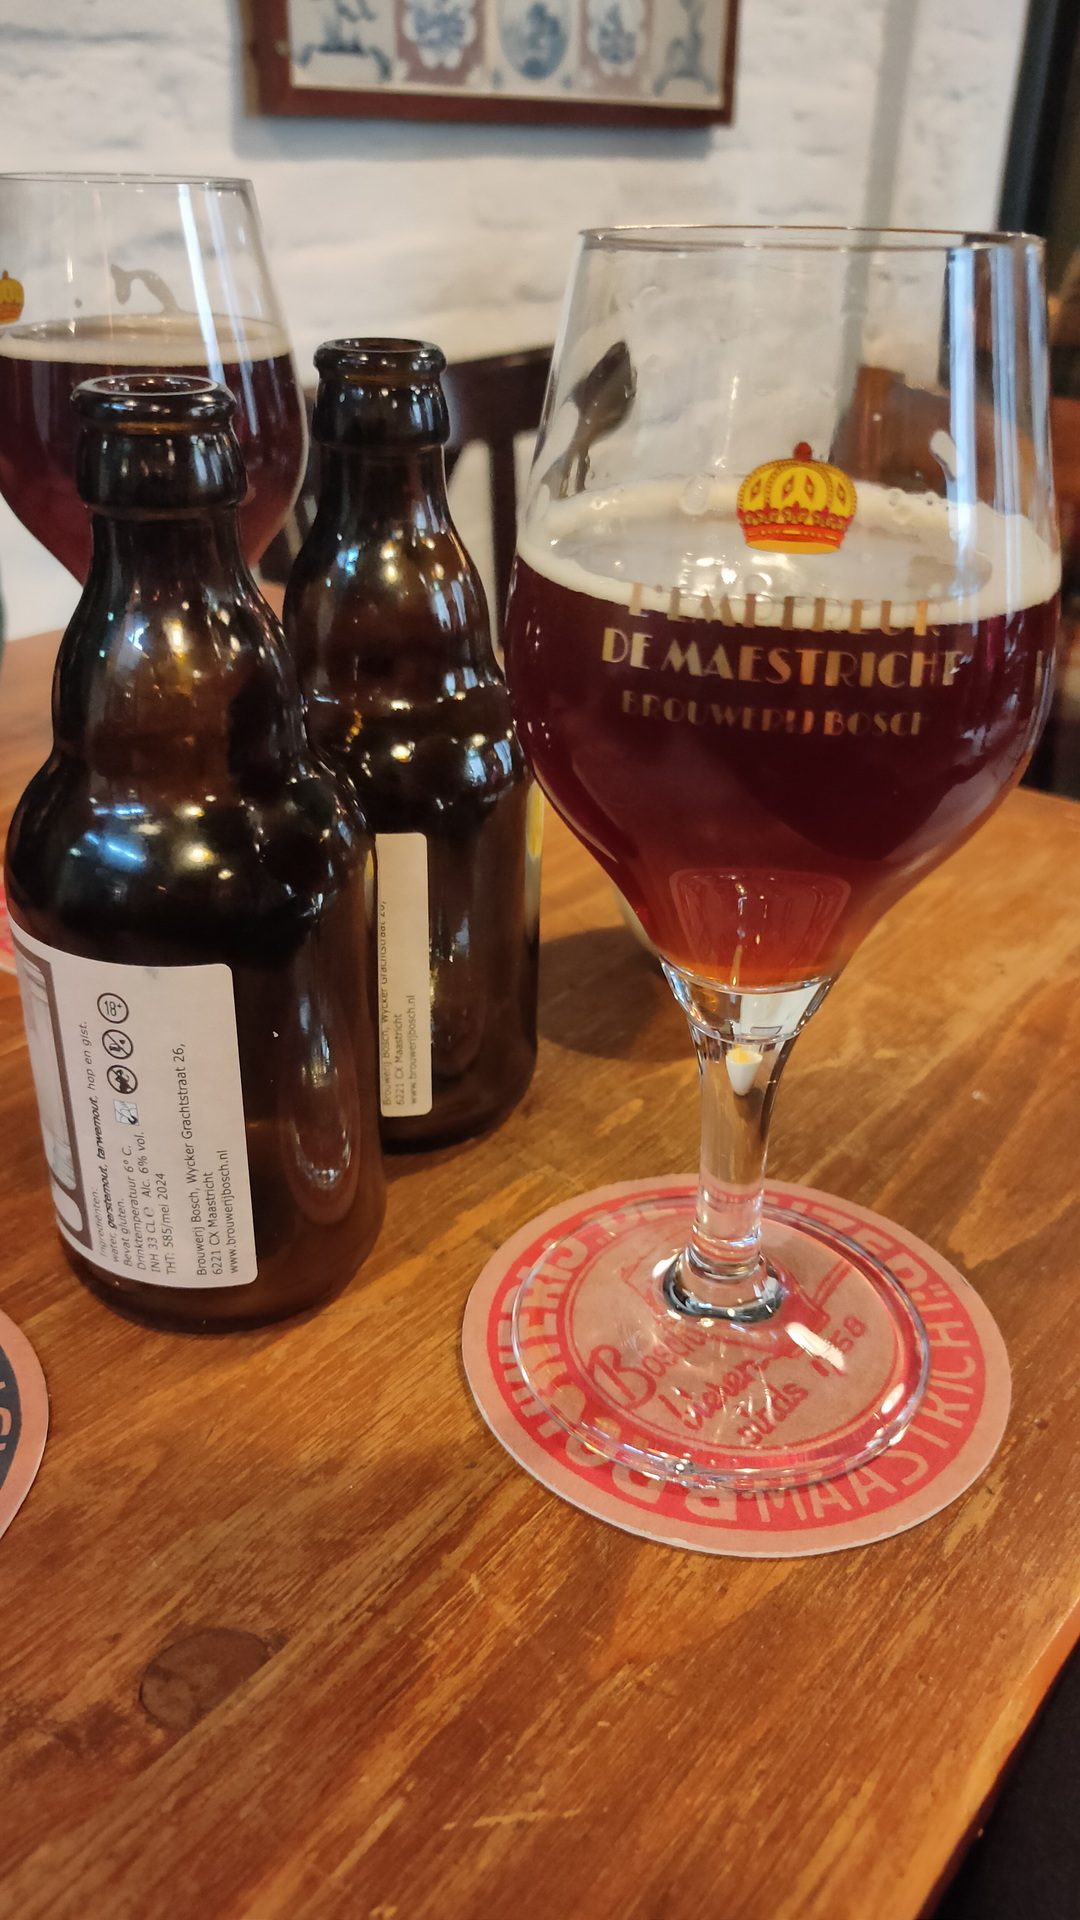
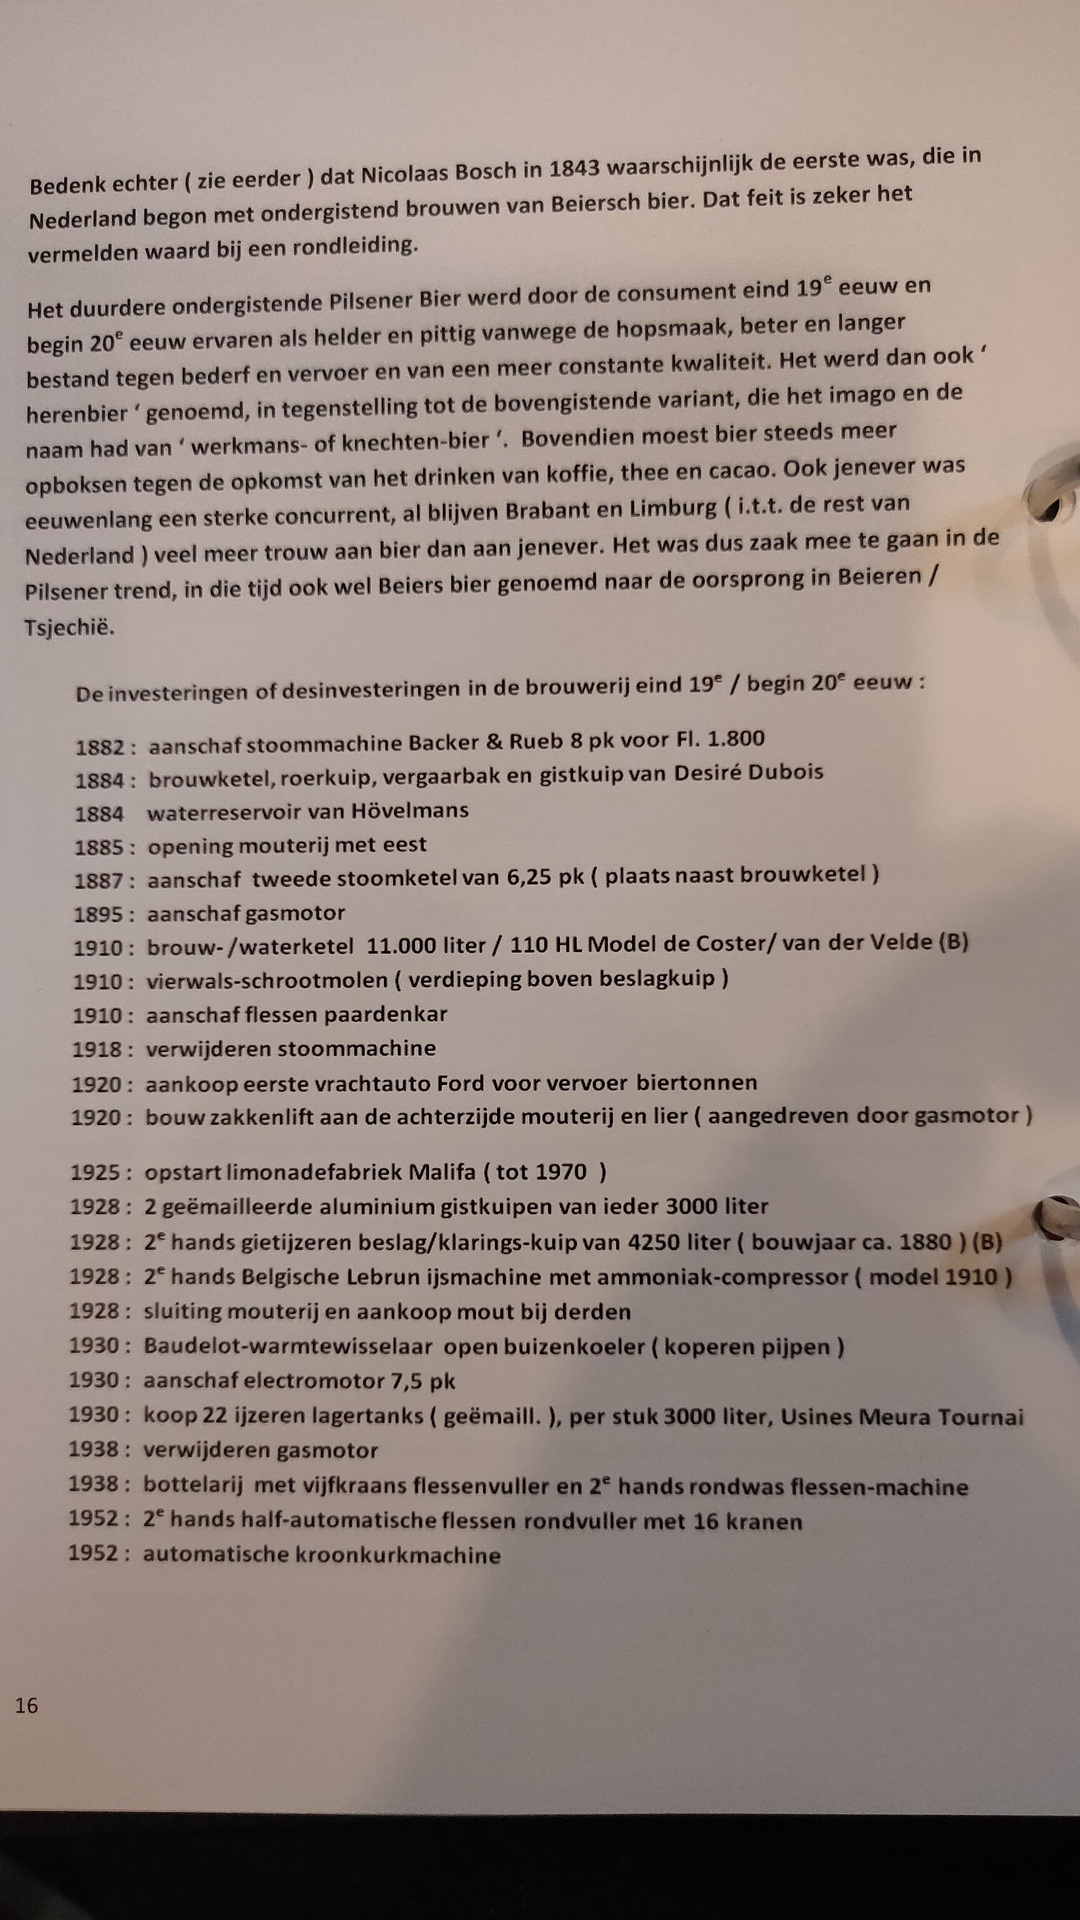
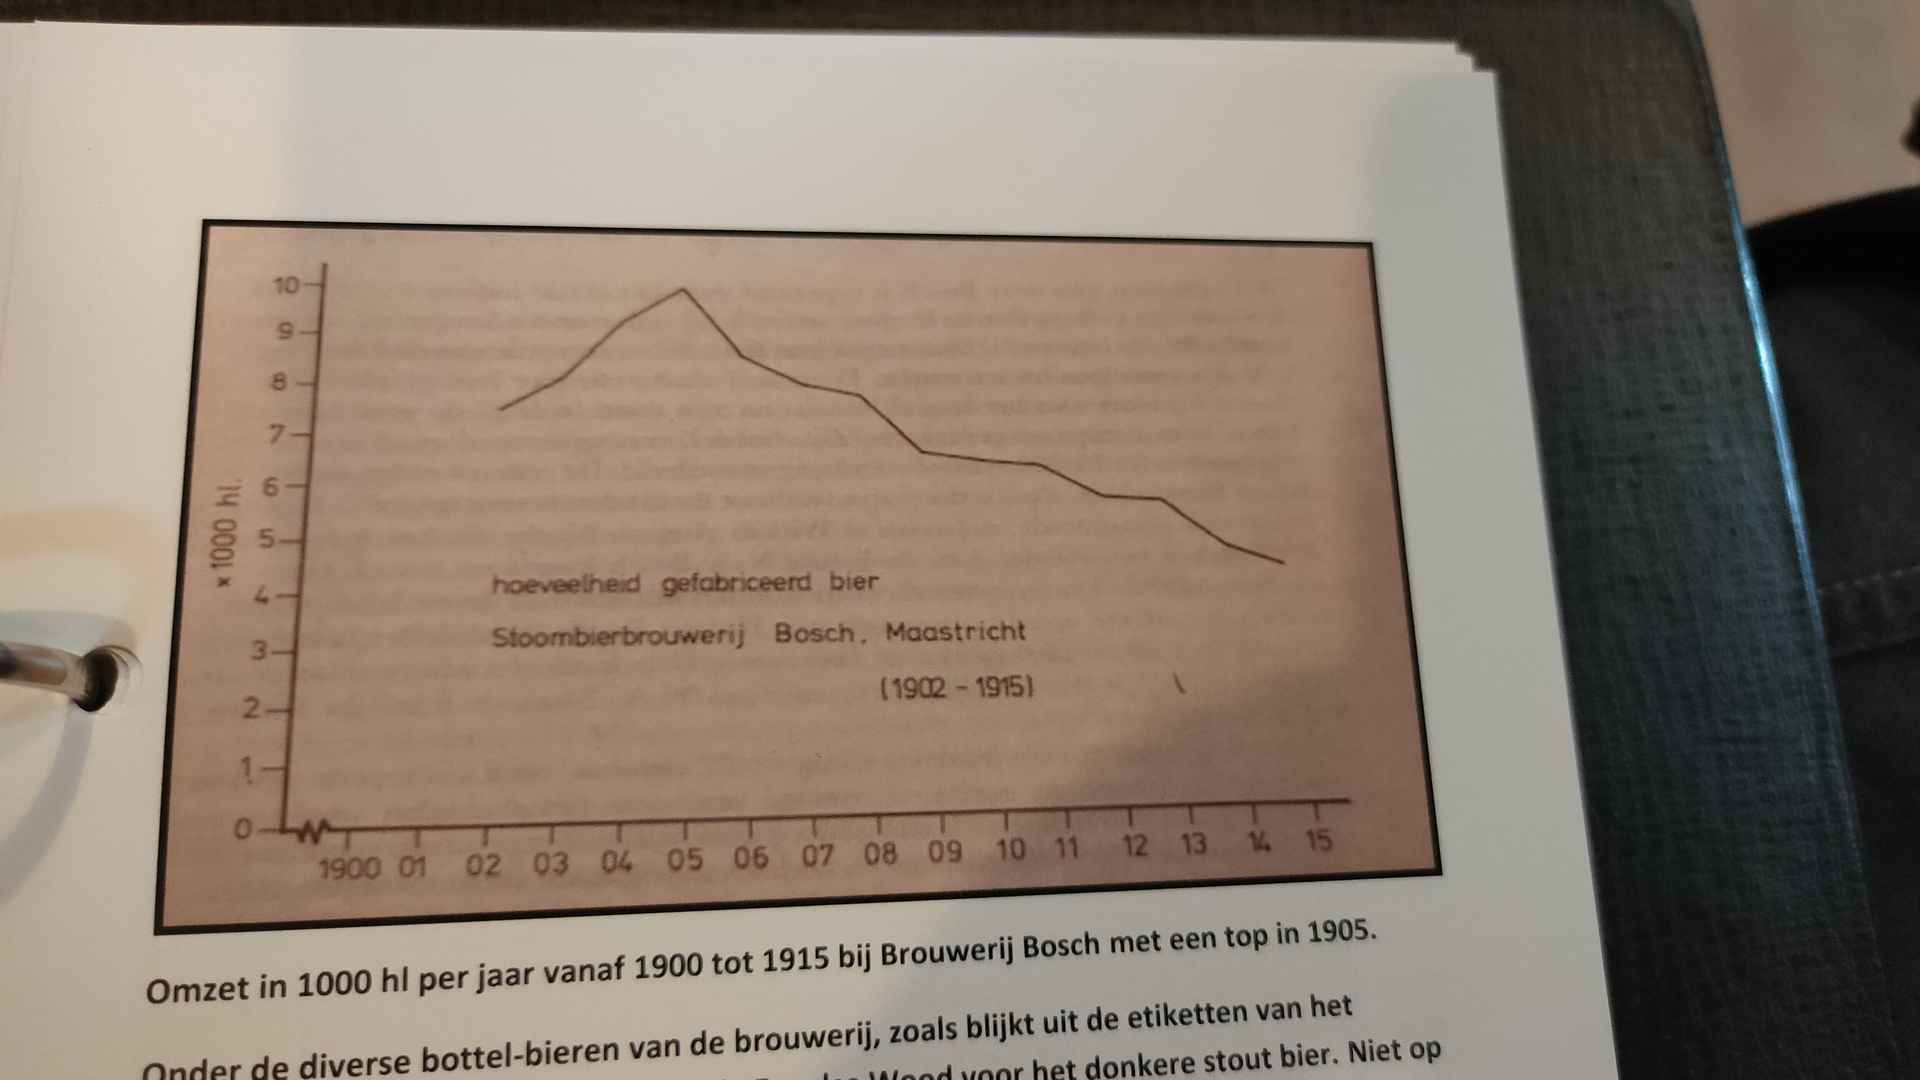
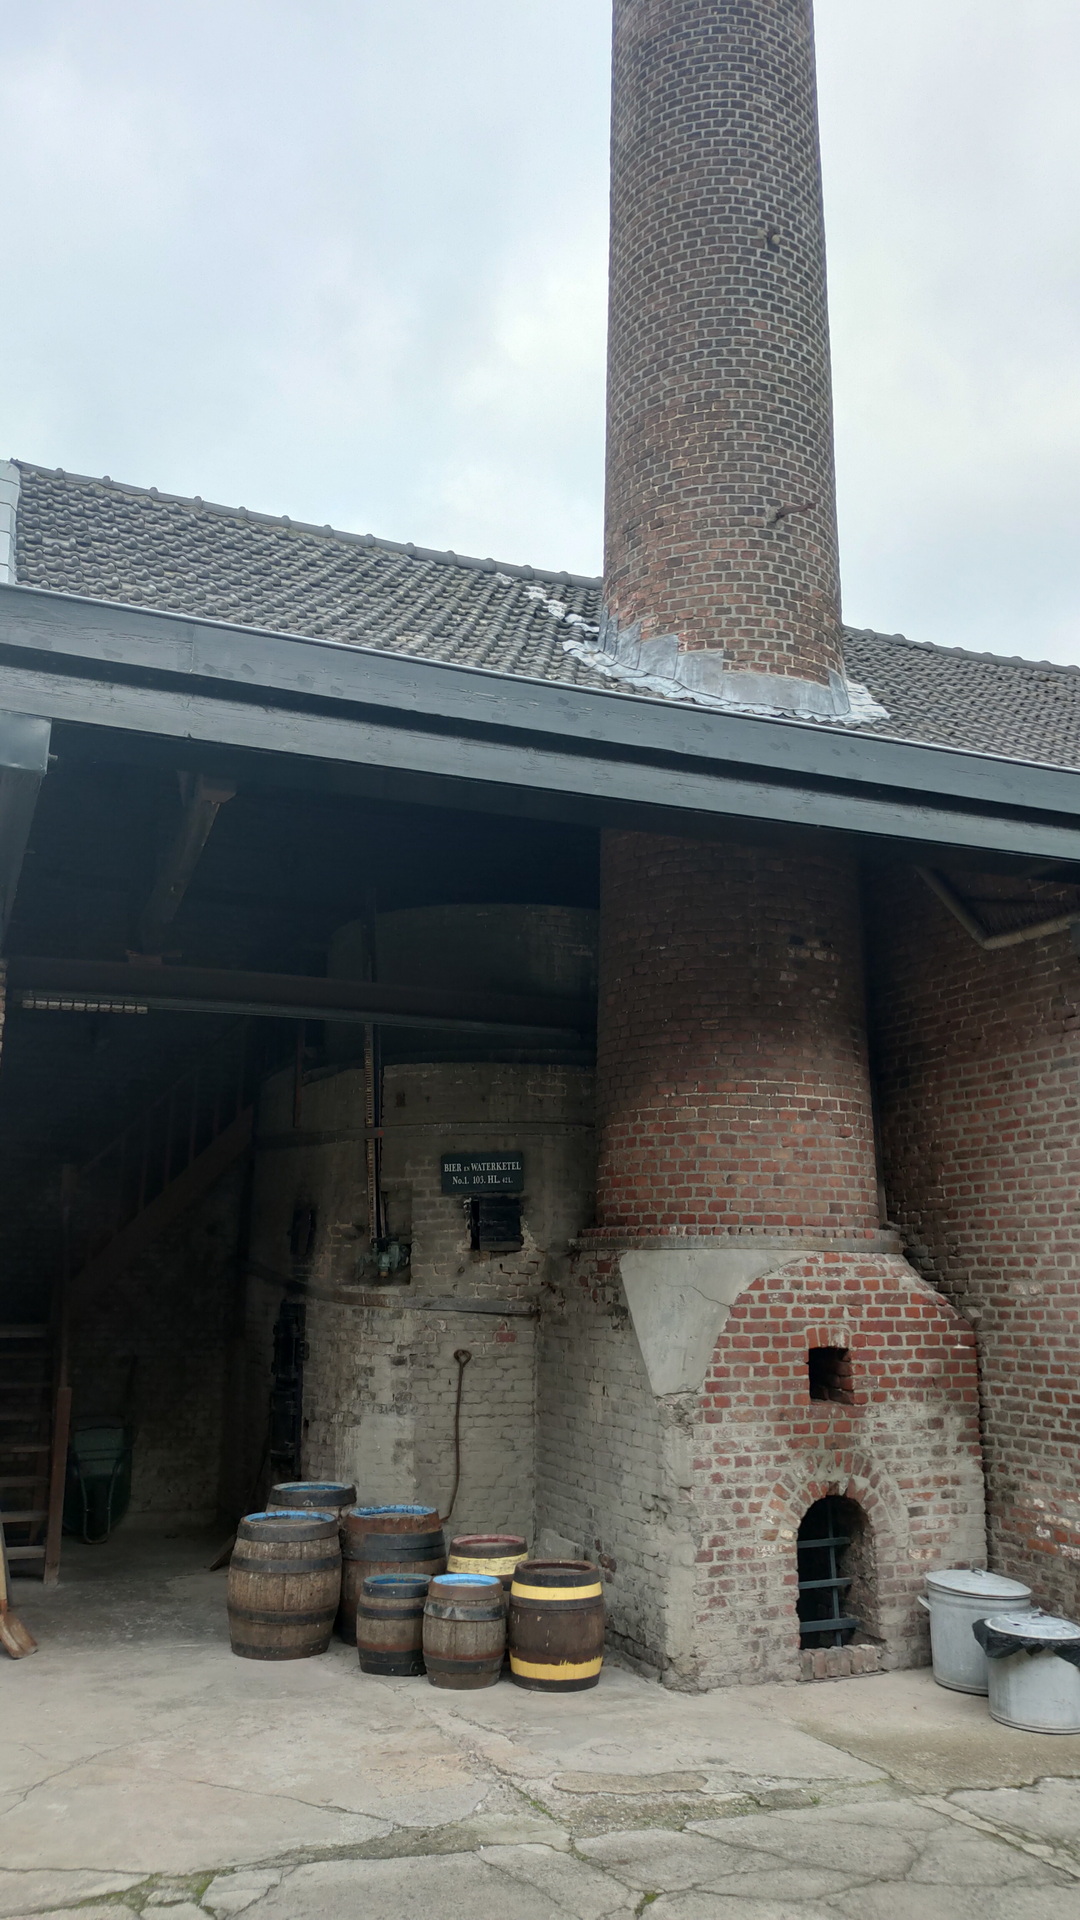
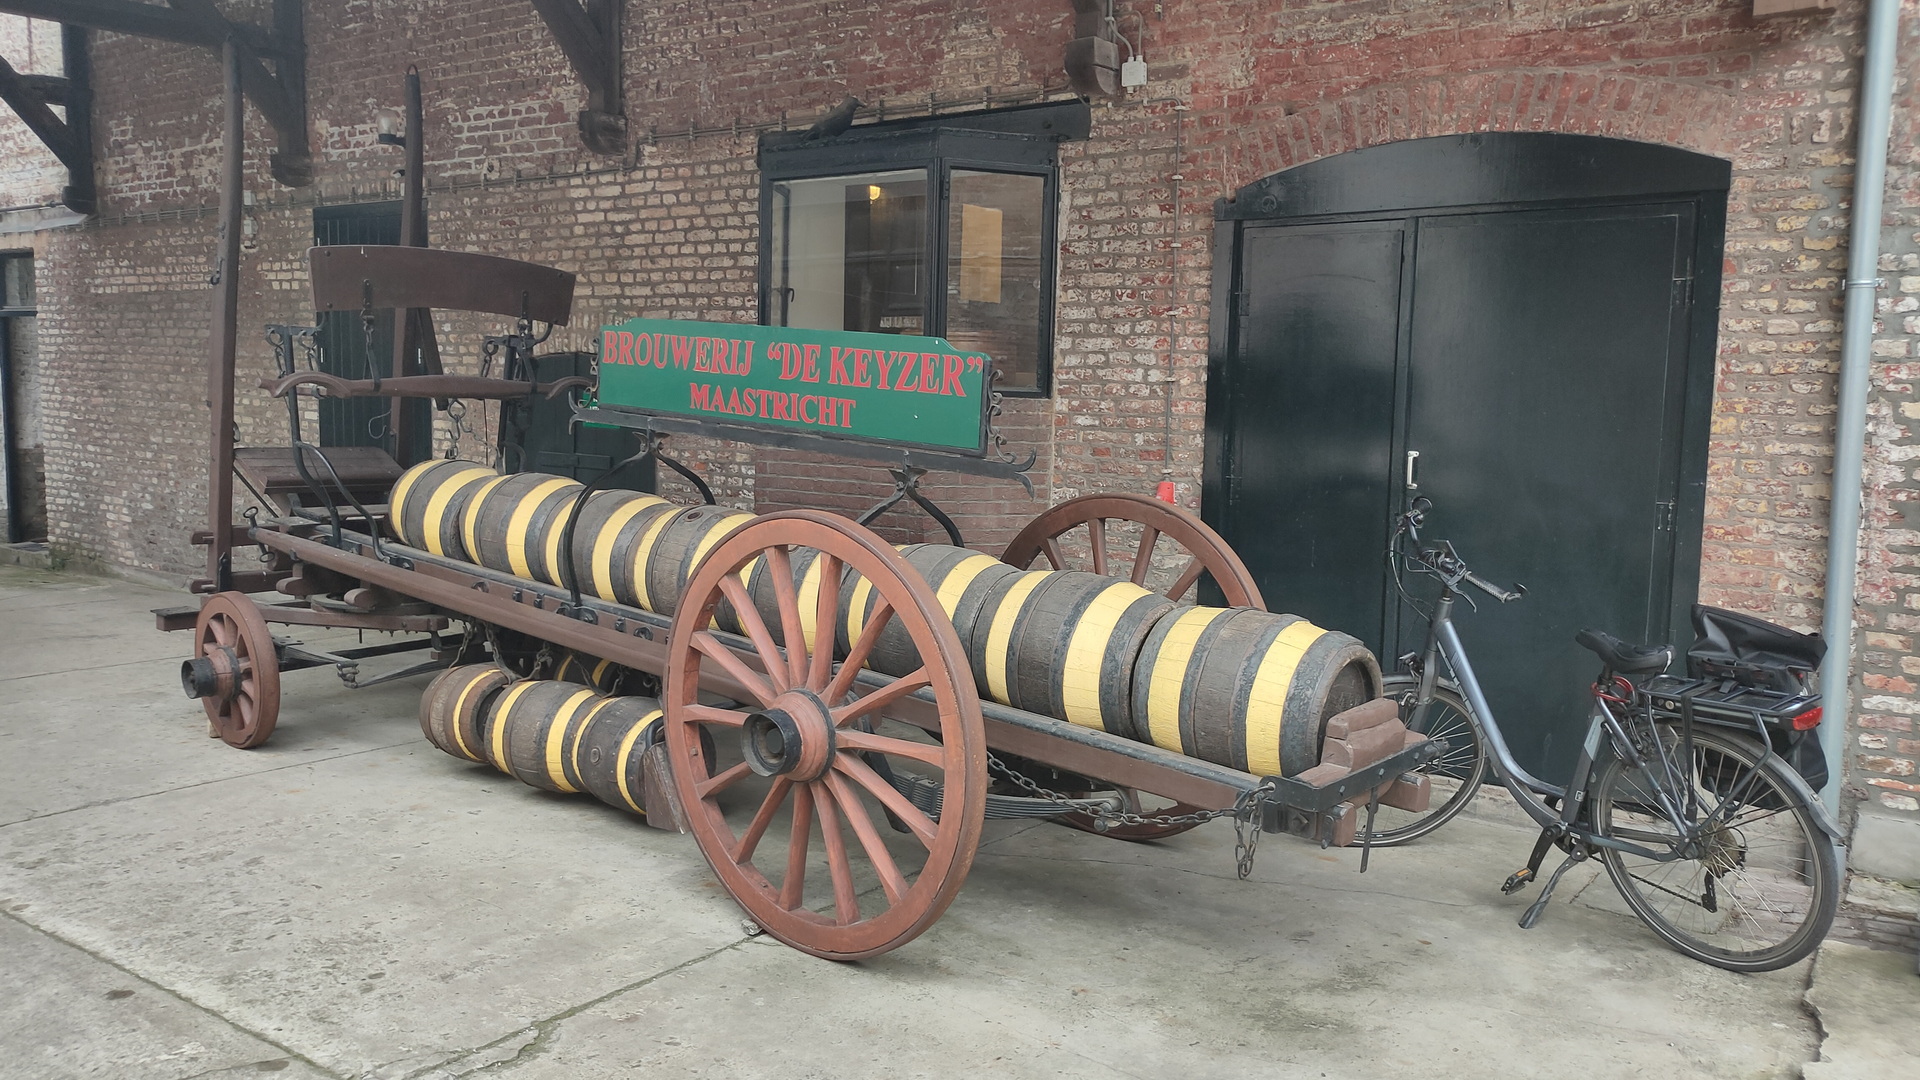
We also visited brewery Bosch, a brewery where time has stood still since the 70’s (Many tools are even from the 1920’s.)
Today working on the backend engine and screens like this. All text will be generated, and send from the server.
A local version to try in your browser: (optimized for 1920×1080 press F11!)
<link rel="preconnect" href="https://fonts.googleapis.com">
<link rel="preconnect" href="https://fonts.gstatic.com" crossorigin>
<link href="https://fonts.googleapis.com/css2?family=Indie+Flower&family=Tangerine&display=swap" rel="stylesheet">

<style>

body {
    background: url("background.jpg");
    height: 1080px;
    width: 100%;
    text-align: center;
    margin: auto;
    font-family: 'Tangerine', cursive;
    color:#000;
	}
/* The Modal (background) */
.modal {
  display: none; /* Hidden by default */
  position: fixed; /* Stay in place */
  z-index: 1; /* Sit on top */
  padding-top: 100px; /* Location of the box */
  left: 0;
  top: 0;
  width: 100%; /* Full width */
  height: 100%; /* Full height */
  overflow: auto; /* Enable scroll if needed */
  background-color: rgb(0,0,0); /* Fallback color */
  background-color: rgba(0,0,0,0.4); /* Black w/ opacity */
}

/* Modal Content */
.modal-content {
  background-image: url("note.jpg"); /* The image used */
  height: 788px; /* You must set a specified height */
  background-position: center; /* Center the image */
  background-repeat: no-repeat; /* Do not repeat the image */
  margin: auto;
  padding: 20px;
}

/* The Close Button */
.close {
 position: absolute; /*Can also be `fixed`*/
  color: #ff0000;
  		  font-size: 40px;
		  right: 550px;

  font-weight: bold;
}

.close:hover,
.close:focus {
  color: #000;
  text-decoration: none;
  cursor: pointer;
}
.topcontent {
        width: 400px;
        height: 200px;
        font-family: 'Indie Flower', cursive;
		  font-size: 40px;

        position: absolute; /*Can also be `fixed`*/
        left: 0;
        right: 350;
        top: -440;
        bottom: 0;
        margin: auto;
        /*Solves a problem in which the content is being cut when the div is smaller than its' wrapper:*/
        max-width: 100%;
        max-height: 100%;
        overflow: auto;
}
.playercontent {
        width: 400px;
        height: 200px;
        font-family: 'Indie Flower', cursive;
		  font-size: 40px;

        position: absolute; /*Can also be `fixed`*/
        left: 0;
        right: 300;
        top: -340;
        bottom: 0;
        margin: auto;
        /*Solves a problem in which the content is being cut when the div is smaller than its' wrapper:*/
        max-width: 100%;
        max-height: 100%;
        overflow: auto;
}
.content {
        width: 400px;
        height: 200px;
        font-family: 'Indie Flower', cursive;
		  font-size: 40px;

        position: absolute; /*Can also be `fixed`*/
        left: 0;
        right: 0;
        top: 100;
        bottom: 0;
        margin: auto;
        /*Solves a problem in which the content is being cut when the div is smaller than its' wrapper:*/
        max-width: 100%;
        max-height: 100%;
        overflow: auto;
}
</style>
</head>
<body>


<!-- Trigger/Open The Modal -->
<button id="myBtn">Incoming message</button>

<!-- The Modal -->
<div id="myModal" class="modal">
  <div class="topcontent">HQ</div>
  <div class="playercontent">Spy #1</div>

  <div class="content">We need the code now! Look for a yellow key</div>

  <!-- Modal content -->
  <div class="modal-content">

    <span class="close">close</span>
  </div>

</div>

<script>
// Get the modal
var modal = document.getElementById("myModal");

// Get the button that opens the modal
var btn = document.getElementById("myBtn");

// Get the <span> element that closes the modal
var span = document.getElementsByClassName("close")[0];

// When the user clicks the button, open the modal
btn.onclick = function() {
  modal.style.display = "block";
}

// When the user clicks on <span> (x), close the modal
span.onclick = function() {
  modal.style.display = "none";
}

// When the user clicks anywhere outside of the modal, close it
window.onclick = function(event) {
  if (event.target == modal) {
    modal.style.display = "none";
  }
}
</script>
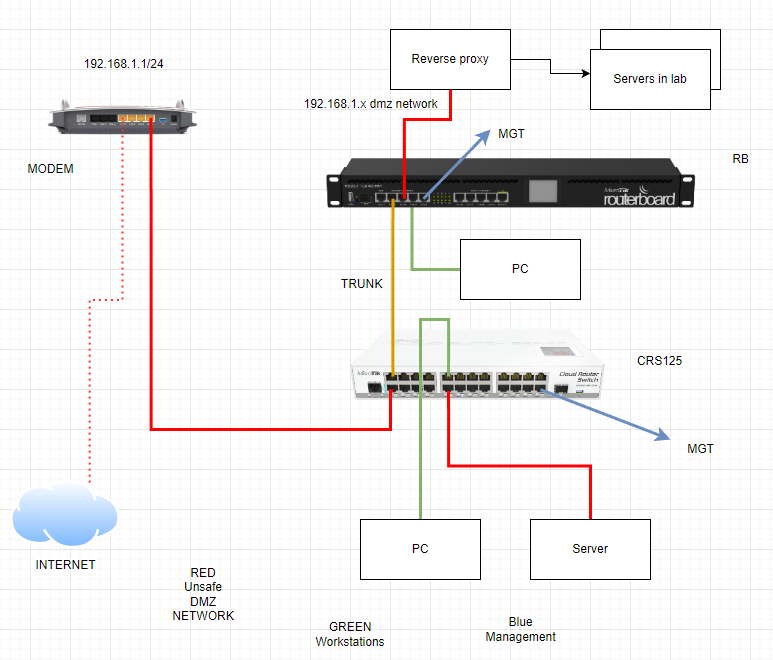
Example network with DMZ part, using VLANs and trunks. Tested in my network, but not my current setup.
VLAN 3 – DMZ VLAN 10 – Homenetwork VLAN 128 – MGT
Modem : fritzbox, is dhcp server for 192.168.1.1 network CRS: is dhcp server for wlan, home network, management, Also a firewall with NAT is configured here. ( No block examples below, only NAT ) RB: (Routerboard 2011) has no IPs except for a management IP (not in config below) Server and Reverse proxy are in the 192.168.1.1 network. (dhcp requests in a dmz vlan (3) get their IP from the modem DHCP pool.
Example ip’s server and PC
server: gets dhcp from modem, 192.168.1.10/24 gateway 192.168.1.1 DNS 192.168.1.1 PC: gets dhcp from CRS, 10.10.0.1/24 gateway 10.10.0.253 DNS 1.1.1.1