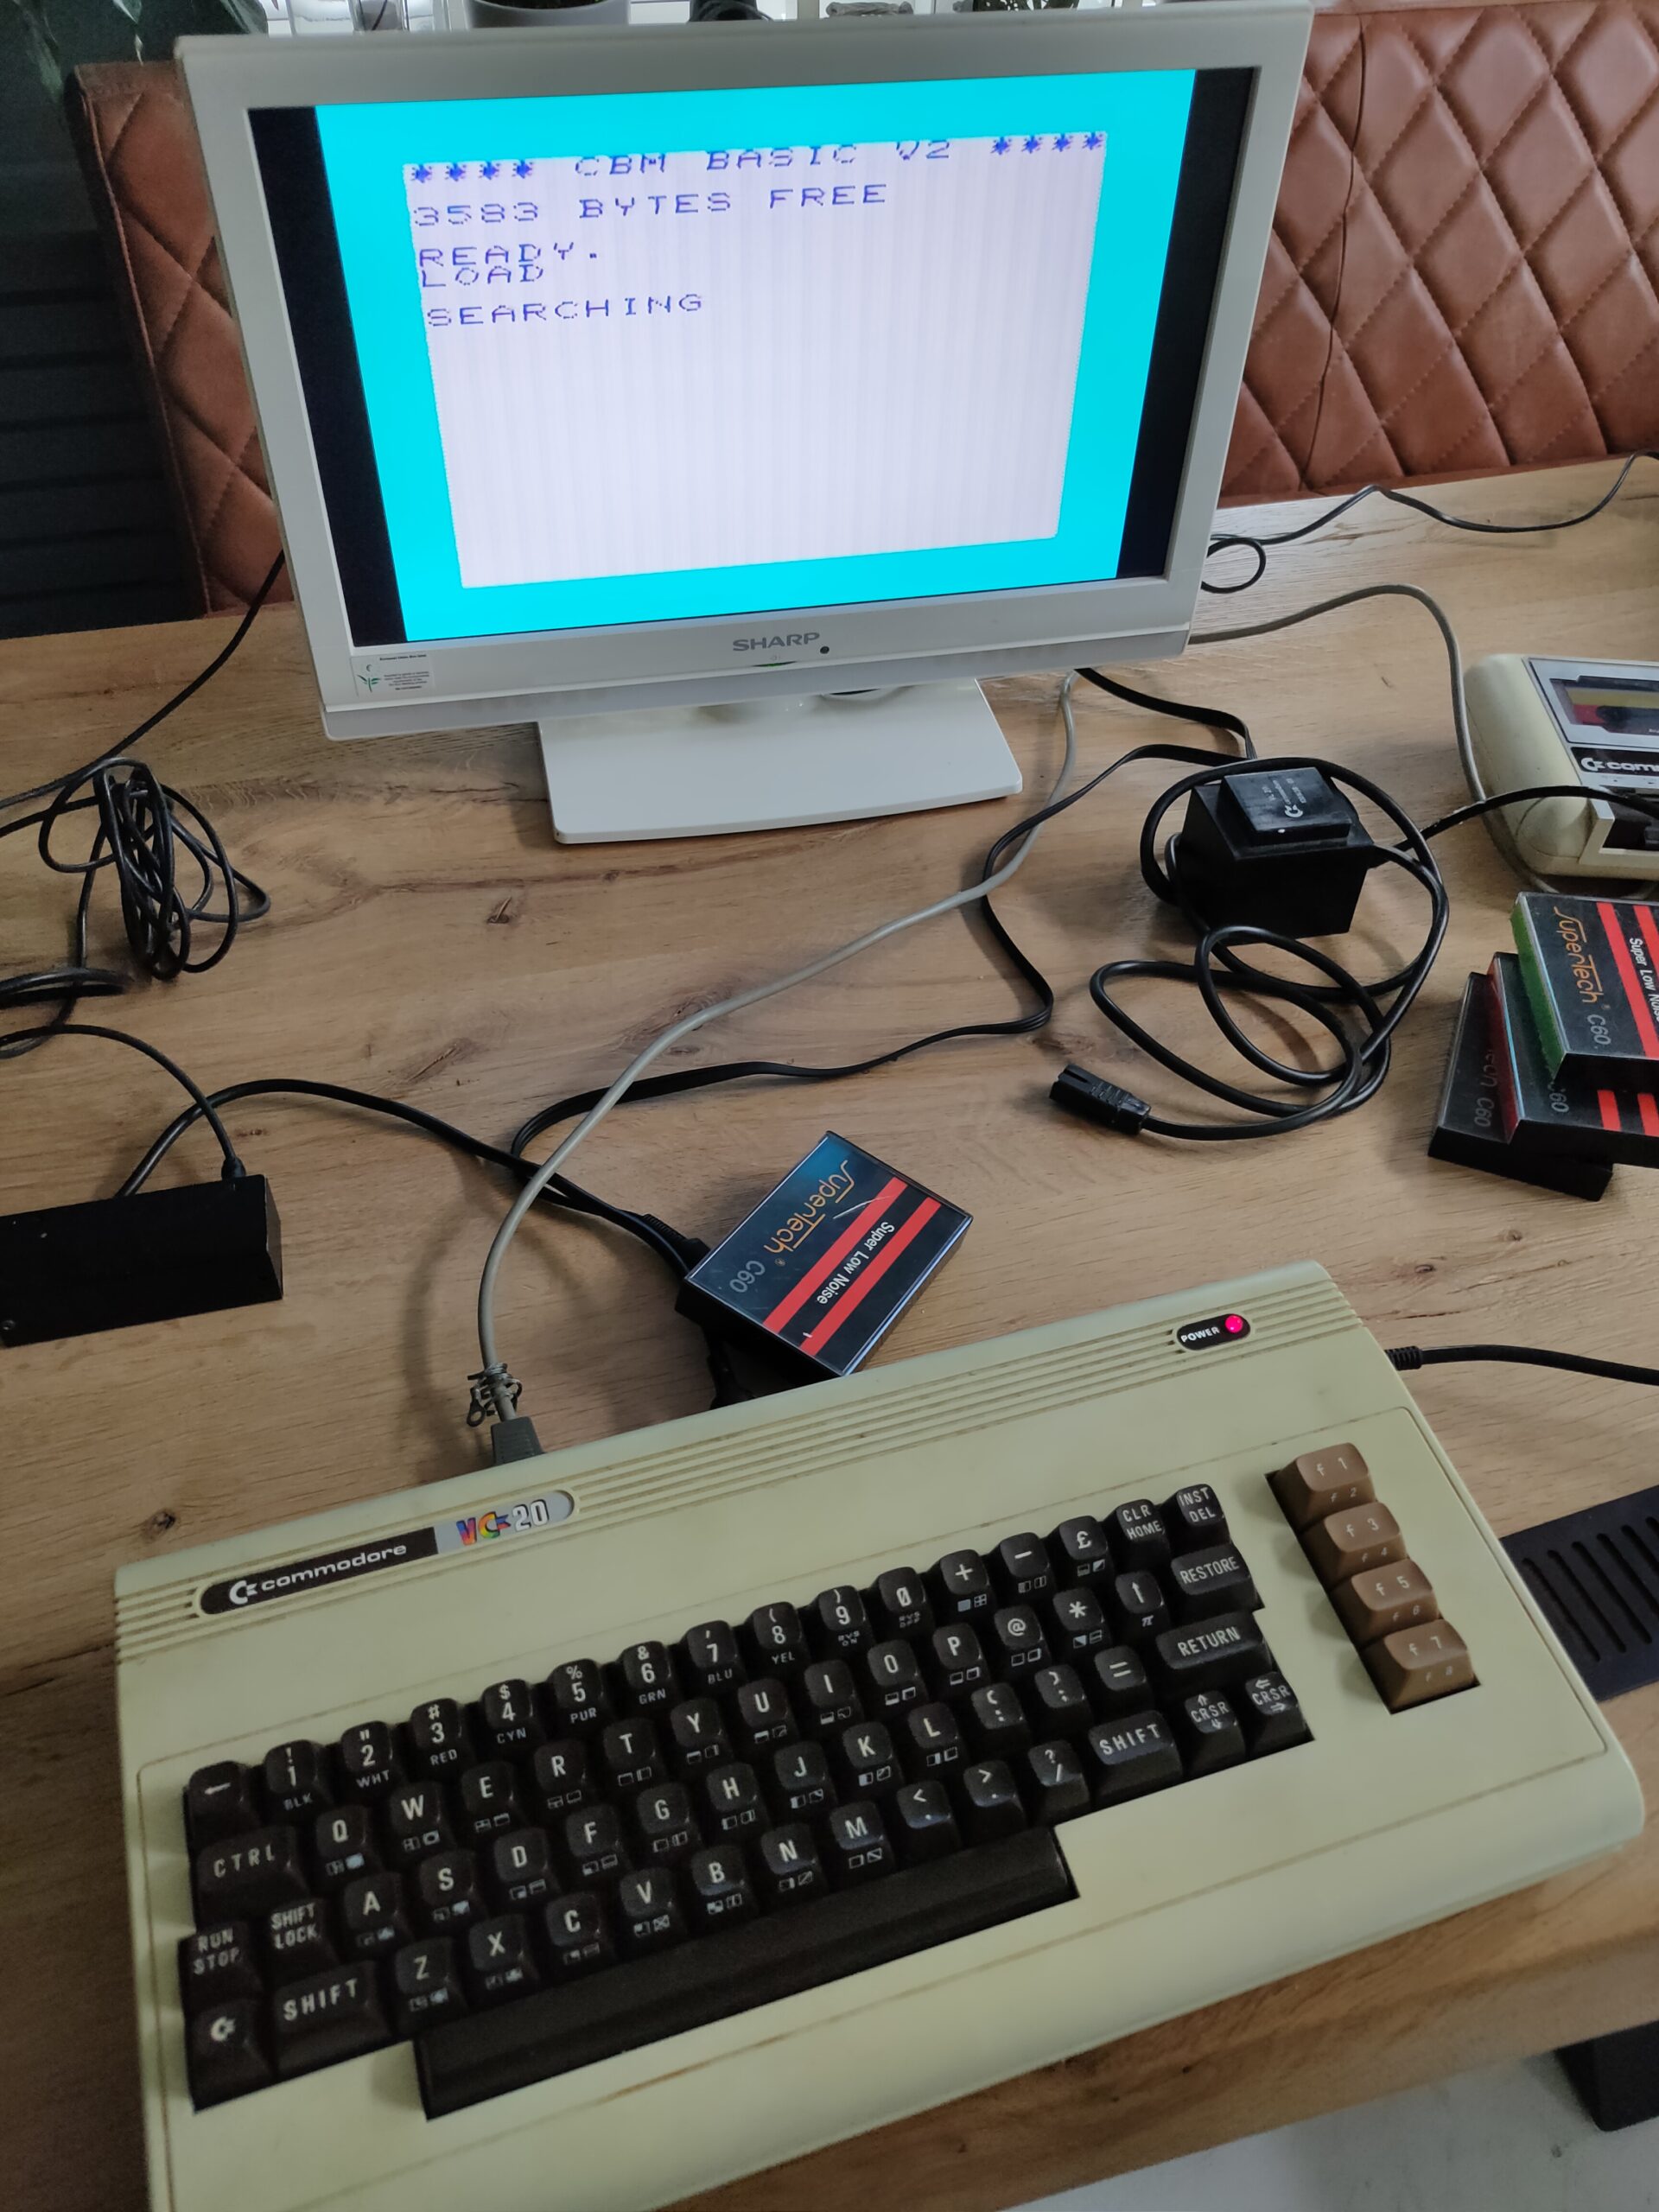
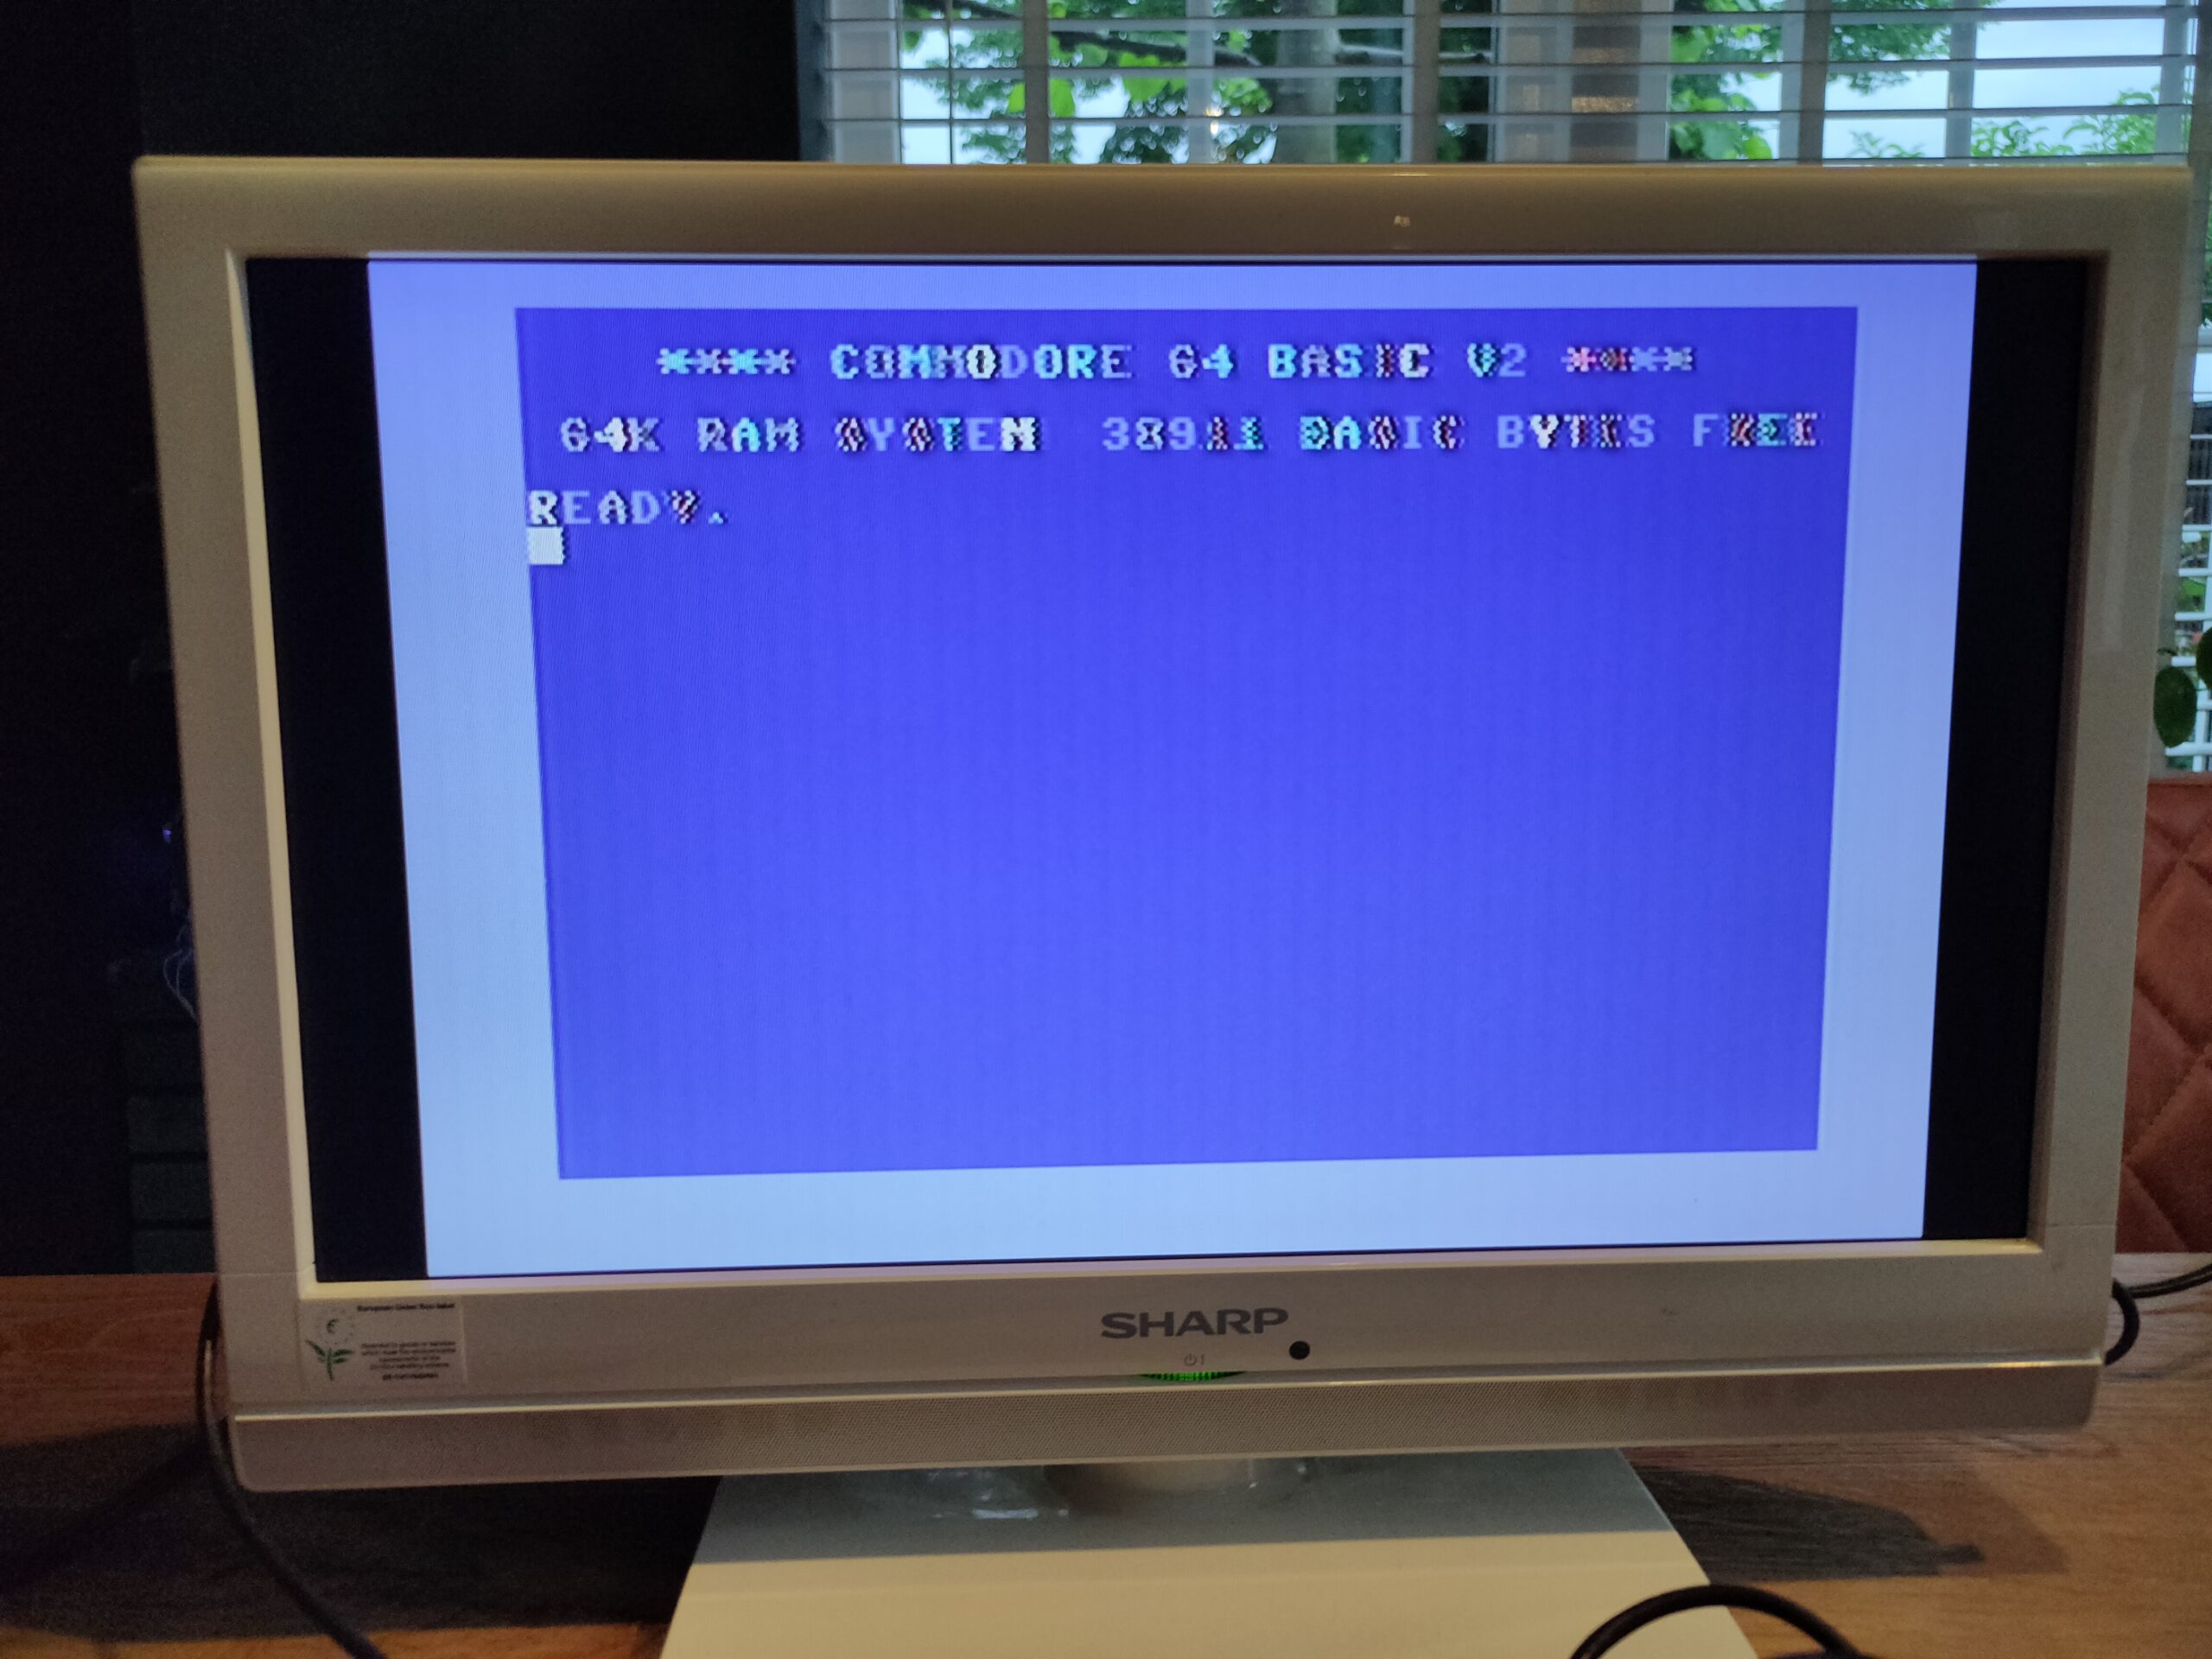
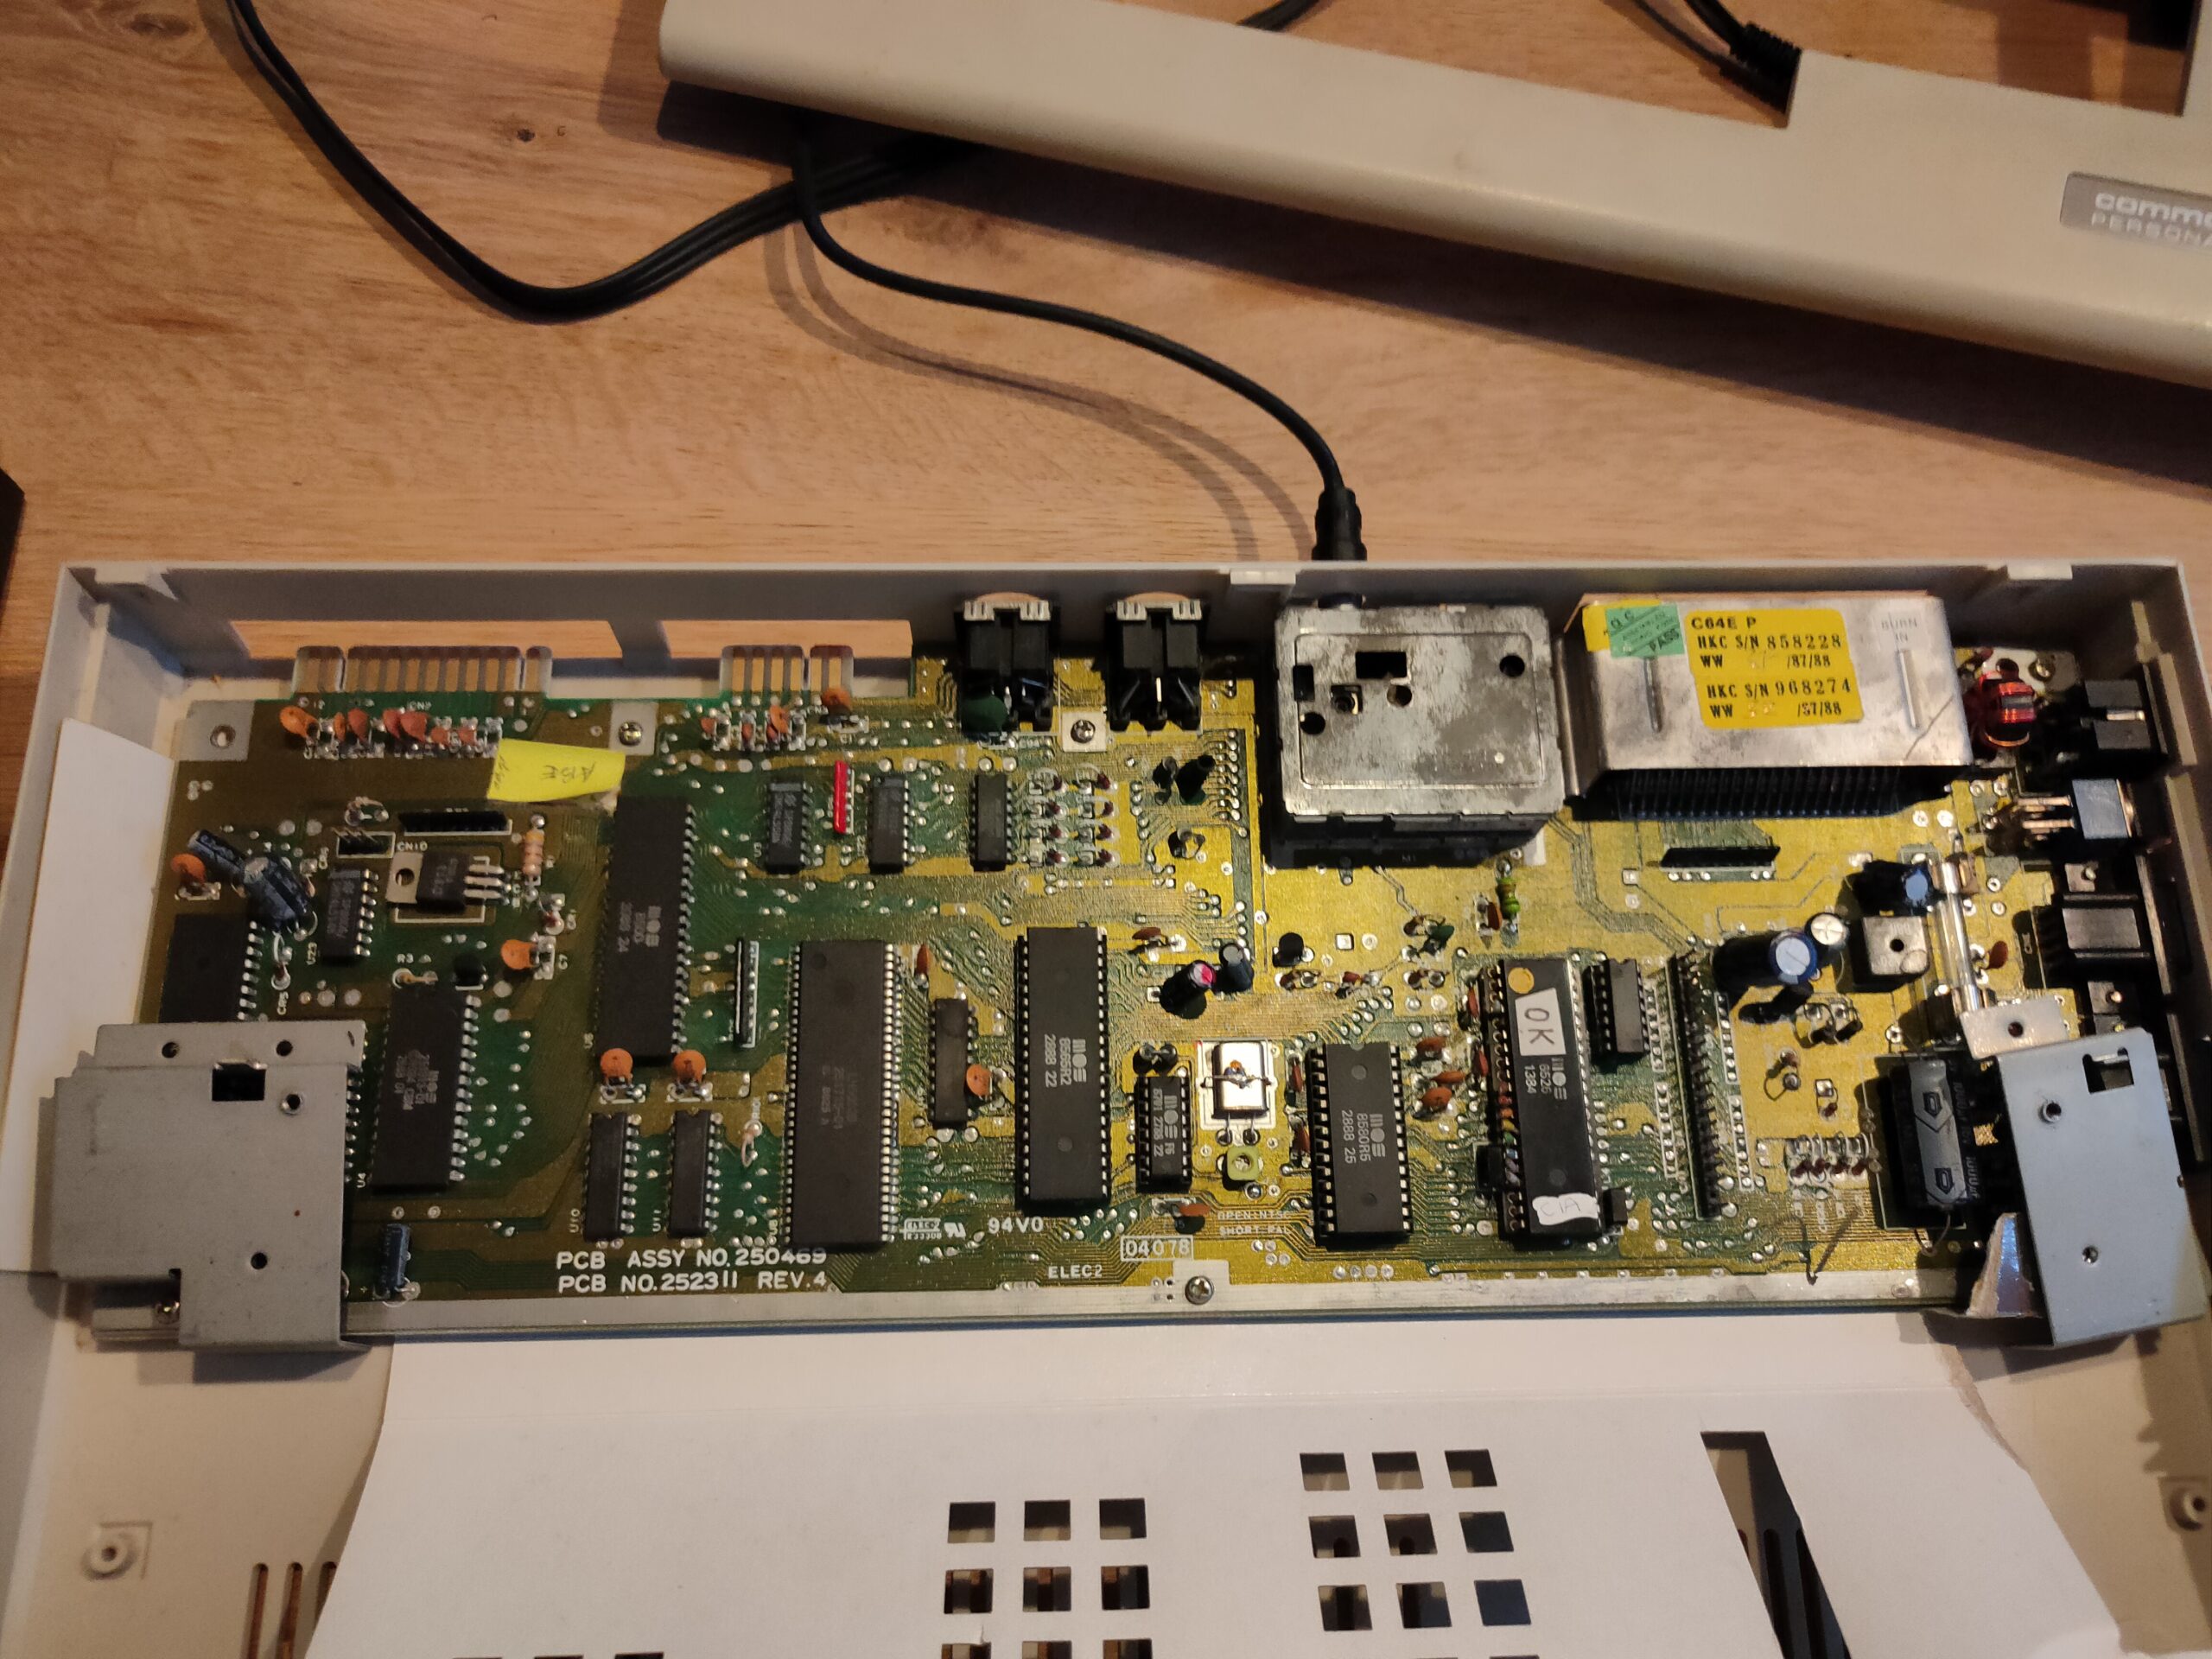
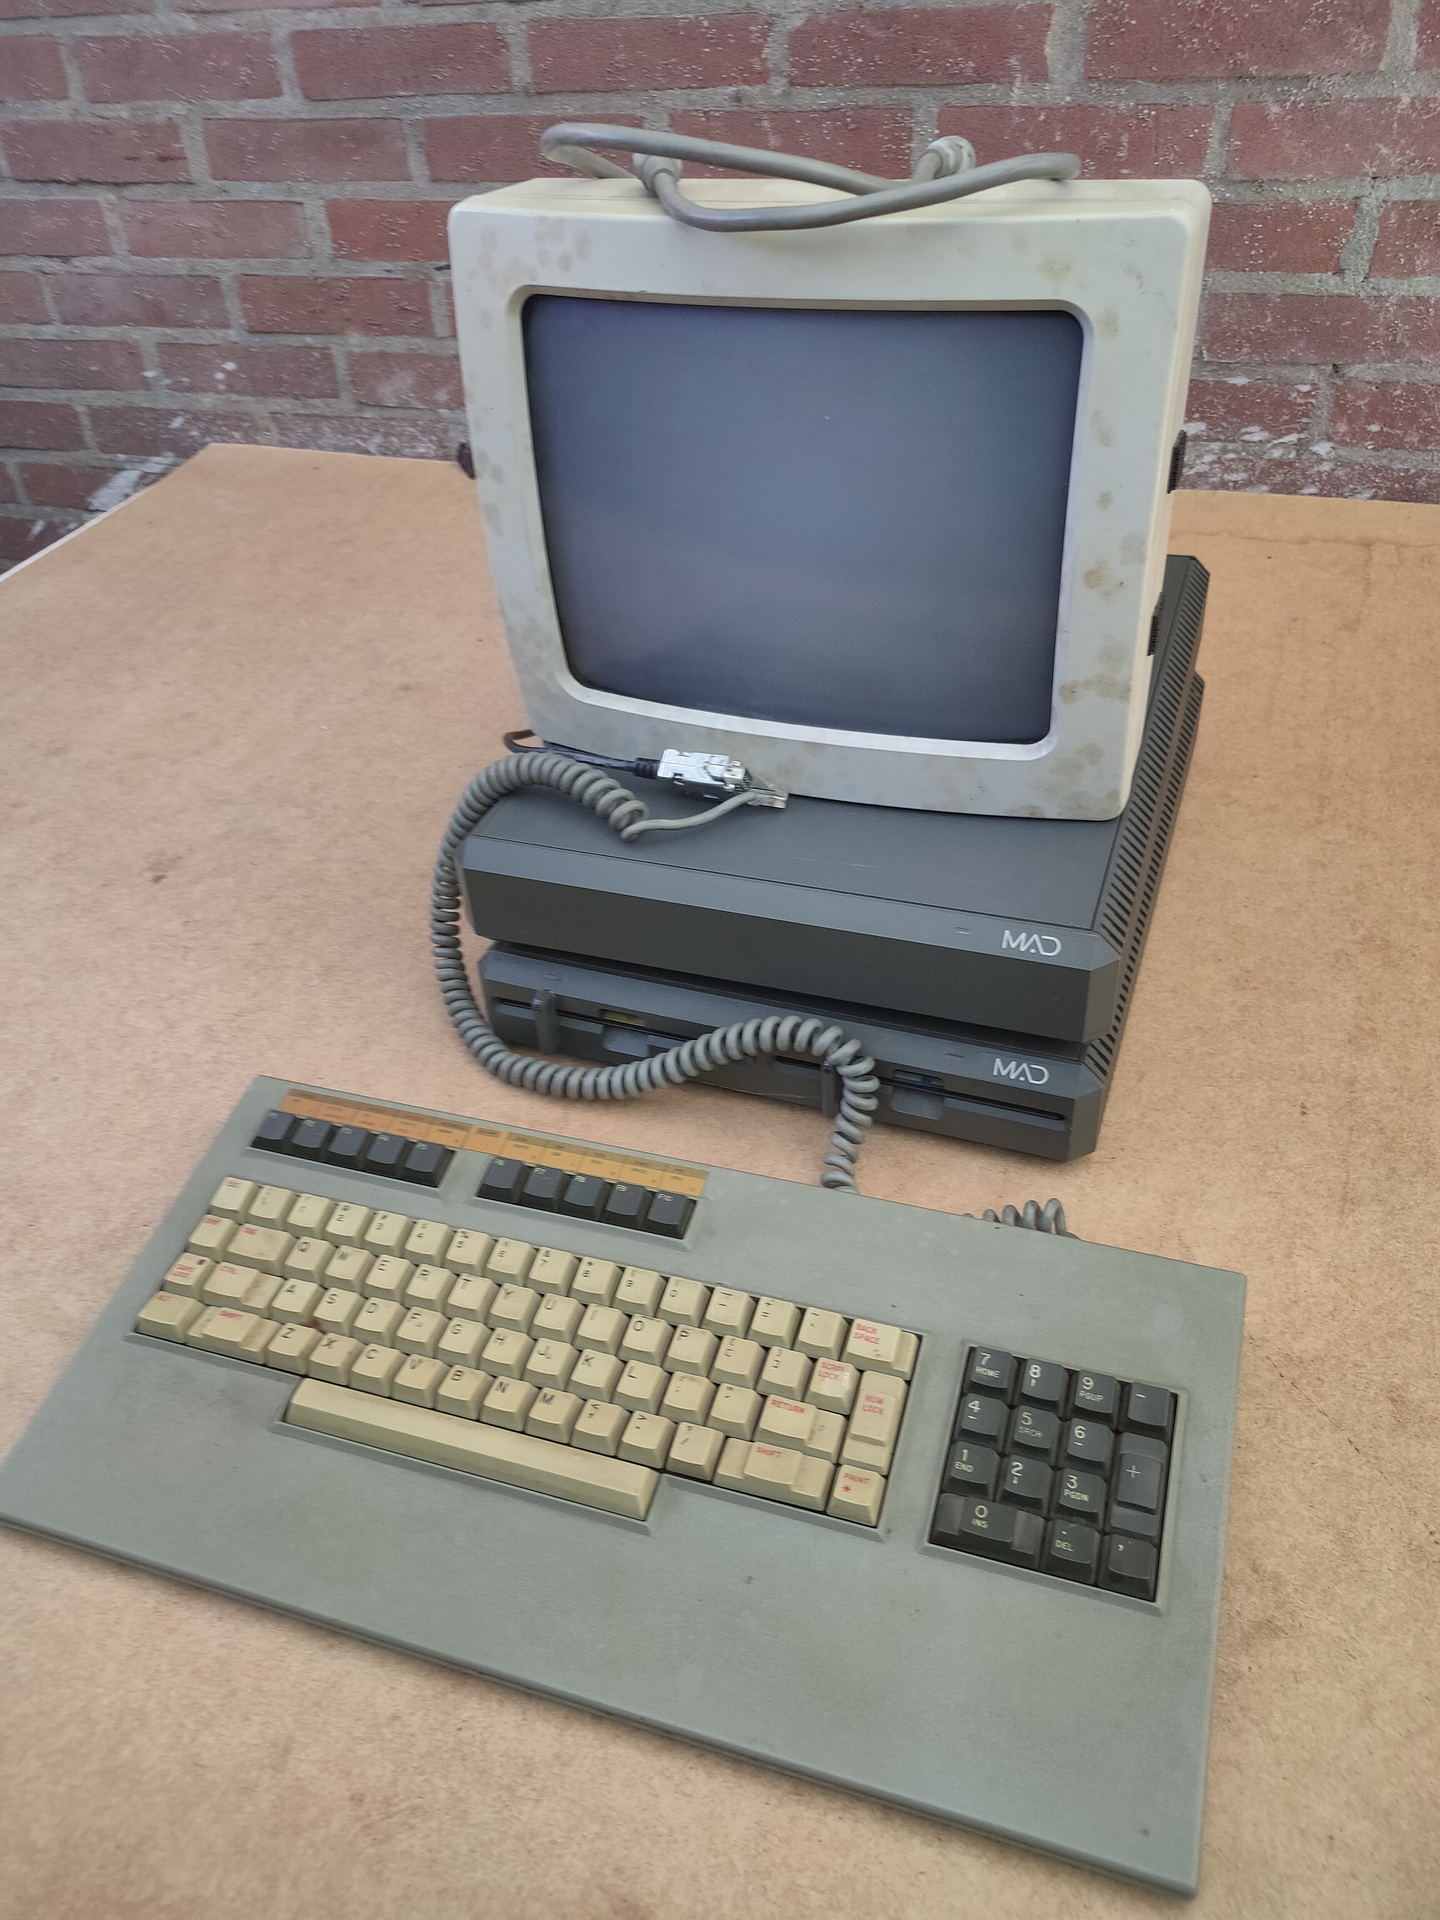
One Vic-20 working ( switched some keyboards and chips around )
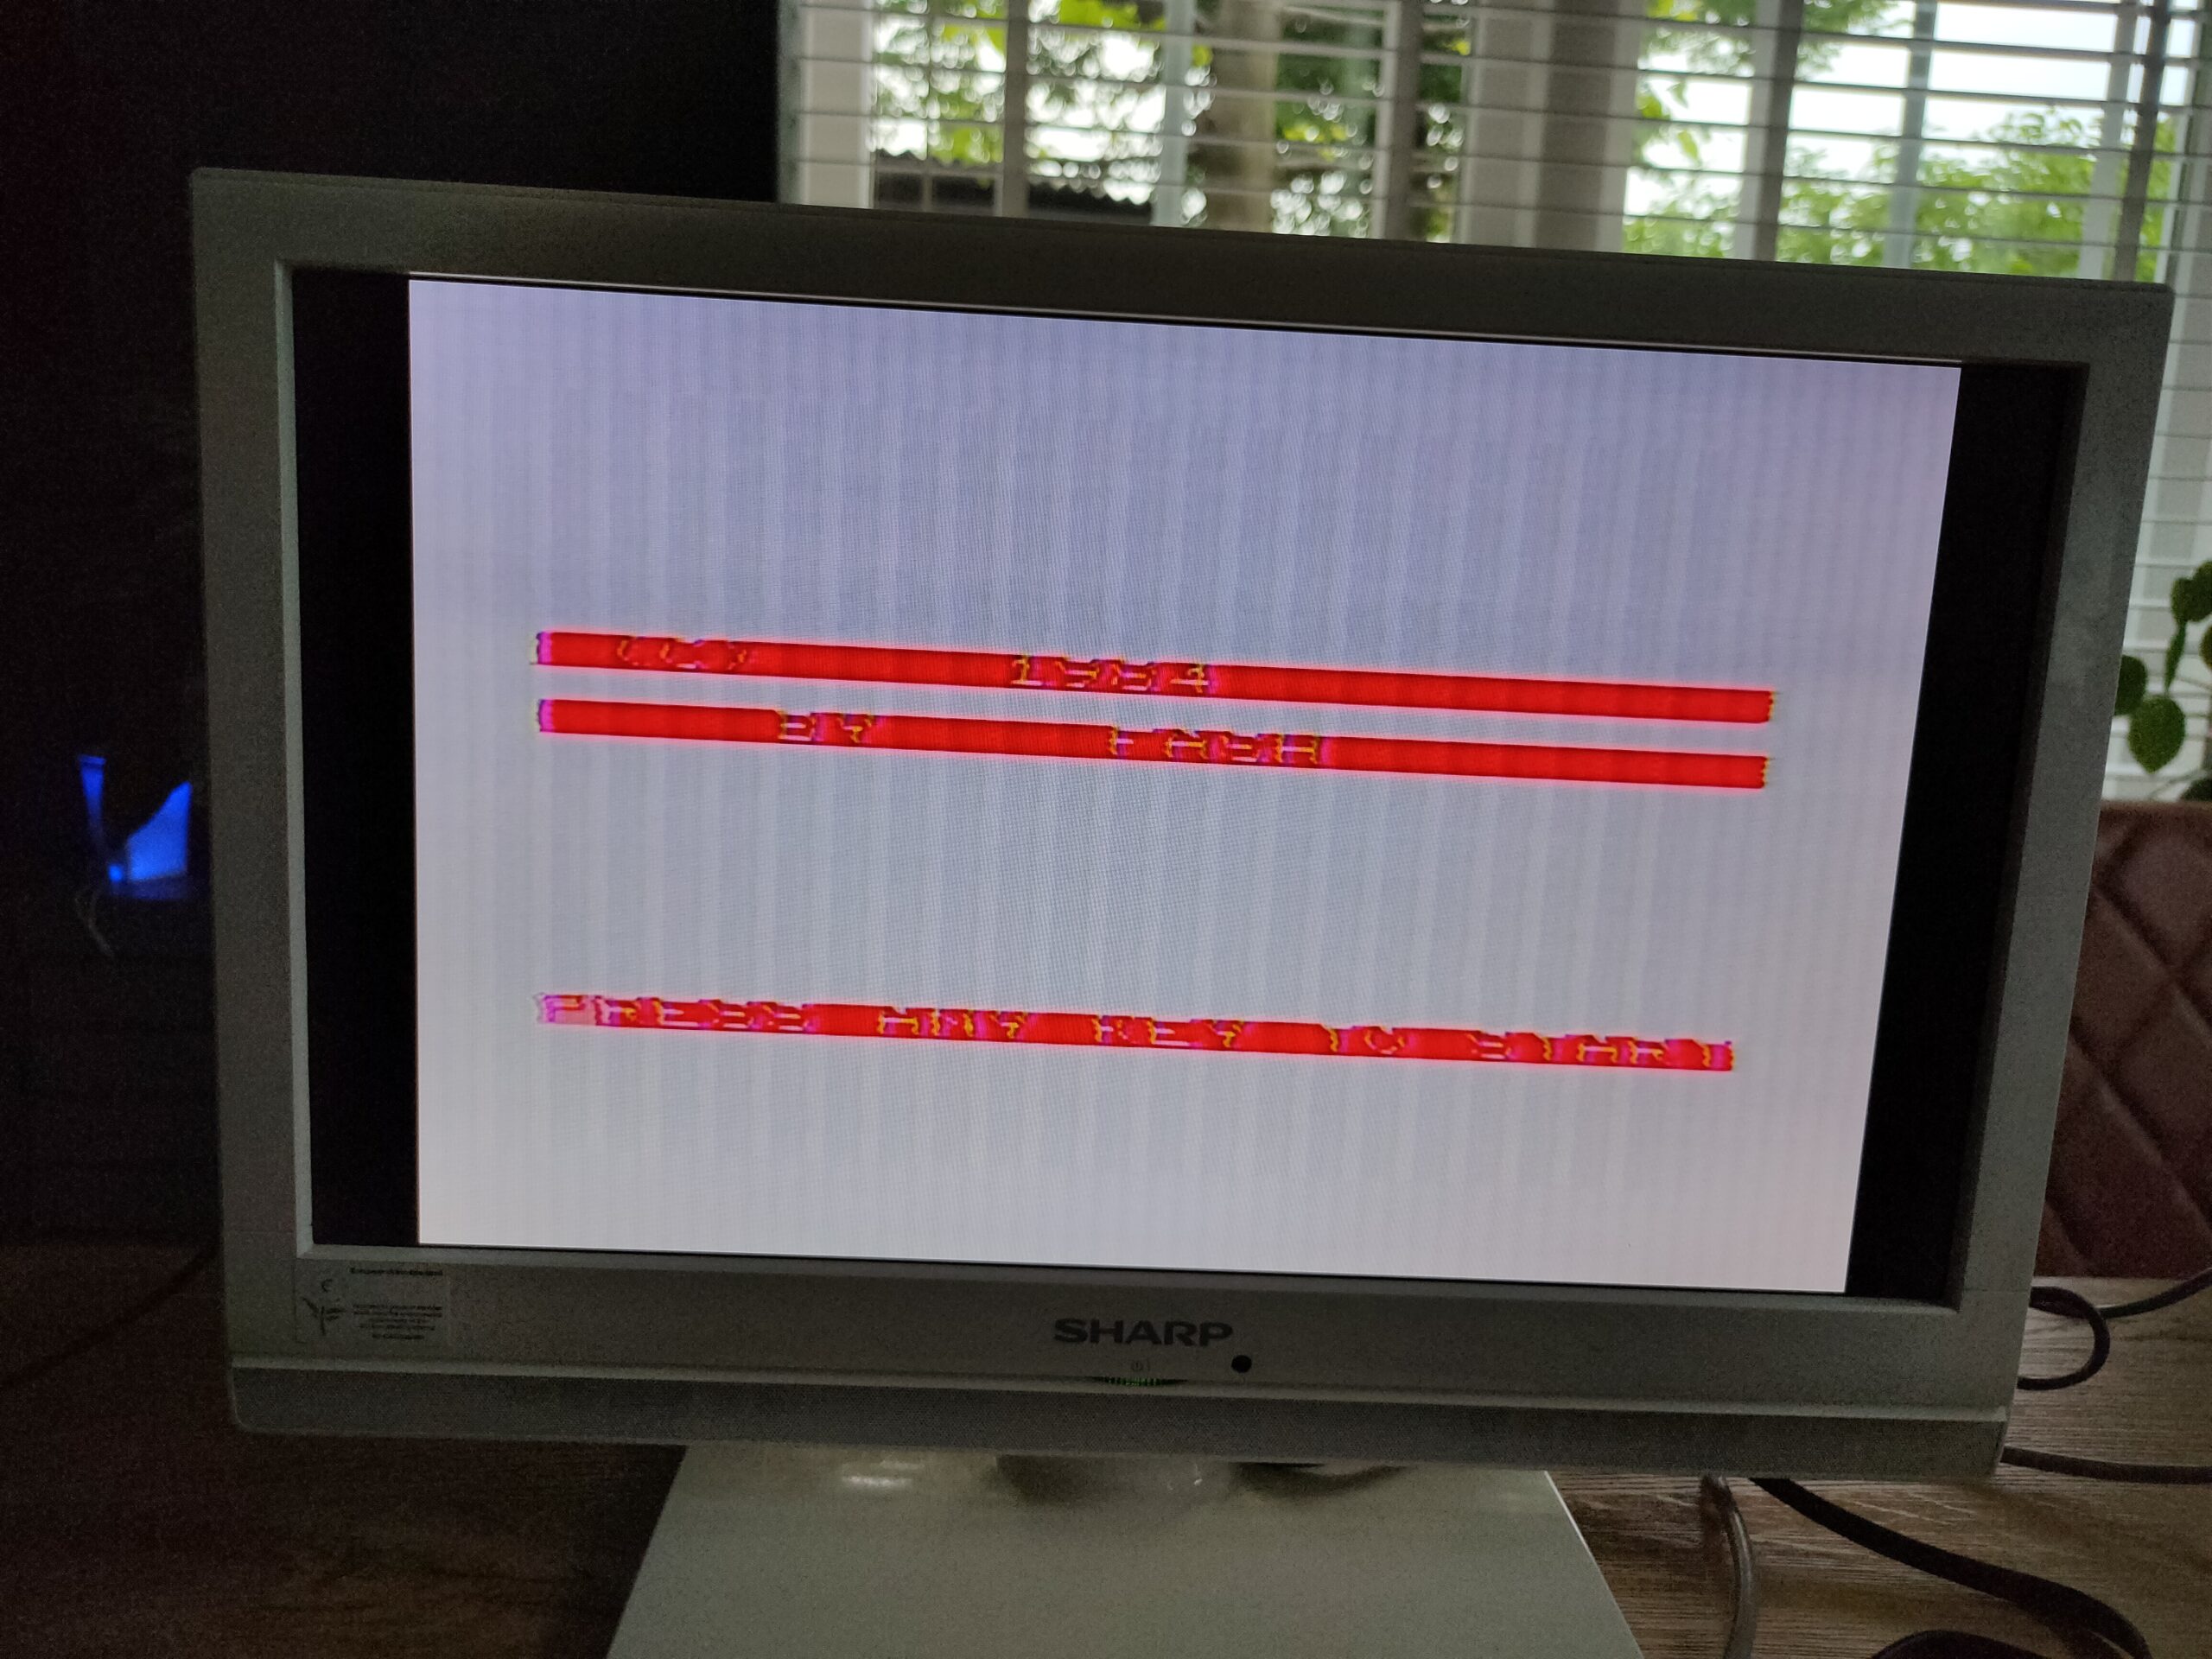
Something i made in 1984? .. then the fuse in my vic-20 power blew (250v 160mA)
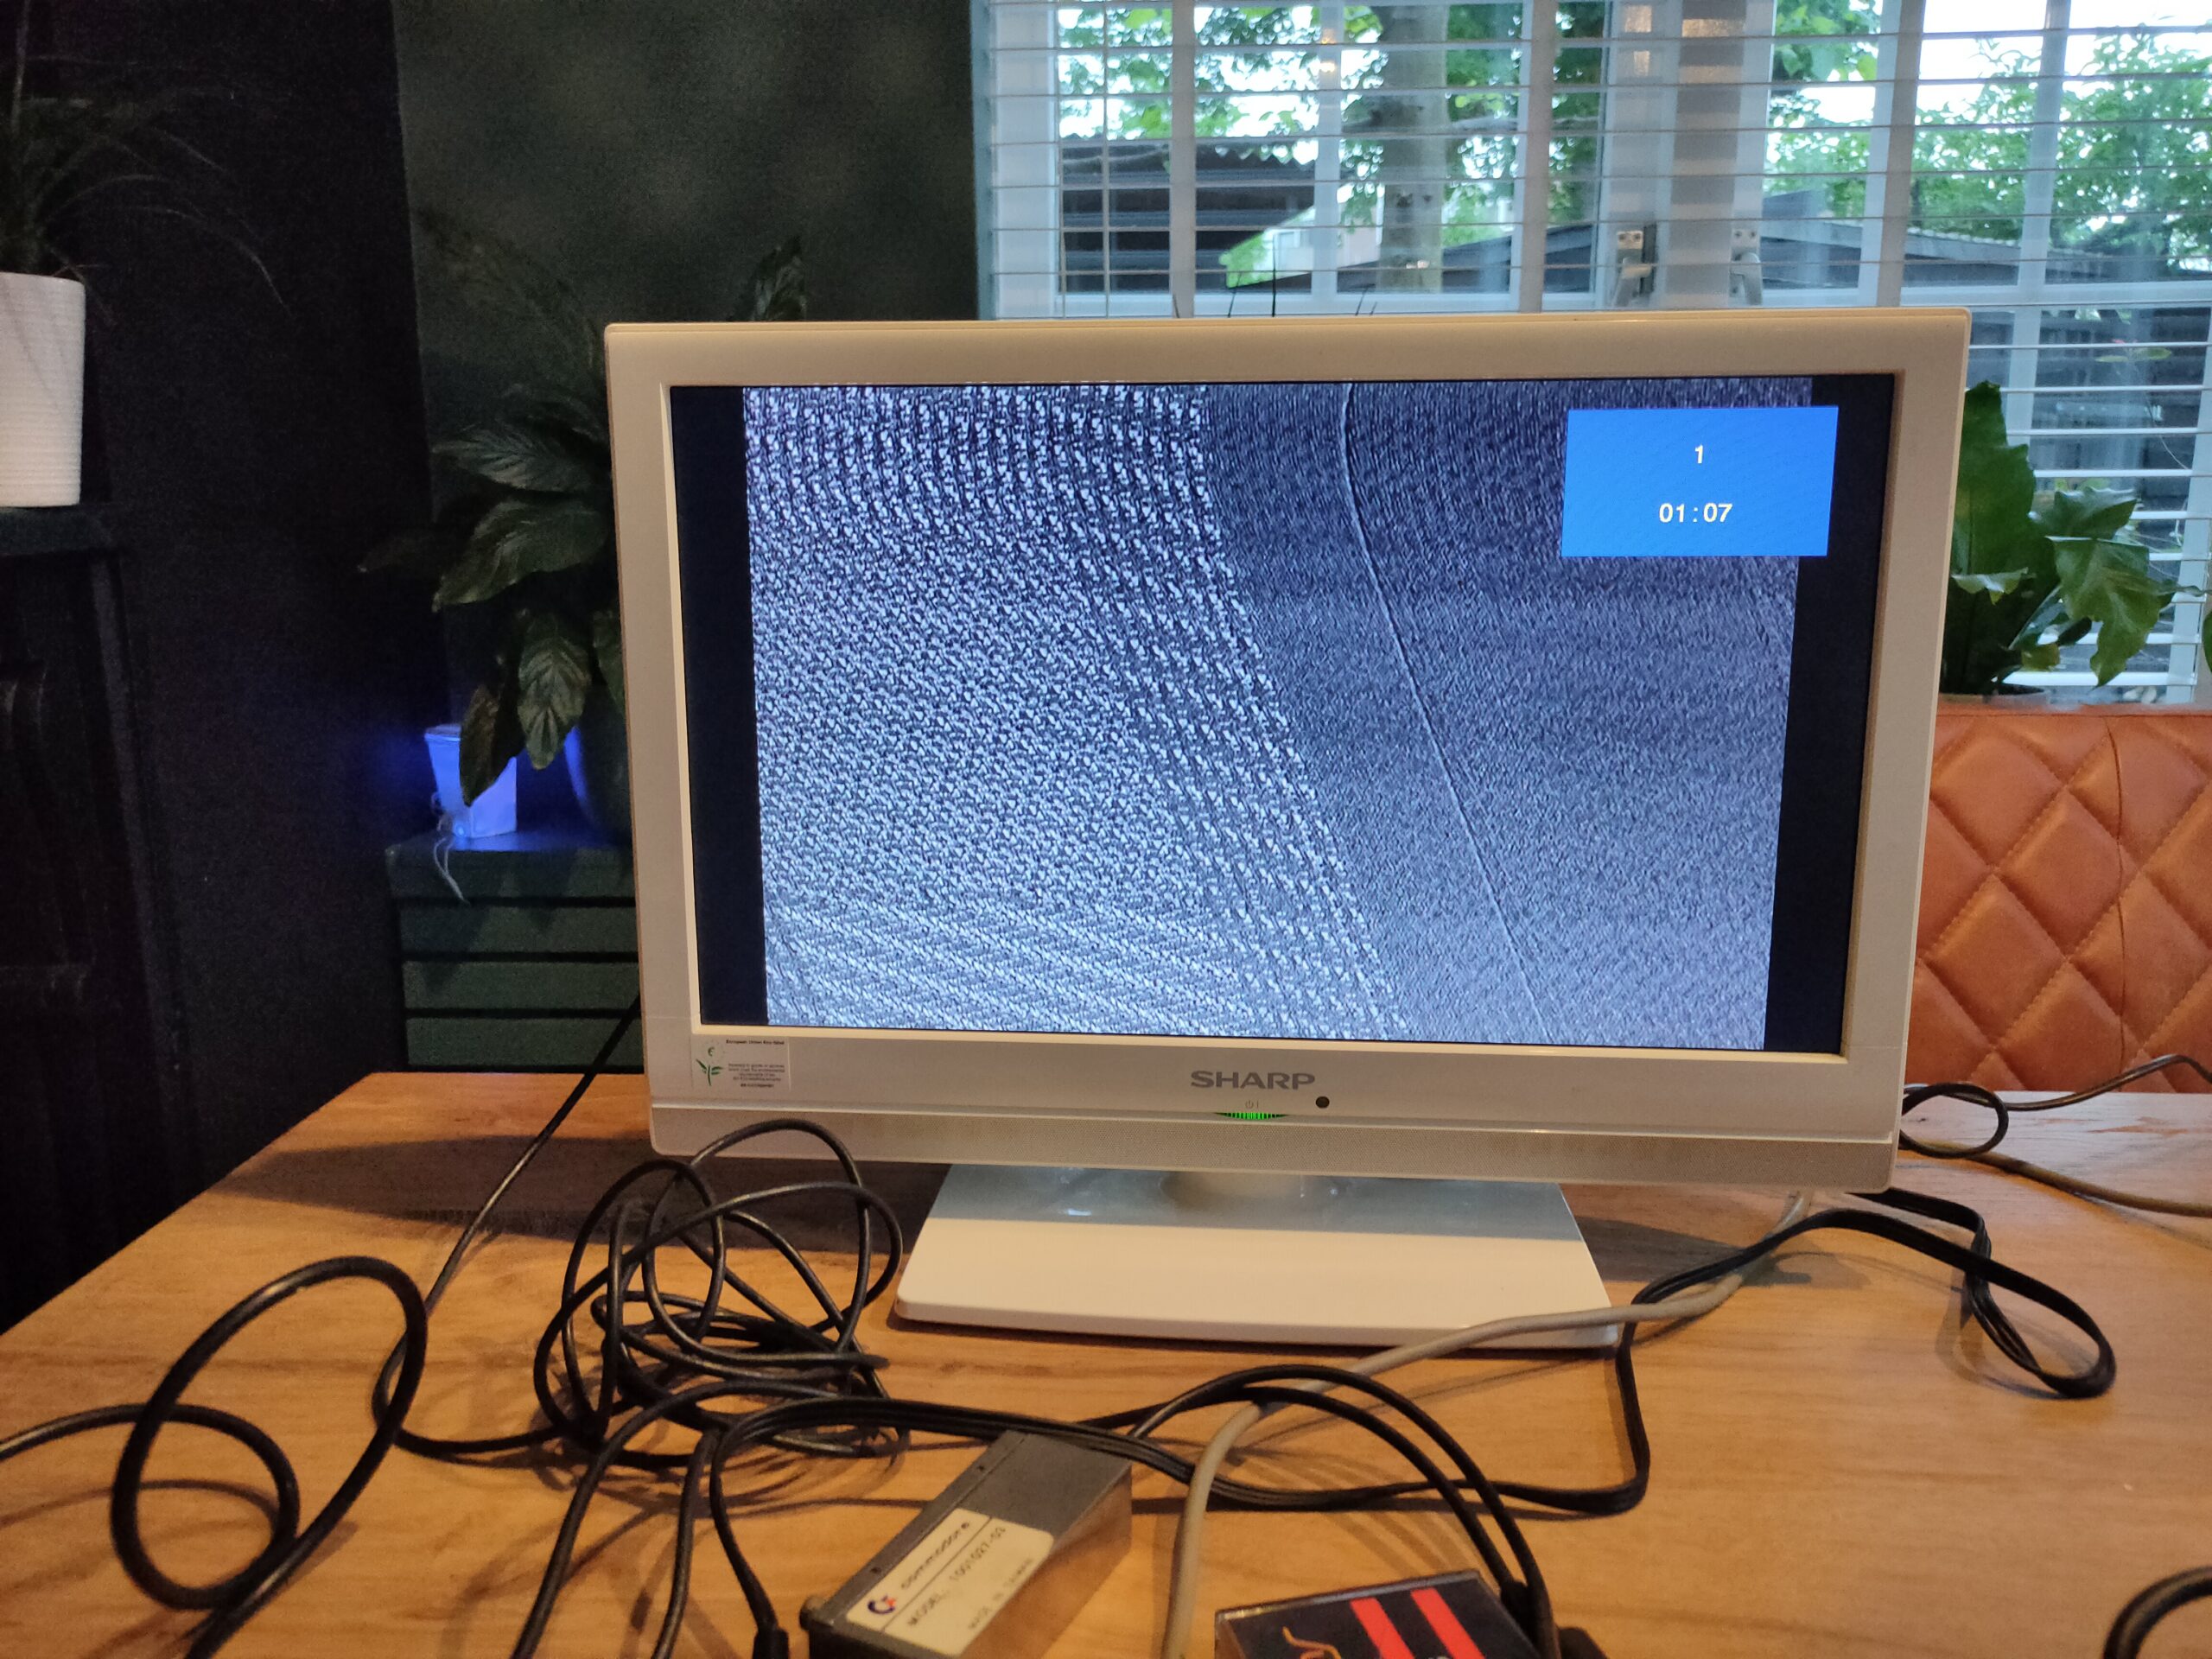
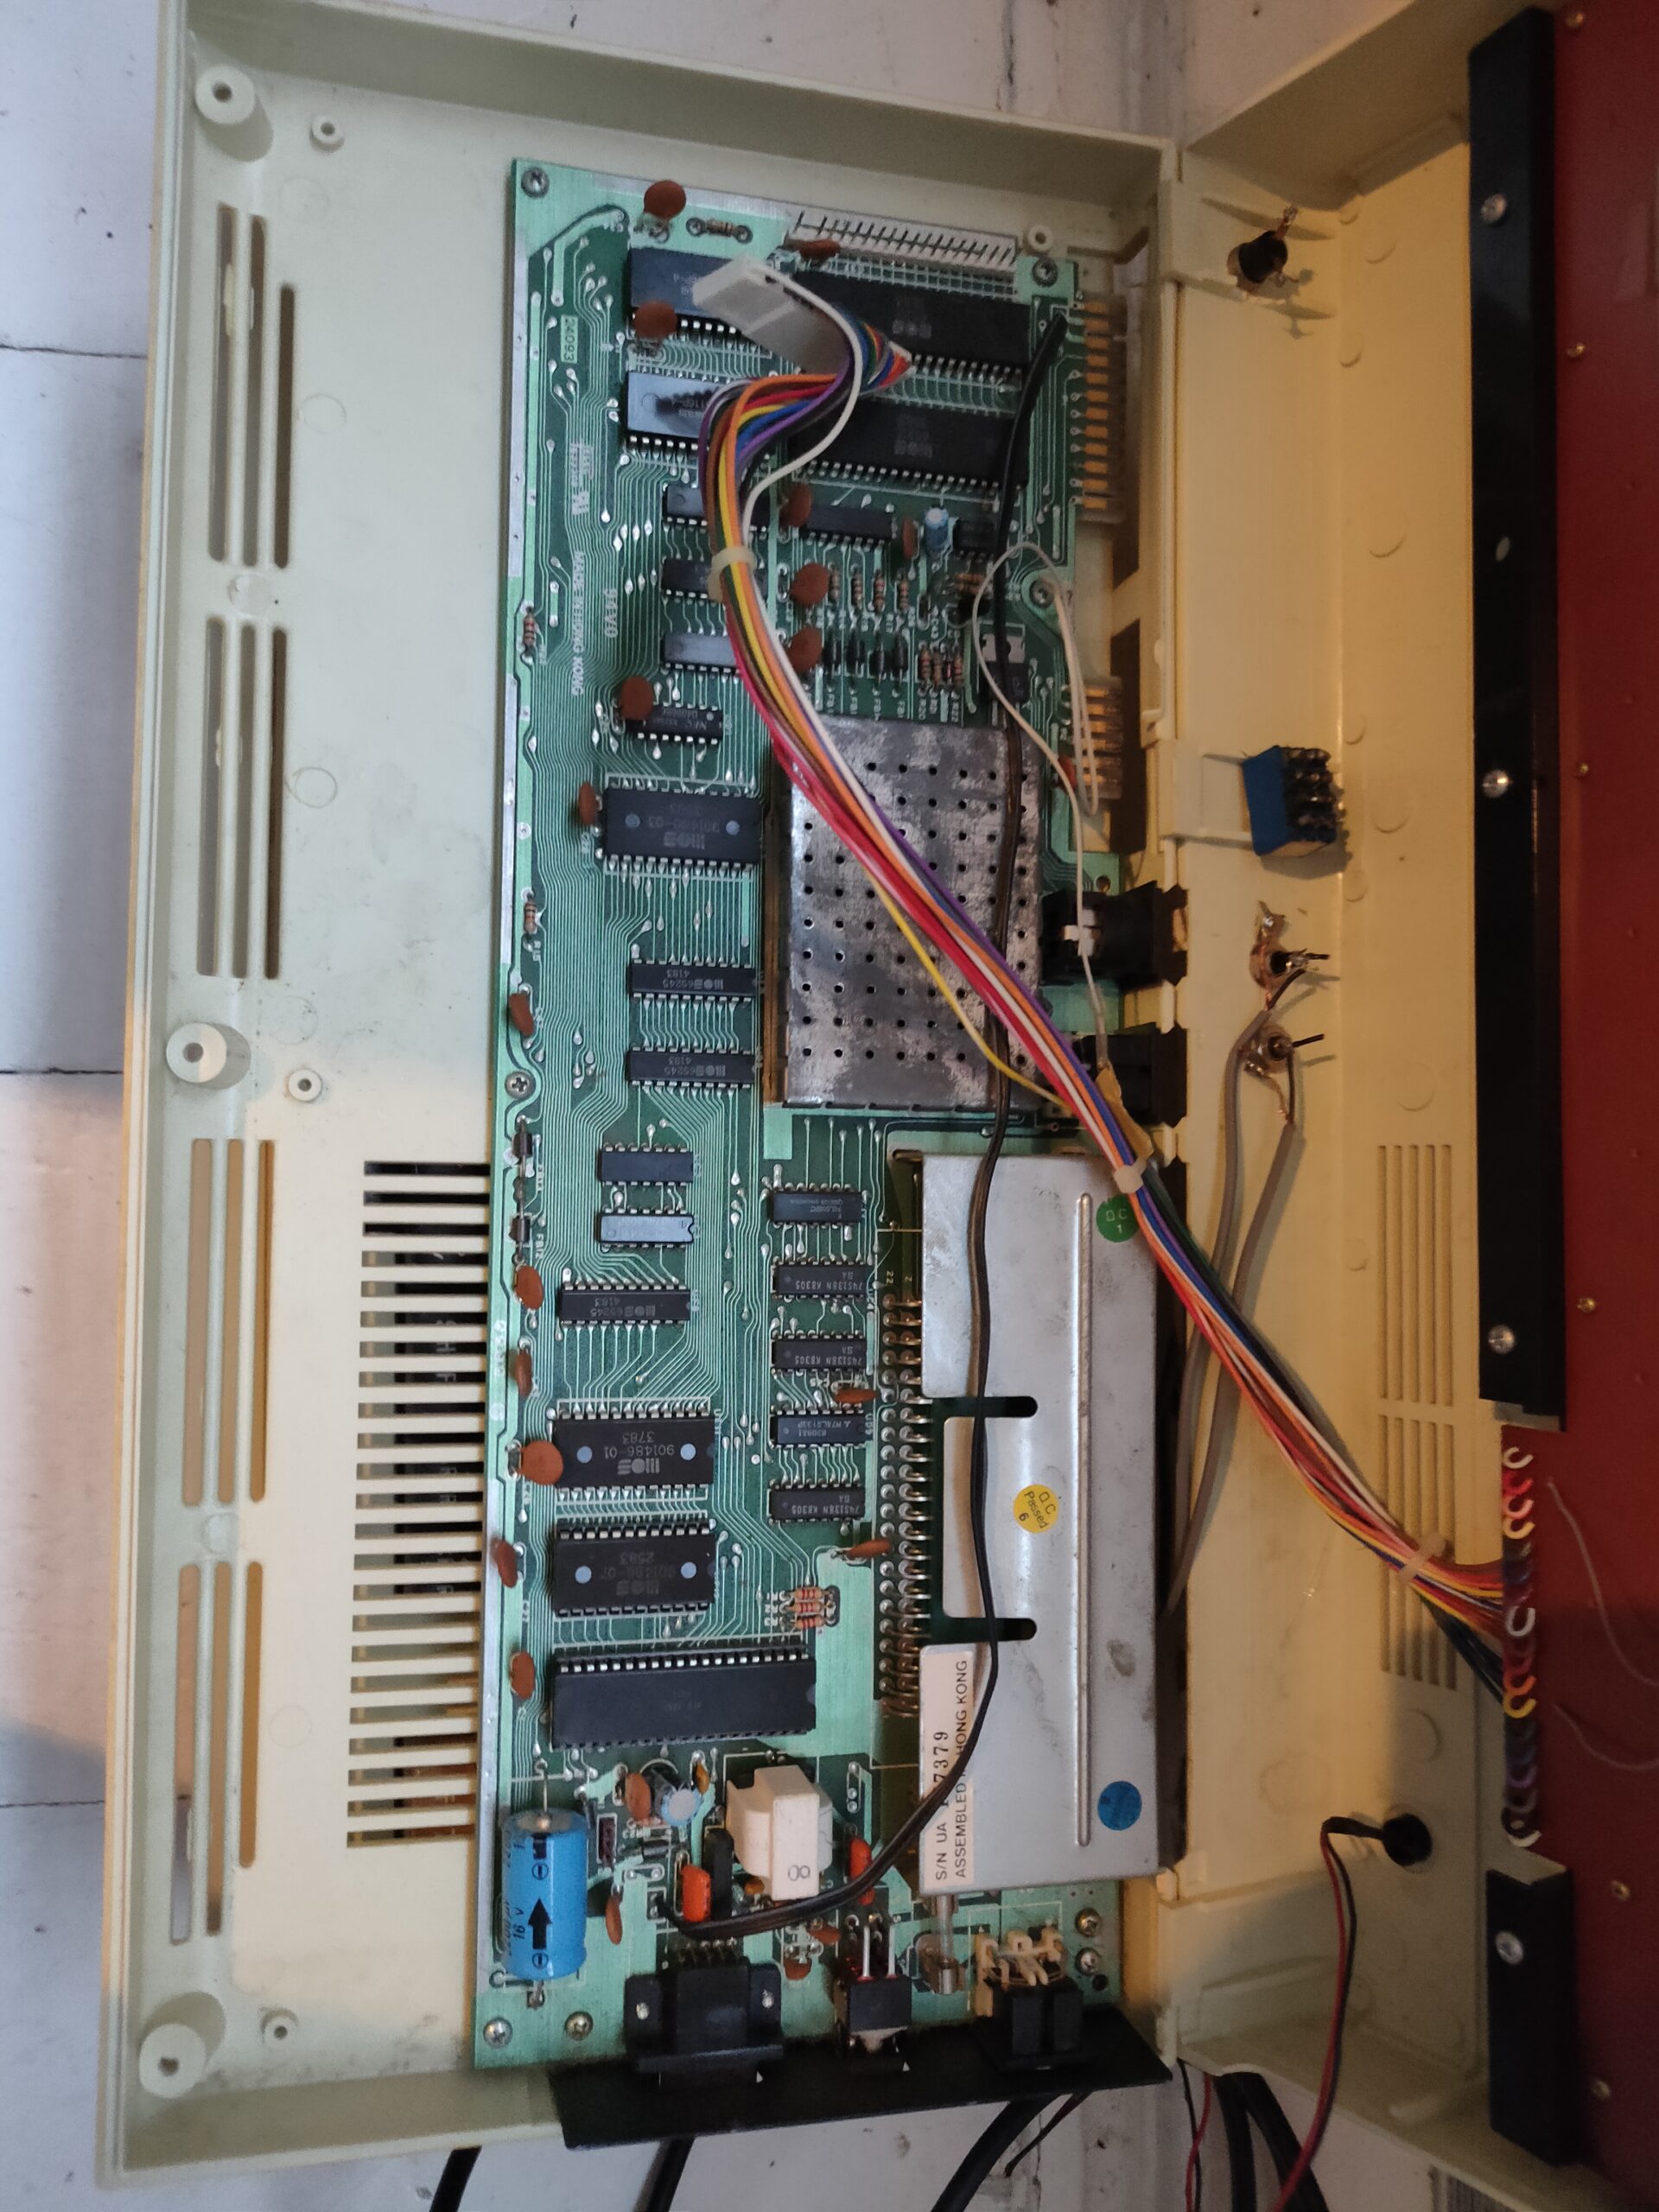
Another Vic-20 – with a Bad U31 (Oscillator)? or Vic video chip?
Left Vic-20 with buildin power convertor, right more common version.C64 C with a broken color-ram OR U29 74LS74 chipVic Graf Cartridge, graph a function with annoying sound
When running scripts which take a long time, i don’t want to wait for things to finish before i can start the next one.
For example, using my dedup script or compiling stuff. I wanna know when it is finished.
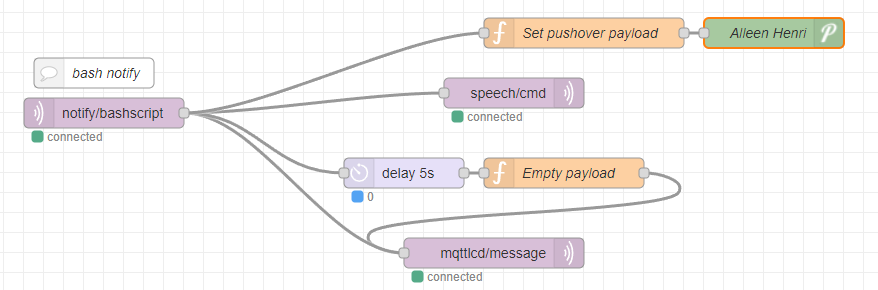
So i made some scripts
Maybe you can hear the spoken text in the background playing downstairs
I’ve put a function in .bashrc, so i can use a command like notify “Compiling is ready” A command like this i can put at the end of a command or in a script file at the end. make && make install && notify “compile ready”
What does it do when executed?
Send a mqtt message to the broker
Node-red will read this message and:
Send a message to my display on my desk – Sound and message notification. (See another post how i made this )
Send a message to a script on my Domoticz instance downstairs.
This will use a script to get a speech file from google, and play this on some small speakers in my livingroom
Send a pushover message to my phone
Display a message on my TV ( not in code below )
How?
At the end of your .bashrc
function notify() {
    if [ -z "$1" ]; then
        echo "Usage: $0 \"message\"";
        exit 1;
    fi
    mosquitto_pub -h 10.1.0.17 -t notify/bashscript -m "$1"
}
This script will look for a cached audiofile with requested text, and uses that. Else it wil request a audio file from google, caches it and plays it though the speakers.
#!/bin/bash
INPUT=$*
input2=$(echo $INPUT | base64)
echo "$input2 = $INPUT" >> /home/pi/cache/files-text-relation
if [ -f /home/pi/cache/$input2.mp3 ] ; then
mpg123 -q /home/pi/cache/$input2.mp3 1>/dev/null 2>/dev/null
else
echo not cached
STRINGNUM=0

ary=($INPUT)
for key in "${!ary[@]}"
  do
    SHORTTMP[$STRINGNUM]="${SHORTTMP[$STRINGNUM]} ${ary[$key]}"
    LENGTH=$(echo ${#SHORTTMP[$STRINGNUM]})
    #echo "word:$key, ${ary[$key]}"
    #echo "adding to: $STRINGNUM"
    if [[ "$LENGTH" -lt "100" ]]; then
      #echo starting new line
      SHORT[$STRINGNUM]=${SHORTTMP[$STRINGNUM]}
    else
      STRINGNUM=$(($STRINGNUM+1))
      SHORTTMP[$STRINGNUM]="${ary[$key]}"
      SHORT[$STRINGNUM]="${ary[$key]}"
    fi
done

for key in "${!SHORT[@]}"
  do
    echo "Playing line: $(($key+1)) of $(($STRINGNUM+1))"
    NEXTURL=$(echo ${SHORT[$key]} | xxd -plain | tr -d '\n' | sed 's/\(..\)/%\1/g')
echo $NEXTURL
    mpg123 -w $input2 -q "http://translate.google.com/translate_tts?ie=UTF-8&client=tw-ob&q=$NEXTURL&tl=En-us"
    ffmpeg -i $input2 -codec:a libmp3lame -qscale:a 2 /home/pi/cache/$input2.mp3
mpg123 /home/pi/cache/$input2.mp3
done
fi
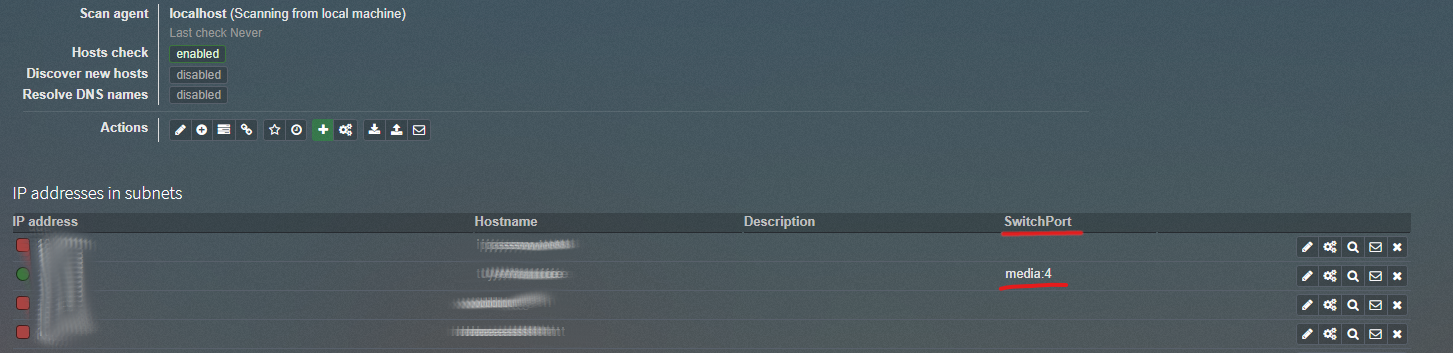
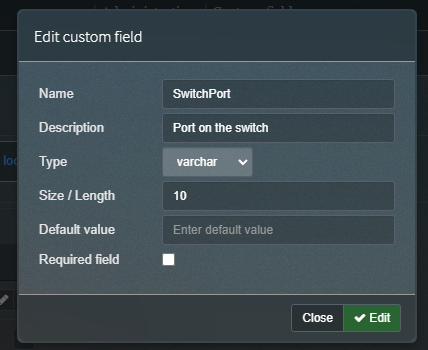
Added custom fields to Phpipam, so i can remove my port sheet and administer everything in Phpipam. And to prepare for a Augmented reality project i want to create.
Howto add fields: Go to the administrator menu on the right. Select IP related management > Custom fields Custom IP addresses fields press the plus sign Give it a name and description. I’m using varchar(10) at the moment so i can enter switchname:port (media:4)
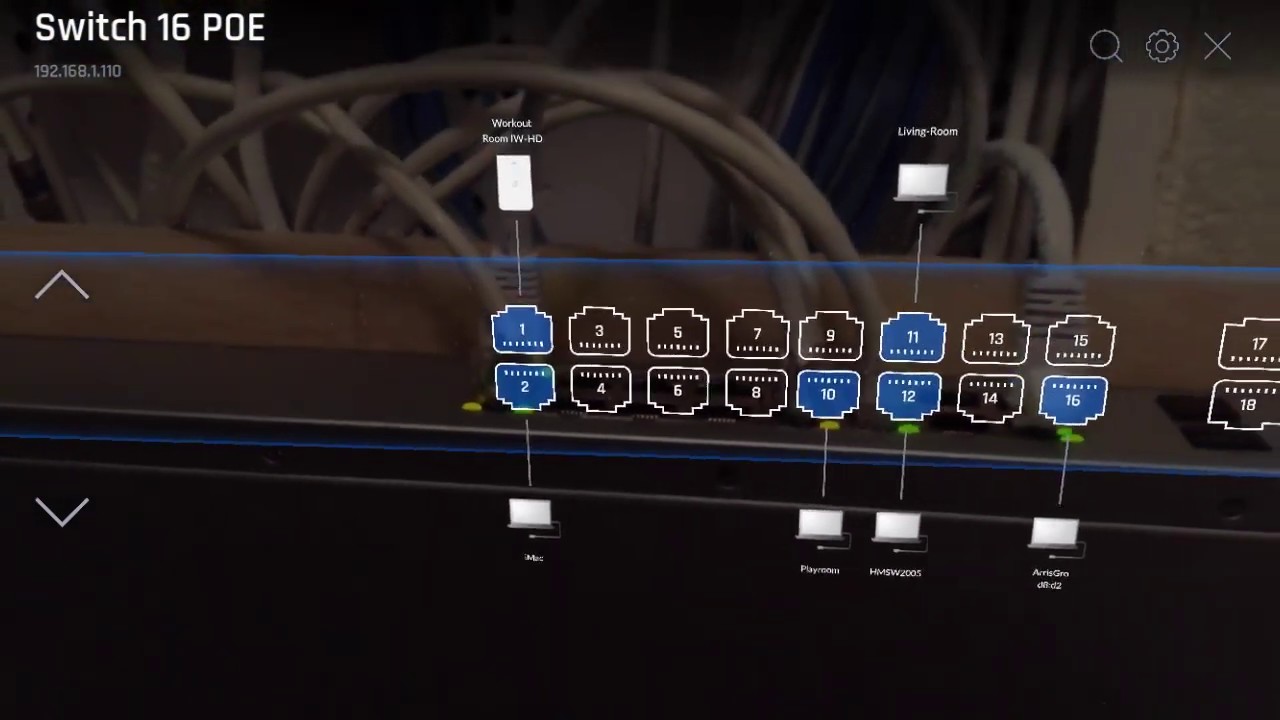
See below for a example: Using a QR code and the information, i want to display port information using a app.
Sorting out my fileserver, i had the need for a deduplication script. Many files i’ve been copying from backup, clouds mobile devices and workstation. Inevitable to get many copies.
Below script walks a directory, using locate it tries to find files with same name. Using a md5sum it wil check if it is the same file, when found a simular file it stops searching, removes the one from the check-directory and checks the next one.
#!/bin/bash
# Copy this script to your to clean directory,
# when you got a copy on your fileserver from this script
# then the copy in your clean dir will be removed also.
# Dont want that? change
# find -type f |
# into
# find -type f | grep -v <nameofthisscript> |

# dont is current directory, skip these from locations
dont=$(pwd)
# Never start in /mnt ? uncomment below
# echo "$dont" | grep "^/mnt" && ( echo "start in tank" ; exit )

find -type f | while read file ; do
        filemd5=$(md5sum "$file" | cut -f1 -d" ")
        basenamefile=$(basename "$file")
        echo "searching $basenamefile"
        locate -i "/$basenamefile" | grep -v "$dont" | while read location ; do
        if [ -f "$location" ] ; then
                locatedfilemd5sum=$(md5sum "$location" | cut -f1 -d" ")
                if [ "$filemd5" == "$locatedfilemd5sum" ] ; then
                        echo "found same md5sum at $location"
                        rm "$file"
                        break
                fi
        fi
        done
done
# Remove empty dirs?
# find . -type d -empty -delete
Locate can be slow, sometimes it is better to put the locate DB in memory of on another fast storage system.
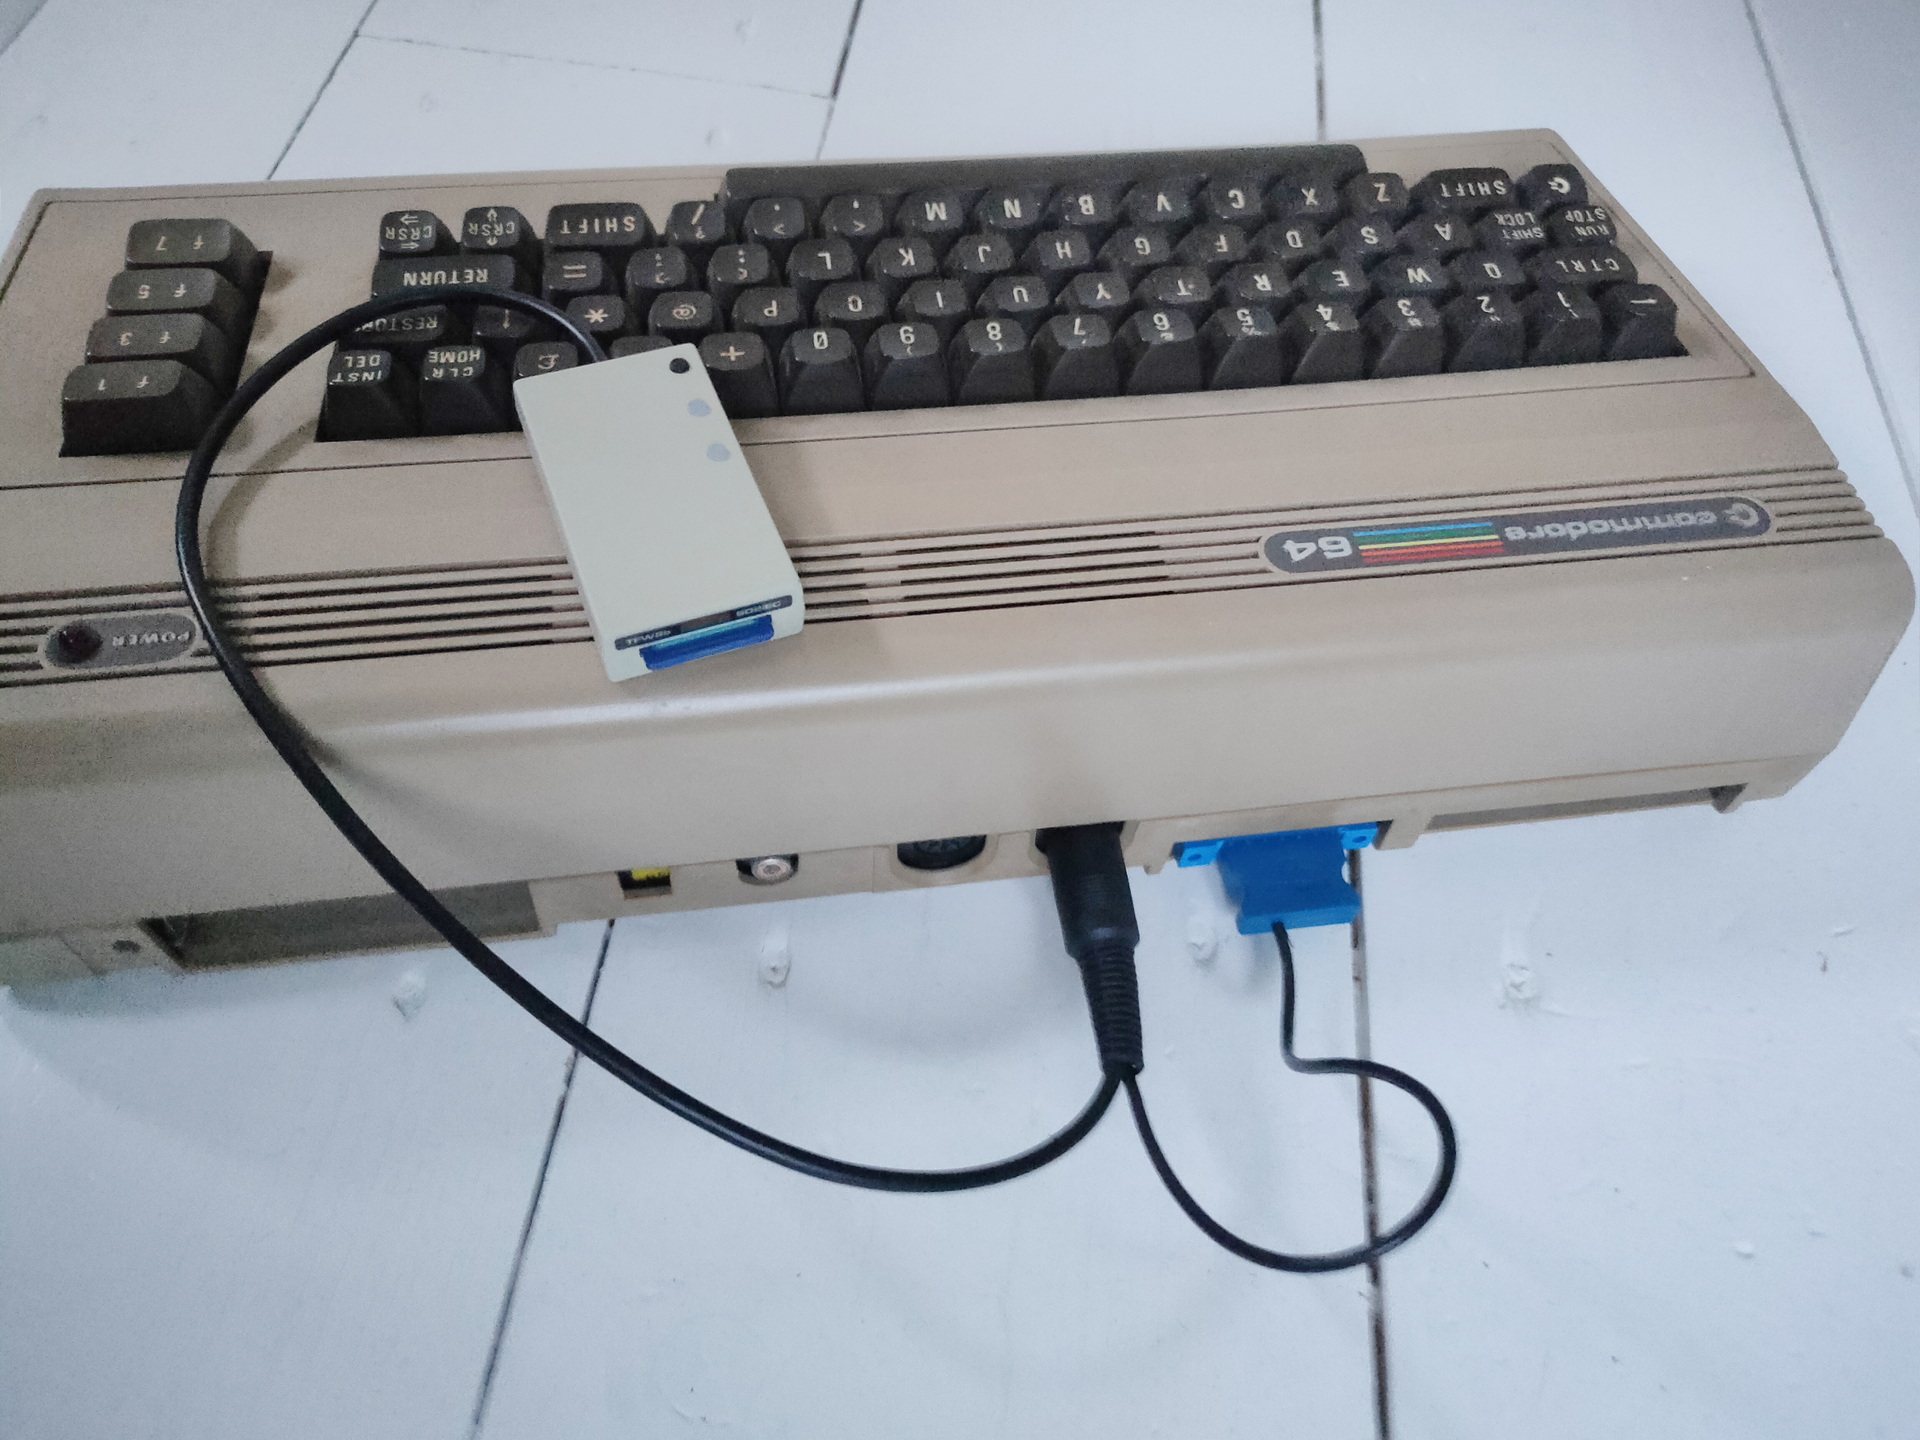
I’ve been using this for a while now, and i’m really impressed by it. It just connects to the Serial Din of your C64, draws power from the Cassette port. … And even looks like a mini drive!
I’ve been converting Disks to images as well as runnig previously converted D64 images on a real C64 again.
Also the internet provides loads of images to run again.
Converting and running:
For real floppy to image i used a empty image file. Made my real original drive device number 9, and used Dracopy (also below)
Image running on your real C64, just put a D64 disk image on your SDcard.
There is a disk selector and run program you can use. (See below) Also you can use the buttons for disk swap/change.
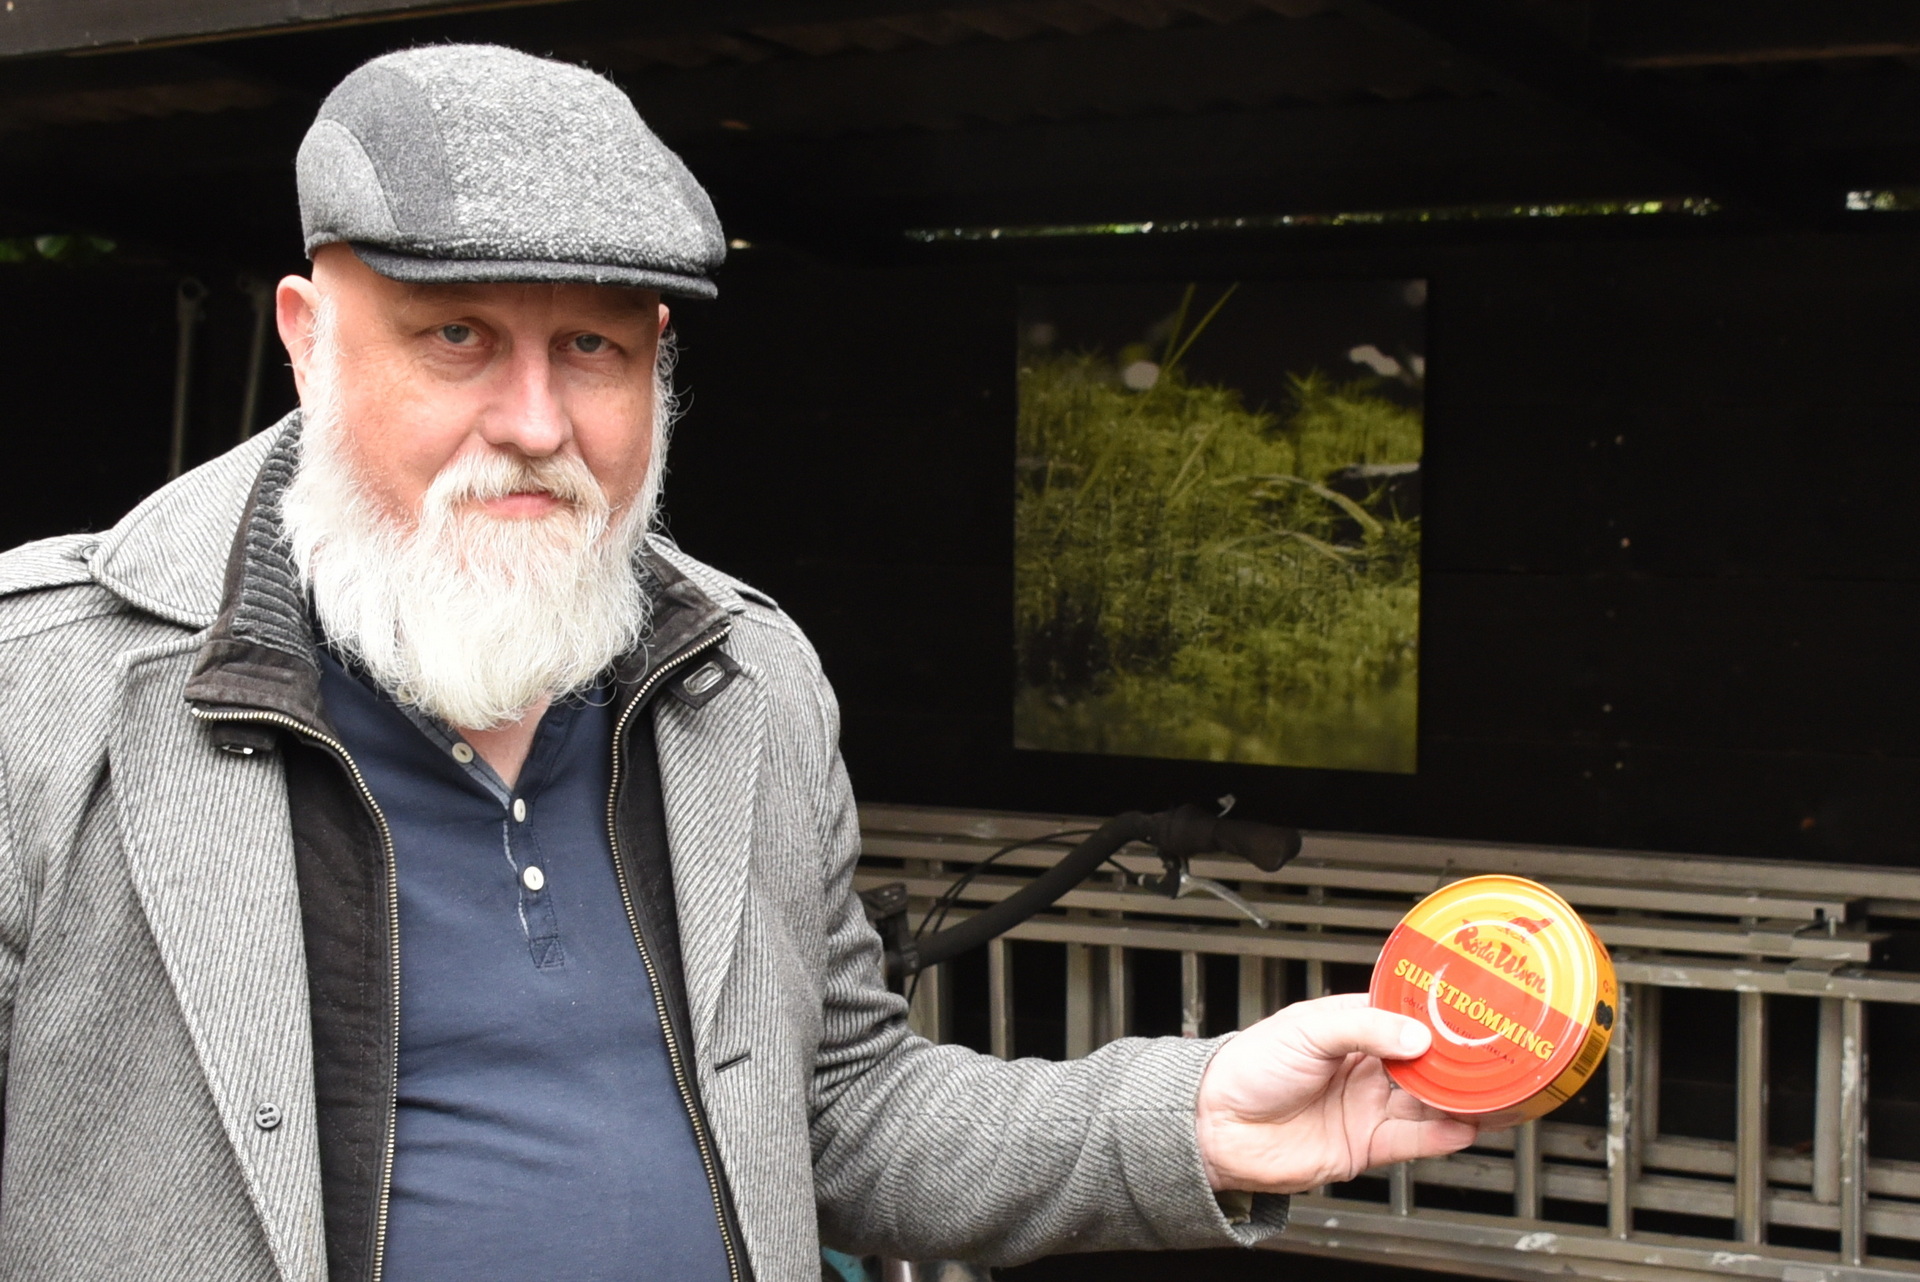
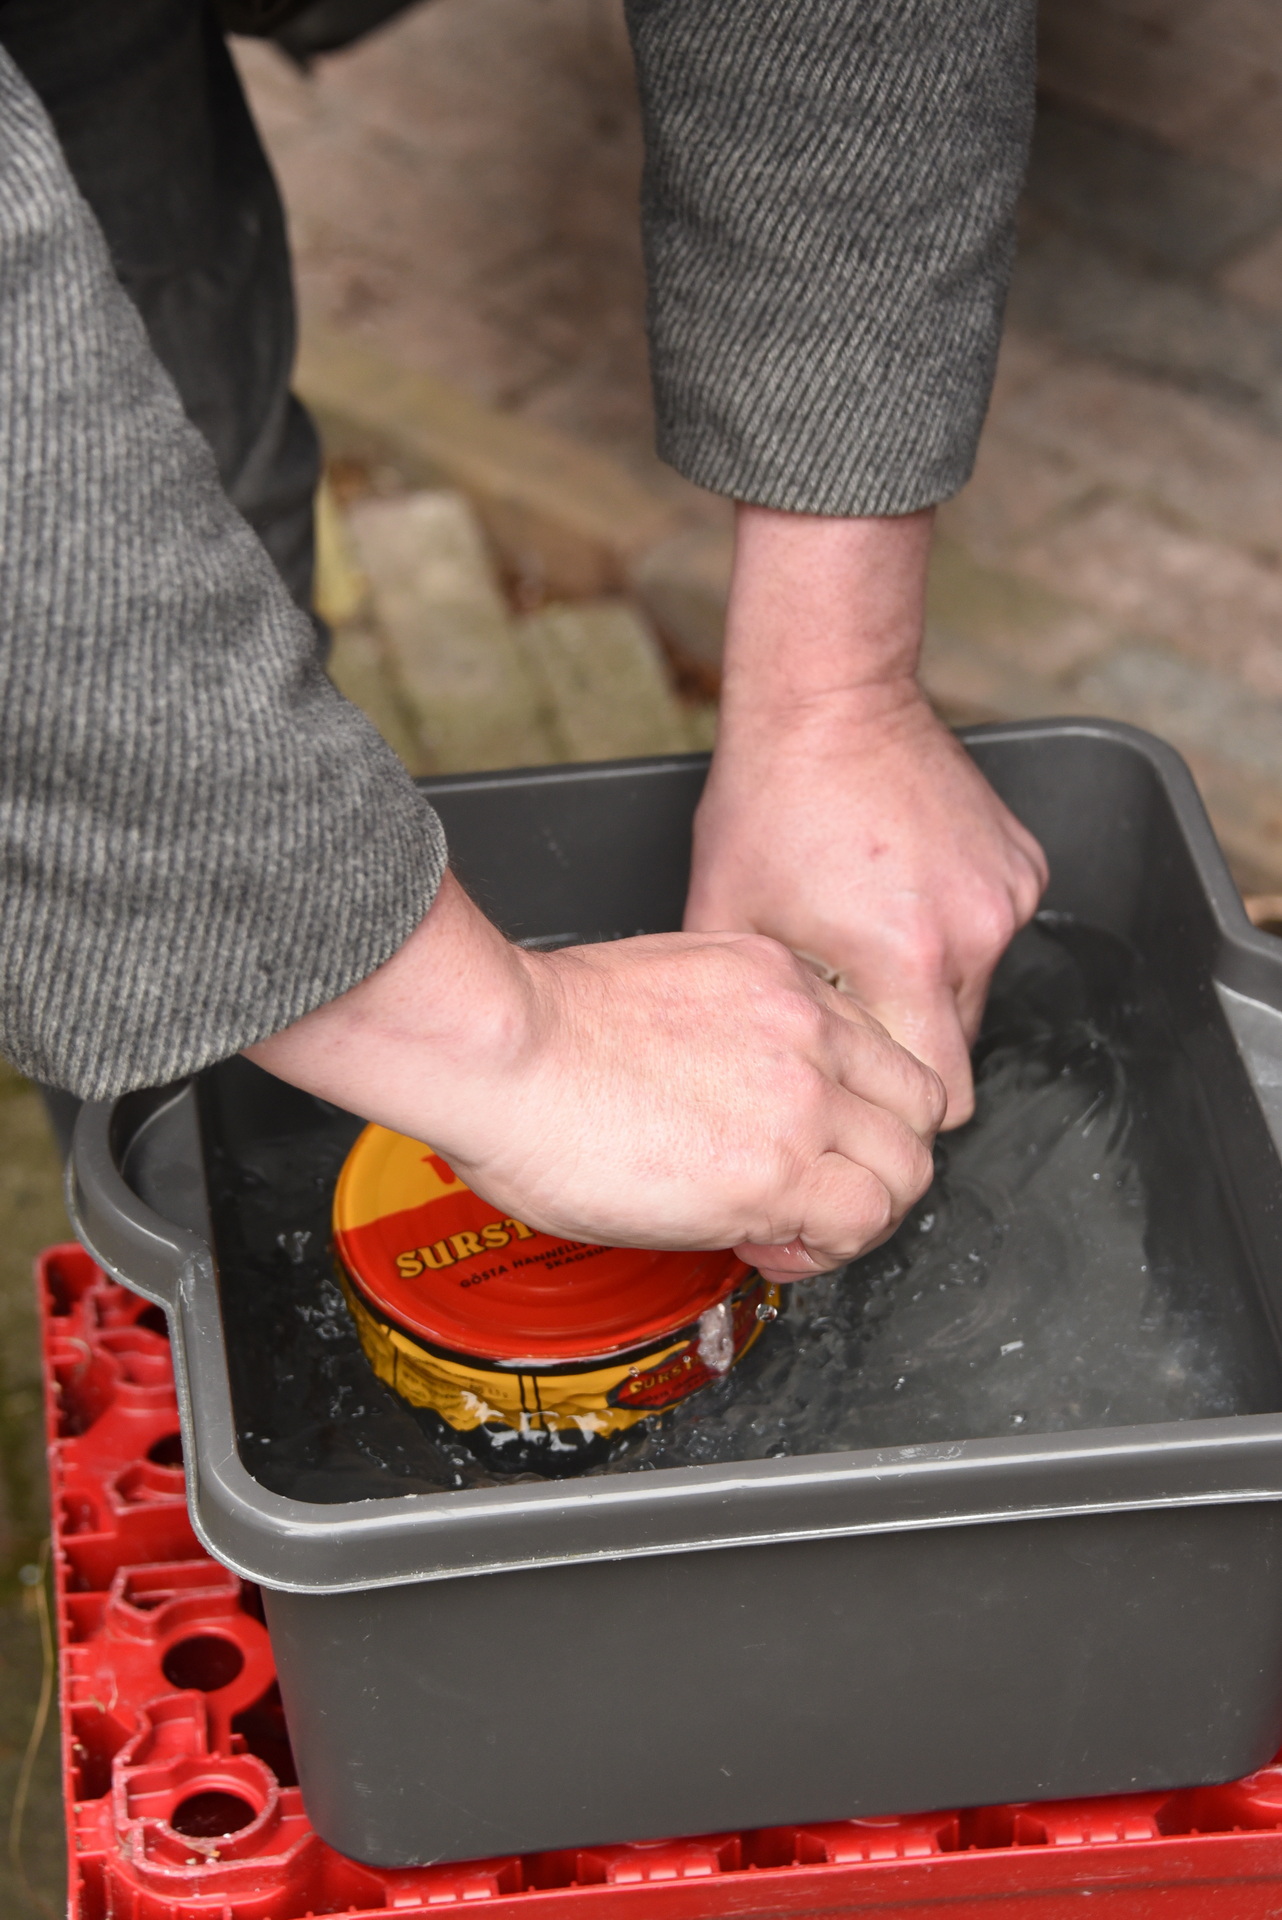
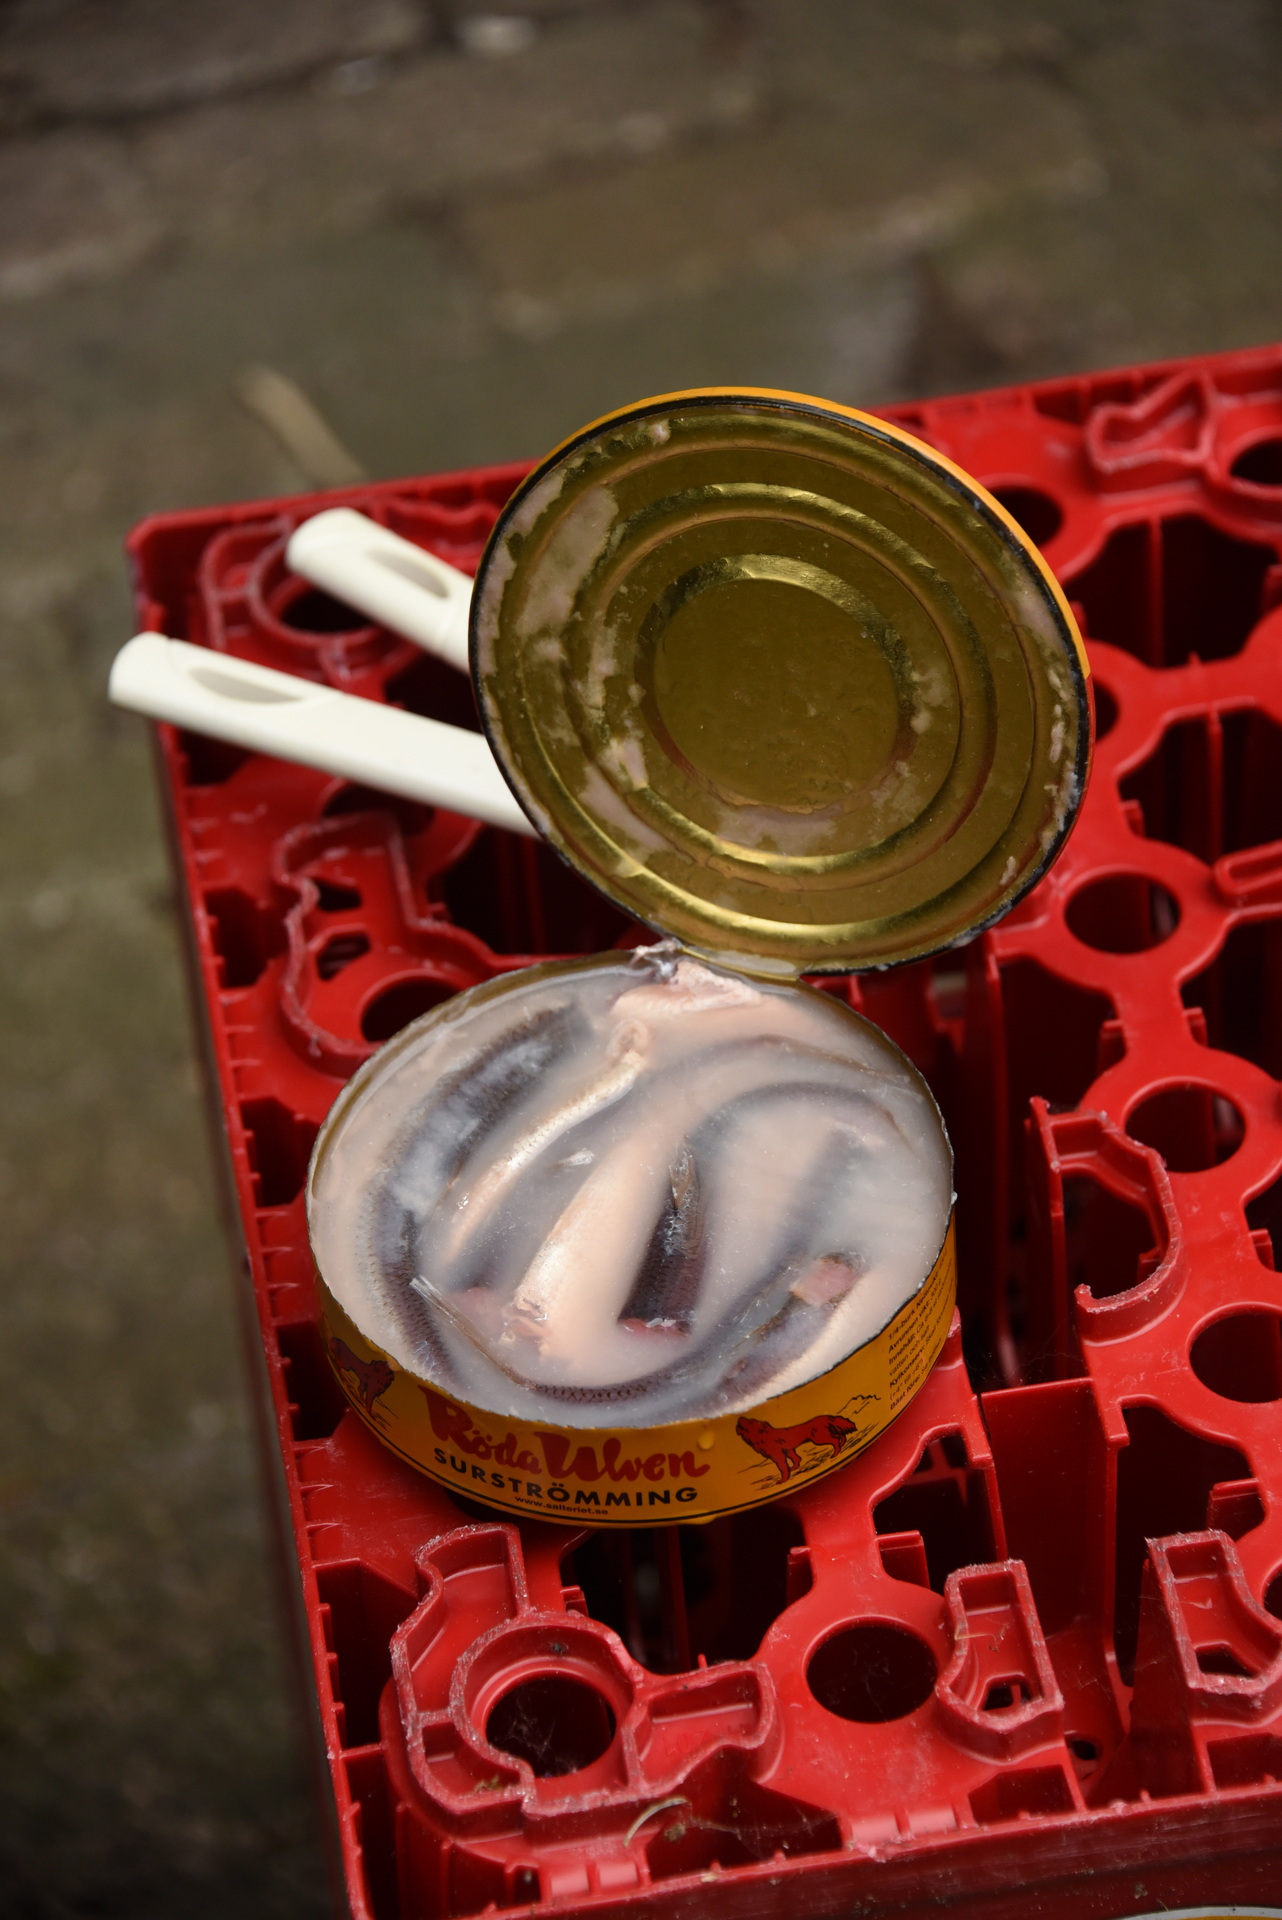
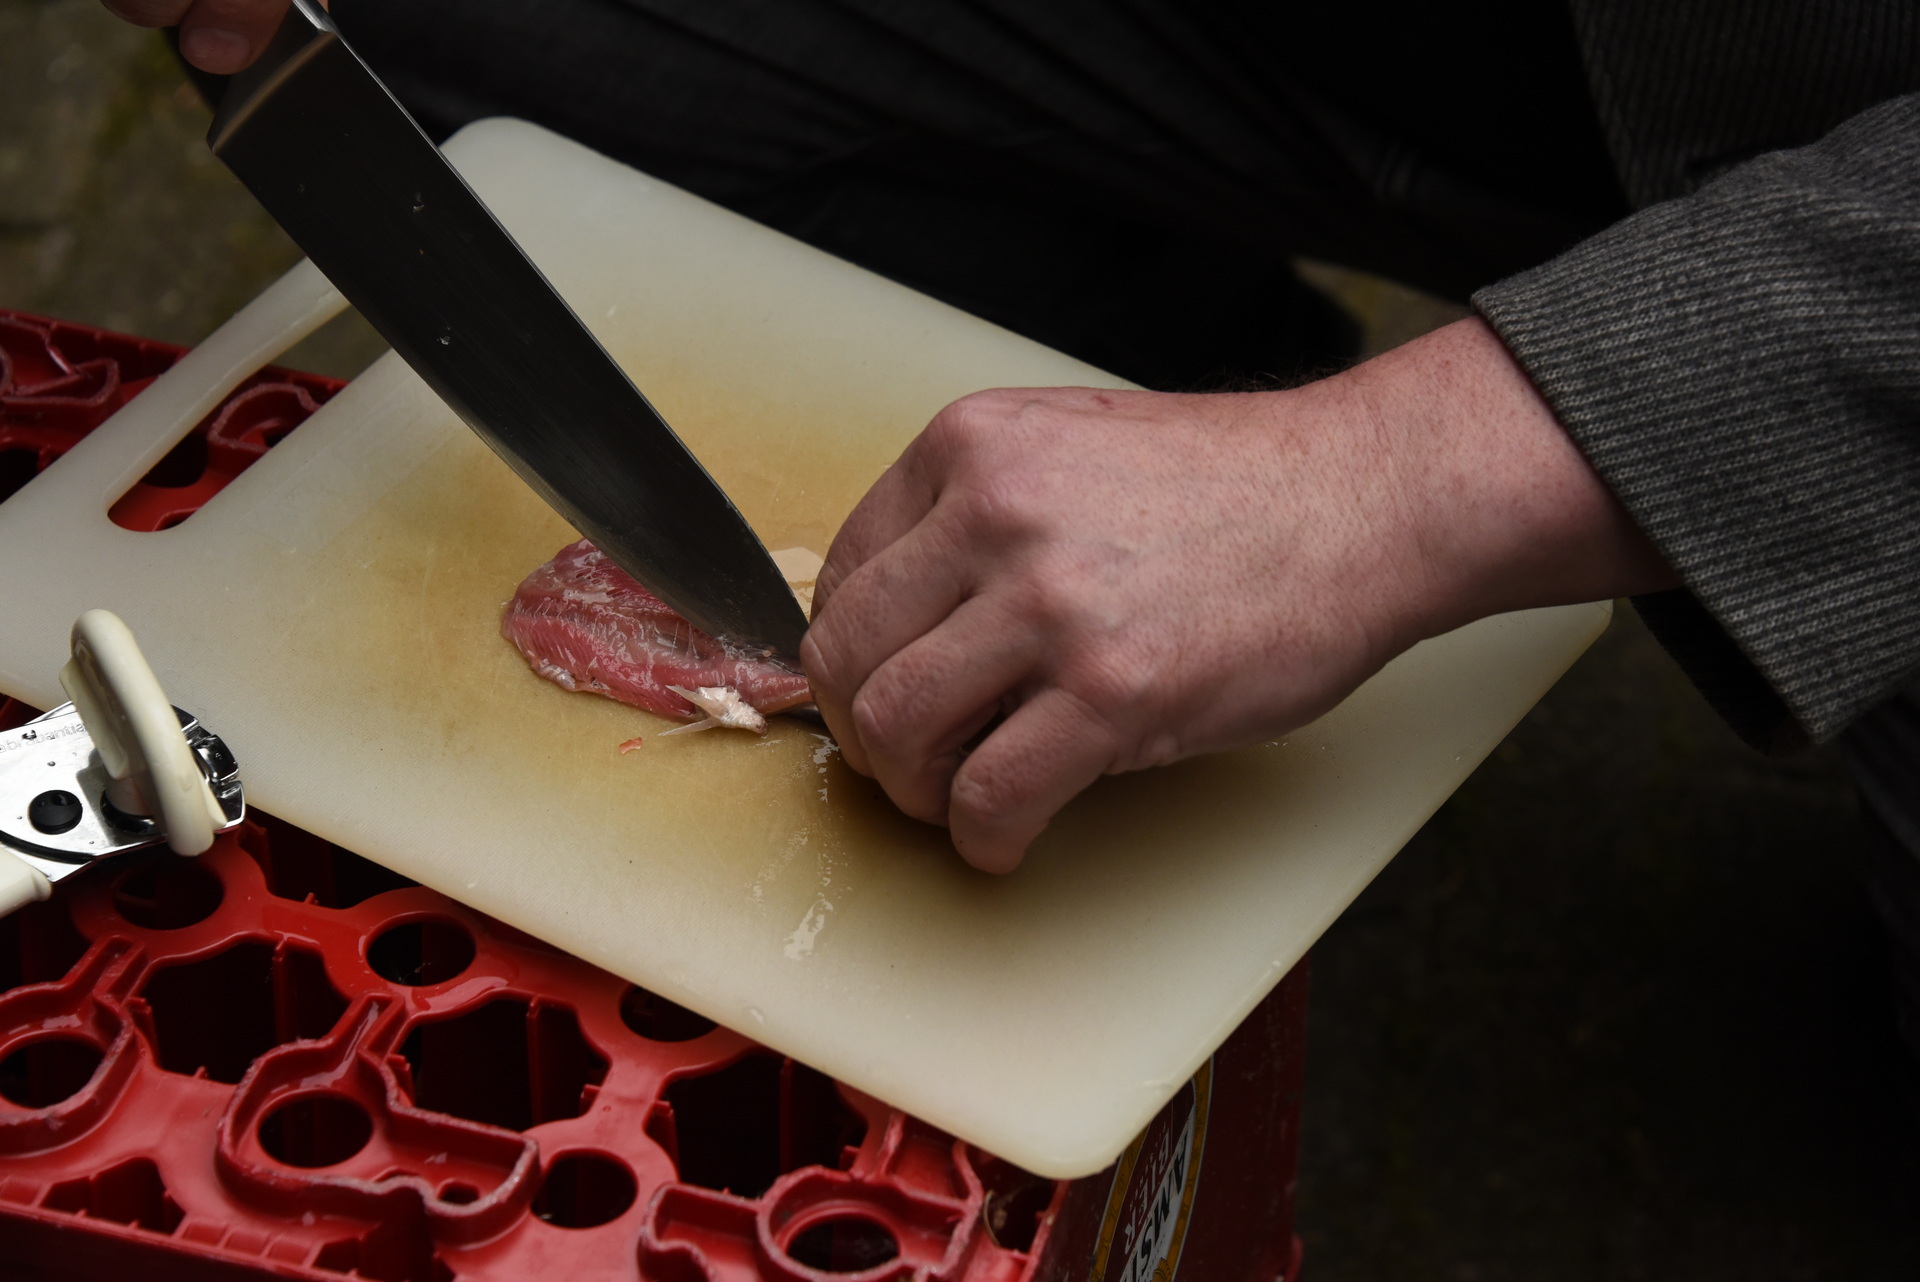
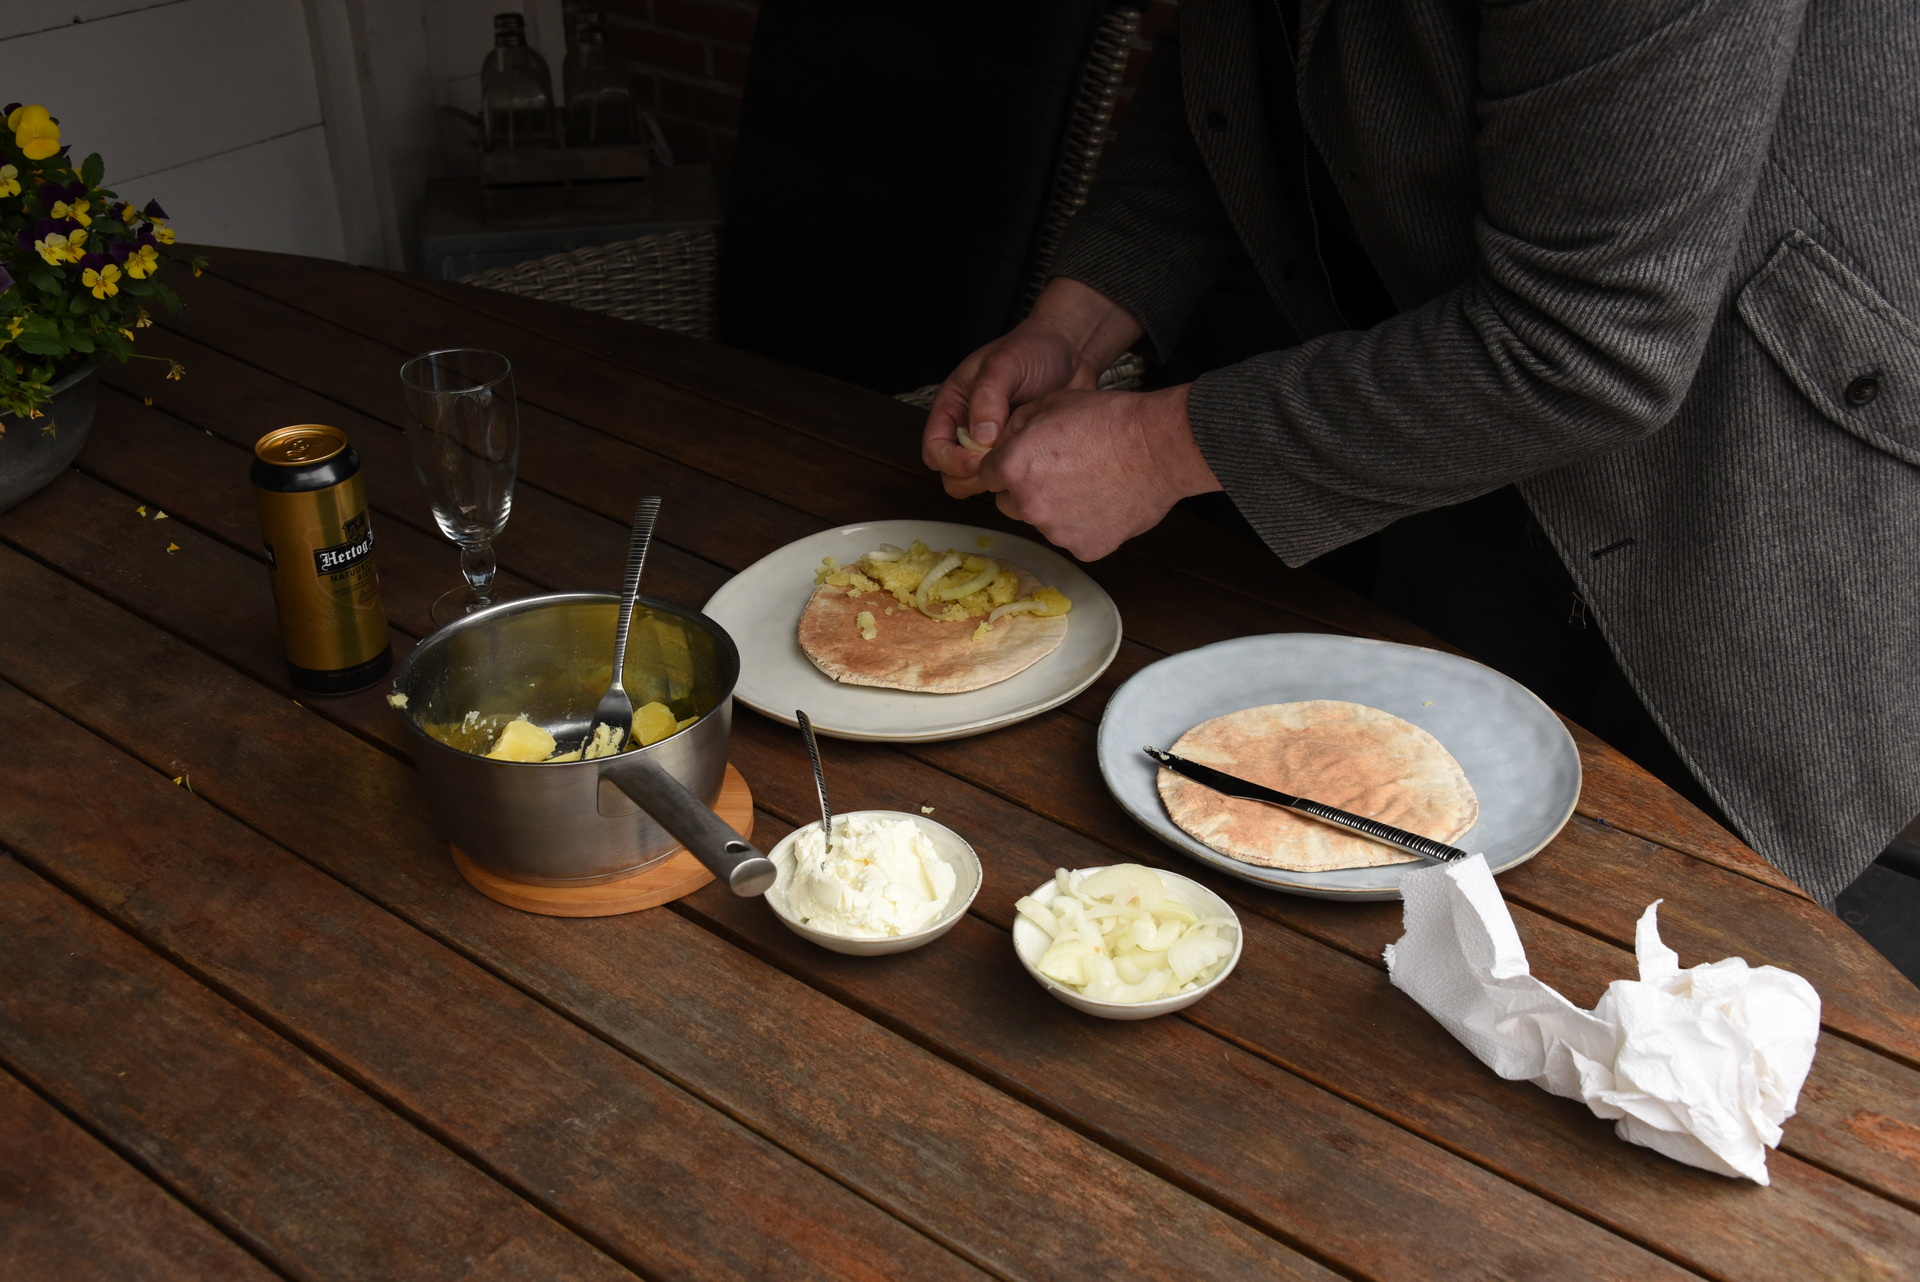
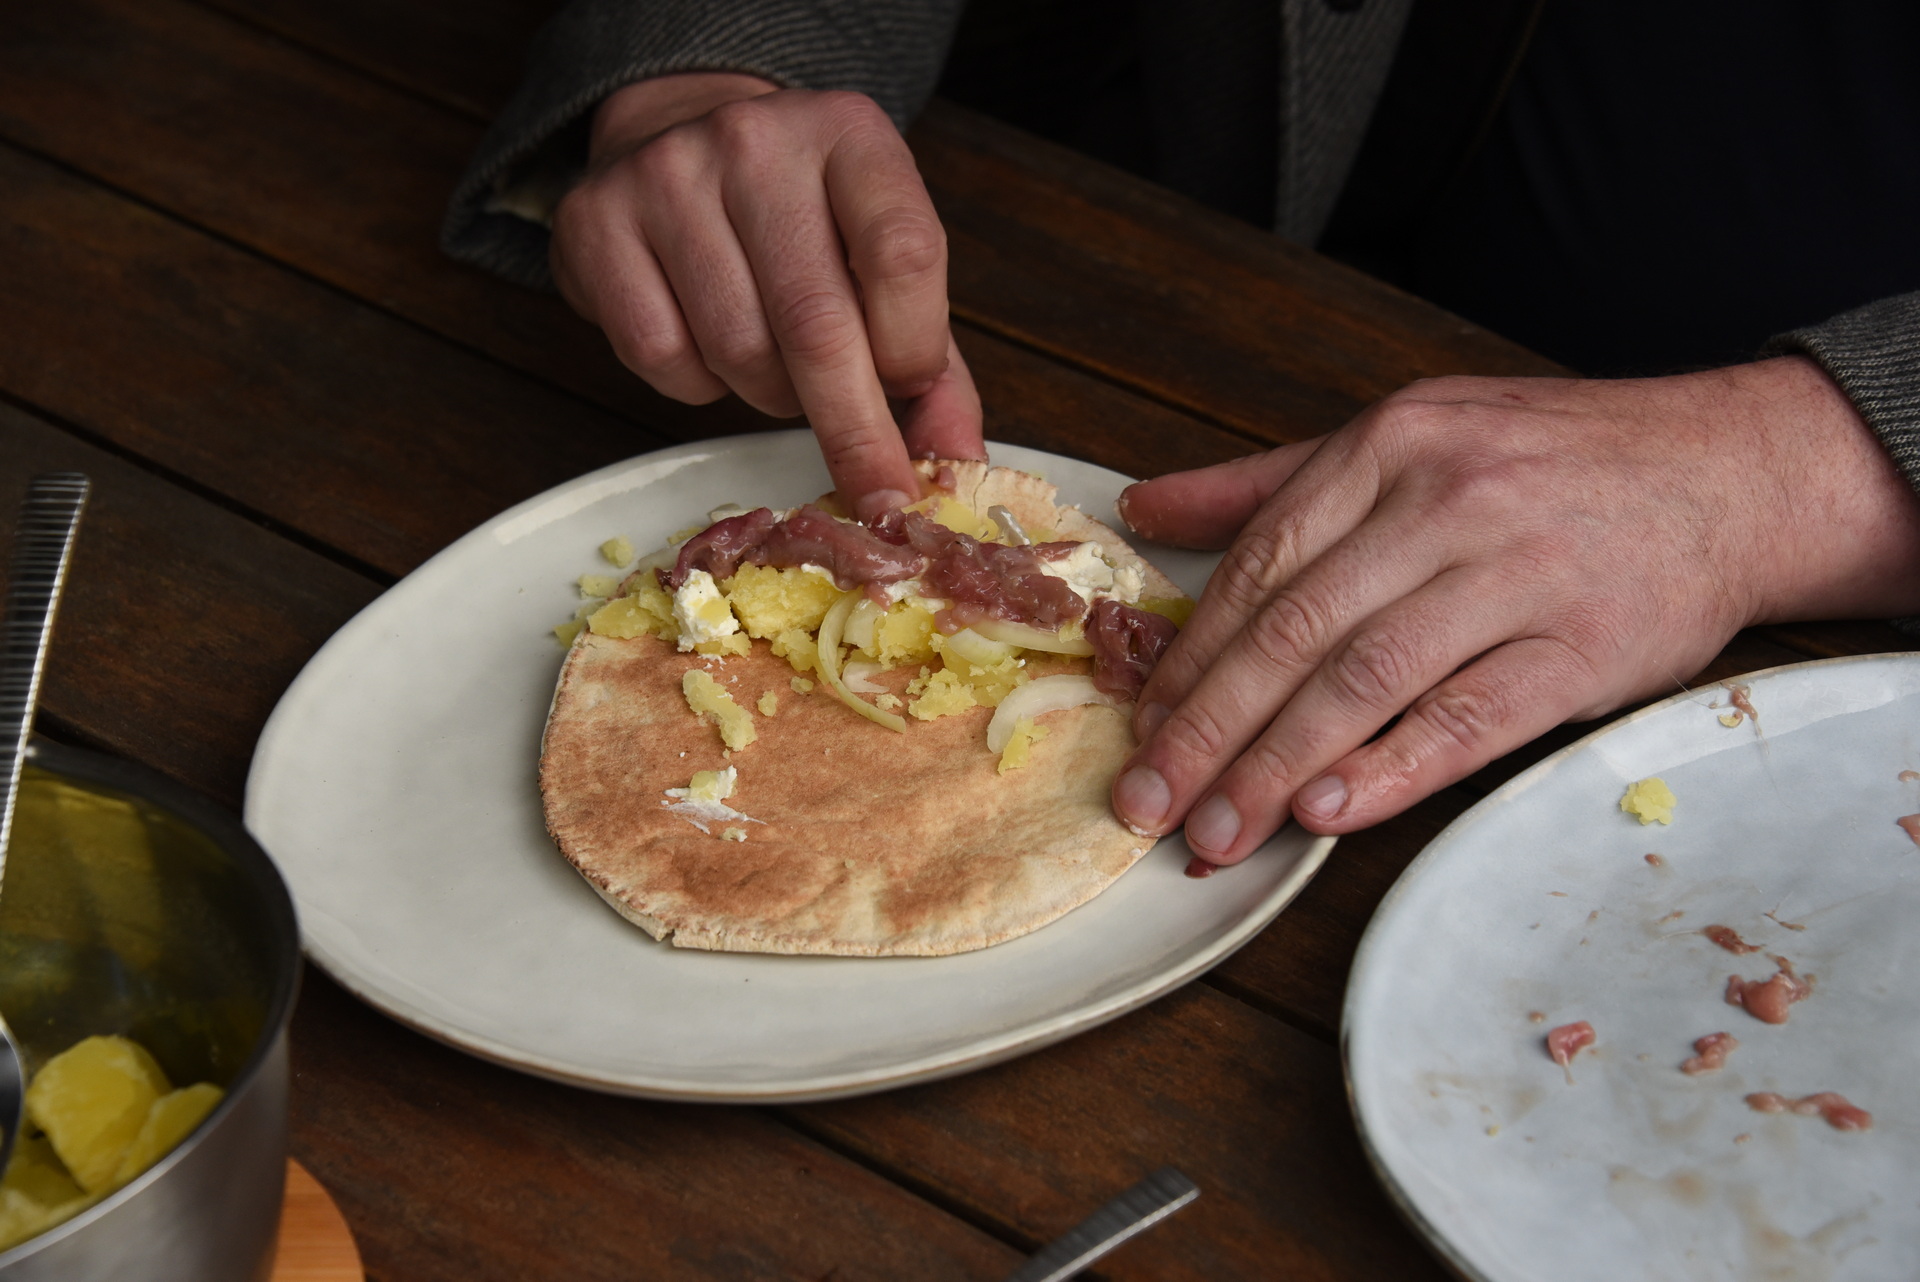
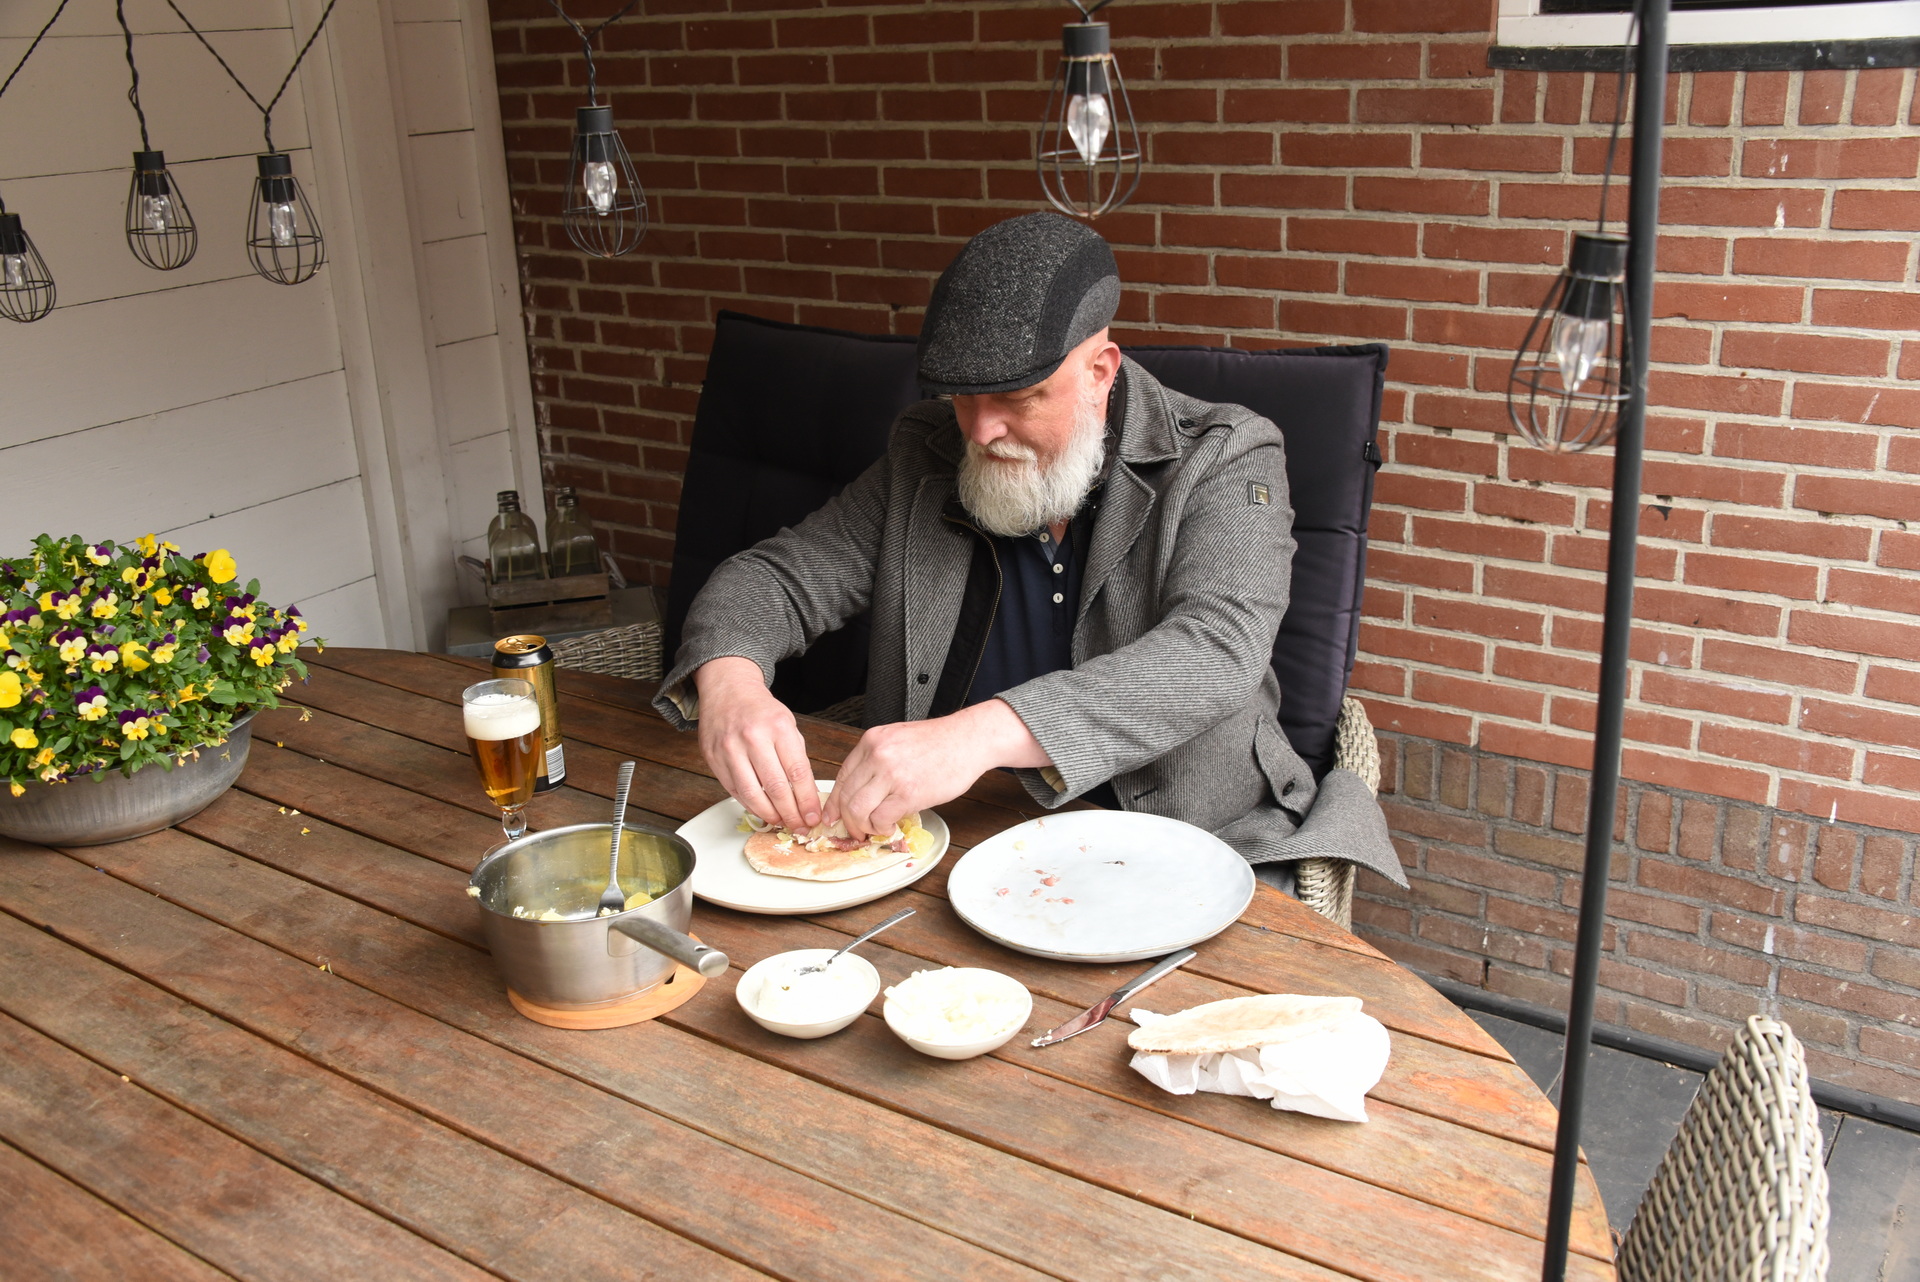
As the tin is pressurised, open the surströmming in a basin of water. Wash it, gut it, and wrap it in buttered tunnbröd, a type of sweetened flat bread, with sour cream, potatoes and onion. Accompany with beer.
Didn’t have tunnbröd, used another flat bread.
I liked it enough to have two portions, would eat again.
The canOpen under waterFishyCut ‘n gutPotatoesAdd fishRollAnd enjoy
I was about 16 when i first read about Oak Island, it was the first book posted below (it’s from 1979 and i still got it, it already was a few years old before i got it.). It was mysterious and about a place that still existed and i never forgot about it in all those years.
I even wanted to build a model to understand how it could have worked, with the drain system and the ‘boobystraps’.
In 2014 a series started on History Canada about trying to solve this mystery. I still watch it whenever a new episode is posted.
A few years back i’ve been playing with Unity and Unreal. I’m really a beginner, but it would be nice if some community effort was made to get a Oak Island in a game engine where you can explore some of the things they found.