As posted before ( https://www.henriaanstoot.nl/2022/04/09/c64-plus-drive-running-again/ ) i’ve got a little gadget which emulates a C64 diskdrive.
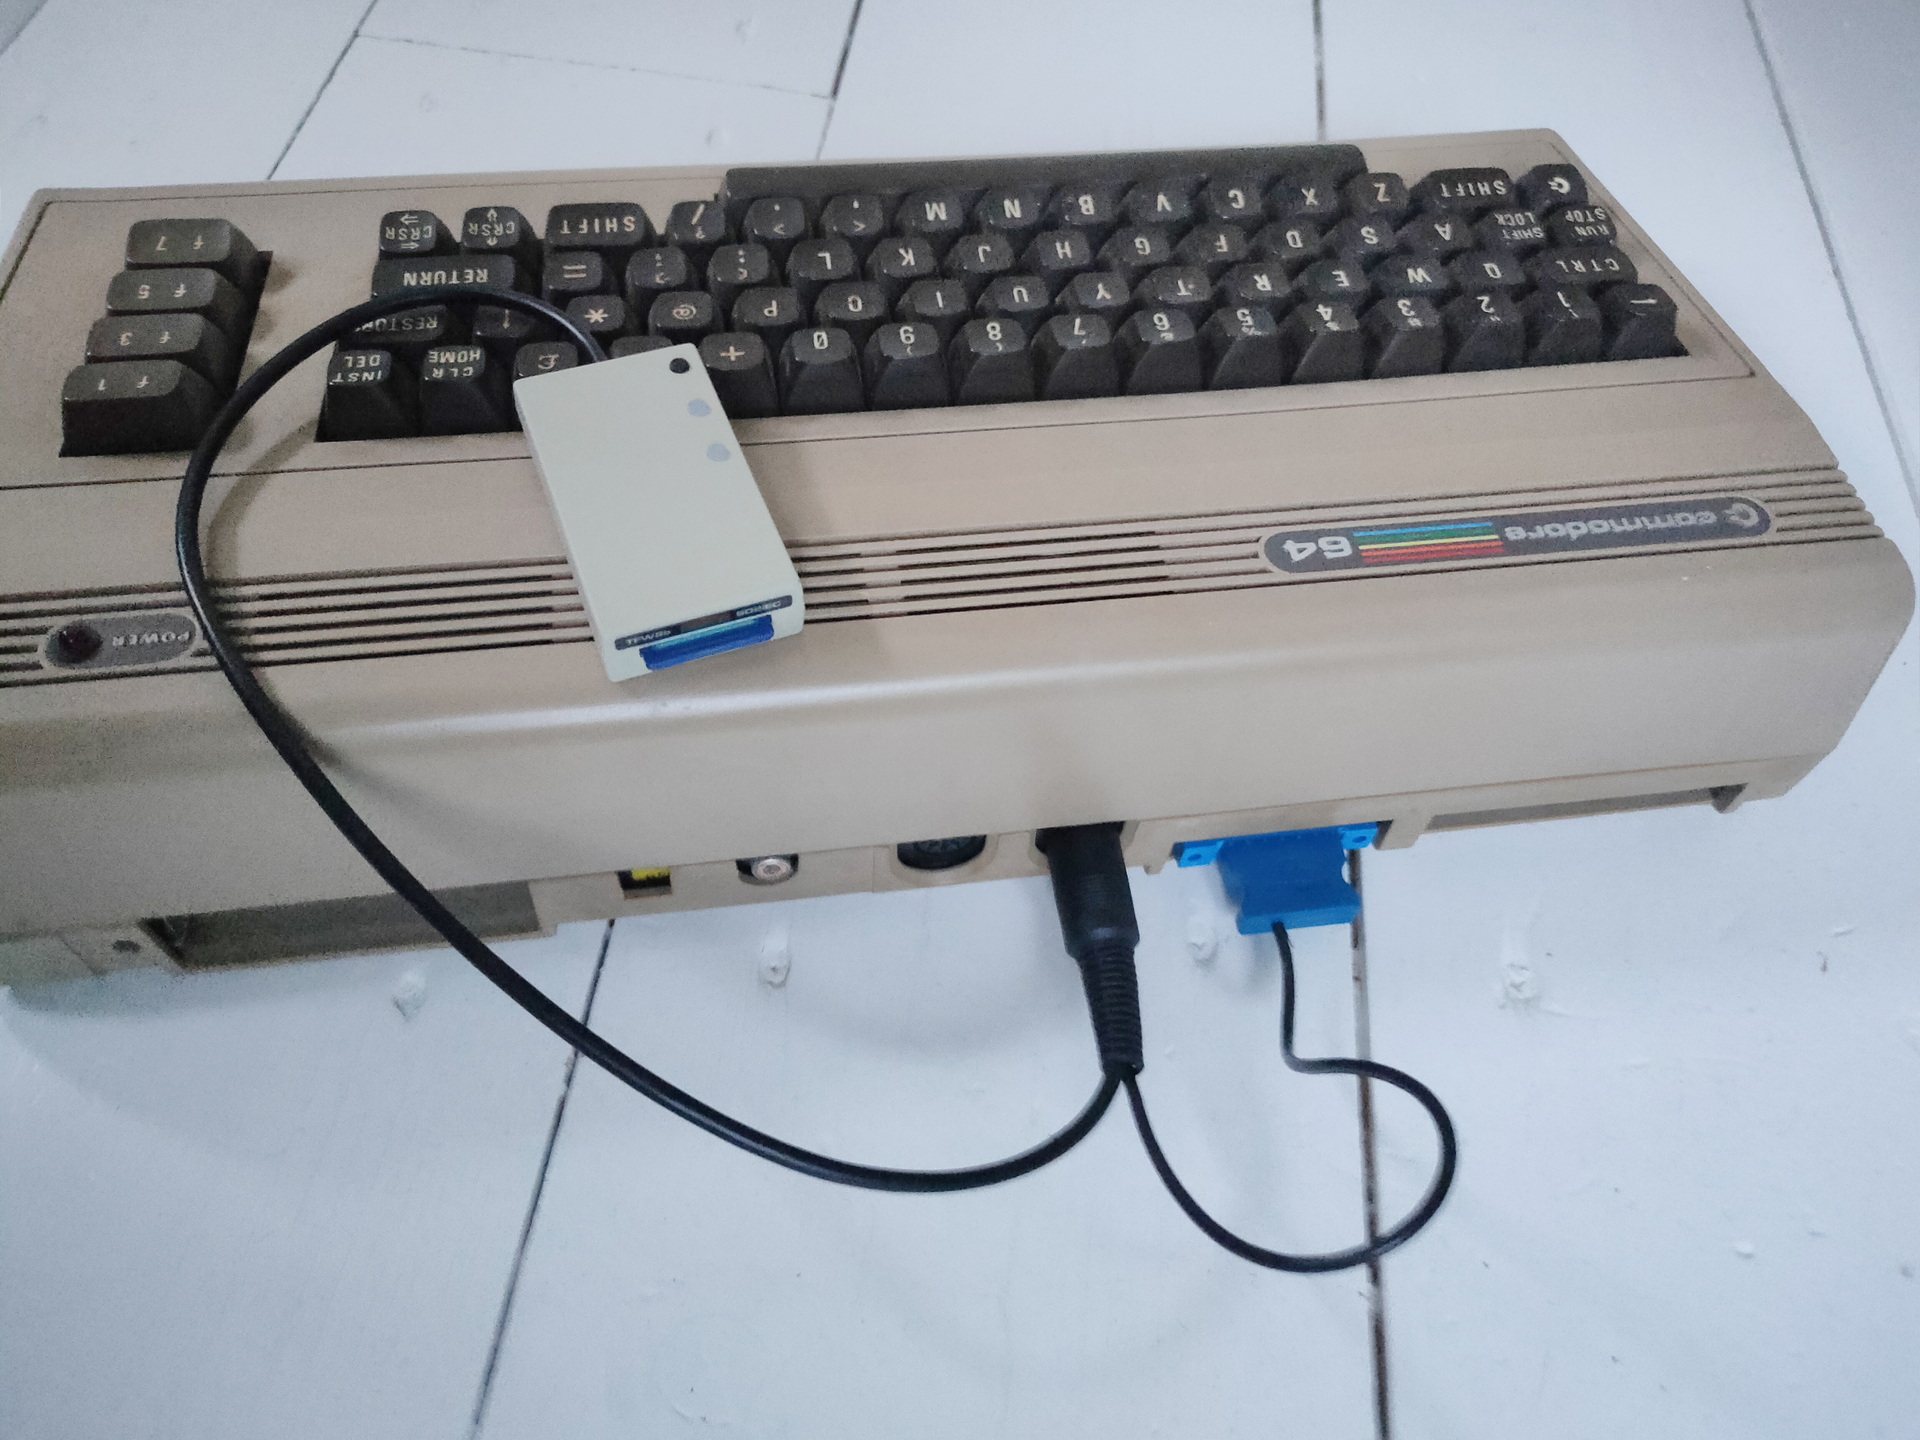
I’ve been using this for a while now, and i’m really impressed by it. It just connects to the Serial Din of your C64, draws power from the Cassette port. … And even looks like a mini drive!
I’ve been converting Disks to images as well as runnig previously converted D64 images on a real C64 again.
Also the internet provides loads of images to run again.
Converting and running:
- For real floppy to image i used a empty image file. Made my real original drive device number 9, and used Dracopy (also below)
- Image running on your real C64, just put a D64 disk image on your SDcard.
There is a disk selector and run program you can use. (See below)
Also you can use the buttons for disk swap/change.