Last Updated or created 2022-04-05
Using Esphome in HA, you can flash arduino’s using your browser.
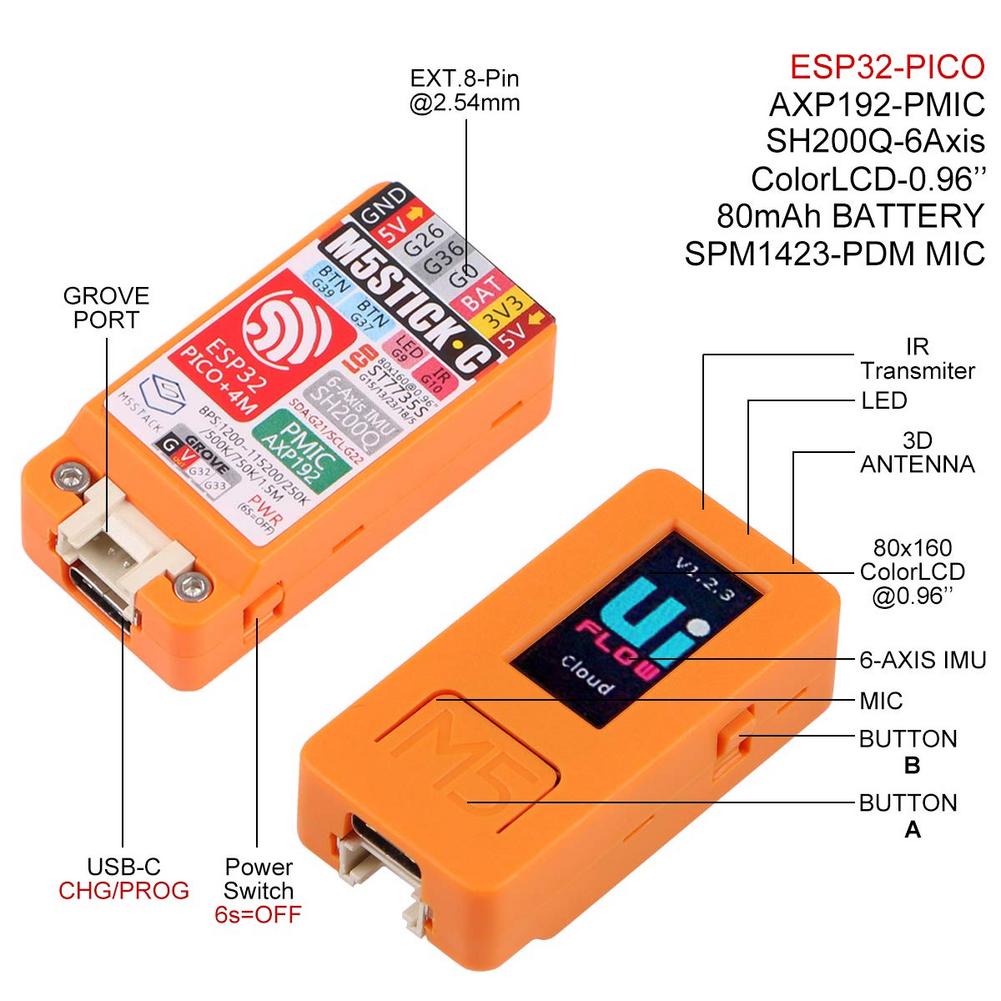
I wanted to test with a M5stickC because of the intergrated sensors.
Steps to take:
- Install Esphome
add repo from https://esphome.io/guides/getting_started_hassio.html - Connect M5Stick to usb ( you can do this from the same machine where your browser is running ), i connected the device directly to the NUC where Home Assistant is running.
- Open EspHome integration
- New Device (First time it will ask for your default Wifi credentials)
- Give it a name, and select Pick specifiec board (M5Stick-c)
- When presented a edit field with yml, past below for first test
- Click install to flash
esphome:
  name: m5stickc

esp32:
  board: m5stick-c
  framework:
    type: arduino

# Enable logging
logger:

# Enable Home Assistant API
api:

ota:
  password: "xxxxxxxxxxxxxxxxxxxxxxx"

wifi:
  ssid: !secret wifi_ssid
  password: !secret wifi_password

  # Enable fallback hotspot (captive portal) in case wifi connection fails
  ap:
    ssid: "M5Stickc Fallback Hotspot"
    password: "xxxxxxxxxxxxxxx"

captive_portal:
web_server:

globals:
i2c:
  - id: bus_b
    sda: 21
    scl: 22
    scan: true
  - id: bus_c
    sda: 32
    scl: 33
    scan: true
binary_sensor:
sensor:
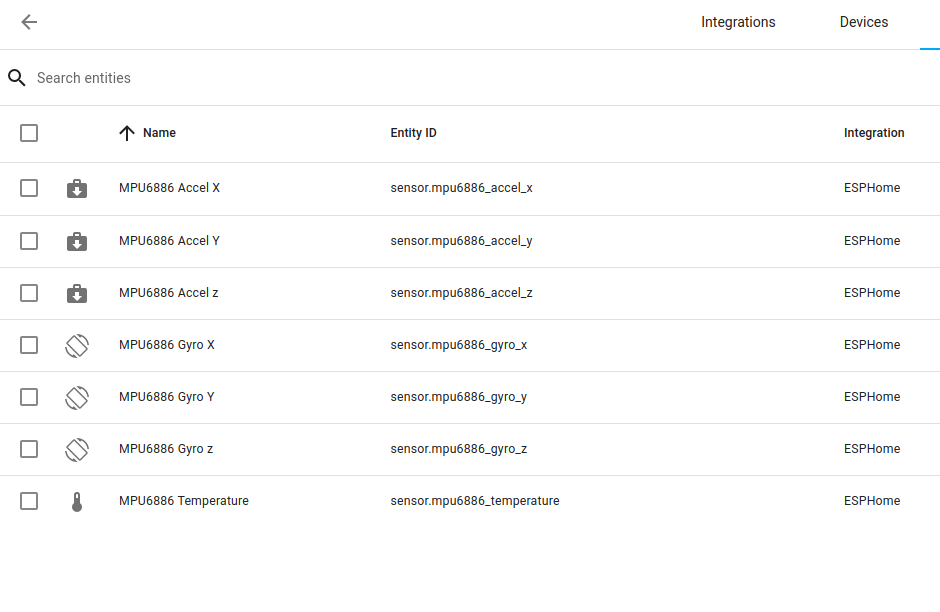
  - platform: mpu6886
    i2c_id: bus_b
    address: 0x68
    accel_x:
      name: "MPU6886 Accel X"
    accel_y:
      name: "MPU6886 Accel Y"
    accel_z:
      name: "MPU6886 Accel z"
    gyro_x:
      name: "MPU6886 Gyro X"
    gyro_y:
      name: "MPU6886 Gyro Y"
    gyro_z:
      name: "MPU6886 Gyro z"
    temperature:
      name: "MPU6886 Temperature"
spi:
  clk_pin: GPIO13
  mosi_pin: GPIO15
# Below is test
color:
  - id: my_red
    red: 100%
    green: 0%
    blue: 0%
  - id: my_yellow
    red: 100%
    green: 100%
    blue: 0%
  - id: my_green
    red: 0%
    green: 100%
    blue: 0%
  - id: my_blue
    red: 0%
    green: 0%
    blue: 100%
  - id: my_gray
    red: 50%
    green: 50%
    blue: 50%

#Display size 135*240
display:
  - platform: st7789v
    id: tft
    cs_pin: GPIO5
    dc_pin: GPIO23
    reset_pin: GPIO18
    rotation: 270
Biggest problem was finding GPIO pins for i2c.


