In the past I made a Etch a Sketch with my lasercutter.
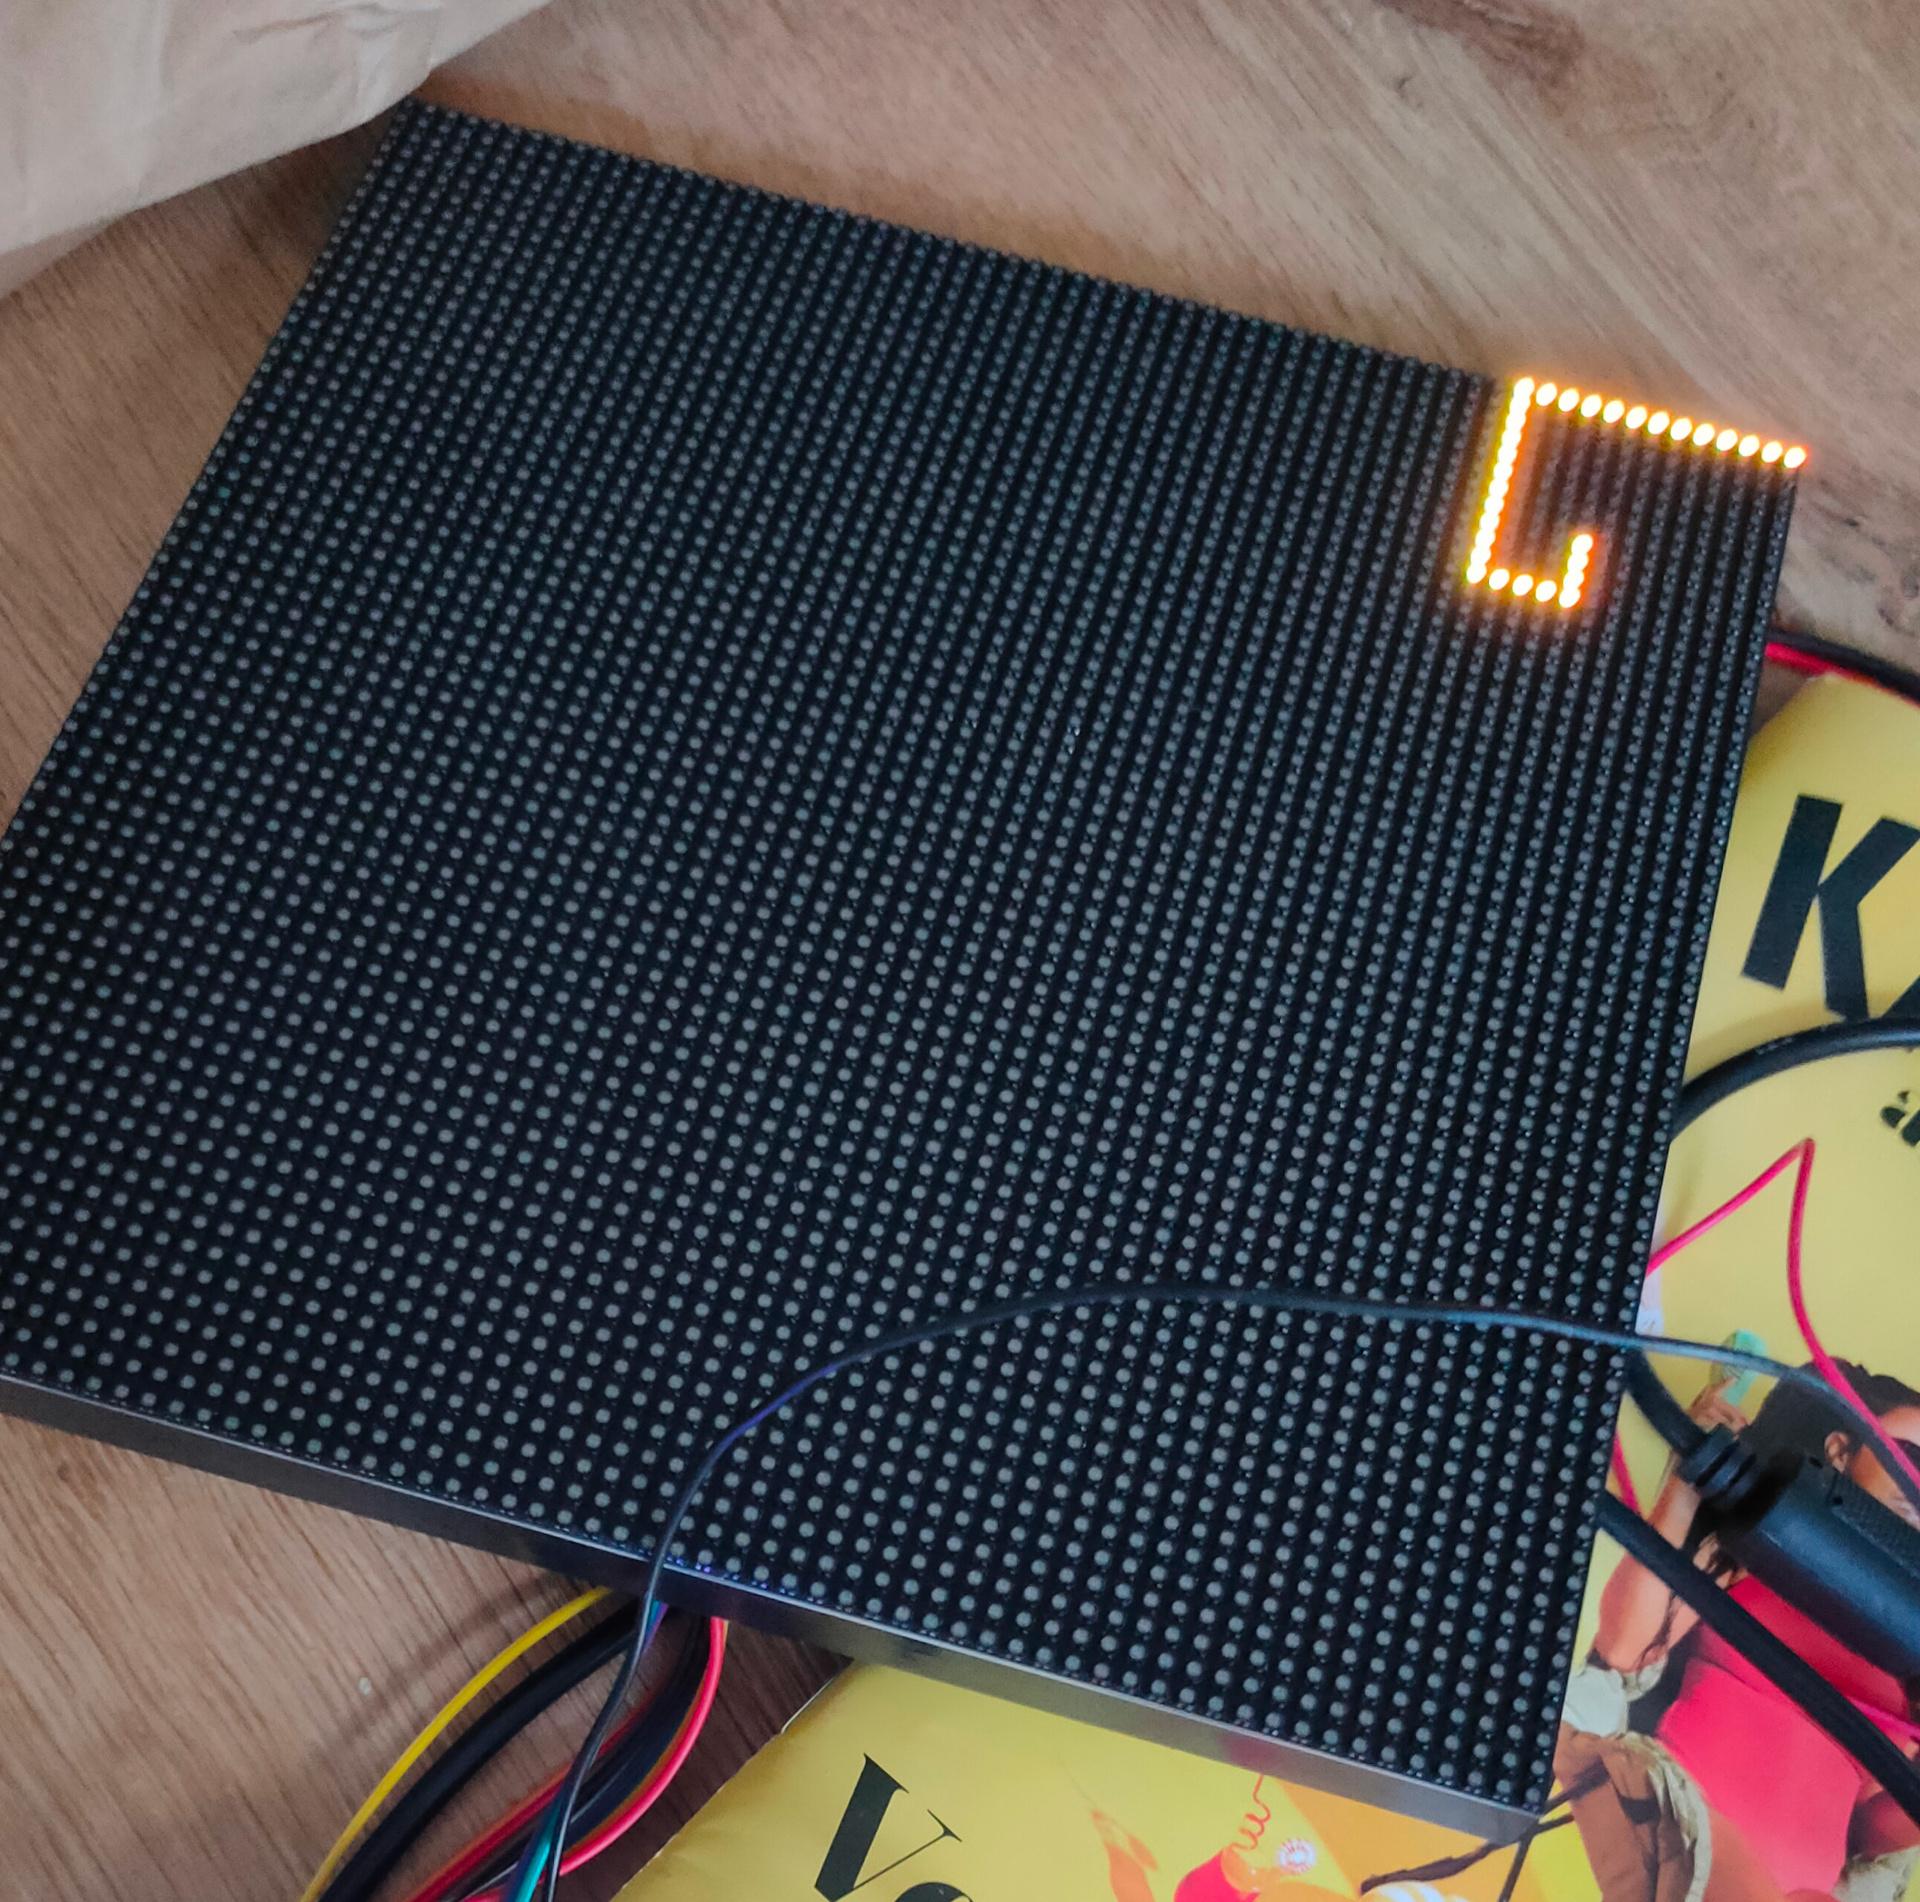
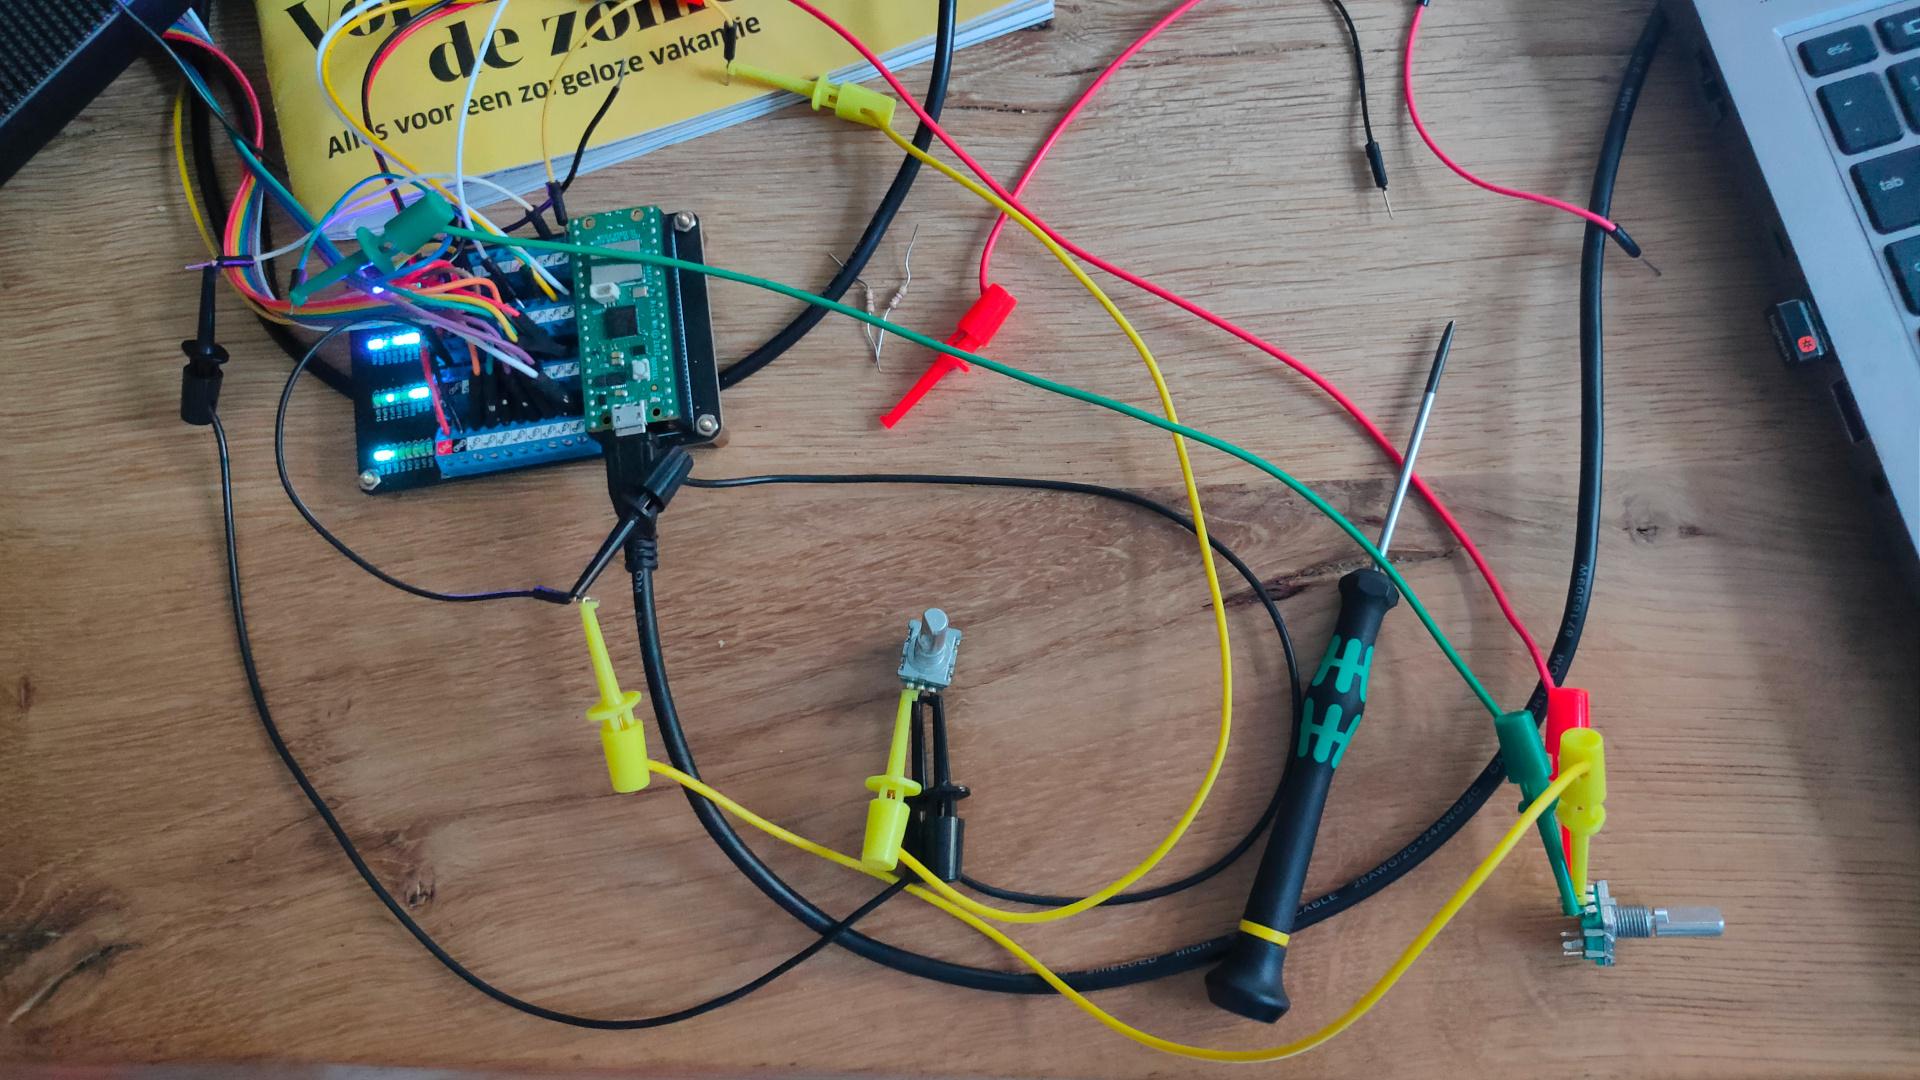
Using two rotary encoders and the 64×64 matrix display I recently bought, I made a drawing thingy.
Like a Etch a Sketch.
Some Circuit Python code.
Now I have to fix an out of memory issue using below.
And make a colour selection button??? 🙂
import time
import board
import displayio
import math
import vectorio
import rgbmatrix
import framebufferio
import array
import bitmaptools

import rotaryio
import board

encoder1 = rotaryio.IncrementalEncoder(board.GP27, board.GP26)
encoder2 = rotaryio.IncrementalEncoder(board.GP18, board.GP19)

last_position1 = 0
last_position2 = 0

# Release any existing displays
displayio.release_displays()

# --- Matrix Properties ---
DISPLAY_WIDTH = 64
DISPLAY_HEIGHT = 64

# --- Matrix setup ---
BIT_DEPTH = 2
matrix = rgbmatrix.RGBMatrix(
    width=64, bit_depth=2, height=64,
    rgb_pins=[board.GP0, board.GP1, board.GP2, board.GP3, board.GP4, board.GP5],
    addr_pins=[board.GP6, board.GP7, board.GP8, board.GP9, board.GP22],
    clock_pin=board.GP10, latch_pin=board.GP12, output_enable_pin=board.GP13)
colrs = 13
display = framebufferio.FramebufferDisplay(matrix, auto_refresh=True)
b1 = displayio.Bitmap(display.width, display.height, colrs )
palette = displayio.Palette(colrs )
palette[0] = 0x000000  # black
palette[1] = 0x964B00  # brown (light yellow)
palette[2] = 0x00FFFF  # cyan
palette[3] = 0x850101  # deep red
palette[4] = 0x7F00FF  # violet
palette[5] = 0xC46210  # orange
palette[6] = 0x3D9140  # Cobalt green
palette[7] = 0x004225  # british racing green
palette[8] = 0x8B008B  # dark magenta
palette[9] = 0x1F75FE  # crayola  blue
palette[10] =0x00308F  # air force blue US air force
palette[11] =0xBF00FF  # electric purple
palette[12] =0x08E8DE  # turquoise
g1 = displayio.Group(scale=1)
display.root_group = g1

bmp = displayio.Bitmap(64,64, 2)

tilegrid = displayio.TileGrid(bitmap=bmp, pixel_shader=palette)
g1.append(tilegrid)
display.auto_refresh = True

tilegrid = displayio.TileGrid(bitmap=bmp, pixel_shader=palette)
while True:
        position1 = encoder1.position
        if last_position1 is None or position1 != last_position1:

            if position1 > last_position1:
                position1 = position1 + 1
            if position1 < last_position1:
                position1 = position1 - 1
            if position1 < 0:
                position1 = 0
            last_position1 = position1
        position2 = encoder2.position
        if last_position2 is None or position2 != last_position2:
            if position2 > last_position2:
                position2 = position2 + 1
            if position2 > last_position2:
                position2 = position2 - 1
            if position2 < 0:
                position2 = 0
            last_position2 = position2

        bmp[position1,position2]=1
        tilegrid = displayio.TileGrid(bitmap=bmp, pixel_shader=palette)
        g1.append(tilegrid)
        display.auto_refresh = True