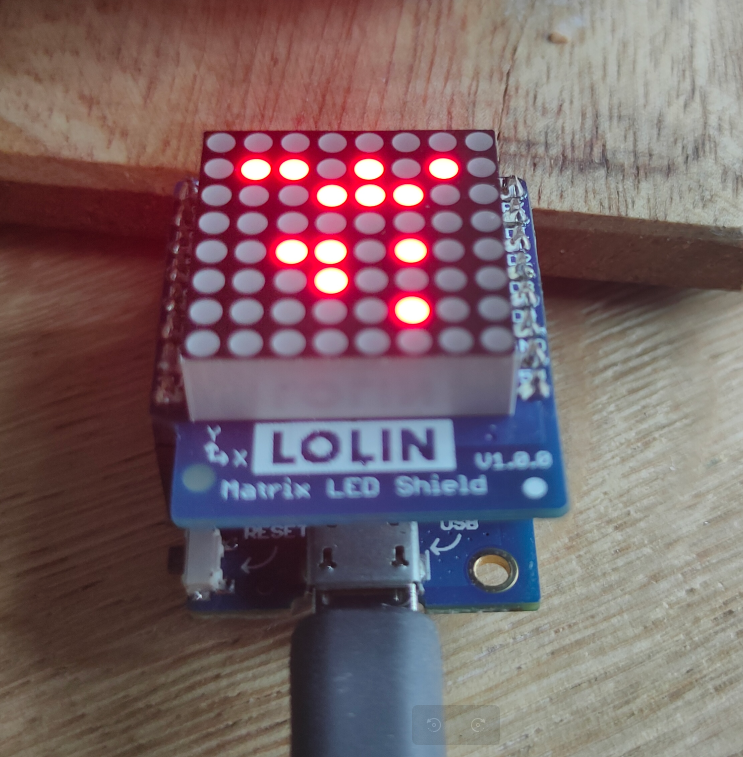
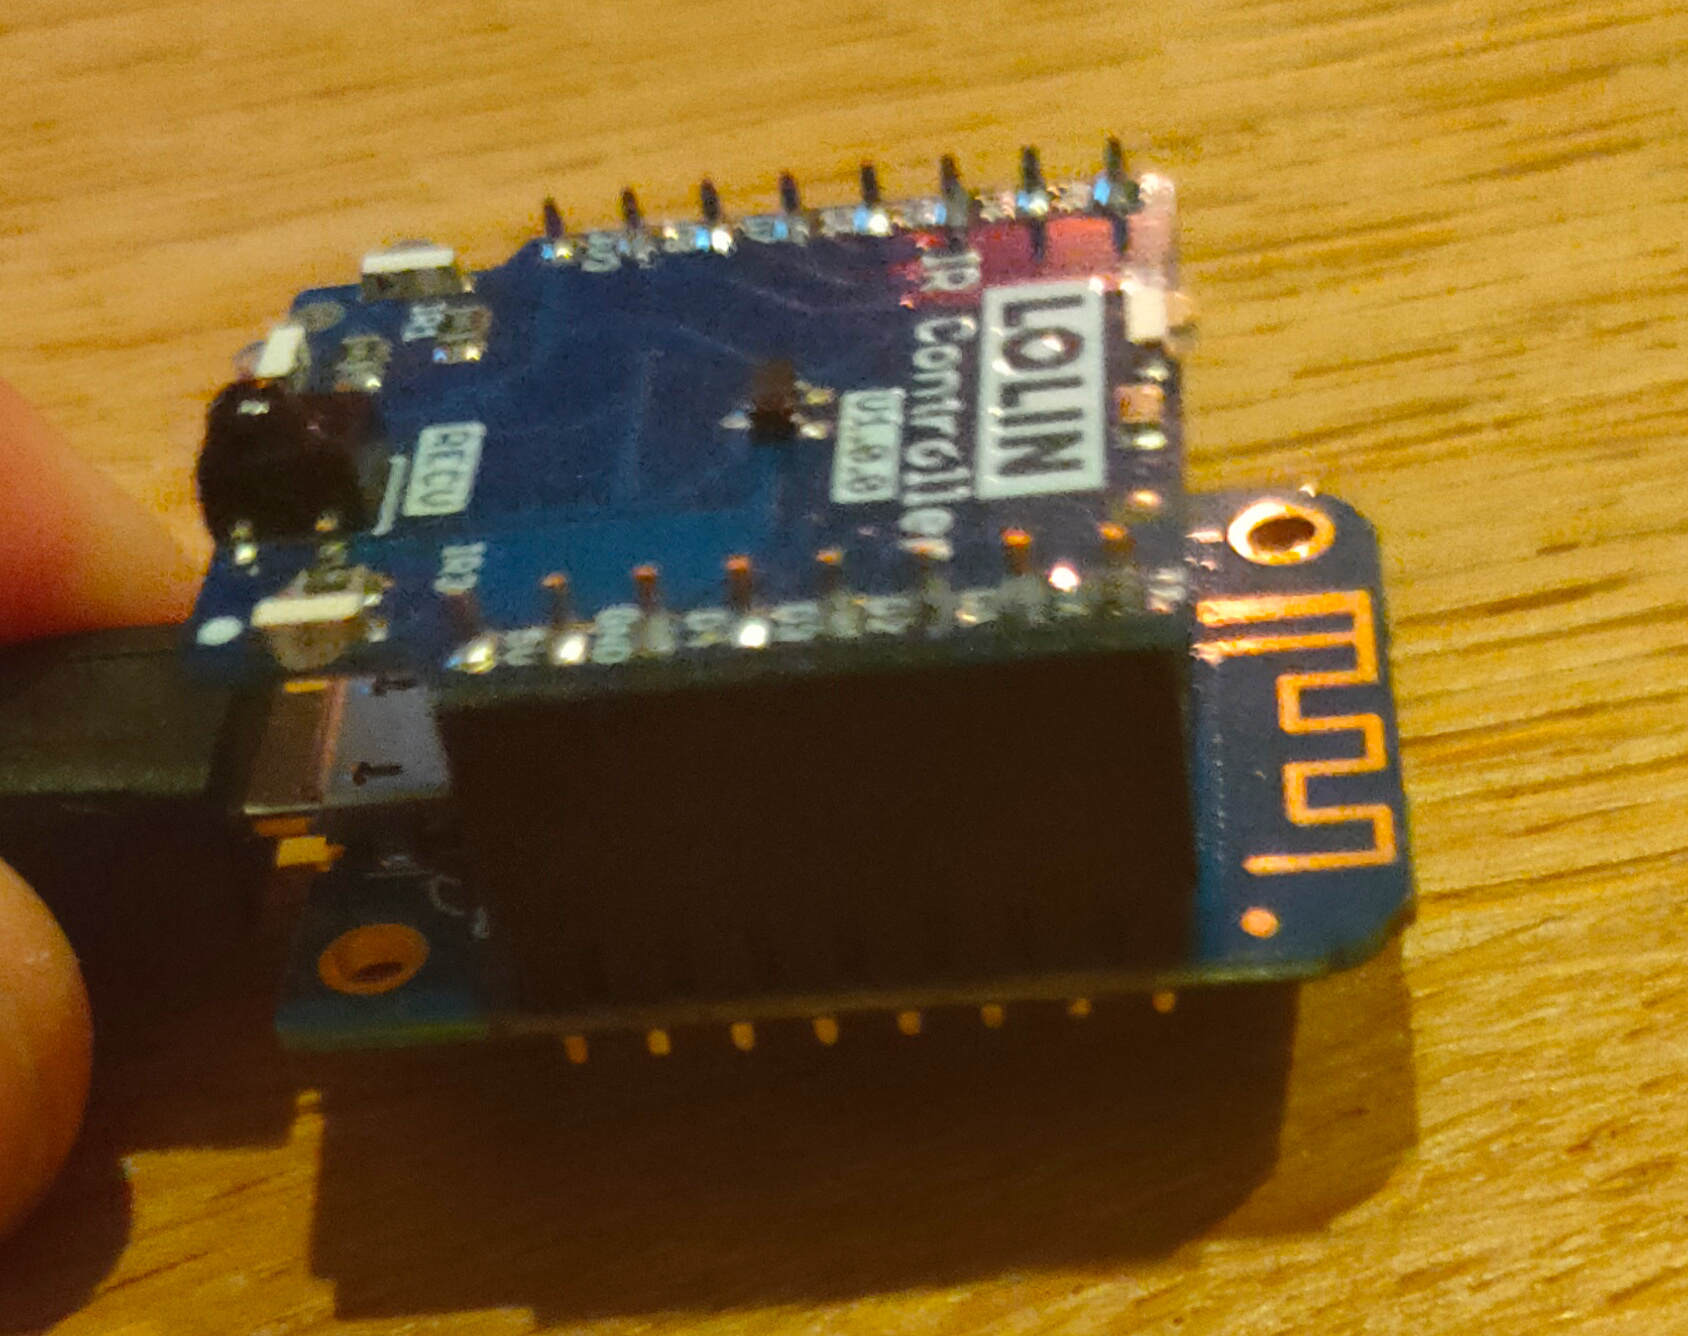
I’ve build a IR Blaster in the past and tested IR with EspEasy Dev.
I’m not happy with my Harmony Hub. Not so much control as i like to have.
So now OpenMqttGateway with IR.
I’ve installed platformio in the past.
Not really a fan of visual-code i’m showing you the process on CLI
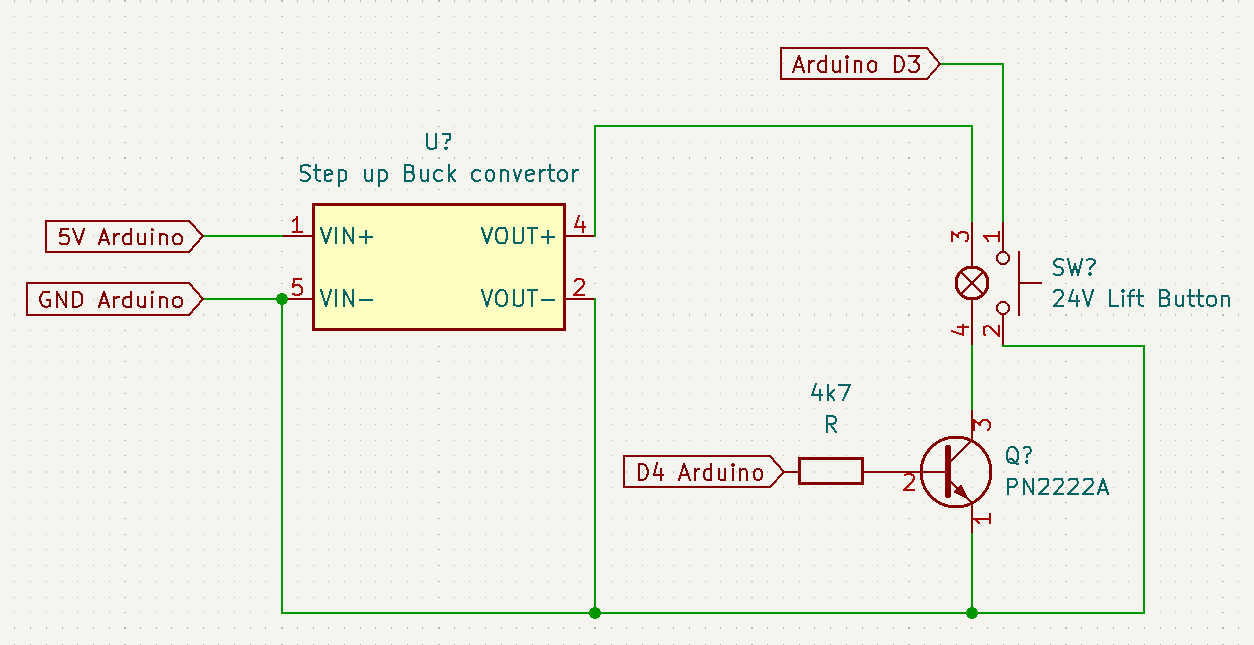
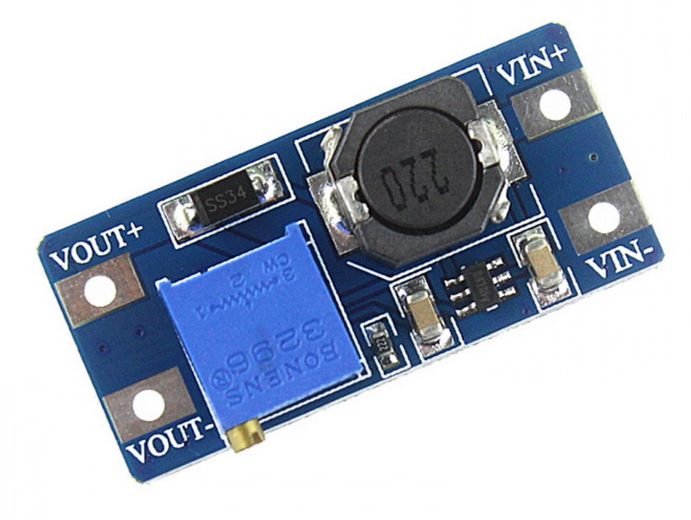
We can’t use the webinstaller or a precompiled binary because we need to change GPIO ports
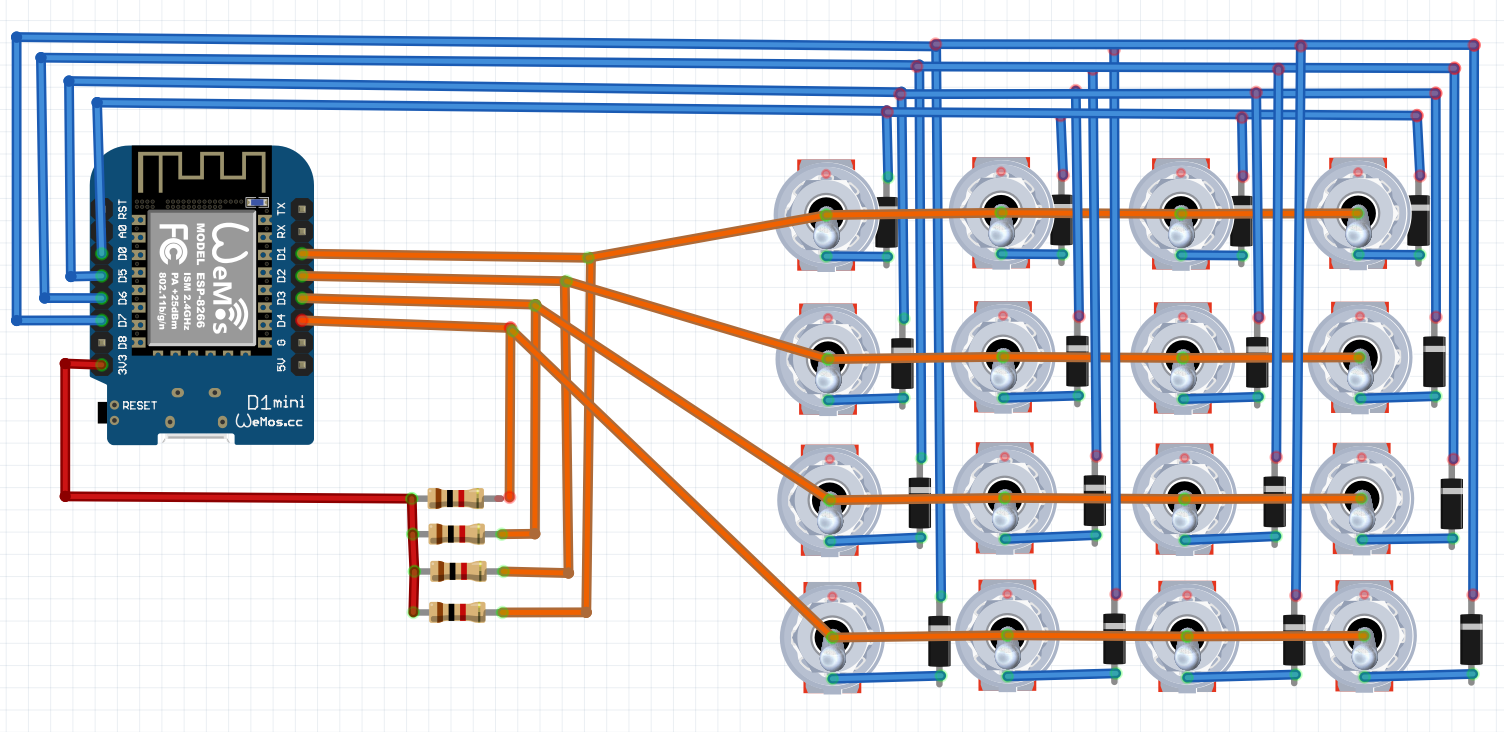
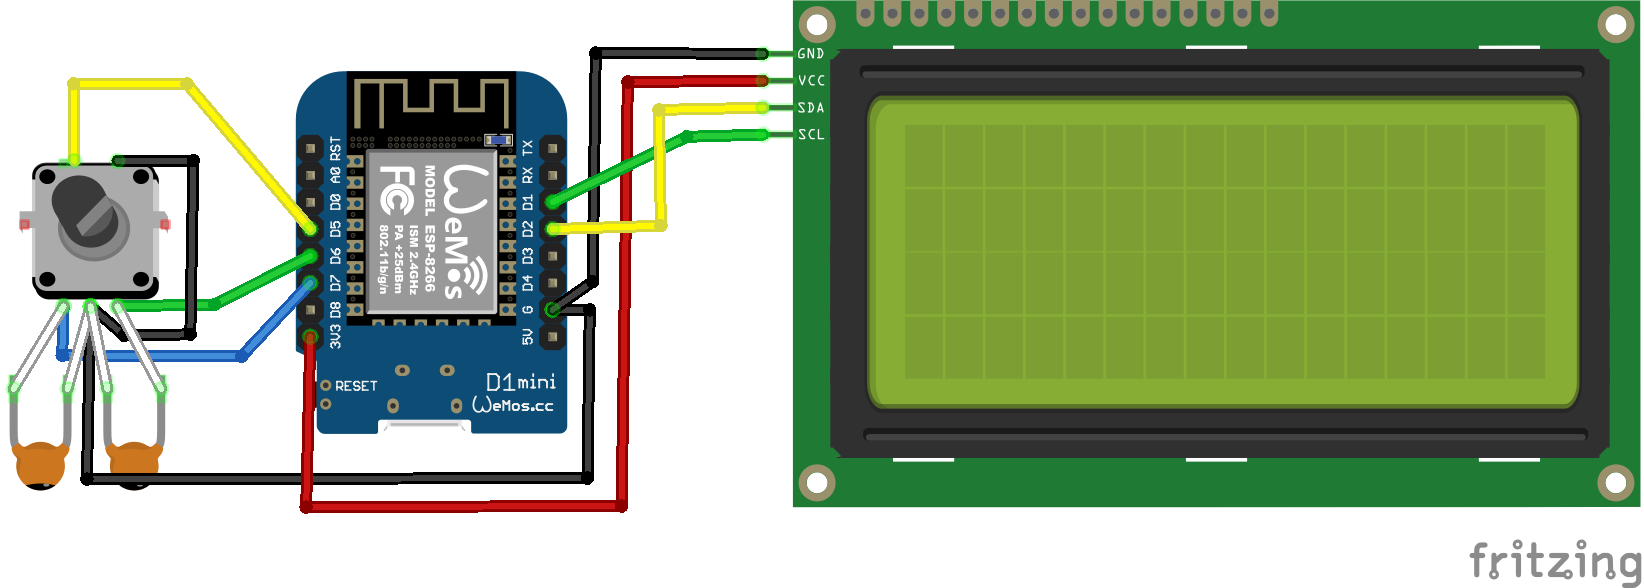
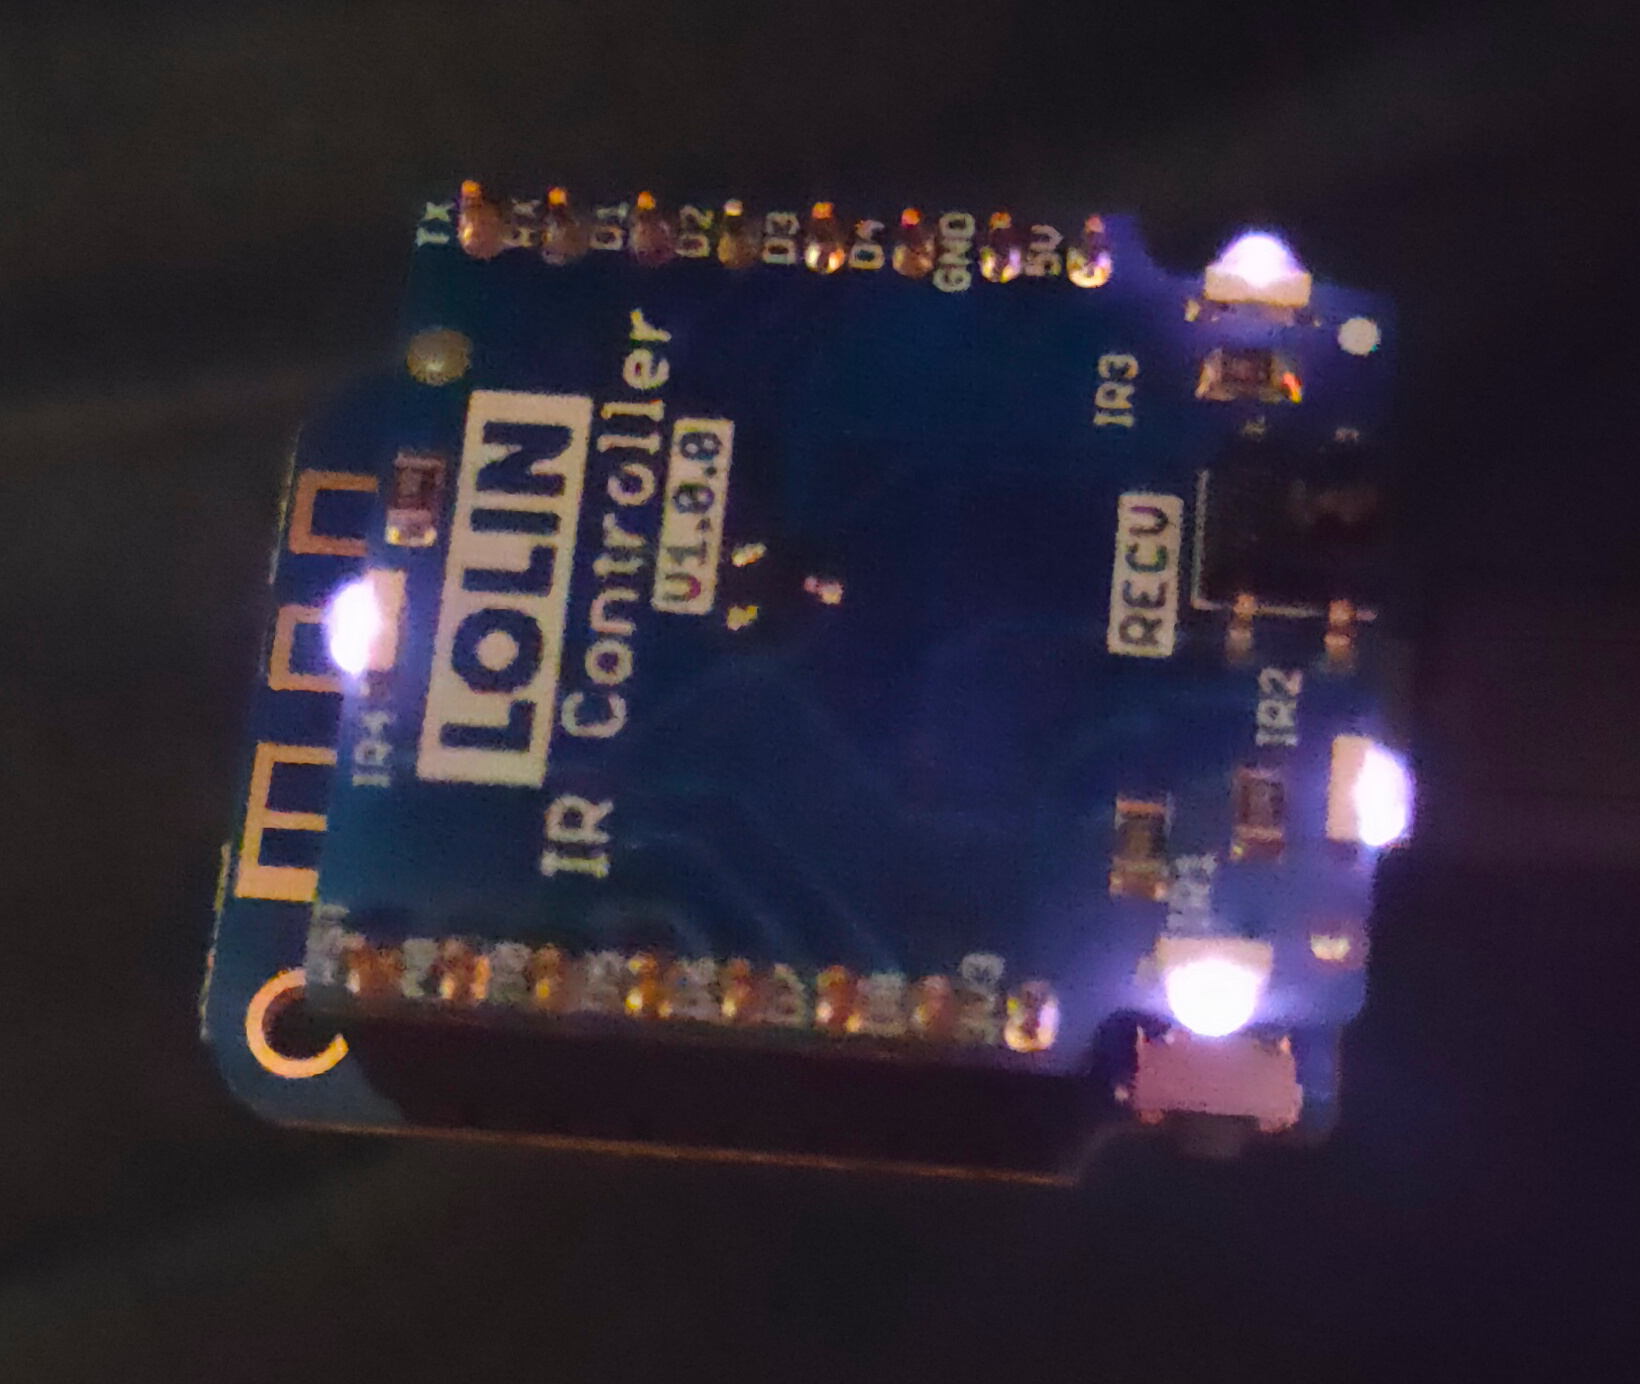
wget https://github.com/1technophile/OpenMQTTGateway/releases/download/v1.5.0/nodemcuv2-ir-libraries.zip
wget https://github.com/1technophile/OpenMQTTGateway/archive/refs/tags/v1.5.0.tar.gz
tar xzvf v1.5.0.tar.gz
cd v1.5.0/libs
unzip ../../nodemcuv2-ir-libraries.zip
cd ..
edit platformio.ini
remove ; from
default_envs = nodemcuv2-ir
vi main/config_IR.h
search for LOLIN, edit and change into 0 (GPIO 0 = D3)

build and upload
pio run --target upload --upload-port /dev/ttyUSB0
build and upload with flash erase
pio run --target erase --target upload --upload-port /dev/ttyUSB0

clean the environment when needed
pio run -t clean
Now you will get a Access Point, connect and enter your Wifi network information and mqtt server.
When connected you will see the IR codes and if you installed mqtt support in home assistant it will see the mqtt topics.
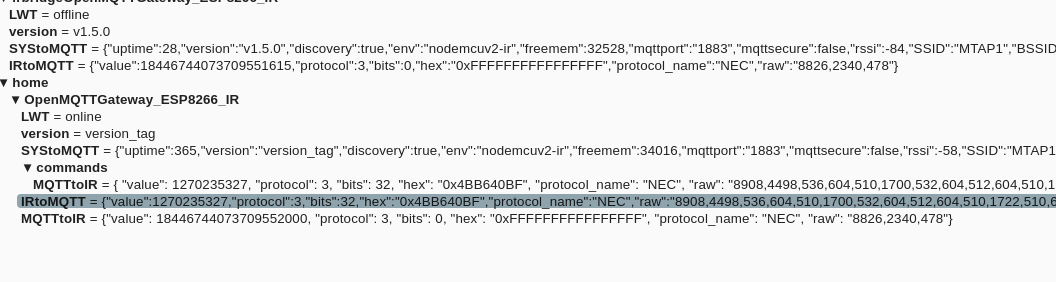
I’ve copied a json output as was send by my IR remote.
Below an example using mosquitto_pub to send codes.
mosquitto_pub -t home/OpenMQTTGateway_ESP8266_IR/commands/MQTTtoIR -h mymqttserver -m '{
  "value": 1270235327,
  "protocol": 3,
  "bits": 32,
  "hex": "0x4BB640BF",
  "protocol_name": "NEC",
  "raw": "8908,4498,536,604,510,1700,532,604,512,604,510,1722,510,604,510,1700,534,1700,534,1702,532,606,510,1722,510,1700,534,604,512,1722,510,1722,510,604,512,604,510,1702,532,606,510,606,510,604,510,604,512,604,512,604,510,1722,510,606,510,1722,510,1702,532,1700,534,1722,512,1722,510,1700,534"
}'
platformio commands
Why use platformio?
I know Arduino IDE is easier for starters.
Platformio is far more flexible, you can make projects with their own versions of libraries.
I like CLI, easier to do version control (git)
pip install -U platformio
pio upgrade
pio update
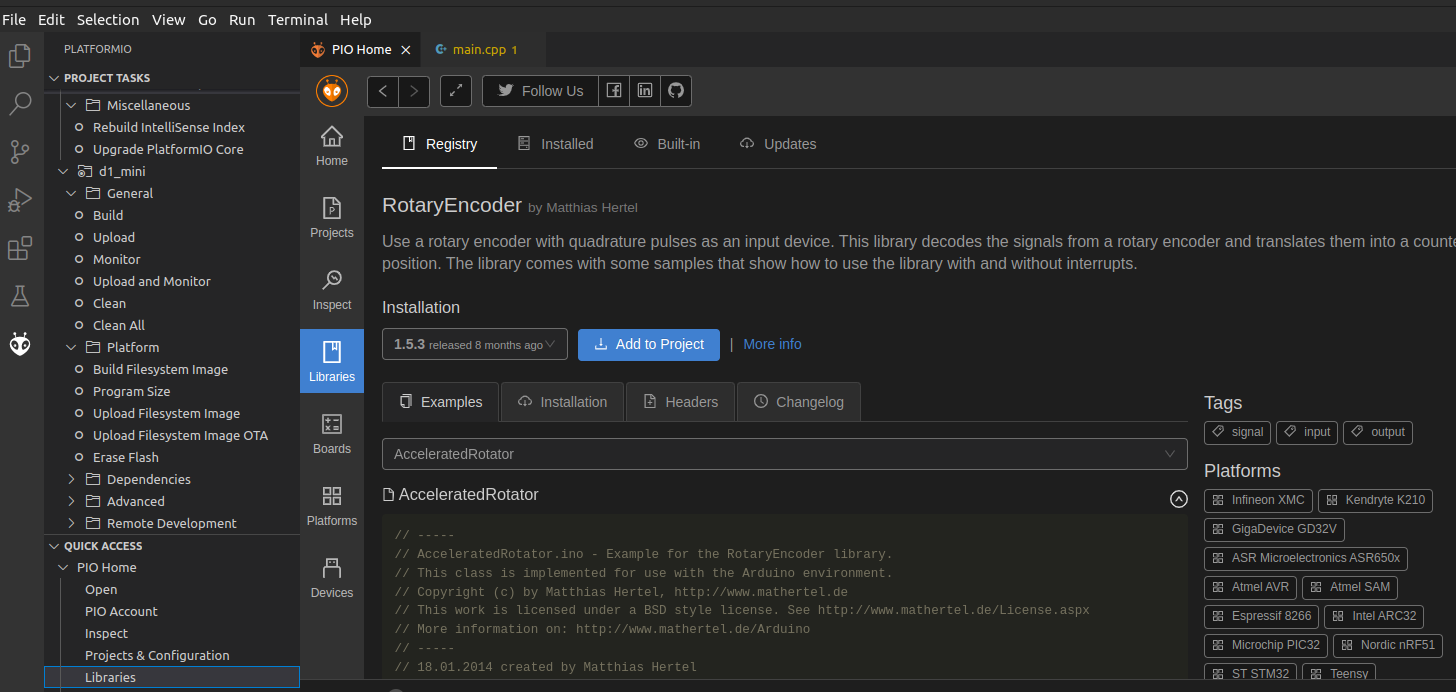
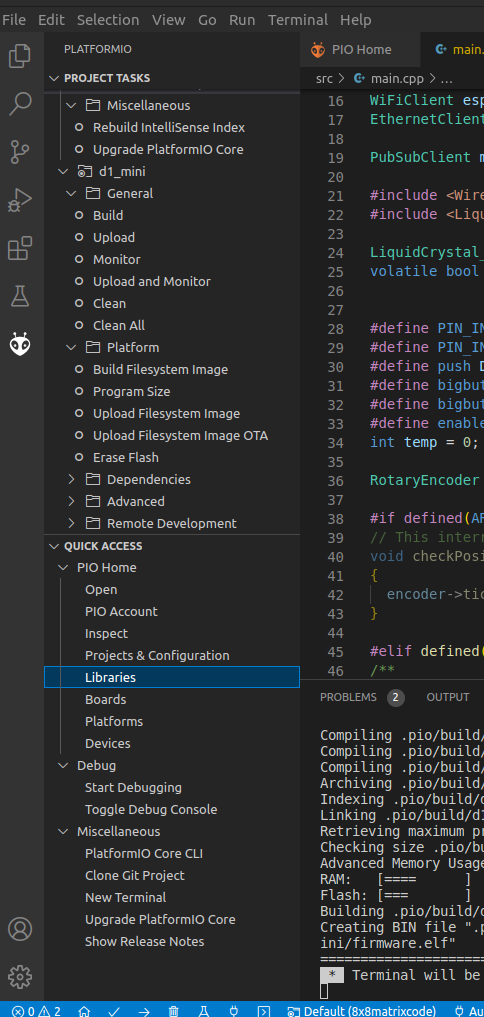
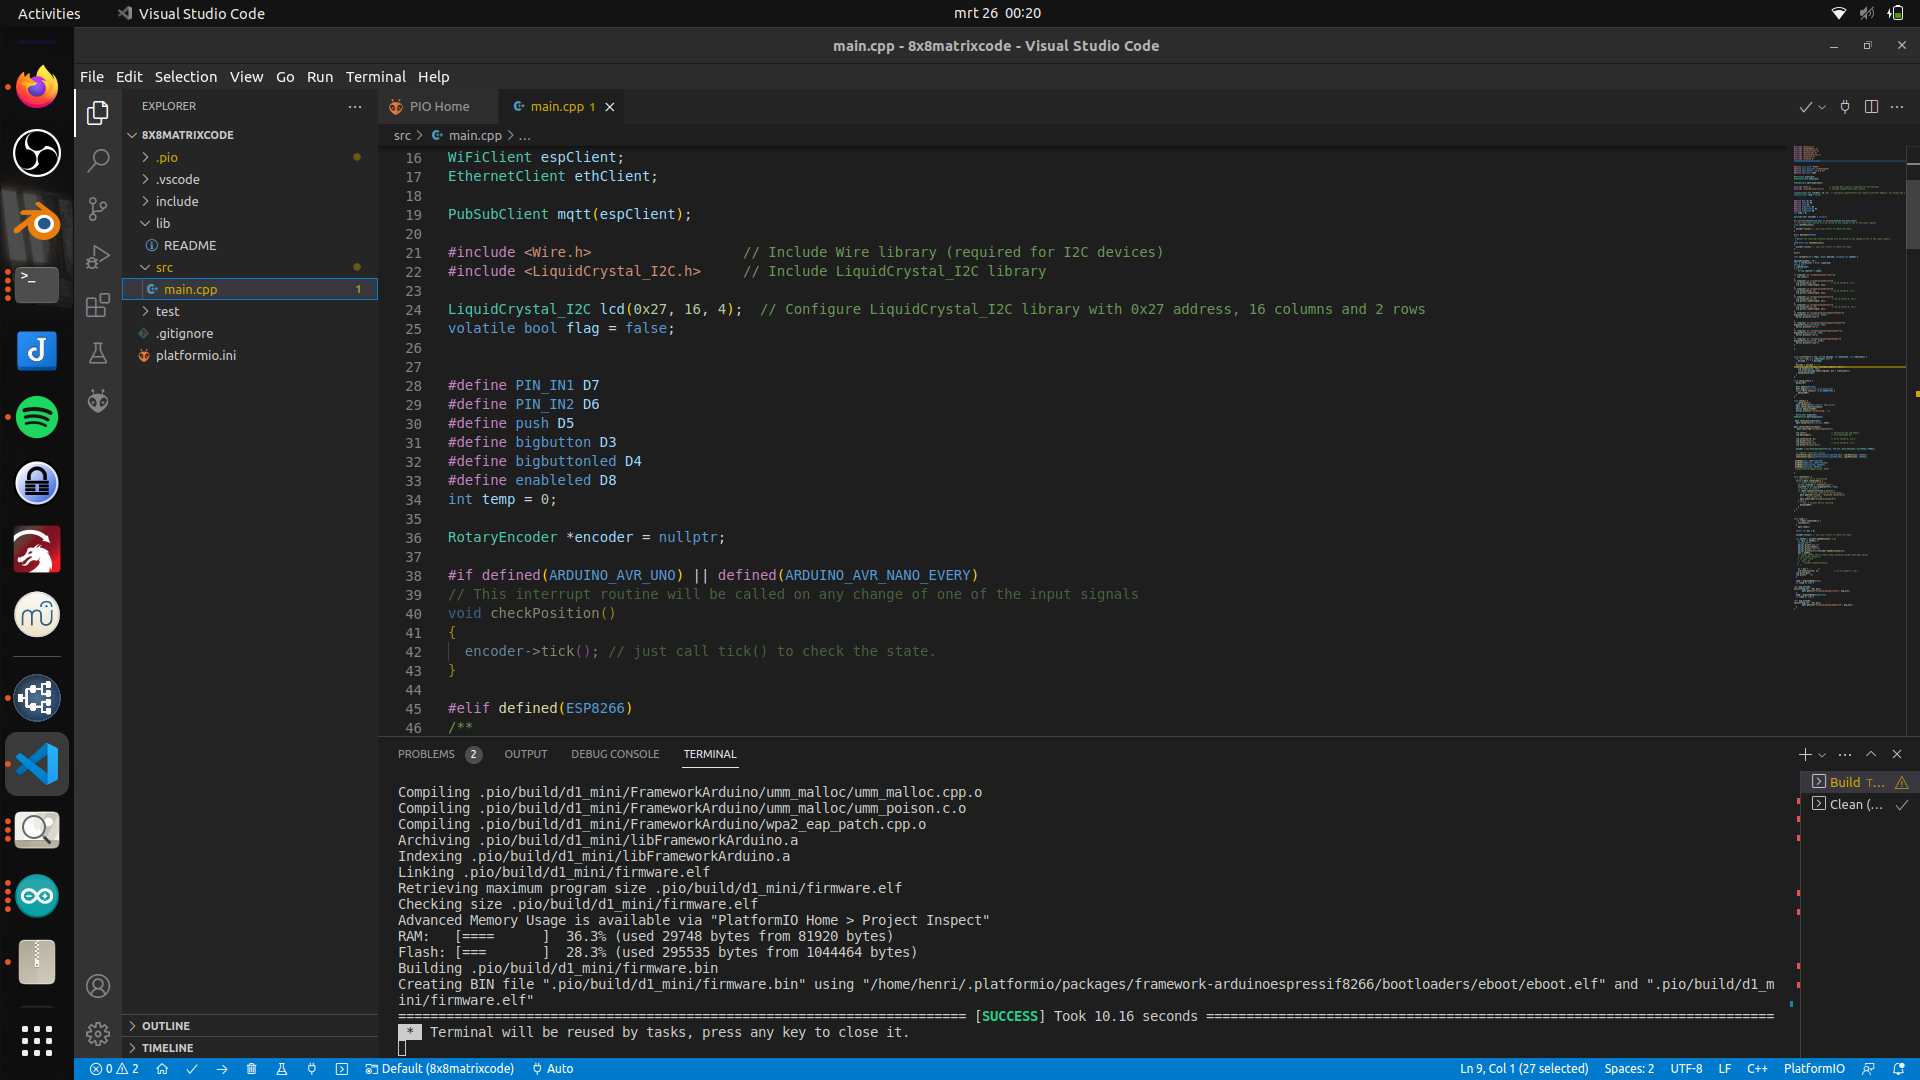
Some screenshots of my visual code platformio