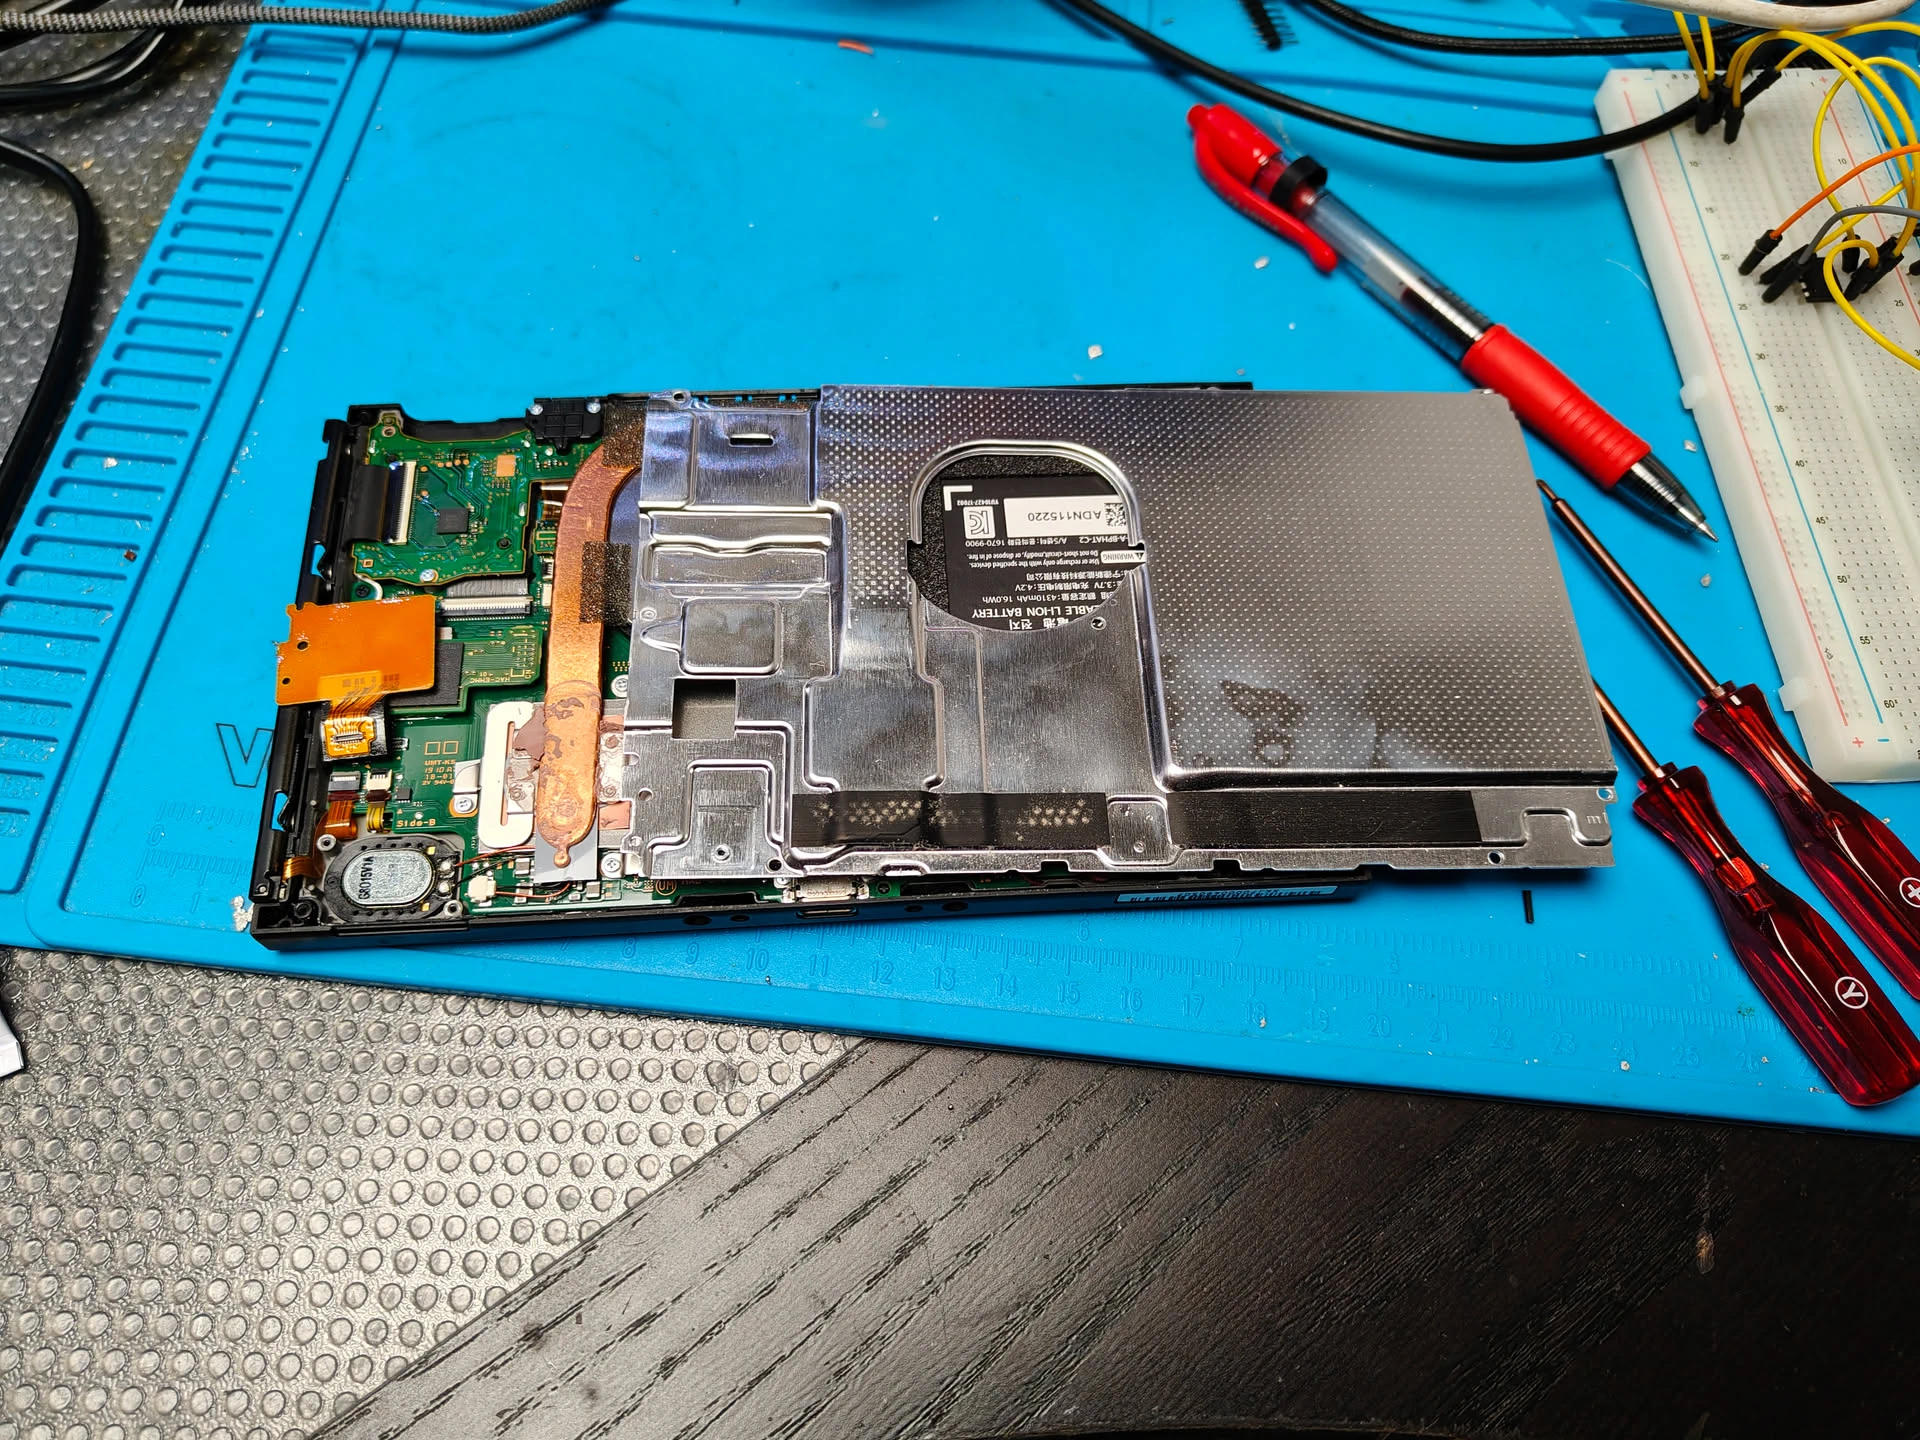
UPDATE: 20260729 – new case

UPDATE: 20260729 – new case

My girlfriend and some of my nerd friends often want to show something on their desktop, or I want to show something thats easily remote viewable.
Sometimes we use screen share in Jitsi for this.
But I wanted a better solution, which is also usable for OBS usage. Or even share my webcams remote.
So I started testing forwarding rtmp/rtsp using apache, portforwarding and nginx.
These where not to my liking … until I found MediaMTX
https://github.com/bluenviron/mediamtx
This is a awesome tool, but configuring is something else.
Now I’ve got a setup which can do:
Works on all browsers supporting webrtc
I used coturn and stun in a previous test, not needed anymore
Mediamtx.yml config
webrtc: yes
webrtcAllowOrigins: ["*"]
webrtcAdditionalHosts: [xyz.henriaanstoot.nl]
webrtcEncryption: yes
webrtcServerCert: server.crt
webrtcServerKey: server.key
webrtcAddress: :8889
webrtcLocalUDPAddress: :8189
paths:
cam:
source: rtsp://admin:adminpass@192.168.178.2/h265Preview_01_main
live/test:
source: publisher
streamme:
runOnInit: ""
server.html
<!DOCTYPE html>
<html>
<body>
<button onclick="startStreaming()">Start Screen Share</button>
<br><br>
<video id="preview" autoplay playsinline muted style="width: 600px;"></video>
<script>
async function startStreaming() {
const pc = new RTCPeerConnection({
iceServers: [
{ urls: "stun:stun.l.google.com:19302" },
]
});
const stream = await navigator.mediaDevices.getDisplayMedia({
video: true,
audio: true
});
const video = document.getElementById("preview");
video.srcObject = stream;
stream.getTracks().forEach(track => pc.addTrack(track, stream));
const offer = await pc.createOffer();
await pc.setLocalDescription(offer);
const res = await fetch("https://xyz.henriaanstoot.nl/streamme/whip", {
method: "POST",
headers: { "Content-Type": "application/sdp" },
body: offer.sdp
});
const answerSDP = await res.text();
await pc.setRemoteDescription({
type: "answer",
sdp: answerSDP
});
}
</script>
</body>
</html>
client.html
<!DOCTYPE html>
<html>
<body>
<h2></h2>
<video id="video" autoplay playsinline controls style="width: 800px;"></video>
<script>
async function startViewing() {
const pc = new RTCPeerConnection({
iceServers: [
{ urls: "stun:stun.l.google.com:19302" },
]
});
const video = document.getElementById("video");
// Receive tracks
pc.ontrack = (event) => {
video.srcObject = event.streams[0];
};
// Create offer (recvonly)
const offer = await pc.createOffer({
offerToReceiveVideo: true,
offerToReceiveAudio: true
});
await pc.setLocalDescription(offer);
// Send to MediaMTX (WHEP endpoint)
const res = await fetch("https://xyz.henriaanstoot.nl/streamme/whep", {
method: "POST",
headers: { "Content-Type": "application/sdp" },
body: offer.sdp
});
const answerSDP = await res.text();
await pc.setRemoteDescription({
type: "answer",
sdp: answerSDP
});
}
// auto start
startViewing();
</script>
</body>
</html>
I’ve installed an ad-free version using homebrew on my LG tv. (FreeTube)
Here is one for Android Settop boxes.
For phones use : NewPipe or Pipepipe
STEPS:
Install via playstore : Downloader (aftnews)
start and input this as a URL (kutt.to/stn_stable)
This will install below apk (Allow downloader to install packages!)
https://github.com/yuliskov/SmartTube
I really like the SponsorBlock and DeArrow.
DeArrow is an open source browser extension for crowdsourcing better titles and thumbnails on YouTube. The goal is to make titles accurate and reduce sensationalism. No more arrows, ridiculous faces, and no more clickbait.
I’ve posted this last time
These are my experiments using python.
You can see that I had some trouble with projecting depth in some of these animations.
The sliders helped me to understand what was going on.
I’ve used some information from these books.


Code (much like my BBC Acorn Basic program)
import tkinter as tk
import math
def rotate(p, ax, ay):
x, y, z = p
# rotate around X
cy, sy = math.cos(ax), math.sin(ax)
y, z = y * cy - z * sy, y * sy + z * cy
# rotate around Y
cx, sx = math.cos(ay), math.sin(ay)
x, z = x * cx + z * sx, -x * sx + z * cx
return x, y, z
def project(p, blend):
x, y, z = p
# isometric
iso_x = x - z
iso_y = y + (x + z) * 0.5
# perspective
d = 4
f = d / (d + z)
per_x = x * f
per_y = y * f
# blend projections
px = iso_x * (1 - blend) + per_x * blend
py = iso_y * (1 - blend) + per_y * blend
return px, py
CUBE = [
(-1, -1, -1), (1, -1, -1), (1, 1, -1), (-1, 1, -1),
(-1, -1, 1), (1, -1, 1), (1, 1, 1), (-1, 1, 1)
]
EDGES = [
(0,1),(1,2),(2,3),(3,0),
(4,5),(5,6),(6,7),(7,4),
(0,4),(1,5),(2,6),(3,7)
]
root = tk.Tk()
root.title("Rotating Cube")
canvas = tk.Canvas(root, width=400, height=400, bg="black")
canvas.pack()
slider = tk.Scale(root, from_=0, to=1, resolution=0.01,
orient="horizontal", label="Isometric / Perspective")
slider.pack(fill="x")
ax = ay = 0
def draw():
global ax, ay
canvas.delete("all")
blend = slider.get()
points = []
for p in CUBE:
r = rotate(p, ax, ay)
x, y = project(r, blend)
points.append((200 + x * 80, 200 + y * 80))
for a, b in EDGES:
canvas.create_line(*points[a], *points[b], fill="white")
ax += 0.02
ay += 0.03
root.after(16, draw)
draw()
root.mainloop()
A negative travel advice didn’t stop us to visit Cuba.
A travel log will follow of this strange vacation we had.

I found some of my old BBC Acorn basic programs a while ago.
And doing some research into 3D projections I ran some on a emulator.
Cleaned-up code for brandy basic
MODE 1 VDU 5 DIM X(7), Y(7), Z(7) DIM SX(7), SY(7) DATA -1,-1,-1, 1,-1,-1, 1,1,-1, -1,1,-1 DATA -1,-1,1, 1,-1,1, 1,1,1, -1,1,1 FOR I=0 TO 7 READ X(I), Y(I), Z(I) NEXT DIM E(11,1) DATA 0,1, 1,2, 2,3, 3,0 DATA 4,5, 5,6, 6,7, 7,4 DATA 0,4, 1,5, 2,6, 3,7 FOR I=0 TO 11 READ E(I,0), E(I,1) NEXT angleX=0 angleY=0 REPEAT CLS camera=5 scale=600 FOR I=0 TO 7 y1 = Y(I)*COS(angleX) - Z(I)*SIN(angleX) z1 = Y(I)*SIN(angleX) + Z(I)*COS(angleX) x2 = X(I)*COS(angleY) + z1*SIN(angleY) z2 = -X(I)*SIN(angleY) + z1*COS(angleY) zc = z2 + camera IF zc=0 zc=0.01 SX(I) = 640 + (x2 * scale) / zc SY(I) = 512 - (y1 * scale) / zc NEXT FOR I=0 TO 11 MOVE SX(E(I,0)), SY(E(I,0)) DRAW SX(E(I,1)), SY(E(I,1)) NEXT angleX = angleX + 0.03 angleY = angleY + 0.02 WAIT 2 UNTIL FALSE
Some old notes

Above a screenshot of a browser screen (Left and Right in fullscreen)
Colors are a little of (codec Red/Blue problem?)
But the setup works!
I used a android phone in above setup.
I tried a Quest 2 VR set, but I couldn’t get the browser in full screen mode. (YET)
Hardware setup


Two Raspberry Pi Camera Modules, connected via the two 4lane-MIPI DSI/CSI connectors.
Manually focussed and using some 3D printed stands on a piece of wood will do for now.
I build a RTSP NGinx proxy to test, which I previously used for OBS. But there was too much latency.
So I used below webrtc setup, with a latency below 80ms.
(I previously did some test using Janus)
CODE:
wget https://github.com/bluenviron/mediamtx/releases/download/v1.16.1/mediamtx_v1.16.1_linux_arm64.tar.gz tar xzvf media* cp mediamtx.yml mediamtx.org
NEW mediamtx.yml
webrtc: yes
webrtcAddress: :8889
rtmp: yes
rtmpAddress: :1935
paths:
dualcam:
source: publisher
run it
./mediamtx mediamtx.yml
Next make a streamer.
This Python script takes two square camera inputs, merge them side-by-side to one image and pushed the H264 frame to MediaMTX
import numpy as np
from picamera2 import Picamera2
import subprocess
import time
#WIDTH = 1280
WIDTH = 720
HEIGHT = 720
FPS = 30
BITRATE = "2500k"
RTMP_URL = "rtmp://127.0.0.1:1935/dualcam" # MediaMTX RTMP
# FFmpeg raw frames / H.264
ffmpeg_cmd = [
"ffmpeg",
"-y",
"-f", "rawvideo",
"-pix_fmt", "bgr24",
"-s", f"{WIDTH*2}x{HEIGHT}",
"-r", str(FPS),
"-i", "-",
"-c:v", "libx264",
"-preset", "ultrafast",
"-tune", "zerolatency",
"-b:v", BITRATE,
"-g", str(FPS), # keyframe every second
"-x264-params", "keyint=30:min-keyint=30:no-scenecut=1",
"-pix_fmt", "yuv420p",
"-f", "flv",
RTMP_URL
]
ffmpeg = subprocess.Popen(ffmpeg_cmd, stdin=subprocess.PIPE, bufsize=0)
picam0 = Picamera2(0)
picam1 = Picamera2(1)
cfg0 = picam0.create_video_configuration(
main={"size": (WIDTH, HEIGHT), "format": "BGR888"}, controls={"FrameRate": FPS}
)
cfg1 = picam1.create_video_configuration(
main={"size": (WIDTH, HEIGHT), "format": "BGR888"}, controls={"FrameRate": FPS}
)
picam0.configure(cfg0)
picam1.configure(cfg1)
picam0.start()
picam1.start()
print("Streaming to MediaMTX via RTMP...")
try:
while True:
f0 = picam1.capture_array()
f1 = picam0.capture_array()
combined = np.hstack((f0, f1))
ffmpeg.stdin.write(combined.tobytes())
time.sleep(1/FPS)
except KeyboardInterrupt:
print("Stopping...")
finally:
picam0.stop()
picam1.stop()
ffmpeg.stdin.close()
ffmpeg.wait()
Open using http://REMOTEIP:8889/dualcam
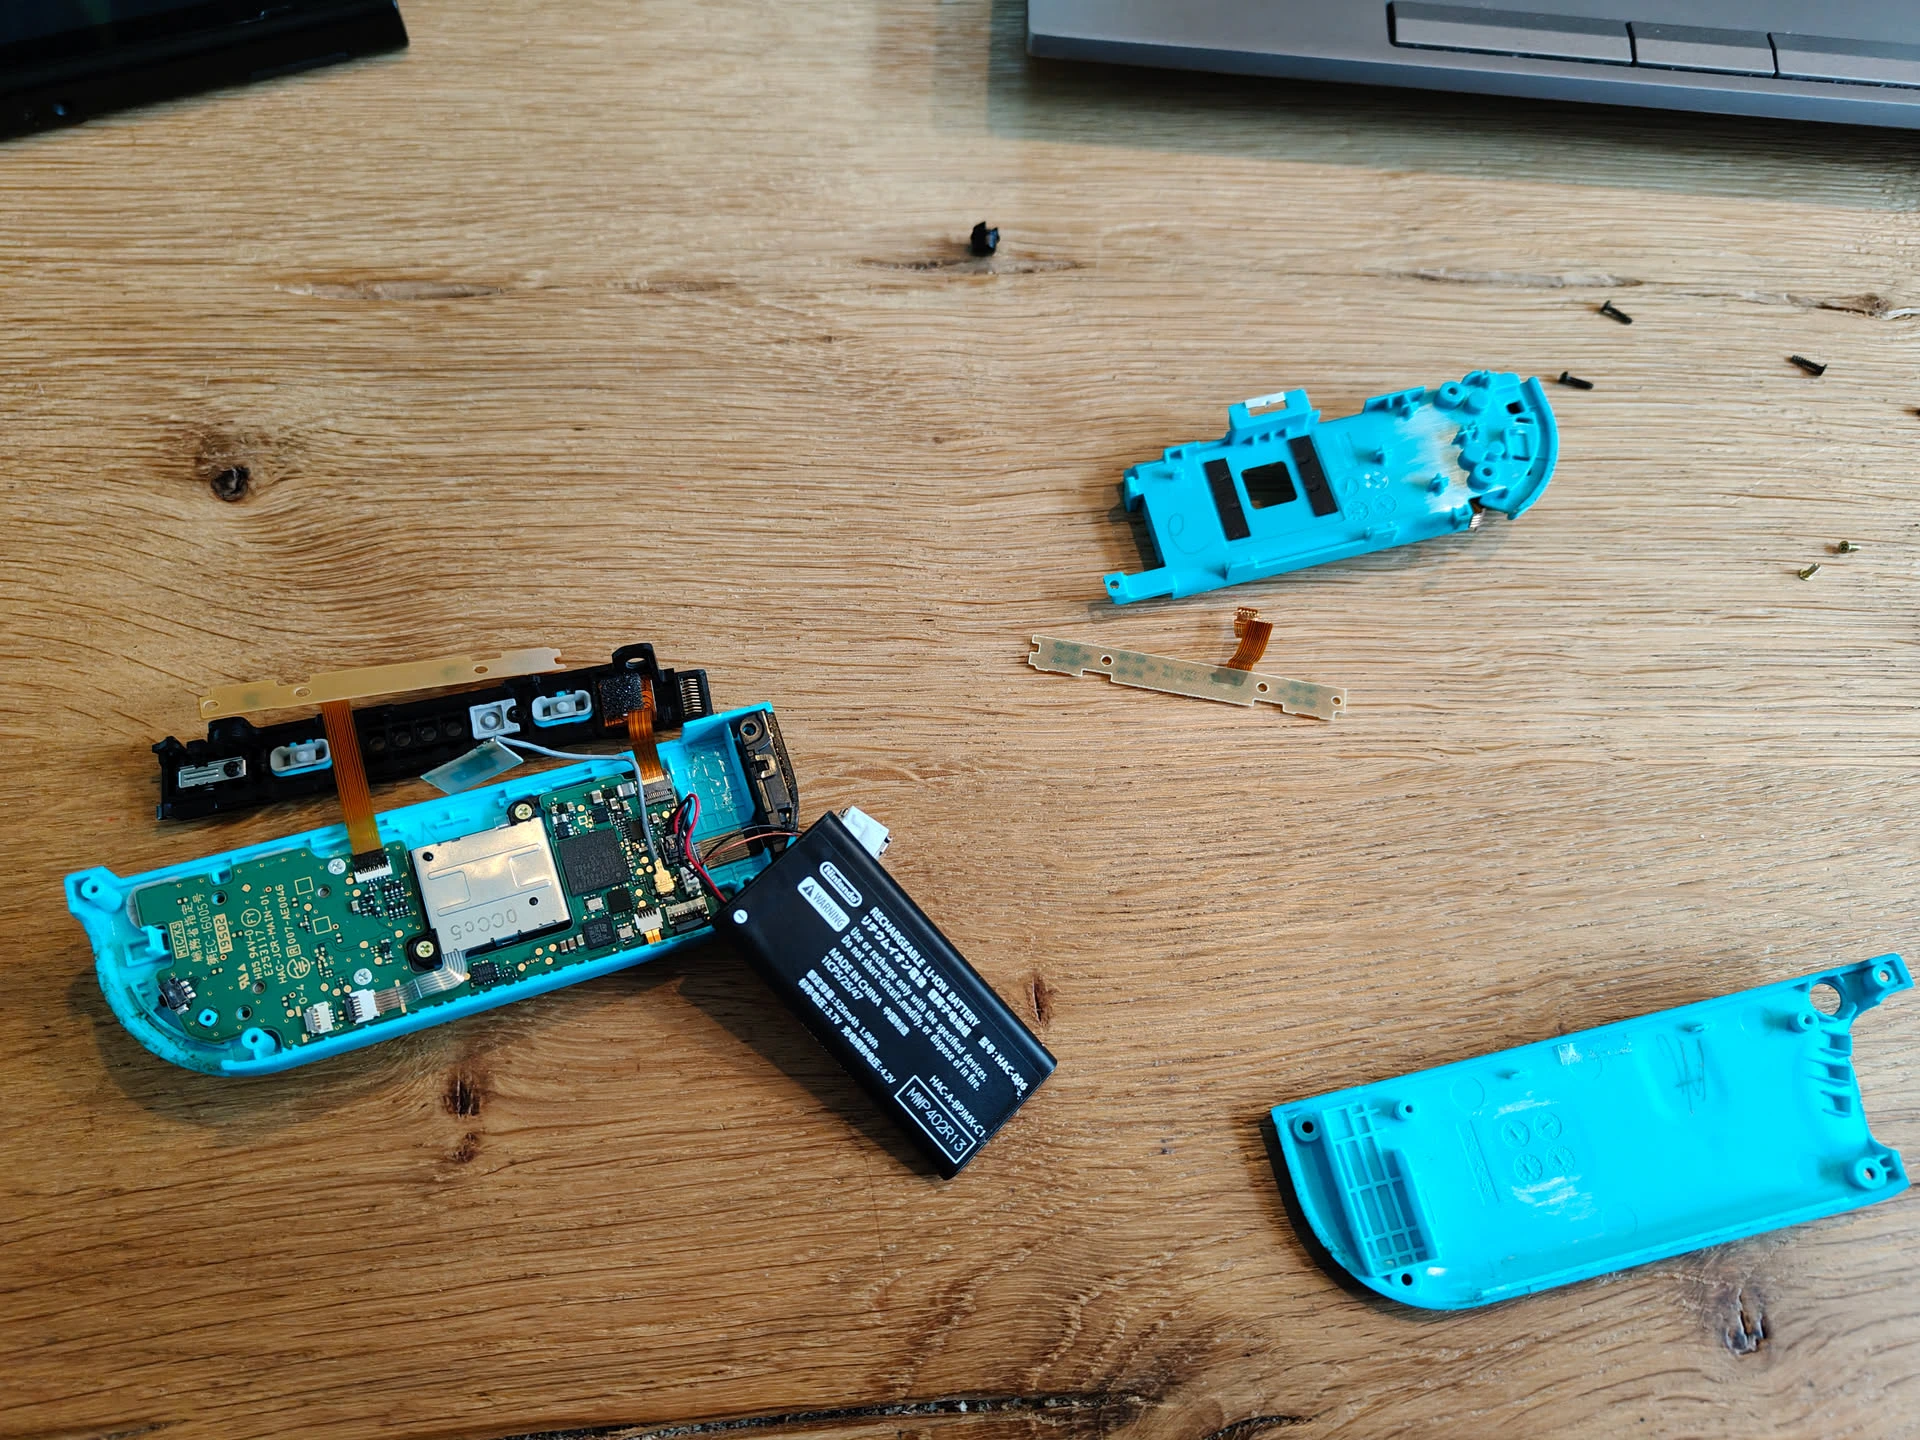
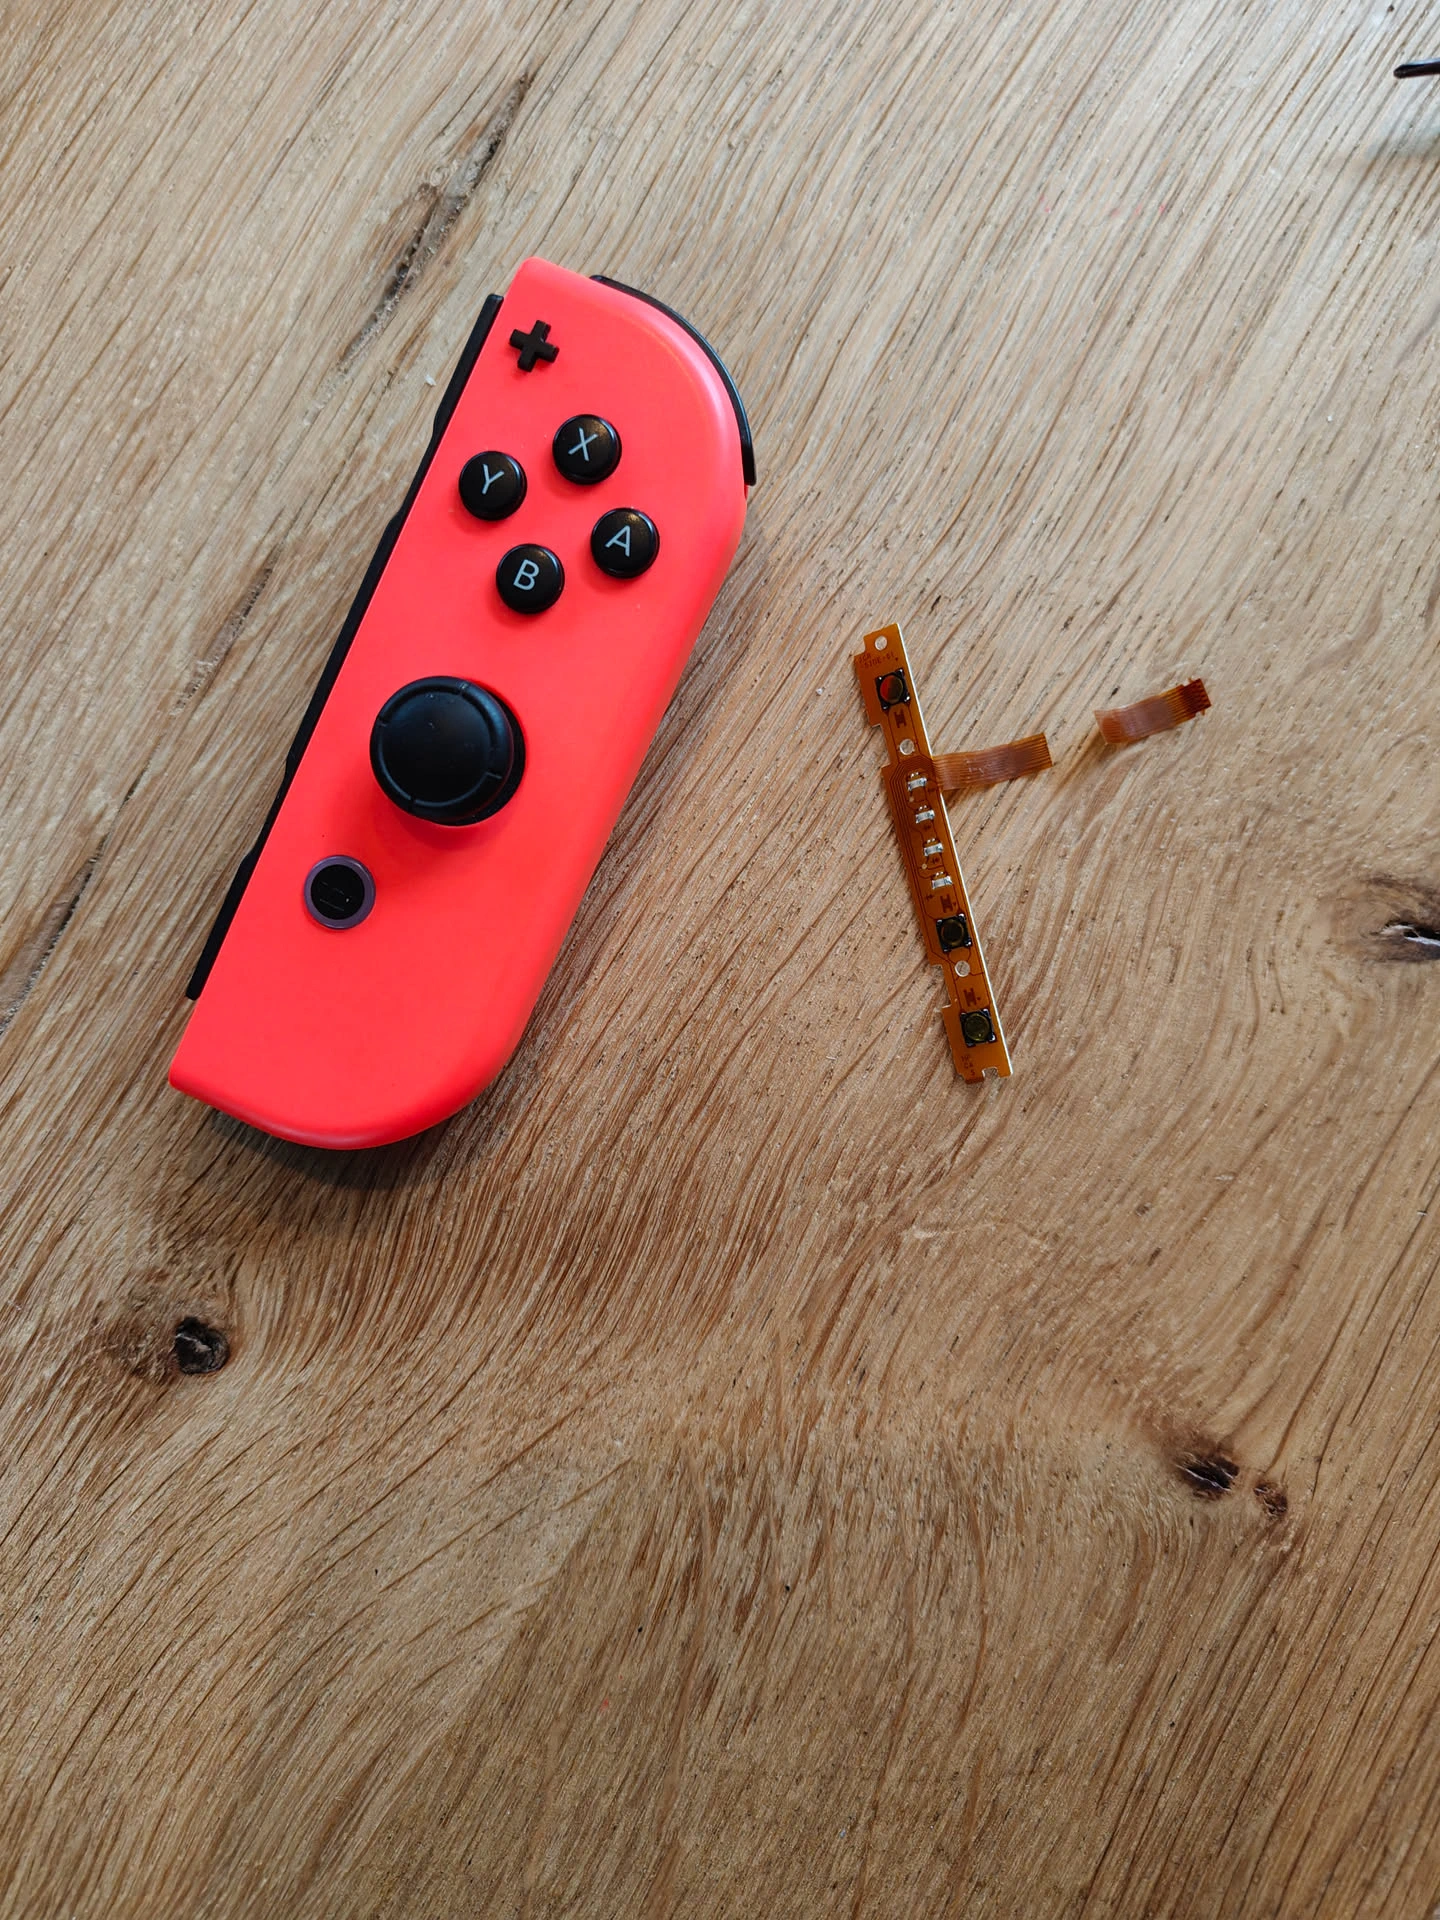
One moment playing with LoRa. Next, a Nintendo Switch controller to fixed.
LoRa Antenna measurements


Using my NanoVNA and a RF test Kit I learned something about measuring antenna.
Below a measurement of a unknown antenna, ITs off, I need to shorten the metal spring inside.


I’m running this Google Photos alternative for a week now, and I am pleasantly suprised.
UPDATE: Installed power-tools, python scripts to manipulate dates and immich-go
The face detection had only 1 mismatch in my library.
Negatives?
Well maybe album management, it could be better or more flexible
Some search tests:
Amazing results!
Features (some)
Lets copy the rest of my photo libary to this server.
(Storage is on a 10Gbit fiberoptic iSCSI device)