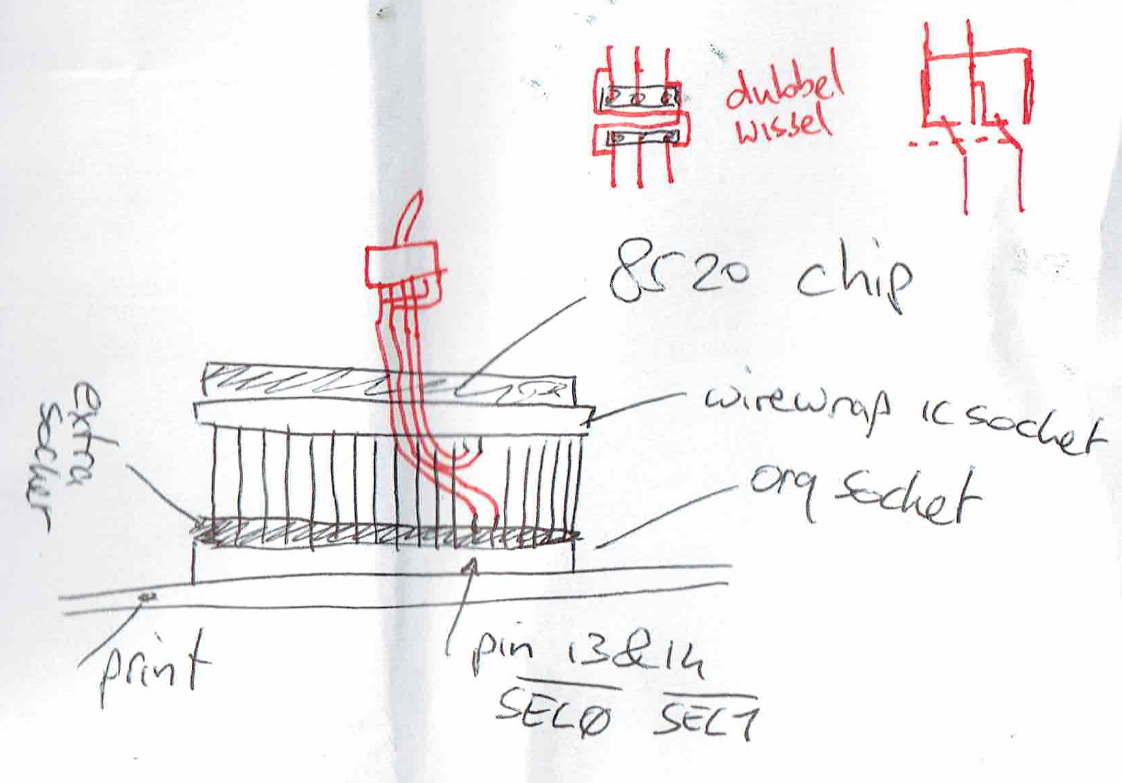
See post: https://www.henriaanstoot.nl/2014/04/10/portable-squeeze-server/
In the past i’ve used a home build Logitech Squeezebox server (as it was called then), Picore player and tried volumio.
Picore player has been sitting in my livingroom for ages, but was converted to a Node-Red Dashboard and recently Home Assistant Dashboard. (Has been a dasticz daskboard also)
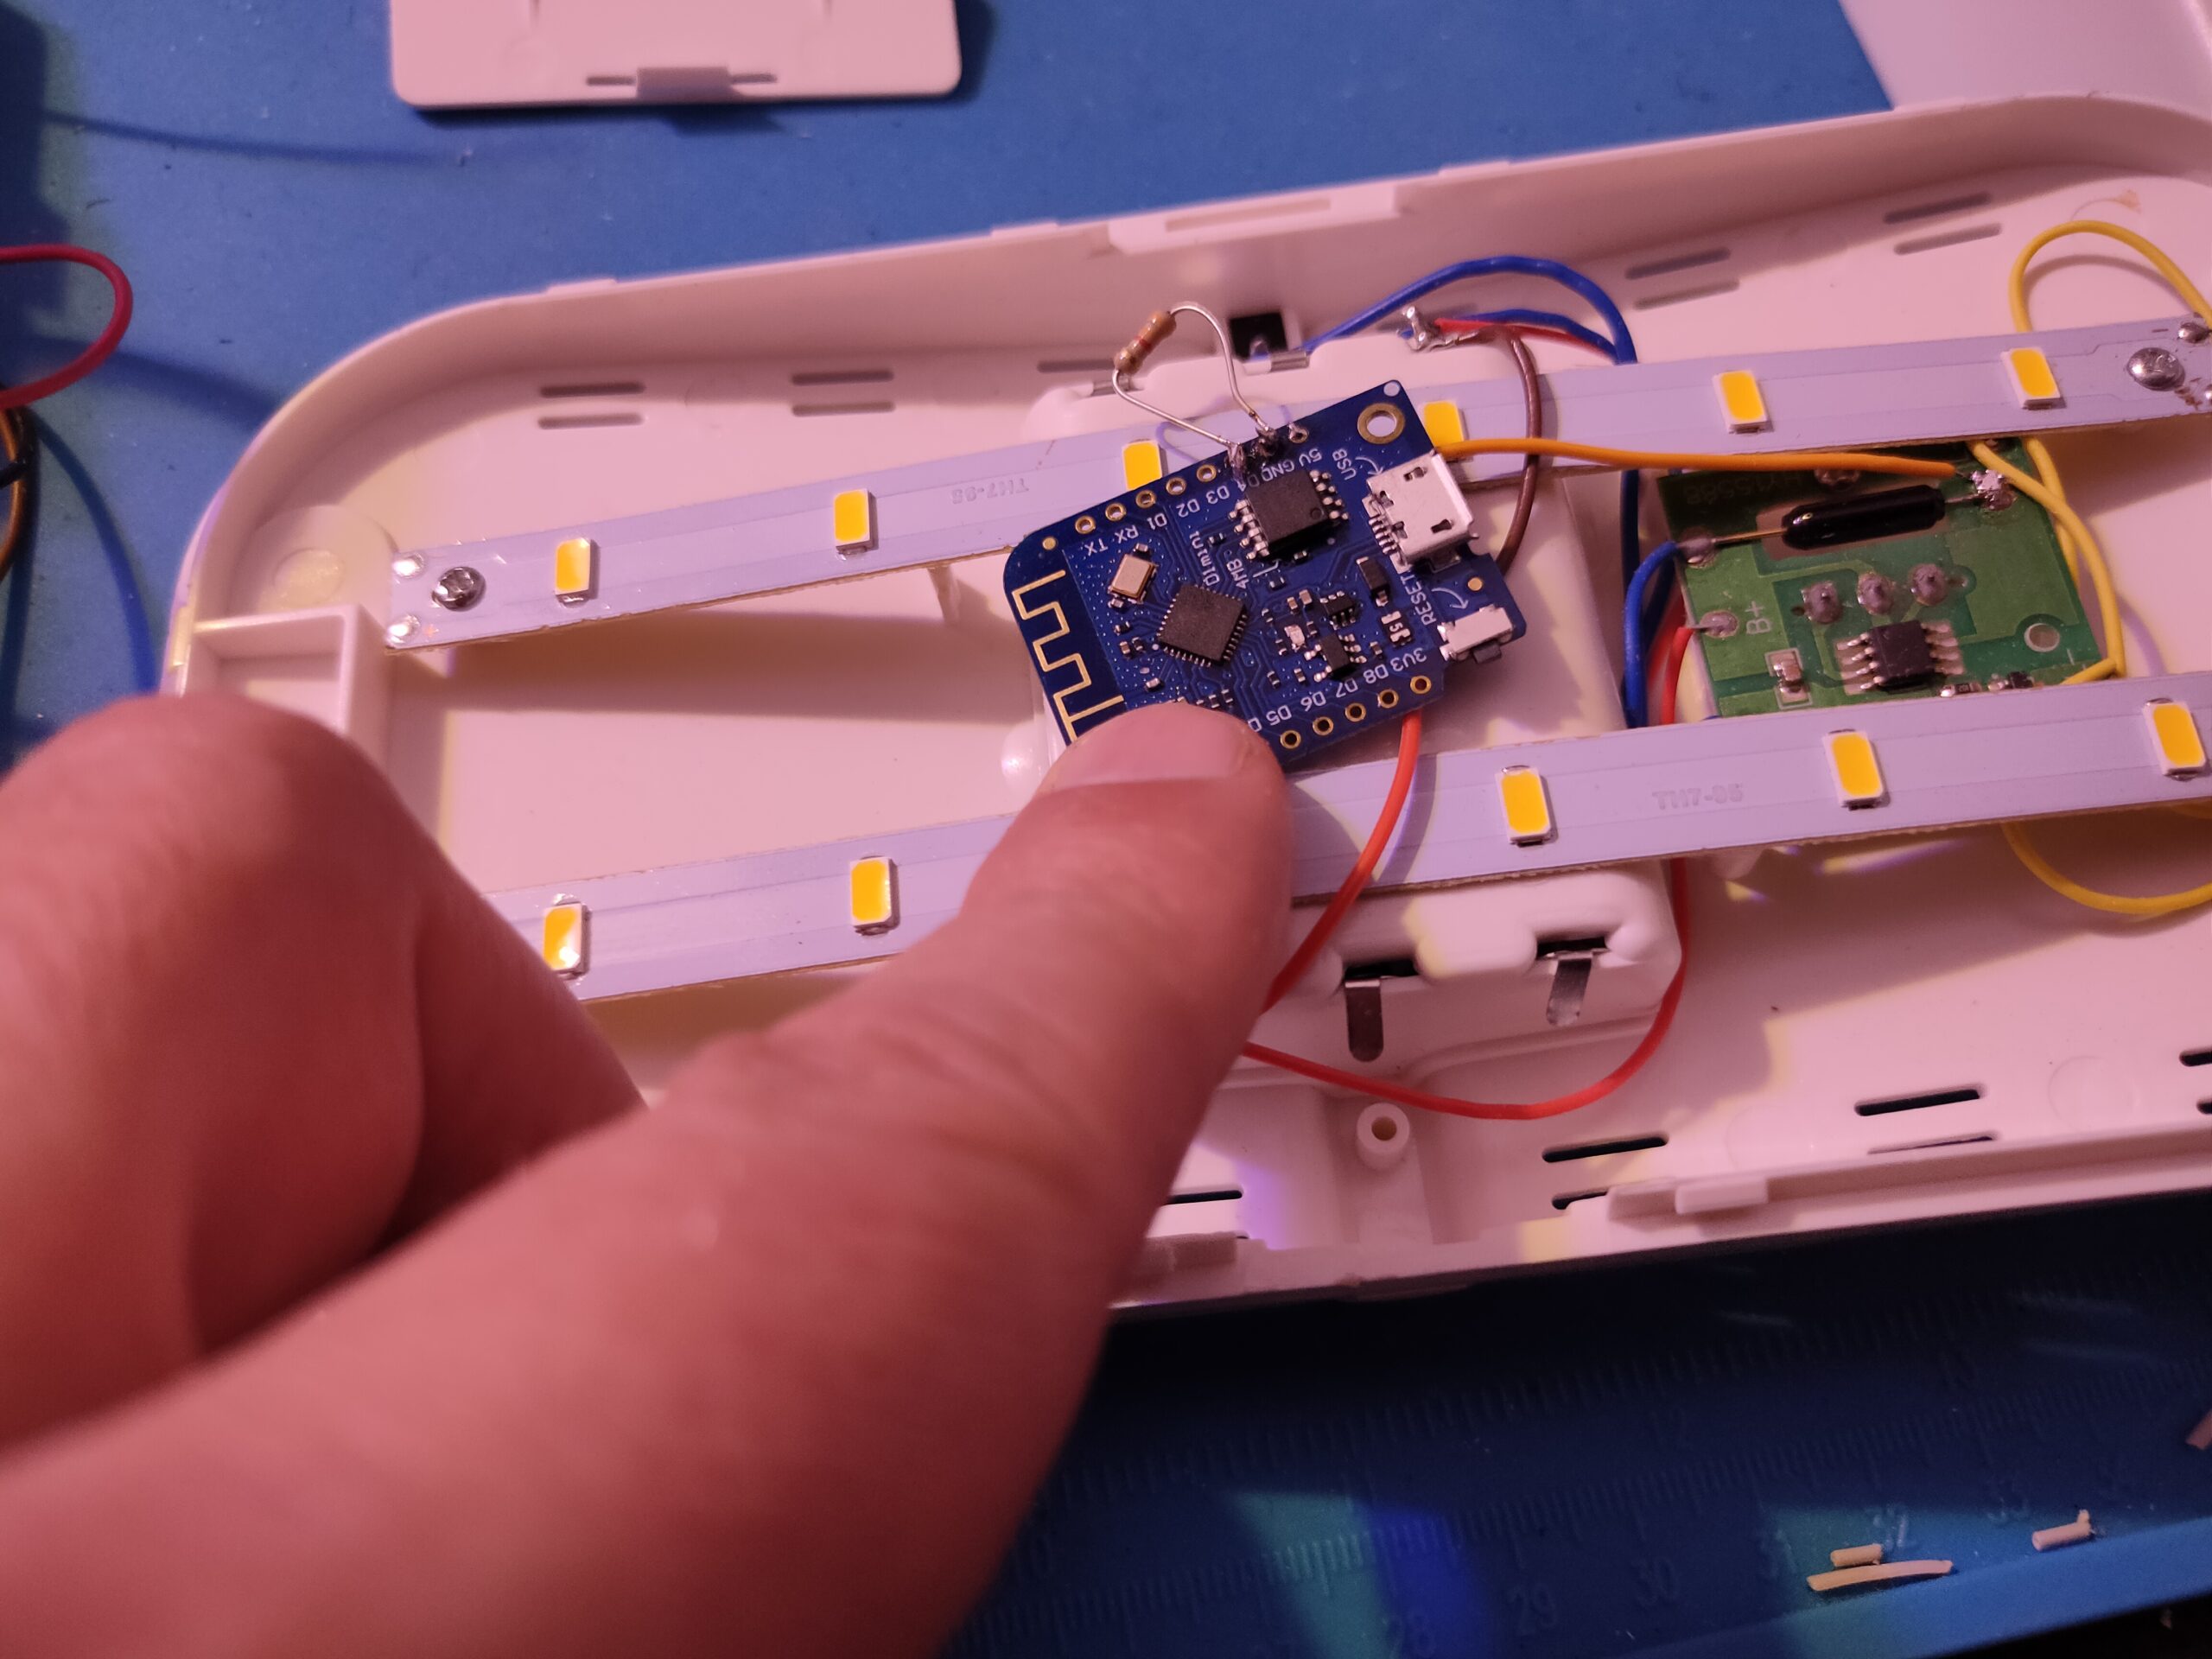
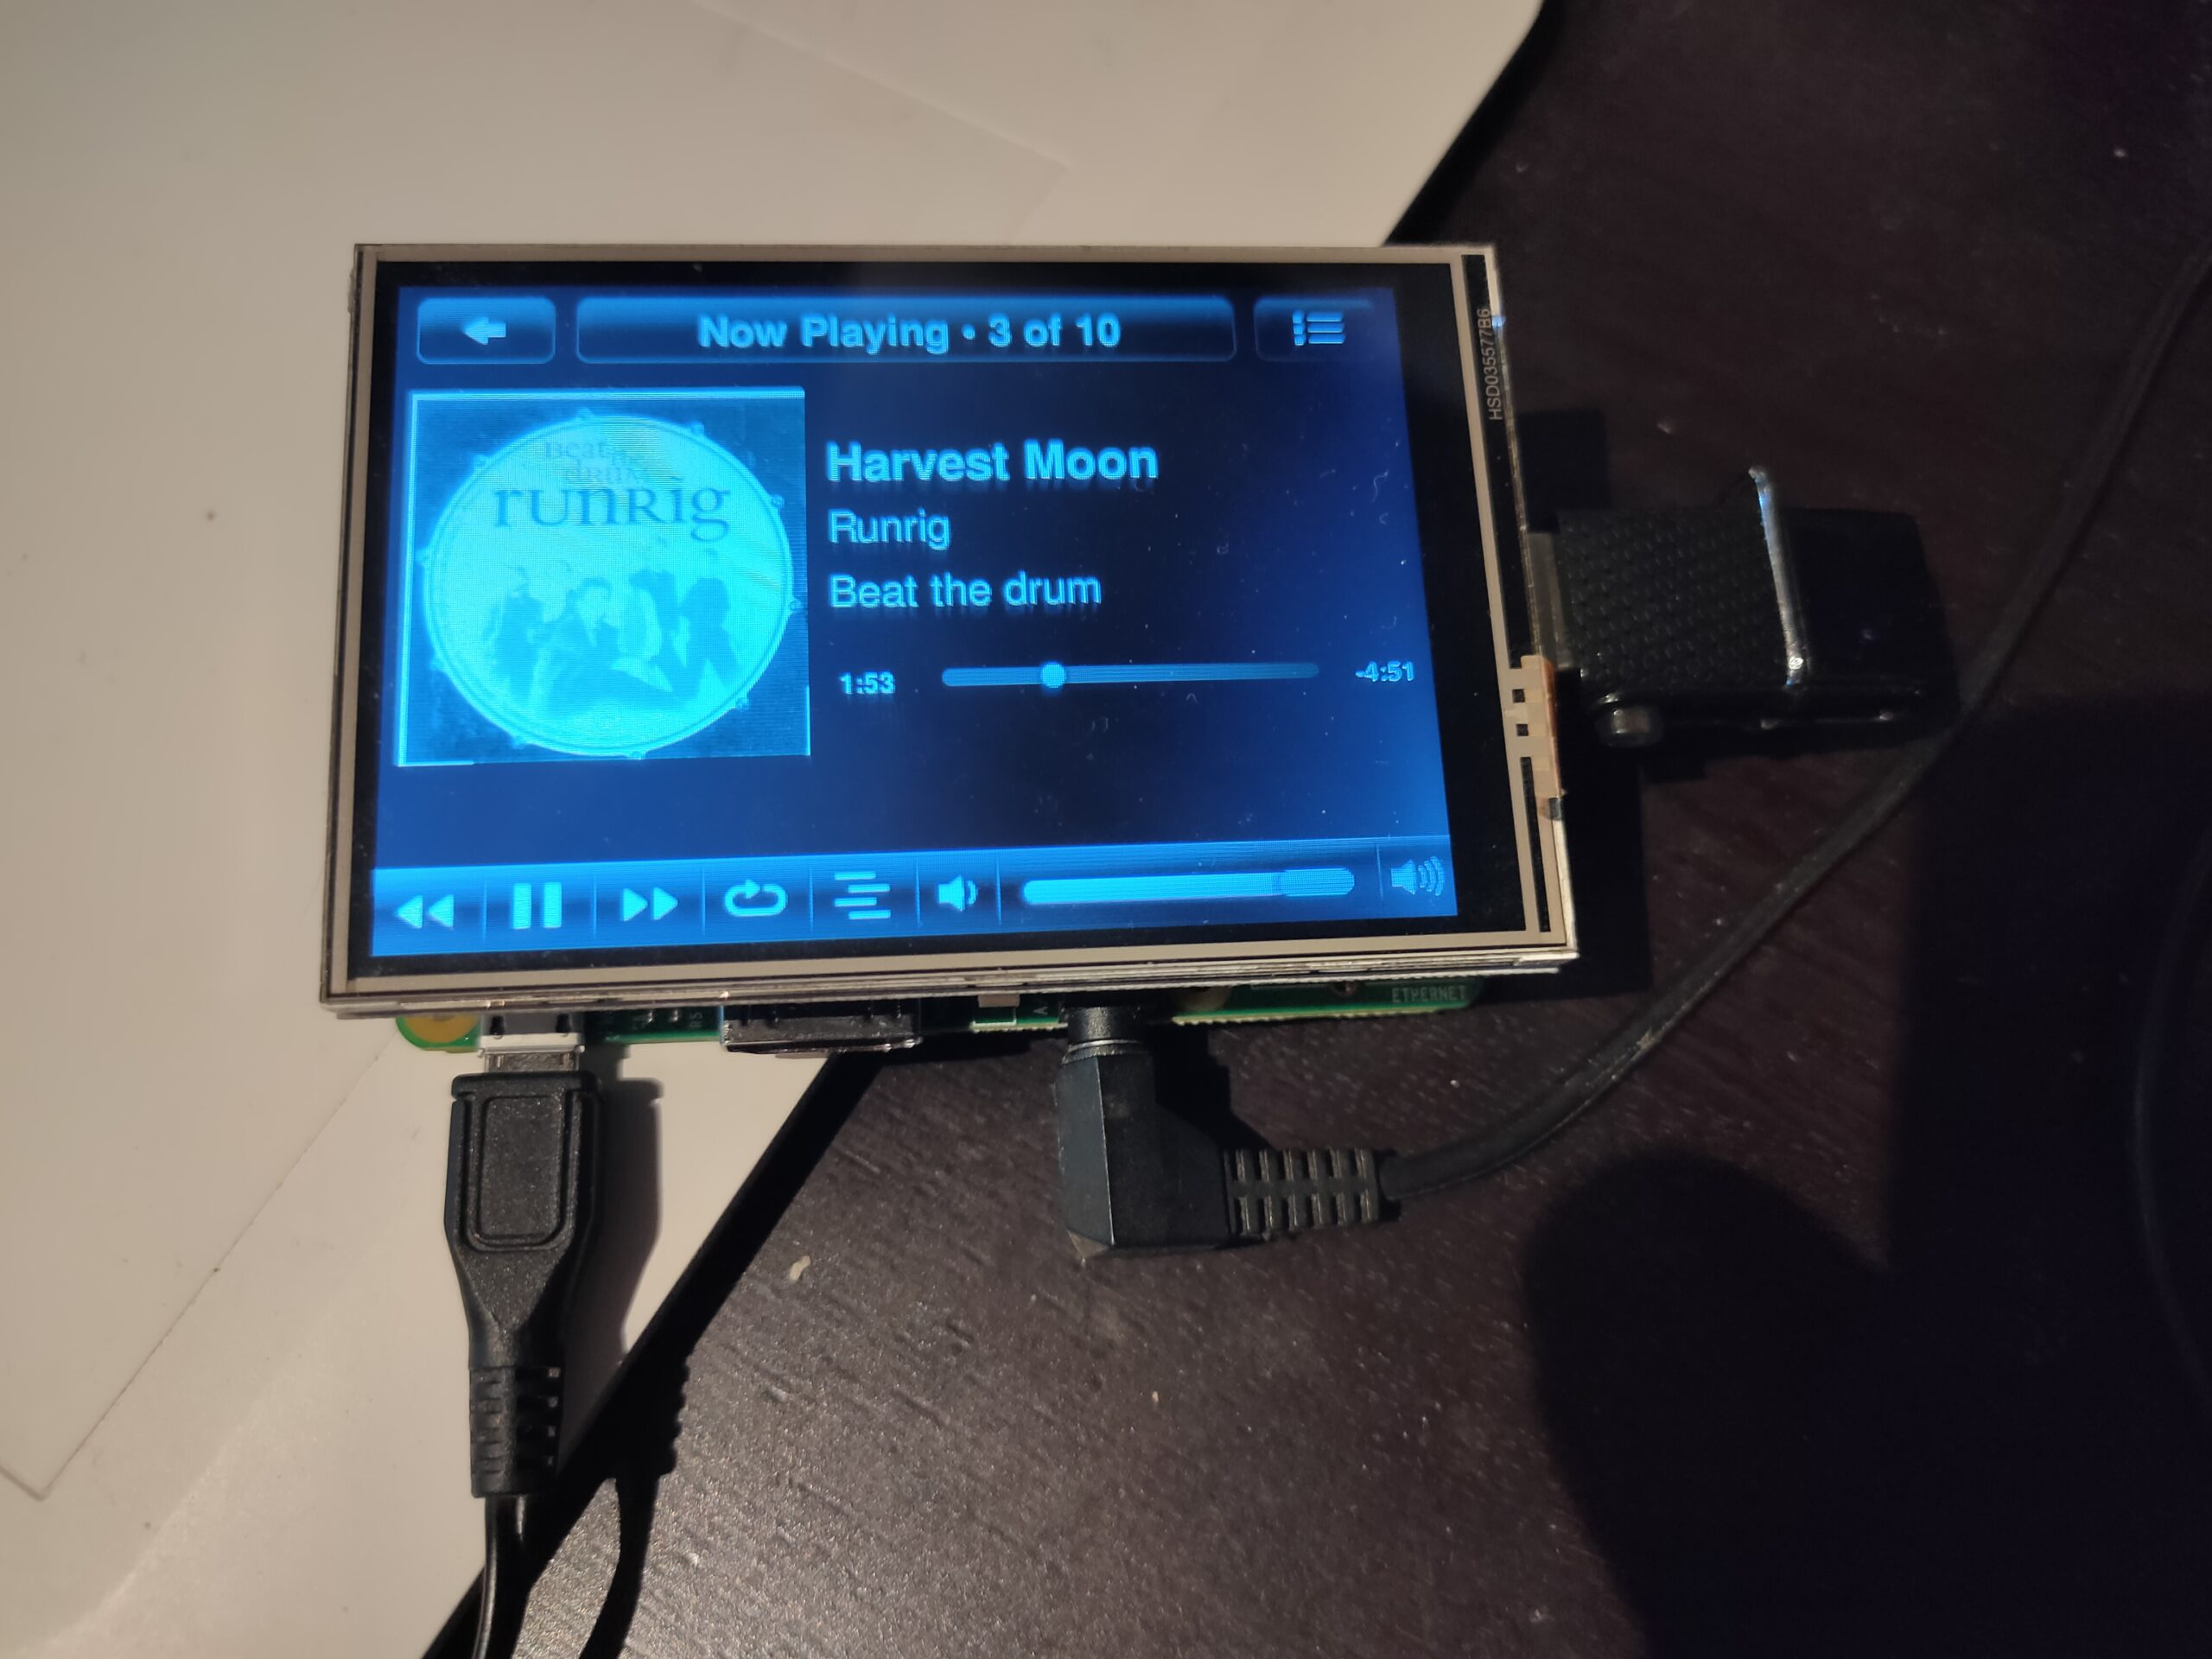
Today i build another version, smaller and with a screen.
Why? .. because of being ‘offline’ or ‘offgrid’ on our holidays.
The car we are driving only has a Aux input.
Most of the installation is as mentioned on:
https://docs.picoreplayer.org/projects/add-a-display/
I edited /opt/bootsync.sh
to get /dev/sda1 mounted persistent
use pcp br after editing.
Default user/pass : tc piCore
Controlling the thing is via touch or a app on my phone using wifi hotspot.
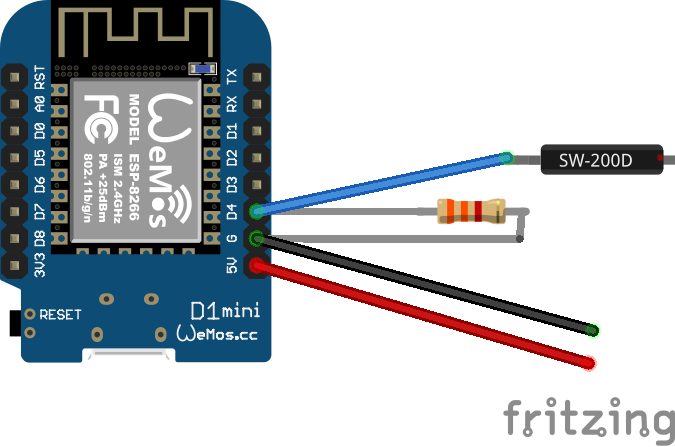
- Audio cable 3.5mm
- Raspberry 3
- Large usb thumbdrive
- 3.5inch RPi Display – 480×320 Pixel – XPT2046 Touch Controller
- car cigarette lighter adapter for power
PiCore uses below alliases
| ce | Change directory to /mnt/mmcblk0p2/tce |
| ceo | Change directory to /mnt/mmcblk0p2/tce/optional |
| m1 | Mount the boot partition /mnt/mmcblk0p1 |
| m2 | Mount the second partition /mnt/mmcblk0p2 |
| c1 | Change directory to /mnt/mmcblk0p1 |
| c2 | Change directory to /mnt/mmcblk0p2 |
| vicfg | Edit configuration file config.txt using vi |
| vicmd | Edit boot file cmdline.txt using vi |
| u1 | Unmount the boot partition /mnt/mmcblk0p1 |
| u2 | Unmount the second partition /mnt/mmcblk0p2 |
Shutting down piCore is done by cutting the power, due to everything being mounted readonly. EXEPT
When you are using LMS server installation, which uses a database.
But there is a tweak for a shutdown button.
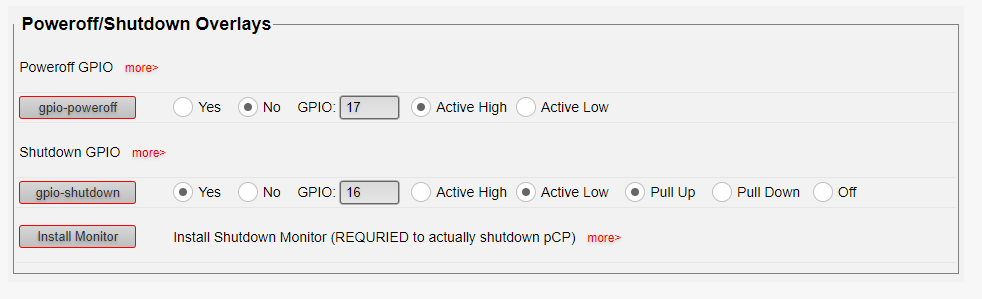
I’m using GPIO 16 because i’ve got a screen connected.
Active LOW, means you have to connect a pushbutton/switch between GND and GPIO pin. (nearest Vcc OR Gnd)