Below some examples and connection diagrams to control displays. More code and complete schematics will be added on this page or on a separate projects page.
UPDATE 20230119 Cost of 20×4 display in 1998
LCD
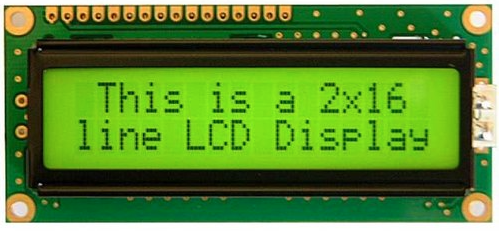
I’ve used a LCD display like this (HITACHI HD44780) on my PC in the 90s, and also written code to use this as a monitoring device on my amiga.
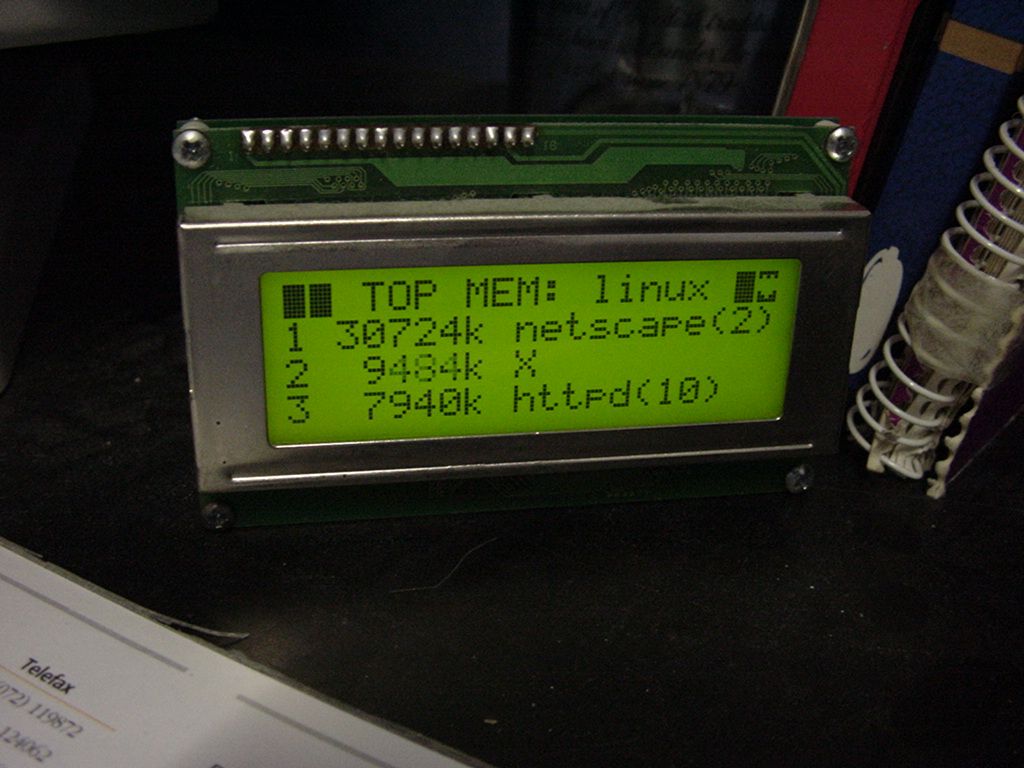
On Linux i used LcdProc – This module also was equiped with a serial connector
Now (2023) it is 8 euros! When bought now fl to euro 98 Euro or 107 $
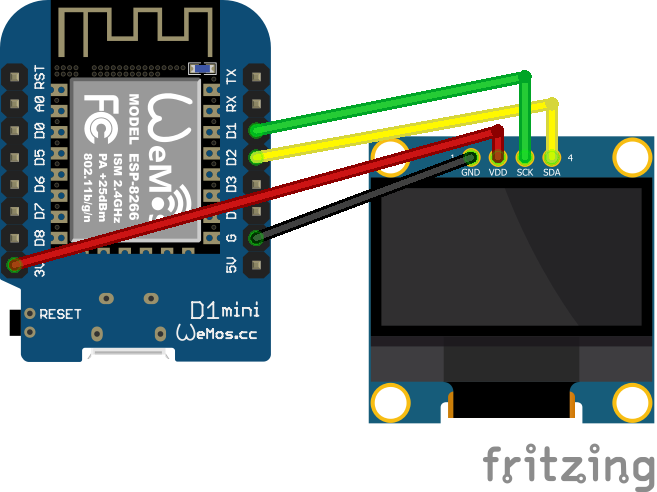
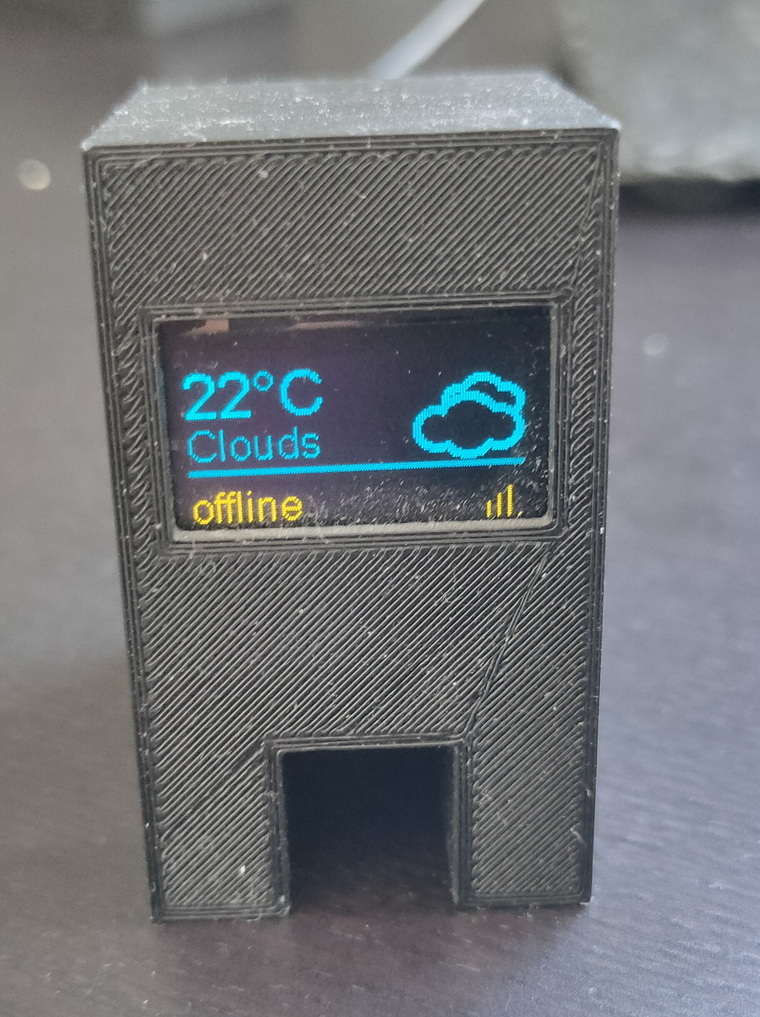
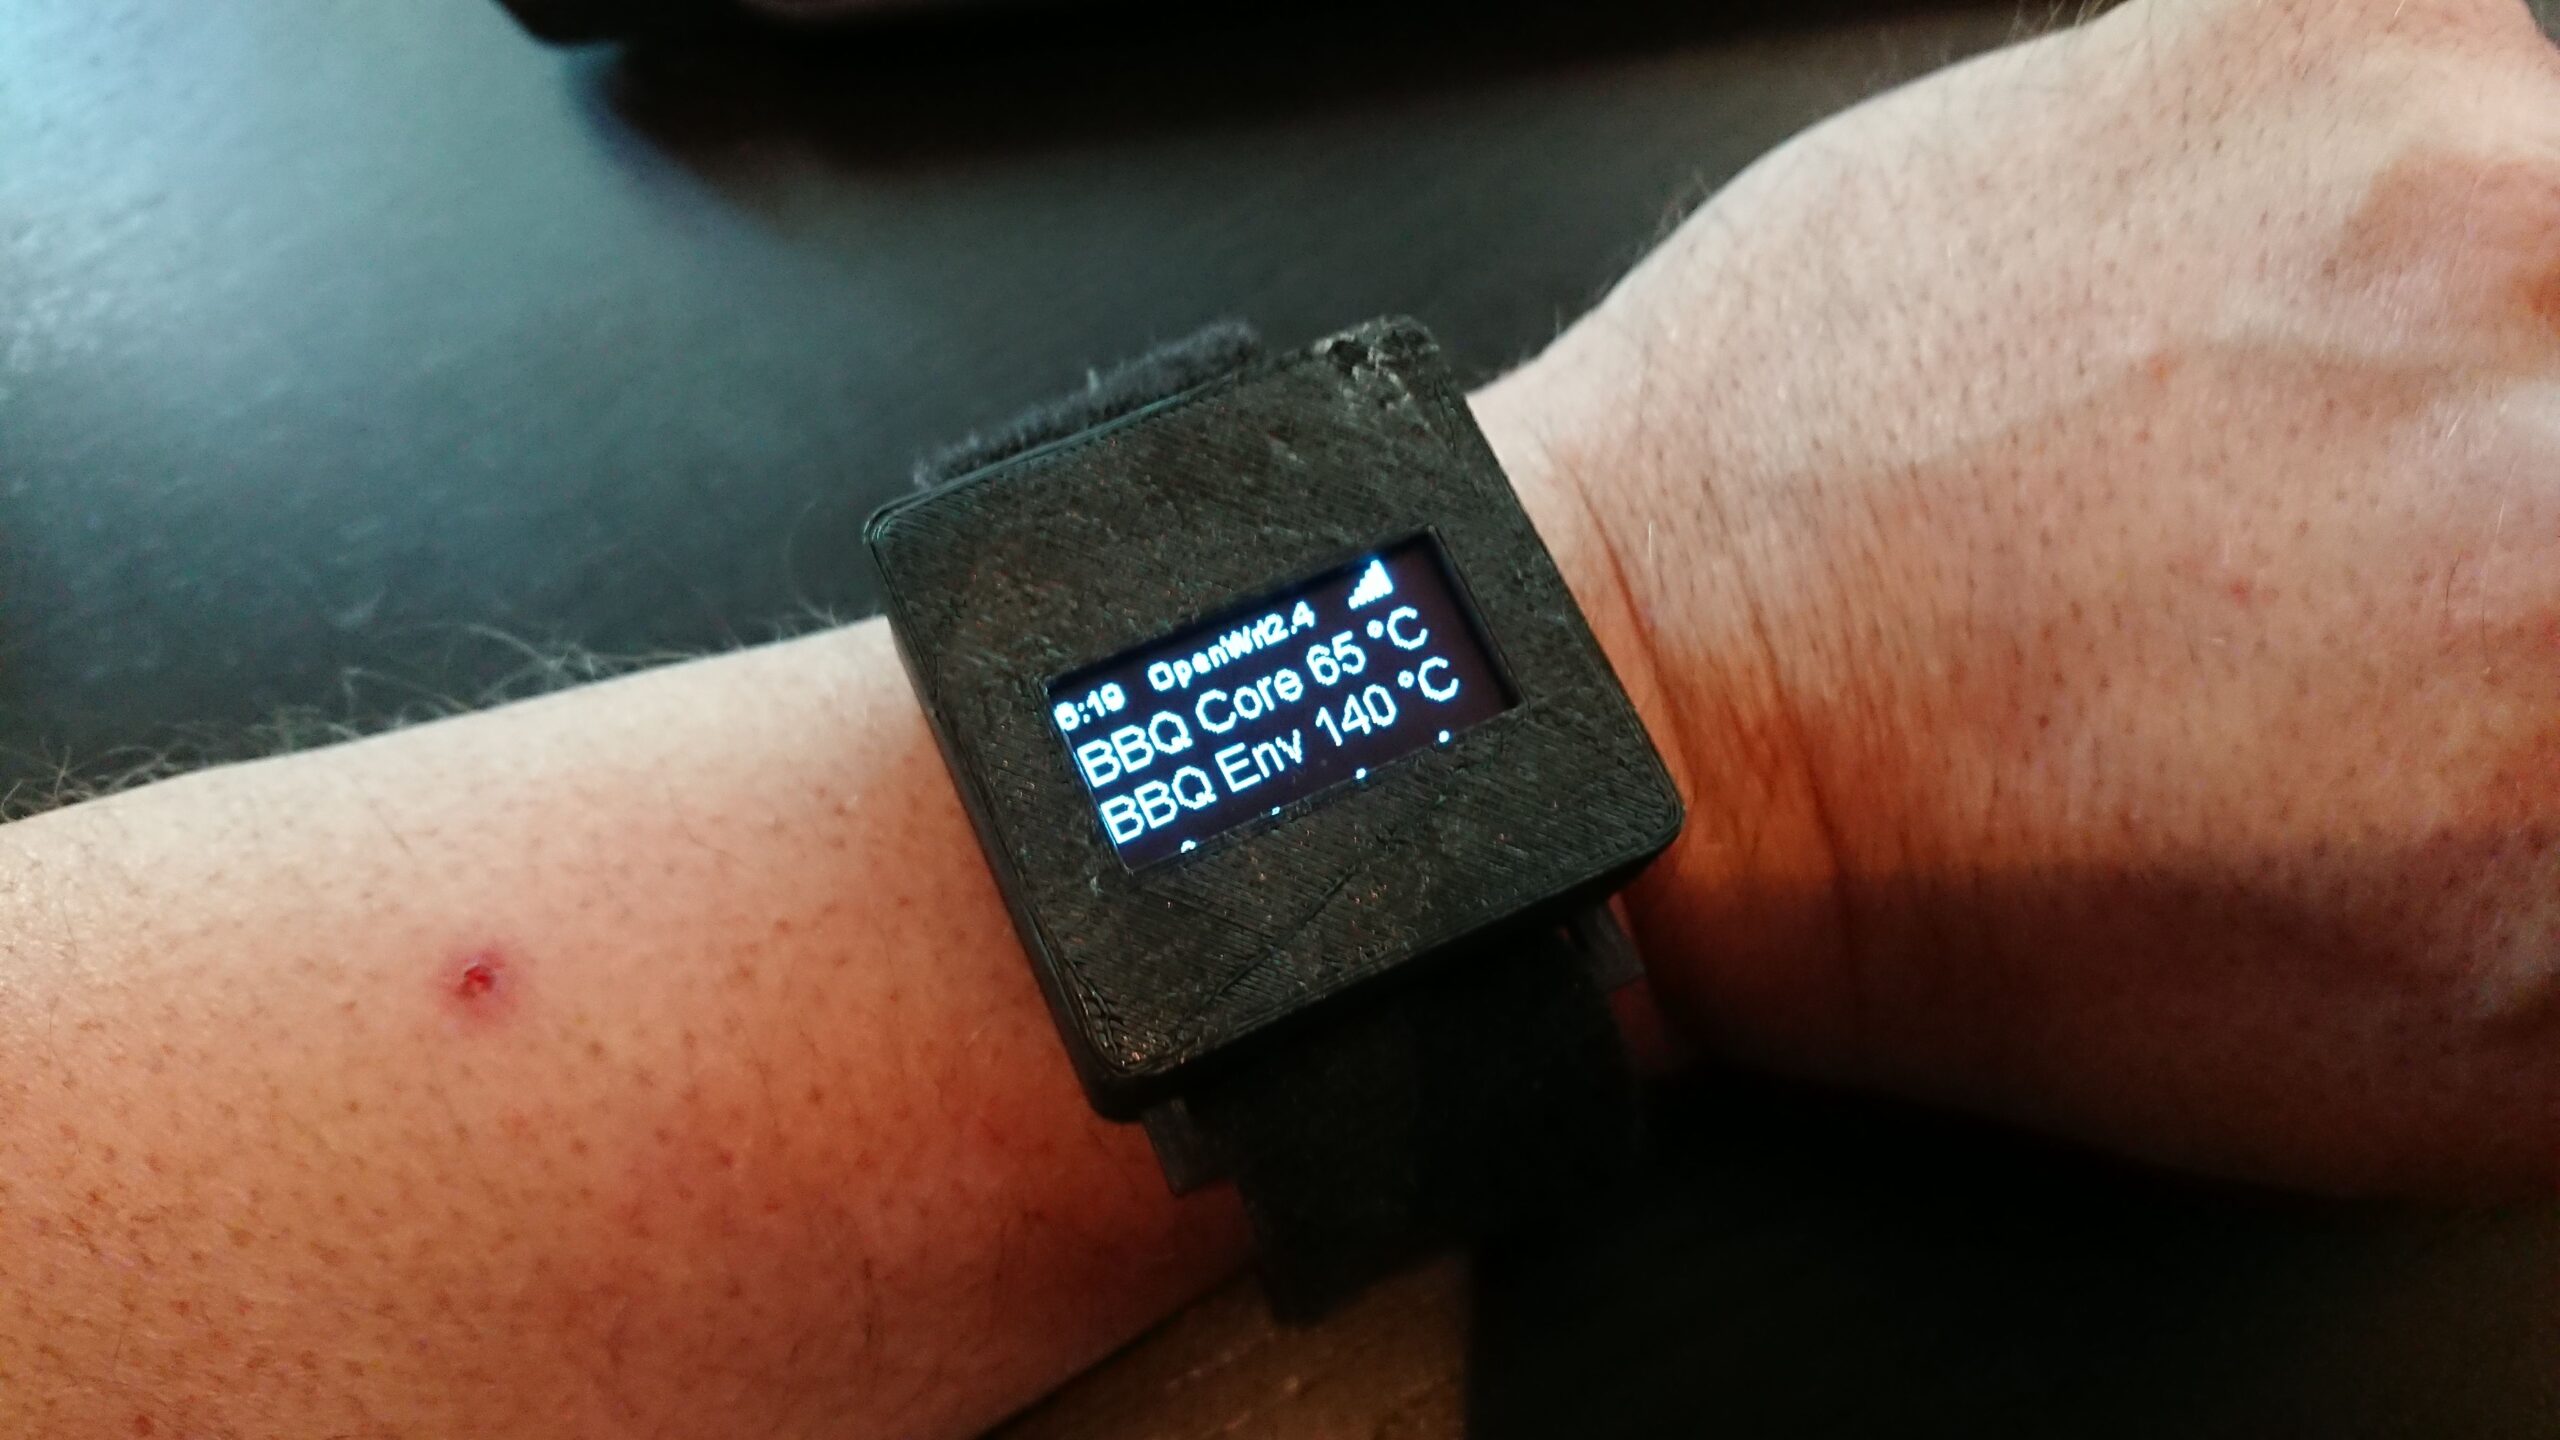
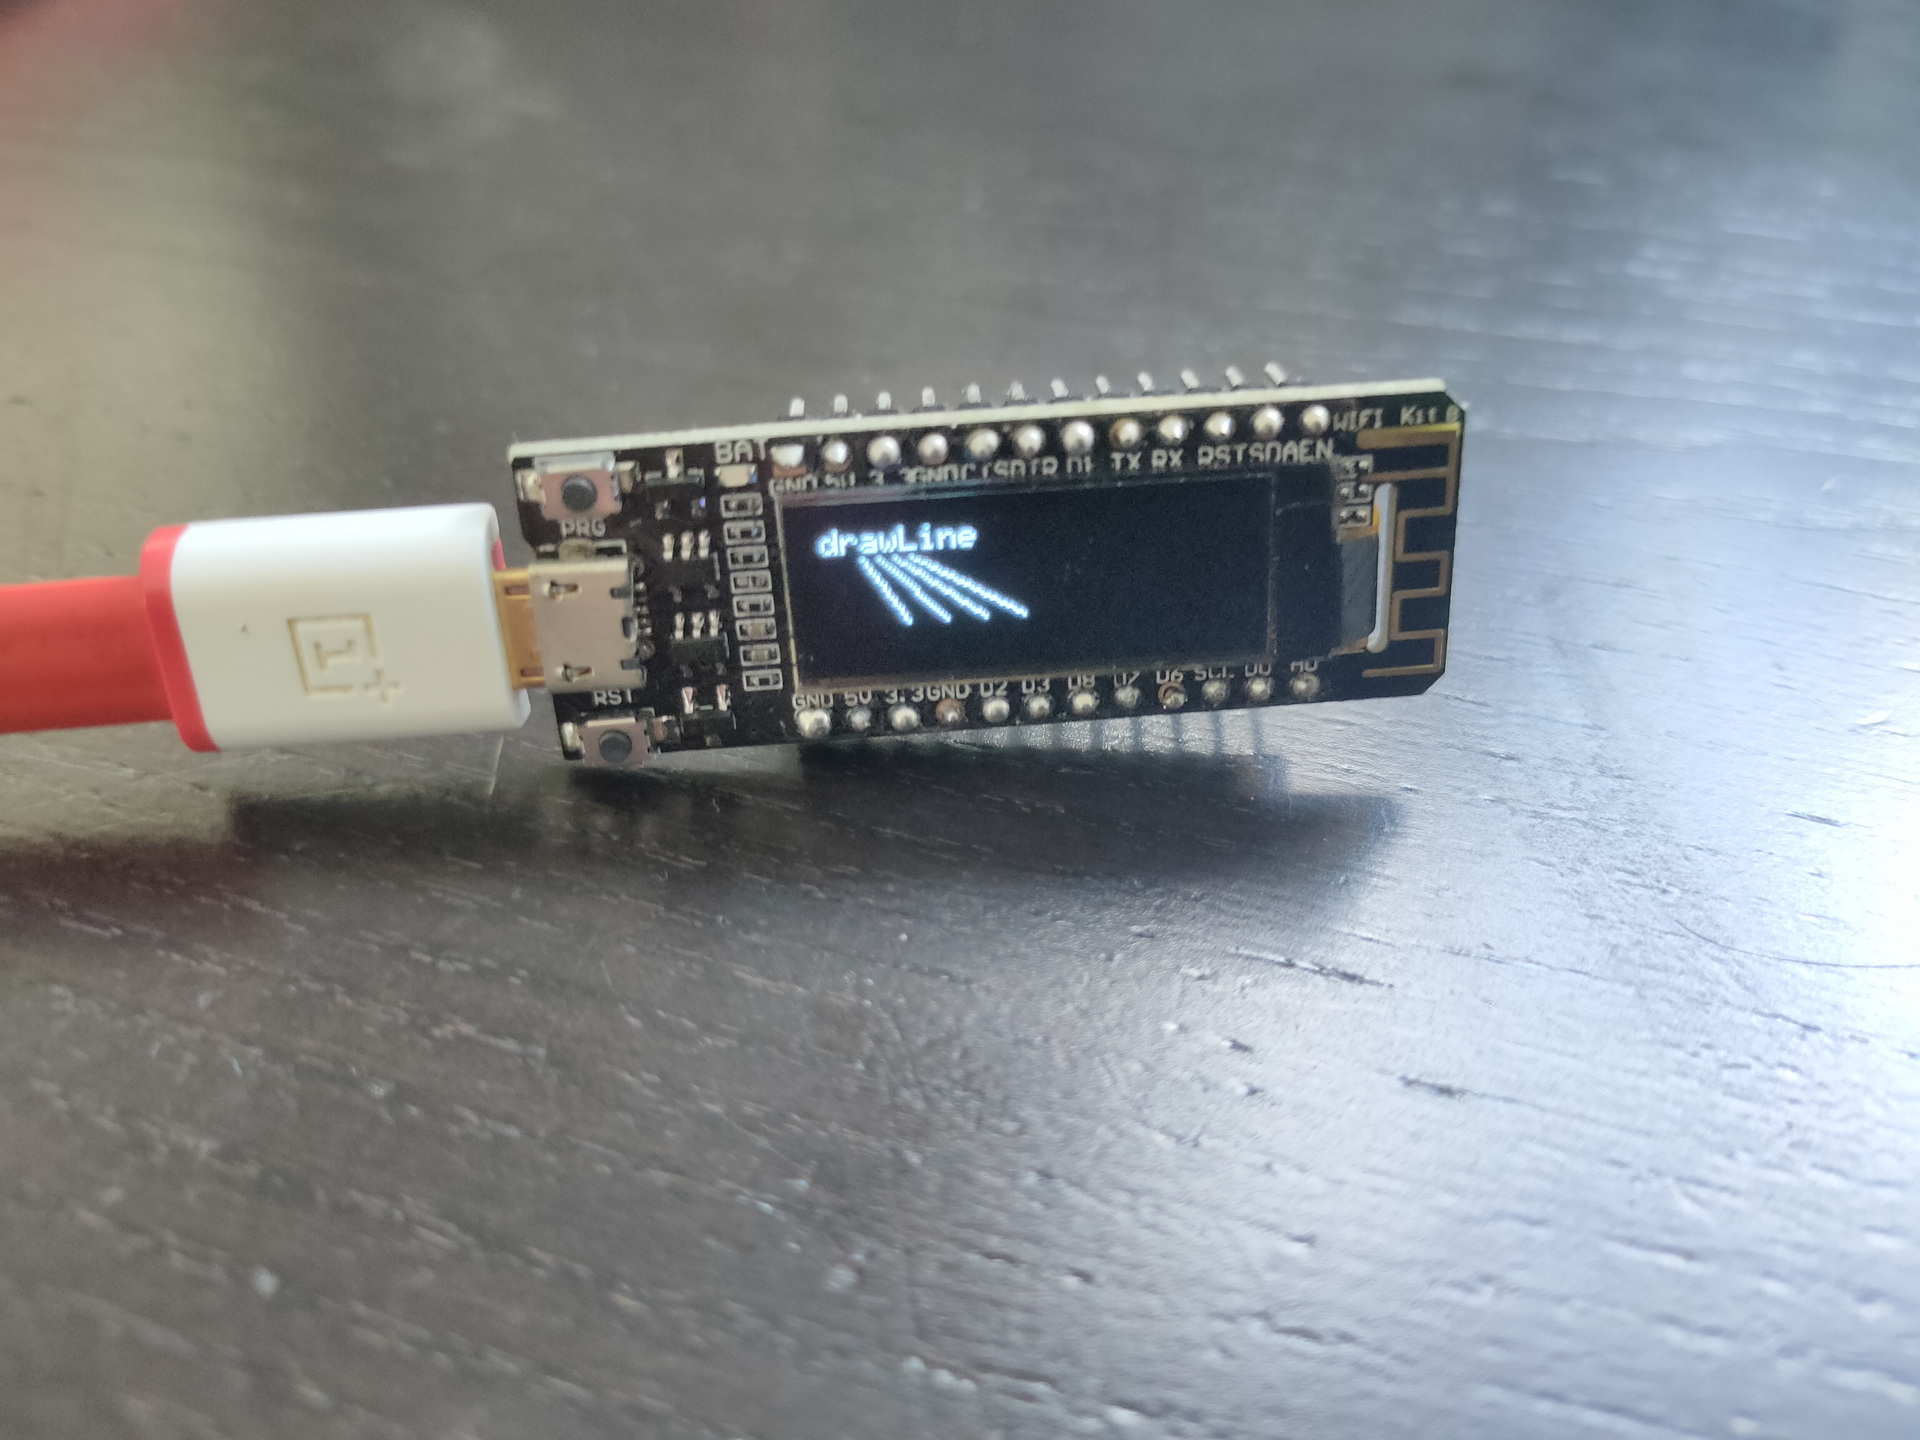
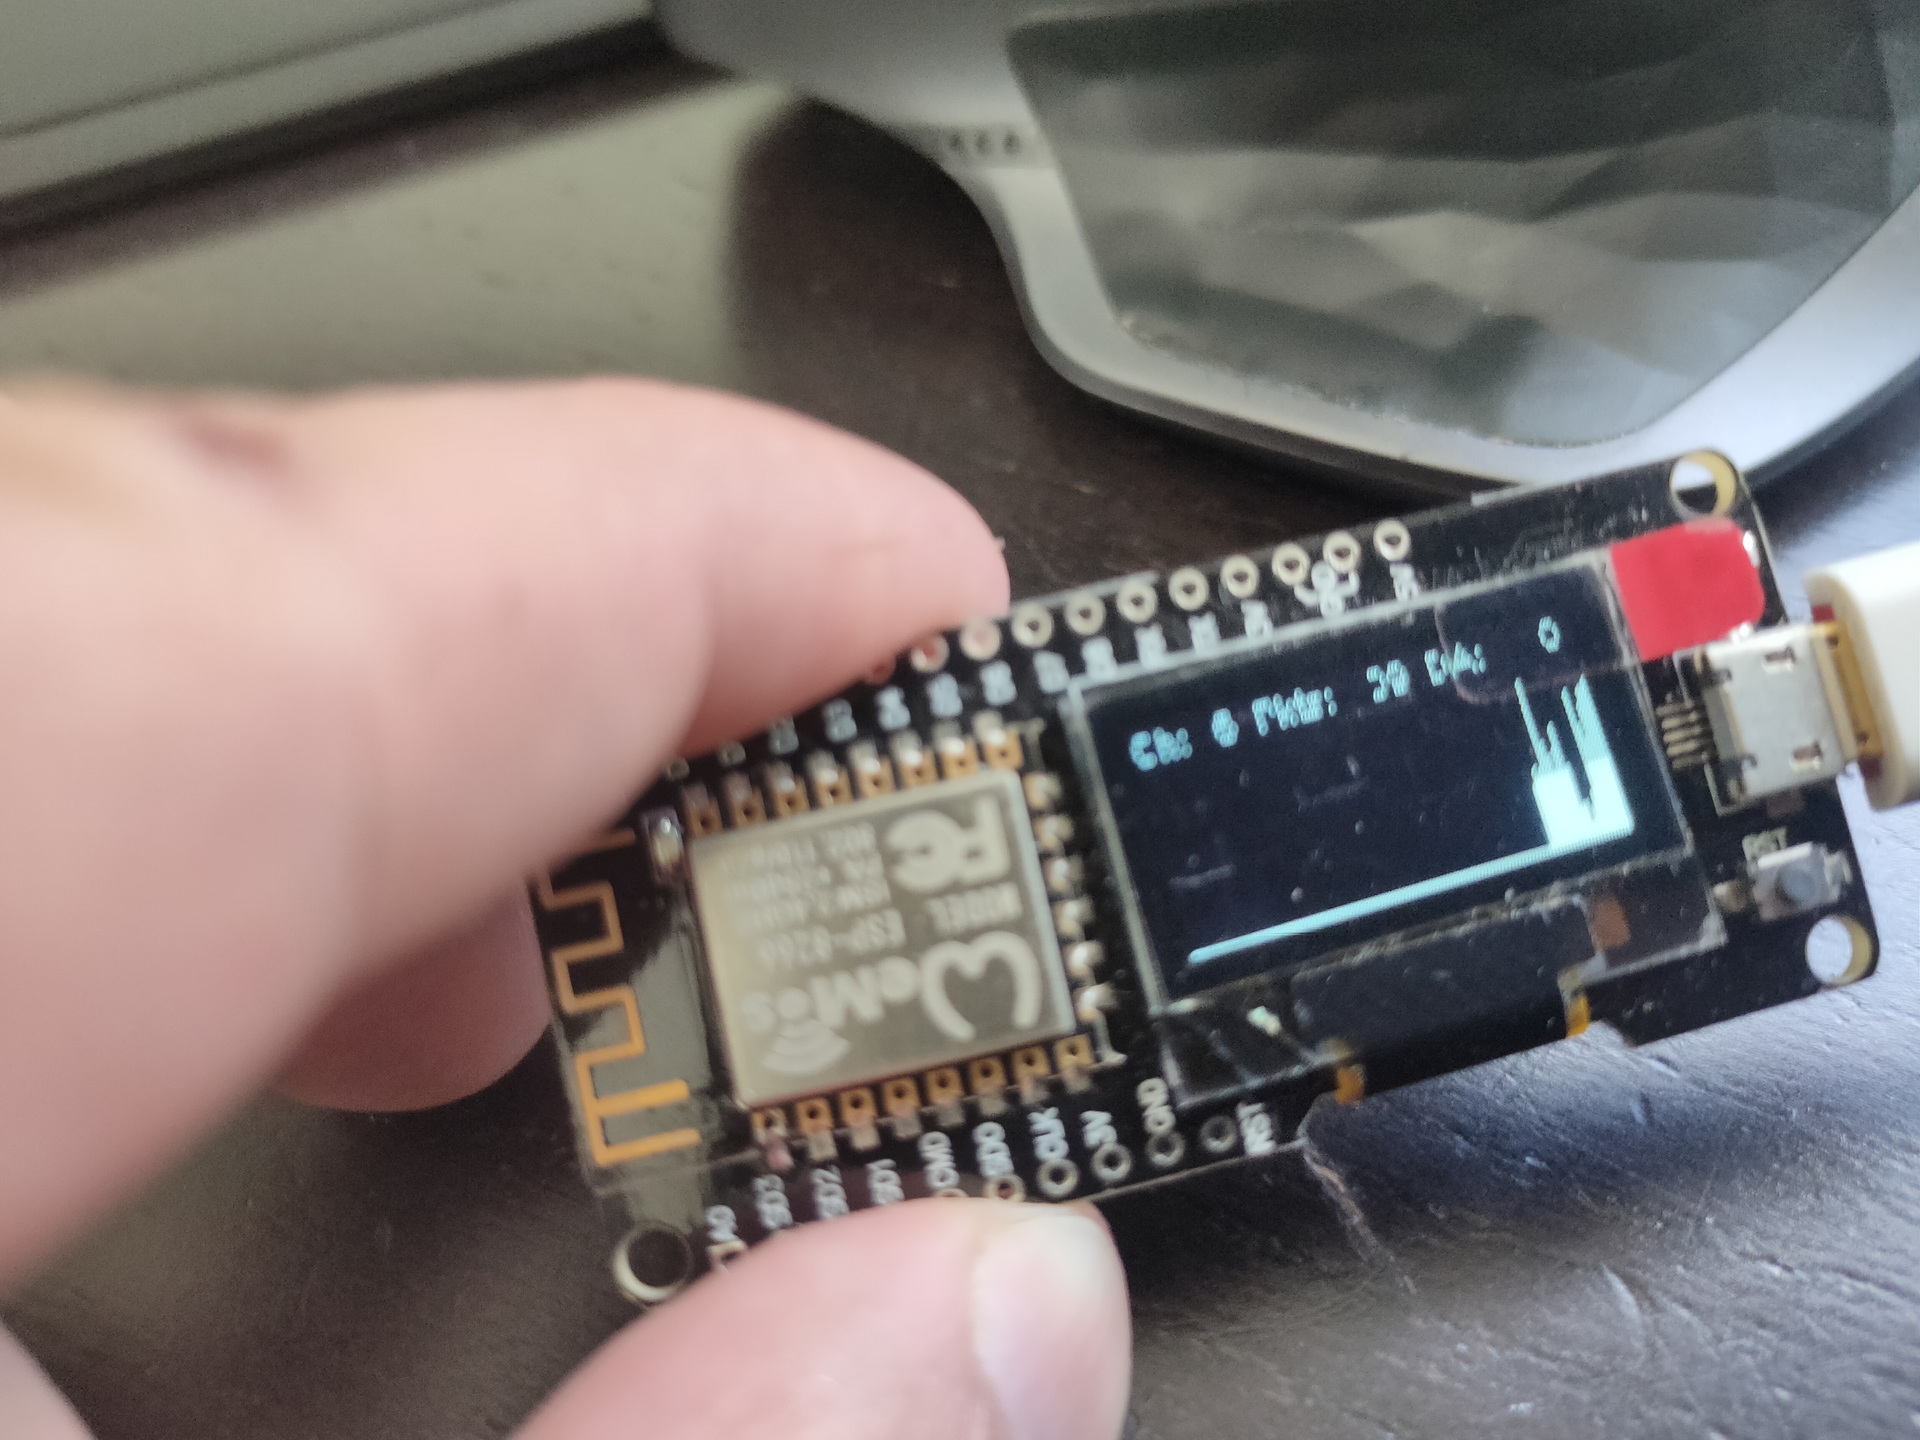
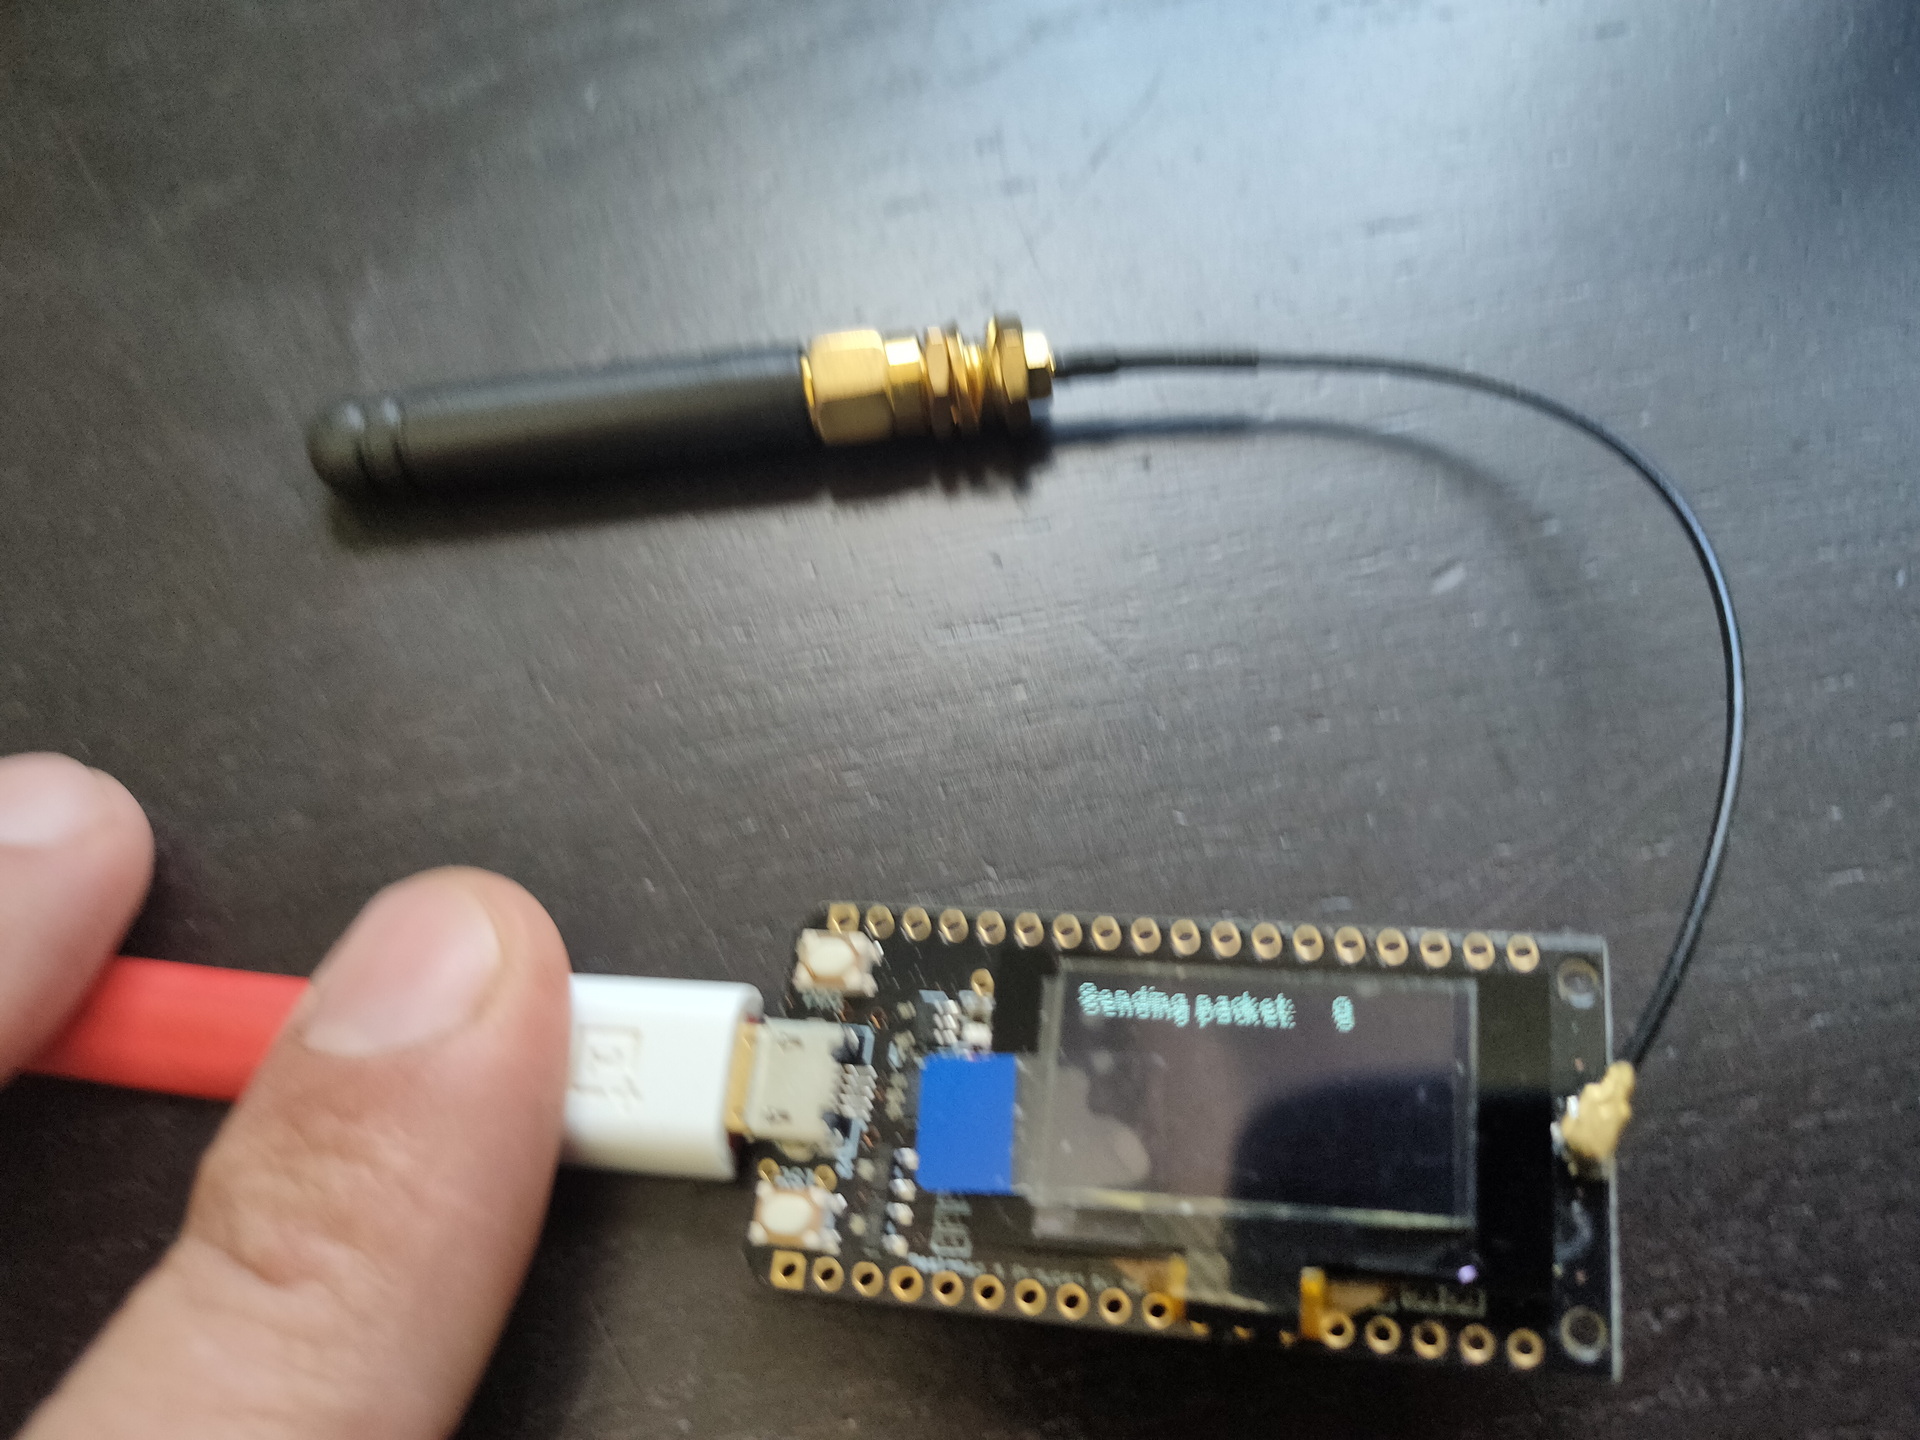
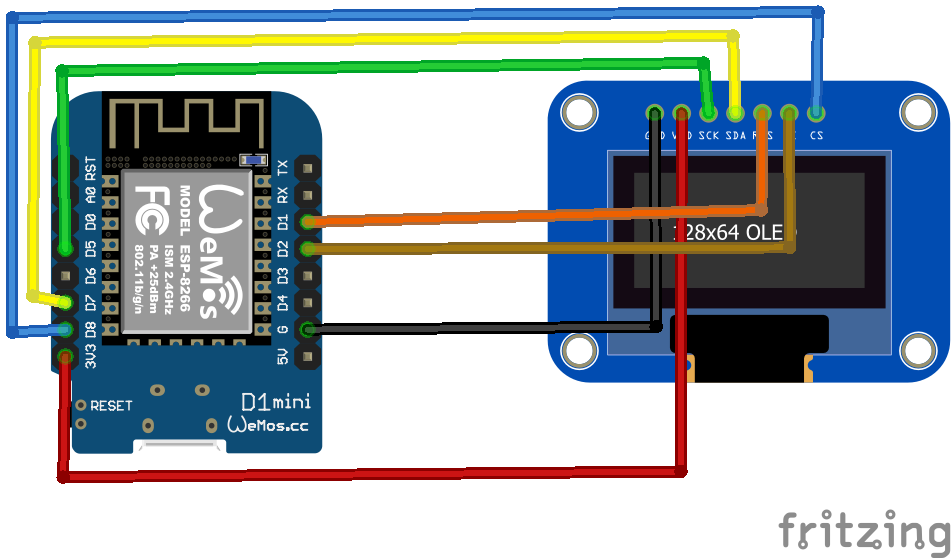
Some arduino’s have embedded displays like those i’ve used for a Lora project.
No usedWifi packet monitorLora test
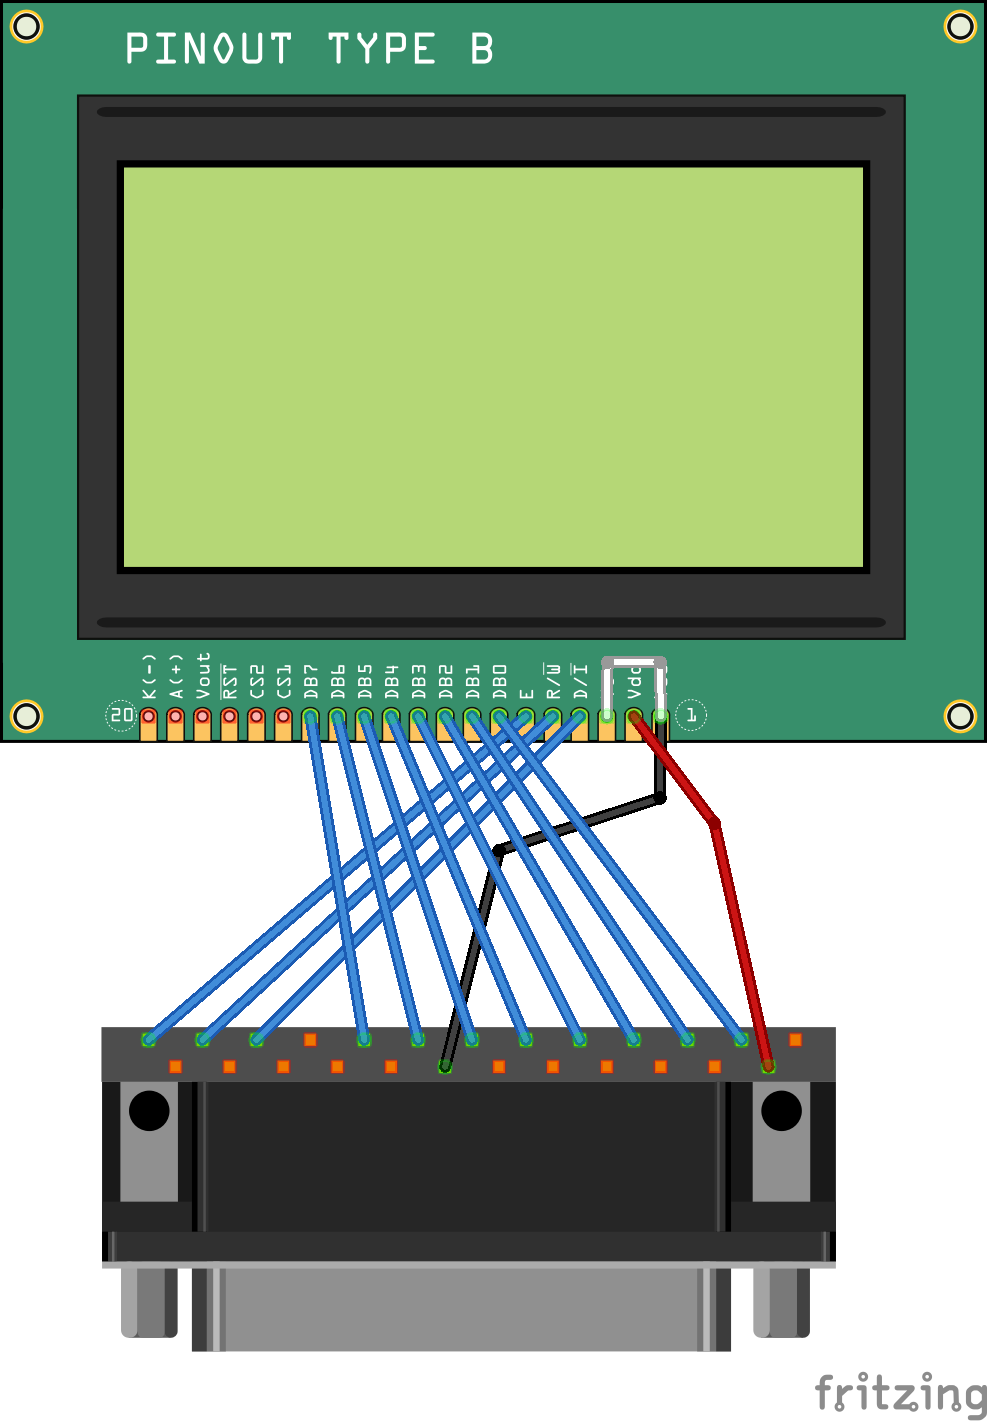
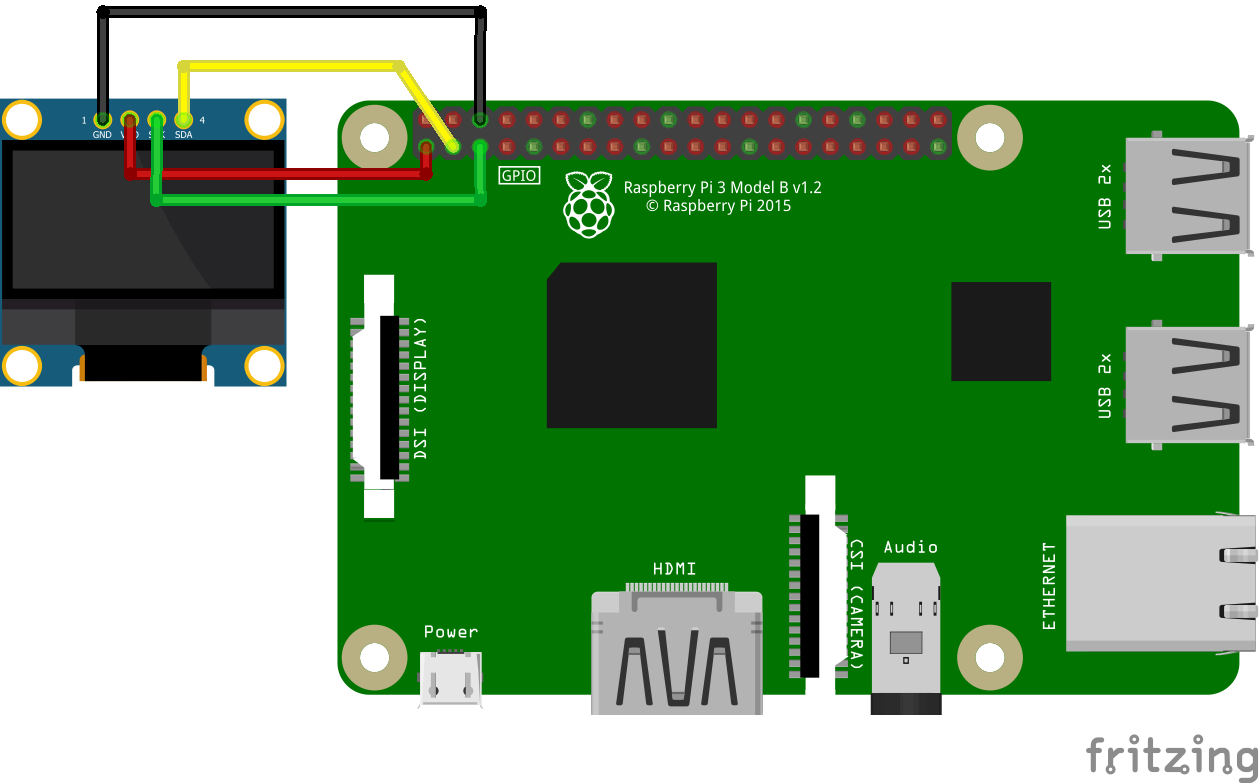
Other means of connecting : SPI
SPI connected display
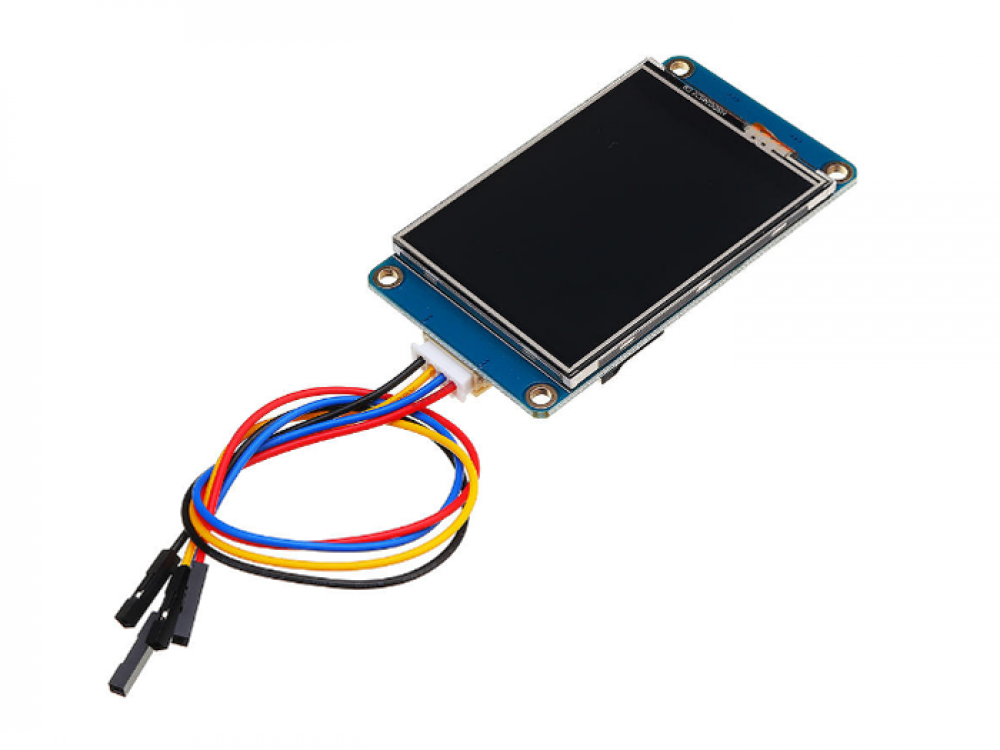
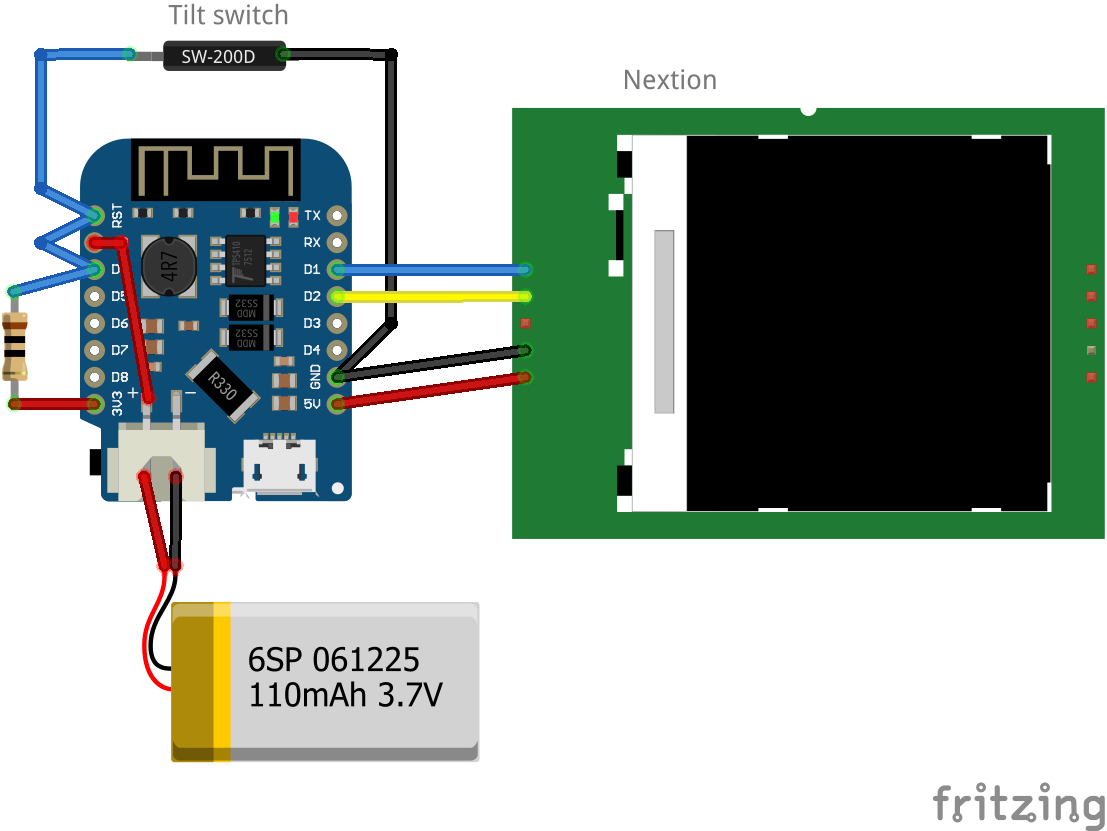
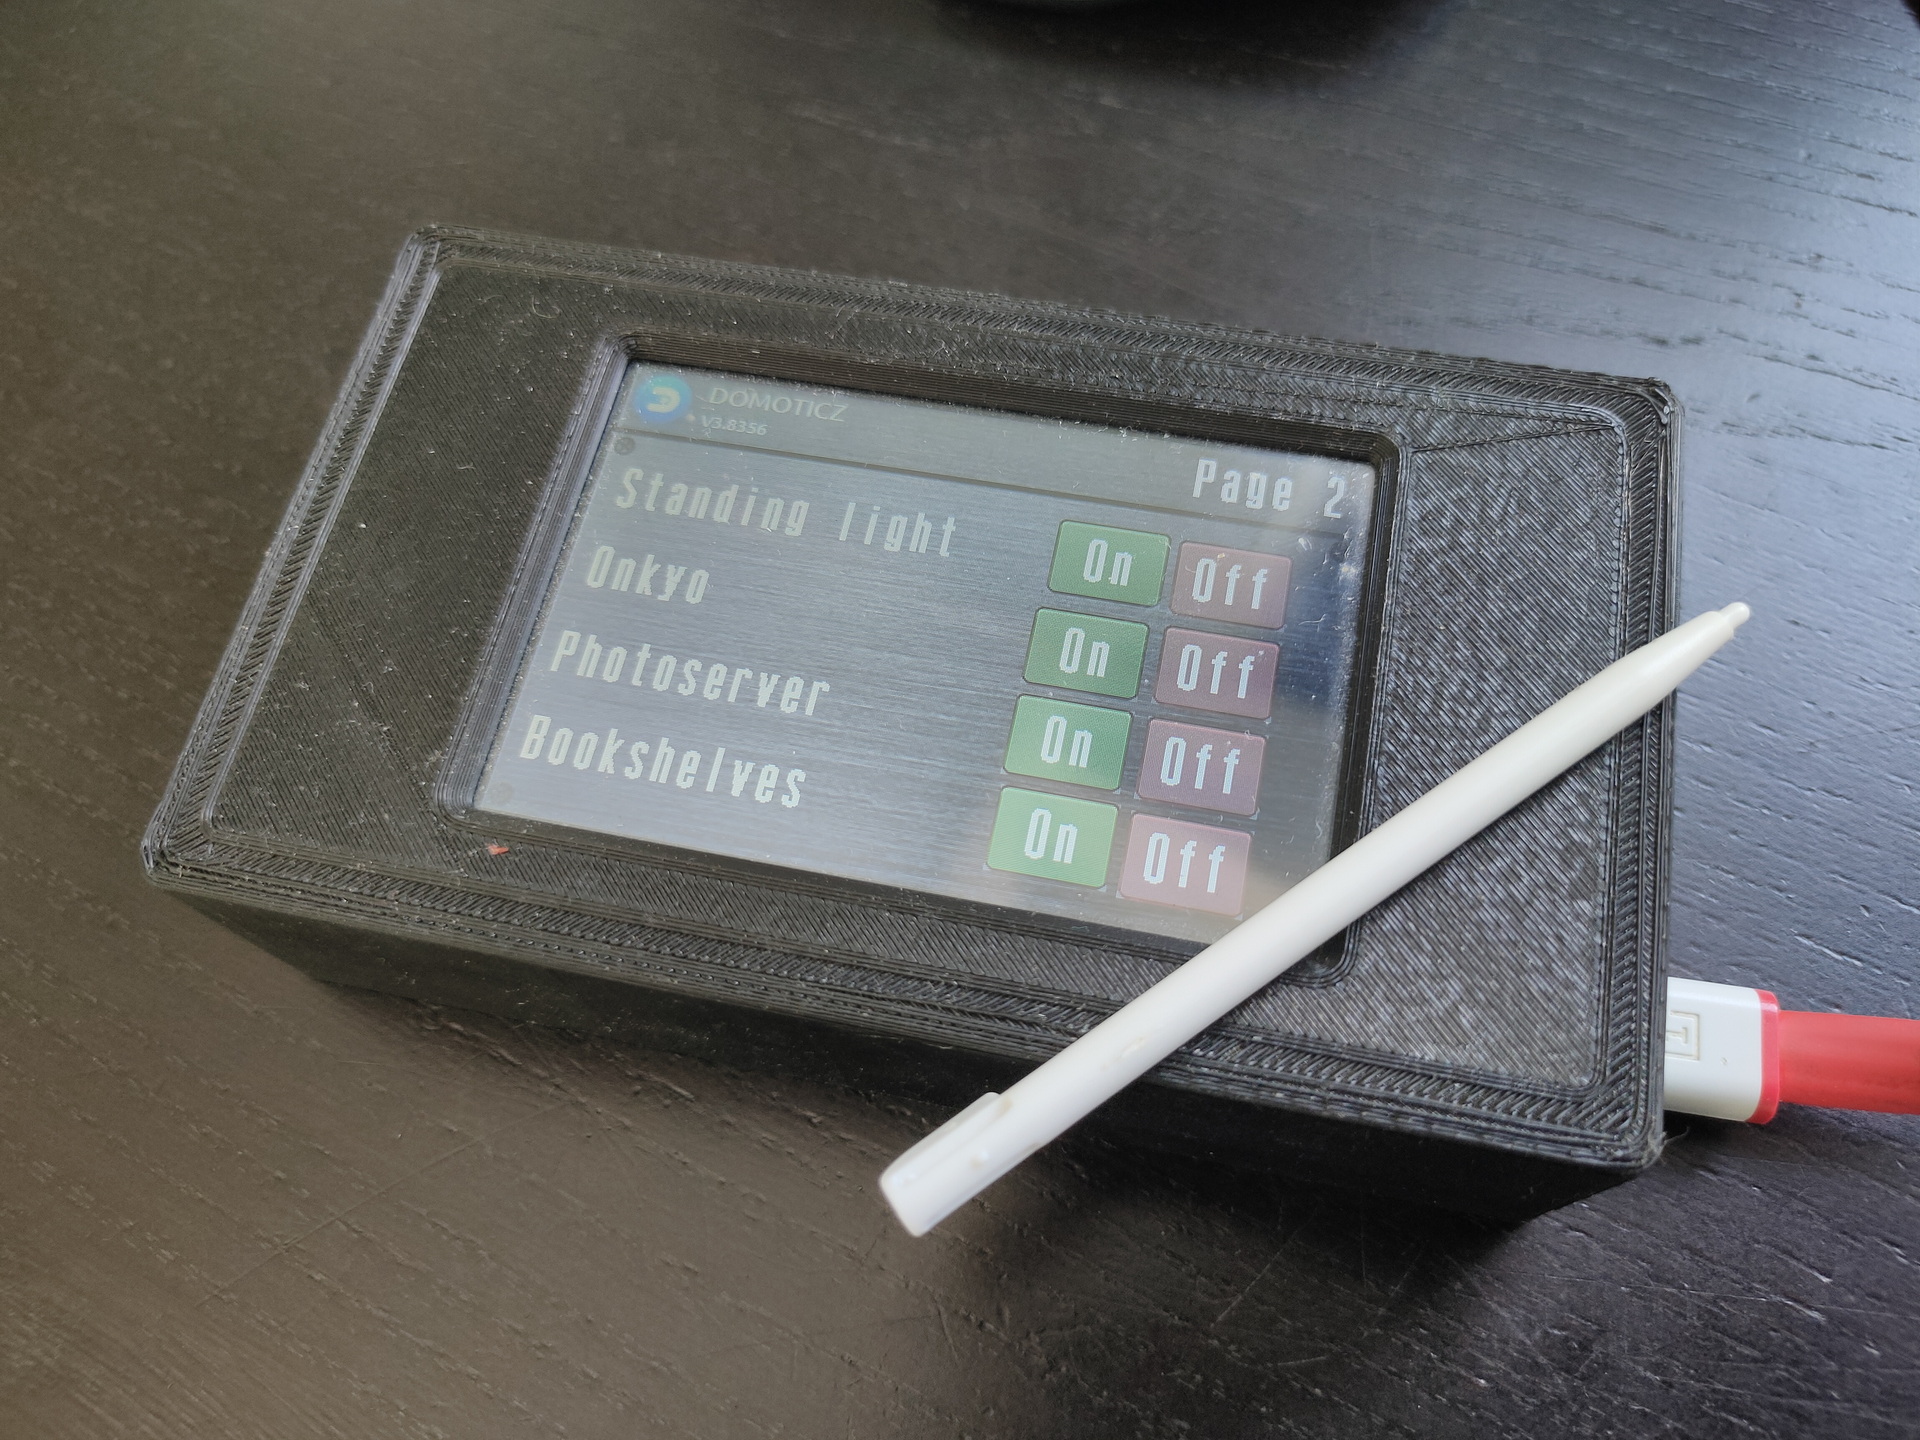
Nextion
Nextion is a Human Machine Interface (HMI) solution combining an onboard processor and memory touch display with Nextion Editor software for HMI GUI project development.
Using the Nextion Editor software, you can quickly develop the HMI GUI by drag-and-drop components (graphics, text, button, slider, etc.) and ASCII text-based instructions for coding how components interact on the display side.
Nextion HMI display connects to peripheral MCU via TTL Serial (5V, TX, RX, GND) to provide event notifications that peripheral MCU can act on, the peripheral MCU can easily update progress, and status back to Nextion display utilizing simple ASCII text-based instructions.
edit cmdline.txt
add "fbcon=map:10 fbcon=font:ProFont6x11 logo.nologo"
at the end
edit config.txt
add between custom comments at the bottom
dtoverlay=piscreen,speed=24000000,rotate=90
# Or check http://www.lcdwiki.com/3.5inch_RPi_Display
Above display’s i’ve used for Picore Players and the Lidar POC
To try: Getting above display running with a arduino https://github.com/PaulStoffregen/XPT2046_Touchscreen
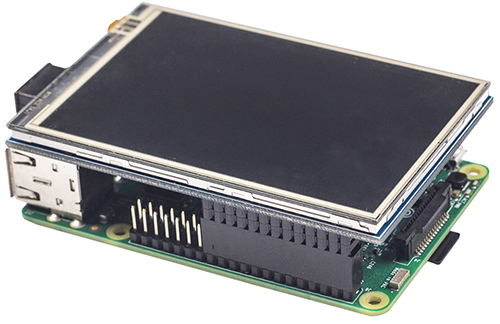
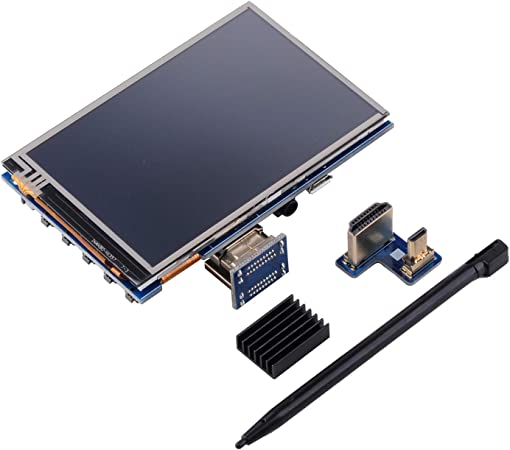
Raspberry HDMI display
Easiest of them all, just connect with HDMI, there is a adaptor for hdmi-hdmi (versions 1,2,3) and hdmi-mini-hdmi for RPi4 variants.
Epaper and 7-Segment displays
Other means of displaying information are for example
Epaper
ESP with epaper module, disconnected power for a while, artifacts appear.
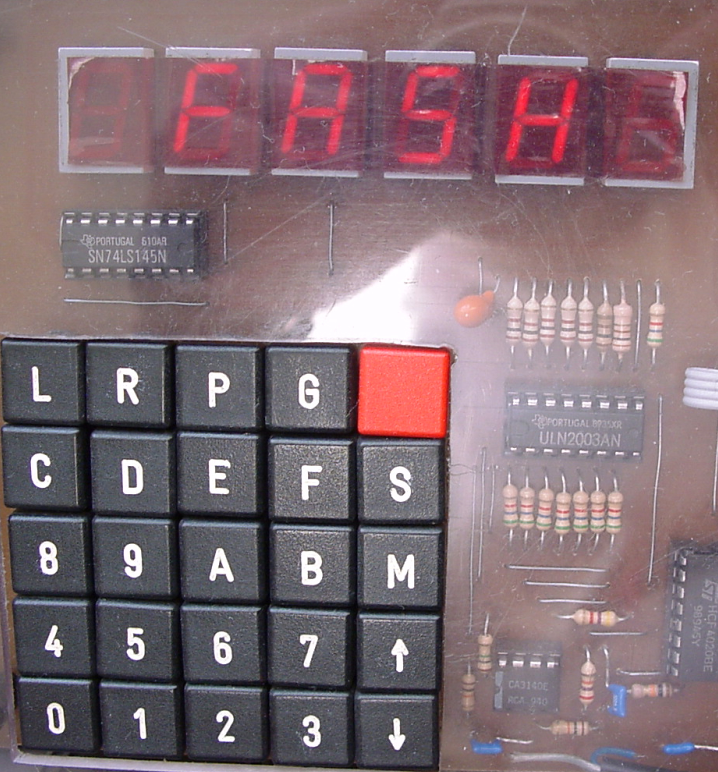
7 Segment displays
I used a lot of 7-Segment display’s in the past. They look cool and are hardcore.
My homebrew computer uses this
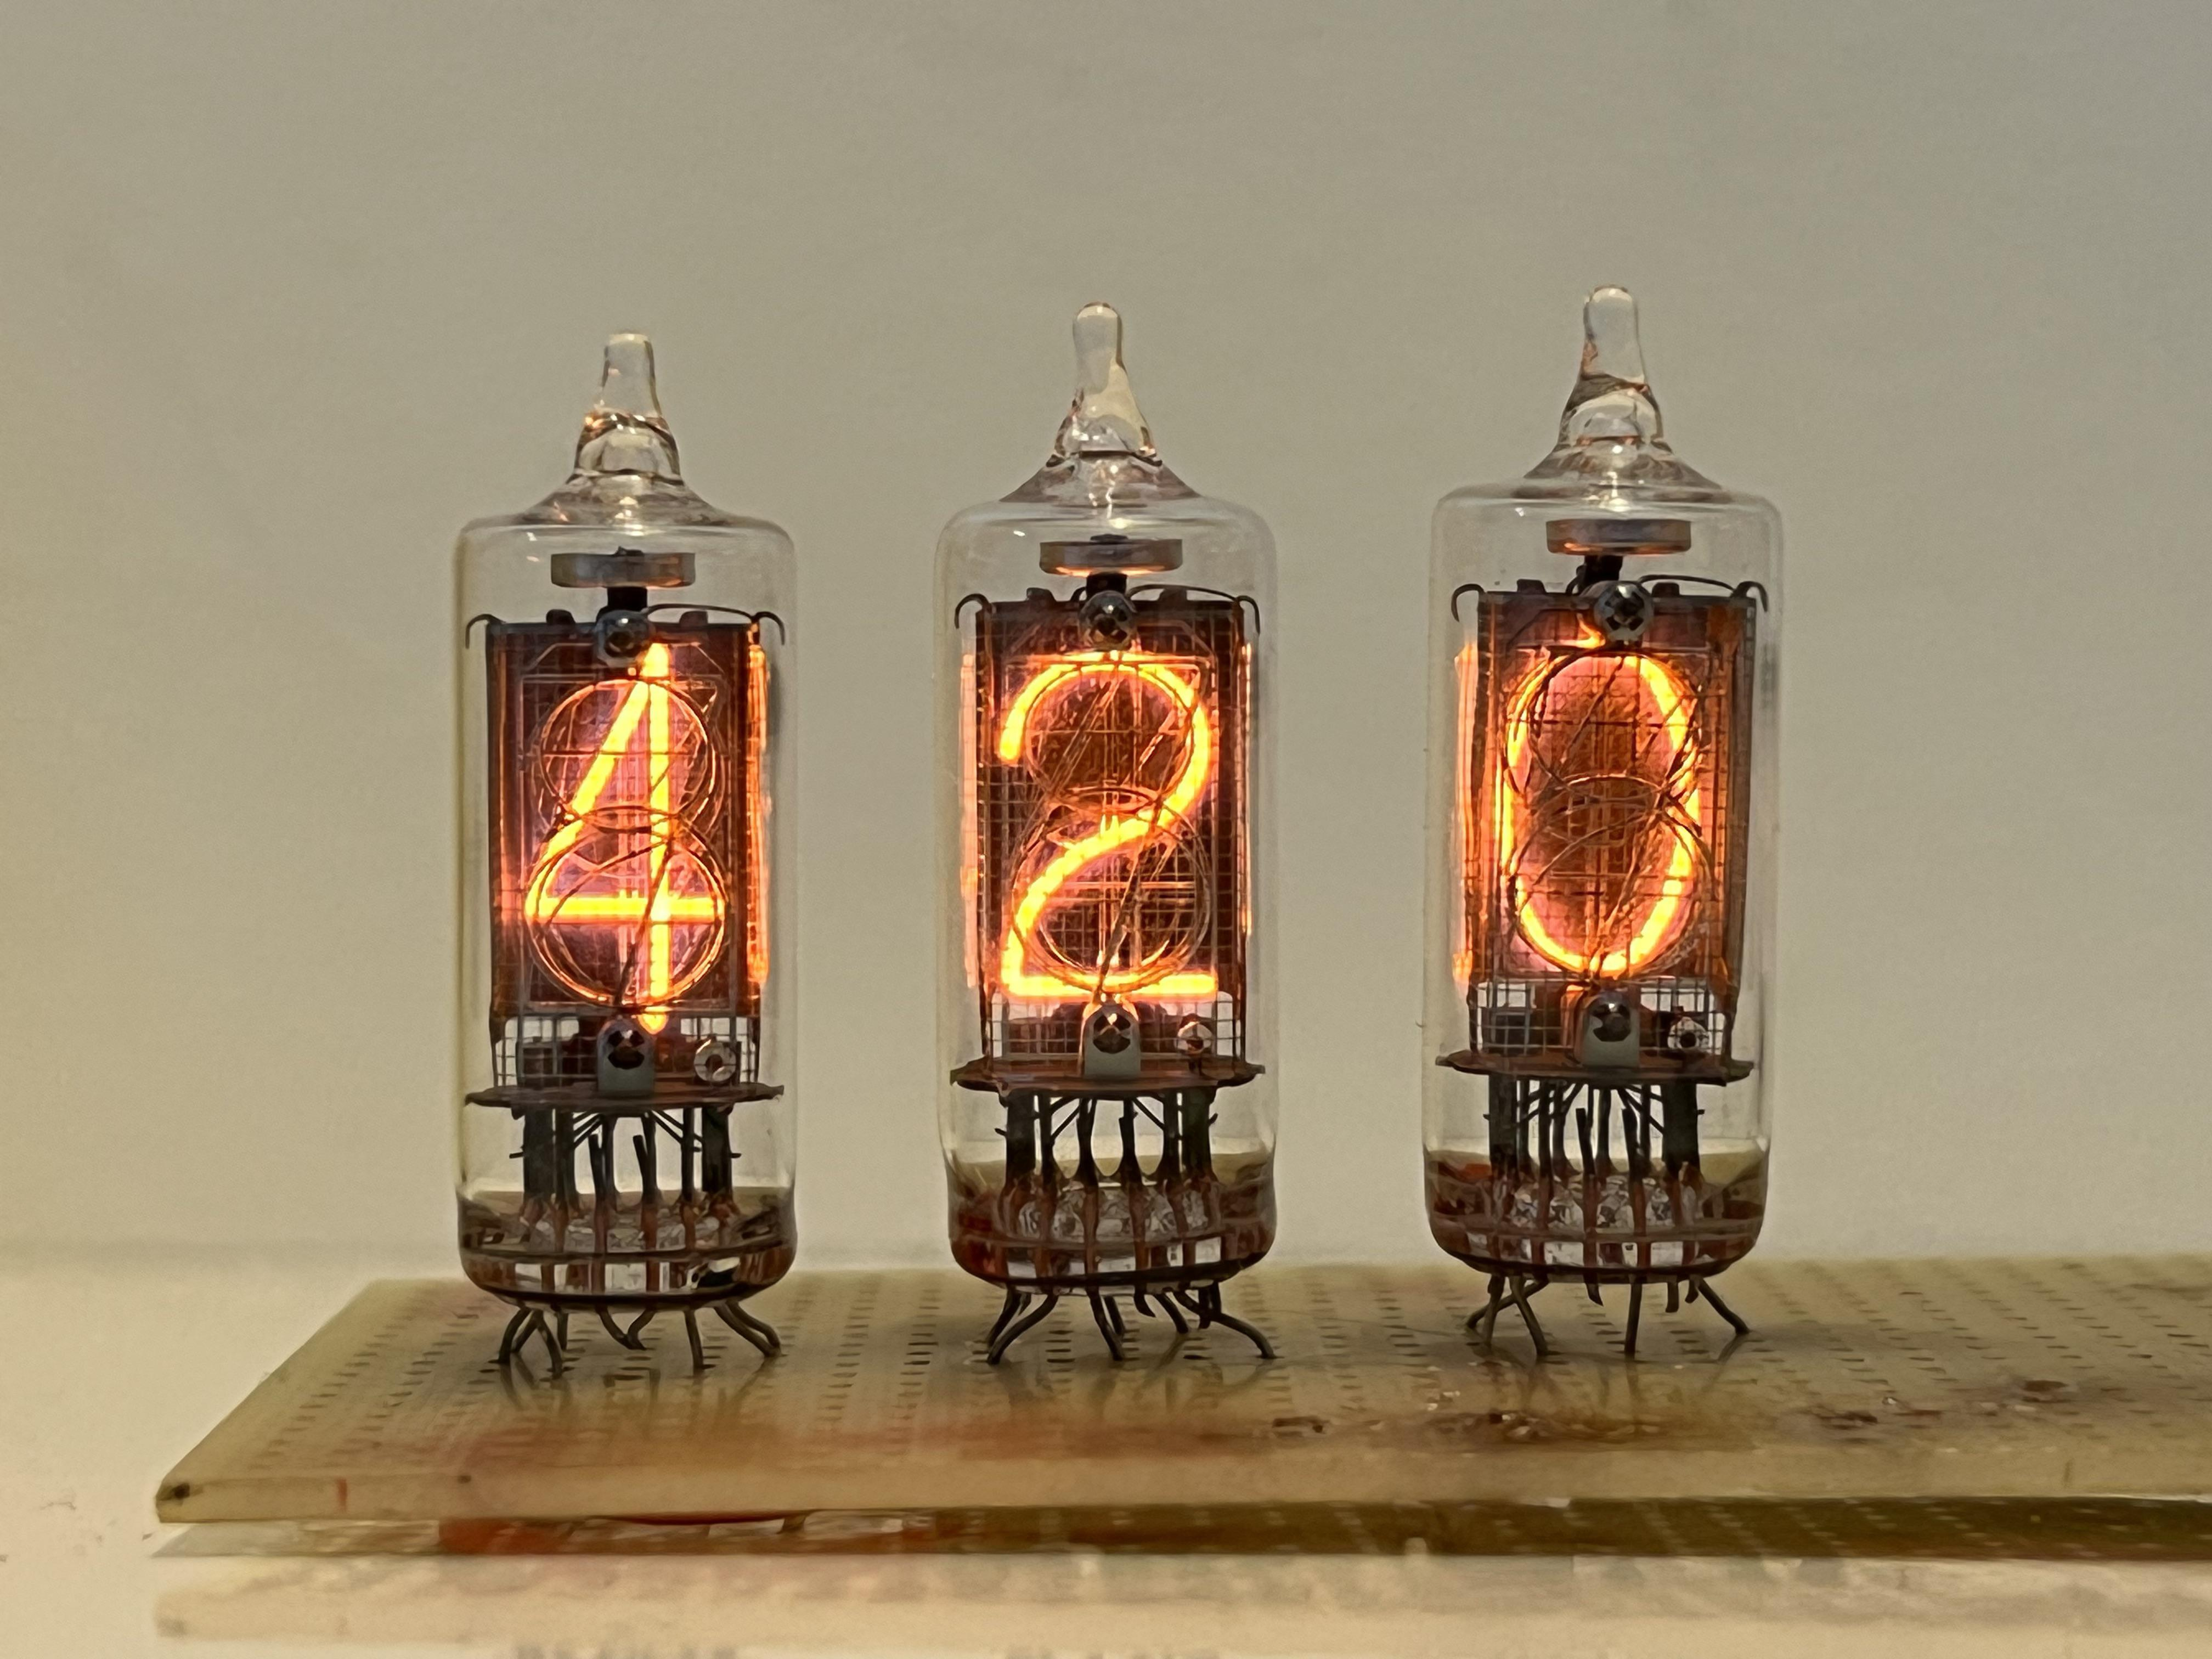
Nixie tubes!
And there are https://en.wikipedia.org/wiki/Nixie_tube .. I’ve never had those
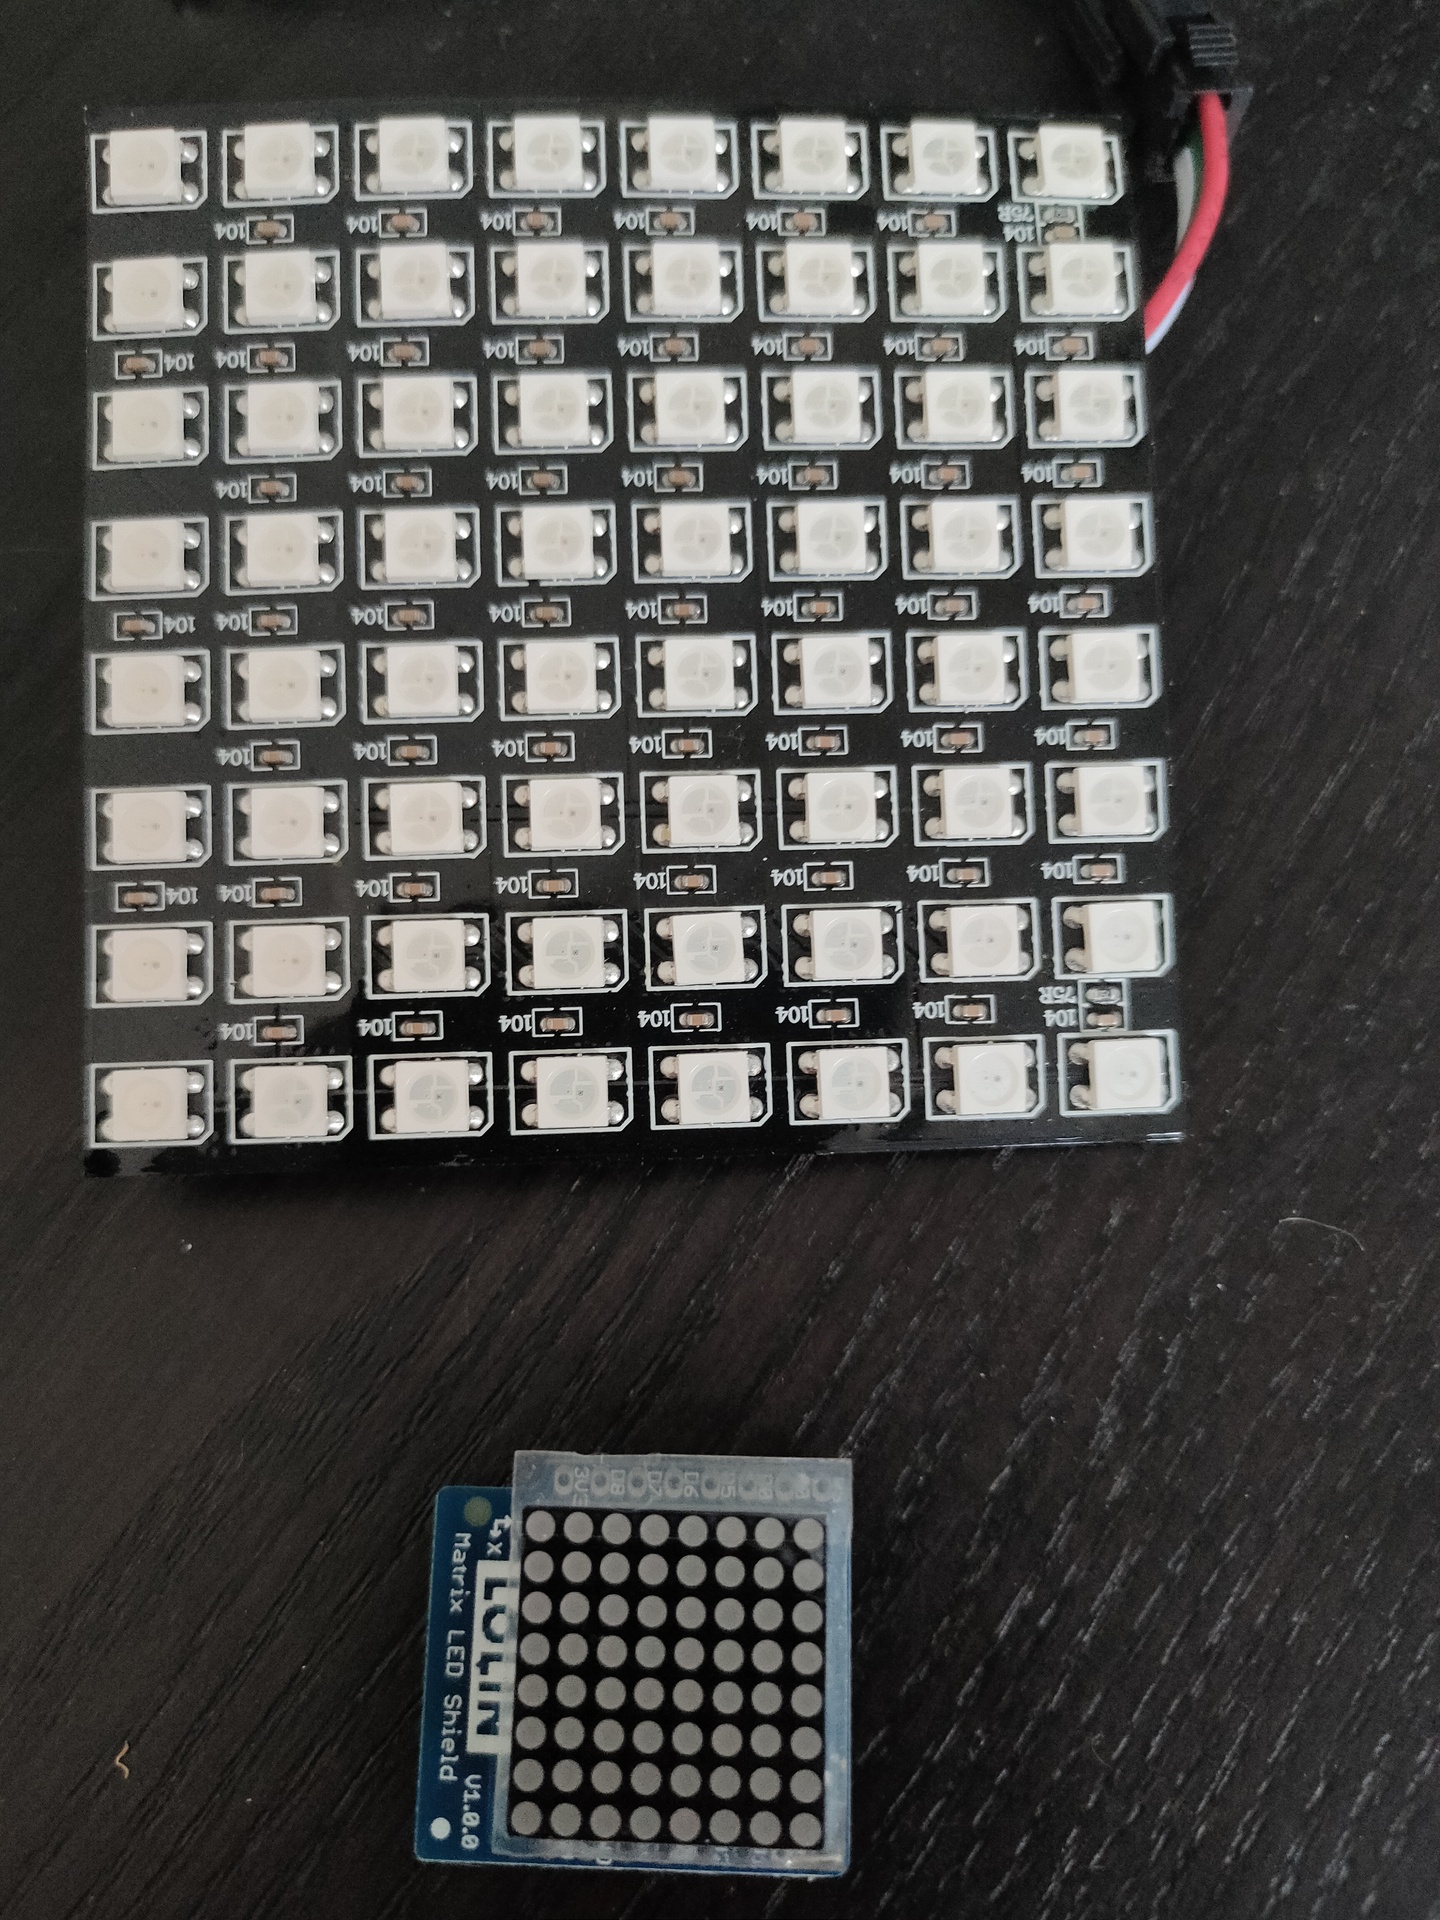
Above bigger 2D display i used with Wled and a digital microphone, so its sound reactive. The lower part i got in recently .
When doing so, i needed to fix the height of the engraver to get the focus of the beam right.
At start i removed all Z positions from the GCODE file after calibrating. Later i used a script wrote that fixed the height setting to 110.
#!/bin/bash
# Usage: confirm height focus at 110
# ./scriptname filetofix.gcode
myz=110
cat "$1" | sed s/Z1/Z${myz}/g | sed s/Z6/Z${myz}/g > "fixed.$1"
Another tool i made is the one below, it takes a GCODE file, calulates where the borders are (min/max x and y) And sets the FAN2 (laser intensity to a minimum) After that it generates GCODE to draw a box wherein the to be engraved object is made
Now you can run the GCODE file multiple times to position it on the wood to you can get the minimum of spoils.