Added: ino file 20220525
Bought a cheap table lamp a few weeks ago.
Runs on batteries and when you flip it over, it turns on or off.
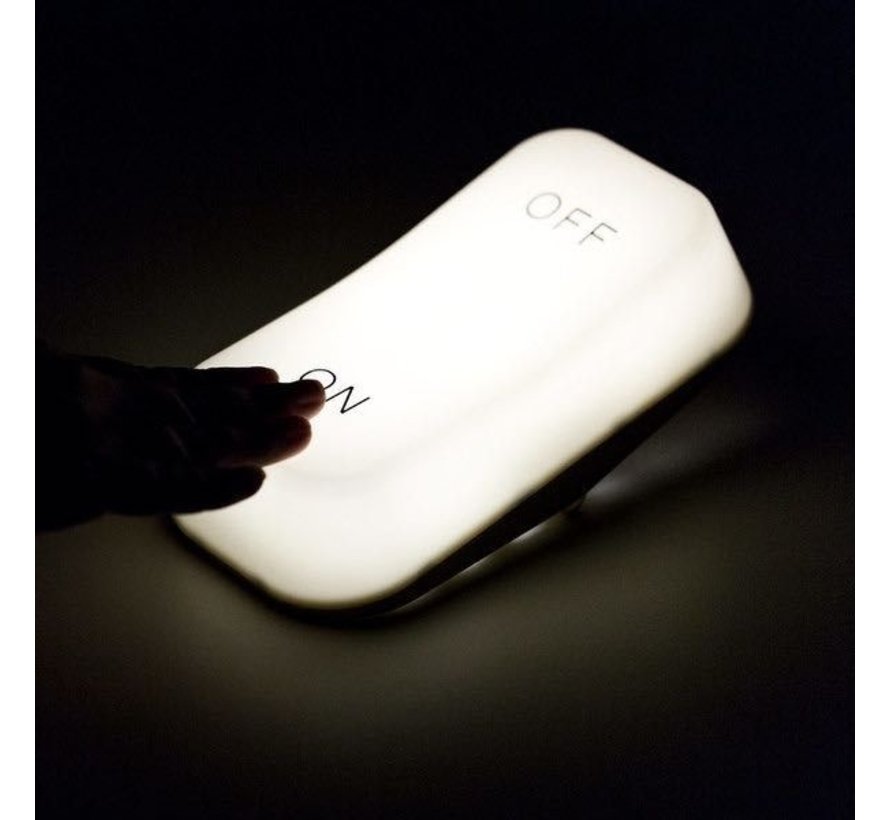
I thought, when i strip this thing of its internals. I can make a wifi/mqtt enabled one.
Opening it up today, i saw a minimalistic print and a battery holder. There was a tilt switch like

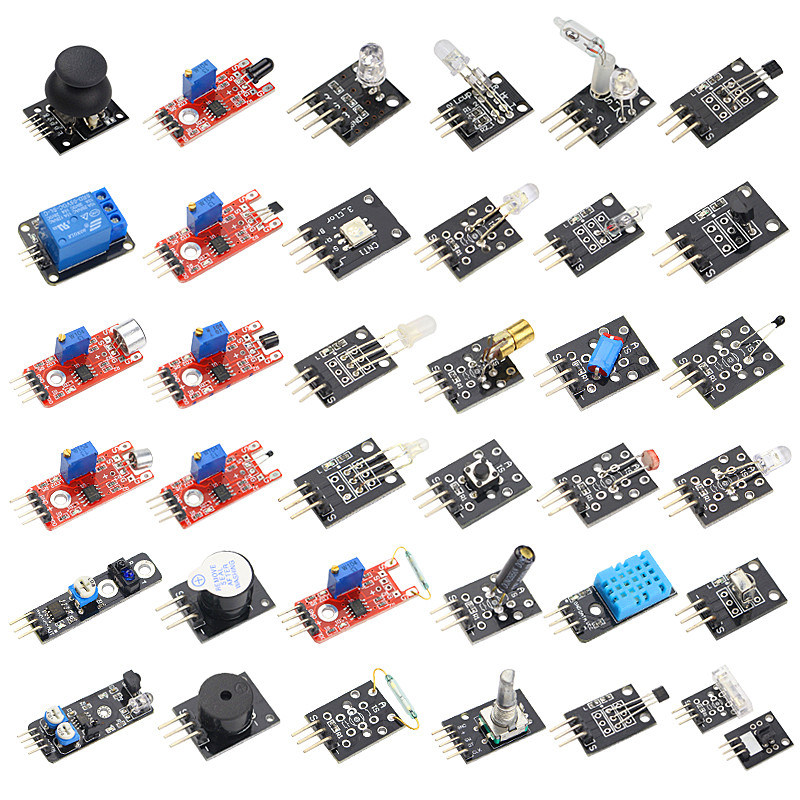
Which i wanted to replace by a mercury one i bought in a bunch of sensors a few years ago.
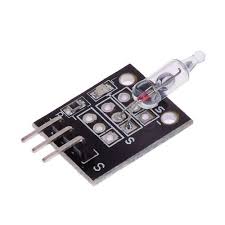
So why go though all the trouble stripping and replacing .. so i didnt
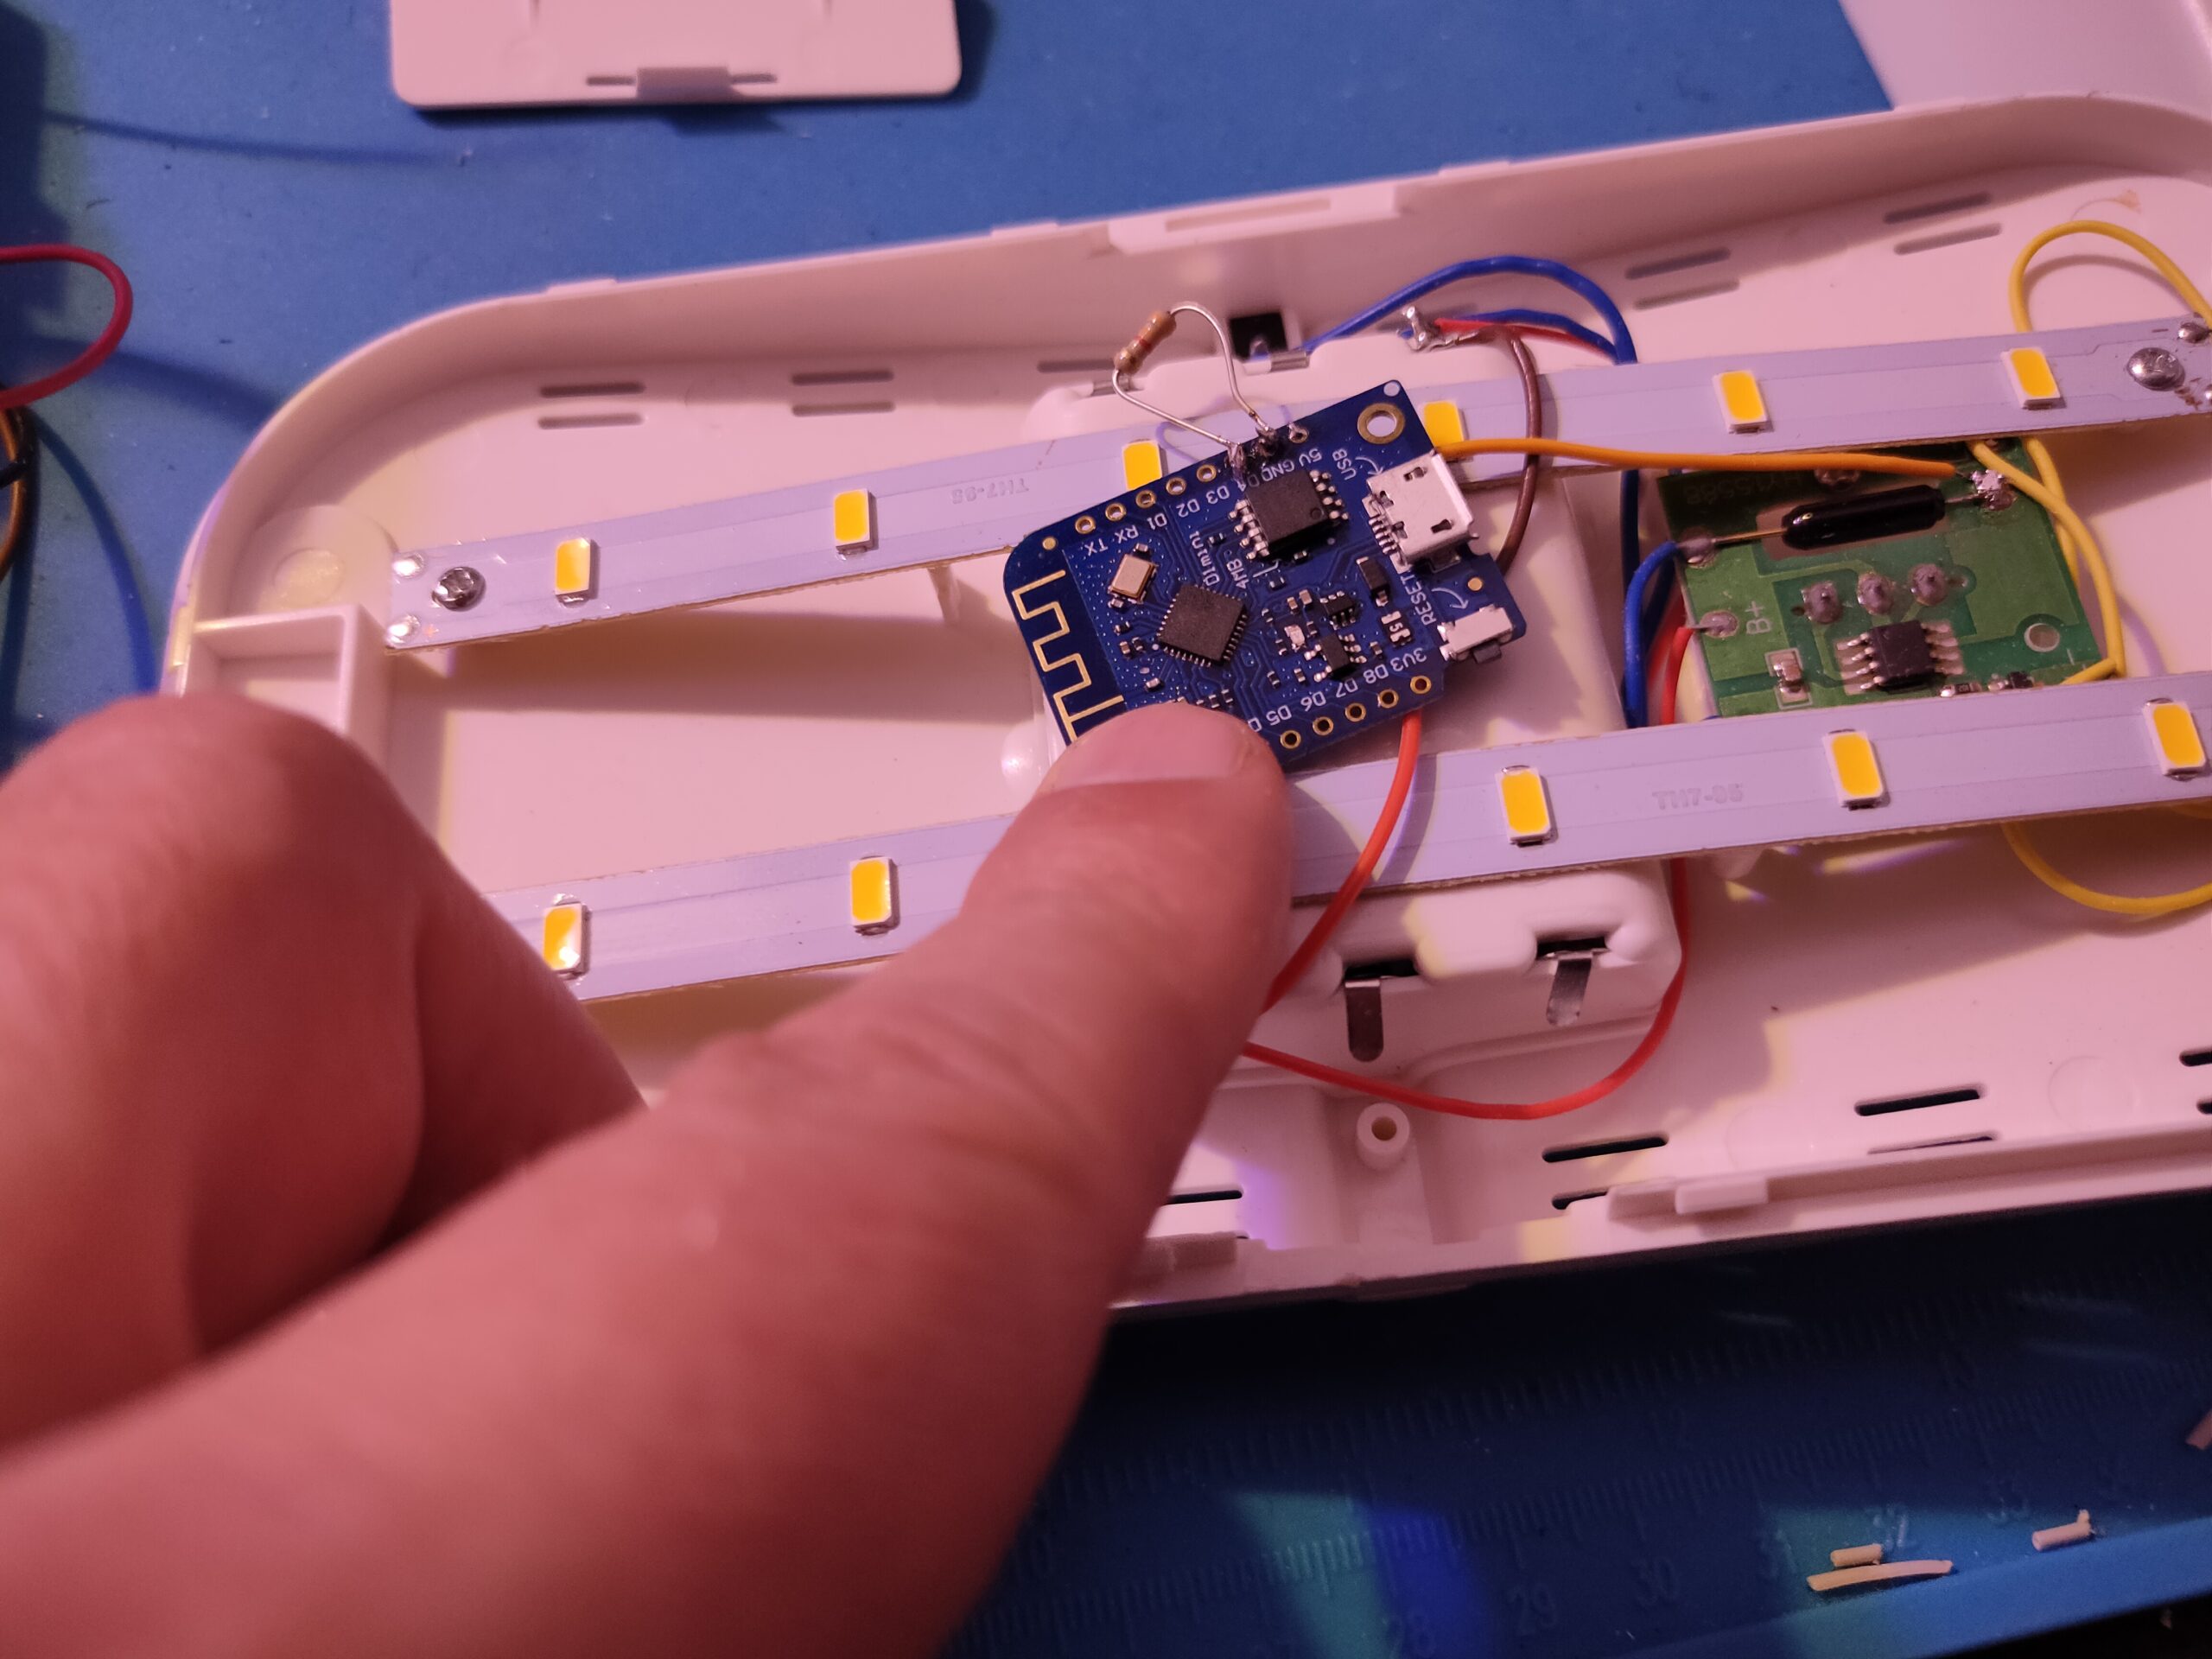
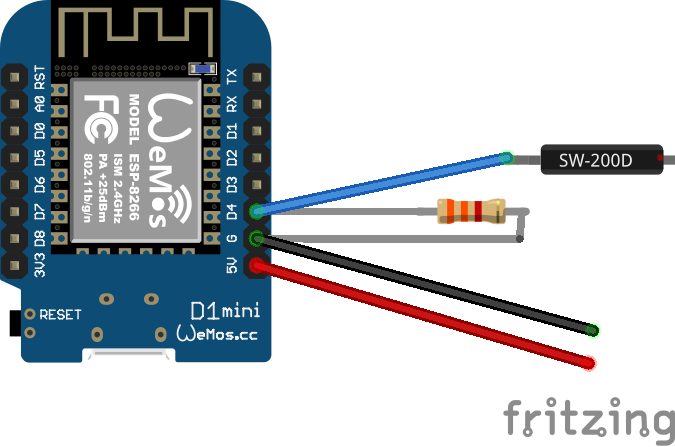
GND and 5v to the batteries, and D4 to the tilt switch. (Measure which side you have to take!) .. I used a pull down of 3k3 ohms
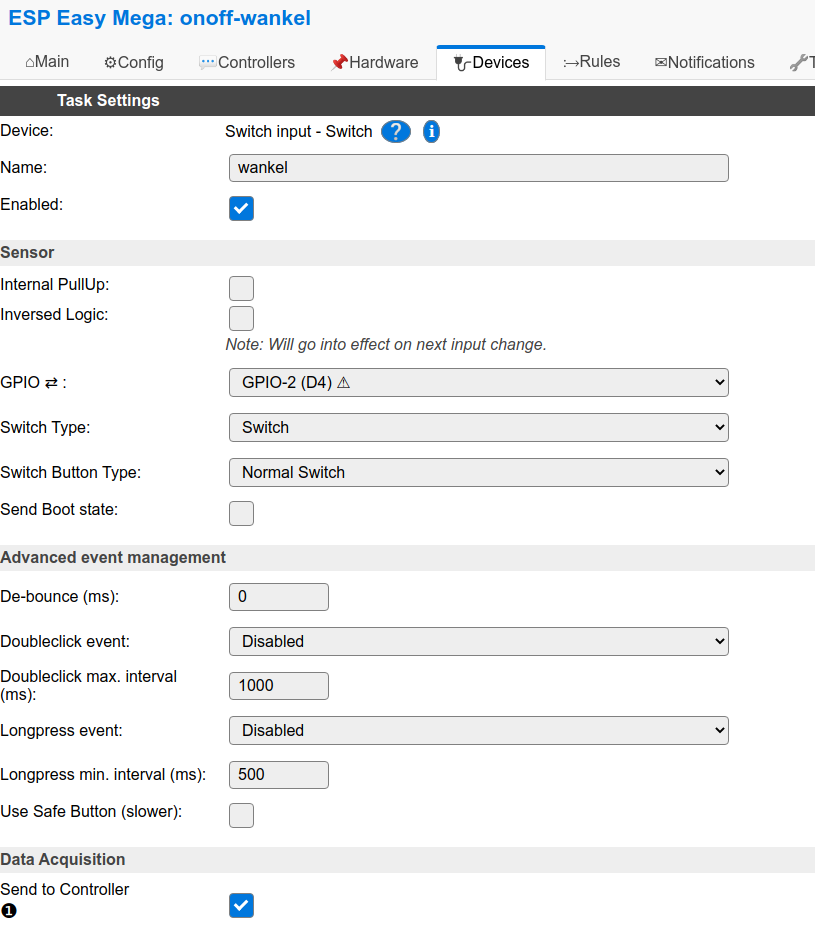
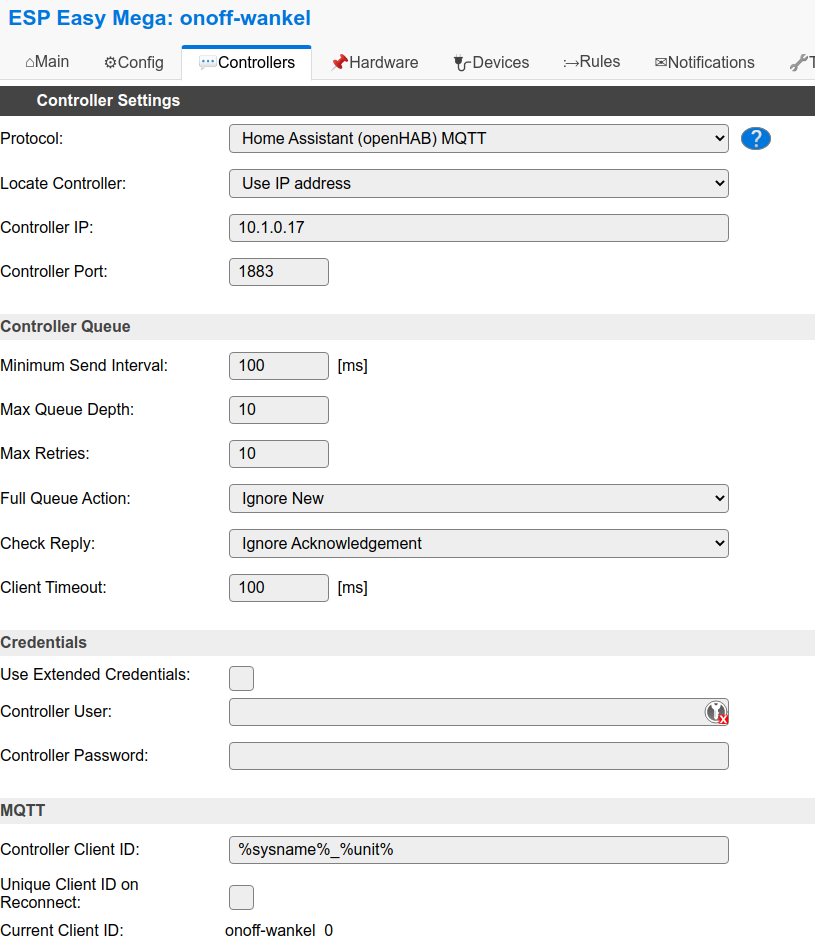
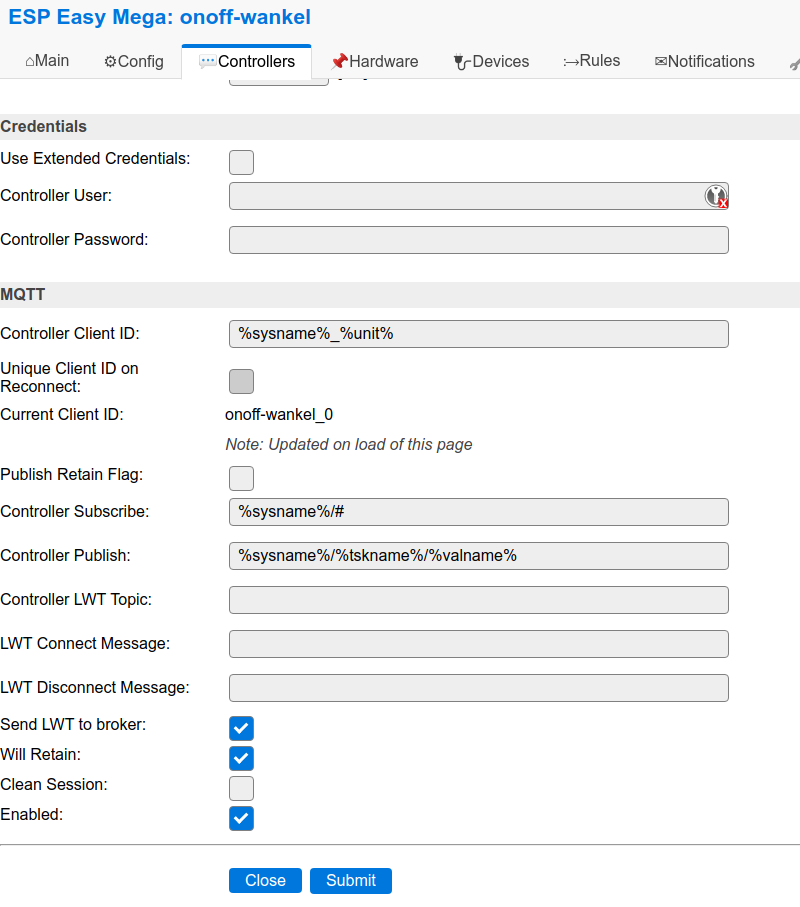
Esp was flashed in the past with Easy ESP .. well lets keep that one for now.
INO version
#include <ESP8266WiFi.h>
#include <PubSubClient.h>
#include <Wire.h>
#include <Ethernet.h>

const char* ssid = "SSID";
const char* password = "PASSWORD";
const char* mqtt_server = "mqttserver";
const char* mqtt_username = "";
const char* mqtt_password = "";
const char* clientID = "wankel";

const int tiltPin = 4;
int tiltState = 0;
int previousState = 0;
WiFiClient espClient;

PubSubClient client(espClient);

void reconnect() {
  while (!client.connected()) {
    if (client.connect(clientID, mqtt_username, mqtt_password)) {
    } else {
      delay(2000);
    }
  }
}

void setup()
{
  {
    client.setServer(mqtt_server, 1883);
    pinMode(tiltPin, INPUT);
  }
}
void loop() {
  tiltState = digitalRead(tiltPin);
  if (tiltState != previousState) {
    if (tiltState == HIGH) {
      client.publish("onoff-wankel/wankel/State", "0"); //
    } else {
      client.publish("onoff-wankel/wankel/State", "1"); //
    }
    delay(100);
  }
  previousState = tiltState;

  {
    if (!client.connected()) {
      reconnect();
    }
    client.loop();
  }
}
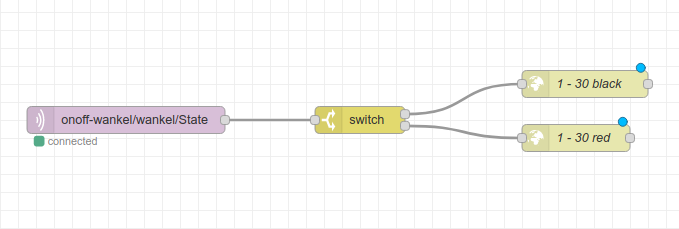
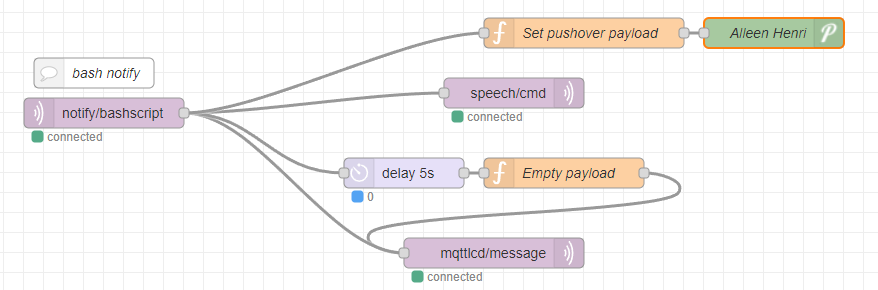
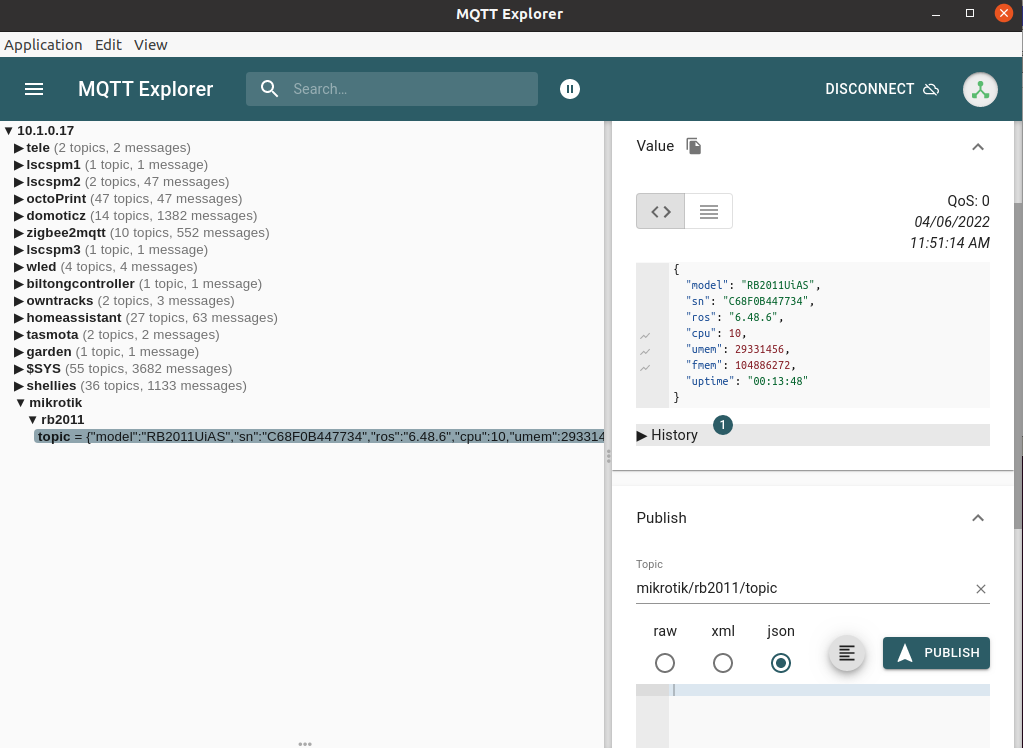
Example is using my ledserver, see other post, but i intent to made a easy to configure node red panel where the to be controlled devices are preconfigured.
[
    {
        "id": "9ec21acaec91aecc",
        "type": "mqtt in",
        "z": "54f3b5b461471f2c",
        "name": "",
        "topic": "onoff-wankel/wankel/State",
        "qos": "2",
        "datatype": "auto",
        "broker": "8c74c5f6.9a7a48",
        "nl": false,
        "rap": true,
        "rh": 0,
        "inputs": 0,
        "x": 400,
        "y": 260,
        "wires": [
            [
                "0fe77b535517f818"
            ]
        ]
    },
    {
        "id": "159f65f444a0d7c2",
        "type": "http request",
        "z": "54f3b5b461471f2c",
        "name": "1 - 30 red",
        "method": "GET",
        "ret": "txt",
        "paytoqs": "ignore",
        "url": "http://ledserver:8080/range/01/30/ff0000",
        "tls": "",
        "persist": false,
        "proxy": "",
        "authType": "",
        "senderr": false,
        "credentials": {},
        "x": 900,
        "y": 280,
        "wires": [
            []
        ]
    },
    {
        "id": "5806fbfd0e99daab",
        "type": "http request",
        "z": "54f3b5b461471f2c",
        "name": "1 - 30 black",
        "method": "GET",
        "ret": "txt",
        "paytoqs": "ignore",
        "url": "http://ledserver:8080/range/01/30/000000",
        "tls": "",
        "persist": false,
        "proxy": "",
        "authType": "",
        "senderr": false,
        "credentials": {
            "user": "",
            "password": ""
        },
        "x": 910,
        "y": 220,
        "wires": [
            []
        ]
    },
    {
        "id": "0fe77b535517f818",
        "type": "switch",
        "z": "54f3b5b461471f2c",
        "name": "",
        "property": "payload",
        "propertyType": "msg",
        "rules": [
            {
                "t": "eq",
                "v": "0",
                "vt": "str"
            },
            {
                "t": "eq",
                "v": "1",
                "vt": "str"
            }
        ],
        "checkall": "true",
        "repair": false,
        "outputs": 2,
        "x": 660,
        "y": 260,
        "wires": [
            [
                "5806fbfd0e99daab"
            ],
            [
                "159f65f444a0d7c2"
            ]
        ]
    },
    {
        "id": "8c74c5f6.9a7a48",
        "type": "mqtt-broker",
        "name": "mqttserver",
        "broker": "mqttserver",
        "port": "1883",
        "clientid": "",
        "usetls": false,
        "compatmode": true,
        "keepalive": "15",
        "cleansession": true,
        "birthTopic": "",
        "birthQos": "0",
        "birthPayload": "",
        "closeTopic": "",
        "closePayload": "",
        "willTopic": "",
        "willQos": "0",
        "willPayload": ""
    }
]