Today i created an accurate banana for scale version using my laser cutter.
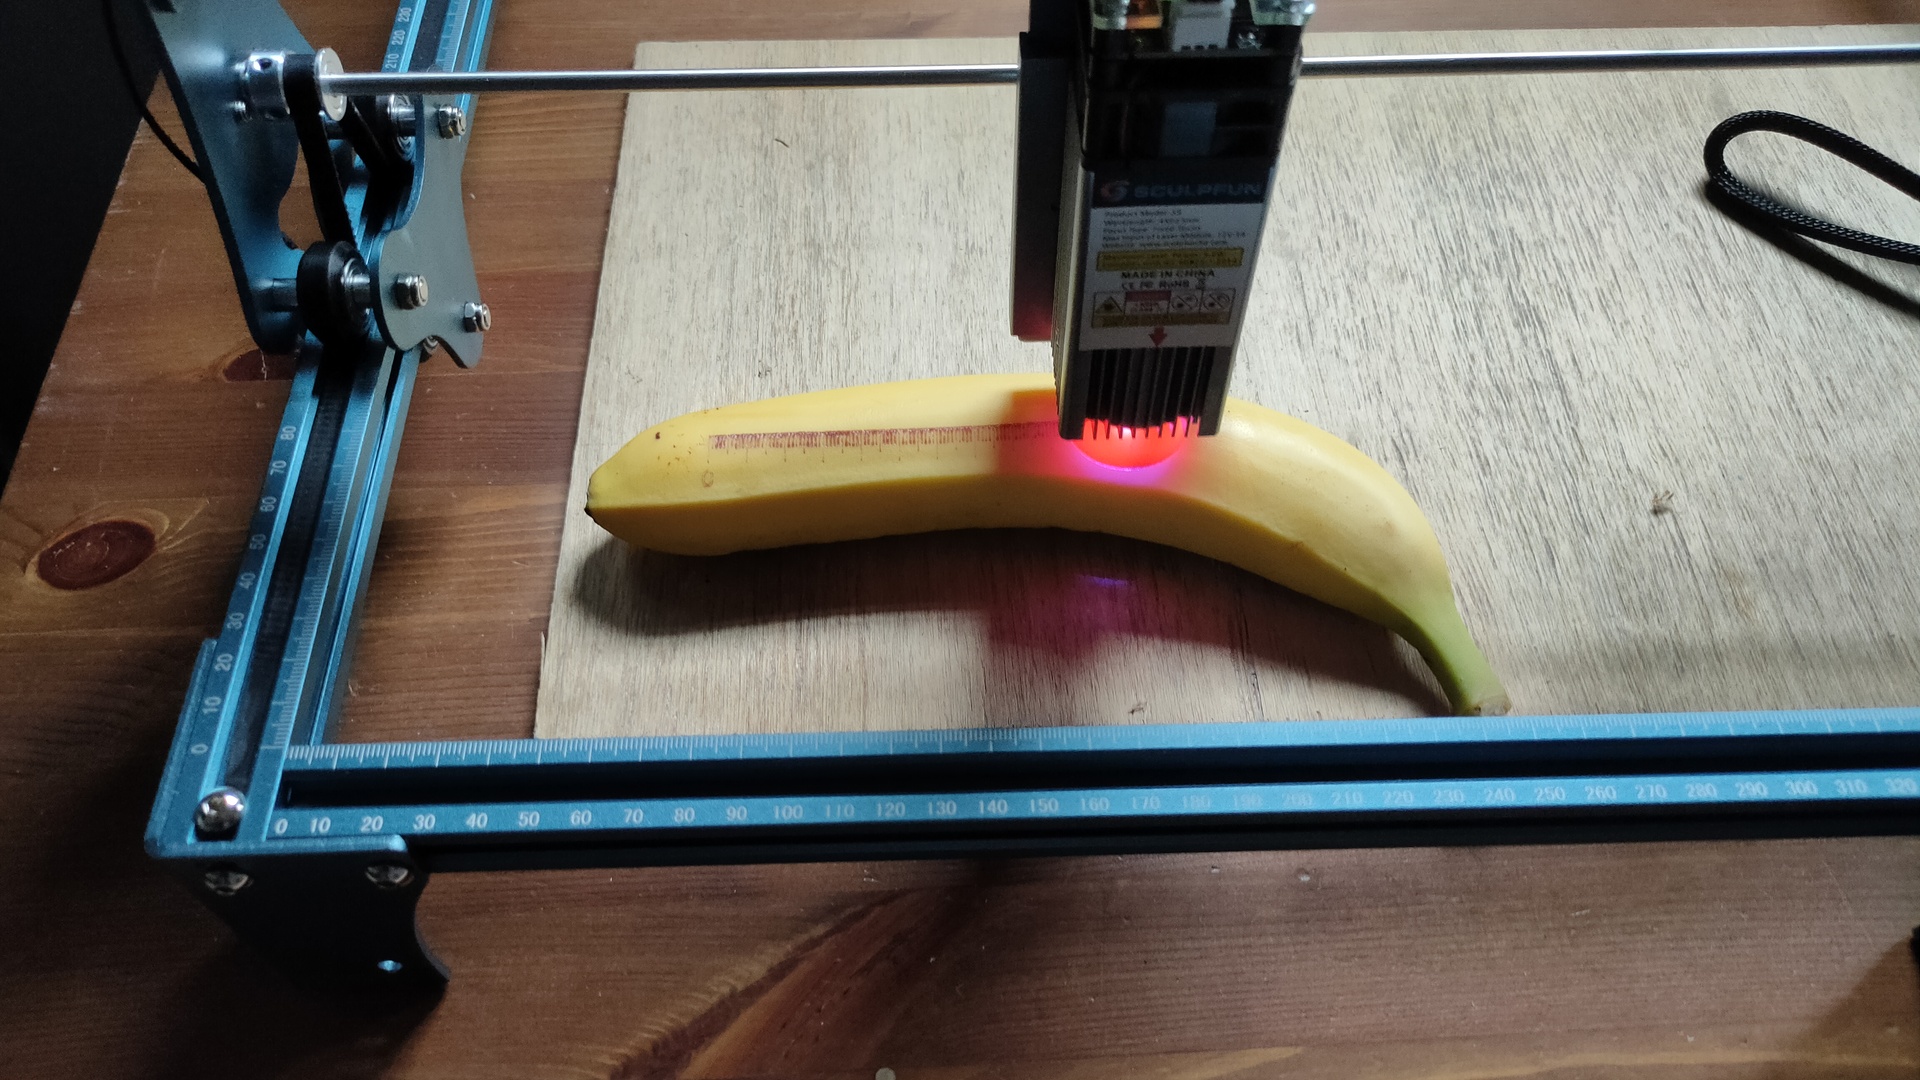
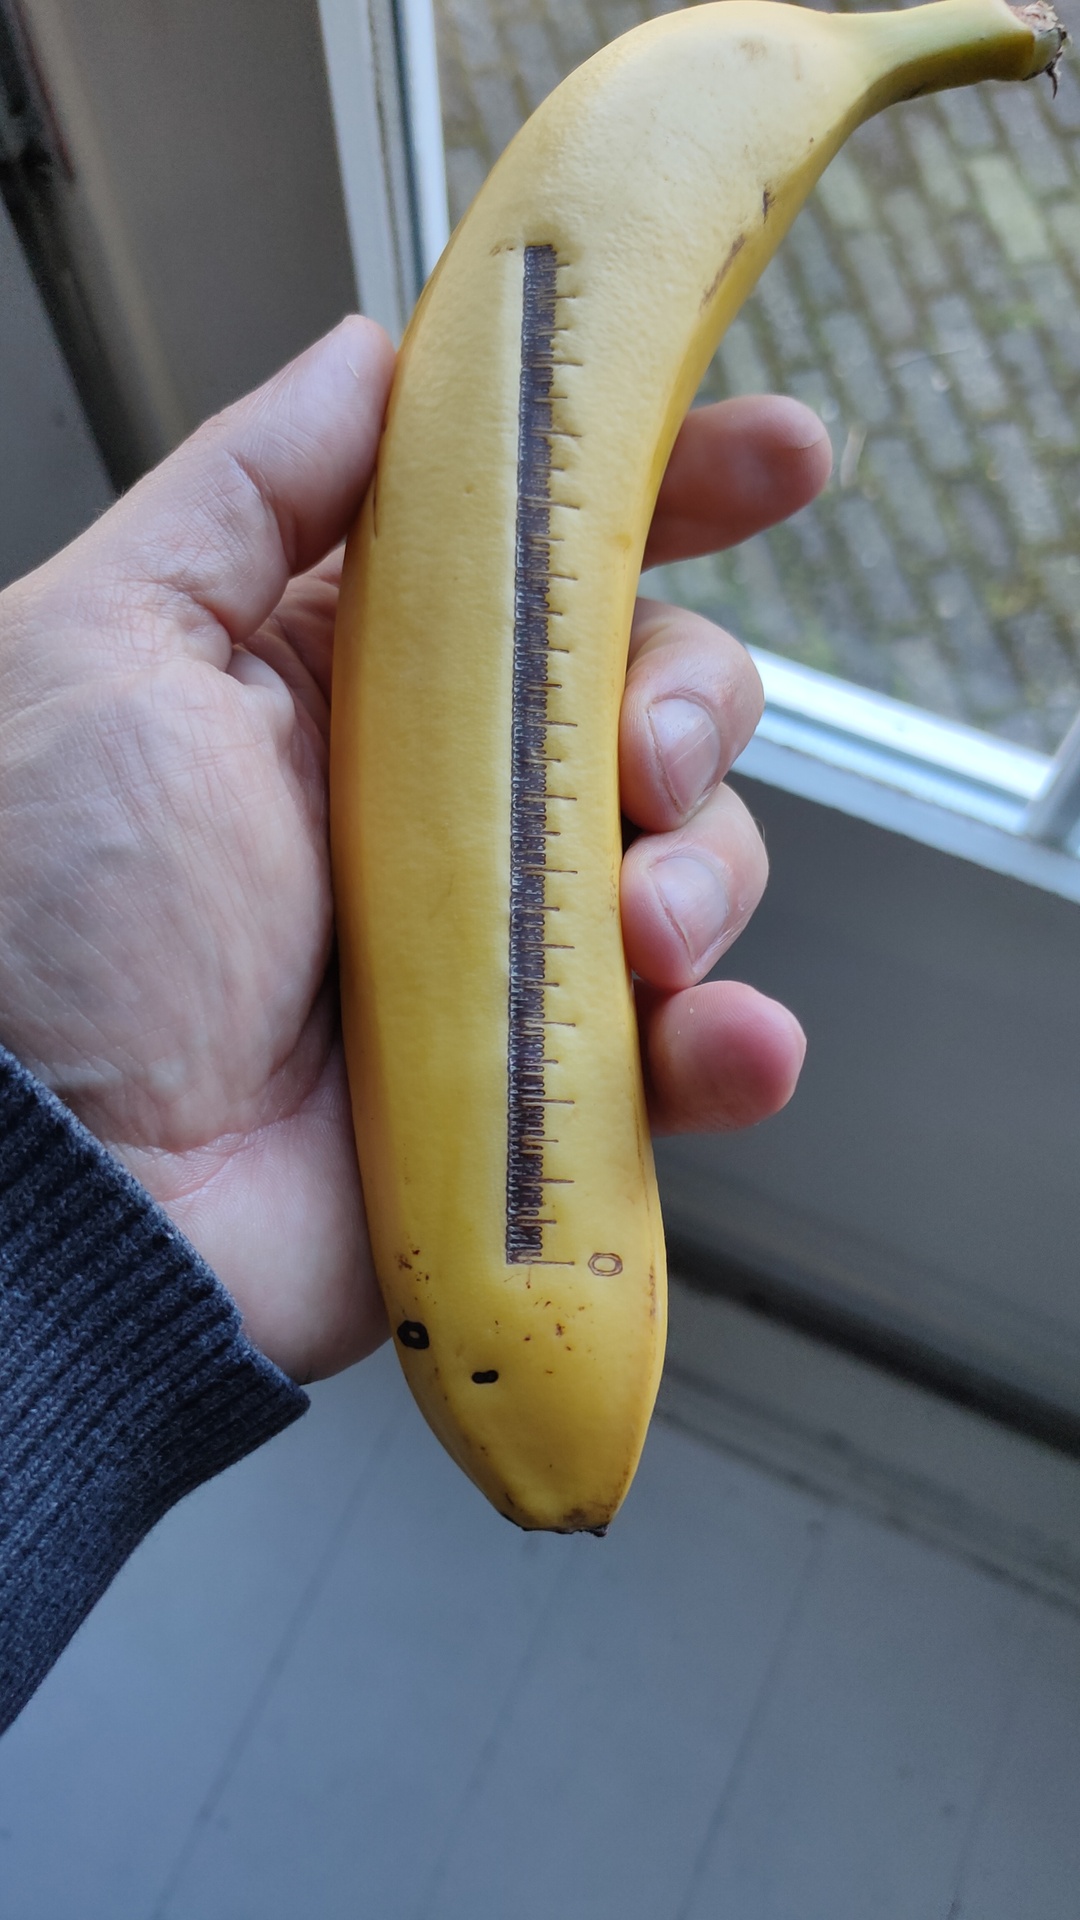
Today i created an accurate banana for scale version using my laser cutter.
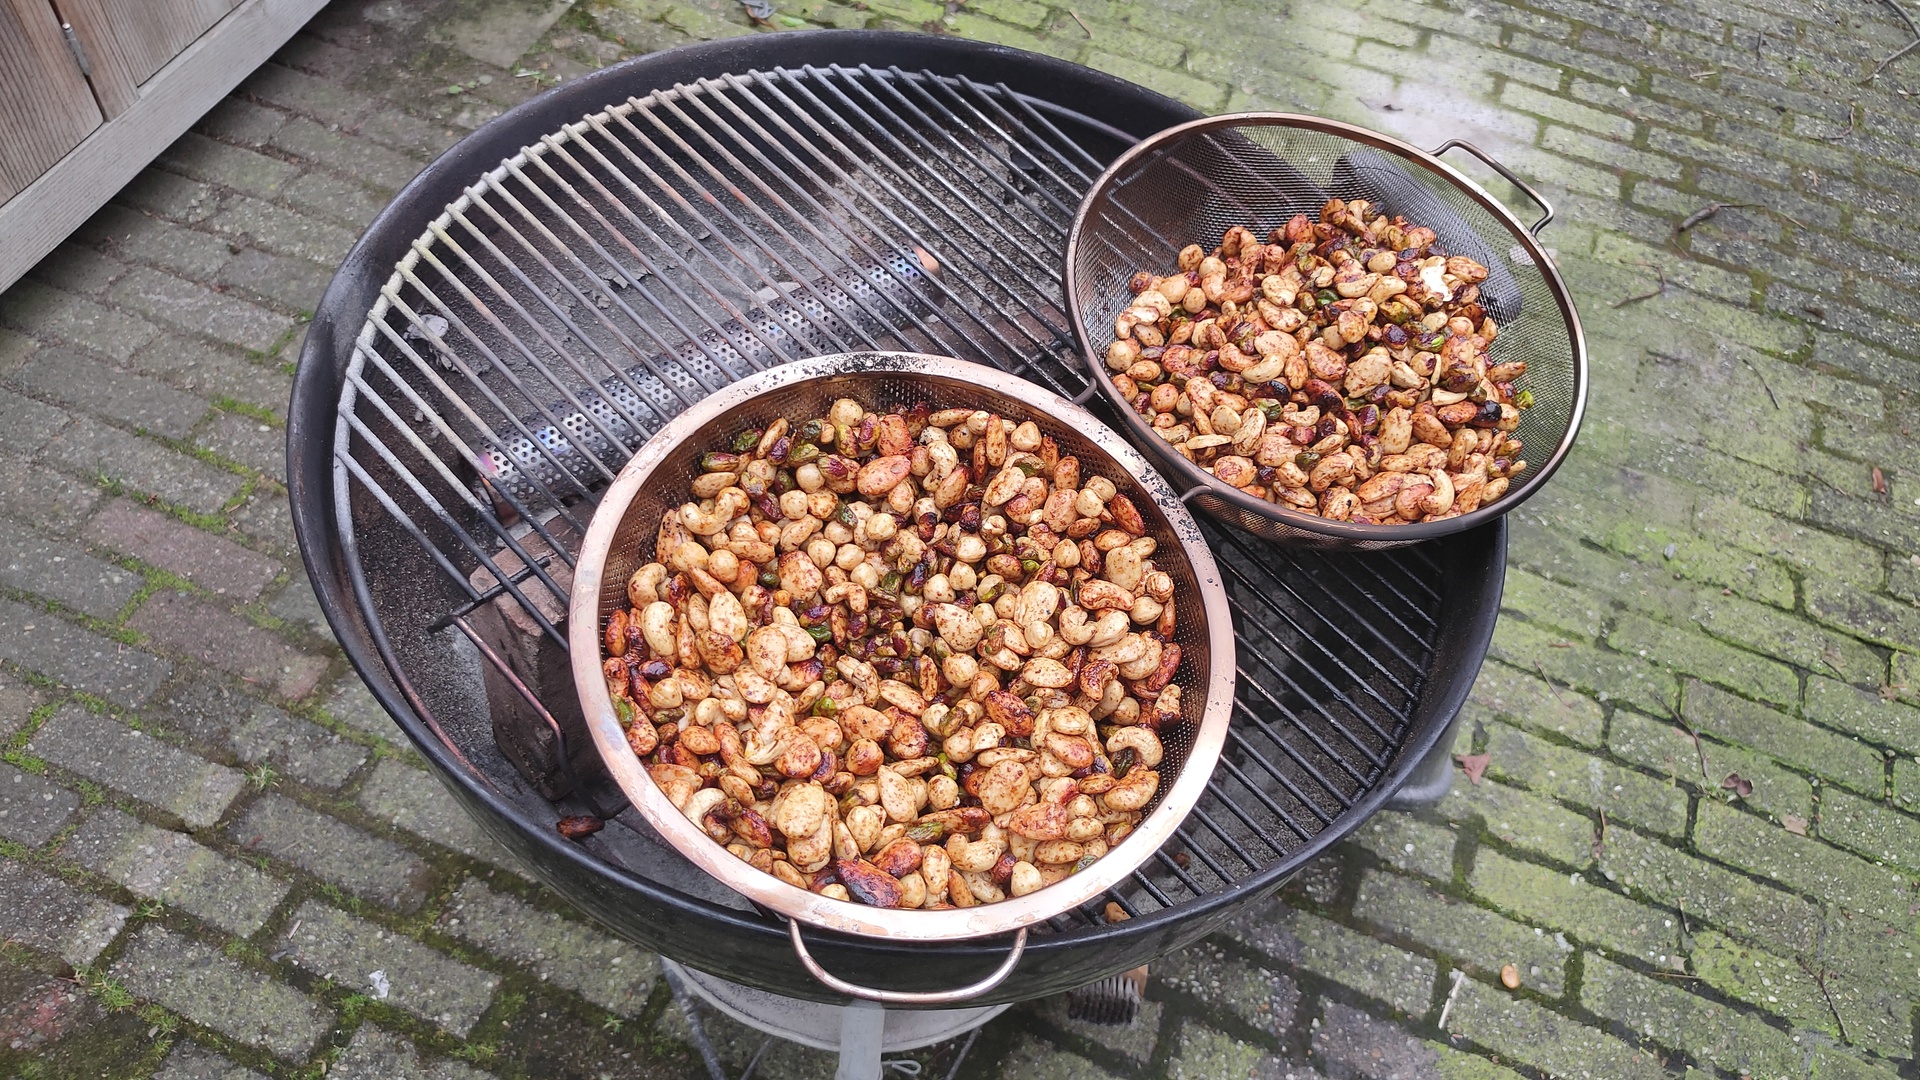
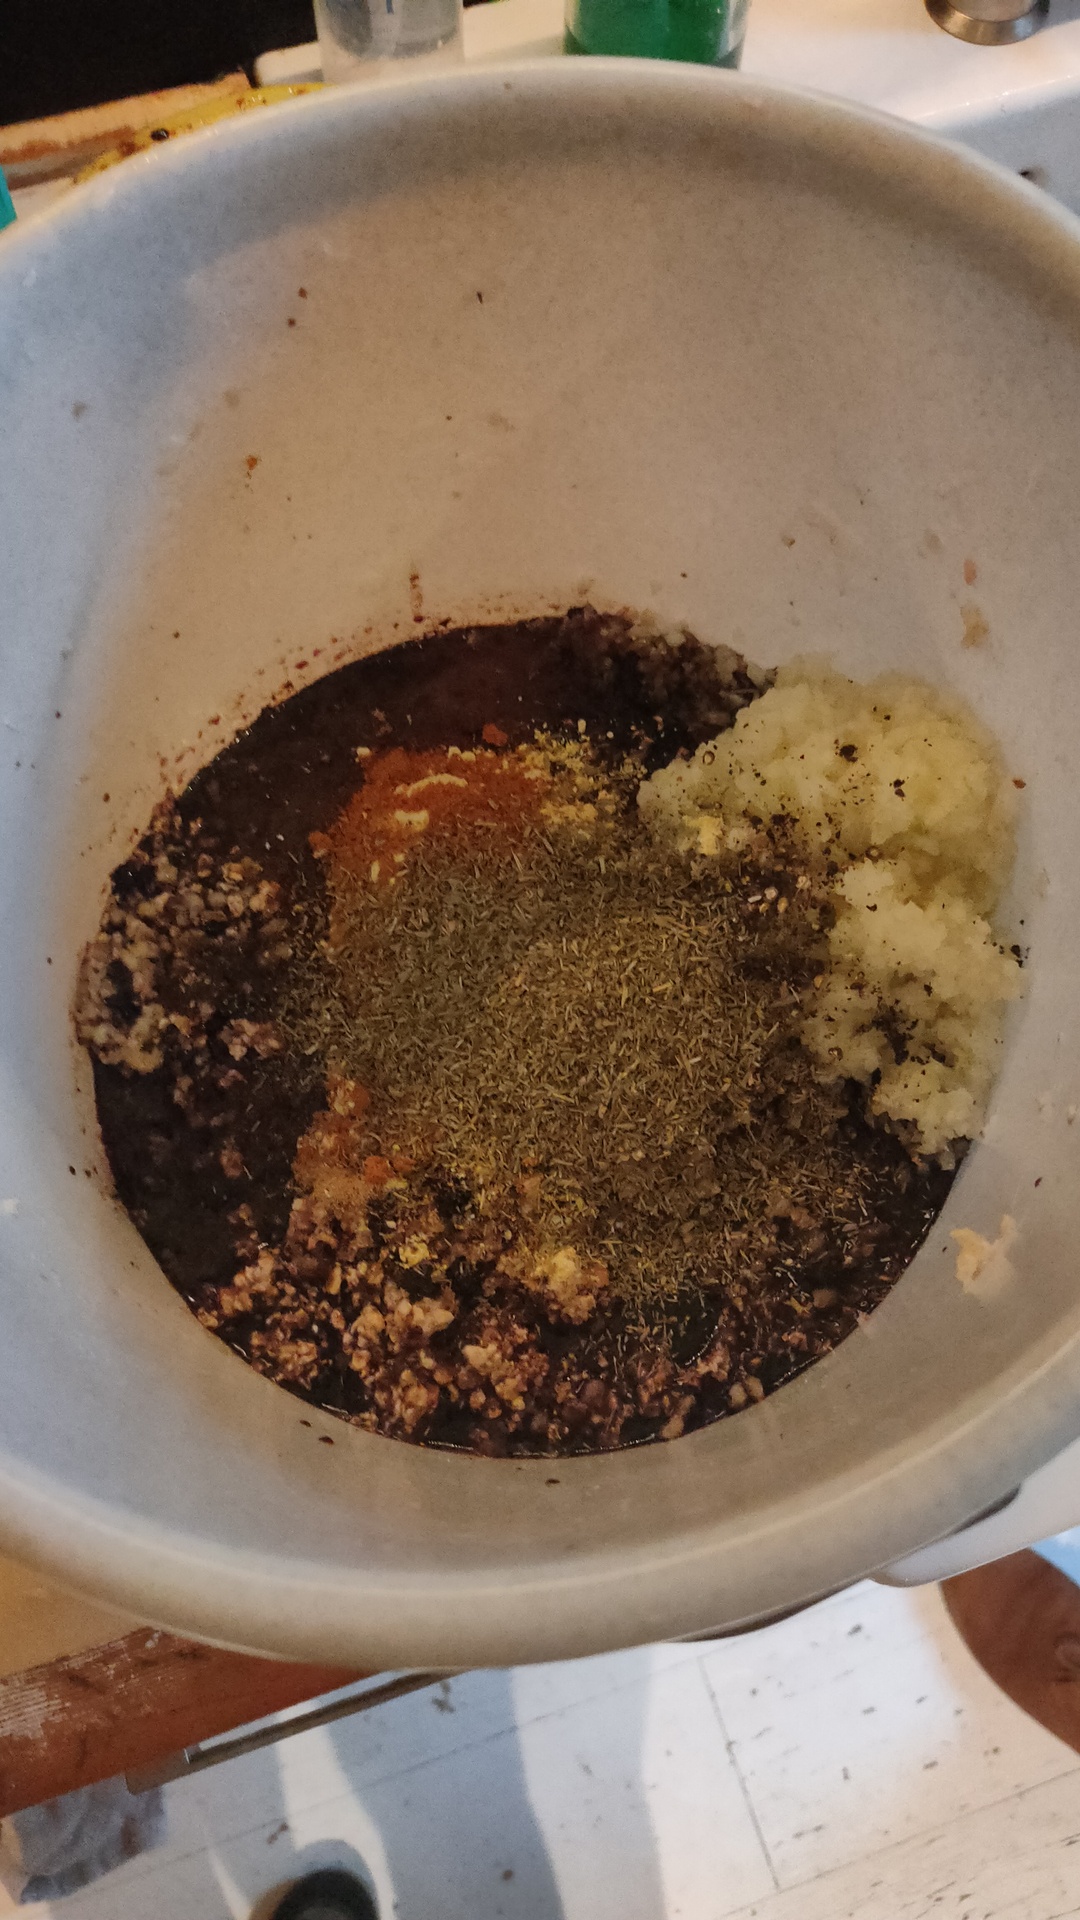
Smoked 2.5 KG nuts again. ( never mind the batch size, they are gone in a blink of an eye 🙂 )
Using above recipe i changed the following:
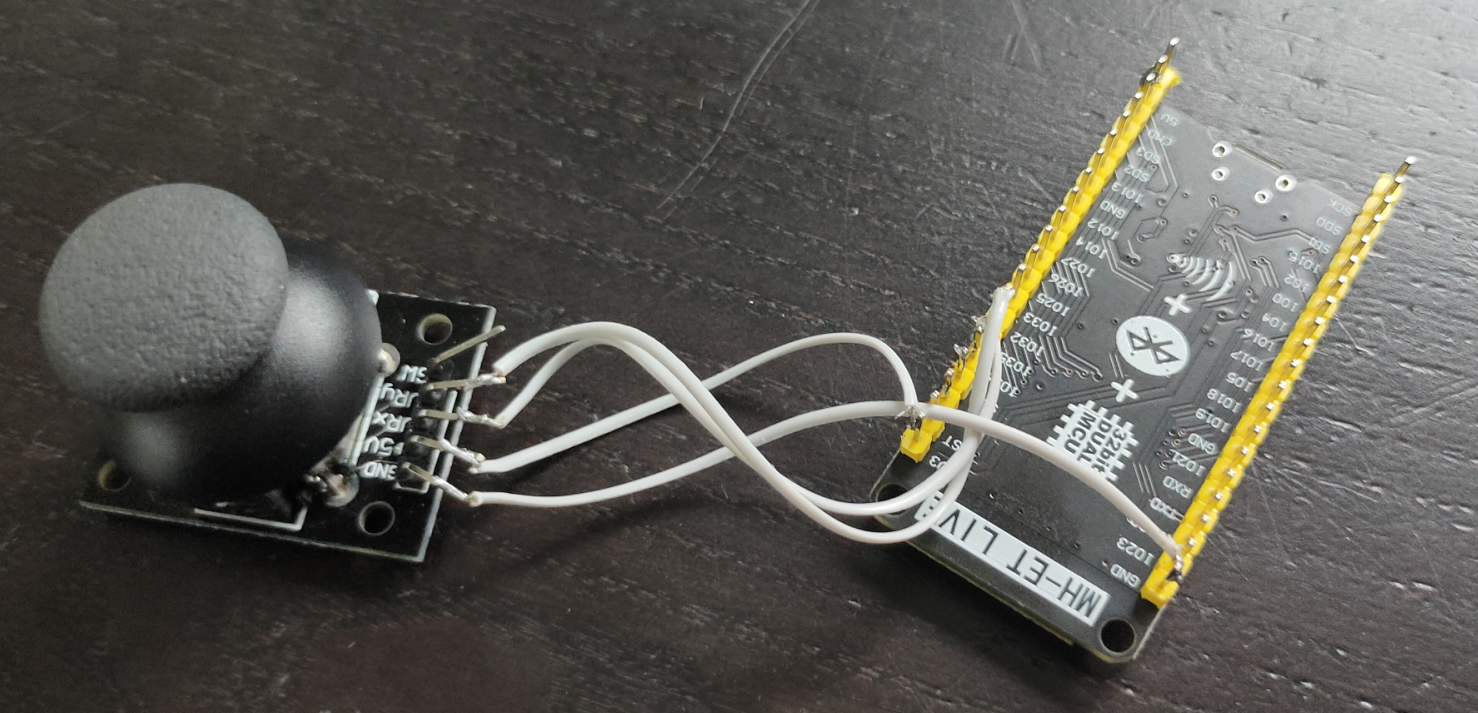
When you need a large digital joystick, but only got an analog one. You can use below code to make the joystick act as a digital one.
I’ve played with analog joysticks on digital pins also, it can be done. But it can be buggy, and needs extra code.
Note: The joystick pins are marked with 5V, but when you use a Arduino which can only read till 3.3V using its ADC (Analog Digital Convertors), you can get some weird readings.
When moving down and left is reads okay, but up and right react as being connected together!
Just try it with 3.3V or use a resistor.
Above shows a ESP32, but below code has Arduino Nano pin names, change accordingly.
CODE
The code gives you a direction only once, you will need to move the stick to the middle position first and then move again.
Below gave me readings between 0 and 1024 (10 bits)
Hence the between 350 and 650 for the middle position.
Most will give you a reading between 0 and 4096.
Want to set the resolution yourself?
analogReadResolution(10); // 10 bits
int val1 =0;
int val2 =0;

void setup()
{
    Serial.begin(9600);
}

void loop()
{
    int sensorValue1 = analogRead(A0);
    int sensorValue2 = analogRead(A1);

    if (sensorValue1 > 650){
      if (val1 == 0){
      Serial.print("DOWN");
      Serial.println(" ");
      val1=1;
      }
    }
    else if (sensorValue1 < 350){
      if (val1 == 0){
       Serial.print("UP");
      Serial.println(" ");
      val1=1;
      }
    }
    else if (sensorValue2 > 350 && sensorValue2 < 650){
      val1=0;
    }


    if (sensorValue2 > 650){
      if (val2 == 0){
      Serial.print("LEFT");
      Serial.println(" ");
      val2=1;
      }
    }
    else if (sensorValue2 < 350){
      if (val2 == 0){
       Serial.print("RIGHT");
      Serial.println(" ");
      val2=1;
      }
    }
    else if (sensorValue2 > 350 && sensorValue2 < 650){
      val2=0;
    }

    delay(100);
}
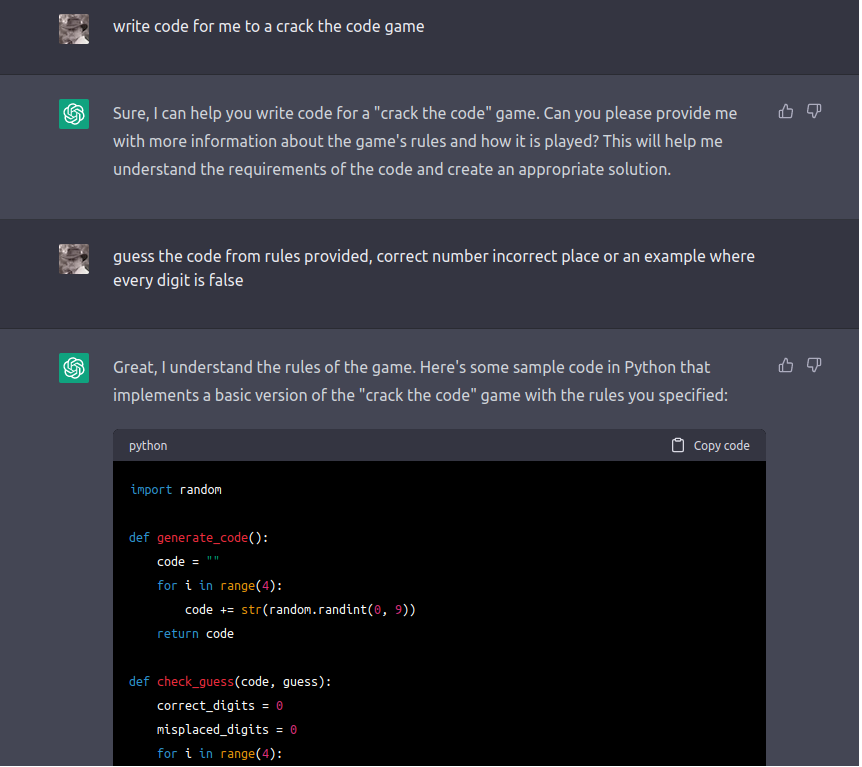
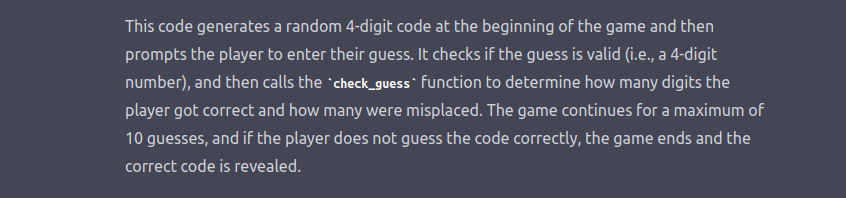
The Game
elcome to Crack the Code!
The code has 4 digits. Each digit is between 0 and 9.
You have 10 tries to guess the code.
After each guess, you will be told how many digits you got correct and how many were misplaced.
Good luck!
Enter your guess: 1234
Guess 1: 1234 - 0 correct, 0 misplaced
Enter your guess: 5678
Guess 2: 5678 - 2 correct, 1 misplaced
Enter your guess: 5689
Guess 3: 5689 - 1 correct, 2 misplaced
Enter your guess: 9688
Guess 4: 9688 - 1 correct, 2 misplaced
....
Sorry, you did not crack the code. The code was 5568.
Generated python code
import random

def generate_code():
    code = ""
    for i in range(4):
        code += str(random.randint(0, 9))
    return code

def check_guess(code, guess):
    correct_digits = 0
    misplaced_digits = 0
    for i in range(4):
        if guess[i] == code[i]:
            correct_digits += 1
        elif guess[i] in code:
            misplaced_digits += 1
    return (correct_digits, misplaced_digits)

def play_game():
    print("Welcome to Crack the Code!")
    print("The code has 4 digits. Each digit is between 0 and 9.")
    print("You have 10 tries to guess the code.")
    print("After each guess, you will be told how many digits you got correct and how many were misplaced.")
    print("Good luck!")
    code = generate_code()
    num_guesses = 0
    while num_guesses < 10:
        guess = input("Enter your guess: ")
        if len(guess) != 4 or not guess.isdigit():
            print("Invalid input. Please enter a 4-digit number.")
            continue
        num_guesses += 1
        correct, misplaced = check_guess(code, guess)
        print(f"Guess {num_guesses}: {guess} - {correct} correct, {misplaced} misplaced")
        if correct == 4:
            print("Congratulations! You cracked the code!")
            return
    print(f"Sorry, you did not crack the code. The code was {code}.")

play_game()
After this i let the AI made some changes, which kinda worked.
Scary nevertheless
I’ve posted a switches puzzle here.
https://www.henriaanstoot.nl/2023/03/25/last-weeks-useful-schematics/
I was thinking of a easier setup which is “static”.
Mine has a 65535 possibility setup, but you can make an easy puzzle with below setup.
Set D3 to
pinMode(D3, INPUT_PULLUP);
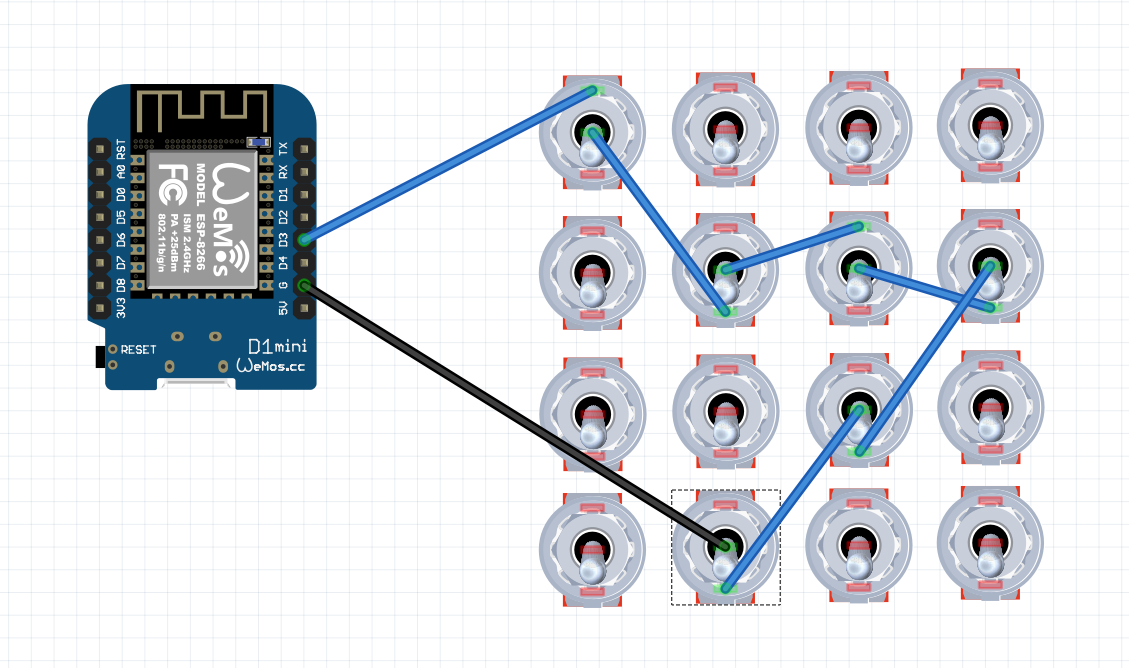
Notice that I’ve placed the wires for some switches at the bottom, so these switches need to be set in the other direction “off” than the others.
Only 7 switches matter, you could use all of them.
When using a switch with only two connections, place the switch upside-down. Now OFF is switch with ON.
| ON | ? | ? | ? |
| ? | OFF | ON | OFF |
| ? | ? | OFF | ? |
| ? | OFF | ? | ? |
is the correct setting
These are last weeks findings, I will add to this page when I discover other useful things.
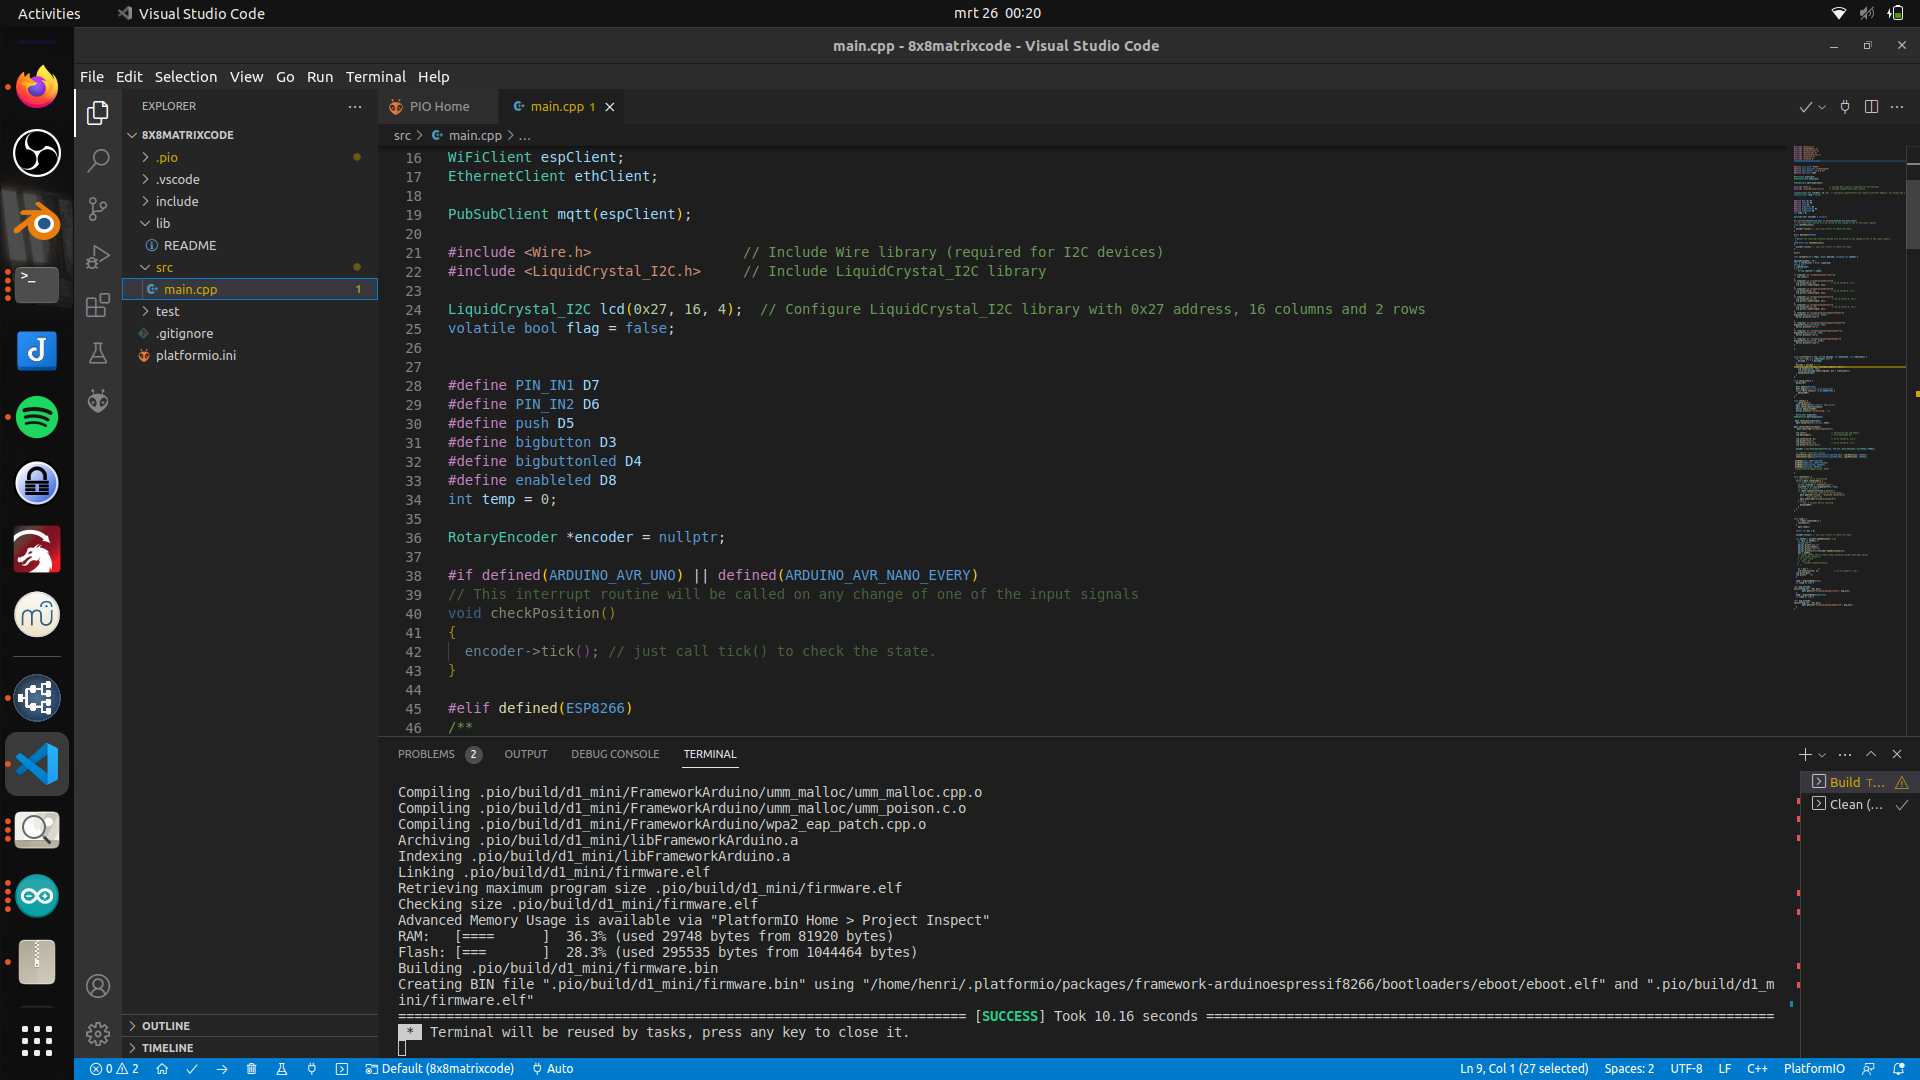
Platformio
Arduino IDE
Generic
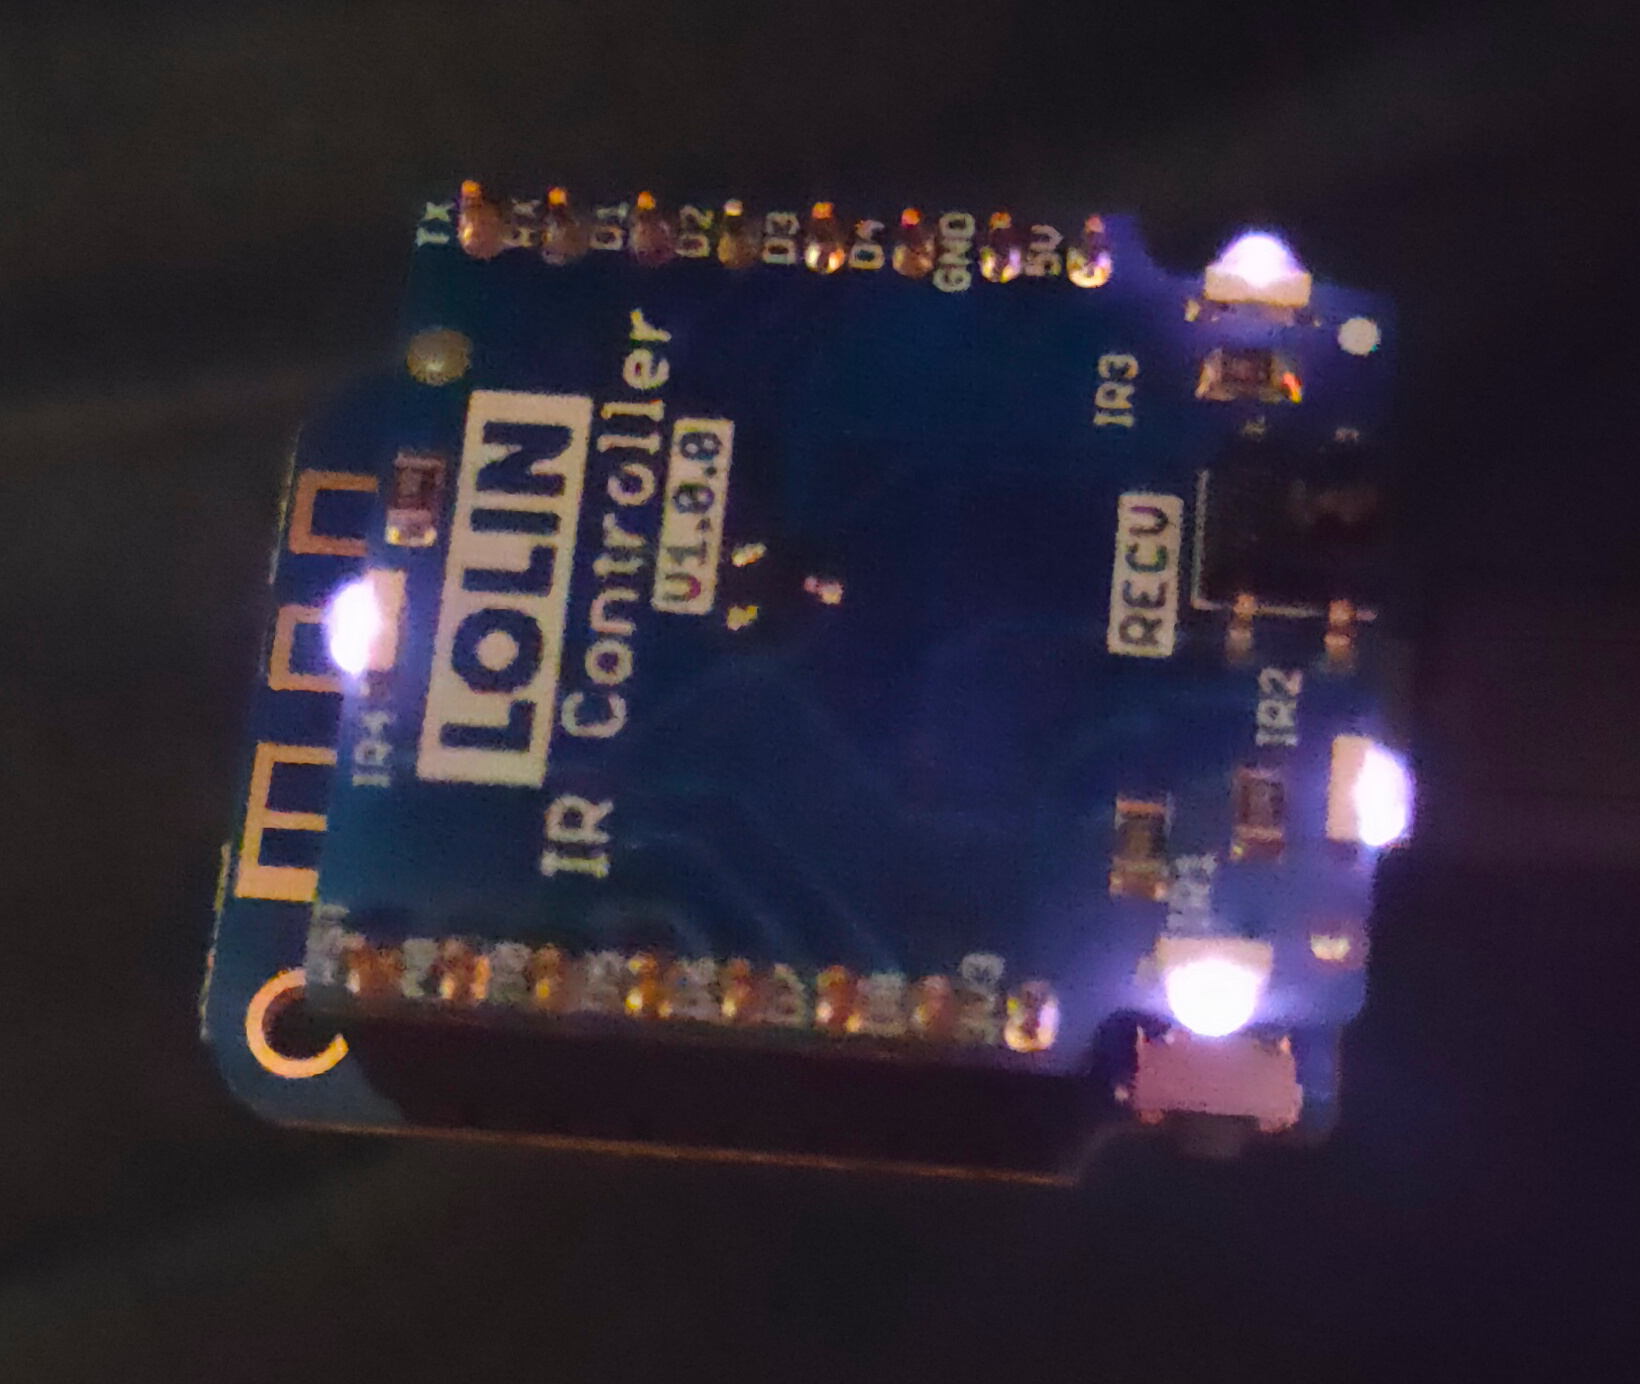
I’ve build a IR Blaster in the past and tested IR with EspEasy Dev.
I’m not happy with my Harmony Hub. Not so much control as i like to have.
So now OpenMqttGateway with IR.
I’ve installed platformio in the past.
Not really a fan of visual-code i’m showing you the process on CLI
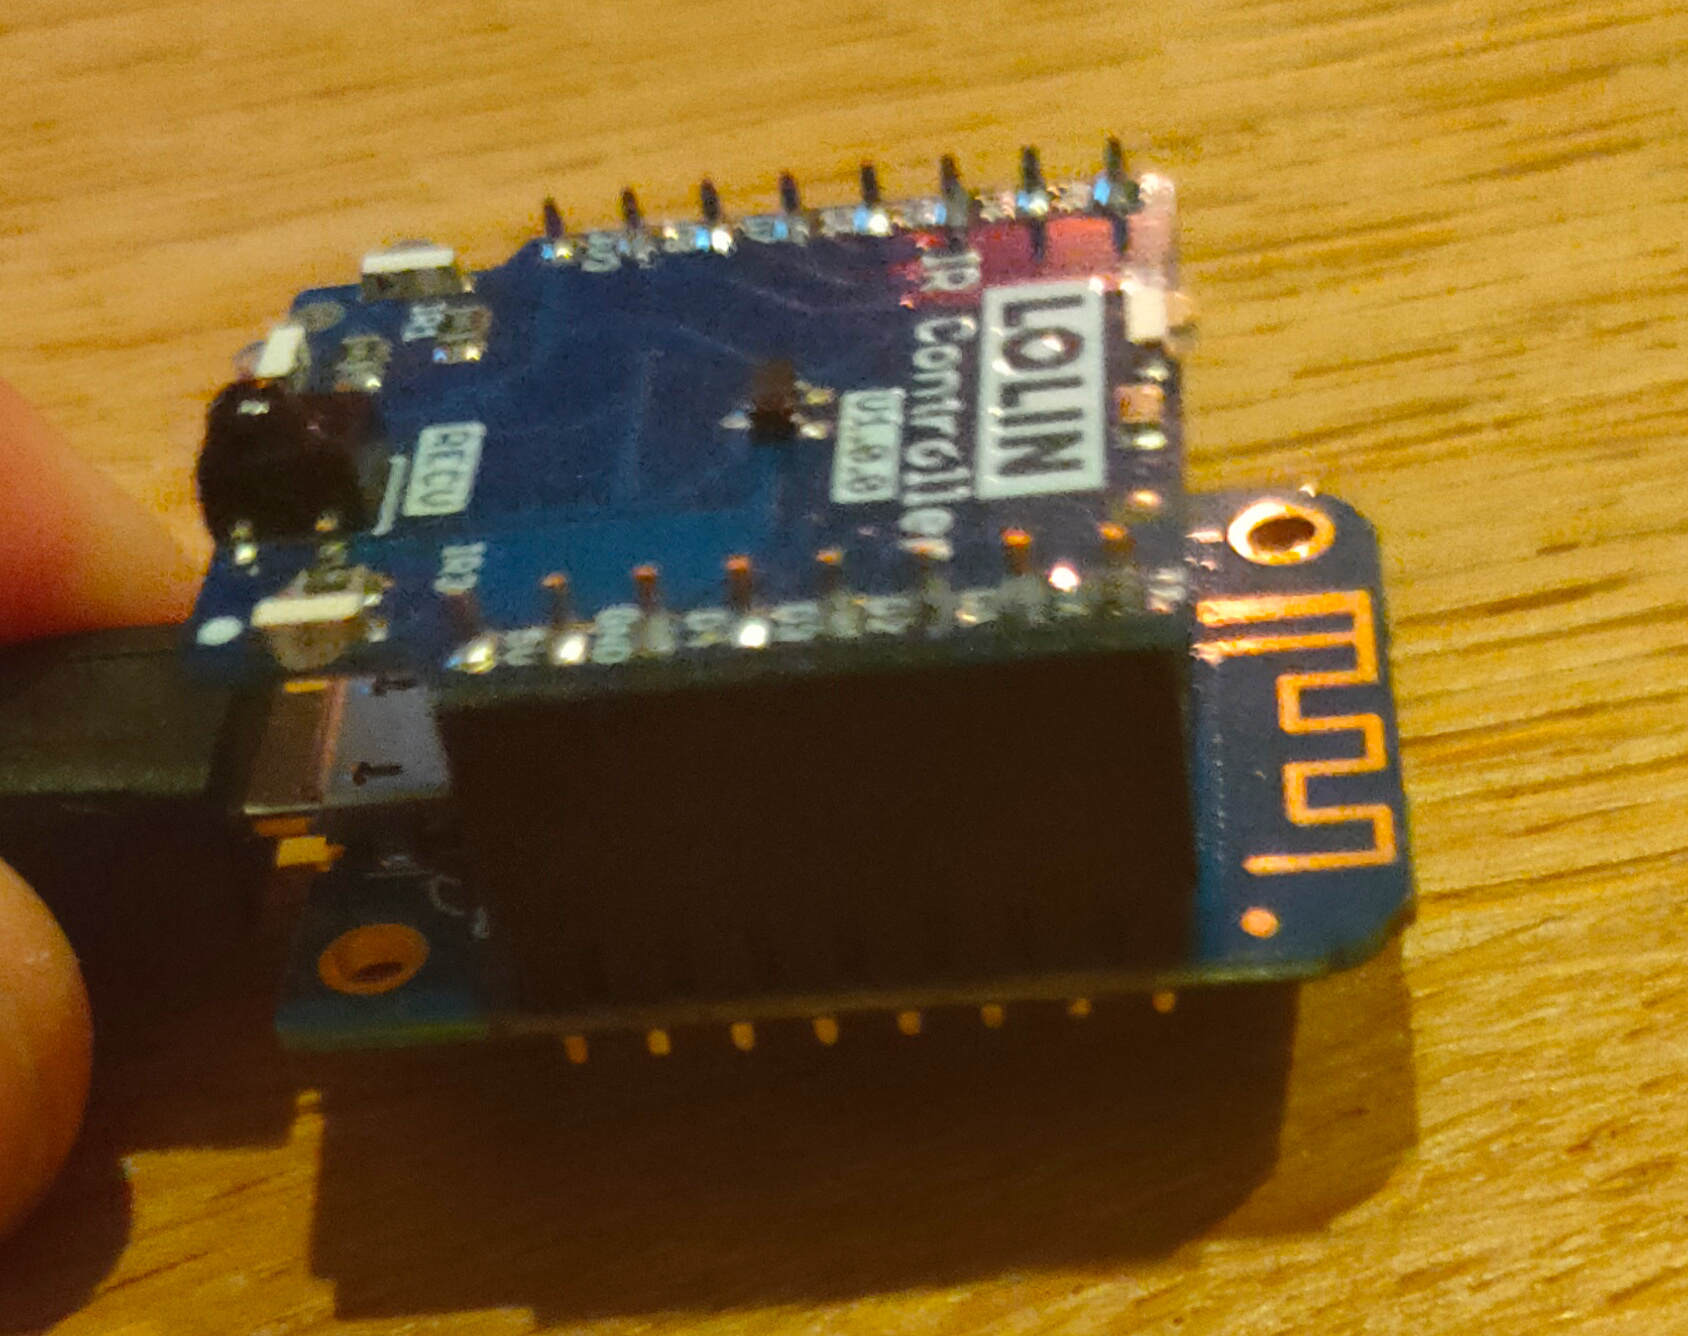
We can’t use the webinstaller or a precompiled binary because we need to change GPIO ports
wget https://github.com/1technophile/OpenMQTTGateway/releases/download/v1.5.0/nodemcuv2-ir-libraries.zip
wget https://github.com/1technophile/OpenMQTTGateway/archive/refs/tags/v1.5.0.tar.gz
tar xzvf v1.5.0.tar.gz
cd v1.5.0/libs
unzip ../../nodemcuv2-ir-libraries.zip
cd ..
edit platformio.ini
remove ; from
default_envs = nodemcuv2-ir
vi main/config_IR.h
search for LOLIN, edit and change into 0 (GPIO 0 = D3)

build and upload
pio run --target upload --upload-port /dev/ttyUSB0
build and upload with flash erase
pio run --target erase --target upload --upload-port /dev/ttyUSB0

clean the environment when needed
pio run -t clean
Now you will get a Access Point, connect and enter your Wifi network information and mqtt server.
When connected you will see the IR codes and if you installed mqtt support in home assistant it will see the mqtt topics.
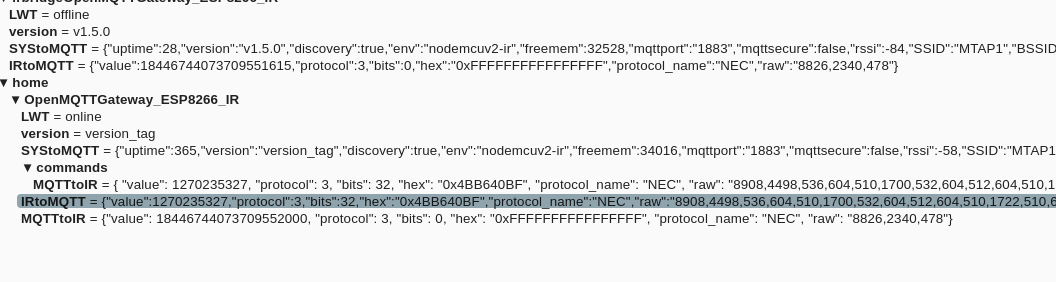
I’ve copied a json output as was send by my IR remote.
Below an example using mosquitto_pub to send codes.
mosquitto_pub -t home/OpenMQTTGateway_ESP8266_IR/commands/MQTTtoIR -h mymqttserver -m '{
  "value": 1270235327,
  "protocol": 3,
  "bits": 32,
  "hex": "0x4BB640BF",
  "protocol_name": "NEC",
  "raw": "8908,4498,536,604,510,1700,532,604,512,604,510,1722,510,604,510,1700,534,1700,534,1702,532,606,510,1722,510,1700,534,604,512,1722,510,1722,510,604,512,604,510,1702,532,606,510,606,510,604,510,604,512,604,512,604,510,1722,510,606,510,1722,510,1702,532,1700,534,1722,512,1722,510,1700,534"
}'
platformio commands
Why use platformio?
I know Arduino IDE is easier for starters.
Platformio is far more flexible, you can make projects with their own versions of libraries.
I like CLI, easier to do version control (git)
pip install -U platformio
pio upgrade
pio update
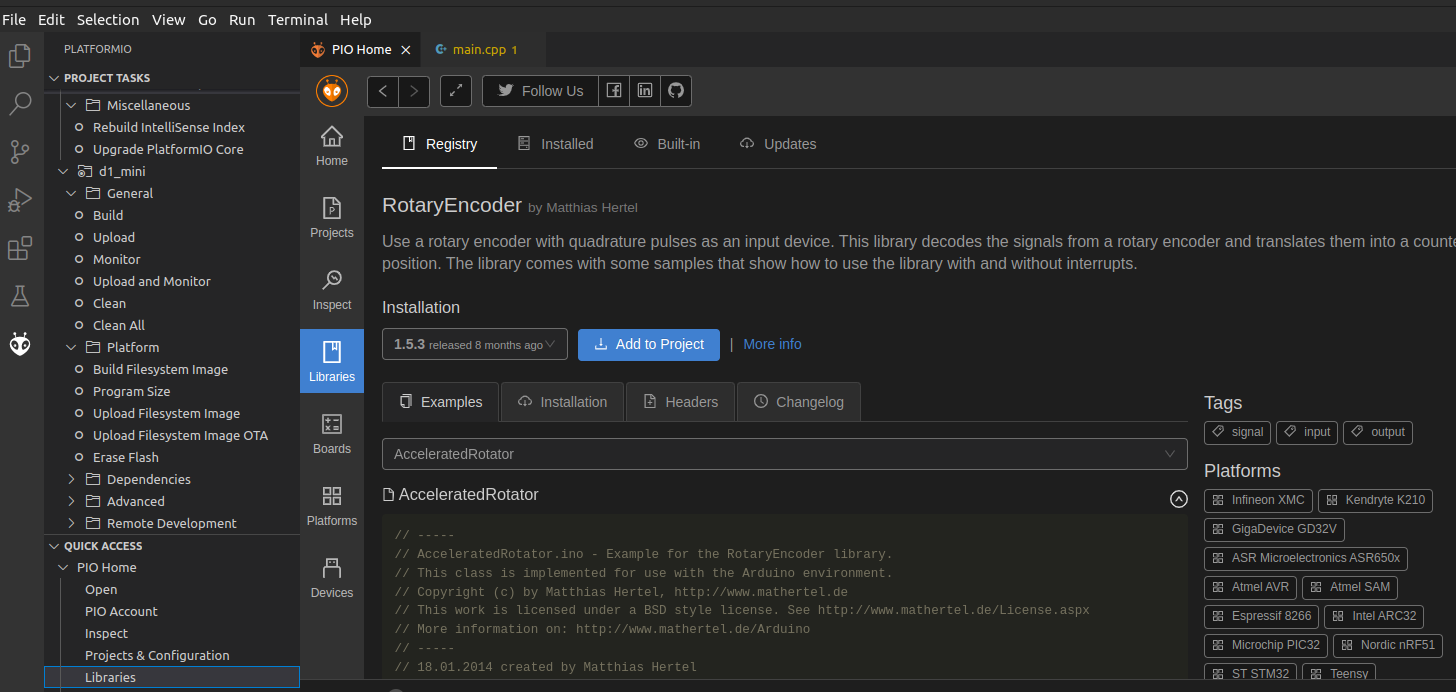
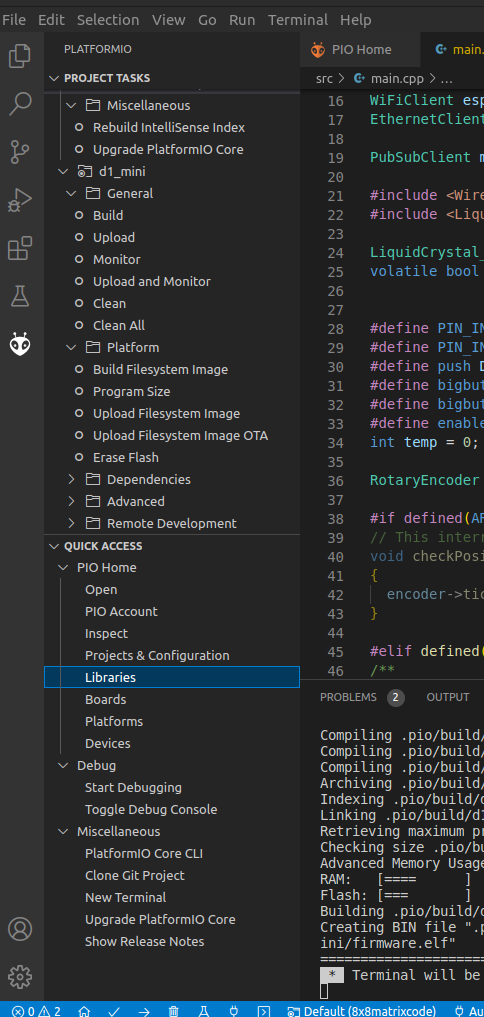
Some screenshots of my visual code platformio
While working on my game, i had to come up with some solutions i could not find an answer for on the internet.
I’m not going to post every little detail of my game on this blog, my main reason is sharing my experiences and solutions.
16 SWITCHES
16 Switches on a Wemos Arduino. While push buttons are easier to connect, I needed ON/OFF switches.
Push buttons are easy, there is only one active, so 4 enable lines and 4 scan lines and you’re golden.
16 Switches can be enabled all at the same time.
So you need some extra components to get a good result (0-65535)
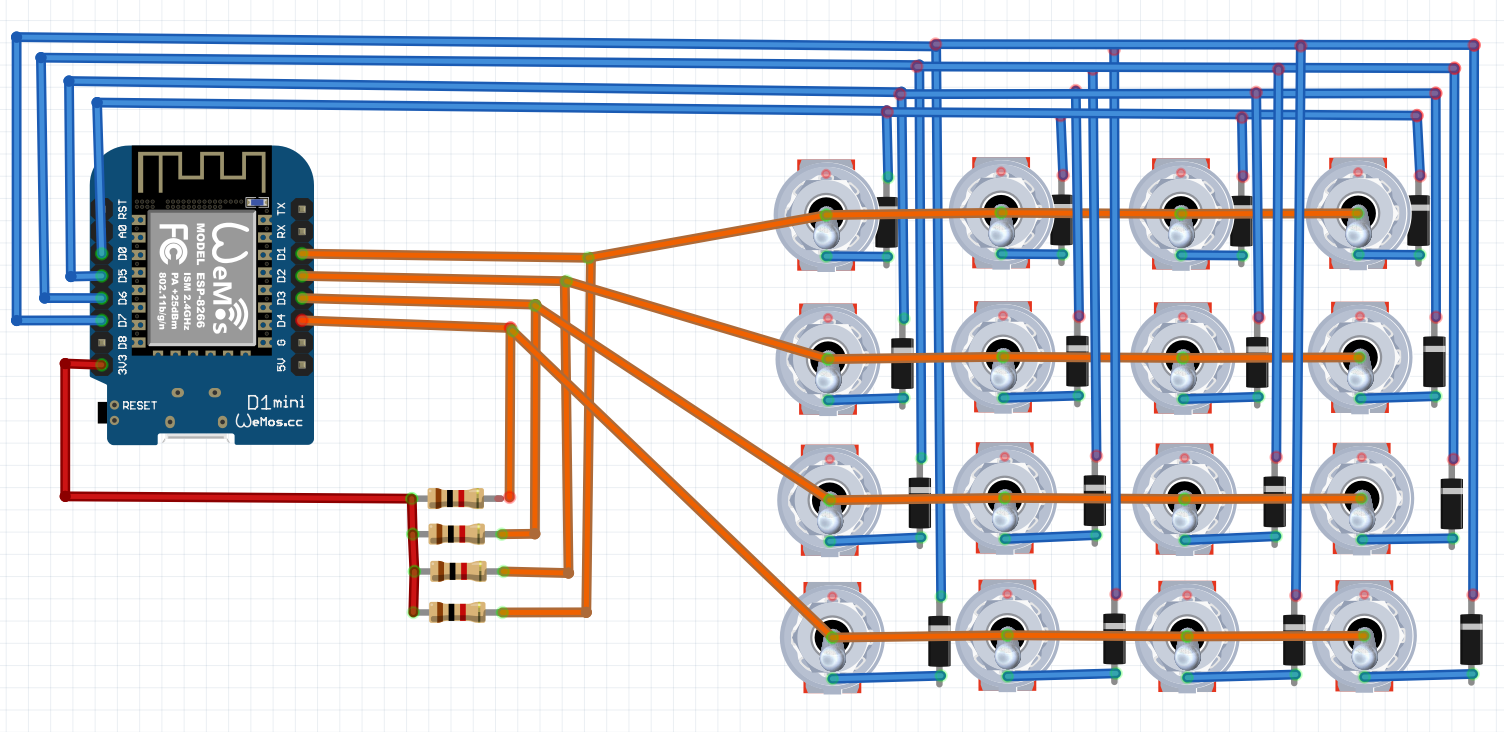
Above schematic works, you need 4x 1k Pull-up resistors and 16 diodes. I used 1N4007
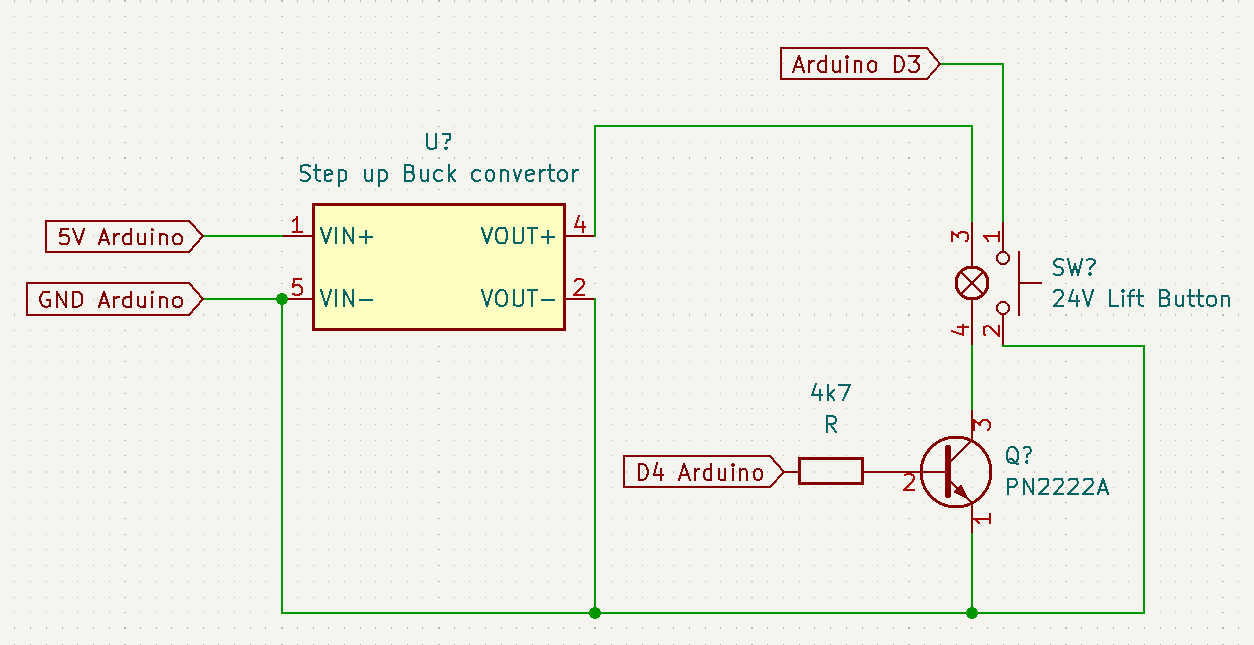
CONTROLLING 24V using Arduino and a buck convertor
Next problem, i’m using some elevator buttons for a project. These have build-in leds but run at 24V.
I only have 5V from the Arduino.
Regular leds you can connect directly to the Arduino using a 220ohm resistor.
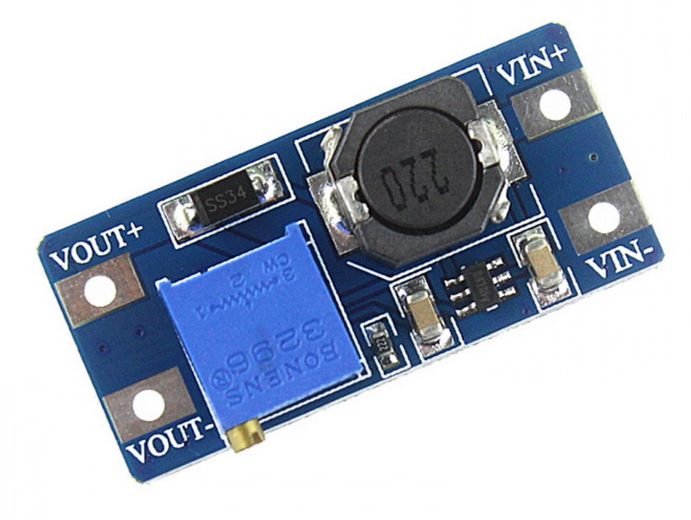
So i used a Buck-Step-Up-Convertor. This little module converts 5V to 24V. (You can control the output voltage using a variable resistor)
To control the lamp/leds i used a PN2222a transistor to switch the lights on/off using a pin of the Arduino.
I’ve made new anonymizing proxy in my Lab.
Created a virtual machine with Ghostpath VPN.
I can re-direct other machines in my network to use this gateway.
Next to do: Filter HTTP headers/cookies and implement proxychains.
My webscrapers, Transmission and Sabnzb are configured to use this VPN gateway.
I stopped using docker instances for this, to much hassle to keep these images working.
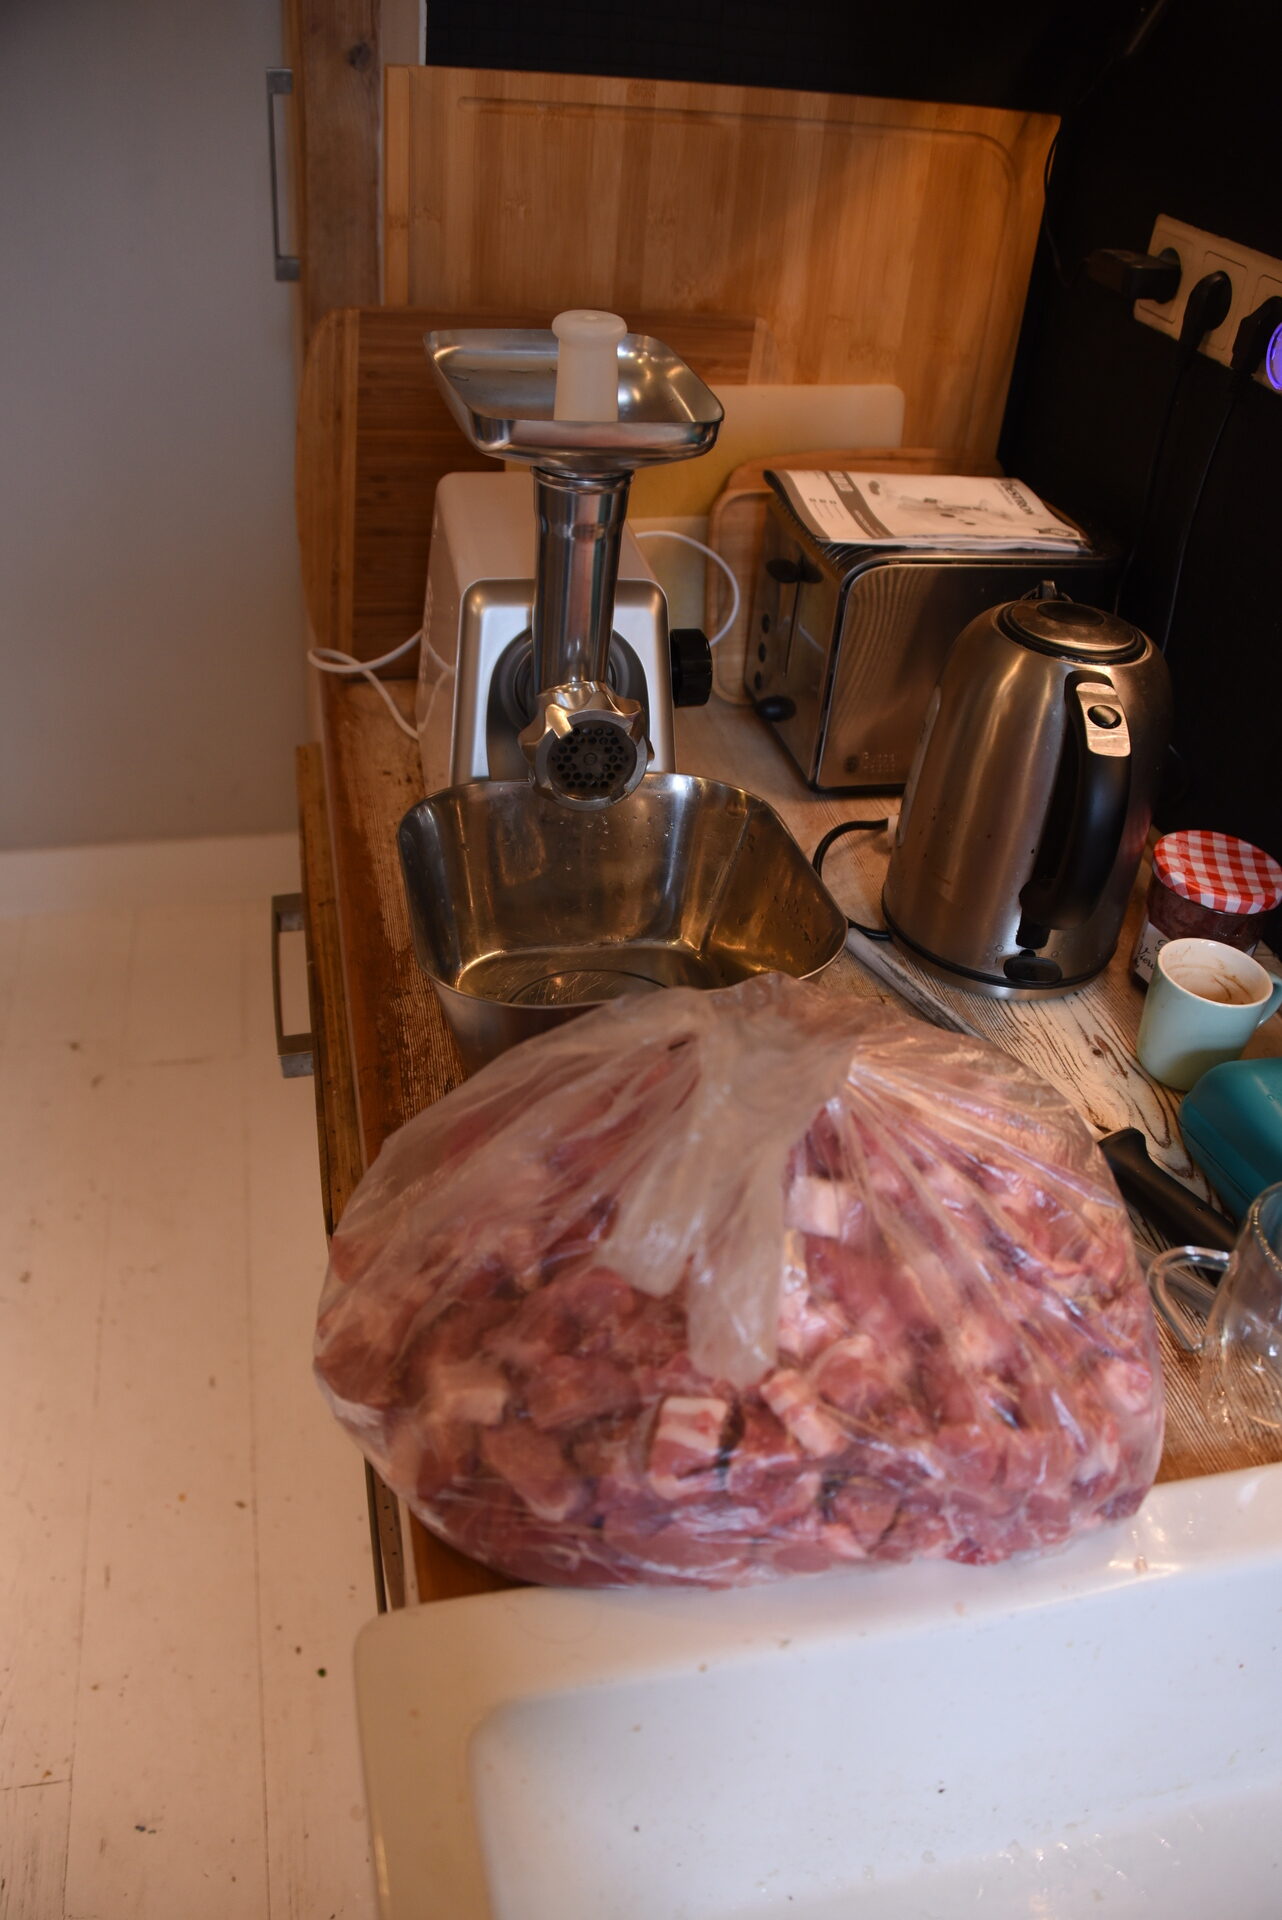
15 meters of sausages and more.
Monique needs a lot of sausage for her Prehistorical Village Foodfest. (And some for us, of course)
So today we made about:
Recipes in Dutch
Viking worst 1 (Ribe)
5 kg varkenssnippers (70/30)
3 bollen knoflook of 1 pot knoflook
Verse salie, tijm en marjolein
35 EL geel mosterdzaad
1 liter donker bier (Guinness)
Zout naar smaak
Viking worst 2 (PHD)
5 kg varkenssnippers (70/30)
2.5 kg gerookte spek
5 preien
5 appels
Verse salie en tijm
Zout naar smaak
Black pudding (bloedworst)
1 cup oats
½ cup barley
1 onion
100 gr pork fat
3 tsp salt
3 tsp pepper
1 tsp ground coriander seeds
1 tsp ground mustard seeds
1 tsp fresh thyme, chopped
1 tsp savory (fresh/chopped?)
2 TSP dried blood
½ cup cold water
Soak oats overnight in water. Cook barley until soft, drain and leave to cool.
Mix oats and barley
Finely chop onion and cut pork fat in cubes. Add to bowl of oats and barley, along with the herbs and spices. Mix well
Mix dried blood with 250 ml of cold water and stir into the mixture.
Fill the casing with the mixture. Not to full as mixture will expand.
Steep the sausage (do not cook) for approx. 60 minutes