When you need a large digital joystick, but only got an analog one. You can use below code to make the joystick act as a digital one.
I’ve played with analog joysticks on digital pins also, it can be done. But it can be buggy, and needs extra code.
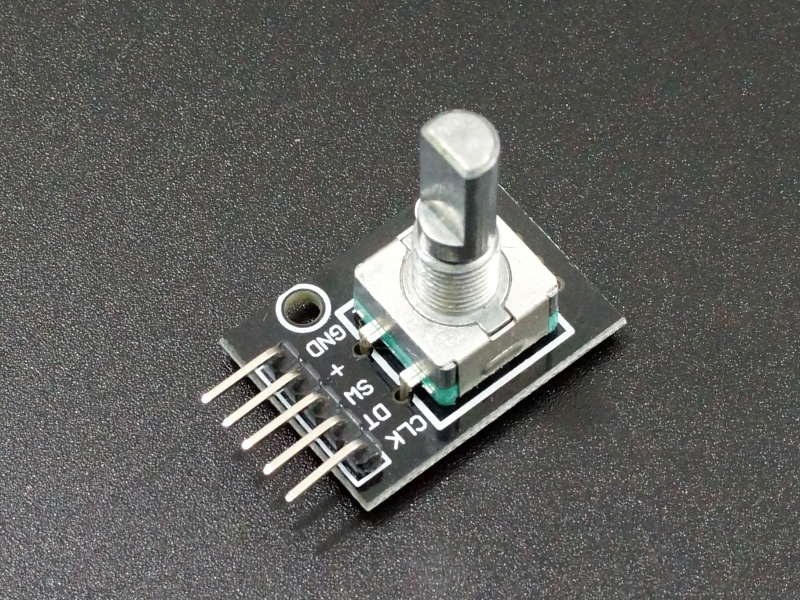
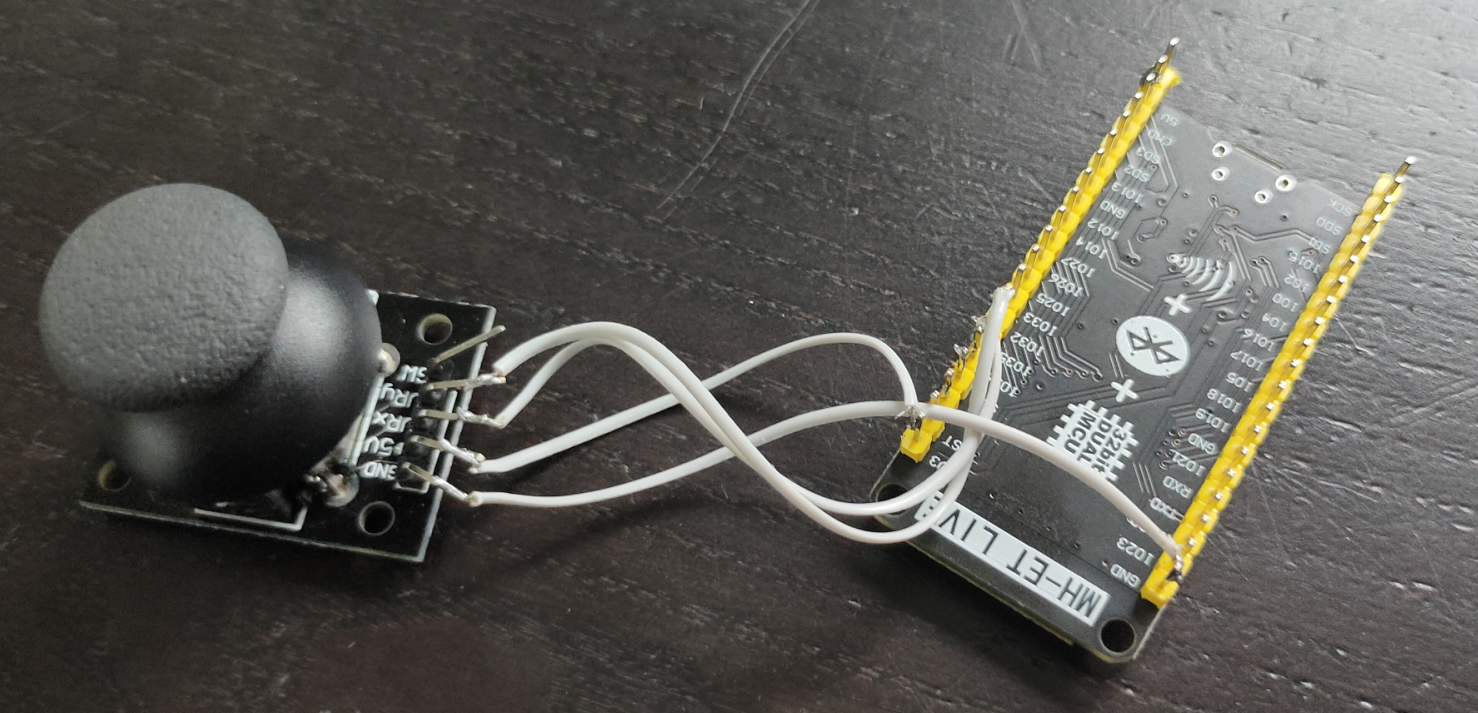
Note: The joystick pins are marked with 5V, but when you use a Arduino which can only read till 3.3V using its ADC (Analog Digital Convertors), you can get some weird readings.
When moving down and left is reads okay, but up and right react as being connected together!
Just try it with 3.3V or use a resistor.
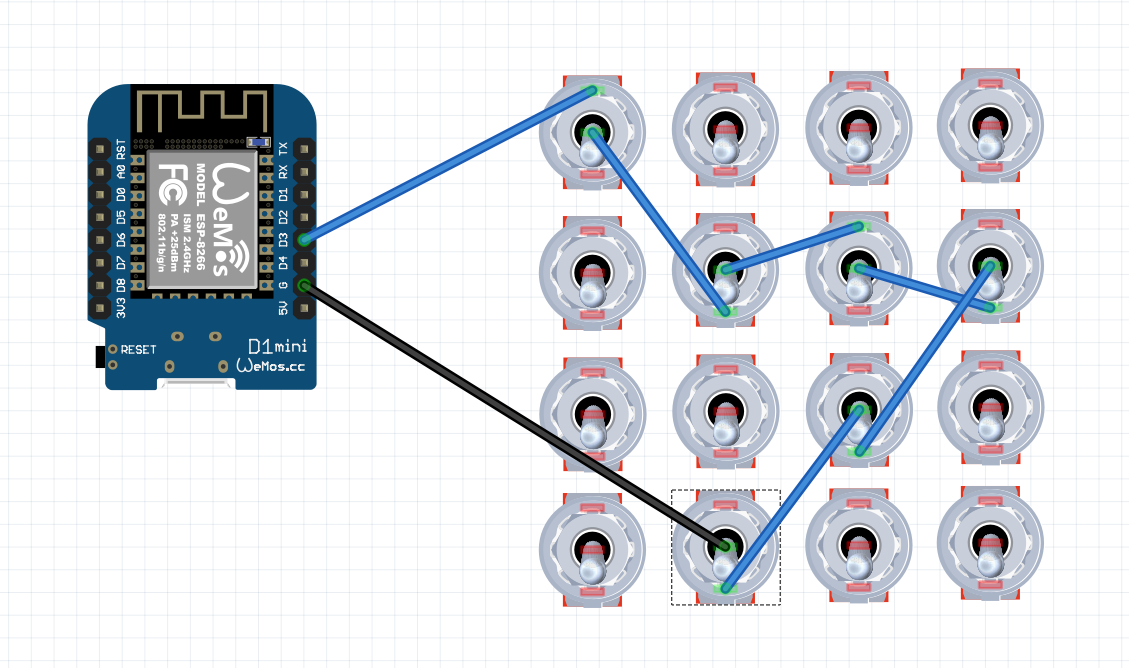
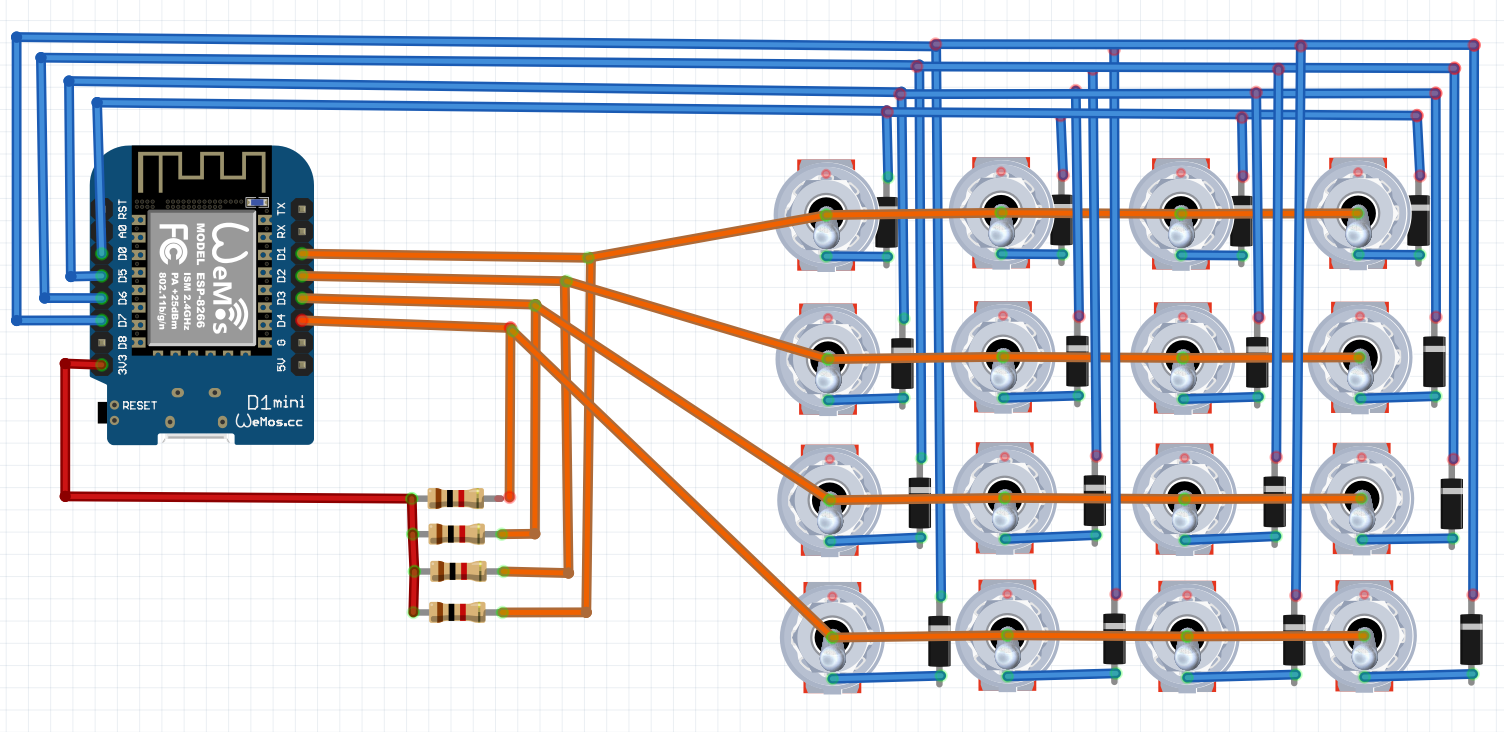
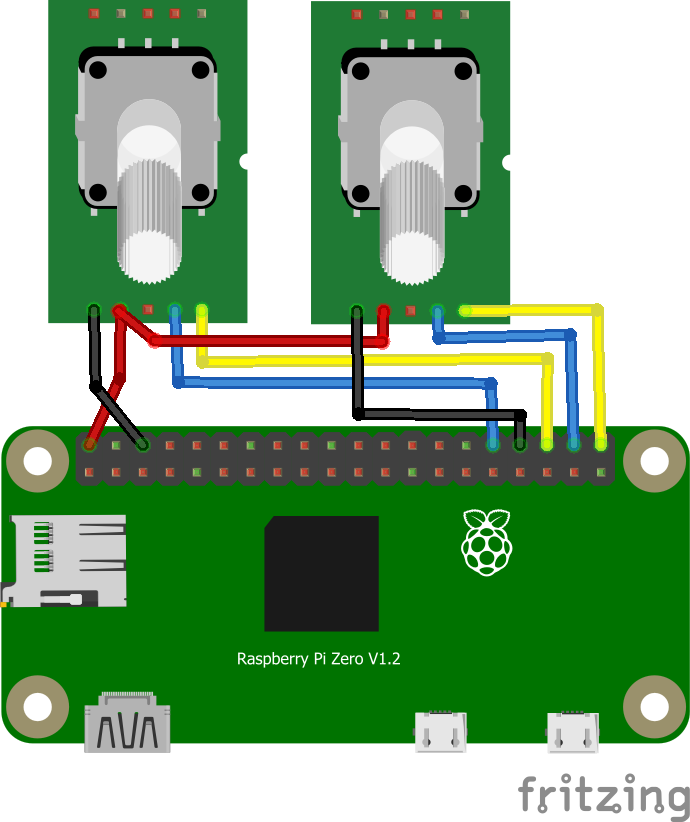
Above shows a ESP32, but below code has Arduino Nano pin names, change accordingly.
CODE
The code gives you a direction only once, you will need to move the stick to the middle position first and then move again.
Below gave me readings between 0 and 1024 (10 bits)
Hence the between 350 and 650 for the middle position.
Most will give you a reading between 0 and 4096.
Want to set the resolution yourself?
analogReadResolution(10); // 10 bits
int val1 =0;
int val2 =0;

void setup()
{
    Serial.begin(9600);
}

void loop()
{
    int sensorValue1 = analogRead(A0);
    int sensorValue2 = analogRead(A1);

    if (sensorValue1 > 650){
      if (val1 == 0){
      Serial.print("DOWN");
      Serial.println(" ");
      val1=1;
      }
    }
    else if (sensorValue1 < 350){
      if (val1 == 0){
       Serial.print("UP");
      Serial.println(" ");
      val1=1;
      }
    }
    else if (sensorValue2 > 350 && sensorValue2 < 650){
      val1=0;
    }


    if (sensorValue2 > 650){
      if (val2 == 0){
      Serial.print("LEFT");
      Serial.println(" ");
      val2=1;
      }
    }
    else if (sensorValue2 < 350){
      if (val2 == 0){
       Serial.print("RIGHT");
      Serial.println(" ");
      val2=1;
      }
    }
    else if (sensorValue2 > 350 && sensorValue2 < 650){
      val2=0;
    }

    delay(100);
}