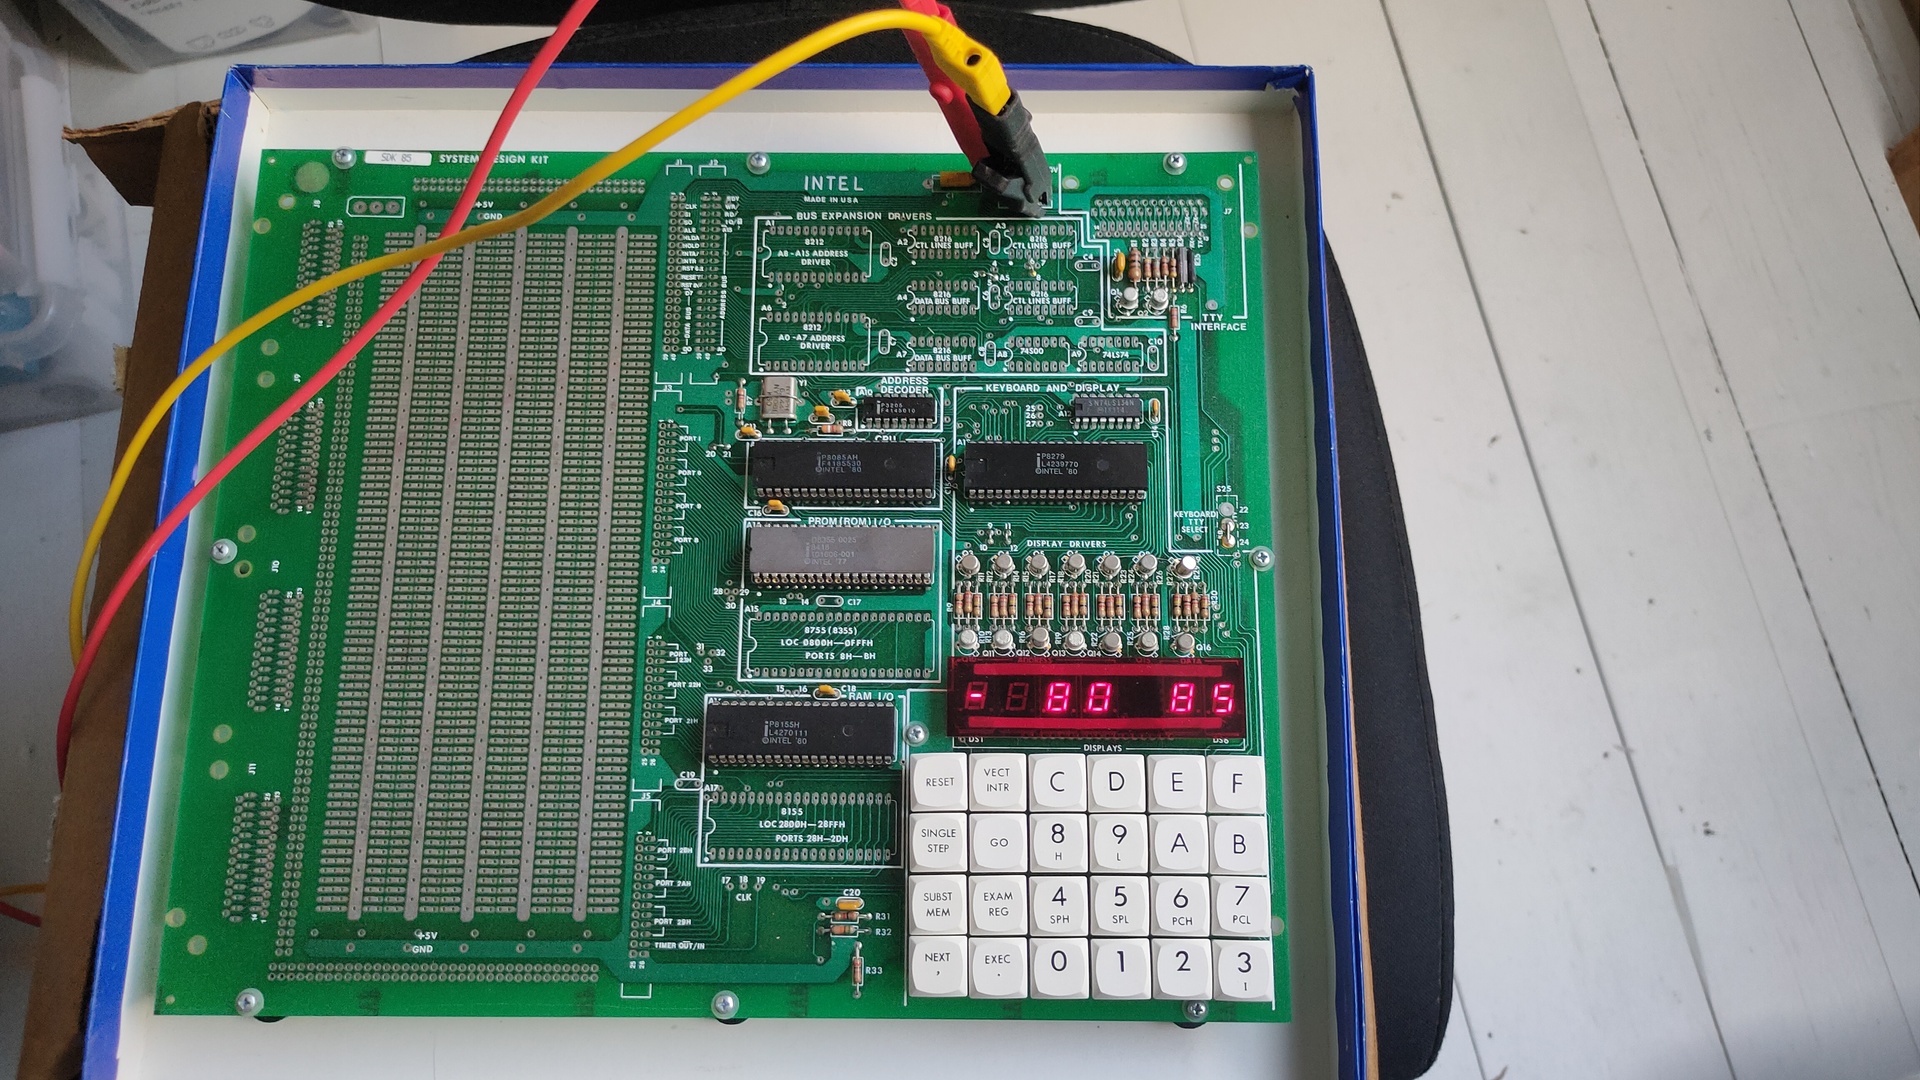
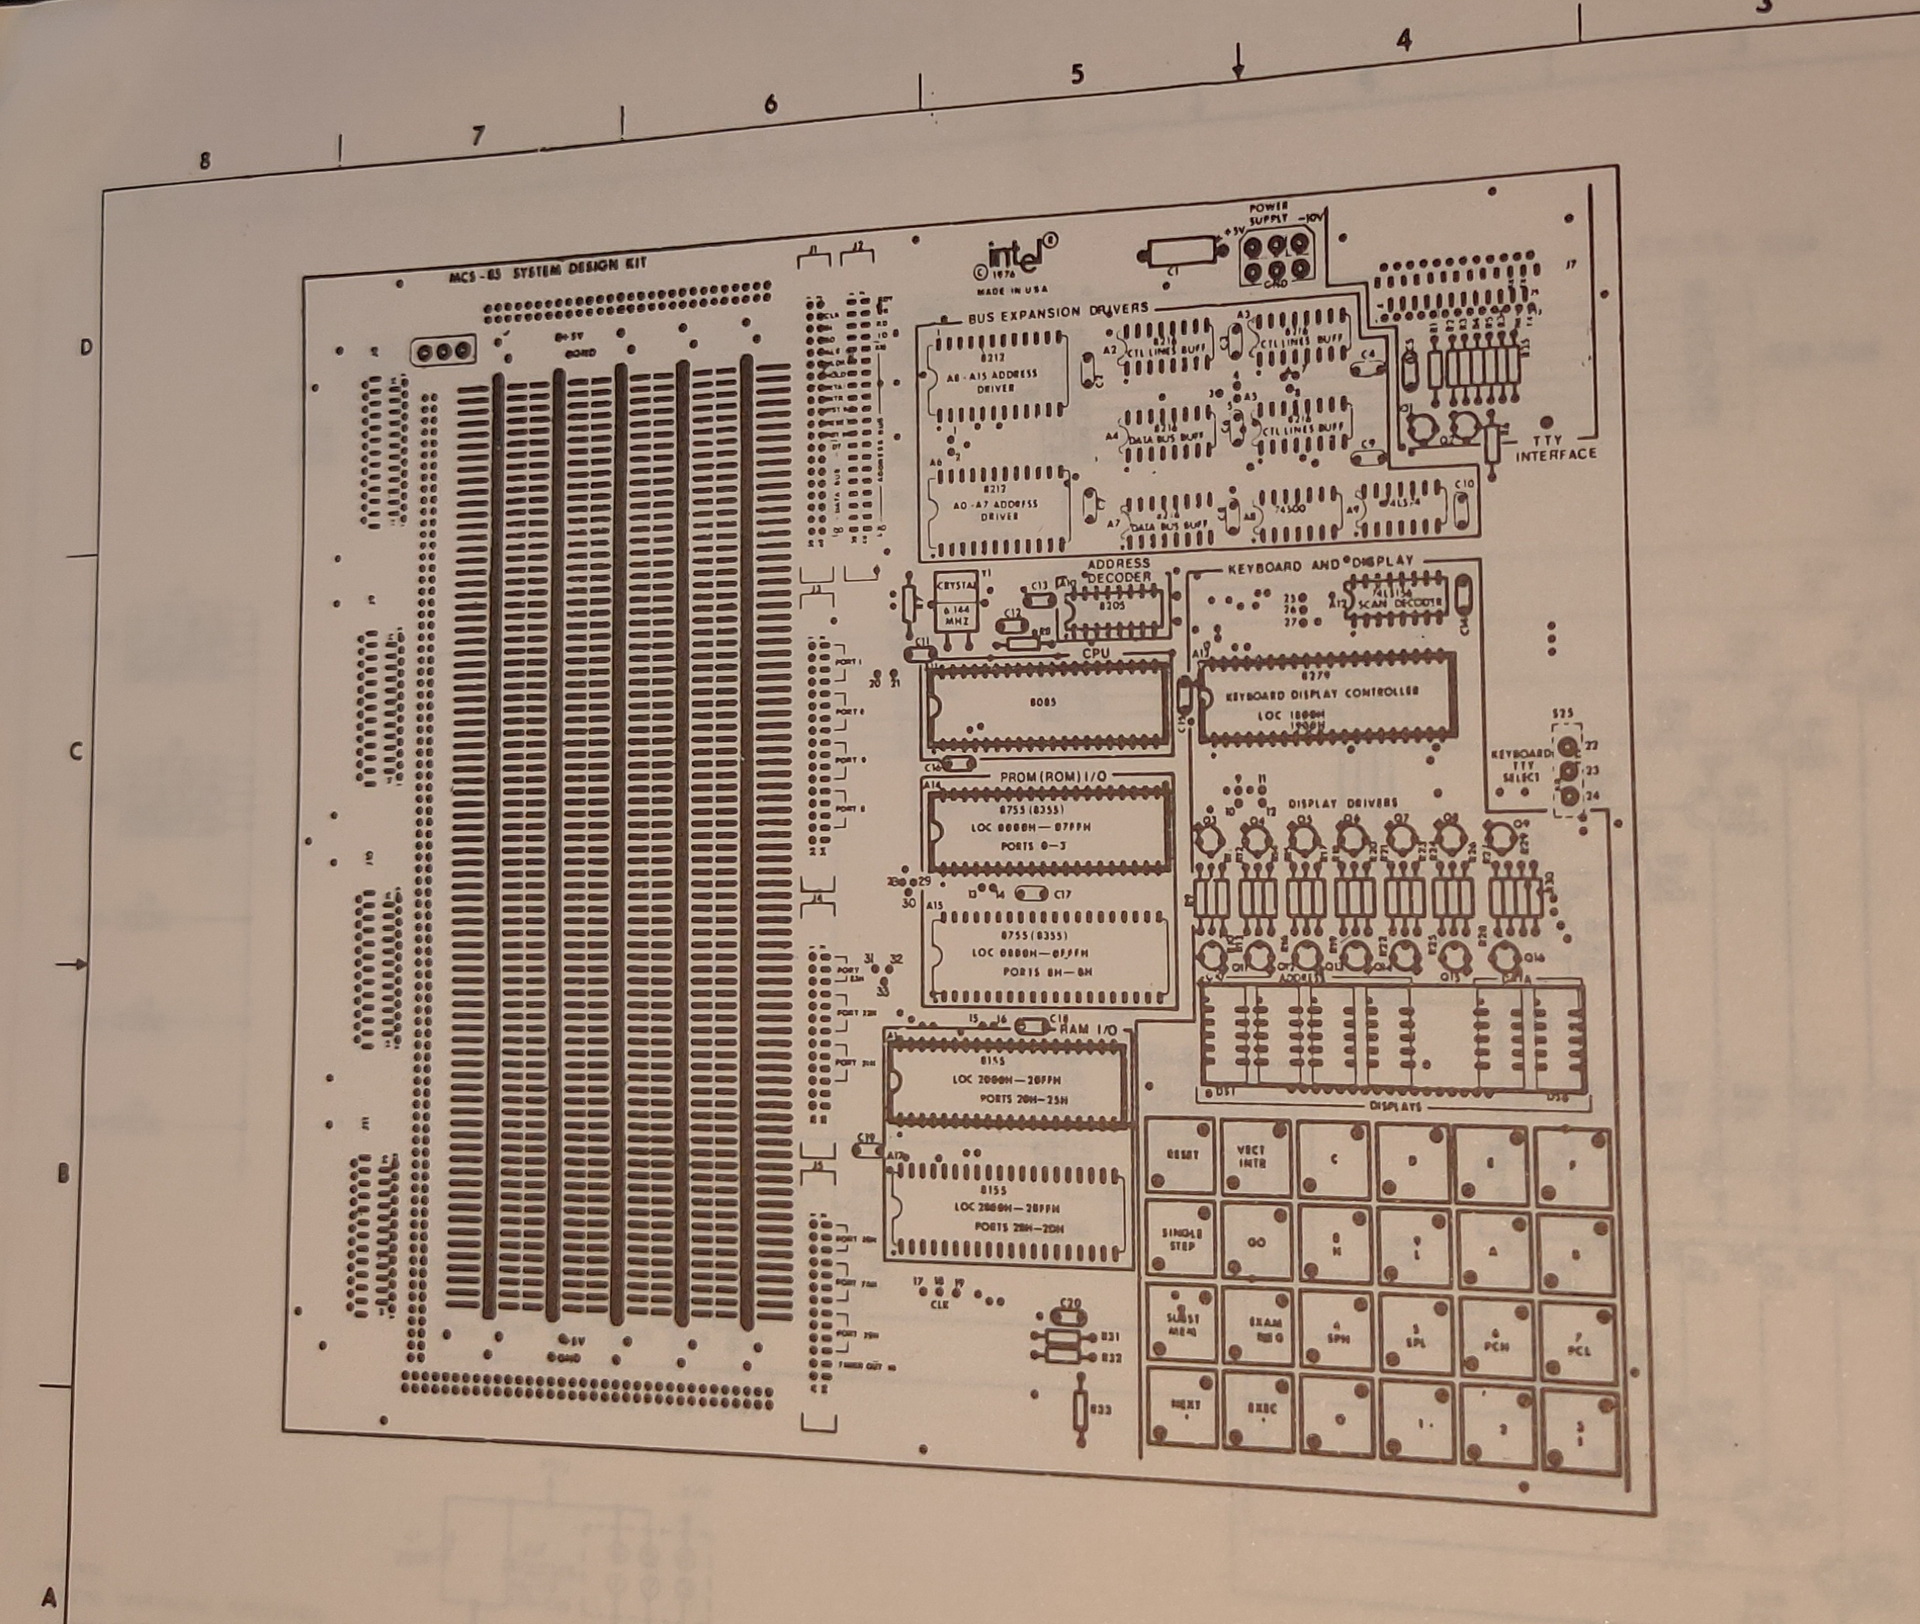
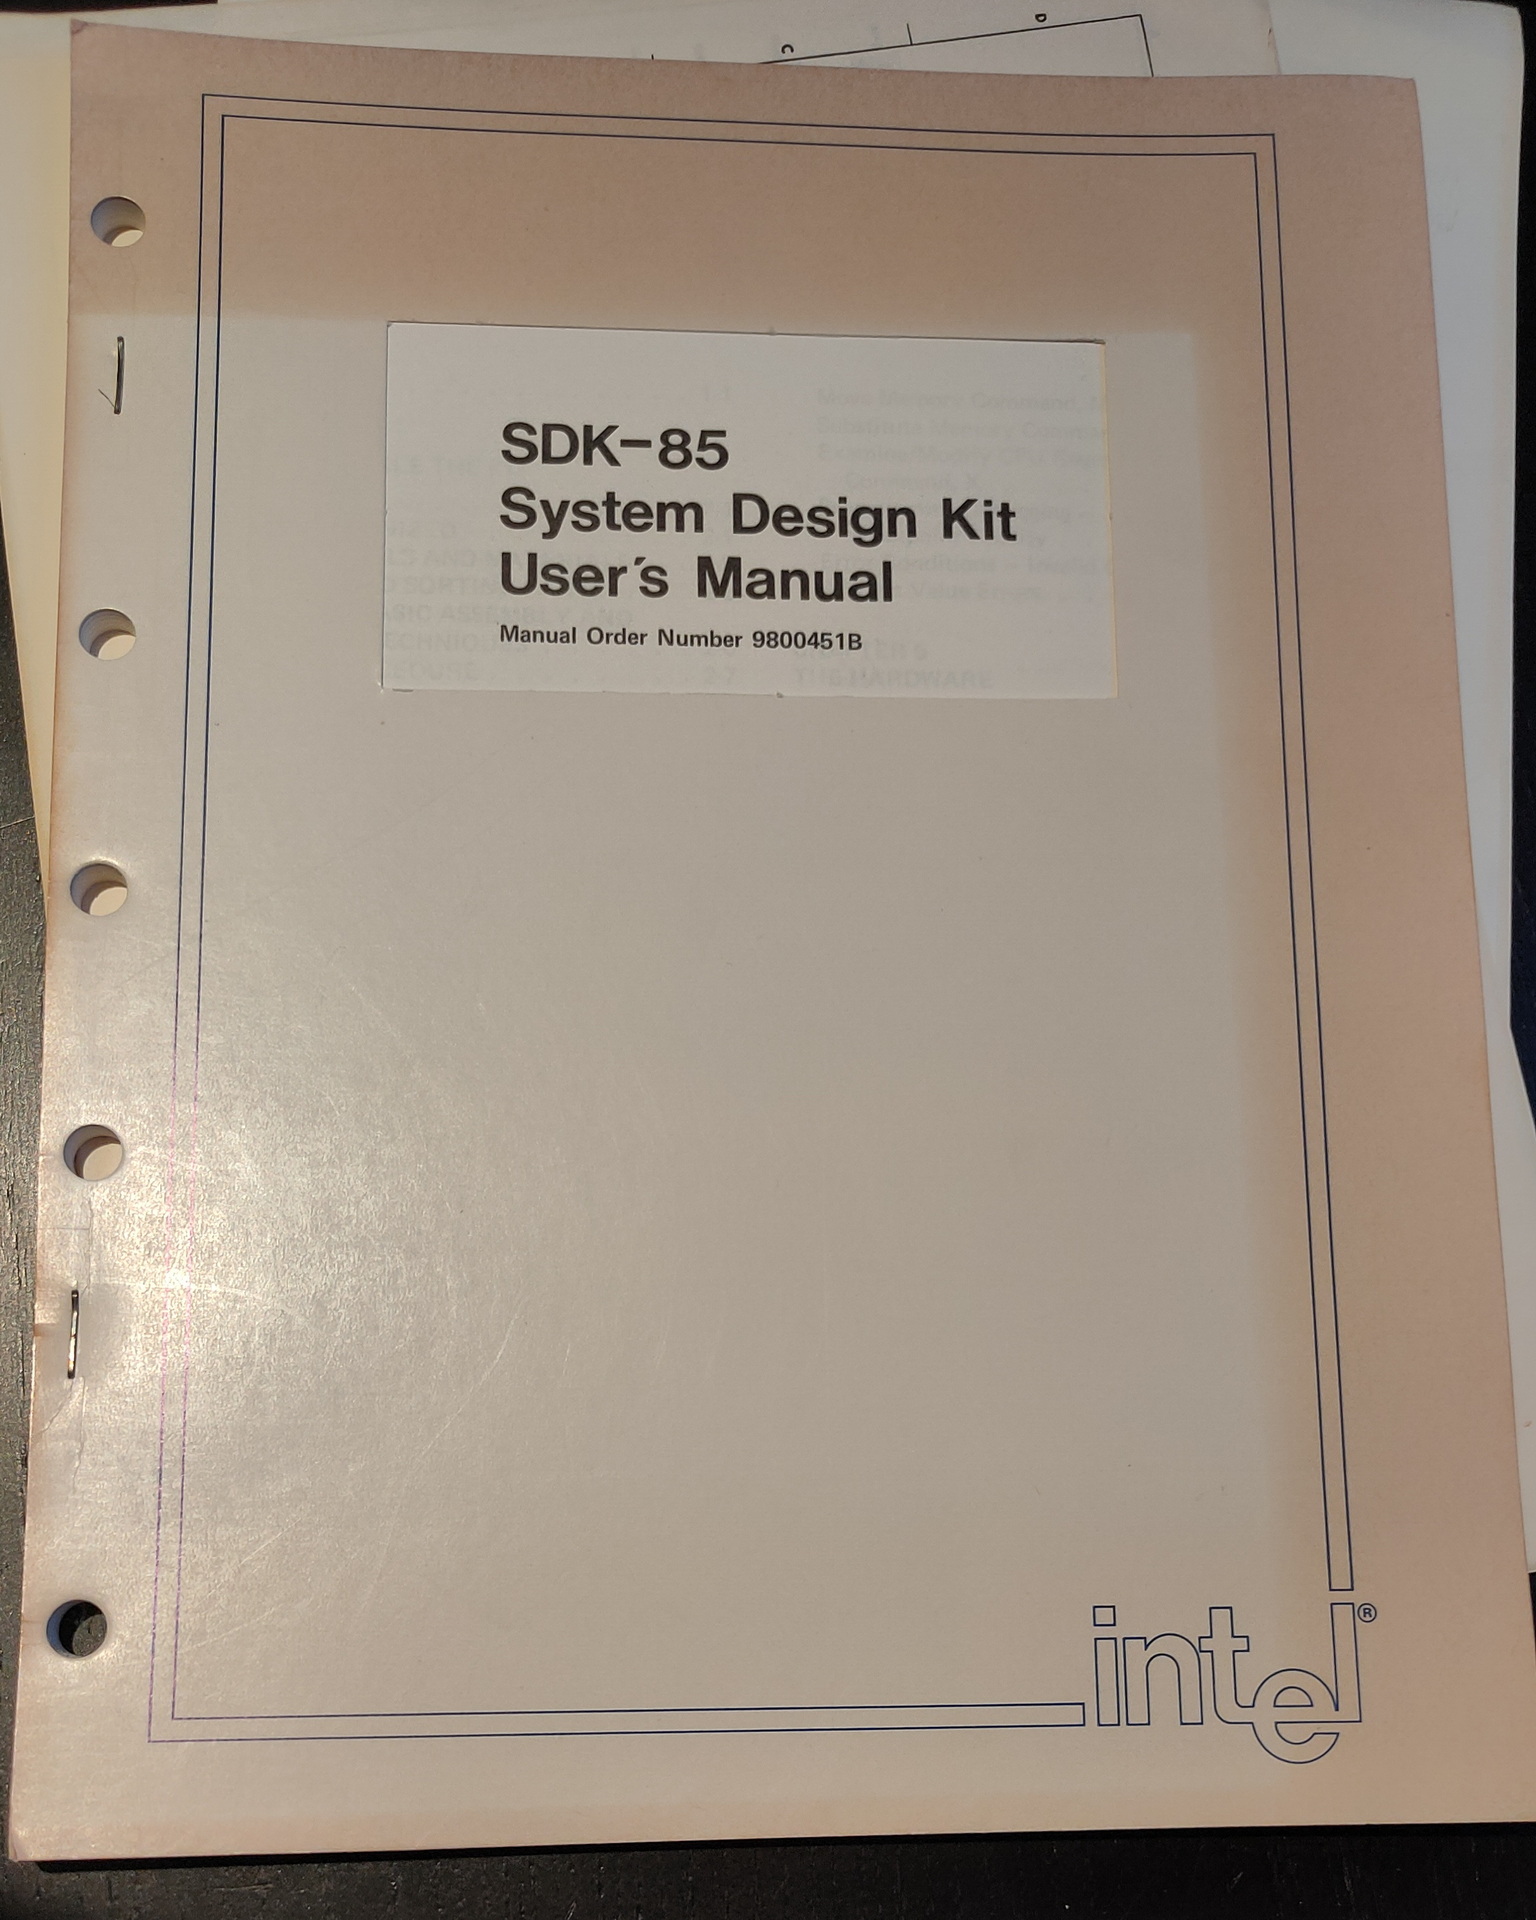
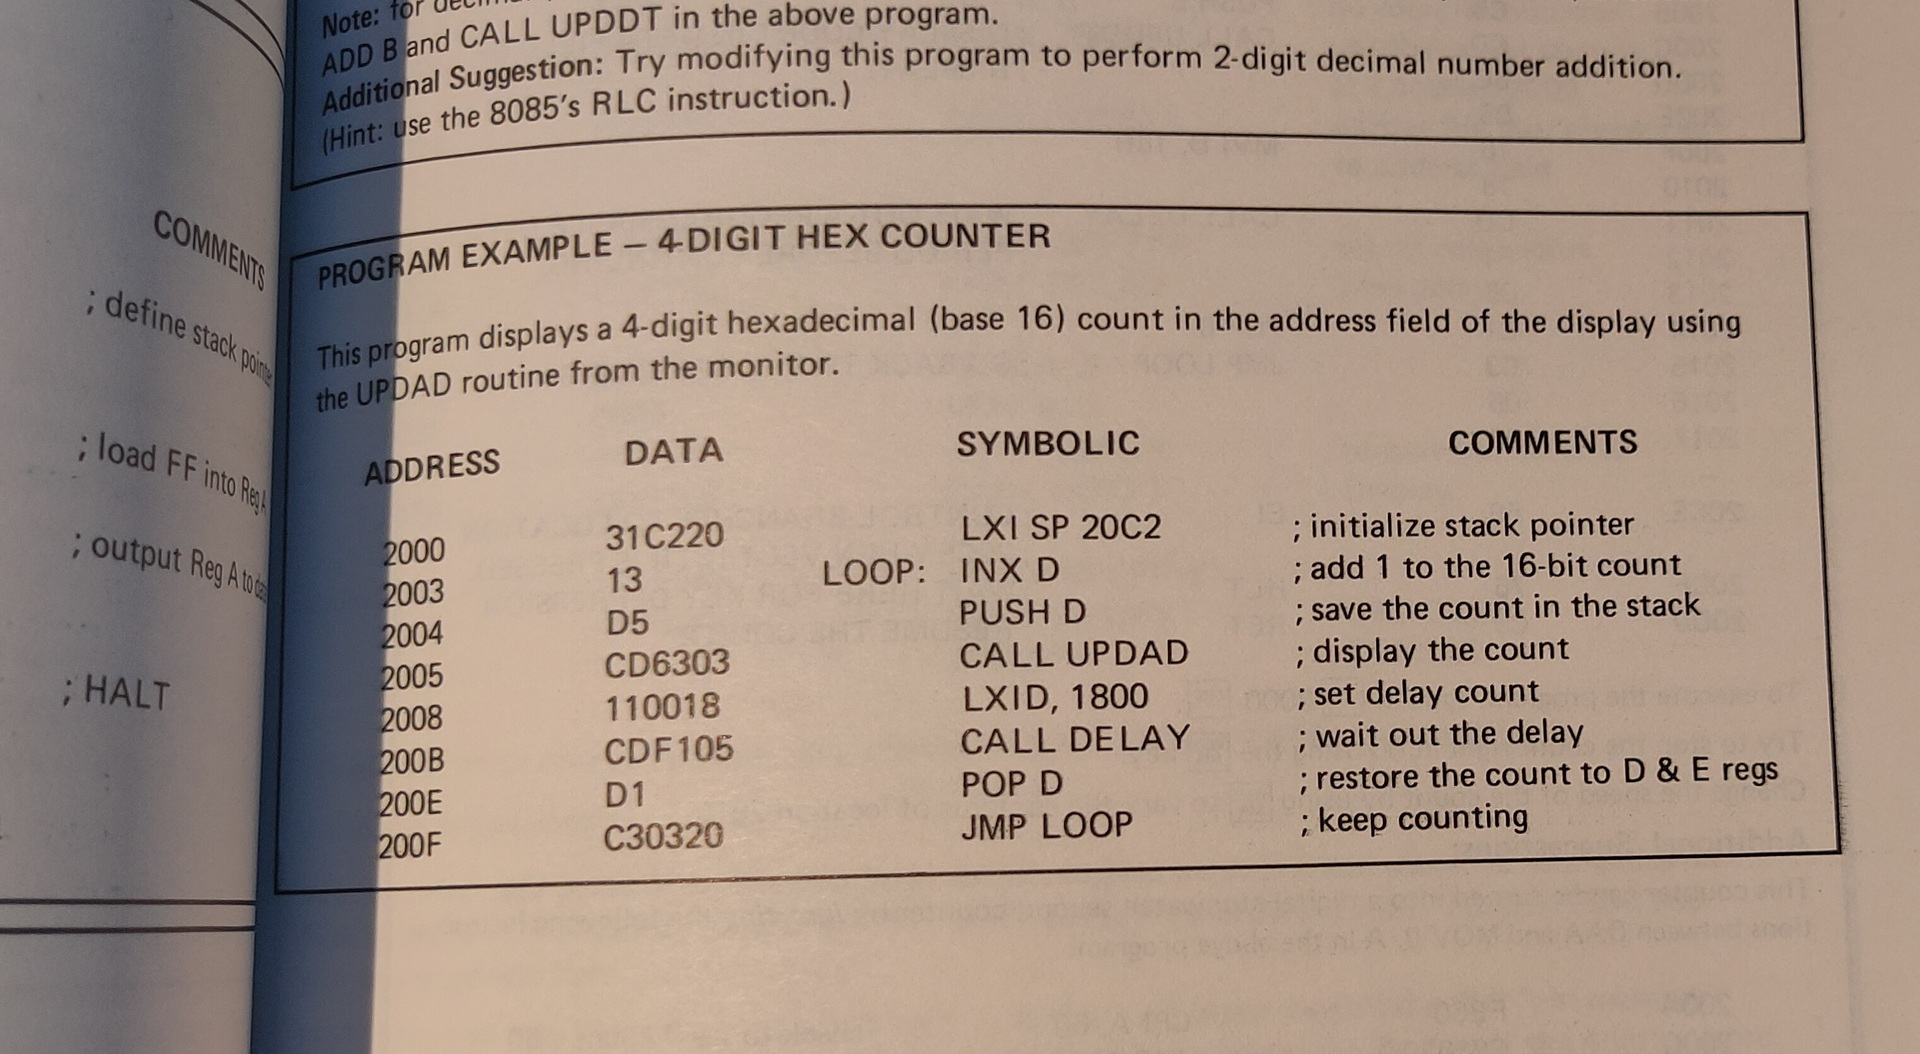
I was posting about the 8085 System Design Kit in may, but now i’ve got one!
I found one online, it is a very clean almost like its never been used version!

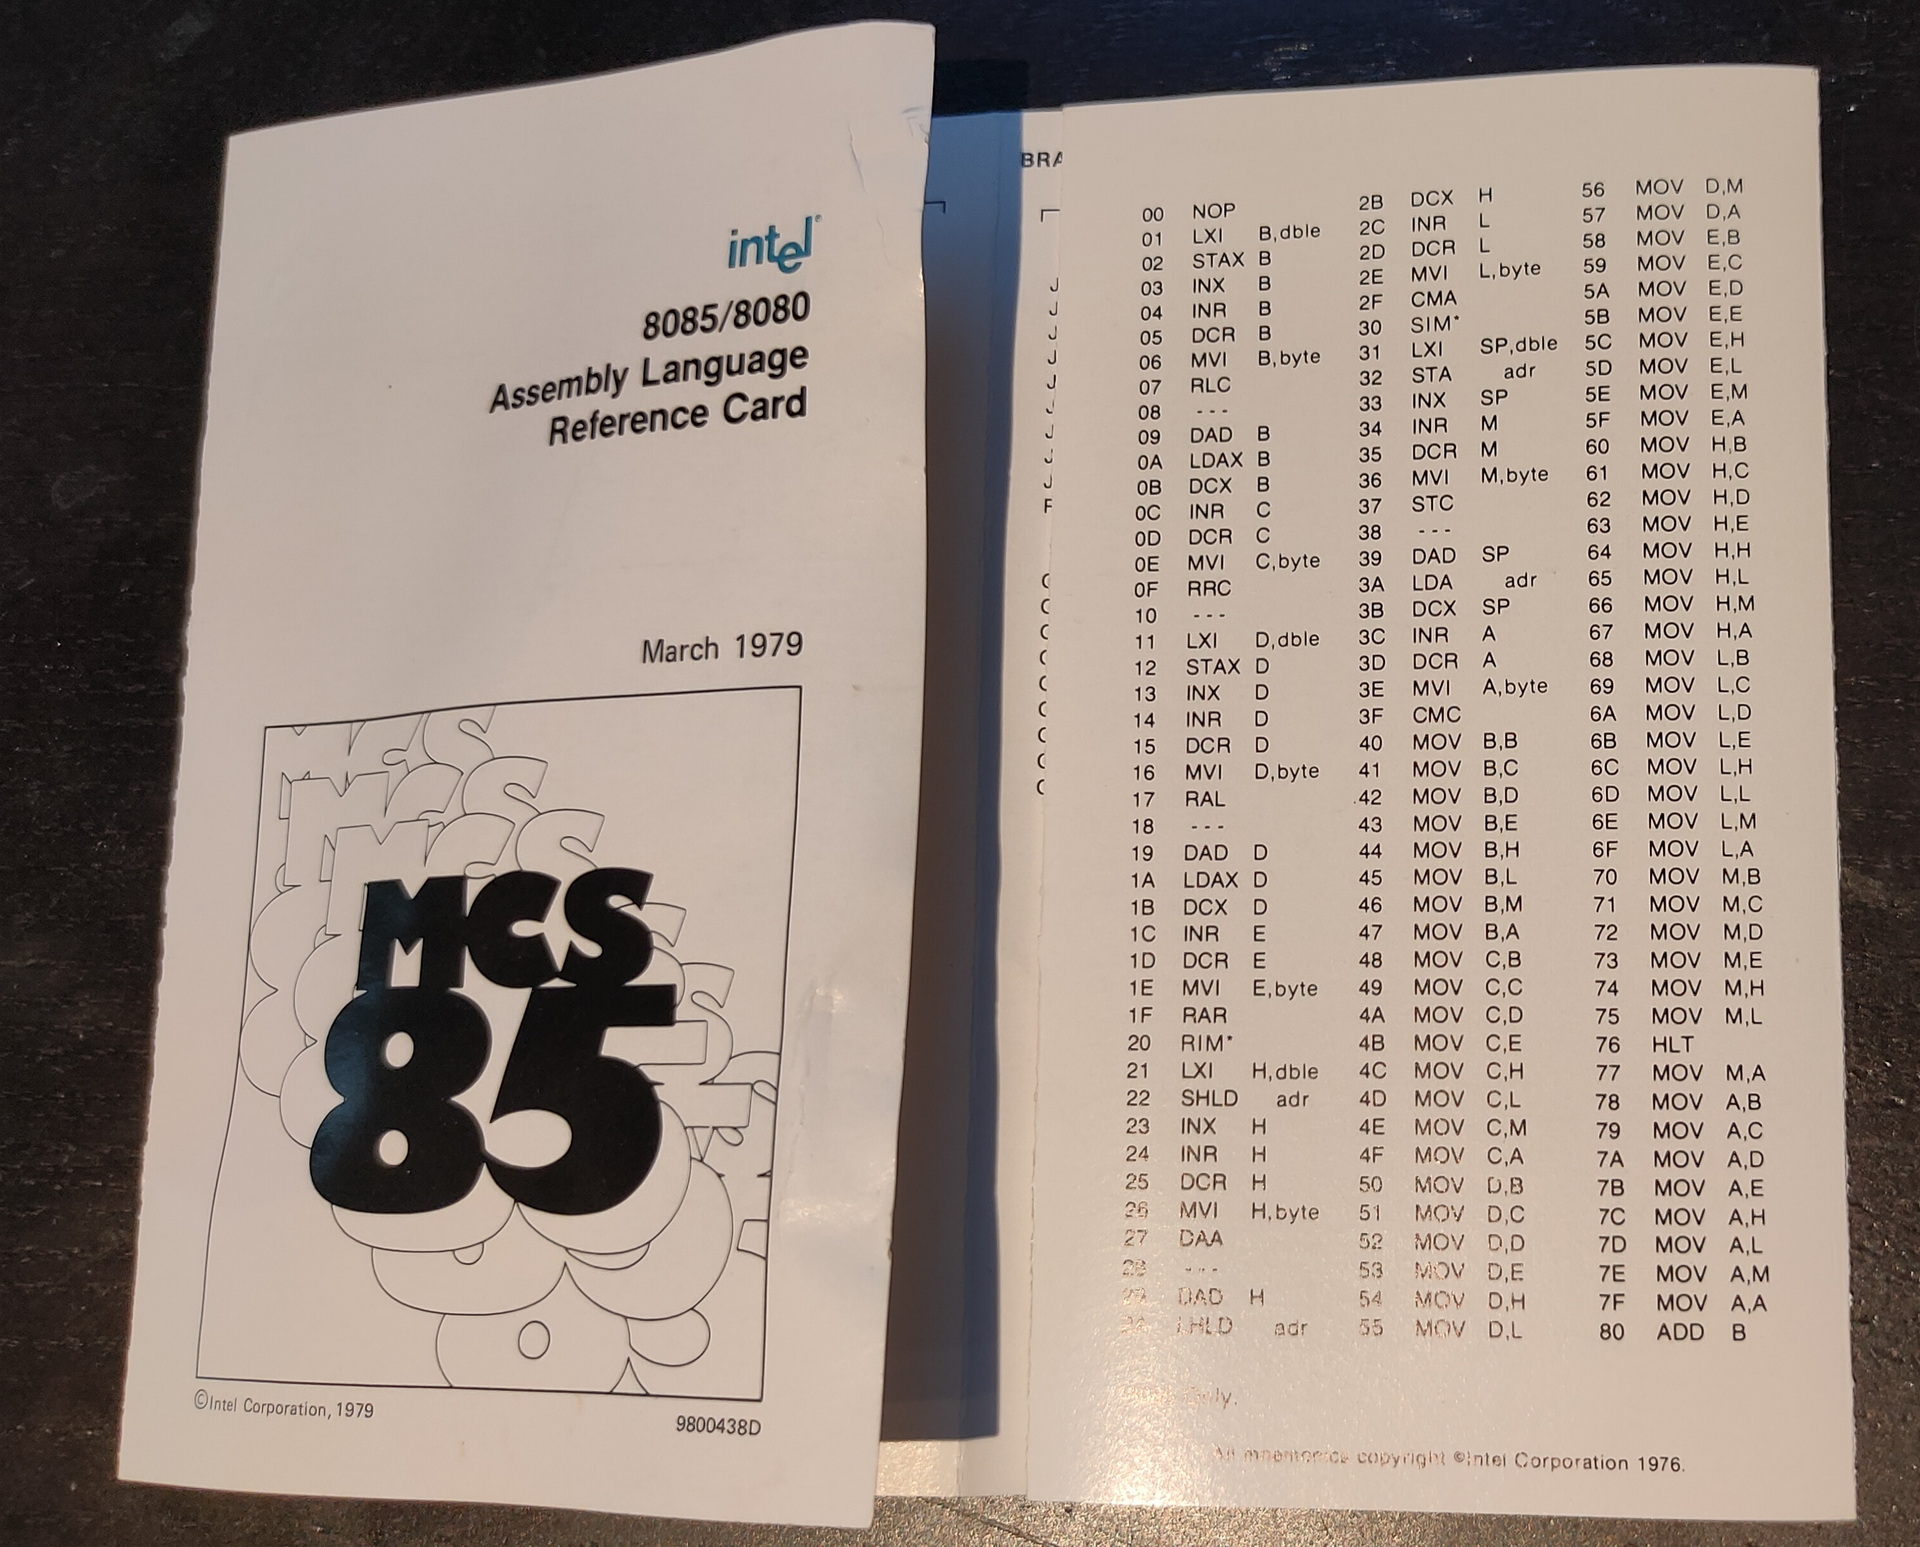
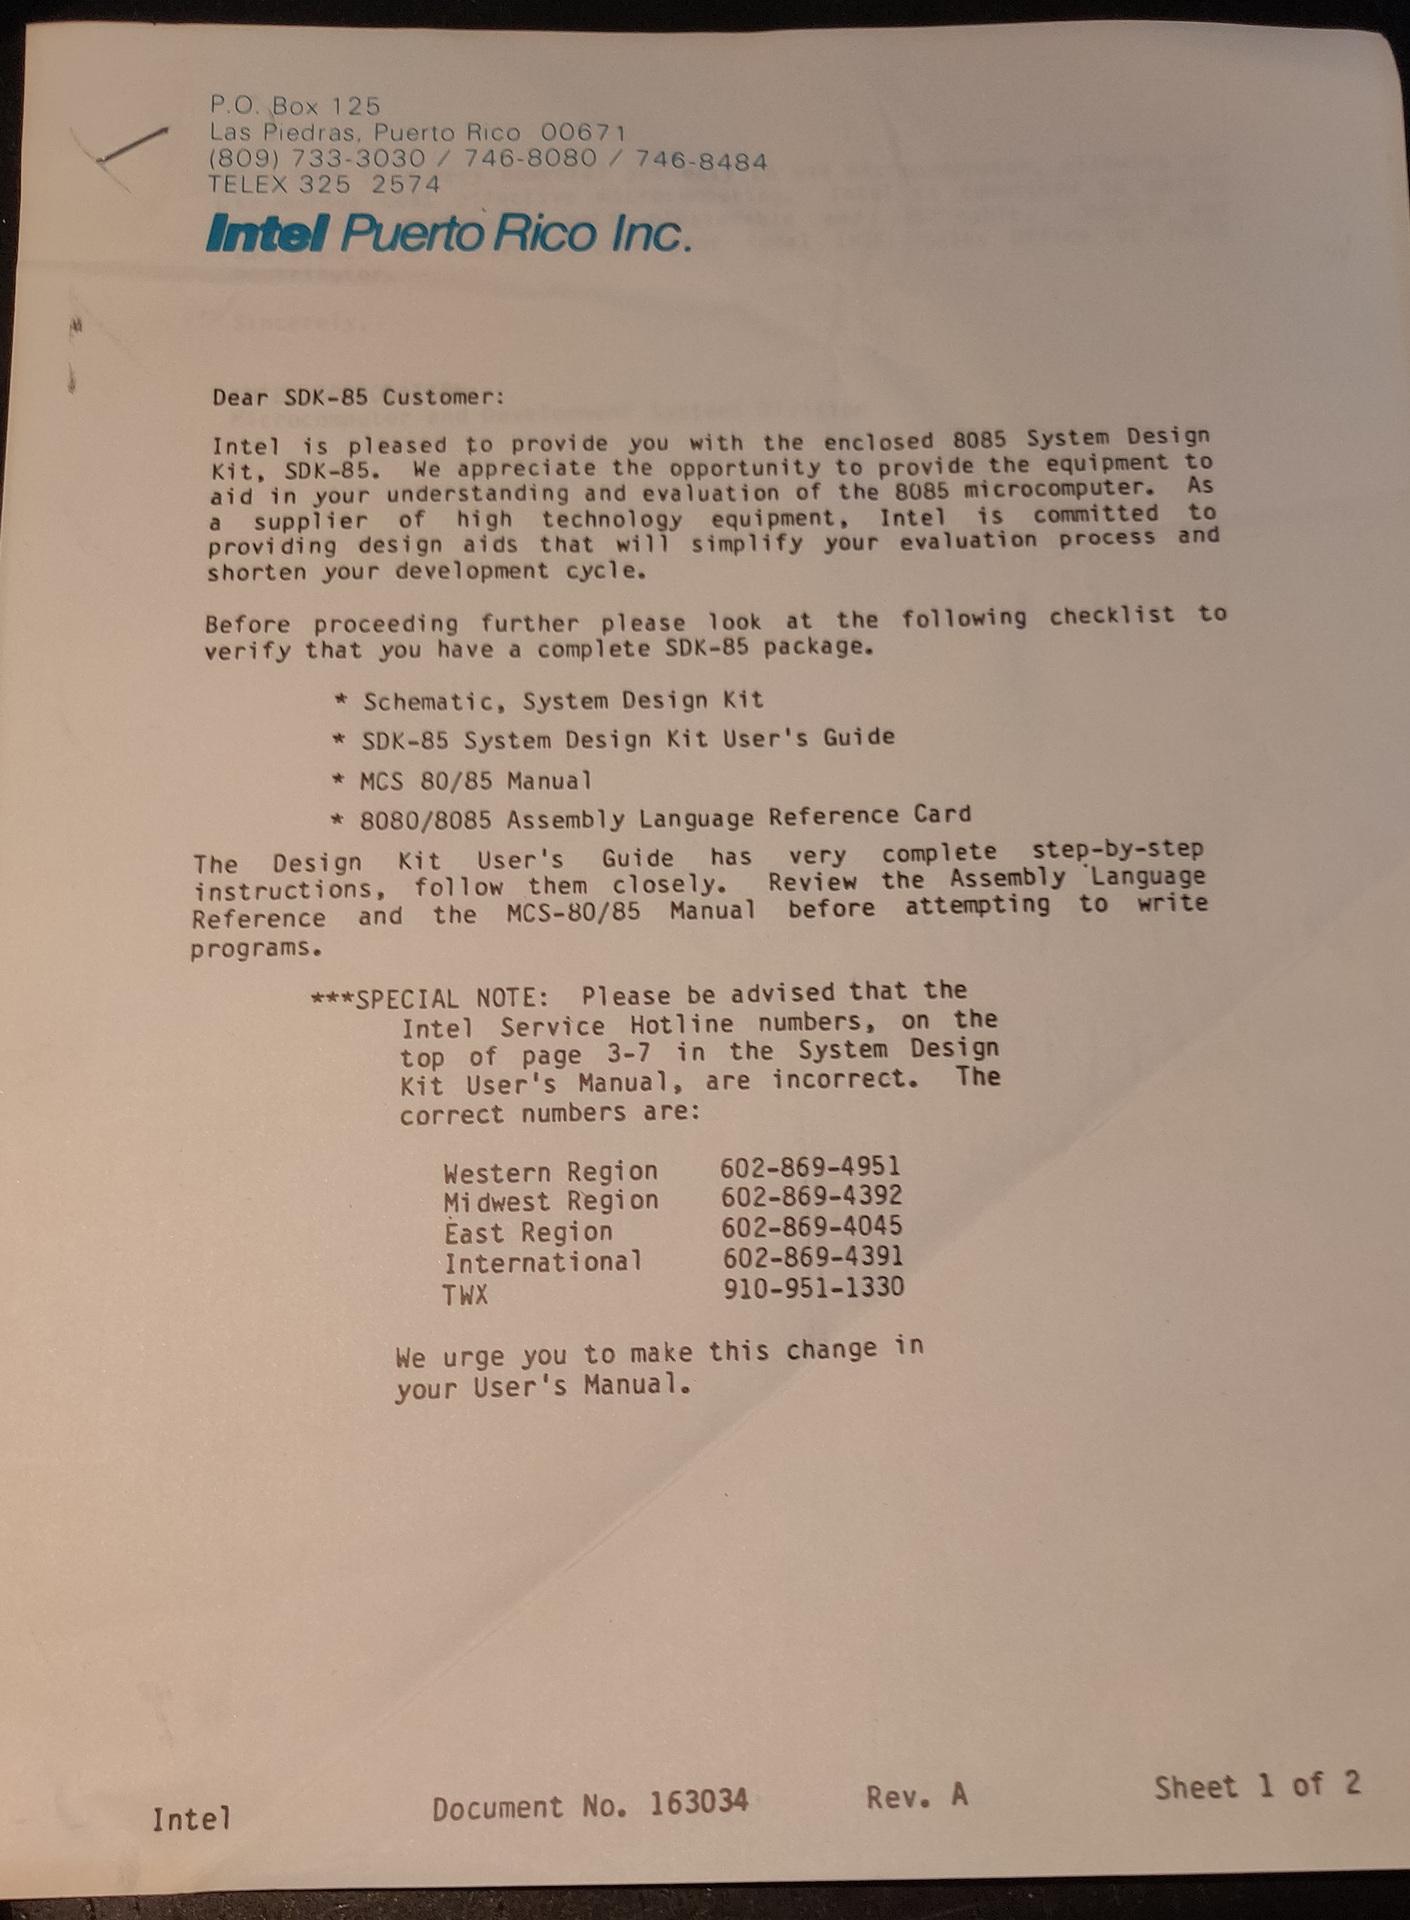
More follows!
More info at http://www.bitsavers.org/components/intel/8085/
I was posting about the 8085 System Design Kit in may, but now i’ve got one!
I found one online, it is a very clean almost like its never been used version!


More follows!
More info at http://www.bitsavers.org/components/intel/8085/
Having a lot of devices and running a Lab wil use a lot of energy. Now with the energy crisis in Europe, i had to take a closer look at whats using power in my house.
I notished some weird usage patterns while measuring.
I’m using a few shelly power plugs, to measure devices and powerstrips.
With these devices you can control devices connected to it.
On/Off/Timer etcetera.
It wil measure the power usage in watts, and it even got a temperature sensor.
I like the fact that it perfectly integrates into your home automation using an extensive API.
curl commands to controll, and even MQTT messaging. Intergrating in Home Assistant is a breeze.
So i was monitoring a bunch of stuff using Nodered/Grafana/Homeassistant and saw some recurring usage.
But being always late to check things, i made use of my ledserver i’ve build a long time ago.
This ledserver consists of a Raspberry Pi Zero, with a led string and a API written in python.
Below is autostarted on the Raspberry
( I made this ledserver for work, it showed the status of servers and services. Beside that every colleage had a range which he could use for his own scripts. I made some little bash script templates to have led funtions standard in your bash profile.
#!/usr/bin/python


# apt-get install python-flask
#

import Adafruit_WS2801
import Adafruit_GPIO.SPI as SPI
import struct

from flask import Flask, render_template, request
app = Flask(__name__)

PIXEL_COUNT = 32
SPI_PORT   = 0
SPI_DEVICE = 0

pixels = Adafruit_WS2801.WS2801Pixels(PIXEL_COUNT, spi=SPI.SpiDev(SPI_PORT, SPI_DEVICE))

pixels.clear()
pixels.show()

@app.route("/led/<deviceName>/<color>")
def action(deviceName, color):
        if deviceName == 'reset':
                print ("reset")
                pixels.clear()
        print (deviceName)
        led = int(deviceName)
        s = color
        r = int(s[ :2], 16)
        b = int(s[2:4], 16)
        g = int(s[4: ], 16)

        pixels.set_pixel_rgb(led, r,g,b)
        pixels.show()

        templateData = {
                'rled'  : r,
                'bled'  : b,
                'gled'  : g,
                'deviceName'  : deviceName,
        }
        return render_template('index.html', **templateData)

@app.route("/control/<controlcommand>")
def actioncommand(controlcommand):
        if controlcommand == 'clear':

                print("clear")
                pixels.clear()
                pixels.show()

        templateData = {
                'controlcommand'  : controlcommand,
        }
        return render_template('index.html', **templateData)

@app.route("/range/<start>/<stop>/<color>")
def rangecommand(start,stop,color):
        s = color
        r = int(s[ :2], 16)
        b = int(s[2:4], 16)
        g = int(s[4: ], 16)
        startled = int(start)
        stopled = int(stop)
        while (startled < stopled):
          pixels.set_pixel_rgb(startled, r,g,b)
          startled=startled + 1
        pixels.show()

        templateData = {
                'rangecommand'  : rangecommand,
        }


        return render_template('index.html', **templateData)


if __name__ == "__main__":
   app.run(host='0.0.0.0', port=8080, debug=True)
Now you can control the leds with a simple curl command:
curl http://ledserver:8080/range/startled/endled/colorinrgb
curl http://ledserver:8080/led/lednumber/colorinrgb
curl http://ledserver:8080/control/clear
So today i made a little script to show power usage.
I’m reading the current power usage from a LS120 Youless
Youless LS120 device, which you can connect to your P1 connector.
With below bash script i’m reading the webinterface and update the ledstring.
I was using this ledserver for general notification usage. Below a 2 minute hack ..
#!/bin/bash
while true; do
number=$(echo $(curl -s http://youlessip/a | grep Watt | head -1 | awk '{ print $1 }') / 100  | bc)
curl -s http://ledserver:8080/control/clear
curl -s http://ledserver:8080/range/00/$number/010101
sleep 10
done
UPDATE: 2022-09-29
Yesterday i got two 3DConnexion 3D CAD mouses (mice) from my friend Vincent. While we where fixing his Mikrotik network i got to play with these cool devices.
I always wanted one of those, but they are quite expensive
First i tried to install the Software from 3DConnexion. It kindda worked but needed some workarounds and still wasn’t okay.
Downloaded 3dxware-linux-v1-8-0.x86_64.tar.gz (Maybe this version is TOO new, SpacePilot i a little ouder)
there is a install-3dxunix.sh, but it was made for Suse/Redhat

This program needed motif .. and a lot of libraries (libmotif/libxm)
After that some fonts xfonts-100dpi xfonts-75dpi


workaround was starting by
sudo /etc/3DxWare/daemon/3dxsvr -userName ${USER} -d usb
After that the demo program worked perfectly … but Blender didn’t
After some tinkering it work a little, it was far to sensitive, and was all over the place.
Luckily i found a opensource replacement. https://spacenav.sourceforge.net/
git cloned the package, then i notished .. there is a precompiled version for ubuntu!
apt-get install spacenavd .. start the service .. and go!
i cloned the test demos (libspnav) and compiled those test programs.
apt-get install libglu1-mesa-dev
git clone https://github.com/FreeSpacenav/libspnav.git
cd libspnav
./configure
make
... fly is a nice little test program
So lets start blender
This wil speedup modeling, and for sure sculpting !
Some settings which worked for me .. let the tweaking begin!
UPDATE: 2022-09-29
I removed the version in the apt repository, and installed everything from git. Now i have a cool configure tool
Got bored, and challenged myself …
How about a quess the picture from our photo collection??
(123580 photos .. )
So i show a random picture, and when i press ESC it will show some information about the picture …
Quess the year and the event
Well i gave myself 15 minutes to program something ..
I was watching a tv show meanwhile .. but i managed to come up with this …
This script is showing a picture, when you press ESC it wil show some details.After that it will select another random picture.
Improvements : reading tags and other metadata from my photo database, to give more information.
#!/bin/bash
while true ; do
shuf -n 1 allpix > /tmp/randompix
pix=$(cat /tmp/randompix | cut -f2 -d\> | cut -f1 -d\<)
dir=$(cat /tmp/randompix | cut -f4 -d\> | cut -f1 -d\< |cut -f3 -d\; | sed 's#\\#/#g')
displaypath=/mnt/${dir}/${pix}
info=$(cat /tmp/randompix | rev | cut -f-4 -d\\ | rev | cut -f1 -d \<)
convert -background black -fill white  -size 1920x1080 -pointsize 24 label:"$info" info.jpg
pqiv -i --fullscreen "$displaypath"
pqiv -i --fullscreen info.jpg
done
Which gave me … this
Welllll .. it toke 20 minutes .. so i lost
(Must have been the wine)
Today i got my watermeter in.
It’s a little device you can place on your watermeter.
You get a plastic clip/holder which you can use to place the device on your watermeter. You can easily remove the device to read the values.
The device measures the little round gauge, so it has no idea what the current values are. Add the current values of your meter to the output of the device.
The device works by measuring the rotation of the red part.
By default it sends the information over the internet to a server. Your phone connects to this server and the app wil give you the graphs.
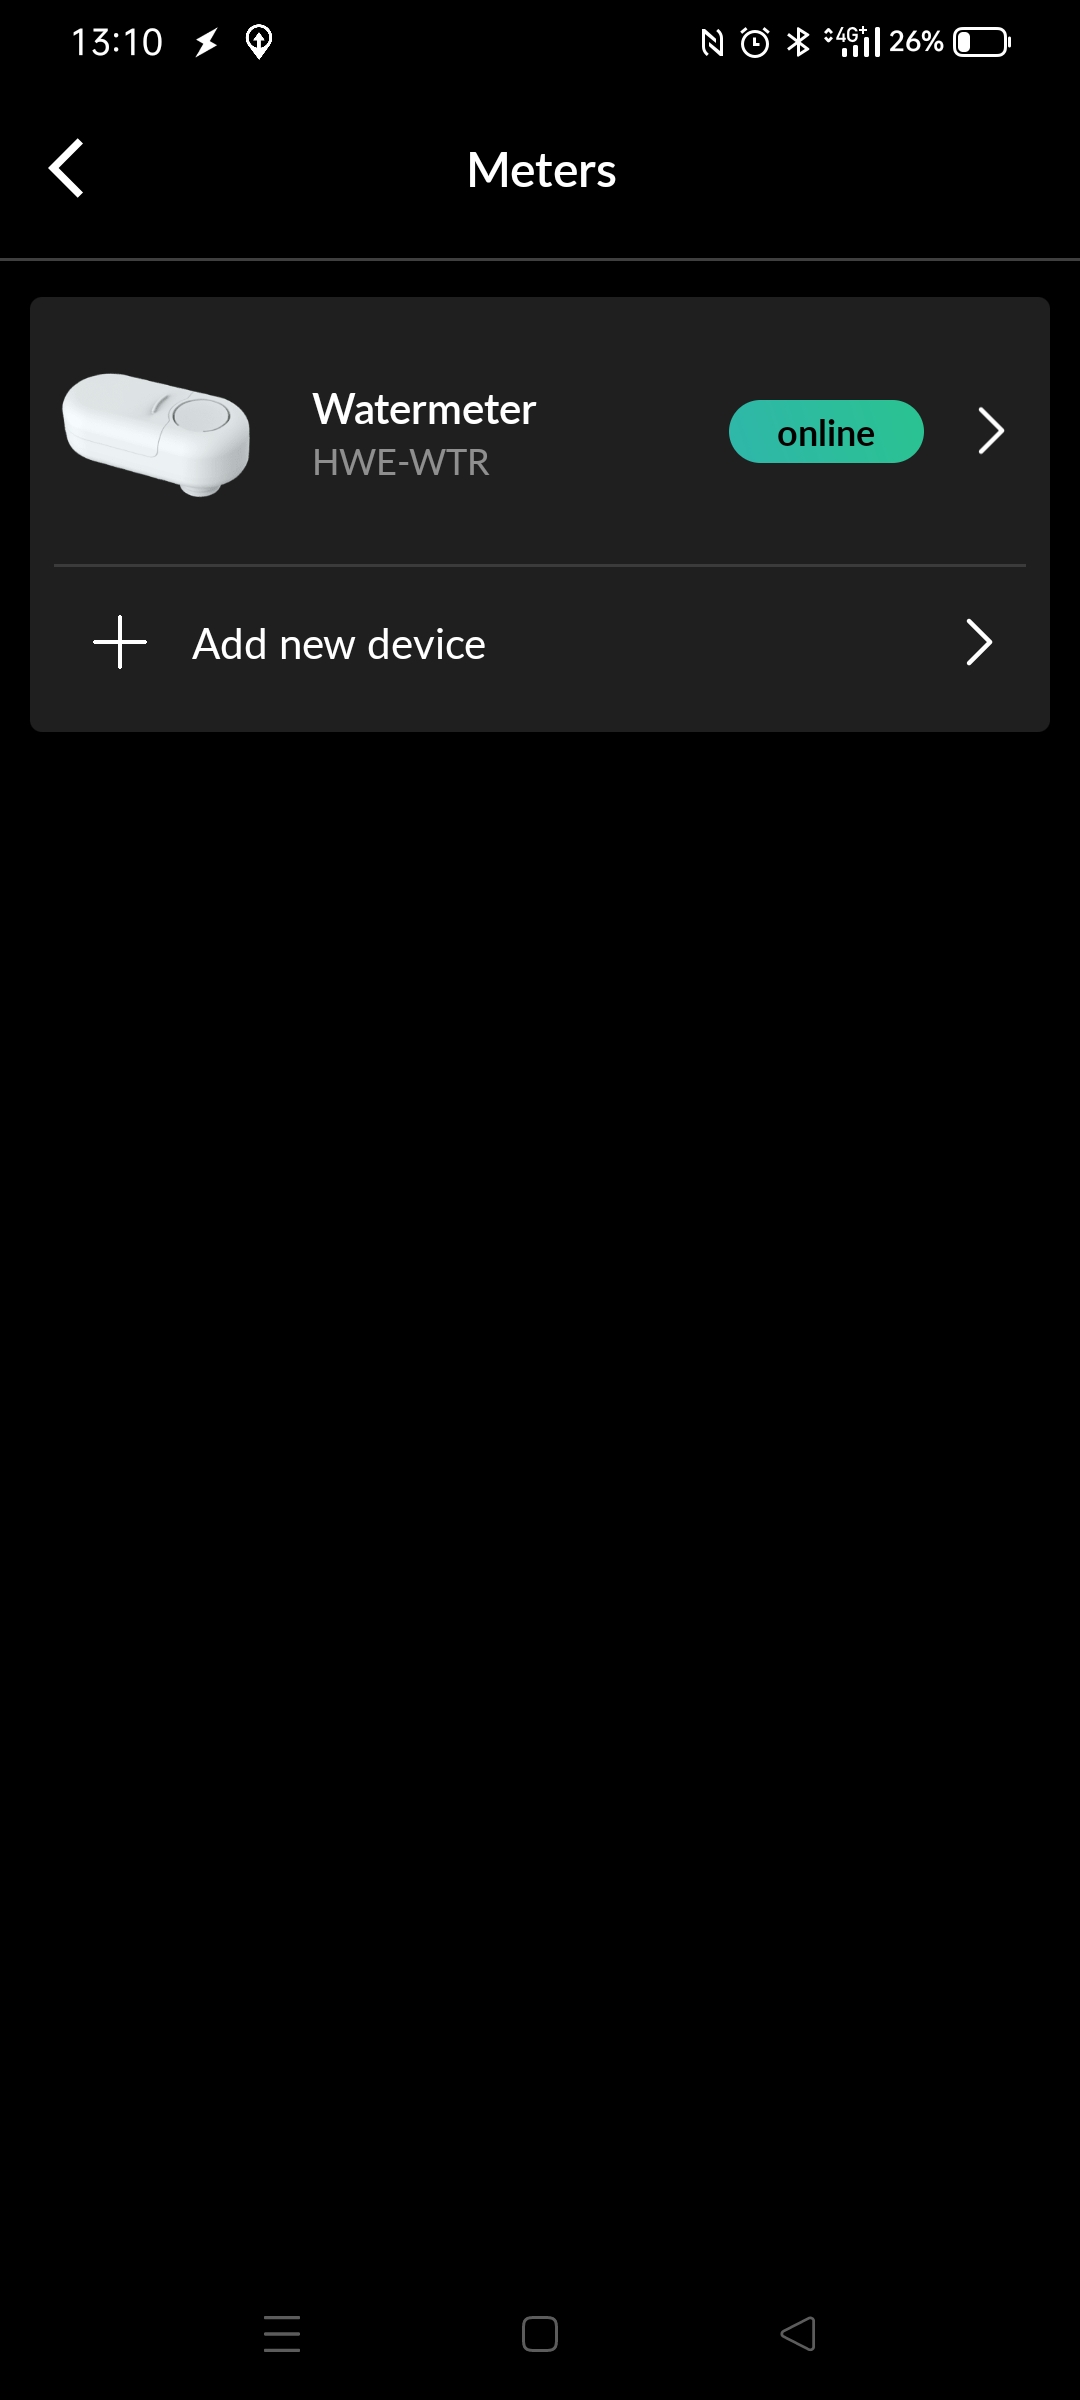
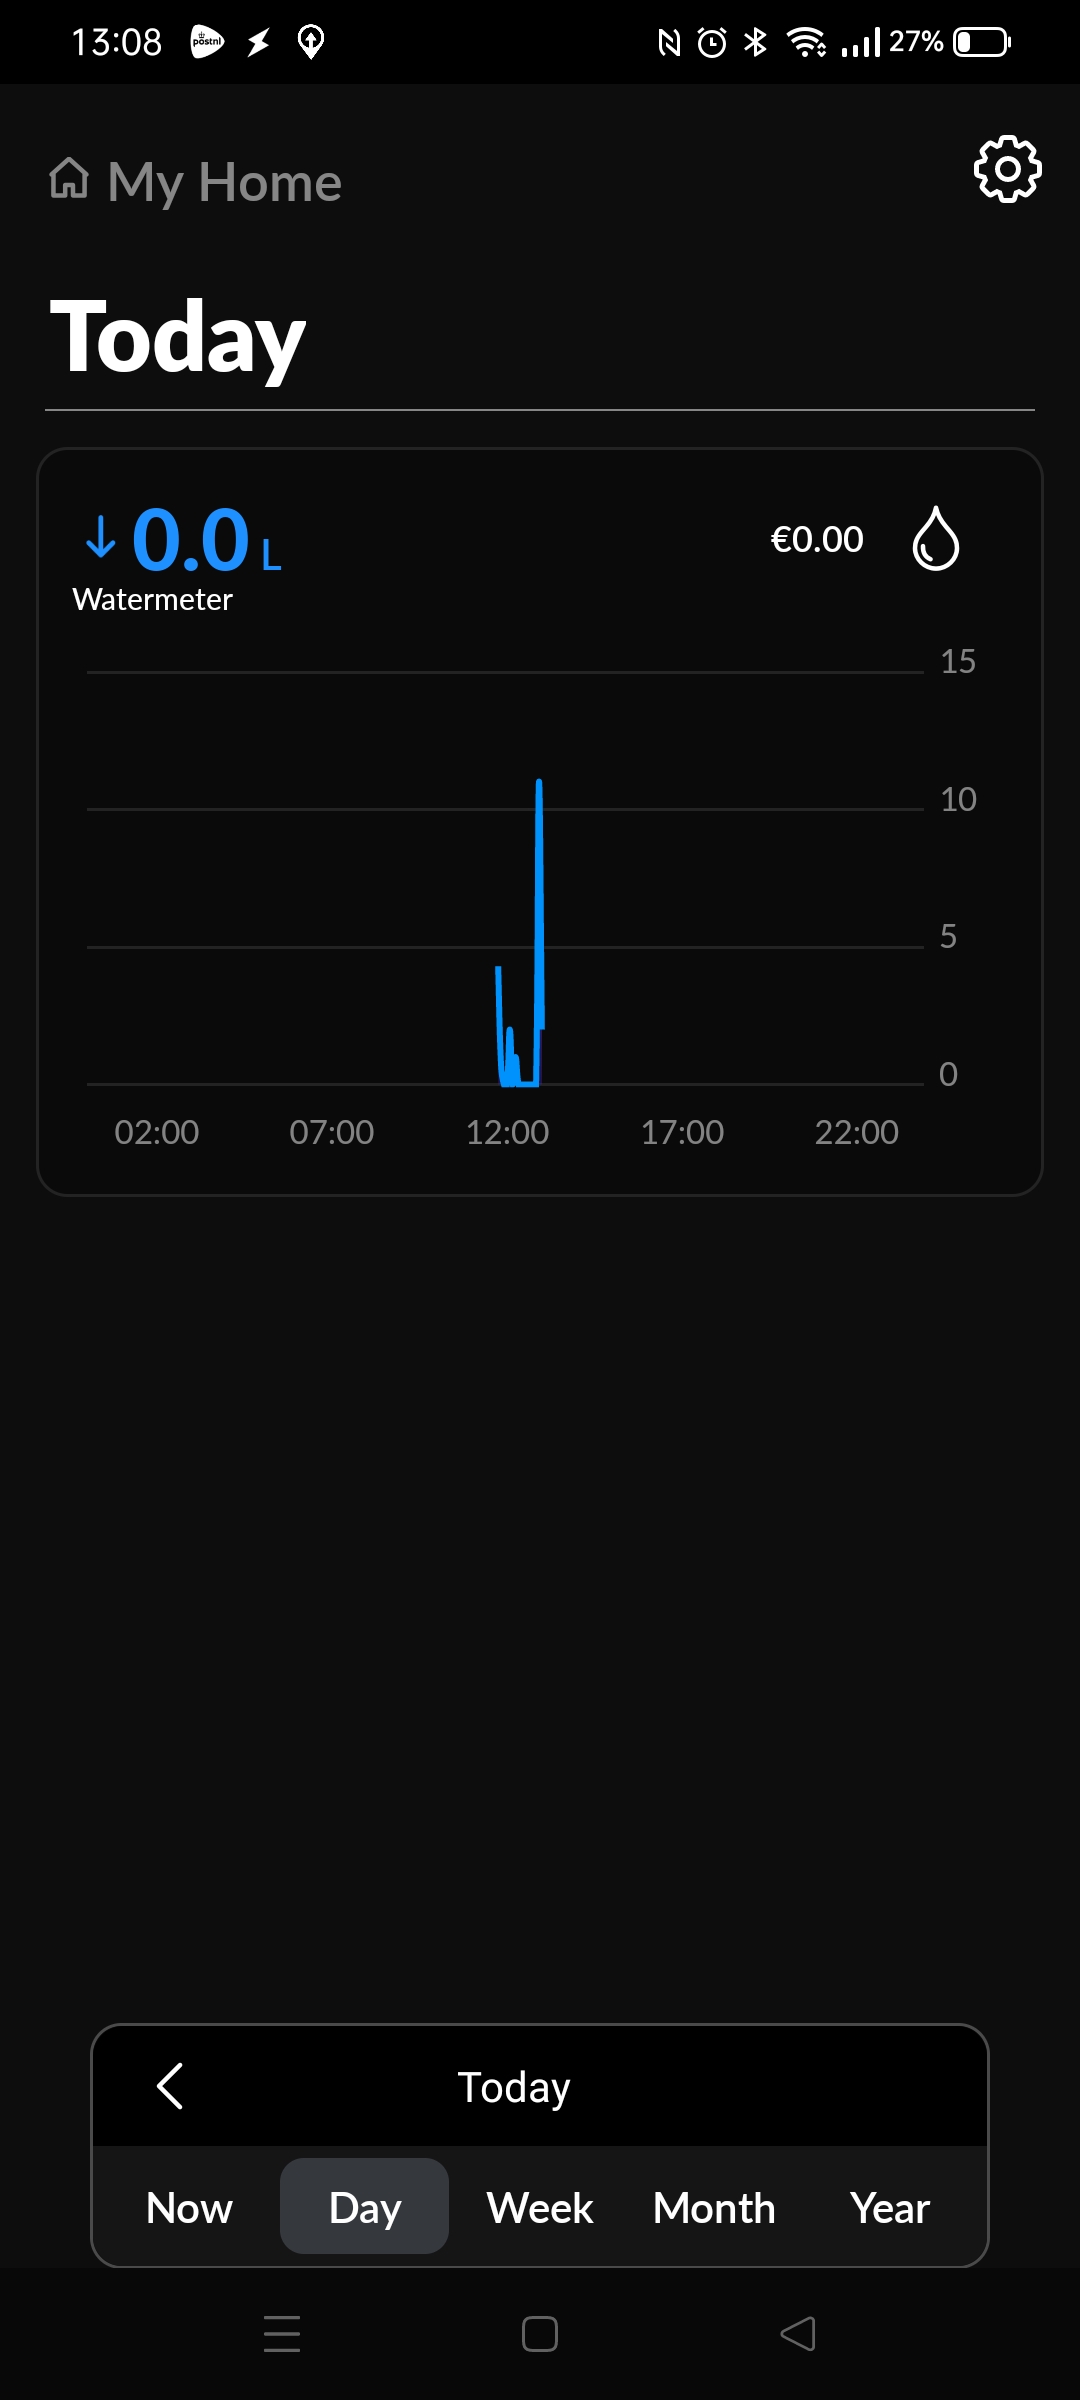
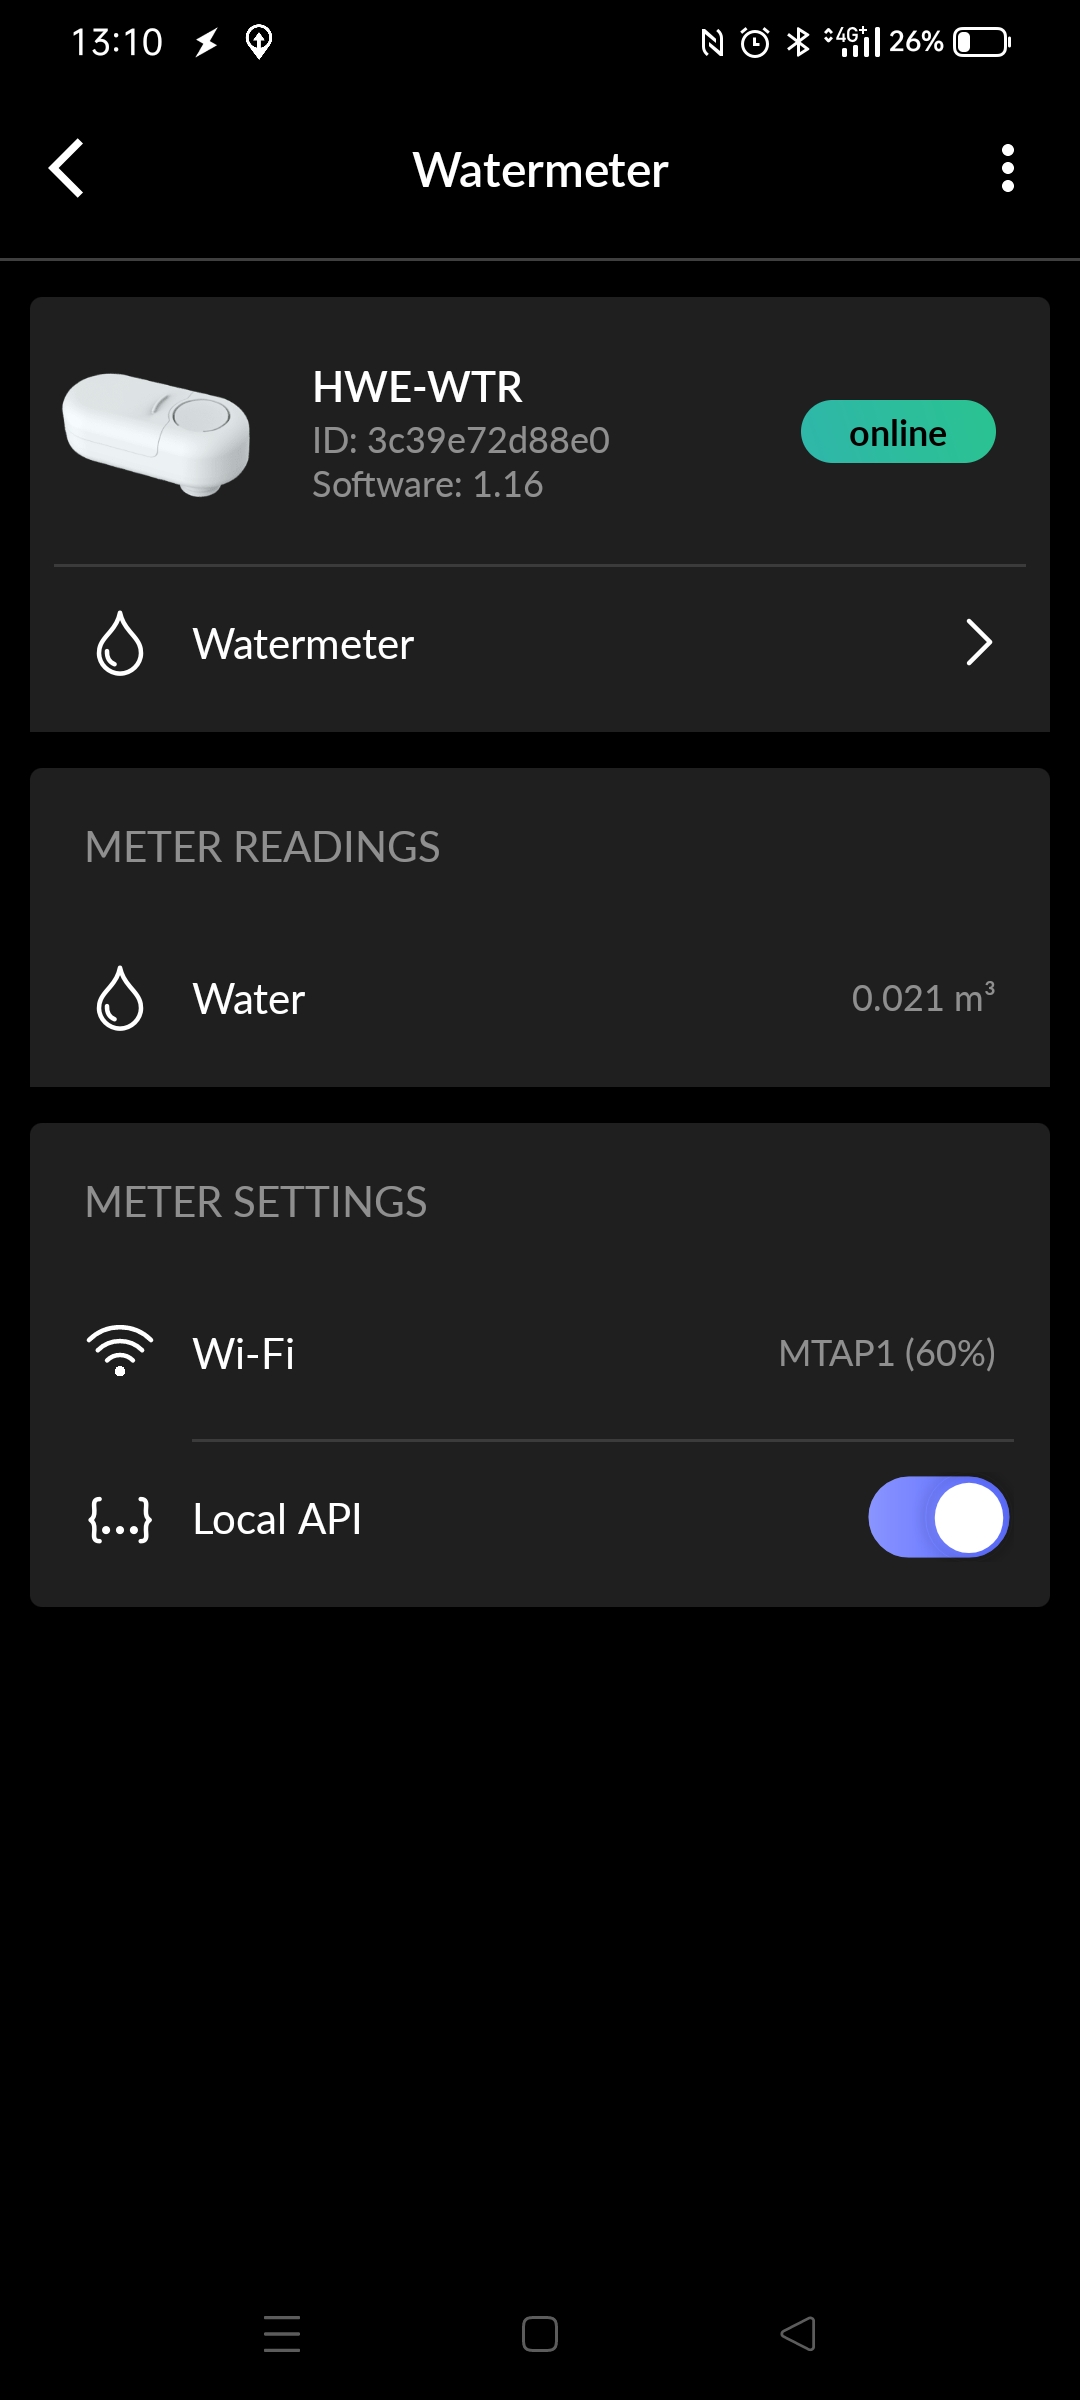
If you want your own intergration, you have to enable “local api”
See image on the right.
When you want realtime data, you have to connect a usb-c power supply.
When using batteries, the device wil only connect to wifi once per 5 minutes, and you can’t use the API.
I wrote a little test script in bash to draw graphs using mqtt and Nodered.
#!/bin/bash
calib=29.621
data=$(curl -s http://10.1.1.176/api/v1/data)
totalwater=$(echo $data | cut -f9 -d\" | tr -d ':,')
currentwater=$(echo $data | cut -f11 -d\" | tr -d ':,}')
totalwater=$( echo $totalwater + $calib | bc)
mosquitto_pub -h 127.0.0.1 -m "$totalwater" -t watermeter/total
mosquitto_pub -h 127.0.0.1 -m "$currentwater" -t watermeter/current
Variable calib is what my watermeter was when i attached the device.
It wil add this to the newly measured values.
Home Assistant found the device using autodiscovery
I have to look into adjusting for offset in HA
Using a setup like this, i could digitize these negatives quite quickly.
But they’re are all beige. (And negative ofcourse)
I made a tutorial for people who need to digitize and convert non-raw black-white, color negatives, and negatives on these kind of beige film using windows.
I’m using a D7100 Nikon with a 70mm lens. The lightbox is a Haiser Slimlite Plano.
Setup your camera, focus one time, and put it on manual.
Cut from a piece of black paper a frame in which you keep the negatives.
(Taking a picture without, can result in weird inconsistent lighting, and will have effect on auto-leveling in Acdsee)
Take the pictures and move them to your machine.
Openup acdsee, select a picture and press CTRL-E
Crop and rotate first, else it wil have a effect on leveling!
Next press White Balance and select auto
After that press Special Effect and Negative
Next press Auto Levels .. and presto (Move the slider to your liking ..)
Note! .. changing the order of Cropping, White Balance, Effect and Auto Levels will affect the result!
This is probably all scriptable in Linux, but this is a Windows howto.
For conversions on linux i use Freds ImageMagick scripts:
( http://www.fmwconcepts.com/imagemagick/index.php )
autolevel autowhite neg2pos negative2positive and autotone
For a video project iḿ working on, i needed a vertical credit scroller.
I’ve put together a little howto.
Tools used:
And this is the result
I’ve got a ROM in my 6502 which can load programs at $0200.
When running own programs i want to use IRQ’s, but my rom is also using IRQ routines.
So i was wondering if i could ‘hijack’ this IRQ for own program purposes.
So i’ve altered the rom to use a vector in userspace.

All seems fine and dandy … buzzer is sounding, but no blinky leds.
When flashing the rom with only my program, everything works ..
So whats going on? .. anyone?
00000000  78 a9 6e 85 f1 a9 02 85  f2 58 a9 ff 8d 03 50 8d  |x.n......X....P.| ; sei , lda #$6e, store $f1, lda #$02, store $f2 - so address $026e
00000010  02 50 a9 00 8d 01 50 8d  00 50 85 04 20 45 02 a9  |.P....P..P.. E..|
00000020  77 8d 04 50 a9 07 8d 05  50 20 2f 02 4c 29 02 38  |w..P....P /.L).8|
00000030  a5 00 e5 04 c9 19 90 0c  a9 40 4d 00 50 8d 00 50  |.........@M.P..P|
00000040  a5 00 85 04 60 a9 00 85  00 85 01 85 02 85 03 a9  |....`...........|
00000050  c0 8d 0b 50 a9 a0 8d 0e  50 a9 0e 8d 08 50 a9 27  |...P....P....P.'|
00000060  8d 09 50 a9 00 8d 04 50  8d 05 50 58 60 40 48 a9  |..P....P..PX`@H.| ; at $6e opcode 48 (pha)
00000070  0e 8d 08 50 a9 27 8d 09  50 e6 00 d0 0a e6 01 d0  |...P.'..P.......|
00000080  06 e6 02 d0 02 e6 03 68  4c f3 00                 |.......hL..|
ROM parts
MYIRQ = $F0                                     ; Own IRQ vector <=================== my additions/alterations

; Below definitions for VIA 1 my loadable program uses VIA 2
PORTB = $6000                                   ; VIA port B
PORTA = $6001                                   ; VIA port A
DDRB = $6002                                    ; Data Direction Register B
DDRA = $6003                                    ; Data Direction Register A

-------------8<------- snip

PROGRAM_LOCATION = $0200                        ; memory location for user programs

    .org $8000

main:                                           ; boot routine, first thing loaded
    ldx #$ff                                    ; initialize the stackpointer with 0xff
    txs

; ISR redirect code  <=================== my additions/alterations
    sei
    lda #$4C
    sta MYIRQ
    sta MYIRQ + 3
    lda #<ISR
    sta MYIRQ + 1
    sta MYIRQ + 4
    lda #>ISR
    sta MYIRQ + 2
    sta MYIRQ + 5
    cli

; End ISR redirect <=================== till here

; below this the standard rom routines

-------------8<------- snip
    .org $FFC9                                  ; as close as possible to the ROM's end

ISR:                                                  <====================== Whole ISR not my code
CURRENT_RAM_ADDRESS = Z0                        ; a RAM address handle for indirect writing
    pha
    tya
    pha
    lda ISR_FIRST_RUN                           ; check whether we are called for the first time
    bne .write_data                             ; if not, just continue writing
    lda #1                                      ; otherwise set the first time marker
    sta ISR_FIRST_RUN                           ; and return from the interrupt
    jmp .doneisr
.write_data:
    lda #$01                                    ; progressing state of loading operation
    sta LOADING_STATE                           ; so program_ram routine knows, data's still flowing
    lda PORTB                                   ; load serial data byte
    ldy #0
    sta (CURRENT_RAM_ADDRESS),Y                 ; store byte at current RAM location
                                                ; increase the 16bit RAM location
    inc CURRENT_RAM_ADDRESS_L
    bne .doneisr
    inc CURRENT_RAM_ADDRESS_H
.doneisr
    pla                                         ; restore Y
    tay
    pla                                         ; restore A
    rti

    .org $fffc
    .word main                                  ; Main ROM program
    .word MYIRQ                                 ; Redirect to OWN irq vector <=================== my additions/alterations
RAM Program
; Second VIA stuff
PORTB = $5000
PORTA = $5001
DDRB = $5002
DDRA = $5003
;------------------8<-------------

; Vector pointer on zero page
MYIRQ = $F0

ticks = $00 ; 4 Bytes
toggle_time = $04 ; 1 Byte

    .org $0200

start:
; IRQ REDIRECT
    sei               ; irq masked
    lda #<irq         ; get low byte IRQ routine address
    sta MYIRQ + 1     ; store at $F1

    lda #>irq         ; get high part of address
    sta MYIRQ + 2     ; store at $F2
    cli               ; irq enabled
; IRQ END REDIRECT

; init of program part
    lda #%11111111
    sta DDRA
    sta DDRB
        lda #$00
    sta PORTA
    sta PORTB
    sta toggle_time
    jsr init_timer
    lda #$77
    sta T1CL
    lda #$07
    sta T1CH

loop:                       ; loop
    jsr update_led          ; update led routine
    jmp loop

update_led:
    sec
    lda ticks
    sbc toggle_time
    cmp #25
    bcc exit_update_led
    ; Toggle led
    lda #%01000000
    eor PORTB
    sta PORTB
    lda ticks
    sta toggle_time
exit_update_led:
    rts

;-----------------------------8<------------- snip

irq:
    pha
    lda #$0e
    sta T2CL
    lda #$27
    sta T2CH
    inc ticks
    bne end_irq
    inc ticks + 1
    bne end_irq
    inc ticks + 2
    bne end_irq
    inc ticks + 3
end_irq:
    pla
    jmp MYIRQ + 3           ; jmp to vector which points to ROM routine ; should be $FFC9
We looove coffee, so we keep track ..
The problem with something so suggestive as taste .. it depends on your mood, time of day, the weather ..
Also we started with a few, after that you really should revisit previously tasted coffees. Maybe they are worse, or better than you tasted after that.
Maybe i have a Winter Coffee … or a hangover coffee, who knows.
But here are the ones we’ve sorted. (Maybe there are ones in multiple categories .. )
Maybe i have to look at countries, brands, the family of beans being used, and how the beans are roasted.
I’ll have to revisit this post
We didn’t like






Coffee’s kindda okay
















Coffee we liked a lot

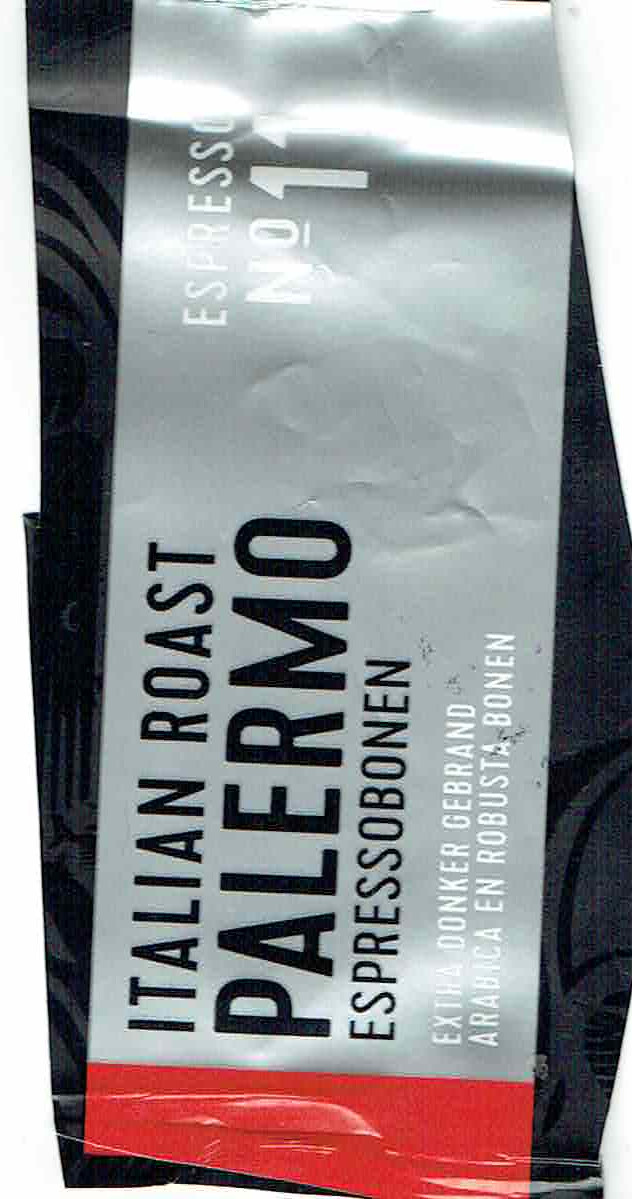

















I made some Coffee liqueur in the past, coffee ice, used it glazing meat on my smoker and cocktails.
Coffee liqueur: 3 cups sugar, 2 cups water, vanilla, 8 tablespoons grounded coffee and 700cl rum .. vodka wil work also.
Heat without the alcohol, strain and add the alcohol in a container.
Leave for several days, and enjoy.
(note .. rum adds more flavour, depends of you want this)
Take a italian ham, prosciutto for example put a coffee bean in it. And eat this .. its amazing!
These coffee variations i’ve tried also. And ofcource i had to try Kopi Luwak.
Kopi luwak is a coffee that consists of partially digested coffee cherries, which have been eaten and defecated by the Asian palm civet.


