Searx is a free and open-source metasearch engine, available under the GNU Affero General Public License version 3, with the aim of protecting the privacy of its users. To this end, Searx does not share users’ IP addresses or search history with the search engines from which it gathers results.
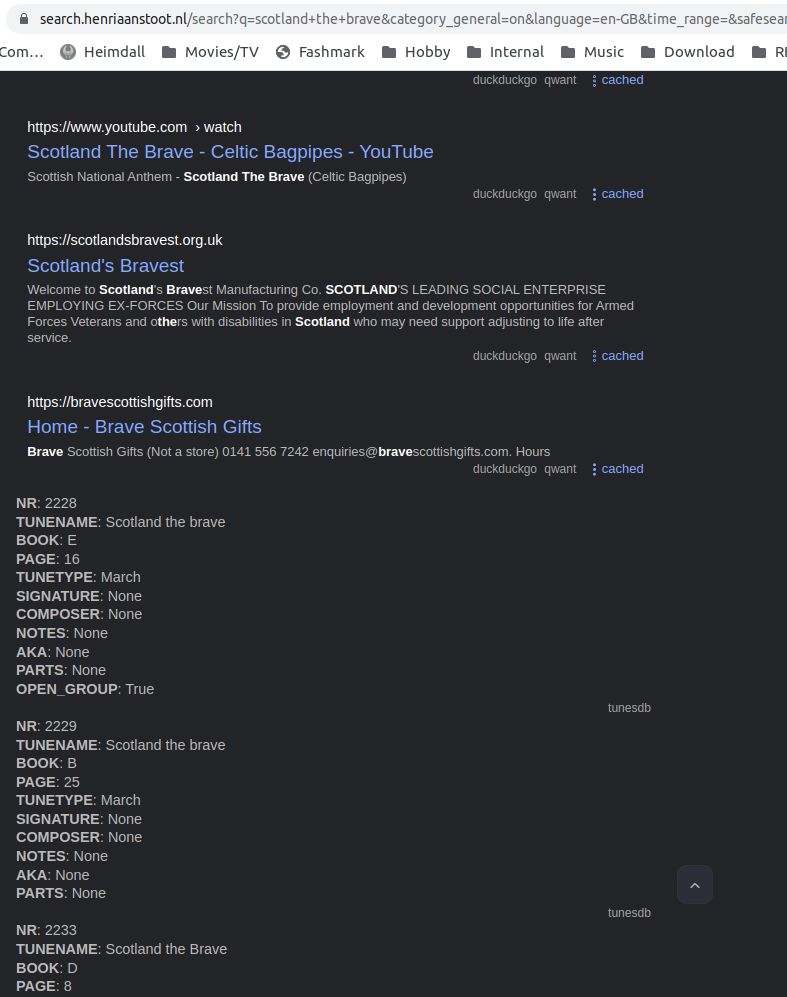
It’s easy to install using docker, but i wanted to add my own mysql server data. ( pipetune search engine data in below example ) There are many search plugins and quite hackable. But there was a missing python module in a docker image.
ModuleNotFoundError: No module named ‘mysql’
So i build a new docker image based on the original
# Install docker and docker-compose

cd /usr/local
git clone https://github.com/searxng/searxng-docker.git
cd searxng-docker
Edit the .env file to set the hostname
Generate the secret key sed -i "s|ultrasecretkey|$(openssl rand -hex 32)|g" searxng/settings.yml
Edit the searxng/settings.yml file according to your need
Check everything is working: docker-compose up
Run SearXNG in the background: docker-compose up -d
I’ve changed the docker-compose.yaml
Changed
<     image: searxng/searxng:latest

into
>     build: .

And
changed the listen address
<      - "127.0.0.1:8080:8080"
into
>      - "8080:8080"
Created a Dockerfile
FROM searxng/searxng:latest
RUN pip install mysql-connector-python
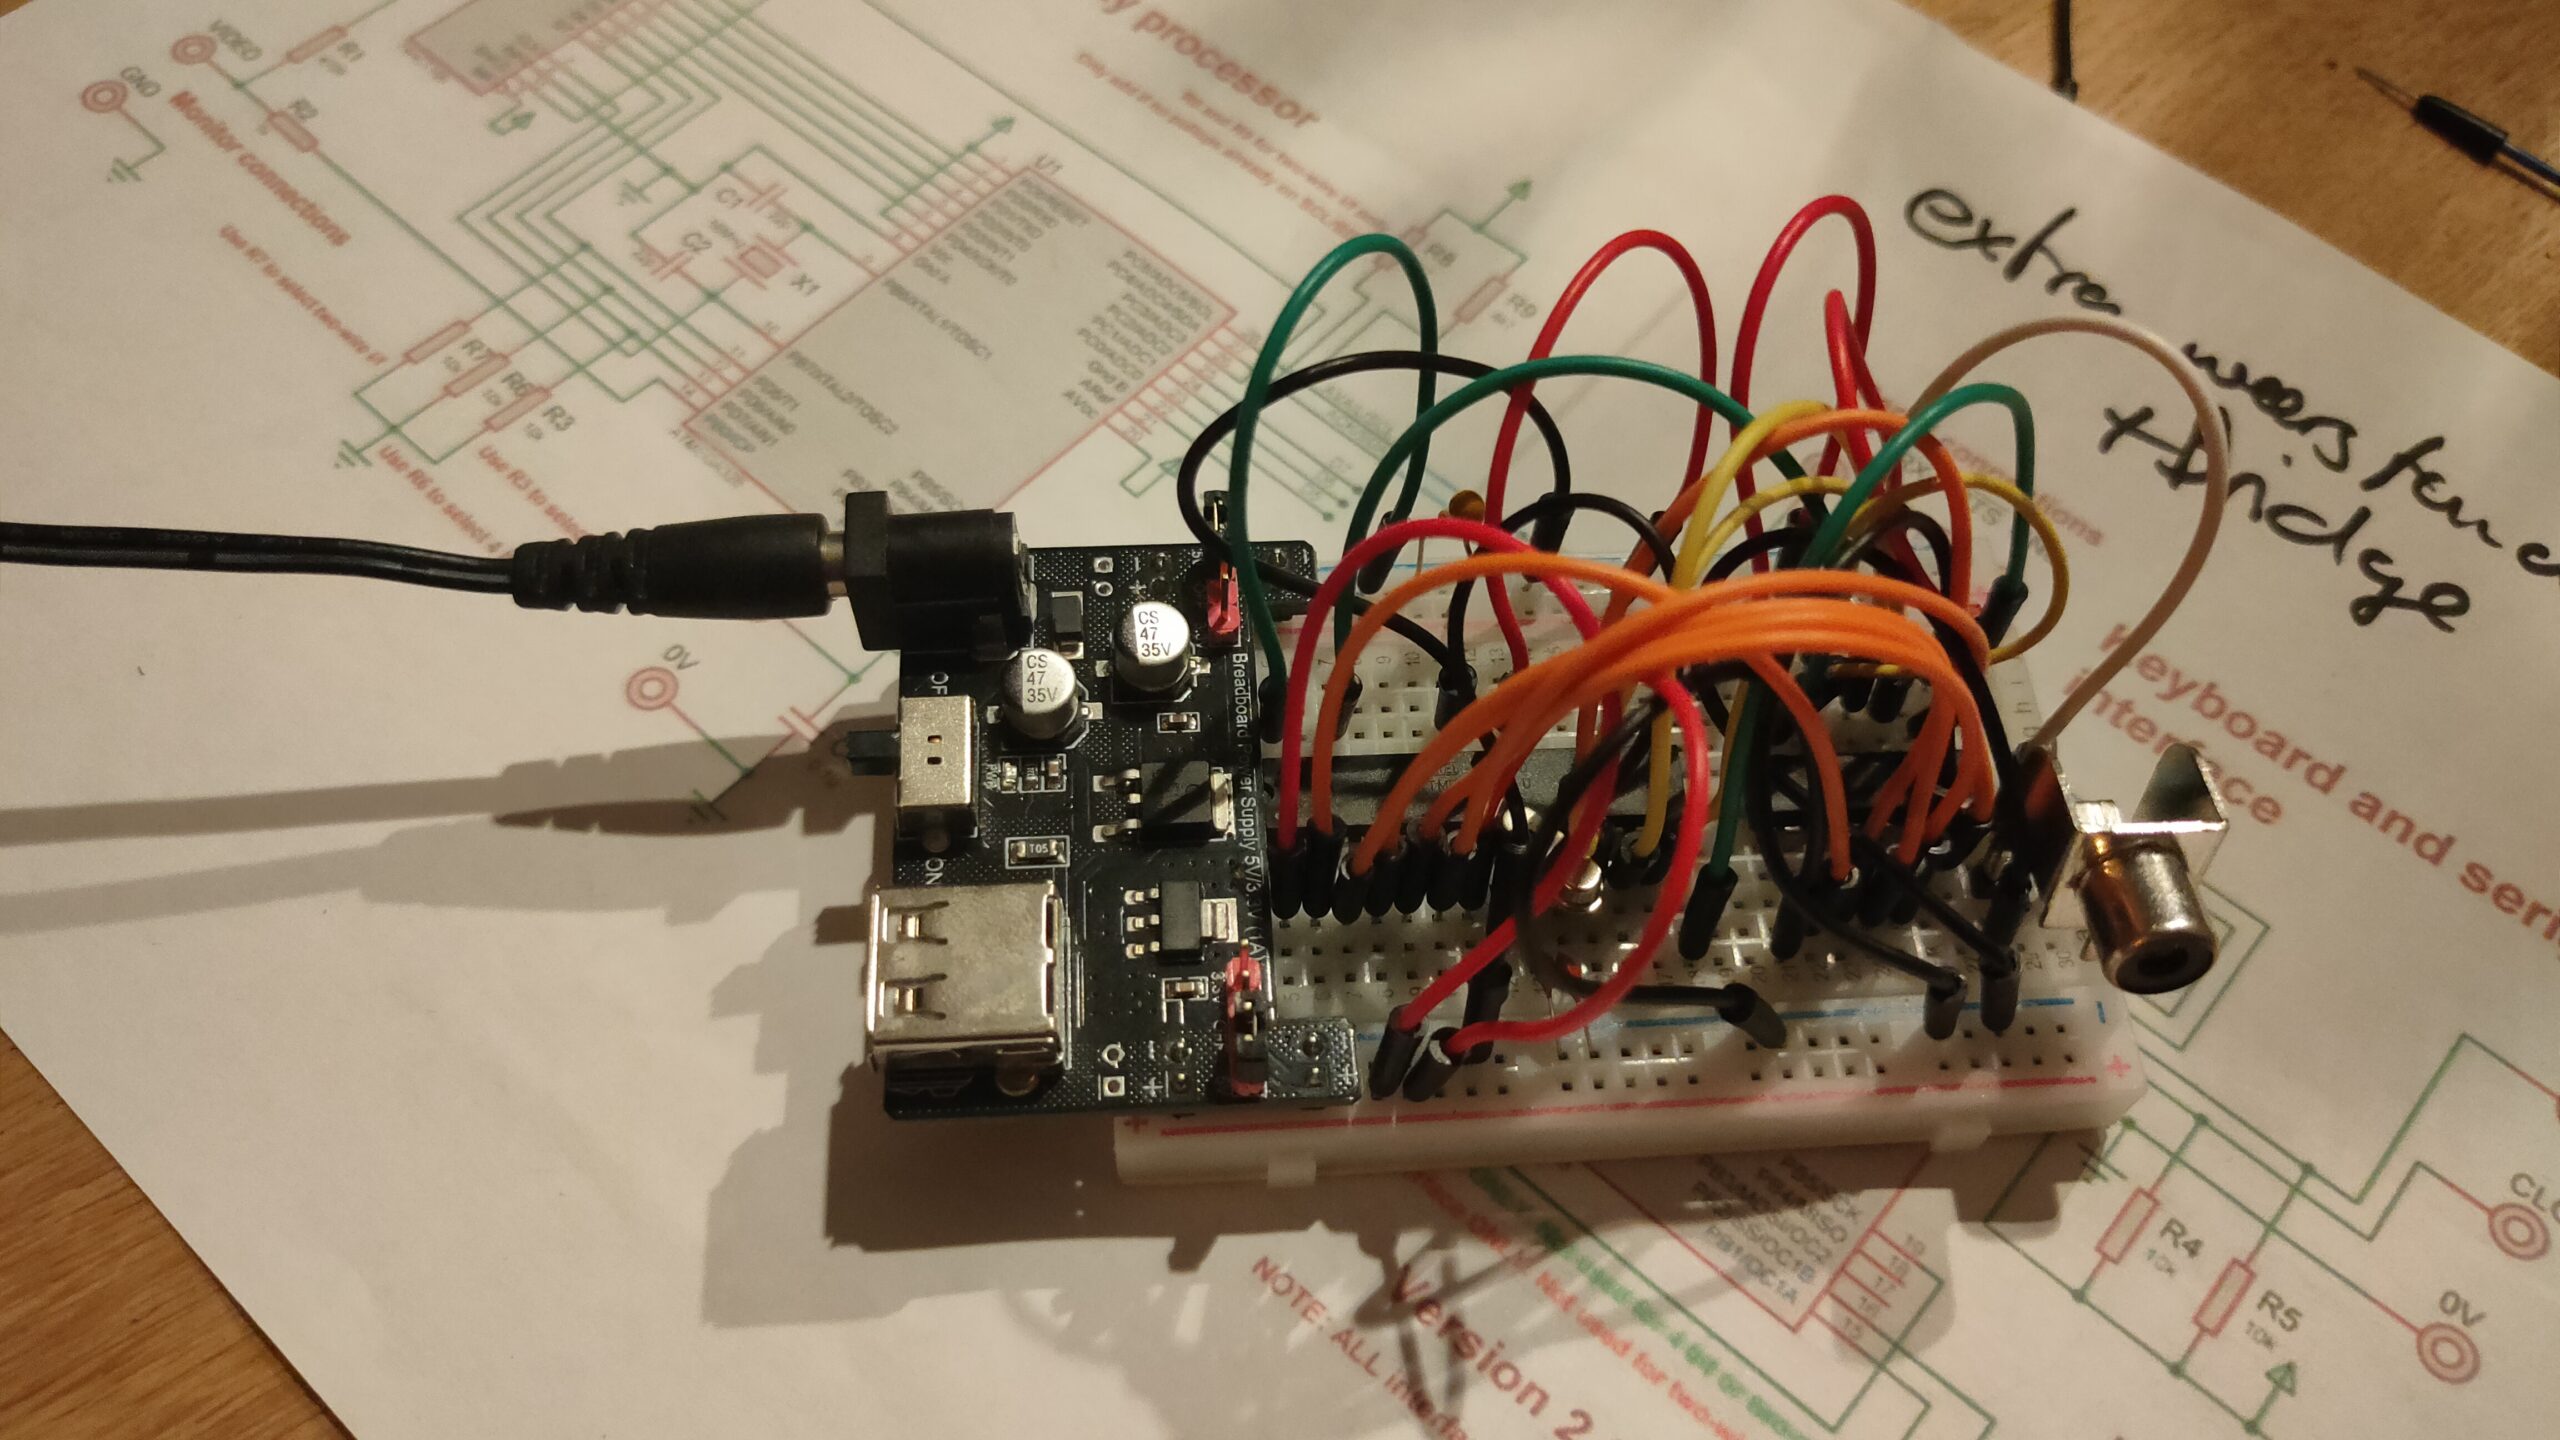
I started to get some composite video generated with a arduino for my 6502 project.
UPDATE: 20221021
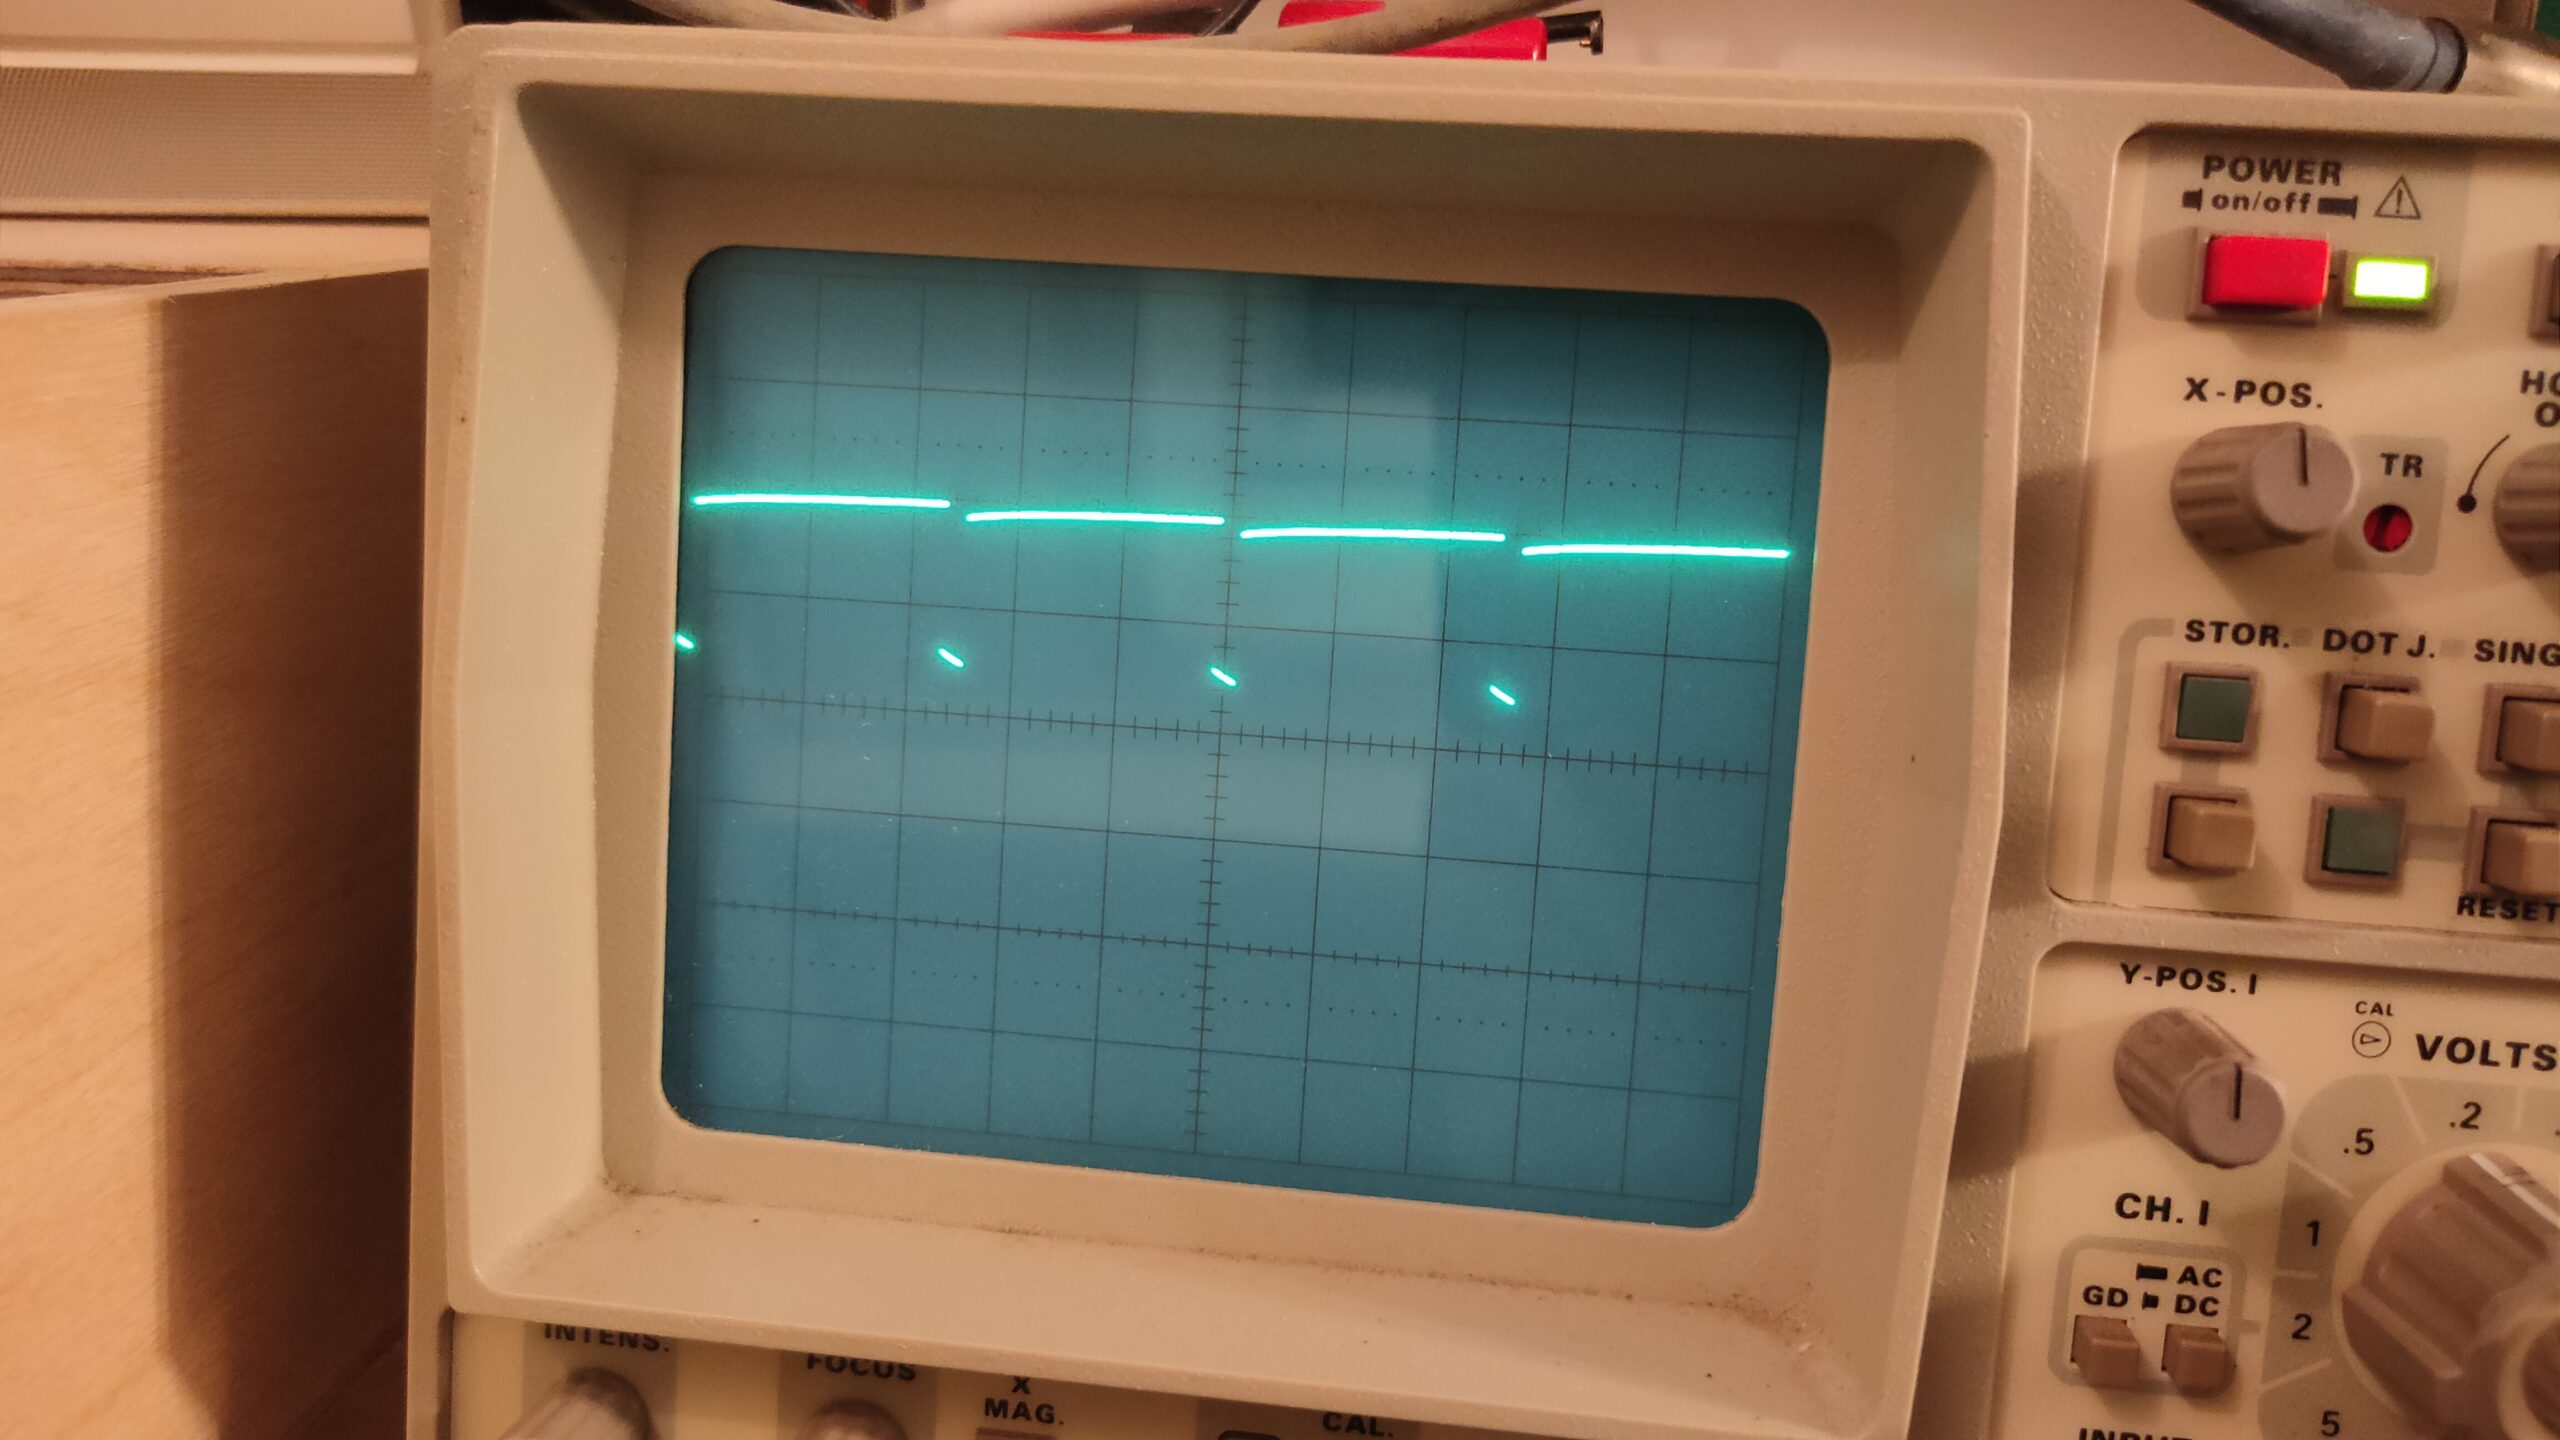
It is based on Grant Searle’s design, and yesterday I had some signals on my scope which looked like a screen with a character. But my monitor would not recognize a usable signal.
Today I tried a second version and another set of chips and crystals.
It looks like a signal, but I can’t see a clock pulse from the crystal?! So .. how?
Maybe I used a bad power supply. And killed something?
UPDATE: 20221021
After switching to another power supply, and checking the atmega328p fuses again (also wrong) .. at least SOME success!
Still a little sync problem, but i’ve got a blinking cursor!
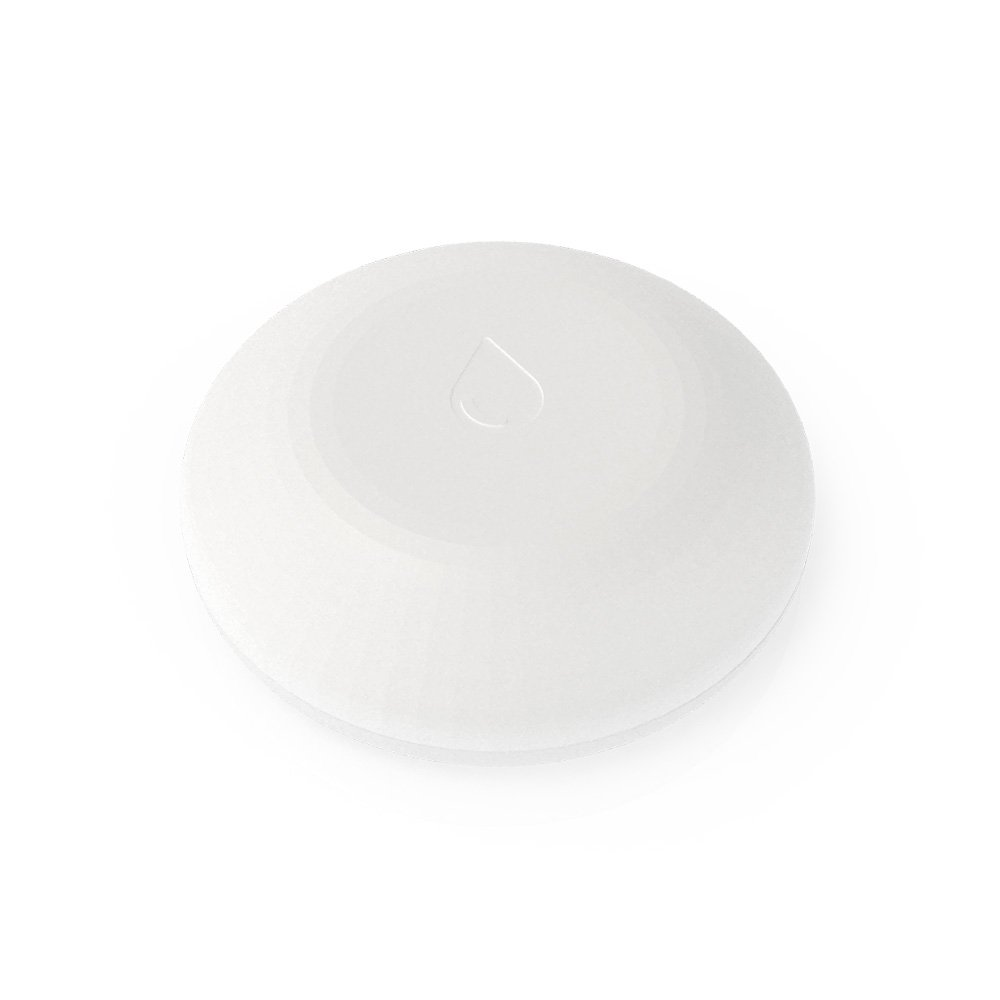
I’ve had this Shelly sensor for a long time. But never posted anything about this. Last weekend we had a -situation- in our kitchen, so what better time to test this device again!
This little disc shaped device has three metal points on its bottom side, those are the flood (water) sensors. It stay’s in sleep mode when all’s good. It does several things when it detects water.
Emits a alarm signal
Wakes-up wifi
Sends a MQTT message (when not connected to the cloud like i have) MQTT is a alarm message AND it wil send the temperature of the device!
After a while (when dry) goes back to sleep
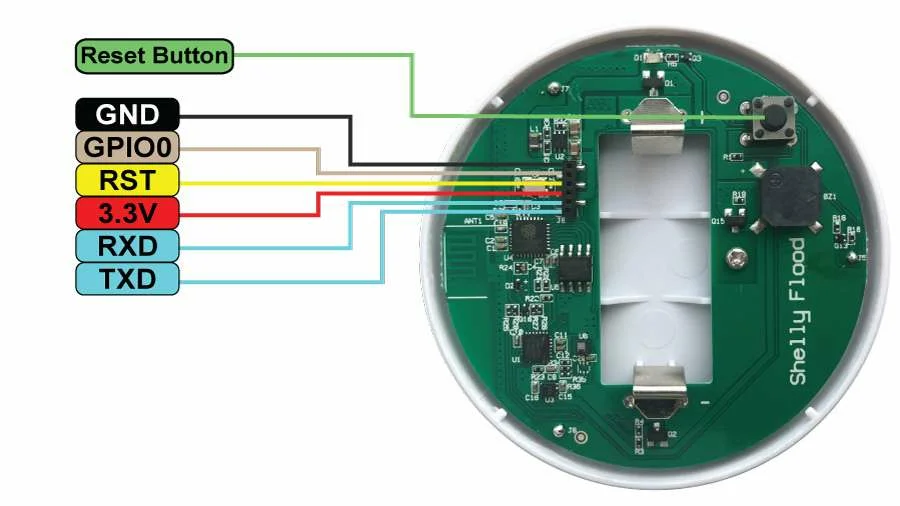
There are connection point on the print you can use .. happy hacking!
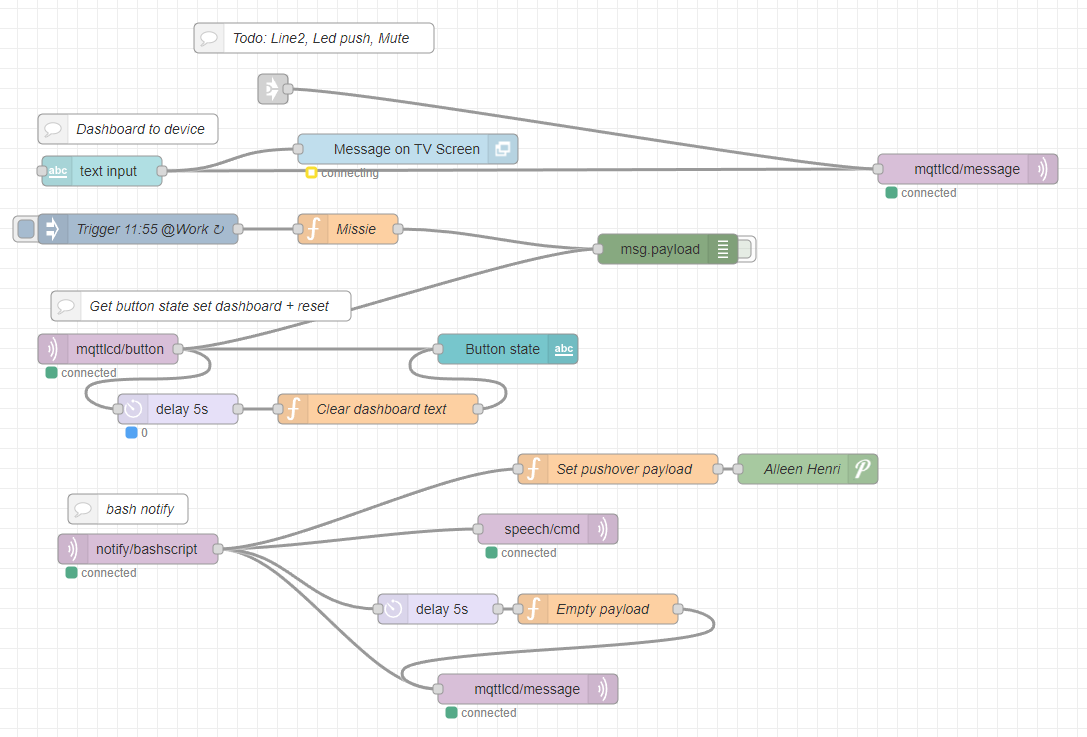
My node-red configuration
Above is the part where the mqtt messages gets processed by Node-Red Sending it to PushOver and my little MqttLcdNotifier
Above is the MqttLcdNotifer .. there are several parts to this
Top line is from shelly flood and other notifications
Text input puts text from the NR GUI on my TV and the LCDDisplay
same parts are being used by my 3D printer when the print tool is getting TO hot, or printing is finished
Trigger at work WAS a notification for work .. nonfunc
mqttlcd-button is the mqtt message send from the display (the one that i was pushing) to stop the beeping and clears the display
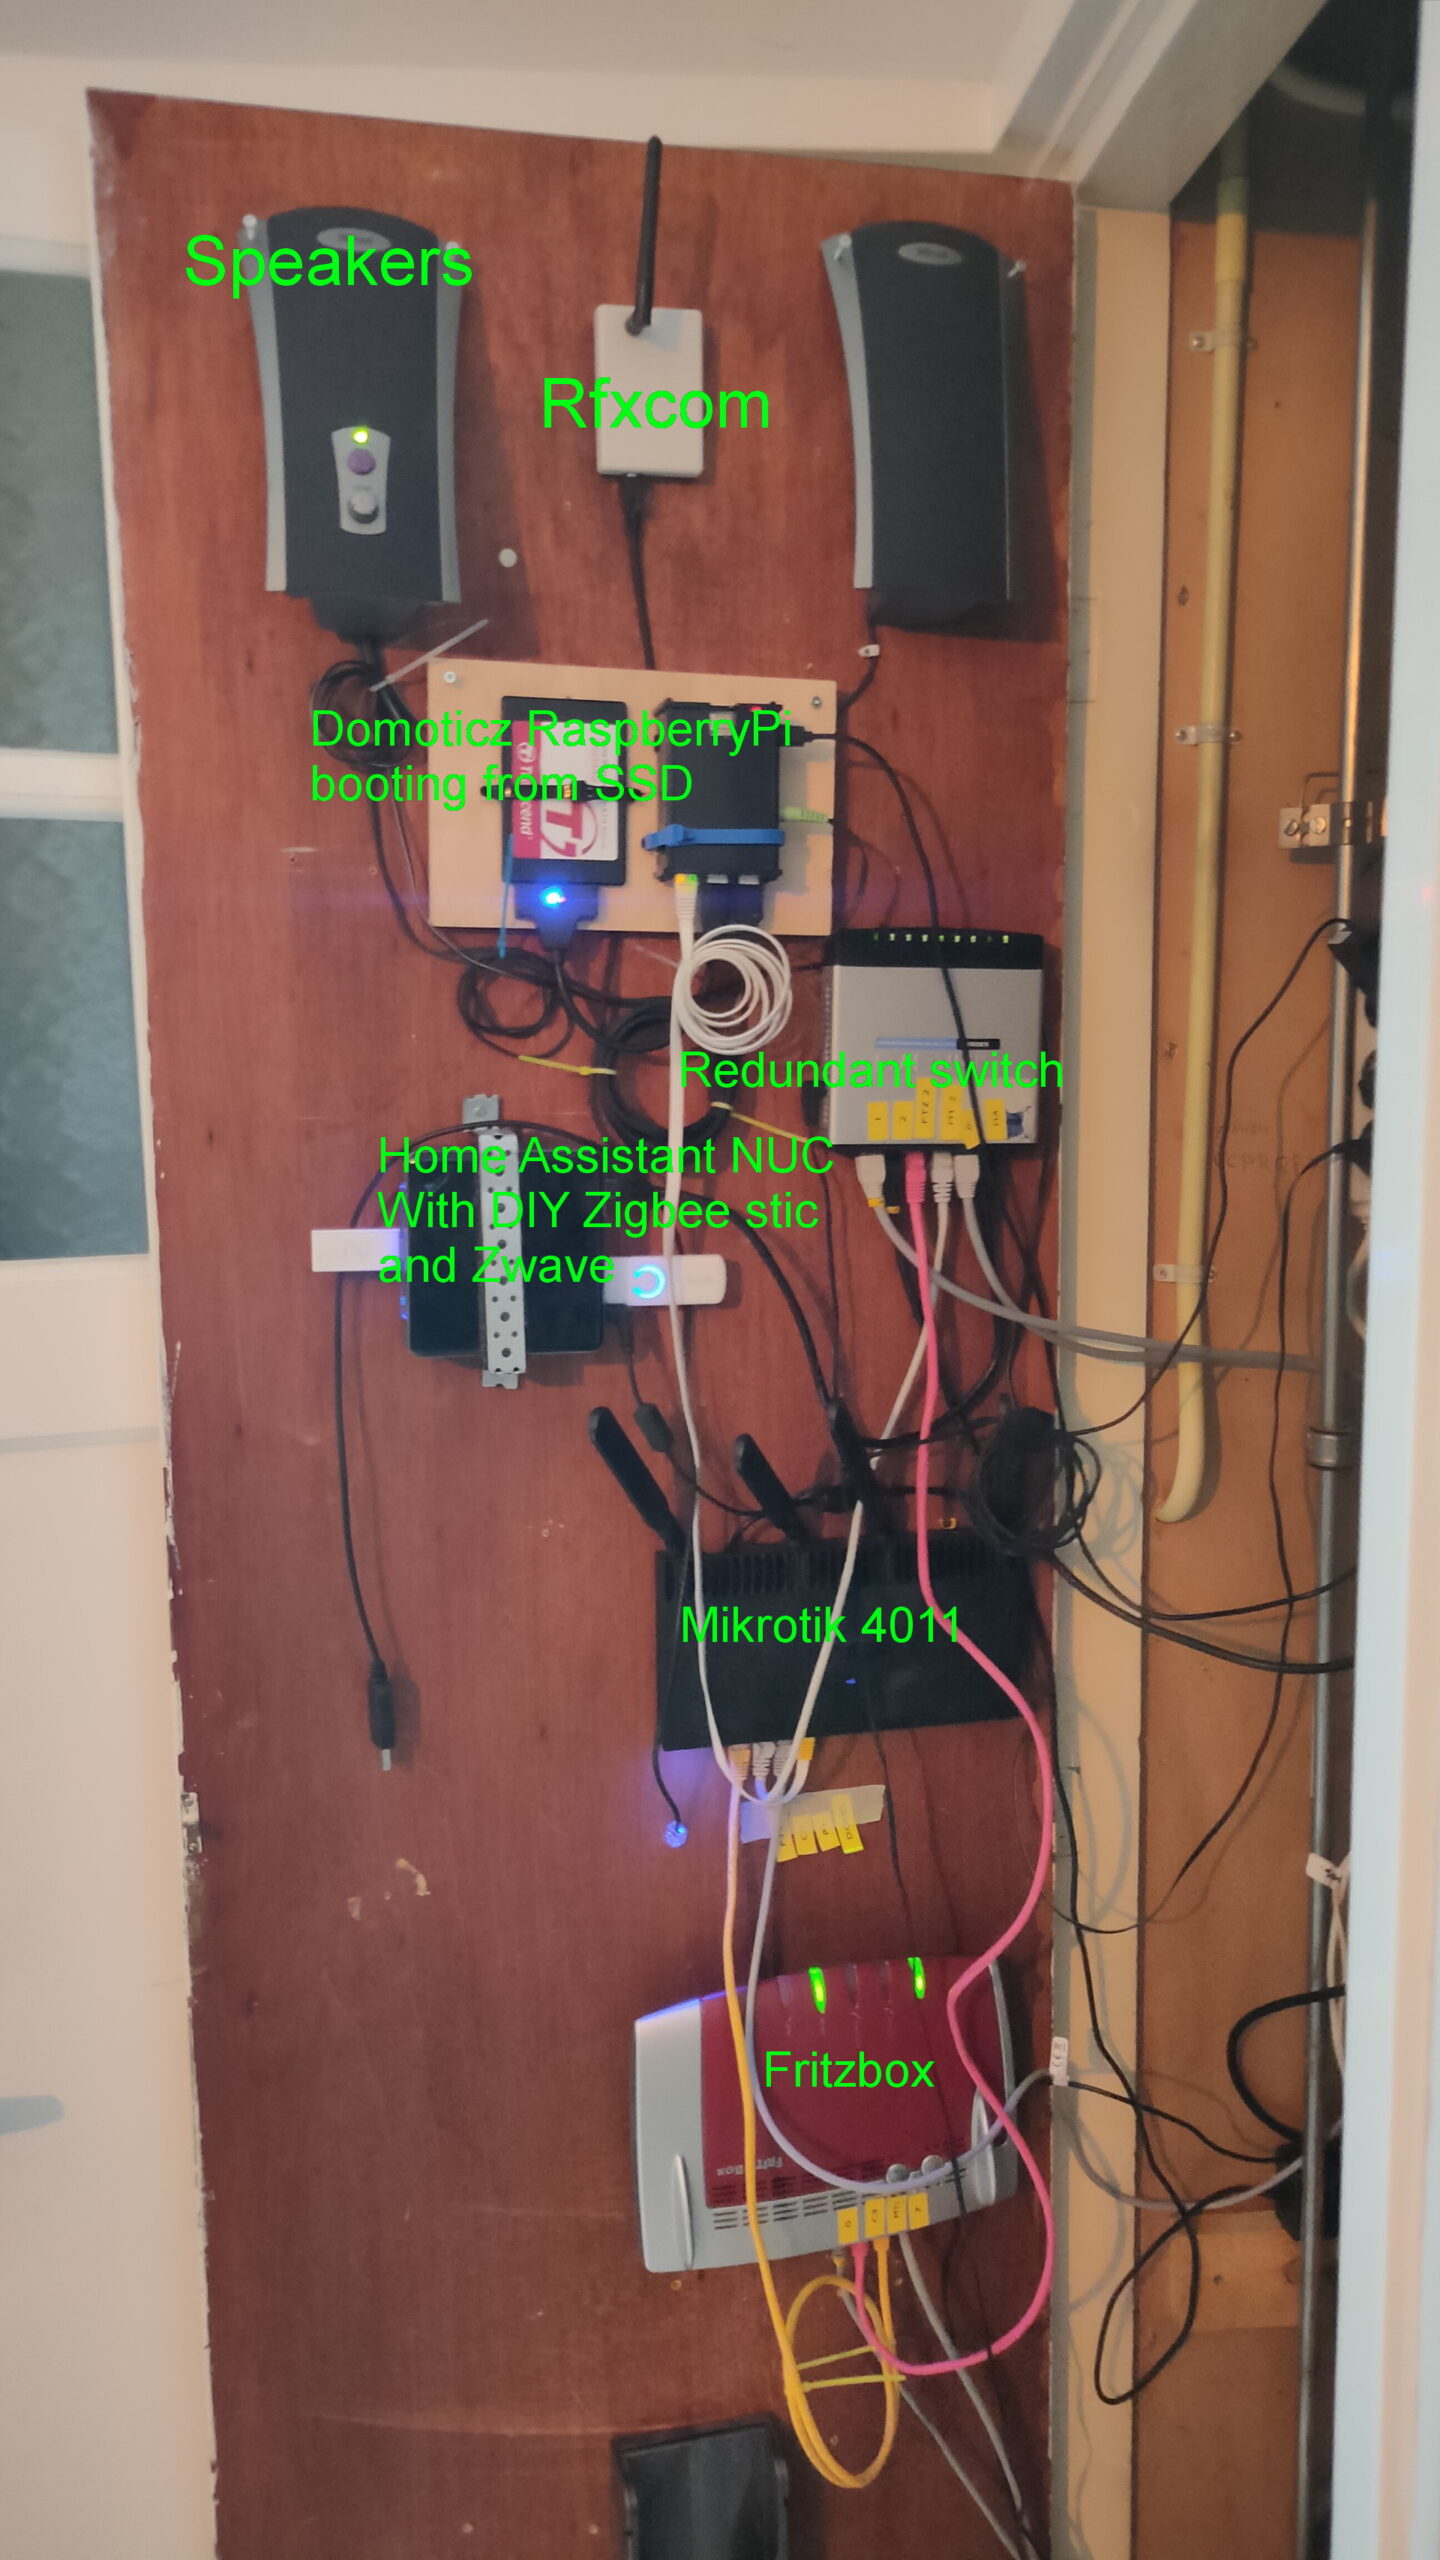
Bash notify, is as previously posted a flow which i can control from my linux machines notify “compiling complete” for example. This is also being broadcast from my livingroom using speakers. (See separate post about this)
Wellll, put this in place 2 years ago, never looked at it again .. still works
There are a lot of old develop boards for all kinds for cpu’s.
These where build to learn machine code programming. Mostly made in the 80’s, and based on populair cpu’s at that time.
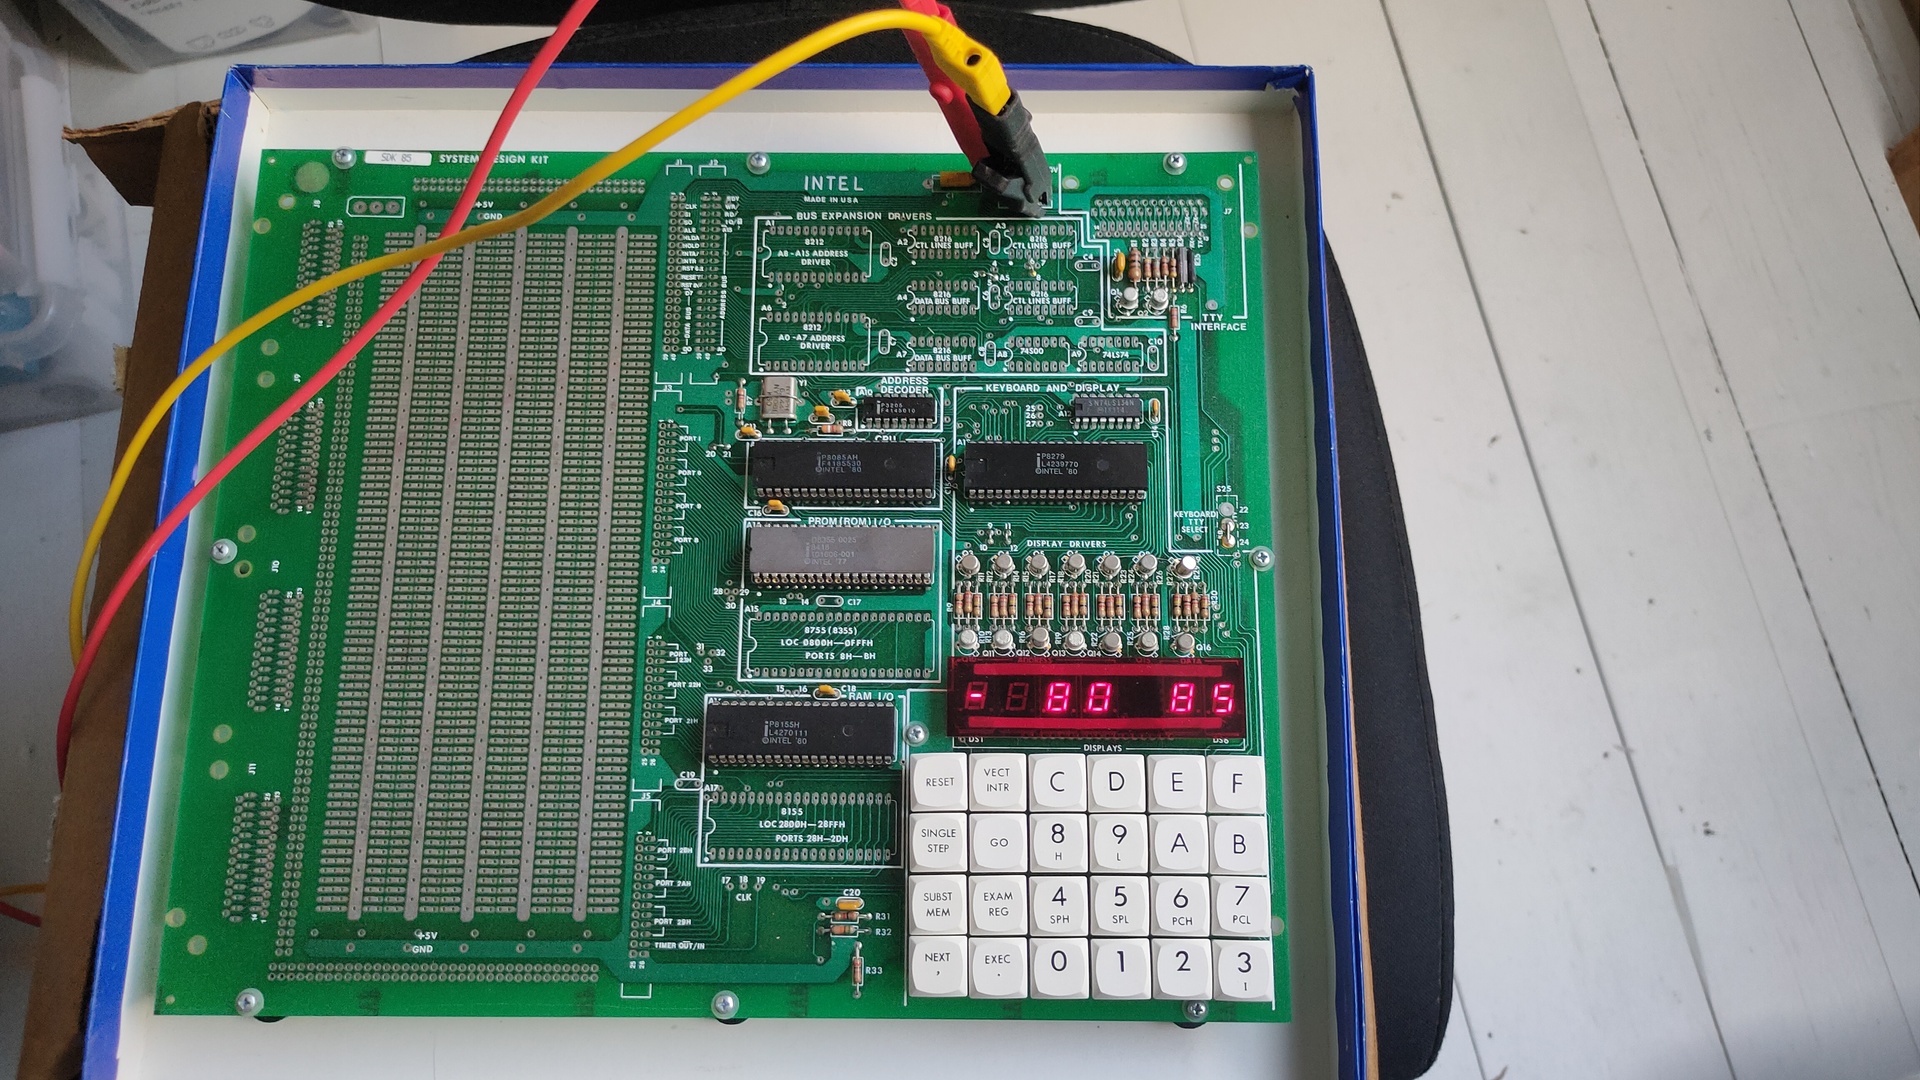
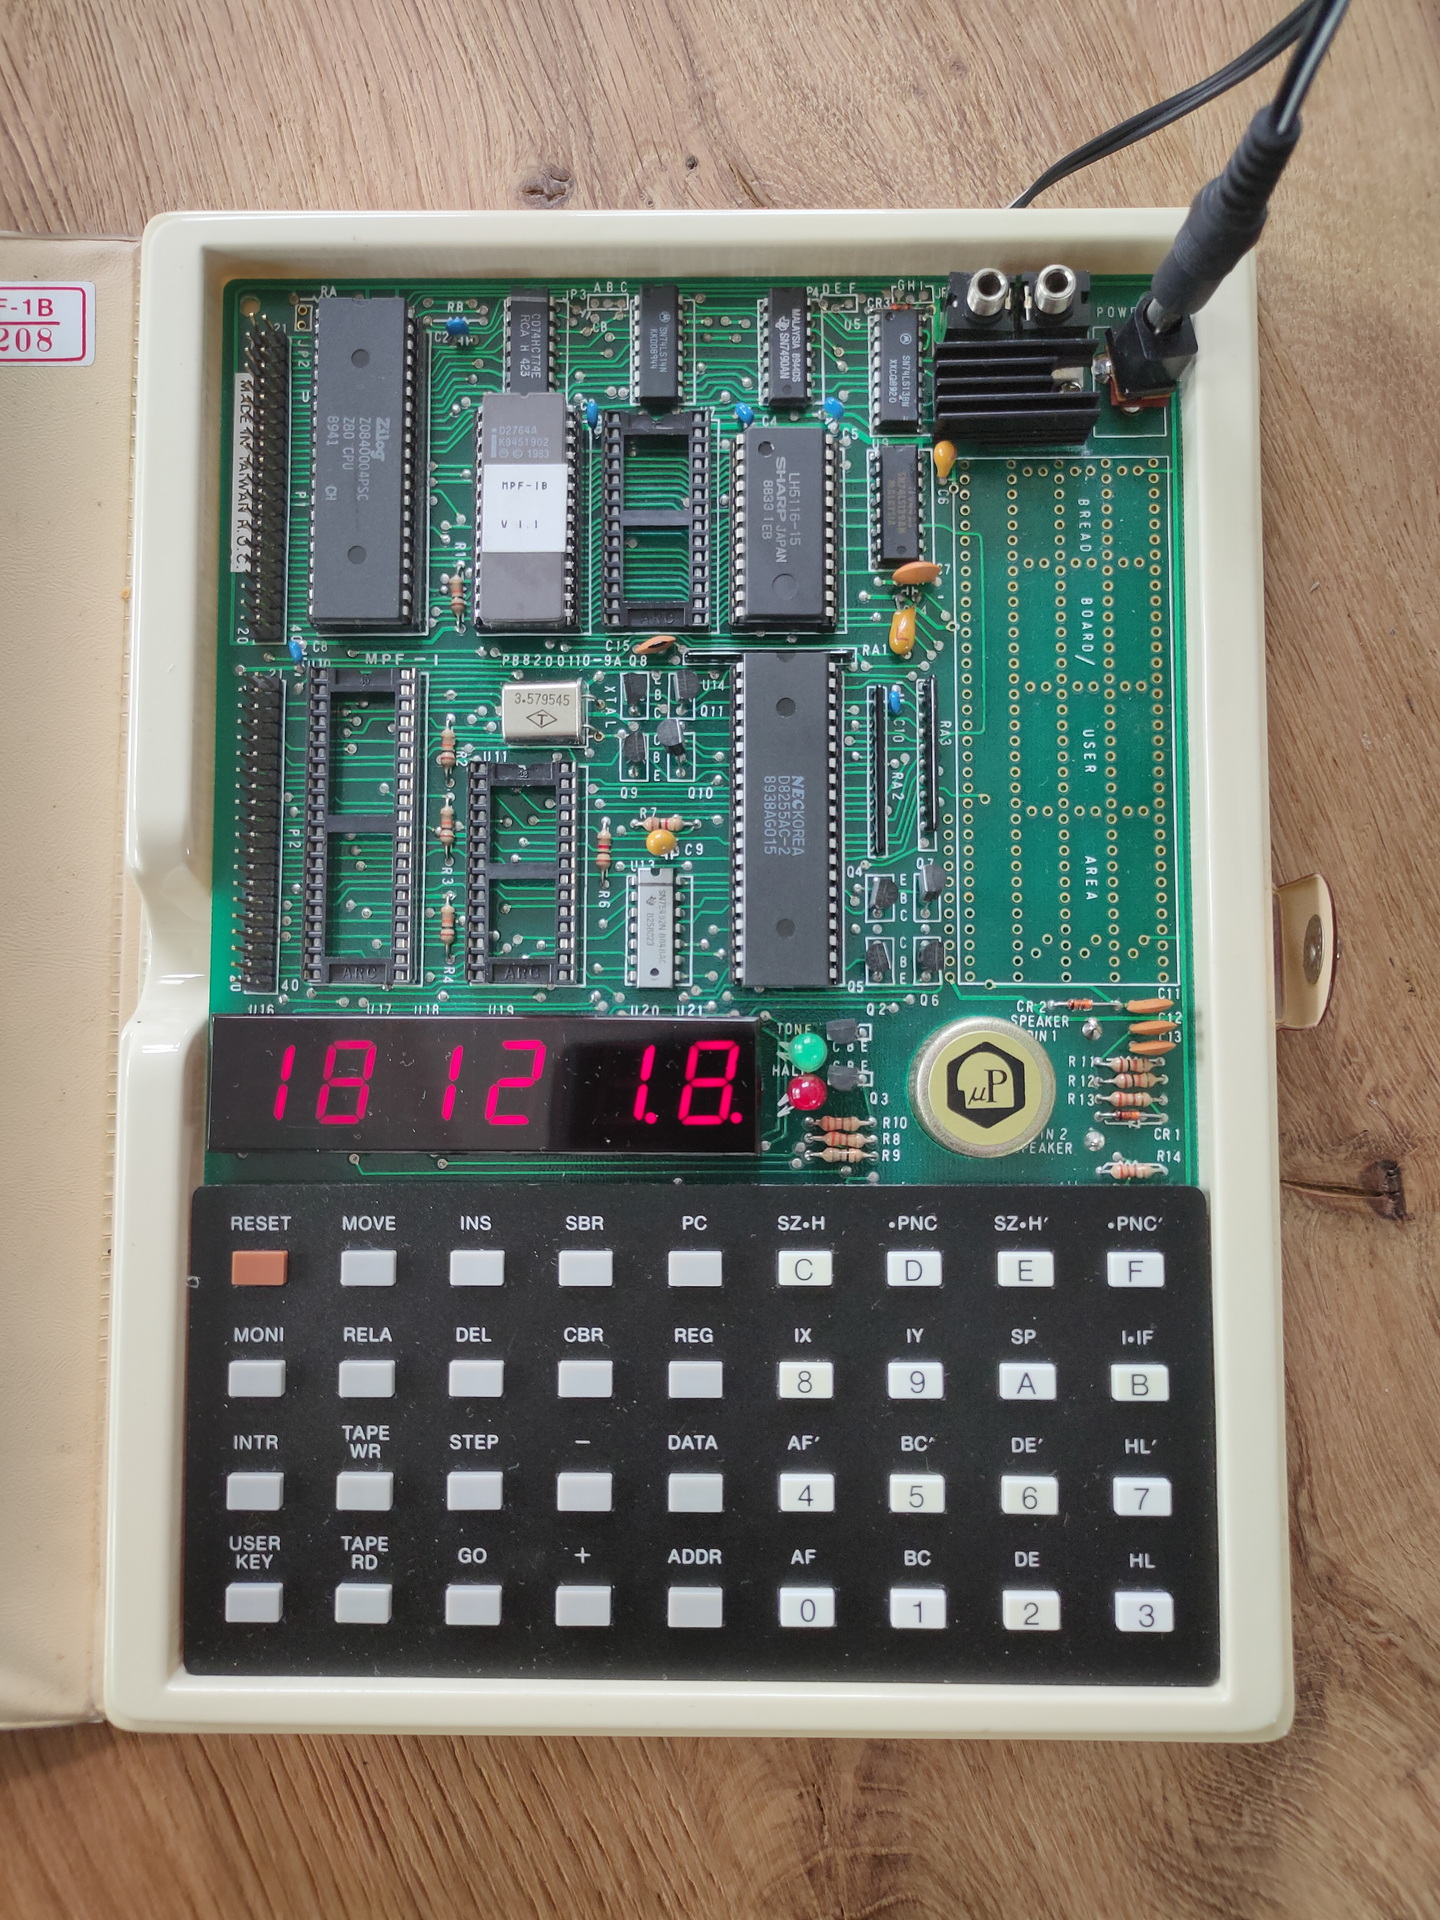
I own a some of these SDK’s (System Design Kits)
8085 – SDK85 i bought recently 8085 CPU
Microprofessor-1 (MPF-1) Z80 CPU
And my own 680x based computer
Most of these use a keyboard scanner which is also connected to 7 segment displays.
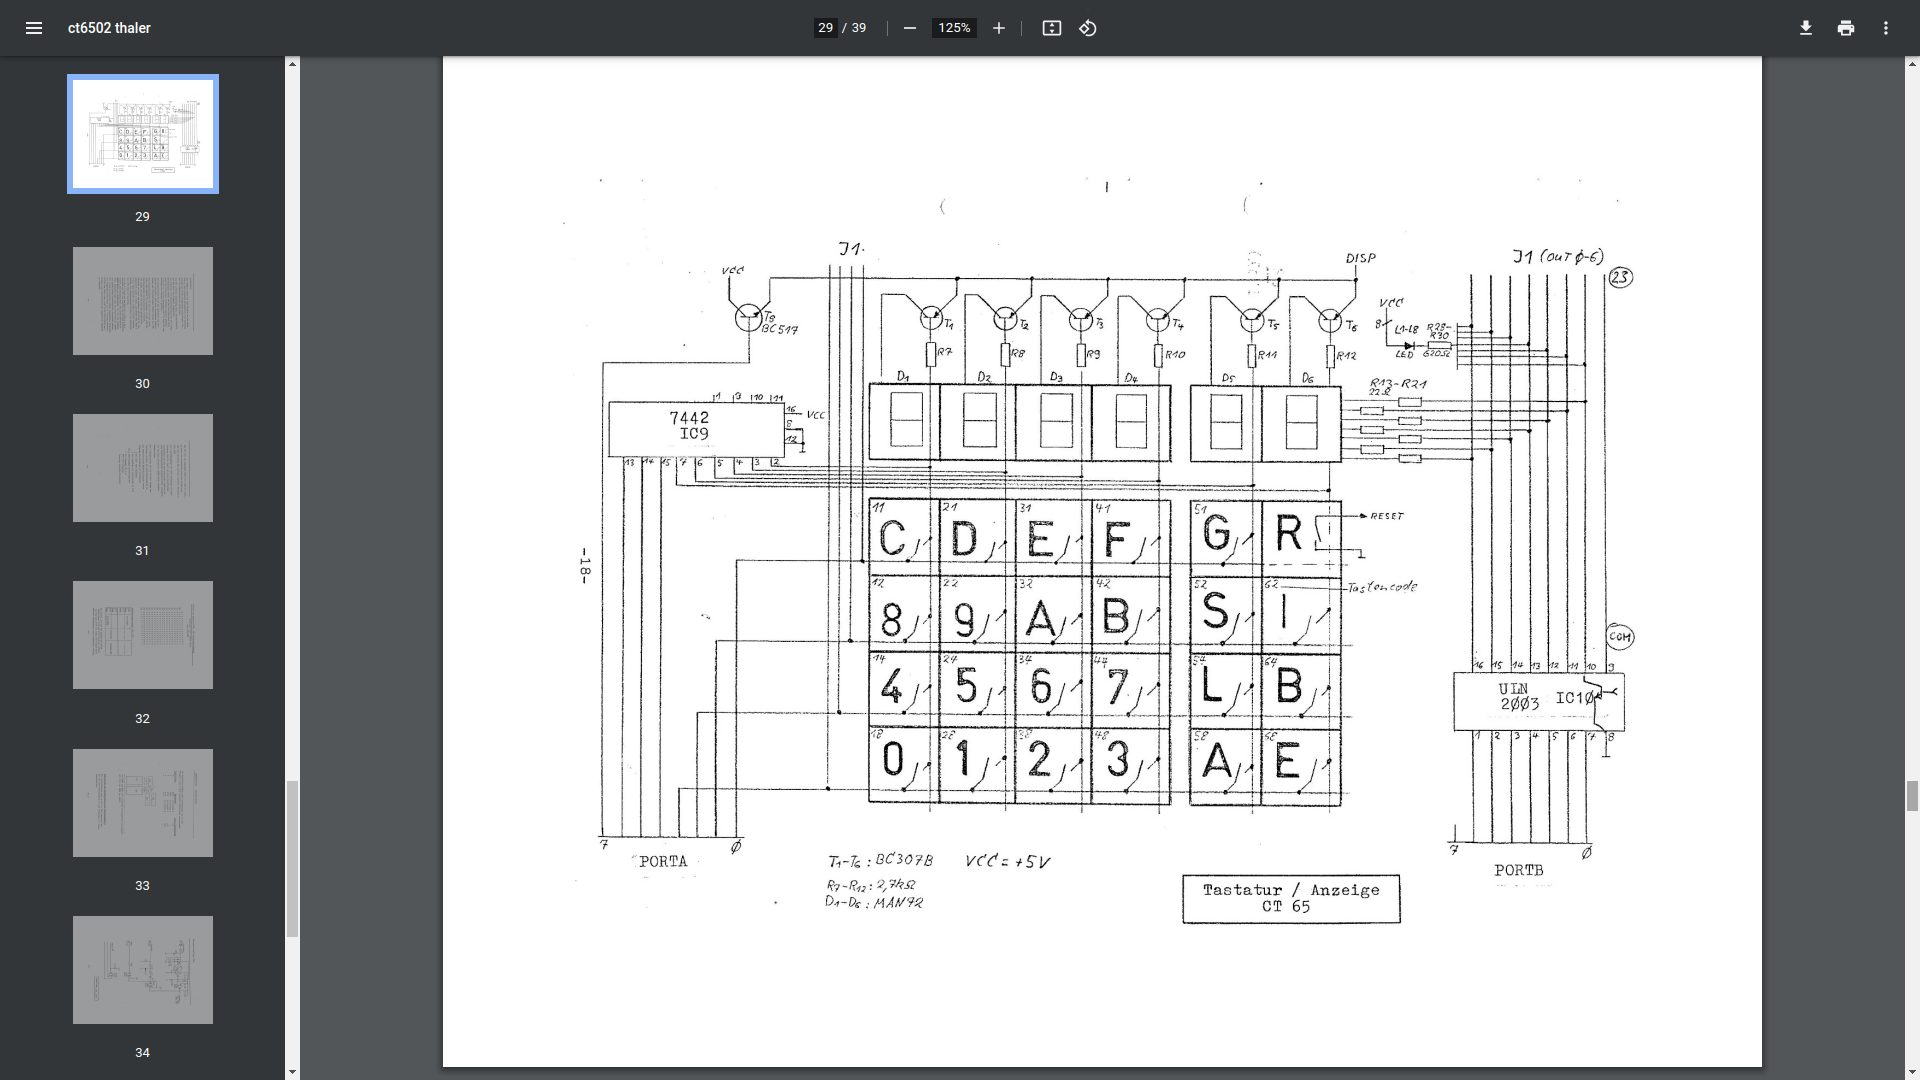
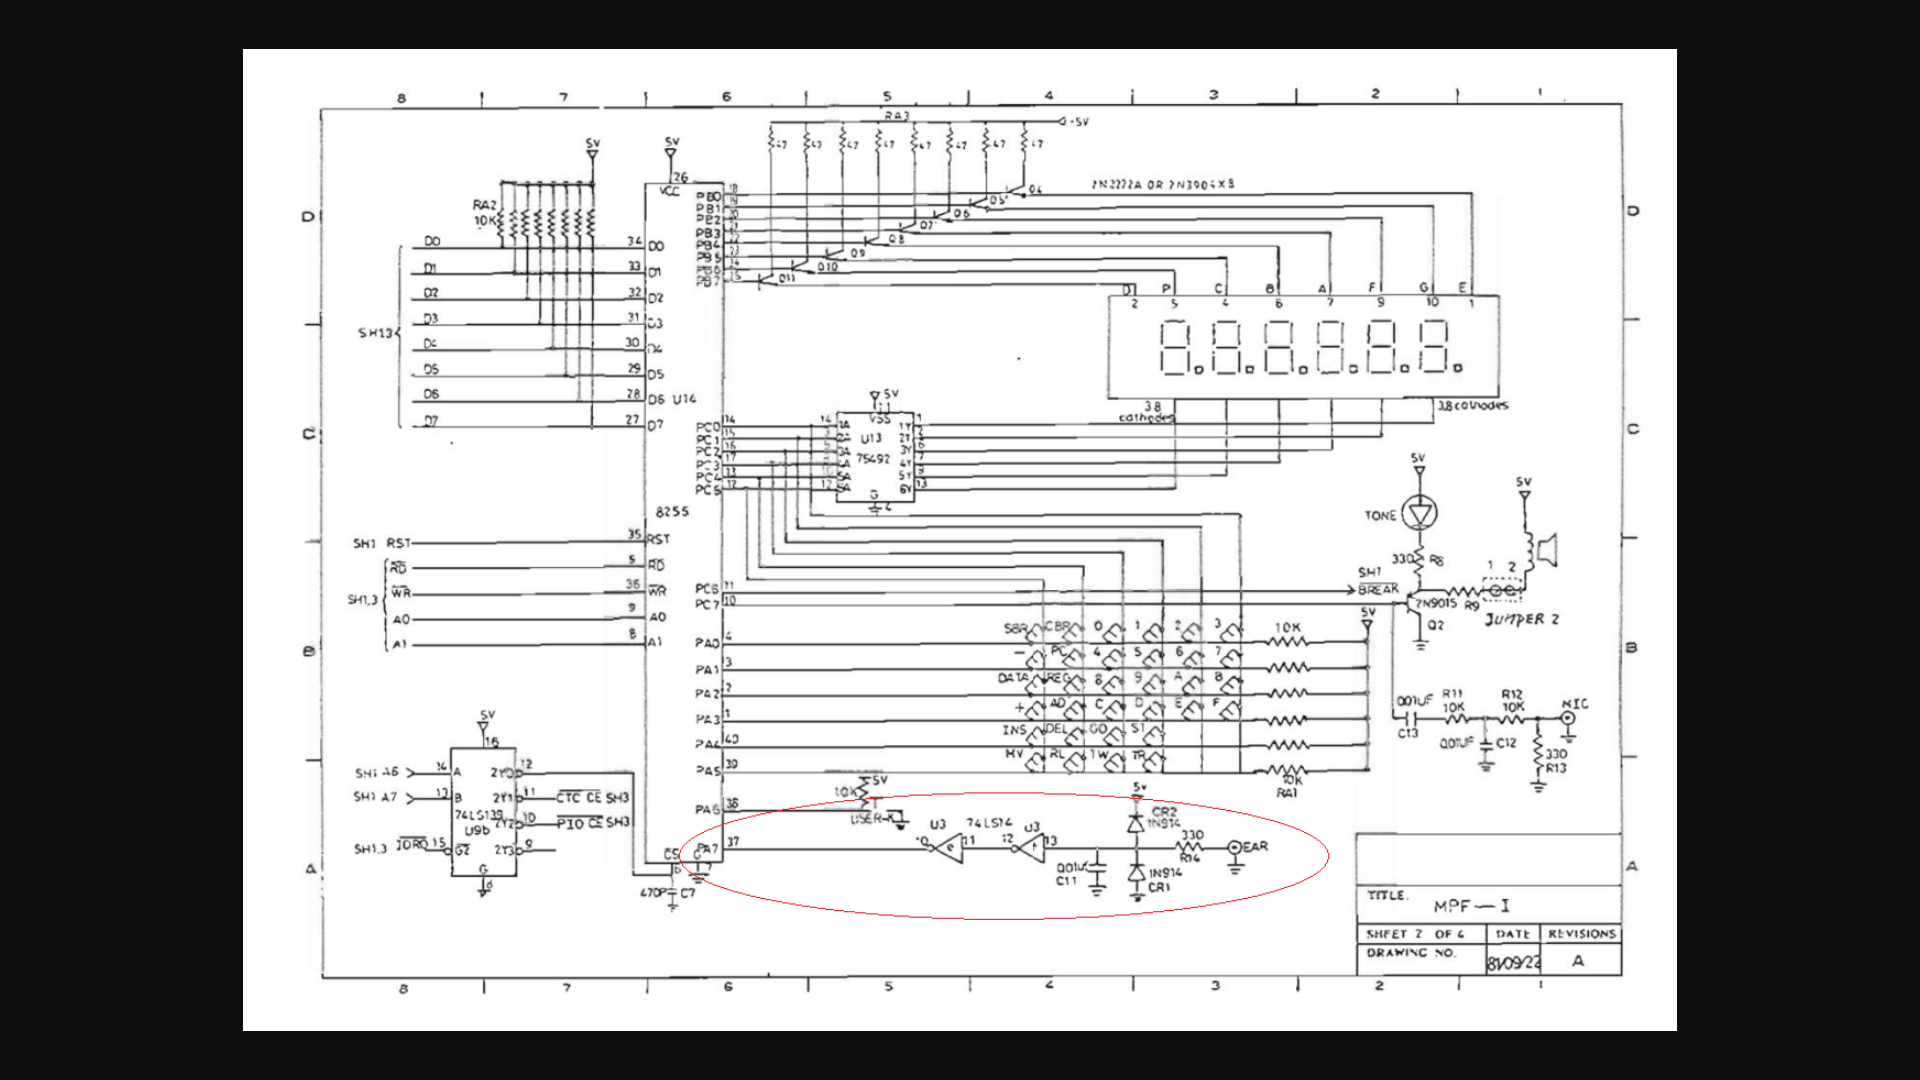
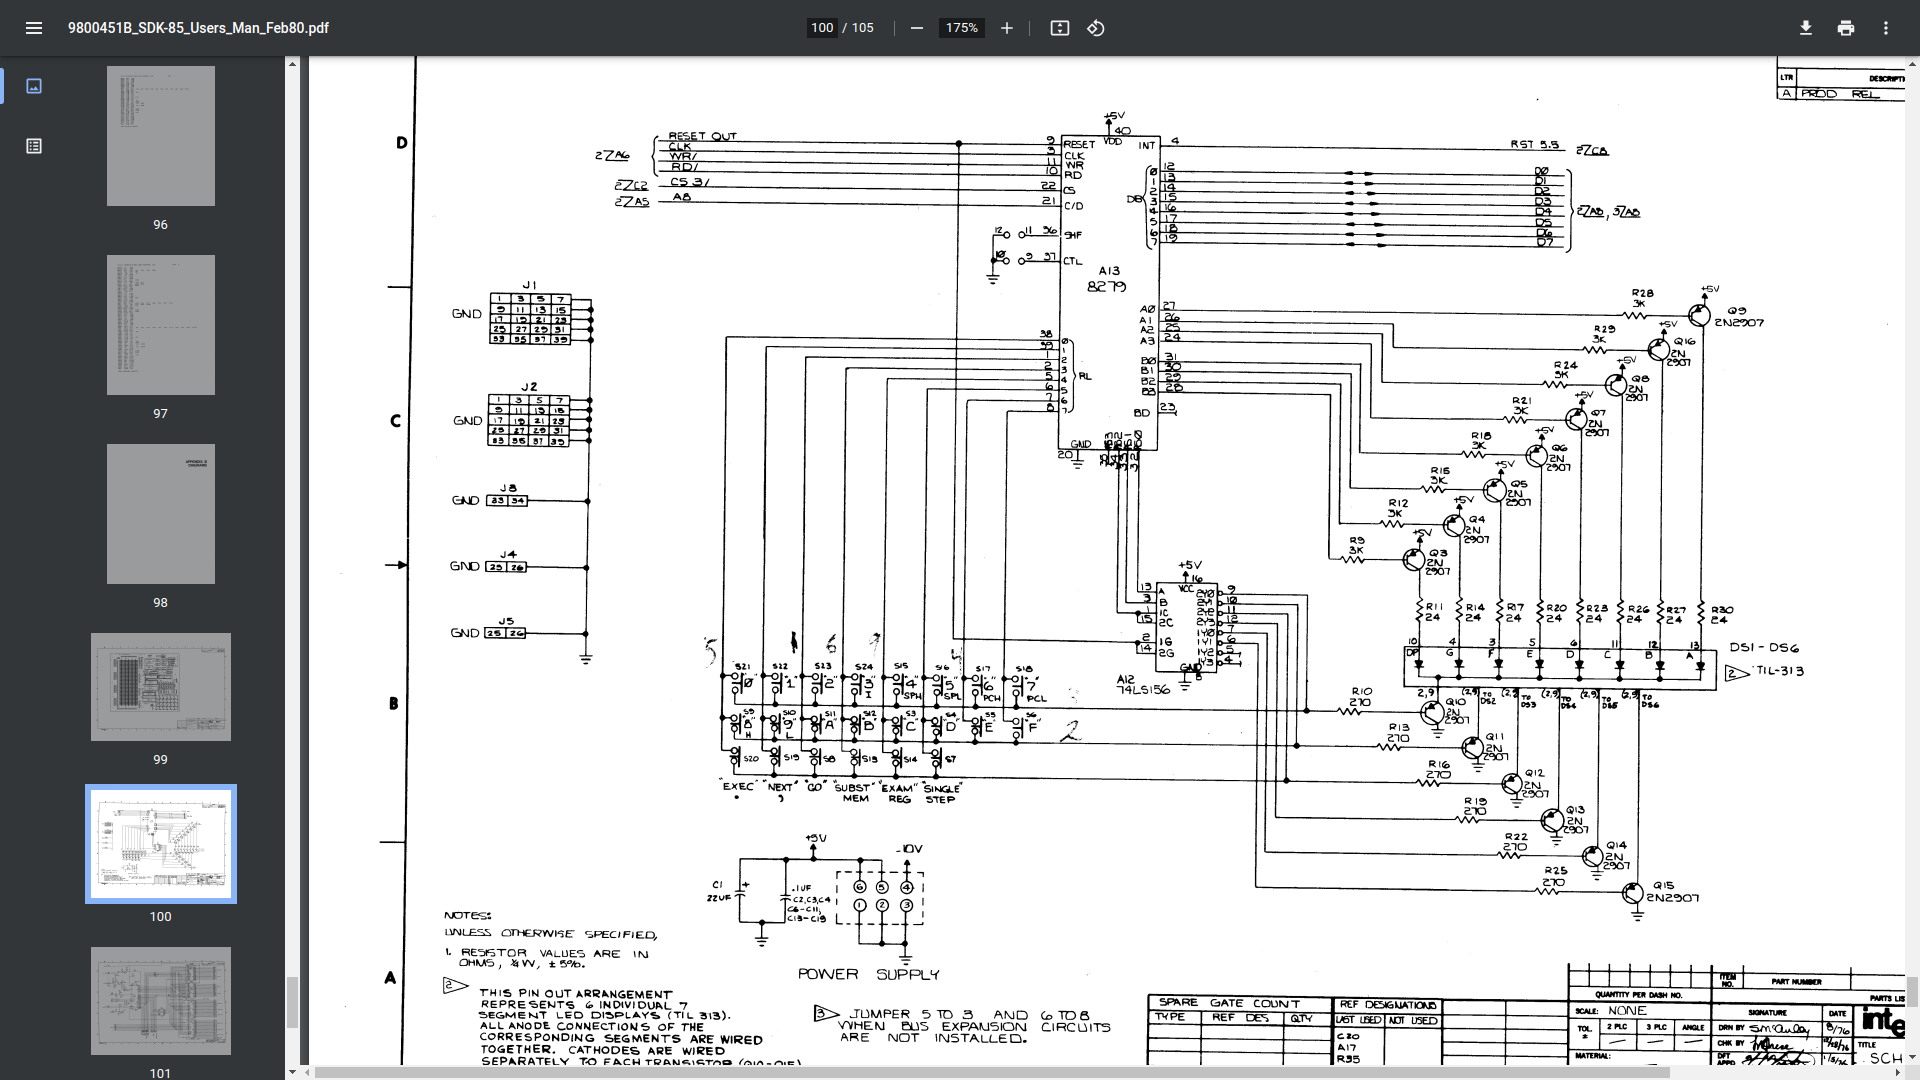
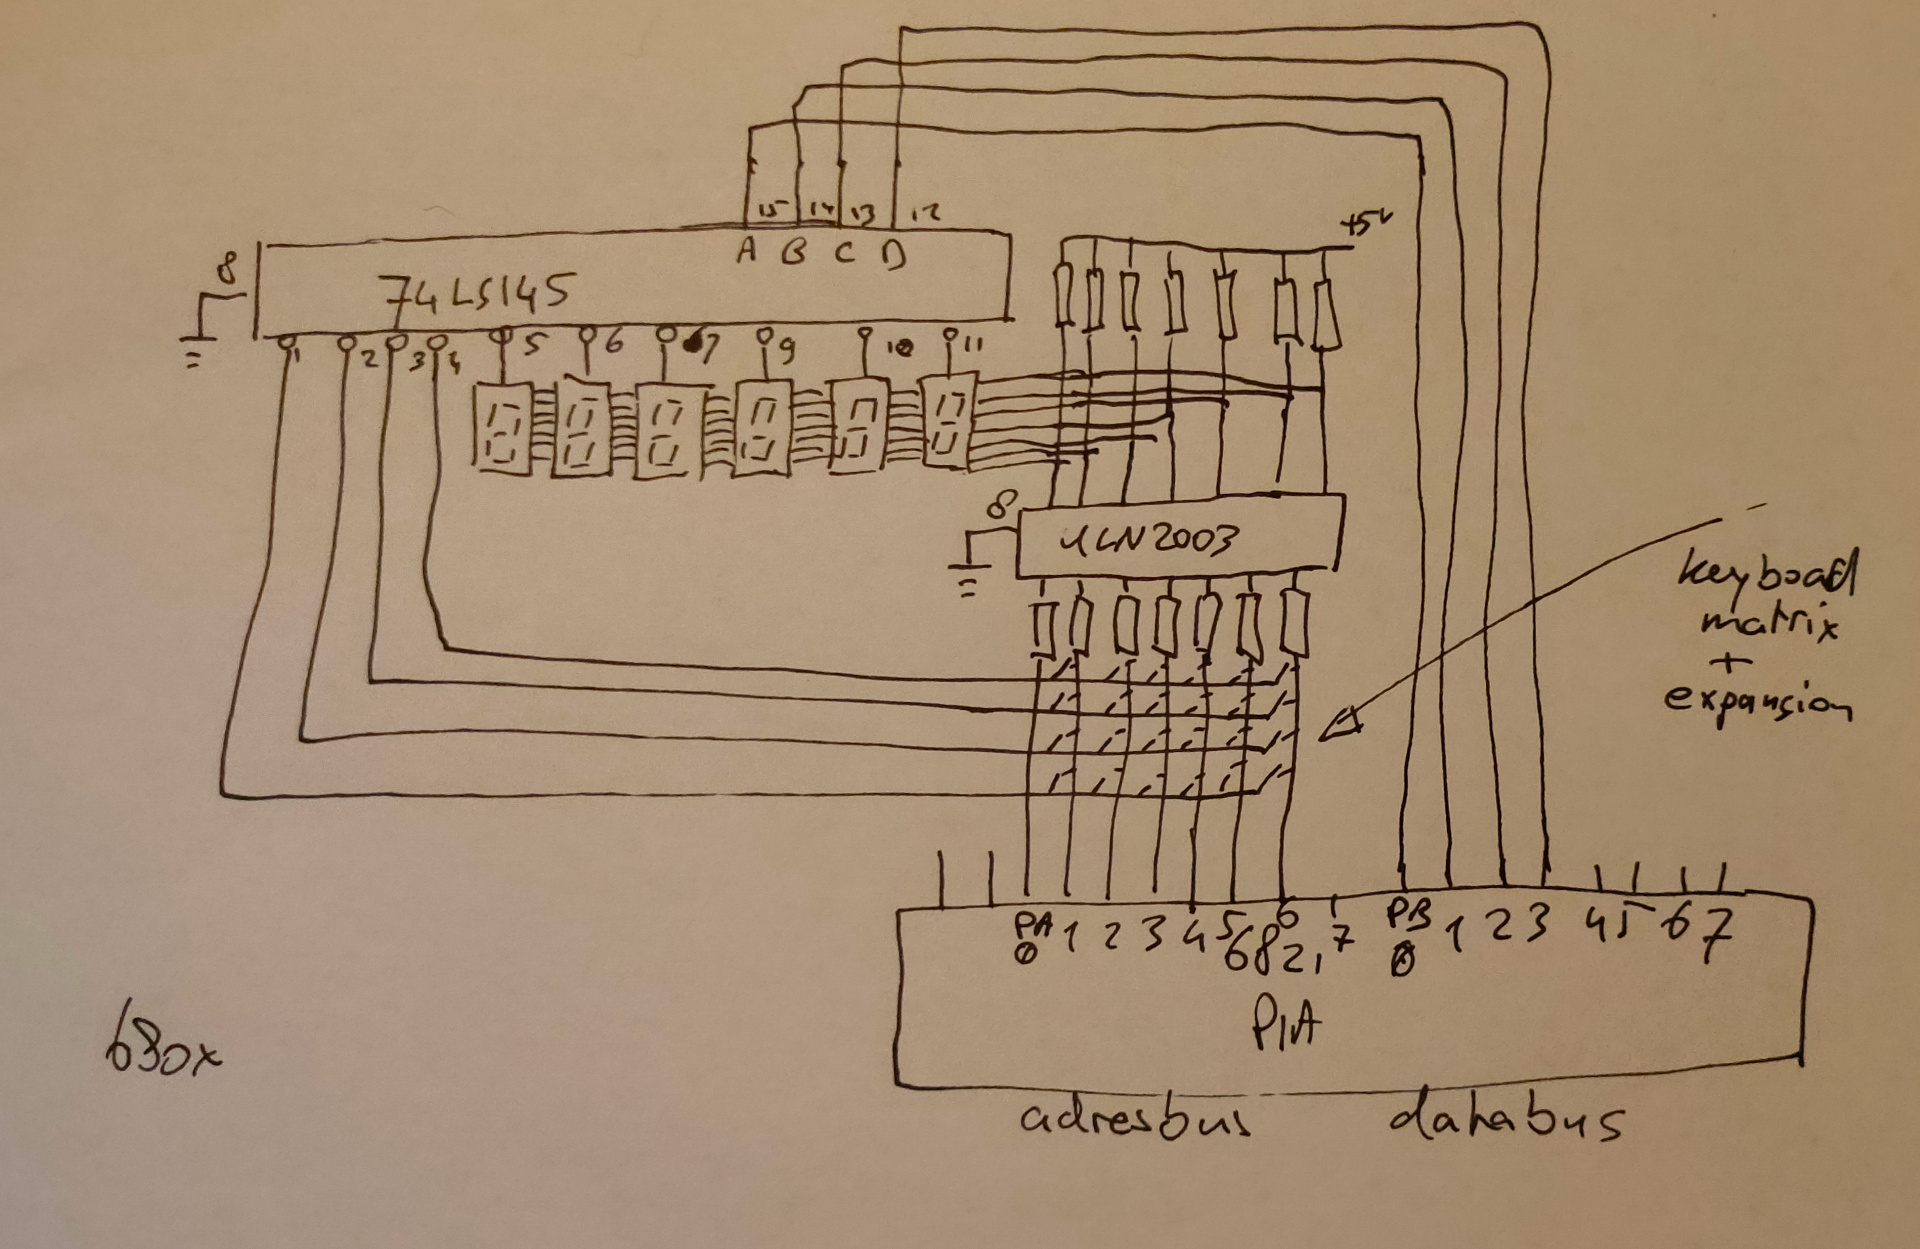
The way they work is practically the same. There is a VIA or PIA. Versitile interface adaptor, or Peripheral interface adaptor. These have two times 8 bits to control devices. When using 4 bits and convert these to 16 lines by using a 75ls145 for example. If you put a counter on those 4 bits, you sequently activate 1 of 16 lines. These lines you can use to scan a keyboard matrix OR display a character on a 7 segment display. These display’s won’t hold the data (and show the character) when not activated. The trick is to update de display fast enough so you don’t see the flickering on/off.
Activate a line and read a byte with the VIA = Reading keyboard row Activate a line and write a byte with the VIA = Display on a segment
These VIA/PIA’s where made with specific timings to match the CPU. 6522/6820/8255
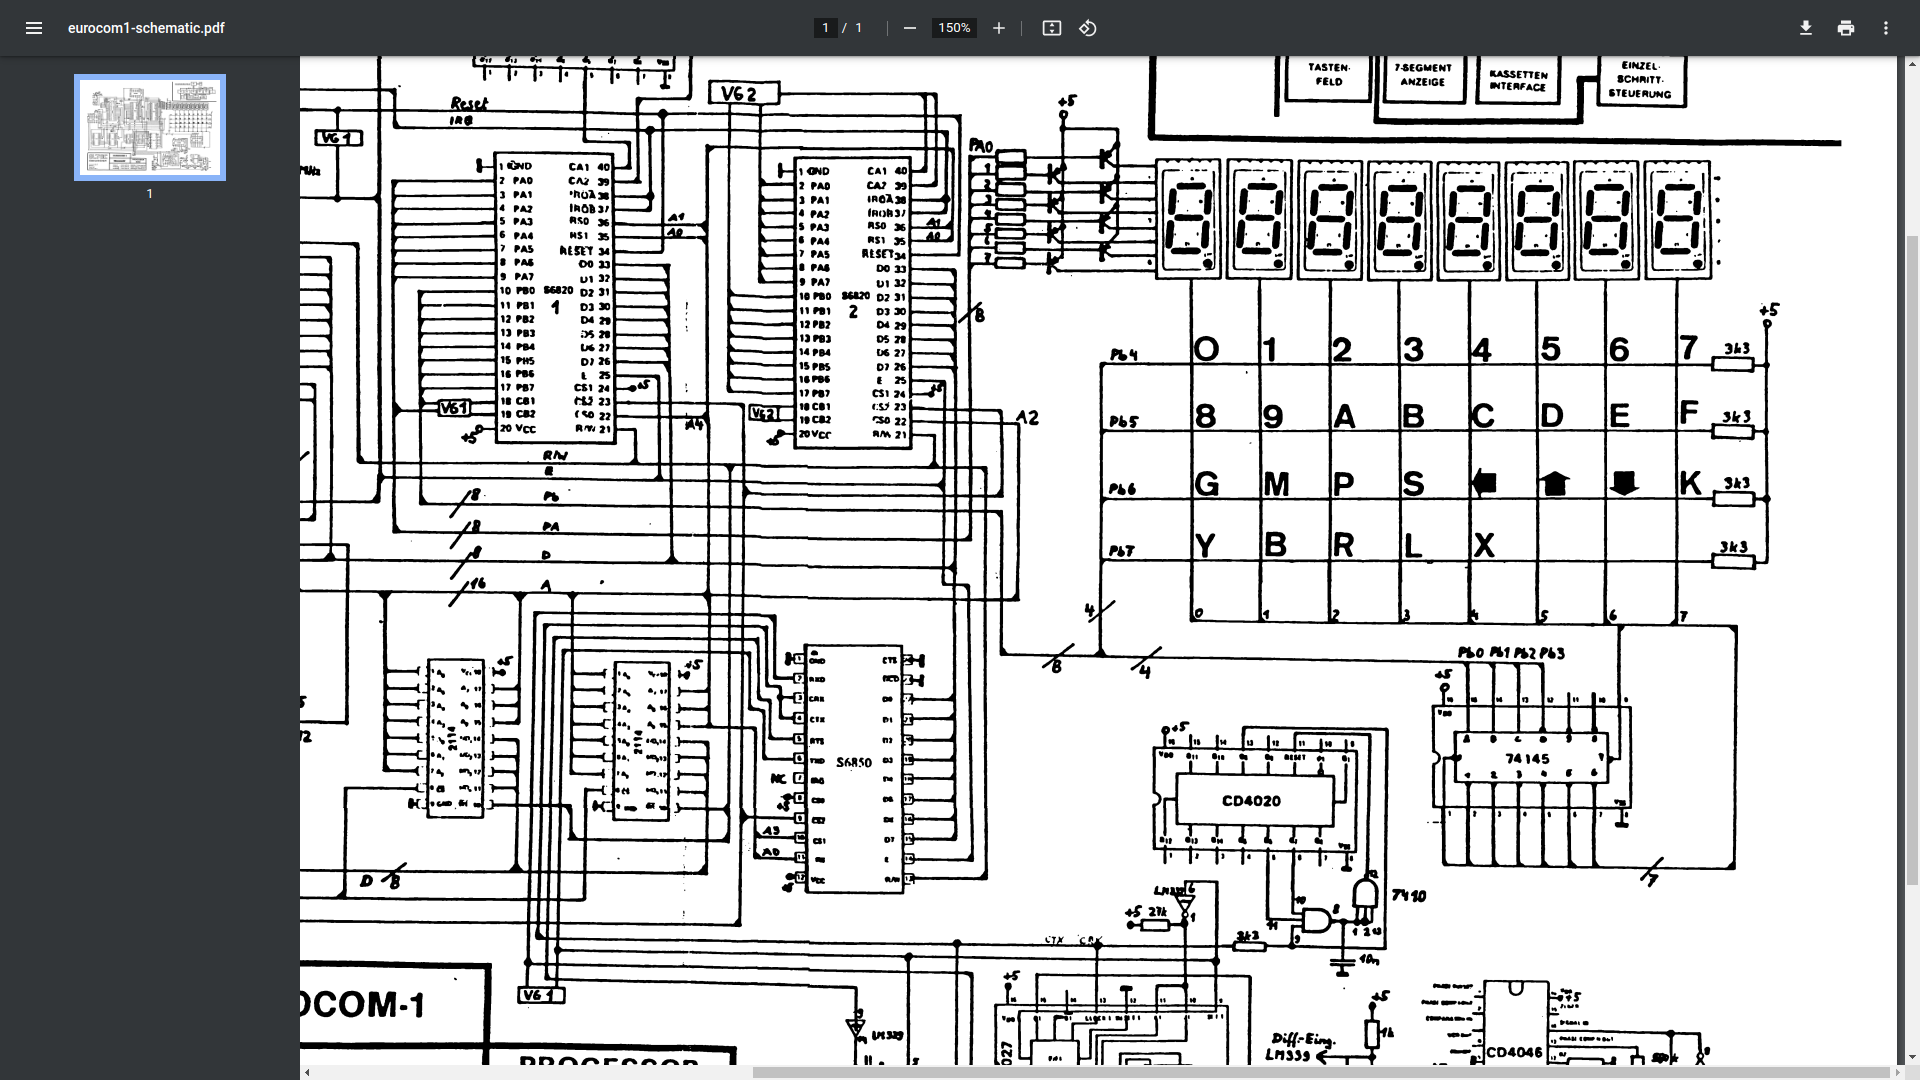
Below you see some different implementations of these keyboard/display combo’s
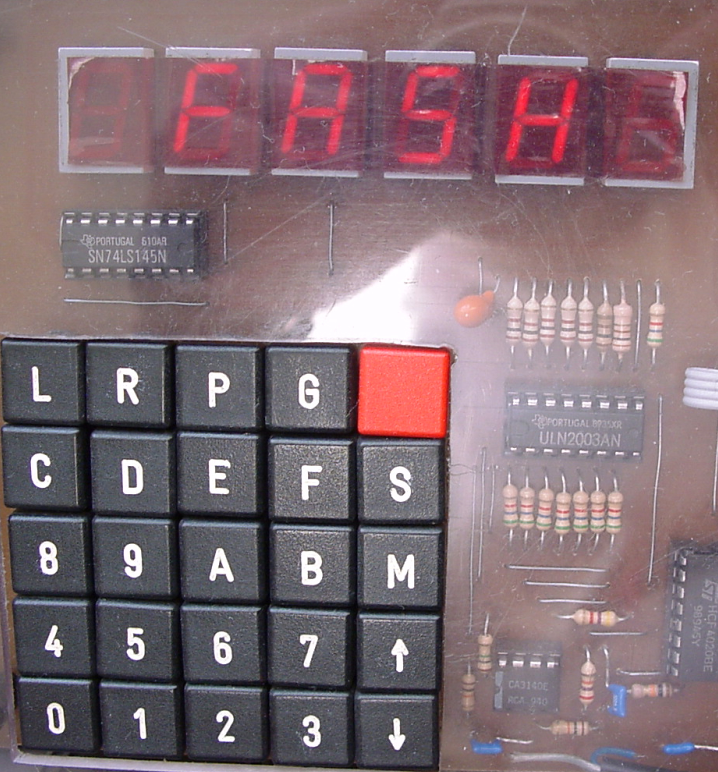
Thaler 6502 kit
Microprofessor MPF-1 kit (ignore red circle)
SDK85 kit
Eltec 6800
My version using darlington arrays (ULN2003)
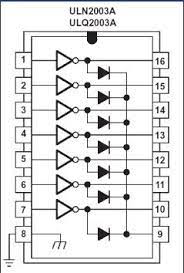
When looking at the 8085 version you see transistors being a ULN2003 is a chip with those transistors/amplification enclosed. It doesn´t draw much current from the bus, and diodes protect the way the current flows.
Februari 2021 i made a website to view images and movies in a browser to do some quick sorting. (borrowed some code from a codepen page i recall correctly) At the time i didn´t have a good way to view webp webm media. I wanted to view multiple files at the same time, and make it short and simple.
BTW no webserver needed, just open the file from a directory! jpg’s png’s webm webp mp4 svg and animated gifs work. (maybe more, didn’t test more, whatever your browser supports)
With recent updates of the chrome browser the video attributes to mute is broken, i so made a workaround. Also everything is in one file now. Except for one issue .. i couldn´t create one file for images AND videos.
There is a piece of javascript i could not fix … yet I have to do execute a document.createElement which is different for images and videos. Also the attributes of video are mute,autoplay,loop,playinline
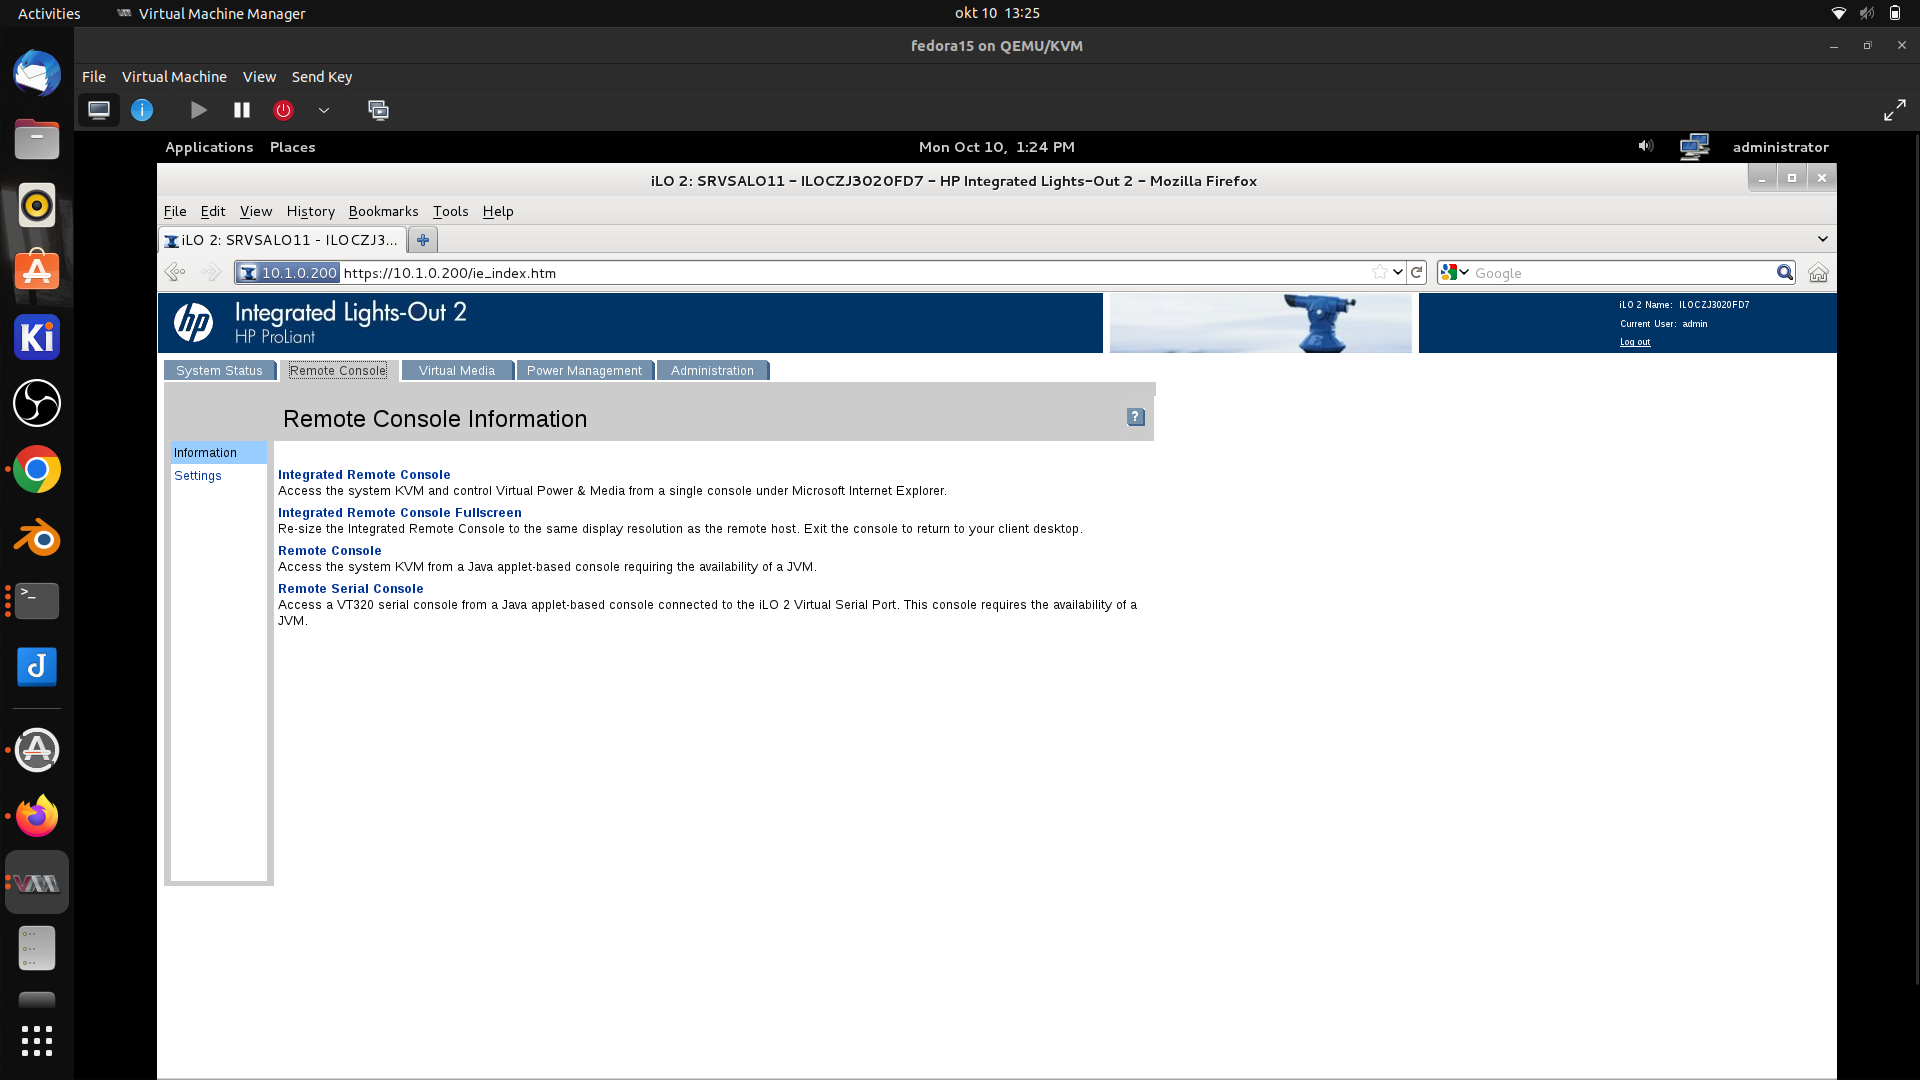
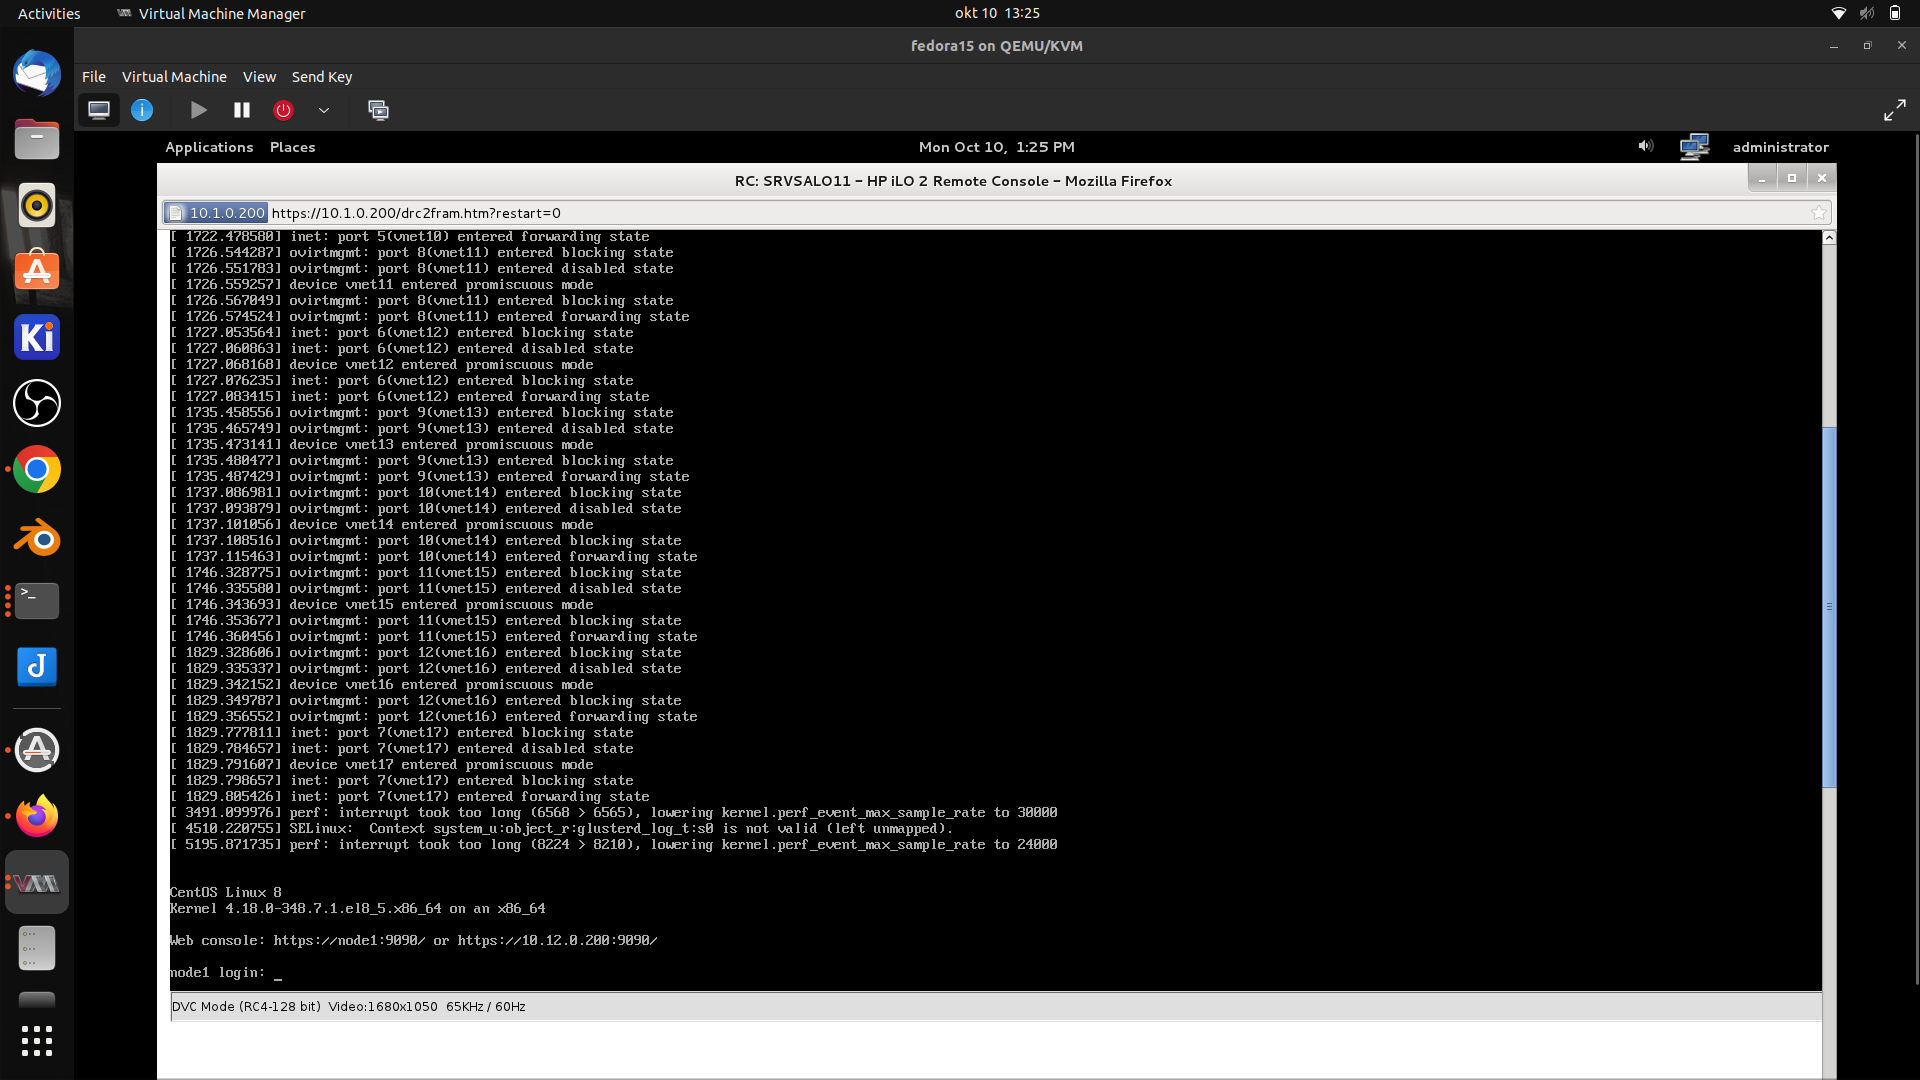
We bought some servers a while ago, but these have old ILO versions (2).
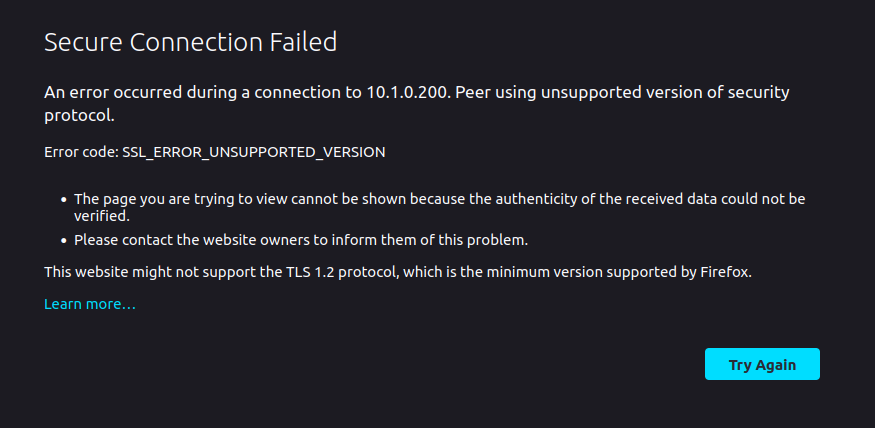
To manage these servers via ILO was no problem until modern browsers refuse to connect to these web services, because of TLS 1.0 issues.
So what i did was using a second user account on my workstation with a old (downloaded from a ESR archive) version firefox. To administer the ILO
wget https://ftp.mozilla.org/pub/firefox/releases/50.0/linux-x86_64/en-US/firefox-50.0.tar.bz2
extract in other users homedir

usage:
# ssh with X forwarding and start old version
ssh -X otheruser@localhost firefox/oldfirefox
While this was working for me on a debian based machine it didn’t work for my friend who was using Fedora on Wayland.
So i made a more generic solution which would work always. Also when working from windows.
I downloaded a old Fedora version ISO. https://archives.fedoraproject.org/pub/archive/fedora/linux/releases/15/Fedora/x86_64/iso/ Using the DVD iso i knew the old JAVA was present.
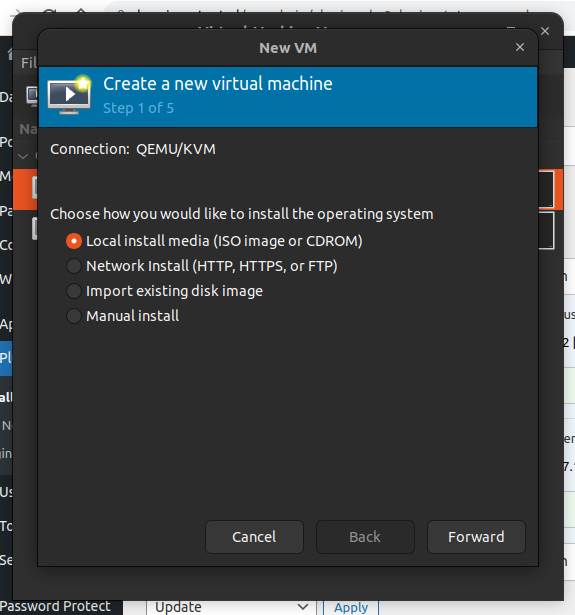
So i started virt-manager and created a new virtual machine
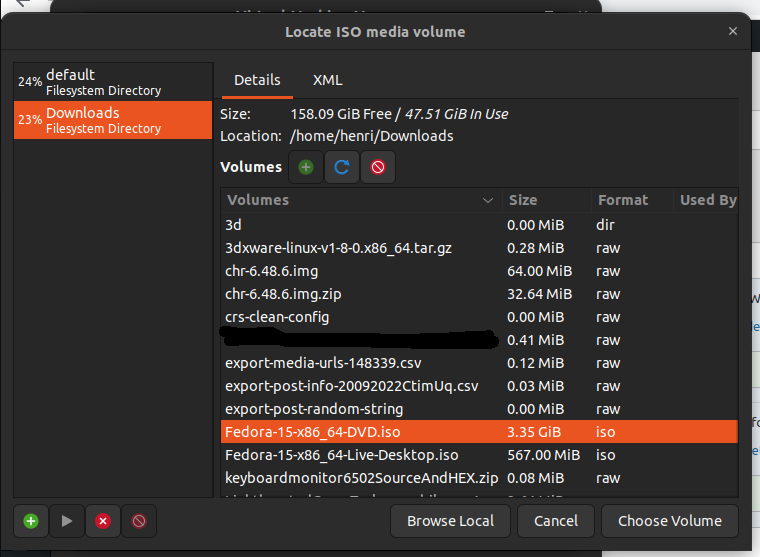
Select your downloaded Fedora 15 ISO
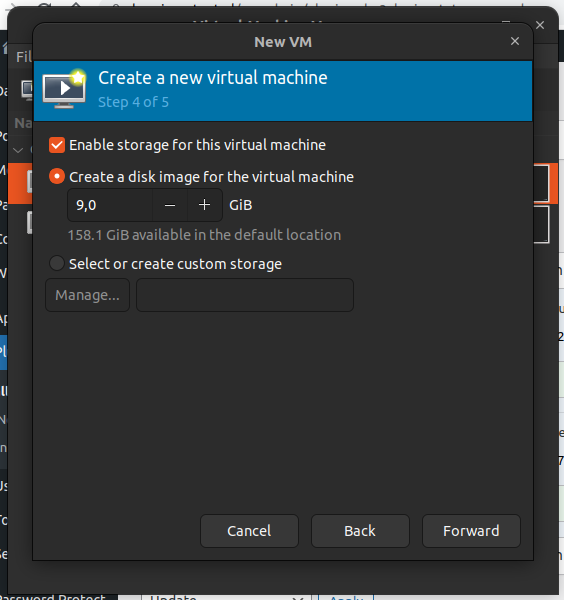
Where is the thin option?!??!
Create a disk image for the OS, don’t worry about the size we are going to shrink it to a minimum (thin provisioned)
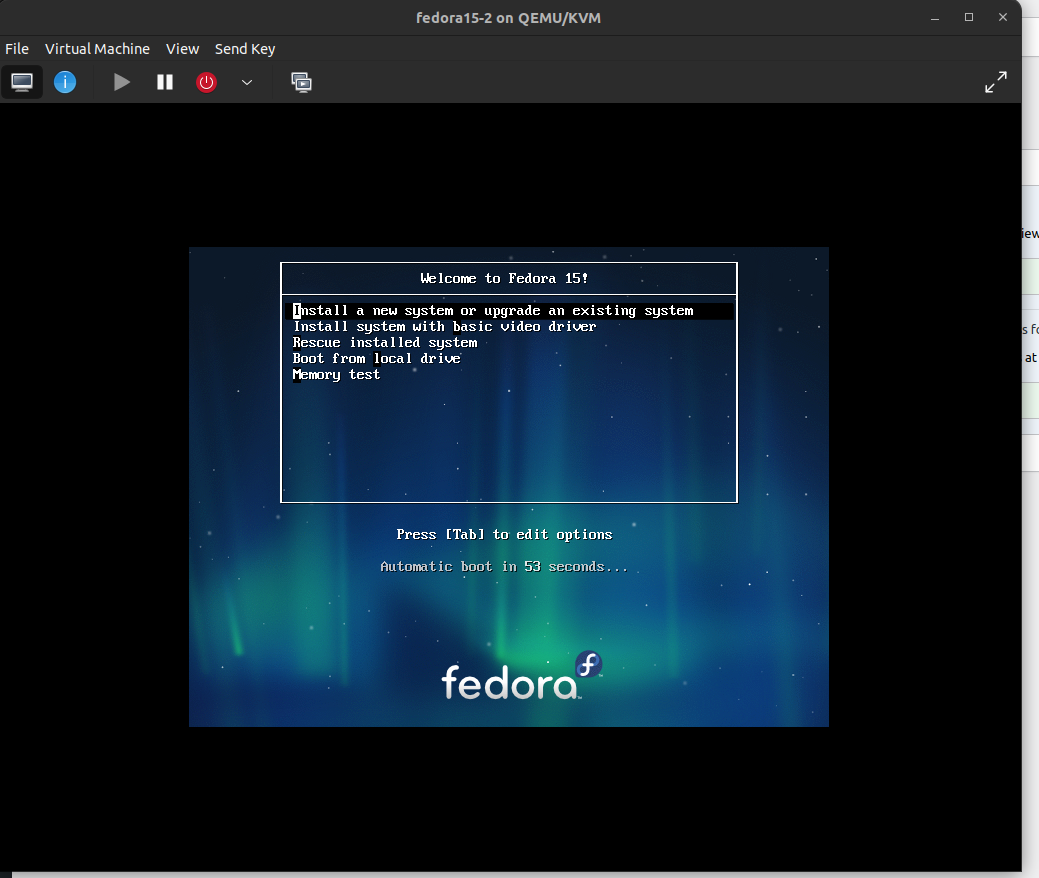
Booting from ISO
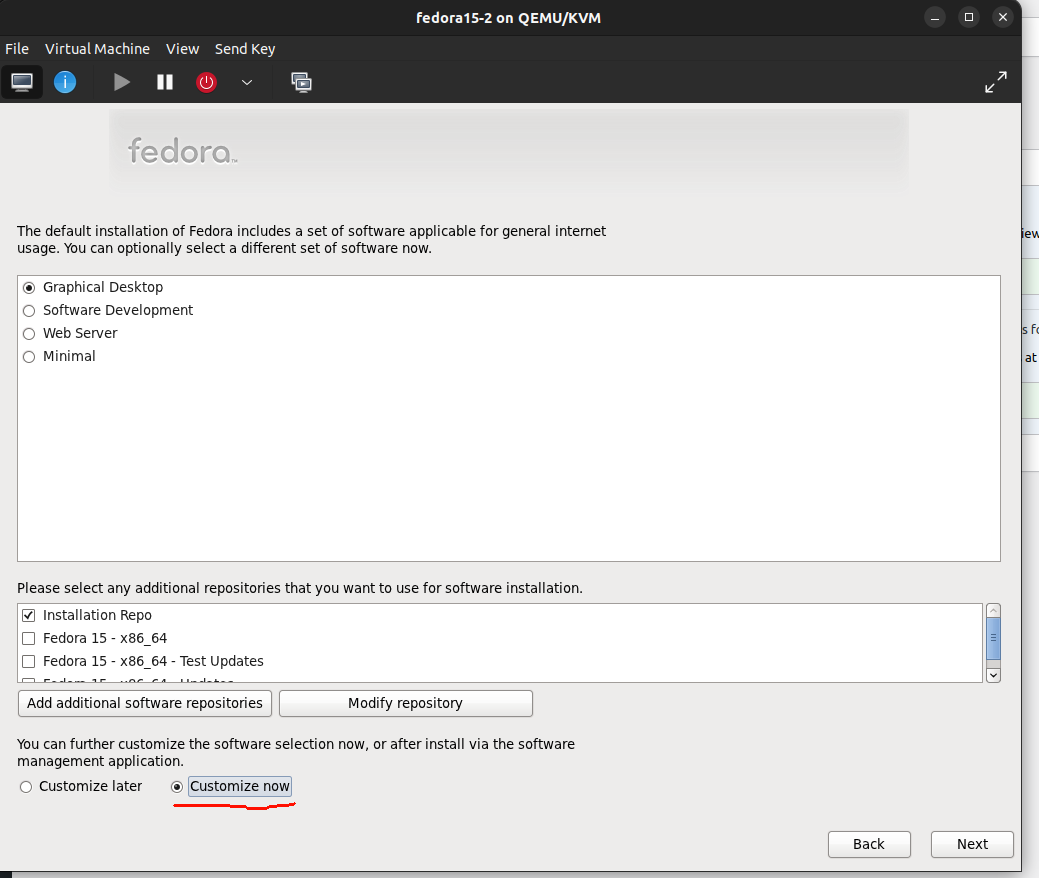
Do not forget to tick Customize now
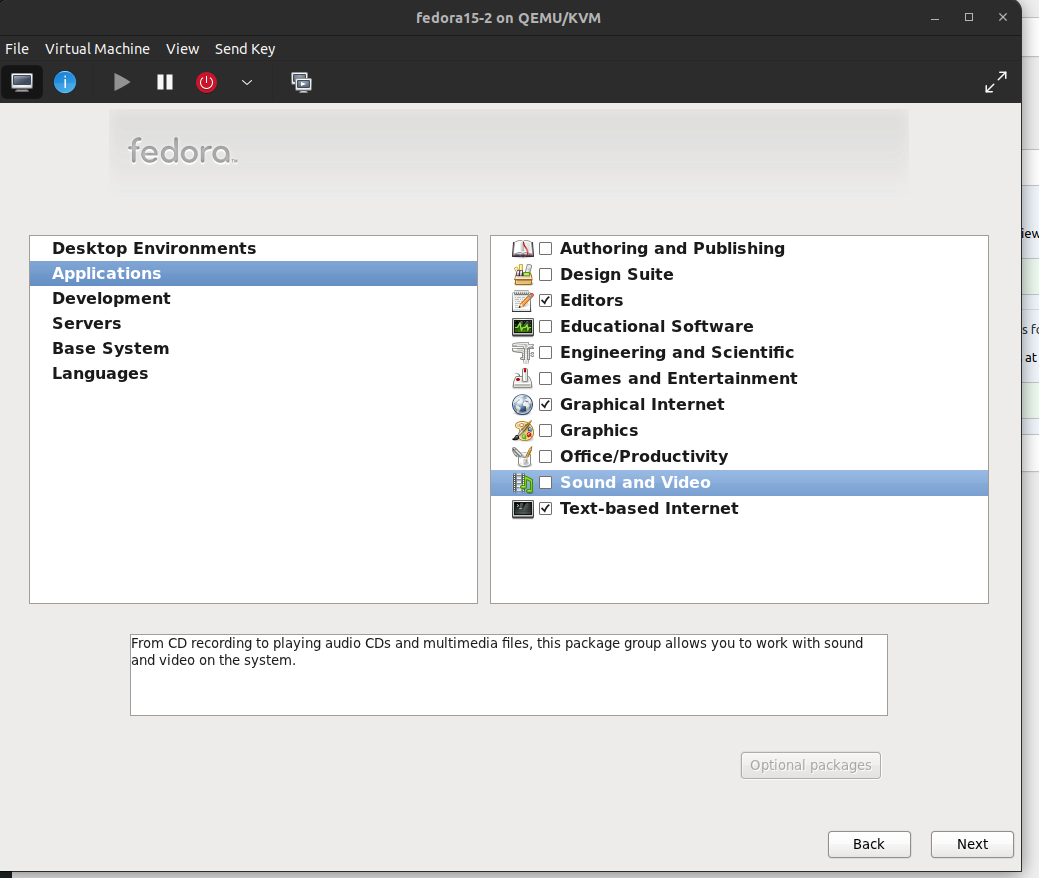
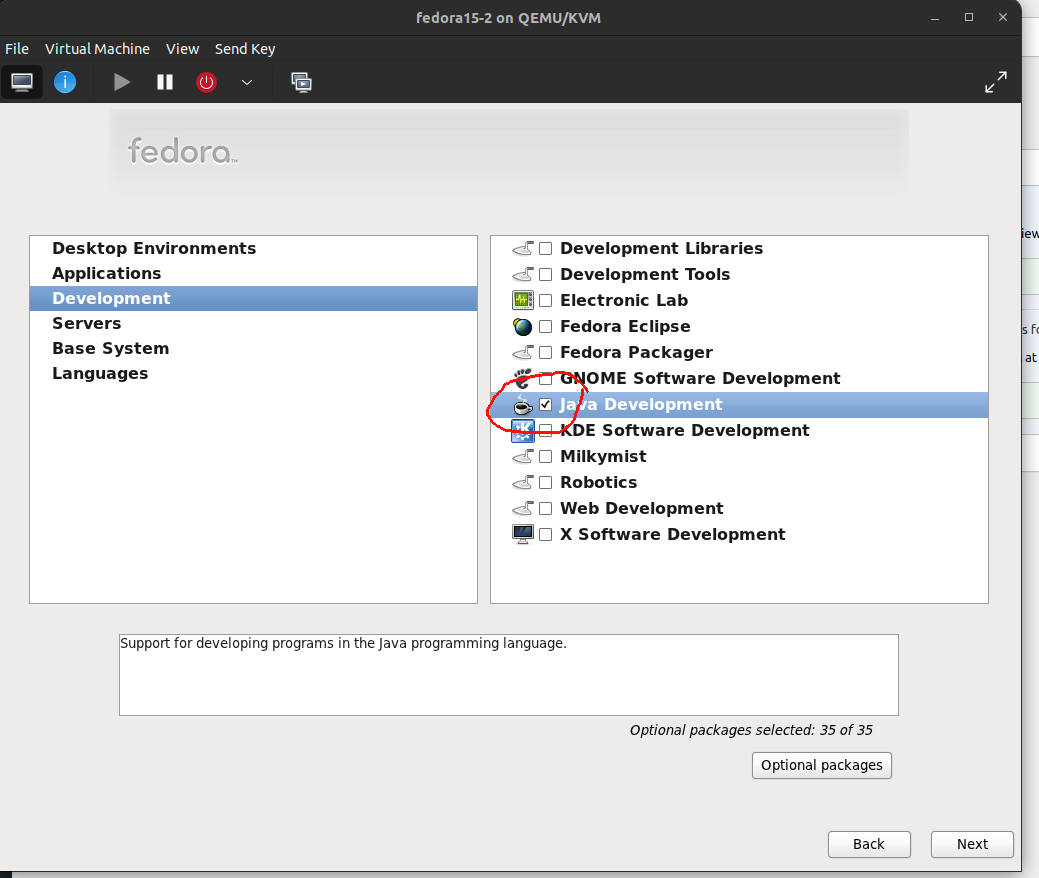
Disable all thats not needed! .. Only Gnome Graphical internet .. and JAVA
Create users, complete the install and reboot. Test your installation. Shutdown
sudo qemu-img info /var/lib/libvirt/images/fedora15.qcow2 When above gives you a RAW image, you need to convert from RAW to QCOW first. Mine showed a 9G qcow2 image .. far to large