see:
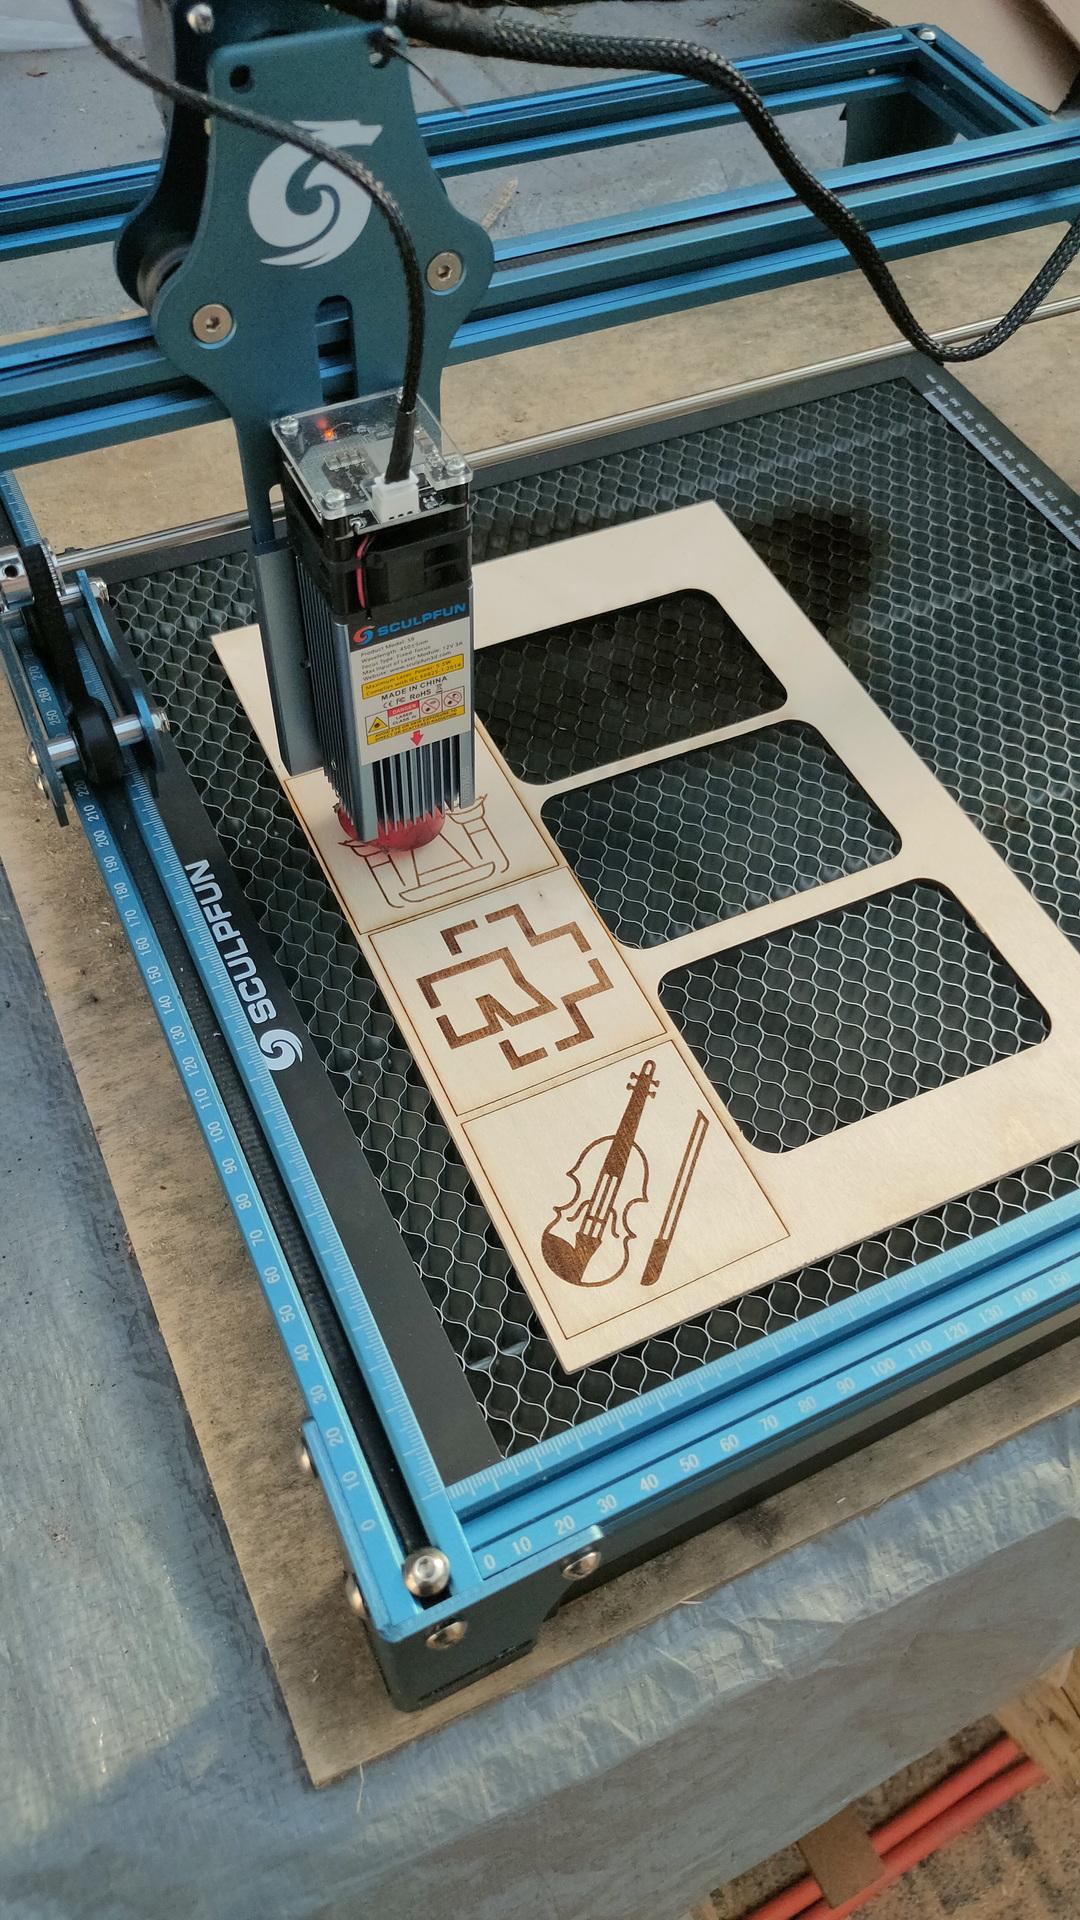
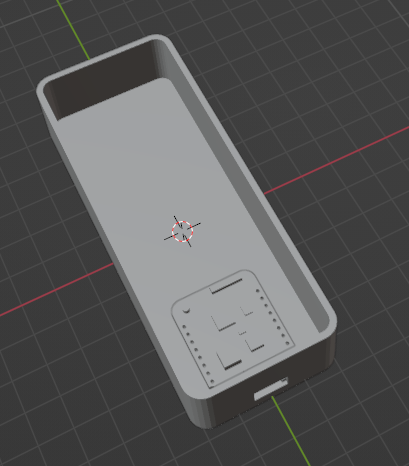
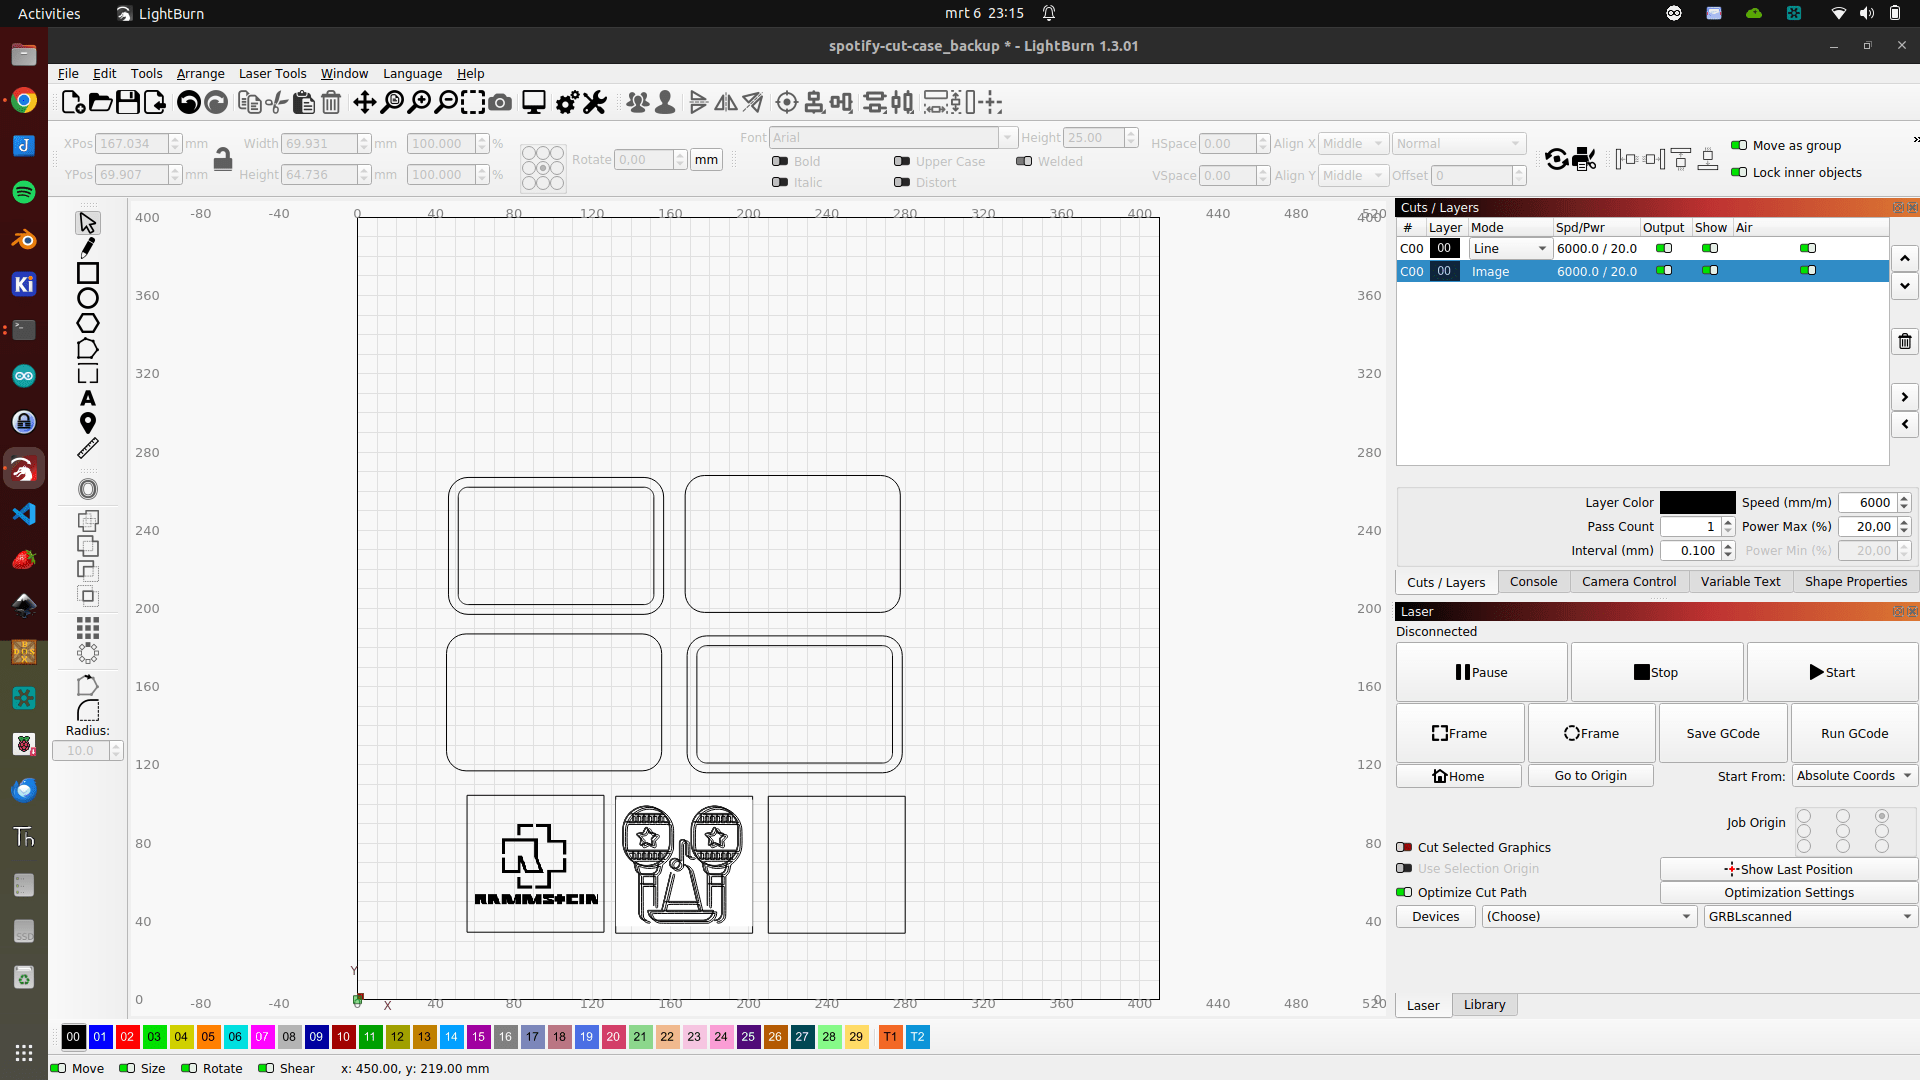
Lasercutting a case and the playlist selectors.
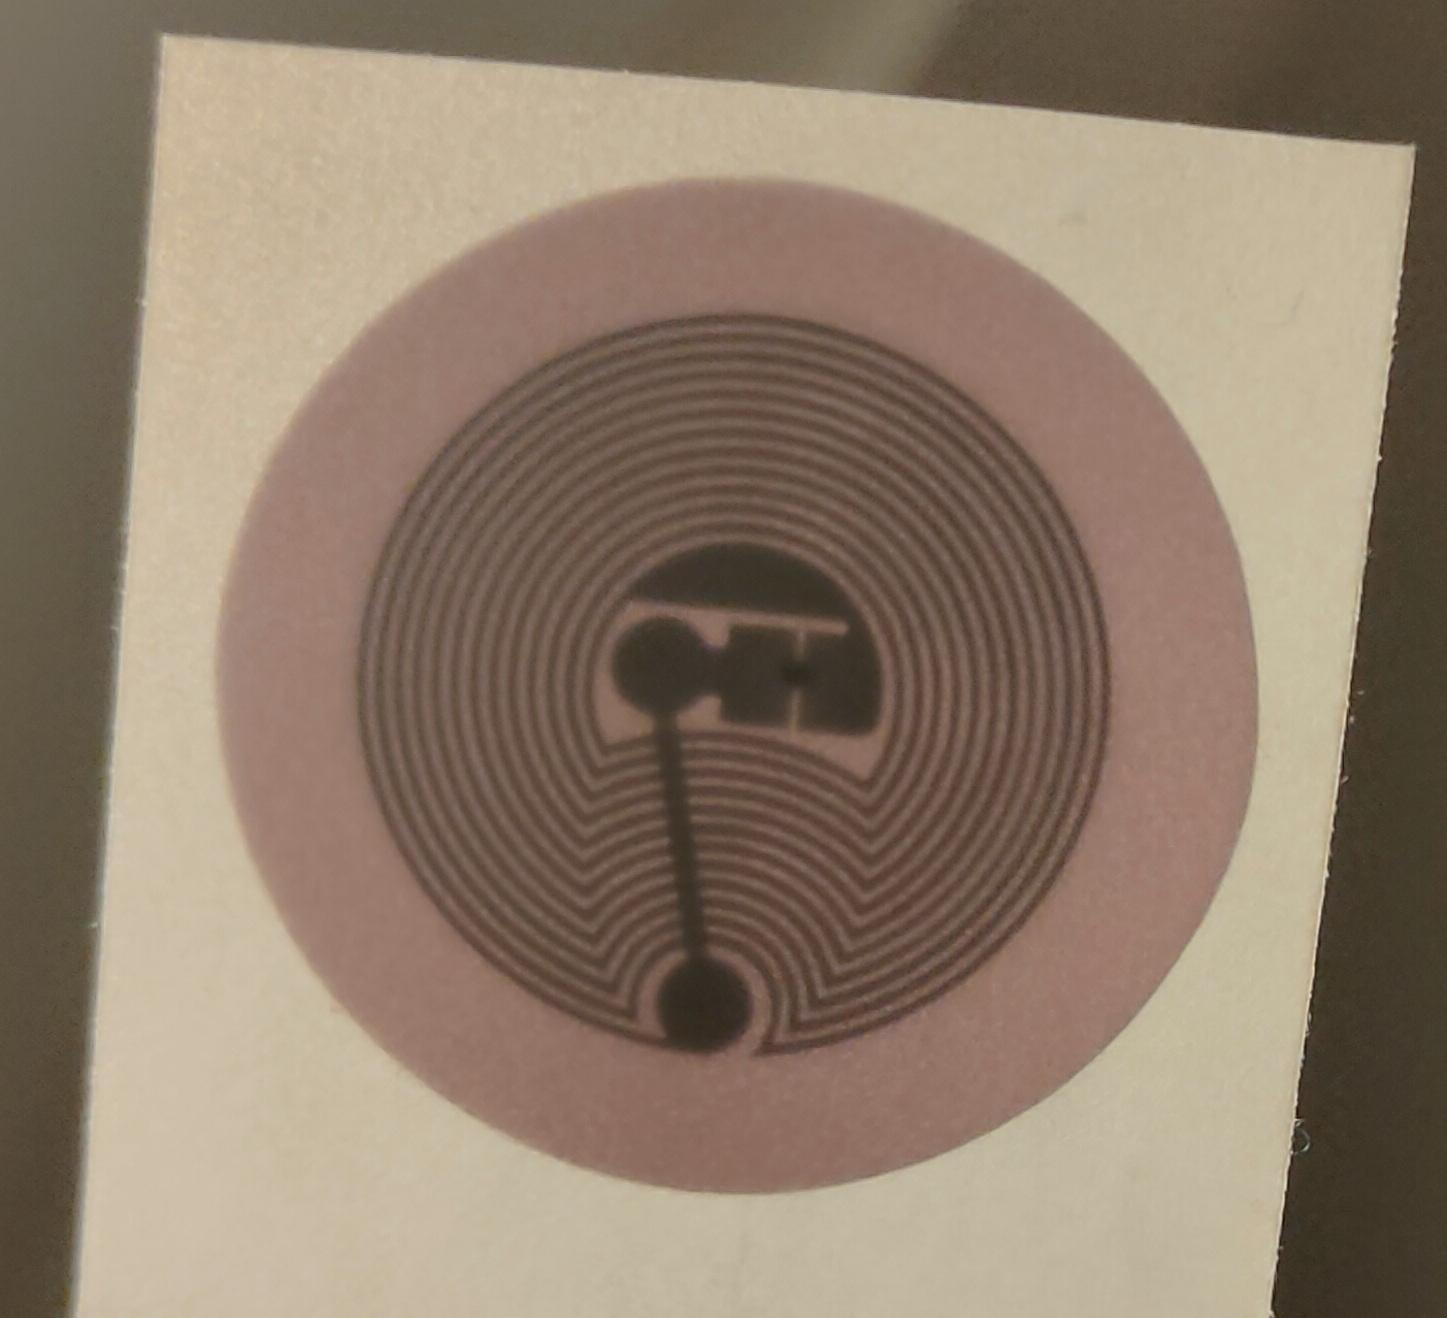
Close-up RFID stickers I’m using.
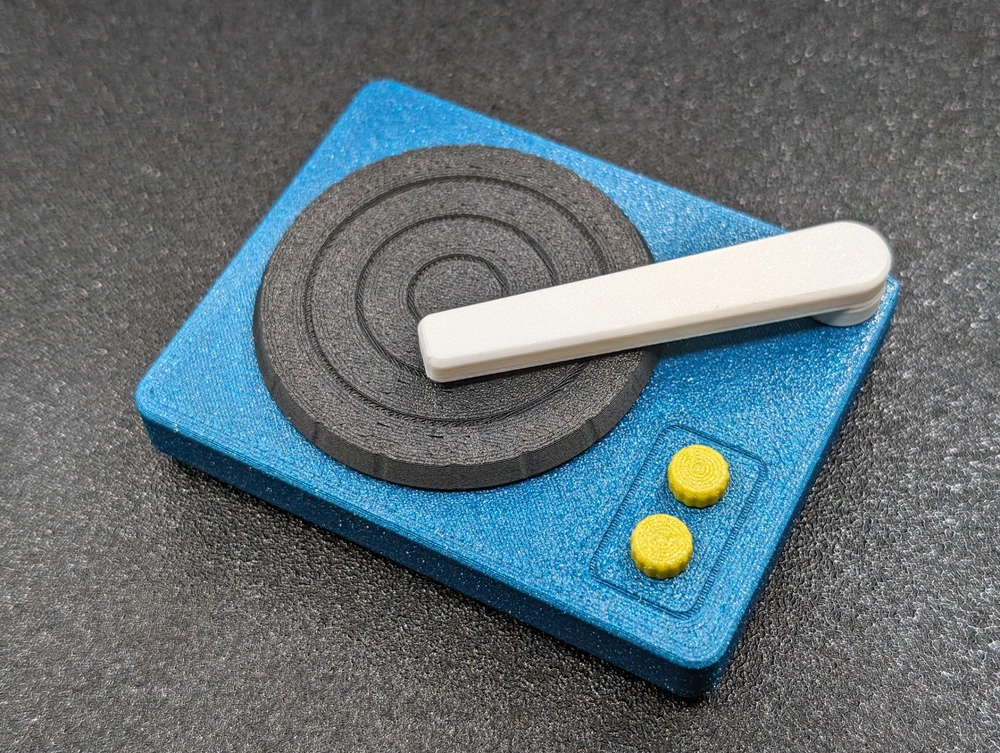
Below is a test with different methods.
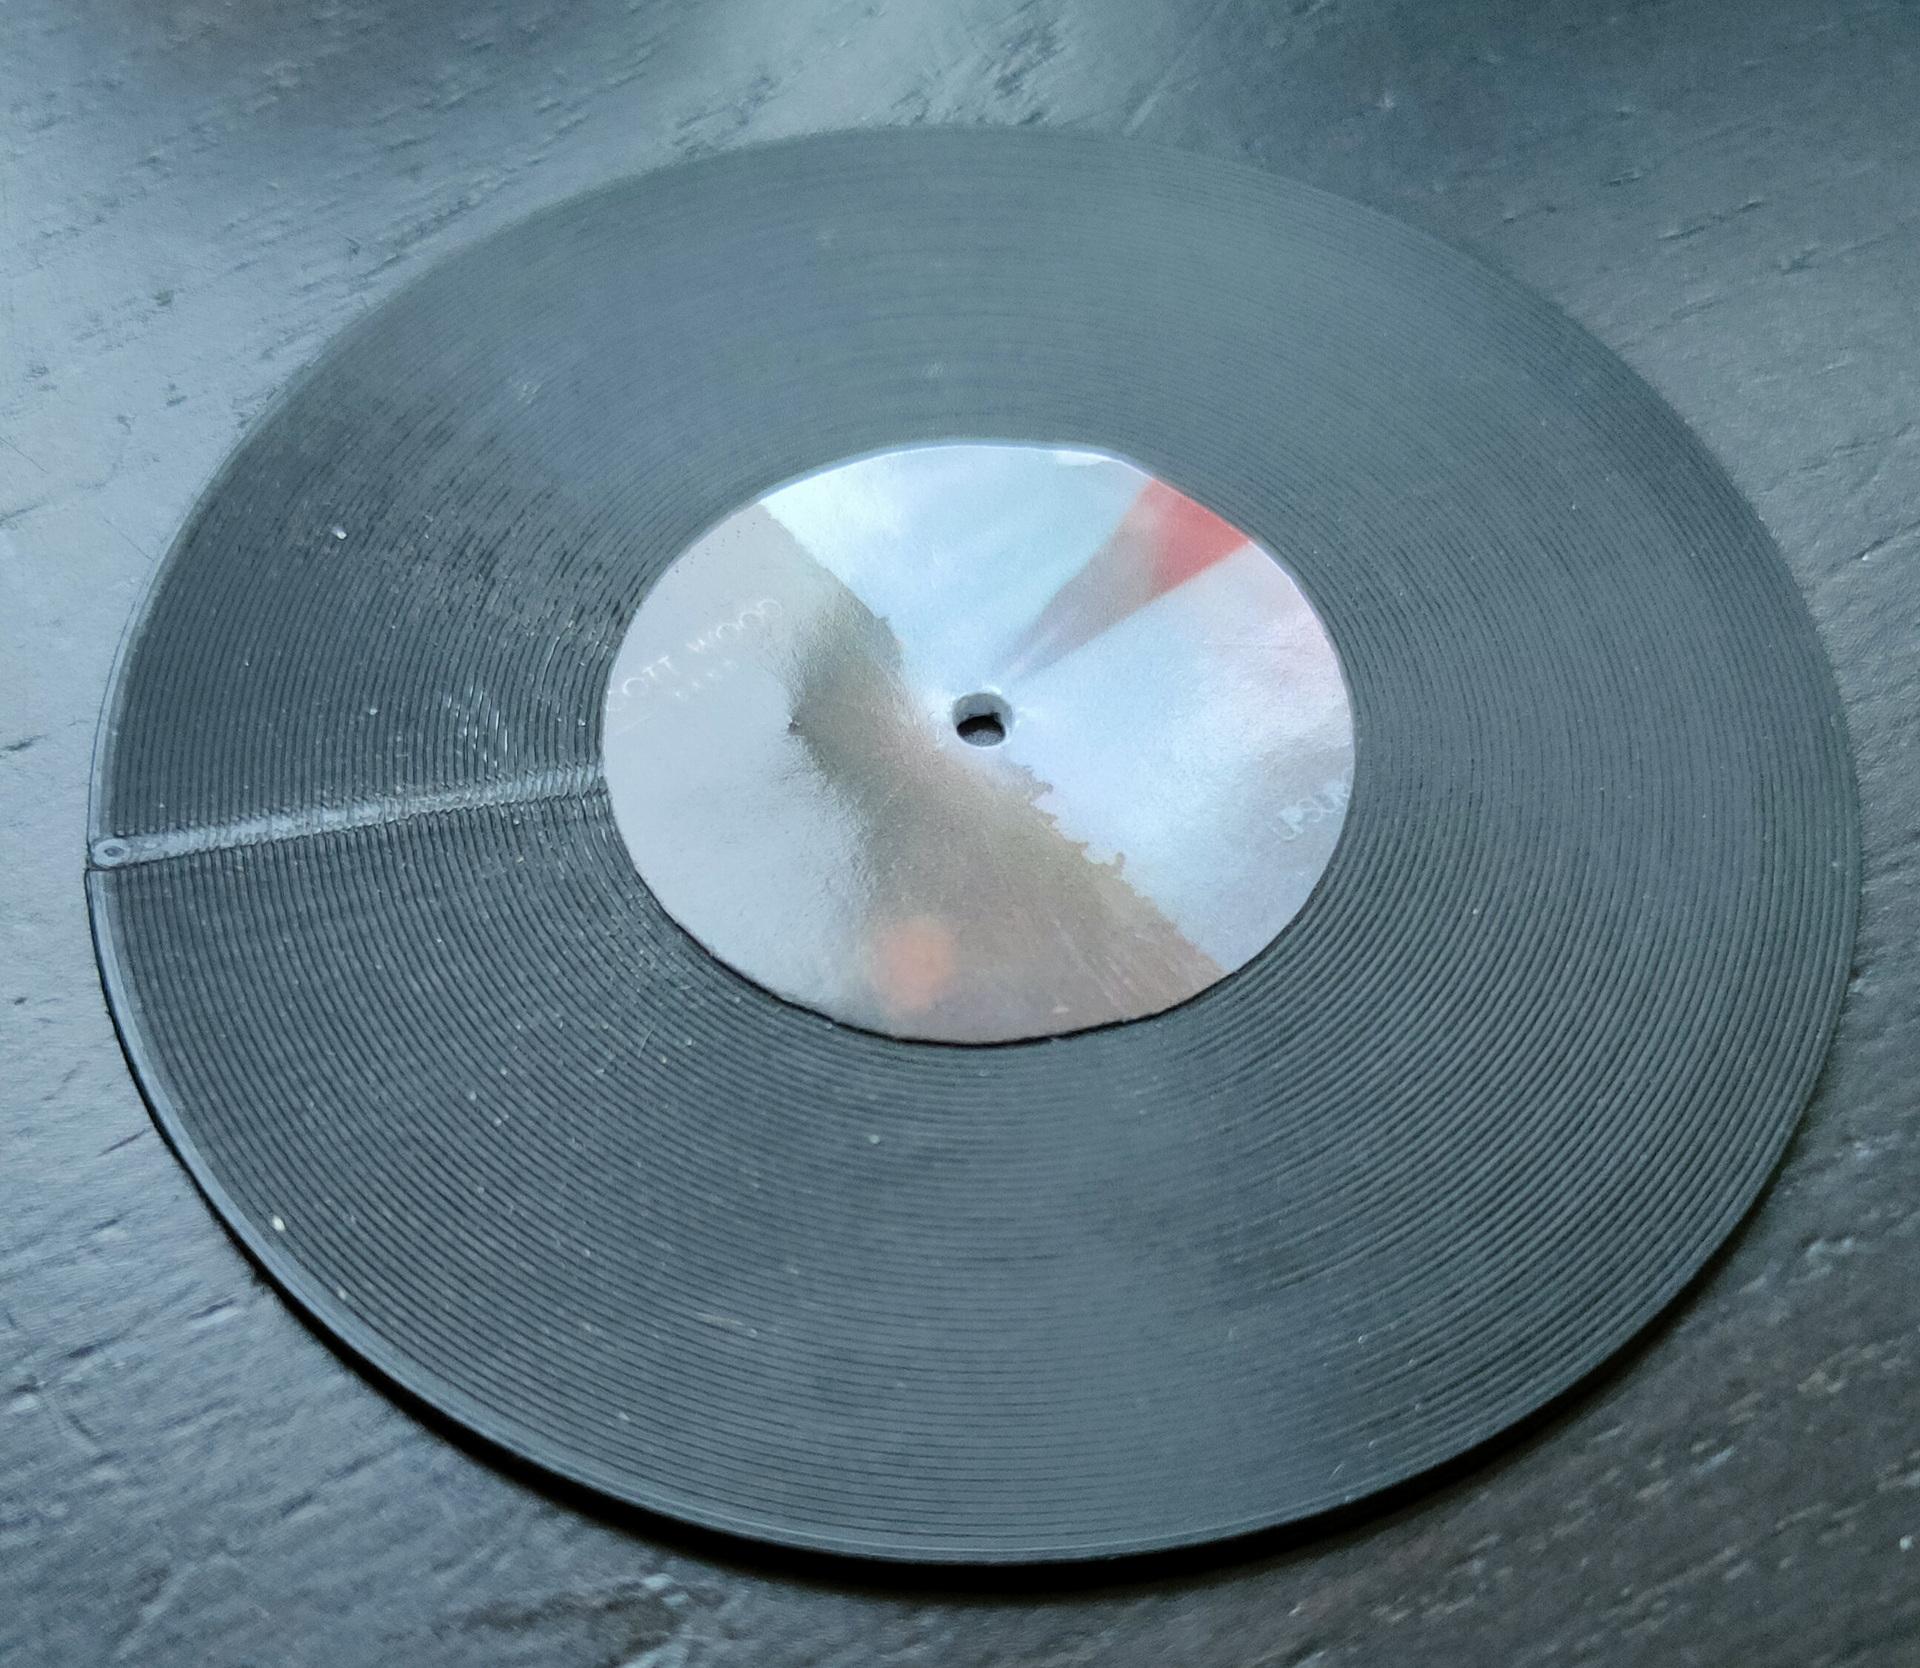
I like reading the booklets, so a CD i cool, and I don’t need a CD player.
(The RFID tag is in the case)
The little cards are for bought audio files I don’t have a physical CD for.
What am I gonna do?
Cube as I had? Wooden playlist selectors as in above movies?
The cards I’ve printed?
Maybe a small record player with an RFID reader inside?
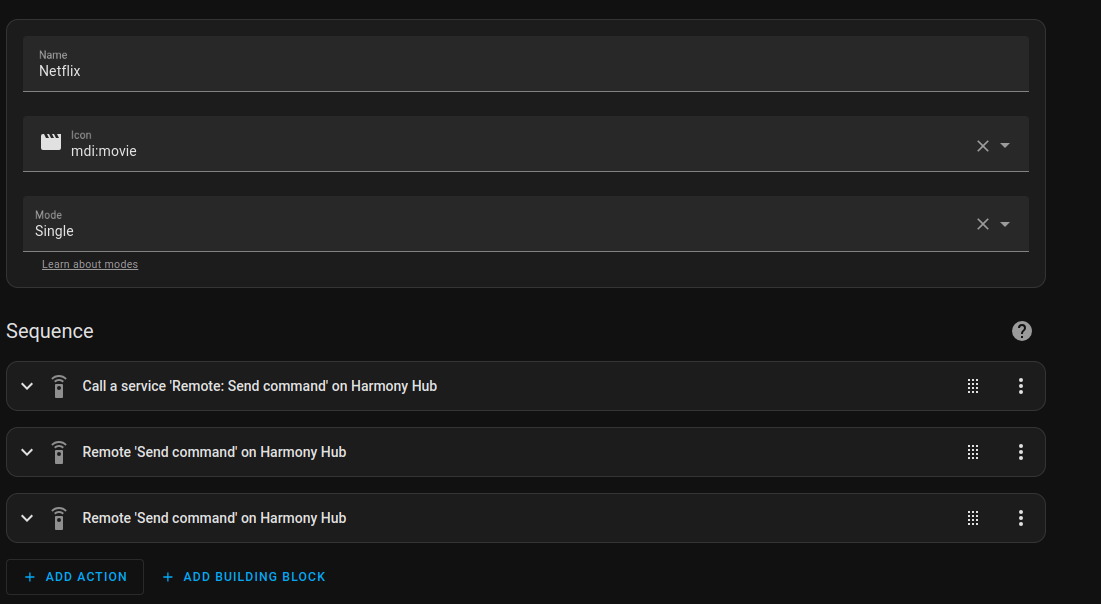
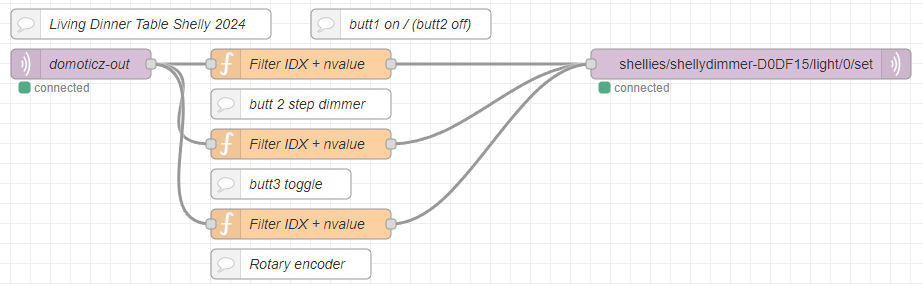
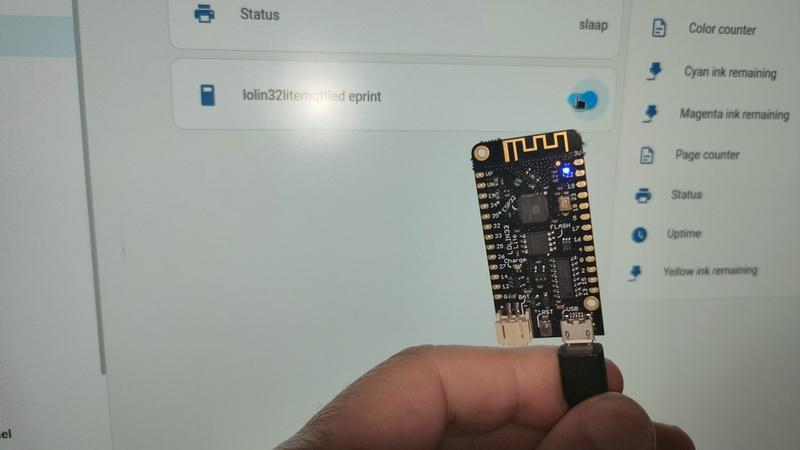
Home Assistant code for Playlist and Album automations
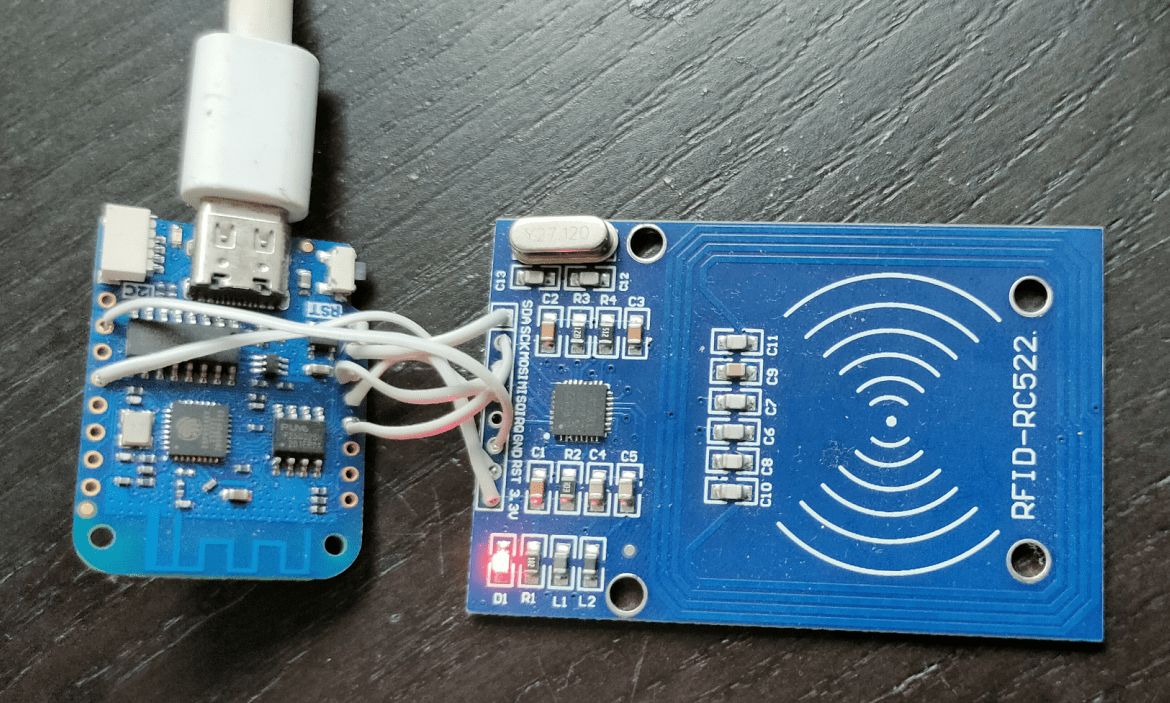
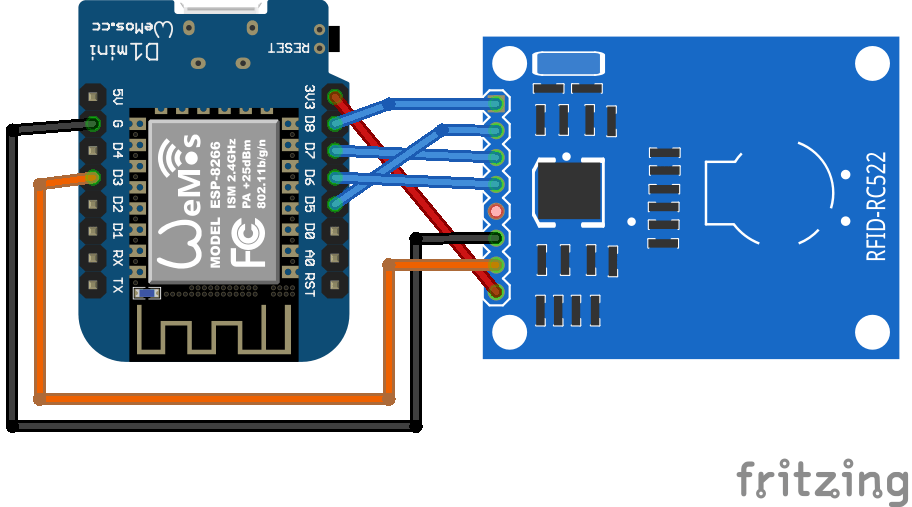
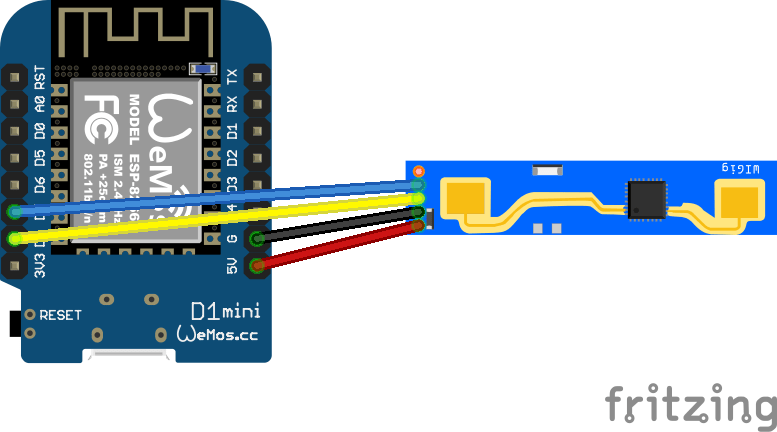
(B.t.w. The method is still using an Arduino and MQTT topics, as mentioned before)
# ALBUM PLAYER
alias: SpotifyAlbum
description: ""
trigger:
  - platform: mqtt
    topic: spotify/rfid/id
condition:
  - condition: template
    value_template: "{{ trigger.payload in playlistkeys.keys() }}"
action:
  - service: media_player.play_media
    target:
      entity_id: media_player.spotify_fashice
    data:
      media_content_type: album
      media_content_id: spotify:album:{{ playlistkeys.get(trigger.payload) }}
mode: single
variables:
  playlistkeys:
    "71719674": 20TANs4iXVeLp387zjgmec
    "71260666": 5325ECcBhnIysoqyENGCYi
    "71457530": 7wyOeD9HcUuMFMO8pTflap
# PLAYLIST PLAYER
alias: SpotifyCube
description: ""
trigger:
  - platform: mqtt
    topic: spotify/rfid/id
condition:
  - condition: template
    value_template: "{{ trigger.payload in playlistkeys.keys() }}"
action:
  - service: media_player.play_media
    target:
      entity_id: media_player.spotify_fashice
    data:
      media_content_type: playlist
      media_content_id: spotify:user:spotify:playlist:{{ playlistkeys.get(trigger.payload) }}
variables:
  playlistkeys:
    "69229050": 0SOay3RkjojjevrF5lHMON
    "69491194": 5f8w3UHlD9Ozz6Y4VHs6kF
    "69753338": 0bJvpsn0TDZwIDUjz4d75S
    "70015482": 37i9dQZF1DX9HwI3Crikcm
    "70277626": 37i9dQZF1EQmK1rjZuPGDt
    "70539770": 2KeRLMmGMxI5UgzE7m0iCp
In the past, Aloha and I made a simple solution like this using barcodes in < 2000s.
Due to the many obscure recordings I have, I am thinking about creating something like this for Picore player and my local Squeezebox server.
Logitech Squeezebox / Media Server Solution
alias: squeezealbumplay
description: ""
trigger:
  - platform: mqtt
    topic: spotify/rfid/id
condition:
  - condition: template
    value_template: "{{ trigger.payload in playlistkeys.keys() }}"
action:
  - service: squeezebox.call_method
    target:
      entity_id: media_player.squeezebox
    data:
      command: playlist
      parameters:
        - play
        - "{{ playlistkeys.get(trigger.payload) }}"
mode: single
variables:
  playlistkeys:
    "71719674": /tank/celtic/Celtic/M/Martyn Bennett/Bothy Culture/
    "71719675": /tank/celtic/Celtic/D/Davy Spillane/Atlantic Bridge/
    "2159056458": /tank/celtic/Celtic/M/Michael McGoldrick/Arc/