20220502: Fixed another C64, PIA (Peripheral Interface Adapter) was dead, luckily i’ve got several spare-part c64’s. So that was a easy fix.
20220504: Got my sd2iec adaptor in, see bottom of this page.
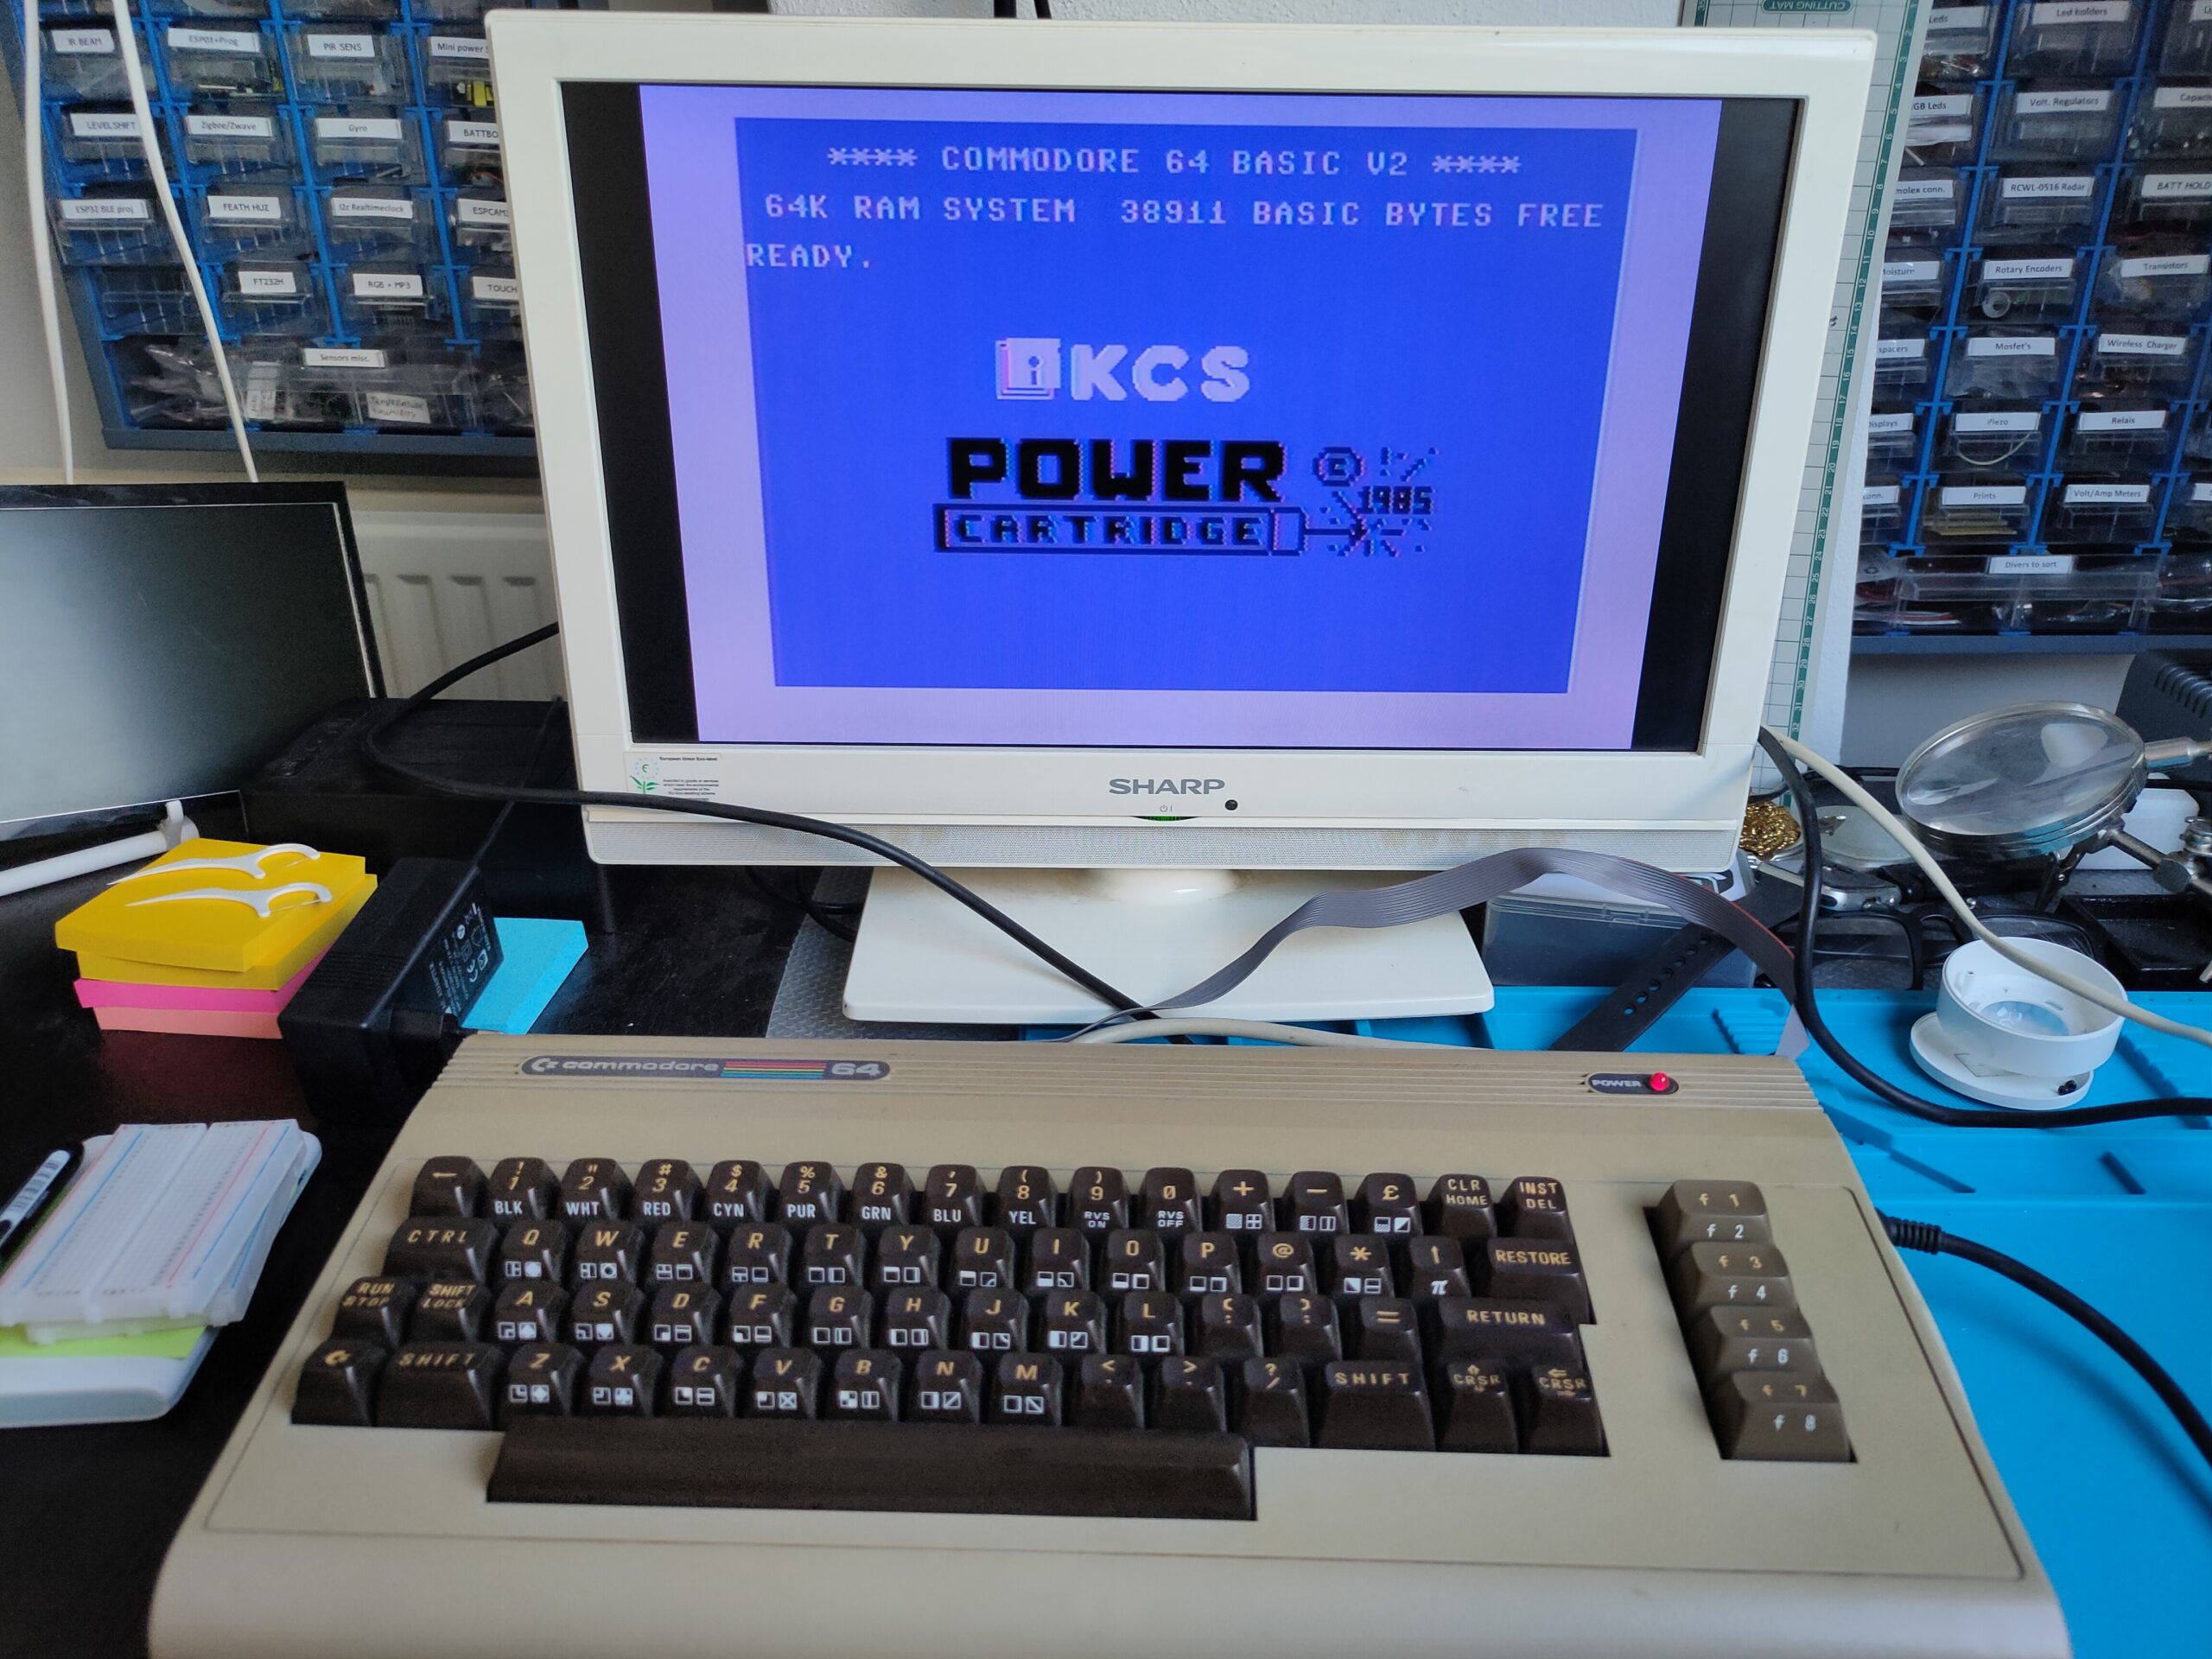
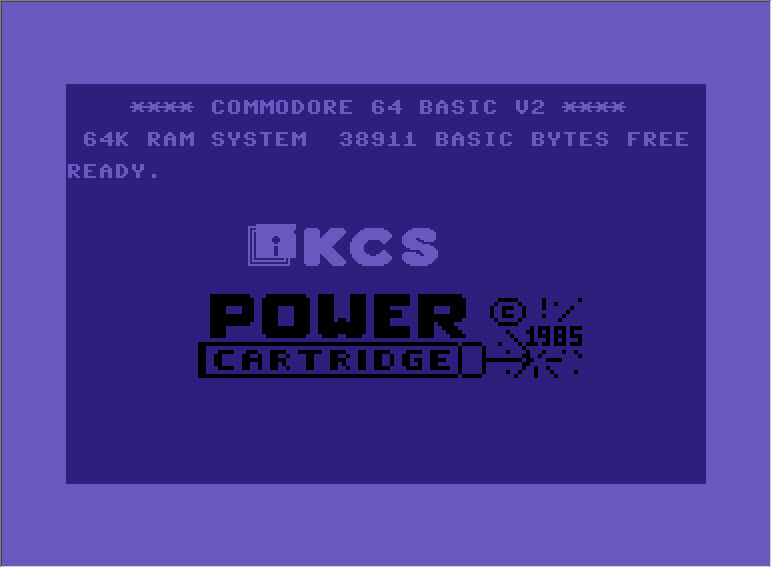
Booting with a power cartridge
None of my old computers was unmodified
Demo by my old friend Sepp
Drive is a 1541model 2
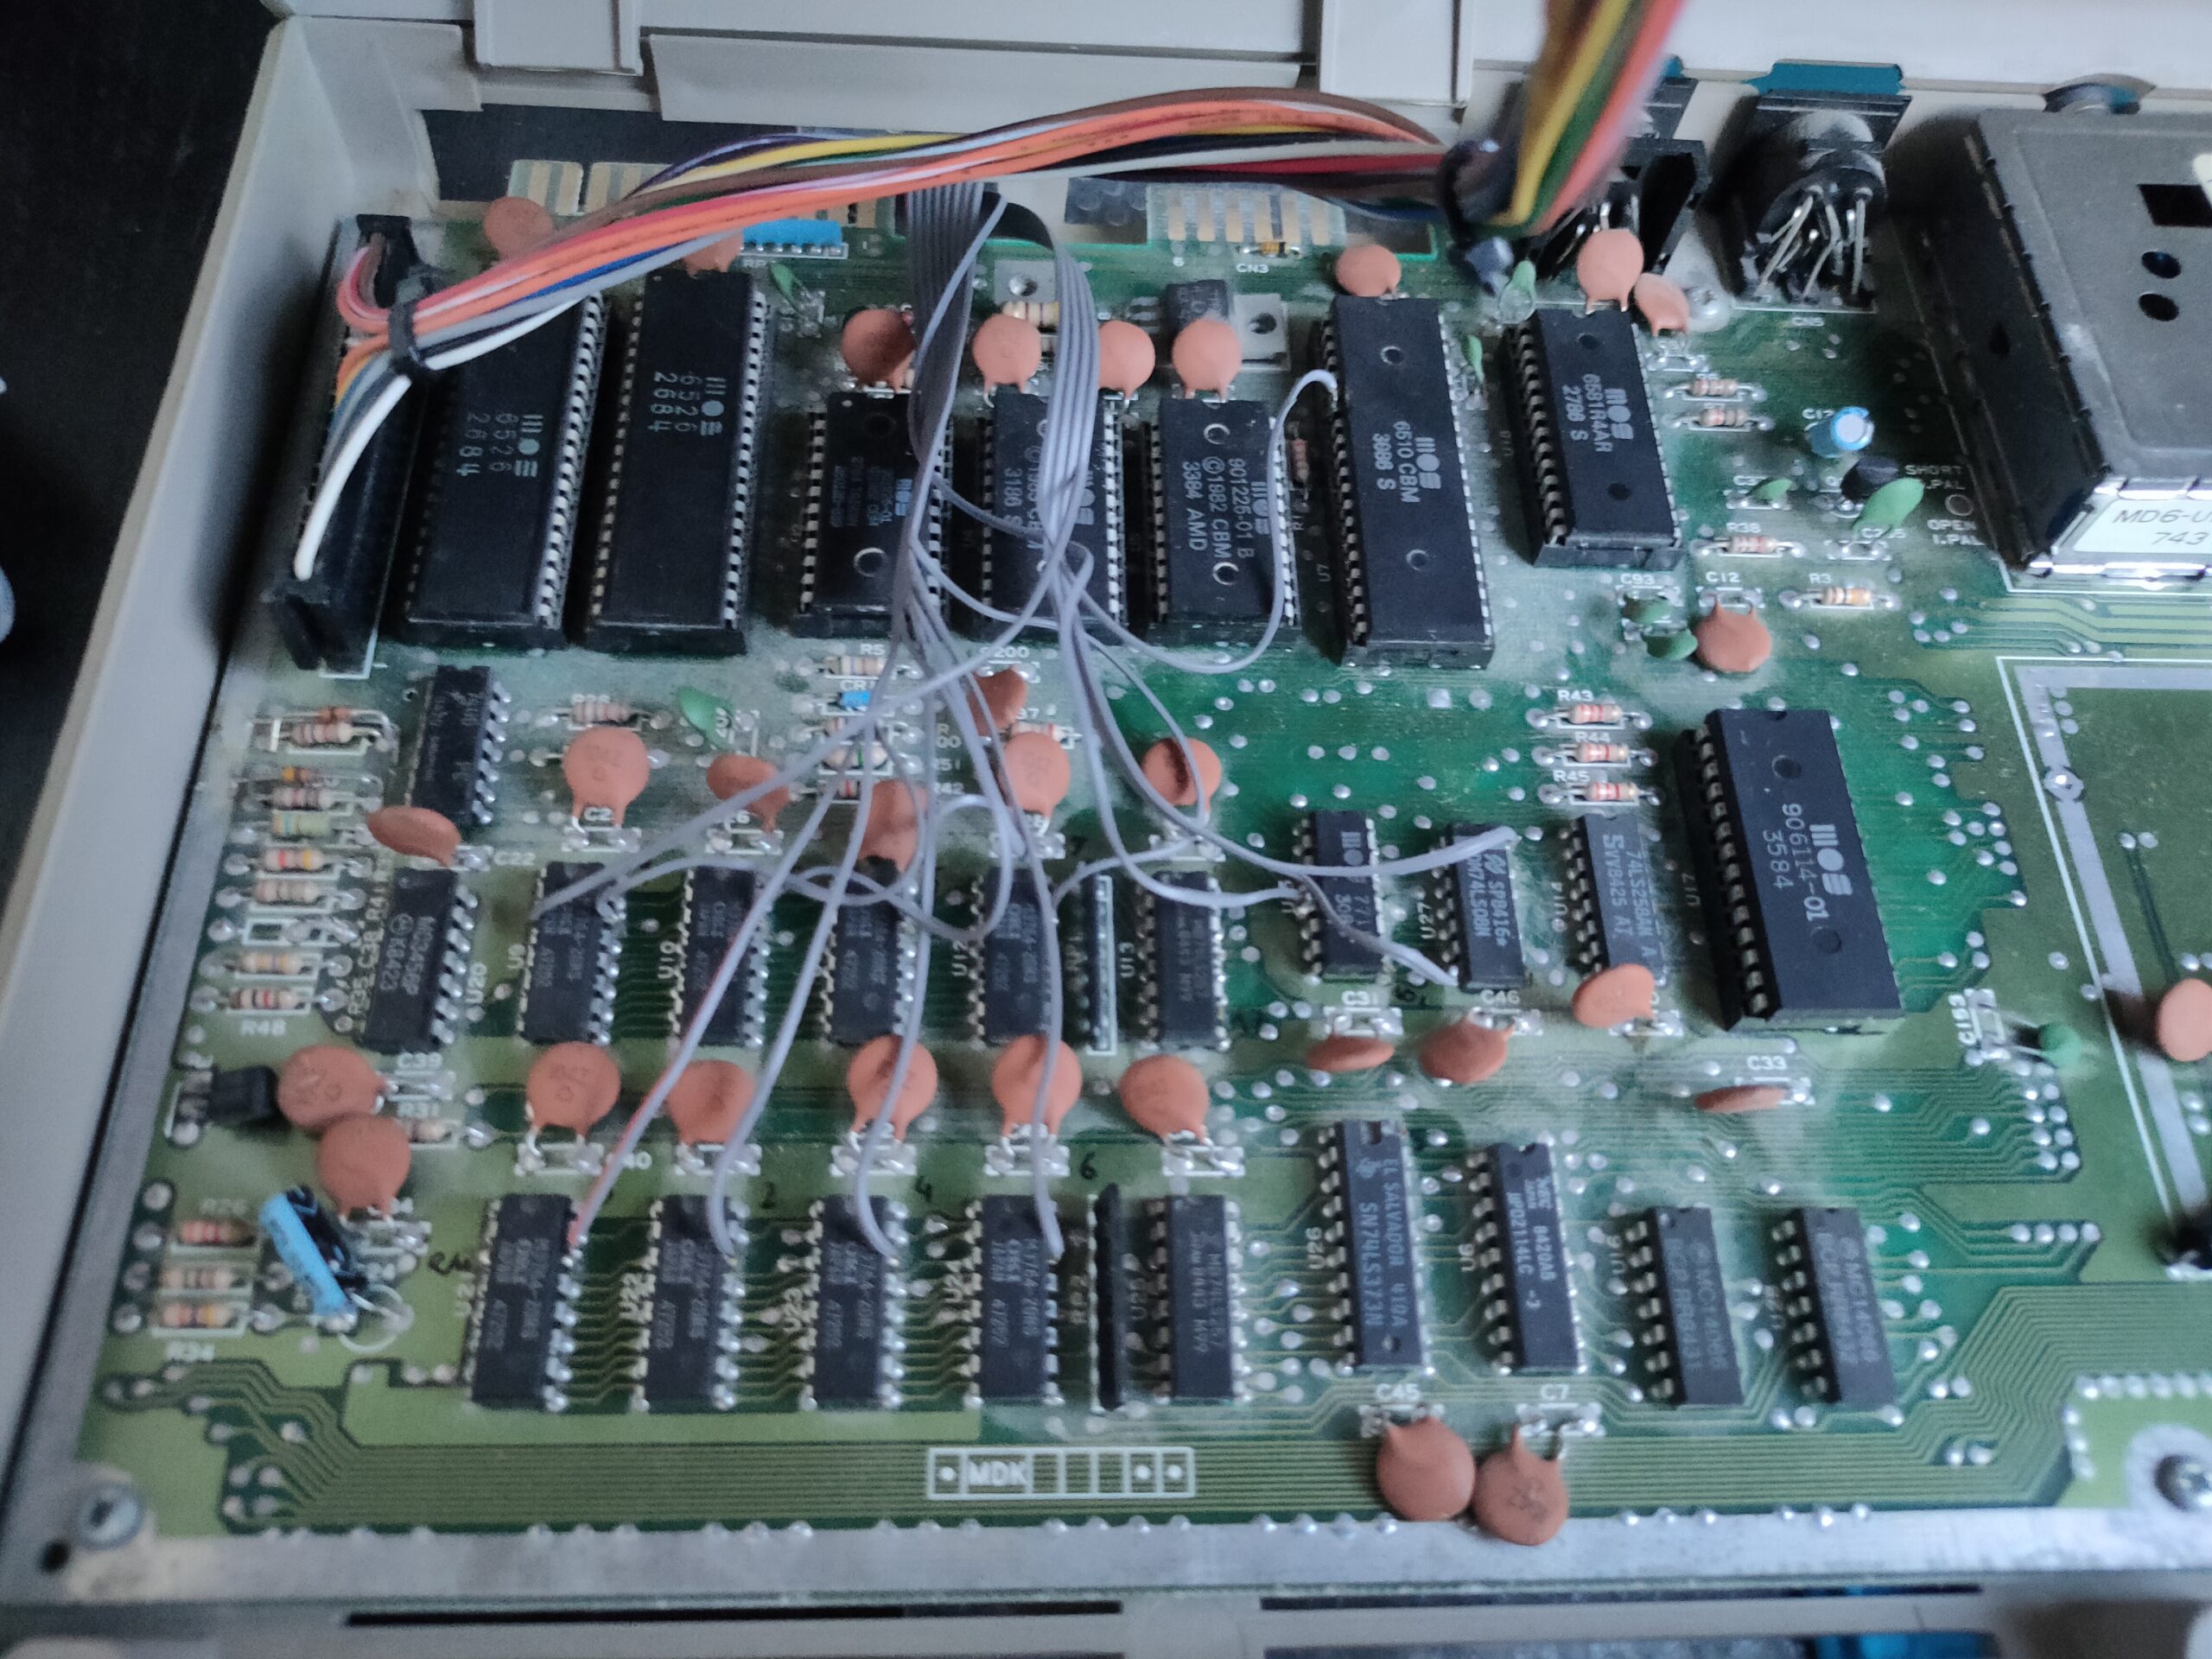
De wires are going to the DOUT pins of the memory chips. Showing activity using leds. Sometimes i monitored CS .. also informative.
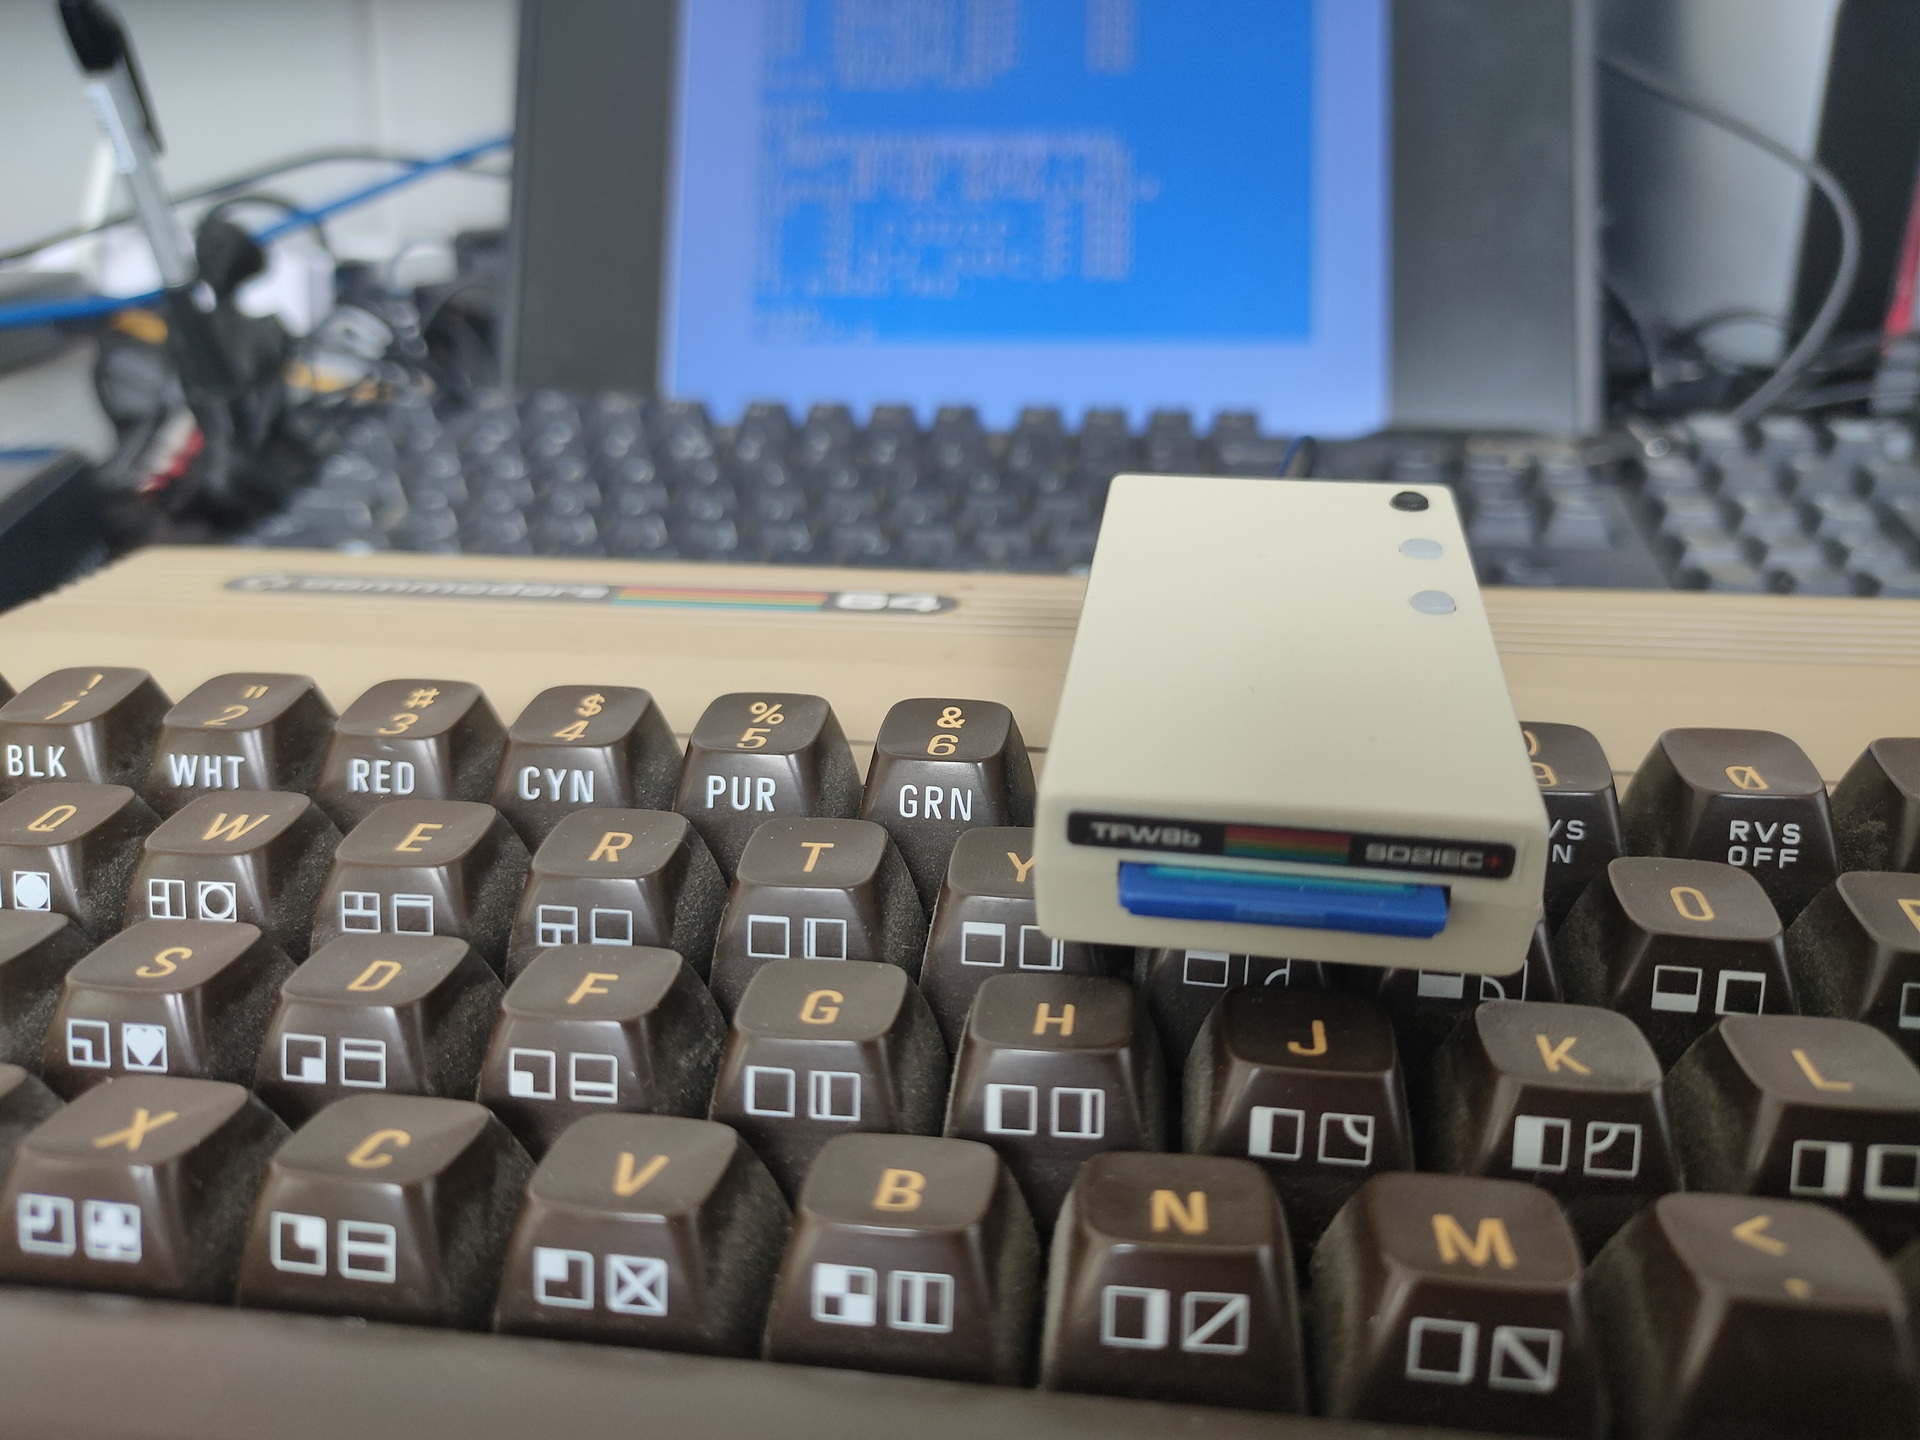
SD2IES Cardreader
Little small funky gadget, it replaces a 1541 Floppy drive with a SDCard reader where you can store a lot of floppydisk images on. More on this later.
NOTE : Doesn’t work together with my KCS Power cartridge.
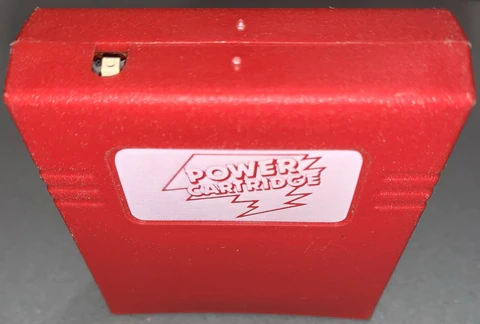
CartridgeScreen
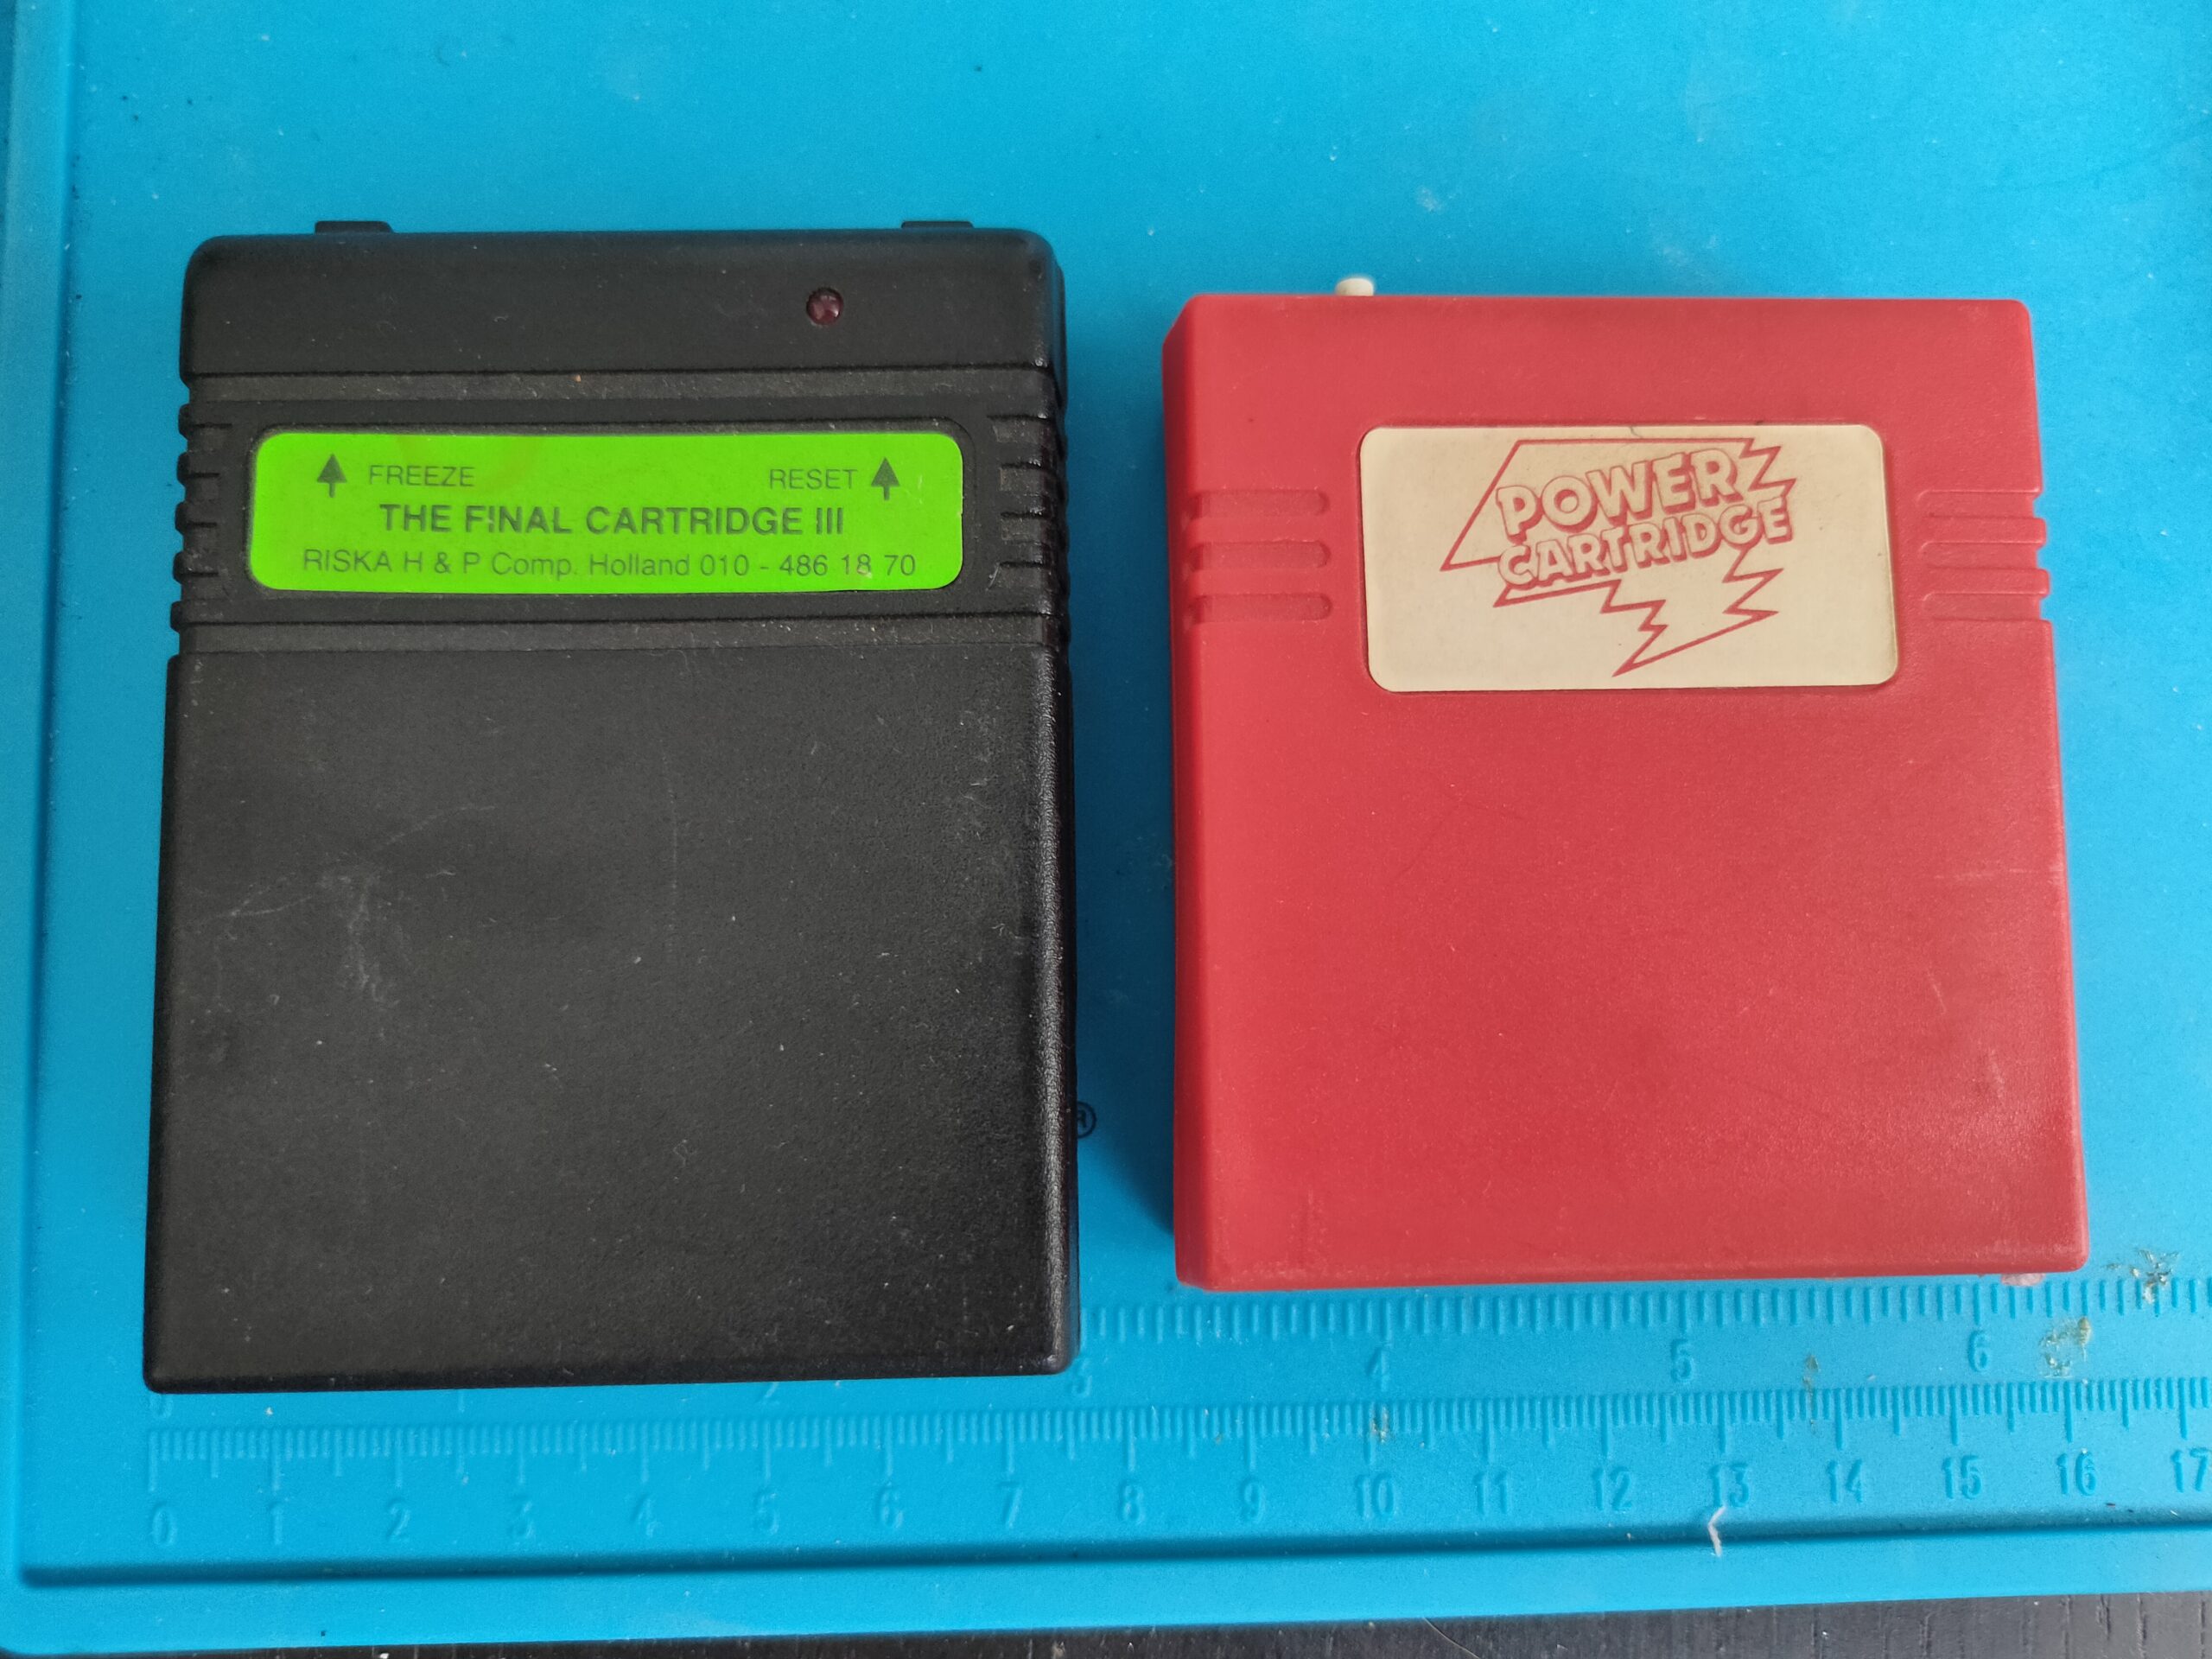
I’ve tested two cartridges.
Final cartridge III fastload test on a program did ~3 seconds. ( Normal load time ~17 seconds. ) KCS powercartridge didn’t work. Tip: press `runstop` when using FC3 while turning on to get into basic not the desktop.
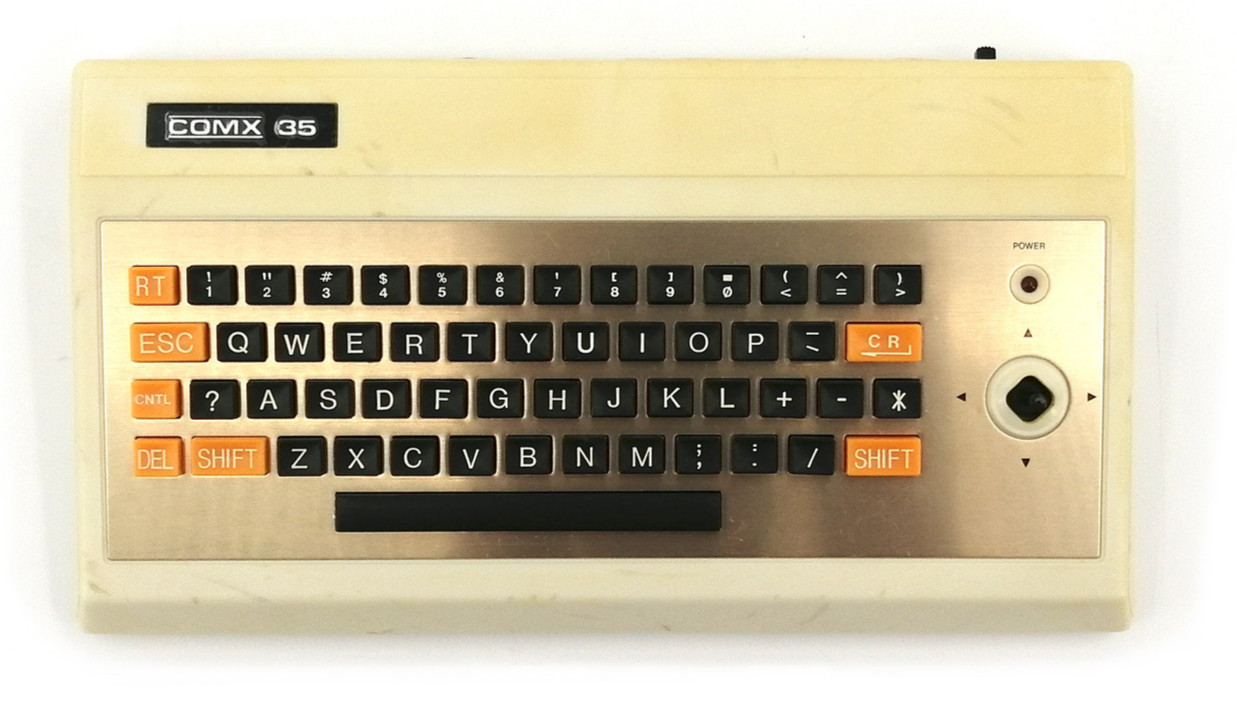
Trying to fix a computer from my computer collection.
Comx-35 (1983)
RCA 1802 CPU @ 2.8 Mhz
32K Memory
Apparenty something wrong with the graphics chip.
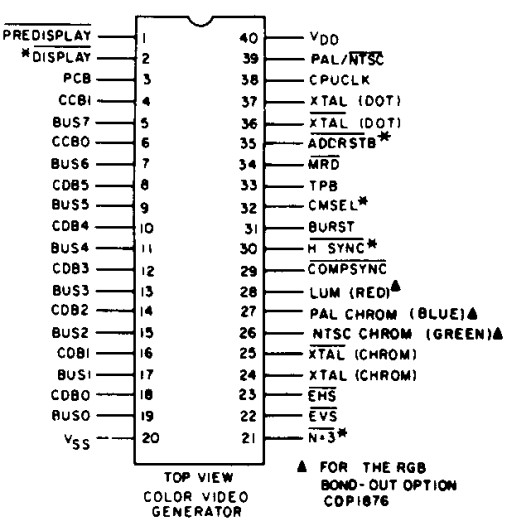
The COMX uses the RCA CDP1869 and CDP1870 Video Interface System (VIS), consisting of the CDP1869 address and sound generator and the CDP1870 colour video generator.
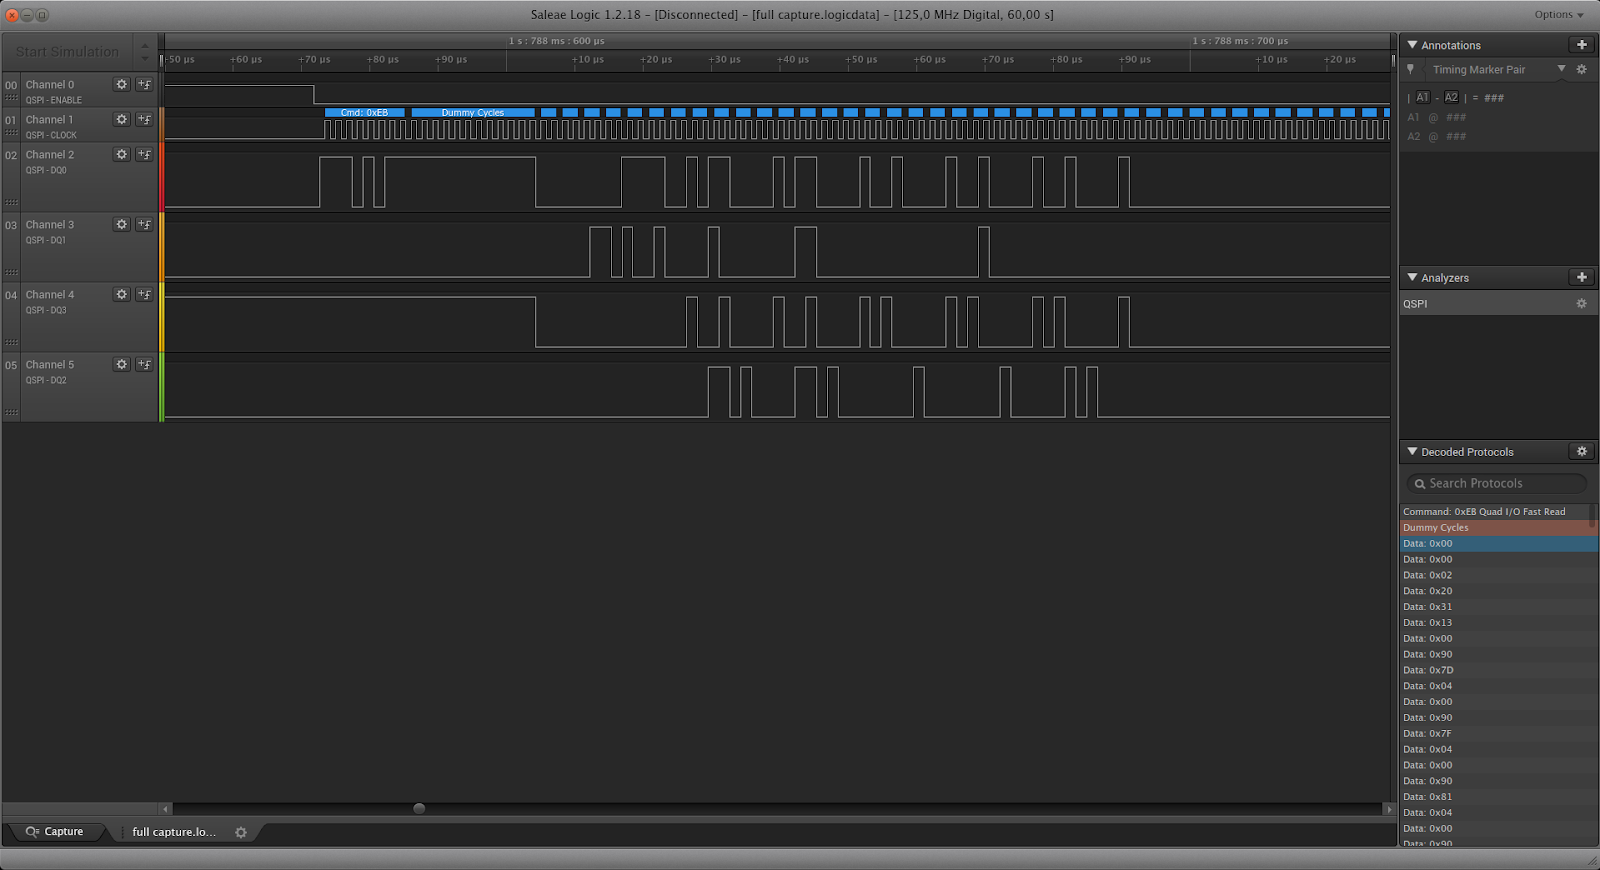
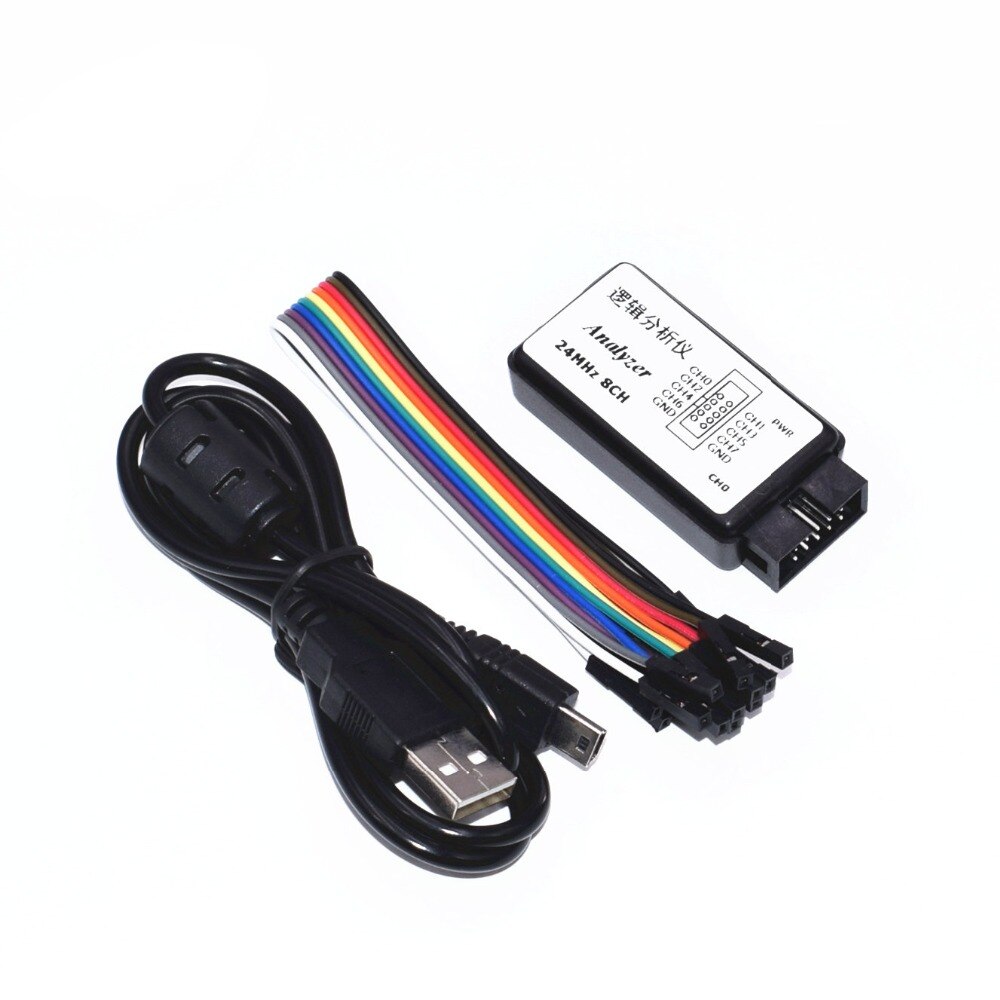
Maybe next to try : checking signals using a Logic Analyzer
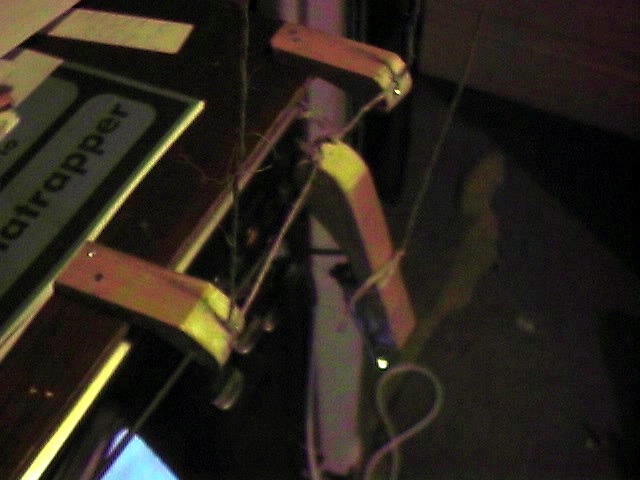
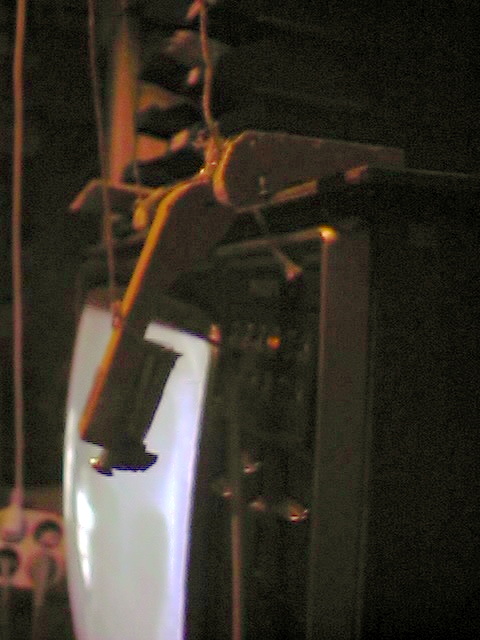
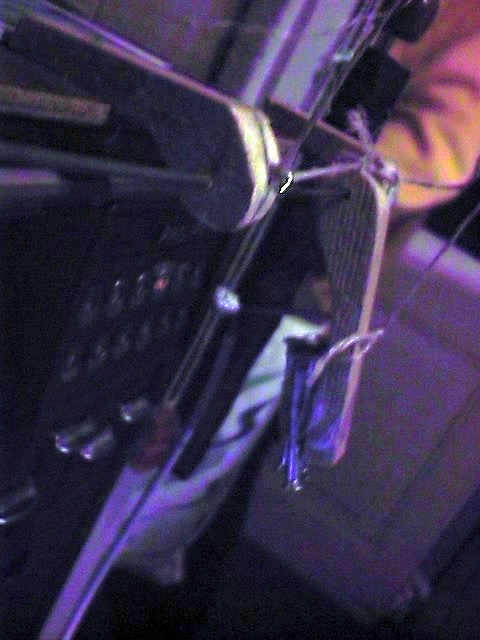
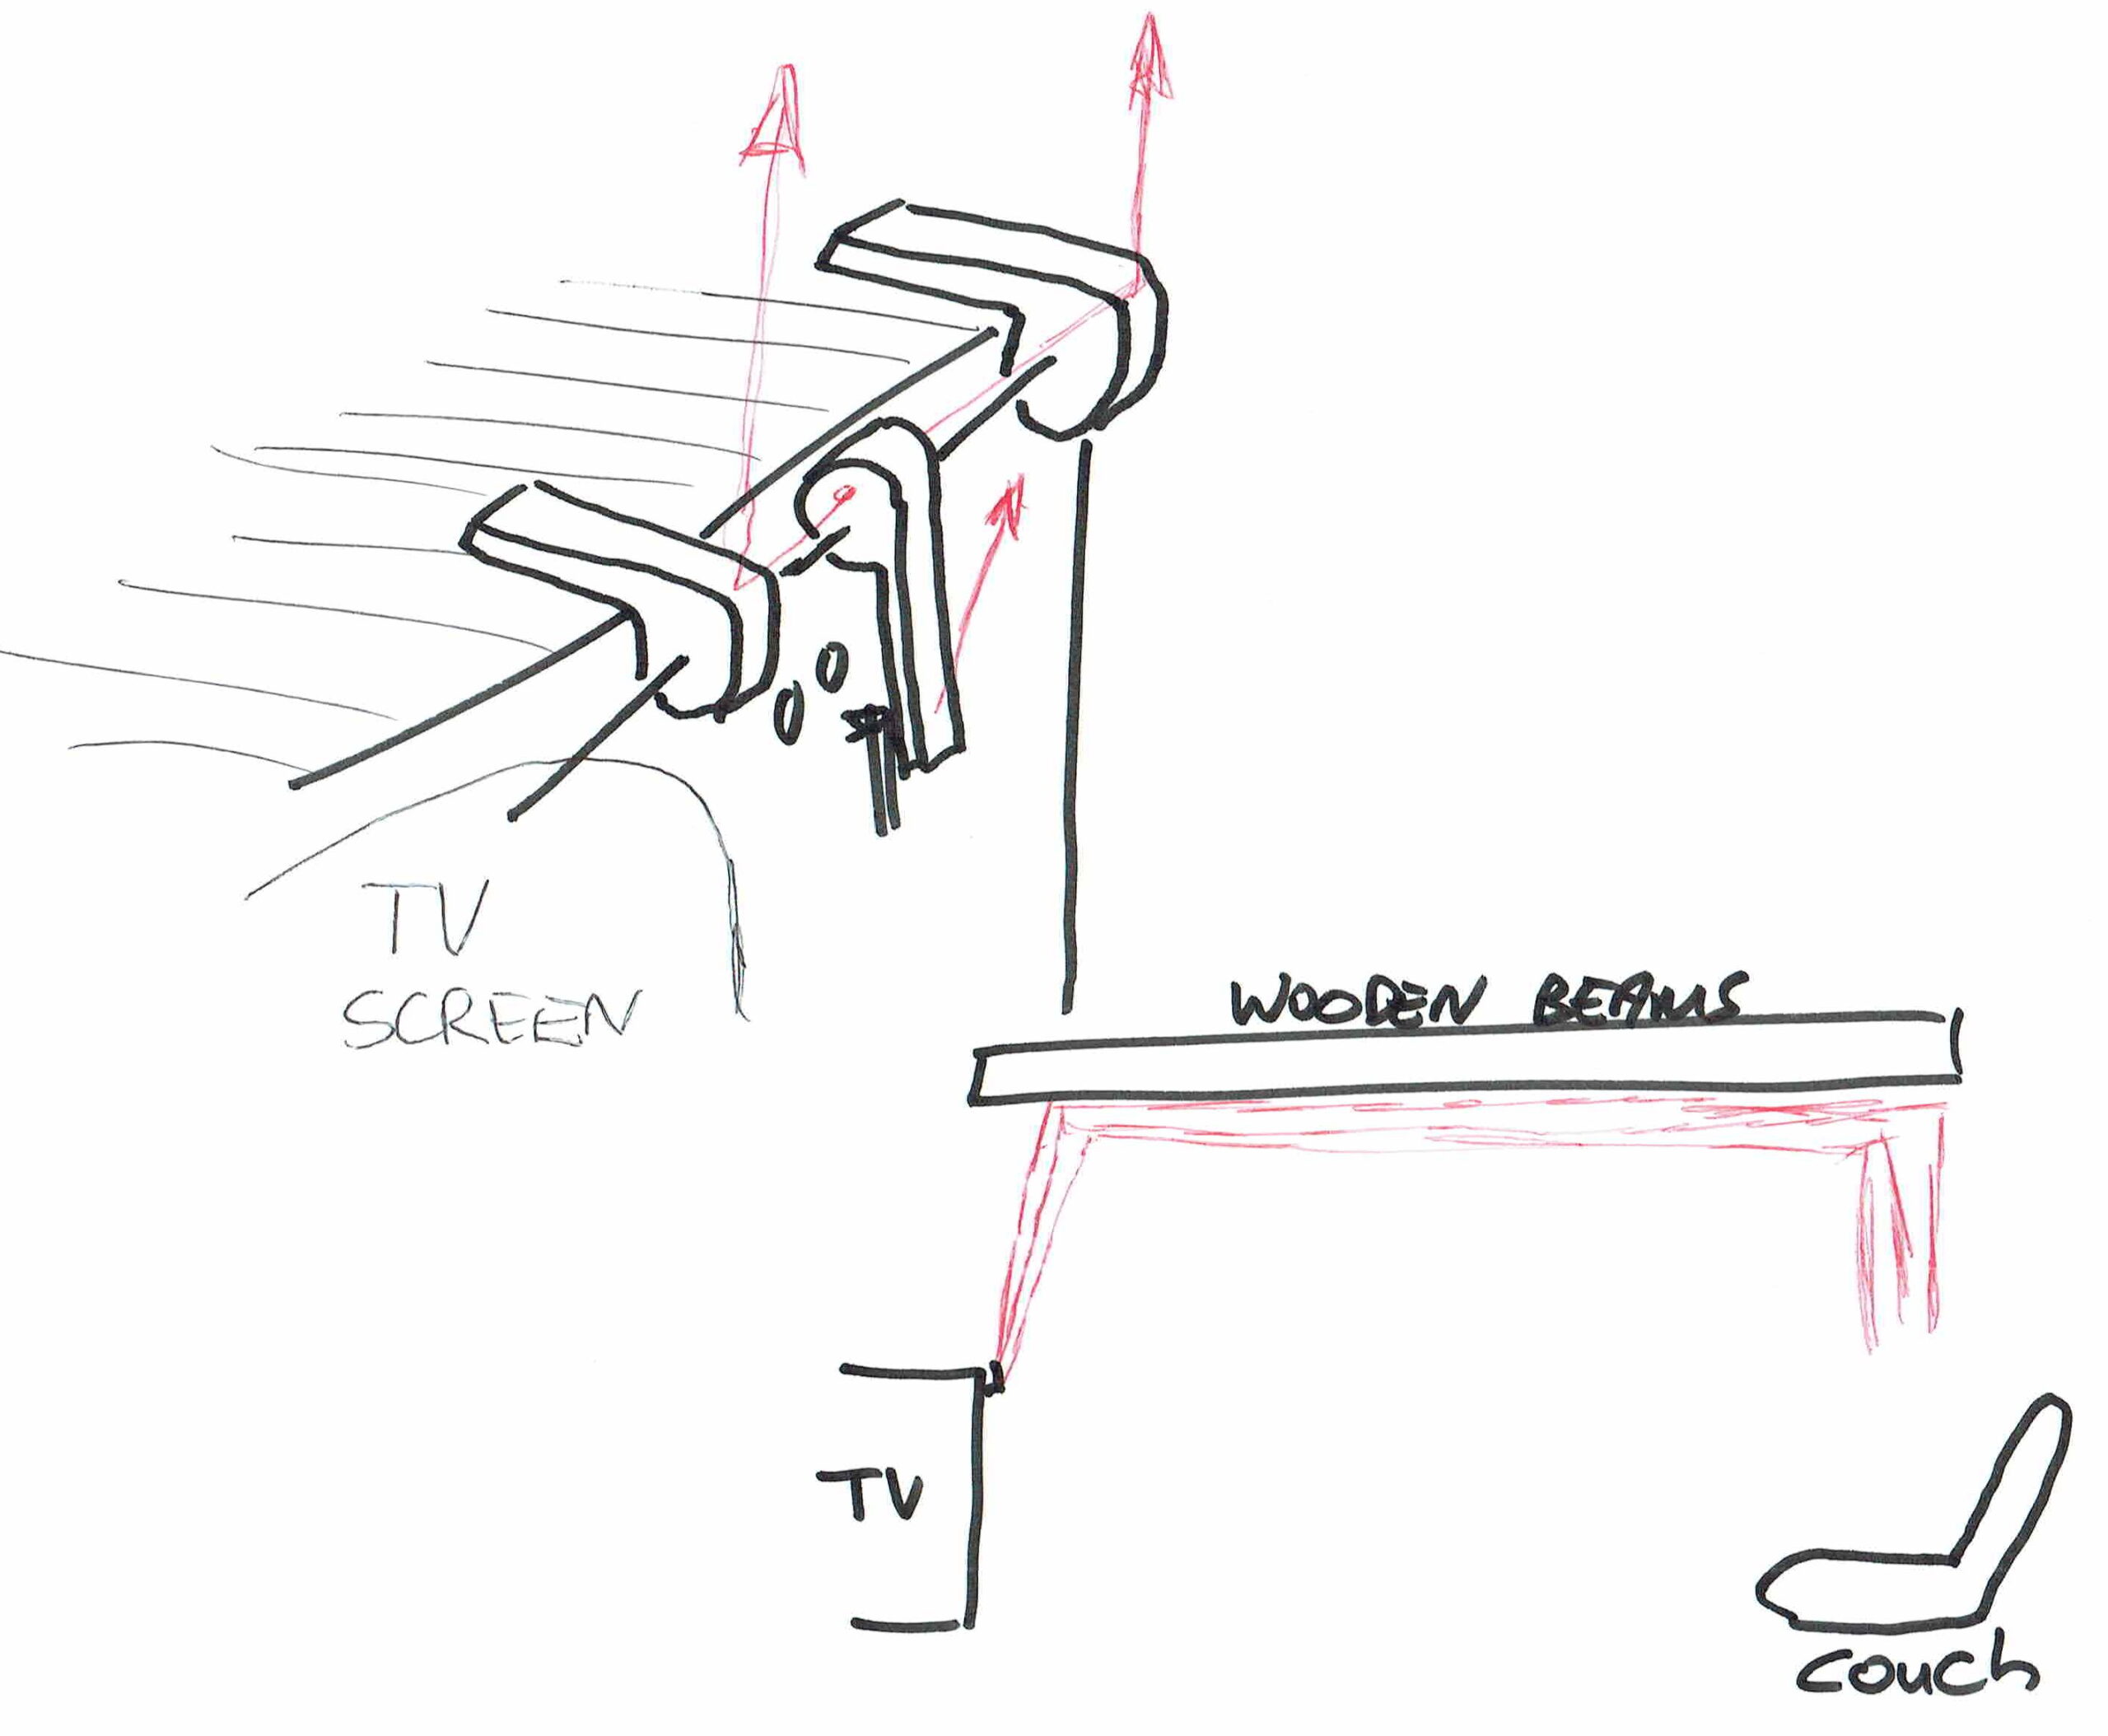
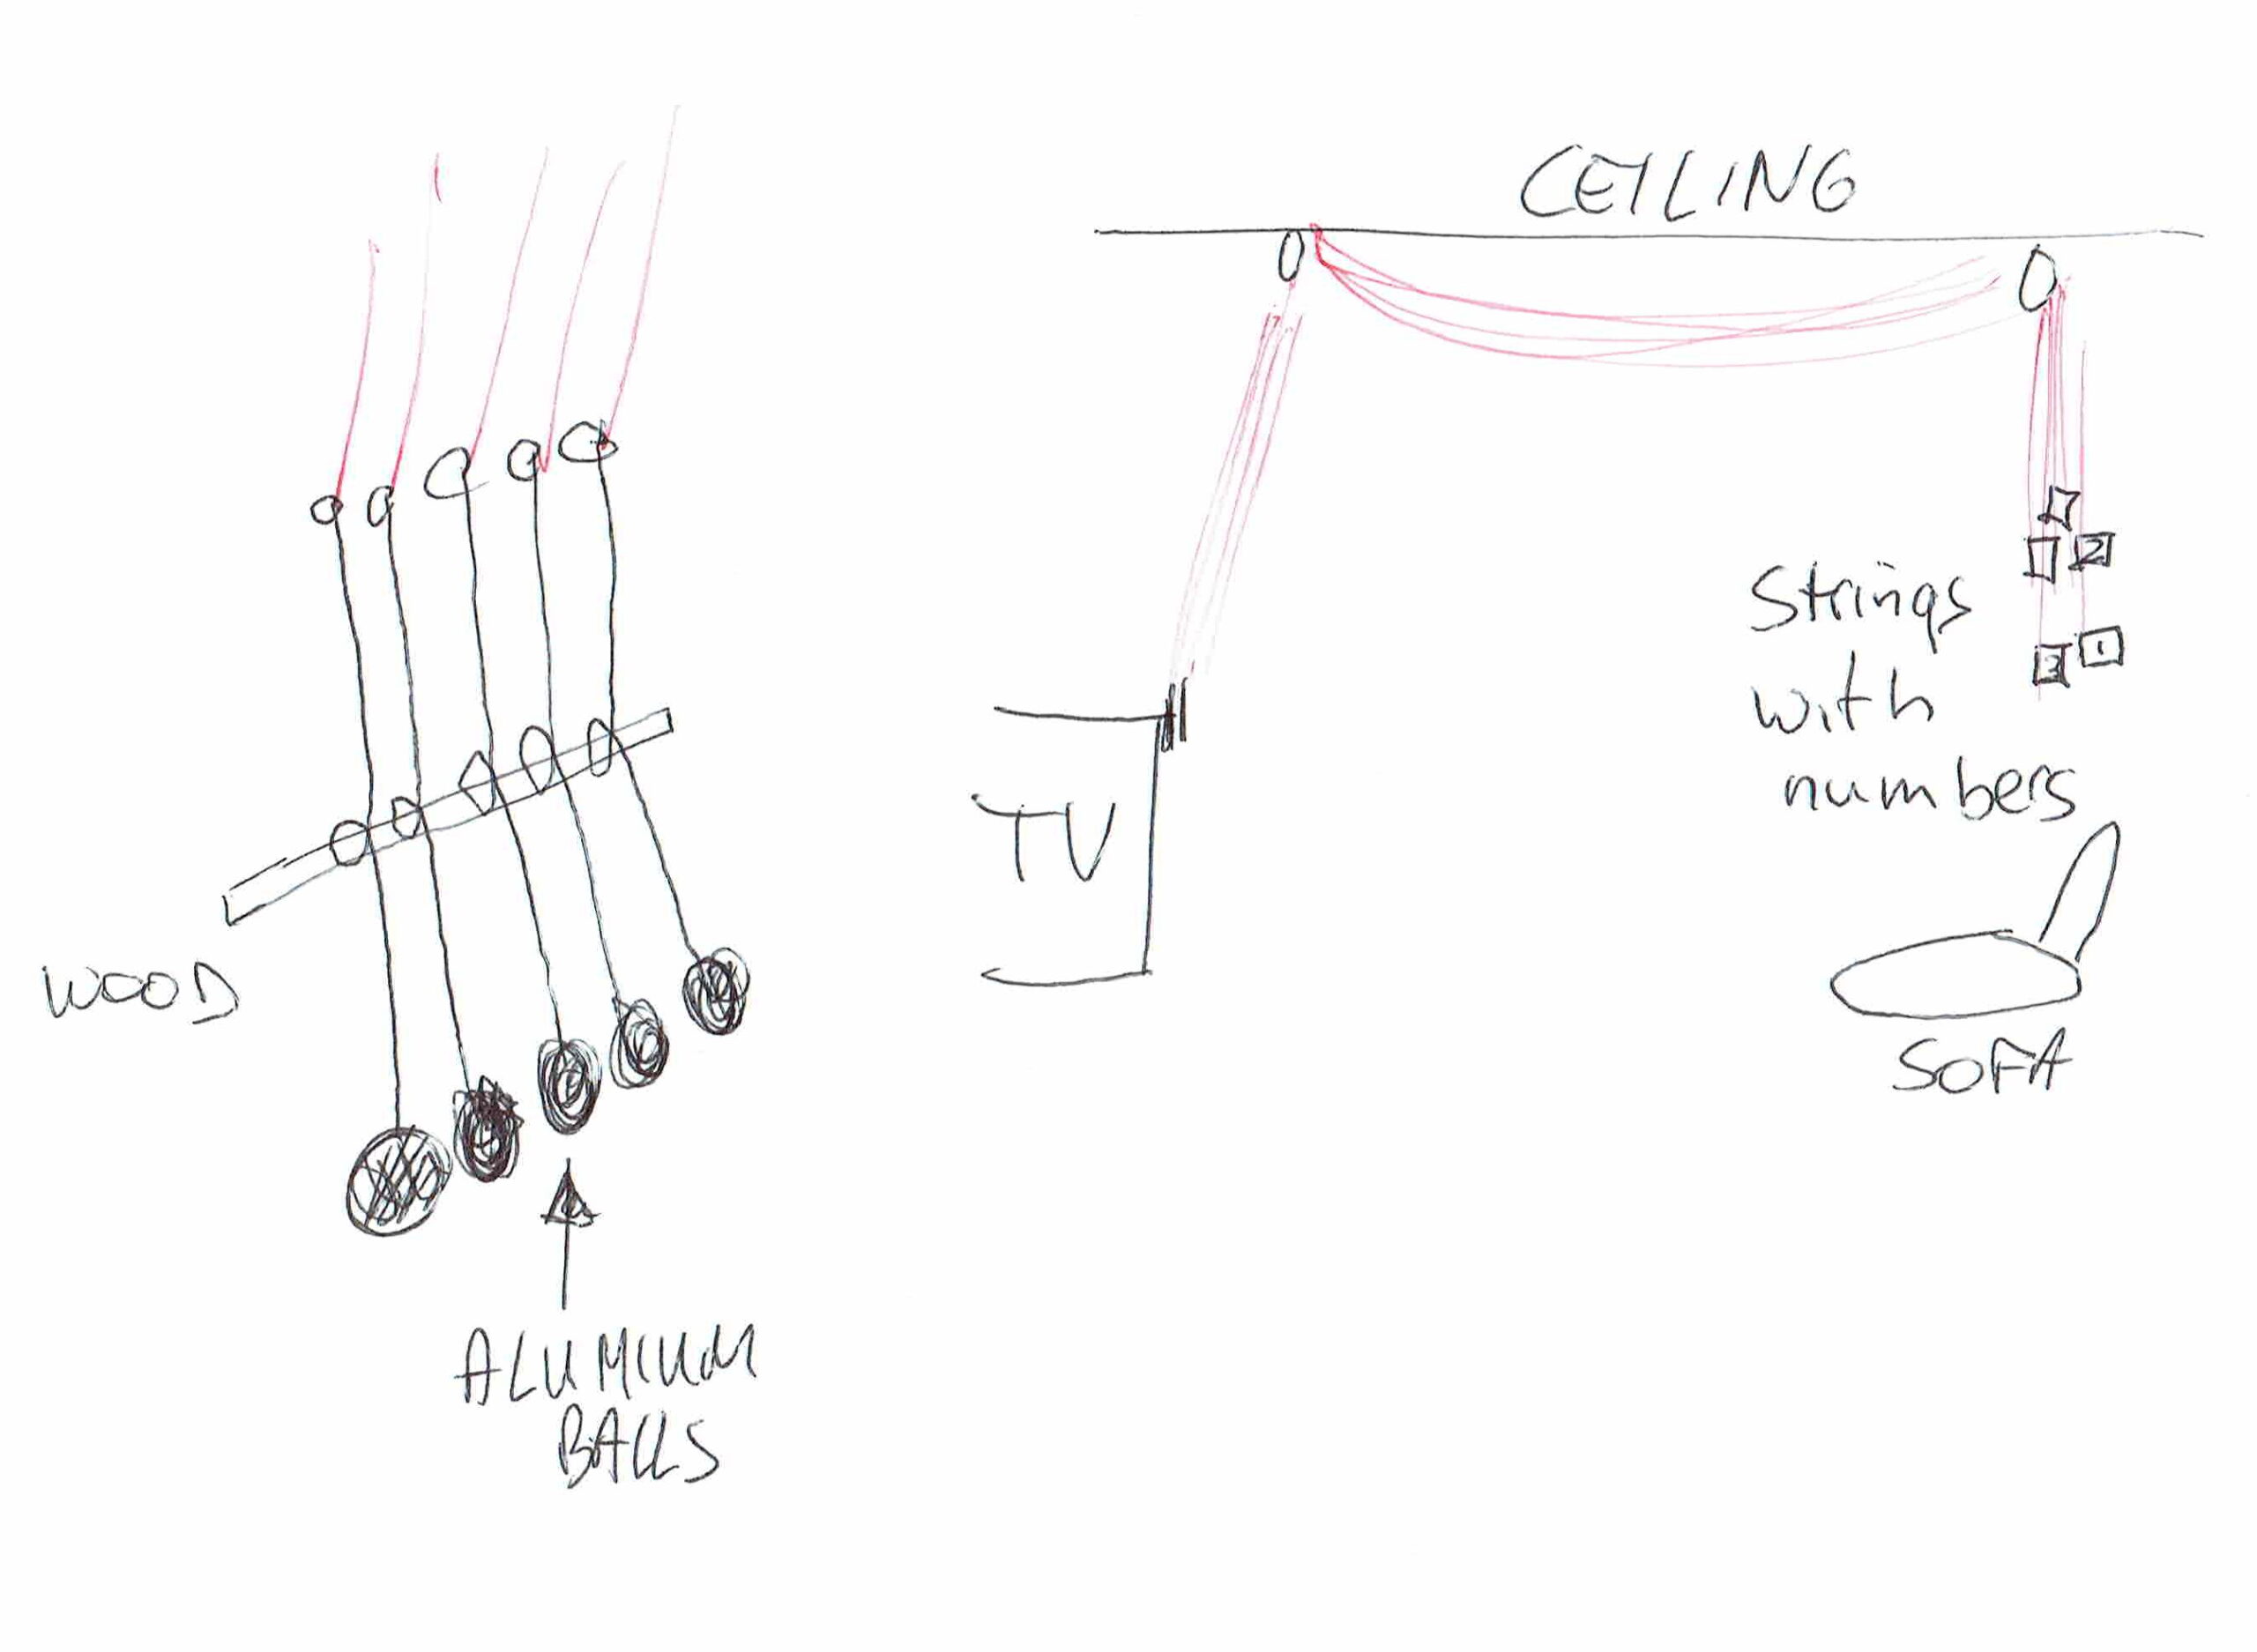
Below one of the two setups we made to control our TV. The kind of TV which was big, ungly and without remote.
This version used 3 strings. One for moving a little wooden piece to the left, one for moving to the right and one for pressing a bunch of nails agains a touch/capacitive button. (We only used channel 1 till 4 i believe)
The other version used a string per channel. A piece of metal, with at the end of it a little alumium-foil ball
I think i started programming in assembly on PC around 1992. I learned a lot from my friend Edk. Who was a assembly wizard just like Sepp. Reverse engineering routines, writing emulators etc.
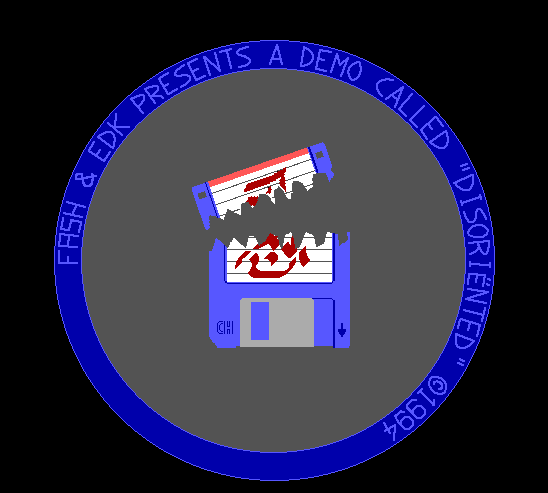
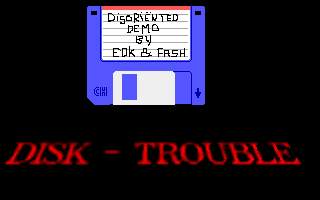
We made several demo’s like the one below. It must have been around 1994.
Dos emulator running our demo from 1994
Just after this one, we started a demo which could run from a 5.25″ boot disk. No dos operating system. When starting your pc, booting from a floppy you would get a starfield, with some text (from a bootsector) ,after that it would load the next sectors, wich contained the rest of the demo. Due to directly programming soundcard and graphics card, this was hard to pull off on different kinds of hardware.
Demo gfx
Example of assembly code for a effect.
    NAME plasma

.model small
.386
.data
colshades   db +001h, 001h,+001h
            db -001h,-001h,-000h
            db +000h,-000h,-001h
            db -000h,-000h,+000h
rgb_cols    db 256*3 dup (?)
cosptr dw 0
sinptr dw 30

.code
demo        proc near

show proc near
    xor di,di
    mov bp,200
show1:
    mov cx,320
    mov si,0
    mov dx,0
show0:
;    push ds
;    mov ax,7000h
;    mov ds,ax
;    lodsb
;    pop ds
    call getsincos
    add cosptr,1
    stosb
    loop show0
;    add dx,1
    add sinptr,1
    dec bp
    jnz show1
    ret
show endp

effect proc near
;   add cosptr,1
;    add sinptr,0
    ret
effect endp

getsincos proc near
    push di
    push ds
    mov si,cosptr
    mov di,sinptr
    mov ax,7000h
    mov ds,ax
    lodsb           ;get cos value
    cmp si,320      ;einde costab?
    jb cosok
    xor si,si
    lodsb
cosok:
    mov ah,al
    xchg si,di
    lodsb           ;get cos value
    cmp si,320      ;einde costab?
    jb sinok
    xor si,si
    lodsb
sinok:
    xchg si,di
    pop ds
    mov cosptr,si
    mov sinptr,di

    mov dx,0
    mov dl,al
    add dl,ah
    adc dh,0
    shr dx,1
    mov al,dl
;    xor al,ah
;    add al,ah
    pop di
    ret
getsincos endp

setcols proc near
    push    es
    push    ds
    pop     es
    mov     di,offset rgb_cols
    mov     si,offset colshades
    mov     dl,0    ;start with black
    mov     bh,0
    mov     bl,0
    mov     bp,4
set_rgball:
    mov     cx,64-1
set_rgb:
    mov     al,dl
    stosb
    mov     al,bh
    stosb
    mov     al,bl
    stosb
    mov     al,[si]
    add     dl,al
    mov     al,[si+1]
    add     bh,al
    mov     al,[si+2]
    add     bl,al
    loop    set_rgb
    add     si,3
    dec     bp
    jnz     set_rgball
    pop     es
    ret
setcols endp

setrgb proc near
    mov dx,3c8h
    xor al,al       ;start with colour 00h
    out dx,al
    inc dx
    mov si,offset rgb_cols
    mov cx,256*3
    rep outsb       ;set 256 RGB values
    ret
setrgb endp

wvtr proc near
    mov dx,3dah
wtv:
    in al,dx
    test al,8
    jz wtv
    ret
wvtr endp

start:
    cld
    mov ax,@data
    mov ds,ax
    mov ax,0a000h
    mov es,ax
    mov ax,13h
    int 10h         ;screen 320x200 256 colours
    call setcols
    call setrgb
    call show
    mov al,11111101b
    out 21h,al      ;disable int
mloop:
    call wvtr
;    call show
    call effect
    mov ah,1
    int 16h
    jz mloop
    xor ah,ah
    int 16h
exit:
    xor al,al
    out 21h,al      ;enable int
    mov ax,3
    int 10h         ;screen  80x25 text
    mov ax,4c00h
    int 21h         ;back to DOS
demo        endp

end start
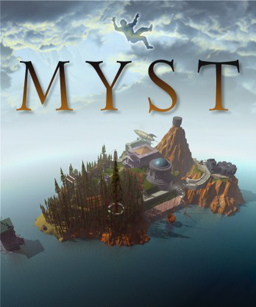
Around 1993 i bought Myst, a adventure game. It was really a masterpiece, a interactive rendered world with great moodsetting music scores.
When looking at documentaries like these: https://www.youtube.com/watch?v=EWX5B6cD4_4 It almost didn’t happen, i was oblivious to this fact ..
Many hours i spent playing this game, sometimes together with Erik.
I loved the puzzles and the rendered transitional movies.
After the first i bought all follow-ups.
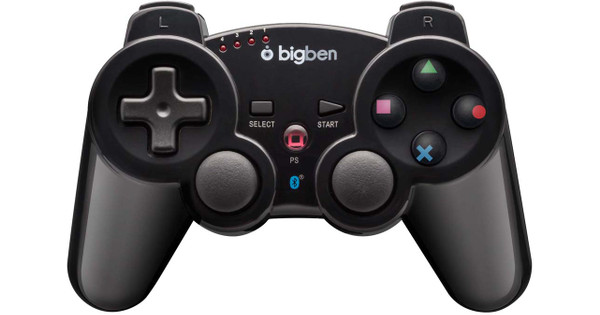
I spend hours playing them, first with Erik and later with Monique and Coline taking turns at the controls. Solving the mysteries together was a lot of fun.
1993 – Myst
1997 – Riven
2001 – Myst III: Exile
2003 – URU: Ages Beyond Myst
2004 – Myst IV: Revelation
2005 – Myst V: End of Ages
There is also a parody version called Pyst
After that i found realmyst a remake of the first with better graphics. We played Uru: Ages beyond myst or Uru Live after that. This one had free movement i recall.
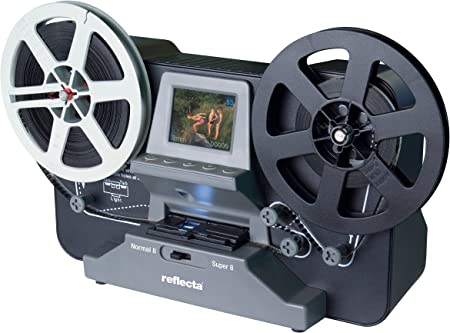
I wanted to create a point and click/walk around version myself. My first idea was taking pictures in my fathers car driving from Holten to Laren where Martin lived. Taking pictures (with a analog camera) on the way. Scanning those analog pictures and making a point and click thingy was something i only realized many years later.
I made a website with pictures of the house. People could click and move though my house. I made the path which was obvious in advance, when people clicked a new area or object, they got a popup where you could request the path or object information.
(i found the source code – now i have to make a webserver with a really old php version to get screenshots)
I never came around it to render environments myself .. see my post about rendering.
My Myst IRL in canada (2015)
"If something is worth doing, it's worth overdoing."