Mp4 to gif (resize, cut and convert)
startsecond=0
duration=3
ffmpeg -ss $startsecond -t $duration -i 'input.mp4' -vf "fps=10,scale=320:-1:flags=lanczos,split[s0][s1];[s0]palettegen[p];[s1][p]paletteuse" -loop 0 output.gif
Gif to MP4
ffmpeg -i kanban.gif -movflags faststart -pix_fmt yuv420p -vf "scale=trunc(iw/2)*2:trunc(ih/2)*2" gifkanban.mp4Converting MP4 for Davinci MOV
ffmpeg -i input.mp4 -c:v dnxhd -profile:v dnxhr_hq -pix_fmt yuv422p -c:a pcm_s16le -f mov output.movAnd back from Davinci to MP4
ffmpeg -i render.mov -c:v libx264 -pix_fmt yuv420p -crf 16 -force_key_frames 'expr:gte(t,n_forced/2)' -bf 2 -vf yadif -use_editlist 0 -movflags +faststart -c:a aac -q:a 1 -ac 2 -ar 48000 -f mp4 out.mp4QTVR to png (note number of frames)
ffmpeg -i ../test.mov %02d.png
ffmpeg -i %02d.png -vf "tile=1x24,transpose=1" mh.png
Nikon MOV to mp4 (no reencoding)
ffmpeg -i input.mov -c copy -movflags +faststart output.mp4Nikon MOV to mp4 (problems with audio?
“Could not find tag for codec pcm_s16le in stream #1, codec not currently supported in container”
ffmpeg -i input.mov -c copy -c:a aac -b:a 128k -movflags +faststart  output.mp4
Maybe add -strict experimental
MPG to MP4 (Not happy with this one)
ffmpeg -i vhs-rip.mpg" -c:v libx264 -crf 10 -strict -2 1993-luv.mp4FLV to MP4
ffmpeg -i filename.flv -c:v libx264 -crf 19 -strict experimental filename.mp4Lossless cut with ffmpeg
ffmpeg  -ss 00:$2 -t 00:$3 -i $1 -vcodec copy -an cut_$1
# an = no sound
# use -acodec copy for same codec as original audio
Timelapse JPG to MP4
ffmpeg -f image2 -r 24 -start_number 8296 -i "750_%04d.JPG" -vcodec libx264 -profile:v high444 -refs 16 -crf 0 -preset ultrafast -vf scale=1920:1080 b.mp4png to gif from a list
#cat png.list
file off.png
duration 1
file 20.png
duration 1
file 40.png
duration 1
file 60.png
duration 1
file 80.png
duration 1
file 90.png
duration 1
file 100.png
duration 1

# ffmpeg -f concat -i png.list -loop 0 hexlight.gif
Rotate mp4 clockwise/anticlockwise
ffmpeg -i VID20230110132531.mp4 -filter:v transpose=2 -c:v libx264 -preset veryfast -crf 22 -c:a copy -metadata:s:v rotate="" test.mp4
Concat video together
ffmpeg -f concat -i inputs.txt -c copy merge.mp4
inputs.txt
file start.mp4
file end.mp4
Error “width/height not divisible by 2 (1301×933)”
ffmpeg -i input.mp4 -vf "crop=trunc(iw/2)*2:trunc(ih/2)*2" output.mp4Dvd/DV/Mpg etcetera overviews
I made two scripts, which take a movie, find out its lenght divide by 9. And generates a image montage of snapshots at certain times in the movie. ( A movie of 90 minutes, gets a snapshot every 10 minutes )
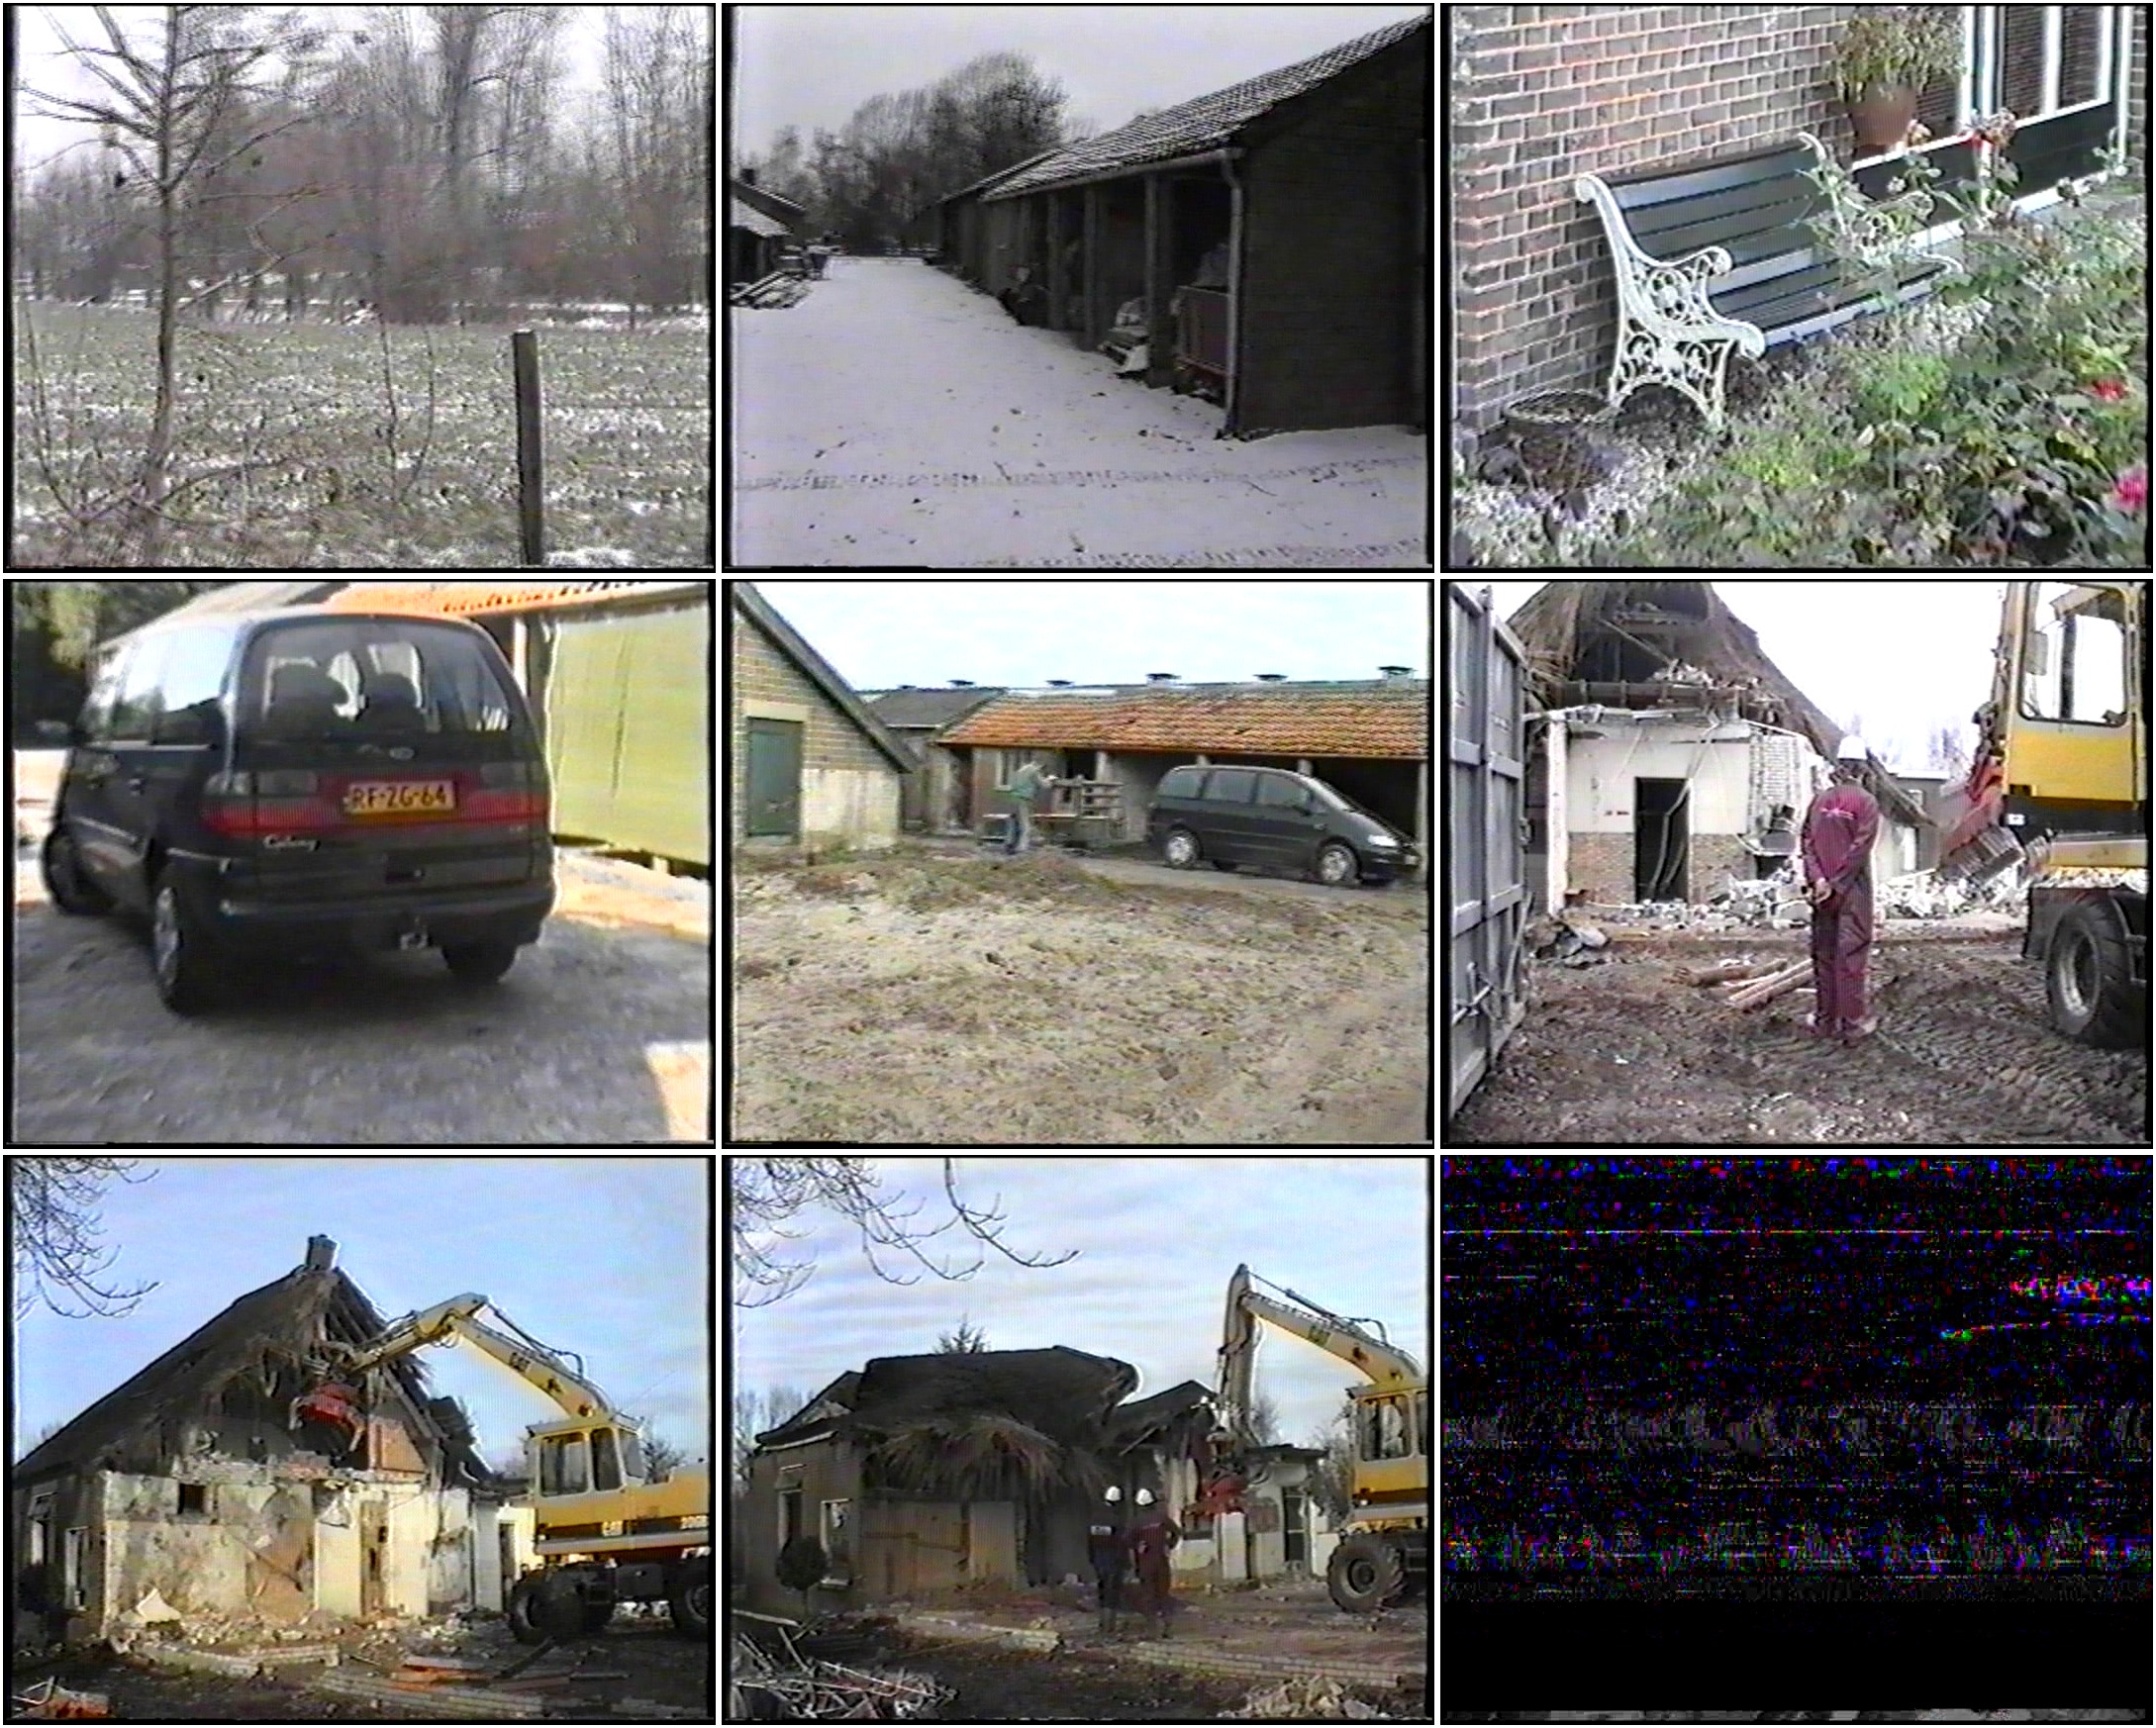
Below takes images as above and convert them into animated gifs. All movies in a path or directory structure gets a index page containing all animated gifs.
I’ll post something about my media sorter also.
A ajax website using drag drop viewing/sorting images (png/gifs/jpgs) and movies.
#!/bin/bash
# Uses montage, ffmpeg, convert and mediainfo
rm thumbs/*
rm montage/*
(
set -x
numberofframes=9
find  -type f | egrep -i "flv$|mov$|mkv$|avi$|mpg$|mp4$|VTS_01_1.VOB$|wmv$" |  while read filez; do
        crunchpath=$(echo $filez | sed "s,/,,g" |  sed "s, ,,g" |tr -cd '[:alnum:]' ).gif
        crunchback=$crunchpath
        echo $crunchpath
        if [ -f thumbs/$crunchpath ] ; then
                echo "$file exists"
                else
	mkdir /tmp/thumbs/ 2>/dev/null
	mkdir thumbs 2>/dev/null
	mkdir montage 2>/dev/null
        rm -f /tmp/thumbs/*png
sec=0
                totaltime1=$( mediainfo -f "$filez" | grep ^Dura  | awk '{print $3}' |grep -v "\:" | tail -1 )
                totaltime2=$( mediainfo -f "$filez" | grep ^Dura  | awk '{print $4}' |grep -v "\:" | tail -1 )
totaltime1a=$(echo $totaltime1| tr -d 'a-z')
echo $totaltime1 | grep h && sec=$((3600 * $totaltime1a))
echo $totaltime1 | grep mn && sec=$((60 * $totaltime1a))
echo $totaltime1 | grep s && sec=$totaltime1a
echo "sec : $sec"
echo $totaltime2 | grep -v ms | grep  s && sec=$[ $sec + $(echo $totaltime2 | tr -d 'a-z')]
echo "sec : $sec"
                width=$( mediainfo -f "$filez" | grep "Width"| grep pixels | awk '{ print $3 }' )
                height=$( mediainfo -f "$filez" | grep "Height"| grep pixels | awk '{ print $3 }' )
        if [ "$sec" == "" ] ; then sec=1 ; fi
                timer=$[ $sec / $numberofframes ]
                        echo  "converting step "
                        echo  "timer is $timer"
mark=0
                for f in `seq -w 1 $numberofframes` ; do
                        echo  "$f,$timer"
			echo $[$f*$timer]
                        ffmpeg -ss $[$f*$timer] -i "$filez" -vframes 1 /tmp/thumbs/$f.png 1>/dev/null 2>/dev/null </dev/null
if [ $f -eq 8 ] ; then cp /tmp/thumbs/8.png /tmp/thumbs9.png ;fi
newsizer=$(echo -n $widther ; echo -n "x" ; echo -n $sizeh)
if [ $sizeh -gt $sizew ] ; then mv /tmp/thumbs/$f.png /tmp/ff.png ; convert -resize $newsizer\! /tmp/ff.png /tmp/thumbs/$f.png ; echo aangepast ; echo $newsizer ; mark=1; fi
                done
                        echo " "
                        echo "generating $crunchpath"
	newwidth=$[ $width / 2 ]
	newheight=$[ $height / 2 ]
	newsize=$(echo -n $newwidth ; echo -n "x" ; echo -n $newheight)
	newsize2=$(echo -n $width ; echo -n "x" ; echo -n $newheight)
	echo $newsize
if [ $mark == 0 ] ; then        convert -delay 100 -resize $newsize\! /tmp/thumbs/*.png thumbs/$crunchpath </dev/null ; else
convert -delay 100 -resize $newsize2\! /tmp/thumbs/*.png thumbs/$crunchpath </dev/null
fi
montage /tmp/thumbs/*png  -geometry +3+3 -tile 3x3 montage/$crunchpath.jpg
	echo "<img src=\"$crunchpath\">" >> thumbs/_index.html
        fi
done
) > /tmp/thumb.log