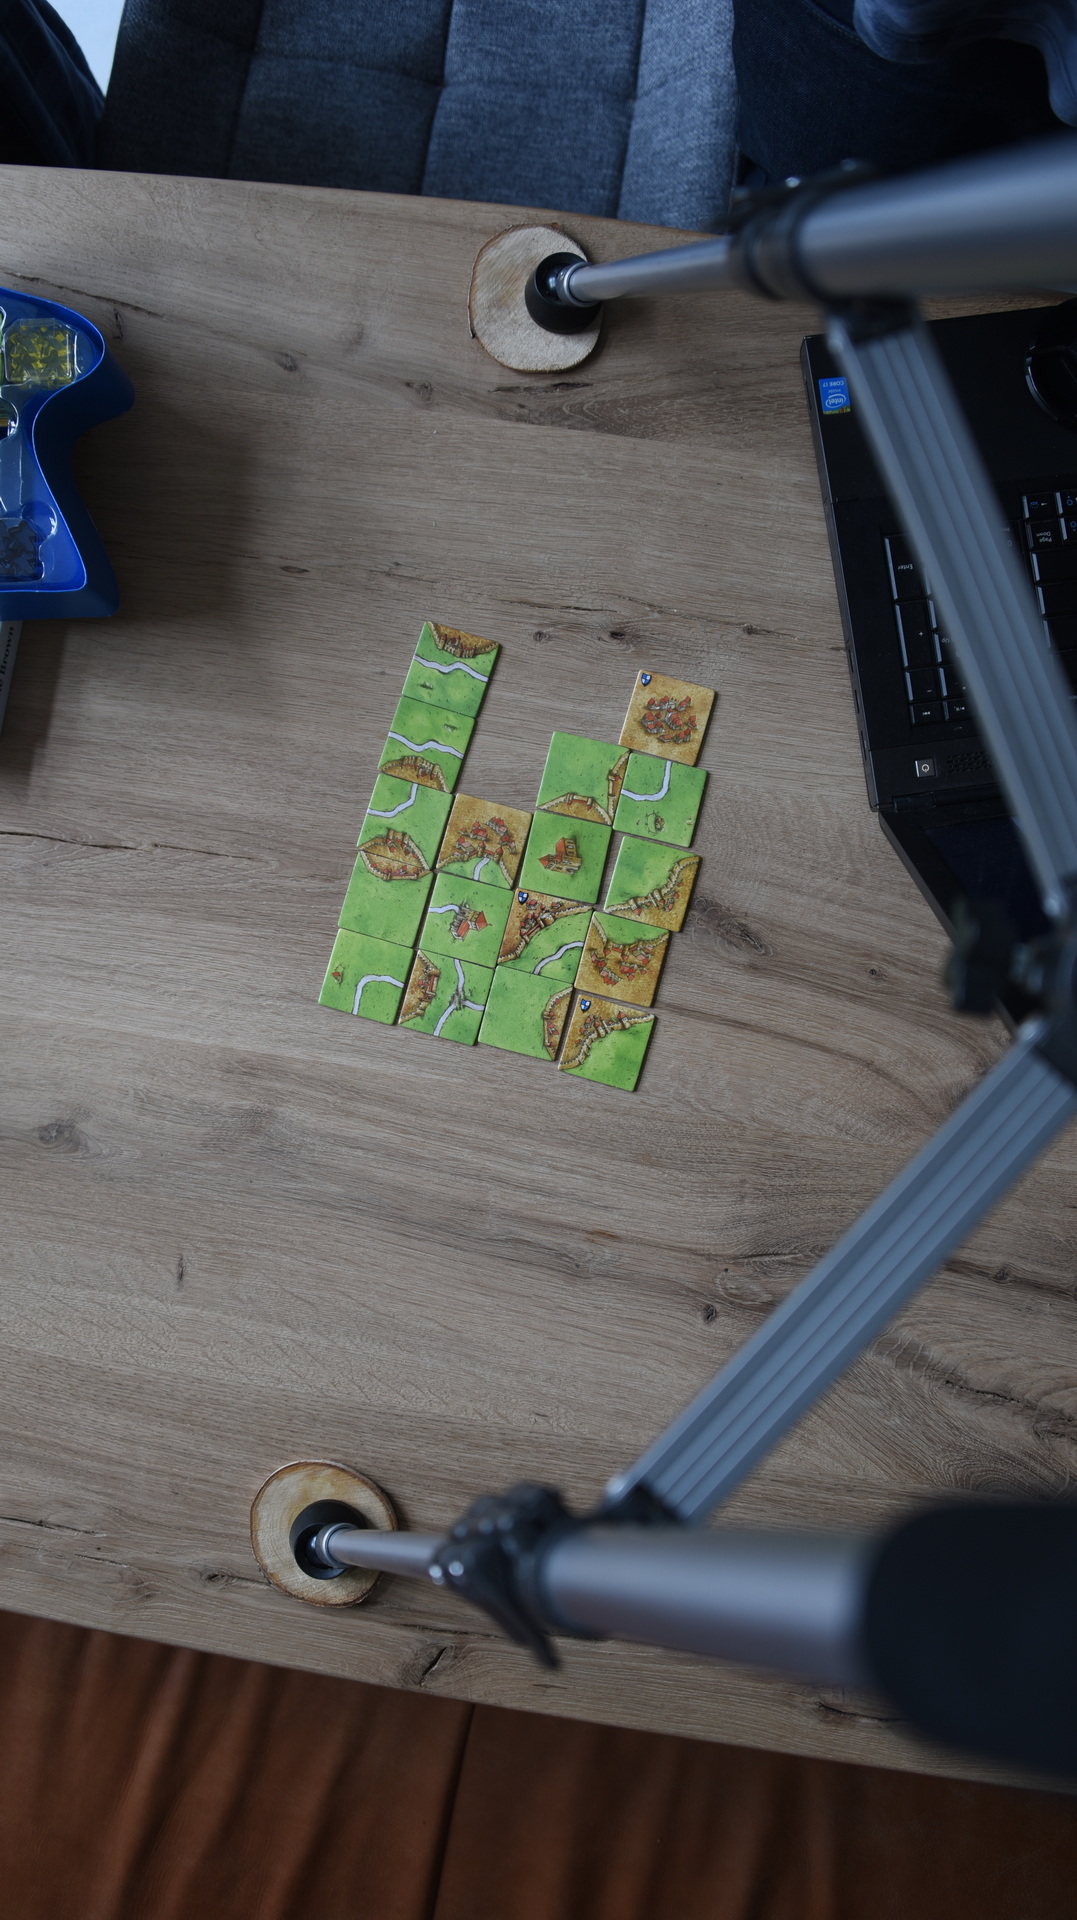
Coline sometimes plays games with her sisters online using my streaming server. (Due to Covid)
Some games are difficult because you have to point to a location on the table. So i came up with a laser pointer solution.
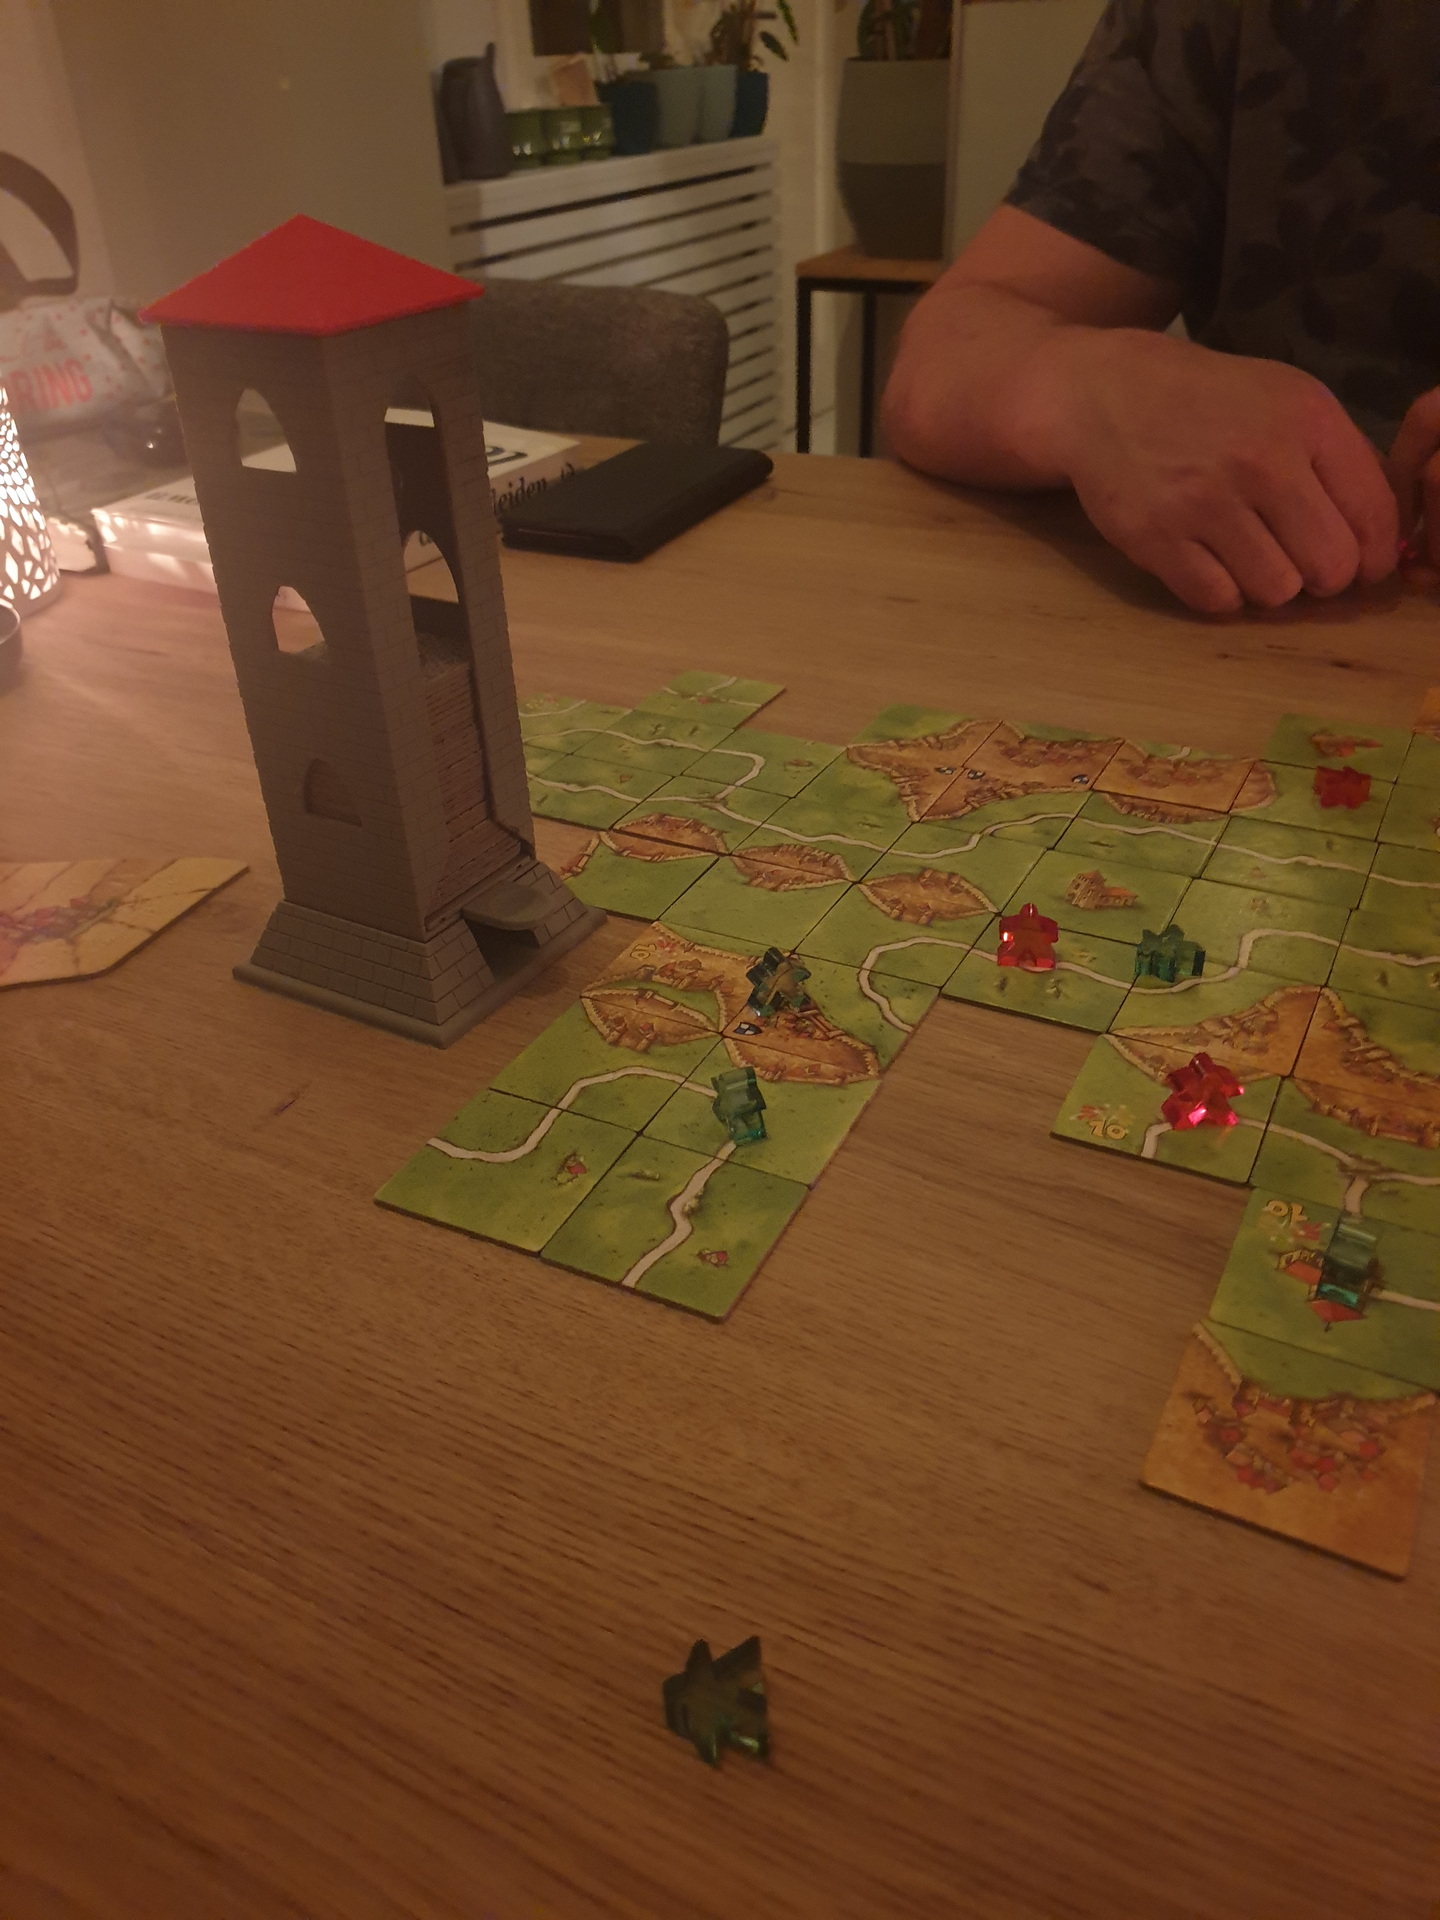
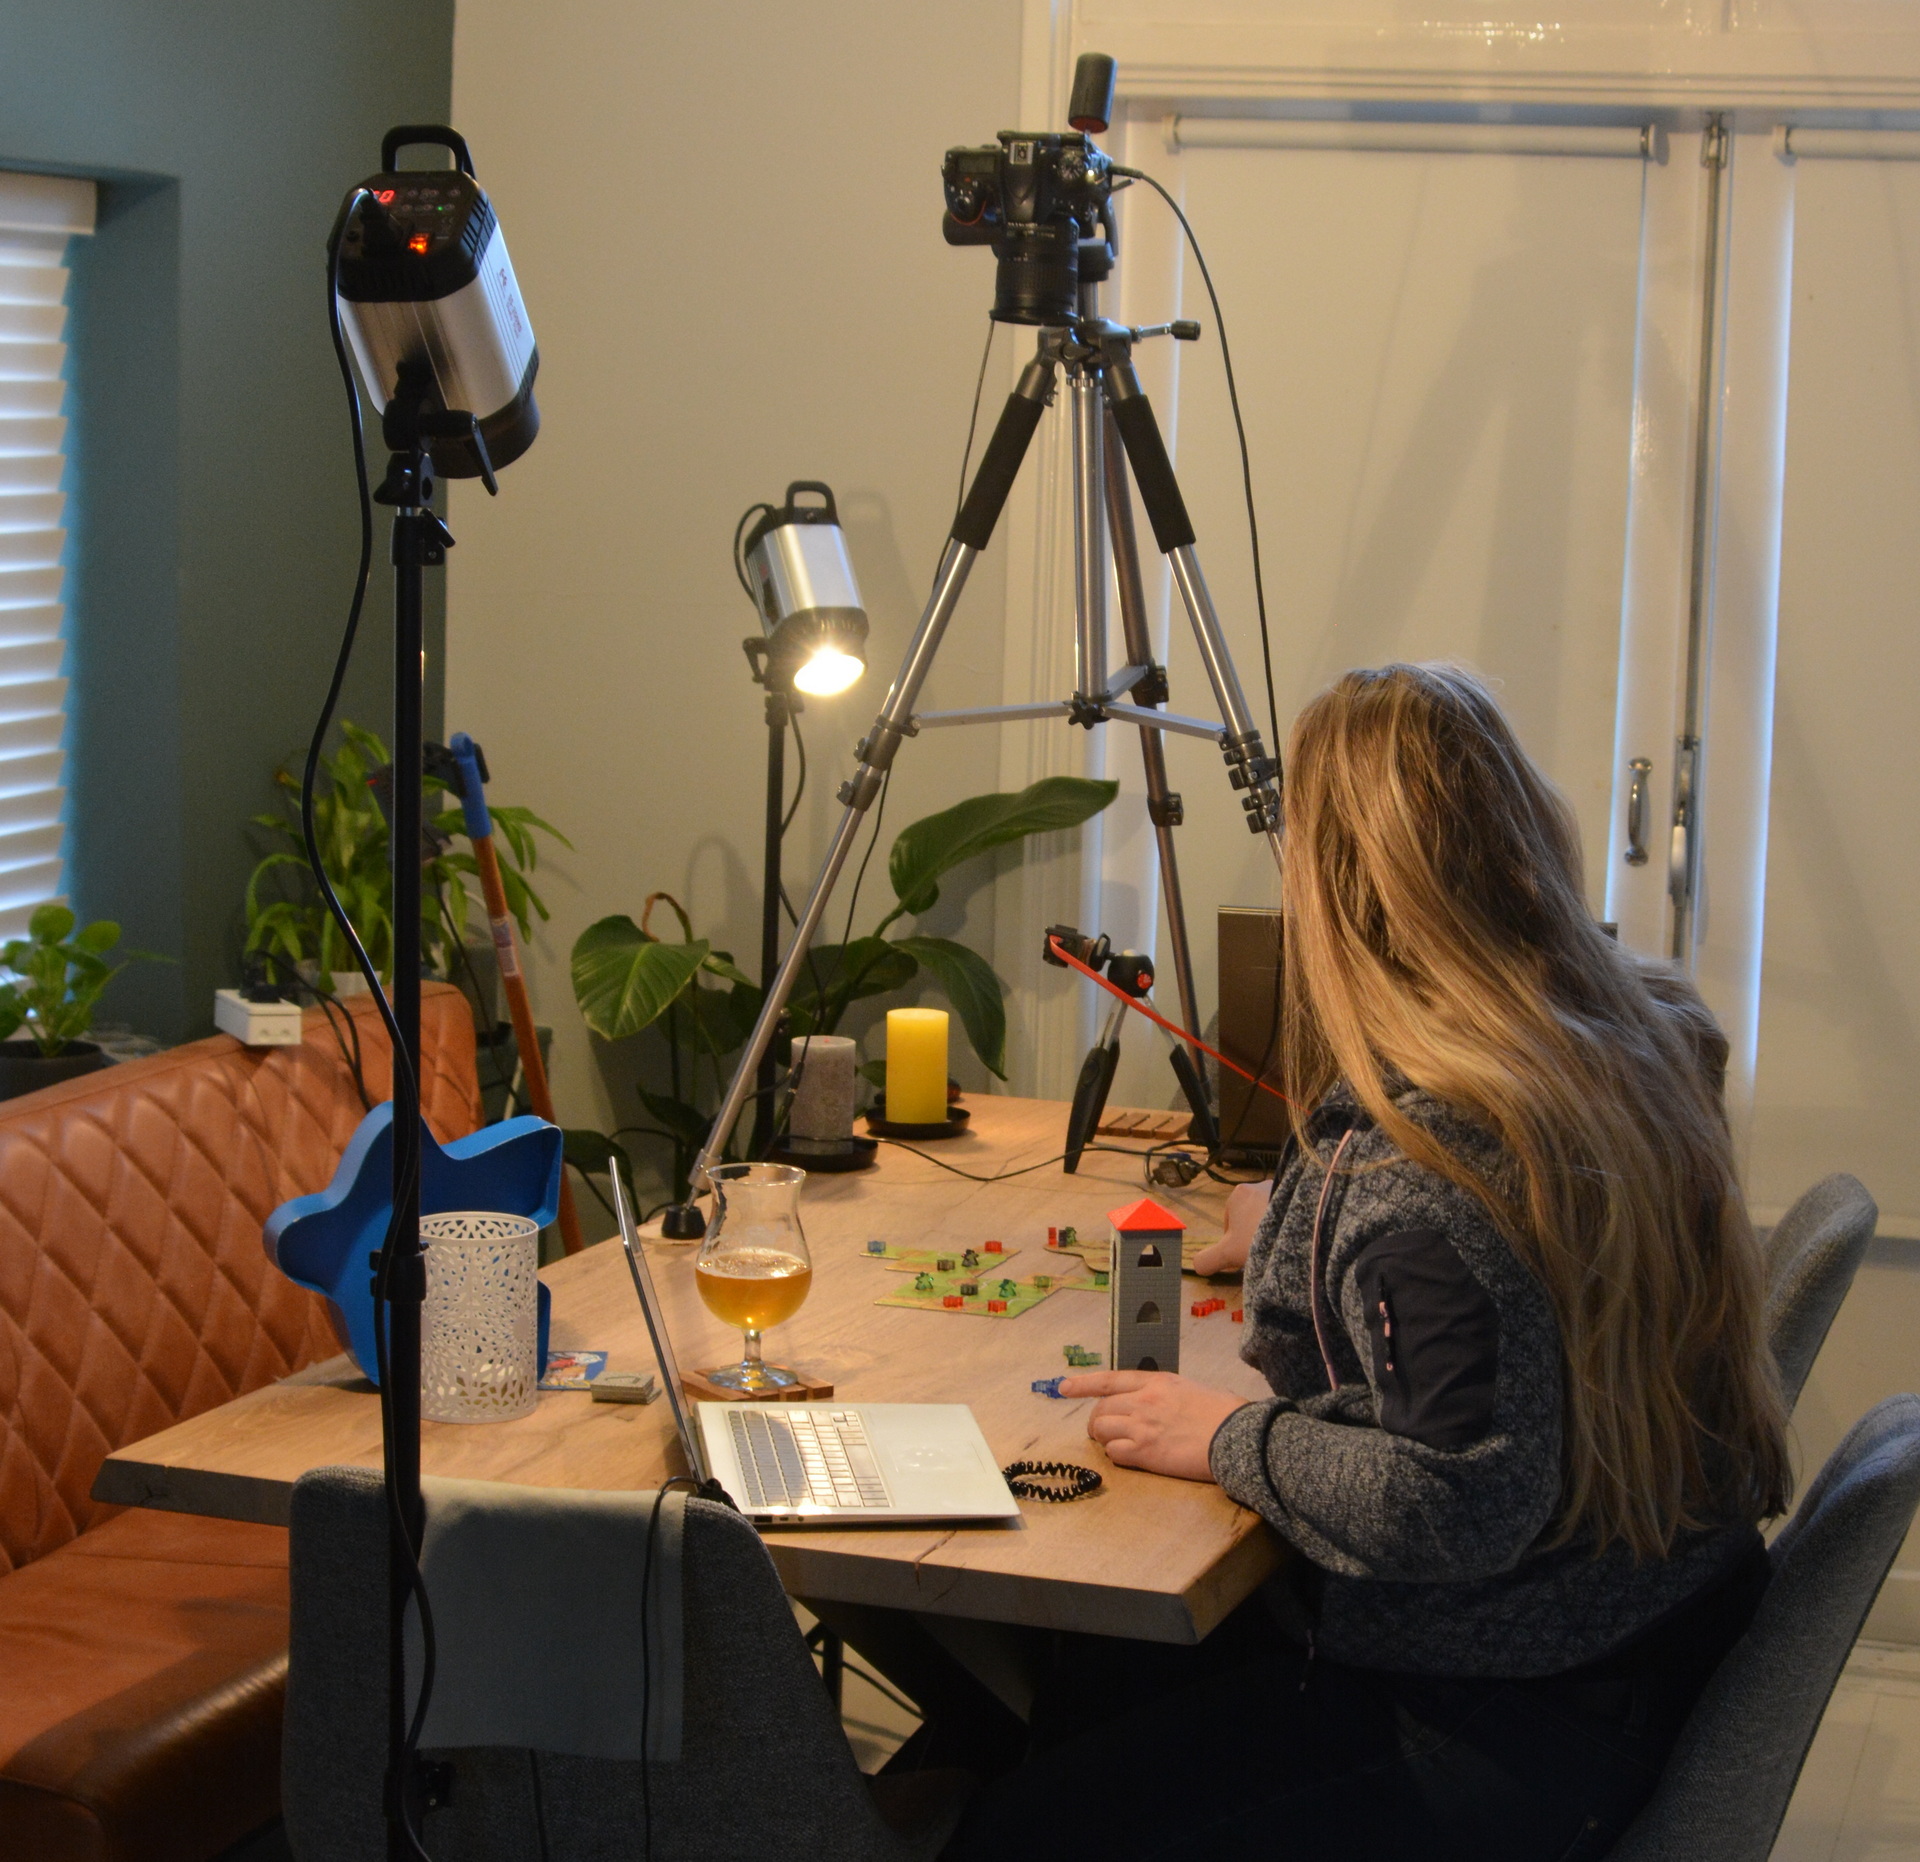
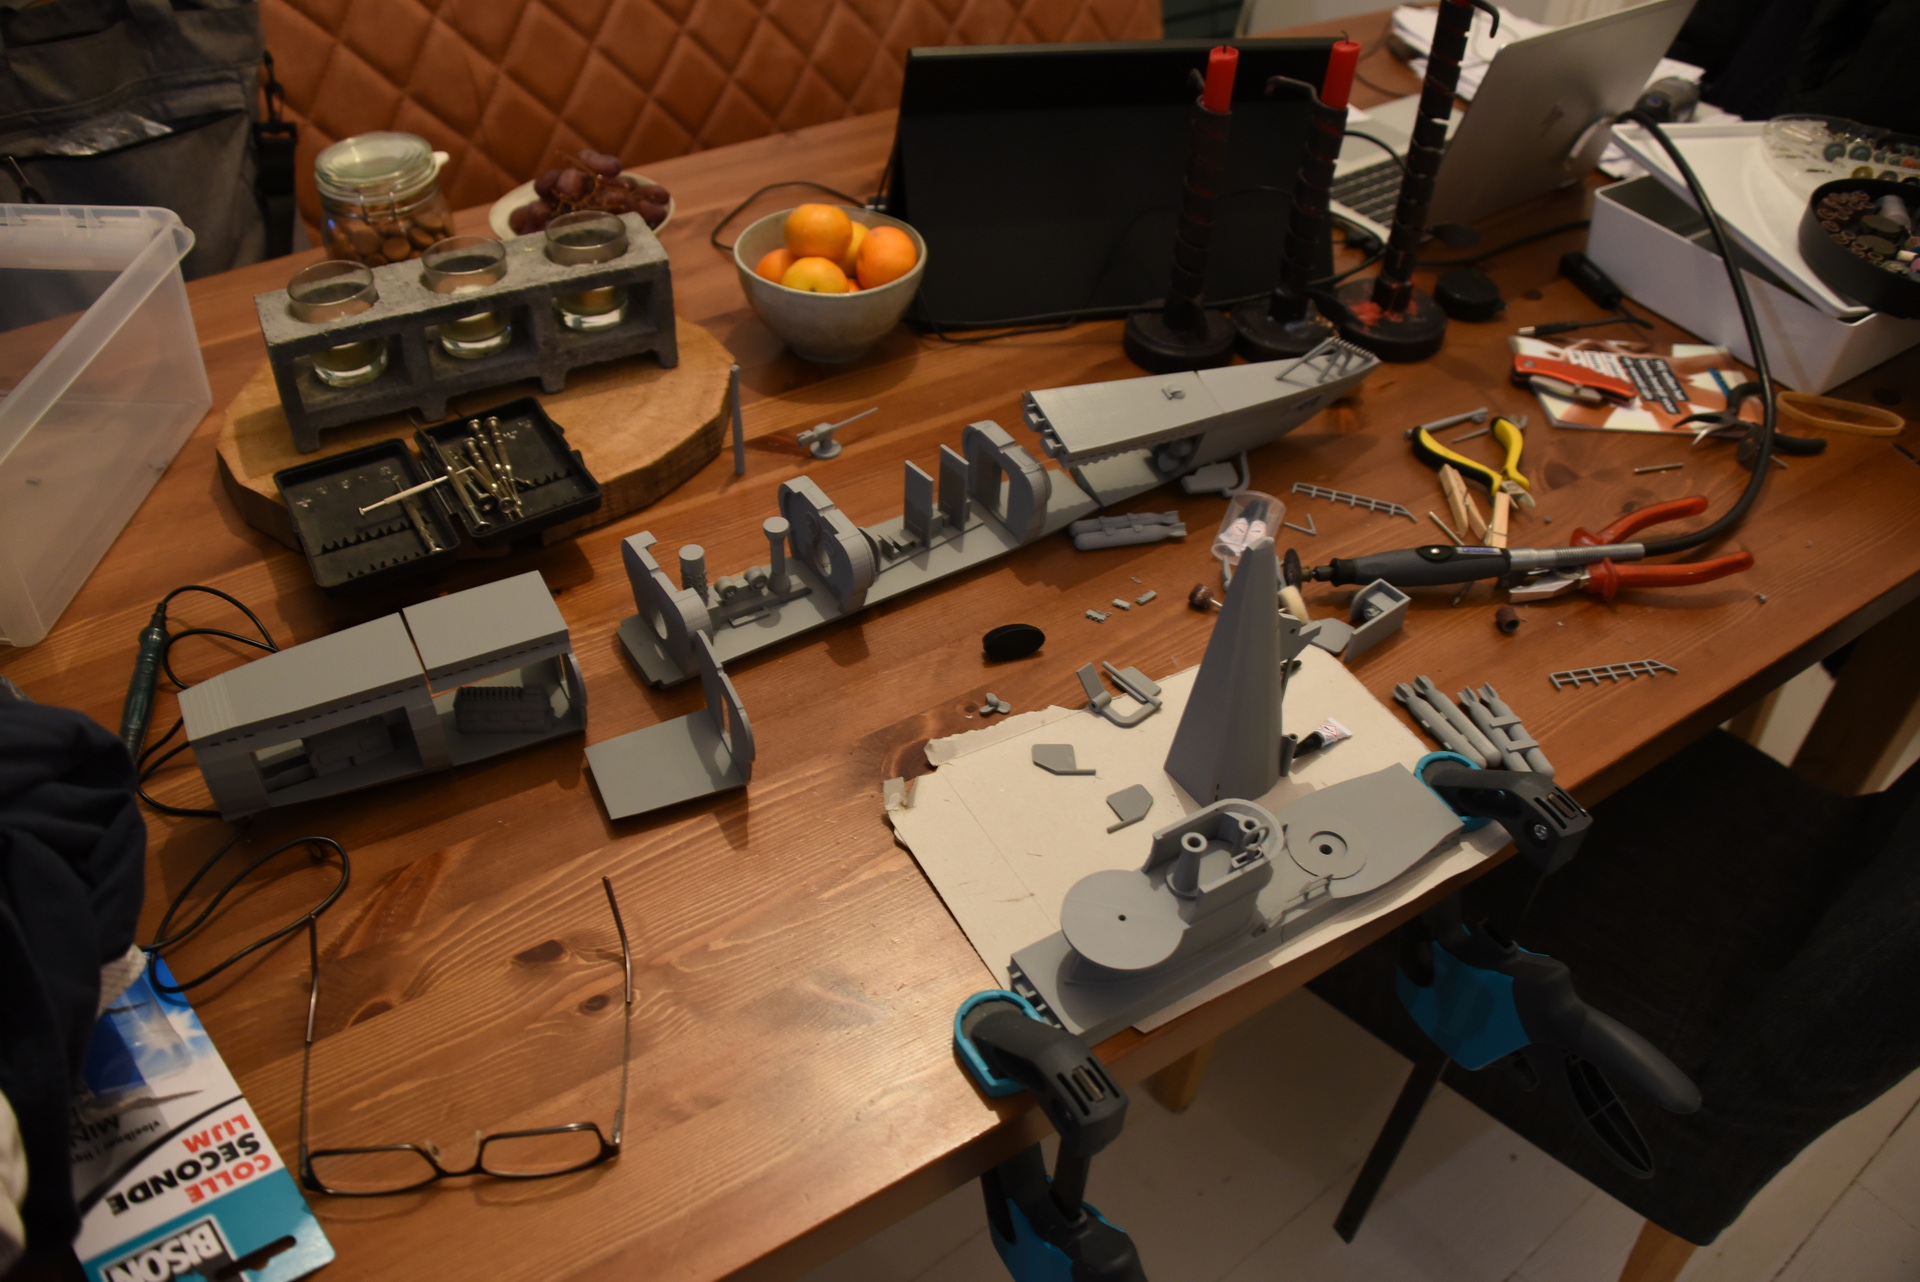
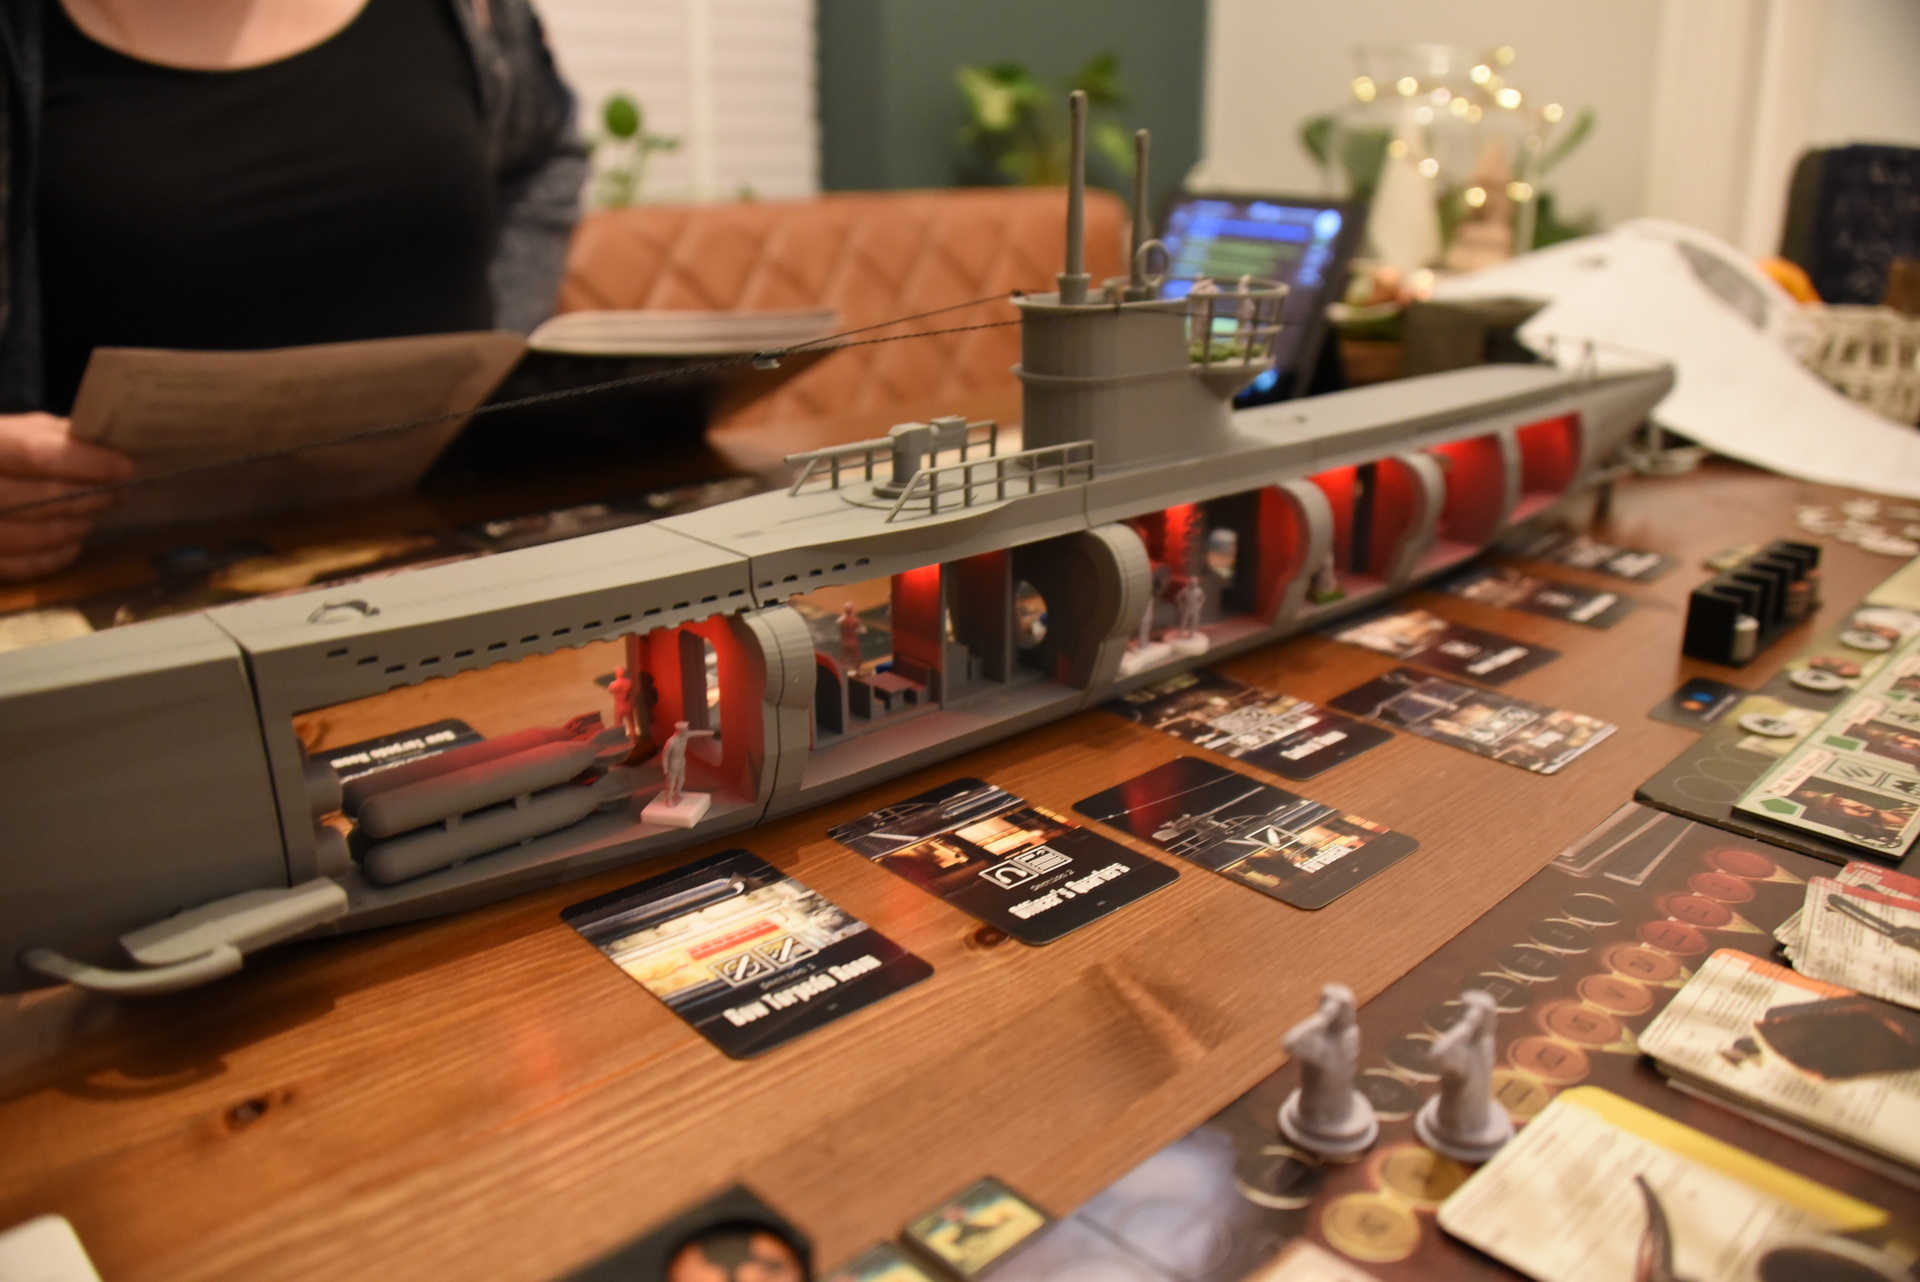
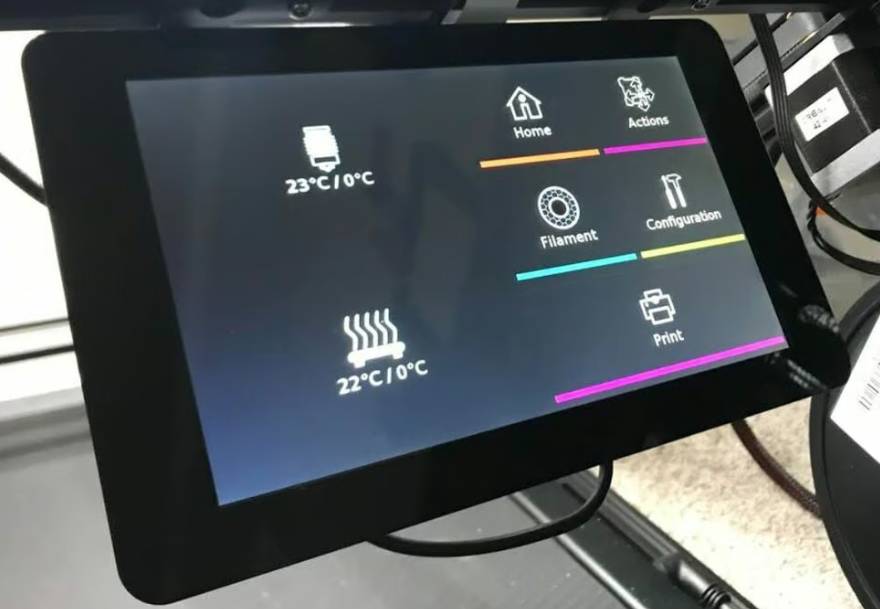
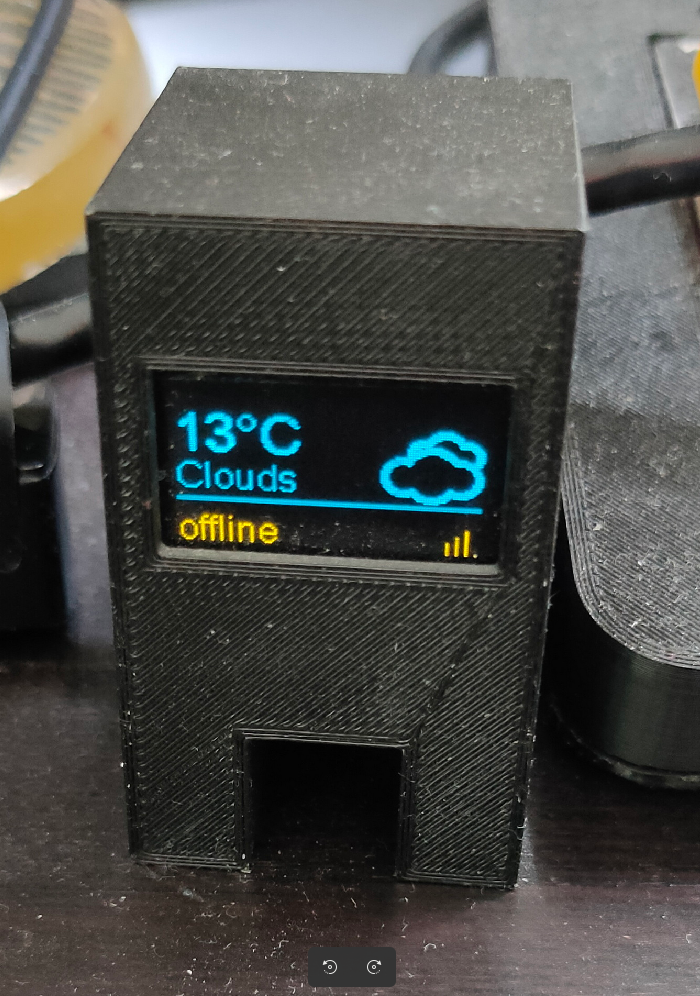
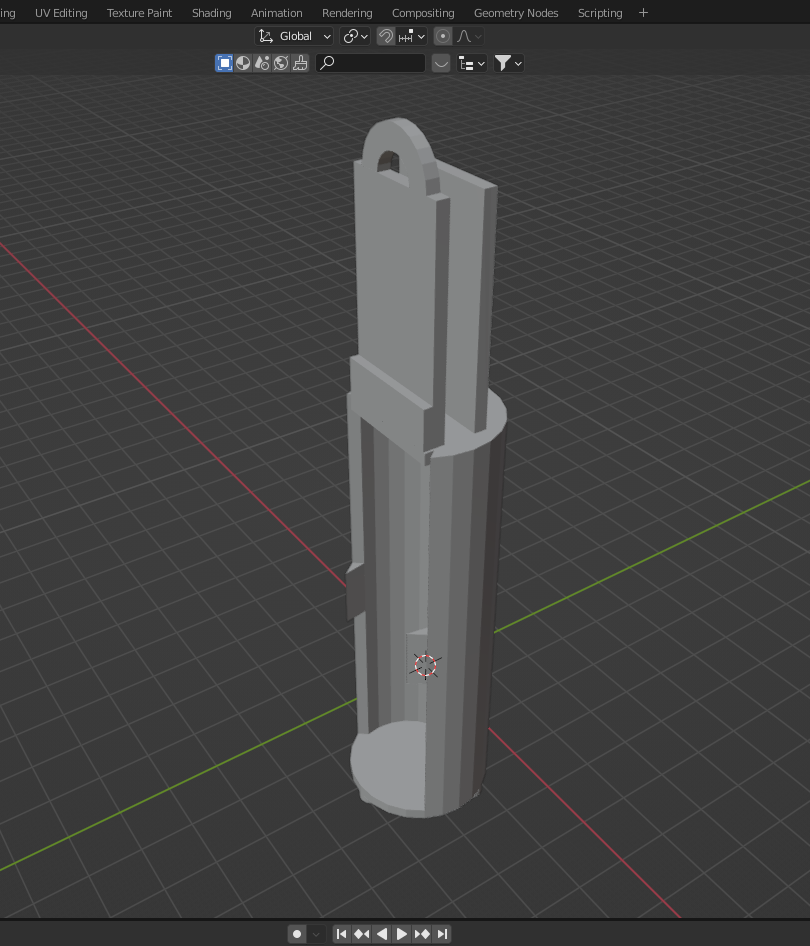
With my 3D printed towerStreaming using OBS and a Nikon camera
The idea is: Send a url to the players with a streaming camera, you see the game on your screen but you can click on a location on the screen to move a laser pointer to that location.
Below is a proof of concept using the Lasercut worldmap on the wall and a website with a worldmap.
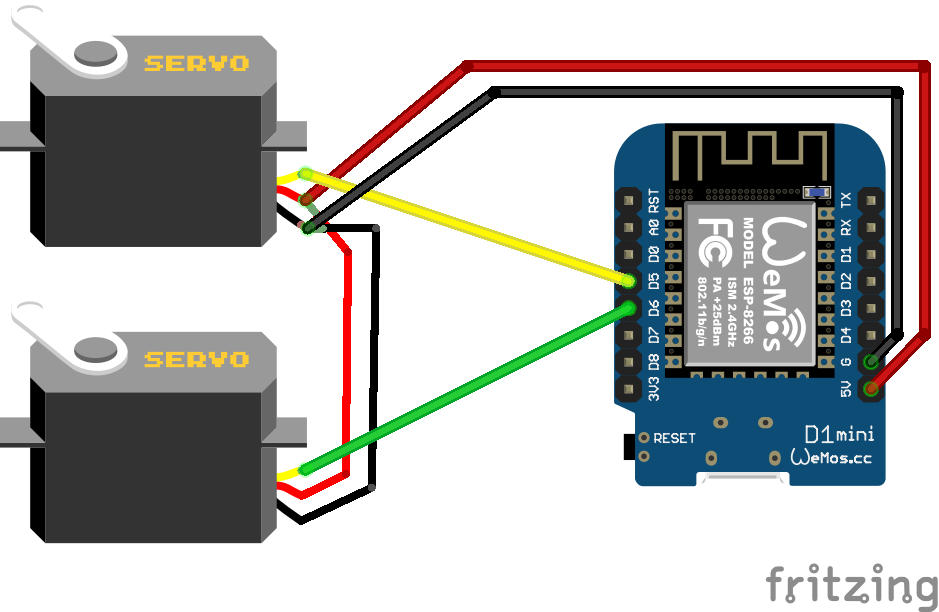
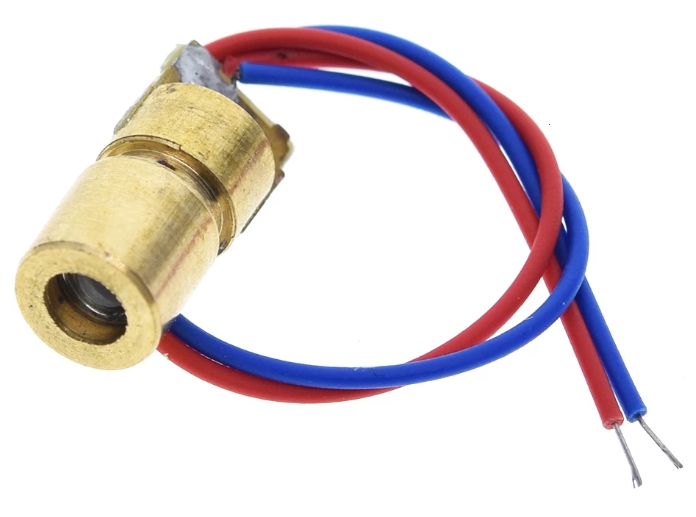
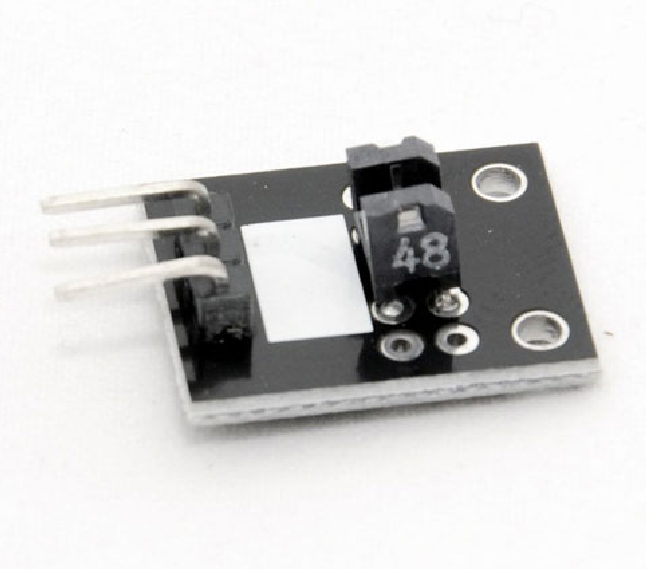
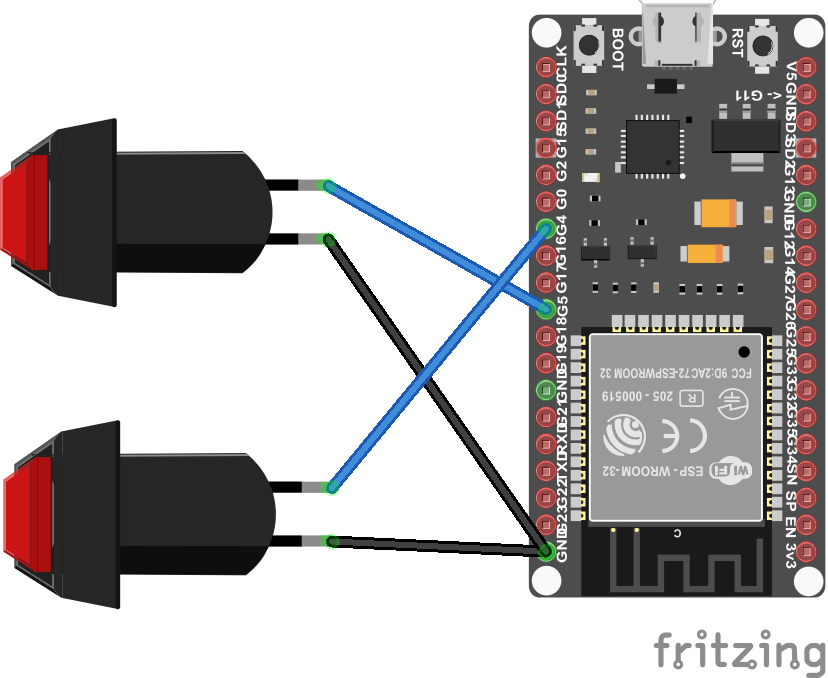
Laser pointer module
Cork worldmapImage on website
Code to place on the ESP:
This will connect to the MQTT broker and listens for messages on the servo/pan and tilt topic.
This was made using an Arduino and some buttons. I’m using Fbreader and Ebookdroid on the tablet.
Code:
Note: Volume buttons work for both apps, if you want to use other keys, you need to put a keymap.xml file in your fbreader books directory on your android device to remap those!
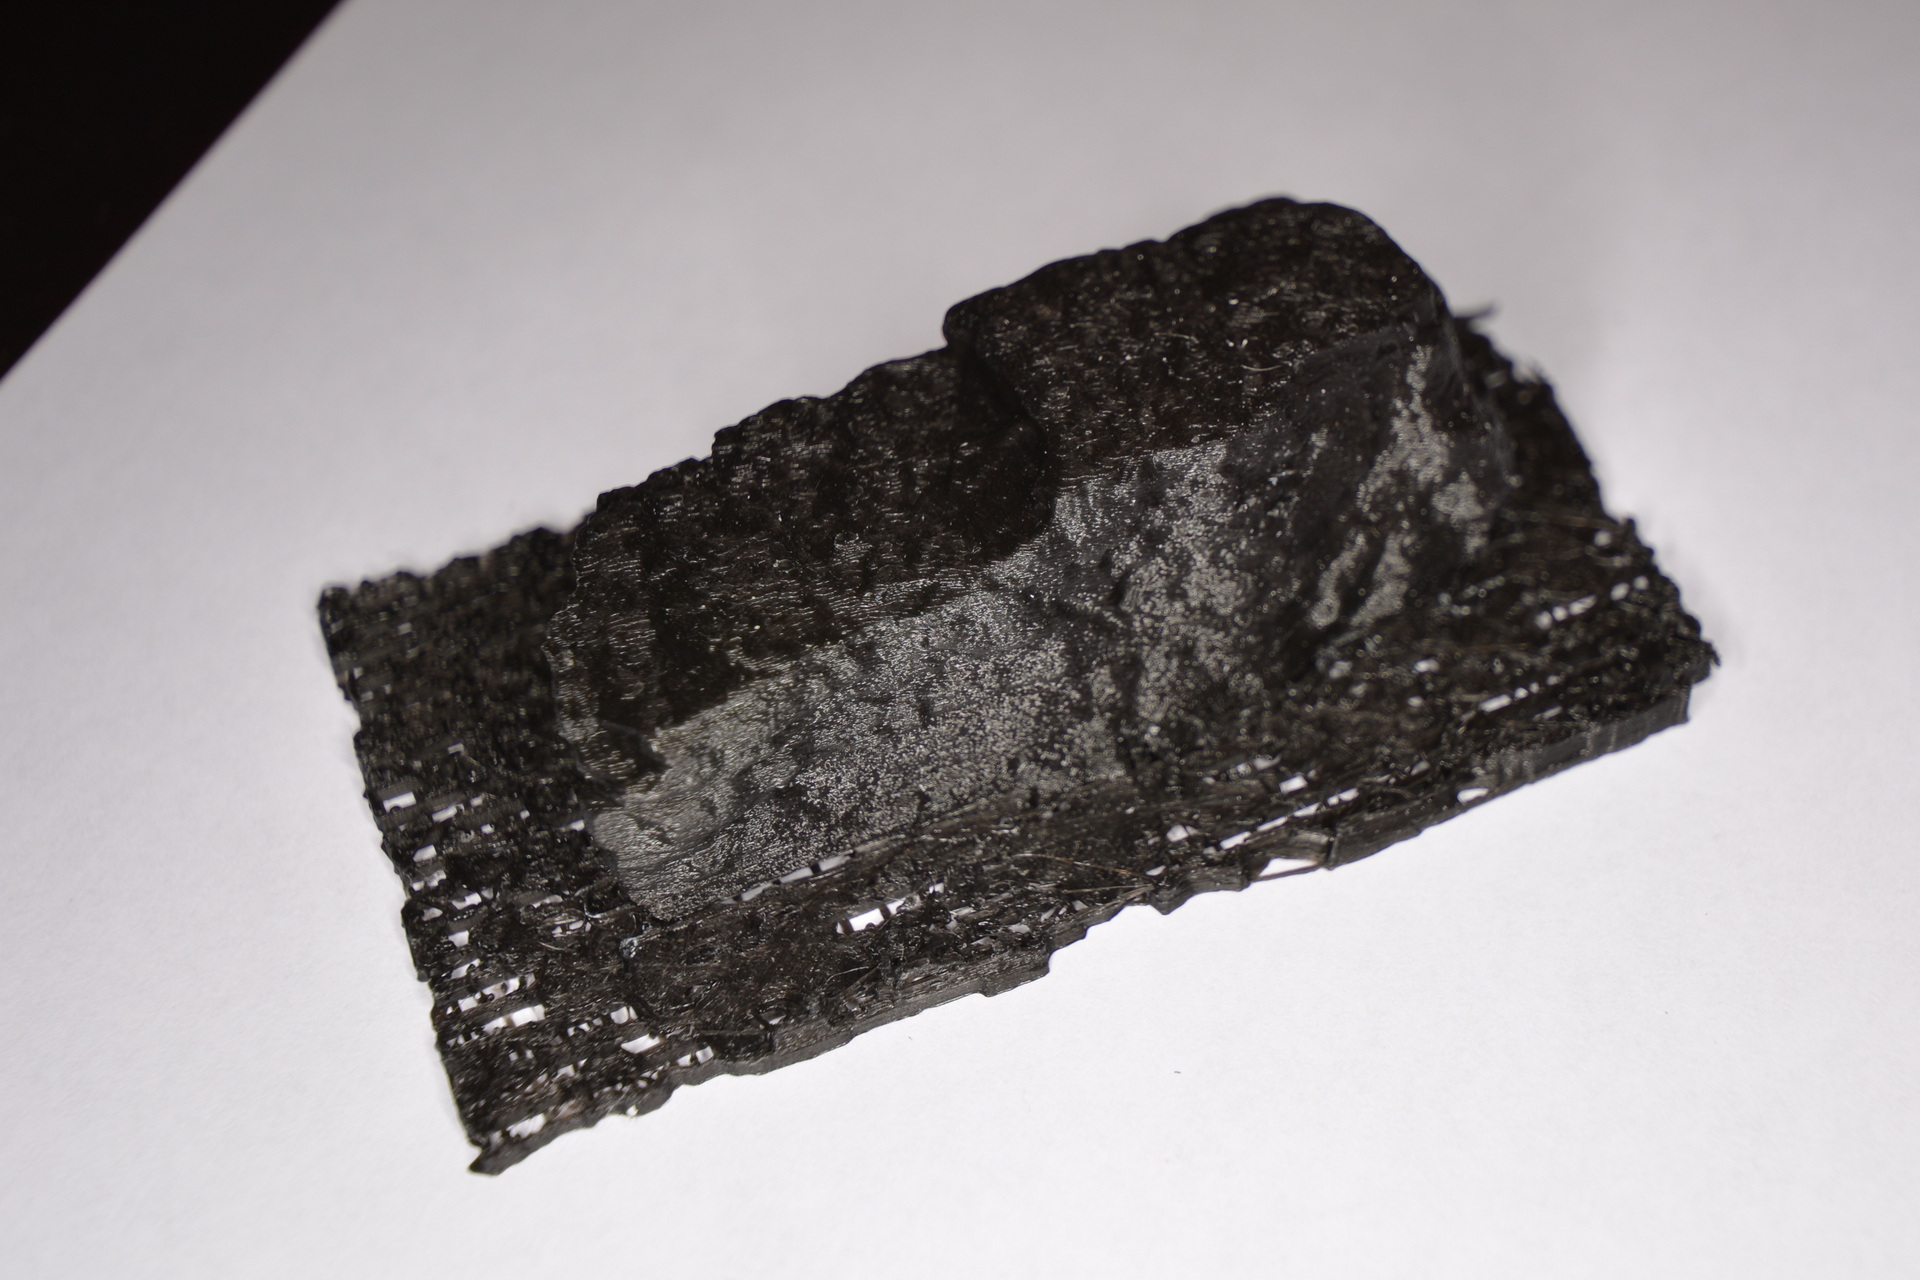
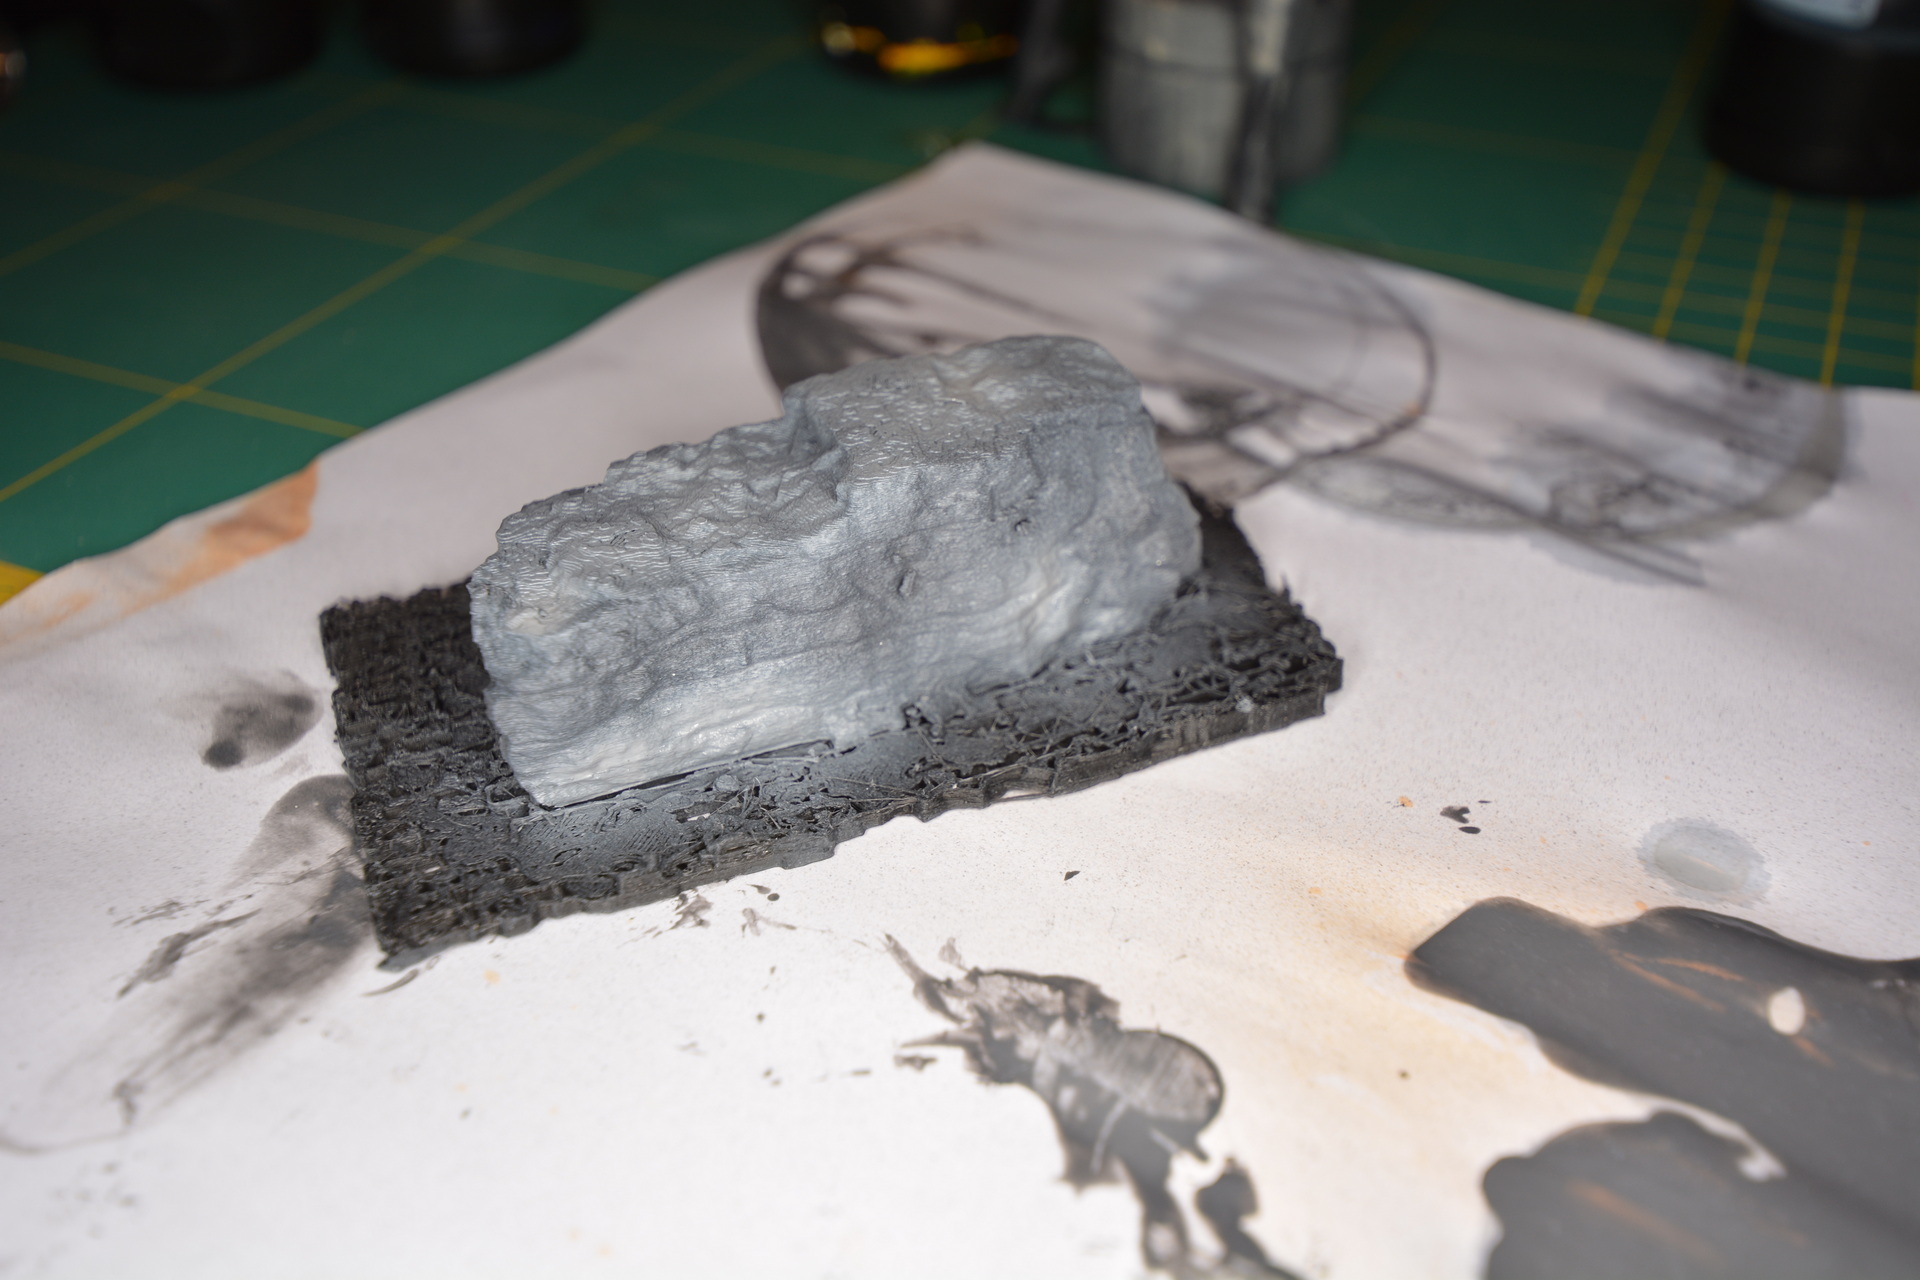
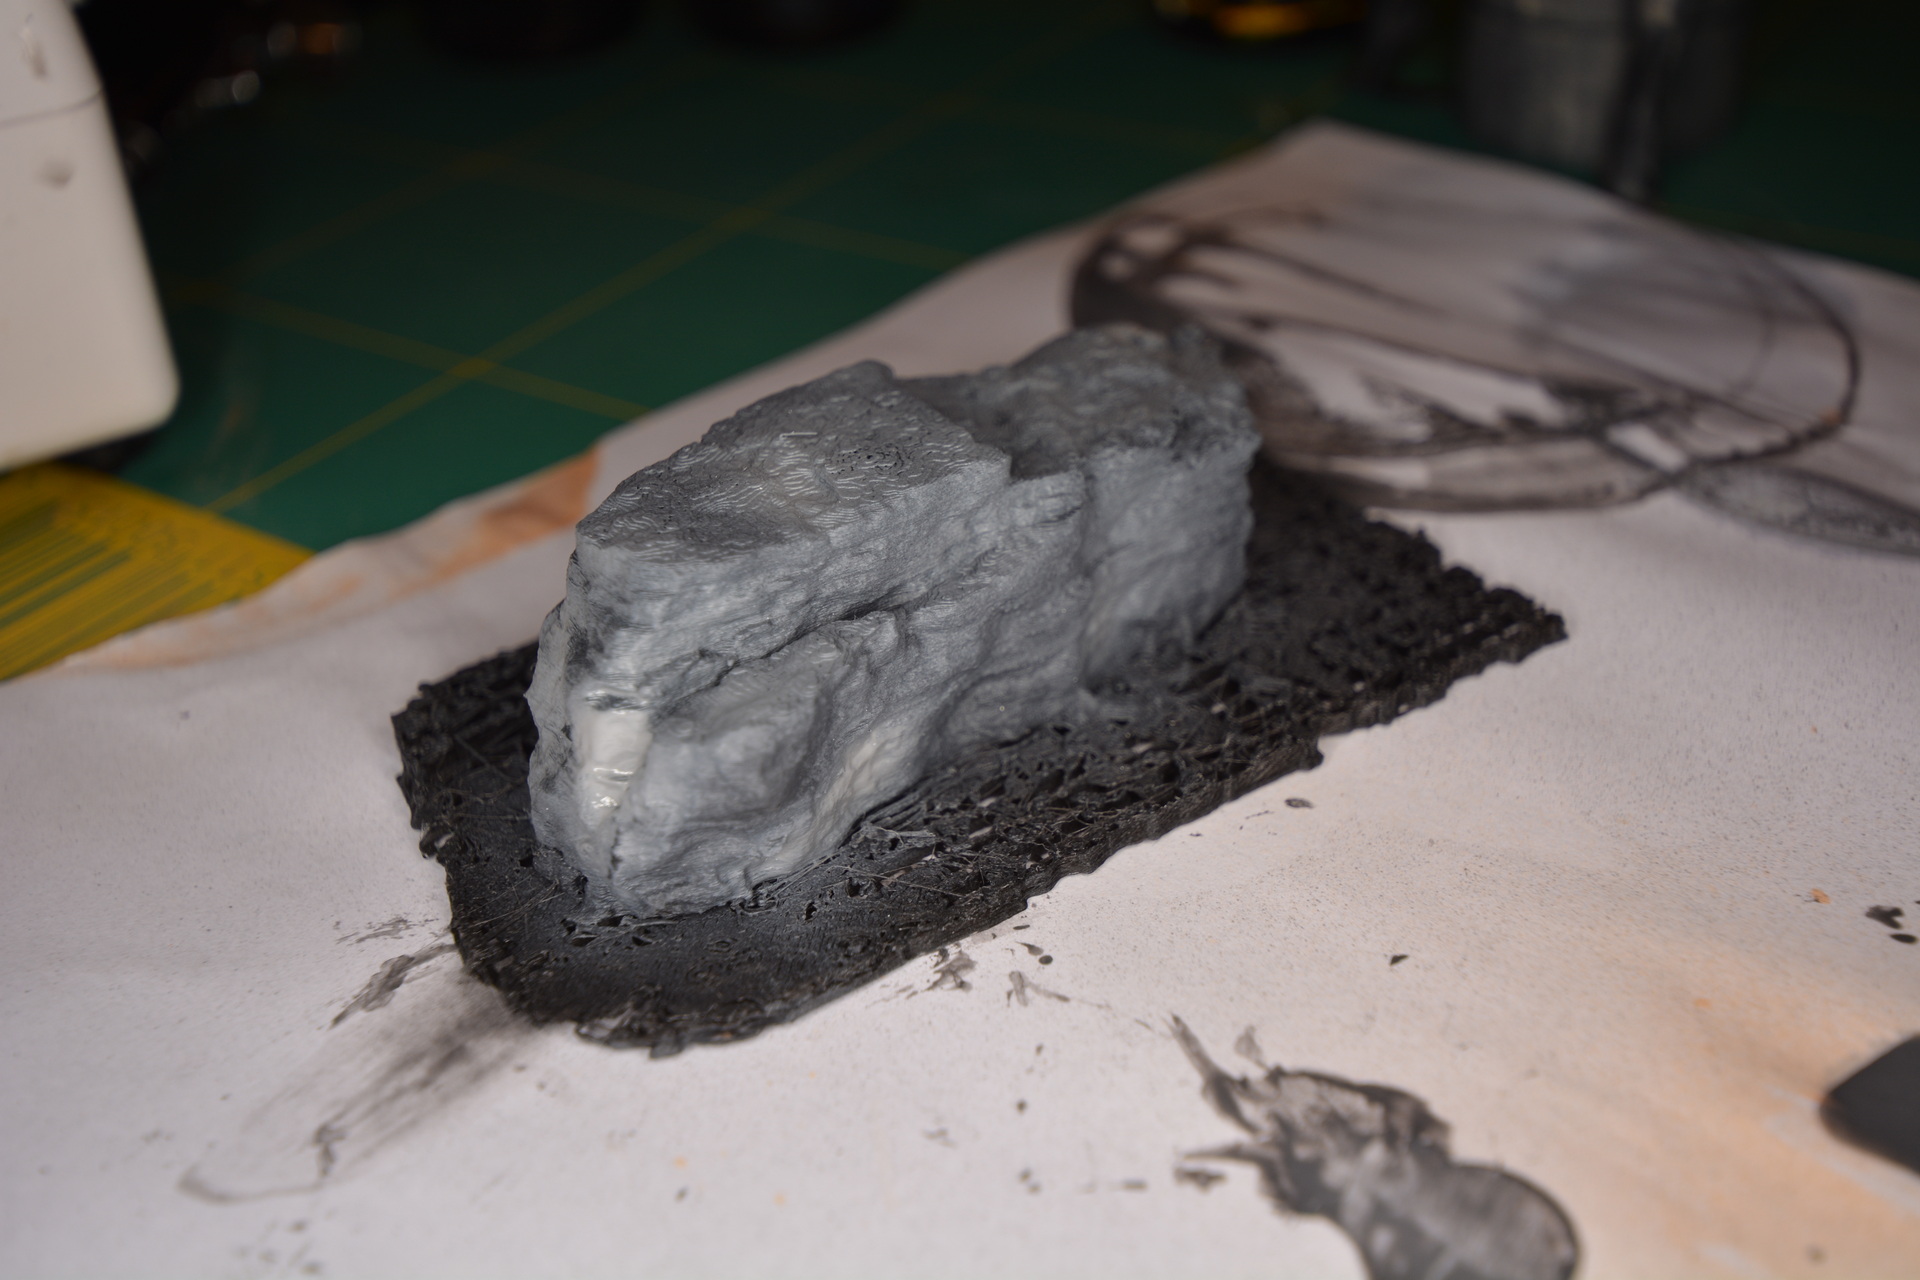
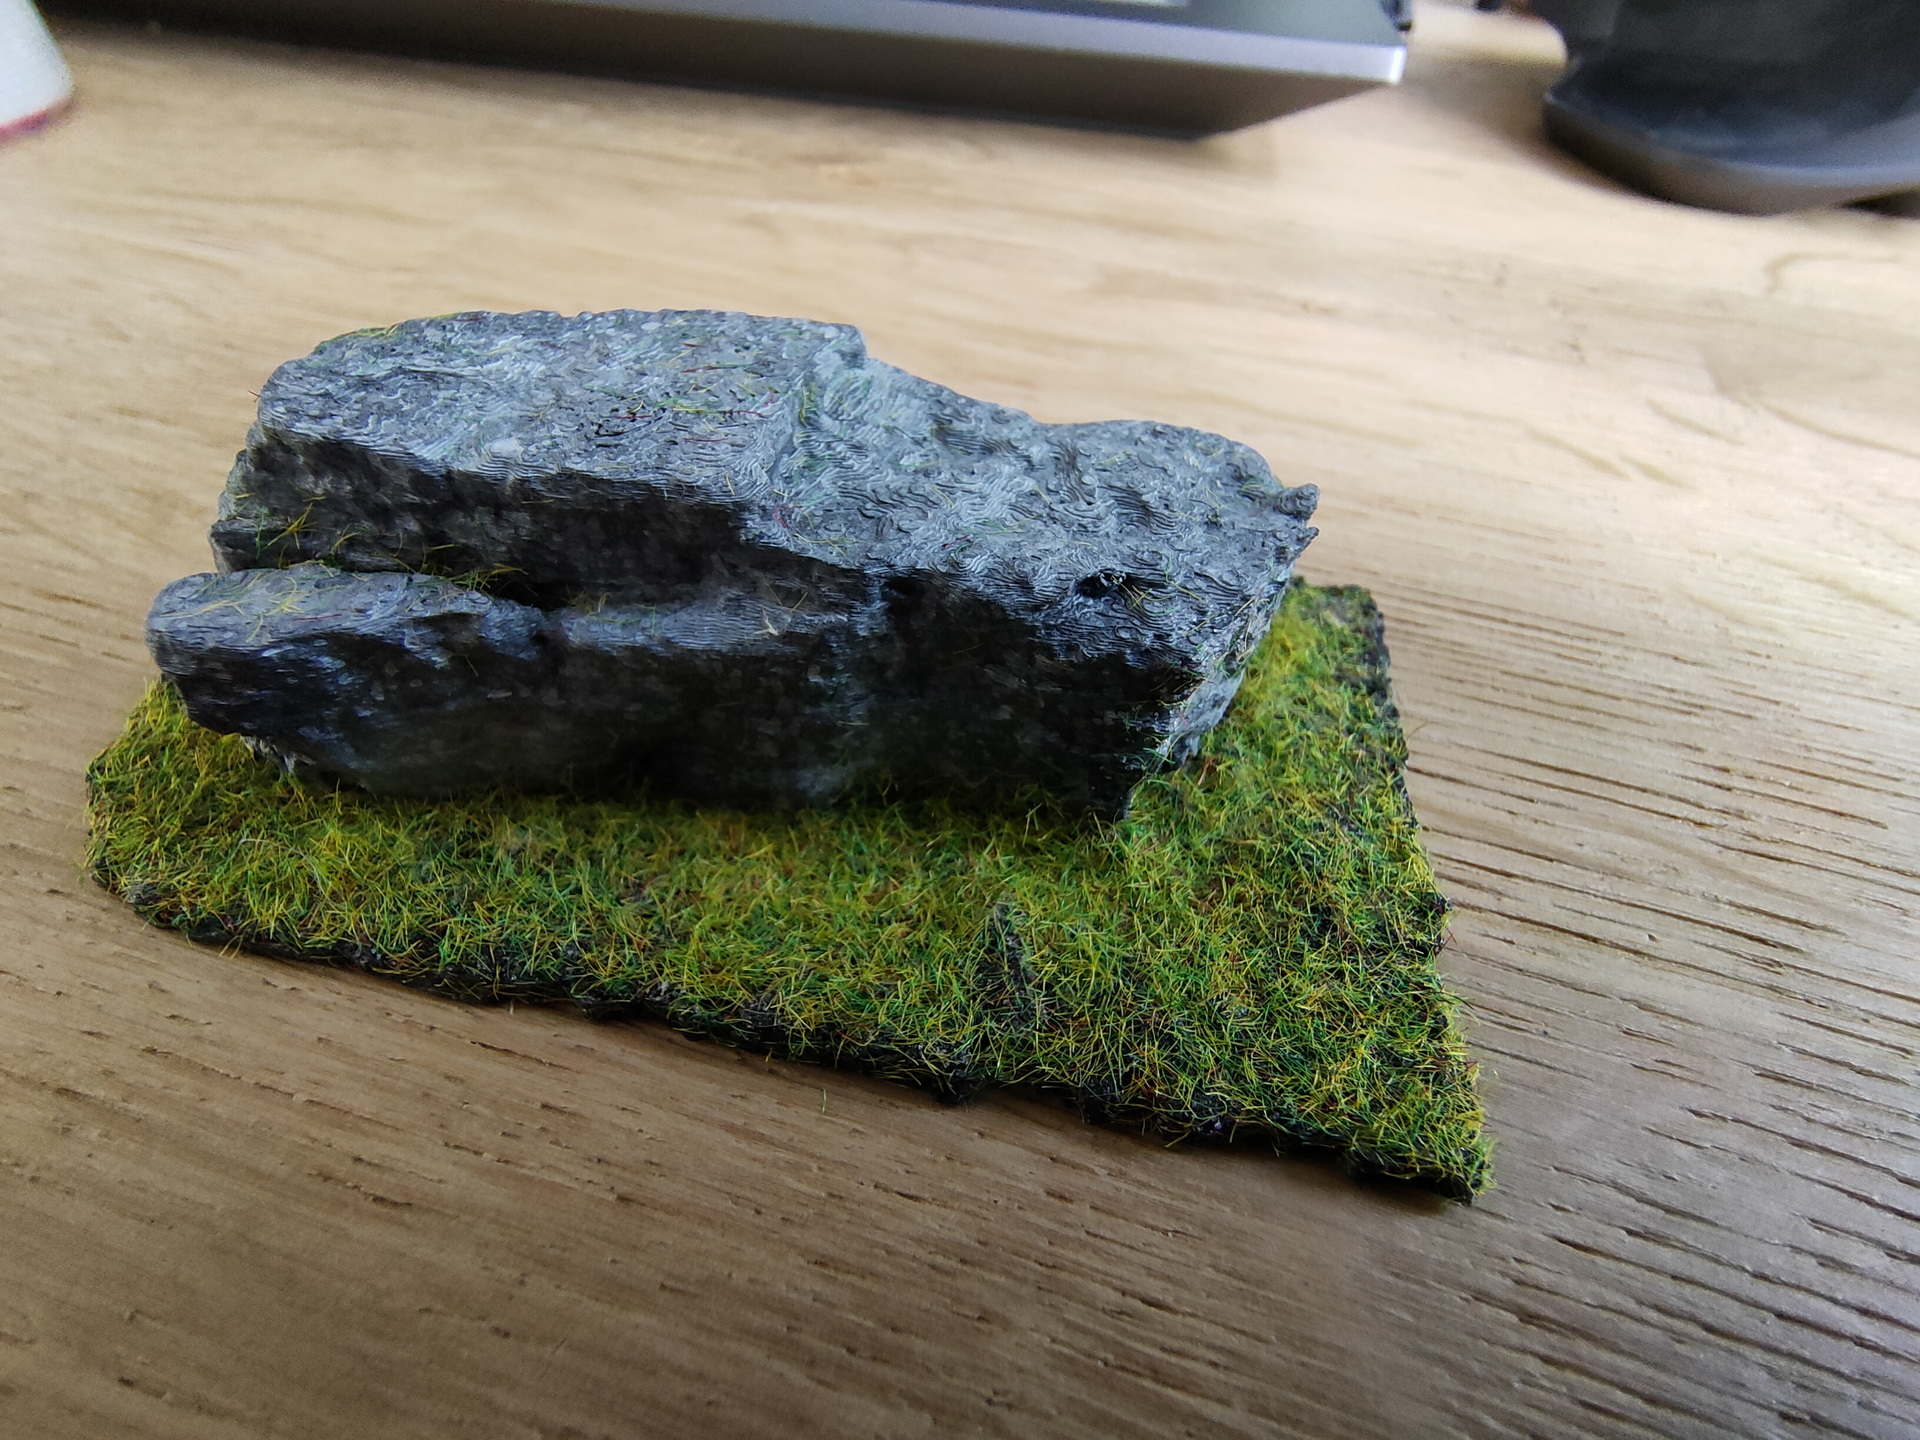
While on holiday in New Zealand i made photos of a rock i found on the campsite we where. Nothing special about the rock, but it was a nice subject to try to replicate.
So i took many many pictures of the stone from all sides.
Imported those images in meshroom and convered it to a 3D stl object.
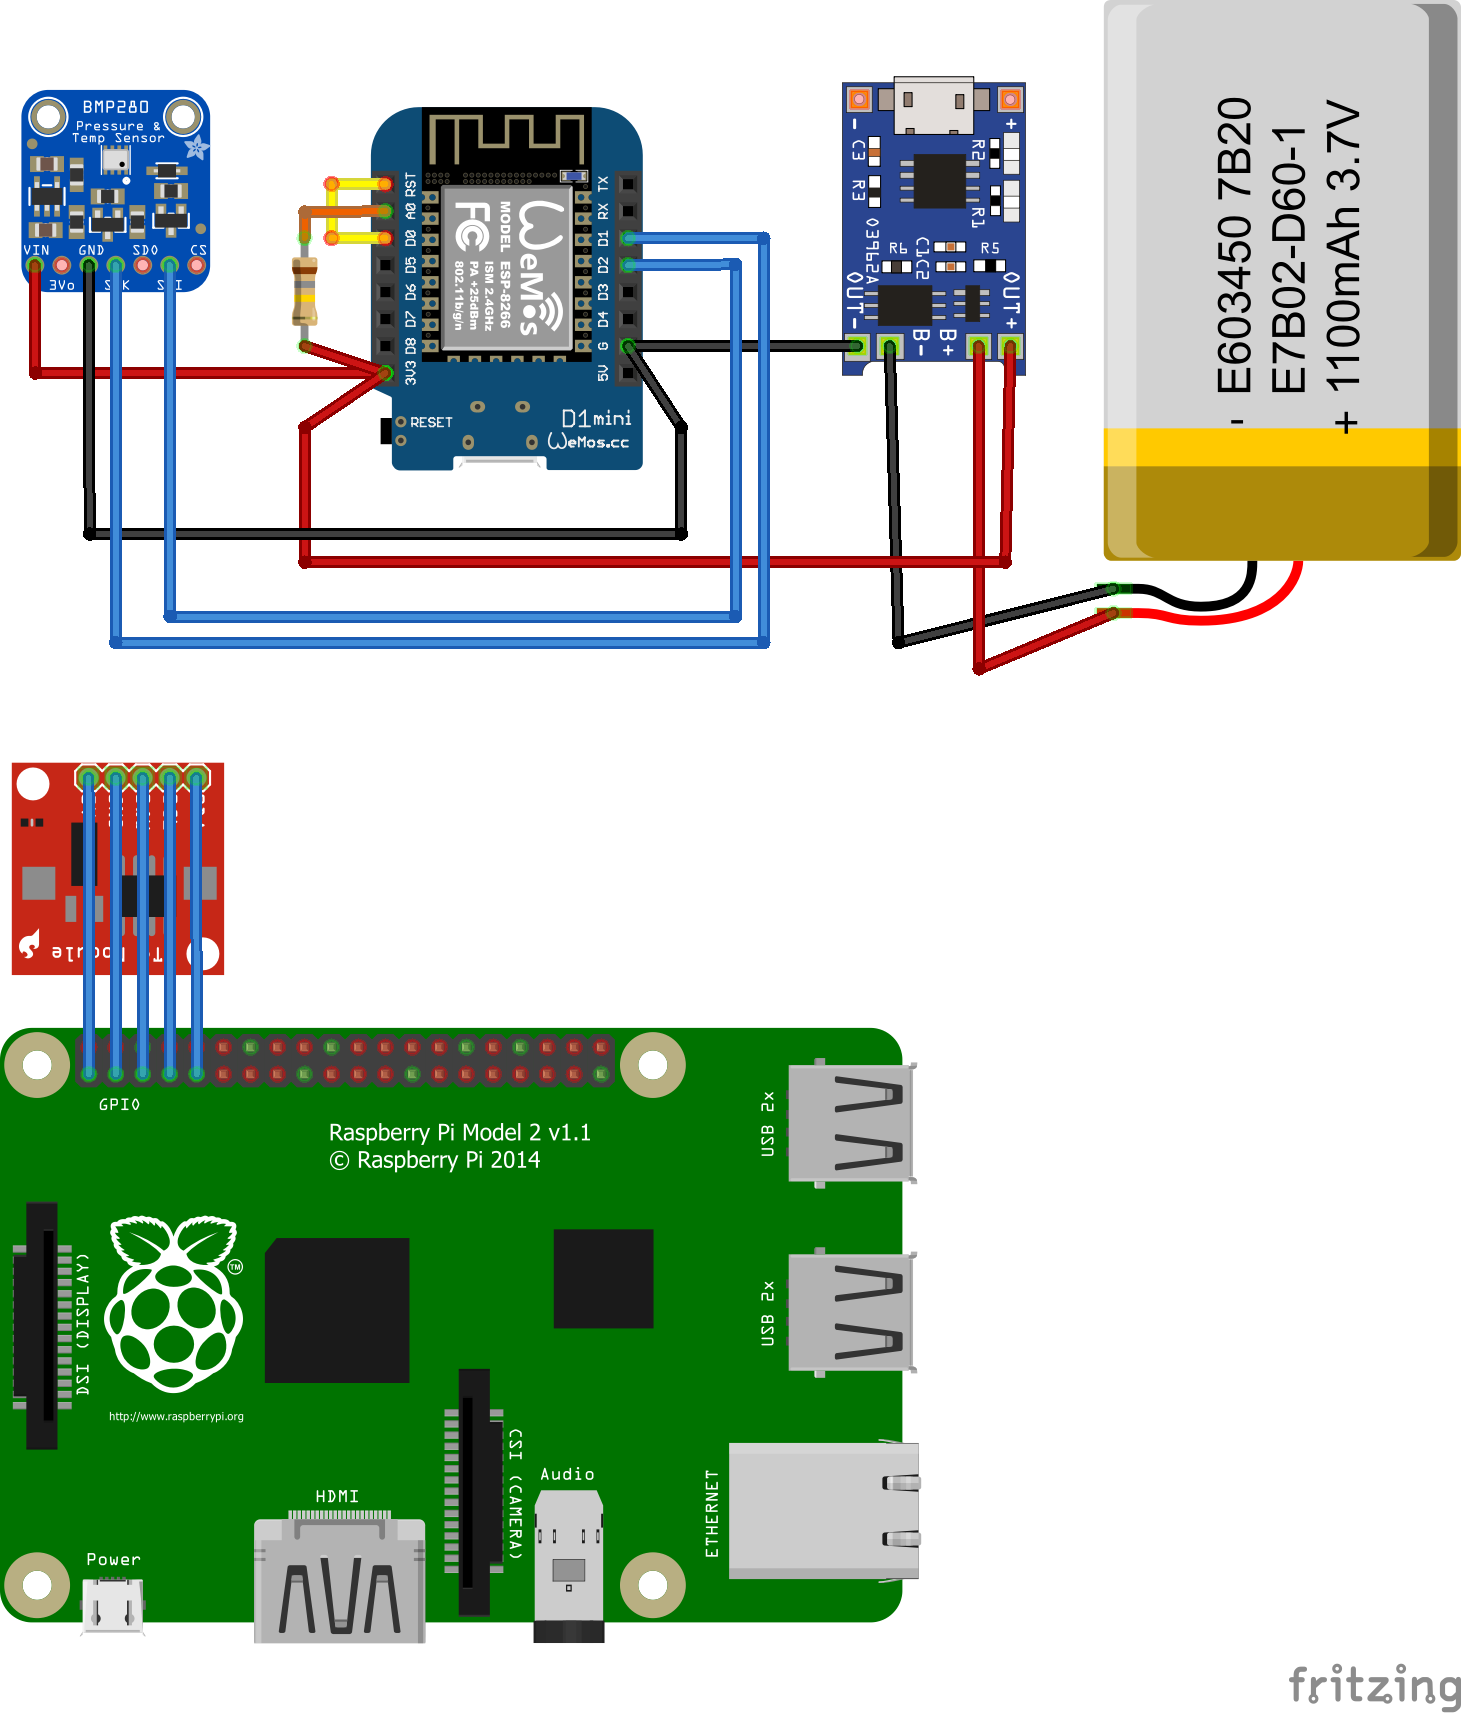
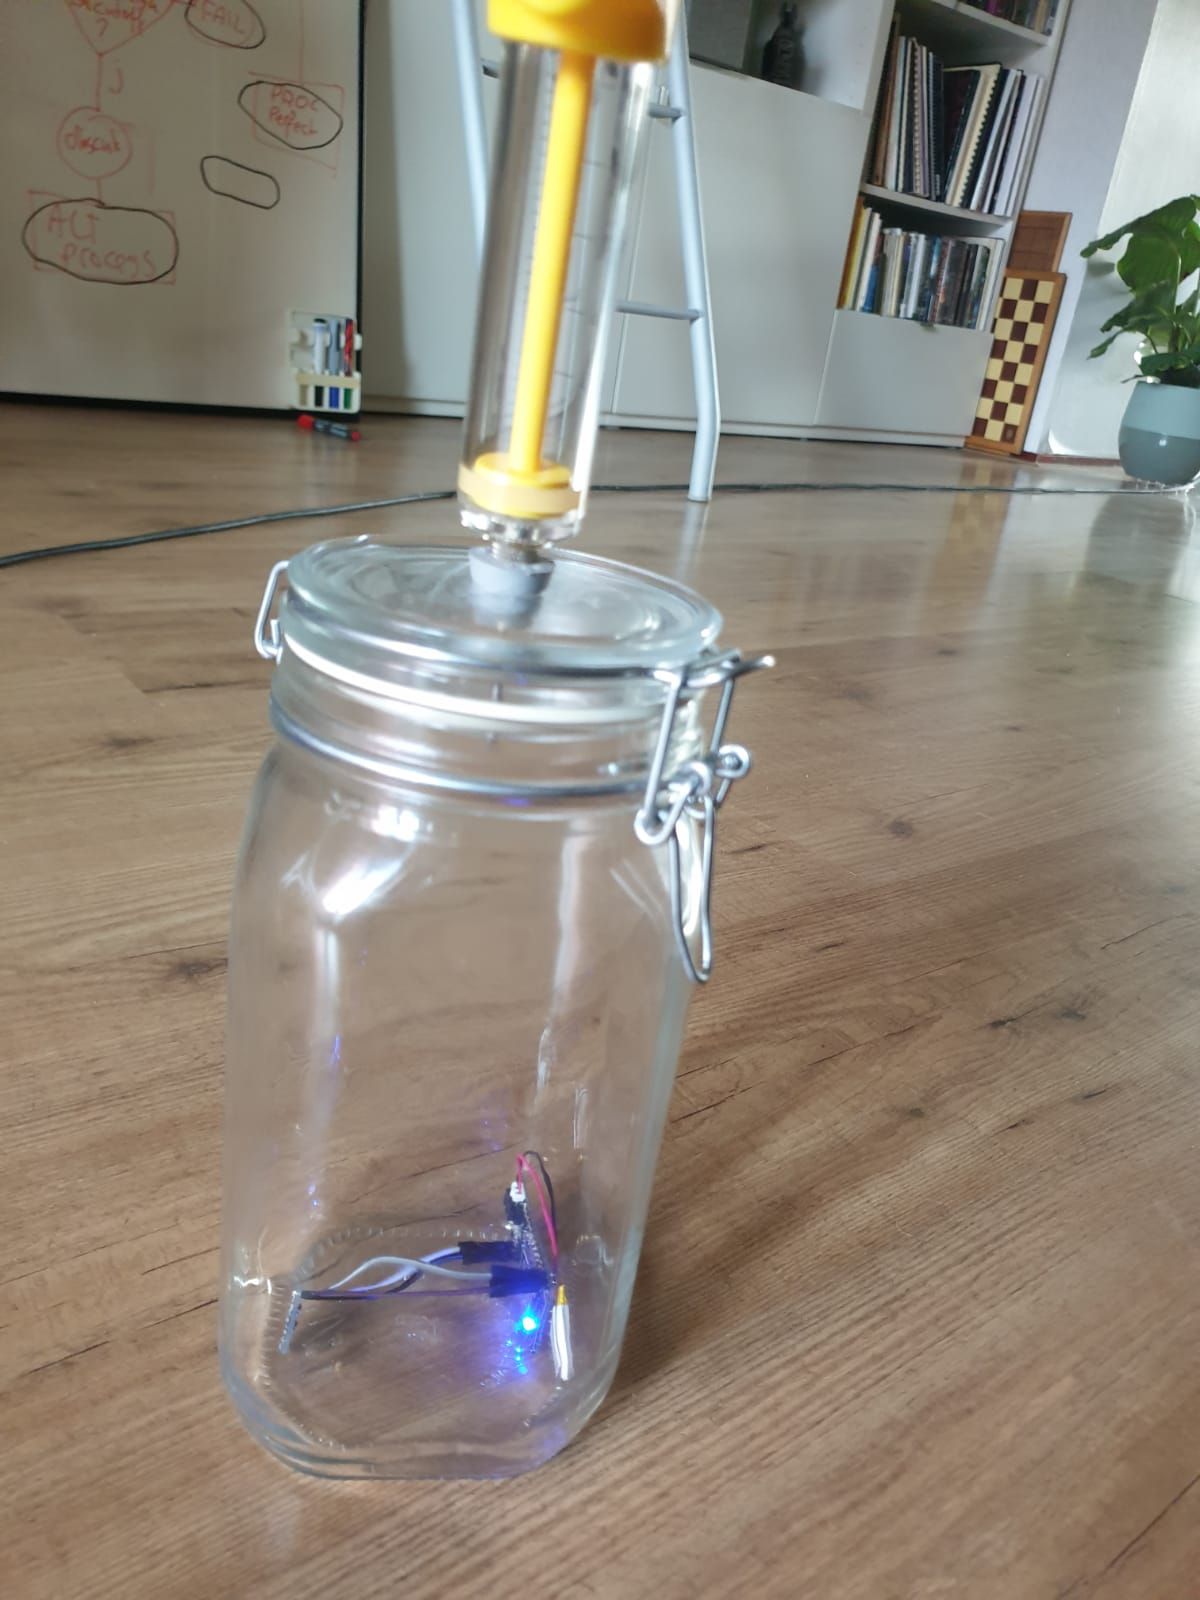
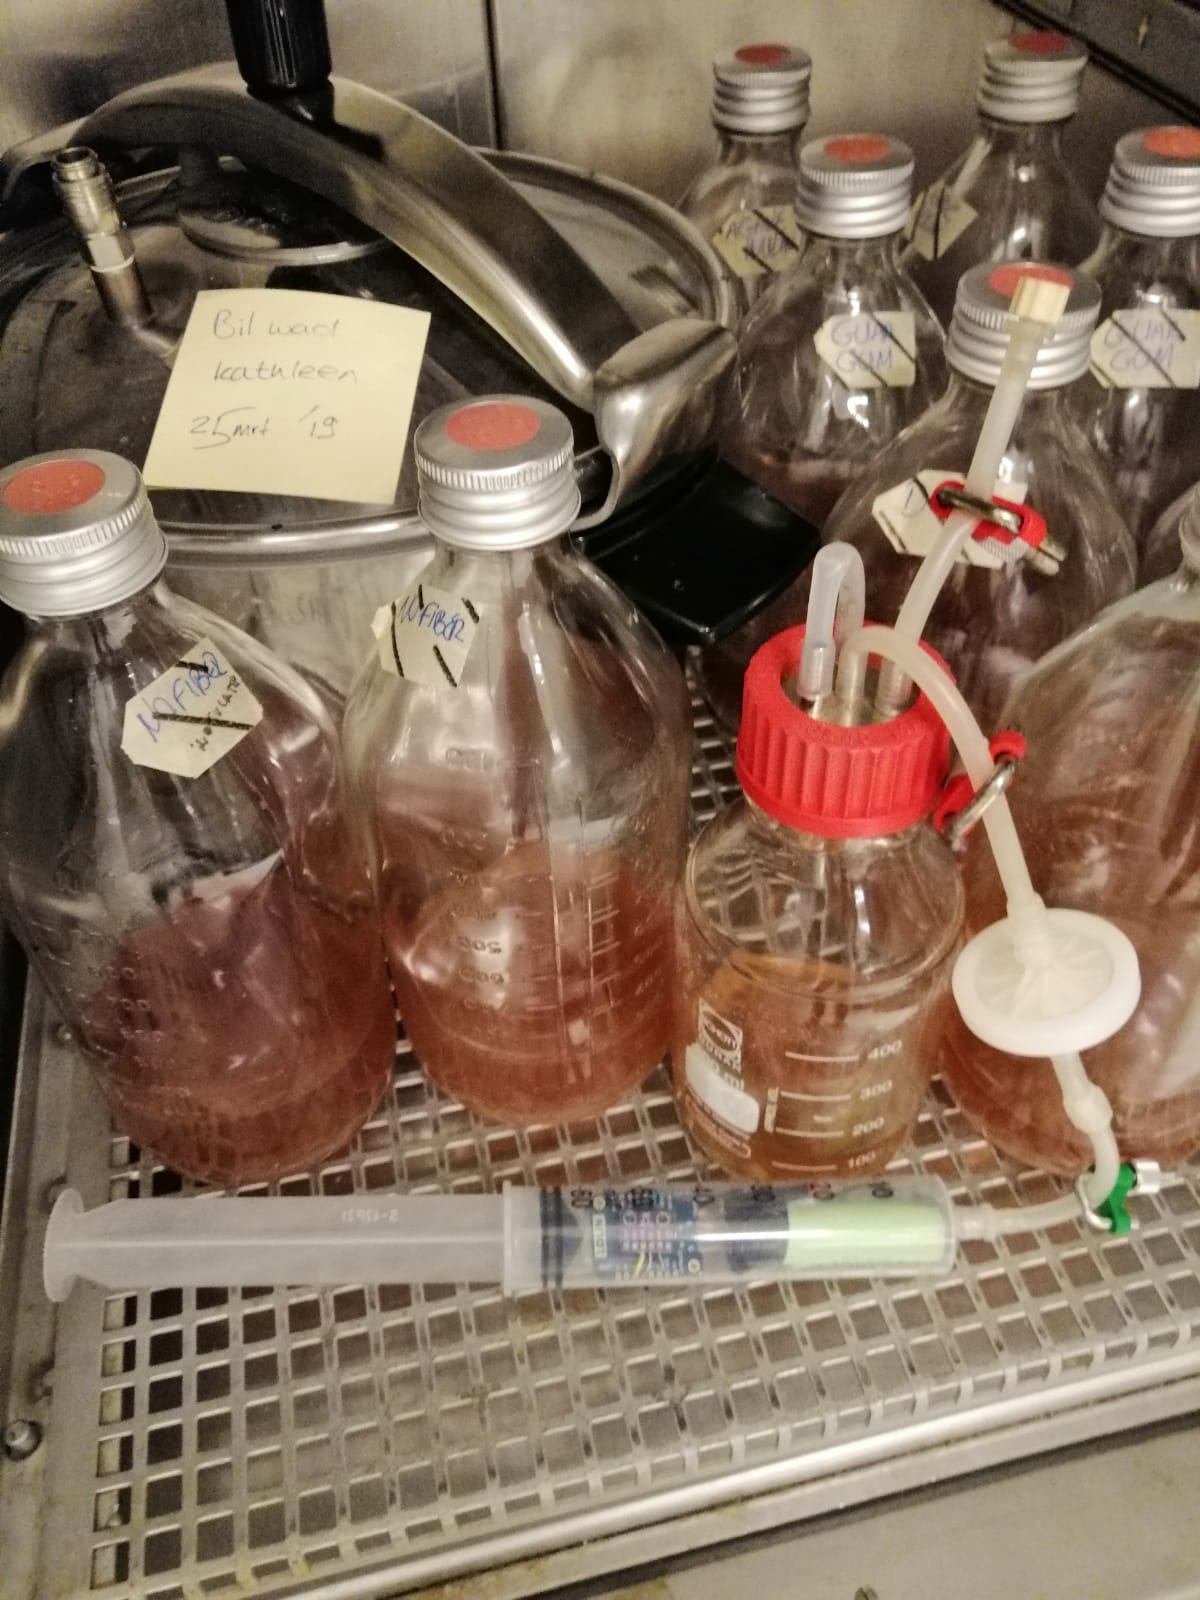
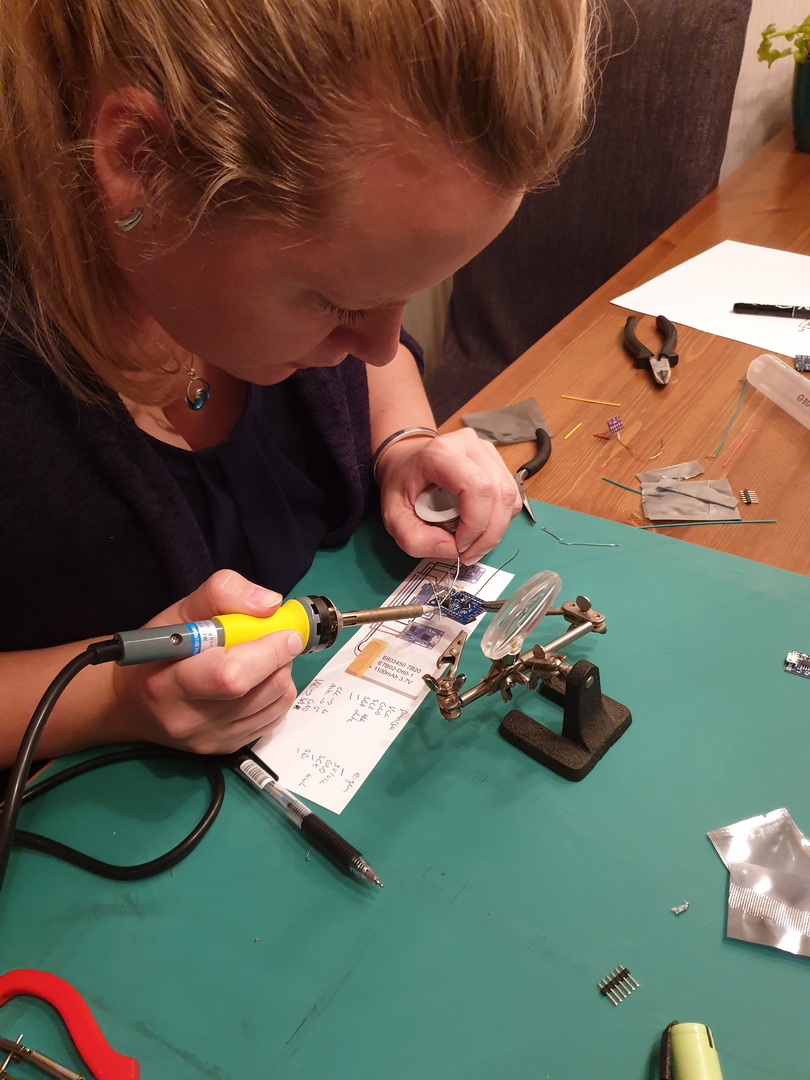
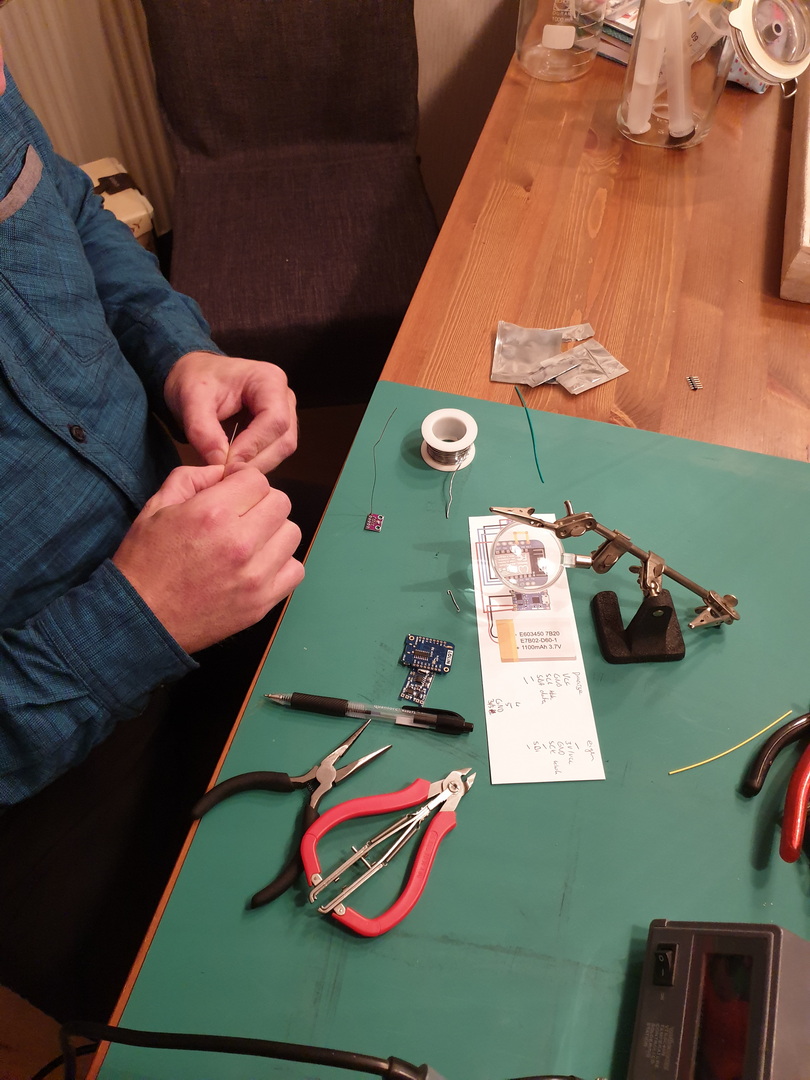
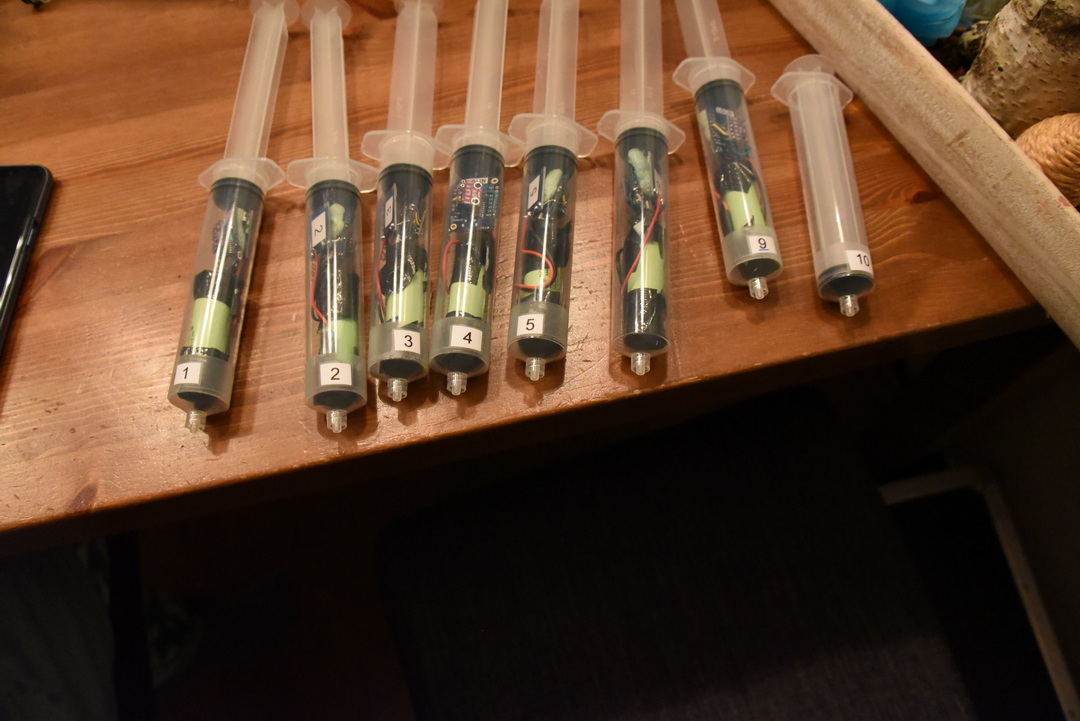
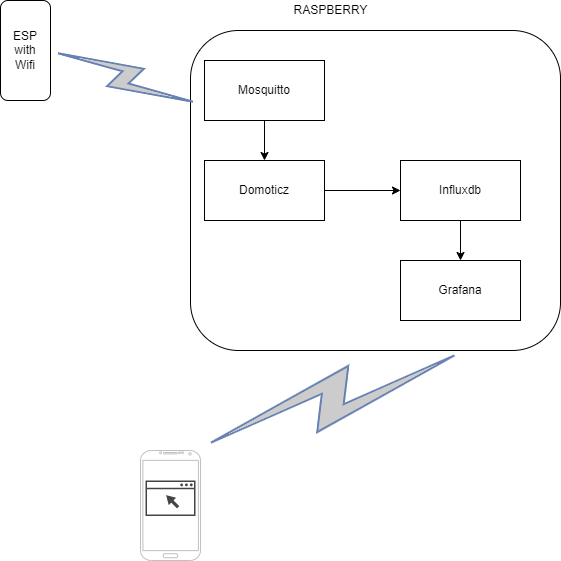
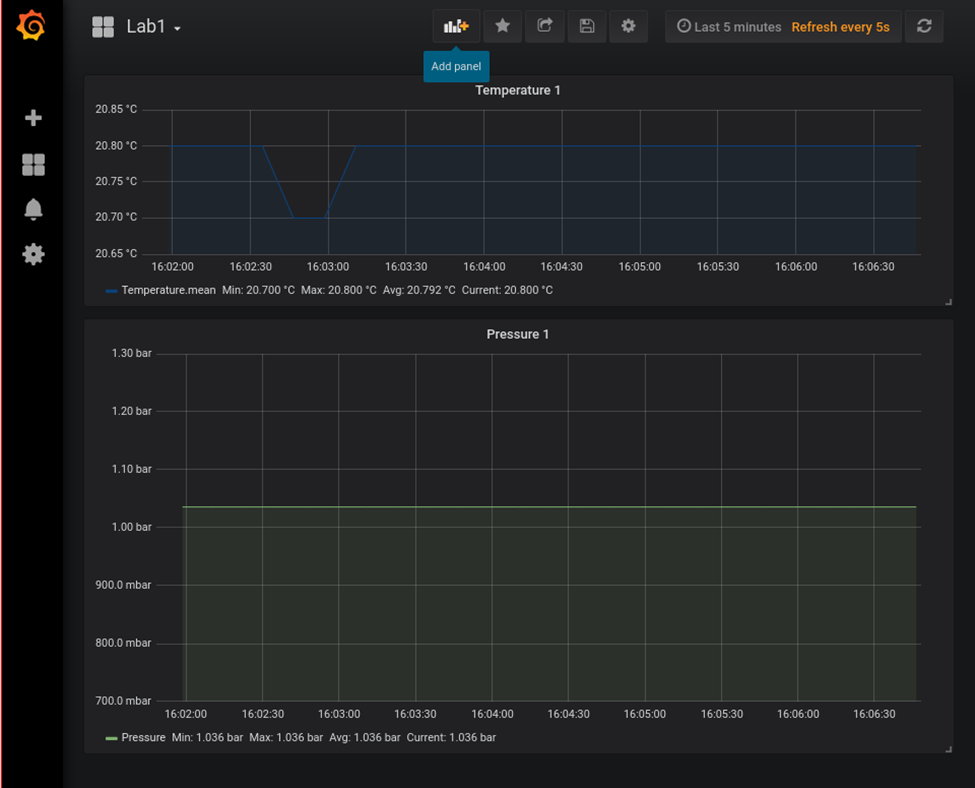
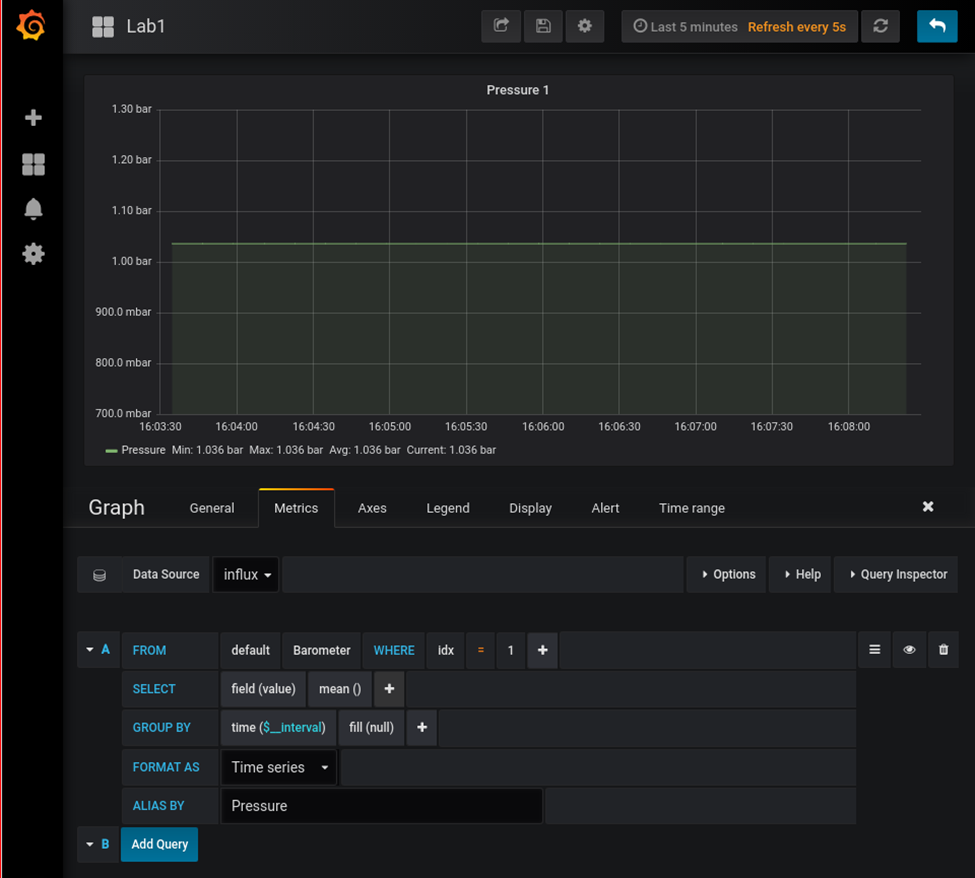
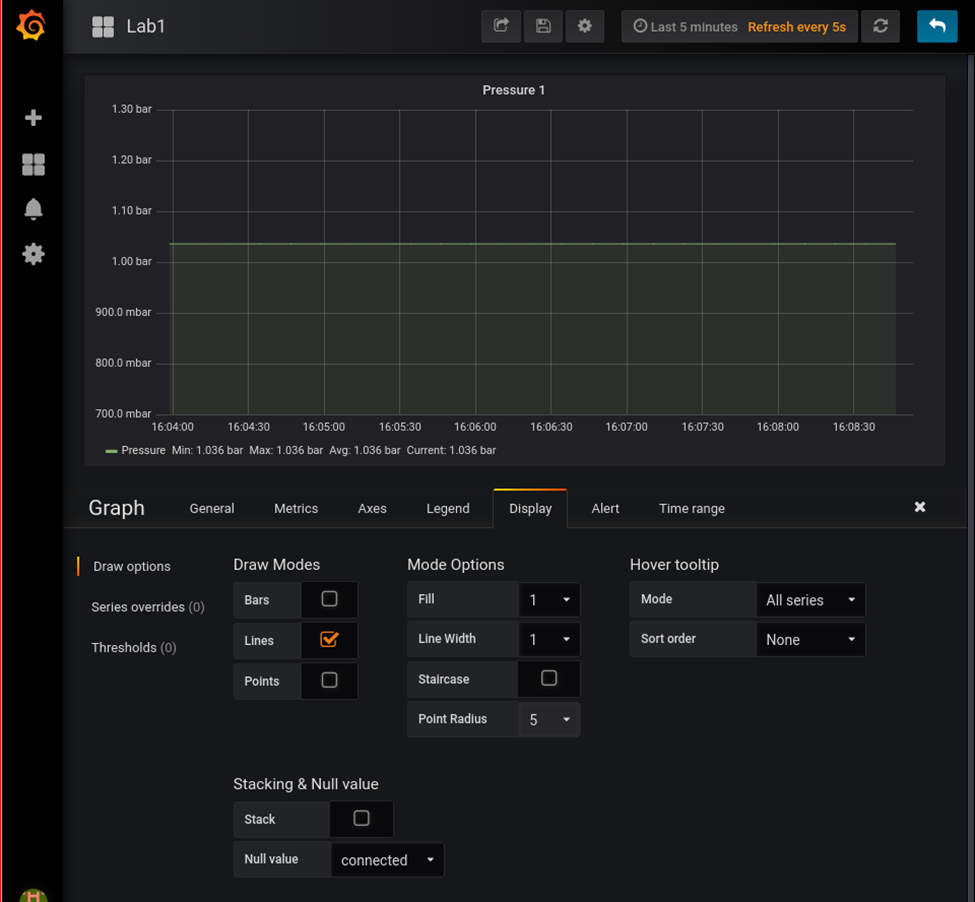
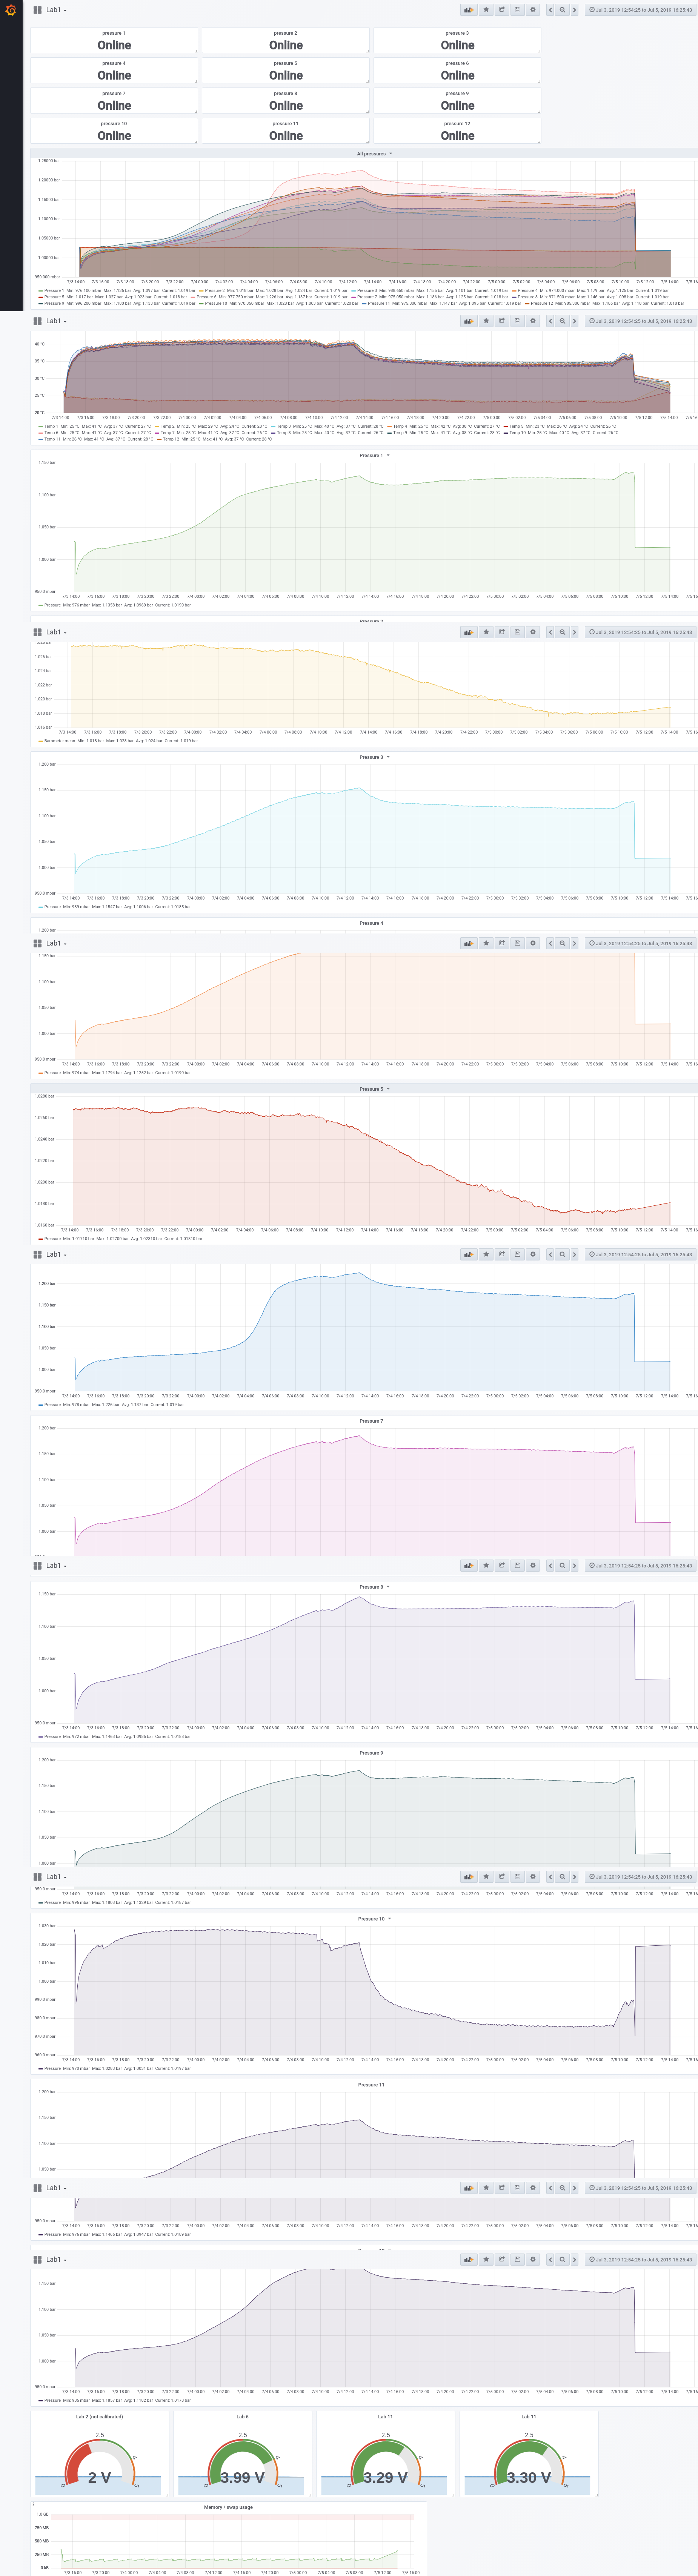
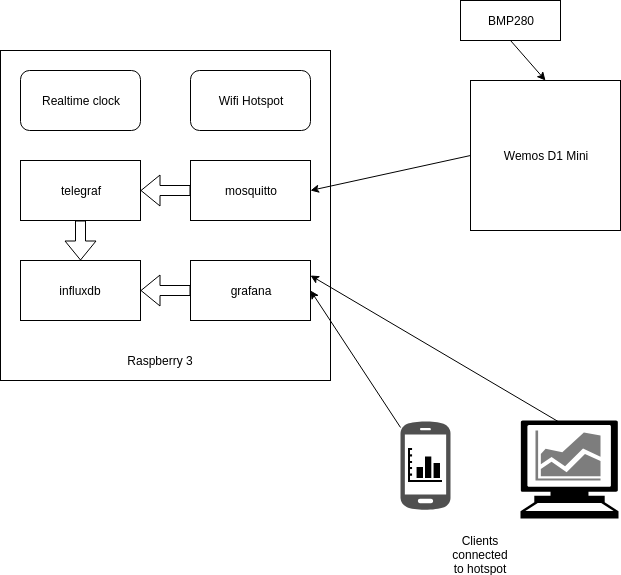
For measuring pressure in fermentation containers, I designed a pressure sensor which could be wireless connected to a fermentation container. The sensor would transmit the values to a Raspberry which was configured as a Access Point and would store the measurements and generated graphs using Grafana.
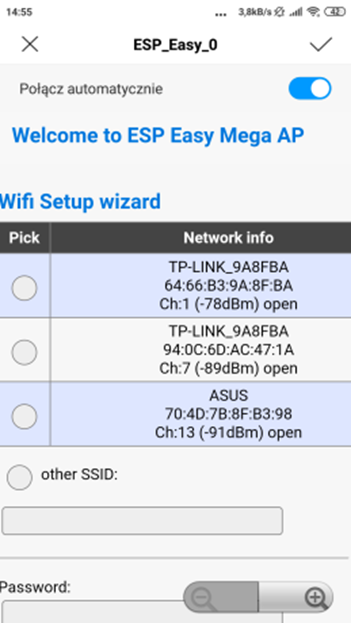
Connect esp with a power source. Look for a AP with ESP_Easy_0
Use password “configesp” to connect
Start you browser and enter http://192.168.4.1
In wifi wizard setup select “pressurespot” Enter password “pressurespot”
Press connect
Wait 20s and look in the raspberry logs which IP the ESP got.
Connect laptop/mobile to wifi “pressurespot”and connect
Enter found IP from ESP in your browser.
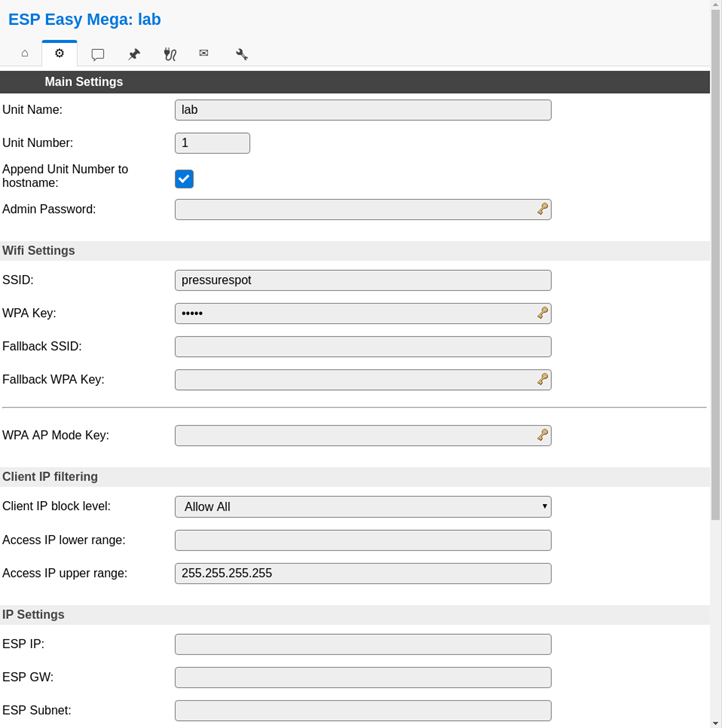
Proceed to main config
Main setting table, set the following
Unit name & number + append
SSID and WPA key pressurespot
Client IP block level allow all
Press submit
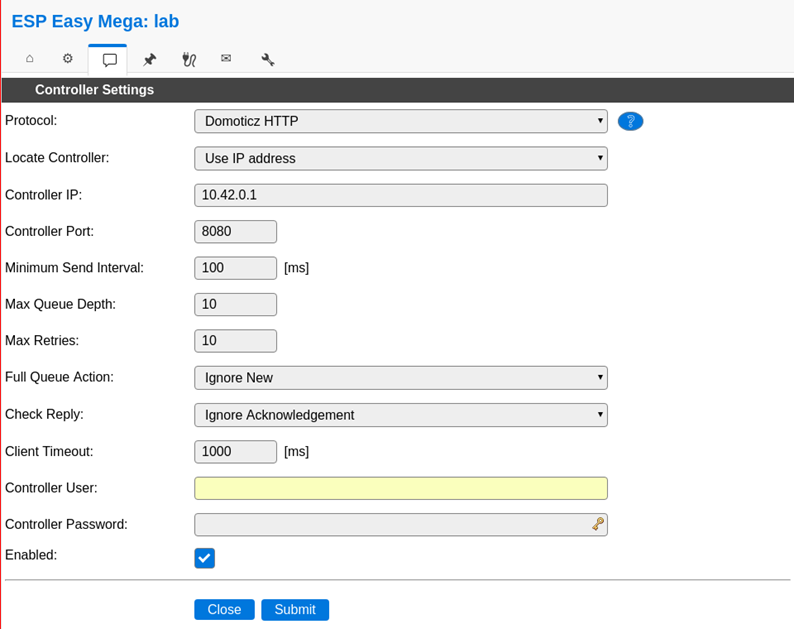
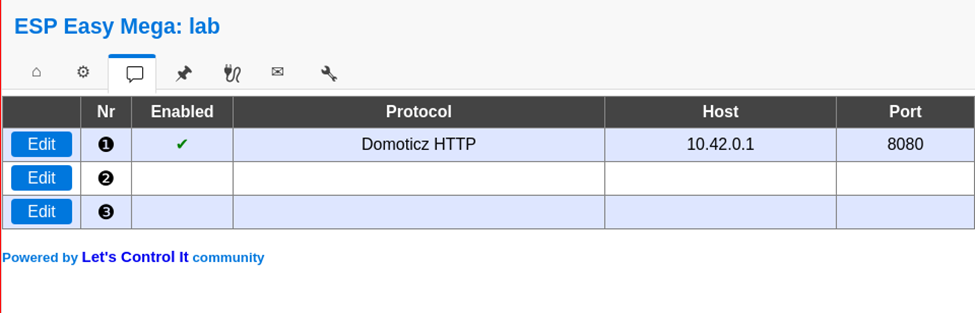
Press controller tab
Press first edit button and set following – Protocol: domoticz http Next set – Controller IP : 10.42.0.1 – Toggle enabled and press submit
Resulting in:
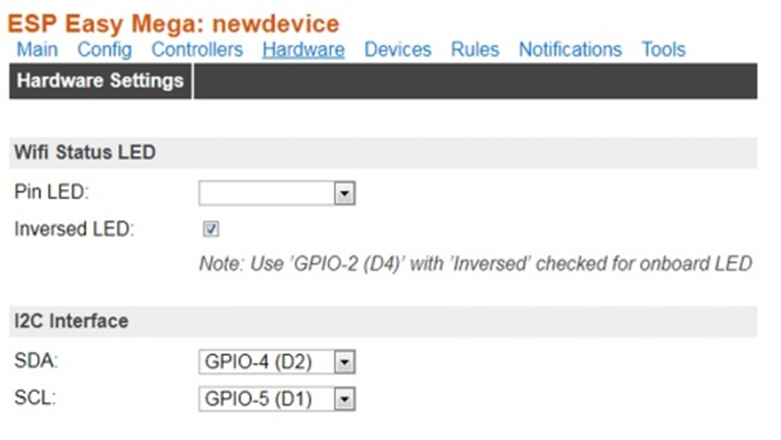
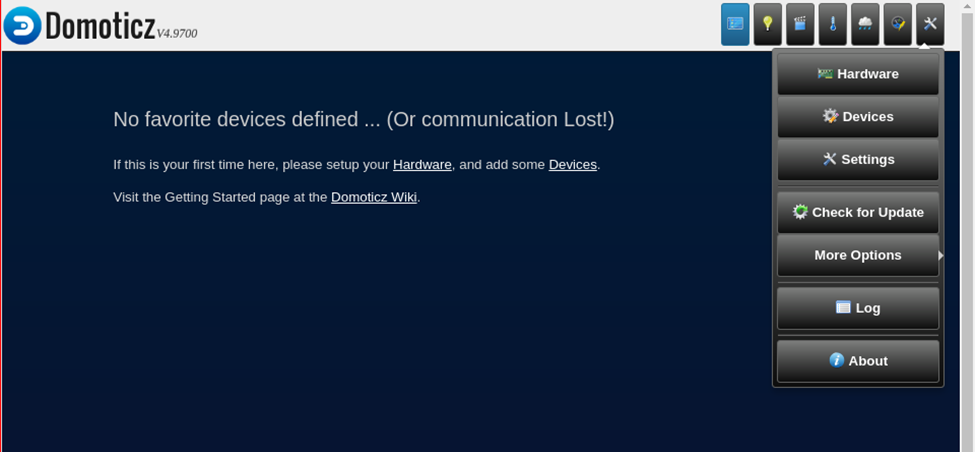
Next we got to Hardware
I2C interface switch GPIO-4 and GPIO-5
GPIO – SDA: GPIO-4 (D2) change to GPIO-5 (D1)
GPIO – SCL: GPIO-5 (D1) change to GPIO-4 (D2)
Press “Submit”
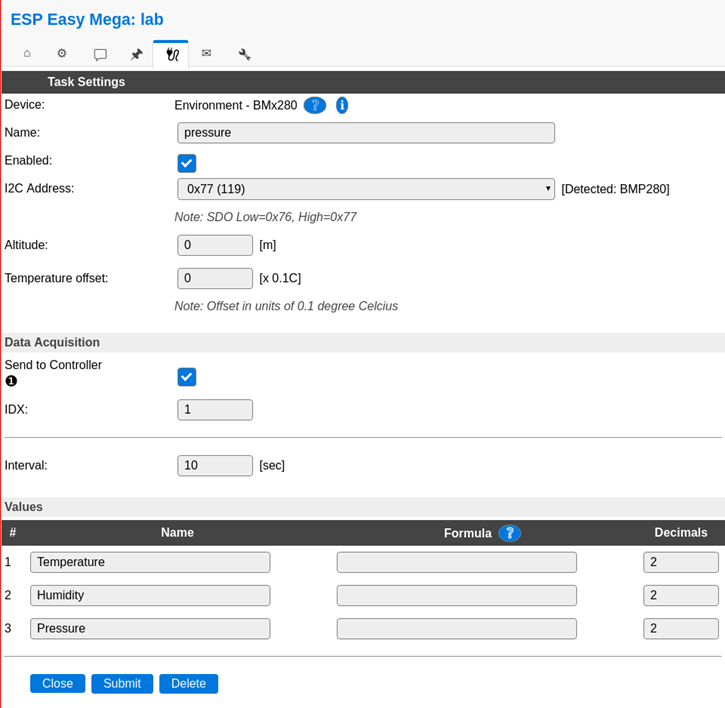
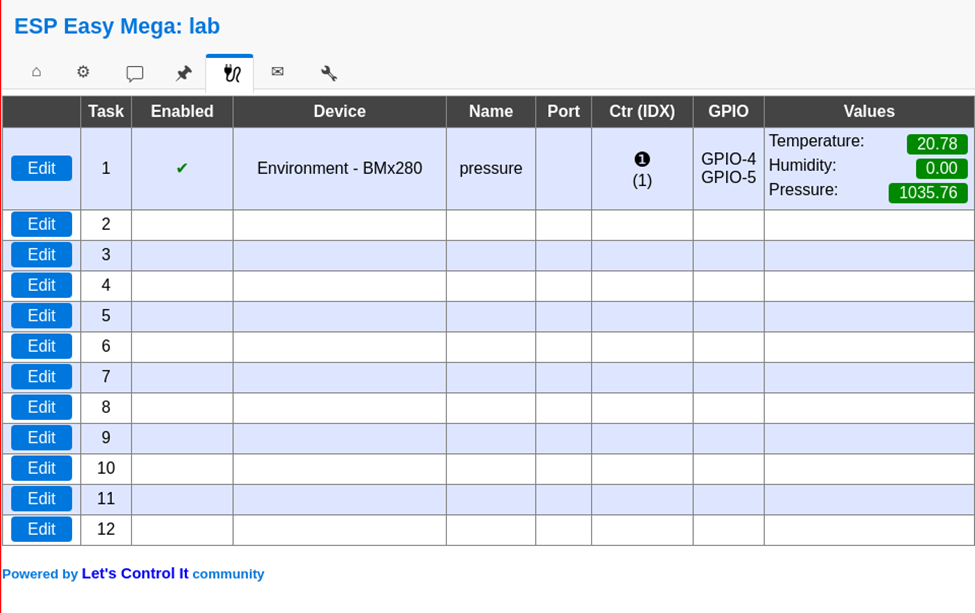
Devices TAB
Press edit, and select device “Environment – BMx280” from the pulldown menu.
Next, set the following
Name: pressure
Enable on
I2C address : 0x76 ( Is there is no 0x76 of 0x77 .. do a i2c scan on the next tab )
Send to controller , mark this
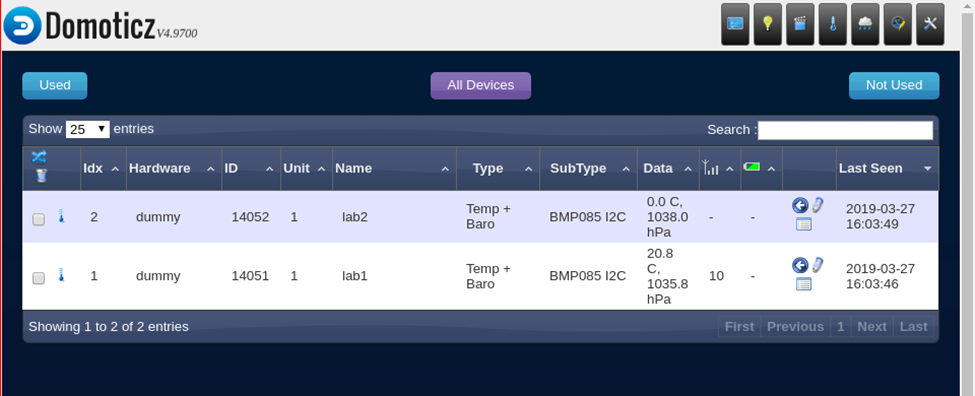
IDX: give this the number you had given this node (this is the one you have to use in domoticz )
interval 10Seconds
and press submit
In the Devices tab, you should be able to see the sensor with the values (Temperature and pressure)
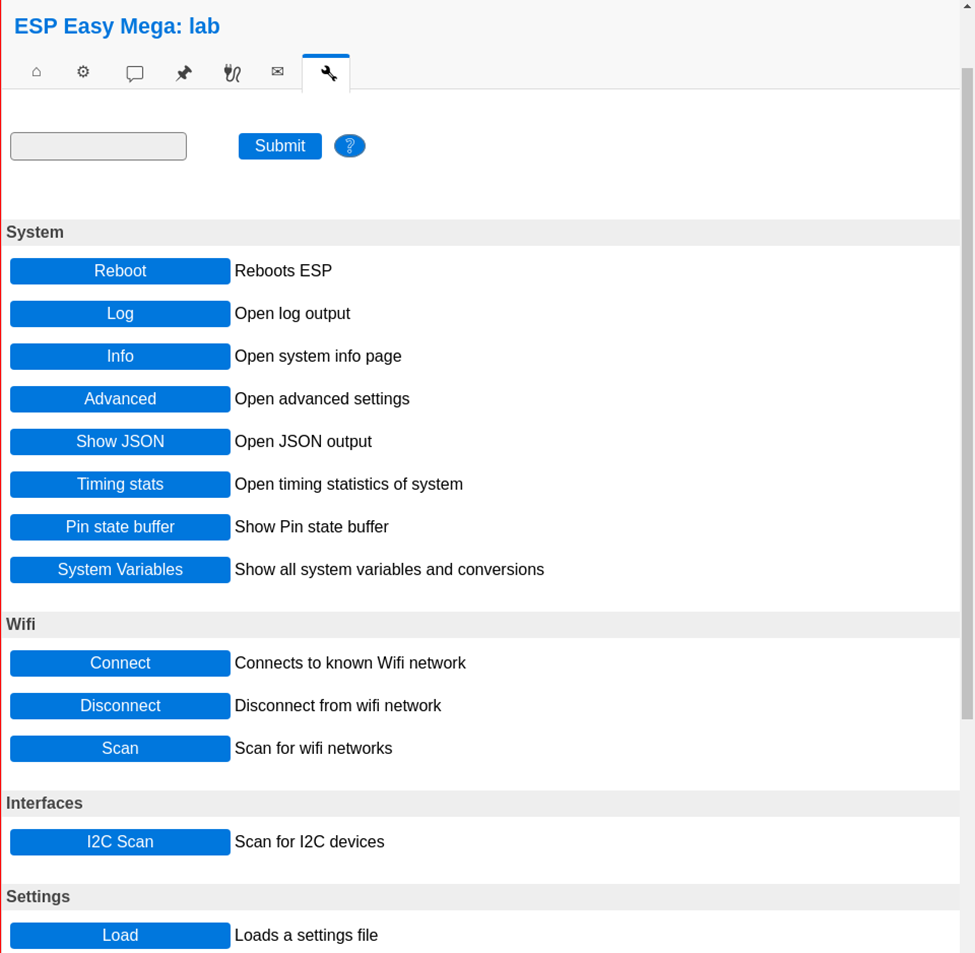
No values? Do a i2c scan and/or reboot ESP ( You can find these in the tools tab)
Tools TAB
Press I2C scan, when seeing a address like 0x76 or 0x77 use this in previous tabs. Still nothing, even after reboot? Maybe faulty hardware?
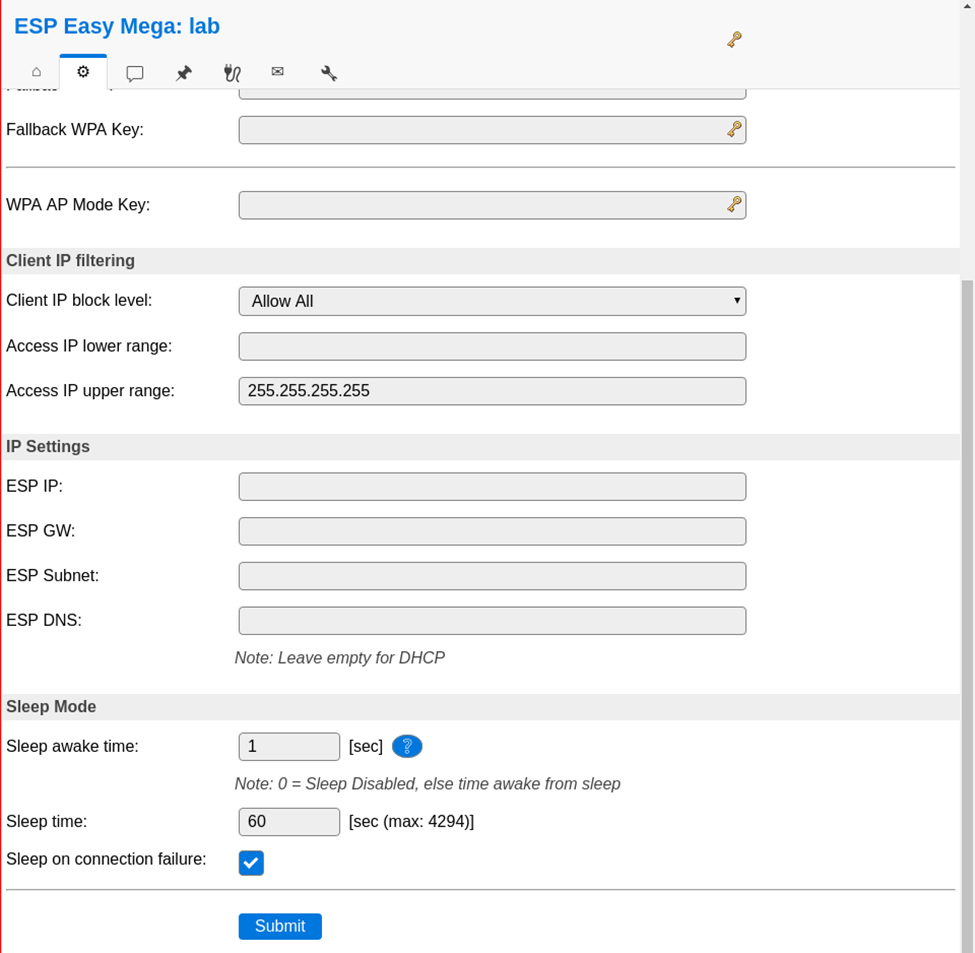
Everything okay? Back to the config tab
We are going to set the sleep mode. Warning ! .. when setting this it is hard to get into the config pages again. ESP will startup, connect to wifi, send values and goes to sleep again.
At the bottom set: Sleep awake time 1 sec
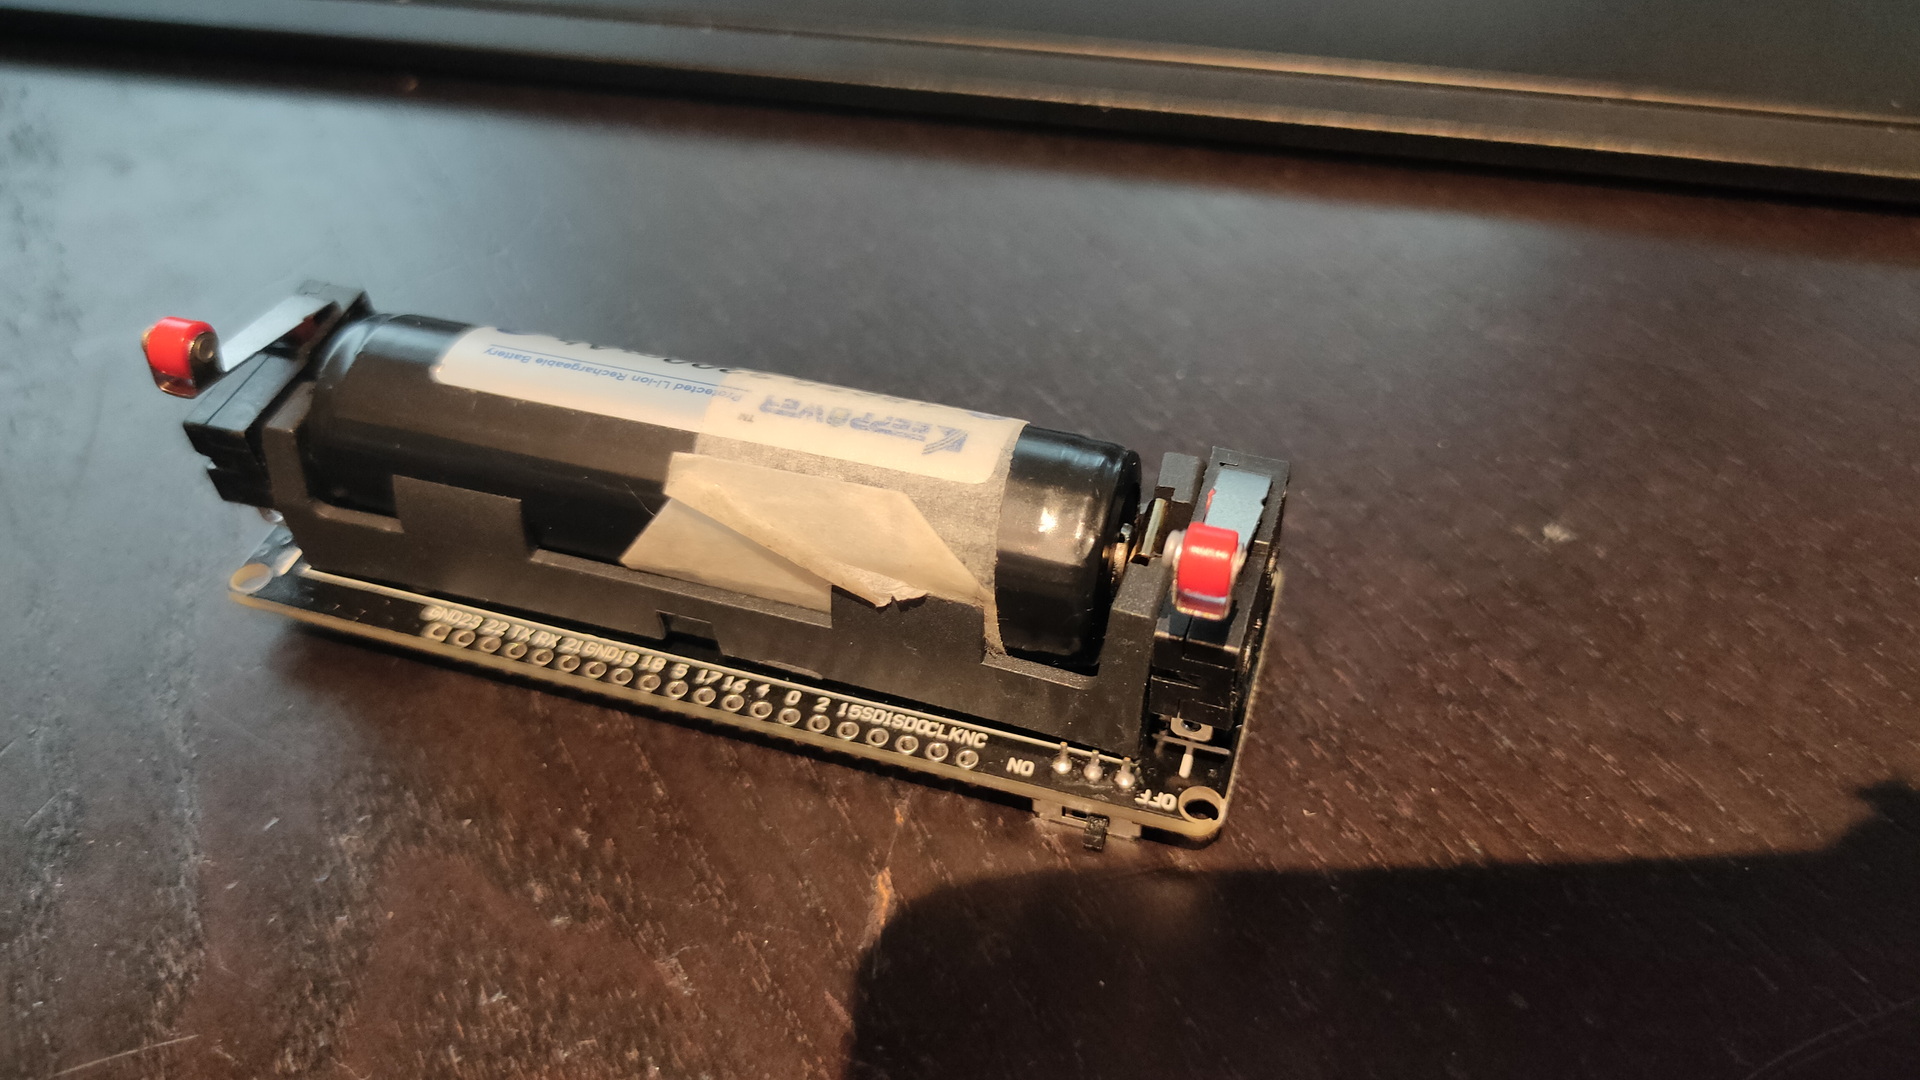
Buttons on the raspberry / pressurespot
Red button :
Less than 3 seconds is reboot
Longer than 3 seconds is shut down
Charger can be removed, when the green light is off
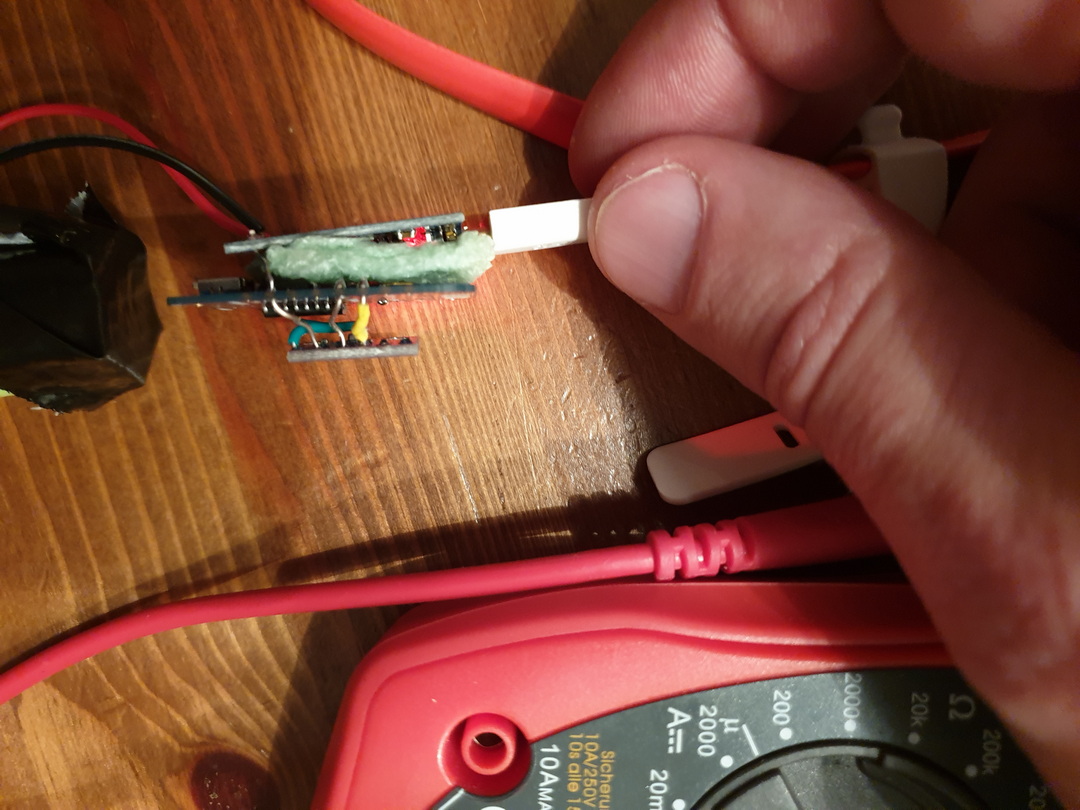
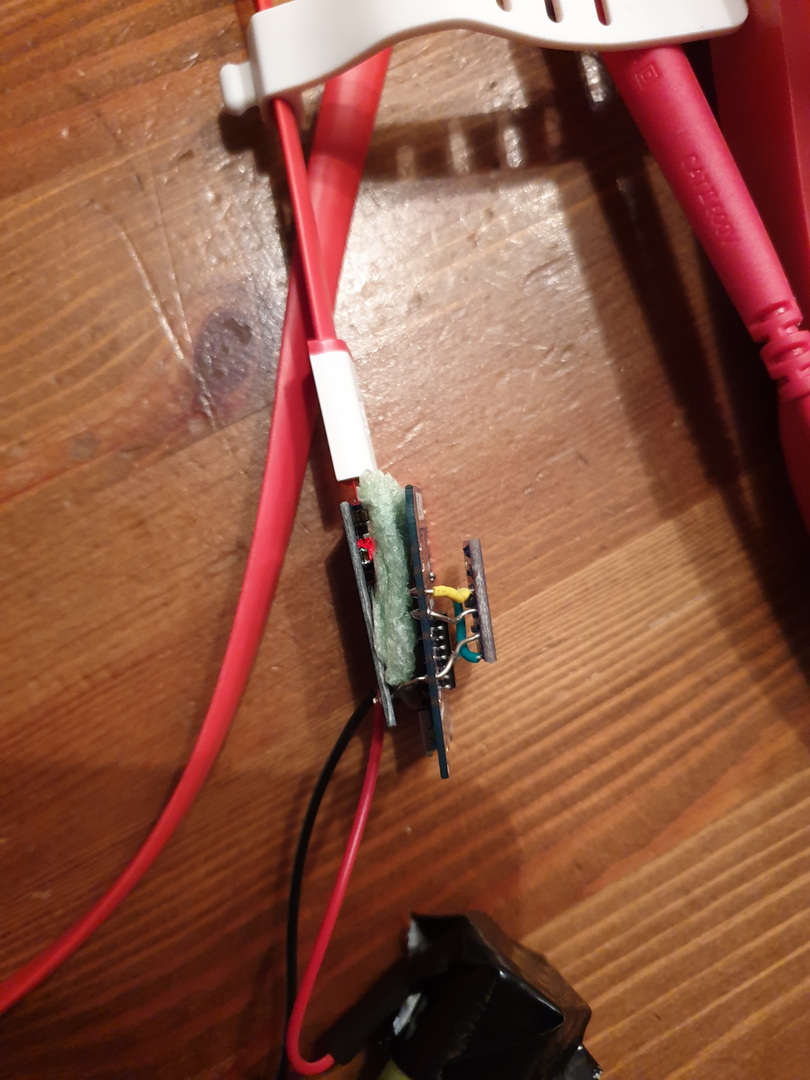
Led lights on the sensors
Red light (R2; constant): battery is charging
Blue light (R1; constant): battery is full
Blue light (R1; constant) & red light (R2; blinking): trying to charge, but no battery connected
Add shutdown script to /etc/rc.local
python /usr/local/bin/power-switch.py &
/usr/local/bin/power-switch.py
#!/usr/bin/python
import threading, subprocess
import RPi.GPIO as GPIO
def shutdown():
    subprocess.call('sudo shutdown -h now', shell=True)
def edge_detected(pin):
    if GPIO.input(pin):
        t.cancel()
        subprocess.call('sudo reboot', shell=True)
    else:
        t.start()
if __name__ == '__main__':
    try:
        GPIO.setmode(GPIO.BOARD)
        GPIO.setup(5, GPIO.IN)
        GPIO.add_event_detect(5, GPIO.BOTH, callback=edge_detected, bouncetime=10)
        t = threading.Timer(3.0, shutdown)
        while True:
            pass
    finally:
        GPIO.cleanup()
/usr/local/bin/ledoff.py
#!/usr/bin/python
import RPi.GPIO as GPIO
import time
GPIO.setmode(GPIO.BCM)
GPIO.setwarnings(False)
GPIO.setup(18,GPIO.OUT)
GPIO.output(18,GPIO.LOW)
/usr/local/bin/ledon.py
#!/usr/bin/python
import RPi.GPIO as GPIO
import time
GPIO.setmode(GPIO.BCM)
GPIO.setwarnings(False)
GPIO.setup(18,GPIO.OUT)
GPIO.output(18,GPIO.HIGH)
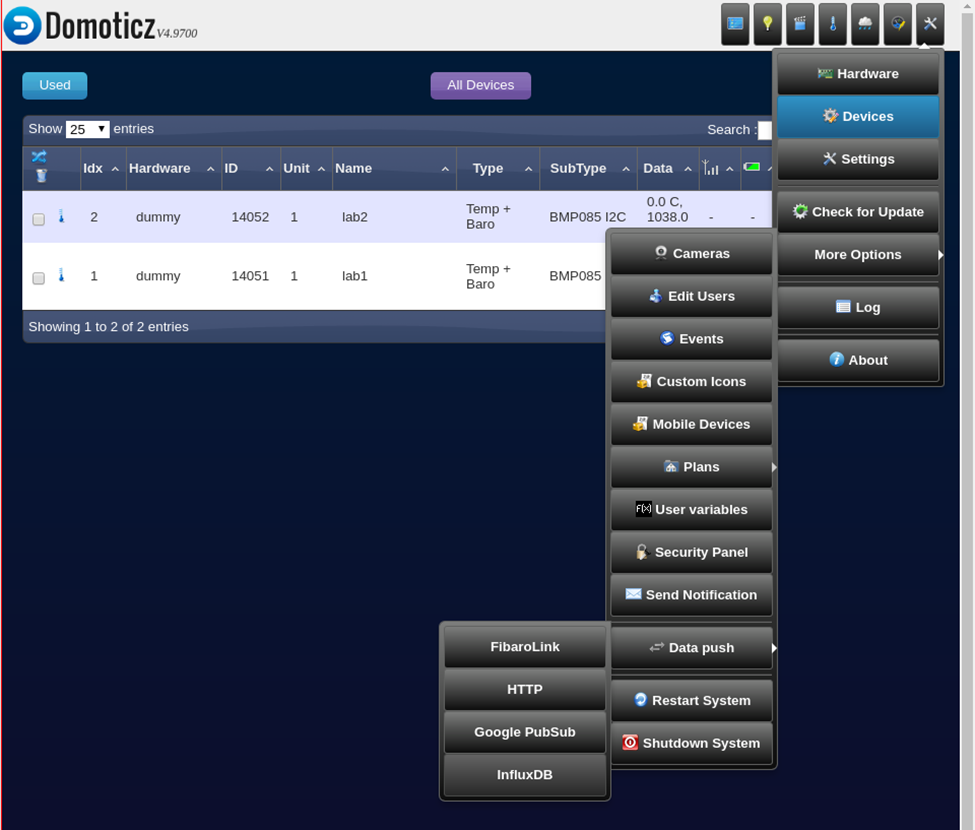
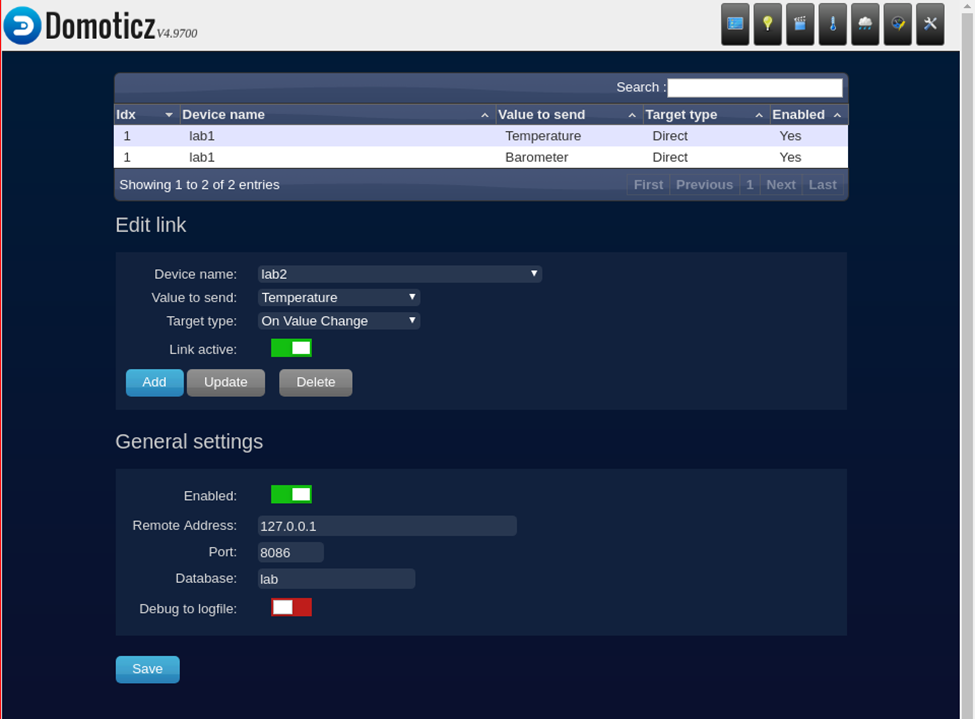
Now we can check that grafana is up by loading it in a browser: http://10.42.0.1:3000. If so, you can log in with the username and password = admin and set a new admin password.