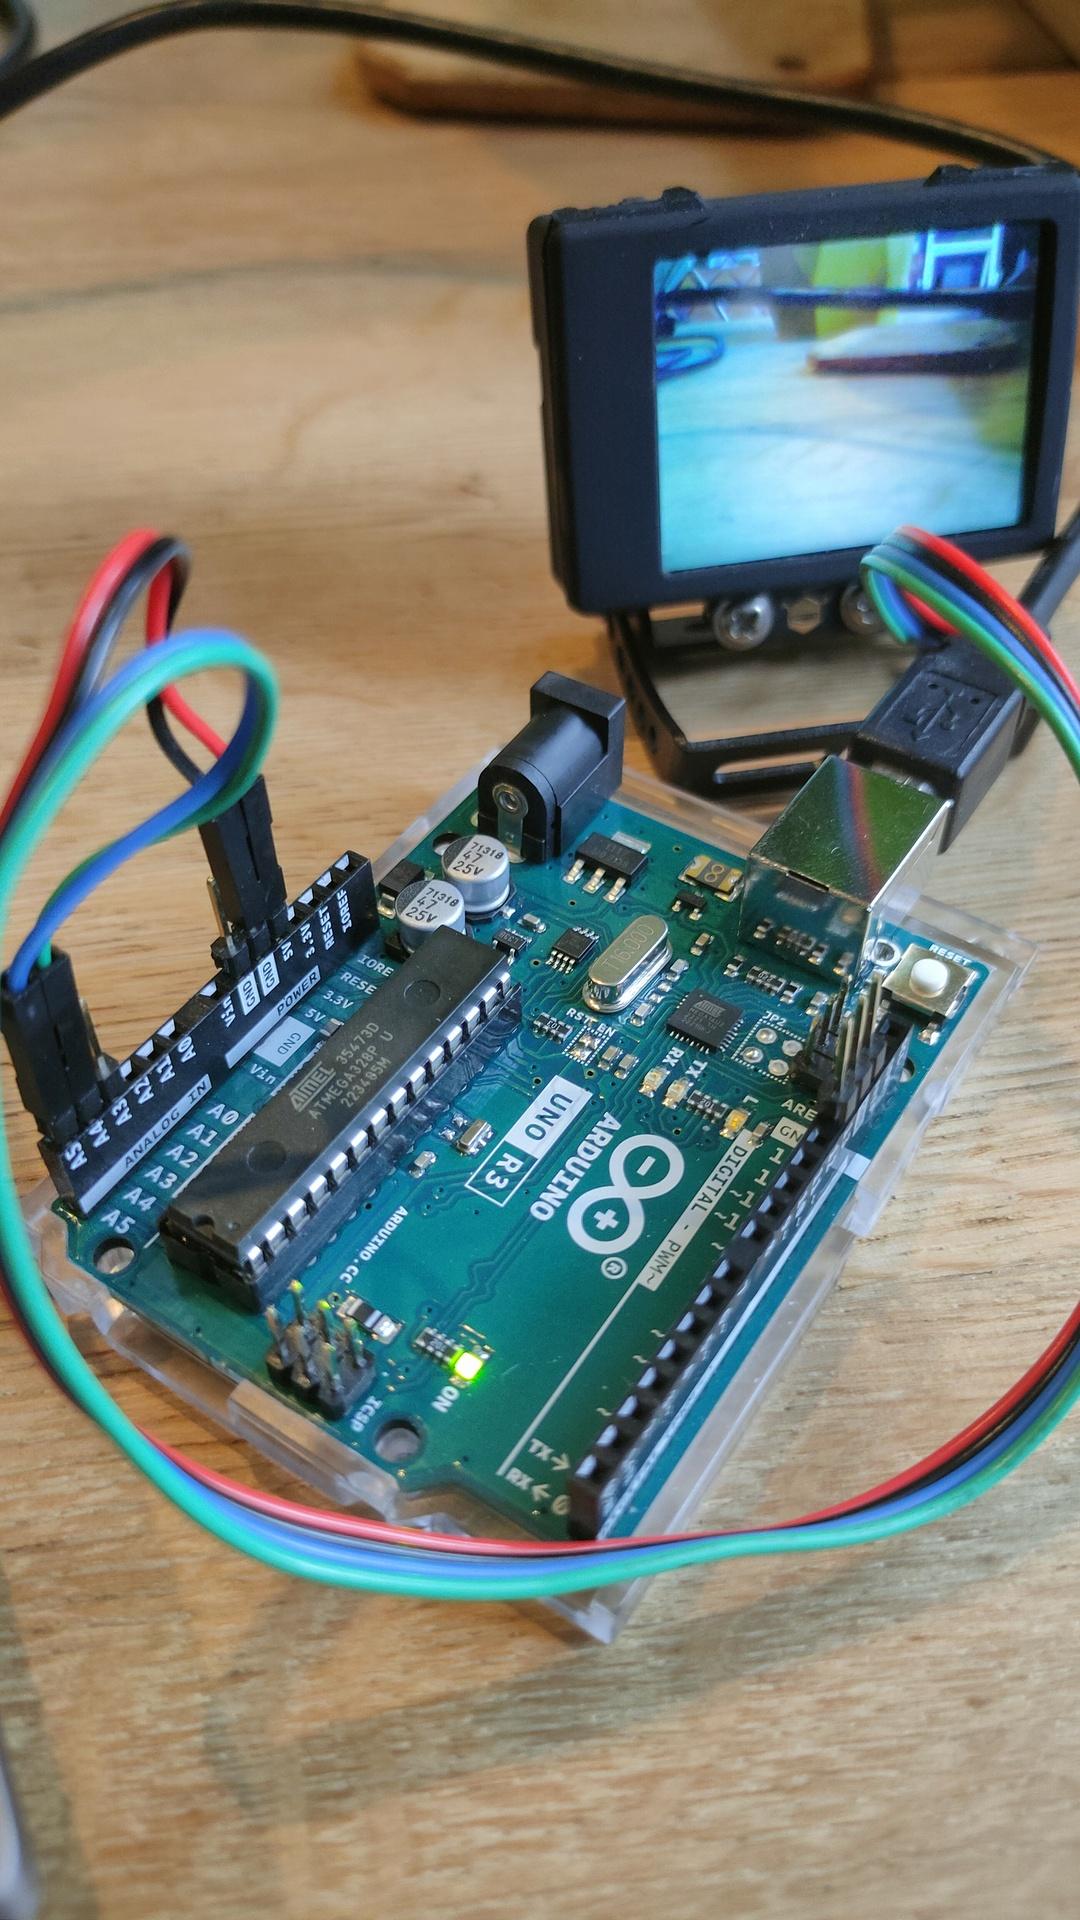
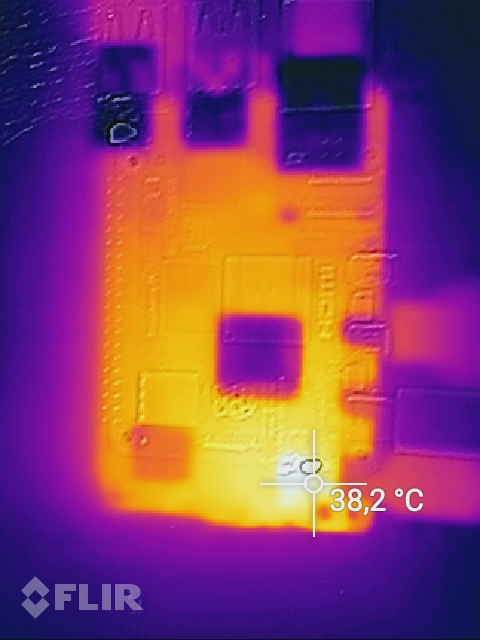
Point the sensor at yourself when behind your computer.
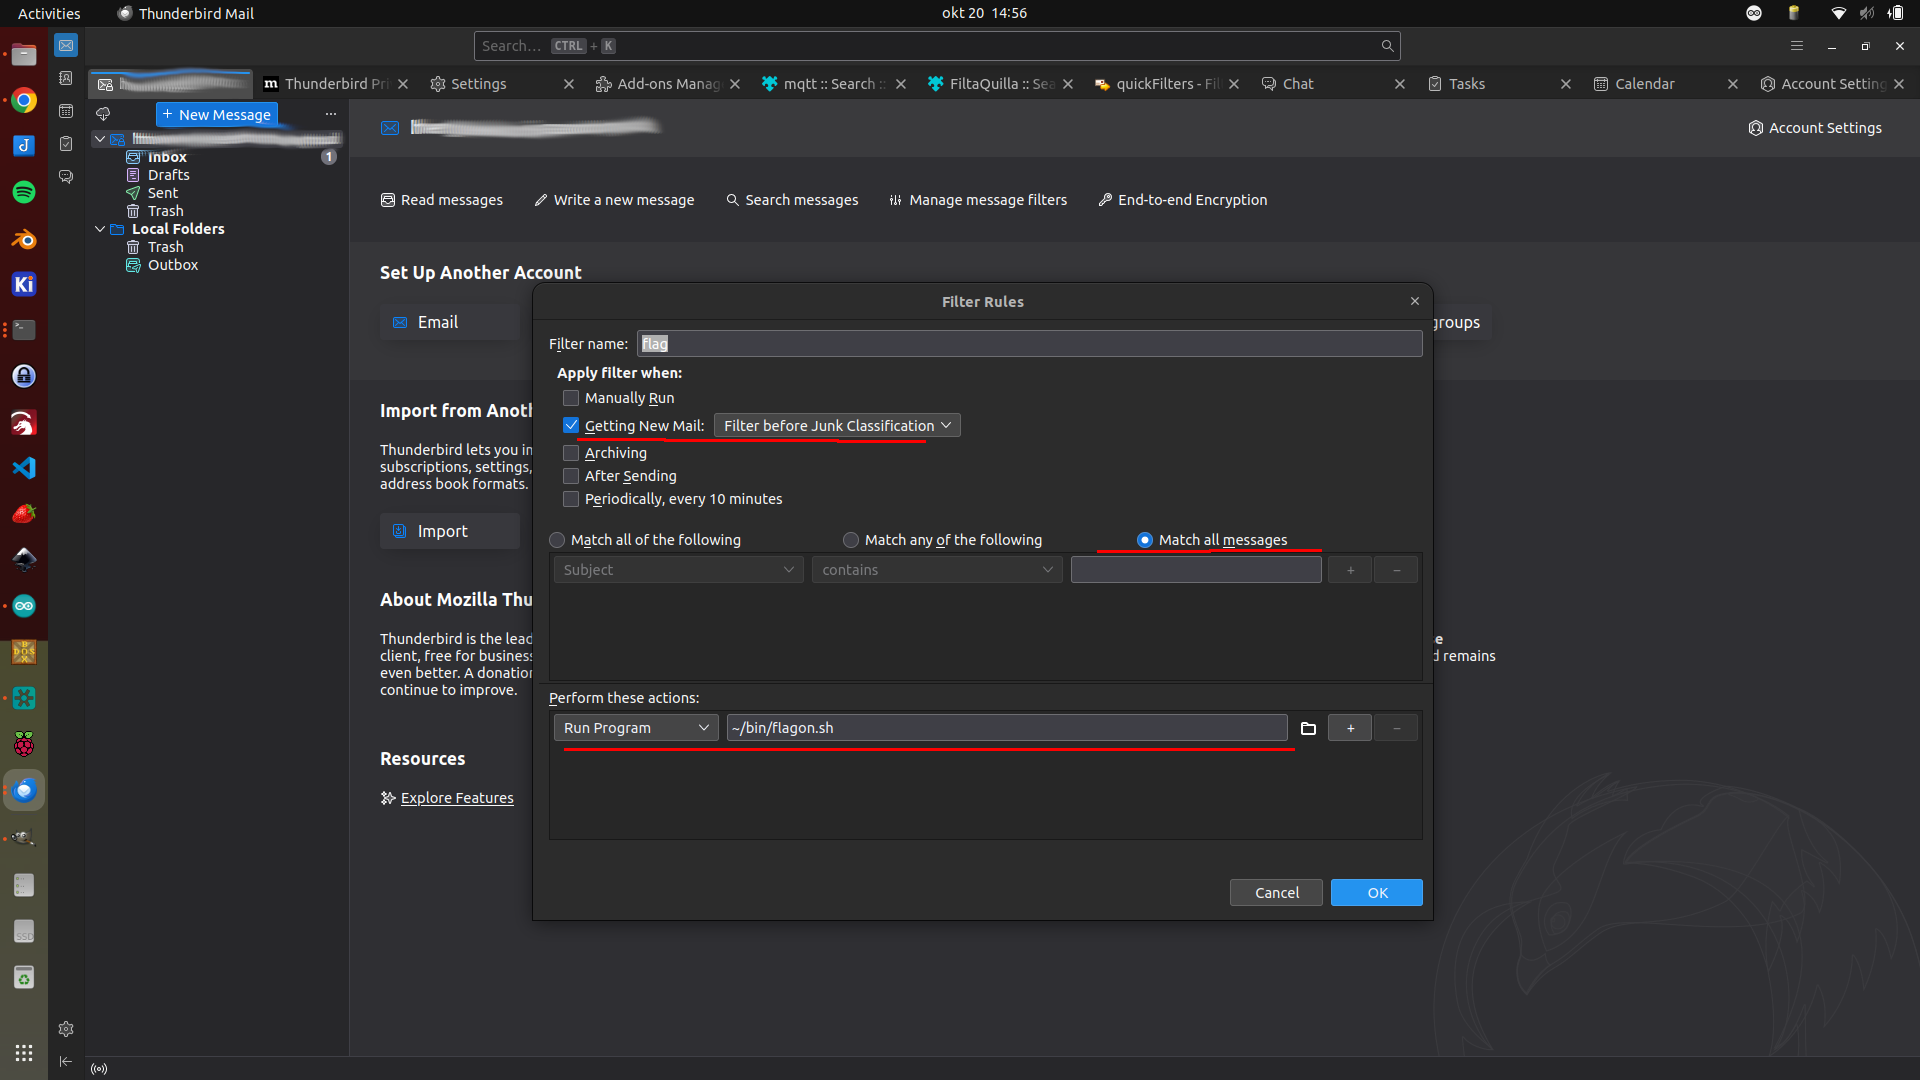
When you leave your computer for some seconds, it wil automatically lock your screen. (Windows-L keypress)
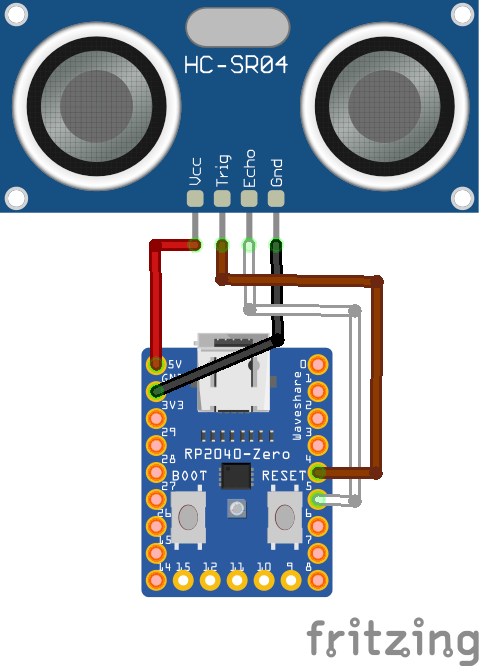
The RP2040 is configured as HID so it emulates a keyboard.
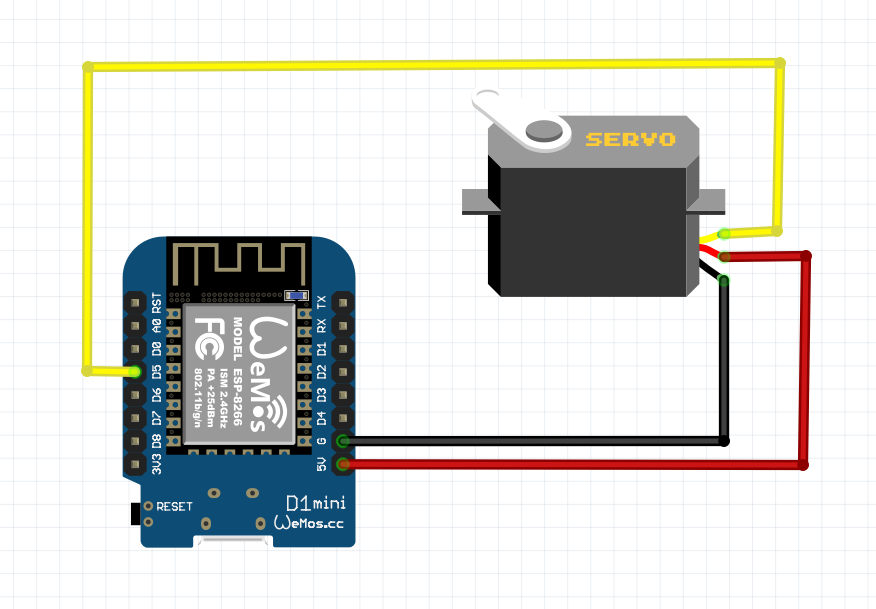
Just connect via an usb-cable to your machine
Arduino Code
File > Preferences > Additional Board URLS
https://github.com/earlephilhower/arduino-pico/releases/download/global/package_rp2040_index.json
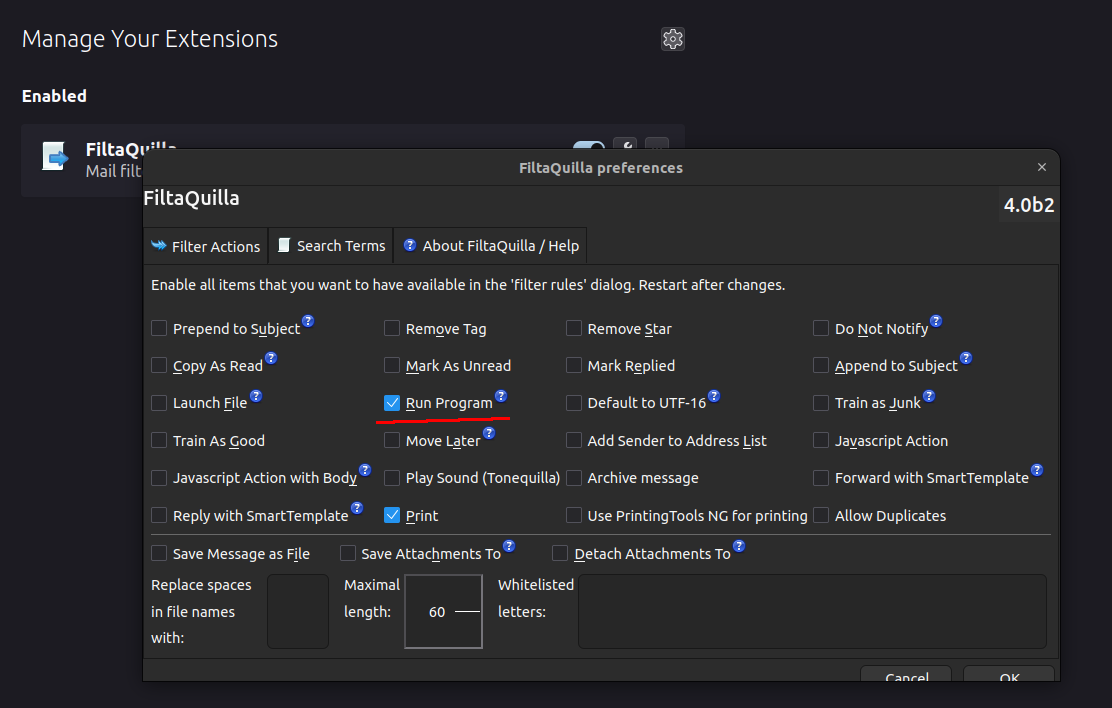
Change USB Stack!
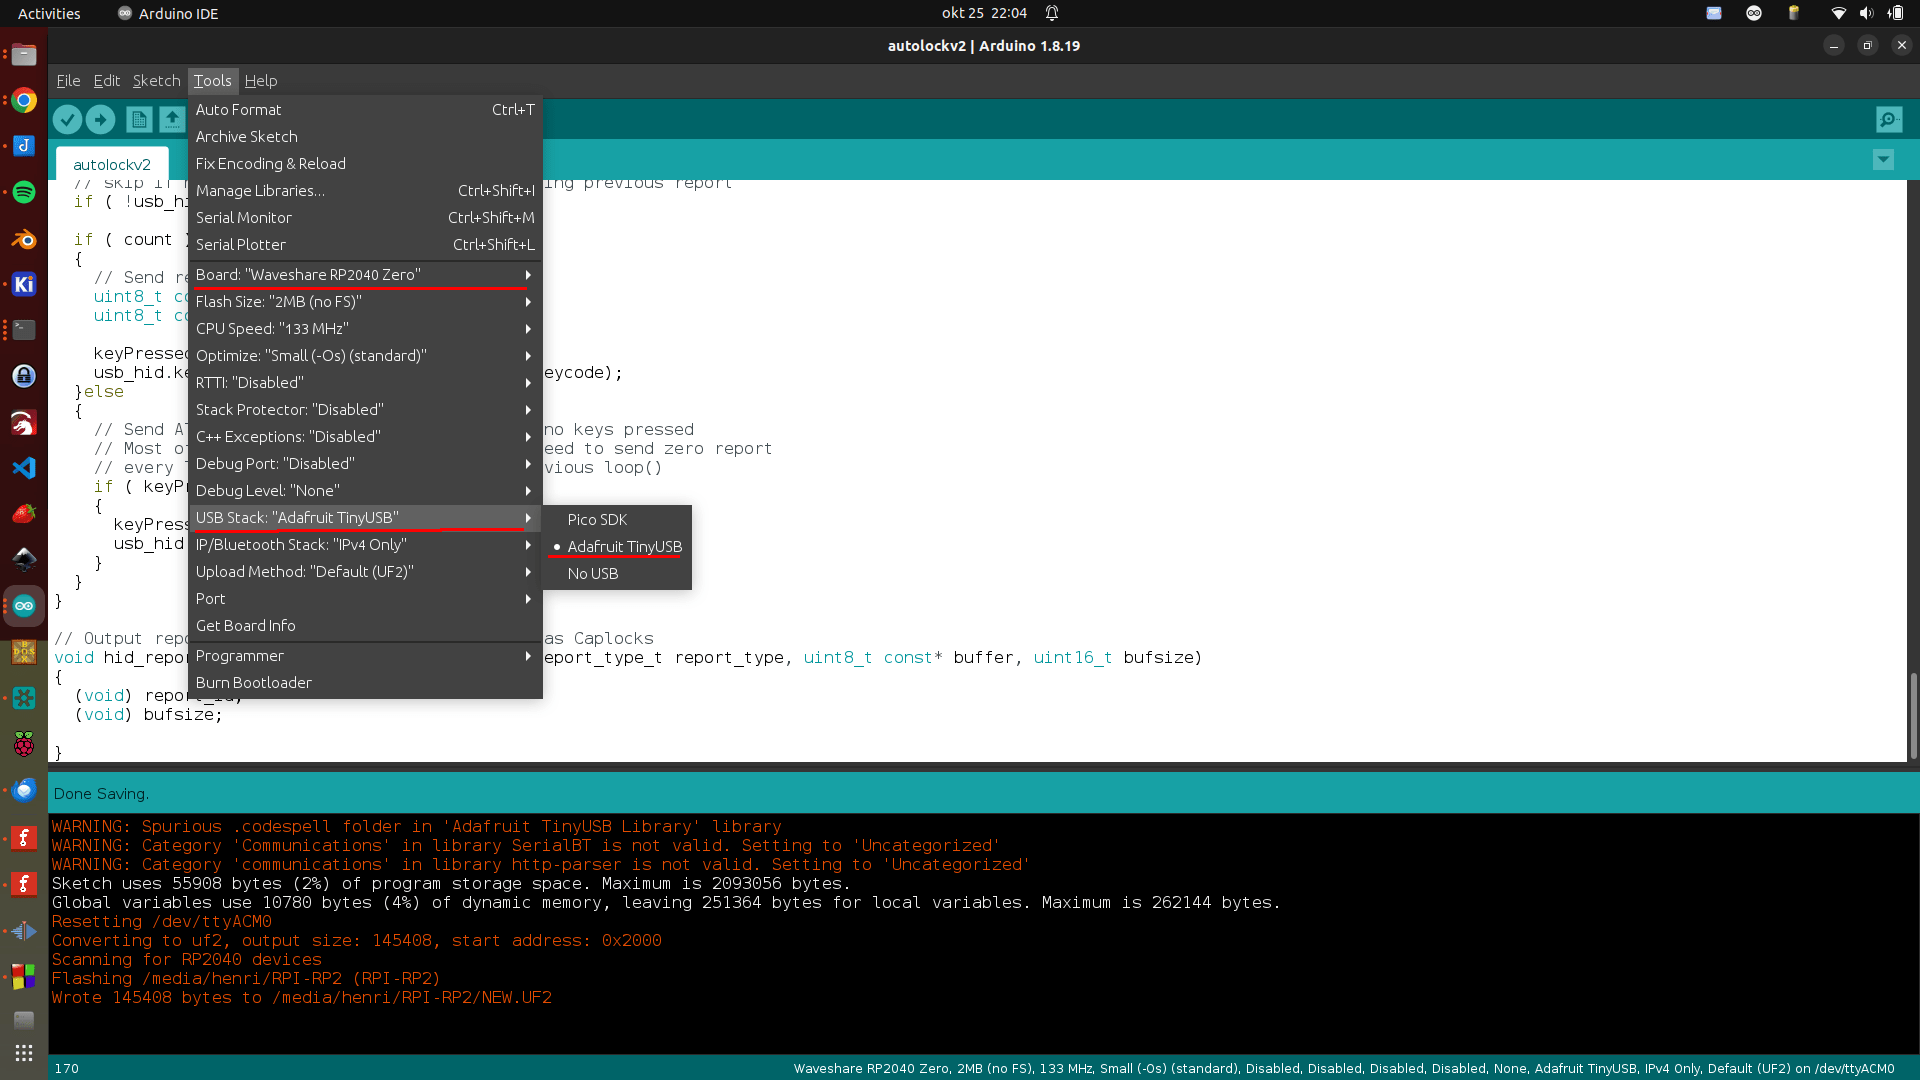
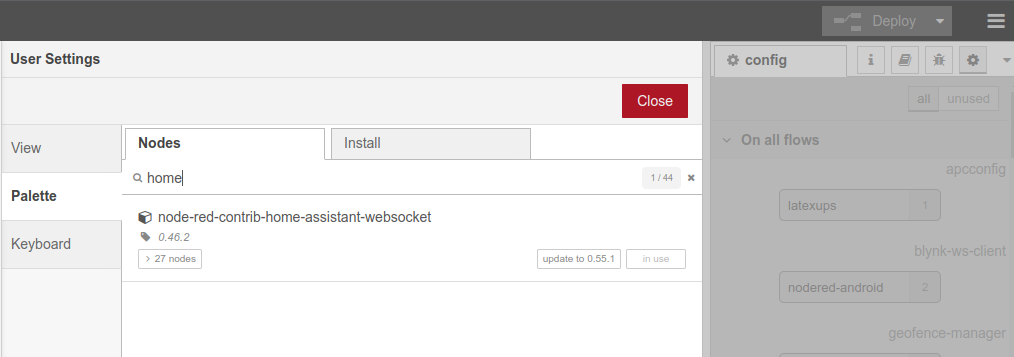
Download and install Adafruit_TinyUSB.zip
#include "Adafruit_TinyUSB.h"
// defines pins numbers
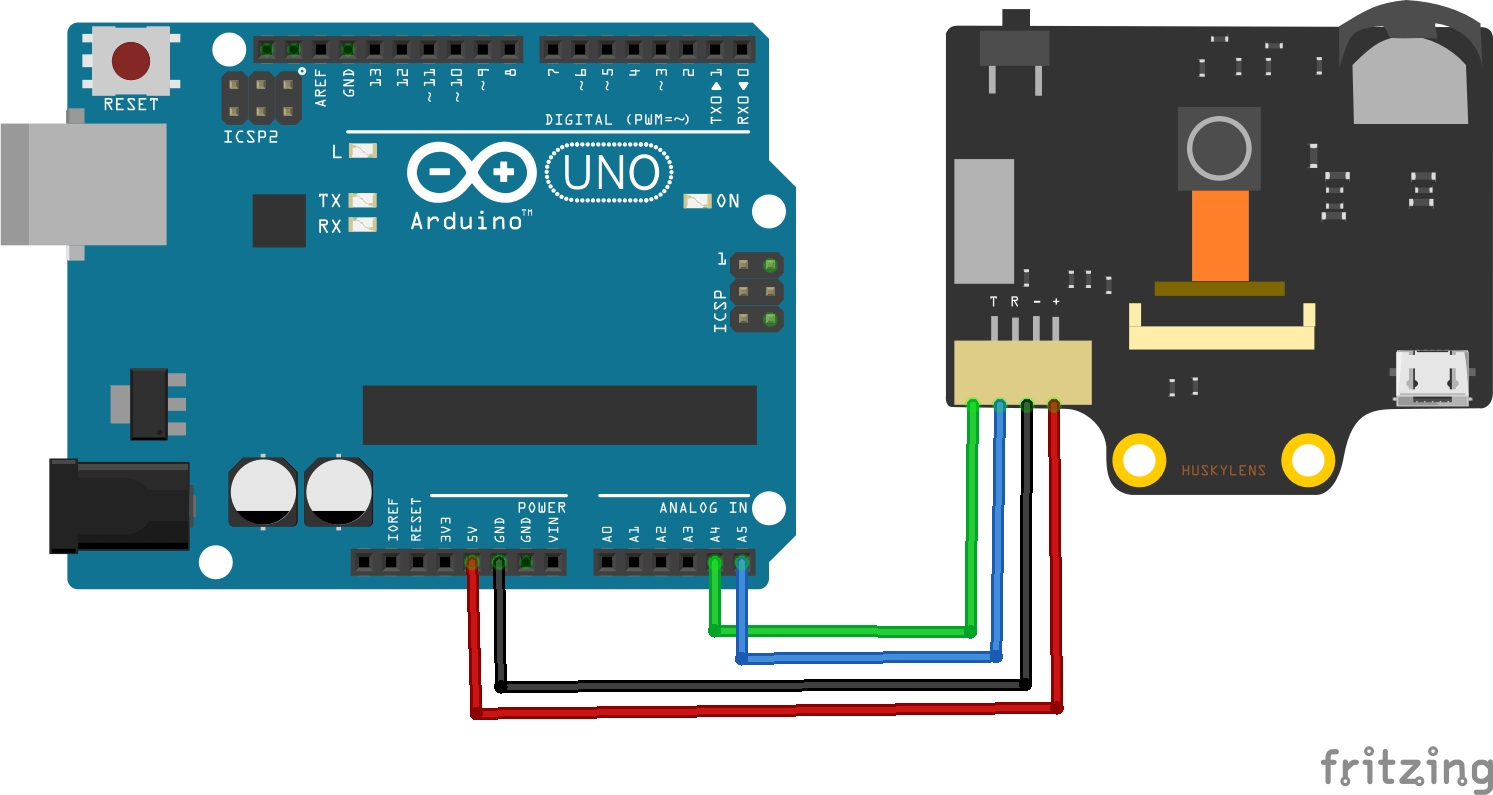
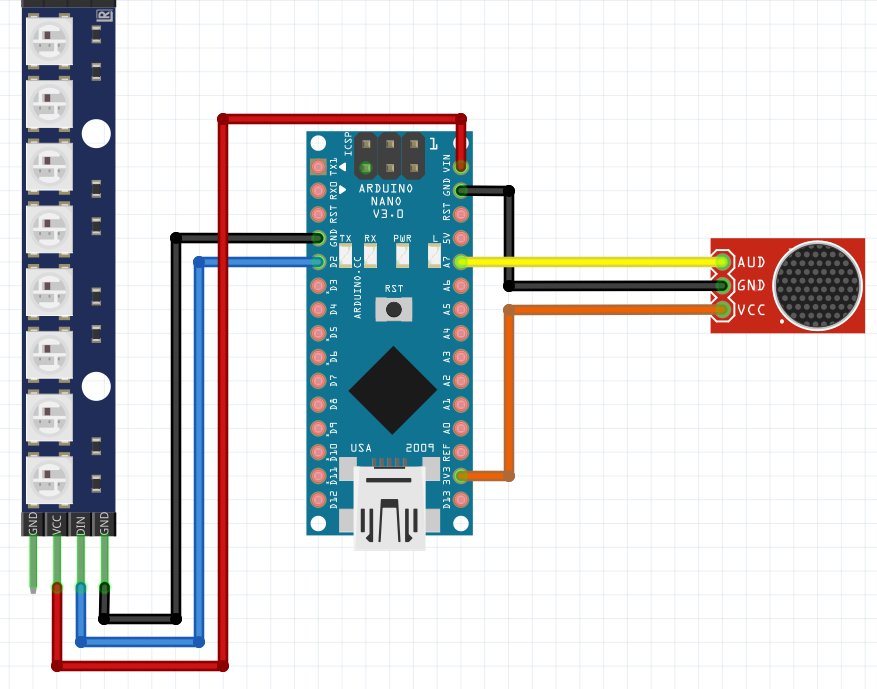
const int trigPin = D4;
const int echoPin = D5;
// defines variables
long duration;
int distance;
int maxcounter;
uint8_t const desc_hid_report[] =
{
TUD_HID_REPORT_DESC_KEYBOARD()
};
// D0-D3 NOT USED AT THE MOMENT, I'VE GOT IDEAS FOR EXTRA FUNCTIONALLITY!
// USB HID object. For ESP32 these values cannot be changed after this declaration
// desc report, desc len, protocol, interval, use out endpoint
Adafruit_USBD_HID usb_hid(desc_hid_report, sizeof(desc_hid_report), HID_ITF_PROTOCOL_KEYBOARD, 2, false);
//------------- Input Pins -------------//
// Array of pins and its keycode.
uint8_t pins[] = { D0, D1, D2, D3 };
// number of pins
uint8_t pincount = sizeof(pins)/sizeof(pins[0]);
// For keycode definition check out https://github.com/hathach/tinyusb/blob/master/src/class/hid/hid.h
uint8_t hidcode[] = { HID_KEY_0, HID_KEY_1, HID_KEY_2, HID_KEY_3 , HID_KEY_4, HID_KEY_5 };
#if defined(ARDUINO_SAMD_CIRCUITPLAYGROUND_EXPRESS) || defined(ARDUINO_NRF52840_CIRCUITPLAY) || defined(ARDUINO_FUNHOUSE_ESP32S2)
bool activeState = true;
#else
bool activeState = false;
#endif
void setup()
{
// Setting pins for Ultrasonic Sensor HC-SR04
pinMode(trigPin, OUTPUT); // Sets the trigPin as an Output
pinMode(echoPin, INPUT); // Sets the echoPin as an Input
#if defined(ARDUINO_ARCH_MBED) && defined(ARDUINO_ARCH_RP2040)
// Manual begin() is required on core without built-in support for TinyUSB such as mbed rp2040
TinyUSB_Device_Init(0);
#endif
// Set up output report (on control endpoint) for Capslock indicator
// Not used .. yet
usb_hid.setReportCallback(NULL, hid_report_callback);
usb_hid.begin();
// overwrite input pin with PIN_BUTTONx
// NOT USED
#ifdef PIN_BUTTON1
pins[0] = PIN_BUTTON1;
#endif
#ifdef PIN_BUTTON2
pins[1] = PIN_BUTTON2;
#endif
#ifdef PIN_BUTTON3
pins[2] = PIN_BUTTON3;
#endif
#ifdef PIN_BUTTON4
pins[3] = PIN_BUTTON4;
#endif
// Set up pin as input
for (uint8_t i=0; i<pincount; i++)
{
pinMode(pins[i], activeState ? INPUT_PULLDOWN : INPUT_PULLUP);
}
// wait until device mounted
while( !TinyUSBDevice.mounted() ) delay(1);
maxcounter =0;
}
void loop()
{
// Clears the trigPin
digitalWrite(trigPin, LOW);
delayMicroseconds(2);
// Sets the trigPin on HIGH state for 10 micro seconds
digitalWrite(trigPin, HIGH);
delayMicroseconds(10);
digitalWrite(trigPin, LOW);
// Reads the echoPin, returns the sound wave travel time in microseconds
duration = pulseIn(echoPin, HIGH);
// Calculating the distance
distance = duration * 0.034 / 2;
// Prints the distance on the Serial Monitor - DEBUG
//Serial.print("Distance: ");
//Serial.println(distance);
// Below will wait for more than 100 measurements with a distance of 100
// Then it will send a WINDOWS-L (lock) keyboard combination
if (distance > 100)
{
maxcounter +=1;
}
else
{
maxcounter = 0;
}
if (maxcounter > 100 && maxcounter < 150)
{
maxcounter = 200;
// Send report if there is key pressed
uint8_t const report_id = 0;
uint8_t modifier = KEYBOARD_MODIFIER_LEFTGUI;
uint8_t keycode[6] = { 0 };
keycode[0] = HID_KEY_L;
usb_hid.keyboardReport(report_id, modifier, keycode);
delay(10);
// Un-press keys :)
usb_hid.keyboardRelease(0);
}
// poll gpio once each 2 ms
delay(20);
// used to avoid send multiple consecutive zero report for keyboard
static bool keyPressedPreviously = false;
uint8_t count=0;
uint8_t keycode[6] = { 0 };
// scan normal key and send report
for(uint8_t i=0; i < pincount; i++)
{
if ( activeState == digitalRead(pins[i]) )
{
// if pin is active (low), add its hid code to key report
keycode[count++] = hidcode[i];
// 6 is max keycode per report
if (count == 6) break;
}
}
if ( TinyUSBDevice.suspended() && count )
{
// Wake up host if we are in suspend mode
// and REMOTE_WAKEUP feature is enabled by host
TinyUSBDevice.remoteWakeup();
}
// skip if hid is not ready e.g still transferring previous report
if ( !usb_hid.ready() ) return;
if ( count )
{
// Send report if there is key pressed
uint8_t const report_id = 0;
uint8_t const modifier = 0;
keyPressedPreviously = true;
usb_hid.keyboardReport(report_id, modifier, keycode);
}else
{
// Send All-zero report to indicate there is no keys pressed
// Most of the time, it is, though we don't need to send zero report
// every loop(), only a key is pressed in previous loop()
if ( keyPressedPreviously )
{
keyPressedPreviously = false;
usb_hid.keyboardRelease(0);
}
}
}
// Output report callback for LED indicator such as Caplocks
void hid_report_callback(uint8_t report_id, hid_report_type_t report_type, uint8_t const* buffer, uint16_t bufsize)
{
(void) report_id;
(void) bufsize;
}