It has been a long time, since I flashed the last one.
Some things have changed.
I’ve flashed tablets and phones, now a tablet again.
The small tablet was really slow, and could not be upgraded to support a new webkit version.
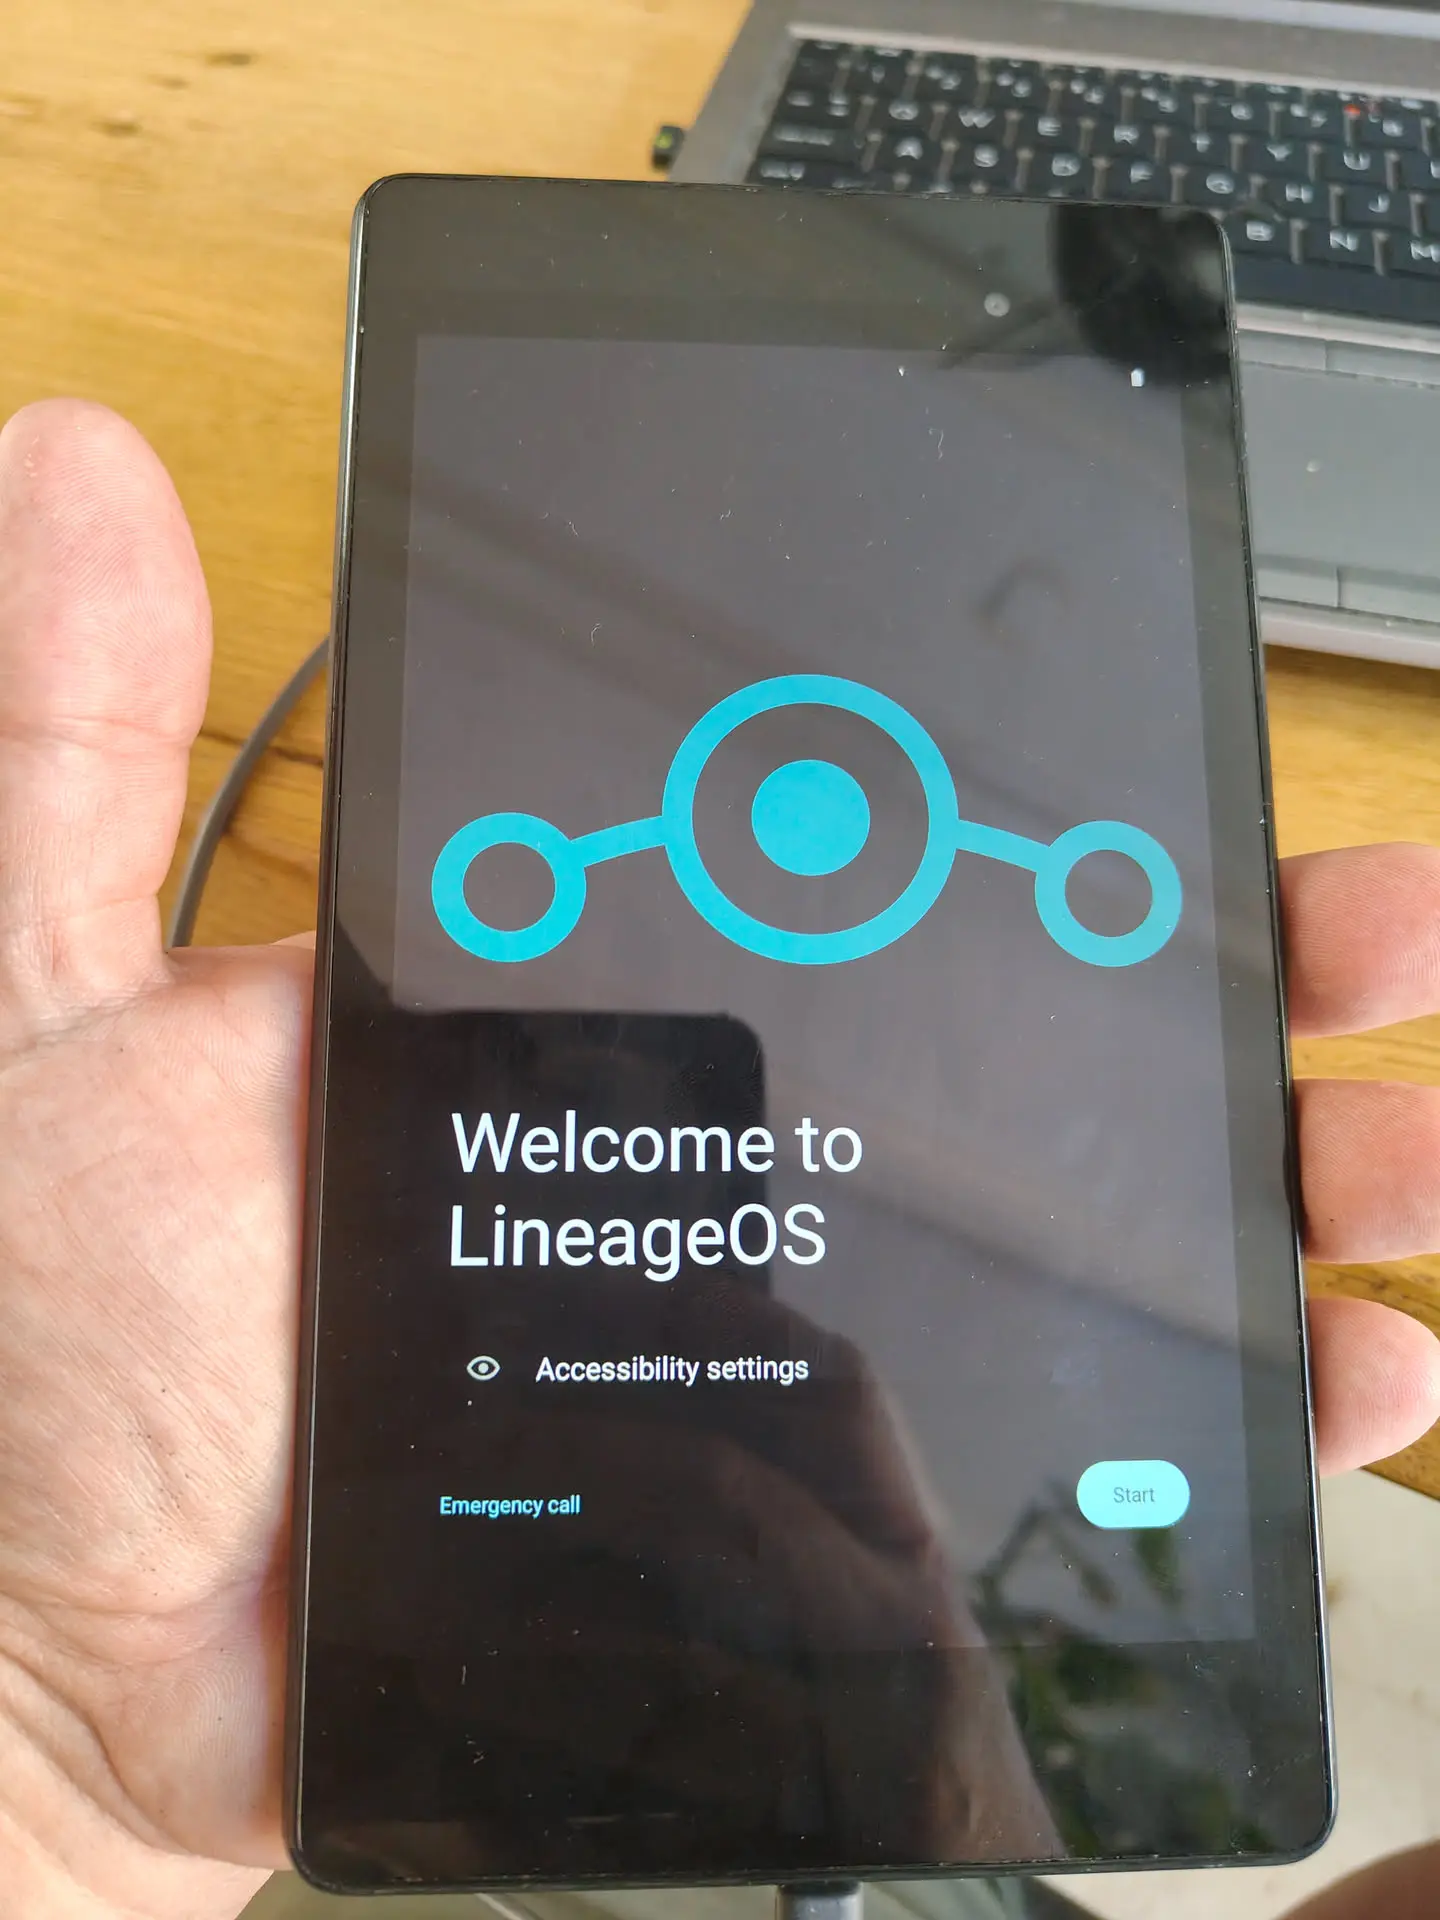
So I installed a minimal Lineage OS on it.
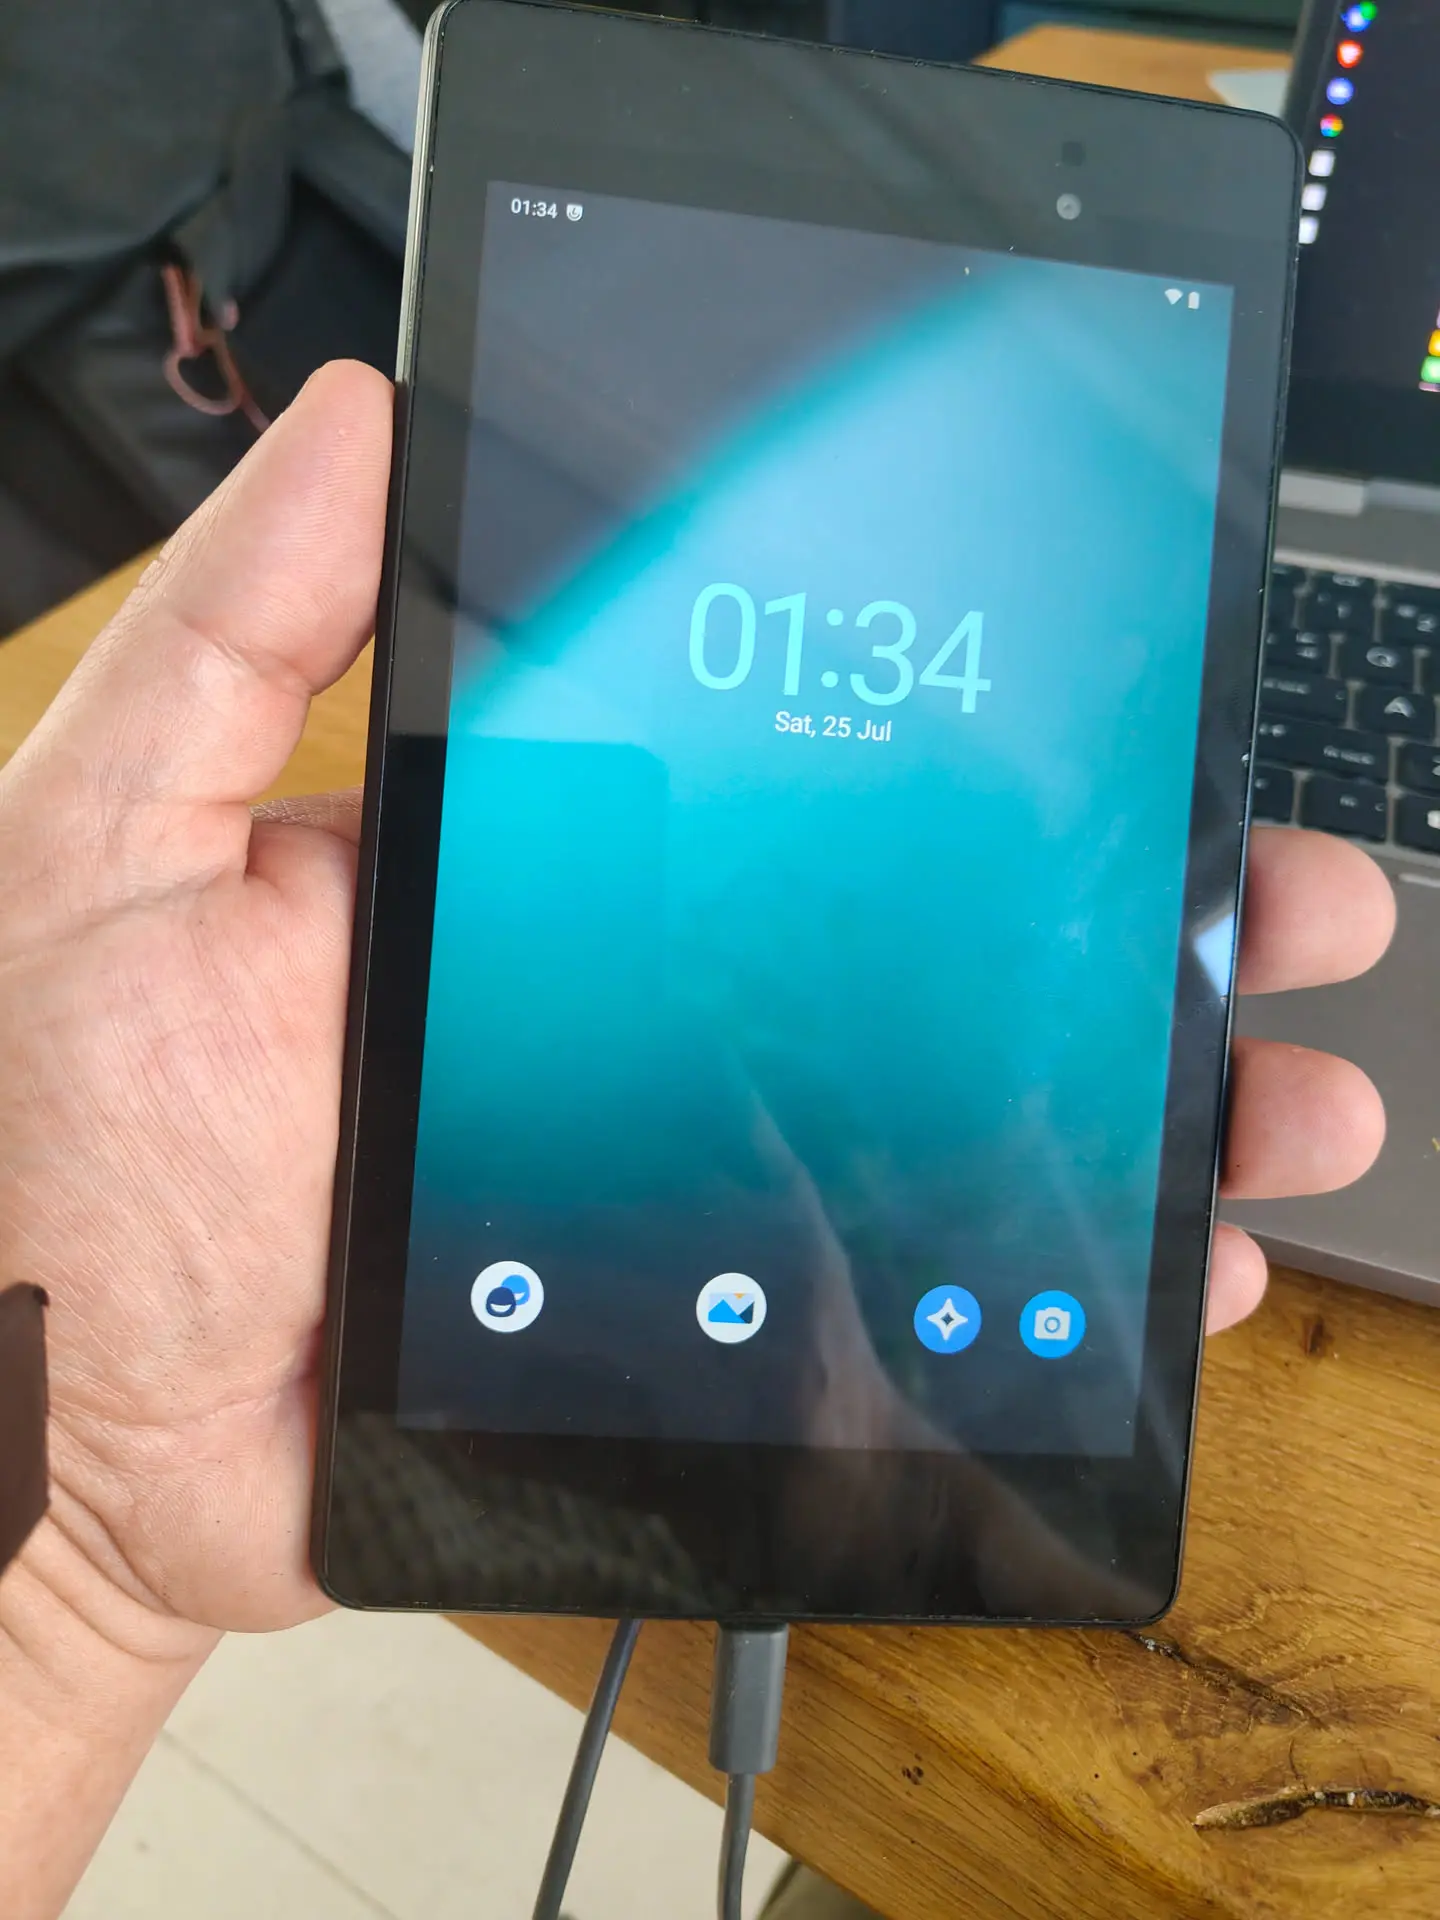
Now it can be used as a immich web kiosk.
Some notes for myself
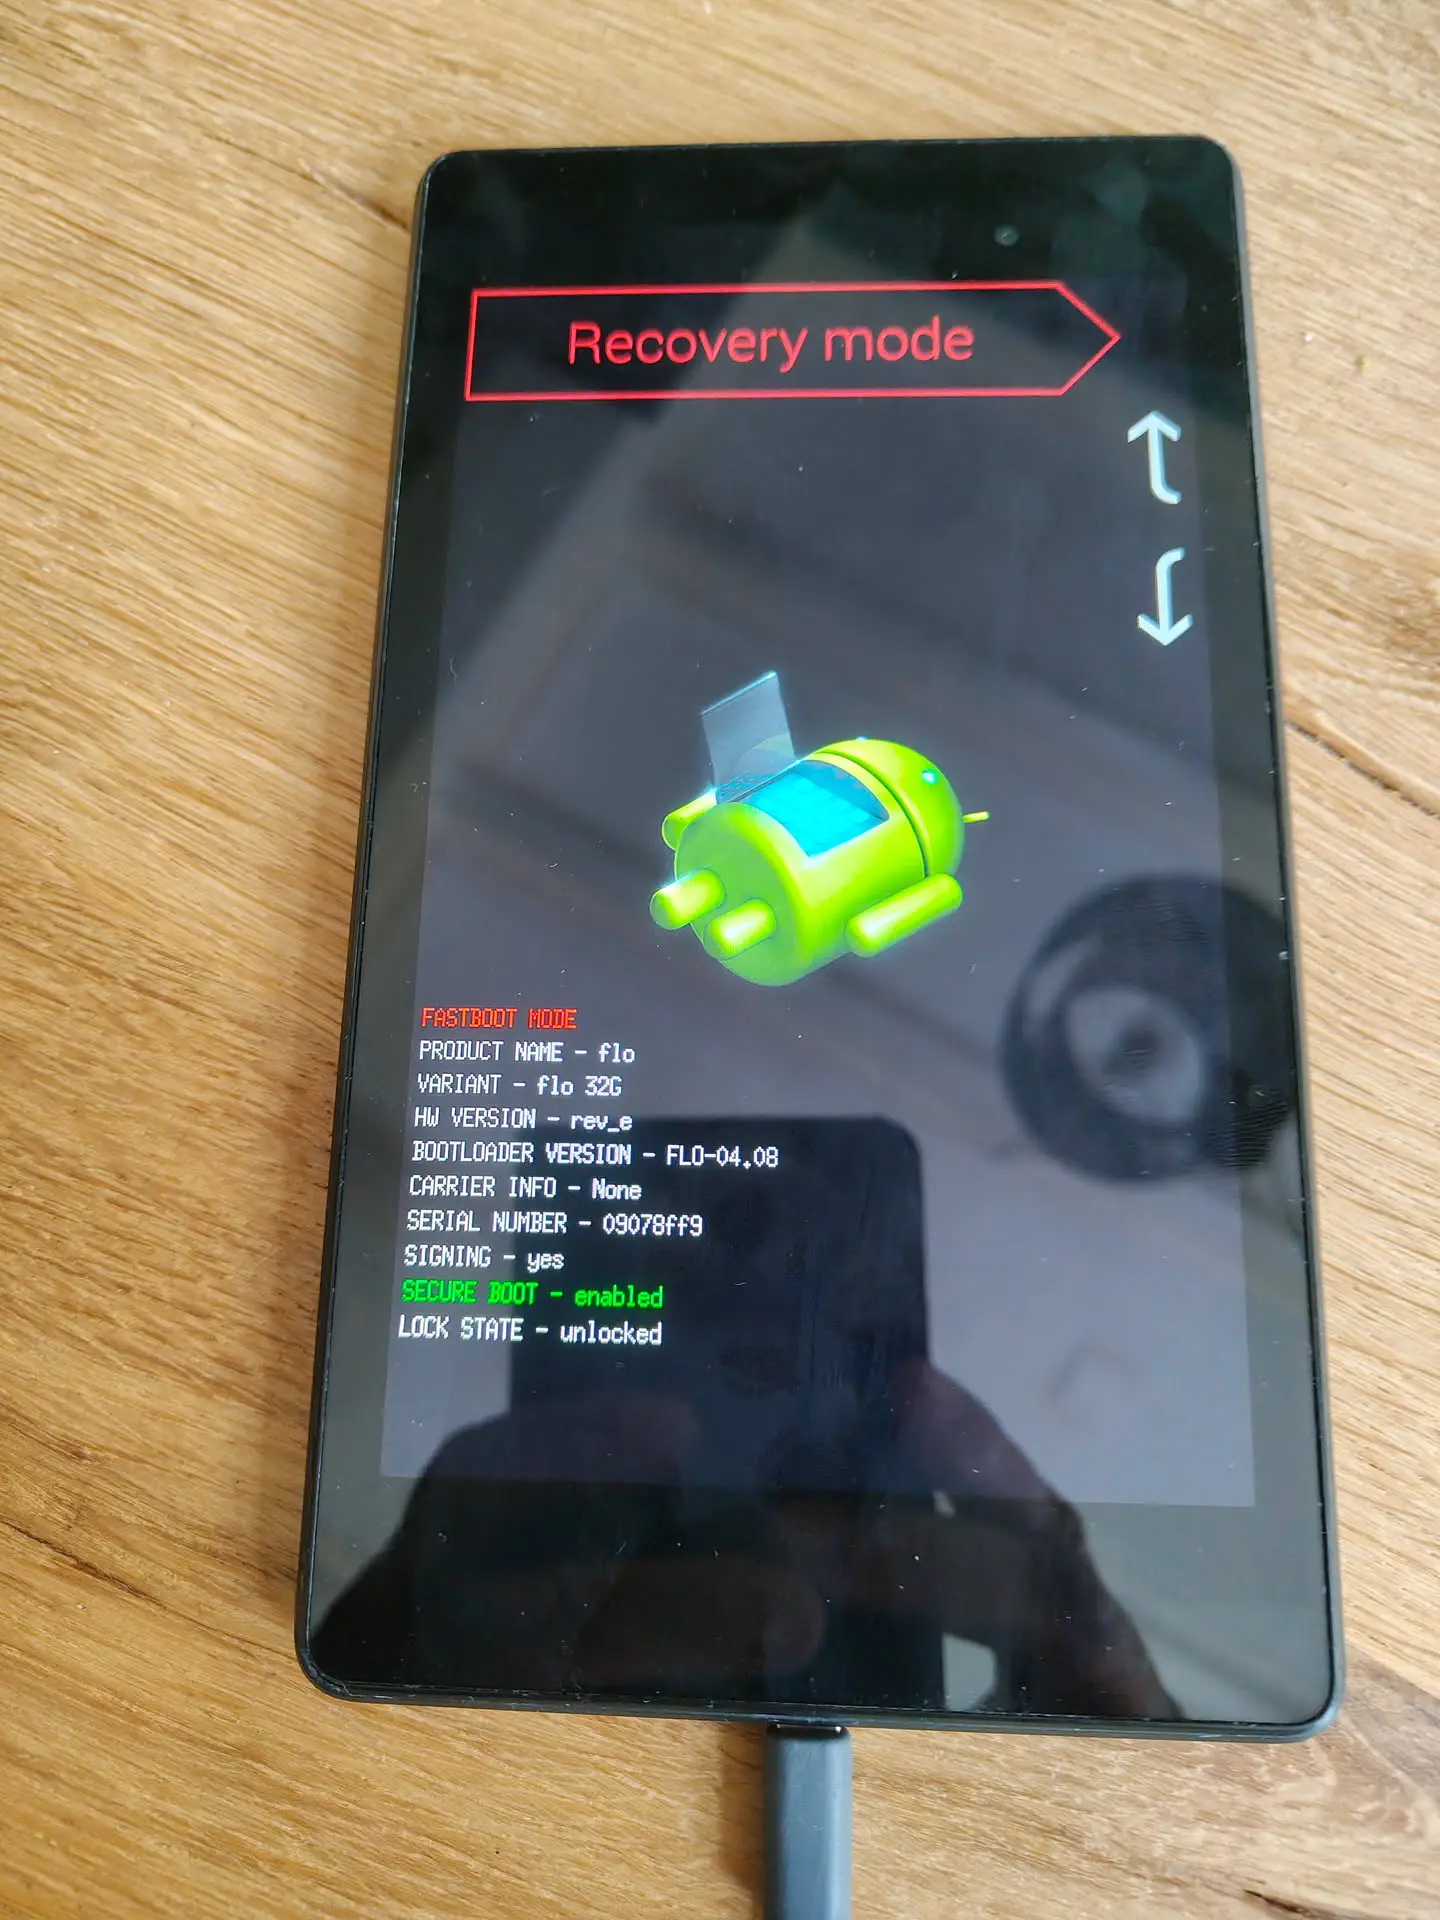
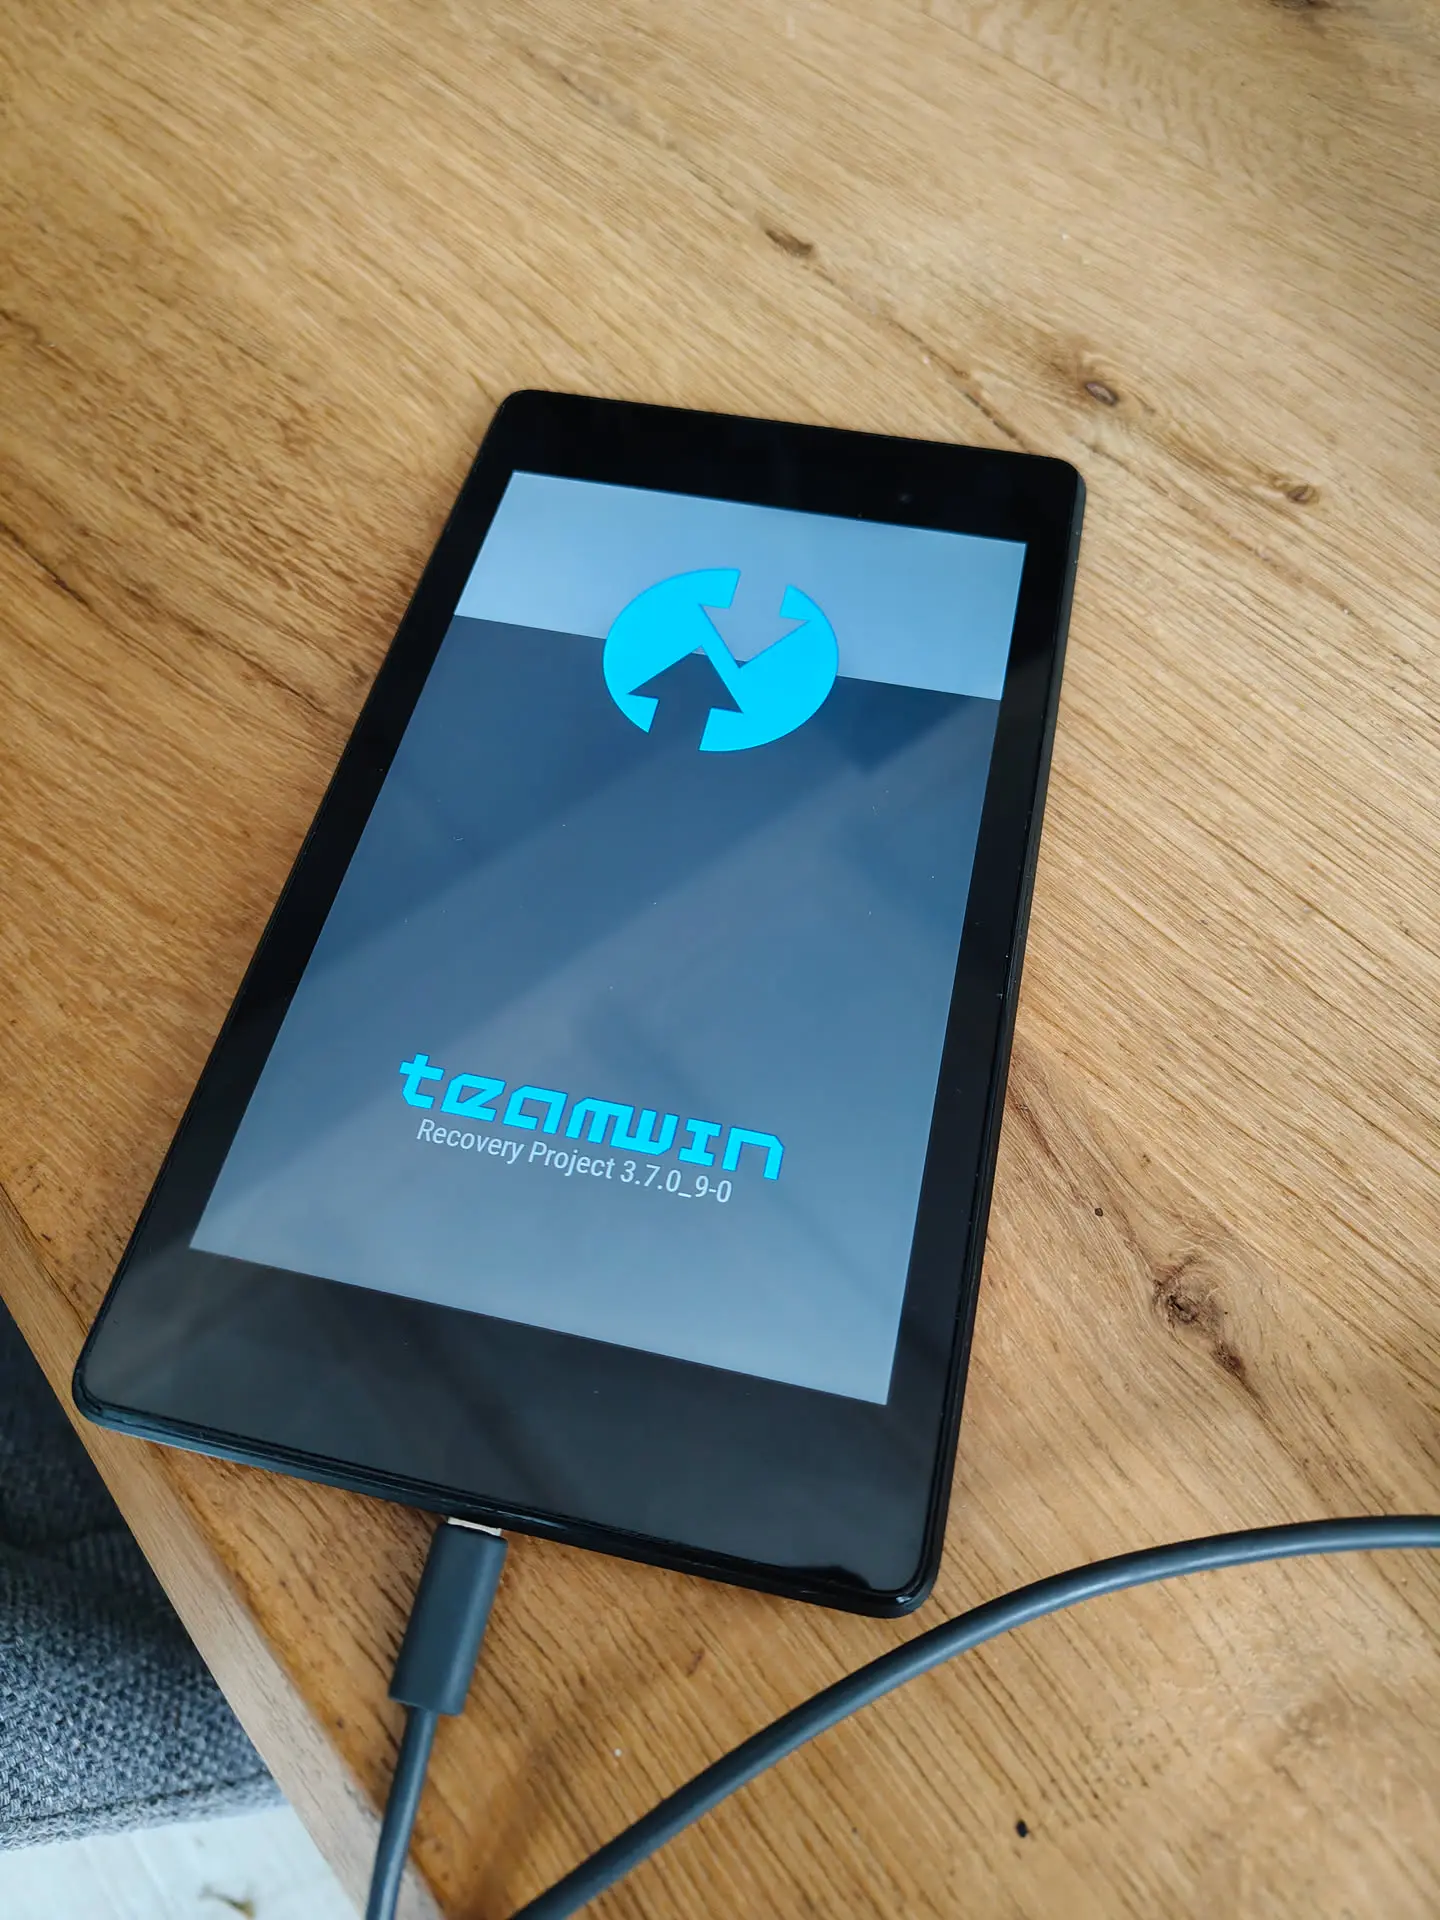
adb reboot bootloader
adb fastboot oem unlock
fastboot flash recovery twrp-3.7.0_9-1-flo_followmsi.img # this didn´t work, needed an older version
twrp-3.3.0-0-flo.img worked
adb push lanchon-repit-20210221-system=max-cache=16M+wipe-flo.zip /tmp/lanchon-repit-20210221-system=max-cache=16M+wipe-flo.zip
also lineage-20.0-20230830-UNOFFICIAL-flo.zip
adb install -r F-Droid.apk
adb install -r Rotation+Control_1.1_APKPure.apk # This because trebuchet rotate is broken.
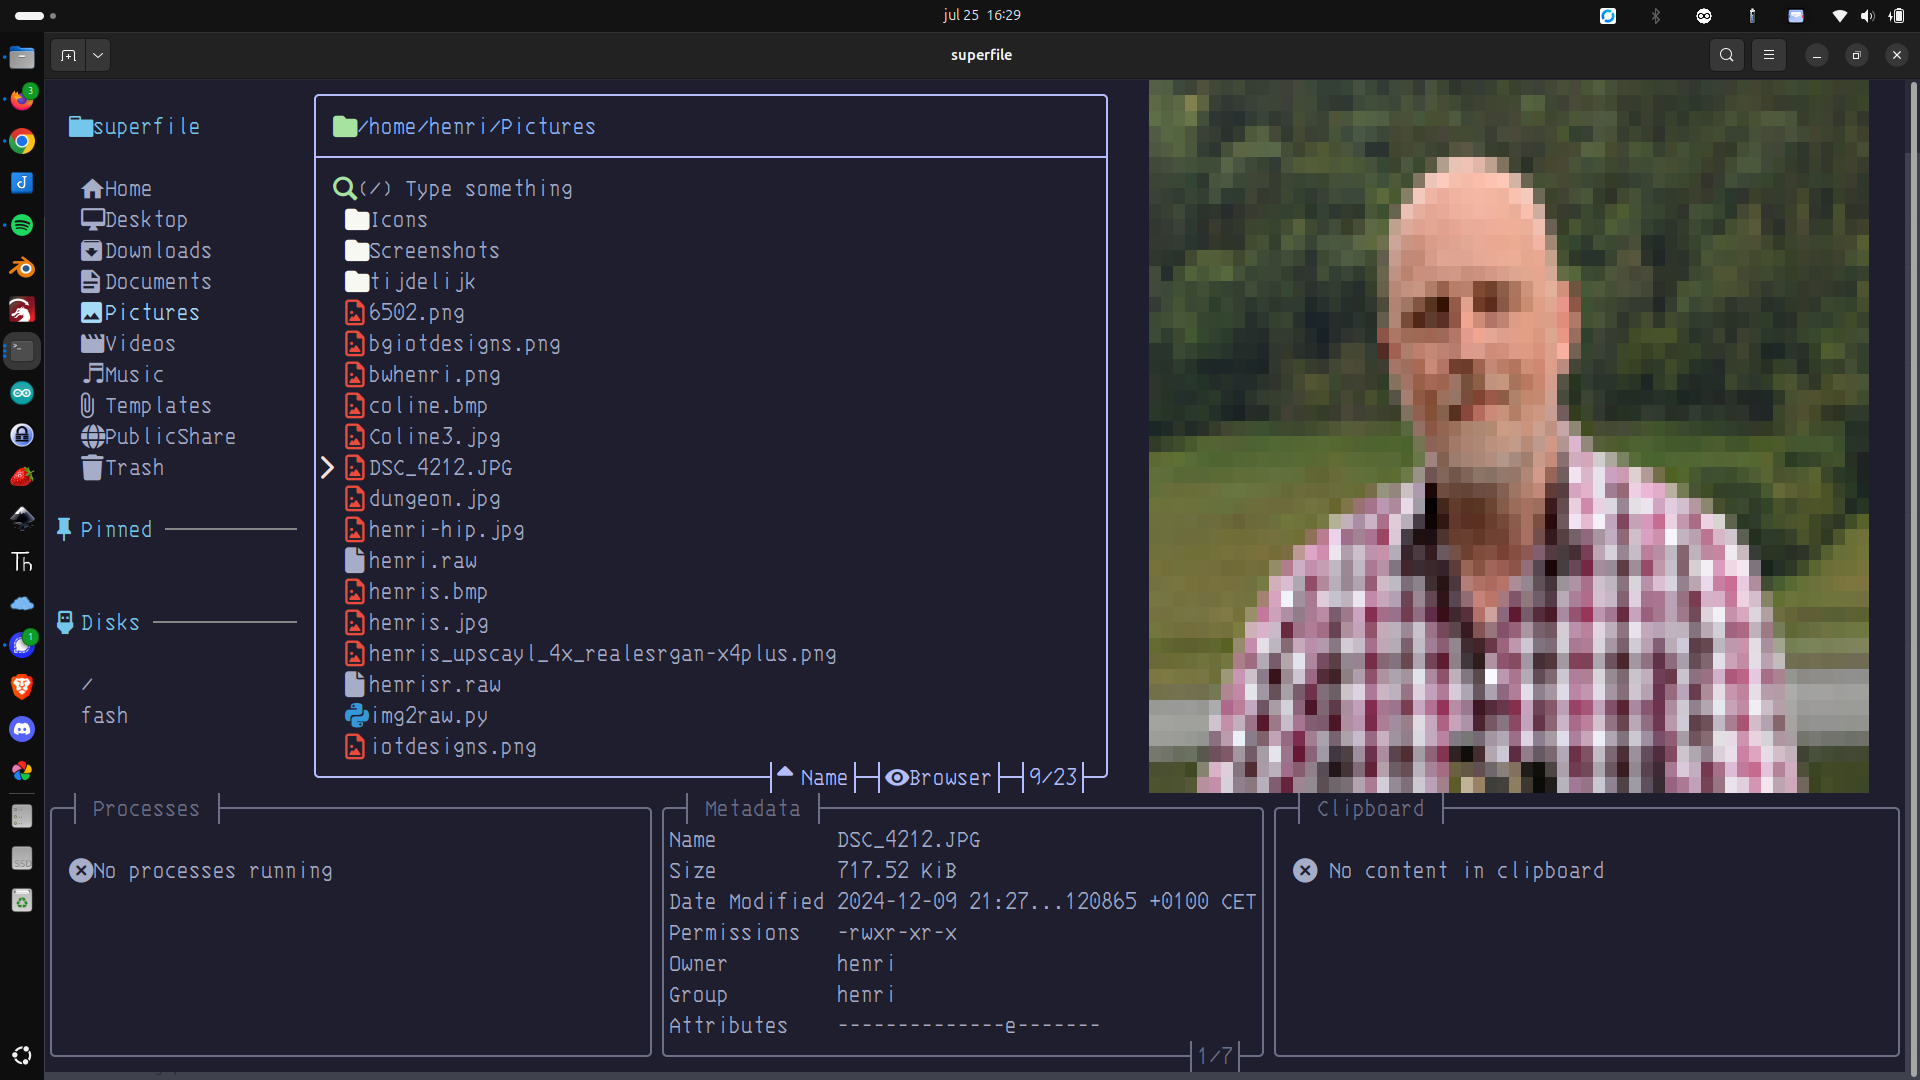
While waiting for flashing, I installed nerdfonts, and patched them with cool icons. Then I installed superfile, a terminal file manager. Nice!