A long time ago i took a book about doing funny stuff in dos, and wrote own additions in the sidelines of the book. Or used the empty pages.
It contains jokes using autoexec.bat and config.sys. Additions by me are most of the time things you could do with debug.com, a little program which existed on any pc at that time.
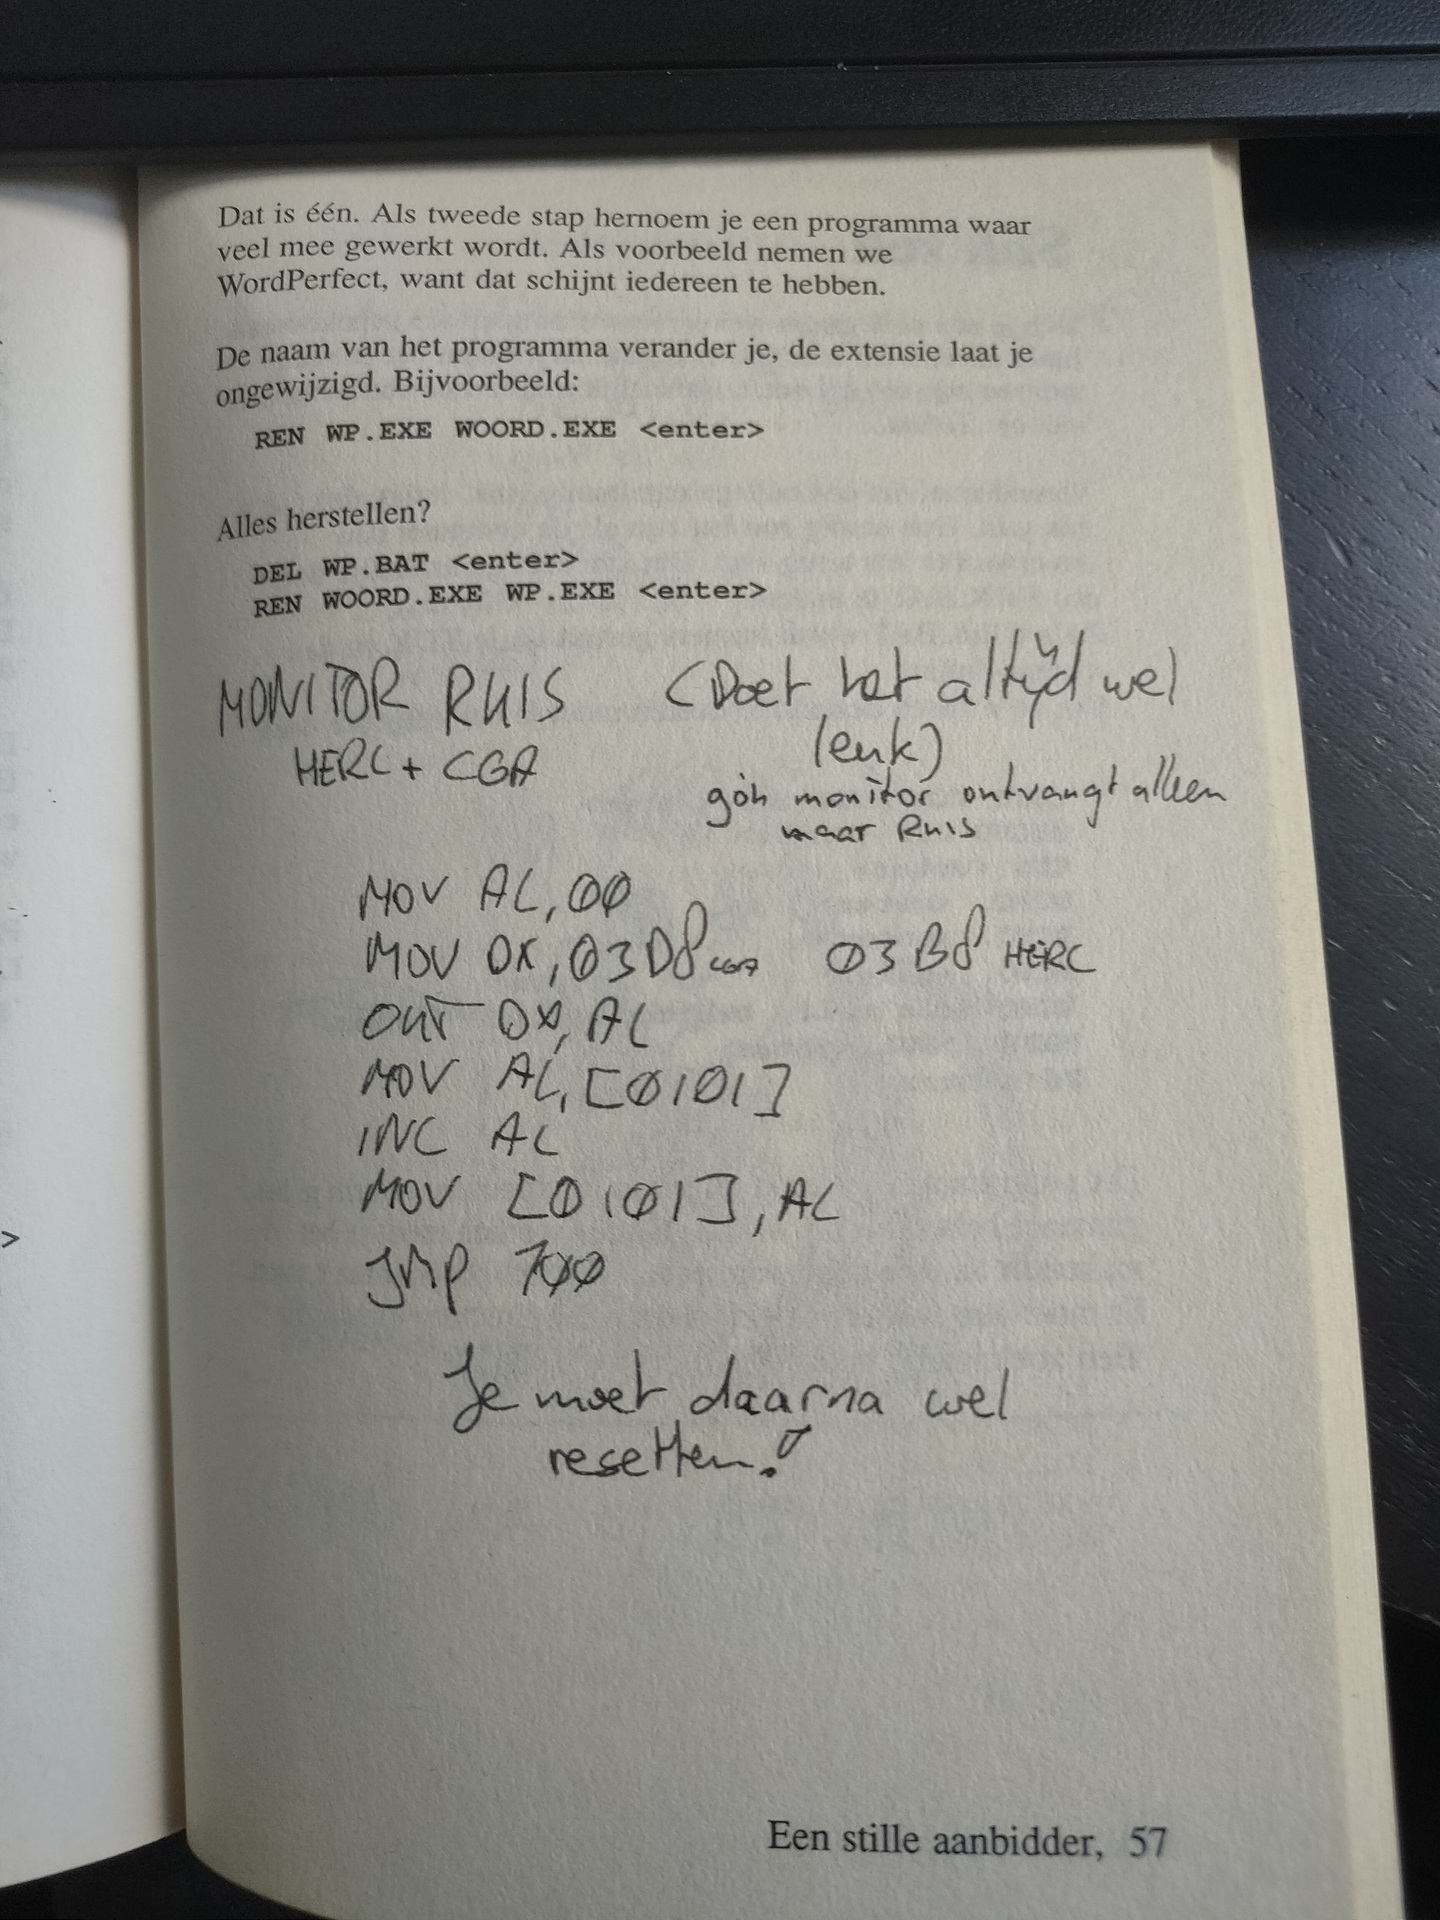
A little program which created static on a CGA or Hercules monitor. Yes, that long ago. CGA provided 16 colors in 80×25 or 40×25 text modes, but only four colors at 320×200 resolution and two colors at 640×200. Hercules was only monochrome and a max resolution of 720×348. It was on a hercules card i made my first copperbar. ( Before the effect was named copperbar ). Due to difference in timing on every machine, you had to get the copperbar timing right by using two keys i’d assigned the timing to.
MOV AL,00                      # Fill AL register with 0
MOV DX,0x03D8 (cga) 03B8 (herc)# DX with address
OUT DX,AL                      # Set address with AL
MOV AL,[0101]                  # Reg AL with contents
INC AL                         # Increment AL
MOV [0101],AL                  # Address fill with AL
JMP 100                        # Jump to start
The opcodes for the program :
b0 00
66 ba d8 03
ee
a0 41 00 00 00
fe c0
a2 41 00 00 00
e9 60 00 00 00
Sometimes i put these little programs in autoexec.bat, so at next restart of the pc, it would do something weird. My little BOFH jokes. Friends and computerstores where not safe.
Another example:
Two drives in a PC ? (Wie A: zegt moet ook B: zeggen) Use with care, below will f*ck up your drives. (And makes a lot of noise while doing so.)
MOV DX,0x03F2
MOV AL,71
OUT DX,AL
MOV AL,74
OUT DX,AL
JMP 100
20220502: Fixed another C64, PIA (Peripheral Interface Adapter) was dead, luckily i’ve got several spare-part c64’s. So that was a easy fix.
20220504: Got my sd2iec adaptor in, see bottom of this page.
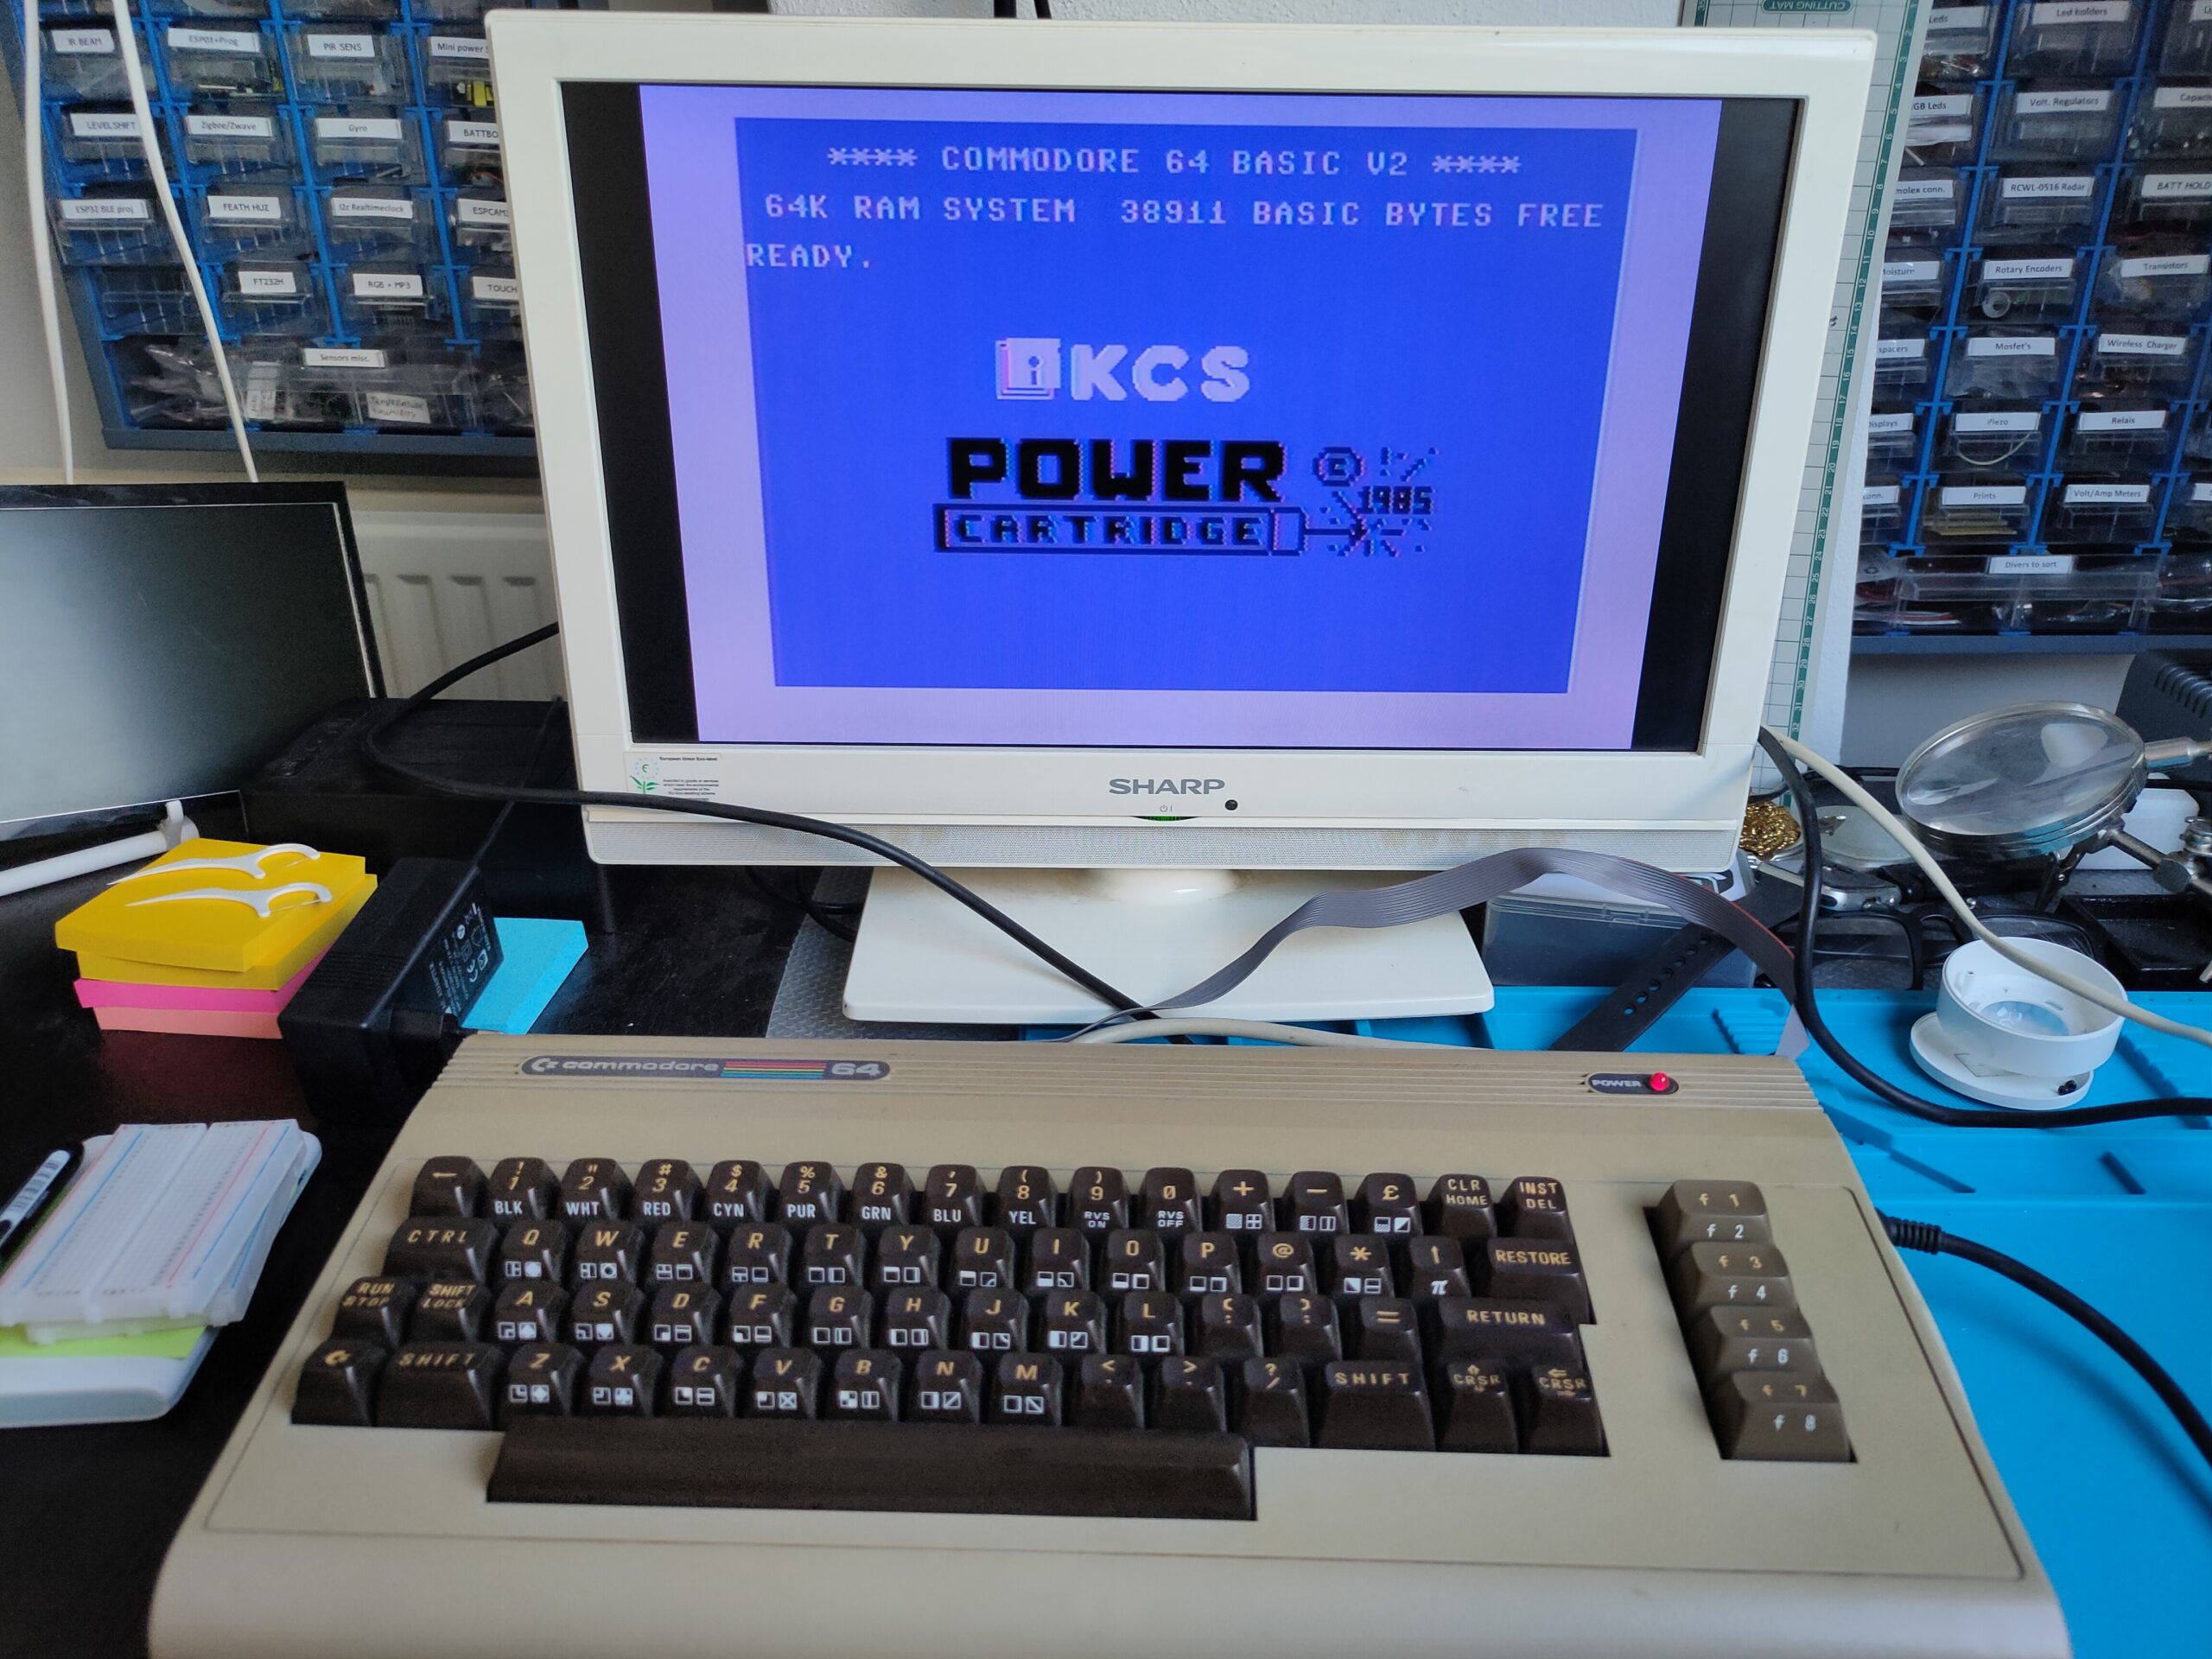
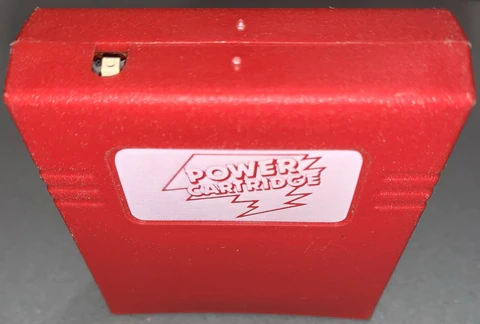
Booting with a power cartridge
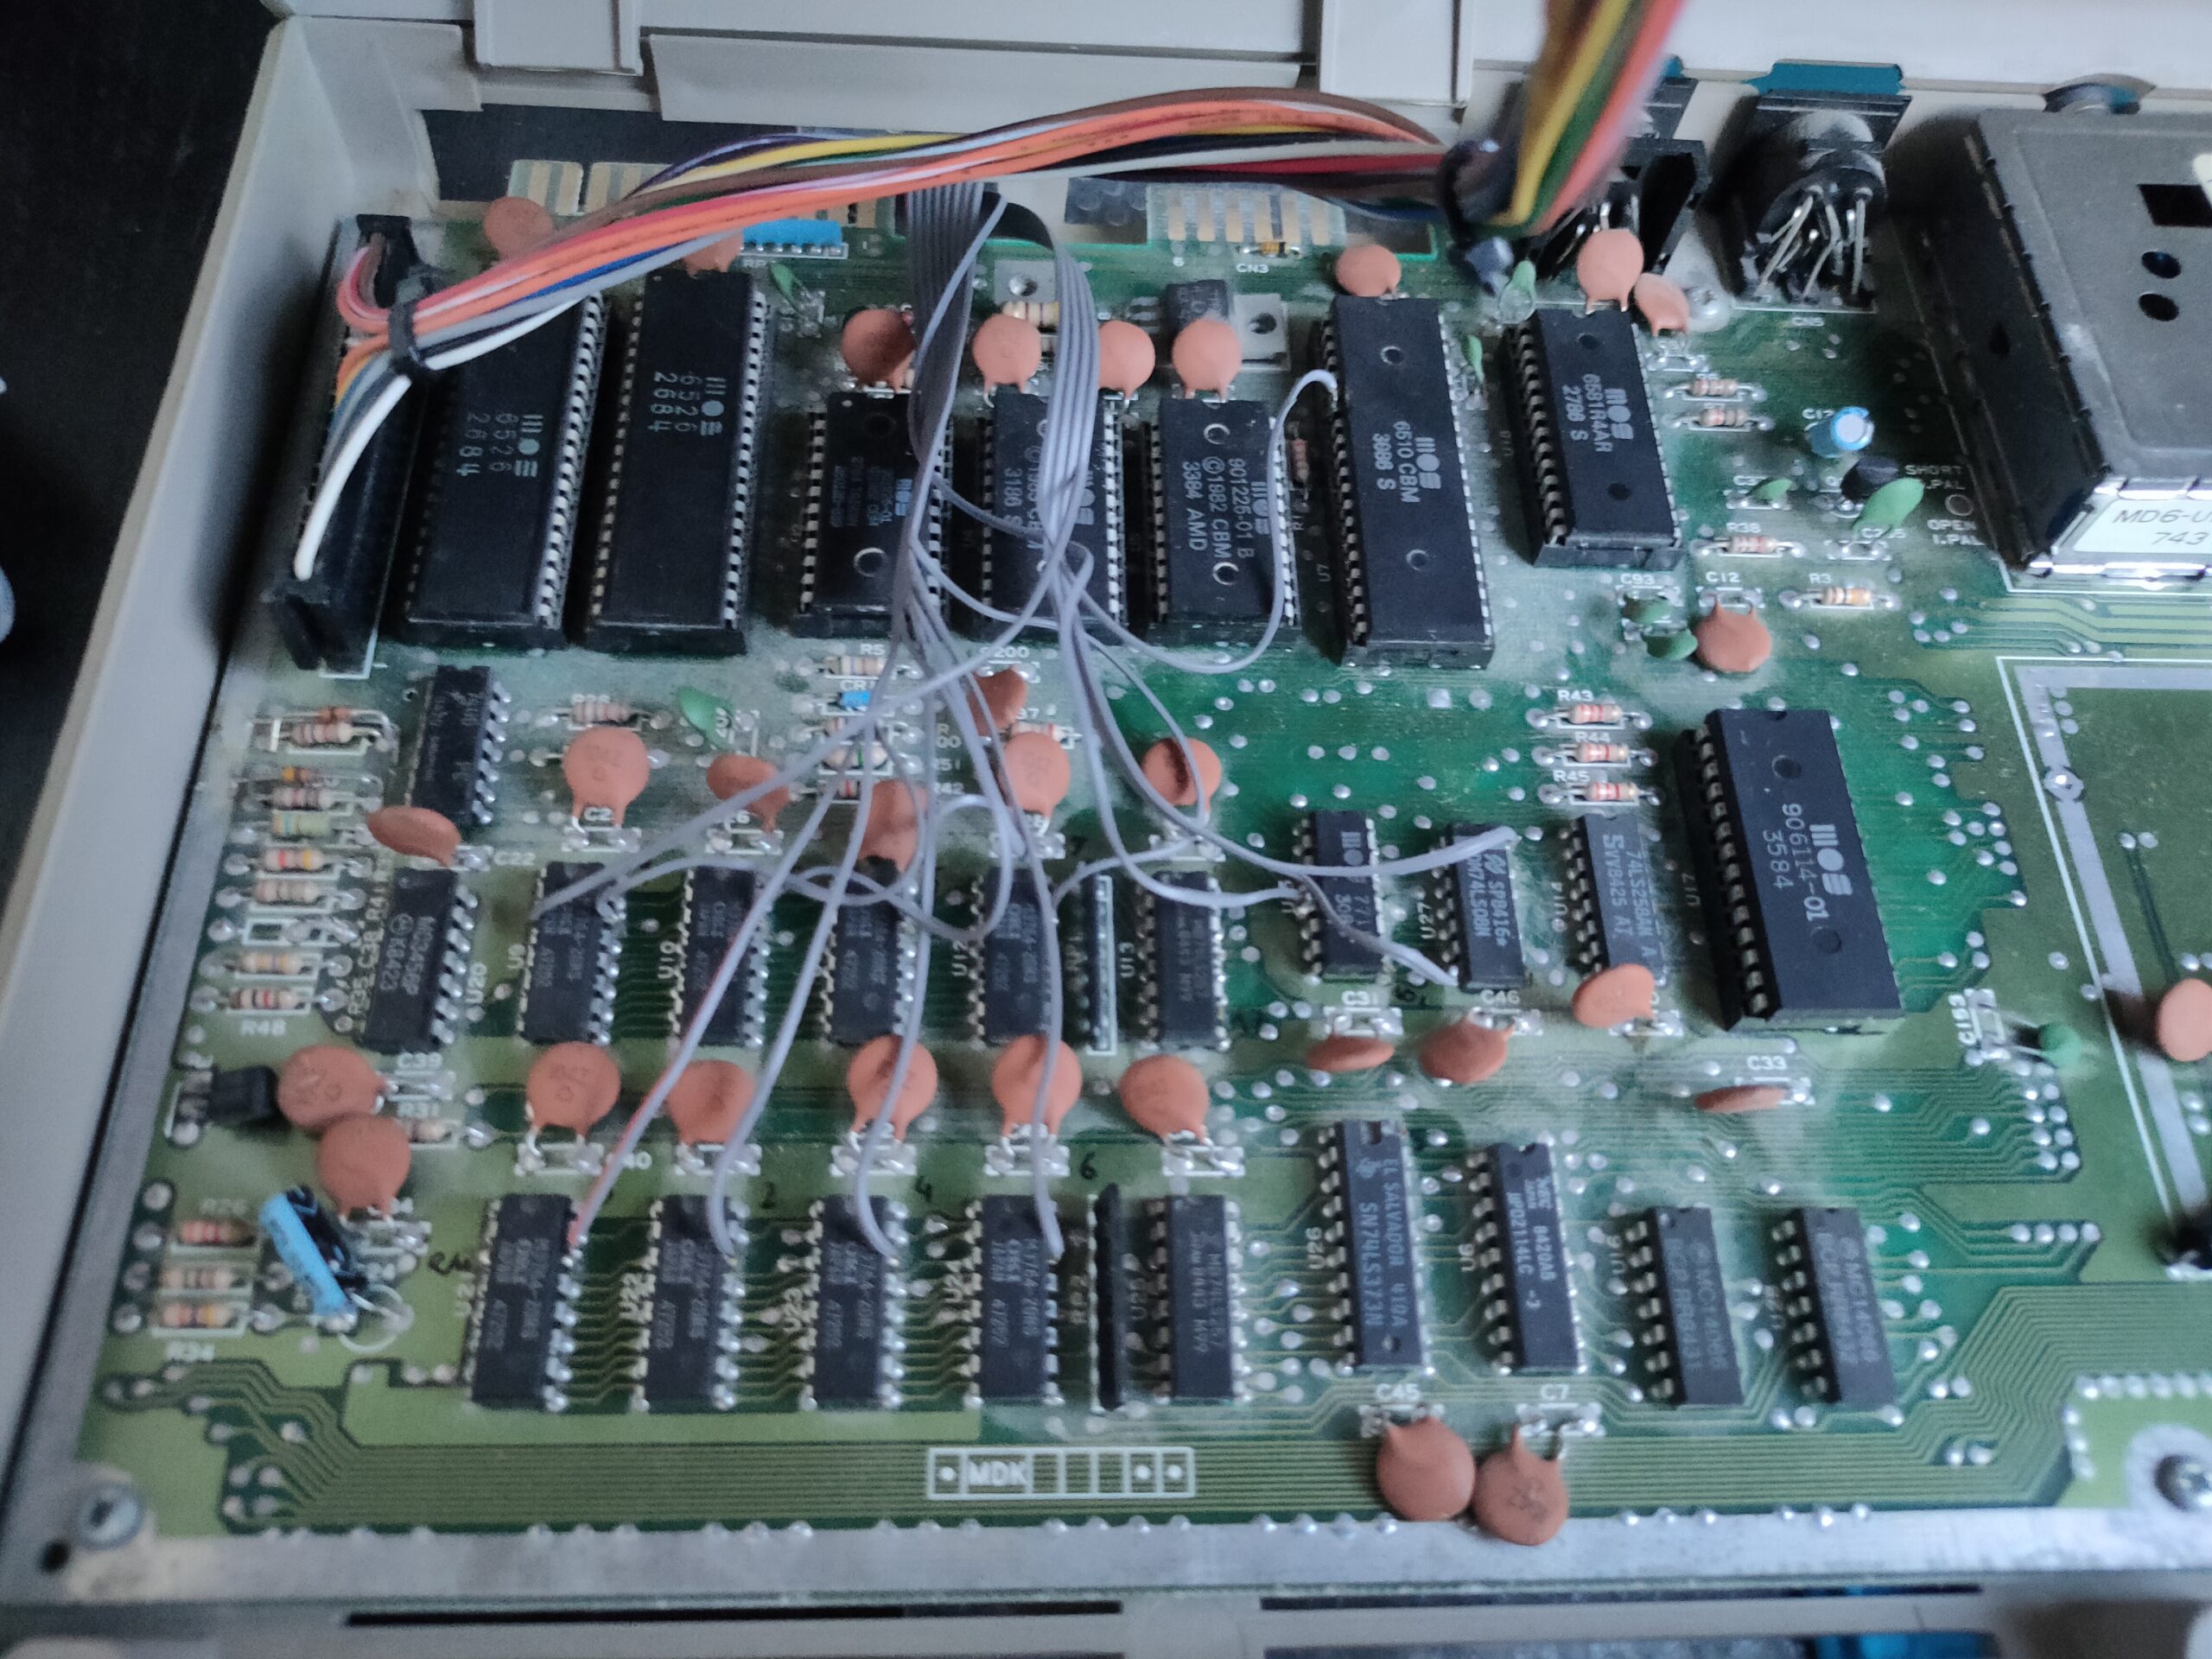
None of my old computers was unmodified
Demo by my old friend Sepp
Drive is a 1541model 2
De wires are going to the DOUT pins of the memory chips. Showing activity using leds. Sometimes i monitored CS .. also informative.
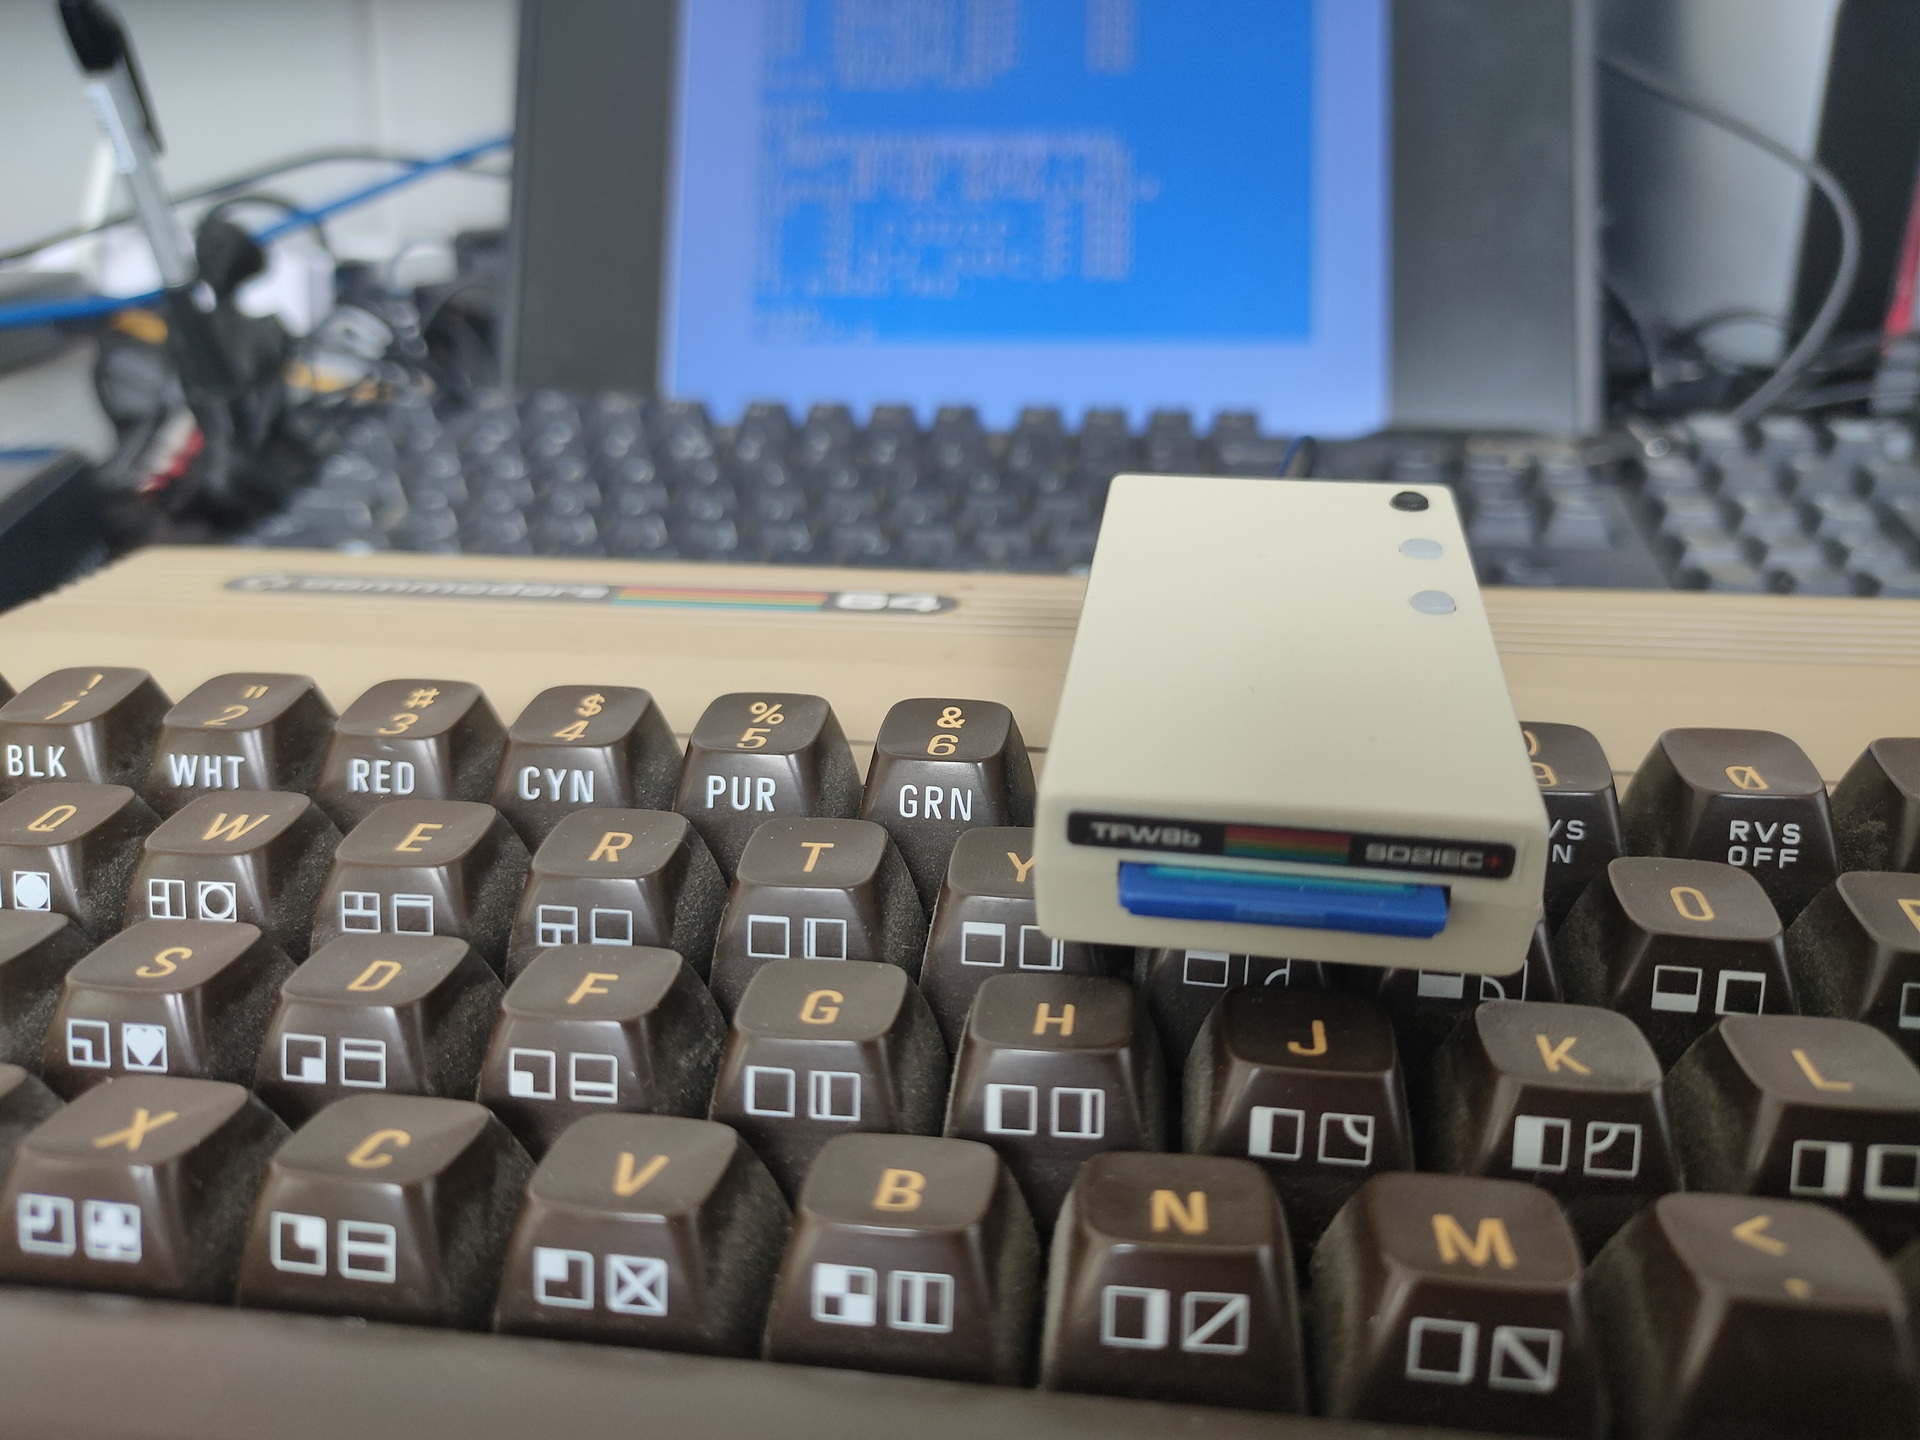
SD2IES Cardreader
Little small funky gadget, it replaces a 1541 Floppy drive with a SDCard reader where you can store a lot of floppydisk images on. More on this later.
NOTE : Doesn’t work together with my KCS Power cartridge.
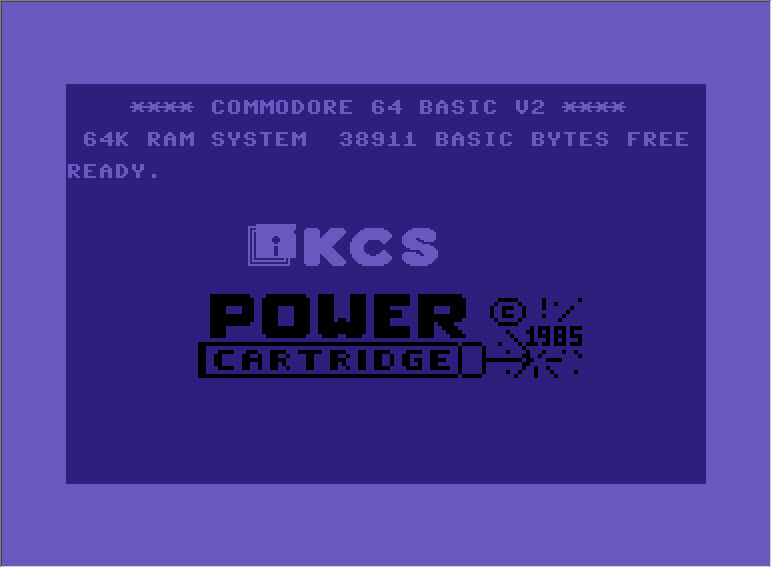
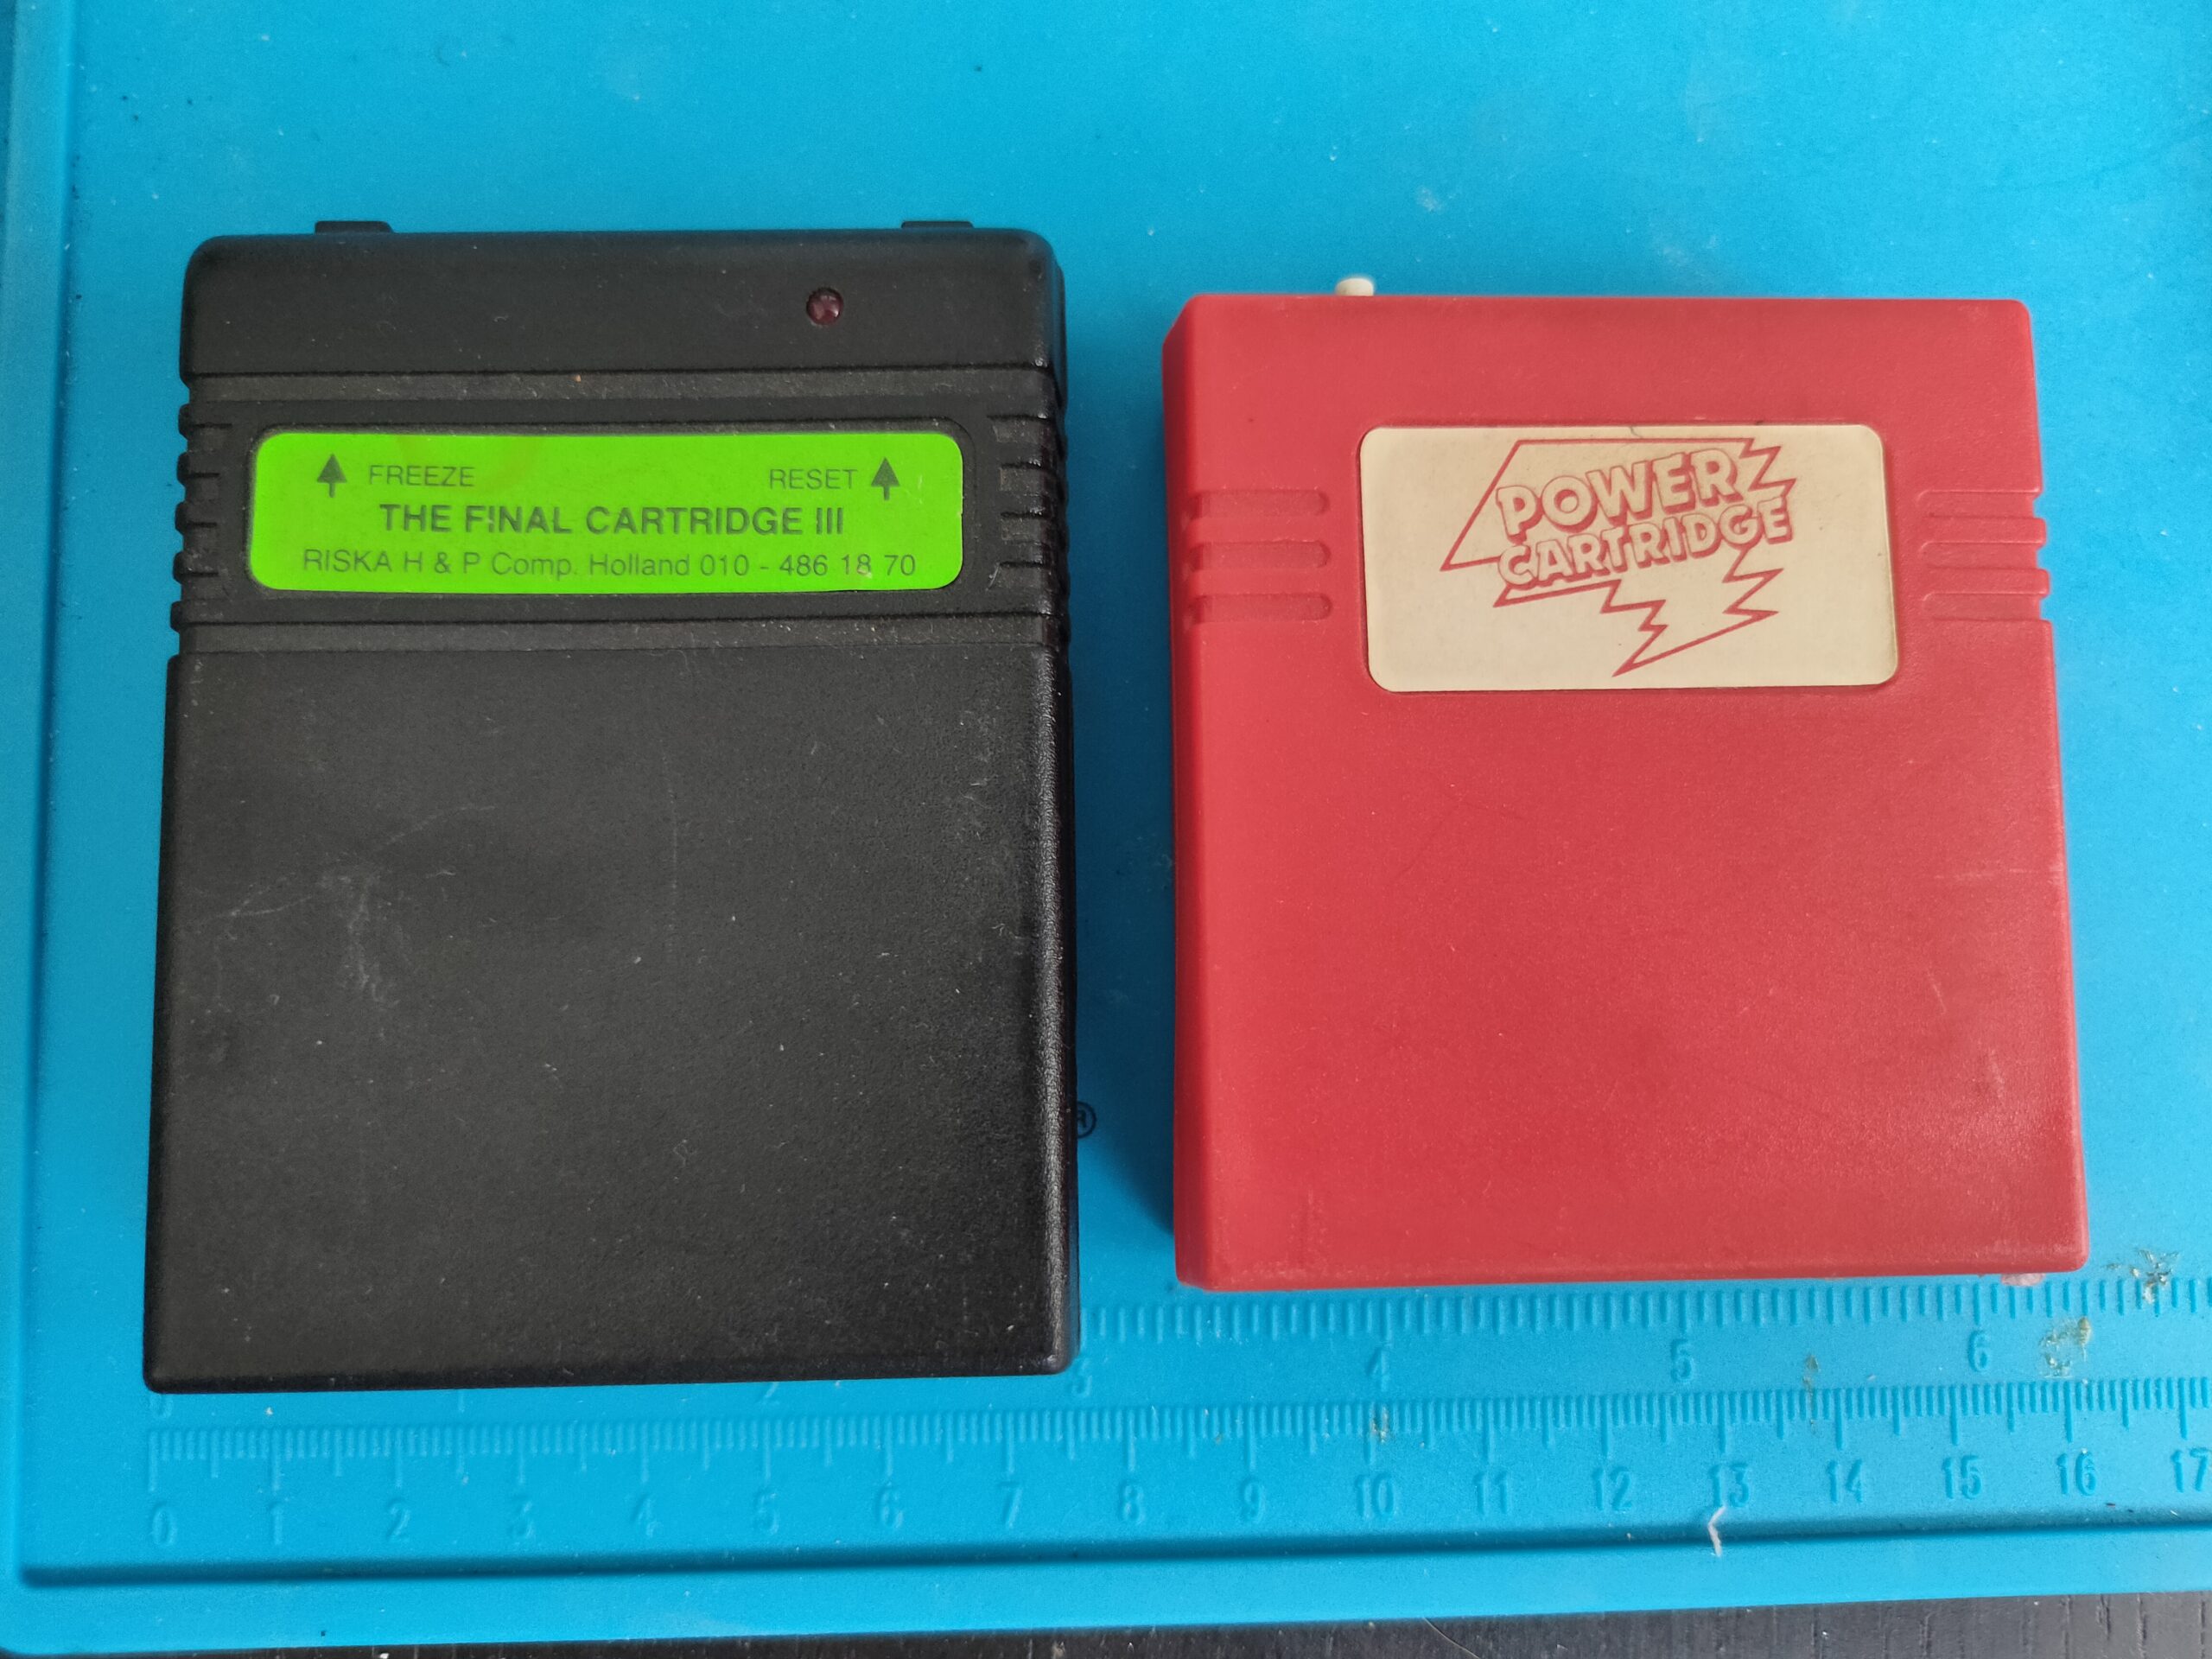
CartridgeScreen
I’ve tested two cartridges.
Final cartridge III fastload test on a program did ~3 seconds. ( Normal load time ~17 seconds. ) KCS powercartridge didn’t work. Tip: press `runstop` when using FC3 while turning on to get into basic not the desktop.
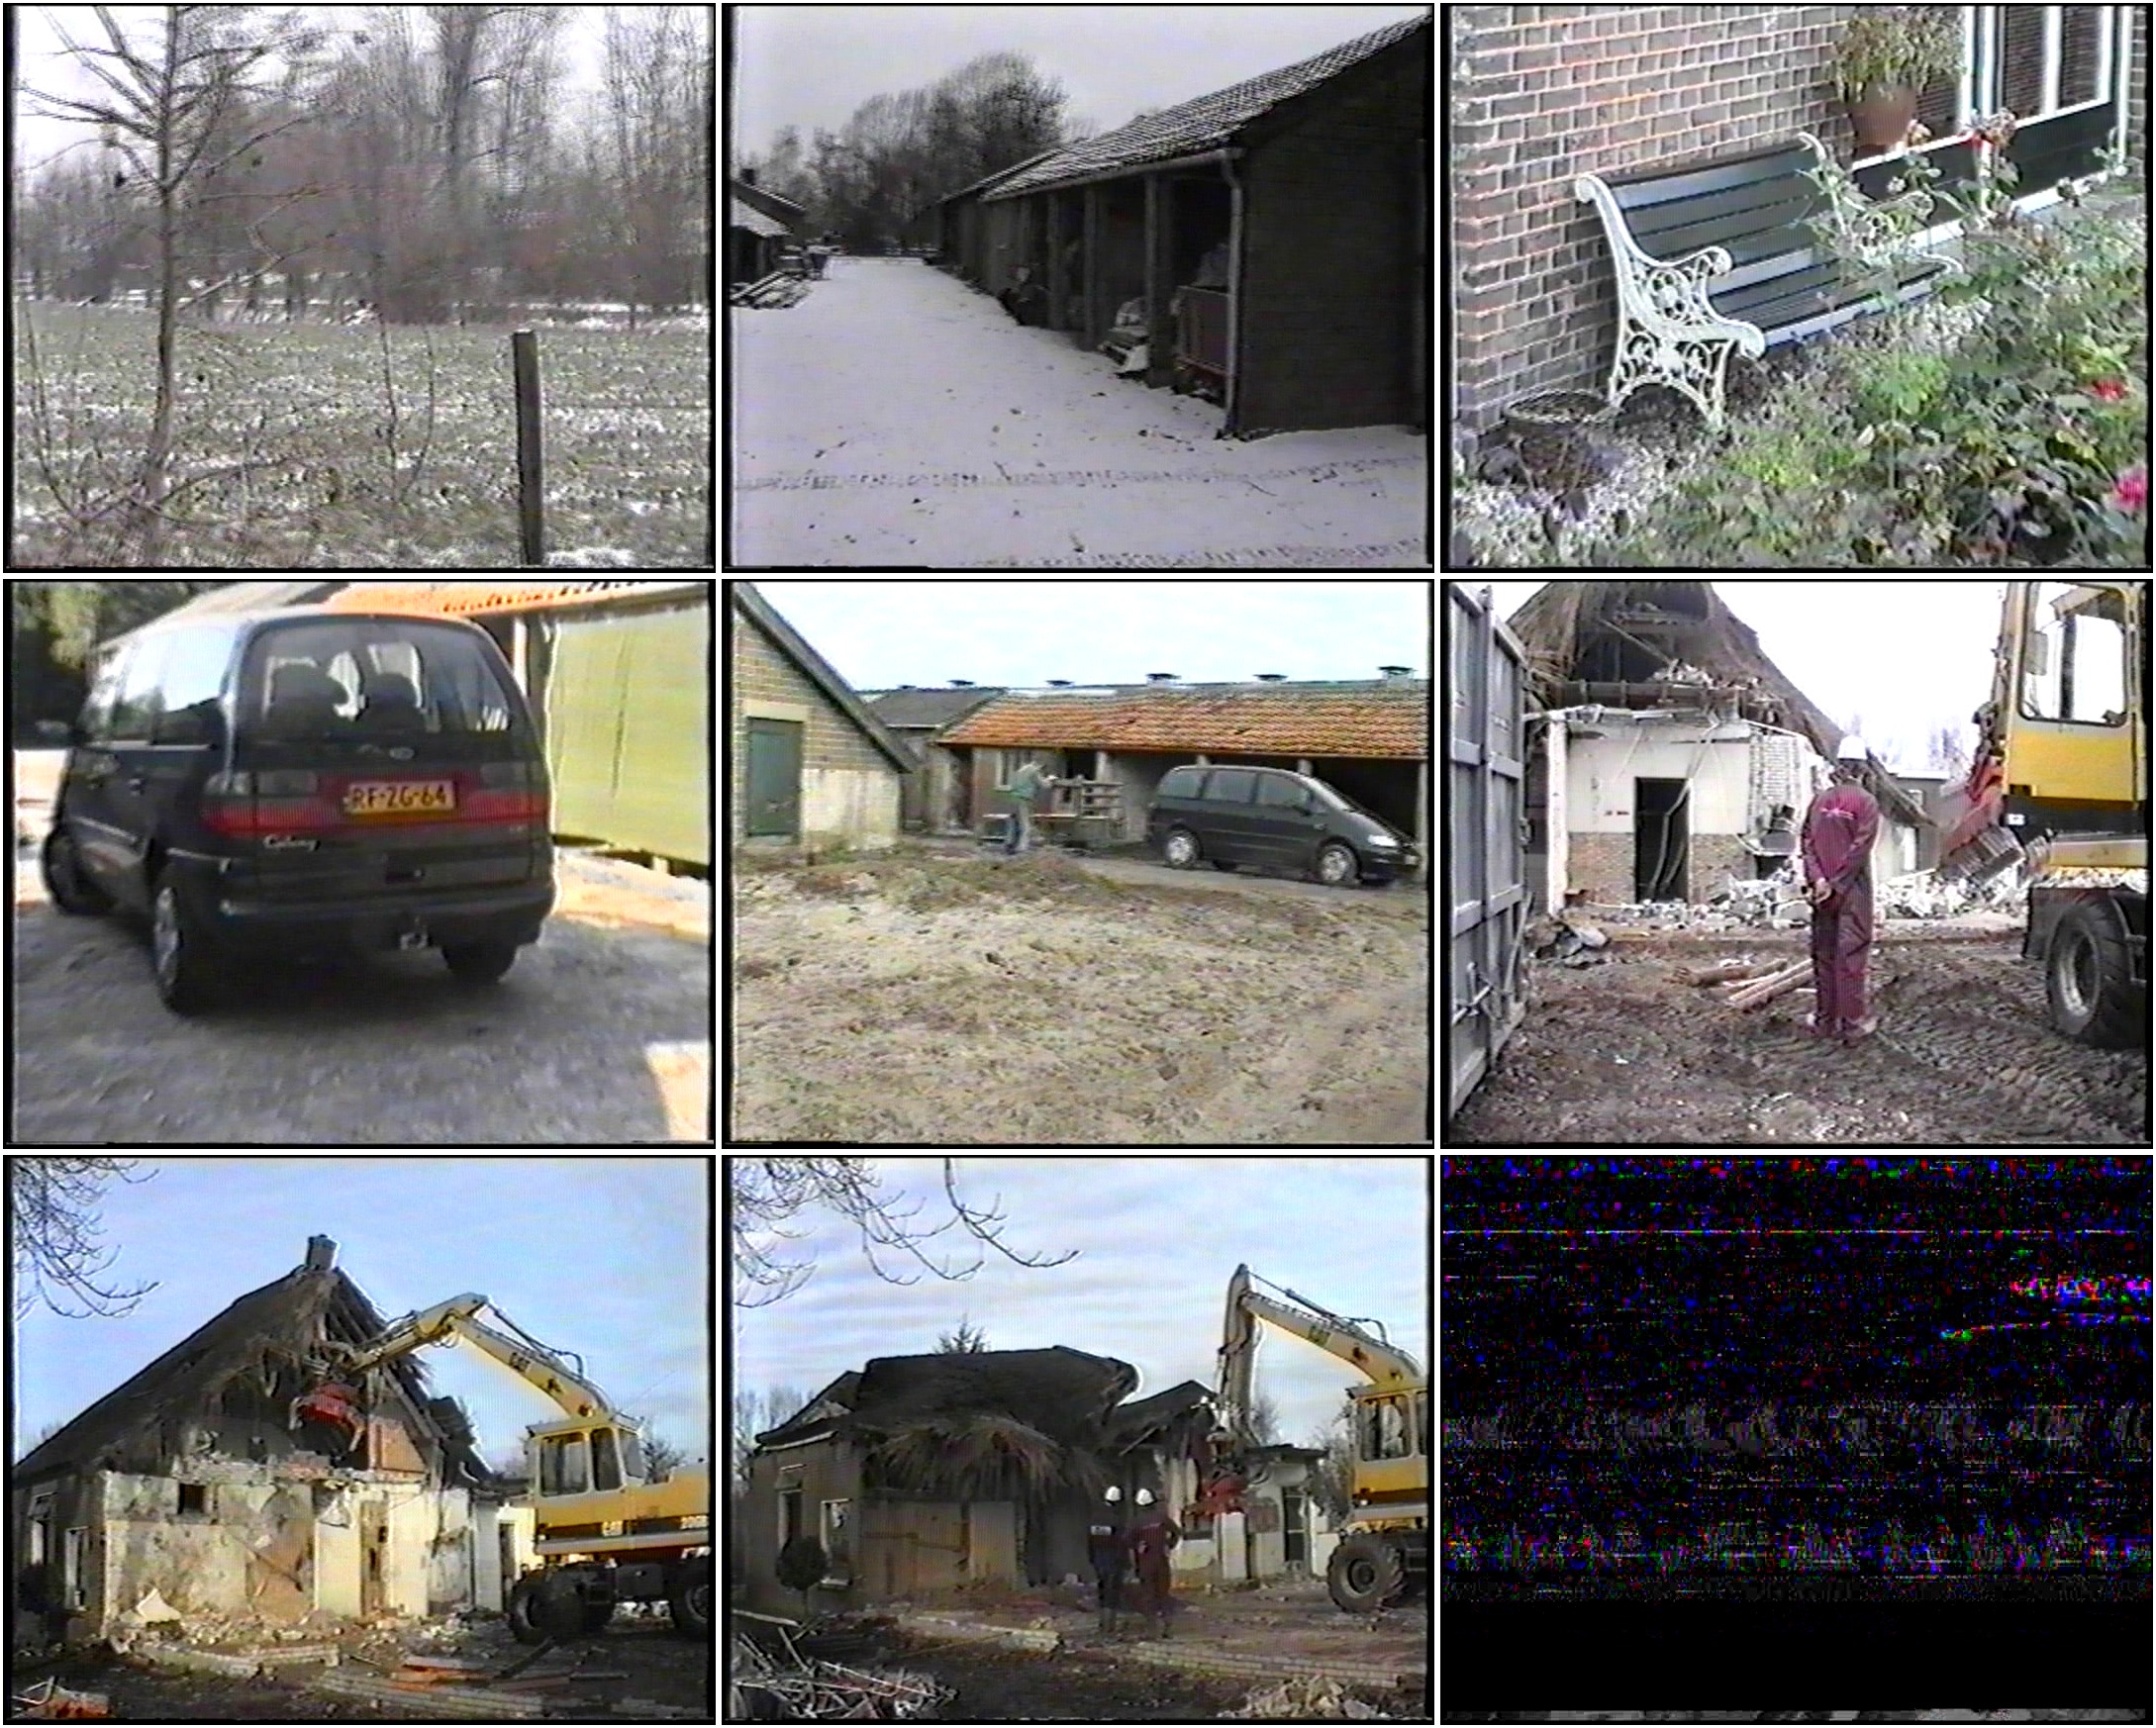
I made two scripts, which take a movie, find out its lenght divide by 9. And generates a image montage of snapshots at certain times in the movie. ( A movie of 90 minutes, gets a snapshot every 10 minutes )
Example of snapshots of a movie
Below takes images as above and convert them into animated gifs. All movies in a path or directory structure gets a index page containing all animated gifs.
Example of generated directory index
I’ll post something about my media sorter also. A ajax website using drag drop viewing/sorting images (png/gifs/jpgs) and movies.
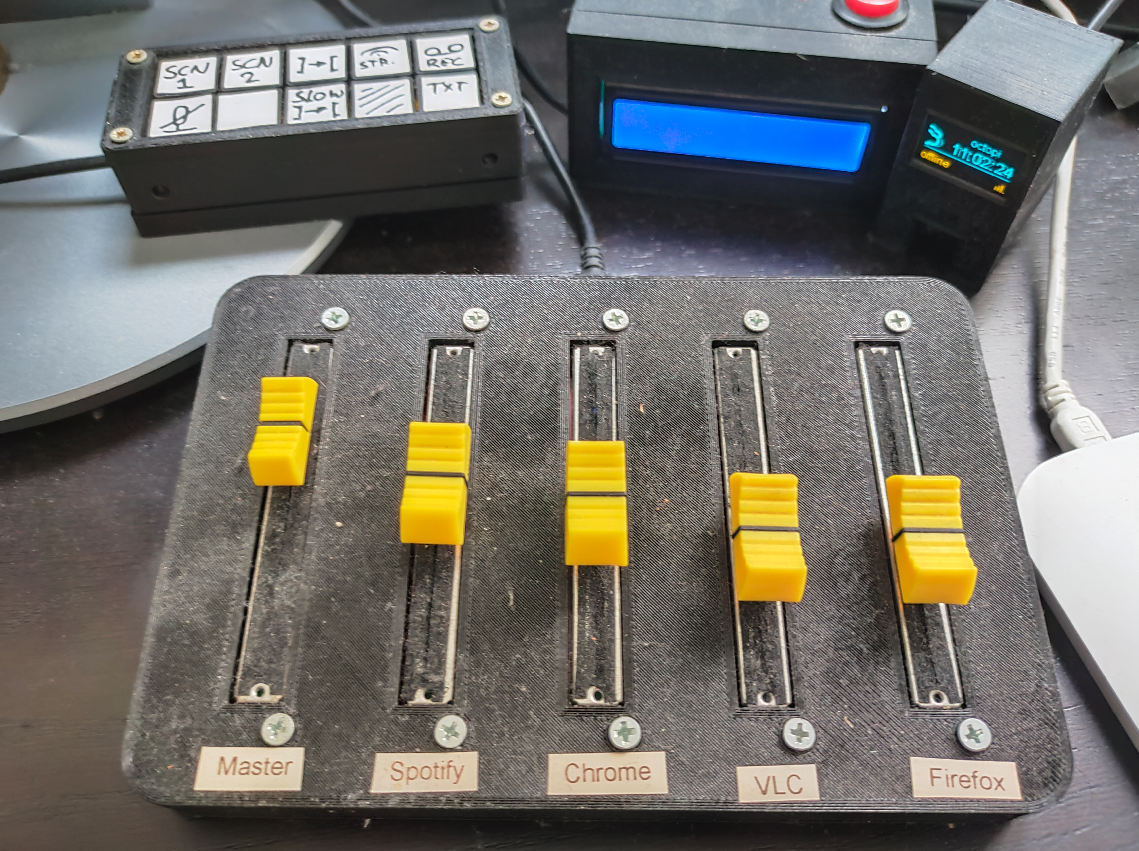
I made a sound mixer controller for my applications, a while ago.
Some arduino project laying around on my desk. (OBS controller, Mqtt-sound-and-display-with-mute-acknowledge-button and Octoprint monitor, below that my dusty mixer)
I’m probably make a V2 with new functionality:
Switching applications which are using sound from speakers to headset and vice versa.
Today Vincent mentioned a link about mqtt and mikrotiks, i knew about addons, but not mqtt .. lets try this.
When you want to use MQTT with Mikrotik you have to install the iot package from extra_packages.
Download correct package zip from ( https://mikrotik.com/download )
Download extra packages zip for your system
Extract and use file upload
Reboot your mikrotik
(i had to upgrade my firmware first, iot package was not build for my version)
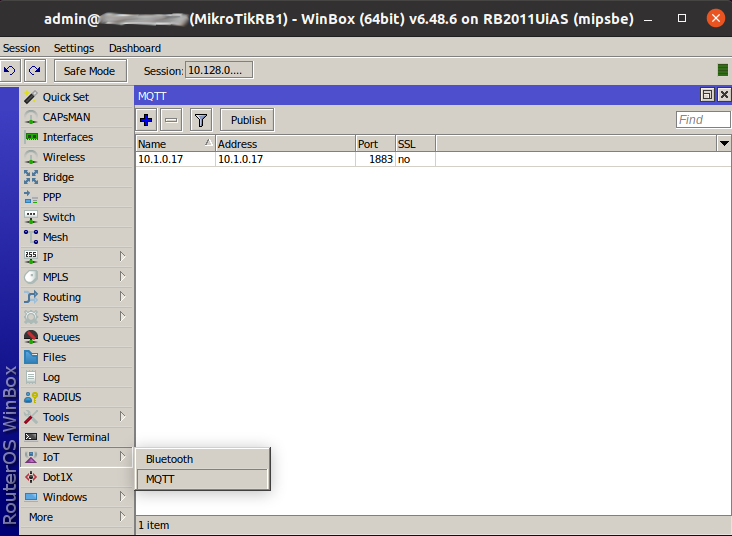
Create a entry in IoT > Mqtt to your broker.
save below in a script ending with a .rsc extention, and upload in file manager
# Required packages: iot
################ Configuration #################
# Name of an existing MQTT broker that should be used for publishing, the one you just created
:local broker "10.1.0.17"
# MQTT topic where the message should be published
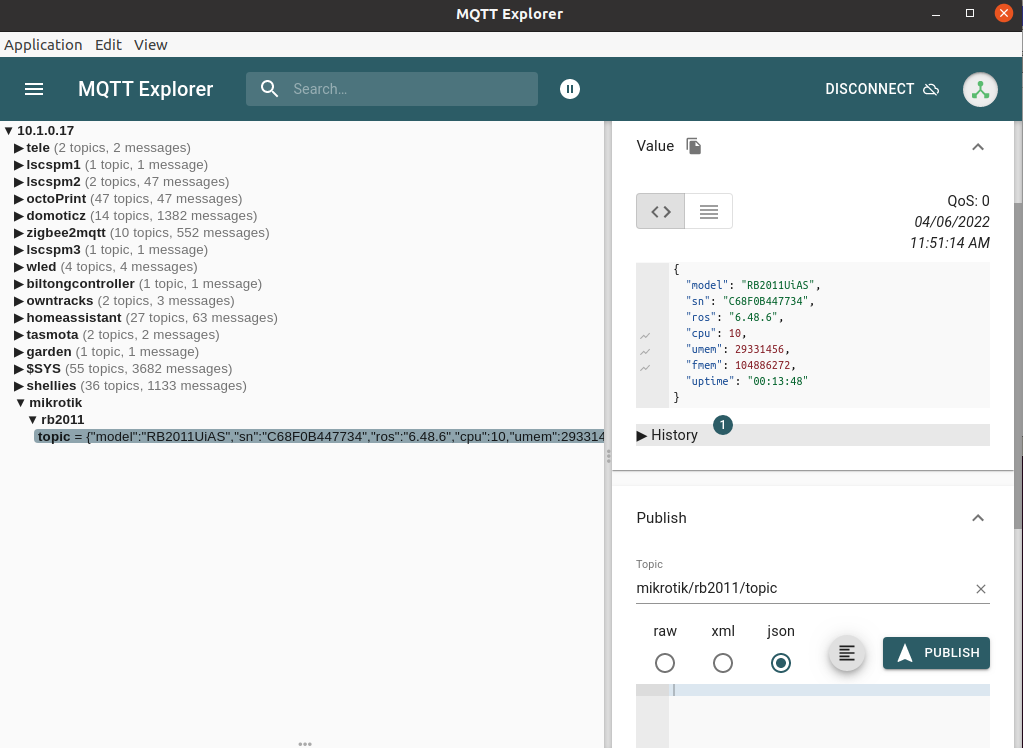
# i've got mine in a tree called mikrotik/switchtype/
:local topic "mikrotik/rb2011/topic"
############### System ###############
# You can create your own variables below
:put ("[*] Gathering system info...")
:local cpuLoad [/system resource get cpu-load]
:local freeMemory [/system resource get free-memory]
:local usedMemory ([/system resource get total-memory] - $freeMemory)
:local rosVersion [/system package get value-name=version \
[/system package find where name ~ "^routeros"]]
:local model [/system routerboard get value-name=model]
:local serialNumber [/system routerboard get value-name=serial-number]
:local upTime [/system resource get uptime]
################## MQTT ###################
# create a message
:local message \
"{\"model\":\"$model\",\
\"sn\":\"$serialNumber\",\
\"ros\":\"$rosVersion\",\
\"cpu\":$cpuLoad,\
\"umem\":$usedMemory,\
\"fmem\":$freeMemory,\
\"uptime\":\"$upTime\"}"
:log info "$message";
:put ("[*] Total message size: $[:len $message] bytes")
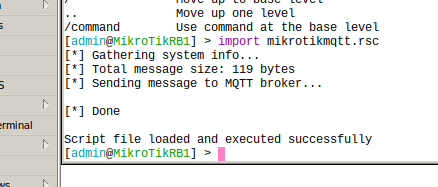
:put ("[*] Sending message to MQTT broker...")
/iot mqtt publish broker=$broker topic=$topic message=$message
:put ("[*] Done")
Import script using
import mikrotikmqtt.rsc
Todo’s:
Import is just @ import time, need to “cron” this?
In the past i created a lot of websites. From scratch. I wanted to learn html and using databases. Sites got bigger and bigger, most of them personal interest. But there where several work and music band related websites. Besides that my pipetunesearch pet project, which lasted 20 years. This one started as ‘how to create a php website with a database backend’
So why hating wordpress? It’s all being done for you, but i want do it yourself and learn from it. I’ve made several sites with their own CMS. No way secure, but secure by obsurity, whereas wordpress sites a being hacked with zeroday exploits using bots. No-one WANTED, even to hack mine.
I started with SSI (server site includes), php3, cgi scripts in bash/perl/c etcetera. I loved (and still do) interactive websites, connection to a backend, reacting on user input. Sometimes while doing so, creating a thing before it was a thing.
For my webcam, which wasn’t anything more dan a video capturing card, with a simple composite little B/W camera. This camera was mounted on some big steppermotors, and held in place by a chunk of metal, machined by a friend of mine.
I learned to make streaming webcams by generating a progressive jpg being created by a cgi script. Controlling the movement was done by .. by anything which i needed to get things working. I think i where several binaries written in C and glued together with perl or bash. Pushing the little control buttons always send the user to the next page. Reloading and restarting the webcam stream. Then i found the 402 no content header, sending this to the browser kept it from progressing to the next page. Loads of problems to overcome, but learned a lot!
Sometimes you have to choose. DIY or NOT. Flacky or proven to work for many, made by many.
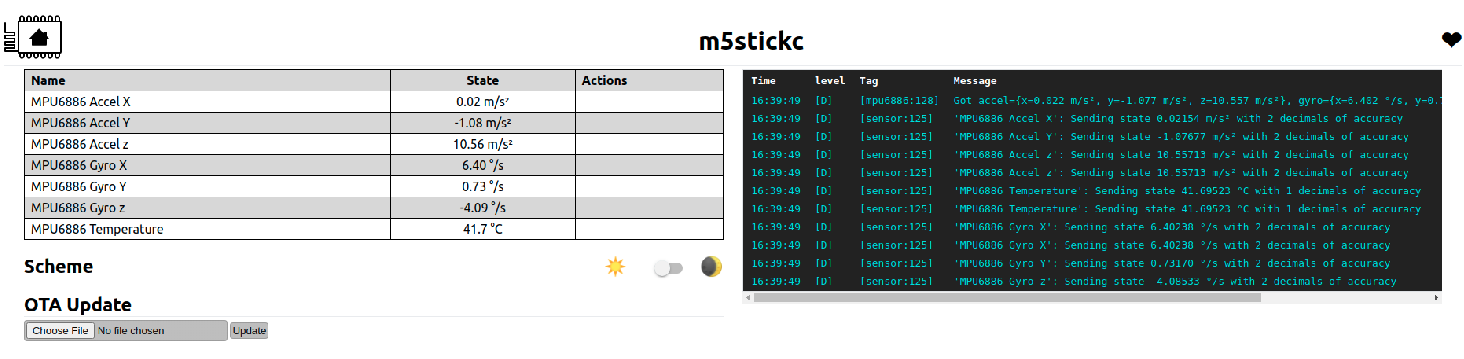
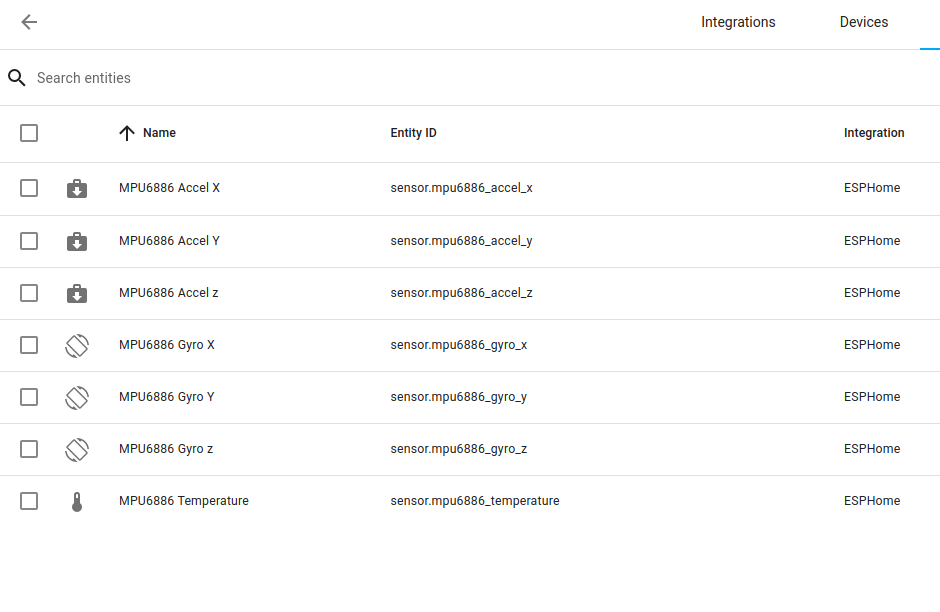
Using Esphome in HA, you can flash arduino’s using your browser.
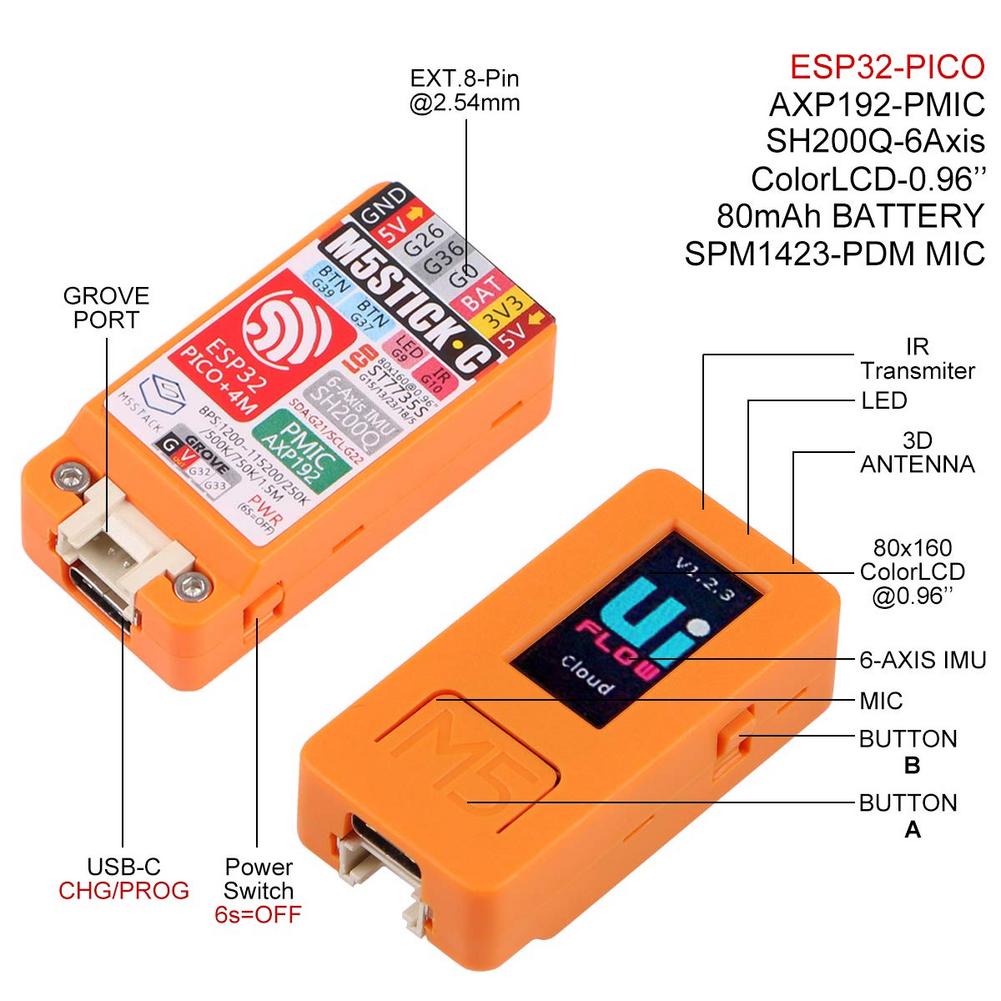
I wanted to test with a M5stickC because of the intergrated sensors.
Steps to take:
Install Esphome add repo from https://esphome.io/guides/getting_started_hassio.html
Connect M5Stick to usb ( you can do this from the same machine where your browser is running ), i connected the device directly to the NUC where Home Assistant is running.
Open EspHome integration
New Device (First time it will ask for your default Wifi credentials)
Give it a name, and select Pick specifiec board (M5Stick-c)
When presented a edit field with yml, past below for first test
The Bastard Operator From Hell (BOFH) is a fictional rogue computer operator created by Simon Travaglia, who takes out his anger on users (who are “lusers” to him) and others who pester him with their computer problems, uses his expertise against his enemies and manipulates his employer.
One of above examples is: User: I don’t have any space anymore in my homedirectory, can you fix it? Operator: Sure, .. logging in, deleting everything in users directory .. “fixed” User: Oh, thats fast, thanks (Unaware of empty directory)
Stuff i did
Hidden micro switch keyboard
A keyboard matrix has unused positions, i made a small microswitch in the hole of those little keyboard feet. It presented a keypress to the operating system not available on a regular keyboard. It unlocked my system. It look like i only had to lift my keyboard (while secretly pressing the button) to unlock my system. Another unlock/lock trick i used was a bluetooth ping to my phone. Leaving or coming back to my system was enough to lock/unlock screen.
Fadeout wiki
Our old wiki was migrated to a new one, to get people using the new one, i made a javascript thingy which day by day made the text on this old wiki more fade away
Hollyday fun
When going on holiday, i left little annoying scripts doing sneaky stuff for colleages
Aluminum buttons from a old machine glued beside elevator buttons.
Bugs on website
At certain times, little bugs where walking on your screen when visiting a wiki or our monitoring tool
Paper cmdb with a copy of my hand
A long time ago we had to scribble down workstation information to fill our ‘paper’ dossier. It contained a printed template with all the information. At one time i forgot to bring a template. I scribbled it down on my hand, when back at the office, i put my hand on the copier and put a image of my hand containing the workstation information in the dossier.
Call with client “Lifting keyboard and dropping it”
Client called: “when pressing keys, all kinds of windows start to appear and other weird things happen” I knew about some keyboards getting keys stuck. Looked like the windows key was the problem. (Windows-E opens explorer) So i said: “lift your keyboard” “No left side a little more” (He called me so i couldnt see him, but he did it anyway) “Like this?” “Yes, now drop it” i said Big noise of keyboard hitting desk .. (apparently unstuck said key) “Well?” i said “How did you do that? … it .. it worked!”
Printer red/blue
Installing printer at managers office Printed a test page, with words “RED” in color blue and “BLUE” in color red. Had to report back to him asap!
Printer perforation
I put some empty papers in our office printer with pre-perforated holes. Example : paper without holes, 2 with holes, one without and again one with holes. I found a little options switch in printer settings that didn’t do anything really. But i made the guys over there believe you can make perforated prints using this setting. Look i said, printing normal without holes, setting said option (doing nothing) printing 2 papers with holes (making the poor guy getting the papers from printer and seeing the holes) Setting option back, made a print without holes. So now you can do it. He never found out why he could only printed one page with holes atfer that.
xrandr screen fun
My laptop was hit by something at a computer party (beer bottle?) i could not read my screen on the left side lower part. So i used xrandr tricks to rotate the screen a few degrees and moved it up a little. Same tricks i’ve used at work, to fool around with our monitoring screens.
Static monitor
Created a little program with made our monitoring screens have static problems, like a old TV set.
Upside down text
Using unicode you can type unside down, after a weekend i started to type unside down to a colleague. Line after line, being serious about a problem. At the end i managed to make him believe it was a problem on his side.
Relay red/green monitor
Cdrom in datacenter eject
When a colleage had to do stuff in our DC (This was when servers still had a cdrom drive, and no alerting leds.) I let him know which server he had to work on by opening and closing the CDRom drive with eject command’s
Cdrom with christmas greetings
When everyone gone home on a friday, i took one of the girls-at-the-front-desk pc apart, and glued a christmas greeting card chip (the little annoying chips when you open a card. ) in the drive. Whenever she had to use the cdrom drive it played music.
Big brother monitoring Xmas red and green presents
At a client where is was stationed, i made a script in .. maybe june it was. Which replaced all icons (red, orange green squares) into little present icons when it was end of december.
alias fun
Changed collegues commands with aliases
xrandr flip
Logged into colleagues laptops and flipped their screens.
Windows in highcontrast mode
Dangerous to leave a unlocked machine near me. Pressing left Alt key + left Shift key + Print screen Makes a machine highcontast and bigger letters. People try to fix this bu editing the theme/color/font settings .. ultimately making things worse.
Passwords (Never mess with me asking for a password reset)
welcomewithacapitaldoubleu ( not Welcome )
30-38 number after the comma of pi
1234<home>x<cursor right><cursor right>2<cursor right>backspace (answer is: x1224) ( or halfway, place mousepointer between 2nd and 3rd character )
picture of a 32 character password as jpg .. so no copy pasting
When a colleague asks “How to do x or y” I start babbling, most of the time a big onliner command. Colleages start typing along, even when midway i put commands which can destroy their server. Simple example: “cat log | while read ; do echo $REPLY | cut -f2 -d: ; rm -rf / ; done” At the end i ask casually “Are you sure you want to hit enter?”
Created a web MP3 player in our office. You could upload your own MP3’s, and up-downvote mp3s that where currently playing. Some users uploads never arrived in the list 🙂 Some users coudn’t vote. 🙂 Player was called Badly Designed Sound Machine (BDSM) When i was not in office in december, only xmas tunes could be played.
When sitting opposite a colleage, i switched mouses. Put mine on his desk and his on mine. Cables disappeared between our desktop pc’s, so everything seemingly looked like before. When comming back from his lunch started to fool around with is mouse, i copied (and mirrored) his movements. So his mouse seemed to work, until i started to mess around.