If you are a old friend/colleage/whatever .. give me a ping to get you connected.
I’ve been using IRC a long time, we even had our own interconnected servers with our group ICE. Lipperkerk, GMC and Pixnet. Overkill I know, but we could so we did.
Last few years i’ve been using Mattermost. After testing many alternatives.
Whatsapp – not own hosted, hate it, and was not allowed for work.
Zulip – tested this for a long time
IRC at work, implemented this at 2 places i’ve worked. Once using a web gui.
A ajax chat server
??
??
After installing this in my Lab, a few colleages from work used it. After that the whole department and more. Running for more than a year, it was time got get this running on the servers at work. I’ve reinstalled a server for my friends.
Last update gave me a nice insights desktop. Quiet days in june.
I love the webhooks and plugins.
In the past i’ve implemented a whatsapp to mattermost bridge, i will post about this .. sometime.
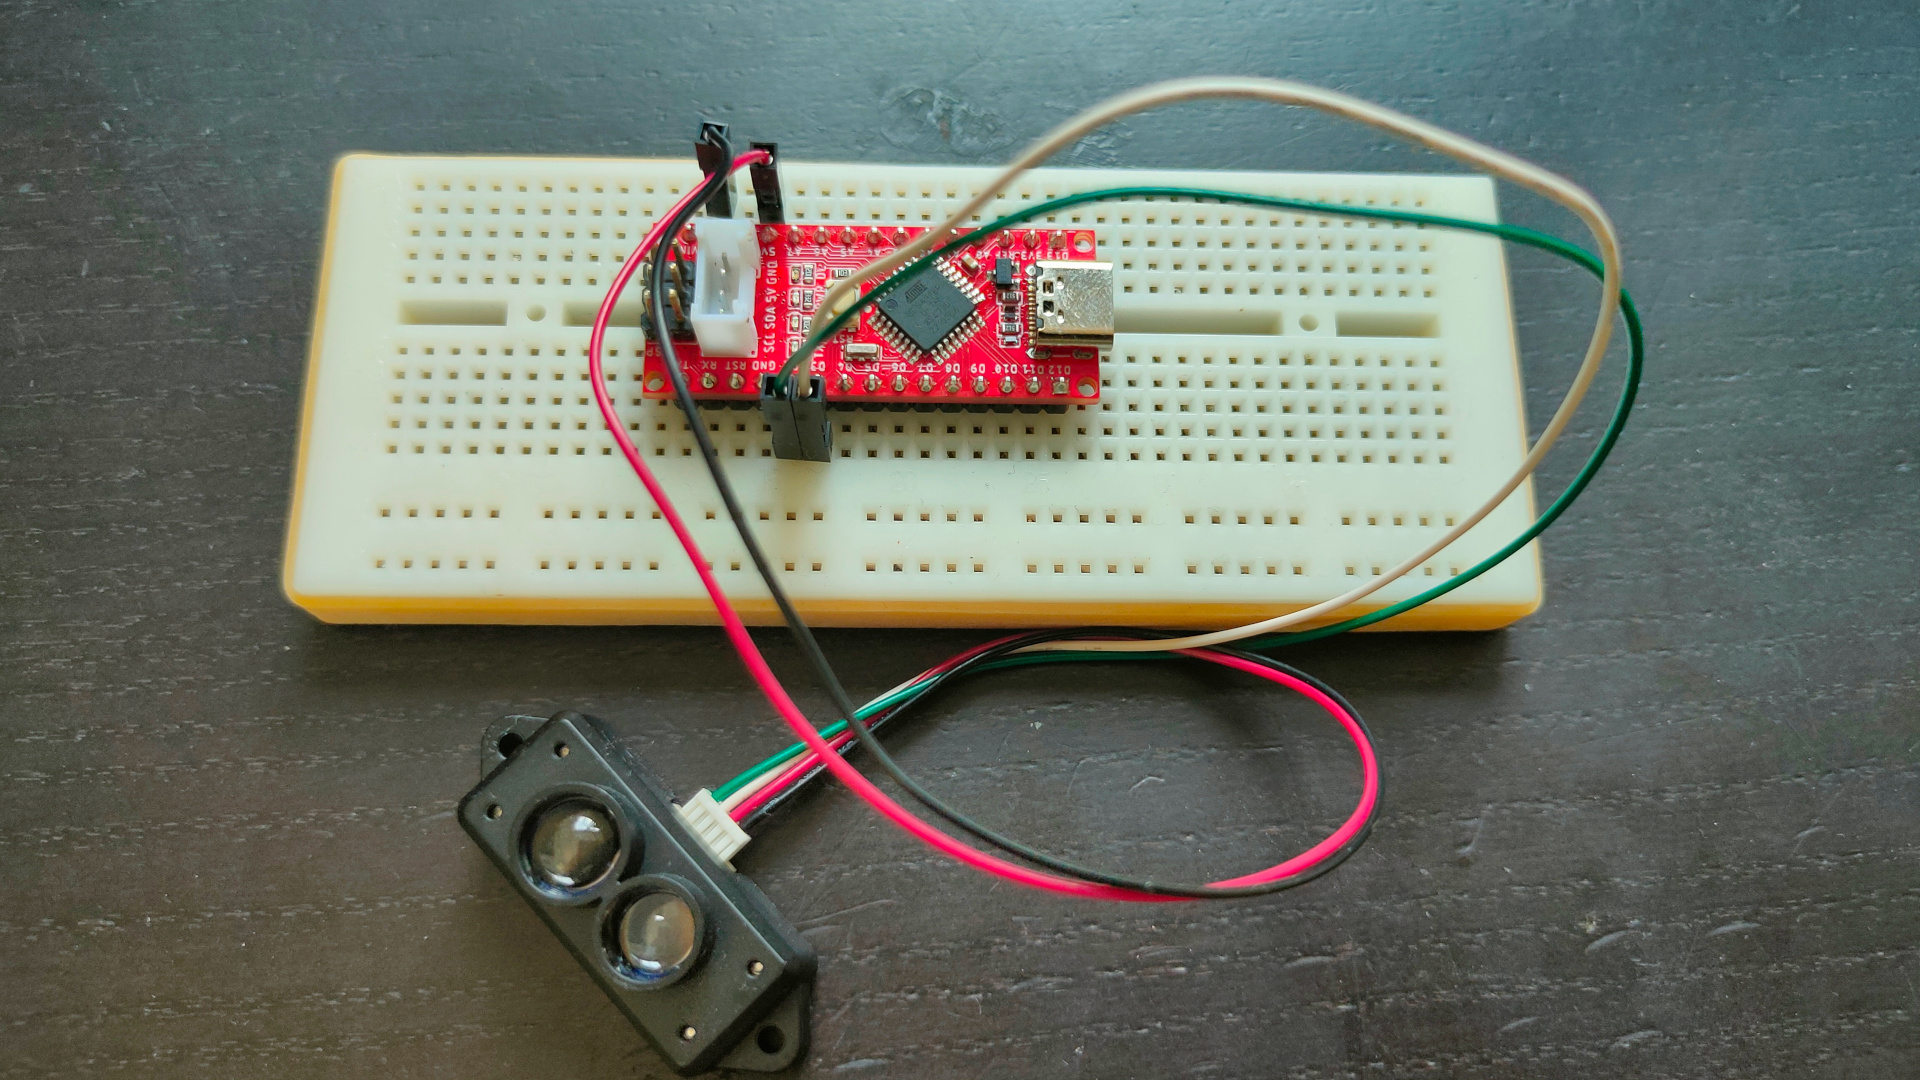
Below a implementation using a arduino and a 3D printed flag.
While working on a Lidar project, my mouser components came in.
Now I have to find a IO address decoder schematic I made a while ago.
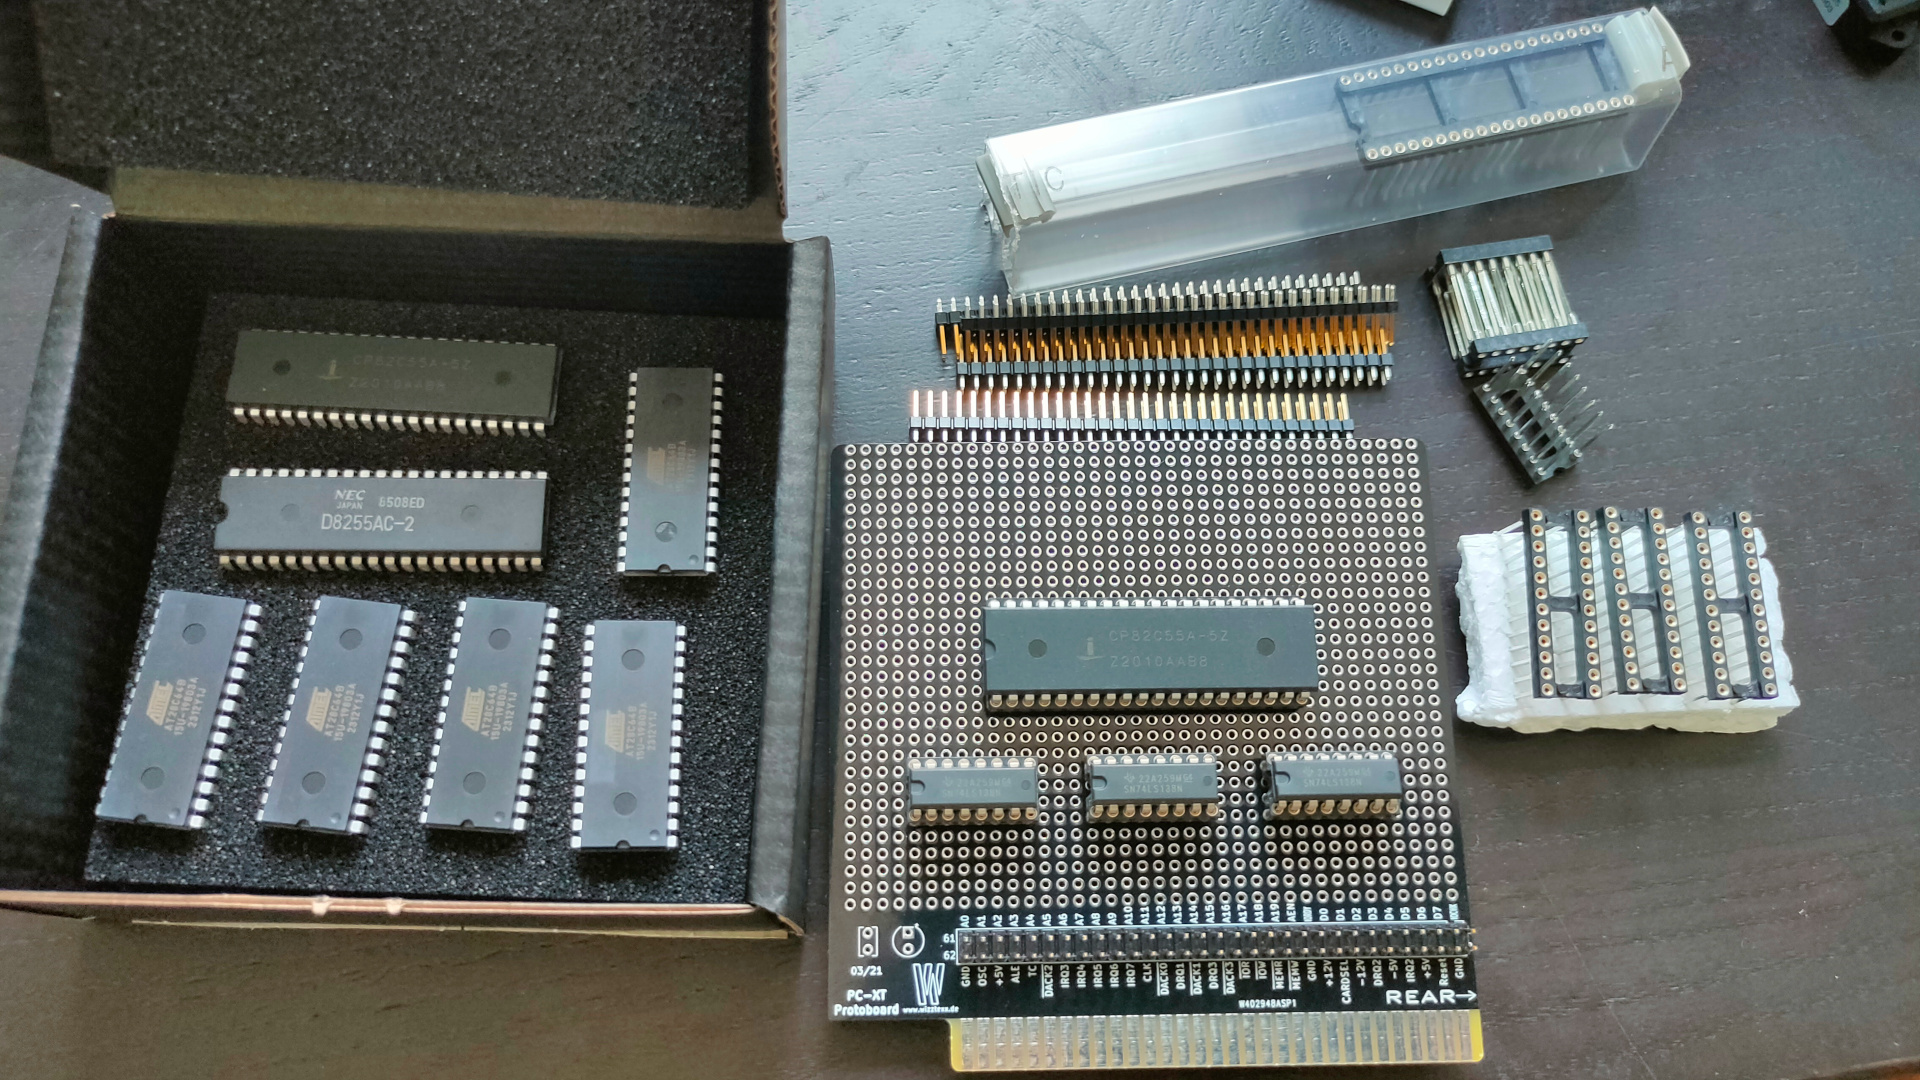
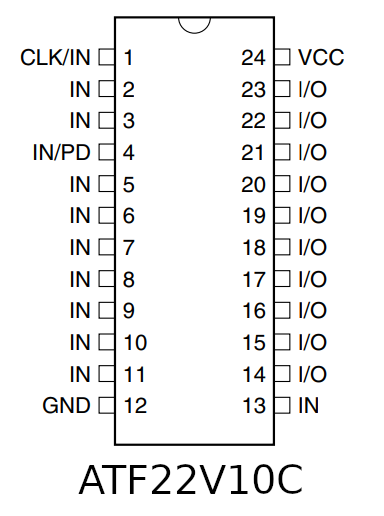
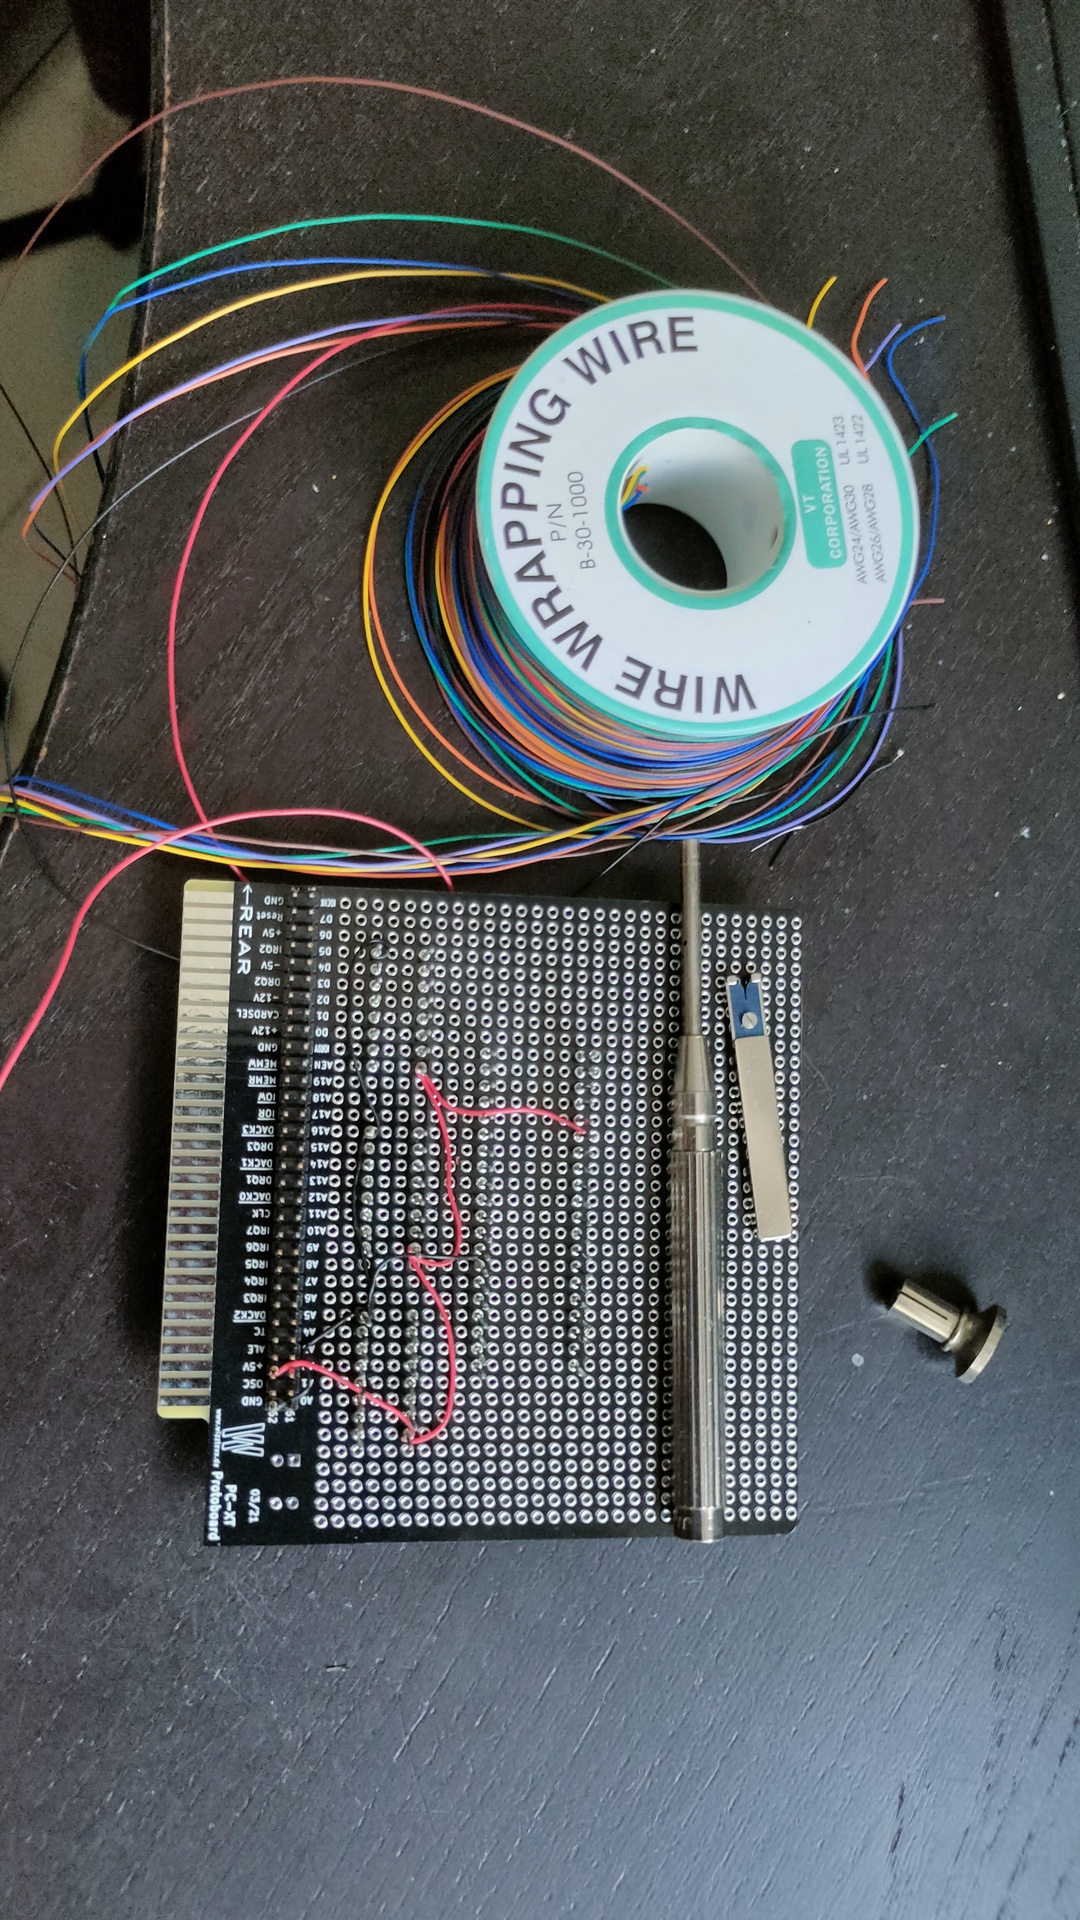
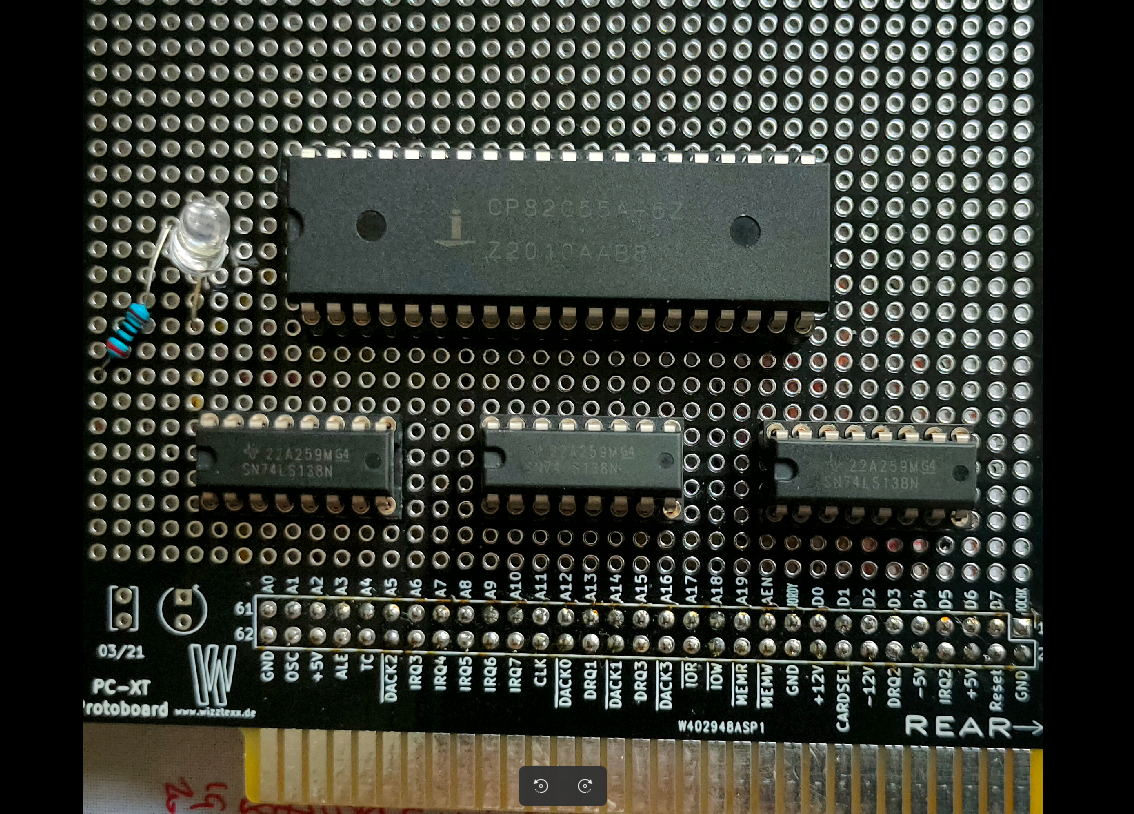
This ISA board is going to have a Wirewrapped setup. There is a 8255 IO chip, and uses 3x 74138 for IO address decoding, OR i will use a setup i’ve made for my 6502 using an atf22v10.
What to controll using this 8255? First some Leds, later a LCD display.
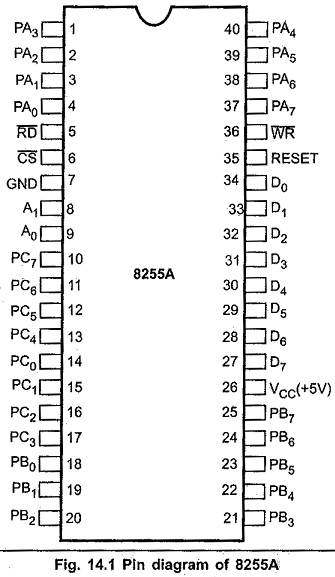
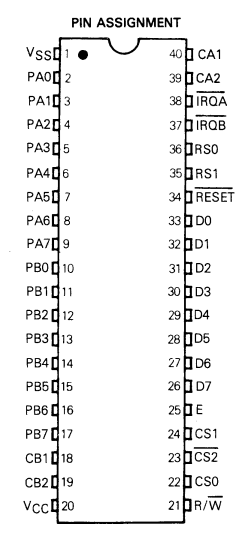
Below the 3 mentioned IC’s
The 8255 is a chip like the 6522 used in my DIY 6502 elsewhere on my site.
Overview of comparable IO chips. ( Not interchangeable due to bus timing!) Most of them have 8 data lines and 2x 8 IO bi-directional lines.
CHIP
NOTES
6522
6502 based machines
8255
8088/8068 based machines
Z84C2008
Z80 (called PIO)
8155
8085 / 8088
8520
68000 amiga
6821
6800
6821 example
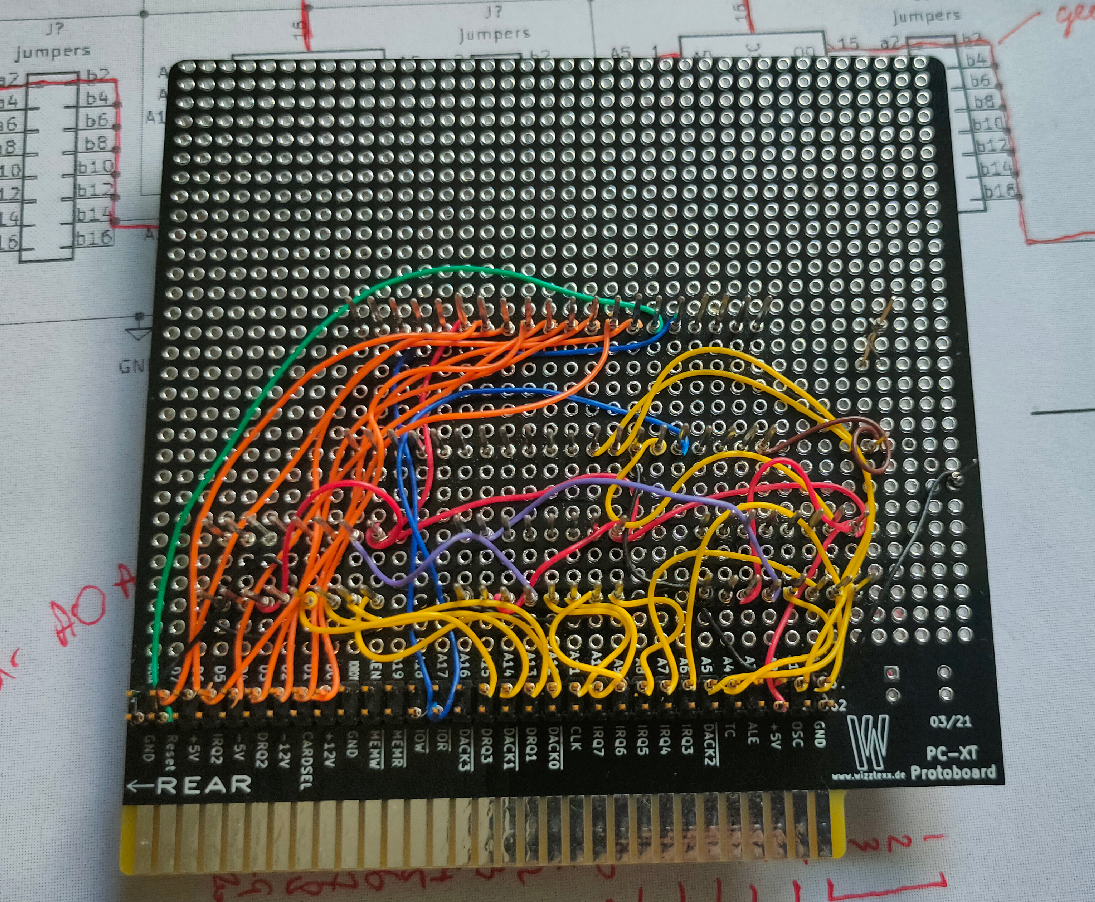
UPDATE 20230702
Started wirewrapping, luckily i’ve got a big choice of colors. That makes finding the right signals a breeze.
UPDATE 20230703
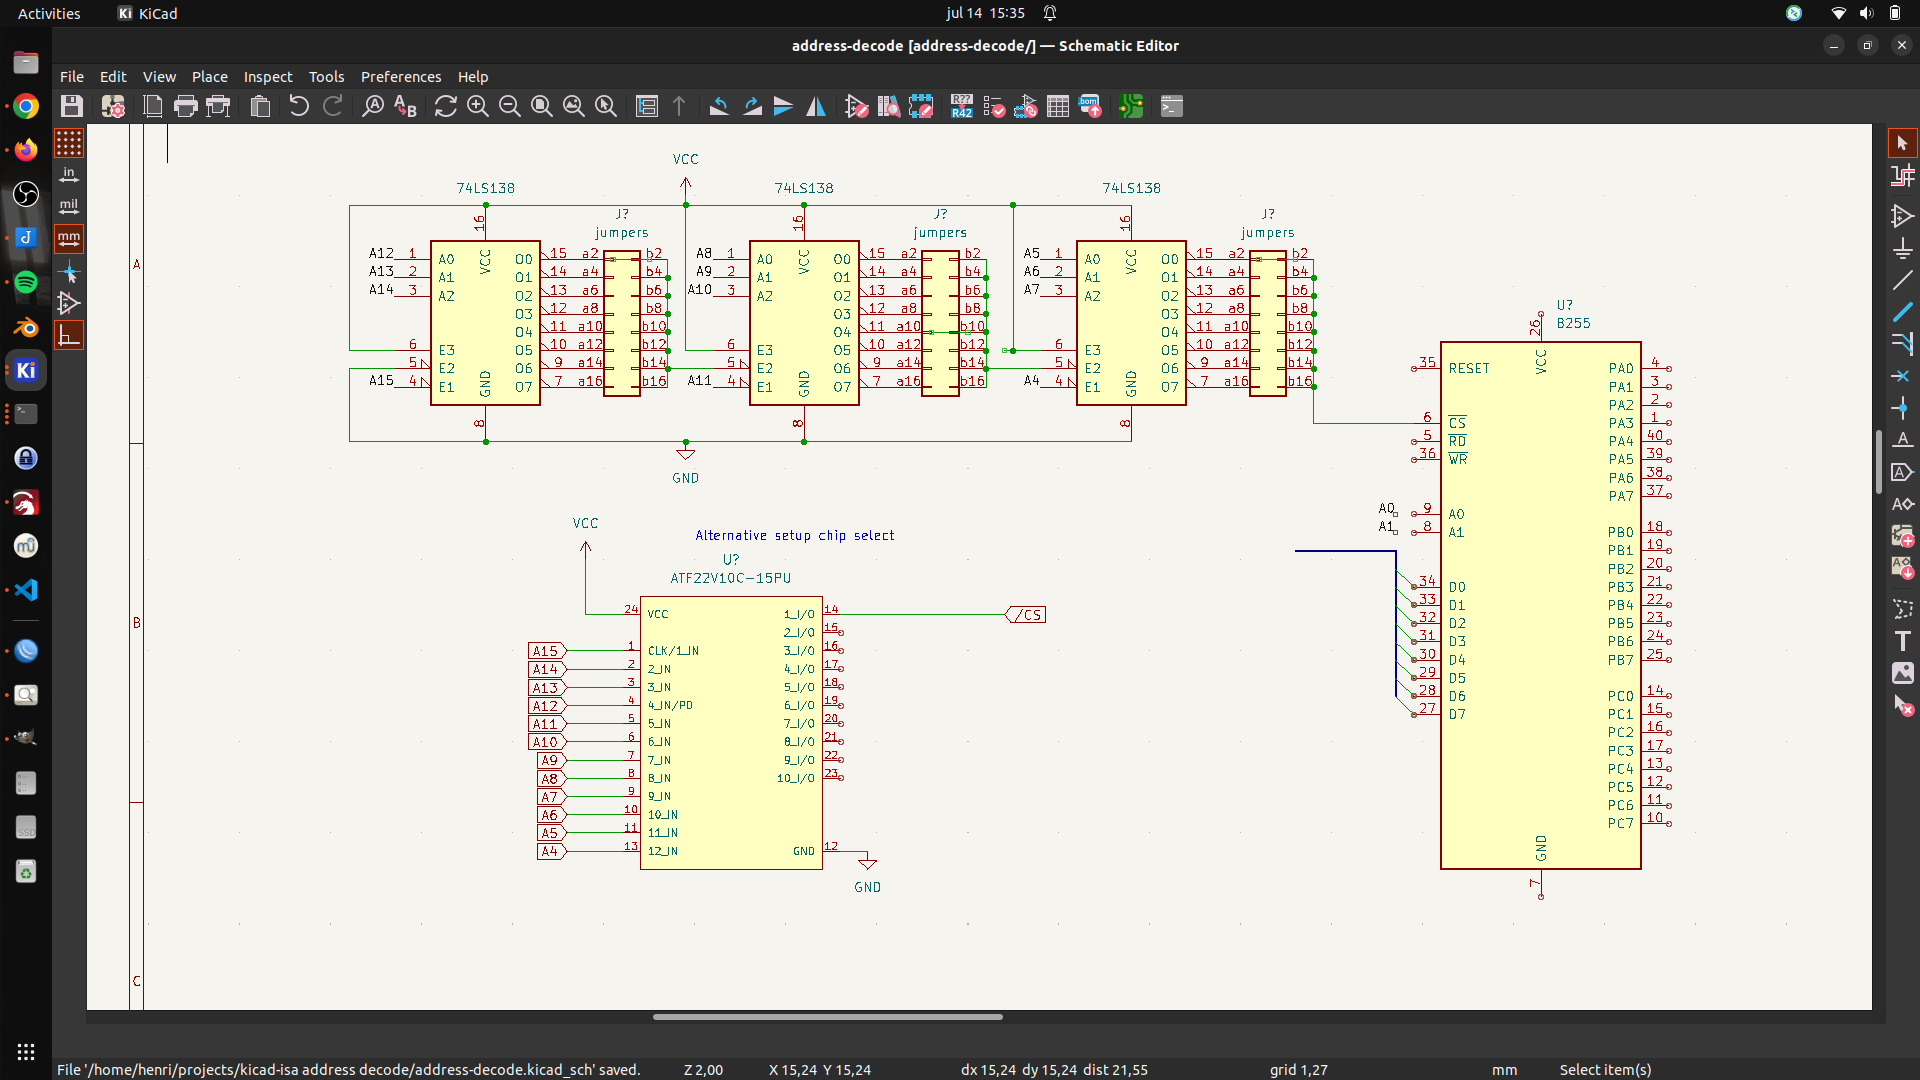
Found my schematic
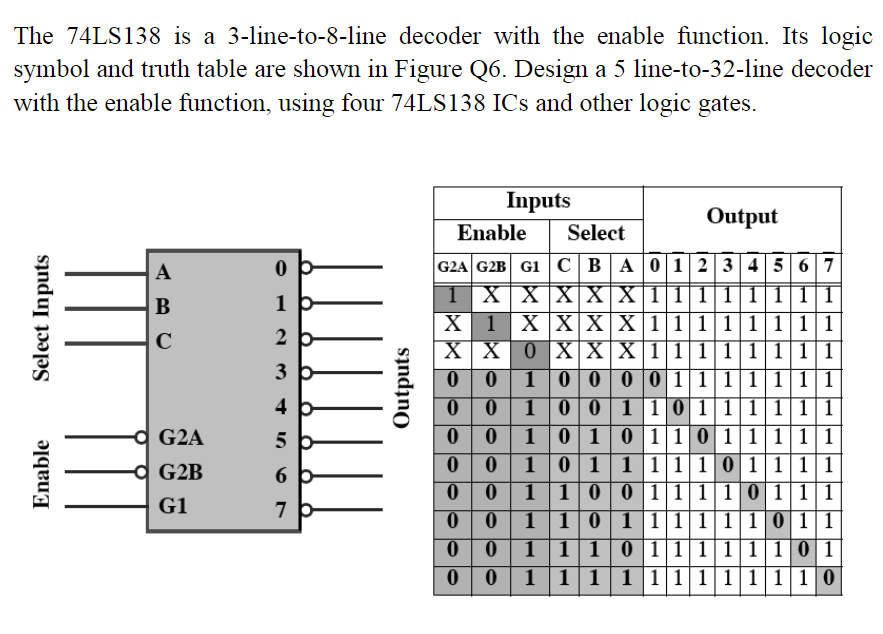
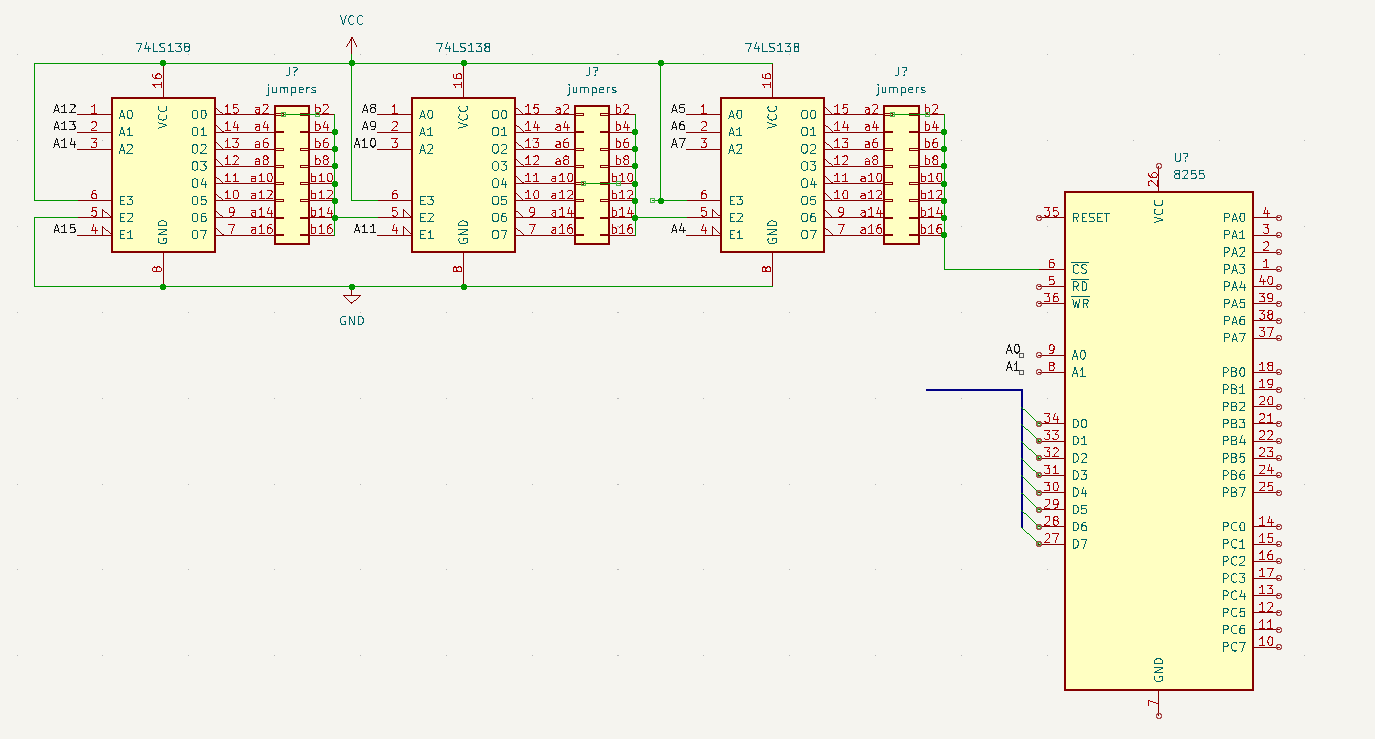
Above uses 3 74138 decoders, address can be “programmed” using jumpers (not used on my prototype board) . Address 0400h in above example.
A15 – 0 A14,13,12 – decodes to OUT-0 A11 – 0 A10,9,8 – decodes to OUT-4 A7 – 0 A6,5,4 – decodes to OUT-0 A3 and A2 are not used (see note) A1 and A0 are register select on the 8255
Address 0000,0100,0000,xxrr xx can be a 0 or 1 the 8255 can be controlled using 0400h 0401h 0402h but also 0404h 0405h 0406h 0408h 0409h …. 040Ch ……
UPDATE 20230714 – Alternative address decode test with ATF22V10
UPDATE 20230803
UPDATE
Miswired second 74138. Tested with below code
mov dx,503h # control register
mov al,80h # output port a,b,c as standard IO/output
out dx,al # 16 bit IO mapped IO out
mov dx,500h # data register
mov al,0  # 0/ff all on/all off
out dx,al
I’ve seen many more, maybe i’ll add above and more to below list.
These are also very good, just watch them!
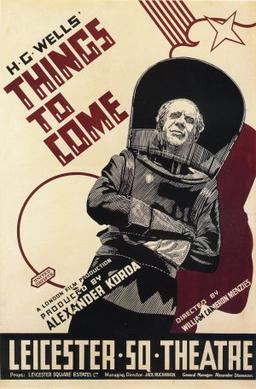
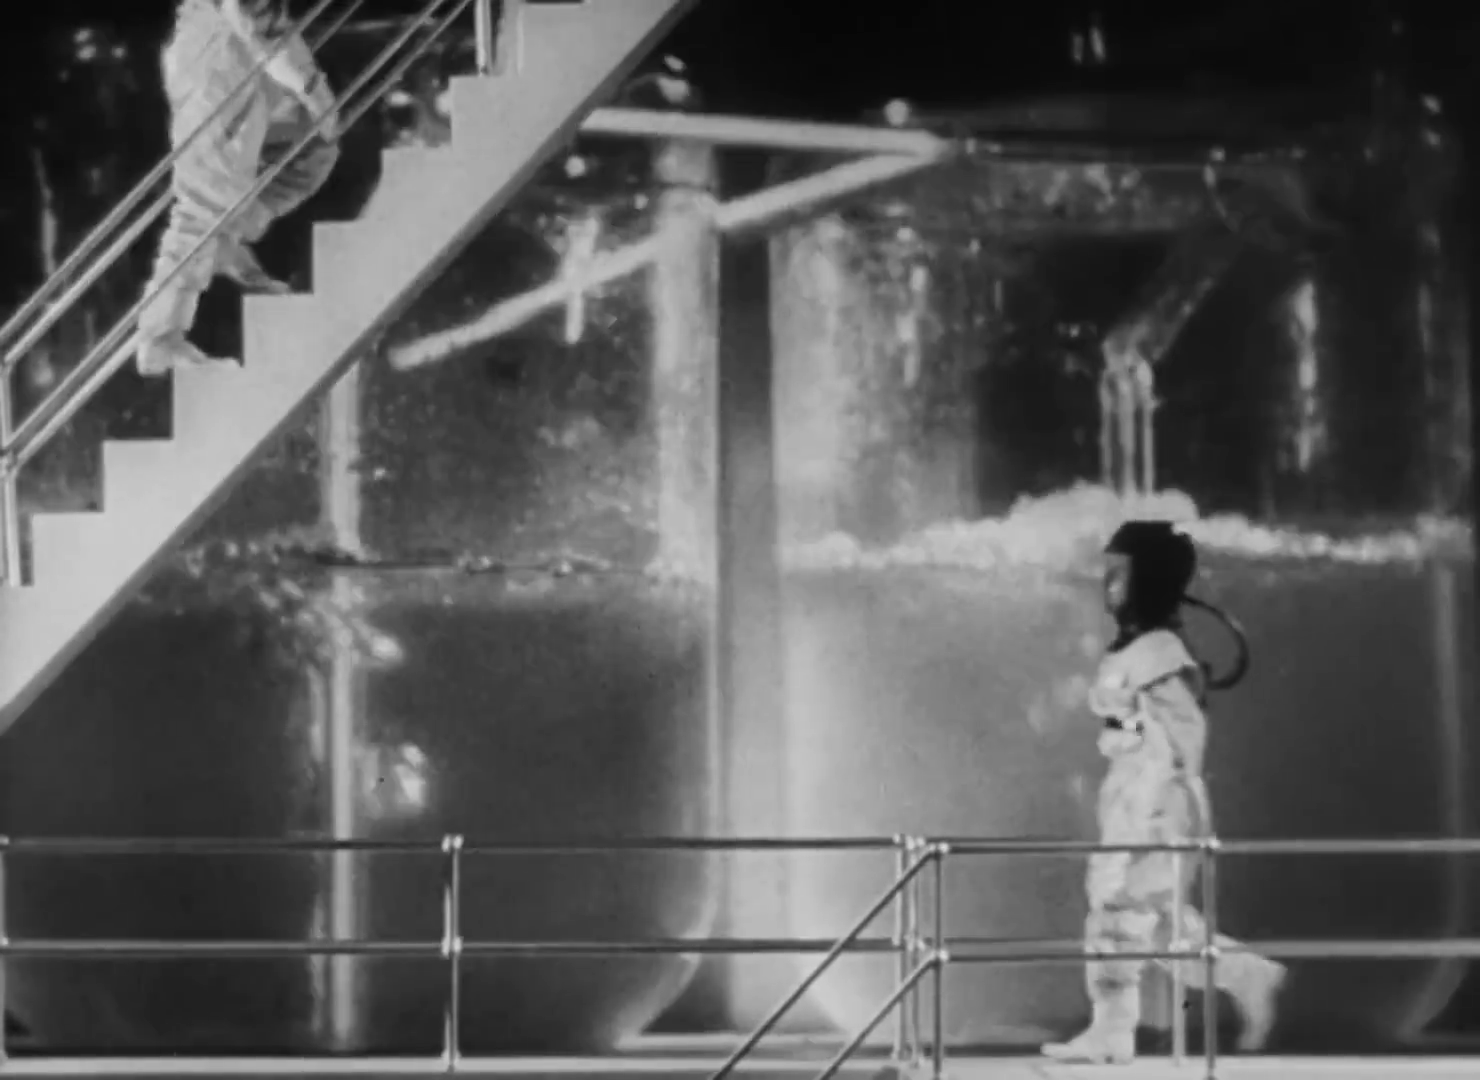
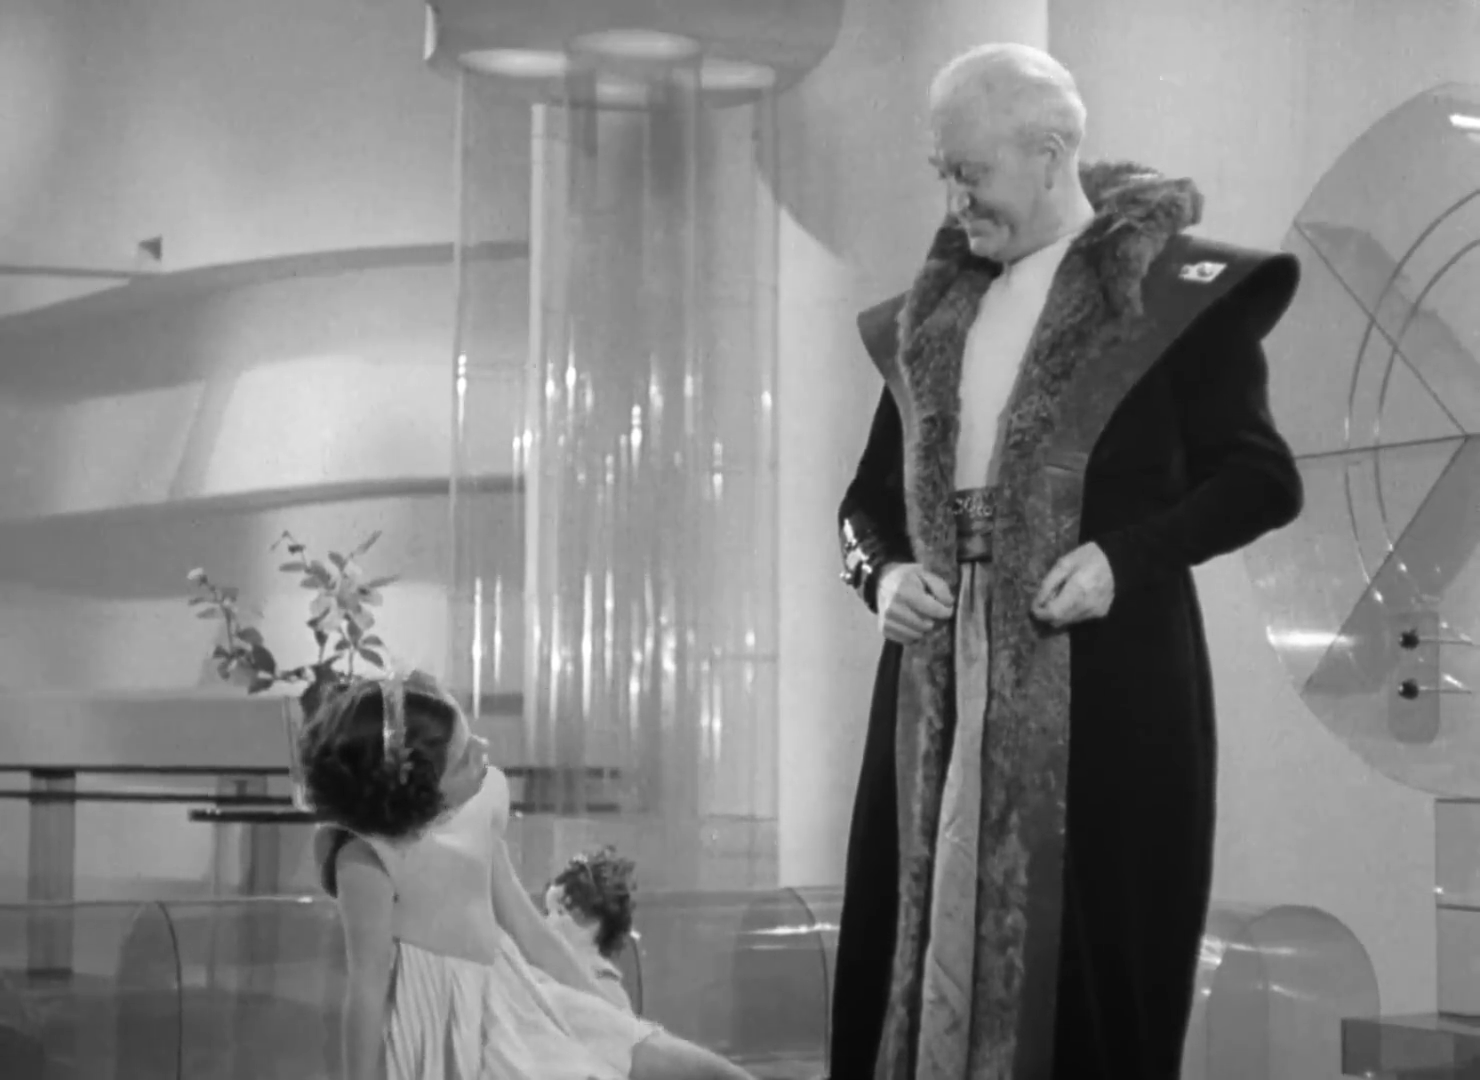
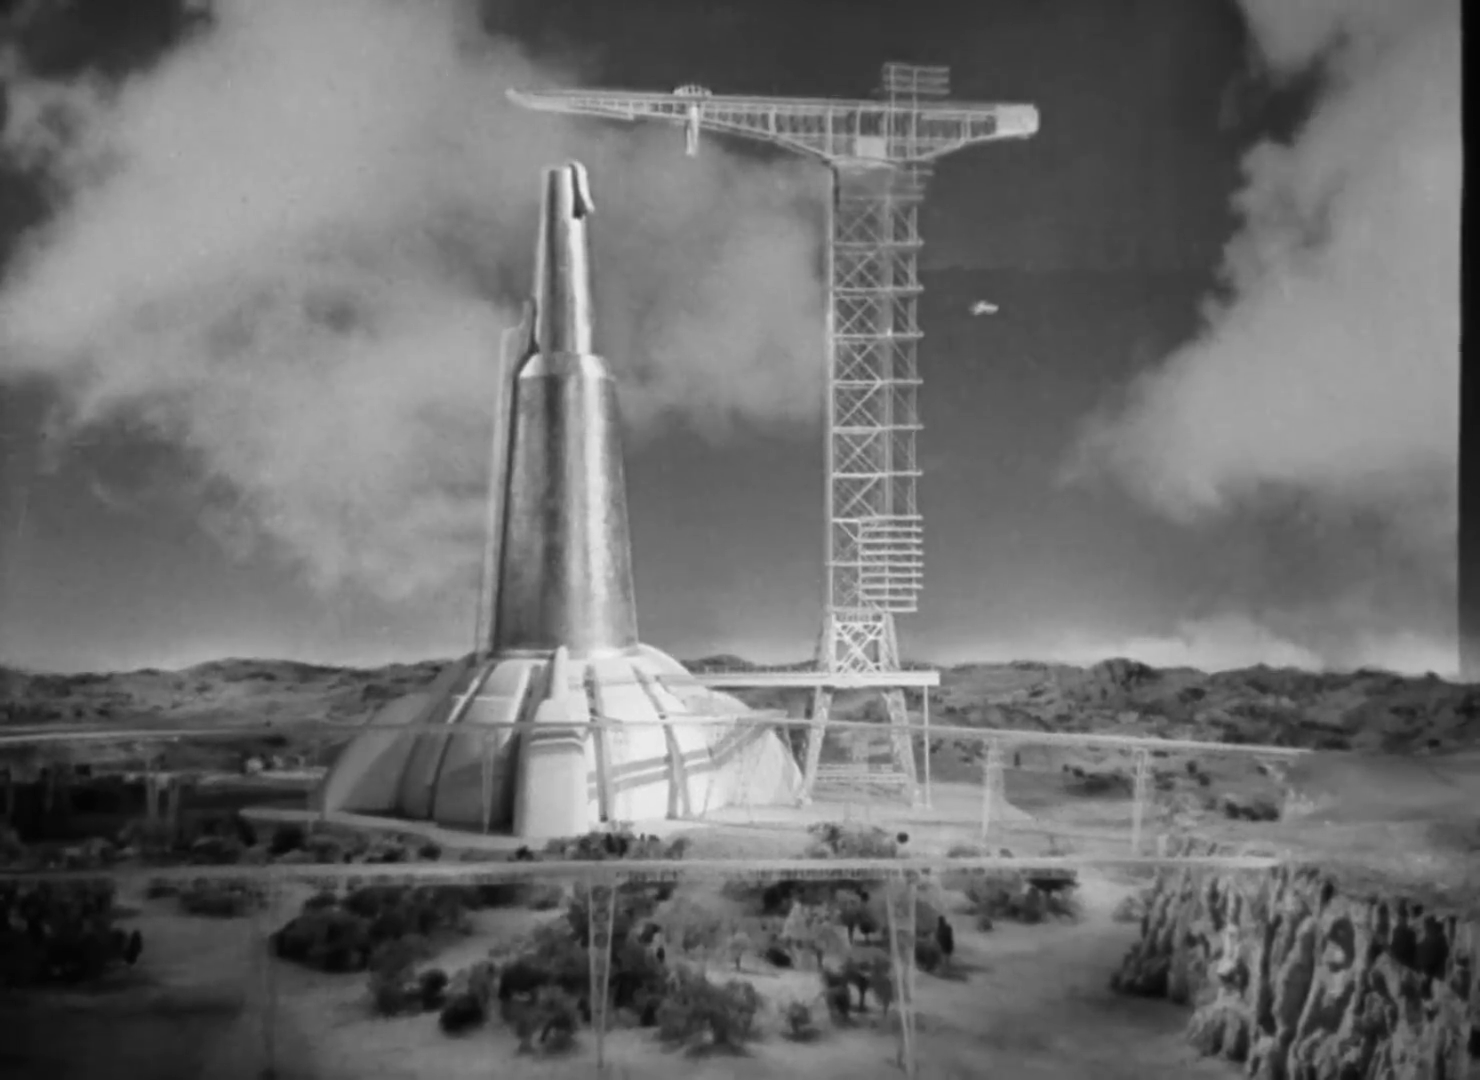
Things to come (1936)
H.G.Wells sci-fi movie ‘predicting’ WWII and a trip to the moon (predicted 1970 instead of 1969) Special effects using Matte painting, double exposure and miniature models.
It’s Christmas 1940, and Everytown resident John Cabal fears that war is imminent. When it breaks out, the war lasts 30 years, destroying the city and ushering in a new dark age of plagues and petty despots. But there is hope in the form of Wings Over the World, a group of pacifist scientists and thinkers lead by Cabal. Their dream is to build a utopian society on the ruins of the old. But first they’ll have to unseat the latest ruling tyrant.
Nice transition i found from real footage to model being blown up. (These are some sloweddown screenshots, it was hardly notisable in the movie)
ModelsSciFy backdropLots of plasticModels
M (1931)
Good story with superb acting by Peter Lorre.
M is a 1931 German mystery suspense thriller film directed by Fritz Lang and starring Peter Lorre in his third screen role as Hans Beckert, a serial killer of children. An early example of a procedural drama, the film centers on the manhunt for Lorre’s character, conducted by both the police and the criminal underworld.
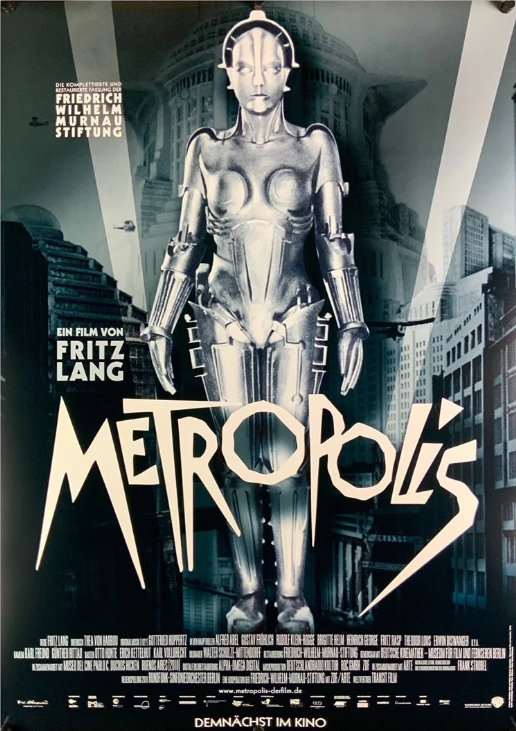
Metropolis (1927)
Silent Sci-Fy movie, using some special effects never seen before. It is a long movie, and shows some nice dystopian scenes.
This influential German science-fiction film presents a highly stylized futuristic city where a beautiful and cultured utopia exists above a bleak underworld populated by mistreated workers. When the privileged youth Freder discovers the grim scene under the city, he becomes intent on helping the workers. He befriends the rebellious teacher Maria , but this puts him at odds with his authoritative father, leading to greater conflict.
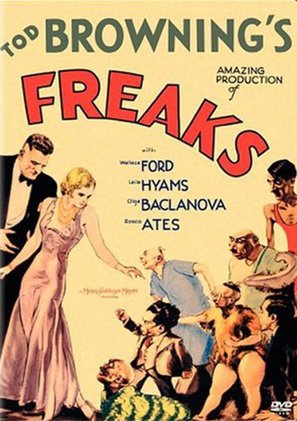
Freaks (1932)
What can I say, can’t be made anymore. Shocking to see what sideshows looked like 100 years ago. Still they managed to tell a story about relations and greed.
When trapeze artist Cleopatra learns that circus midget Hans has an inheritance, she marries the lovesick, diminutive performer, all the while planning to steal his fortune and run off with her lover, strong man Hercules. When Hans’ friends and fellow performers discover what is going on, they band together and carry out a brutal revenge that leaves Hercules and Cleopatra knowing what it truly means to be a “freak.”
Nosferatu, eine Symphonie des Grauens (1922)
While almost at the end of our 250 best movies journey, this movie popped up. Almost the oldest in our collection. The Kid is one year older (charlie chaplin)
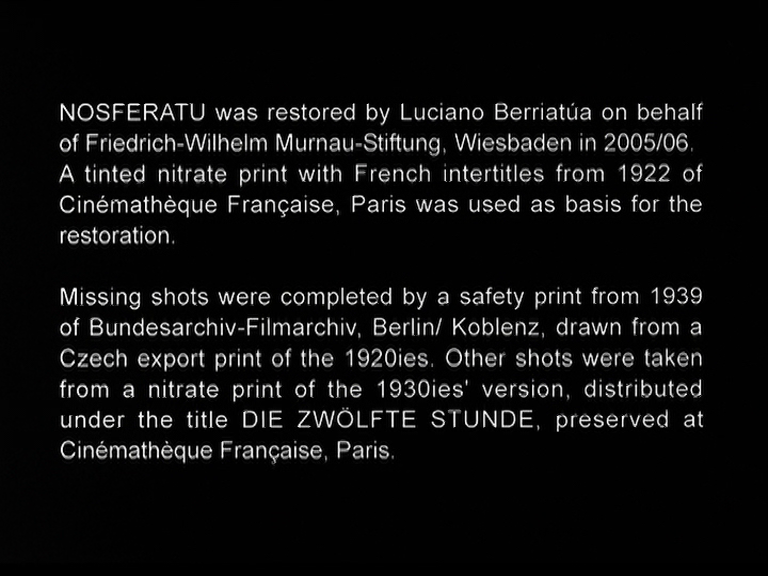
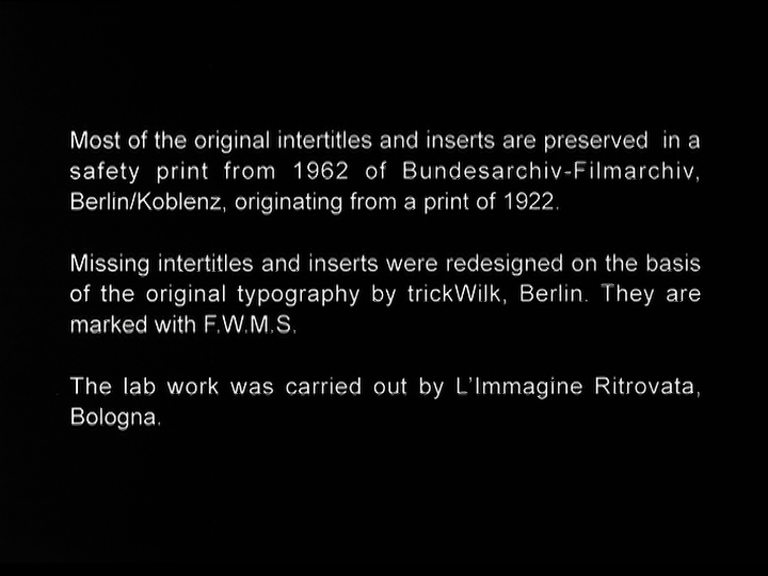
This one has a history. Al copies had to be destroyed ( Stokers Widow ordered it, because it was not authorized https://rosenbach.org/blog/the-destruction-of-nosferatu/ ) So this version I saw, was put together using multiple sources. Like a Frankensteins monster. But is it a well made movie, which had a great influence on dracula movies to come.
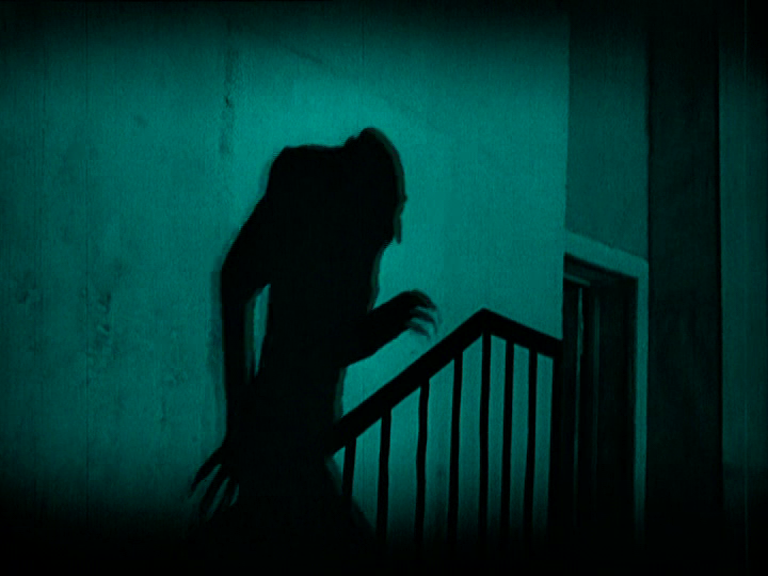
Max Schreck as Orlok is amazing! There is something in his statue/movement.
Post topic: My life changed when changing this one setting. Answer: Congratulations, you have a boring life.
Post topic: You are using this and that wrong! Answer: No I don’t
Post topic: Only 1% see this optical illusion/What you see first tells you what kind of person you are./You are a genius when you find the numbers in this illusion. Answer: No it doesn’t
Post topic: This setting is ruining your experience. Answer: No I like it in the current setting
Post topic: Creepy HIDDEN map tracks .. blah blah. Answer: No its not hidden, and it there by default and can be toggled using the settings menu.
Post topic: Do this now! You will be happy you did. Answer: No I don’t, didn´t and never will
Post topic: Expect has cracked the code for a happy life. Answer: Suuure..
Post topic: The BEST recipe for … Answer: Depends what you like, maybe its a GOOD recipe, liked by more people.
Post topic: The top 10/best .. you have to own. Answer: My top 10 is different, shutup.
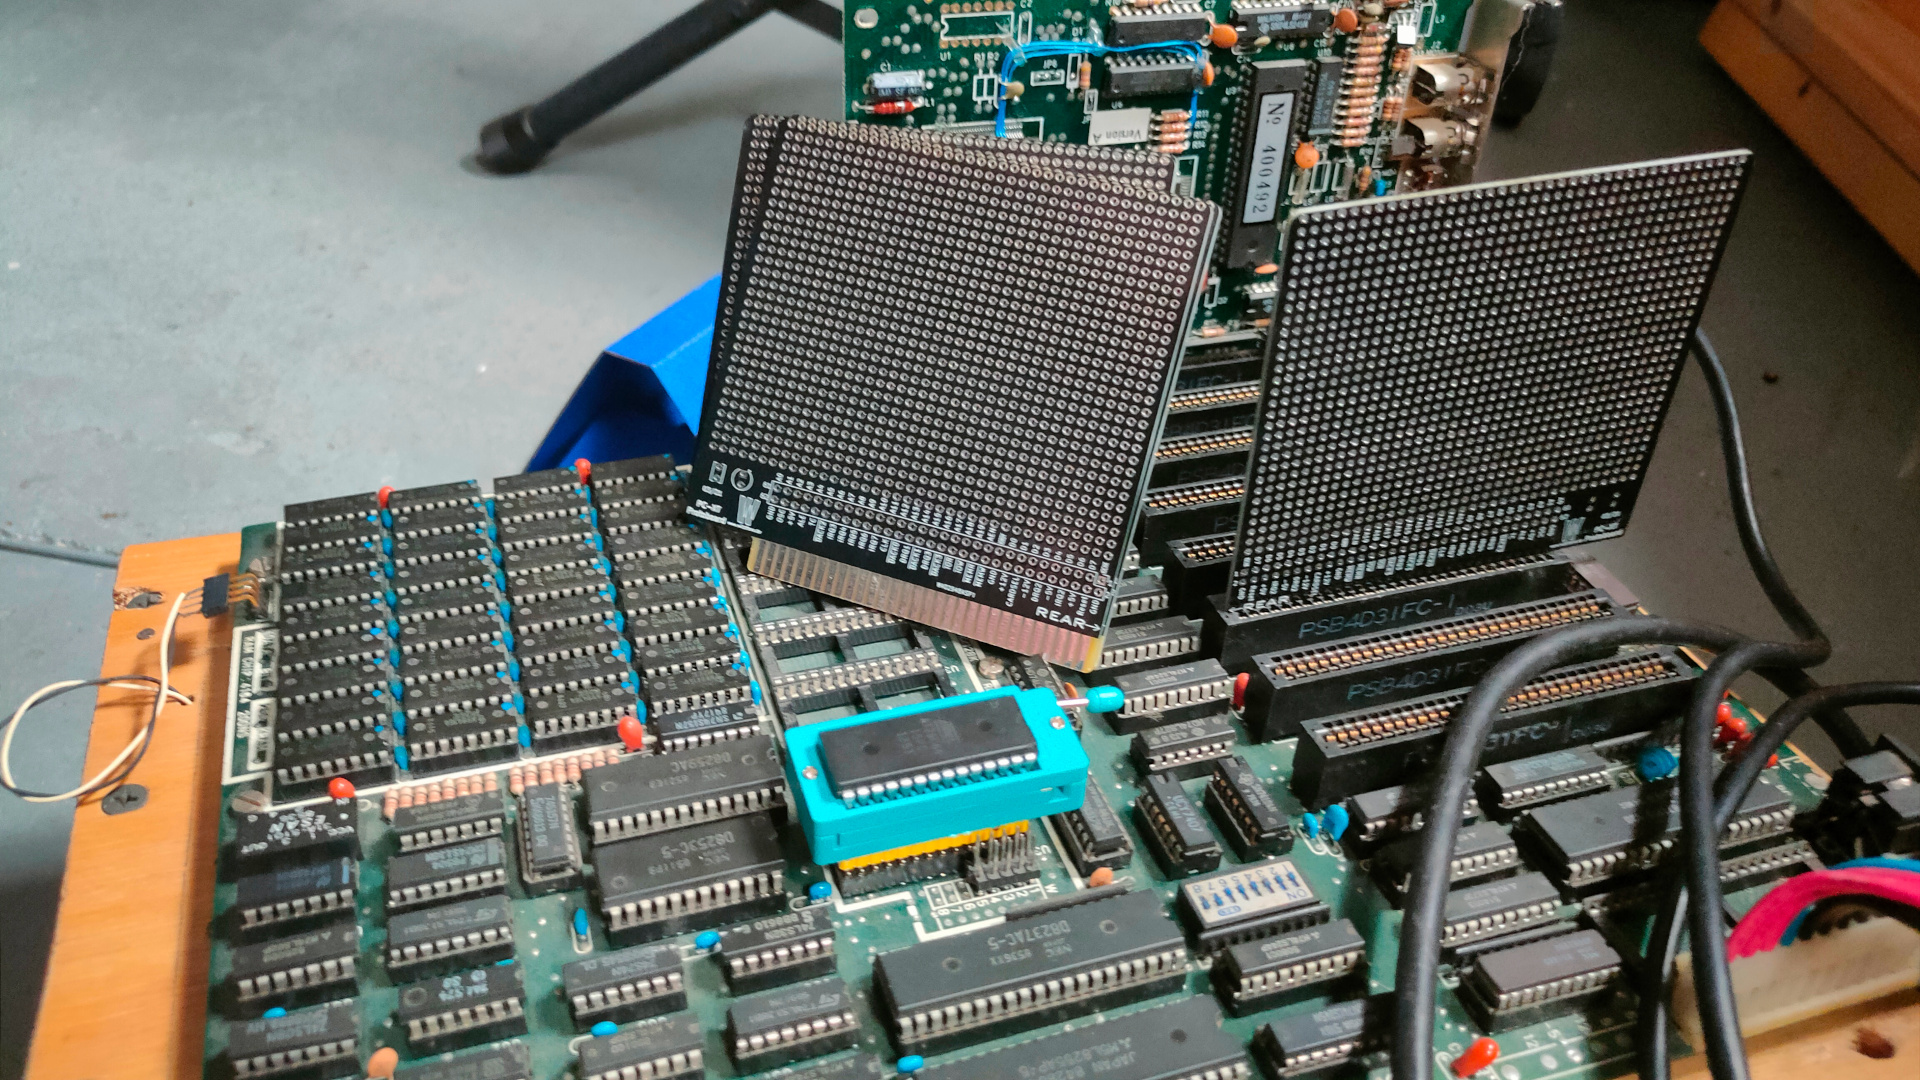
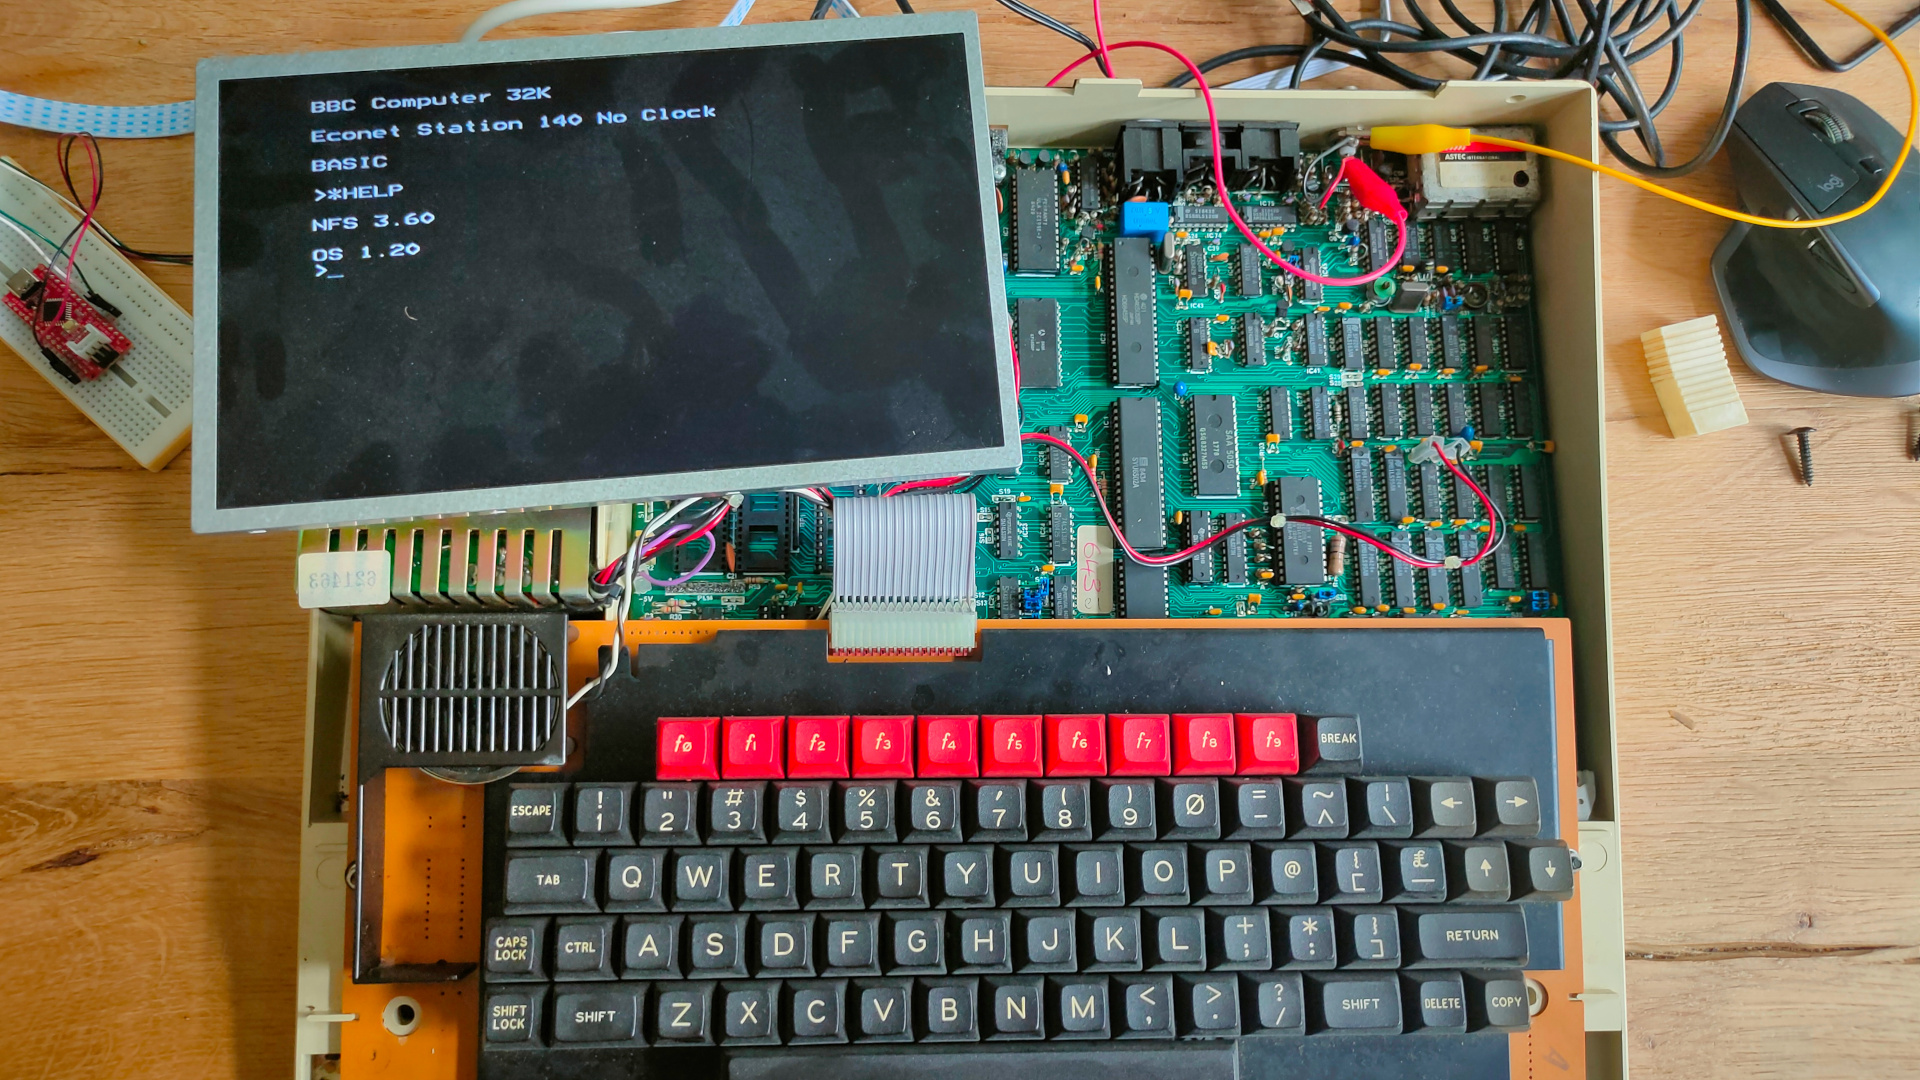
My BBC Acorn model B is working again. The original monitor is still dead.
Time to play with some machine code and ROMs.
My machine has a NFS rom installed. (NetFS)
Econet was Acorn Computers’s low-cost local area network system, intended for use by schools and small businesses. It was widely used in those areas, and was supported by a large number of different computer and server systems produced both by Acorn and by other companies.
I found a ROM online called Gremlin. It is a 16K rom file. But at the moment I only got some 28C64 (8k) or 28C256 (32k) eeproms.
32k it is. But de beeb having address line A14 floating high, I need to flash the upper 16k of the 32k ROM.
Ben posted a youtube about Wozmon running on his 6502.
In 1976, Steve Wozniac wrote what’s commonly known simply as Wozmon.
Wozmon is a machine-code monitor program written by Wozniak for the Apple 1. In Only 256 bytes ! Being pure 6502 code easily adaptable. A monitor program allows you to view/edit and run machine code using simple commands.
I’ve got a different setup as Ben’s computer. But changing the necessary, and it will run on my 6502.
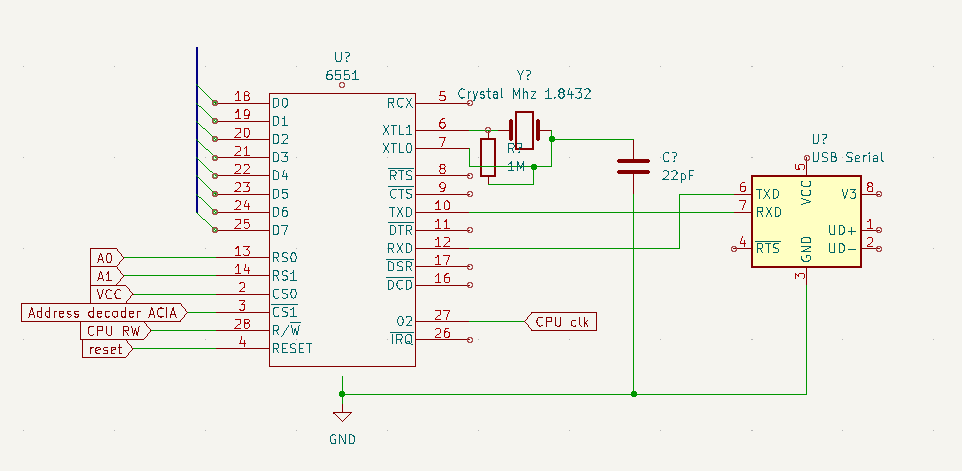
I’m not using rs232 voltage levels (-7 till -25 and +7 till +25 volts). I’m using a usb serial uart standard 5v leveling stick …
For address decoder see other post
Simplified schematic of my UART/ACIA
Compiling the Wosmon gave me an error, DEC is not a valid opcode for a bare 6502 .. but we have a 65c02. Solution: Add -c02 extra opcodes
error 1 in line 187 of "wozmon.s": illegal operand types
>                DEC                    ; Decrement A.

# fix .. add -c02
vasm6502_oldstyle -c02 -Fbin -dotdir wozmon.s
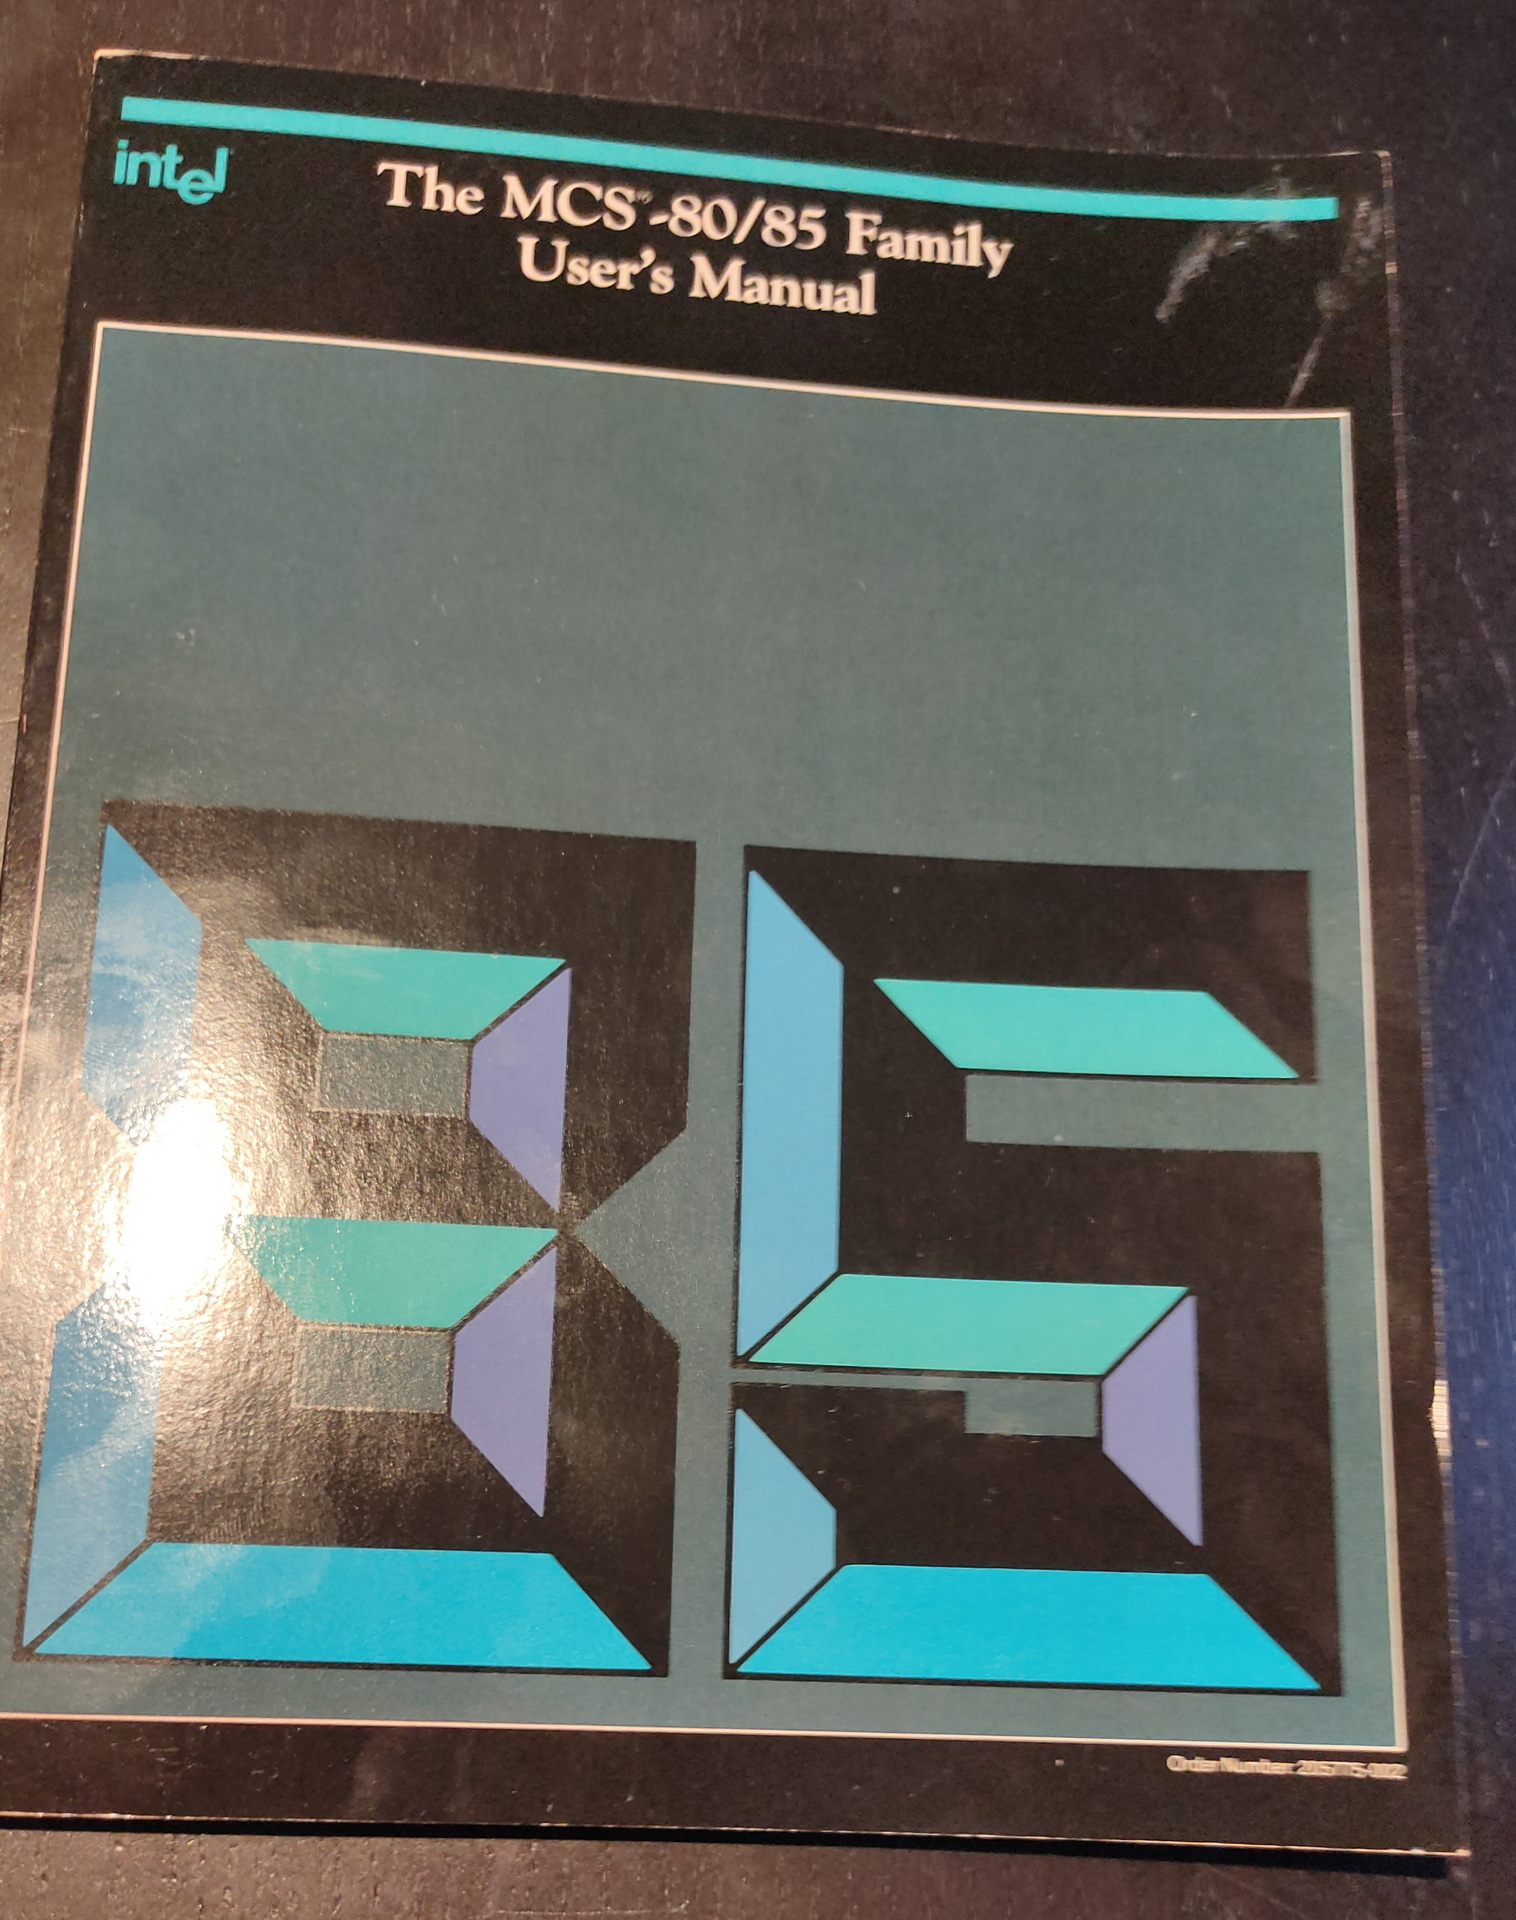
Below Apple I Manual with the sourcecode for Wozmon
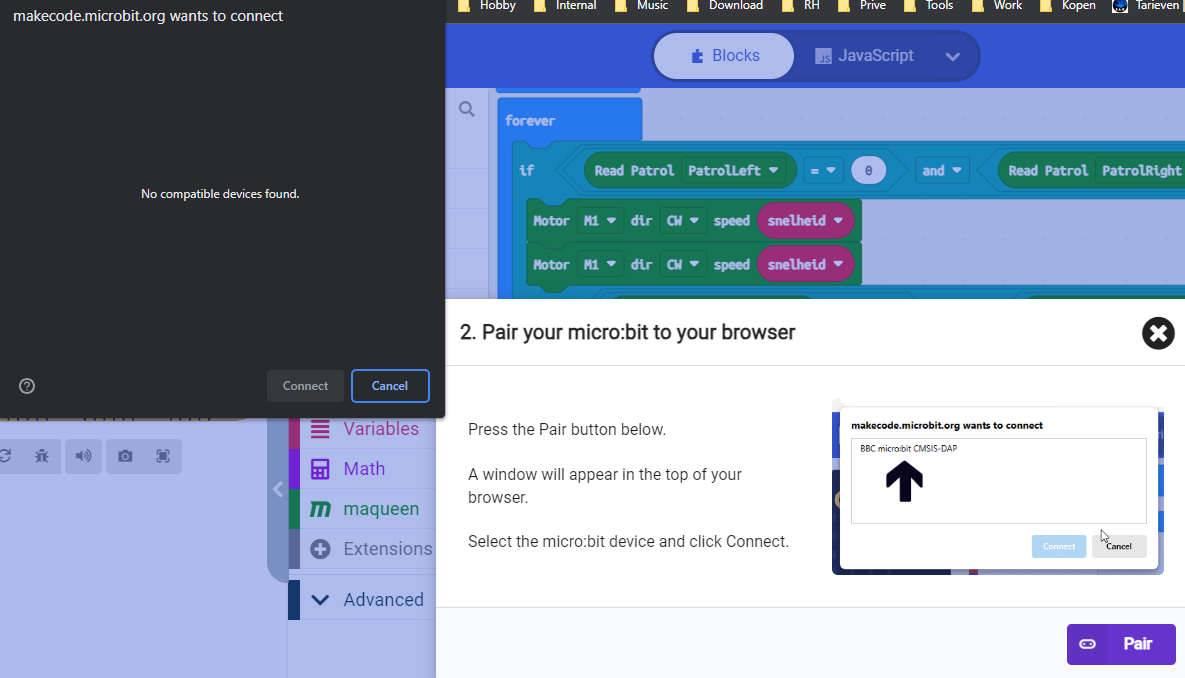
Uploading didn’t work Solution: Using chrome it had access to the usb port to upload, firefox didn’t work
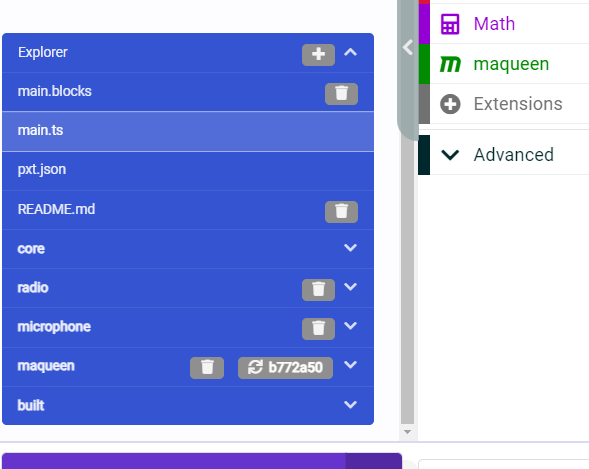
The program didn’t compile, faulty or zero size hex file. Solution: Wrong Maqueen library was in the examples (After changing, needed version update also, see below)
Not everything is in Dutch (I like English, but this is for the boy), maqueen V2 needed a lot of translation. (So we joined https://crowdin.com/project/makecode/nl to help translating the libraries)
Apparently my AI camera can be connected to this robot!