The cyanotype (from Ancient Greek kuáneos, “dark blue” and túpos, “mark, impression, type”) is a slow-reacting, photographic printing technique. It produces a cyan-blue print used for art as monochrome imagery applicable on a range of supports, and for reprography in the form of blueprints. For any purpose, the process usually uses two chemicals: ferric ammonium citrate or ferric ammonium oxalate, and potassium ferricyanide, and only water to develop and fix. Announced in 1842, it is still in use.
This technique was also used as a method of copying drawings.
For example buildings and schematics. While making copies of drawings with the exact dimensions of the original, making the result untemperable was another big plus. ( You could not move/redraw walls for example on the copy)
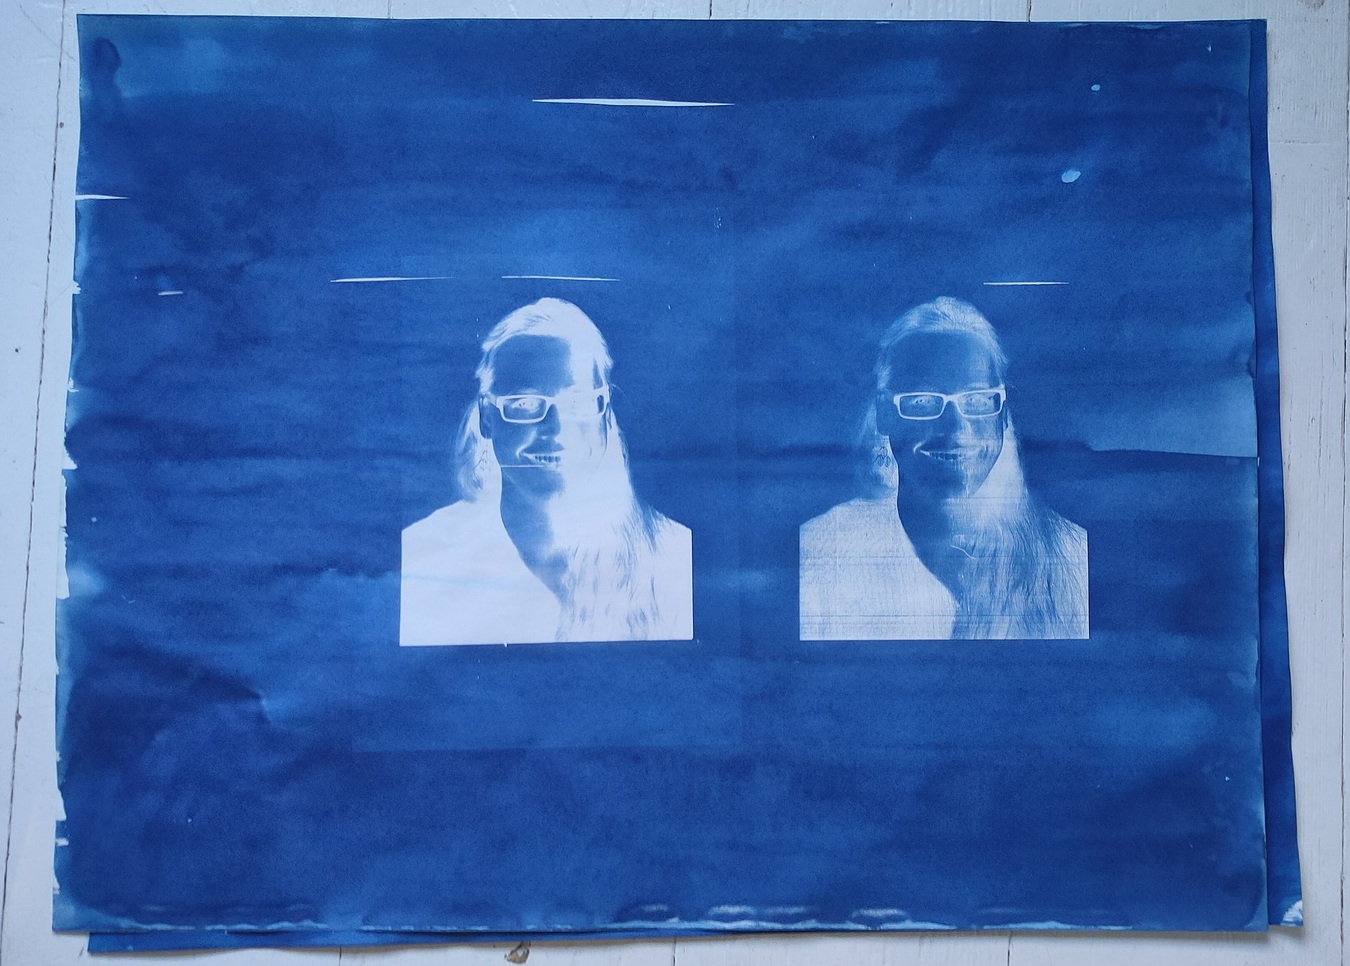
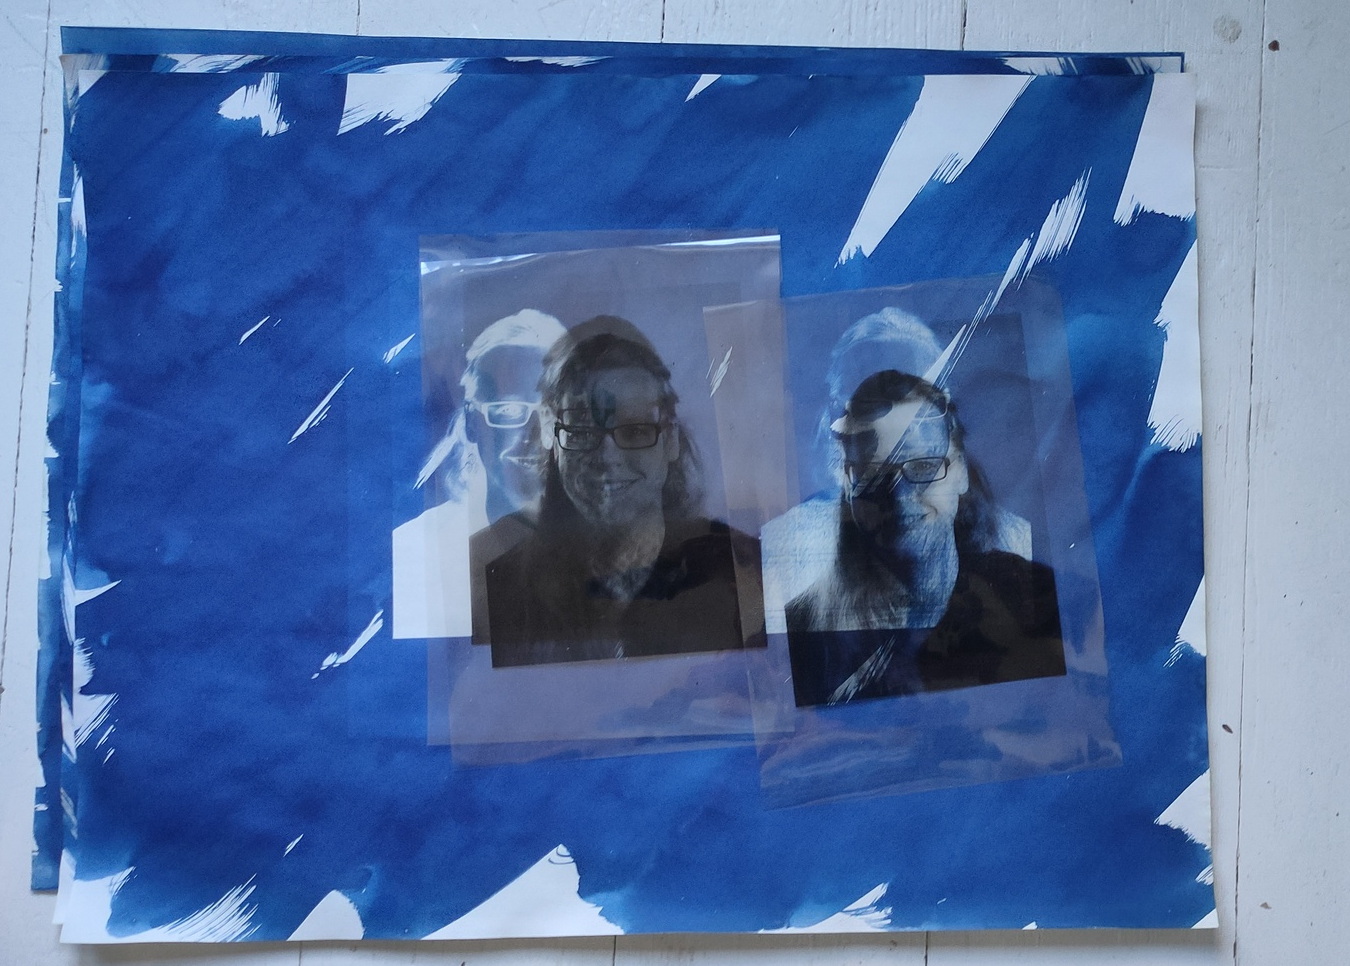
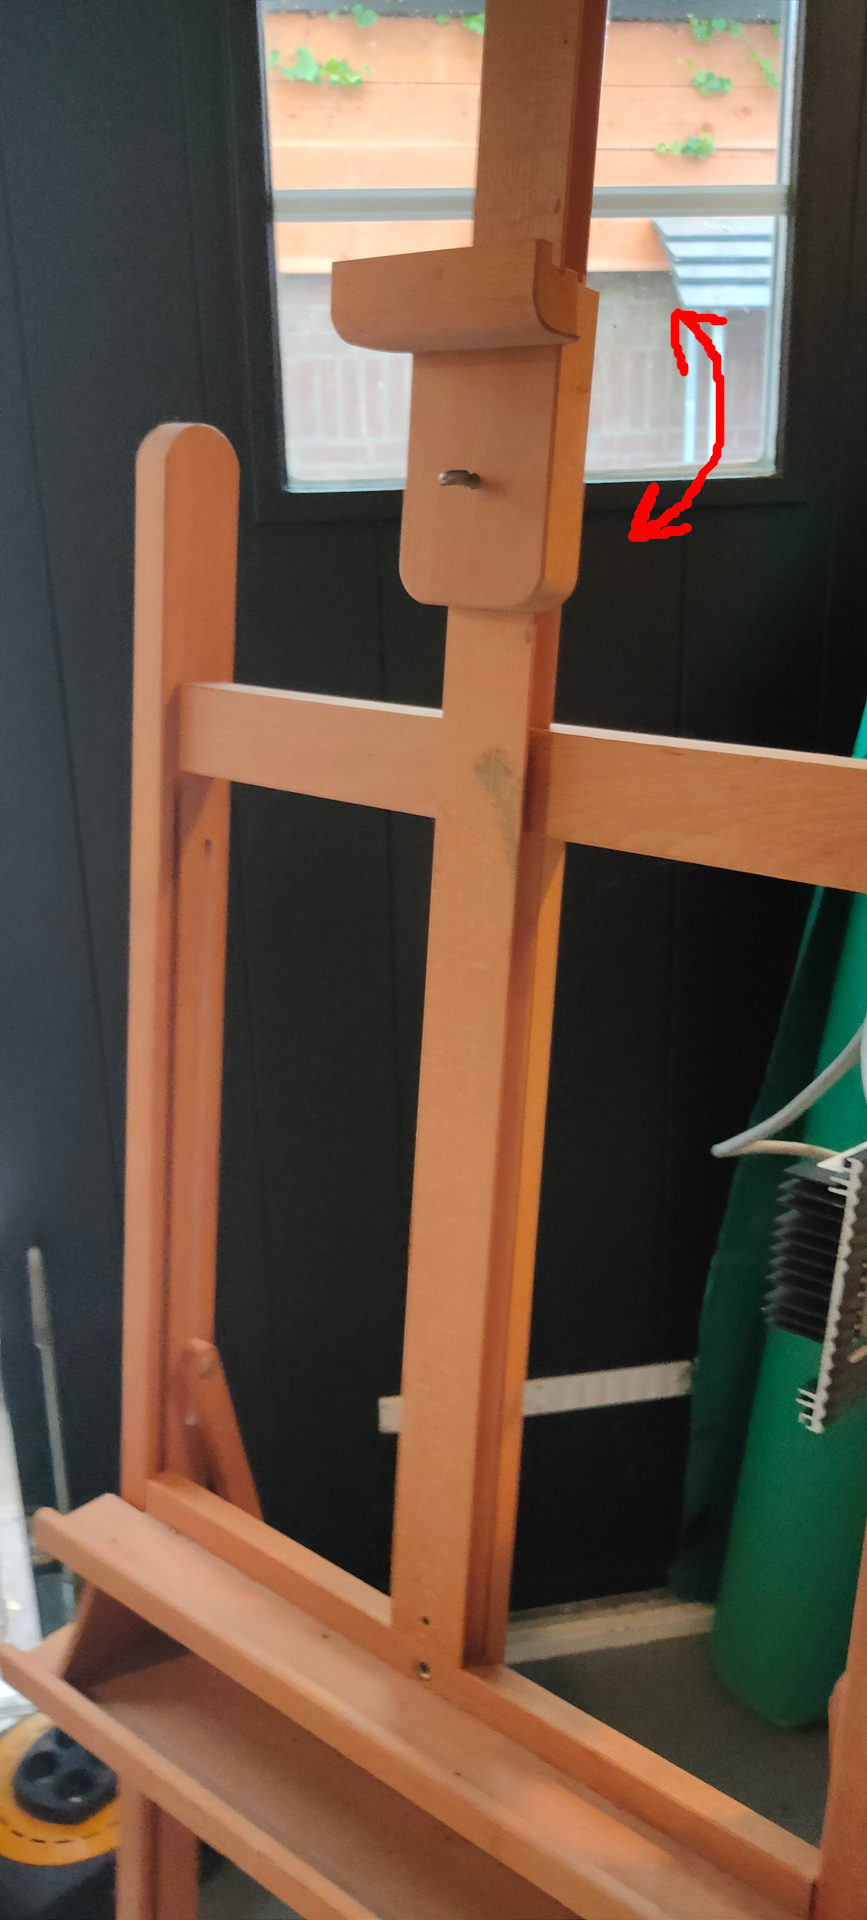
I’ve printed a photo on transparant sheets to experiment with.
(Next time, i’ll take a larger size, and fix the contrast.
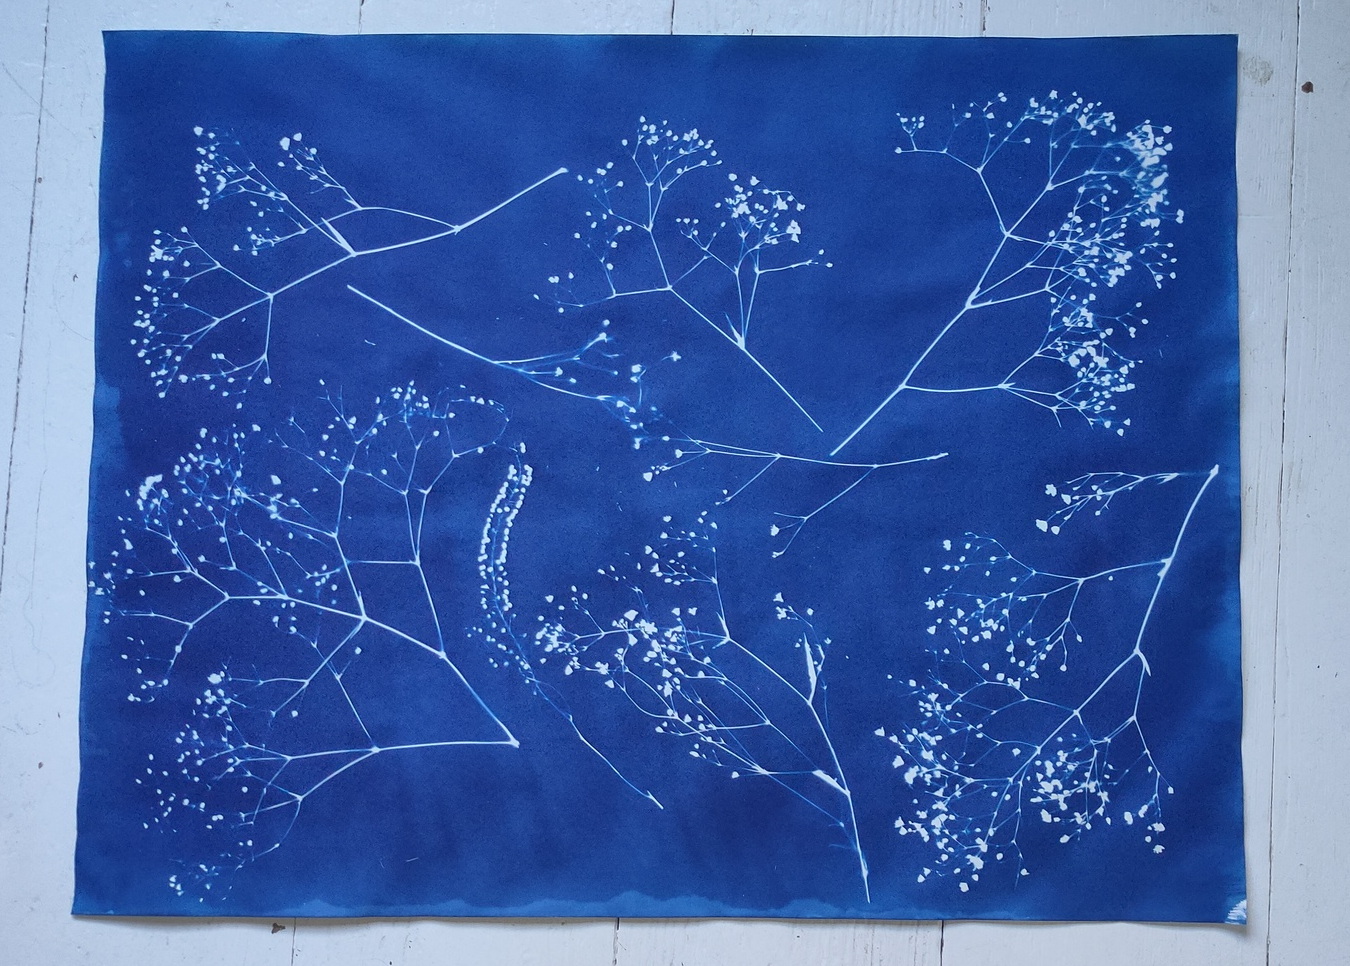
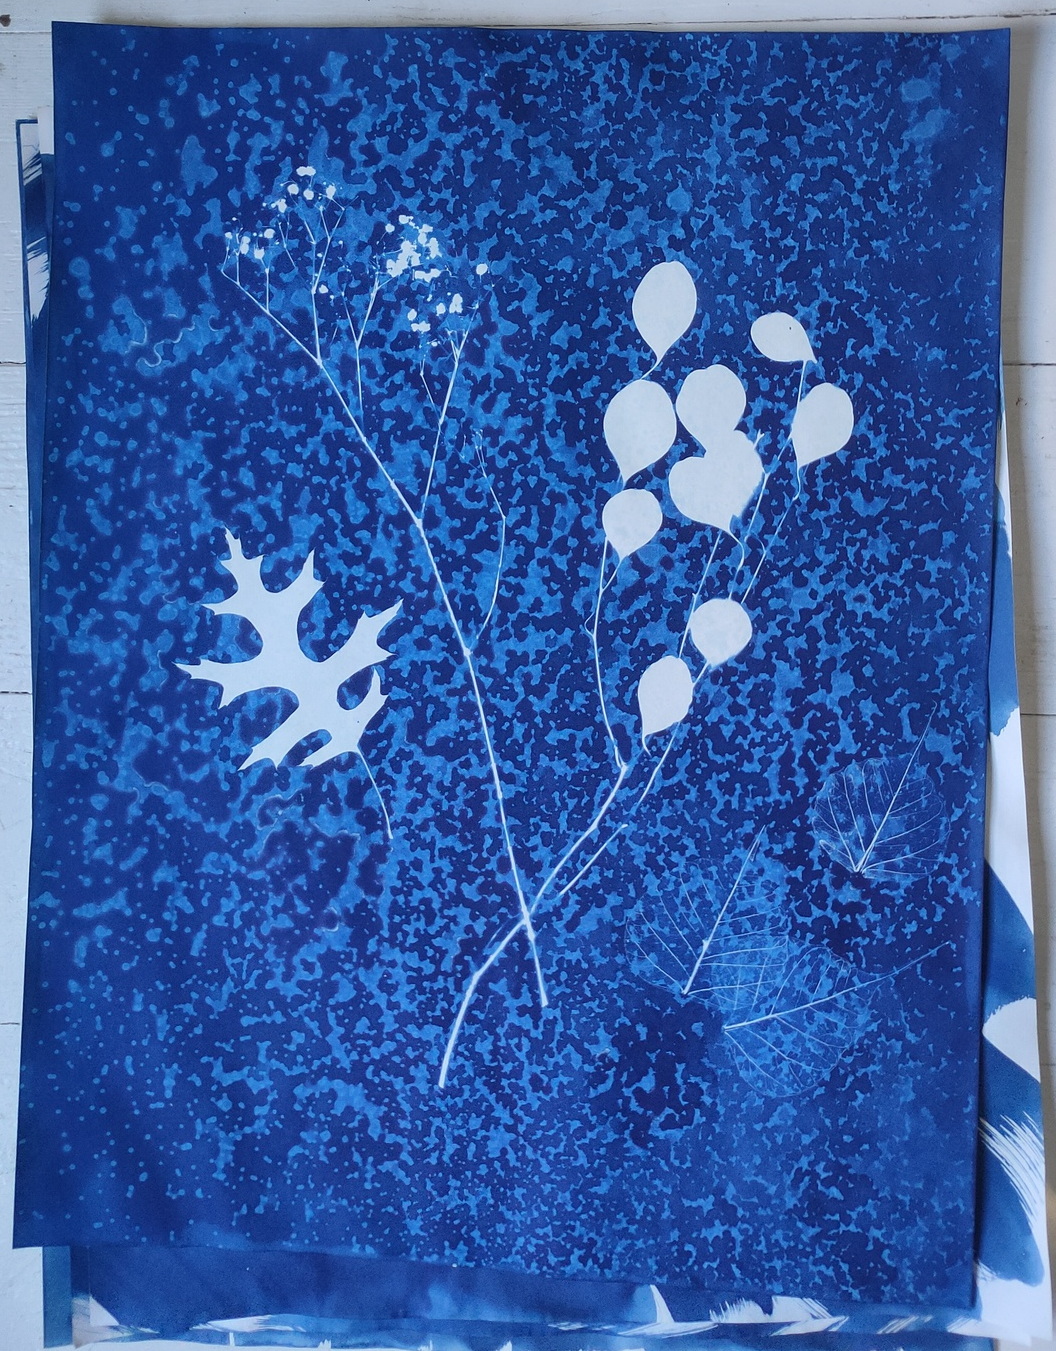
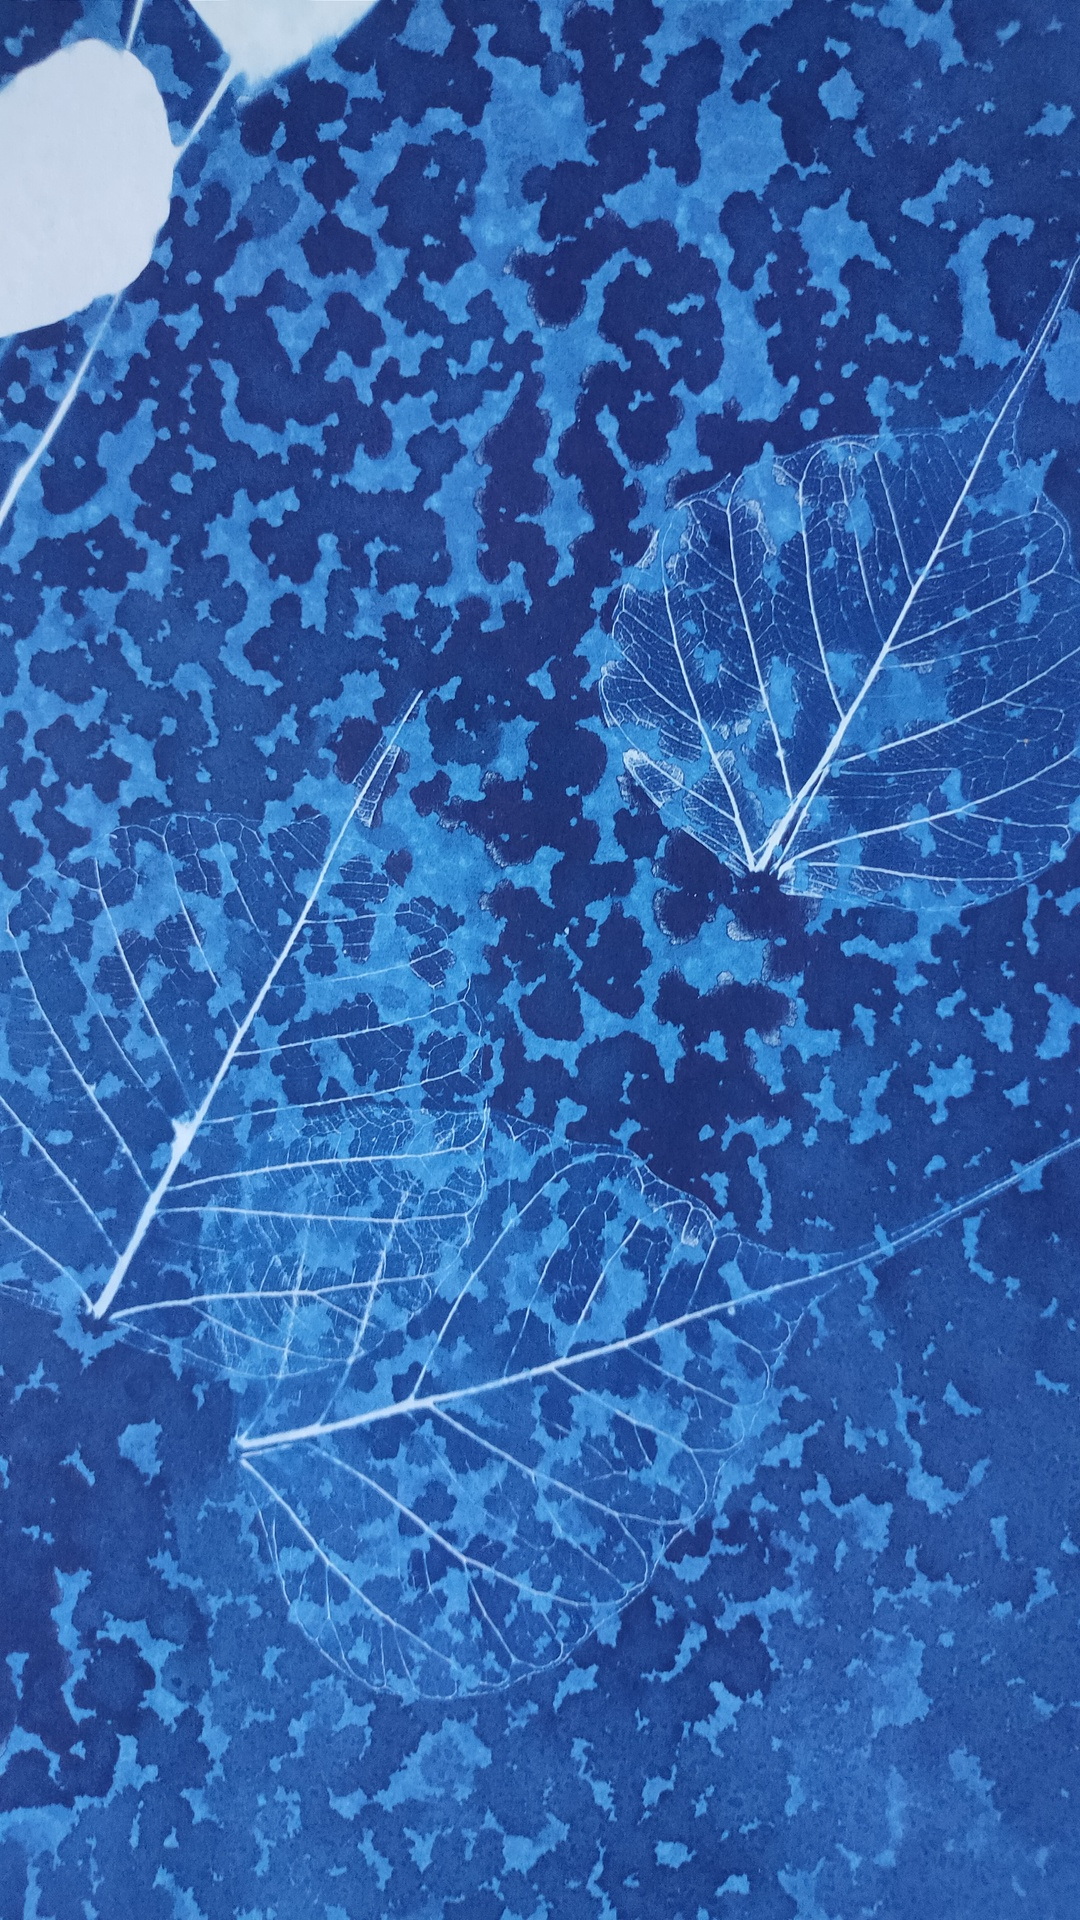
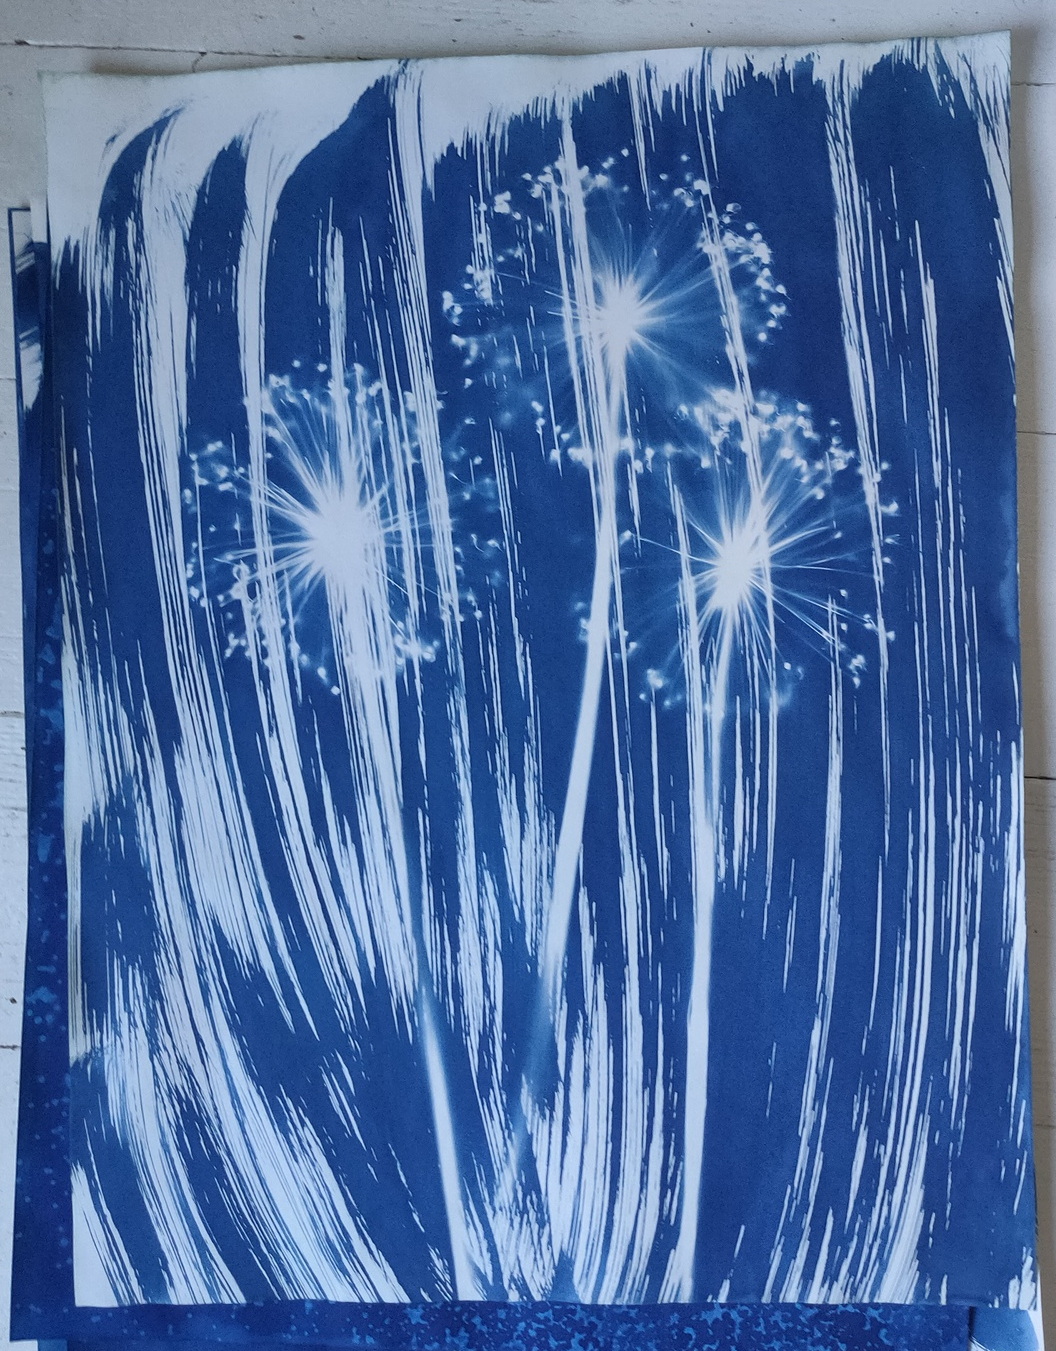
The most interesting ones i’ve made today: