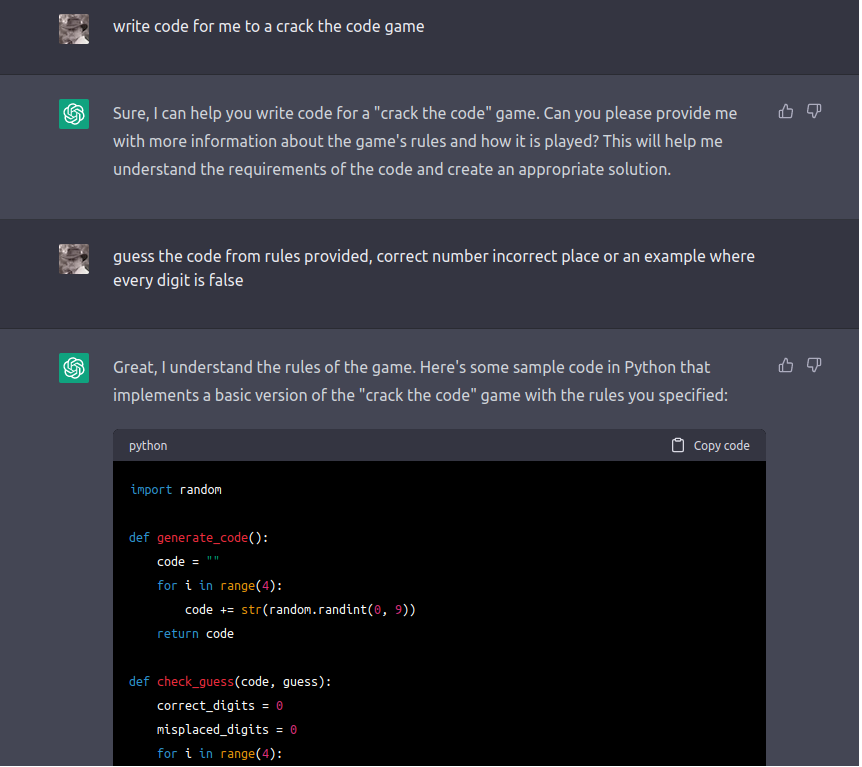
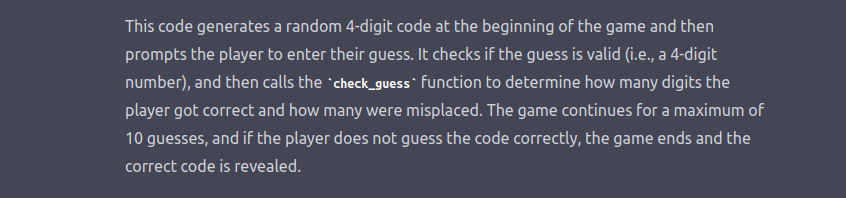
I asked ChatGPT to write code for me, i was not completely correct, and in Python. https://www.henriaanstoot.nl/2023/03/28/i-asked-chatgpt-to-write-code-for-a-crack-the-code-game/
I wrote my on version in JavaScript so it can be used in NodeRed as a function.
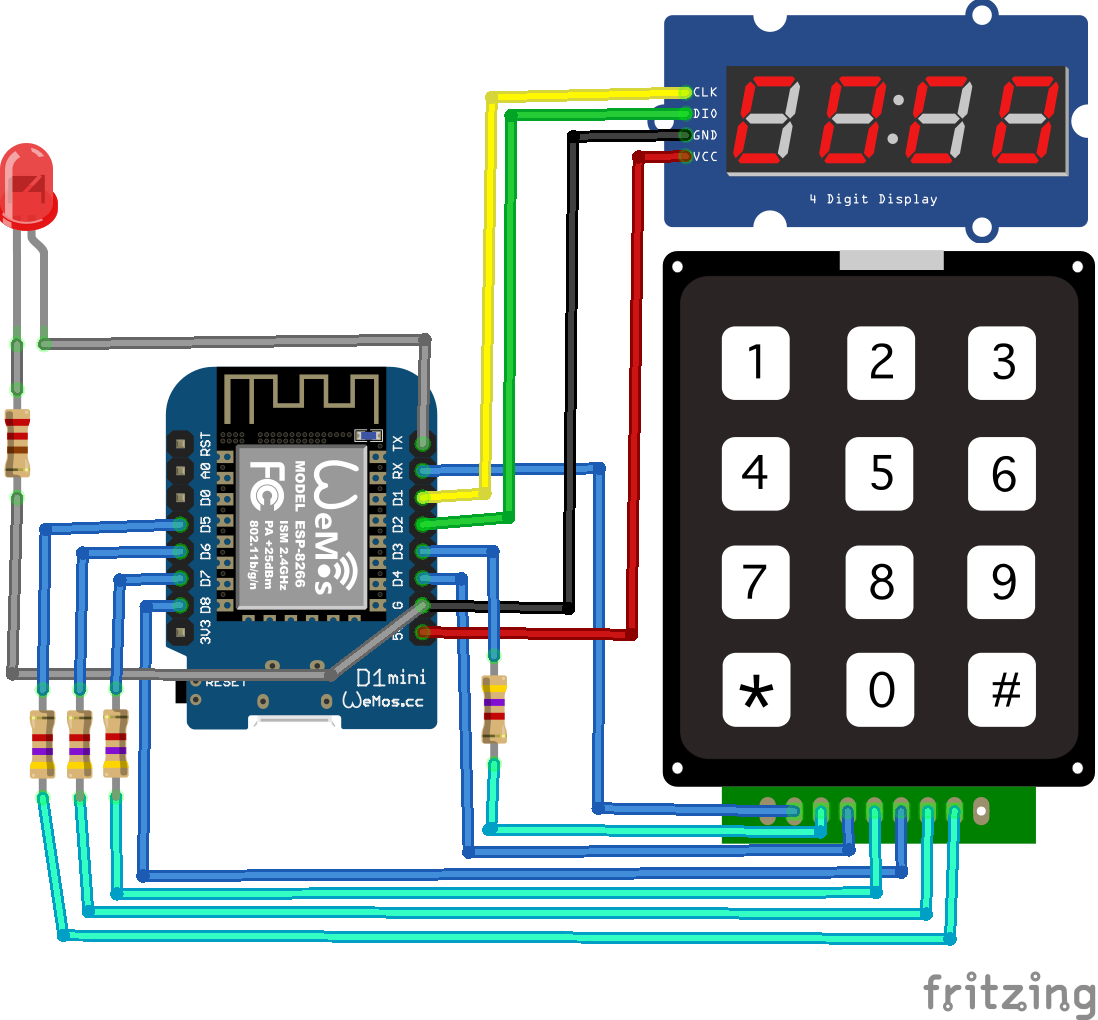
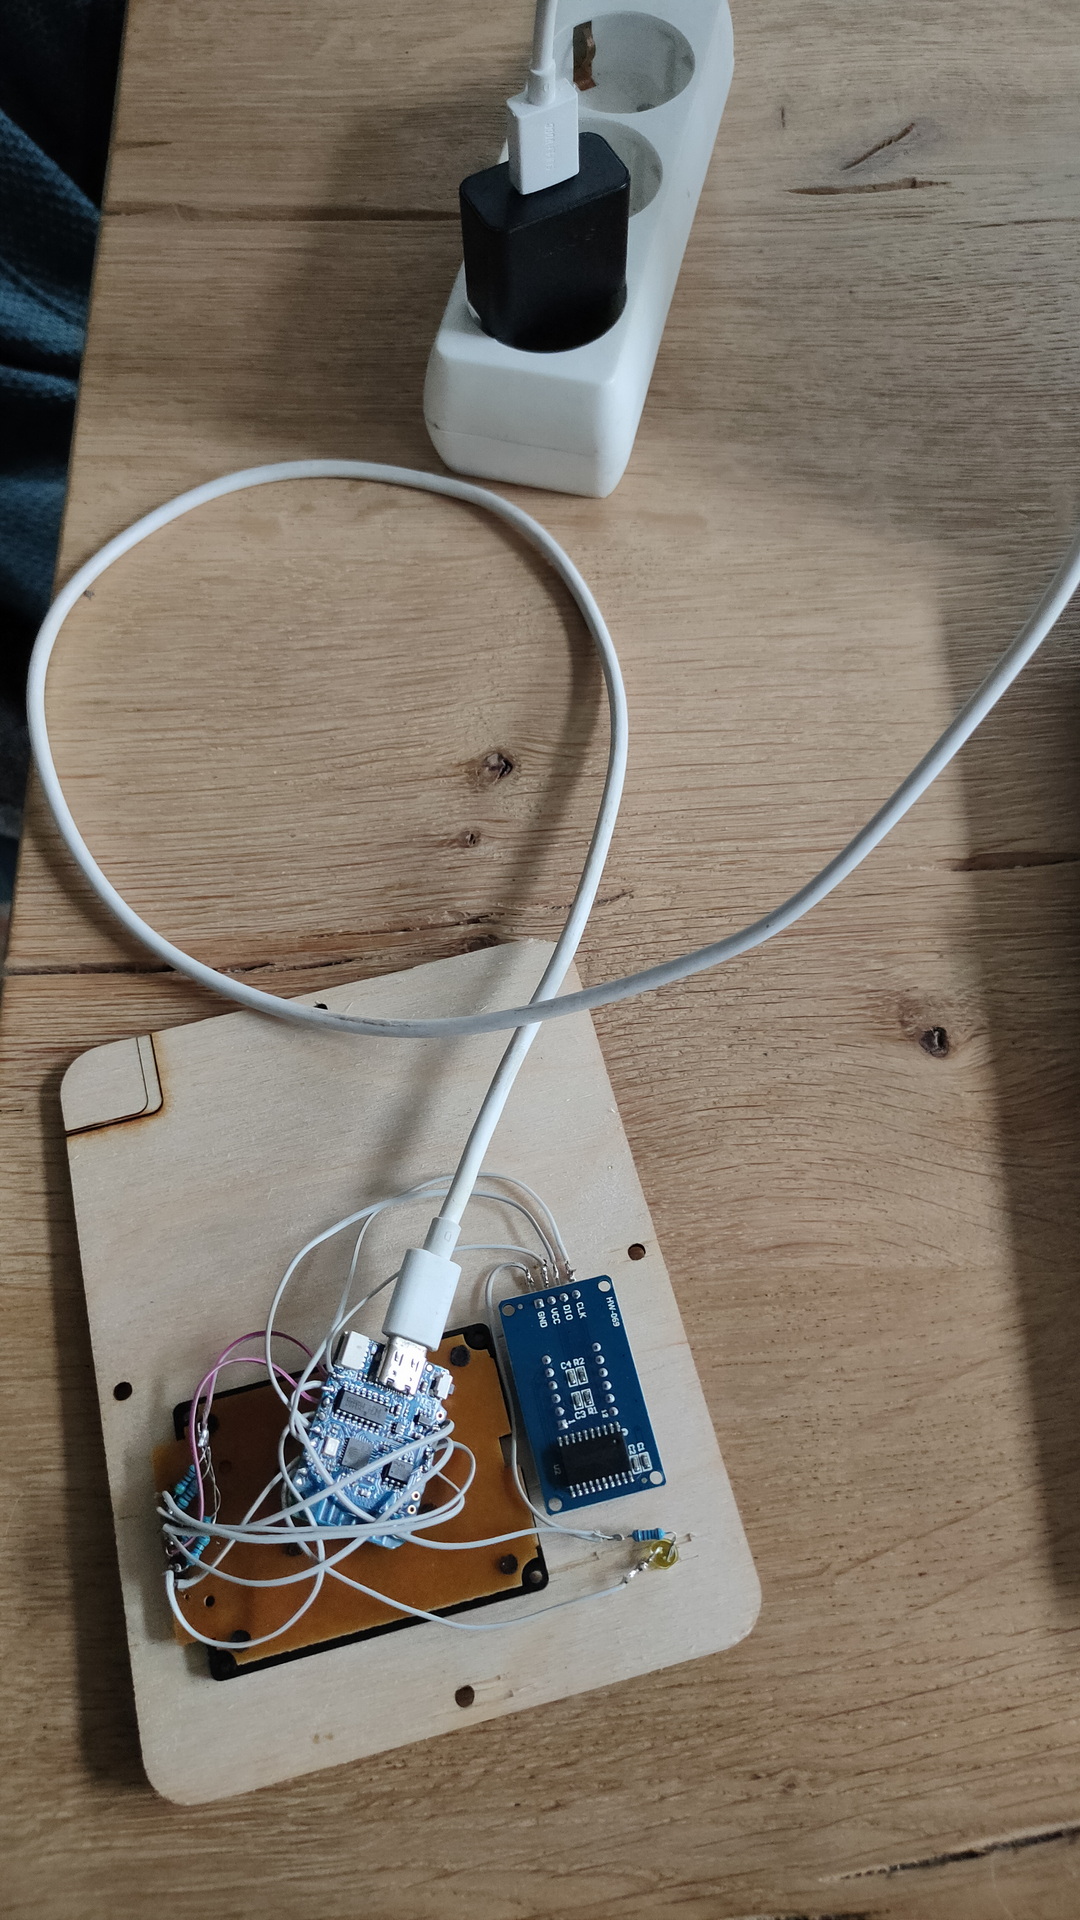
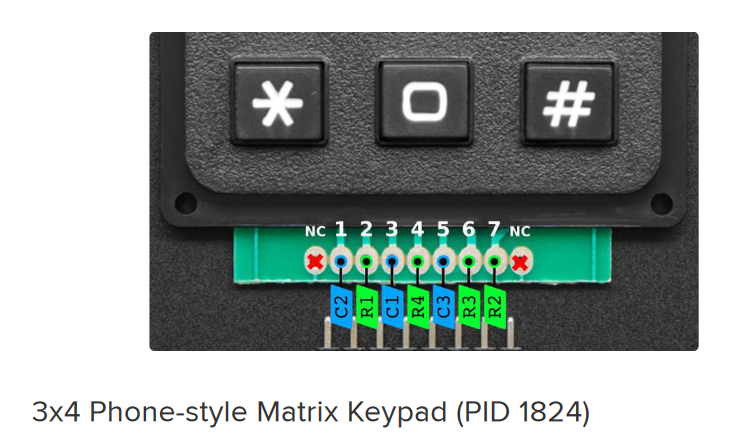
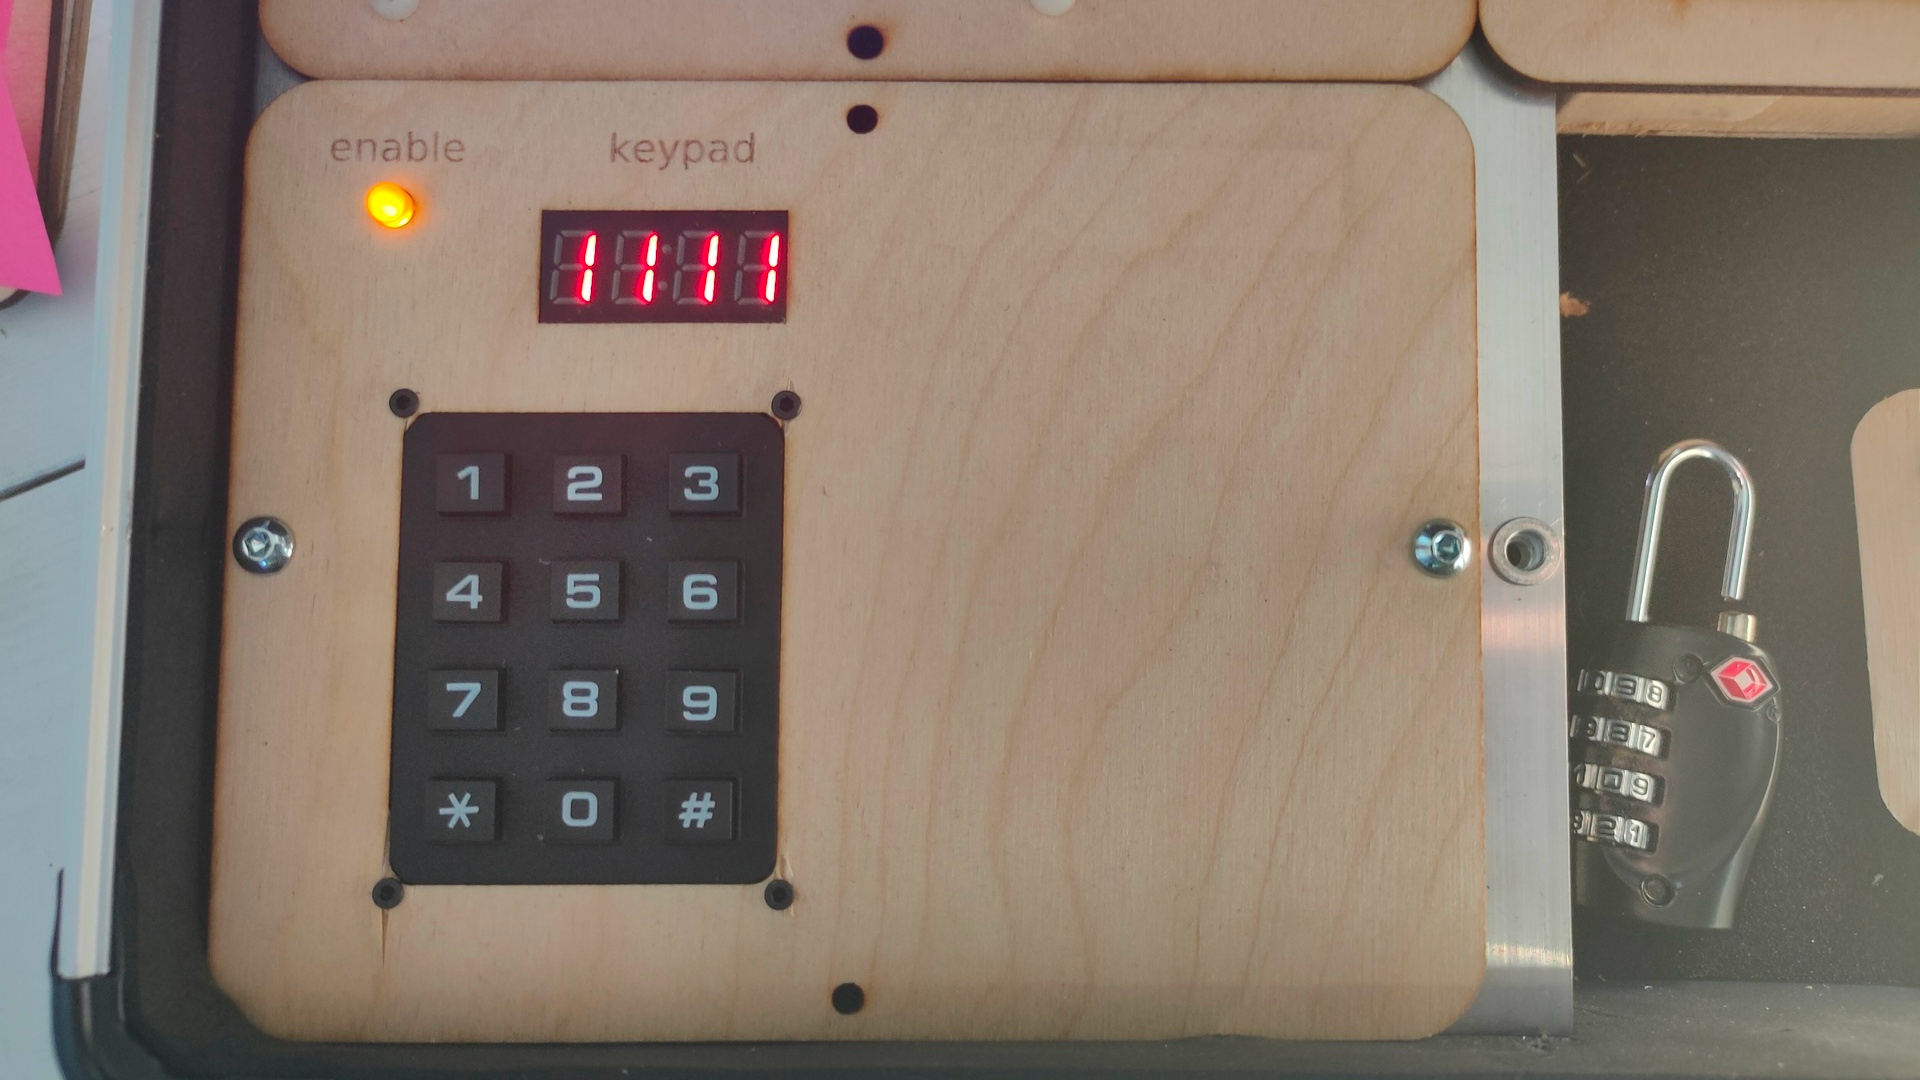
The codes are entered using a keypad (Arduino) and send via MQTT
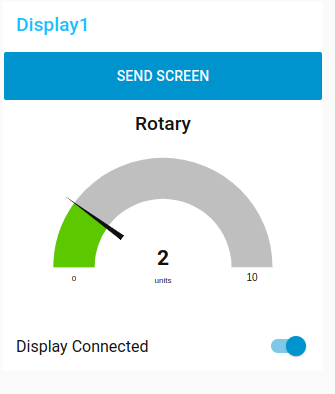
Node Red Dash board


Code
var code = global.get("mysetcode");
var good = 0;
var wrong = 0;
var wrongplace = 0;
var match = false;
var wrongchars = 0;
var wrongplaced = 0;
var goodchars = 0;
var payloadcode = msg.payload.toString();

var usr_input = Array.from(payloadcode);
var secret_code = Array.from(code);
var secret_code1 = secret_code;

if (msg.payload === code) {
    match = true;
}
var result = "";

for (var i = 0; i < 4; i++) {
    var found = false;
    if (usr_input[i] === secret_code[i]) {
    usr_input[i] = "a";
    secret_code[i] = "b";
        good = good + 1;

    }
}

for (var i = 0; i < 4; i++) {
    var found = false;
    for (var j = 0; j < 4; j++) {
        if (usr_input[i] === secret_code[j]) {
                found = true;
        }
    }
        if (!found) {
    wrong = wrong + 1;
    }
}

wrongchars = wrong - good;
wrongplaced = 4 - good - wrongchars;

msg.goodchars = good;
msg.wrongchars = wrongchars;
msg.wrongplace = wrongplaced;
msg.result = result;
msg.match = match;
return msg;