Best Uilleann recordings I own or listen to.
Do you know any other good recordings? Let me know.
Uilleann CDs (no order)
- Liam O’Flynn – The Pipers Call
- Davy Spillane – Atlantic Bridge, Pipedreams, Out of the Air
- Paddy Keenan – The Long Grazing Acre
- Sean McKeon – The Dusty Miller ( Multiple players playing harmony)
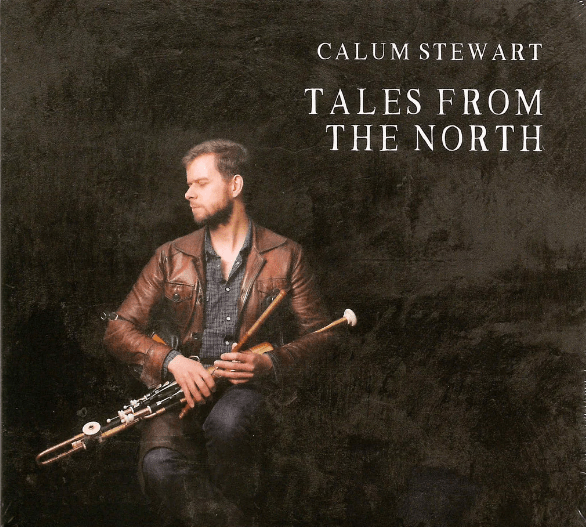
Calum Stewart (I know him from his Flute playing)
I play “Am Monadh Ruadh” from this CD, also Randolph’s Leap is awesome.
Look up “Randolph’s Leap”. I’ve been there, beautiful.
(A better name should be Cummings Leap)
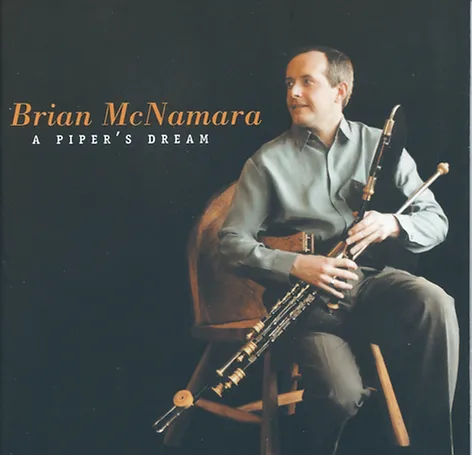
Brian McNamara
He plays a ‘flat’ set pitched in ‘C’ made by Geoff Wooff in 1997 and a ‘concert-pitched’ set of pipes made by Peter Maguire, I was lucky enough to have him as my teacher in Drumshanbo.
Single tracks I like
High energy playing of Blackie O’Connoll. He was my tutor when I attended Tionol 2011
Fred Morrison‘s Kansas City Hornpipe
Paddy Keenan – Harvest Home & Boys of blue hill
(Check The Pipering Of Willie Clancy Vol II)
Doinna by John McSherry (I play this one also, but it is nothing compared to his pipe-sound, melodic virtuosity and feeling he puts in this relatively easy piece of music)
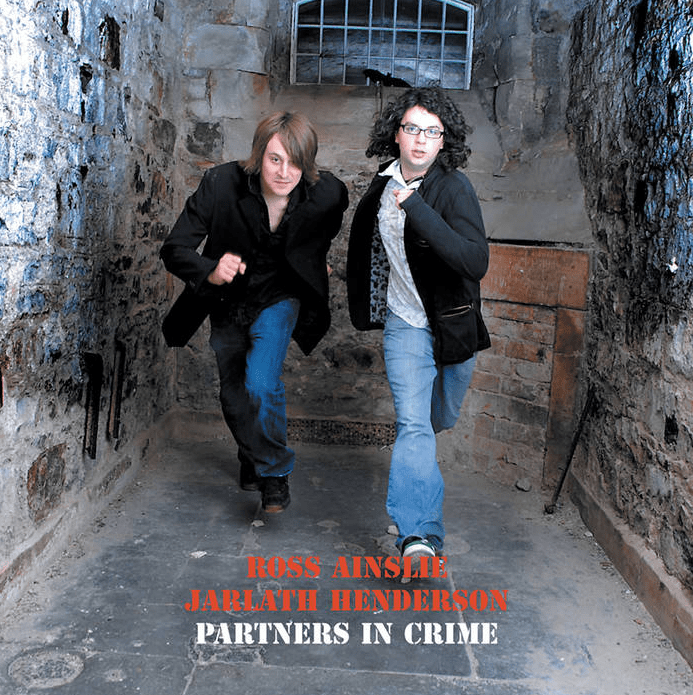
Another often played CD with Uileann, Borderpipes and Low Whistles is:
Partners in Crime by Jarlath Henderson and Ross Ainslie.
A very nice combination of two different pipes together.
Coline and I try to have at least one set with both instruments.
Some others:
- Some tracks of Bad Shepherds
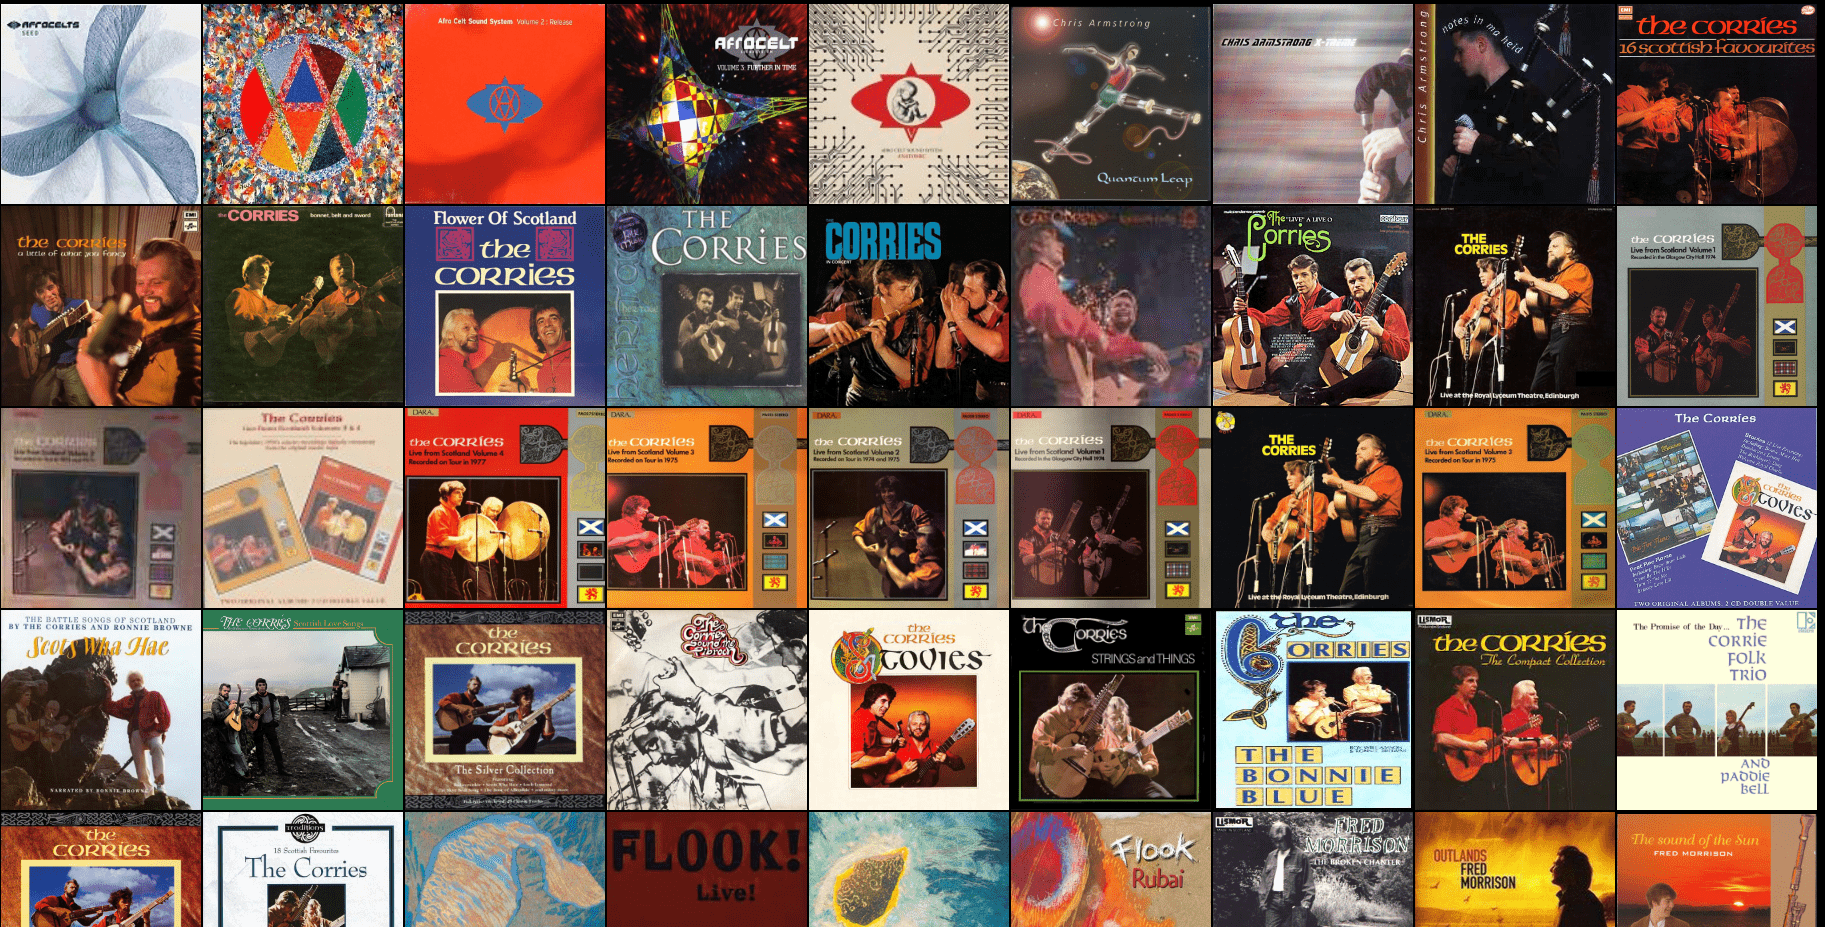
- Some tracks of Afro Celt Sound System
- Some tracks of Enya (See Sun in the stream post)
List of Artist i’ve got recordings from:
Cillian Vallely, Finbar Furey, Ronan Browne, Willie Clancy, Seamus Ennis, Johnny Doran, Leo Rowsome, Liam O’Flynn,Davy Spillane, Paddy Keenan, Finbar Furey, Brian McNamara, Paddy Moloney, Jerry O’Sullivan, Gay Conor, Sean McKeon, Declan Masterson, Michael McGoldrick I probably missed several
Female pipers