I’ve got an old Speaker Phat, and a Raspberry Zero
An audio add-on board for Raspberry ( same size as the Zero )
Connections
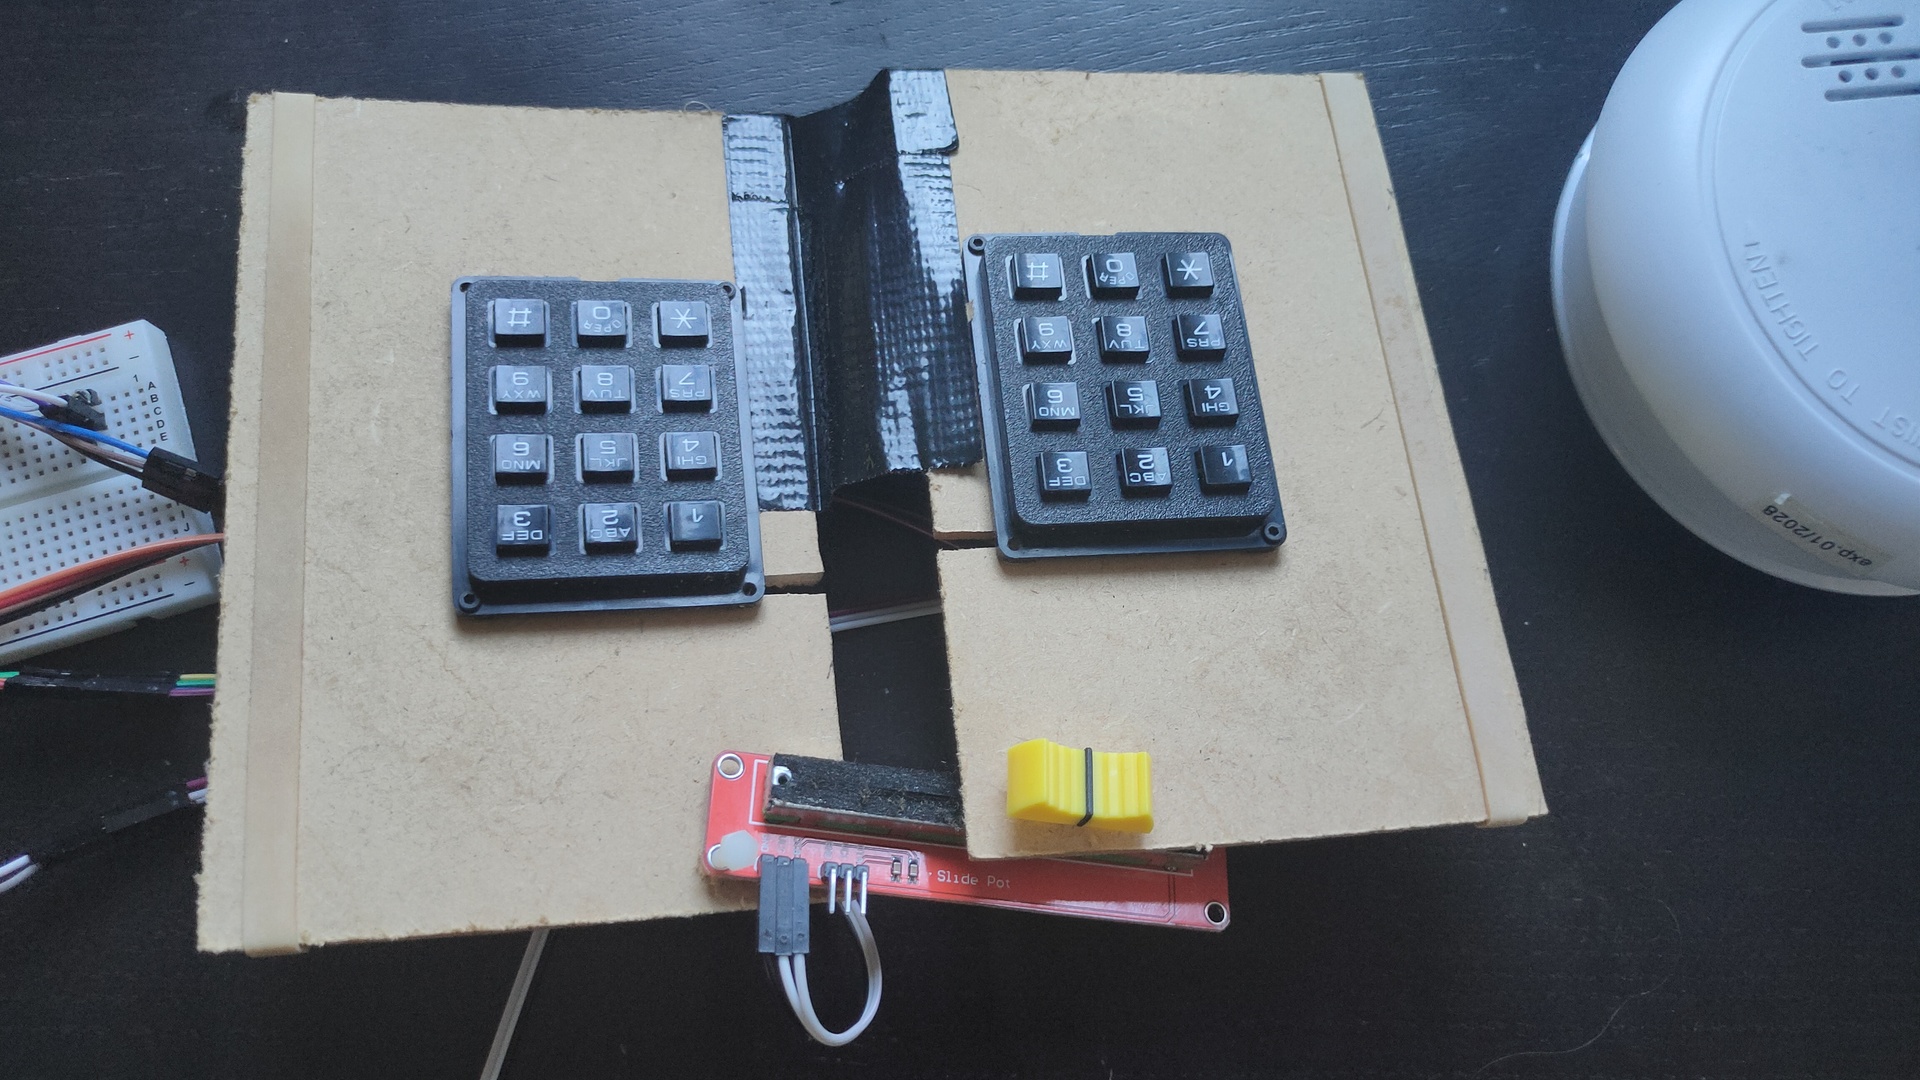
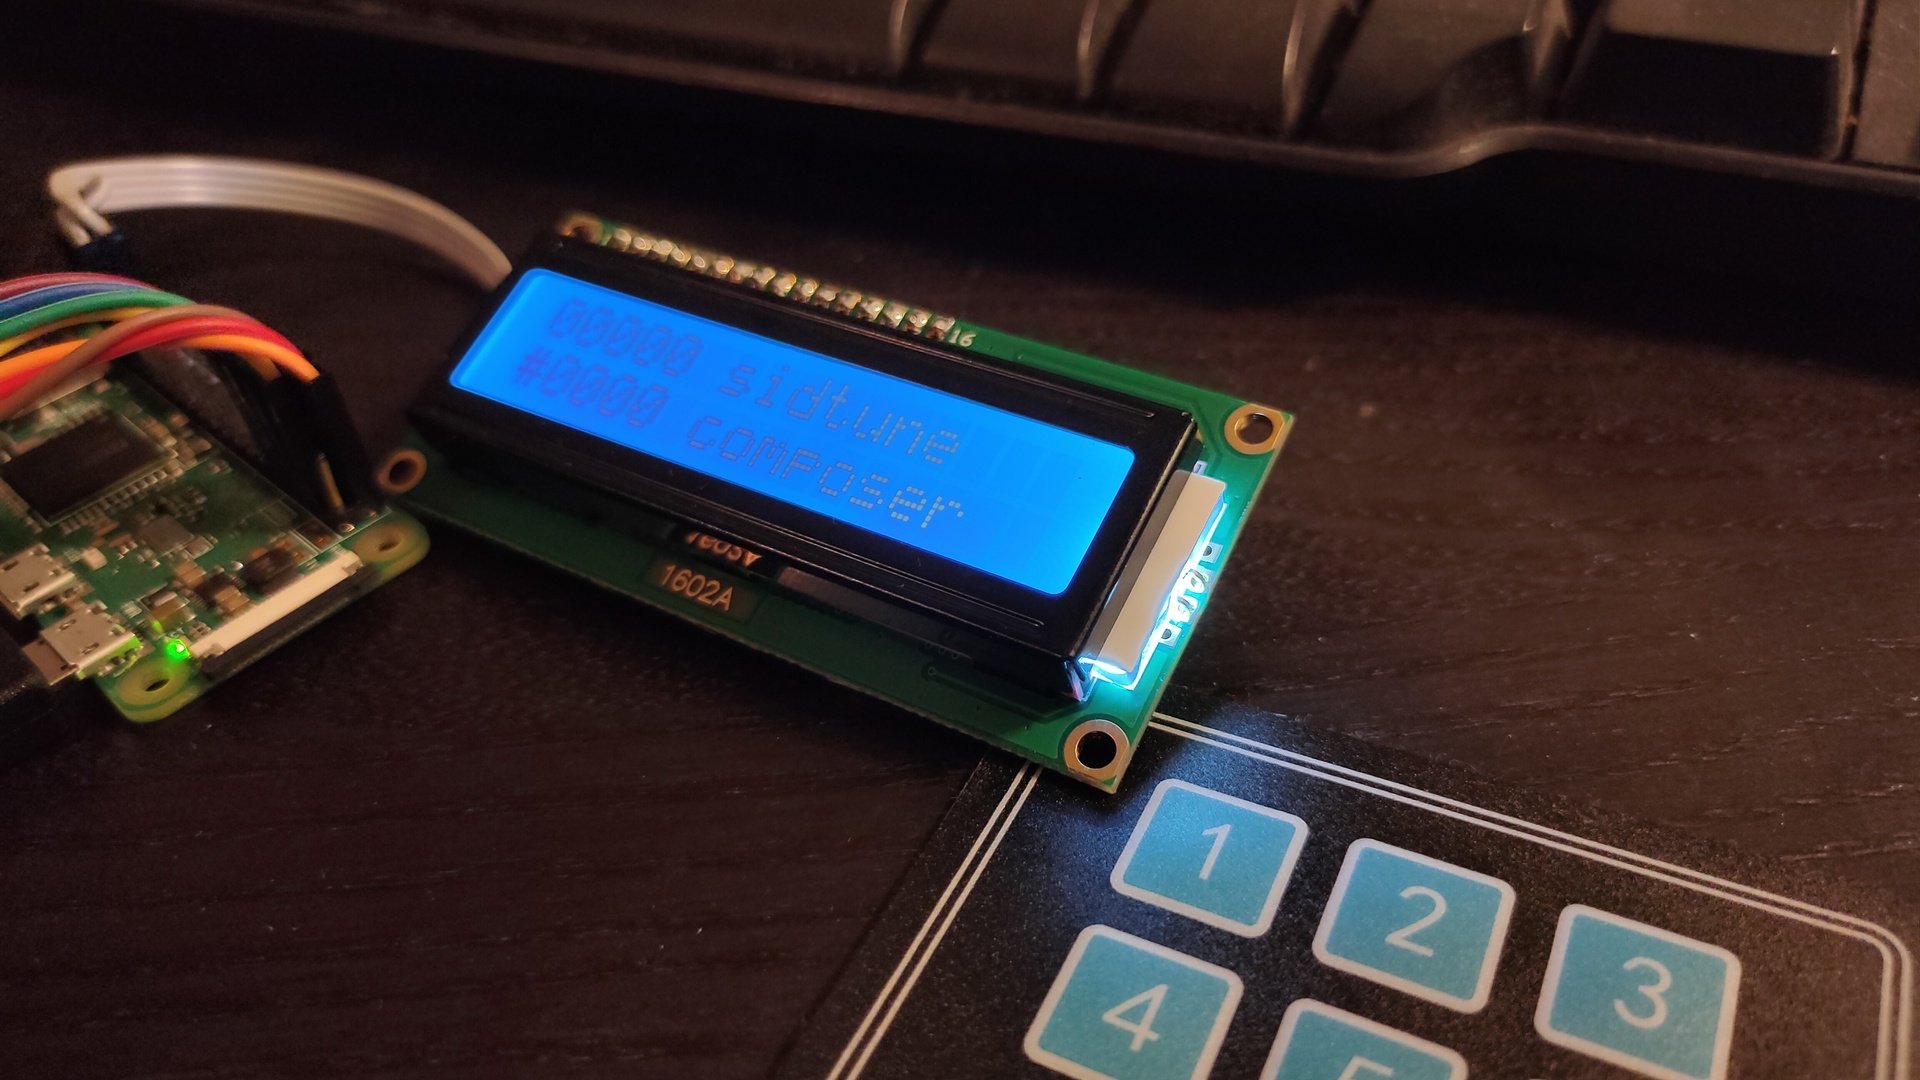
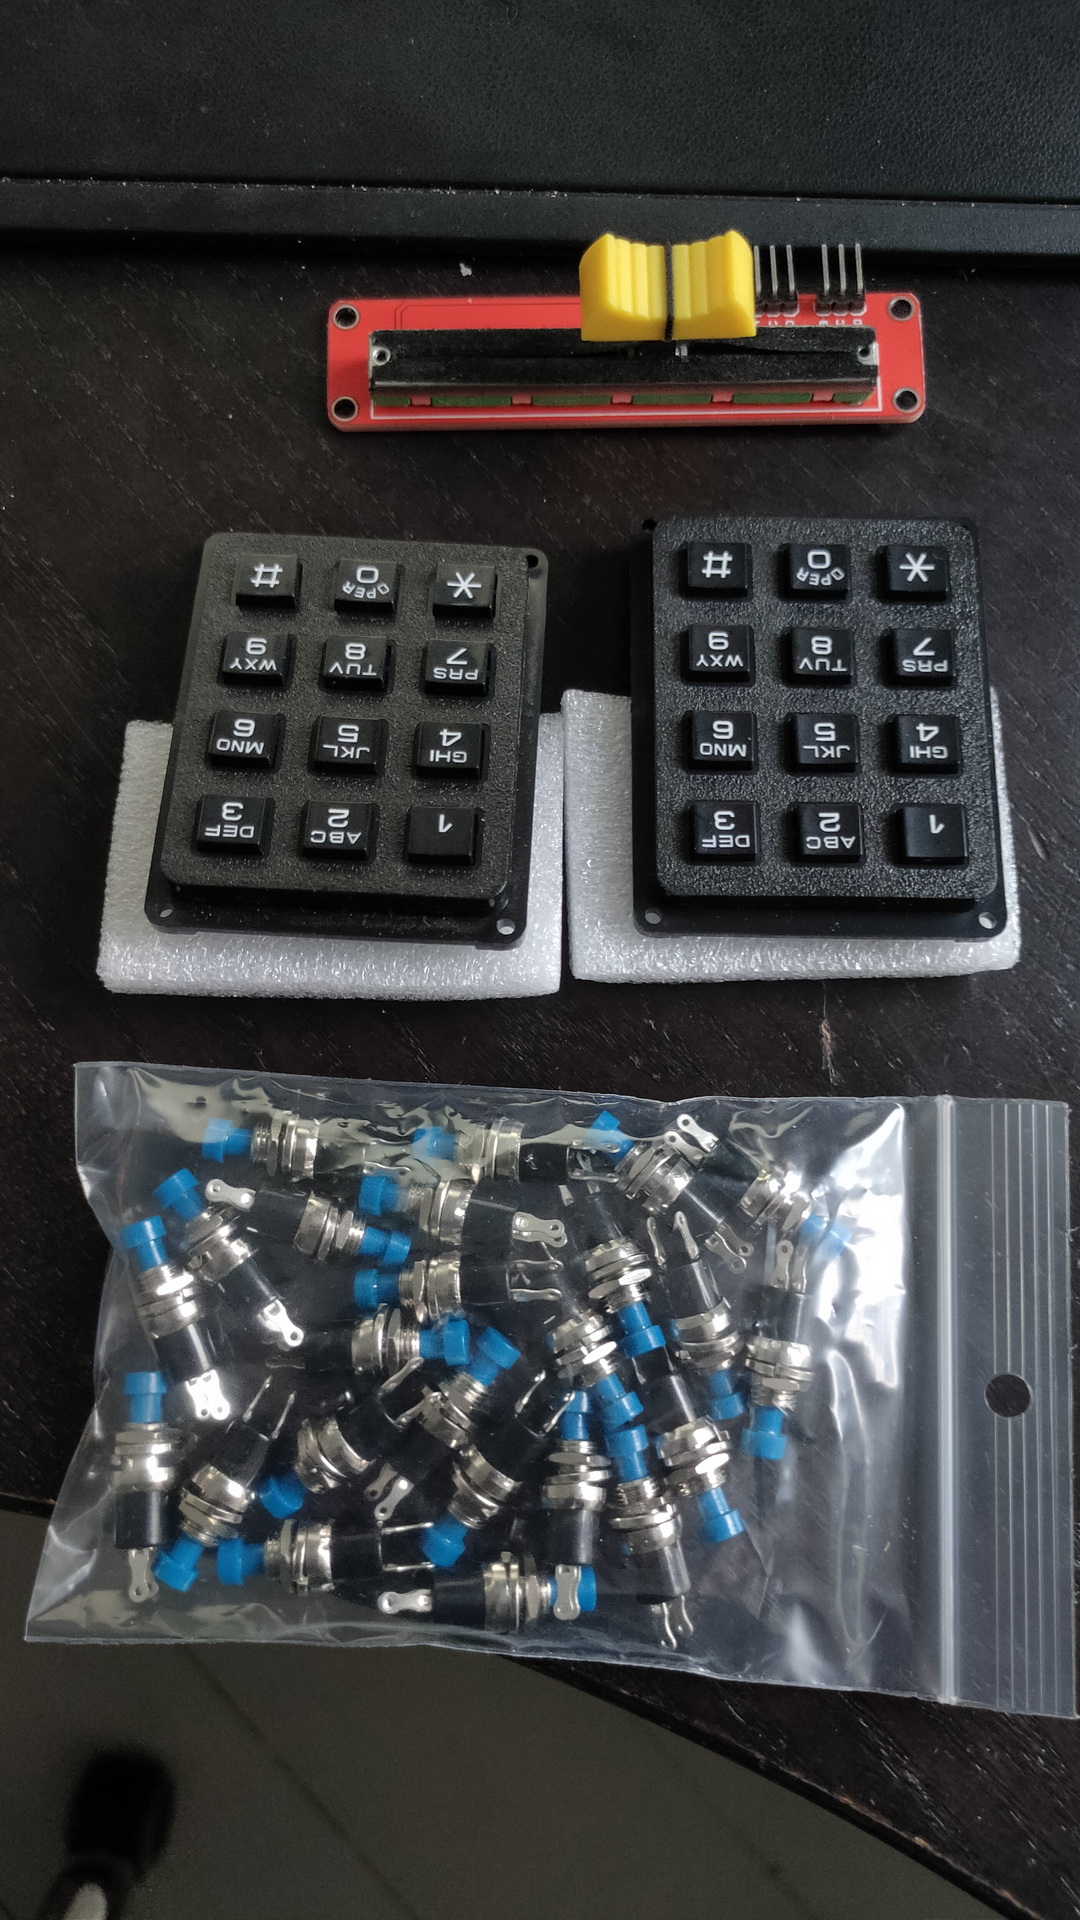
My initial idea was to have the “High Voltage Sid Collection” (Downloaded the 55000 pack) On a mini device, battery operated and with a little keypad.
On the keypad i can select the Sidtune to play, or pressing A and a number the Sids from a certain artist.
The display gives you information about the tune being played. ( The display has an I2C hat to convert 8bits to I2C )
See pinout phat above. I’ve got three choices for I2C connection (green/blue to the Phat)
Direct connect and use different addresses
Use a I2C hub and different addresses
Define a secondary I2C on the raspberry
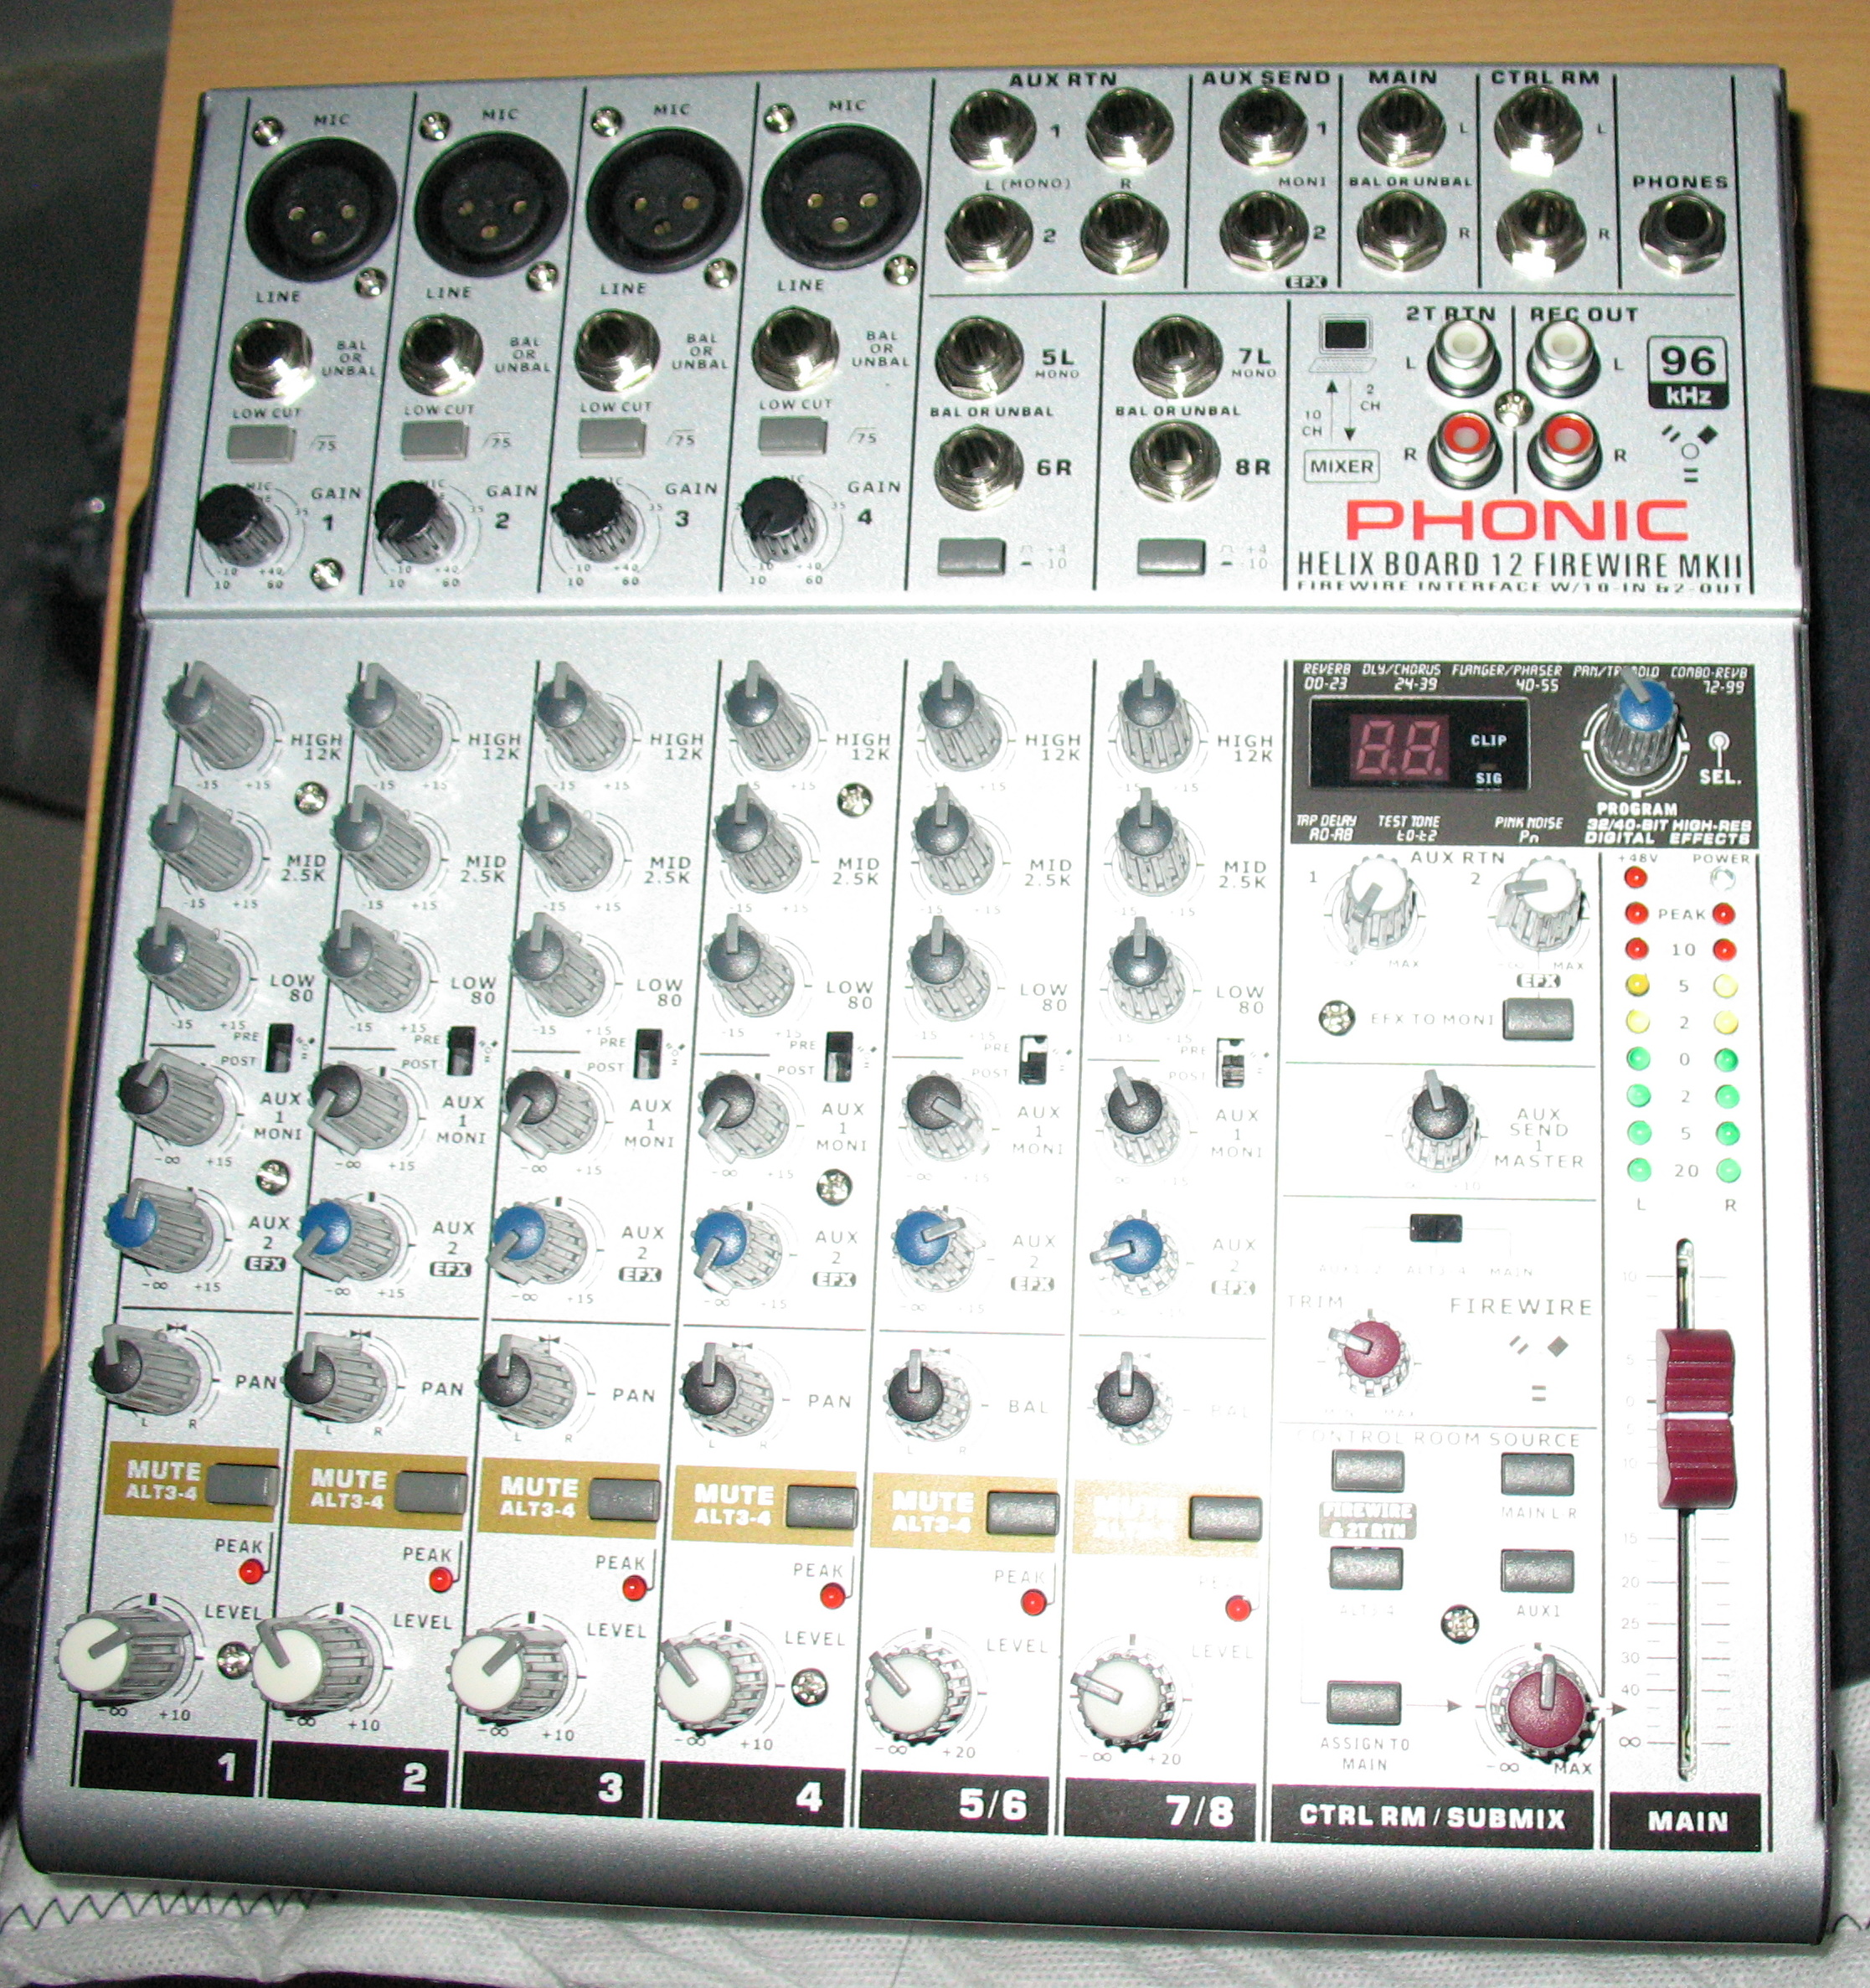
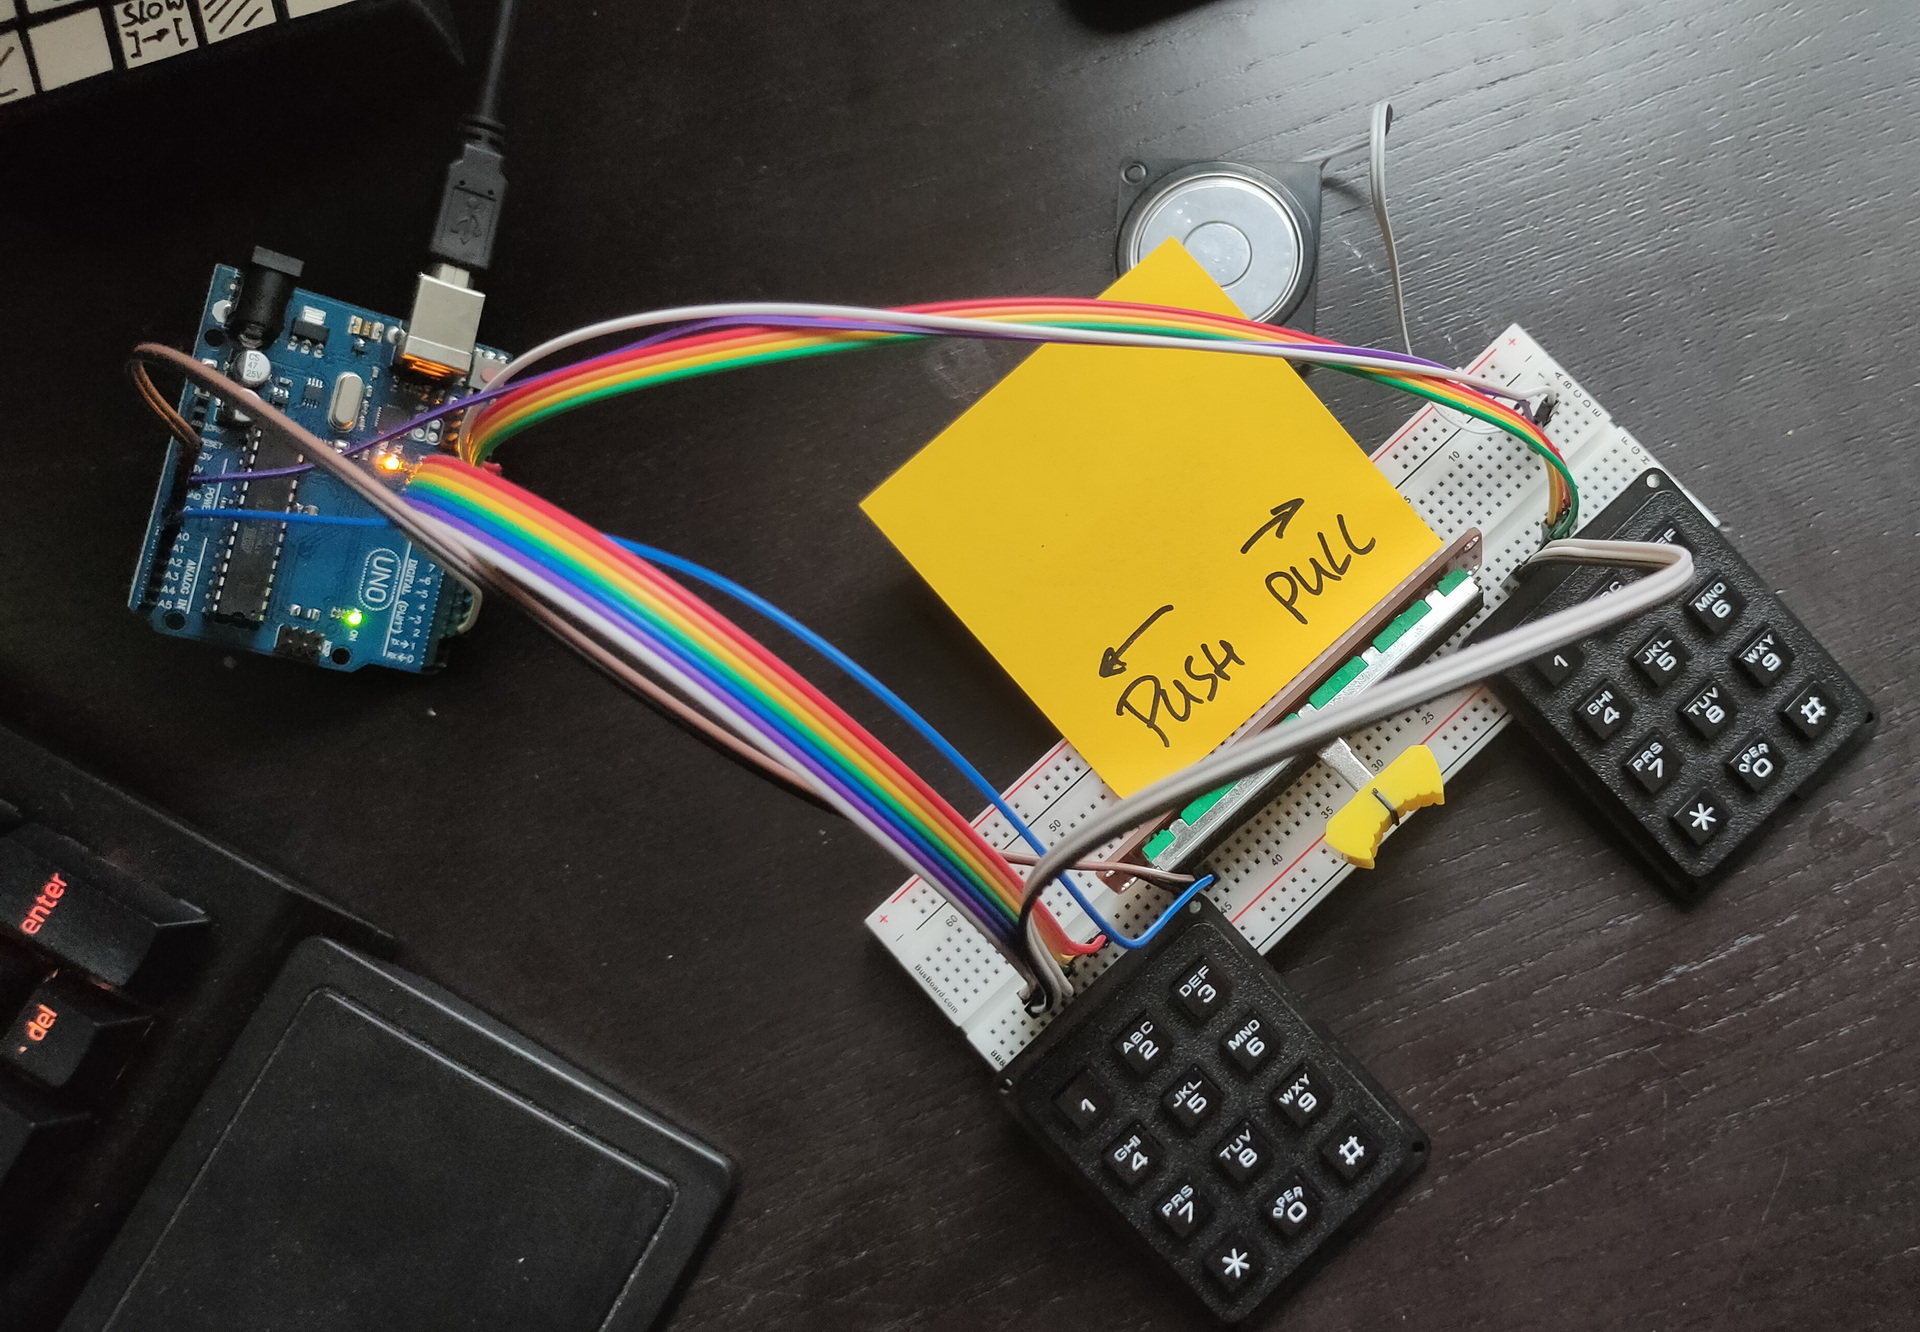
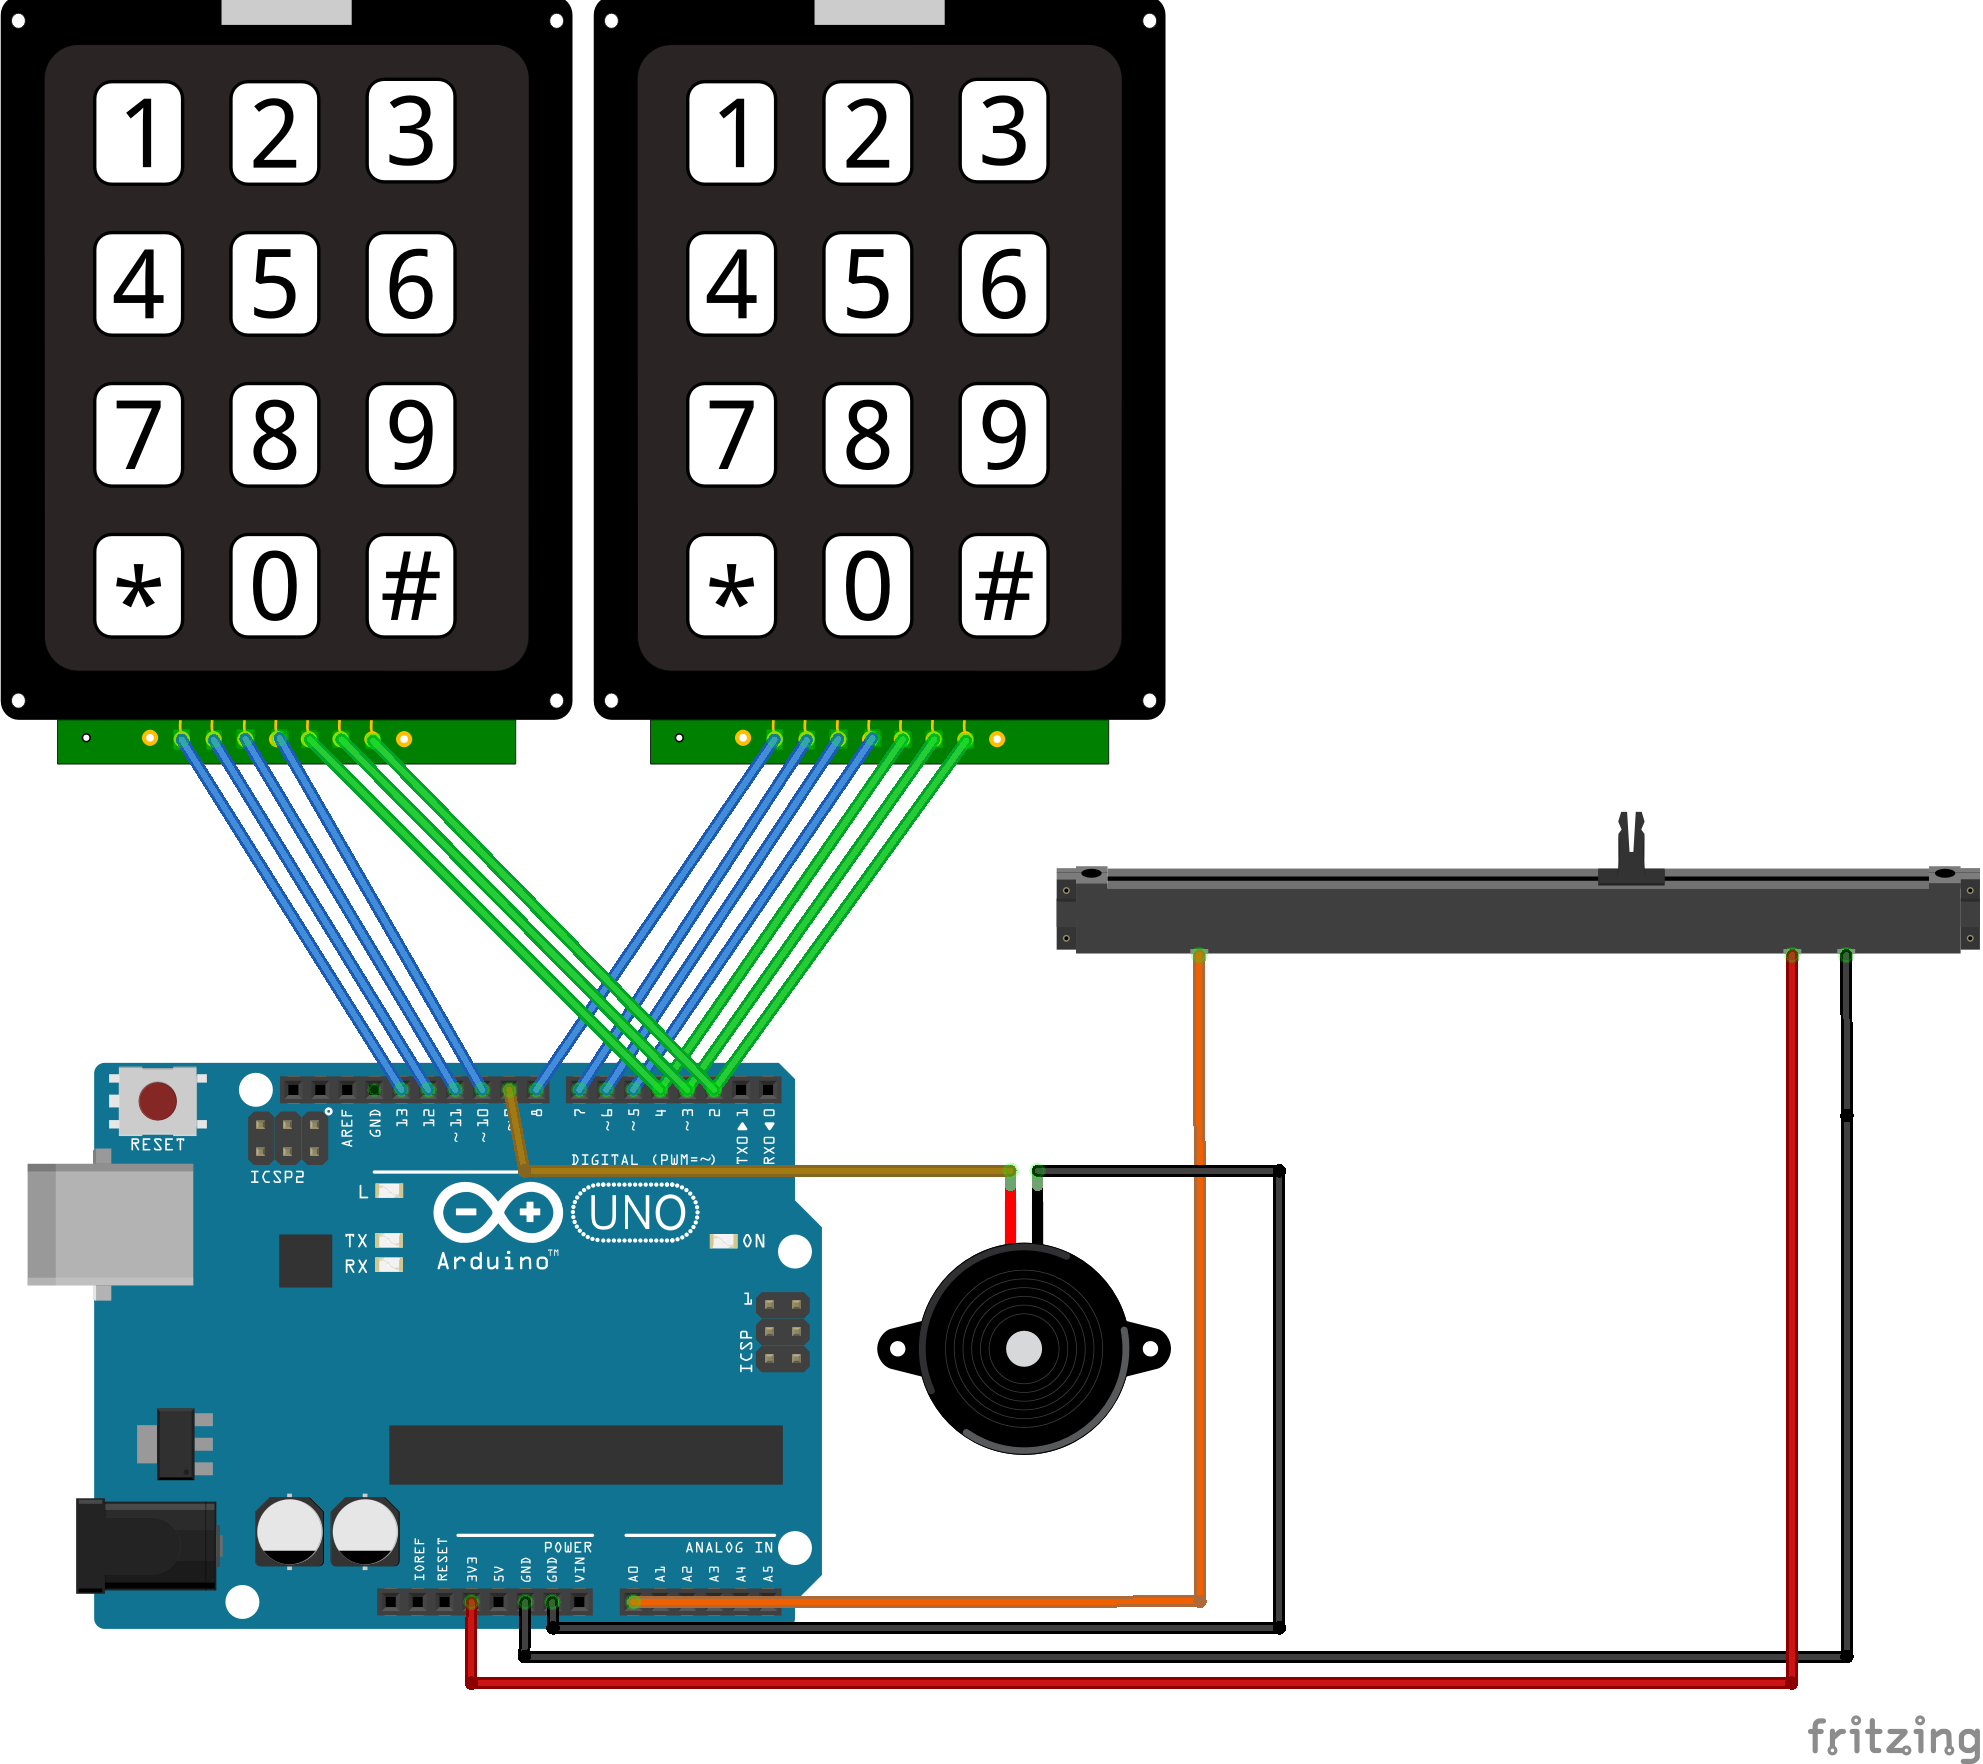
So I made the first test setup …
Underrun occurred .. So back to the drawingboard. I probably need a better Audio Hat. First to try .. Zero fast enough for sidplay2? Maybe audio over hdmi works??
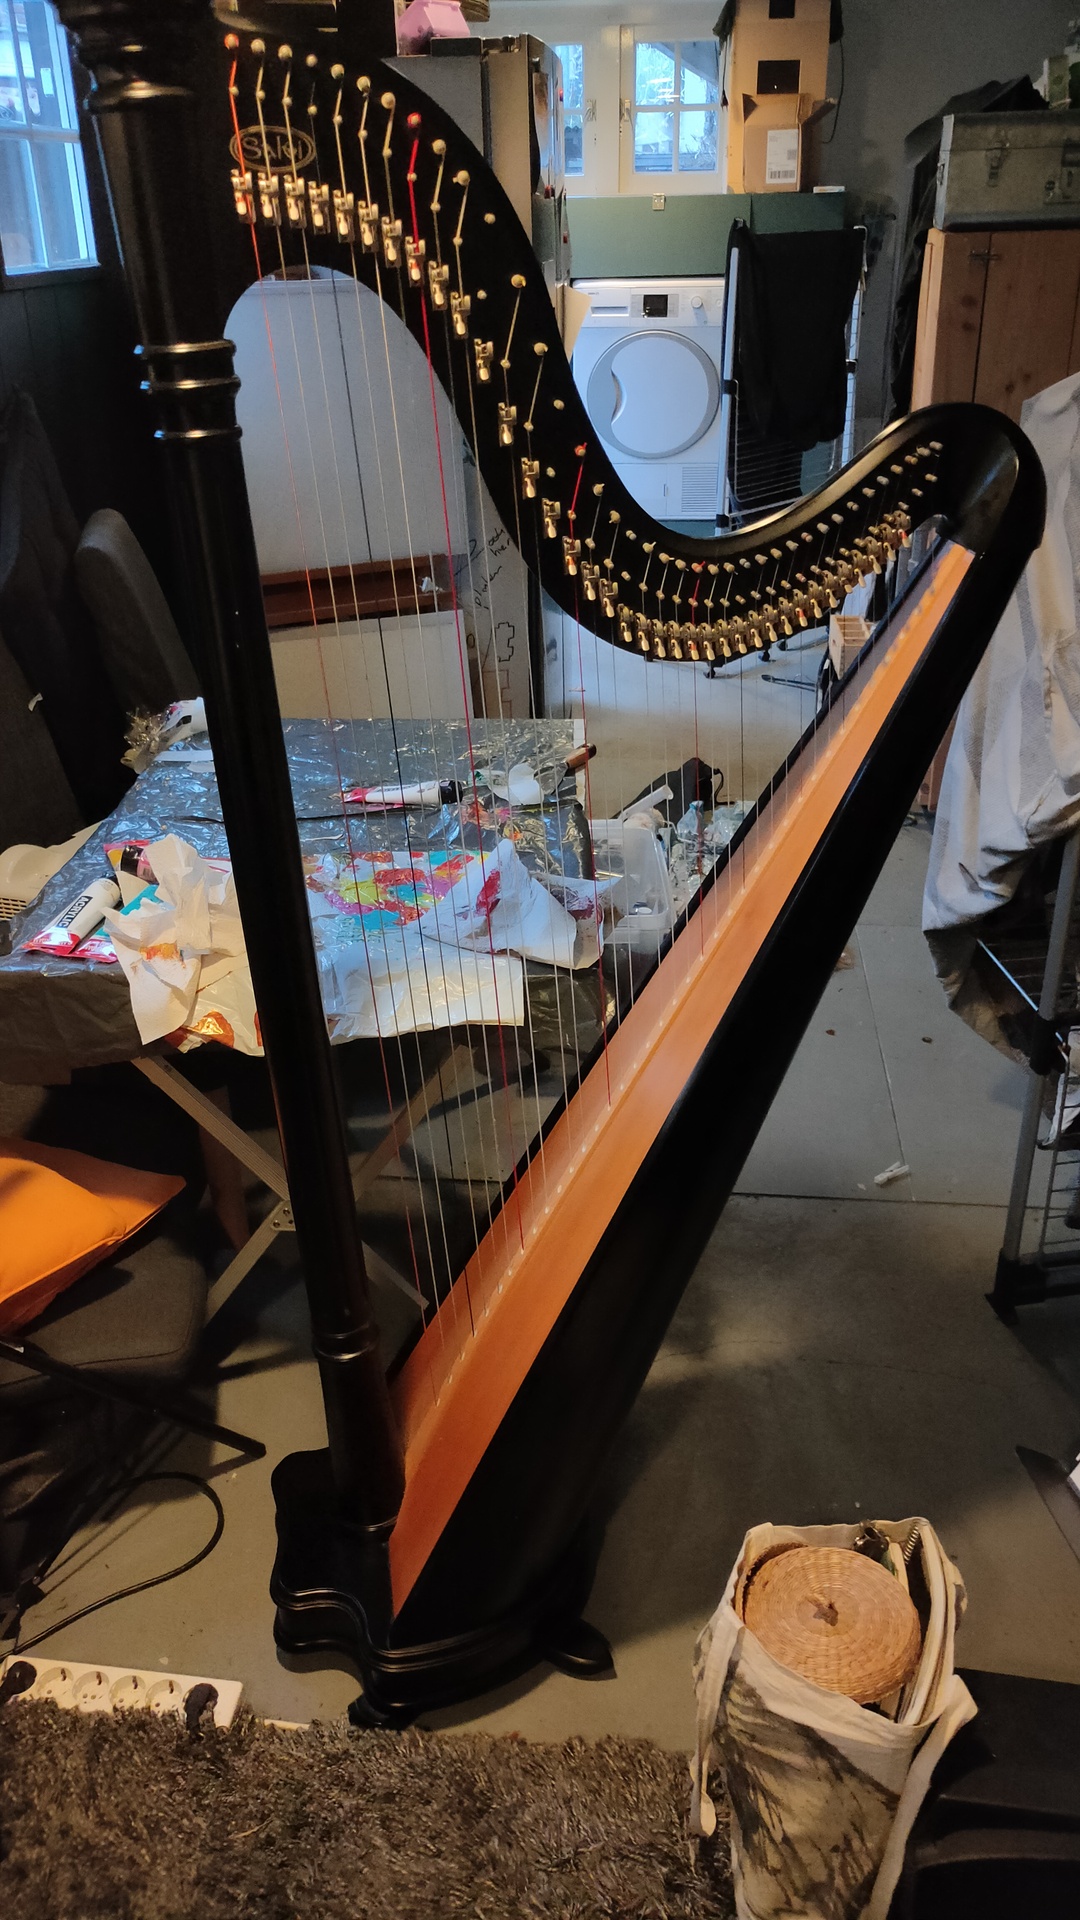
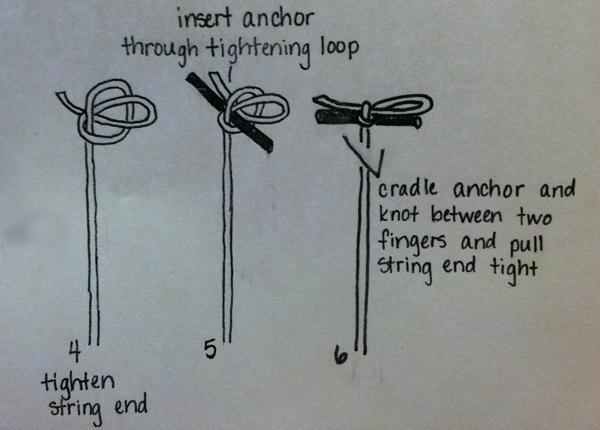
I’ve replaced strings before so that’s no problem. Starting all over again.
Our Folk Band Harp player wants to due some duets. So lets get playin’
http://pinnerstringquartet.com/
UPDATE: 20230119 Replaced the 4 strings yesterday, not fully tuned yet. Gave the string some time to rest. Looking at the harp this morning. G4 was broken .. d*mn
UPDATE: 20230126 Replaced also the G4, all done. Tuning this kind of Harp. (Salvi Lever harp) You have to put all levers down, and tune them from lowest note to highest. The A B and E strings have to be tuned flat! So by using the levers you can play in all kinds of different keys.
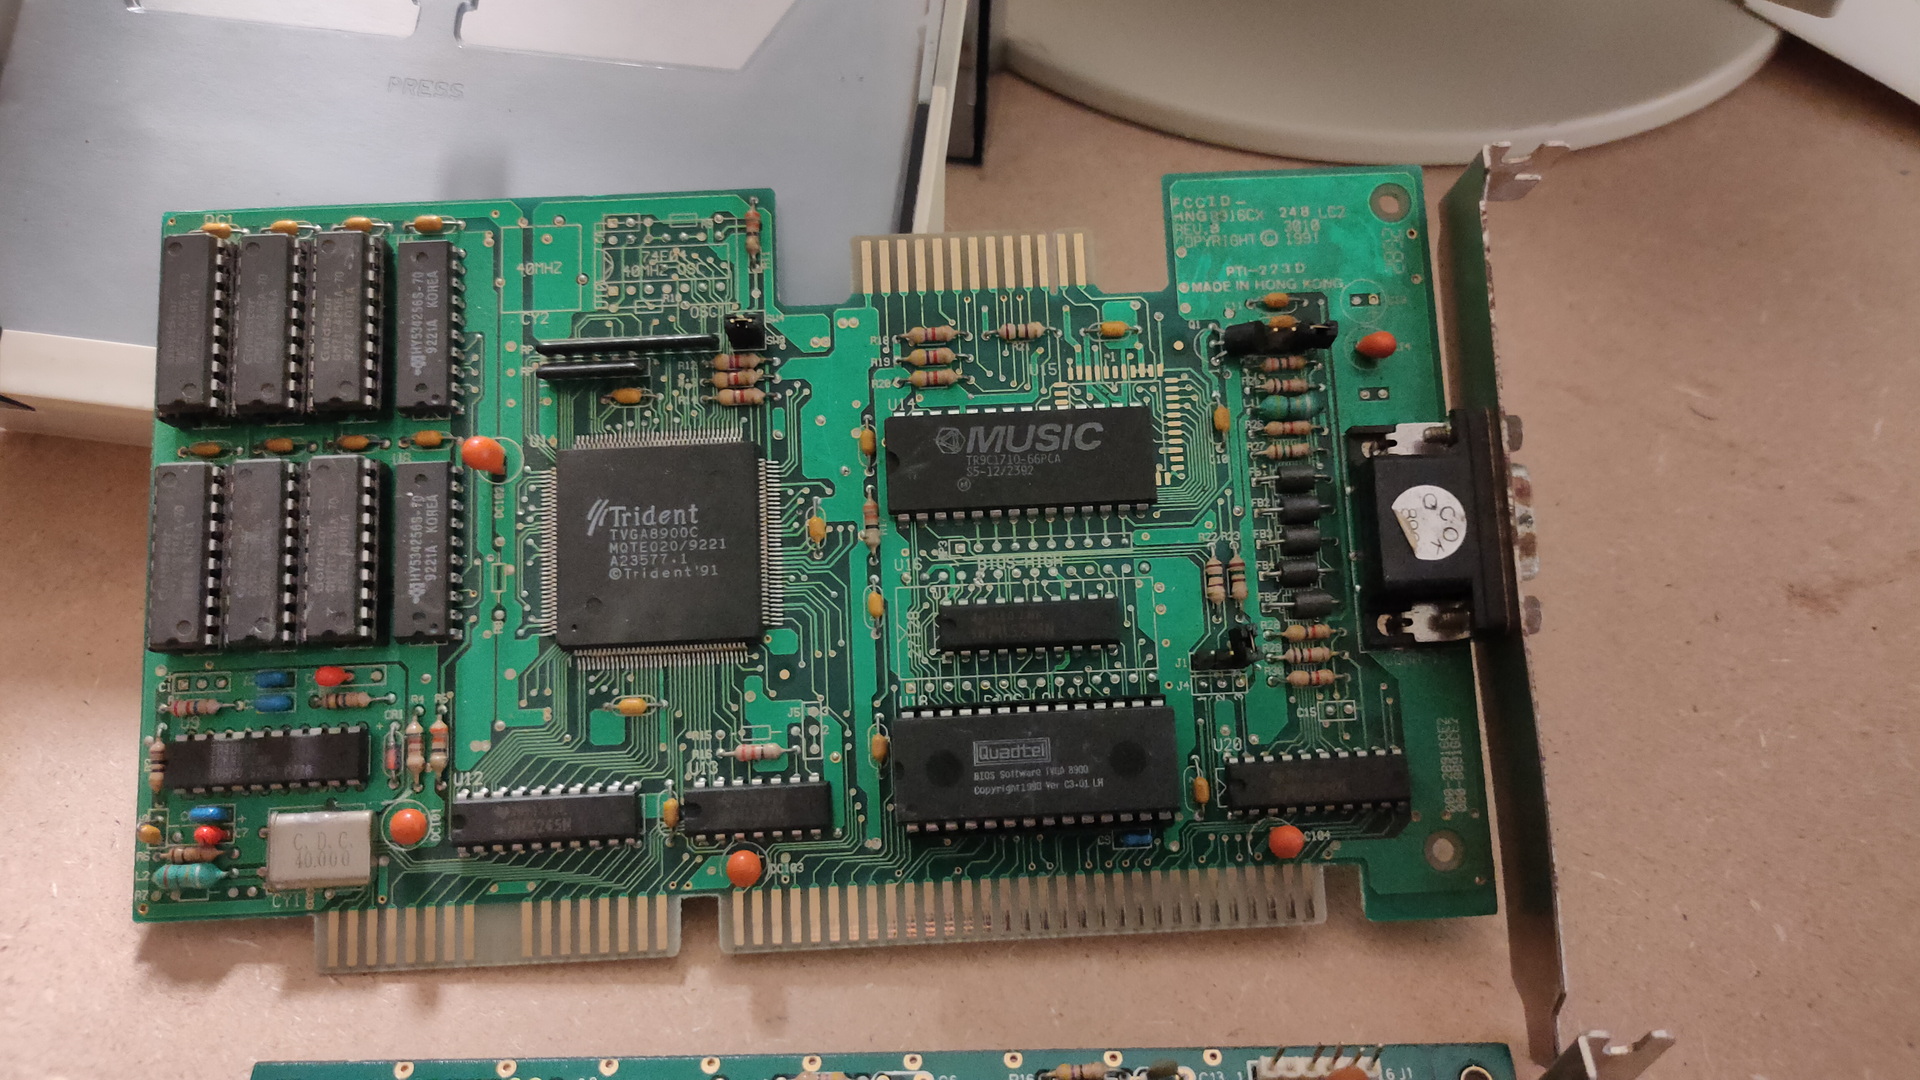
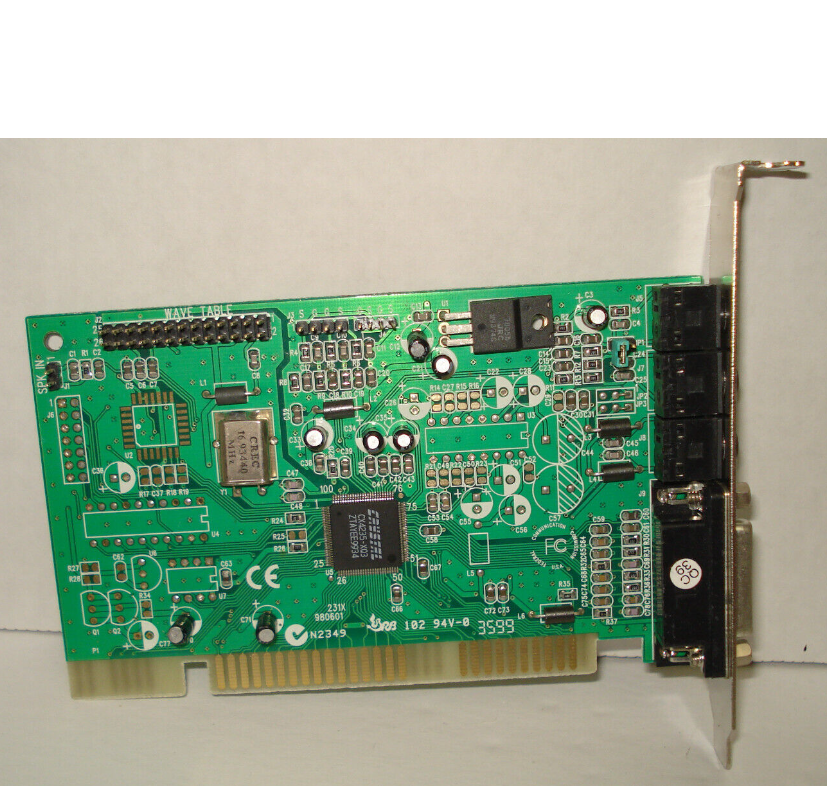
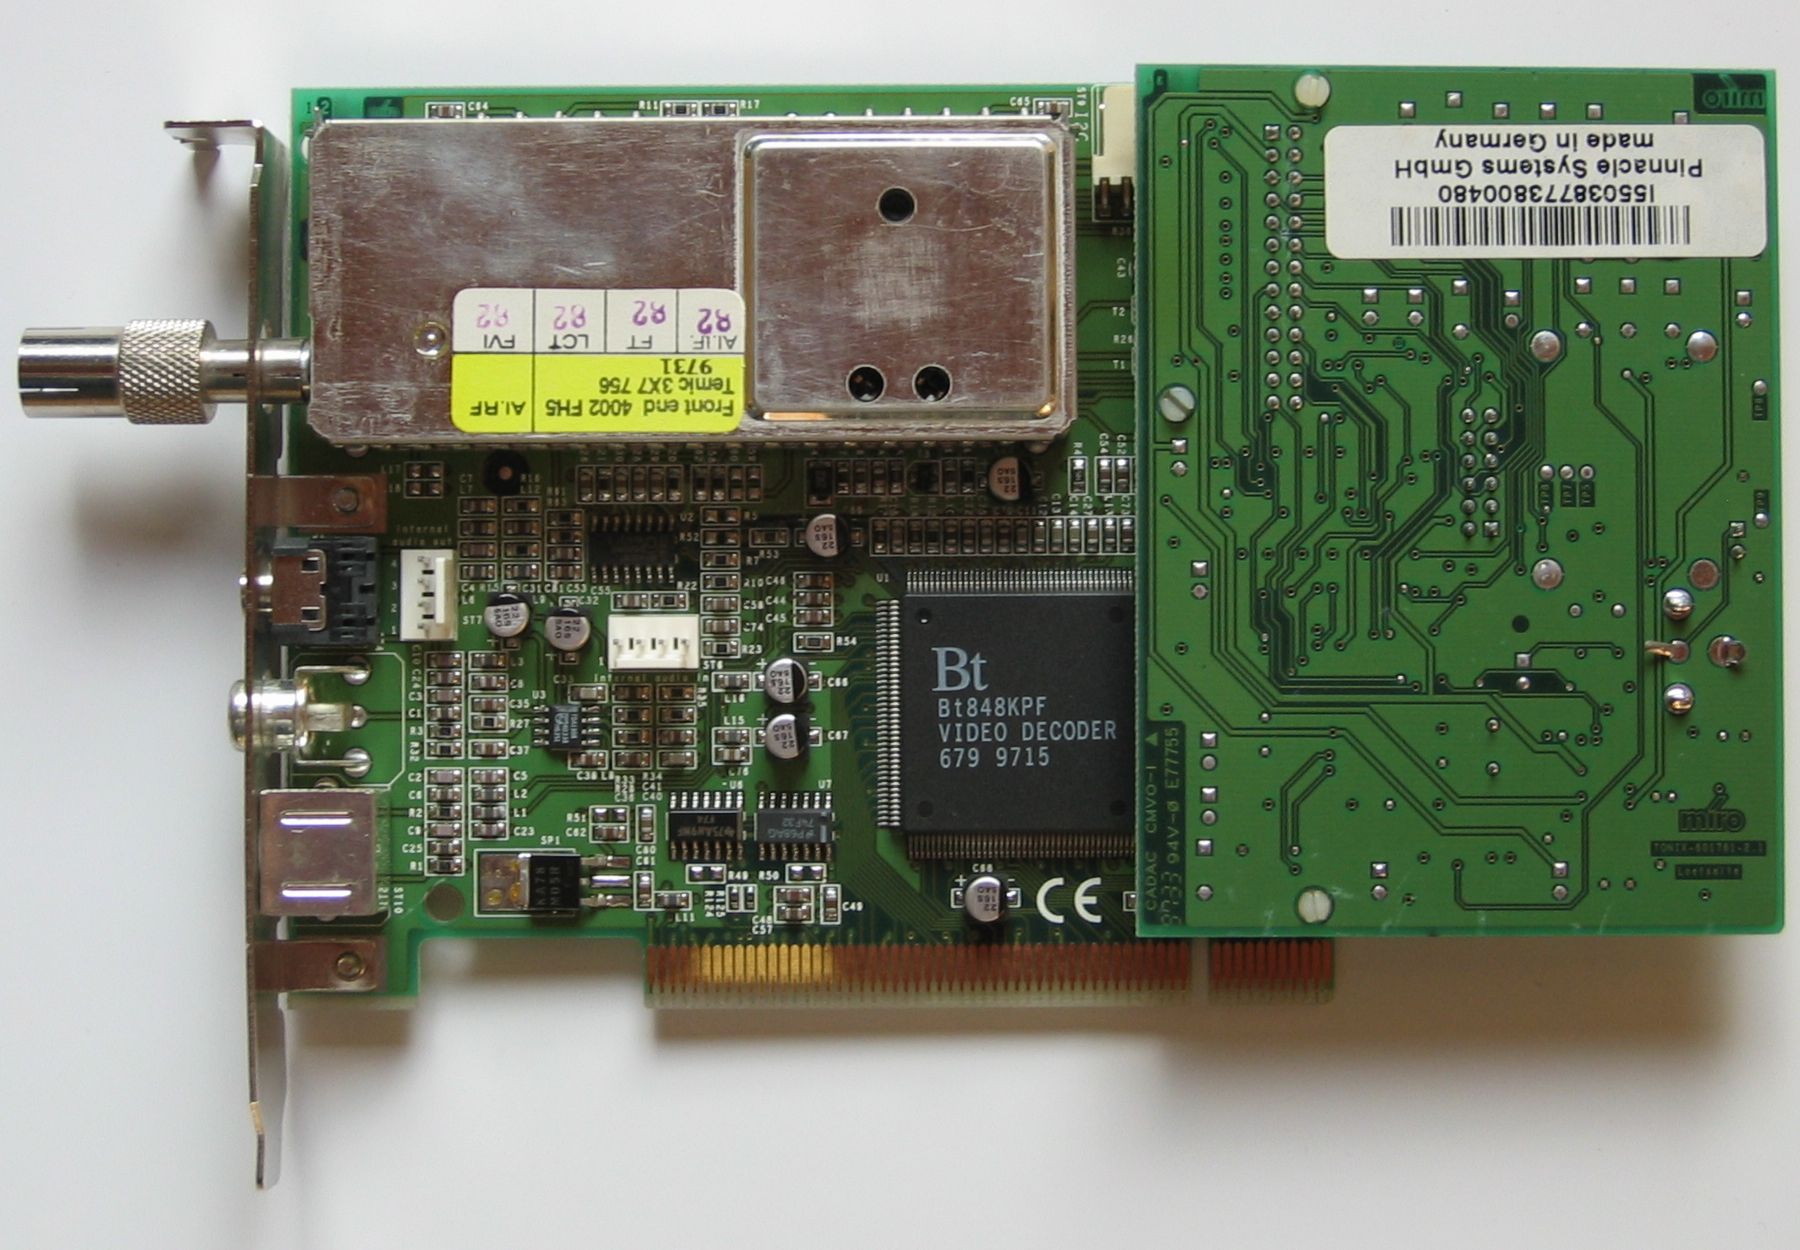
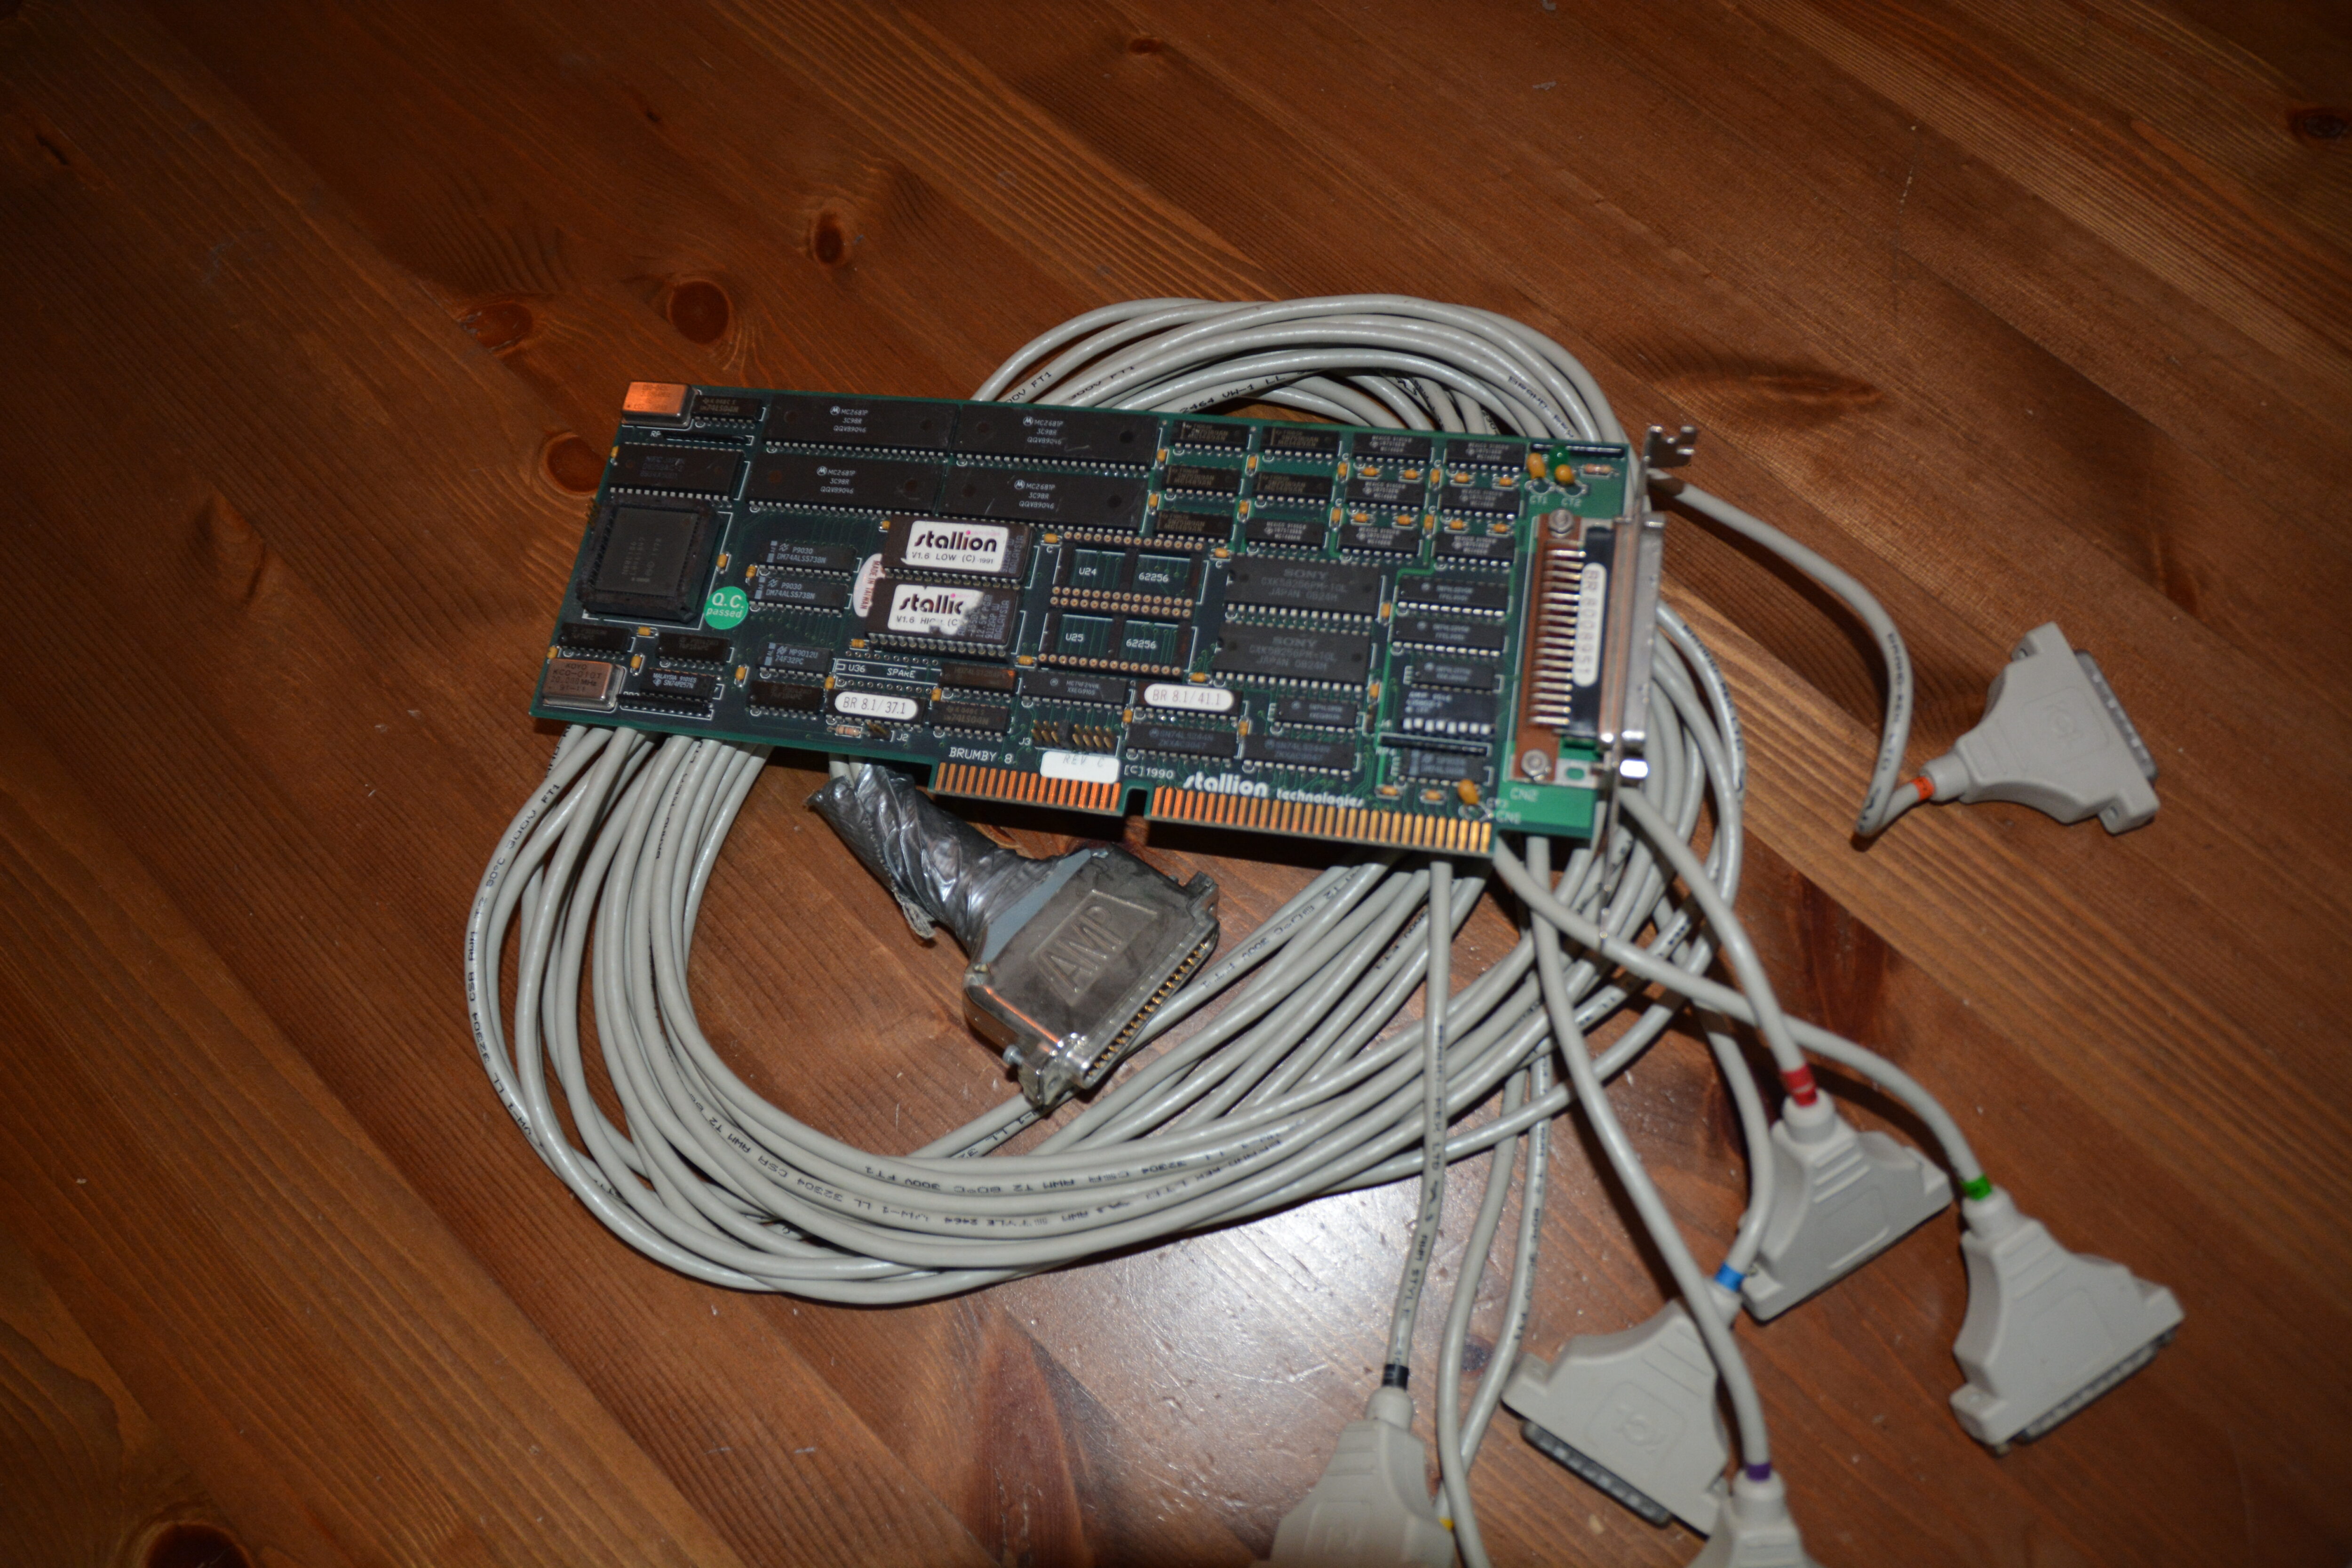
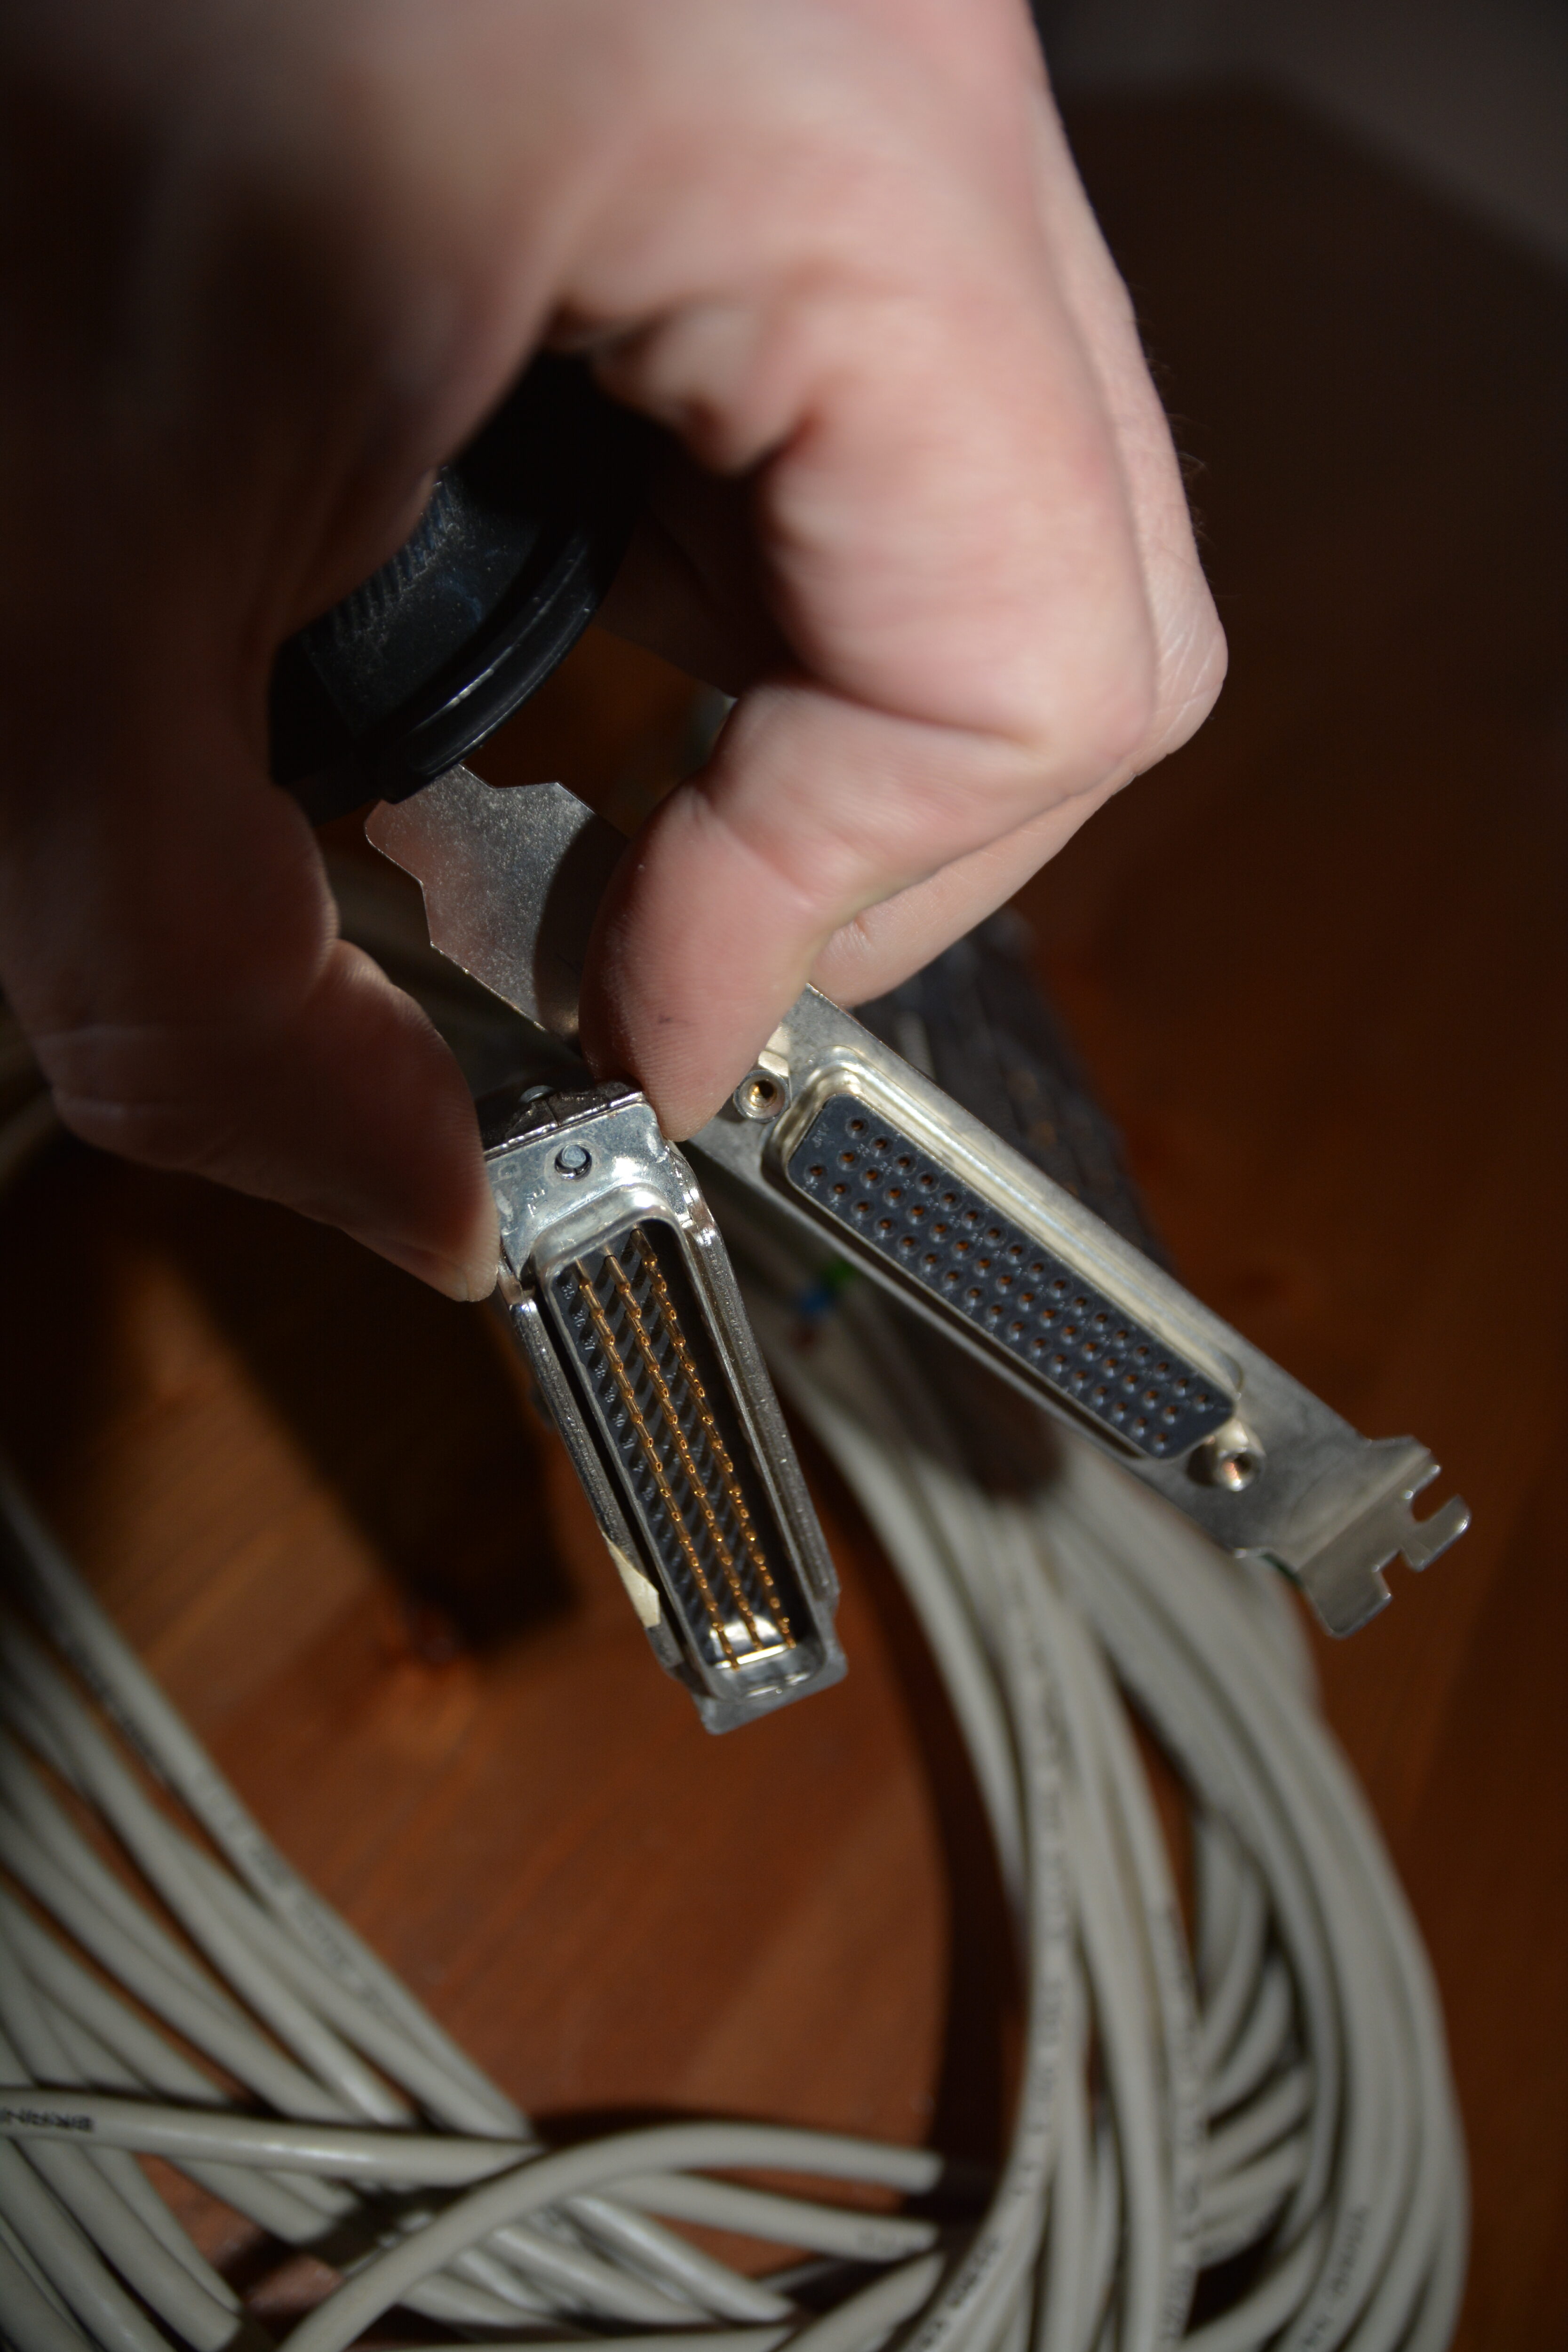
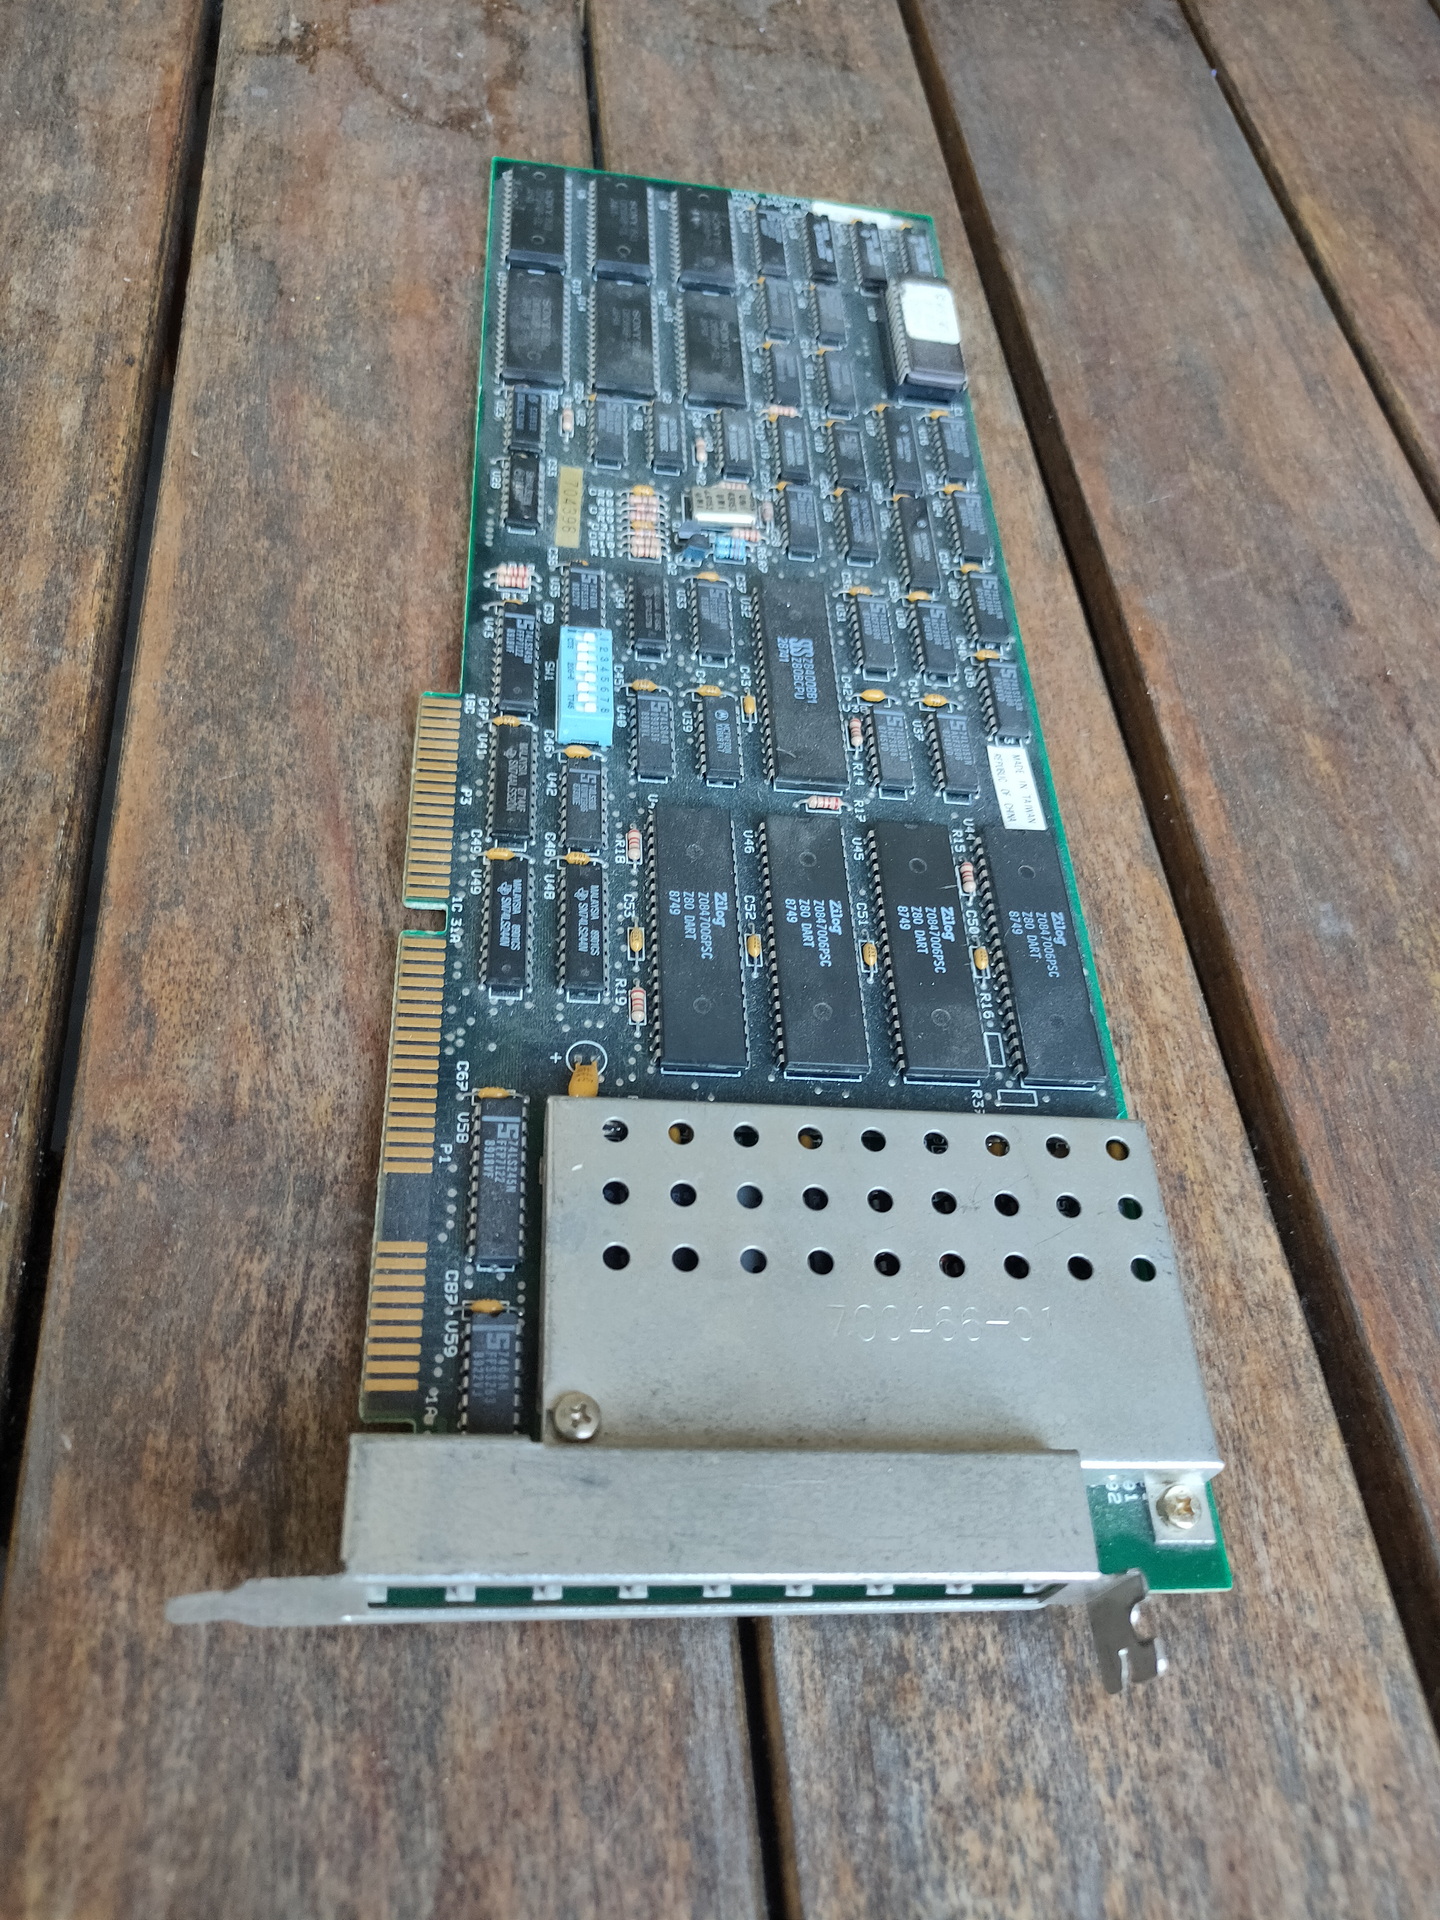
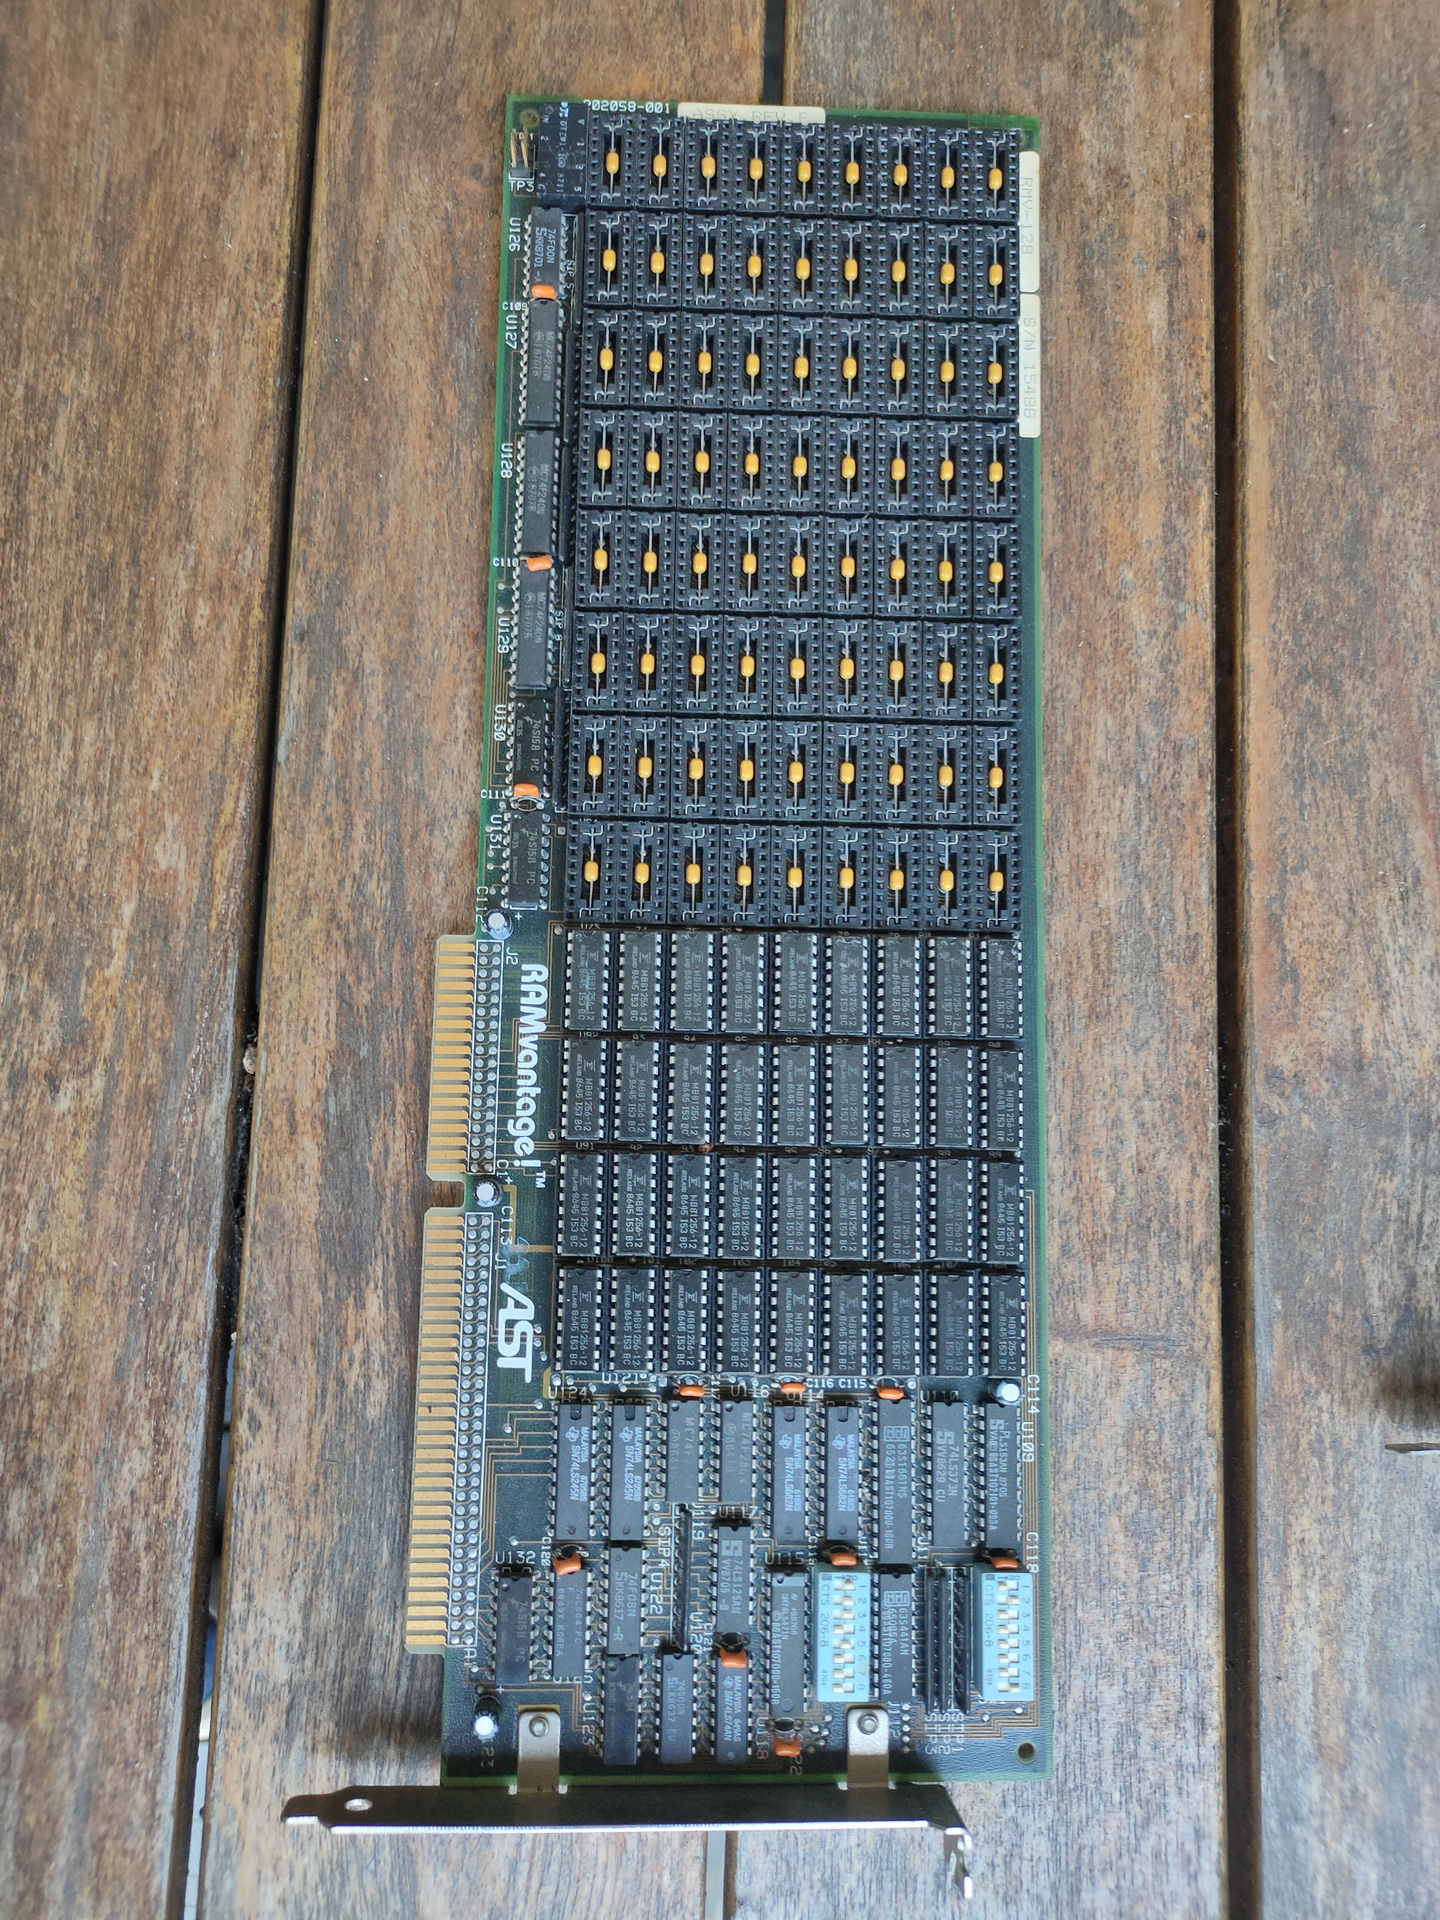
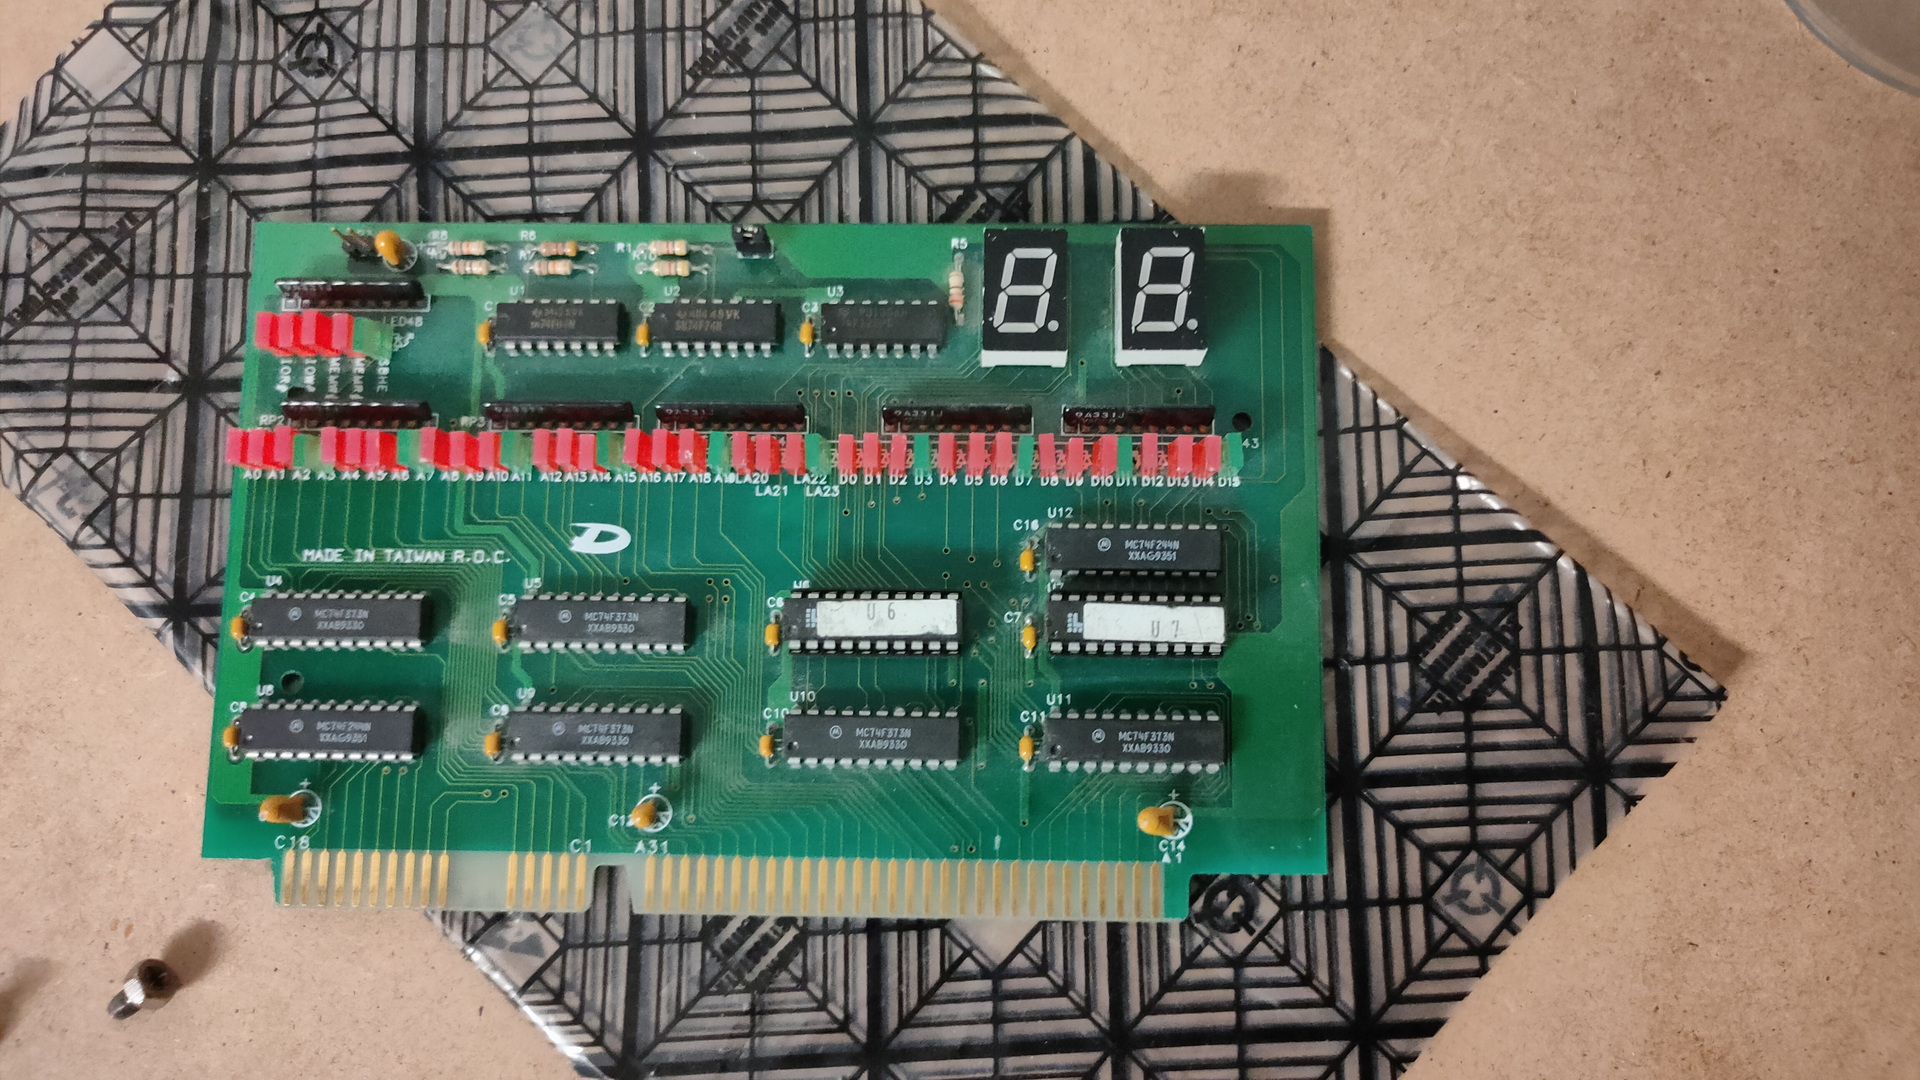
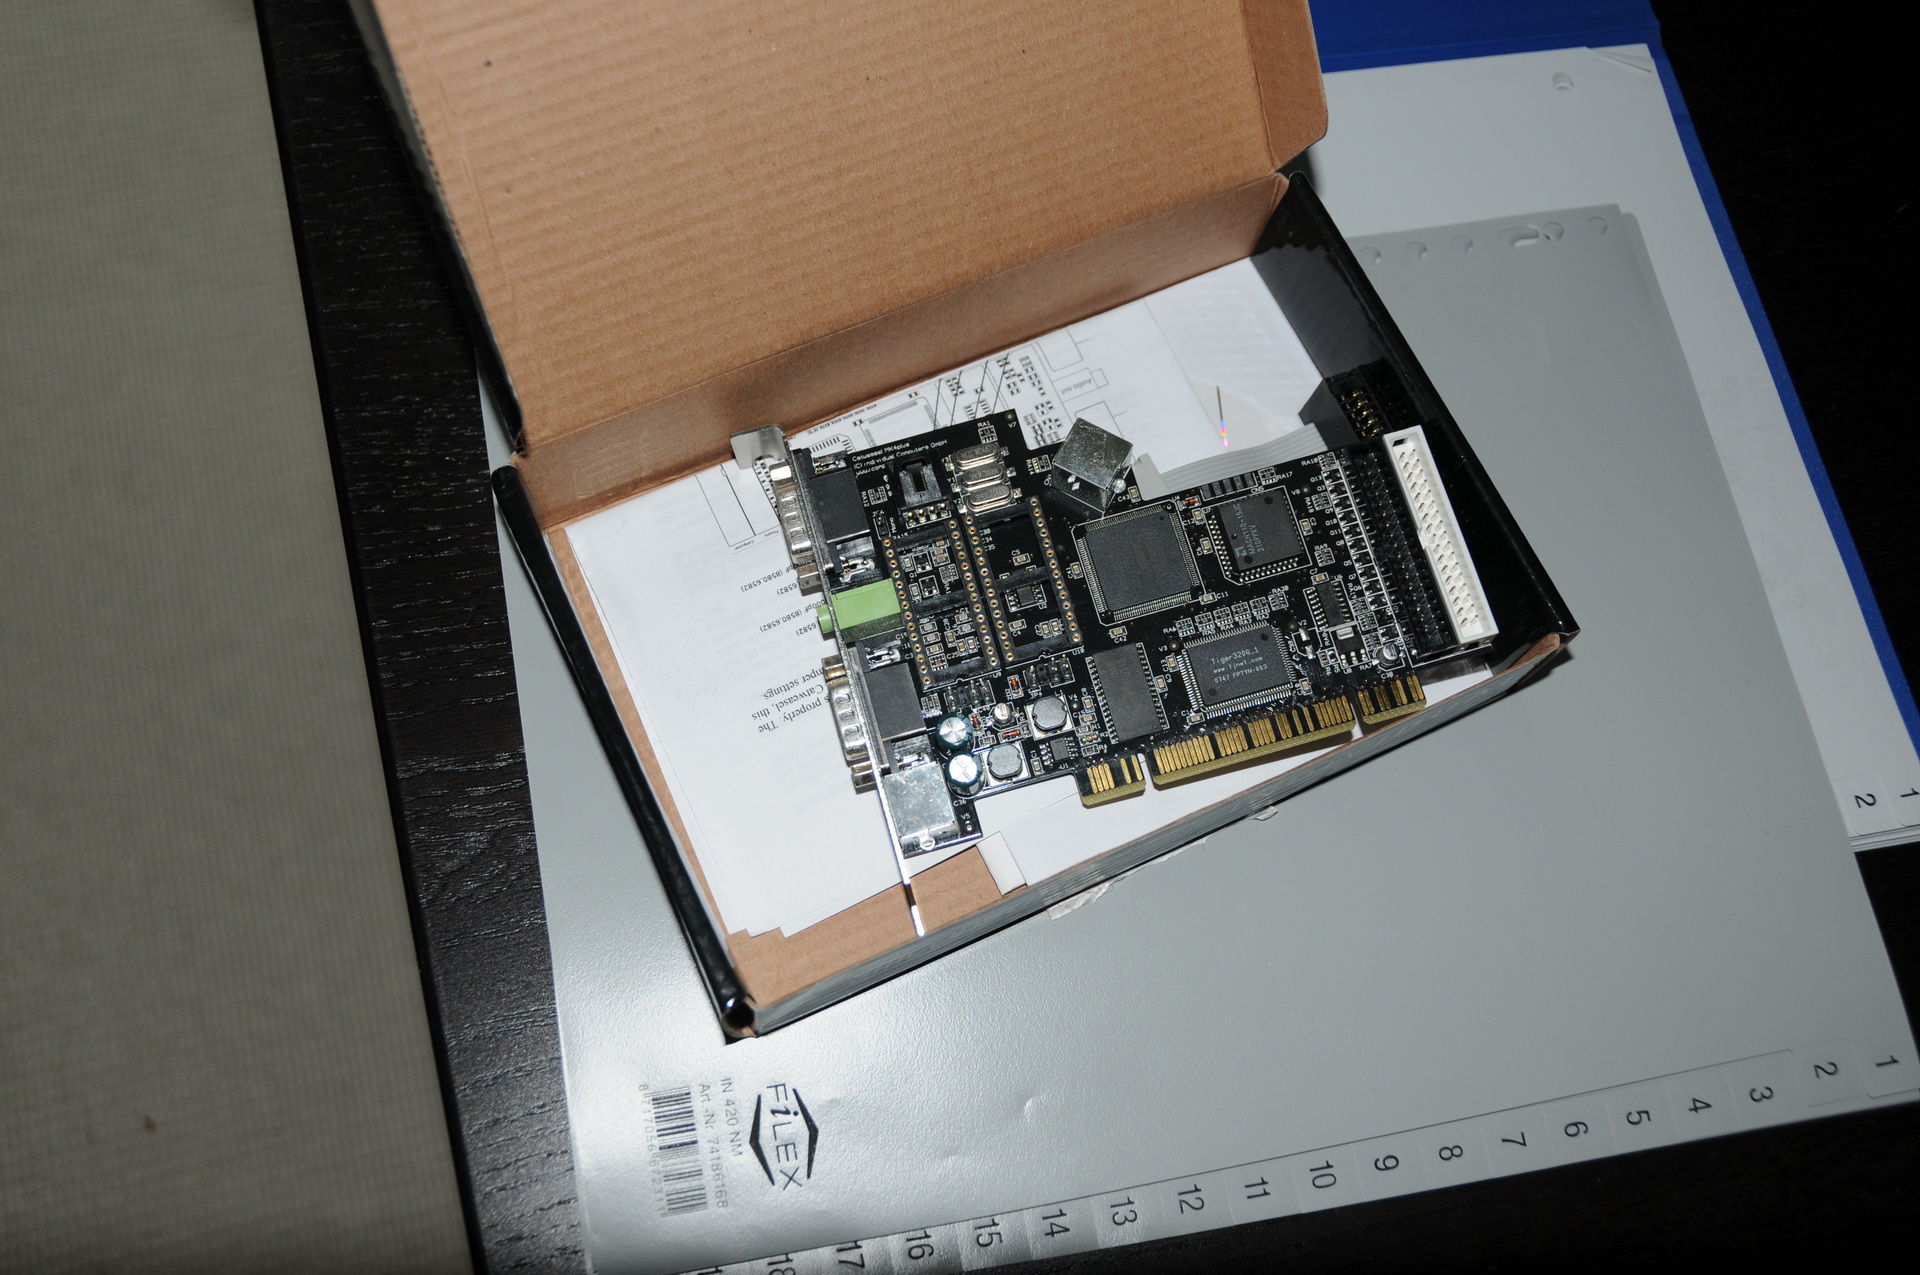
Only cards worth mentioning. I will add more information to this page
Graphics:
Hercules ???? – Did a lot of machinecode on this one. (Which?) CGA/EGA Card ??? – Machinecode hacking VGA .. first card also machine code hacking Matrox Some cards i knew a lot about, i did some manipulations using assembly that were very interesting, but only worked on that specific brand.
The Catweasel is a family of enhanced floppy-disk controllers from German company Individual Computers. These controllers are designed to allow more recent computers, such as PCs, to access a wide variety of older or non-native disk formats using standard floppy drives.
You could connect joysticks and there is a socket for a SID chip on the card.
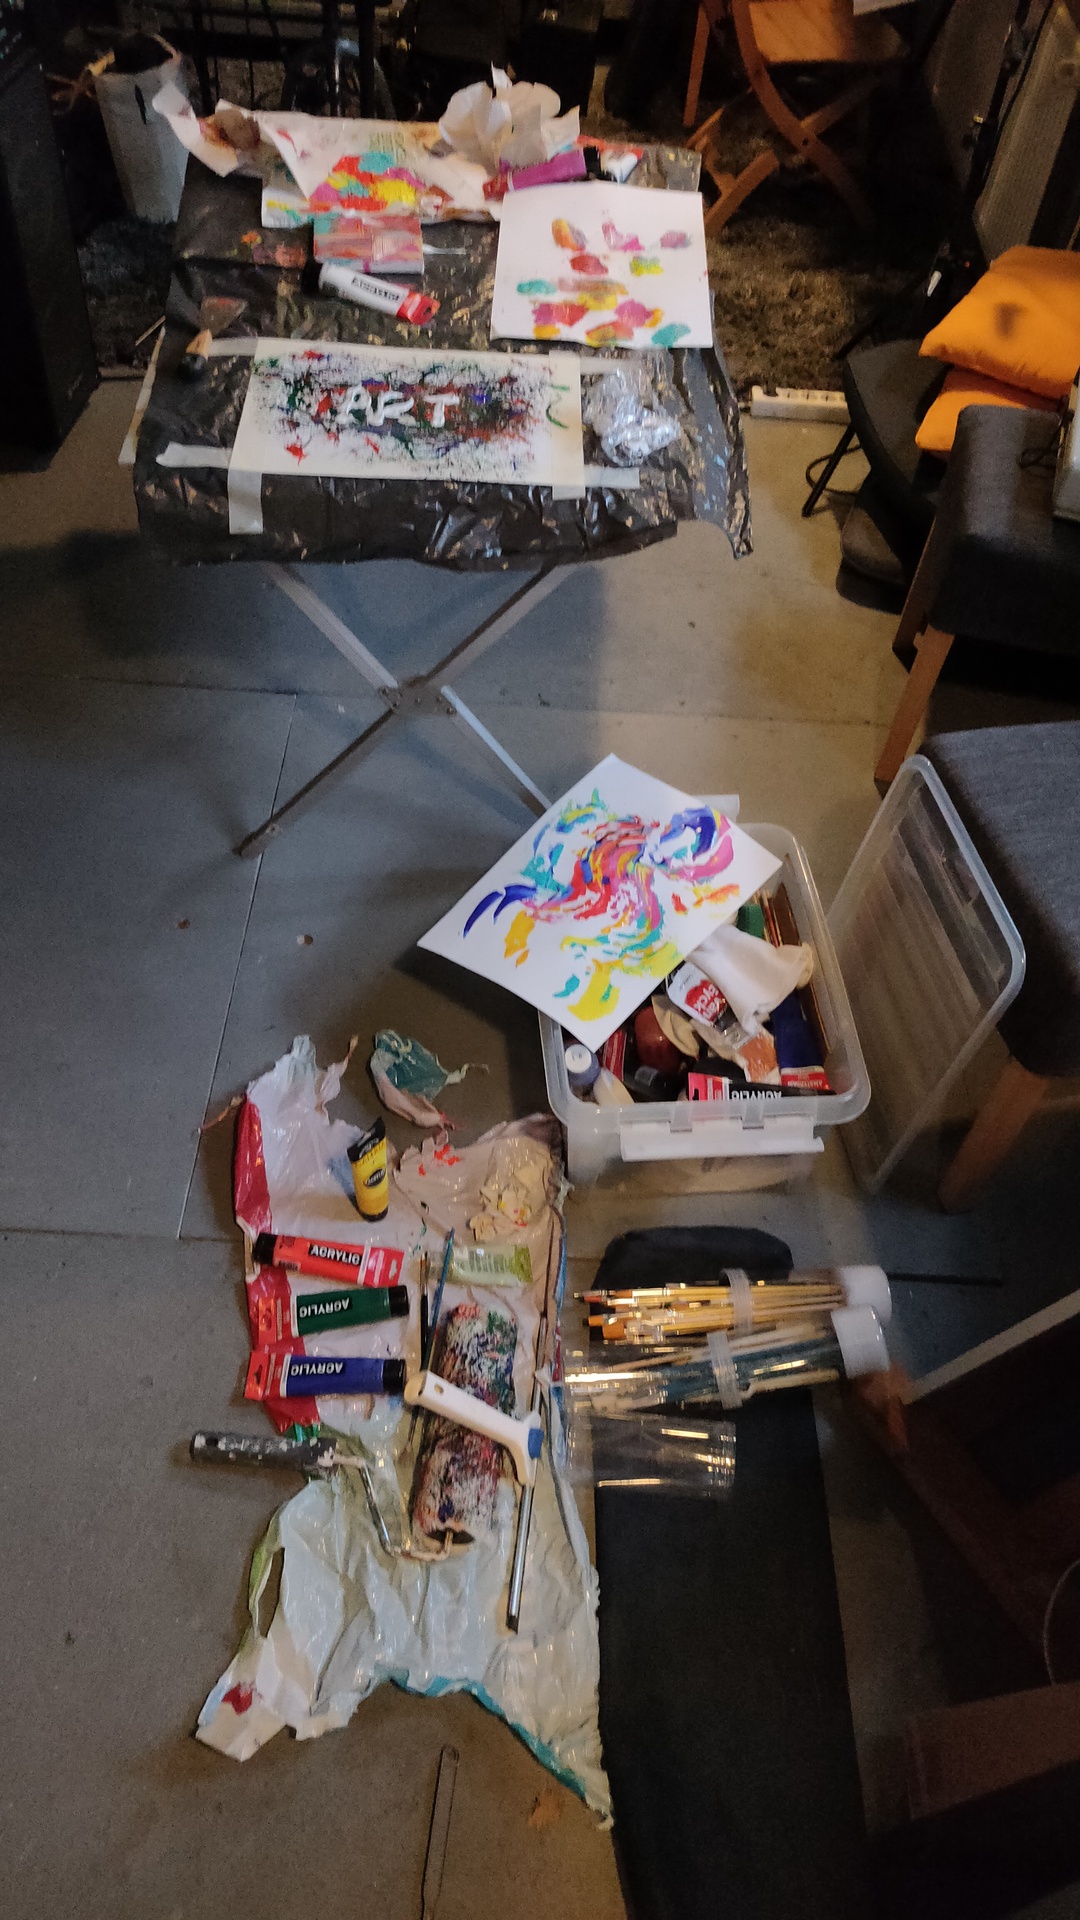
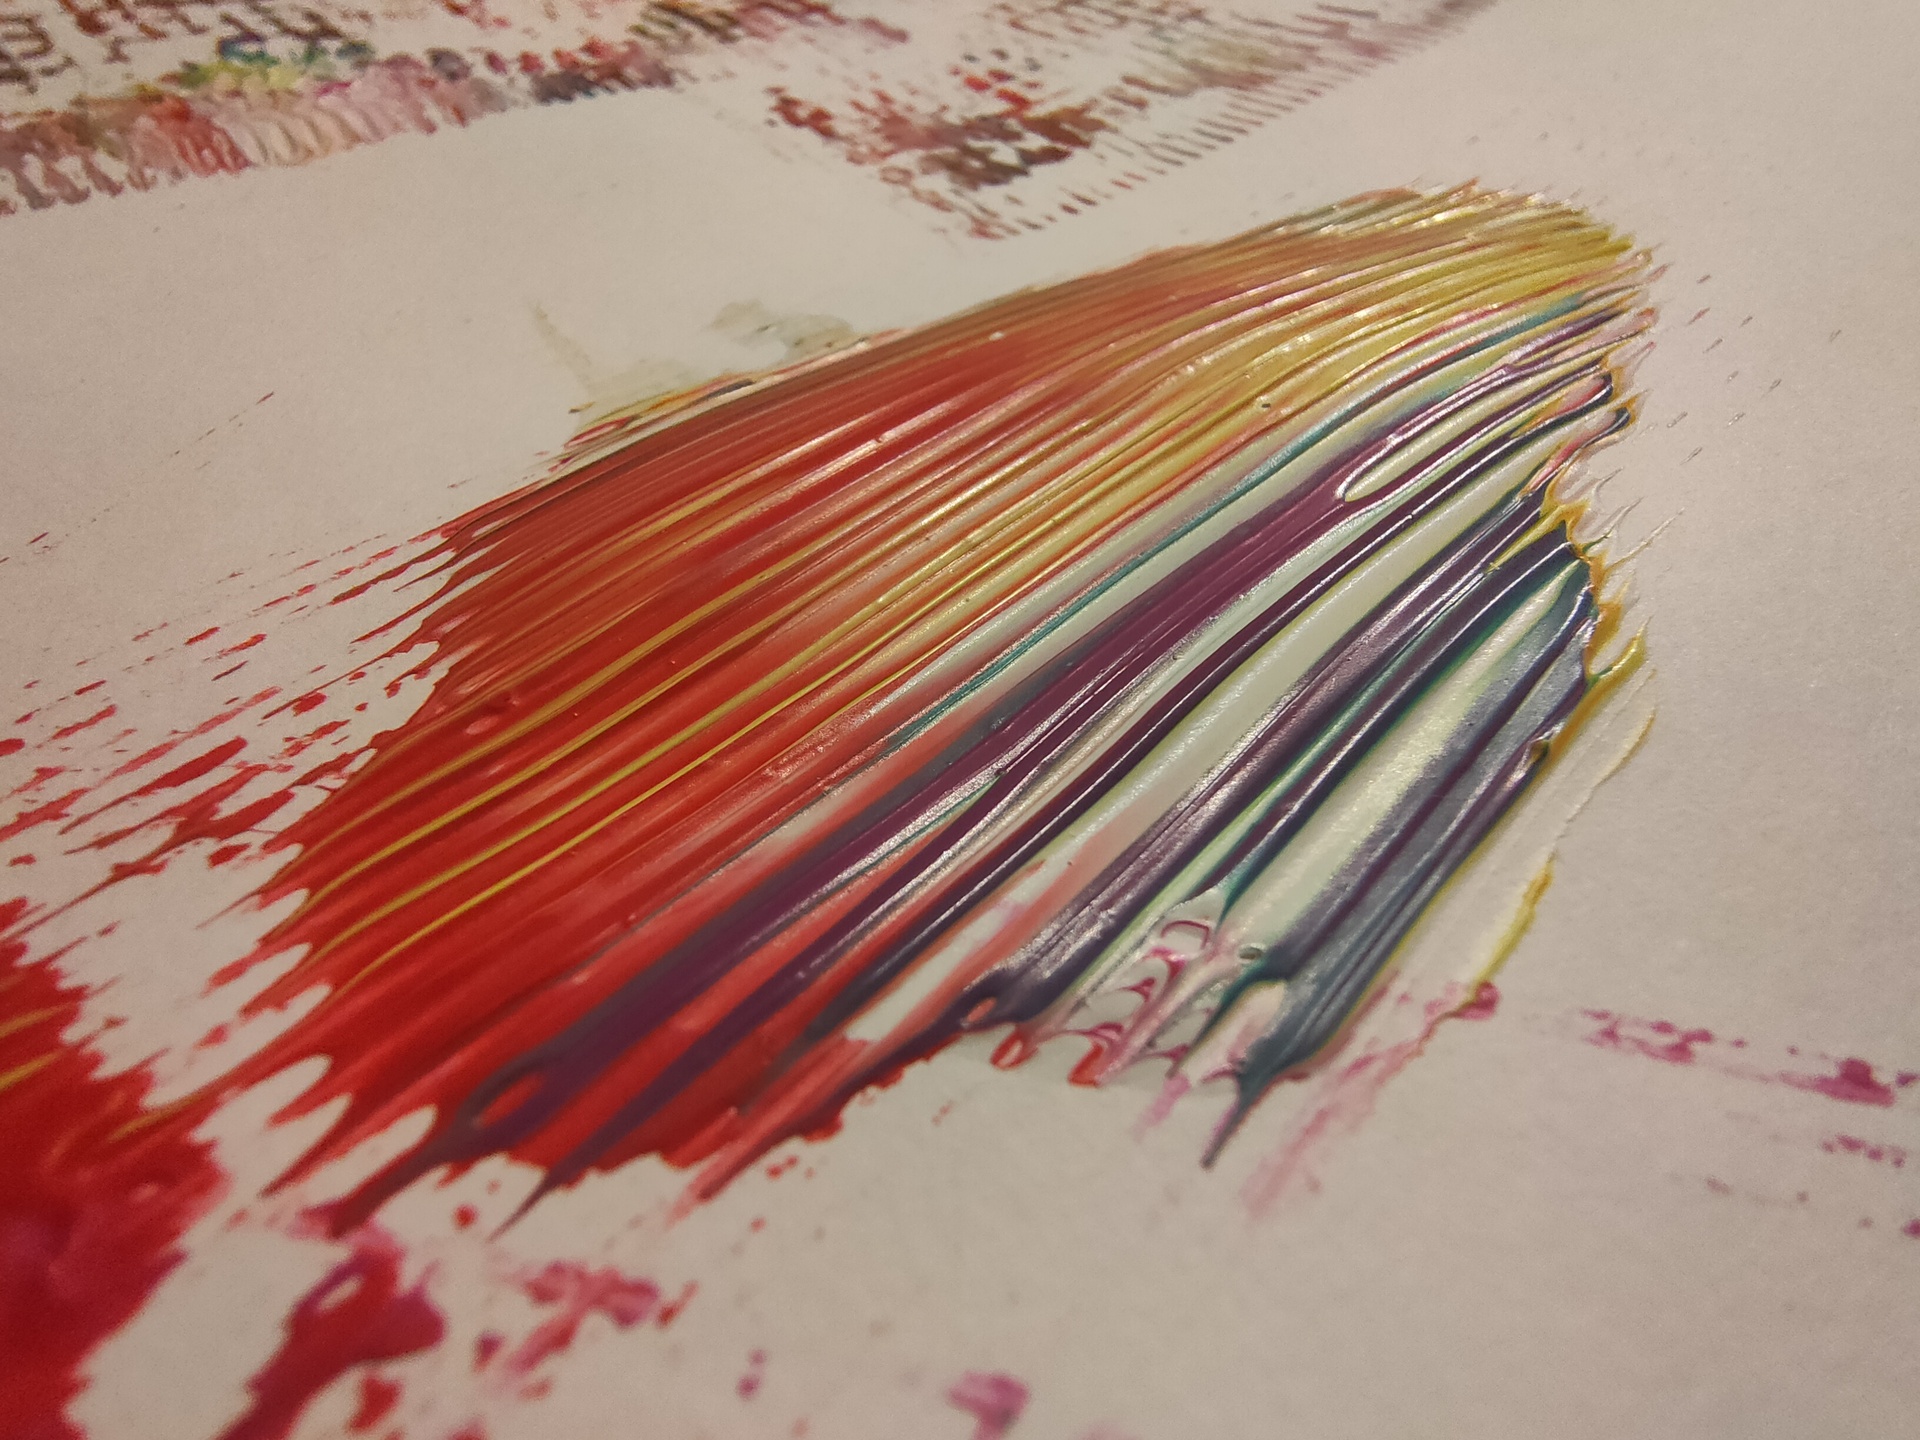
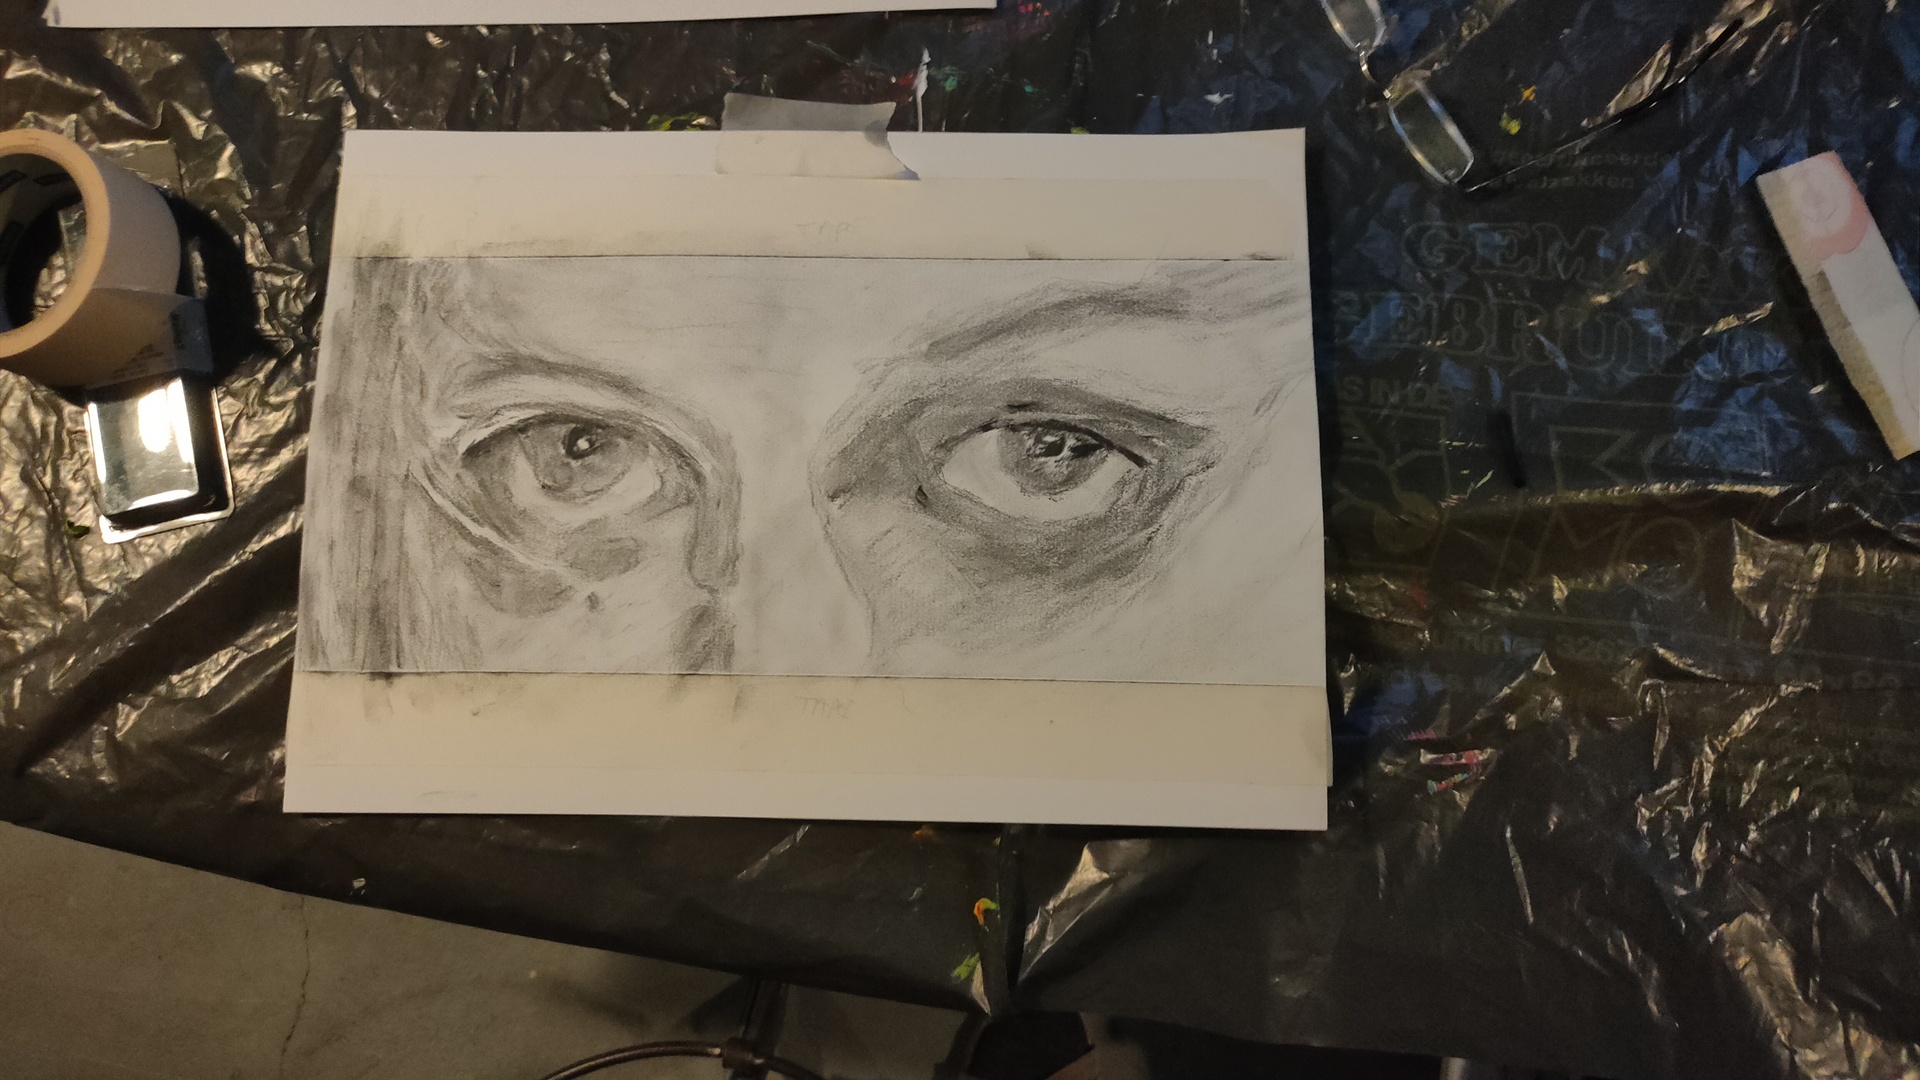
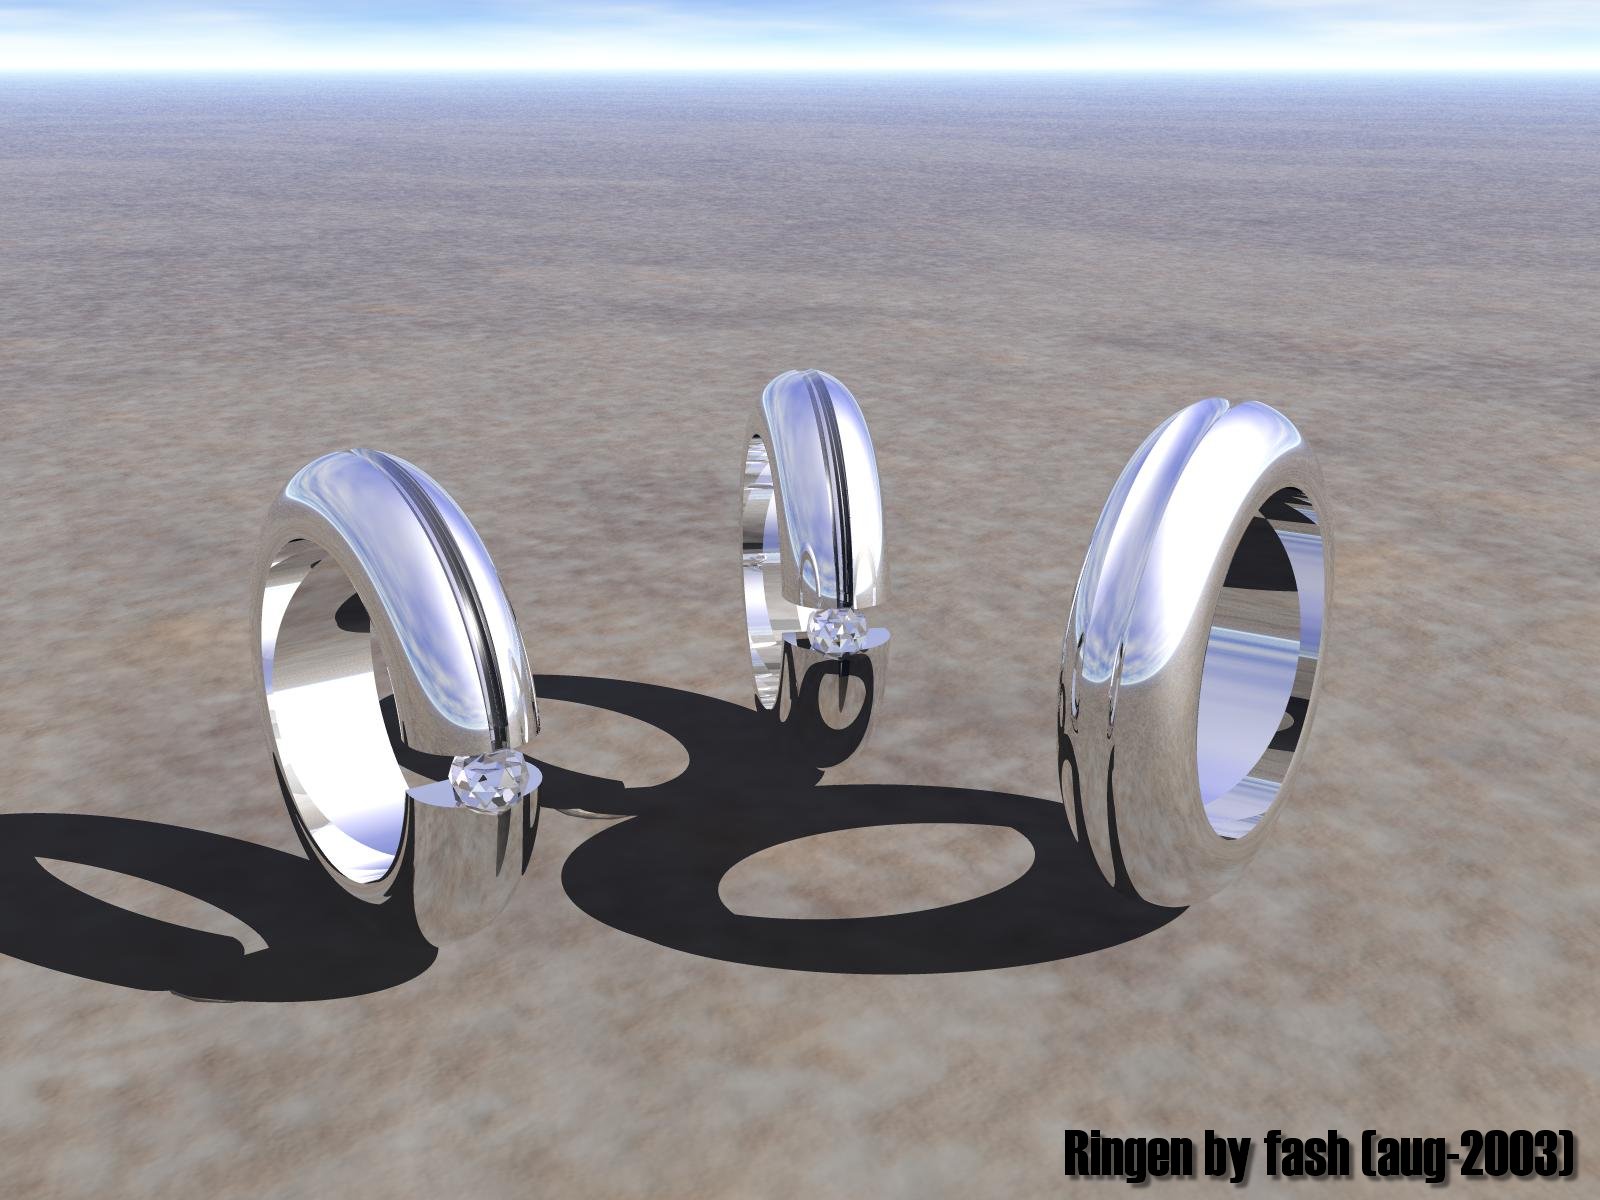
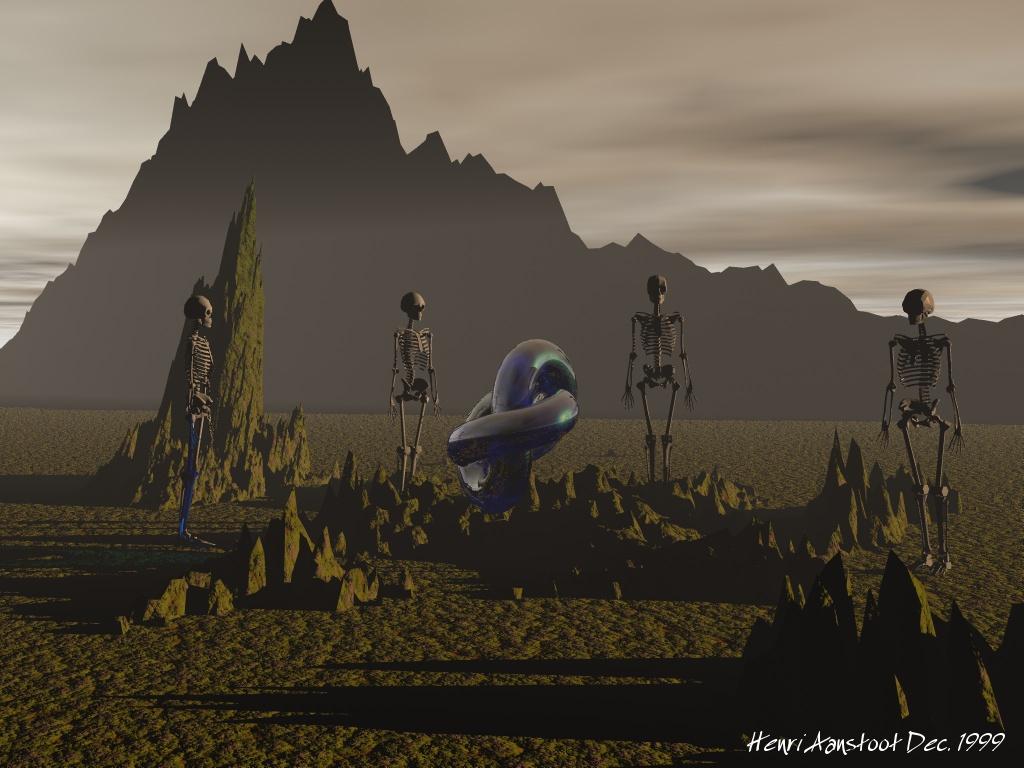
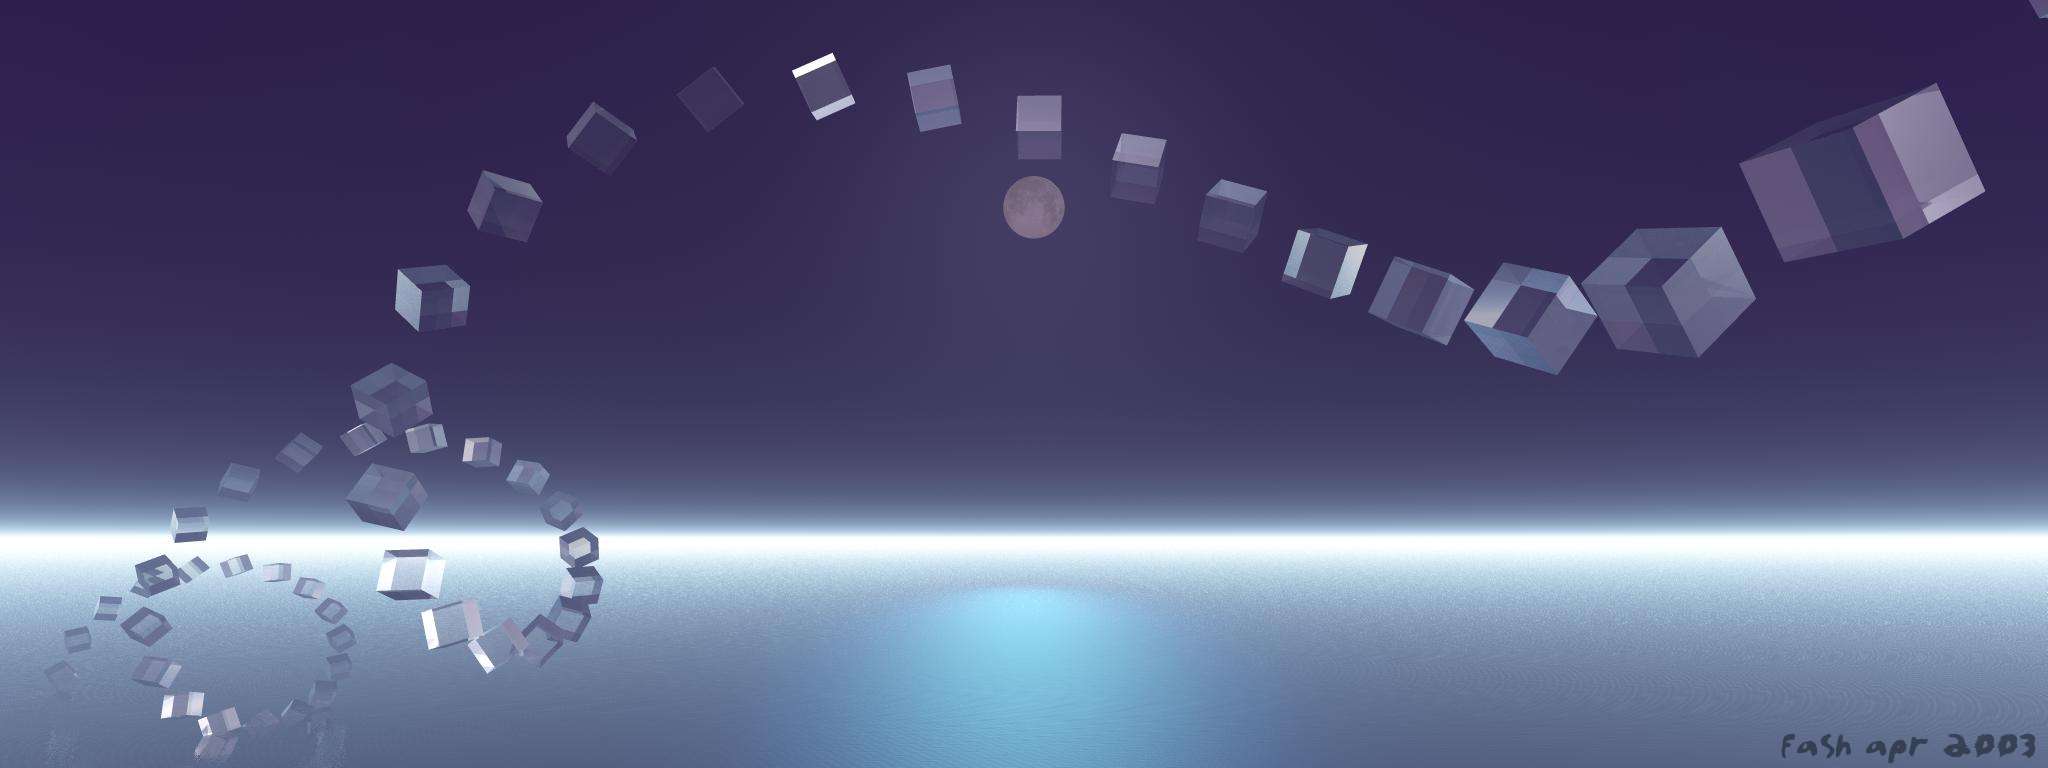
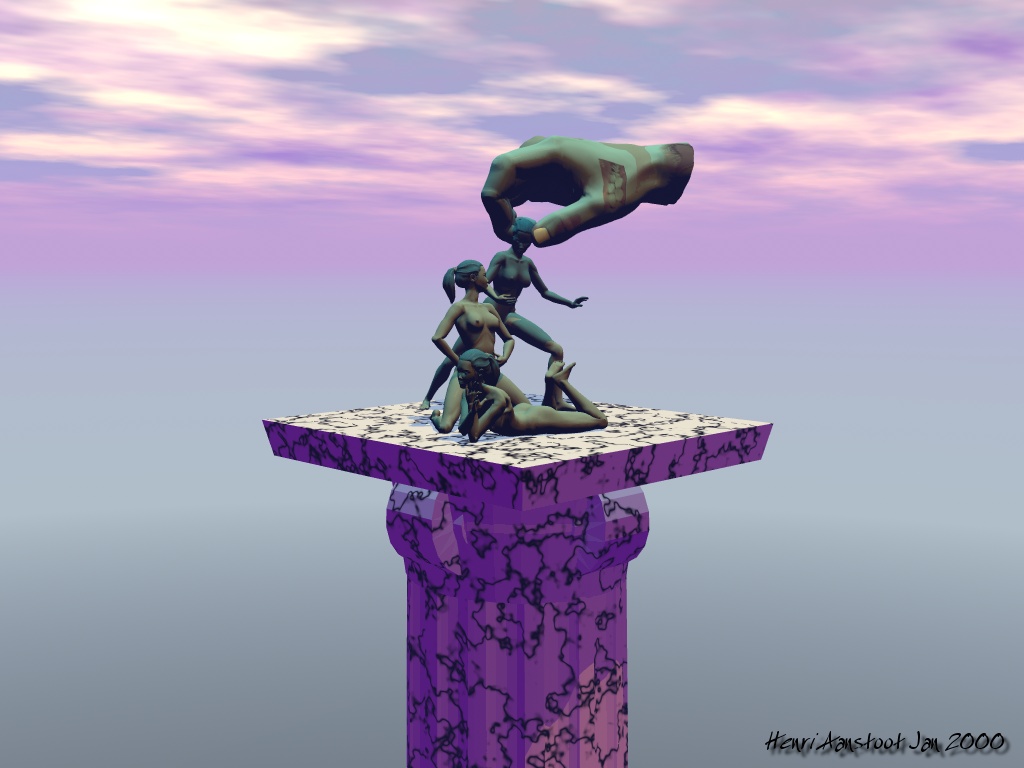
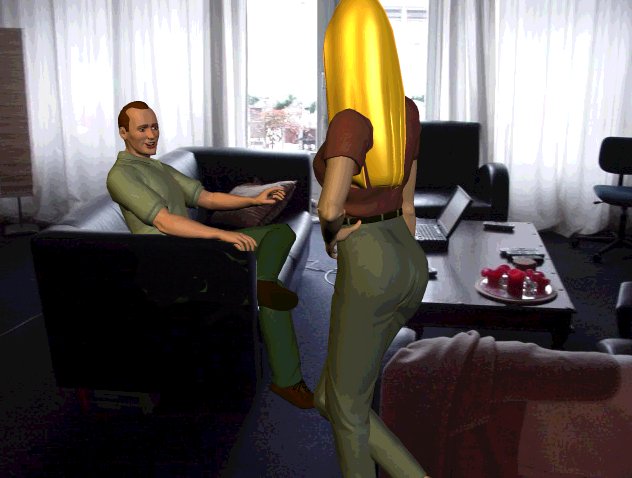
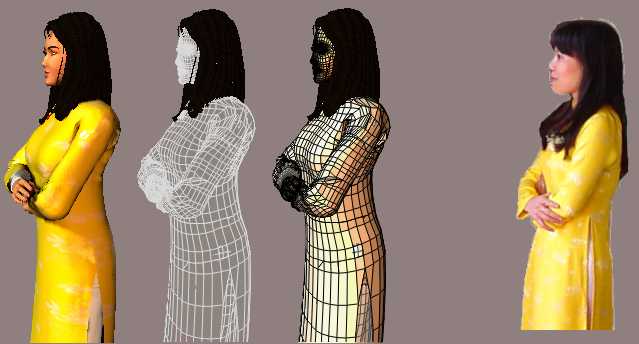
I like creating Art, painting, drawing, sculpting but also computer generated. Most of the things i create are for adults. So i can’t post my best work.
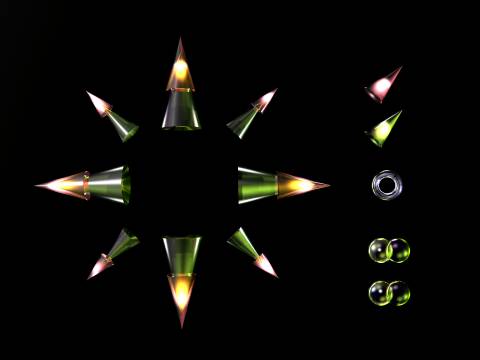
Below are some of the programs i’ve used, these are NOT the generic drawing programs like Gimp, Photoshop or alike. Ony programs that generate (photorealistic) graphics. I tried to start with the oldest ending with Blender. There is an overlap and sometimes i’m not sure when I used these programs.
BMRT
Blue Moon Rendering Tools, or BMRT, was one of the most famous RenderMan-compliant photorealistic rendering systems.
Could not find examples?
3DS4
3D Studio, not to be confused with the later “3d Studio Max” product, is a DOS-based tool from Autodesk for creating 3d models and animations.
Website for female student society Woodstock For our computer magazine (with Martin)Just a logoLogo for a work thingyAlso work relatedSome examples, i did some animations also
Vivid
This is the Vivid raytracer. It will only run in a dos environment. http://paulbourke.net/dataformats/vivid/
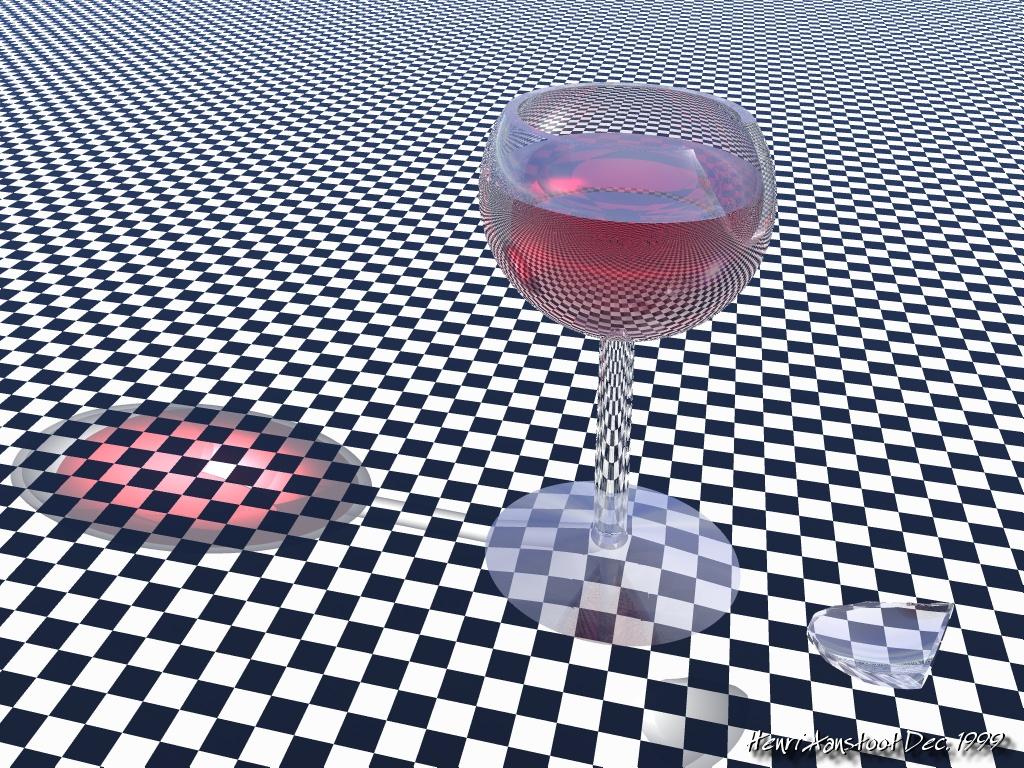
Povray
The Persistence of Vision Ray Tracer, most commonly acronymed as POV-Ray, is a cross-platform ray-tracing program that generates images from a text-based scene description.
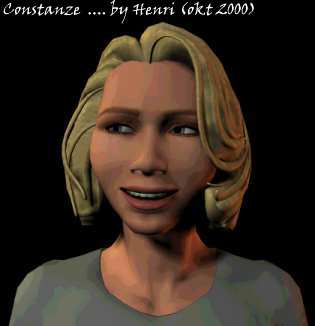
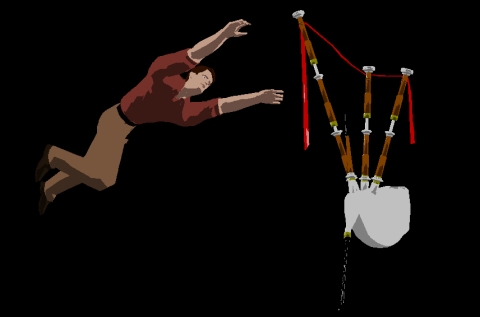
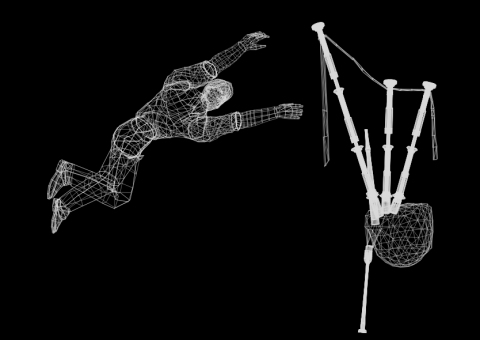
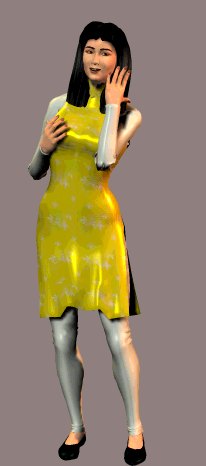
Poser (Pro) is a 3D computer graphics program optimized for the 3D modeling of human figures.
MonsterOne cell of a comic i made using PoserTuyet Study
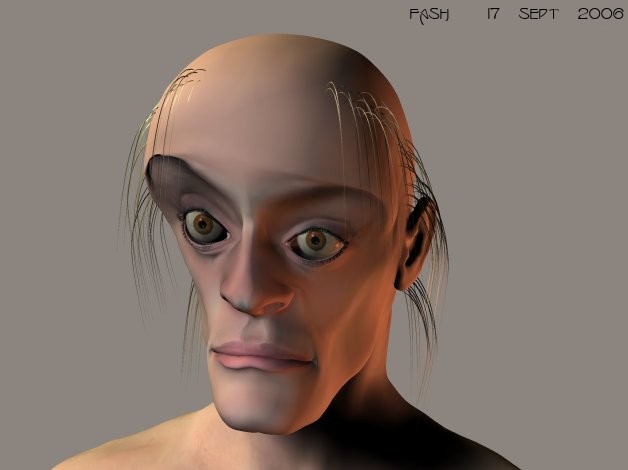
Blender
Blender is a free and open-source 3D computer graphics software tool set used for creating animated films, visual effects, art, 3D-printed models, motion graphics, interactive 3D applications, virtual reality, and, formerly, video games. Blender’s features include 3D modelling, UV mapping, texturing, digital drawing, raster graphics editing, rigging and skinning, fluid and smoke simulation, particle simulation, soft body simulation, sculpting, animation, match moving, rendering, motion graphics, video editing, and compositing. (Dutch developers started it in 1994) https://en.wikipedia.org/wiki/Blender_(software)
DonutNeon effect testSee rest blog for more blender examples (VR/Tracking/Animated/Mqtt-control)
Below here not really for art but graphical generators .
I love movies, but somethings bug the hell out of me.
I often see movie mistakes, but when those mistakes are not too obvious, i can live with it.
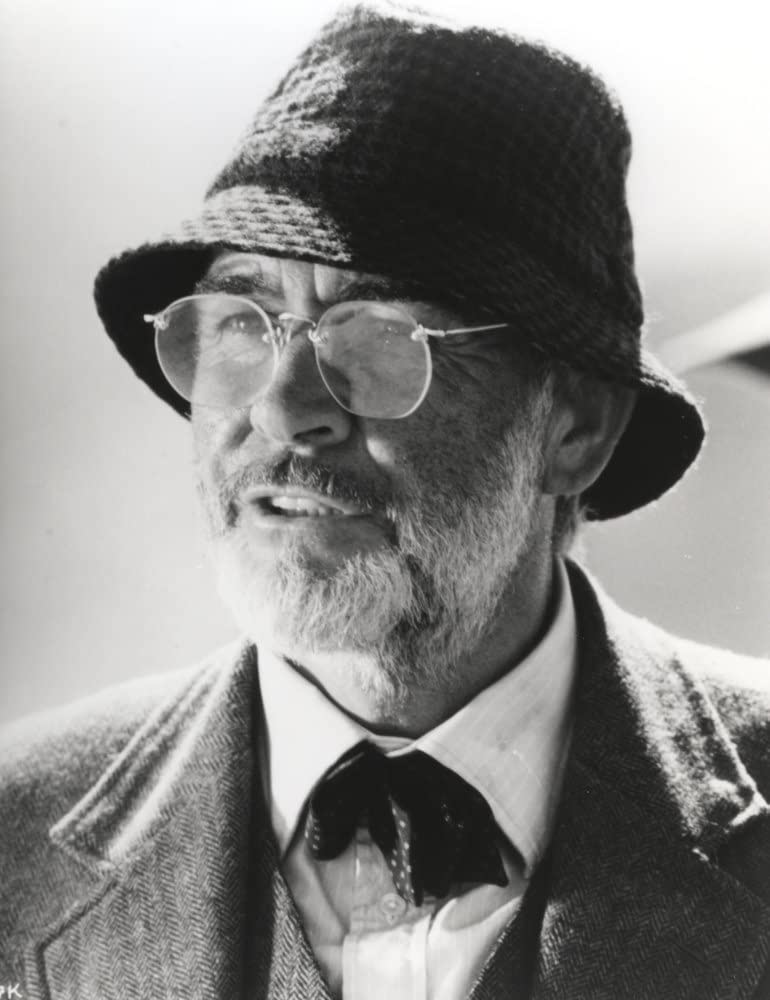
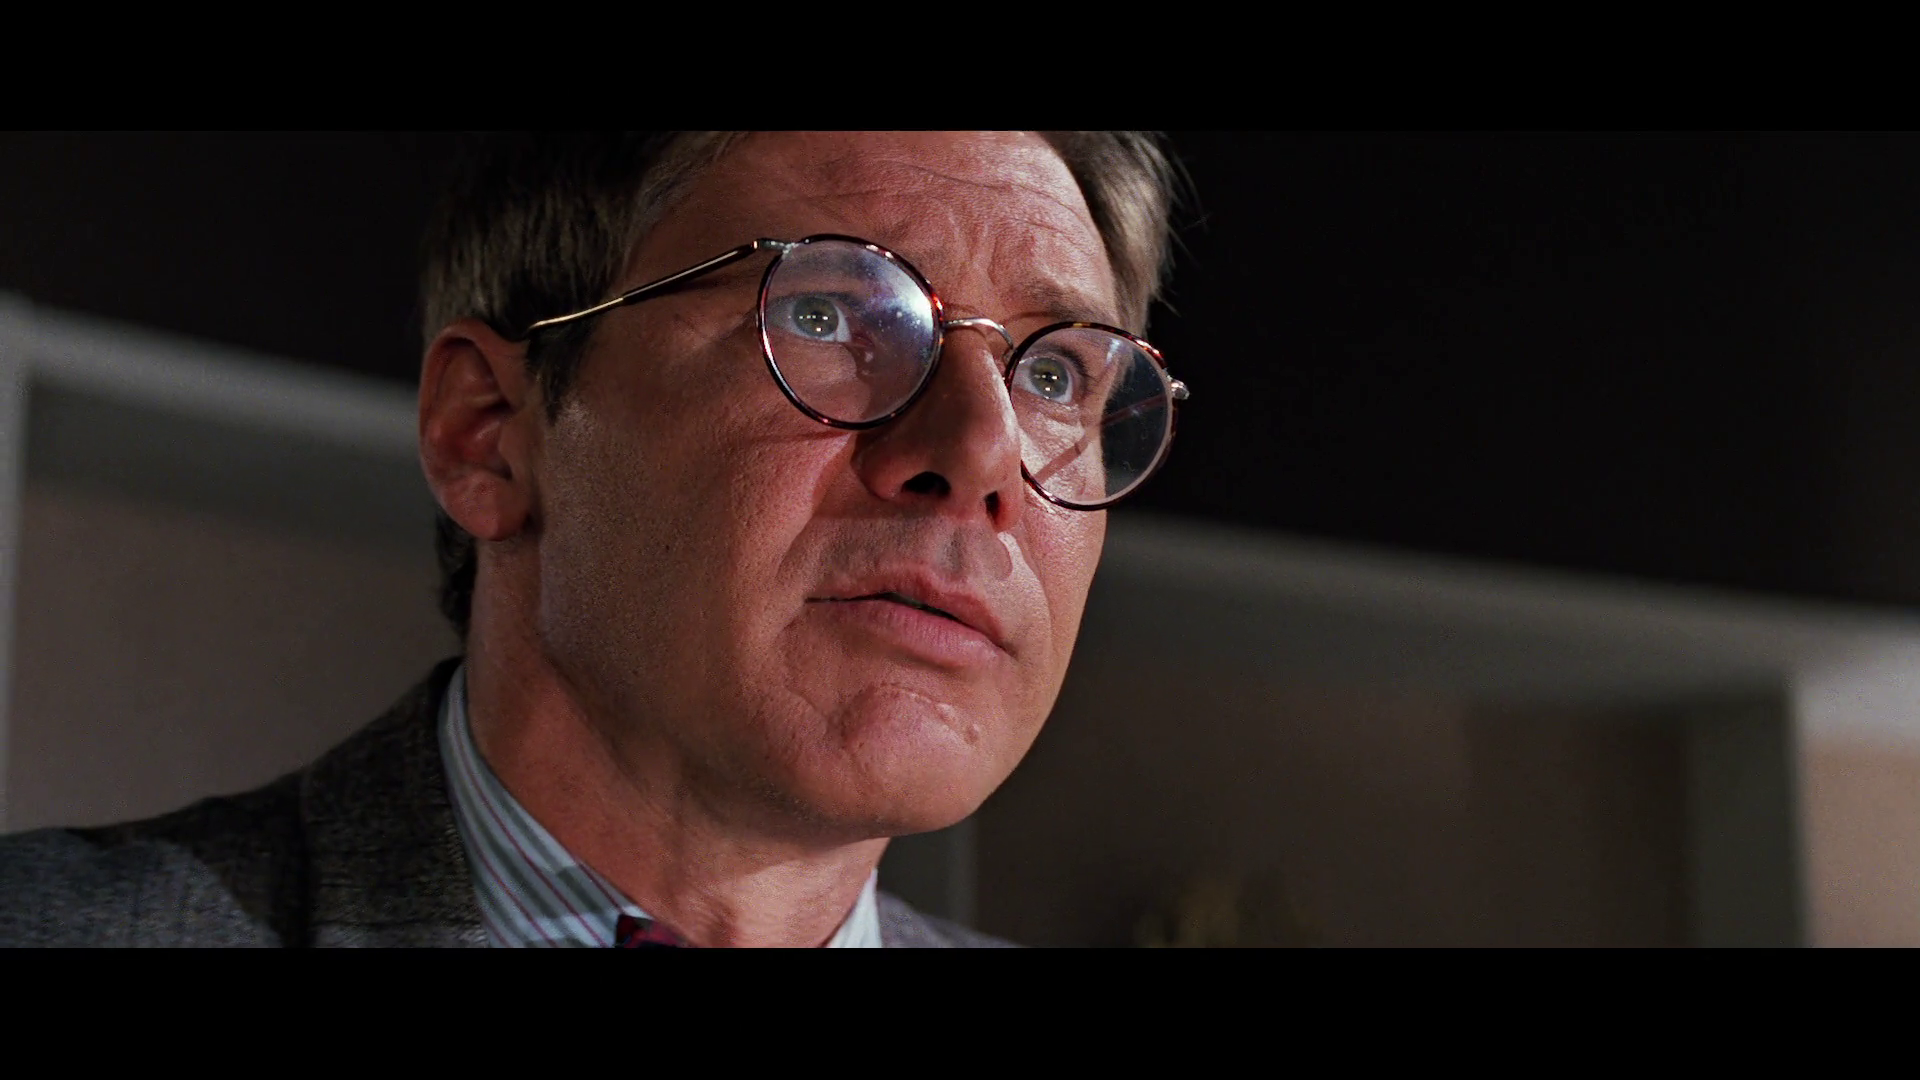
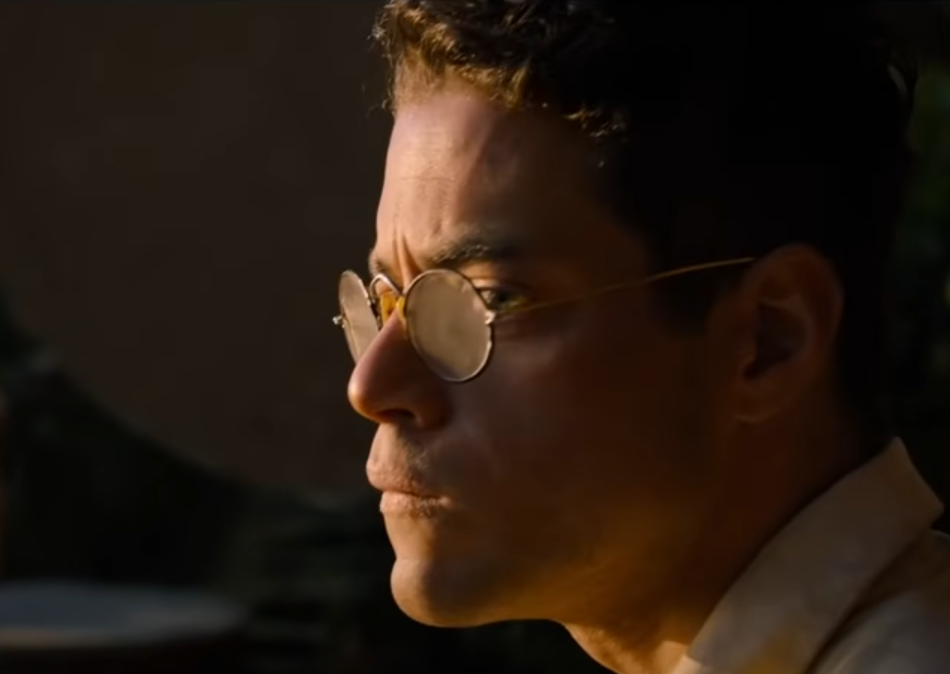
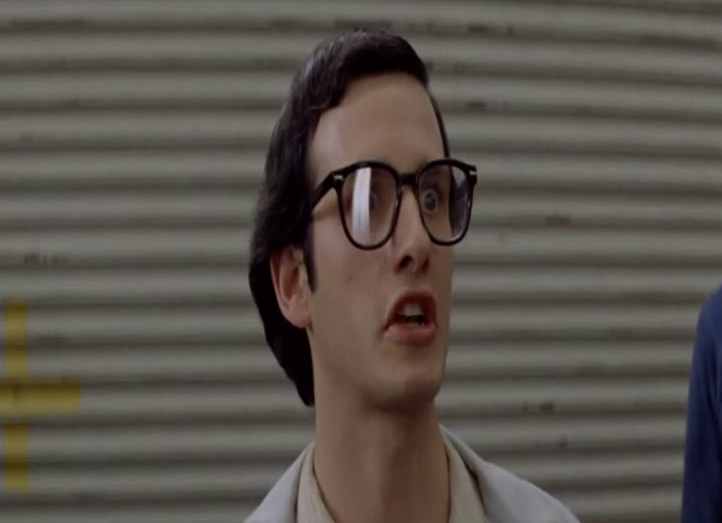
Glasses being flat
Reflection makes it worseThere is no need for a modern movie to do this!
They could have used glasses which are a little curved, so it isn’t too obviously flat.
But a better solution is :
Dustin Hoffman had to wear contact lenses so that he could see correctly through the thick glasses he had to wear.
The Wilhelm scream
I know it’s a running gag, but it’s not funny anymore. https://en.wikipedia.org/wiki/Wilhelm_scream
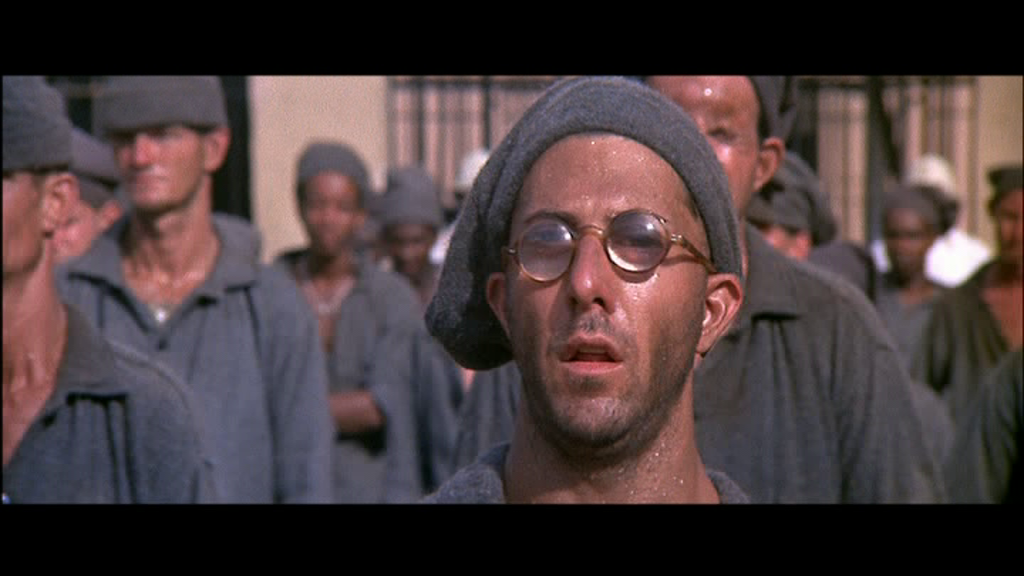
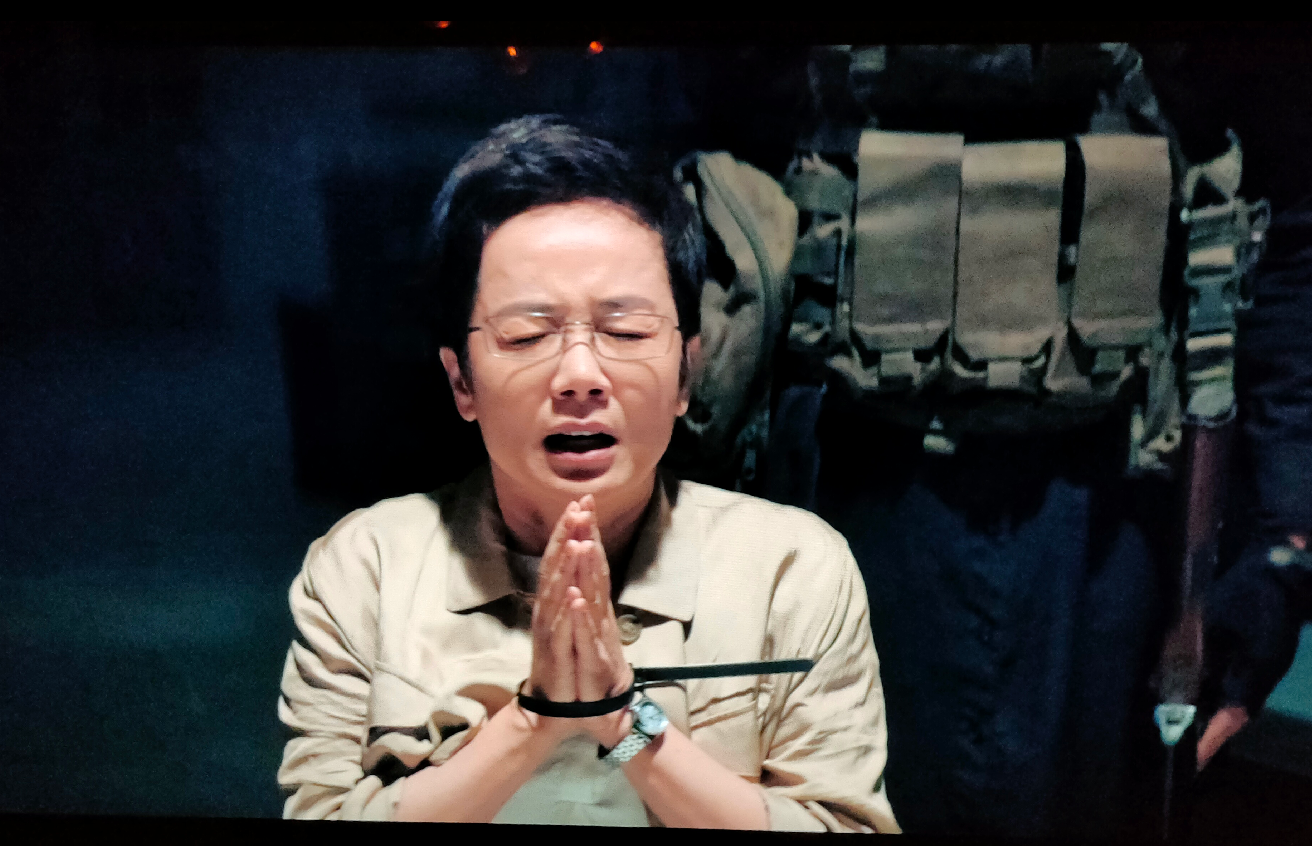
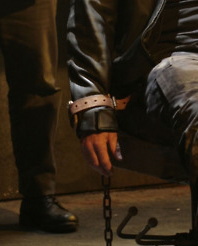
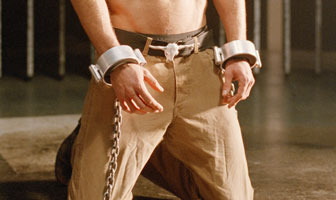
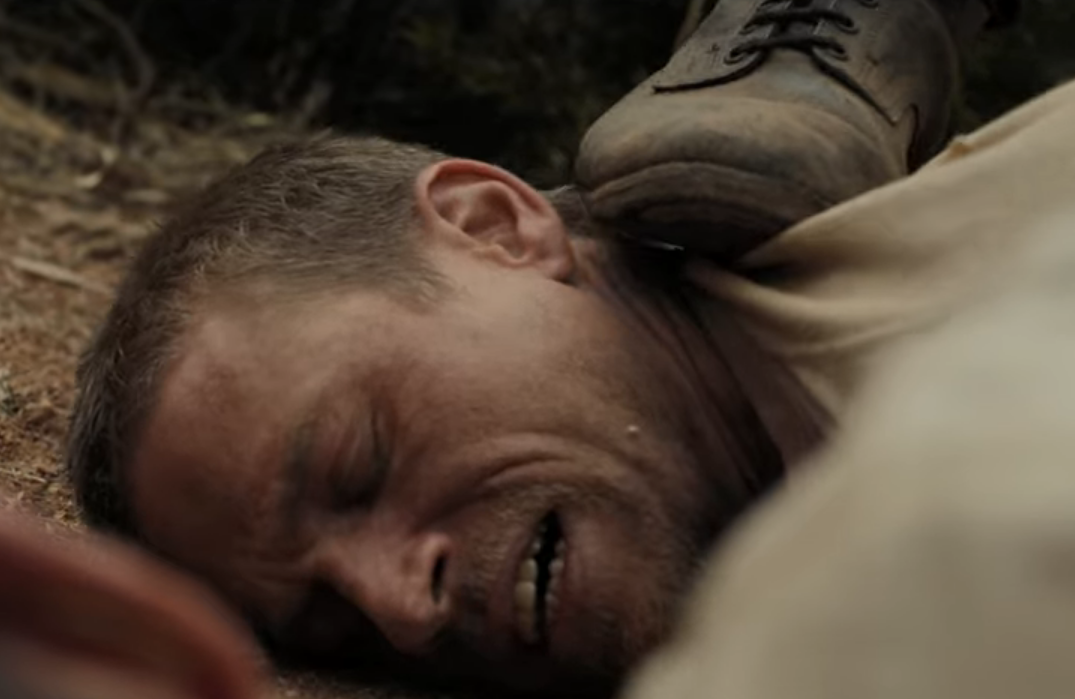
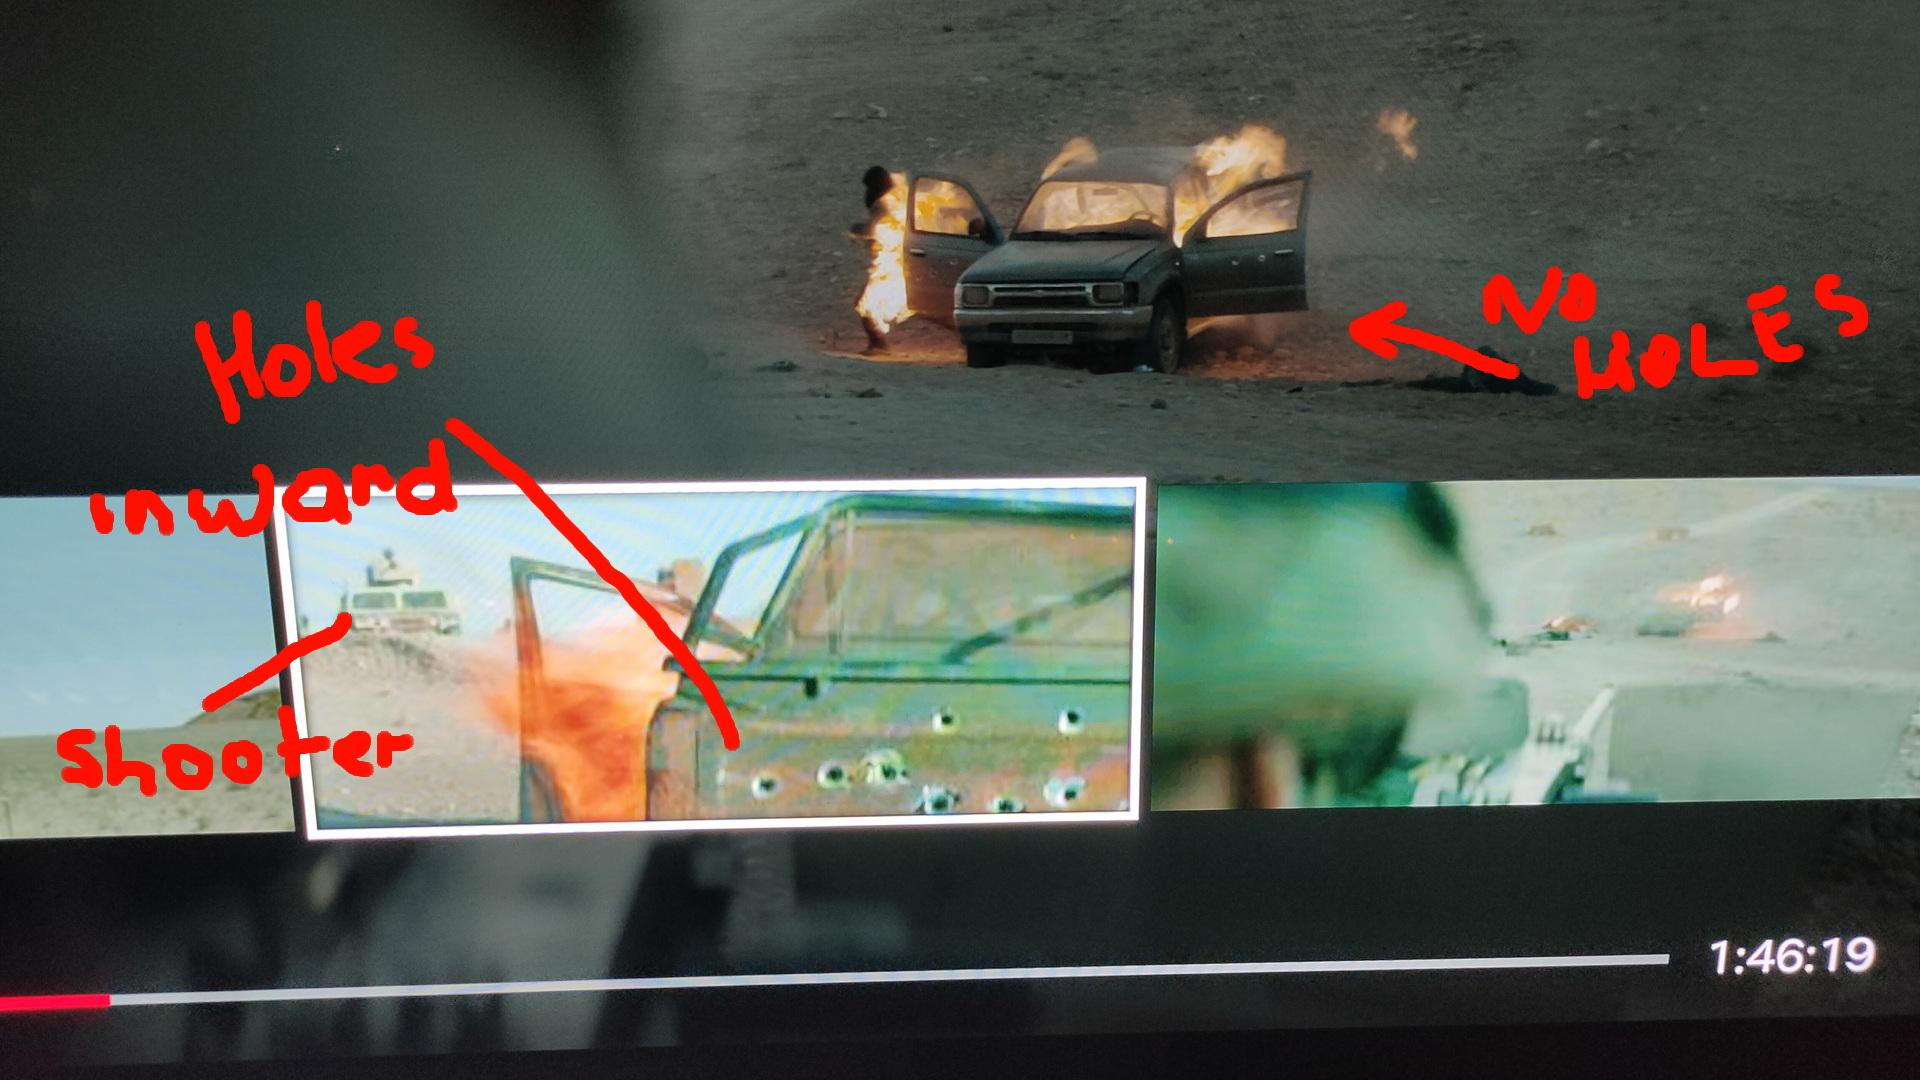
People not really tied up, or pinned down
I hate seeing people tied up badly in movies, so easy to escape. Sometimes the actor has to hold the rope in place to keep it from falling off. Rope, zipties and chains. (I will add some examples) In some older movies you can see straining on wrists or neck. So it was really secure and tight! (real)
Bad example i know, but first one i found
Update 20230808 .. Oh no! I can’t escape!
Oh no, i can’t get my hand out of thisLet’s use some big padding in those arm shacklesO no, my feet!
Hover foot
American unrealistic events
Not talking about sci-fi or adventure movies. Over the top movies. That’s why i like murder mysteries from Iceland, Scandinavia more than American. There are many movies, in which the main character is the average joe, but he can fall off buildings, hit by cars, and run all day without getting tired. And escapes after that in the most improbable way.
Same category as Wilhelm Scream, the squeaky gate/door
We’ve been using the same sound in our student place 25 years ago. I even recorded new and better examples for people to use.
Xfiles, sparatacus blood & sand, Supernatural, Shawshank Redemption, Reign of Fire, Final Destination, Quantum Leap, Fringe, etc etc
UPDATE: 20230716 The sound ..
My recording
One of my recordings (Scotland 2022)
Not consulting an expert
Movies about science, computers or even general laws of physics are more believable when asking an expert for advice to portray something.
Lights in diving masks/space helmets
When doing this the diver can’t see sh*t
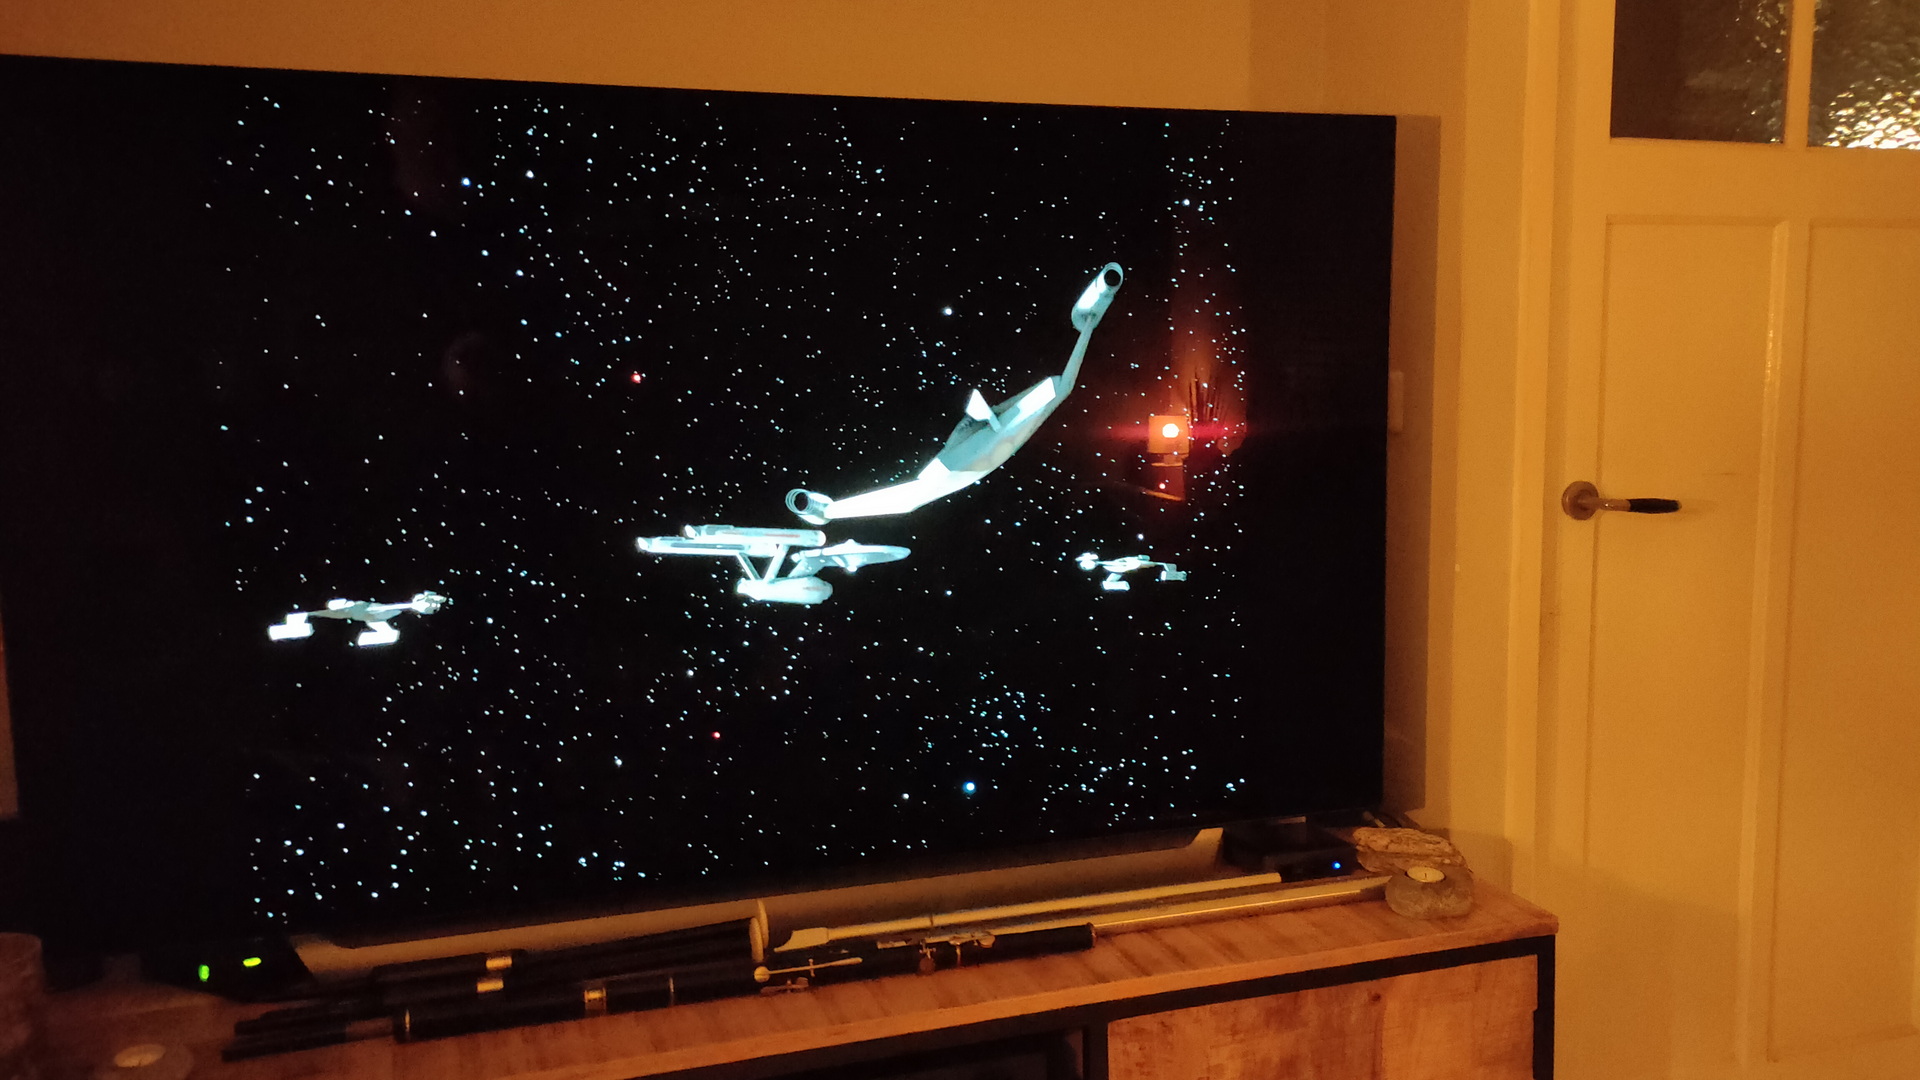
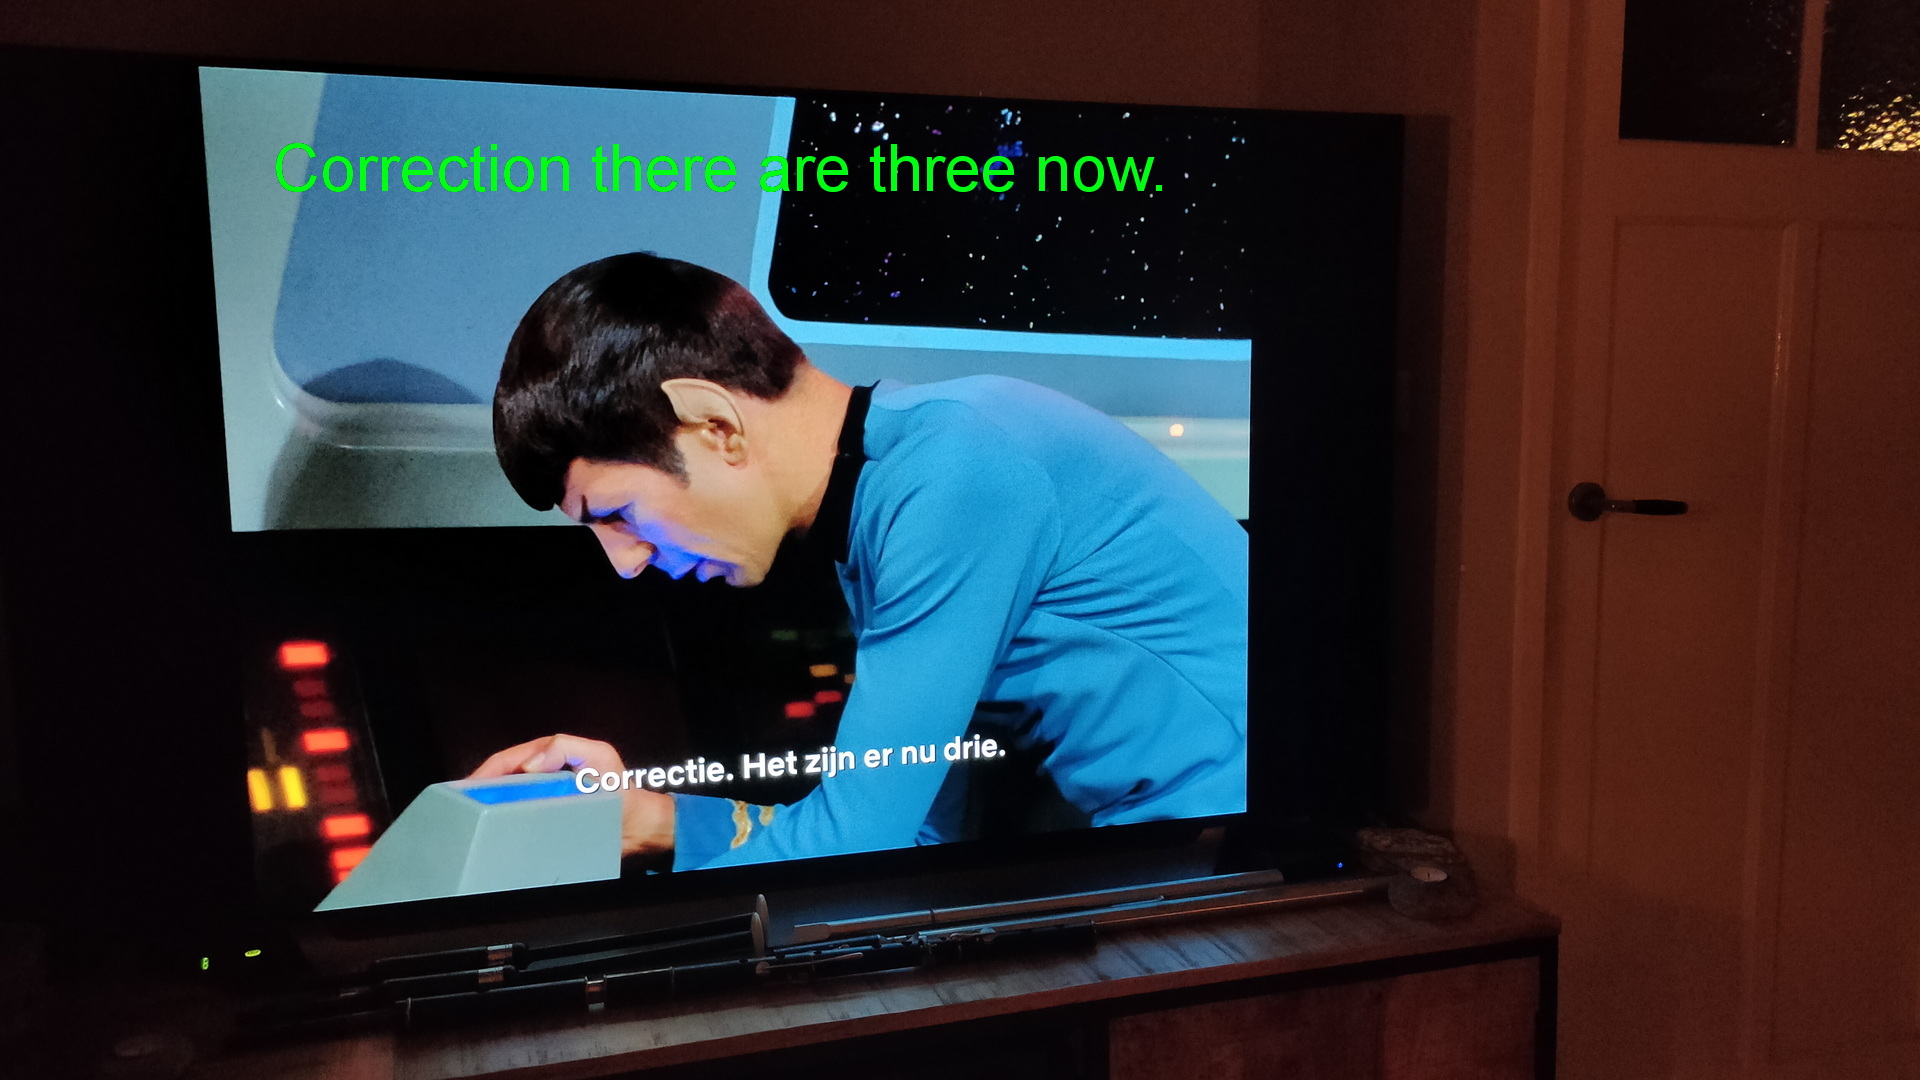
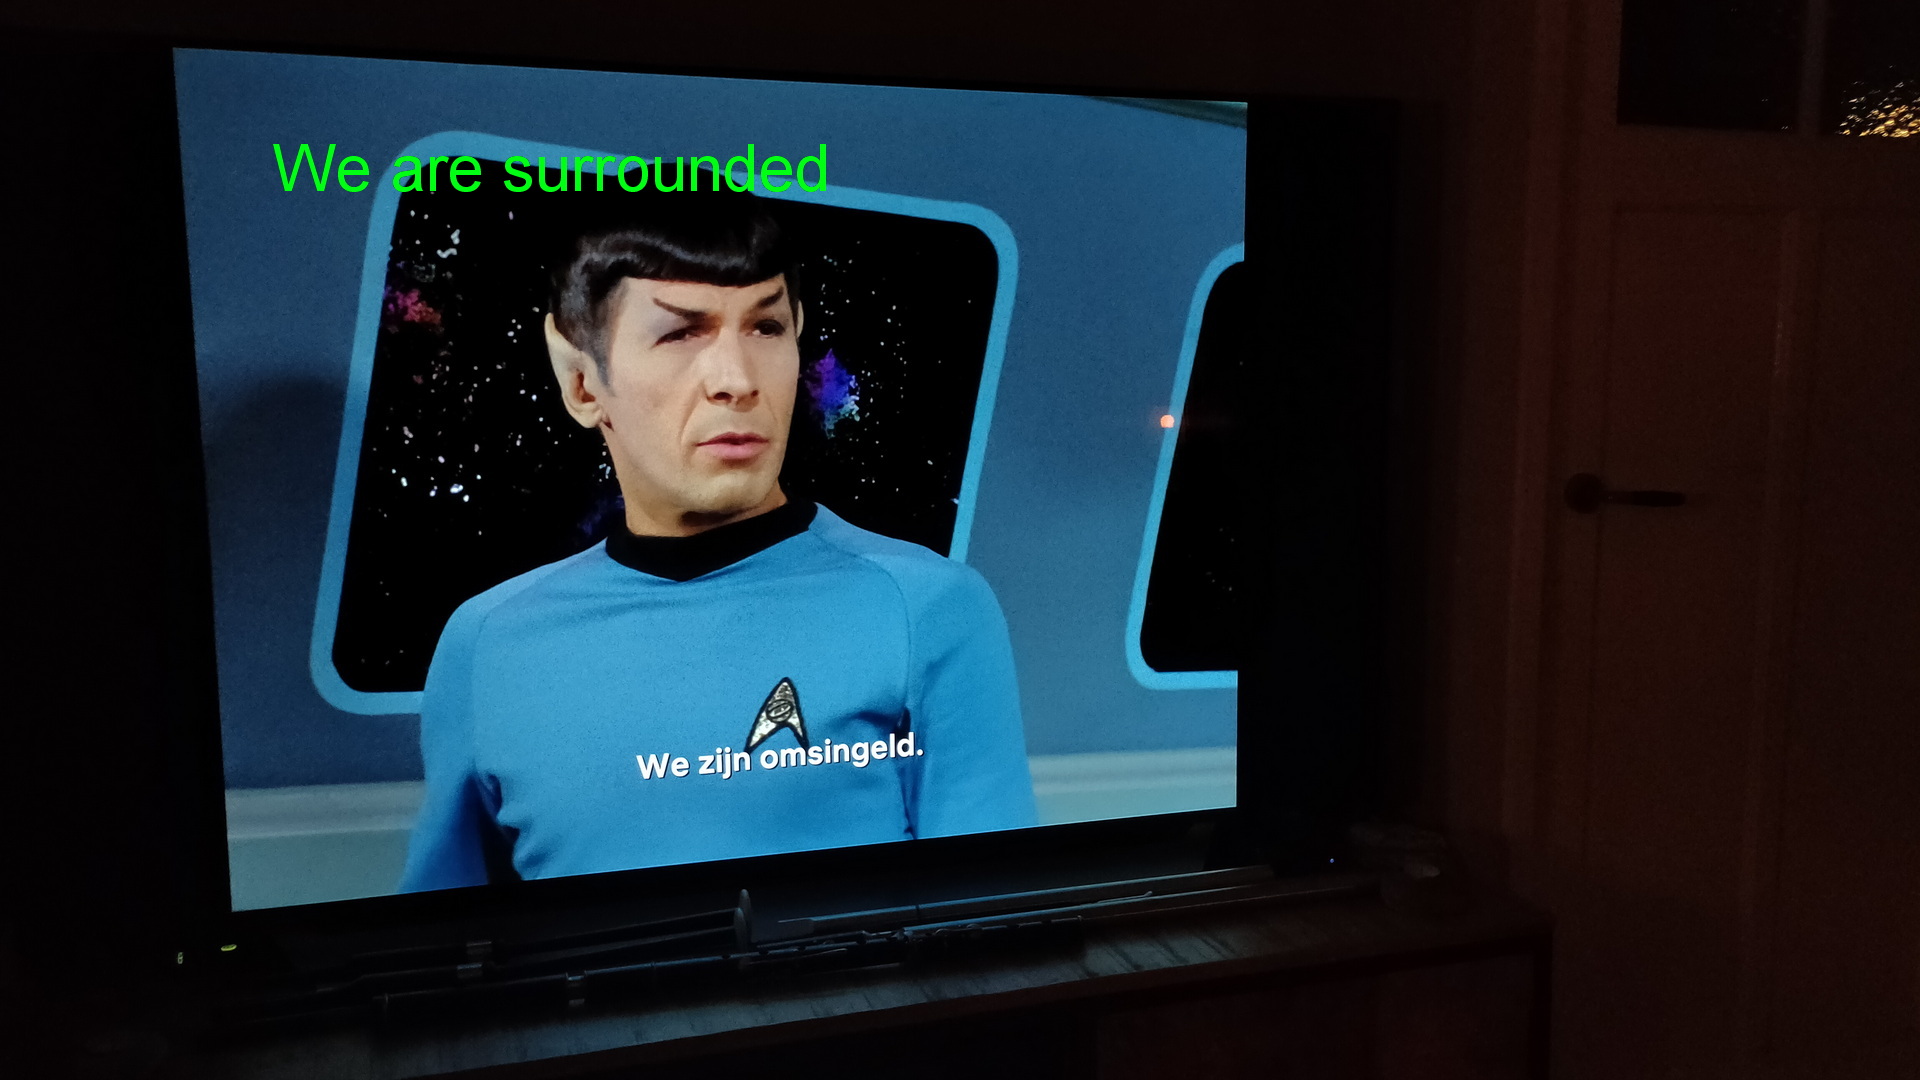
Spaceships are alway the same orientation, on the same plane, when they meet.
There is no up / down whatever in space. Directors are always thinking of one plane. Therefore you need to have at least 4 to be “surrounded” in space. 🙂
Not finishing drinks
Maybe i’m cheap. I won’t leave a glass untouched.
Hanging up on phone calls without saying anything like goodbye
Just rude.
People driving looking for minutes at the passenger, not looking at the road
Even worse, moving the steering wheel left right left .. even on a straight road.
Every 555 number has been used 100’s of times
All persons have a number in the range 555-0100 till 555-9999
Rain only being in the place of the actor.
The houses up the street are dry and in the sun
Generic stuff
Daylight when needed is in full swing in 2 minutes.
Hero’s are still looking at the end-battle scene when officials arrive
Bomb are always in the last 10 seconds defused.
Hero has to fight lots of people before ending up at the boss, who is stronger than all his minions!
People destroying their phone to avoid tracking. Take out simcard and destroy, take out battery and destroy then stamp on the phone and throw in the sea. Take out the battery if possible, dunk in water else
Bombs falling using the wrong sound. People on the ground would hear the pitch increasing as it falls, not decreasing, due to the Doppler effect.
Swallowing pills without something to drink
Car race/chase on public road. Every other car is driving left, right, left, right.
The script below helps me to copy located files to a temporary directory. (Which is excluded in al kinds of other find tools)
It will remove the slashes in a path, but keeps the rest.
You can pipe to this script
All files in 1 directory, but NO overwrite of files (keeps path). This allows for easy browsing with a picture viewer.
Want to know original path, look at the filename .. think of where the slashes should go
Example:
Lets find all jpg’s which linux in its name
# this will list all found files
locate -i linux | grep -i jpg$

output example (see below) (With slashes and spaces)
/tank/WorkDirectory/TMP/UITZOEKEN/cds uitzoeken/div/141/31/cd3/done/gfx/linux-from-scratch.jpg
cplocatescript
#!/bin/bash
mkdir -p /mnt/private/TEMP/$$
cat - | while read line ; do cp "$line" /mnt/private/TEMP/$$/$(echo "$line" | tr -cd 'A-Za-z0-9._-' ; echo "" ) ;done