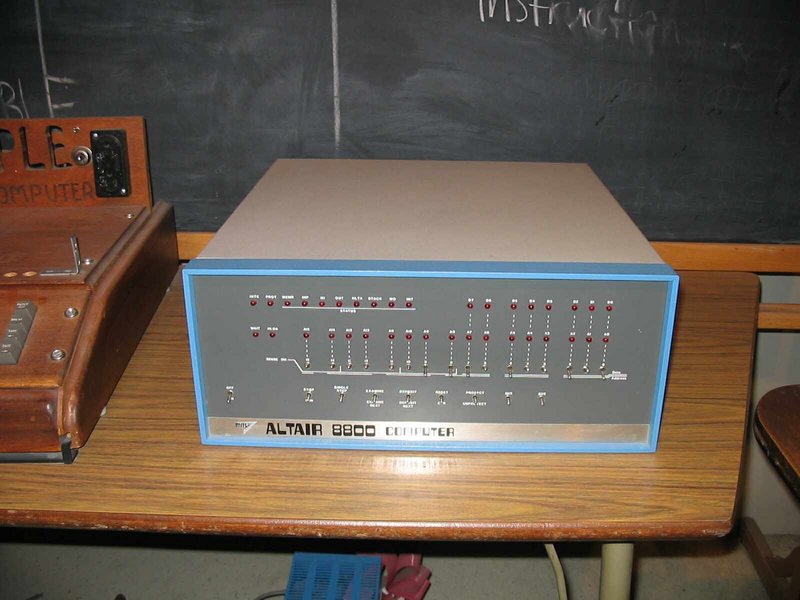
The Altair 8800 is a microcomputer designed in 1974 by MITS and based on the Intel 8080CPU. Interest grew quickly after it was featured on the cover of the January 1975 issue of Popular Electronics and was sold by mail order through advertisements there, in Radio-Electronics, and in other hobbyist magazines.
UPDATE: 20220804 – Added Octal sheet
I alway loved the simple setup of this computer.
There was no screen and no keyboard.
Only later additions to the machine provided these.
One explanation of the Altair name, is that the name was inspired by Star Trek episode “Amok Time“, where the Enterprise crew went to Altair (Six).
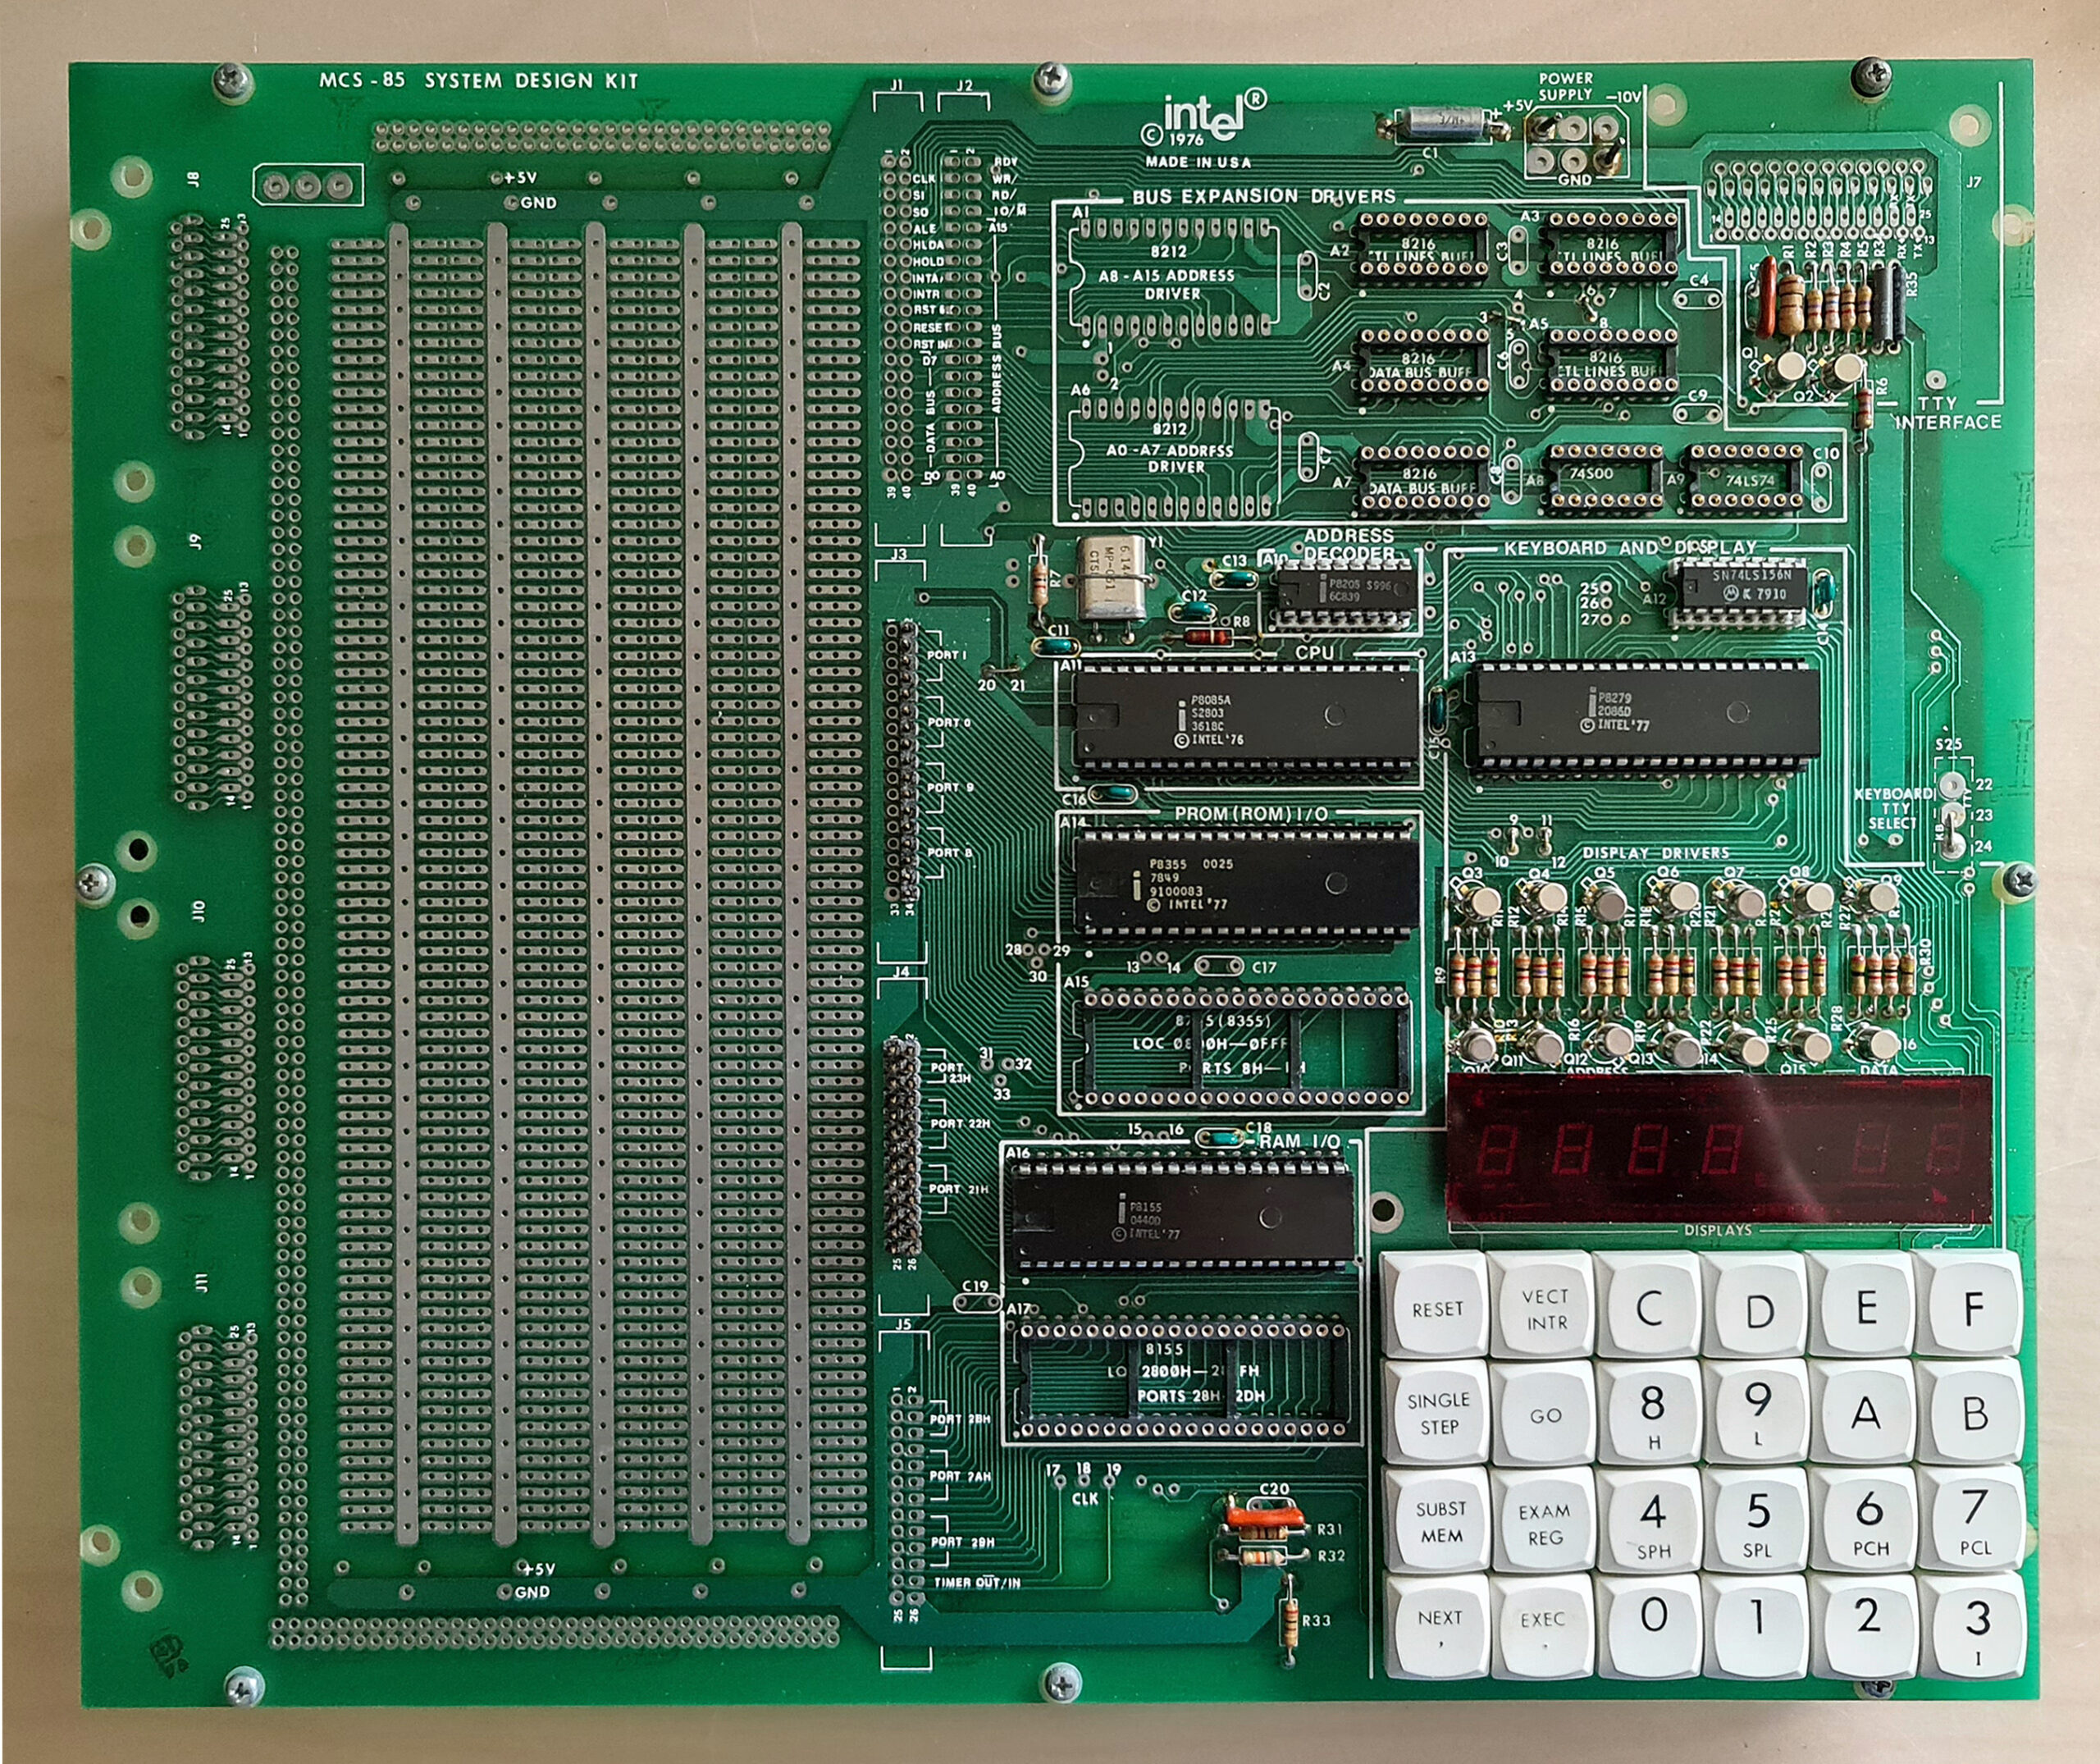
There are only a few differences between the used 8080 CPU and the 8085 CPU of a machine i learned machinecode on.
So for a really long time i wanted to have a Altair alike machine. There are do it yourself kits for sale. Which look like perfect relica’s and there are virtual machines and emulators. But i wanted to have the feeling of throwing the switches.
You can find a emulator here (https://s2js.com/altair/)
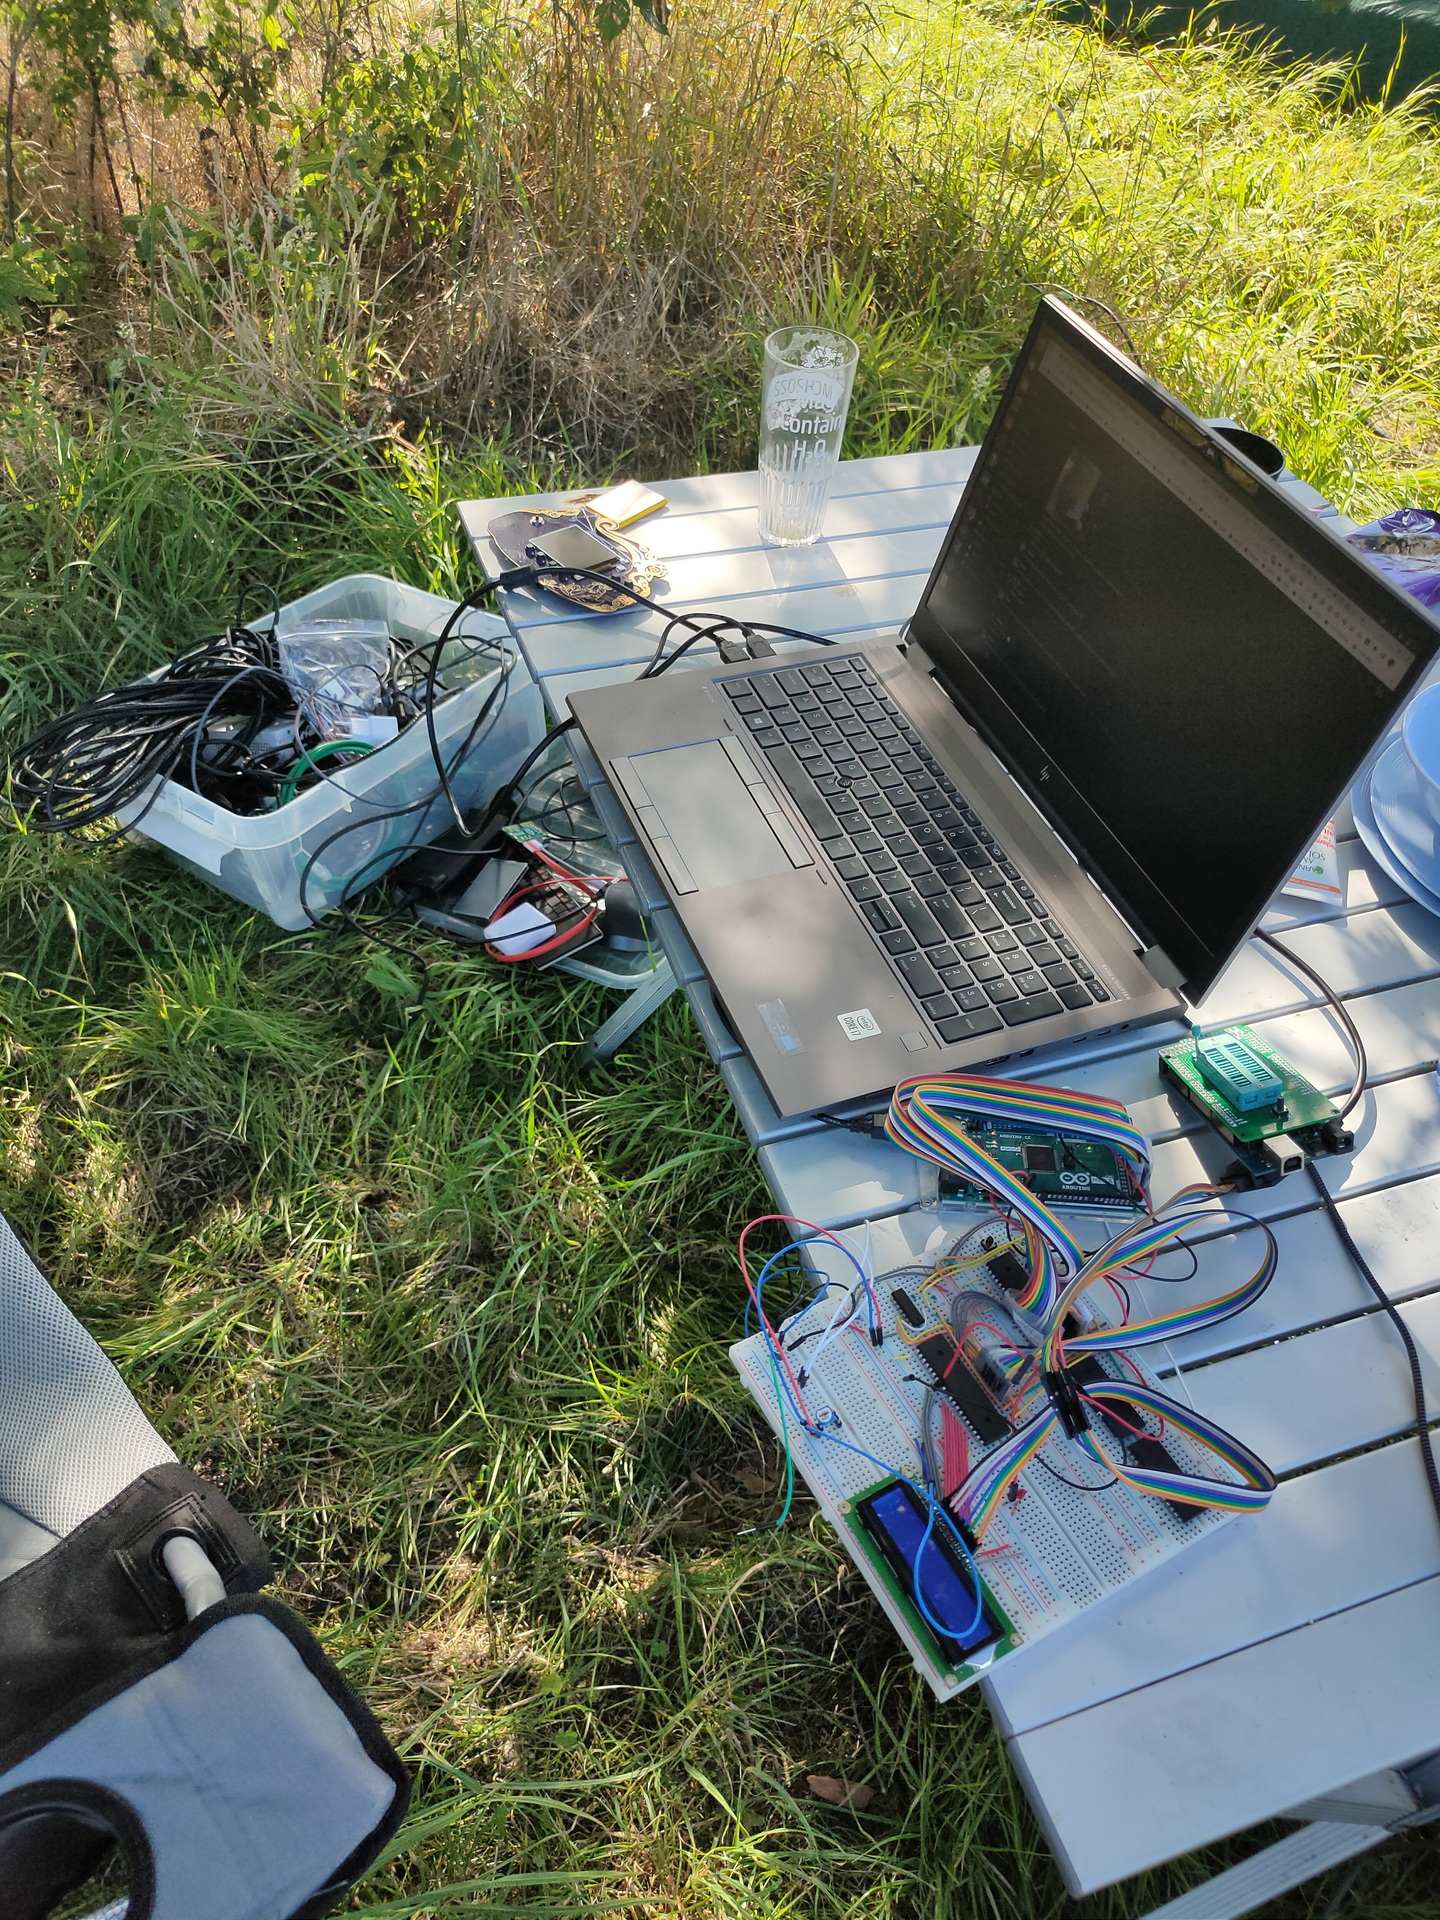
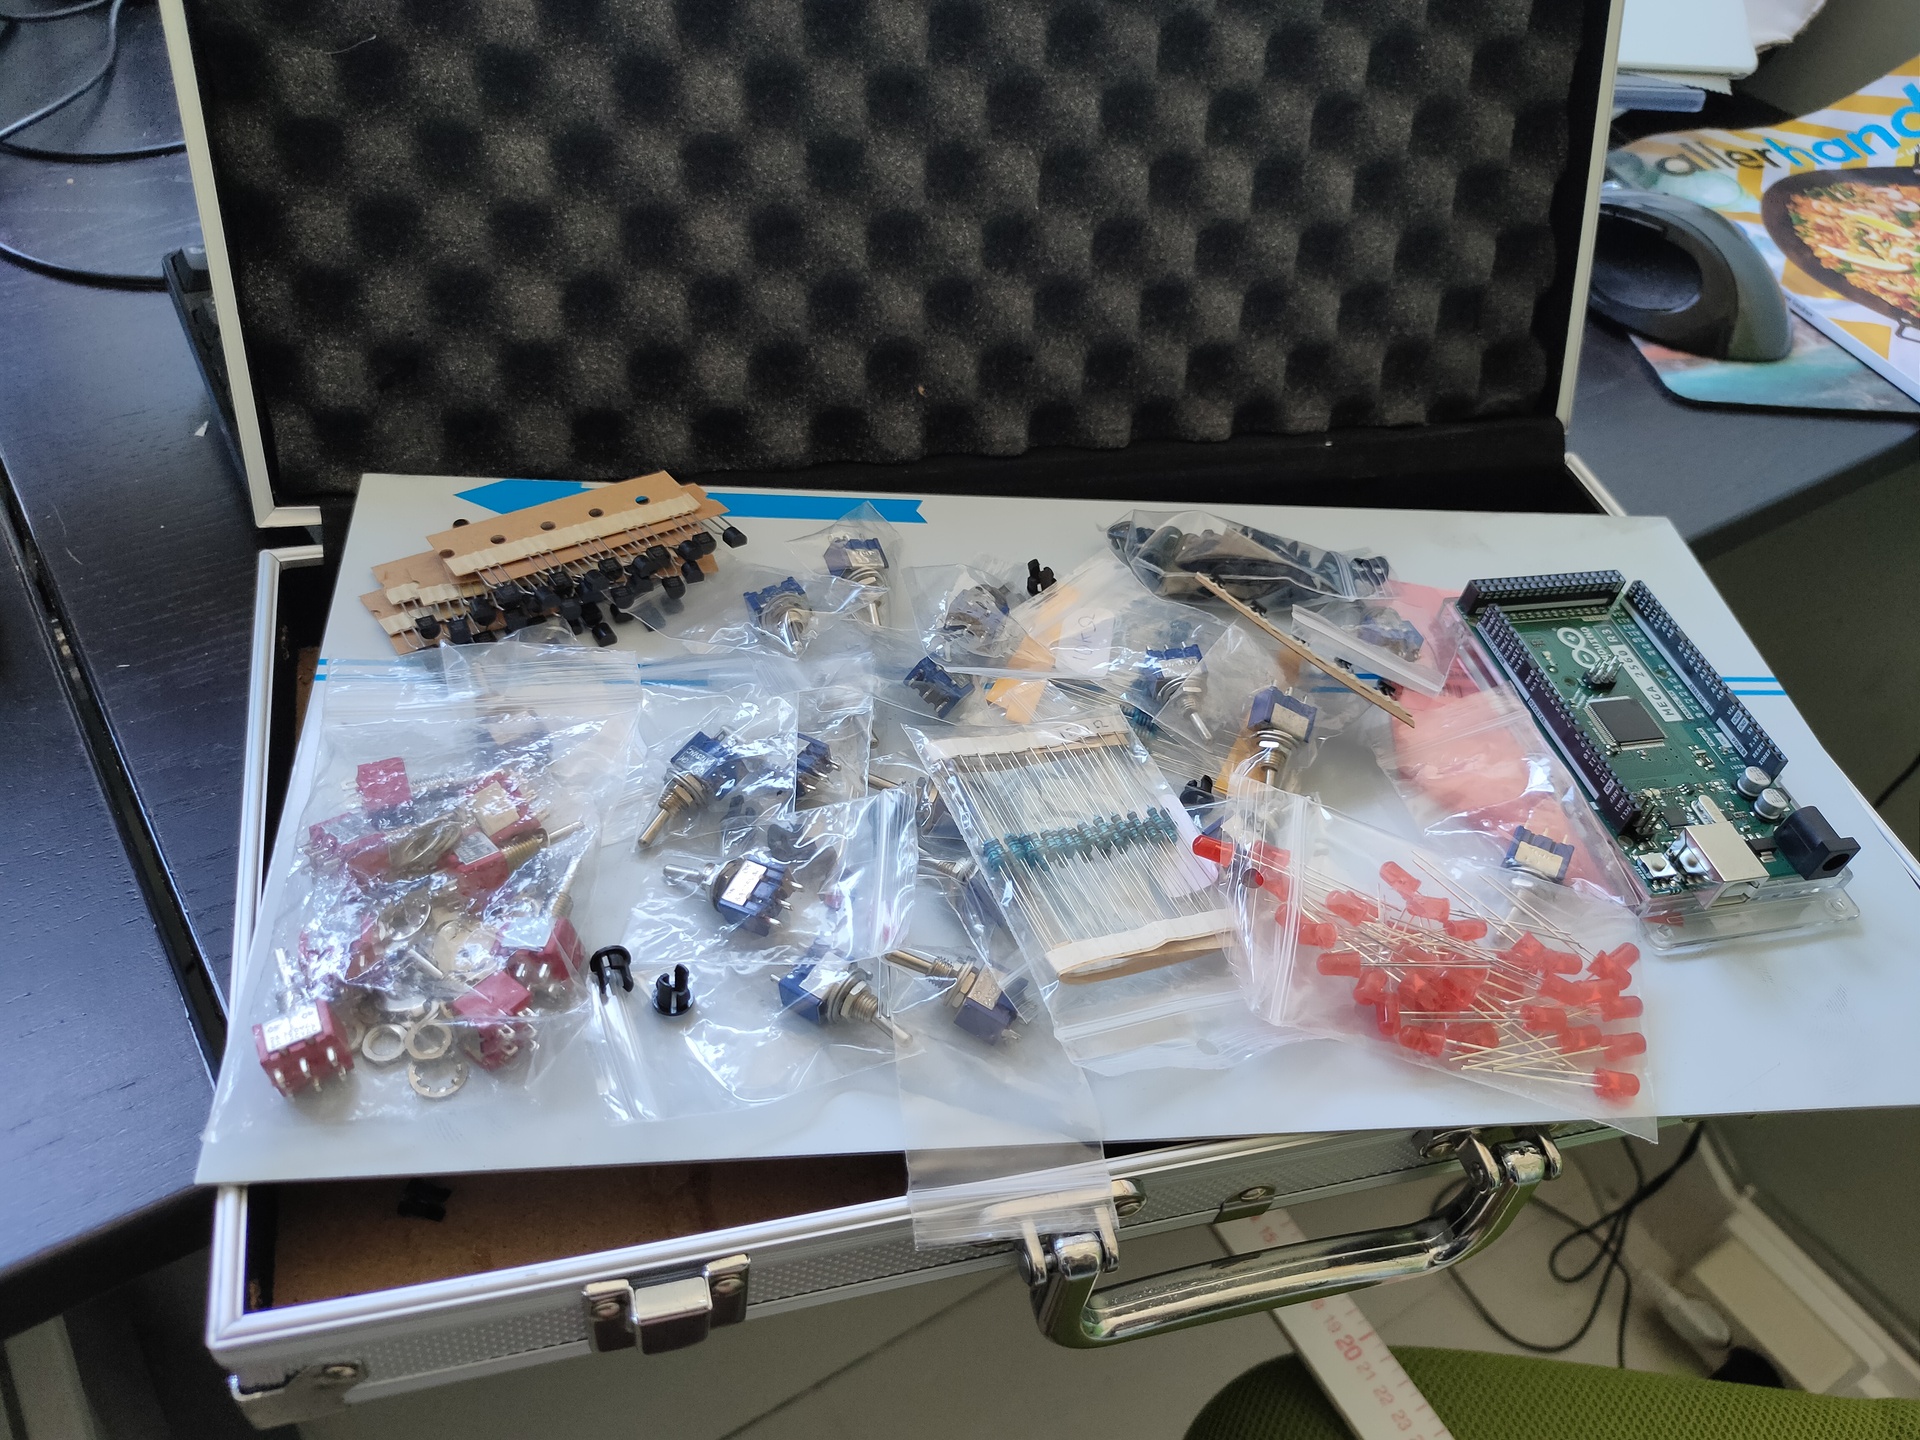
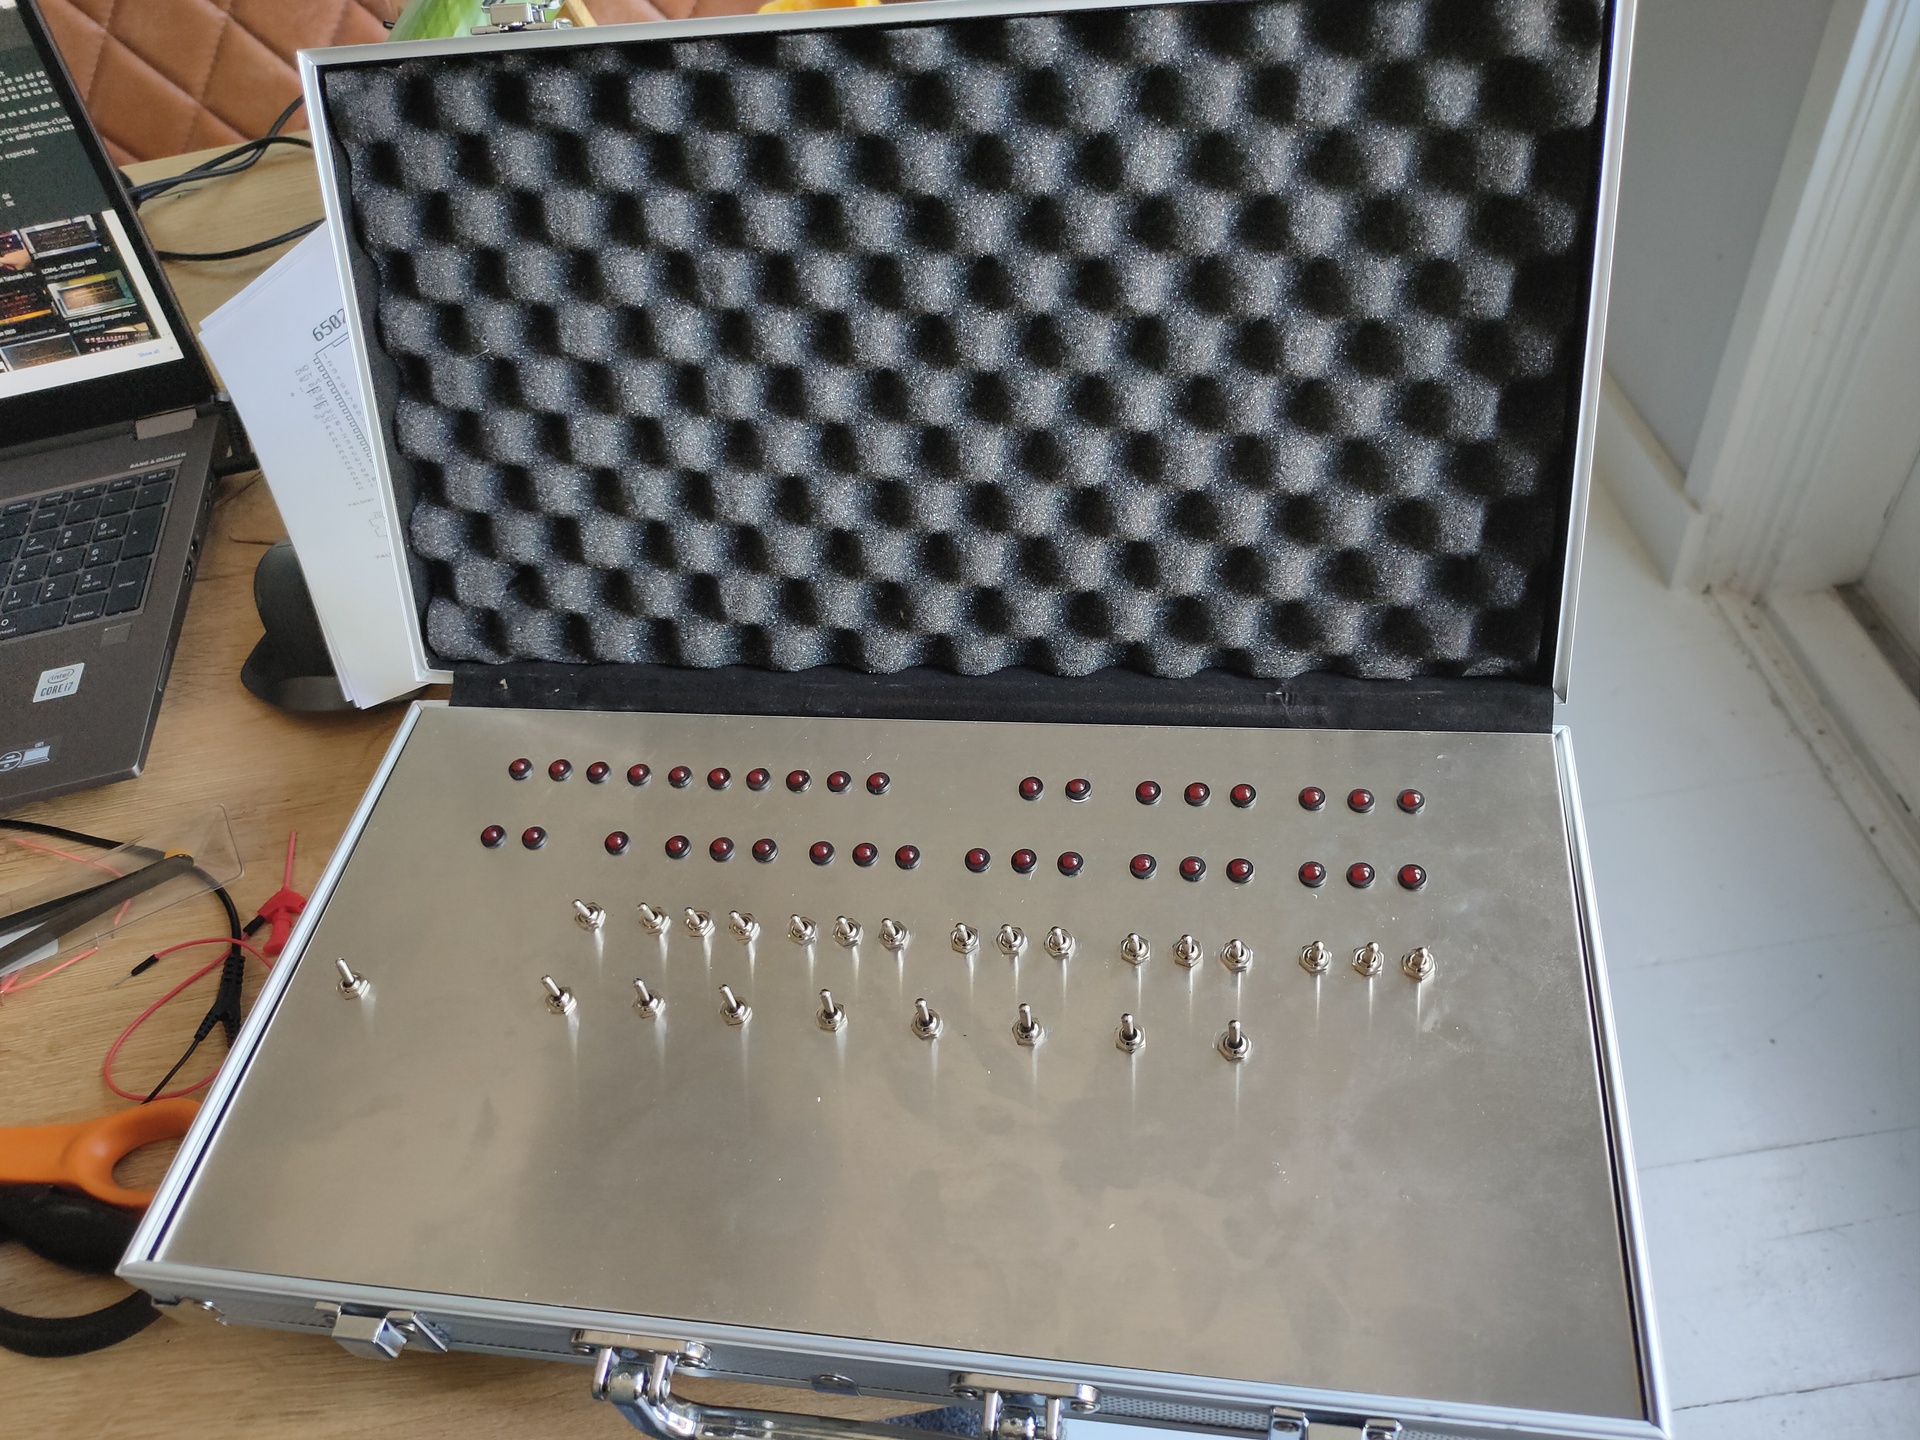
So i bought the components, a poker case which can hold the machine. And started building today.
The backend is a arduino based emulator, but with real leds and switches!
(https://create.arduino.cc/projecthub/david-hansel/arduino-altair-8800-simulator-3594a6)
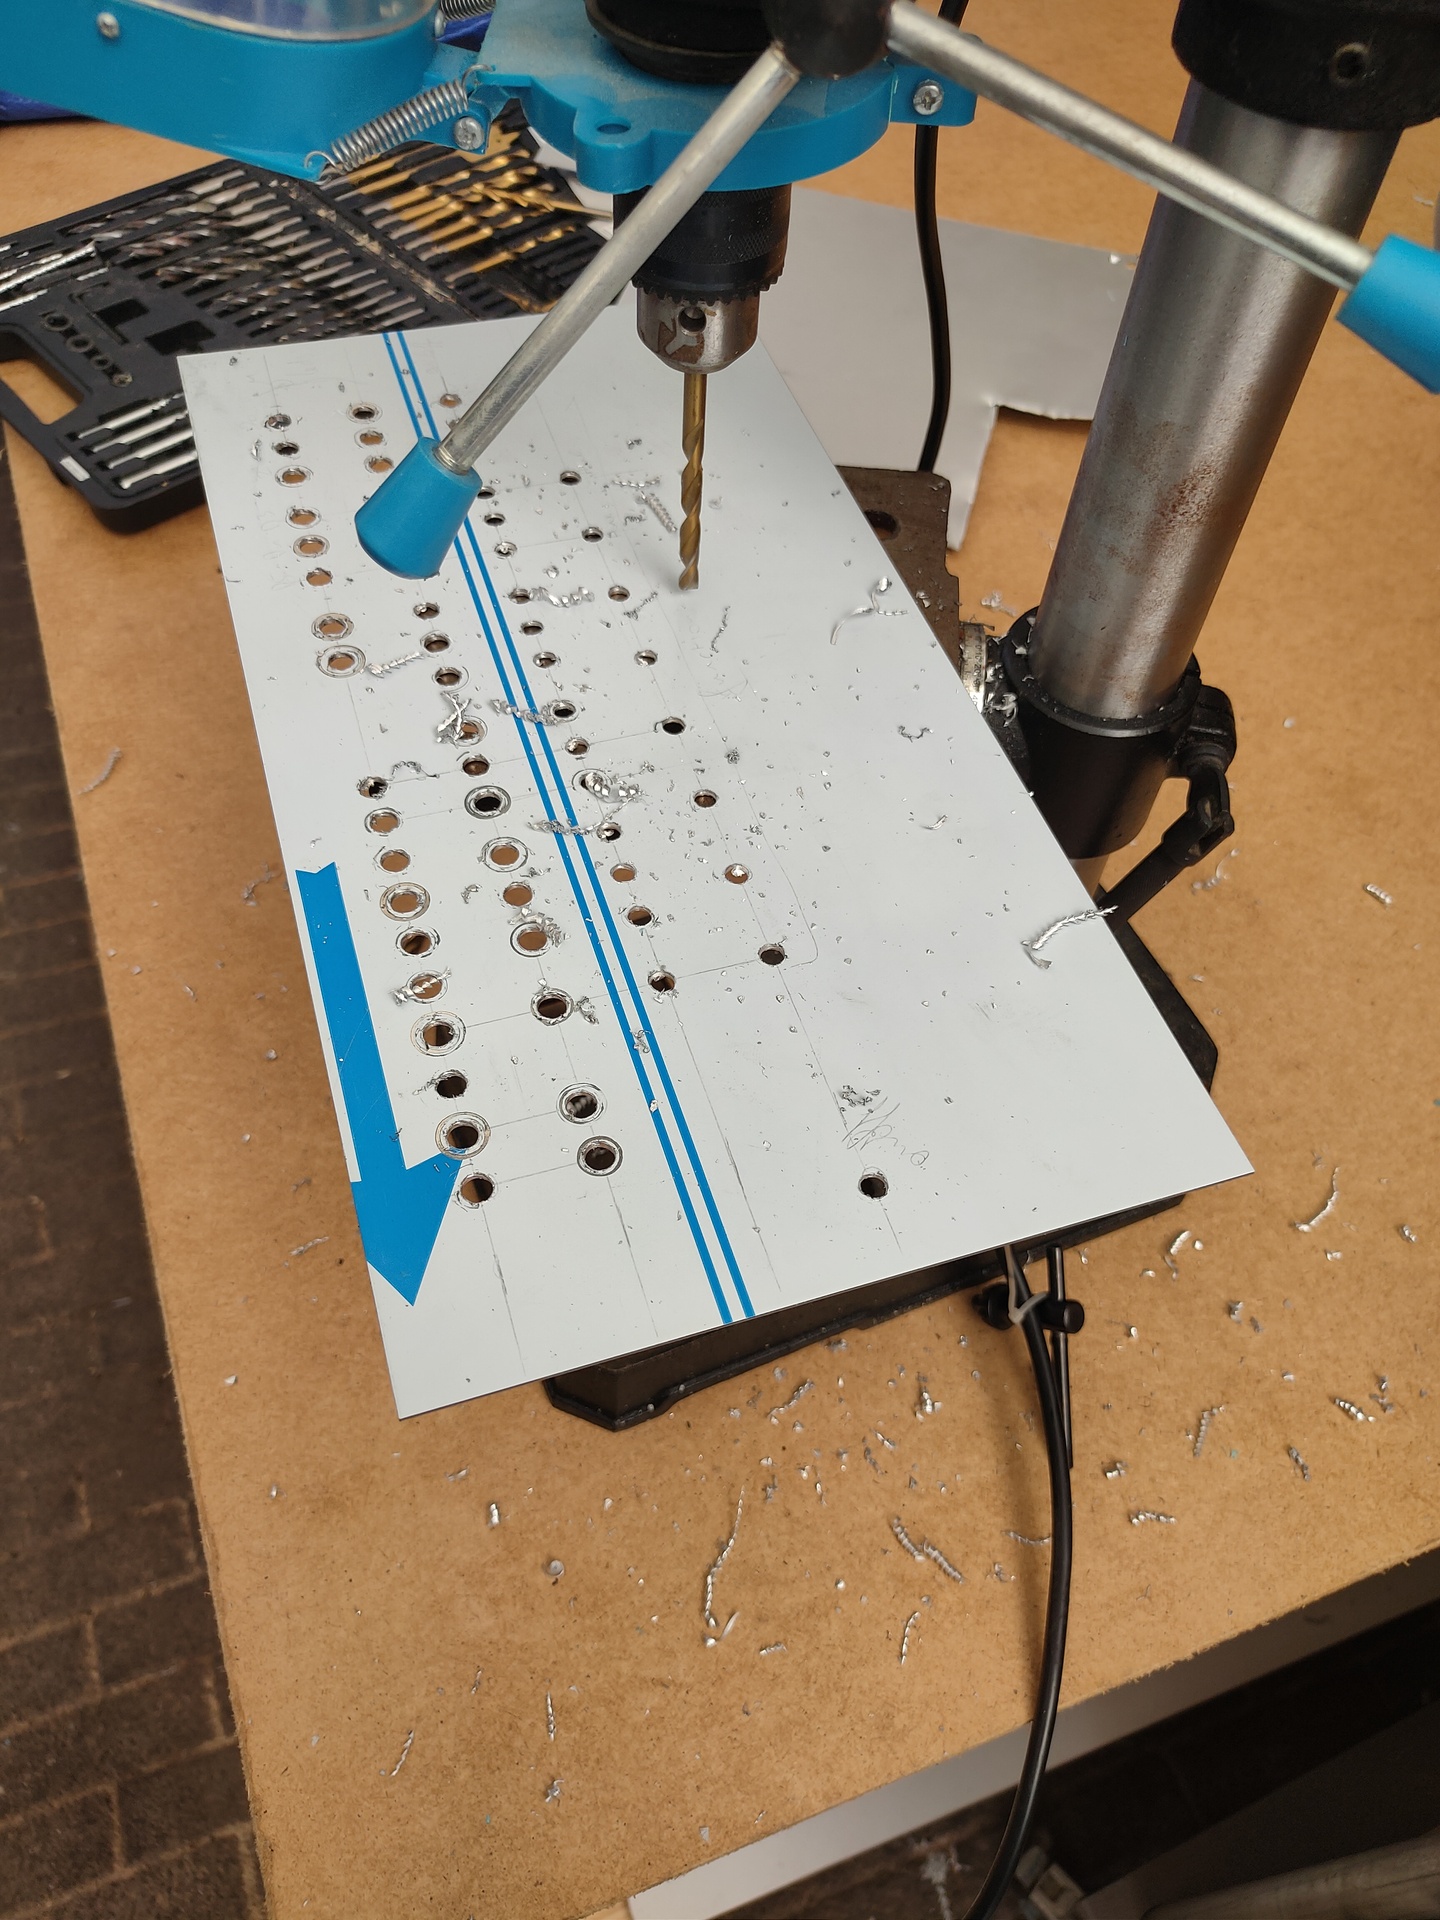
Next to do:
- Fix plate into case
- Solder a LOT of wires and components!
- Shall i get rid off the transitors and use darlington arrays?
- Put lettering on the aluminium plate : Functions and Bus information.
- Build a power connector in the case
And then … programming 🙂
UPDATE: 20220804 – Added Octal sheet
The Altair is a octal based machine, but i couldn’t find a opcode list in Octal. So i generated one.
When entering a MOV D,M instruction for example, you have to enter
x 0 1 0 1 0 1 1 0 using the switches
Thats 126 in octal but most tables are in hex ( MOV D,M is 56, which is 0101 0110 but not that clear on the switches)

| Opcode (oct) | Instruction | function | size | flags | Opcode |
| 000 | NOP | 1 | 0x00 | ||
| 001 | LXI B,D16 | B <- byte 3, C <- byte 2 | 3 | 0x01 | |
| 002 | STAX B | (BC) <- A | 1 | 0x02 | |
| 003 | INX B | BC <- BC+1 | 1 | 0x03 | |
| 004 | INR B | B <- B+1 | 1 | Z, S, P, AC | 0x04 |
| 005 | DCR B | B <- B-1 | 1 | Z, S, P, AC | 0x05 |
| 006 | MVI B, D8 | B <- byte 2 | 2 | 0x06 | |
| 007 | RLC | A = A << 1; bit 0 = prev bit 7; CY = prev bit 7 | 1 | CY | 0x07 |
| 010 | – | 0x08 | |||
| 011 | DAD B | HL = HL + BC | 1 | CY | 0x09 |
| 012 | LDAX B | A <- (BC) | 1 | 0x0a | |
| 013 | DCX B | BC = BC-1 | 1 | 0x0b | |
| 014 | INR C | C <- C+1 | 1 | Z, S, P, AC | 0x0c |
| 015 | DCR C | C <-C-1 | 1 | Z, S, P, AC | 0x0d |
| 016 | MVI C,D8 | C <- byte 2 | 2 | 0x0e | |
| 017 | RRC | A = A >> 1; bit 7 = prev bit 0; CY = prev bit 0 | 1 | CY | 0x0f |
| 020 | – | 0x10 | |||
| 021 | LXI D,D16 | D <- byte 3, E <- byte 2 | 3 | 0x11 | |
| 022 | STAX D | (DE) <- A | 1 | 0x12 | |
| 023 | INX D | DE <- DE + 1 | 1 | 0x13 | |
| 024 | INR D | D <- D+1 | 1 | Z, S, P, AC | 0x14 |
| 025 | DCR D | D <- D-1 | 1 | Z, S, P, AC | 0x15 |
| 026 | MVI D, D8 | D <- byte 2 | 2 | 0x16 | |
| 027 | RAL | A = A << 1; bit 0 = prev CY; CY = prev bit 7 | 1 | CY | 0x17 |
| 030 | – | 0x18 | |||
| 031 | DAD D | HL = HL + DE | 1 | CY | 0x19 |
| 032 | LDAX D | A <- (DE) | 1 | 0x1a | |
| 033 | DCX D | DE = DE-1 | 1 | 0x1b | |
| 034 | INR E | E <-E+1 | 1 | Z, S, P, AC | 0x1c |
| 035 | DCR E | E <- E-1 | 1 | Z, S, P, AC | 0x1d |
| 036 | MVI E,D8 | E <- byte 2 | 2 | 0x1e | |
| 037 | RAR | A = A >> 1; bit 7 = prev bit 7; CY = prev bit 0 | 1 | CY | 0x1f |
| 040 | – | 0x20 | |||
| 041 | LXI H,D16 | H <- byte 3, L <- byte 2 | 3 | 0x21 | |
| 042 | SHLD adr | (adr) <-L; (adr+1)<-H | 3 | 0x22 | |
| 043 | INX H | HL <- HL + 1 | 1 | 0x23 | |
| 044 | INR H | H <- H+1 | 1 | Z, S, P, AC | 0x24 |
| 045 | DCR H | H <- H-1 | 1 | Z, S, P, AC | 0x25 |
| 046 | MVI H,D8 | H <- byte 2 | 2 | 0x26 | |
| 047 | DAA | special | 1 | 0x27 | |
| 050 | – | 0x28 | |||
| 051 | DAD H | HL = HL + HI | 1 | CY | 0x29 |
| 052 | LHLD adr | L <- (adr); H<-(adr+1) | 3 | 0x2a | |
| 053 | DCX H | HL = HL-1 | 1 | 0x2b | |
| 054 | INR L | L <- L+1 | 1 | Z, S, P, AC | 0x2c |
| 055 | DCR L | L <- L-1 | 1 | Z, S, P, AC | 0x2d |
| 056 | MVI L, D8 | L <- byte 2 | 2 | 0x2e | |
| 057 | CMA | A <- !A | 1 | 0x2f | |
| 060 | – | 0x30 | |||
| 061 | LXI SP, D16 | SP.hi <- byte 3, SP.lo <- byte 2 | 3 | 0x31 | |
| 062 | STA adr | (adr) <- A | 3 | 0x32 | |
| 063 | INX SP | SP = SP + 1 | 1 | 0x33 | |
| 064 | INR M | (HL) <- (HL)+1 | 1 | Z, S, P, AC | 0x34 |
| 065 | DCR M | (HL) <- (HL)-1 | 1 | Z, S, P, AC | 0x35 |
| 066 | MVI M,D8 | (HL) <- byte 2 | 2 | 0x36 | |
| 067 | STC | CY = 1 | 1 | CY | 0x37 |
| 070 | – | 0x38 | |||
| 071 | DAD SP | HL = HL + SP | 1 | CY | 0x39 |
| 072 | LDA adr | A <- (adr) | 3 | 0x3a | |
| 073 | DCX SP | SP = SP-1 | 1 | 0x3b | |
| 074 | INR A | A <- A+1 | 1 | Z, S, P, AC | 0x3c |
| 075 | DCR A | A <- A-1 | 1 | Z, S, P, AC | 0x3d |
| 076 | MVI A,D8 | A <- byte 2 | 2 | 0x3e | |
| 077 | CMC | CY=!CY | 1 | CY | 0x3f |
| 100 | MOV B,B | B <- B | 1 | 0x40 | |
| 101 | MOV B,C | B <- C | 1 | 0x41 | |
| 102 | MOV B,D | B <- D | 1 | 0x42 | |
| 103 | MOV B,E | B <- E | 1 | 0x43 | |
| 104 | MOV B,H | B <- H | 1 | 0x44 | |
| 105 | MOV B,L | B <- L | 1 | 0x45 | |
| 106 | MOV B,M | B <- (HL) | 1 | 0x46 | |
| 107 | MOV B,A | B <- A | 1 | 0x47 | |
| 110 | MOV C,B | C <- B | 1 | 0x48 | |
| 111 | MOV C,C | C <- C | 1 | 0x49 | |
| 112 | MOV C,D | C <- D | 1 | 0x4a | |
| 113 | MOV C,E | C <- E | 1 | 0x4b | |
| 114 | MOV C,H | C <- H | 1 | 0x4c | |
| 115 | MOV C,L | C <- L | 1 | 0x4d | |
| 116 | MOV C,M | C <- (HL) | 1 | 0x4e | |
| 117 | MOV C,A | C <- A | 1 | 0x4f | |
| 120 | MOV D,B | D <- B | 1 | 0x50 | |
| 121 | MOV D,C | D <- C | 1 | 0x51 | |
| 122 | MOV D,D | D <- D | 1 | 0x52 | |
| 123 | MOV D,E | D <- E | 1 | 0x53 | |
| 124 | MOV D,H | D <- H | 1 | 0x54 | |
| 125 | MOV D,L | D <- L | 1 | 0x55 | |
| 126 | MOV D,M | D <- (HL) | 1 | 0x56 | |
| 127 | MOV D,A | D <- A | 1 | 0x57 | |
| 130 | MOV E,B | E <- B | 1 | 0x58 | |
| 131 | MOV E,C | E <- C | 1 | 0x59 | |
| 132 | MOV E,D | E <- D | 1 | 0x5a | |
| 133 | MOV E,E | E <- E | 1 | 0x5b | |
| 134 | MOV E,H | E <- H | 1 | 0x5c | |
| 135 | MOV E,L | E <- L | 1 | 0x5d | |
| 136 | MOV E,M | E <- (HL) | 1 | 0x5e | |
| 137 | MOV E,A | E <- A | 1 | 0x5f | |
| 140 | MOV H,B | H <- B | 1 | 0x60 | |
| 141 | MOV H,C | H <- C | 1 | 0x61 | |
| 142 | MOV H,D | H <- D | 1 | 0x62 | |
| 143 | MOV H,E | H <- E | 1 | 0x63 | |
| 144 | MOV H,H | H <- H | 1 | 0x64 | |
| 145 | MOV H,L | H <- L | 1 | 0x65 | |
| 146 | MOV H,M | H <- (HL) | 1 | 0x66 | |
| 147 | MOV H,A | H <- A | 1 | 0x67 | |
| 150 | MOV L,B | L <- B | 1 | 0x68 | |
| 151 | MOV L,C | L <- C | 1 | 0x69 | |
| 152 | MOV L,D | L <- D | 1 | 0x6a | |
| 153 | MOV L,E | L <- E | 1 | 0x6b | |
| 154 | MOV L,H | L <- H | 1 | 0x6c | |
| 155 | MOV L,L | L <- L | 1 | 0x6d | |
| 156 | MOV L,M | L <- (HL) | 1 | 0x6e | |
| 157 | MOV L,A | L <- A | 1 | 0x6f | |
| 160 | MOV M,B | (HL) <- B | 1 | 0x70 | |
| 161 | MOV M,C | (HL) <- C | 1 | 0x71 | |
| 162 | MOV M,D | (HL) <- D | 1 | 0x72 | |
| 163 | MOV M,E | (HL) <- E | 1 | 0x73 | |
| 164 | MOV M,H | (HL) <- H | 1 | 0x74 | |
| 165 | MOV M,L | (HL) <- L | 1 | 0x75 | |
| 166 | HLT | special | 1 | 0x76 | |
| 167 | MOV M,A | (HL) <- A | 1 | 0x77 | |
| 170 | MOV A,B | A <- B | 1 | 0x78 | |
| 171 | MOV A,C | A <- C | 1 | 0x79 | |
| 172 | MOV A,D | A <- D | 1 | 0x7a | |
| 173 | MOV A,E | A <- E | 1 | 0x7b | |
| 174 | MOV A,H | A <- H | 1 | 0x7c | |
| 175 | MOV A,L | A <- L | 1 | 0x7d | |
| 176 | MOV A,M | A <- (HL) | 1 | 0x7e | |
| 177 | MOV A,A | A <- A | 1 | 0x7f | |
| 200 | ADD B | A <- A + B | 1 | Z, S, P, CY, AC | 0x80 |
| 201 | ADD C | A <- A + C | 1 | Z, S, P, CY, AC | 0x81 |
| 202 | ADD D | A <- A + D | 1 | Z, S, P, CY, AC | 0x82 |
| 203 | ADD E | A <- A + E | 1 | Z, S, P, CY, AC | 0x83 |
| 204 | ADD H | A <- A + H | 1 | Z, S, P, CY, AC | 0x84 |
| 205 | ADD L | A <- A + L | 1 | Z, S, P, CY, AC | 0x85 |
| 206 | ADD M | A <- A + (HL) | 1 | Z, S, P, CY, AC | 0x86 |
| 207 | ADD A | A <- A + A | 1 | Z, S, P, CY, AC | 0x87 |
| 210 | ADC B | A <- A + B + CY | 1 | Z, S, P, CY, AC | 0x88 |
| 211 | ADC C | A <- A + C + CY | 1 | Z, S, P, CY, AC | 0x89 |
| 212 | ADC D | A <- A + D + CY | 1 | Z, S, P, CY, AC | 0x8a |
| 213 | ADC E | A <- A + E + CY | 1 | Z, S, P, CY, AC | 0x8b |
| 214 | ADC H | A <- A + H + CY | 1 | Z, S, P, CY, AC | 0x8c |
| 215 | ADC L | A <- A + L + CY | 1 | Z, S, P, CY, AC | 0x8d |
| 216 | ADC M | A <- A + (HL) + CY | 1 | Z, S, P, CY, AC | 0x8e |
| 217 | ADC A | A <- A + A + CY | 1 | Z, S, P, CY, AC | 0x8f |
| 220 | SUB B | A <- A – B | 1 | Z, S, P, CY, AC | 0x90 |
| 221 | SUB C | A <- A – C | 1 | Z, S, P, CY, AC | 0x91 |
| 222 | SUB D | A <- A + D | 1 | Z, S, P, CY, AC | 0x92 |
| 223 | SUB E | A <- A – E | 1 | Z, S, P, CY, AC | 0x93 |
| 224 | SUB H | A <- A + H | 1 | Z, S, P, CY, AC | 0x94 |
| 225 | SUB L | A <- A – L | 1 | Z, S, P, CY, AC | 0x95 |
| 226 | SUB M | A <- A + (HL) | 1 | Z, S, P, CY, AC | 0x96 |
| 227 | SUB A | A <- A – A | 1 | Z, S, P, CY, AC | 0x97 |
| 230 | SBB B | A <- A – B – CY | 1 | Z, S, P, CY, AC | 0x98 |
| 231 | SBB C | A <- A – C – CY | 1 | Z, S, P, CY, AC | 0x99 |
| 232 | SBB D | A <- A – D – CY | 1 | Z, S, P, CY, AC | 0x9a |
| 233 | SBB E | A <- A – E – CY | 1 | Z, S, P, CY, AC | 0x9b |
| 234 | SBB H | A <- A – H – CY | 1 | Z, S, P, CY, AC | 0x9c |
| 235 | SBB L | A <- A – L – CY | 1 | Z, S, P, CY, AC | 0x9d |
| 236 | SBB M | A <- A – (HL) – CY | 1 | Z, S, P, CY, AC | 0x9e |
| 237 | SBB A | A <- A – A – CY | 1 | Z, S, P, CY, AC | 0x9f |
| 240 | ANA B | A <- A & B | 1 | Z, S, P, CY, AC | 0xa0 |
| 241 | ANA C | A <- A & C | 1 | Z, S, P, CY, AC | 0xa1 |
| 242 | ANA D | A <- A & D | 1 | Z, S, P, CY, AC | 0xa2 |
| 243 | ANA E | A <- A & E | 1 | Z, S, P, CY, AC | 0xa3 |
| 244 | ANA H | A <- A & H | 1 | Z, S, P, CY, AC | 0xa4 |
| 245 | ANA L | A <- A & L | 1 | Z, S, P, CY, AC | 0xa5 |
| 246 | ANA M | A <- A & (HL) | 1 | Z, S, P, CY, AC | 0xa6 |
| 247 | ANA A | A <- A & A | 1 | Z, S, P, CY, AC | 0xa7 |
| 250 | XRA B | A <- A ^ B | 1 | Z, S, P, CY, AC | 0xa8 |
| 251 | XRA C | A <- A ^ C | 1 | Z, S, P, CY, AC | 0xa9 |
| 252 | XRA D | A <- A ^ D | 1 | Z, S, P, CY, AC | 0xaa |
| 253 | XRA E | A <- A ^ E | 1 | Z, S, P, CY, AC | 0xab |
| 254 | XRA H | A <- A ^ H | 1 | Z, S, P, CY, AC | 0xac |
| 255 | XRA L | A <- A ^ L | 1 | Z, S, P, CY, AC | 0xad |
| 256 | XRA M | A <- A ^ (HL) | 1 | Z, S, P, CY, AC | 0xae |
| 257 | XRA A | A <- A ^ A | 1 | Z, S, P, CY, AC | 0xaf |
| 260 | ORA B | A <- A | B | 1 | Z, S, P, CY, AC | 0xb0 |
| 261 | ORA C | A <- A | C | 1 | Z, S, P, CY, AC | 0xb1 |
| 262 | ORA D | A <- A | D | 1 | Z, S, P, CY, AC | 0xb2 |
| 263 | ORA E | A <- A | E | 1 | Z, S, P, CY, AC | 0xb3 |
| 264 | ORA H | A <- A | H | 1 | Z, S, P, CY, AC | 0xb4 |
| 265 | ORA L | A <- A | L | 1 | Z, S, P, CY, AC | 0xb5 |
| 266 | ORA M | A <- A | (HL) | 1 | Z, S, P, CY, AC | 0xb6 |
| 267 | ORA A | A <- A | A | 1 | Z, S, P, CY, AC | 0xb7 |
| 270 | CMP B | A – B | 1 | Z, S, P, CY, AC | 0xb8 |
| 271 | CMP C | A – C | 1 | Z, S, P, CY, AC | 0xb9 |
| 272 | CMP D | A – D | 1 | Z, S, P, CY, AC | 0xba |
| 273 | CMP E | A – E | 1 | Z, S, P, CY, AC | 0xbb |
| 274 | CMP H | A – H | 1 | Z, S, P, CY, AC | 0xbc |
| 275 | CMP L | A – L | 1 | Z, S, P, CY, AC | 0xbd |
| 276 | CMP M | A – (HL) | 1 | Z, S, P, CY, AC | 0xbe |
| 277 | CMP A | A – A | 1 | Z, S, P, CY, AC | 0xbf |
| 300 | RNZ | if NZ, RET | 1 | 0xc0 | |
| 301 | POP B | C <- (sp); B <- (sp+1); sp <- sp+2 | 1 | 0xc1 | |
| 302 | JNZ adr | if NZ, PC <- adr | 3 | 0xc2 | |
| 303 | JMP adr | PC <= adr | 3 | 0xc3 | |
| 304 | CNZ adr | if NZ, CALL adr | 3 | 0xc4 | |
| 305 | PUSH B | (sp-2)<-C; (sp-1)<-B; sp <- sp – 2 | 1 | 0xc5 | |
| 306 | ADI D8 | A <- A + byte | 2 | Z, S, P, CY, AC | 0xc6 |
| 307 | RST 0 | CALL $0 | 1 | 0xc7 | |
| 310 | RZ | if Z, RET | 1 | 0xc8 | |
| 311 | RET | PC.lo <- (sp); PC.hi<-(sp+1); SP <- SP+2 | 1 | 0xc9 | |
| 312 | JZ adr | if Z, PC <- adr | 3 | 0xca | |
| 313 | – | 0xcb | |||
| 314 | CZ adr | if Z, CALL adr | 3 | 0xcc | |
| 315 | CALL adr | (SP-1)<-PC.hi;(SP-2)<-PC.lo;SP<-SP-2;PC=adr | 3 | 0xcd | |
| 316 | ACI D8 | A <- A + data + CY | 2 | Z, S, P, CY, AC | 0xce |
| 317 | RST 1 | CALL $8 | 1 | 0xcf | |
| 320 | RNC | if NCY, RET | 1 | 0xd0 | |
| 321 | POP D | E <- (sp); D <- (sp+1); sp <- sp+2 | 1 | 0xd1 | |
| 322 | JNC adr | if NCY, PC<-adr | 3 | 0xd2 | |
| 323 | OUT D8 | special | 2 | 0xd3 | |
| 324 | CNC adr | if NCY, CALL adr | 3 | 0xd4 | |
| 325 | PUSH D | (sp-2)<-E; (sp-1)<-D; sp <- sp – 2 | 1 | 0xd5 | |
| 326 | SUI D8 | A <- A – data | 2 | Z, S, P, CY, AC | 0xd6 |
| 327 | RST 2 | CALL $10 | 1 | 0xd7 | |
| 330 | RC | if CY, RET | 1 | 0xd8 | |
| 331 | – | 0xd9 | |||
| 332 | JC adr | if CY, PC<-adr | 3 | 0xda | |
| 333 | IN D8 | special | 2 | 0xdb | |
| 334 | CC adr | if CY, CALL adr | 3 | 0xdc | |
| 335 | – | 0xdd | |||
| 336 | SBI D8 | A <- A – data – CY | 2 | Z, S, P, CY, AC | 0xde |
| 337 | RST 3 | CALL $18 | 1 | 0xdf | |
| 340 | RPO | if PO, RET | 1 | 0xe0 | |
| 341 | POP H | L <- (sp); H <- (sp+1); sp <- sp+2 | 1 | 0xe1 | |
| 342 | JPO adr | if PO, PC <- adr | 3 | 0xe2 | |
| 343 | XTHL | L <-> (SP); H <-> (SP+1) | 1 | 0xe3 | |
| 344 | CPO adr | if PO, CALL adr | 3 | 0xe4 | |
| 345 | PUSH H | (sp-2)<-L; (sp-1)<-H; sp <- sp – 2 | 1 | 0xe5 | |
| 346 | ANI D8 | A <- A & data | 2 | Z, S, P, CY, AC | 0xe6 |
| 347 | RST 4 | CALL $20 | 1 | 0xe7 | |
| 350 | RPE | if PE, RET | 1 | 0xe8 | |
| 351 | PCHL | PC.hi <- H; PC.lo <- L | 1 | 0xe9 | |
| 352 | JPE adr | if PE, PC <- adr | 3 | 0xea | |
| 353 | XCHG | H <-> D; L <-> E | 1 | 0xeb | |
| 354 | CPE adr | if PE, CALL adr | 3 | 0xec | |
| 355 | – | 0xed | |||
| 356 | XRI D8 | A <- A ^ data | 2 | Z, S, P, CY, AC | 0xee |
| 357 | RST 5 | CALL $28 | 1 | 0xef | |
| 360 | RP | if P, RET | 1 | 0xf0 | |
| 361 | POP PSW | flags <- (sp); A <- (sp+1); sp <- sp+2 | 1 | 0xf1 | |
| 362 | JP adr | if P=1 PC <- adr | 3 | 0xf2 | |
| 363 | DI | special | 1 | 0xf3 | |
| 364 | CP adr | if P, PC <- adr | 3 | 0xf4 | |
| 365 | PUSH PSW | (sp-2)<-flags; (sp-1)<-A; sp <- sp – 2 | 1 | 0xf5 | |
| 366 | ORI D8 | A <- A | data | 2 | Z, S, P, CY, AC | 0xf6 |
| 367 | RST 6 | CALL $30 | 1 | 0xf7 | |
| 370 | RM | if M, RET | 1 | 0xf8 | |
| 371 | SPHL | SP=HL | 1 | 0xf9 | |
| 372 | JM adr | if M, PC <- adr | 3 | 0xfa | |
| 373 | EI | special | 1 | 0xfb | |
| 374 | CM adr | if M, CALL adr | 3 | 0xfc | |
| 375 | – | 0xfd | |||
| 376 | CPI D8 | A – data | 2 | Z, S, P, CY, AC | 0xfe |
| 377 | RST 7 | CALL $38 | 1 | 0xff |