IRQ redirect for other programs

Last Updated or created 2022-09-21

I’ve got a ROM in my 6502 which can load programs at $0200.
When running own programs i want to use IRQ’s, but my rom is also using IRQ routines.
So i was wondering if i could ‘hijack’ this IRQ for own program purposes.

So i’ve altered the rom to use a vector in userspace.

  • CPU starts, getting vector from FFFC
  • Goto $8000 main ROM program
  • Setting a jmp routine on zero page $F0
    • 4C C9 FF
    • 4C C9 FF ; second time, first one will redirect
  • Running my program on $0200
  • Change first jmp C9 FF to my own IRQ part
    • Changed jmp vectors
    • 4C 6E 02 ; jmp $026E (myprg)
    • 4C C9 FF ; jmp $FFC9 (rom)
  • Run rest of program

All seems fine and dandy … buzzer is sounding, but no blinky leds.
When flashing the rom with only my program, everything works ..
So whats going on? .. anyone?

00000000  78 a9 6e 85 f1 a9 02 85  f2 58 a9 ff 8d 03 50 8d  |x.n......X....P.| ; sei , lda #$6e, store $f1, lda #$02, store $f2 - so address $026e
00000010  02 50 a9 00 8d 01 50 8d  00 50 85 04 20 45 02 a9  |.P....P..P.. E..|
00000020  77 8d 04 50 a9 07 8d 05  50 20 2f 02 4c 29 02 38  |w..P....P /.L).8|
00000030  a5 00 e5 04 c9 19 90 0c  a9 40 4d 00 50 8d 00 50  |.........@M.P..P|
00000040  a5 00 85 04 60 a9 00 85  00 85 01 85 02 85 03 a9  |....`...........|
00000050  c0 8d 0b 50 a9 a0 8d 0e  50 a9 0e 8d 08 50 a9 27  |...P....P....P.'|
00000060  8d 09 50 a9 00 8d 04 50  8d 05 50 58 60 40 48 a9  |..P....P..PX`@H.| ; at $6e opcode 48 (pha) 
00000070  0e 8d 08 50 a9 27 8d 09  50 e6 00 d0 0a e6 01 d0  |...P.'..P.......|
00000080  06 e6 02 d0 02 e6 03 68  4c f3 00                 |.......hL..|

ROM parts

MYIRQ = $F0                                     ; Own IRQ vector <=================== my additions/alterations

; Below definitions for VIA 1 my loadable program uses VIA 2
PORTB = $6000                                   ; VIA port B 
PORTA = $6001                                   ; VIA port A
DDRB = $6002                                    ; Data Direction Register B
DDRA = $6003                                    ; Data Direction Register A

-------------8<------- snip

PROGRAM_LOCATION = $0200                        ; memory location for user programs

    .org $8000

main:                                           ; boot routine, first thing loaded
    ldx #$ff                                    ; initialize the stackpointer with 0xff
    txs

; ISR redirect code  <=================== my additions/alterations
    sei
    lda #$4C
    sta MYIRQ
    sta MYIRQ + 3
    lda #<ISR
    sta MYIRQ + 1
    sta MYIRQ + 4
    lda #>ISR
    sta MYIRQ + 2
    sta MYIRQ + 5
    cli

; End ISR redirect <=================== till here

; below this the standard rom routines

-------------8<------- snip
    .org $FFC9                                  ; as close as possible to the ROM's end

ISR:                                                  <====================== Whole ISR not my code
CURRENT_RAM_ADDRESS = Z0                        ; a RAM address handle for indirect writing
    pha
    tya
    pha
    lda ISR_FIRST_RUN                           ; check whether we are called for the first time
    bne .write_data                             ; if not, just continue writing
    lda #1                                      ; otherwise set the first time marker
    sta ISR_FIRST_RUN                           ; and return from the interrupt
    jmp .doneisr
.write_data:
    lda #$01                                    ; progressing state of loading operation
    sta LOADING_STATE                           ; so program_ram routine knows, data's still flowing
    lda PORTB                                   ; load serial data byte
    ldy #0
    sta (CURRENT_RAM_ADDRESS),Y                 ; store byte at current RAM location
                                                ; increase the 16bit RAM location
    inc CURRENT_RAM_ADDRESS_L
    bne .doneisr
    inc CURRENT_RAM_ADDRESS_H
.doneisr
    pla                                         ; restore Y
    tay
    pla                                         ; restore A
    rti

    .org $fffc
    .word main                                  ; Main ROM program
    .word MYIRQ                                 ; Redirect to OWN irq vector <=================== my additions/alterations

RAM Program

; Second VIA stuff
PORTB = $5000
PORTA = $5001
DDRB = $5002
DDRA = $5003
;------------------8<-------------

; Vector pointer on zero page
MYIRQ = $F0 

ticks = $00 ; 4 Bytes
toggle_time = $04 ; 1 Byte

    .org $0200

start:
; IRQ REDIRECT
    sei               ; irq masked
    lda #<irq         ; get low byte IRQ routine address 
    sta MYIRQ + 1     ; store at $F1

    lda #>irq         ; get high part of address
    sta MYIRQ + 2     ; store at $F2
    cli               ; irq enabled
; IRQ END REDIRECT

; init of program part
    lda #%11111111
    sta DDRA
    sta DDRB
        lda #$00
    sta PORTA
    sta PORTB
    sta toggle_time
    jsr init_timer
    lda #$77
    sta T1CL
    lda #$07
    sta T1CH

loop:                       ; loop 
    jsr update_led          ; update led routine
    jmp loop

update_led:
    sec
    lda ticks
    sbc toggle_time
    cmp #25
    bcc exit_update_led
    ; Toggle led
    lda #%01000000
    eor PORTB
    sta PORTB
    lda ticks
    sta toggle_time
exit_update_led:
    rts

;-----------------------------8<------------- snip

irq:
    pha
    lda #$0e
    sta T2CL
    lda #$27
    sta T2CH
    inc ticks
    bne end_irq
    inc ticks + 1
    bne end_irq
    inc ticks + 2
    bne end_irq
    inc ticks + 3
end_irq:
    pla
    jmp MYIRQ + 3           ; jmp to vector which points to ROM routine ; should be $FFC9

Coffee (And more)

Last Updated or created 2022-09-18

We looove coffee, so we keep track ..

The problem with something so suggestive as taste .. it depends on your mood, time of day, the weather ..
Also we started with a few, after that you really should revisit previously tasted coffees. Maybe they are worse, or better than you tasted after that.

Maybe i have a Winter Coffee … or a hangover coffee, who knows.

But here are the ones we’ve sorted. (Maybe there are ones in multiple categories .. )

Maybe i have to look at countries, brands, the family of beans being used, and how the beans are roasted.
I’ll have to revisit this post

We didn’t like

Coffee’s kindda okay

Coffee we liked a lot

I made some Coffee liqueur in the past, coffee ice, used it glazing meat on my smoker and cocktails.

Coffee liqueur

Coffee liqueur: 3 cups sugar, 2 cups water, vanilla, 8 tablespoons grounded coffee and 700cl rum .. vodka wil work also.
Heat without the alcohol, strain and add the alcohol in a container.
Leave for several days, and enjoy.
(note .. rum adds more flavour, depends of you want this)

Take a italian ham, prosciutto for example put a coffee bean in it. And eat this .. its amazing!

These coffee variations i’ve tried also. And ofcource i had to try Kopi Luwak.

Kopi luwak is a coffee that consists of partially digested coffee cherries, which have been eaten and defecated by the Asian palm civet.

6502 update

Last Updated or created 2022-09-18

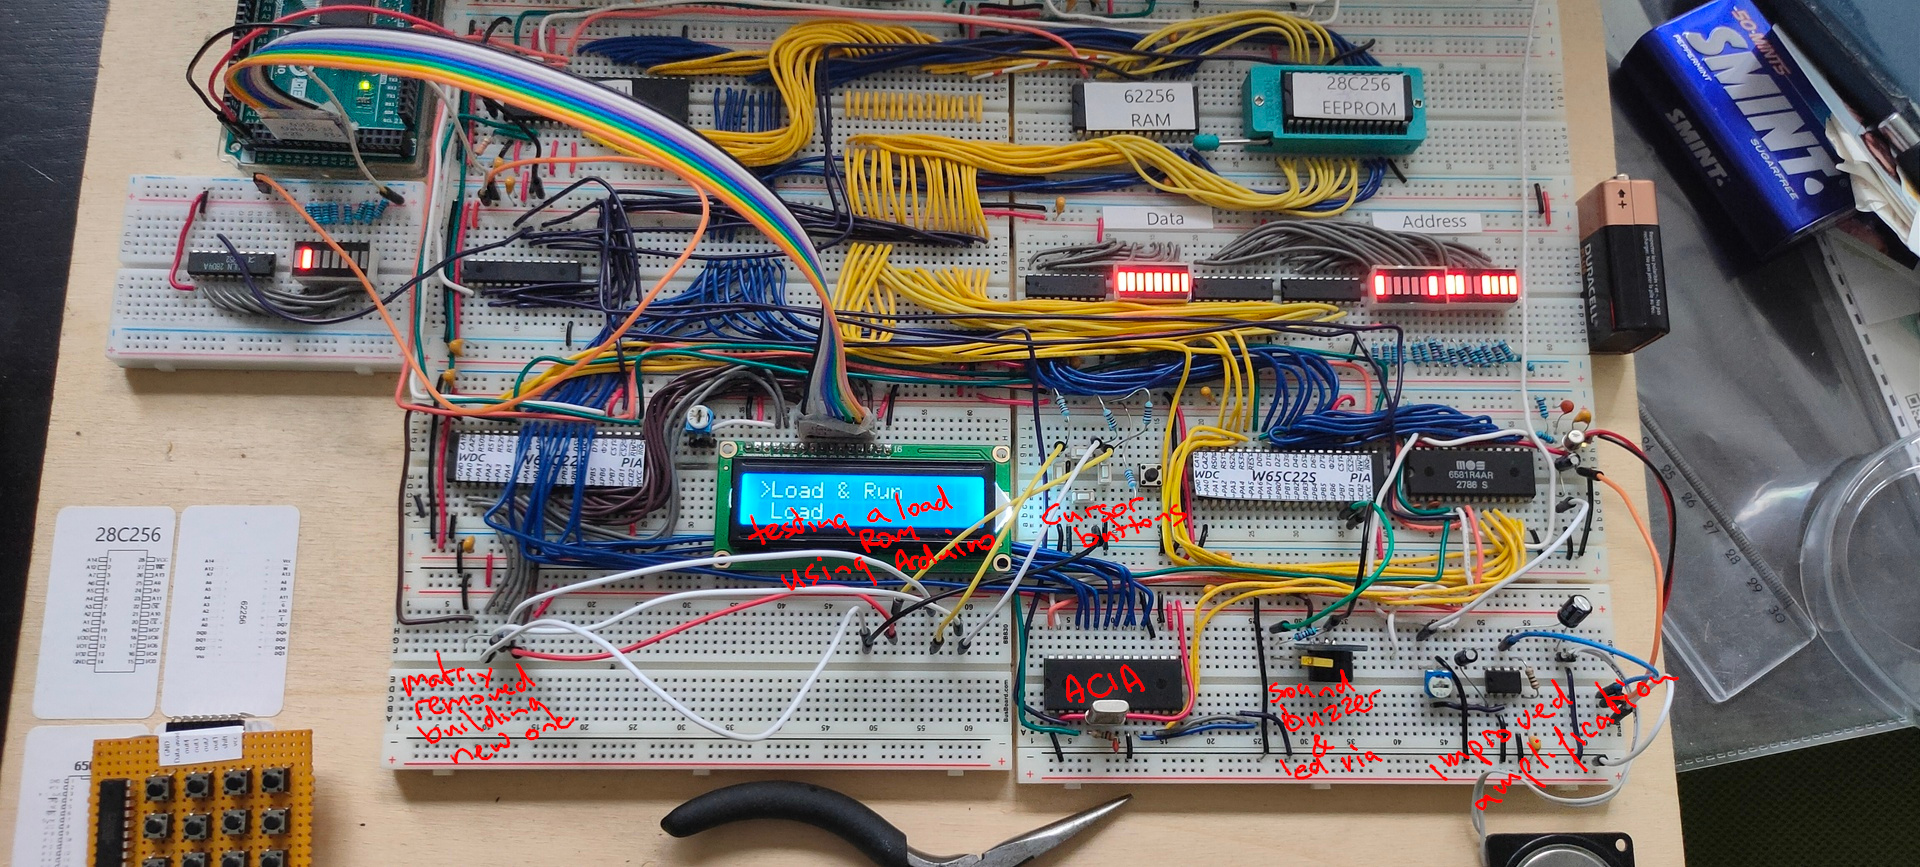
  • New amplifier part using a LM386
  • Buzzer and led on VIA 2, blinky and sound timed by the internal timers of the 6522
  • ACIA testing still going on, writing software
  • Mini matrix keyboard removed, and used the temporary cursor buttons for the test with a rom which allows for a 8bits upload method using a arduino and the 6522. (I’m working on the big keyboard)

Work in progress code

PORT2B = $5000 		; VIA PORTB
PORT2A = $5001 		; VIA PORTA
DDR2B = $5002  		; Data direction register
DDR2A = $5003  		; Data direction register

PORTB = $6000 		; display
PORTA = $6001 		; control display + matrix keyboard
DDRB = $6002  		; data direction register
DDRA = $6003  		; data direction register
SID = $7000   		; sid base address

E  = %10000000		; enable bit
RW = %01000000		; RW bit 
RS = %00100000		; Register Select bit 
HOME = %00000010 	; VIA PORTB HOME command
DADDR = %00010000 	; VIA DADDRESS

LINENO = $0200		; temp address linenumber (move to other location)
NEXTLINE = 40		; 2x16 Chars but internally 40


  .org $8000

reset:
  ldx #$ff
  txs		; reset stack

; ###################################################
; #                 DISPLAY CONTROL                 #
; ###################################################
; VIA Setup

  lda #%11111111 	; Set all pins on port B to output
  sta DDRB
  lda #%11100000 	; Set top 3 pins on port A to output
  sta DDRA

; DISPLAY Setup
  lda #%00111000 	; Set 8-bit mode; 2-line display; 5x8 font
  jsr lcd_instruction
  lda #%00001110 	; Display on; cursor on; blink off
  jsr lcd_instruction
  lda #%00000110 	; Increment and shift cursor; don't shift display
  jsr lcd_instruction
  lda #$00000001 	; Clear display
  jsr lcd_instruction

; ###################################################
; #             PRINT MESSAGE LINE NO 0             #
; ###################################################
  lda #0  		; set line number
  sta LINENO      	; store for subroutine
  jsr gotoline		; move cursor

  ldx #0		; message index pointer
print:
  lda message0,x 	; start of message
  beq nextprint      	; stop when null in message (asciiz <- Zero padded)
  jsr print_char	; print char
  inx			; incr index
  jmp print		; resume print
; ###################################################
; #             PRINT MESSAGE LINE NO 1             #
; ###################################################
nextprint:
  lda #1  		; set line number
  sta LINENO      	; store
  jsr gotoline
  ldx #0  		; index pointer                 
print2:
  lda message1,x  	; absolute address message + x in A
  beq sidsound        	; if x is 0, end of message     
  jsr print_char  	; jump subroutine
  inx             	; increment x
  jmp print2      	; loop print2


; ###################################################
; #             SID SOUND                           #
; ###################################################
sidsound:
  lda #0		
  sta SID+$5		; attack/decay duration
  	
  lda #250
  sta SID+$6		; sustain level/release duration
  	
  lda #$95		; frequency voice 1 low byte
  sta SID+$0
  	
  lda #$44		; frequency voice 1 high byte
  sta SID+$1
  
  lda #%00100001	; sawtooth + gate
  sta SID+$4		; control register voice 1
  
  lda #$0f		; filter mode and volume (bits 3-0 main volume)
  sta SID+$18		; filter mode and volume


; ###################################################
; #             2ND VIA                             #
; ###################################################
  lda #%11111111 	; set port A output
  sta DDR2A

  lda #%11111111	; all ones!
  sta PORT2A
; ###################################################
  lda #%11111111 	; set port A output
  sta DDR2A

  lda #%11111111	; all ones!
  sta PORT2A


; ###################################################
; #             MAIN PROGRAM LOOP                   #
; ###################################################
loop:
  jmp loop
;                   1234567812345678
message0: .asciiz  "VIA 1,2 SID TEST"
message1: .asciiz  "   FASH  2022   "

; ###################################################
; #             ONLY SUBROUTINES                    #
; ###################################################

; ###################################################
; #             Subroutine gotoline                 #
; # Moves character placement position on display   #
; # Needs : $LINENO ADDRESS                         #
; # Exit values : -                                 #
; # Destroys registers: -                           #
; ###################################################

gotoline:
  pha                             ; store a
  txa
  pha                             ; store x
  ldx LINENO
  lda #HOME                       ; cursor down
  jsr lcd_instruction
  lda #$80
nextline:
  ldx LINENO
  cpx #00
  beq endnextlines
loopline:
  adc #40
  jsr lcd_instruction
  dex
  stx LINENO
  jmp nextline
endnextlines:
  pla                             ; pop a
  tax                             ; a to x
  pla                             ; pop a
  rts


; ###################################################
; #             LCD SUBROUTINES                     #
; ###################################################
lcd_wait:
  pha
  lda #%00000000  ; Port B is input
  sta DDRB
lcdbusy:
  lda #RW
  sta PORTA
  lda #(RW | E)
  sta PORTA
  lda PORTB
  and #%10000000
  bne lcdbusy
  lda #RW
  sta PORTA
  lda #%11111111  ; Port B is output
  sta DDRB
  pla
  rts
lcd_instruction:
  jsr lcd_wait
  sta PORTB
  lda #0         ; Clear RS/RW/E bits
  sta PORTA
  lda #E         ; Set E bit to send instruction
  sta PORTA
  lda #0         ; Clear RS/RW/E bits
  sta PORTA
  rts
print_char:
  jsr lcd_wait
  sta PORTB
  lda #RS         ; Set RS; Clear RW/E bits
  sta PORTA
  lda #(RS | E)   ; Set E bit to send instruction
  sta PORTA
  lda #RS         ; Clear E bits
  sta PORTA
  rts

nmi:
  rti

irq:
  rti

  .org $fffa
  .word nmi
  .word reset
  .word irq
;  .word $0000

Photoshoots again

Last Updated or created 2022-09-18

Today we did a photoshoot again. (Arja needed some pictures again). Nice to have some practice again.
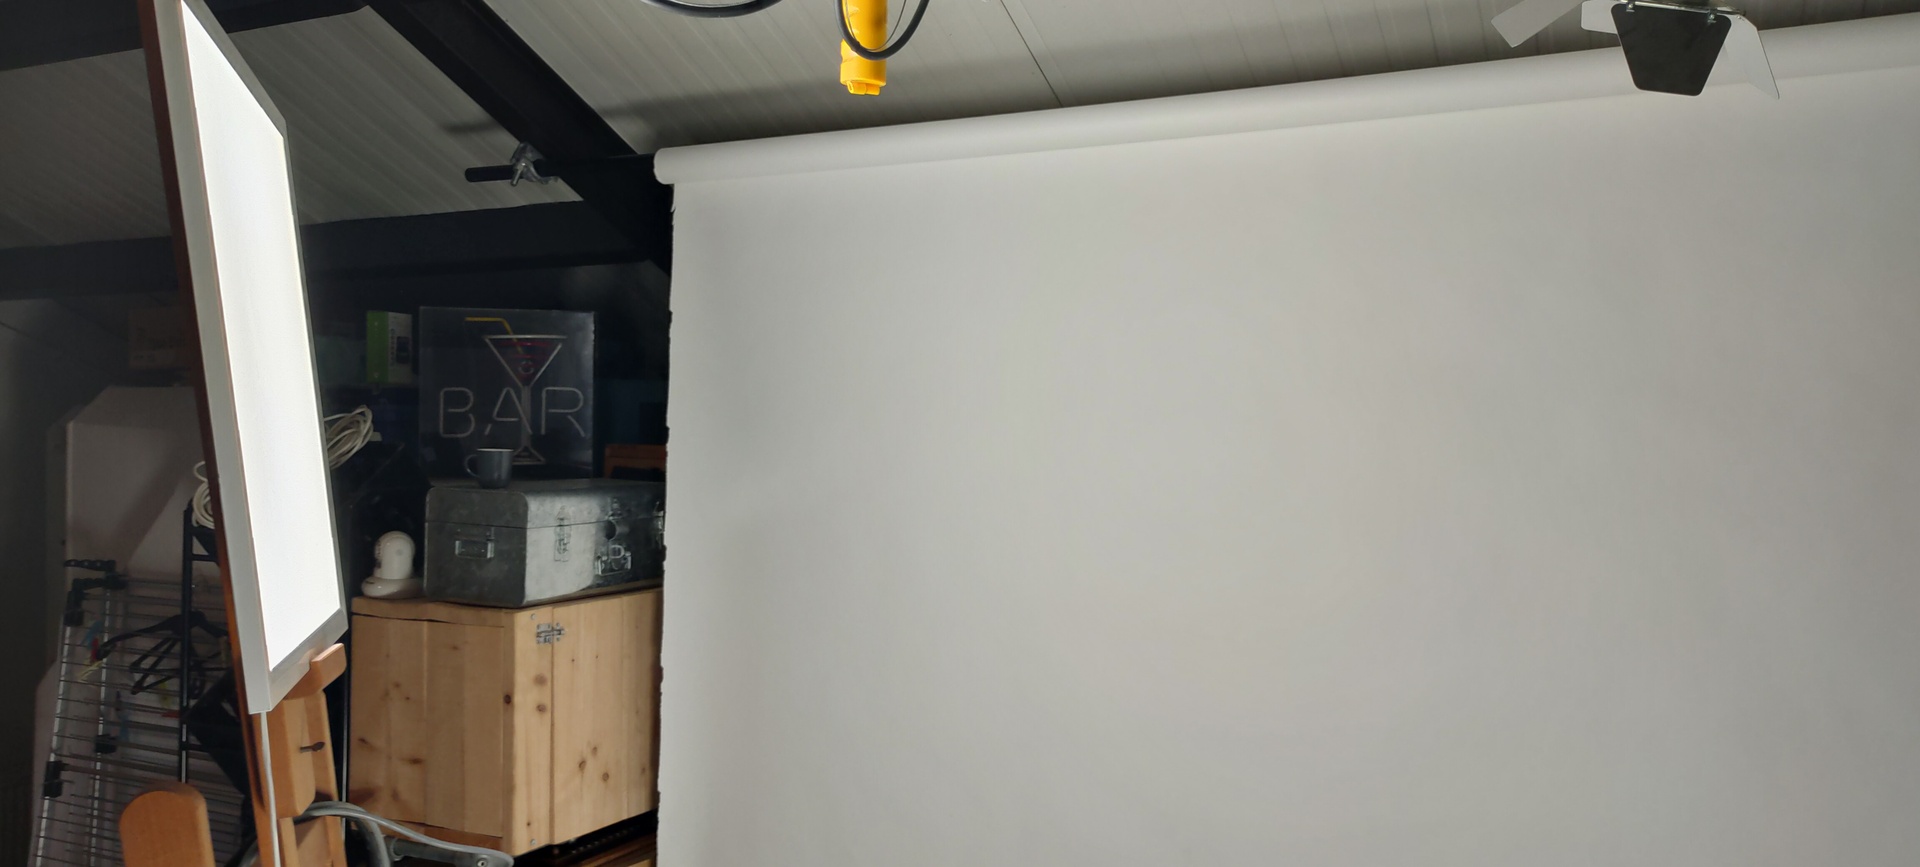
I’ve been setting up a little studio in our shed. i’ve got a nice interchangeable background with multiple colors/fabrics. (White/Black/Chromagreen/Blue cloth)
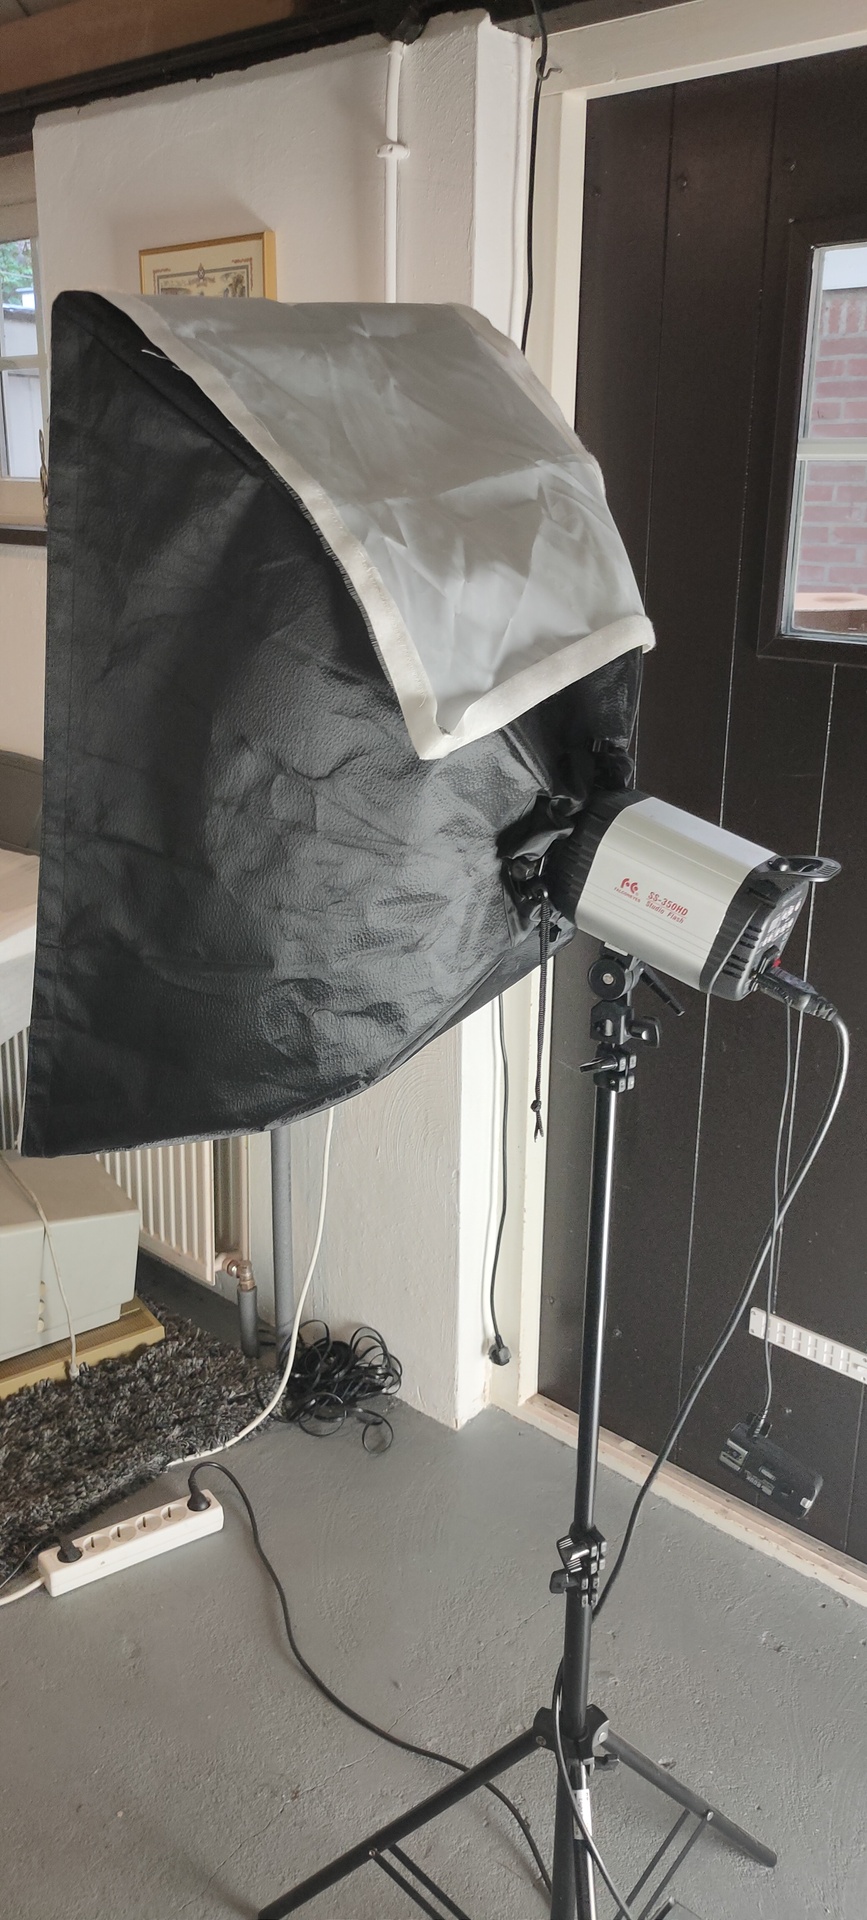
I also installed the semi professional lights below.

Nice lightweight stands, with a lightbox, and a remote trigger system.
It has two modes. Flash and permanent lighting. It’s a nice piece of equipment, don’t get me wrong. But lately i’ve been using this!

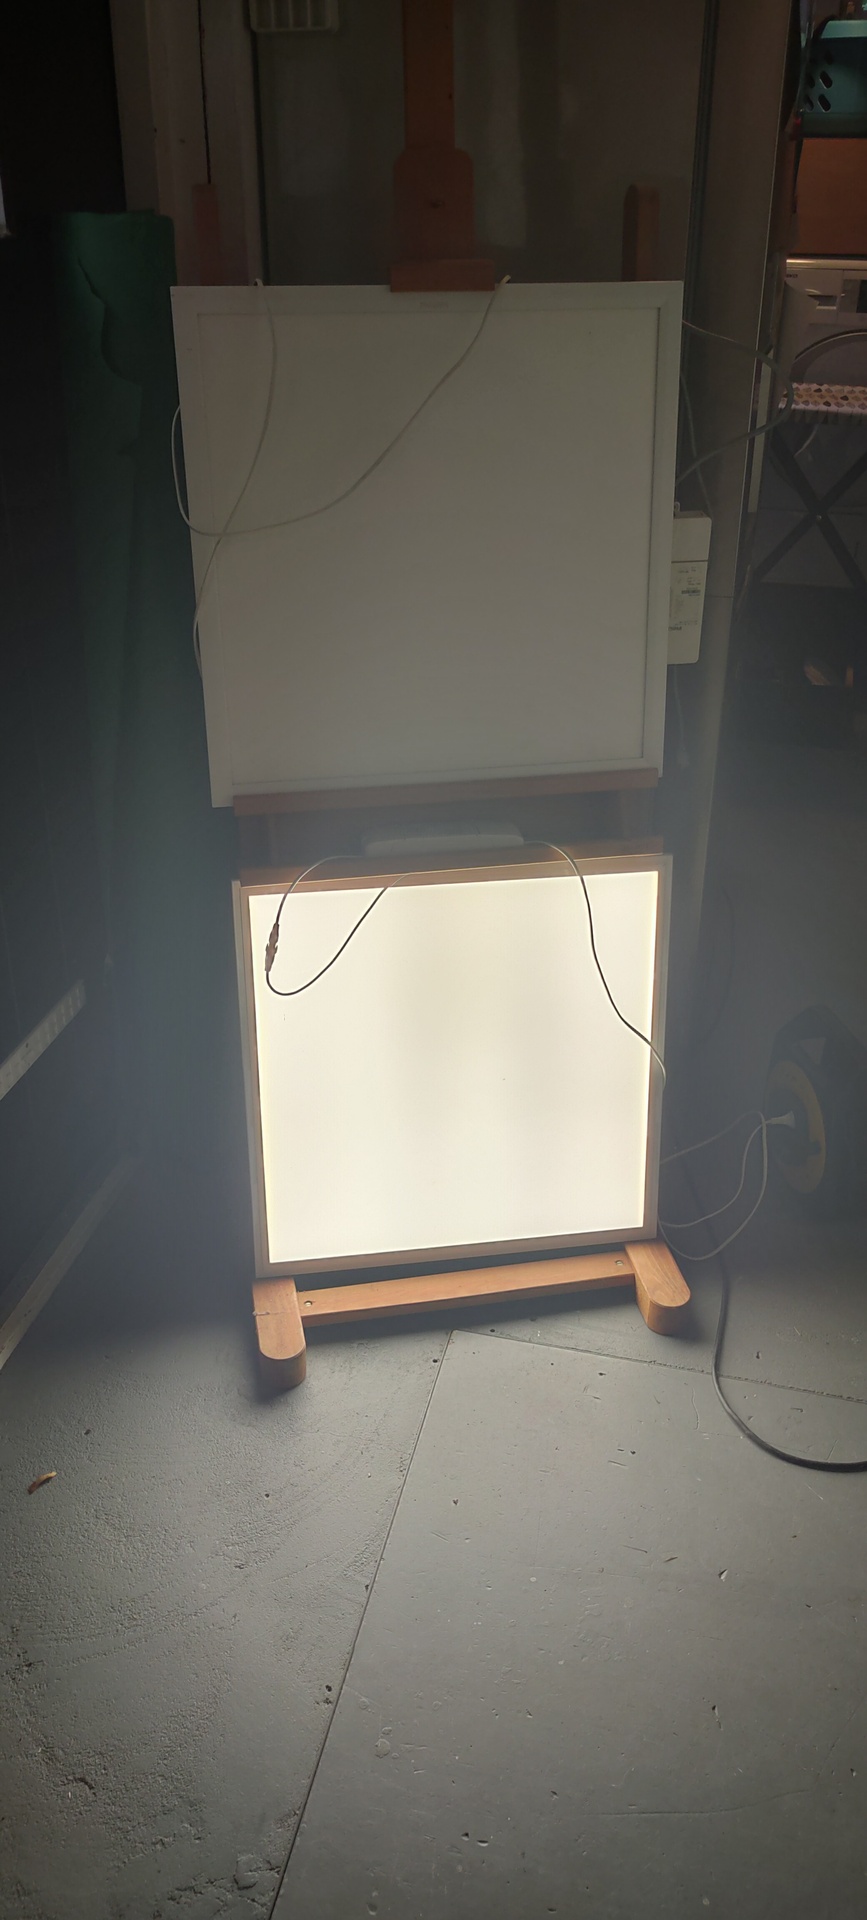
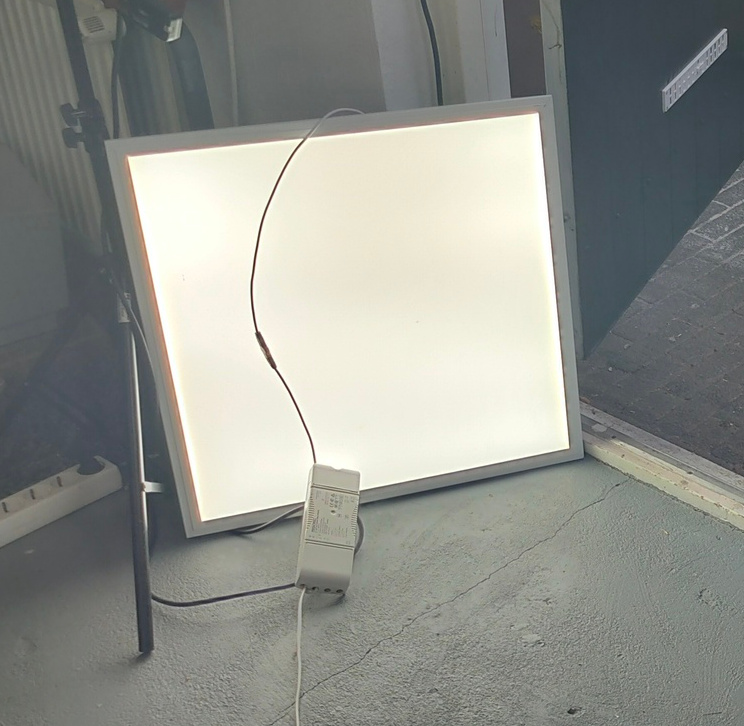
These are led panels, meant for installing in suspended ceilings. I’ve got these from a friend.

I like these because they are white, and the other one a little yellow. And produce a lot of light!
Unlike the permanent lighting mode of the FalconEyes. (When using the permanent lighting mode you see what the lighting wil be. Unlike using a flash. (Which is also great, when going for other photographs)

When using a reflector like below, you can see the effect instantly.

We used the golden part to get a little warmth into the pictures.

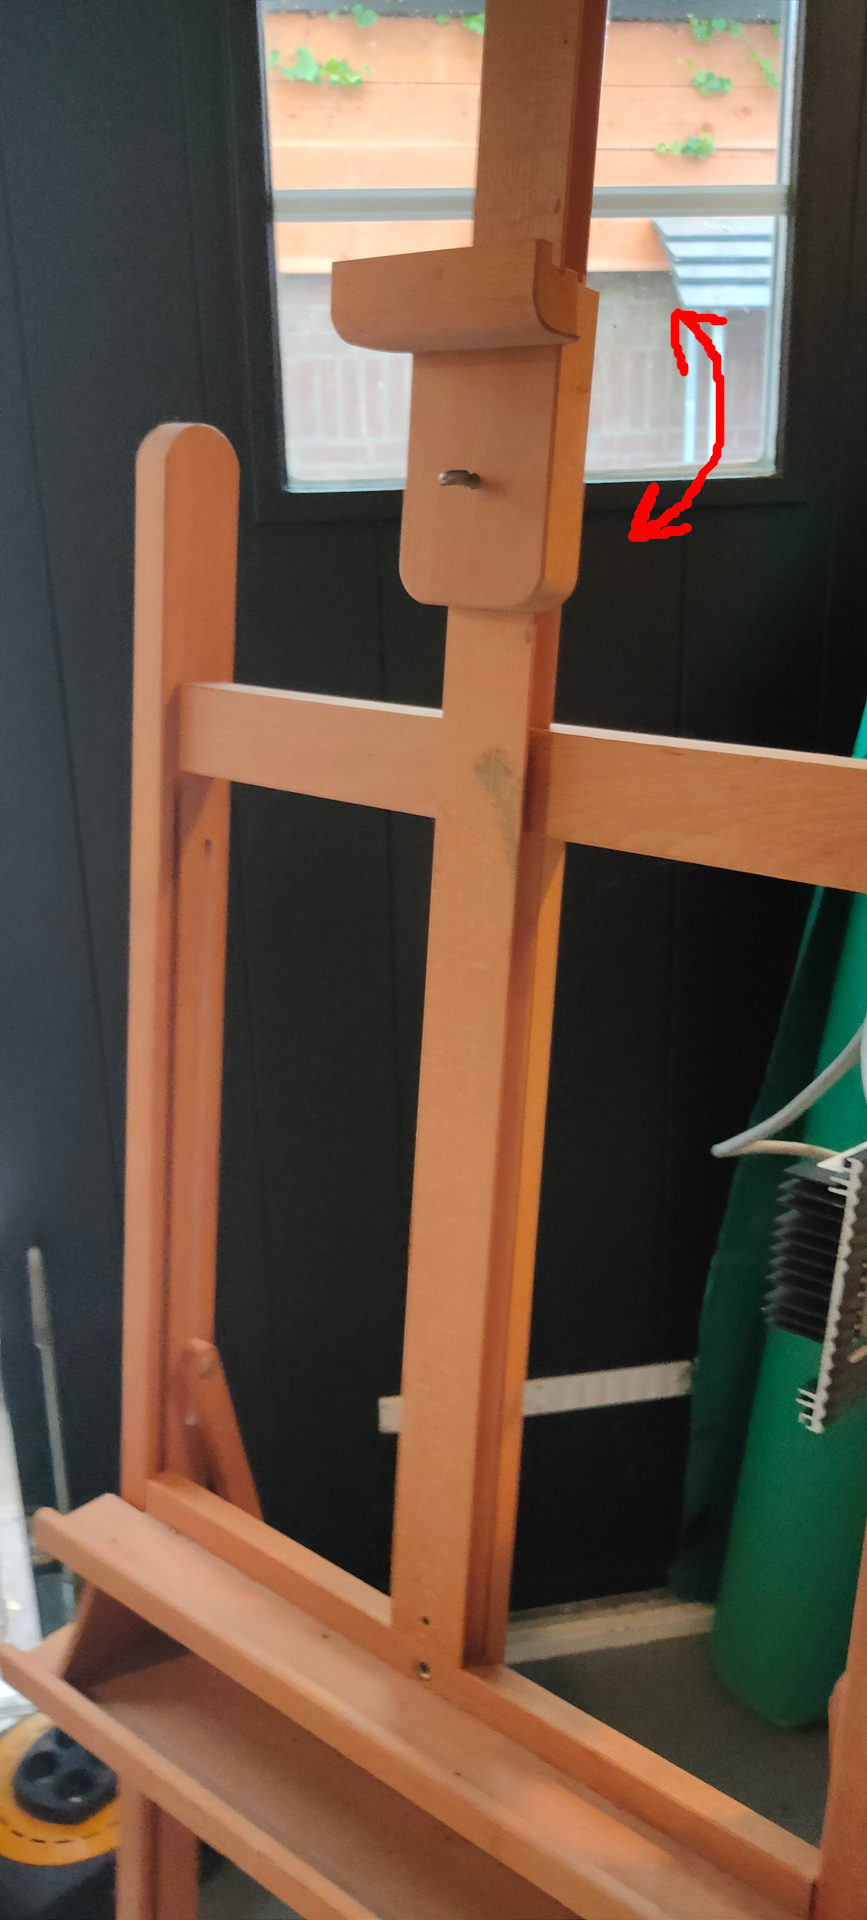
I’m using my big painting-easel to hold the led panels. I just placed the picture holder upside down.

Those led panels are cheap, and you can get them in 3000k,4000k and 6000k (Kelvin) those three i’ve seen in online shops doing a quick search.

The rest of my equipment is for another post.

  • Nikon D750
  • Nikon D7100
  • Lenses: 60mm/35mm/200mm and 300mm

Blender transparent animation for logo

Last Updated or created 2022-09-17

First test to make a personalised logo for myself to use embedded on movies or in OBS streams.

Created a simple animation in Blender.

We need to export in RGBA (A for aplha), One of the supported video codex you can use is : Quicktime – QT rle.
Select this one, and make sure it’s RGBA and not RGB

Now i can use the exported video file in OBS for streaming.
I made the animation i a way that it can be looped.
(Don’t forget to set this option in OBS.)

Also useable in Kdenlive editor as watermark.

Android tips

Last Updated or created 2022-09-17

Using hotspot?
Want to see which devices are connected?
https://www.henriaanstoot.nl/2022/09/16/android-and-devices-in-your-neighbourhood/

Another JuiceSSH tip .. connection type mosh, will open a ssh session using udp to your server.
( If you got mosh installed on your server )
A disconnect or bad connections will not break your ssh session, it just resumes.
Even when you are changing from network, and have a different IP.

Your android as Webcam (in OBS)

Install scrcpy on your linux machine, and opencamera on your android.
If you got adb installed plug in your android and start scrcpy.
You should be seening your android screen on your linux workstation.
When you openup the stock version of your camera you get a overlay of the gui, which you probably can’t disable/remove. There where’s opencamera comes in.
https://play.google.com/store/apps/details?id=net.sourceforge.opencamera

Settings > On screen GUI > Immersive Mode and select Hide everything
You probably want to set the aspect ratio to 19.5:9 so the whole screen will be used.

There is a lot more you can do with scrcpy !
https://github.com/Genymobile/scrcpy
https://www.henriaanstoot.nl/2022/02/02/android-oculus-quest-screen-record/

Android and devices in your neighbourhood

Last Updated or created 2022-09-16

When i play around with Arduino’s which i have flashed and start with their own access points. It’s sometimes not clear which remote IP is connected.

Applications like Tasmota,Wled and Easyesp startup with their own Access Point, which you can use to connect to and configure them to your real accesspoint.
So you connect to this temporary AP, and want to remote access it with your phone’s browser. Not all apps (certainly not my apps) have a captive portal. Most won’t .. Which ip to use to connect?

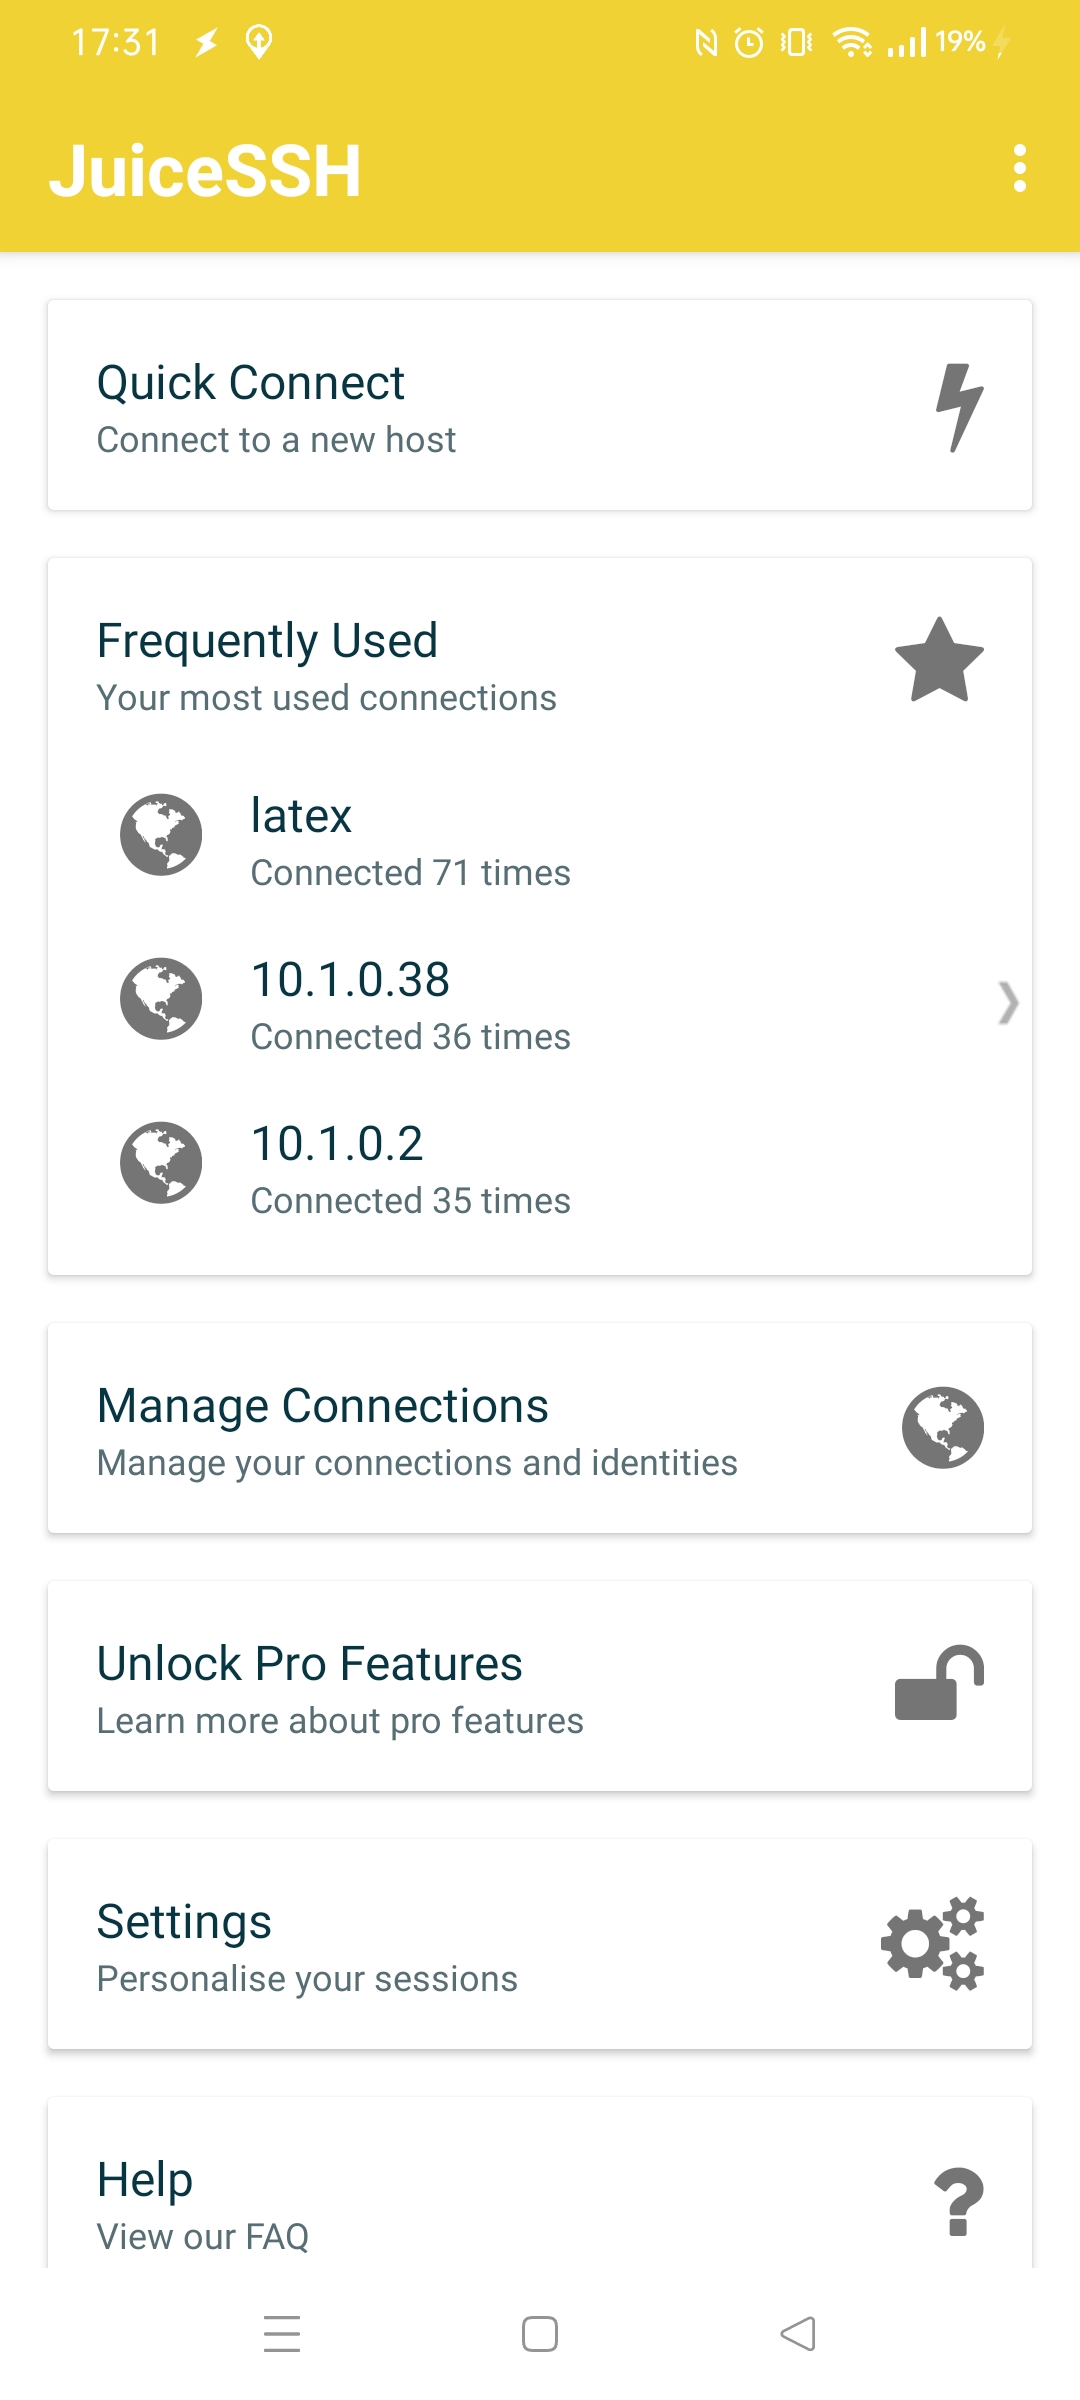
Install JuiceSSH of you don’t have it .. it’s a must have really

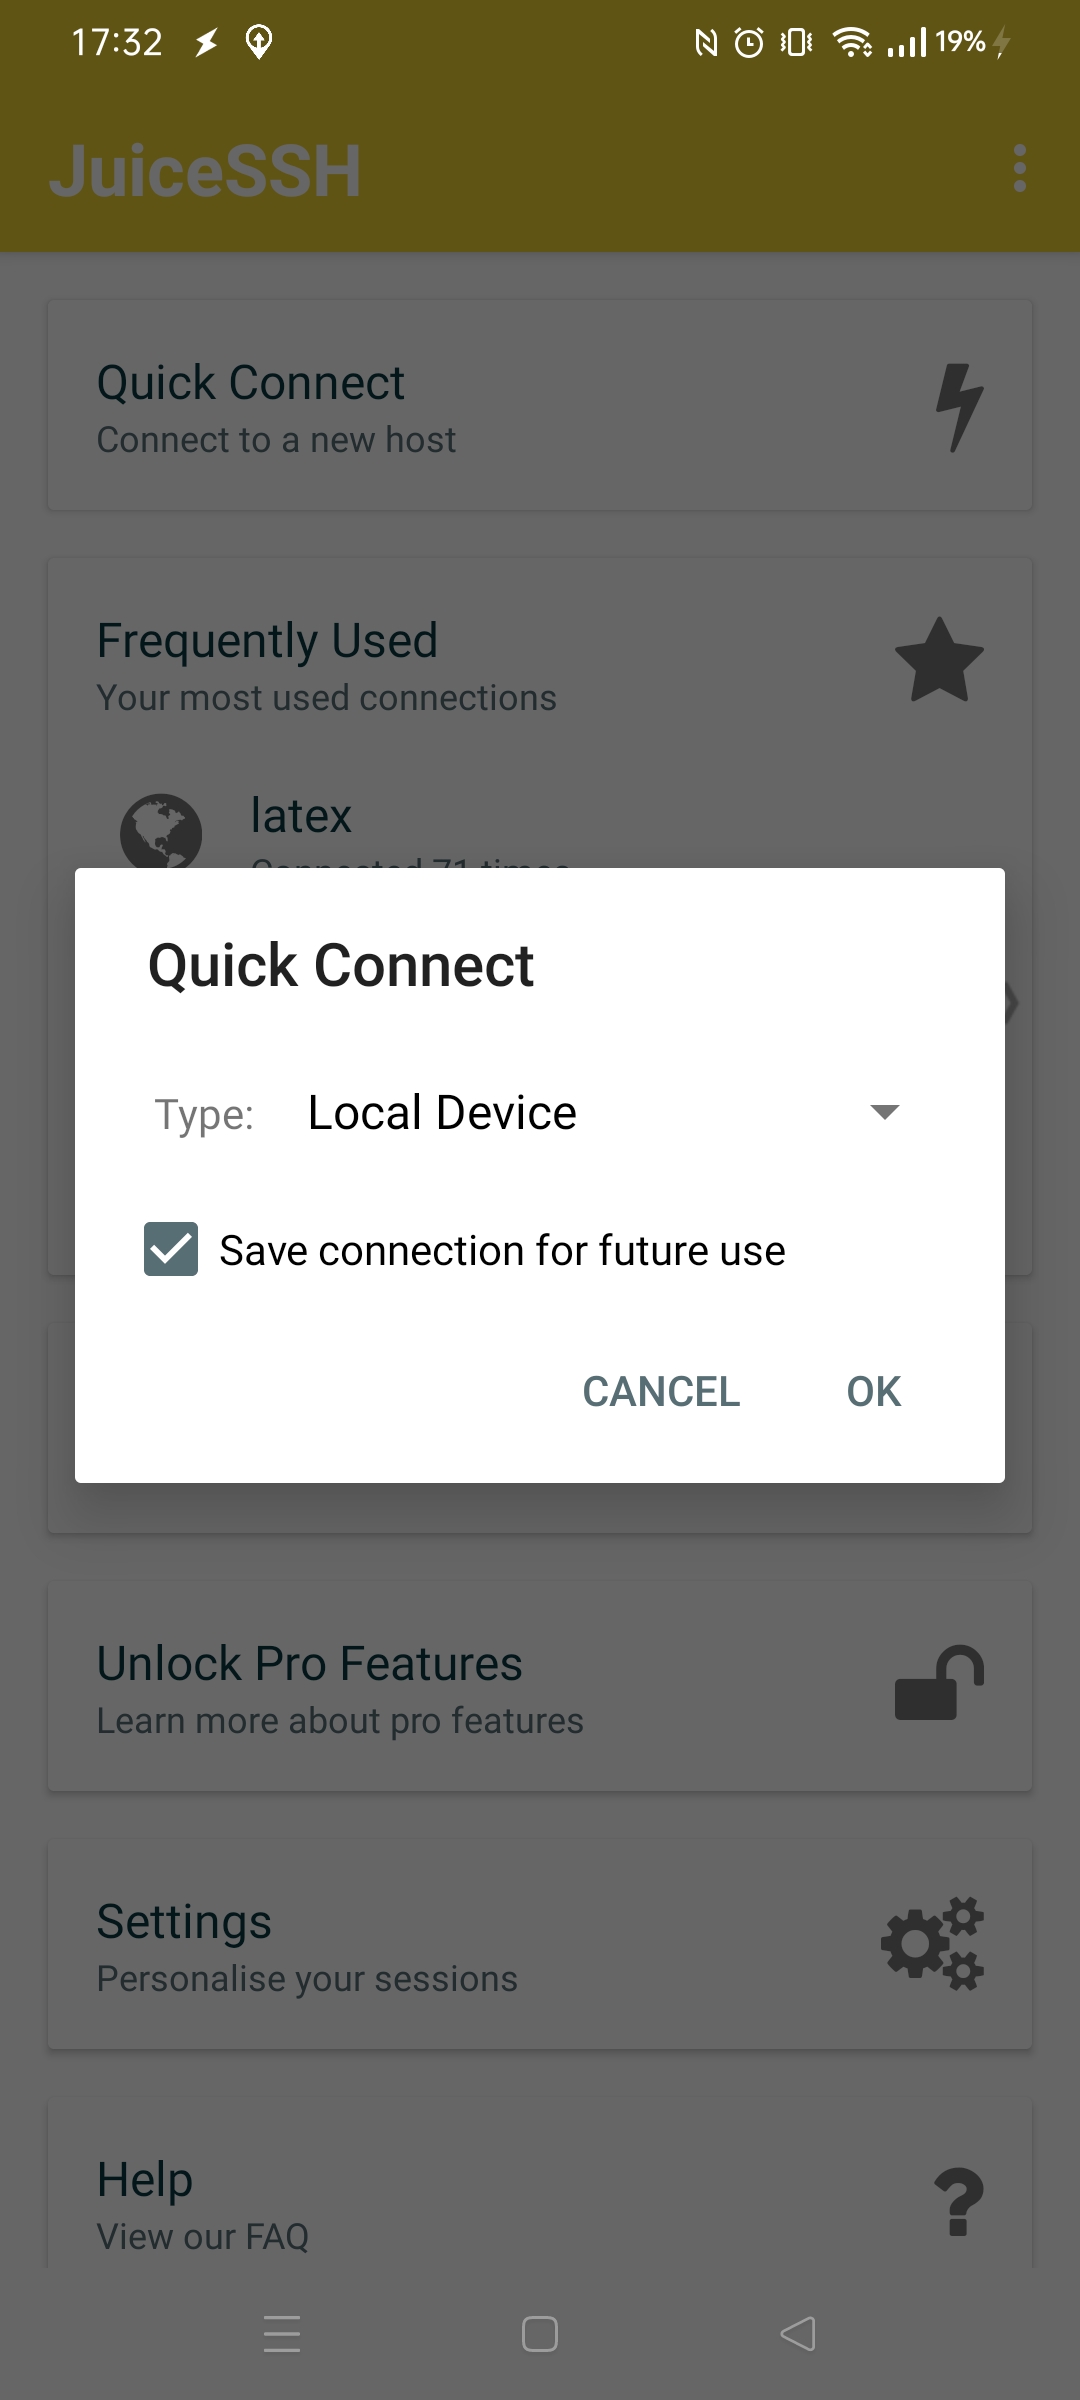
Select quick connect – local device

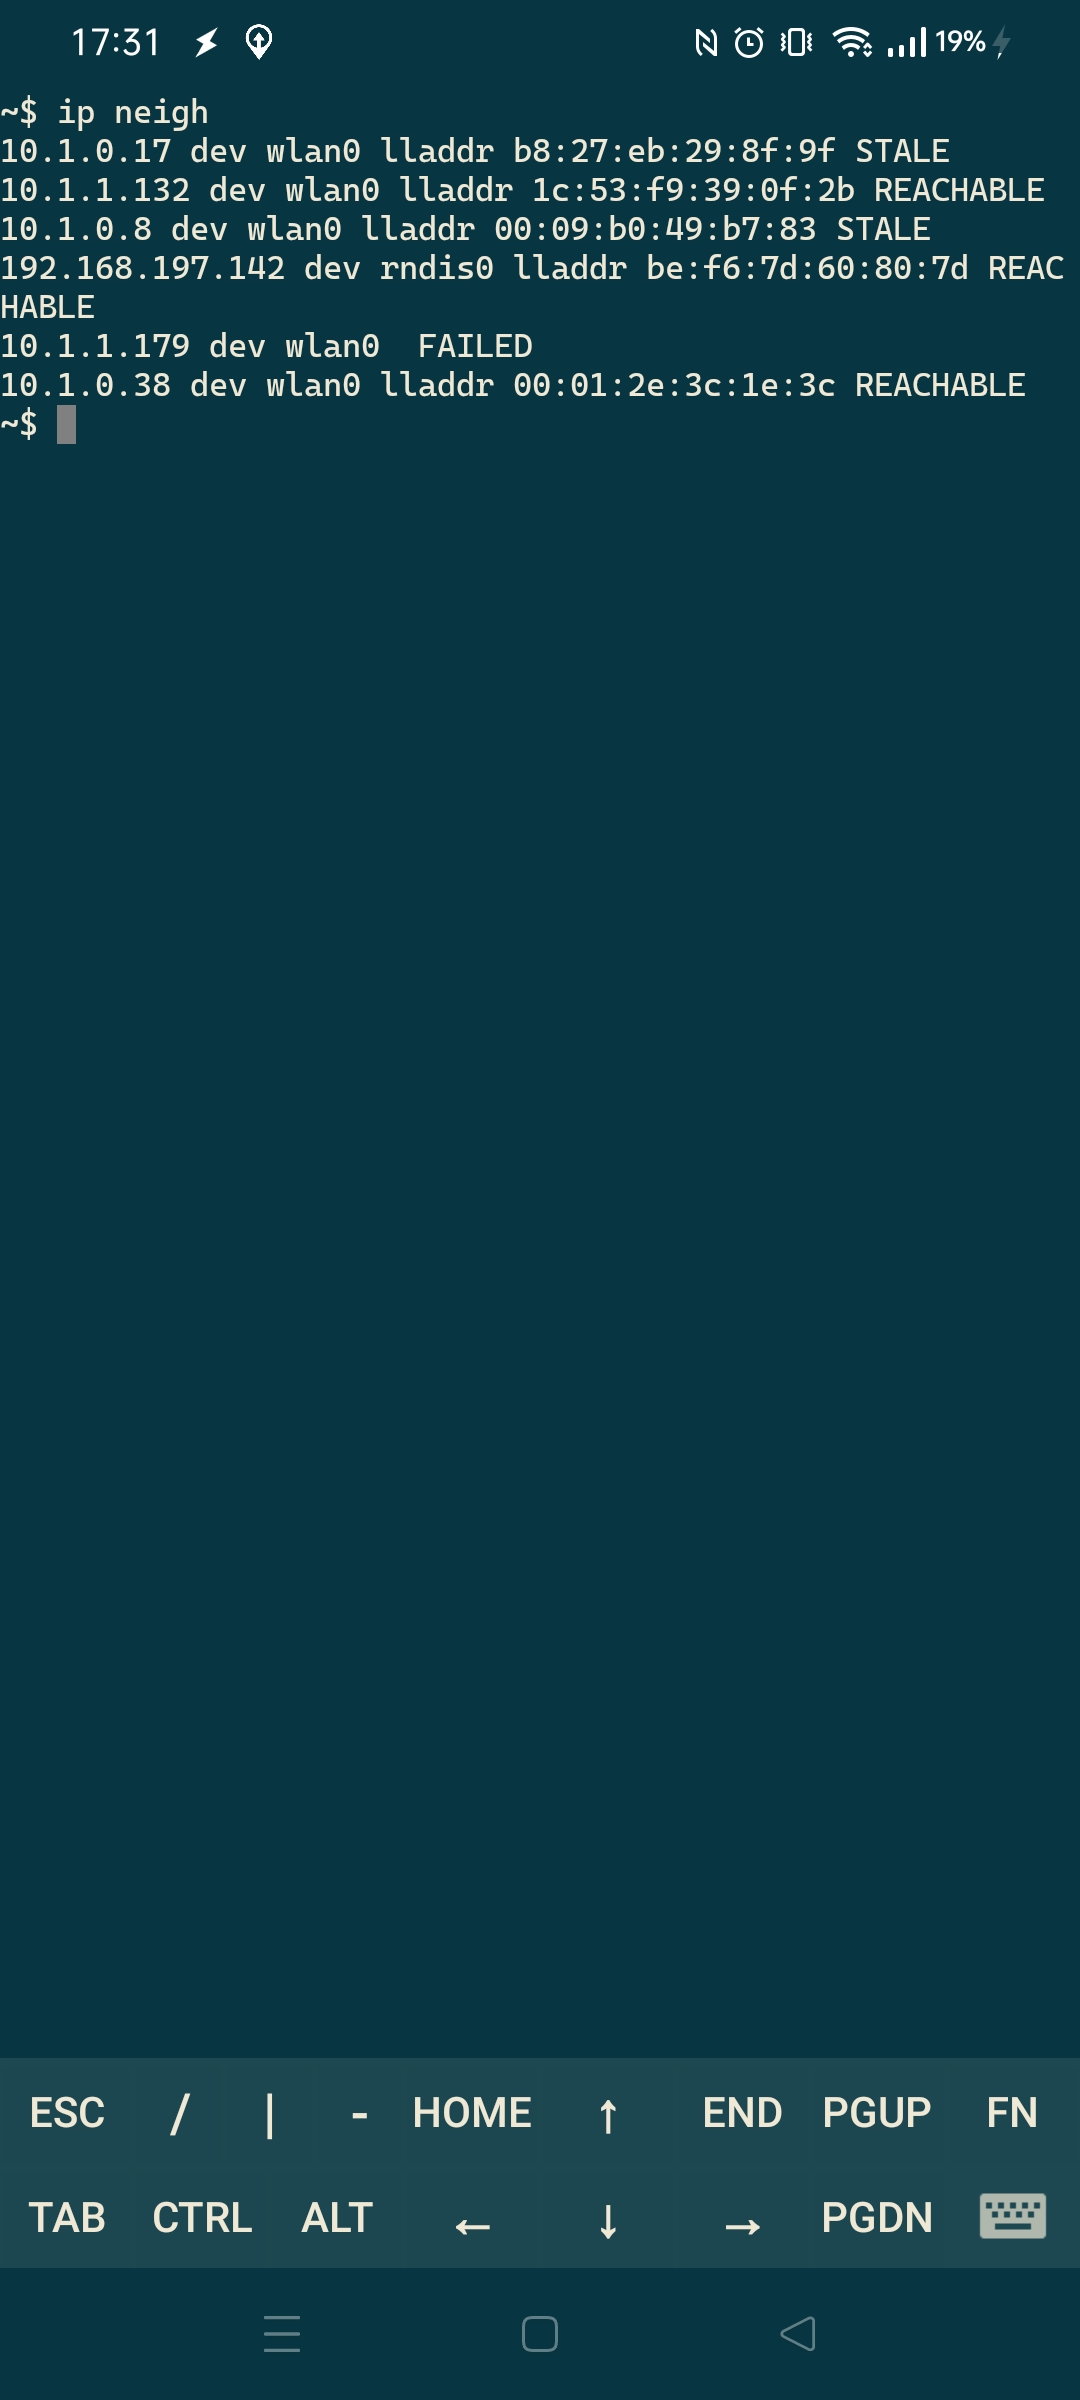
Enter command “ip neigh”, It wil show devices connected to your android phone or which where broadcasting in your network-neighbourhood

Most of the times it also your default gw .. which can be found in settings. But above gives you more information.

DrawIO

Last Updated or created 2022-09-16

I used to draw my network using inkscape, or graphviz. But the last years i’ve been using DrawIO. A friend is drawing his. So i posted some tips.

When using inkscape, i liked the way that i could view more or less details using layers. But editing was hard.

Getting DrawIO:

There is a online version: https://app.diagrams.net/
You can download a AppImage
And .. install it in your nextcloud, which is the way i’m using it.
(Login as admin, click Apps and search for draw.io)

Some tips on using images ..
Below is a example of a Mikrotik switch with connector points.

Use a search engine to look for images, the ones with front facing connectors are easier to use.
I always look for images which have a transparent background.
Using google you can use below ‘trick’
google > images > tools > color > transparent
Just copy-paste into your DrawIO document, it is better to have a large picture which you can resize as the other way around.

Adding connection points:

Left click the image in DrawIO, right mouse and Edit connection points

Now you can place/remove edit connection points.

Due to security reasons i won’t be posting my complete network image ..

Another tip:

Network sheet a friend is working on

Device is not straight, so its harder to get the connections right. Besides that, the lines are below the device. Click line and select bring to front.

Keyboard leds sound reactive

Last Updated or created 2022-09-14

How much fun …. just wanted to share my recording

I’ve written some tools for my keyboard like a mqtt client, but this is someone else’s. But it gave me some ideas …

My keyboard is a Razer BlackWidow V3

So i wasn’t being stupid designing a dual matrix keyboard thingy

Last Updated or created 2022-09-14

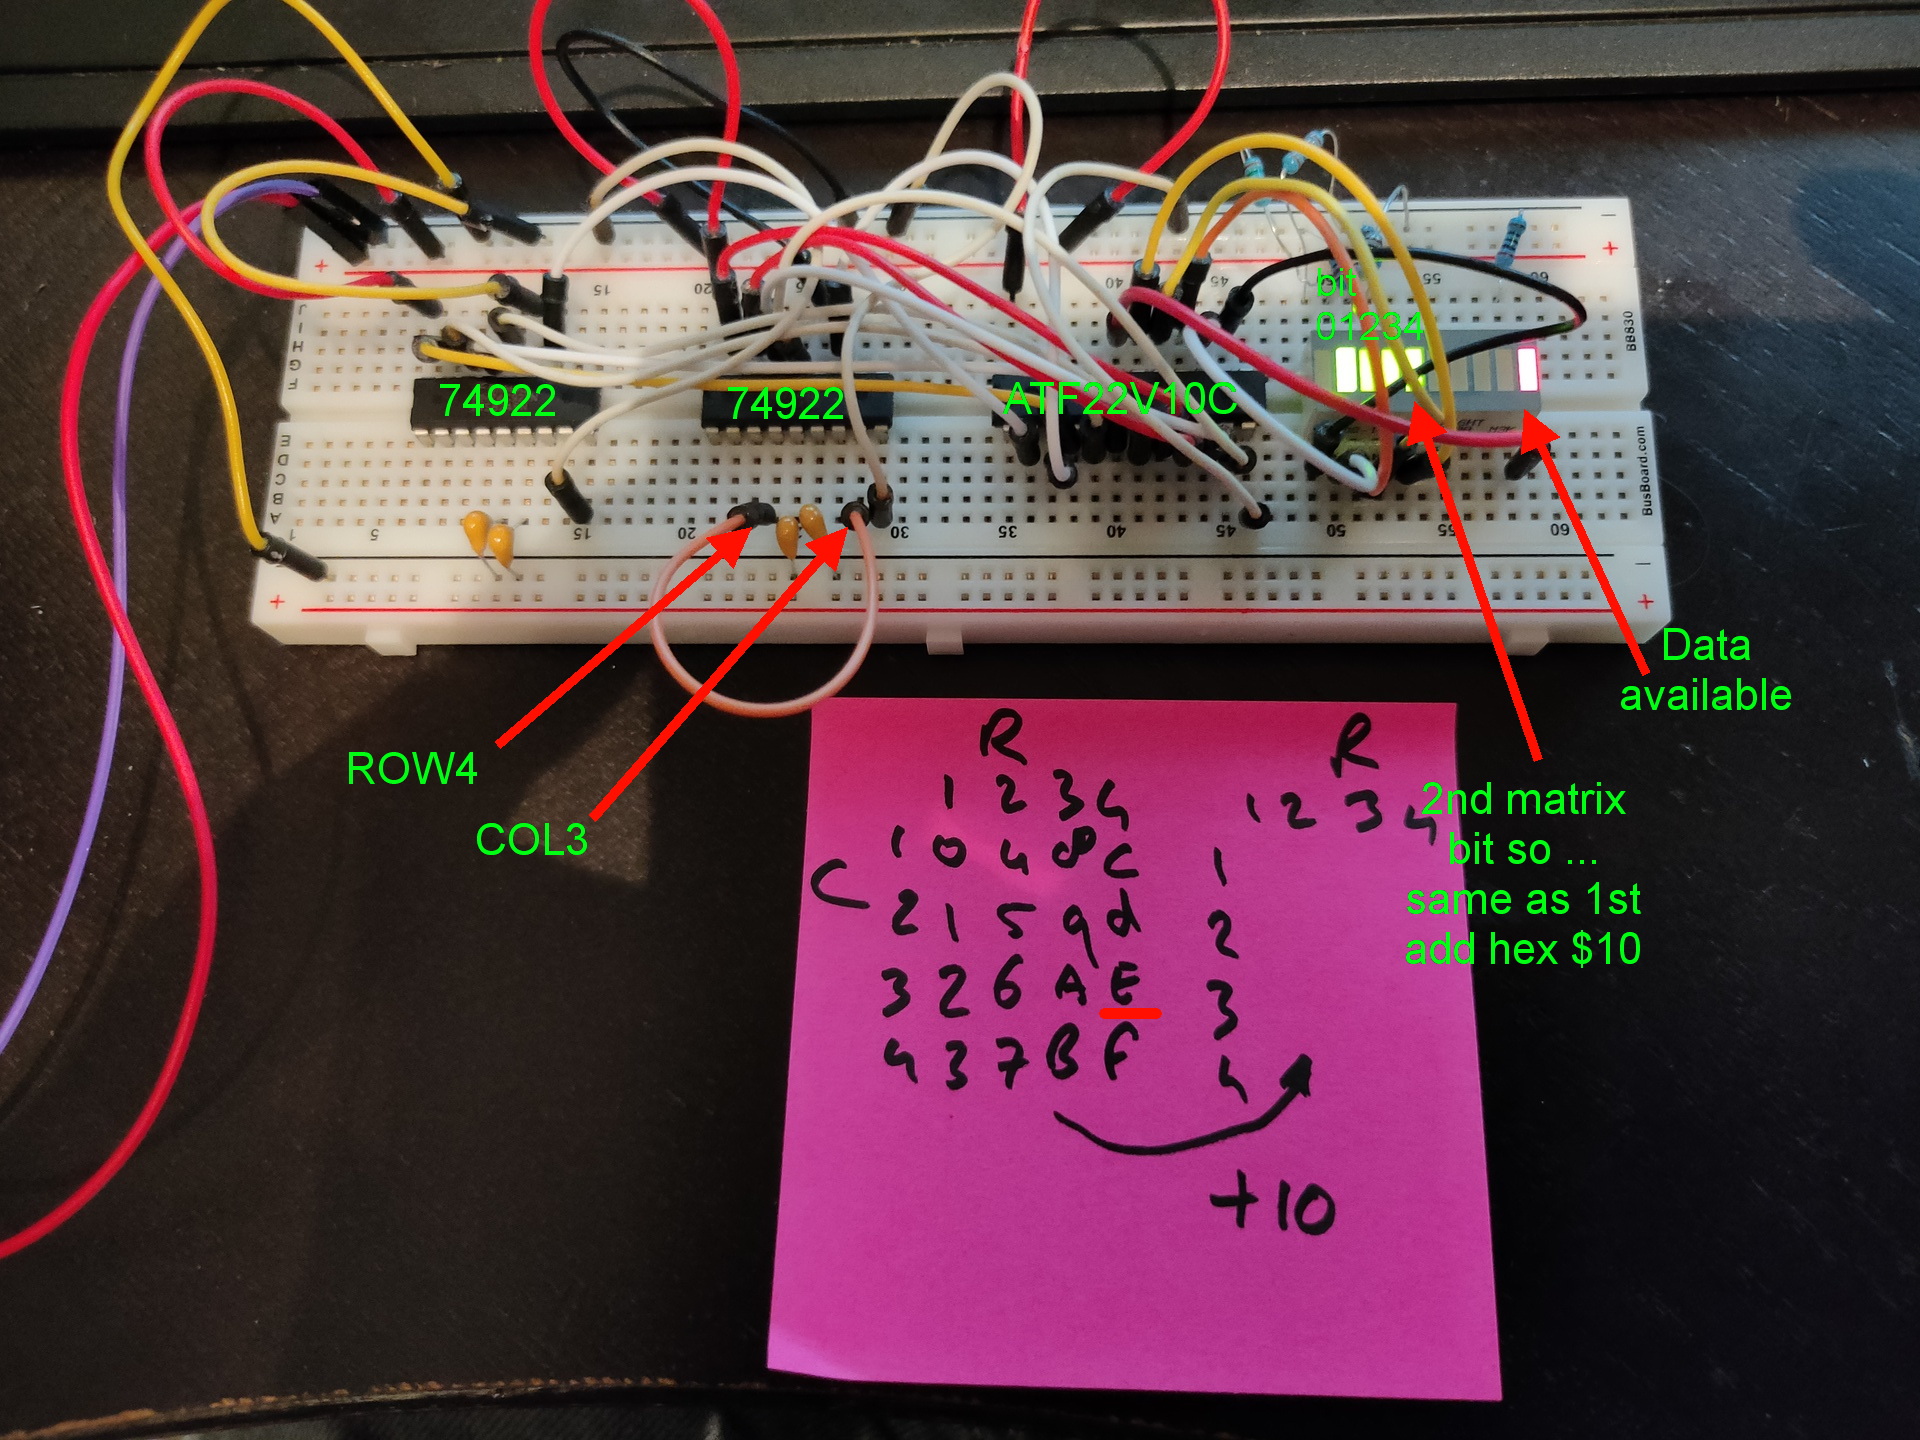
As previously posted, i had an idea to create a dual matrix keyboard mashup using available components.

I mentioned that “it should theoretically work”. But only being using atf22v10c for a couple of days. It was a long shot.

I’ve put it to the test .. and it worked first time.

I can use above, to connect my extended matrix keyboard to a 6522 VIA chip using 5 pins and sending a data available signal to CA1.

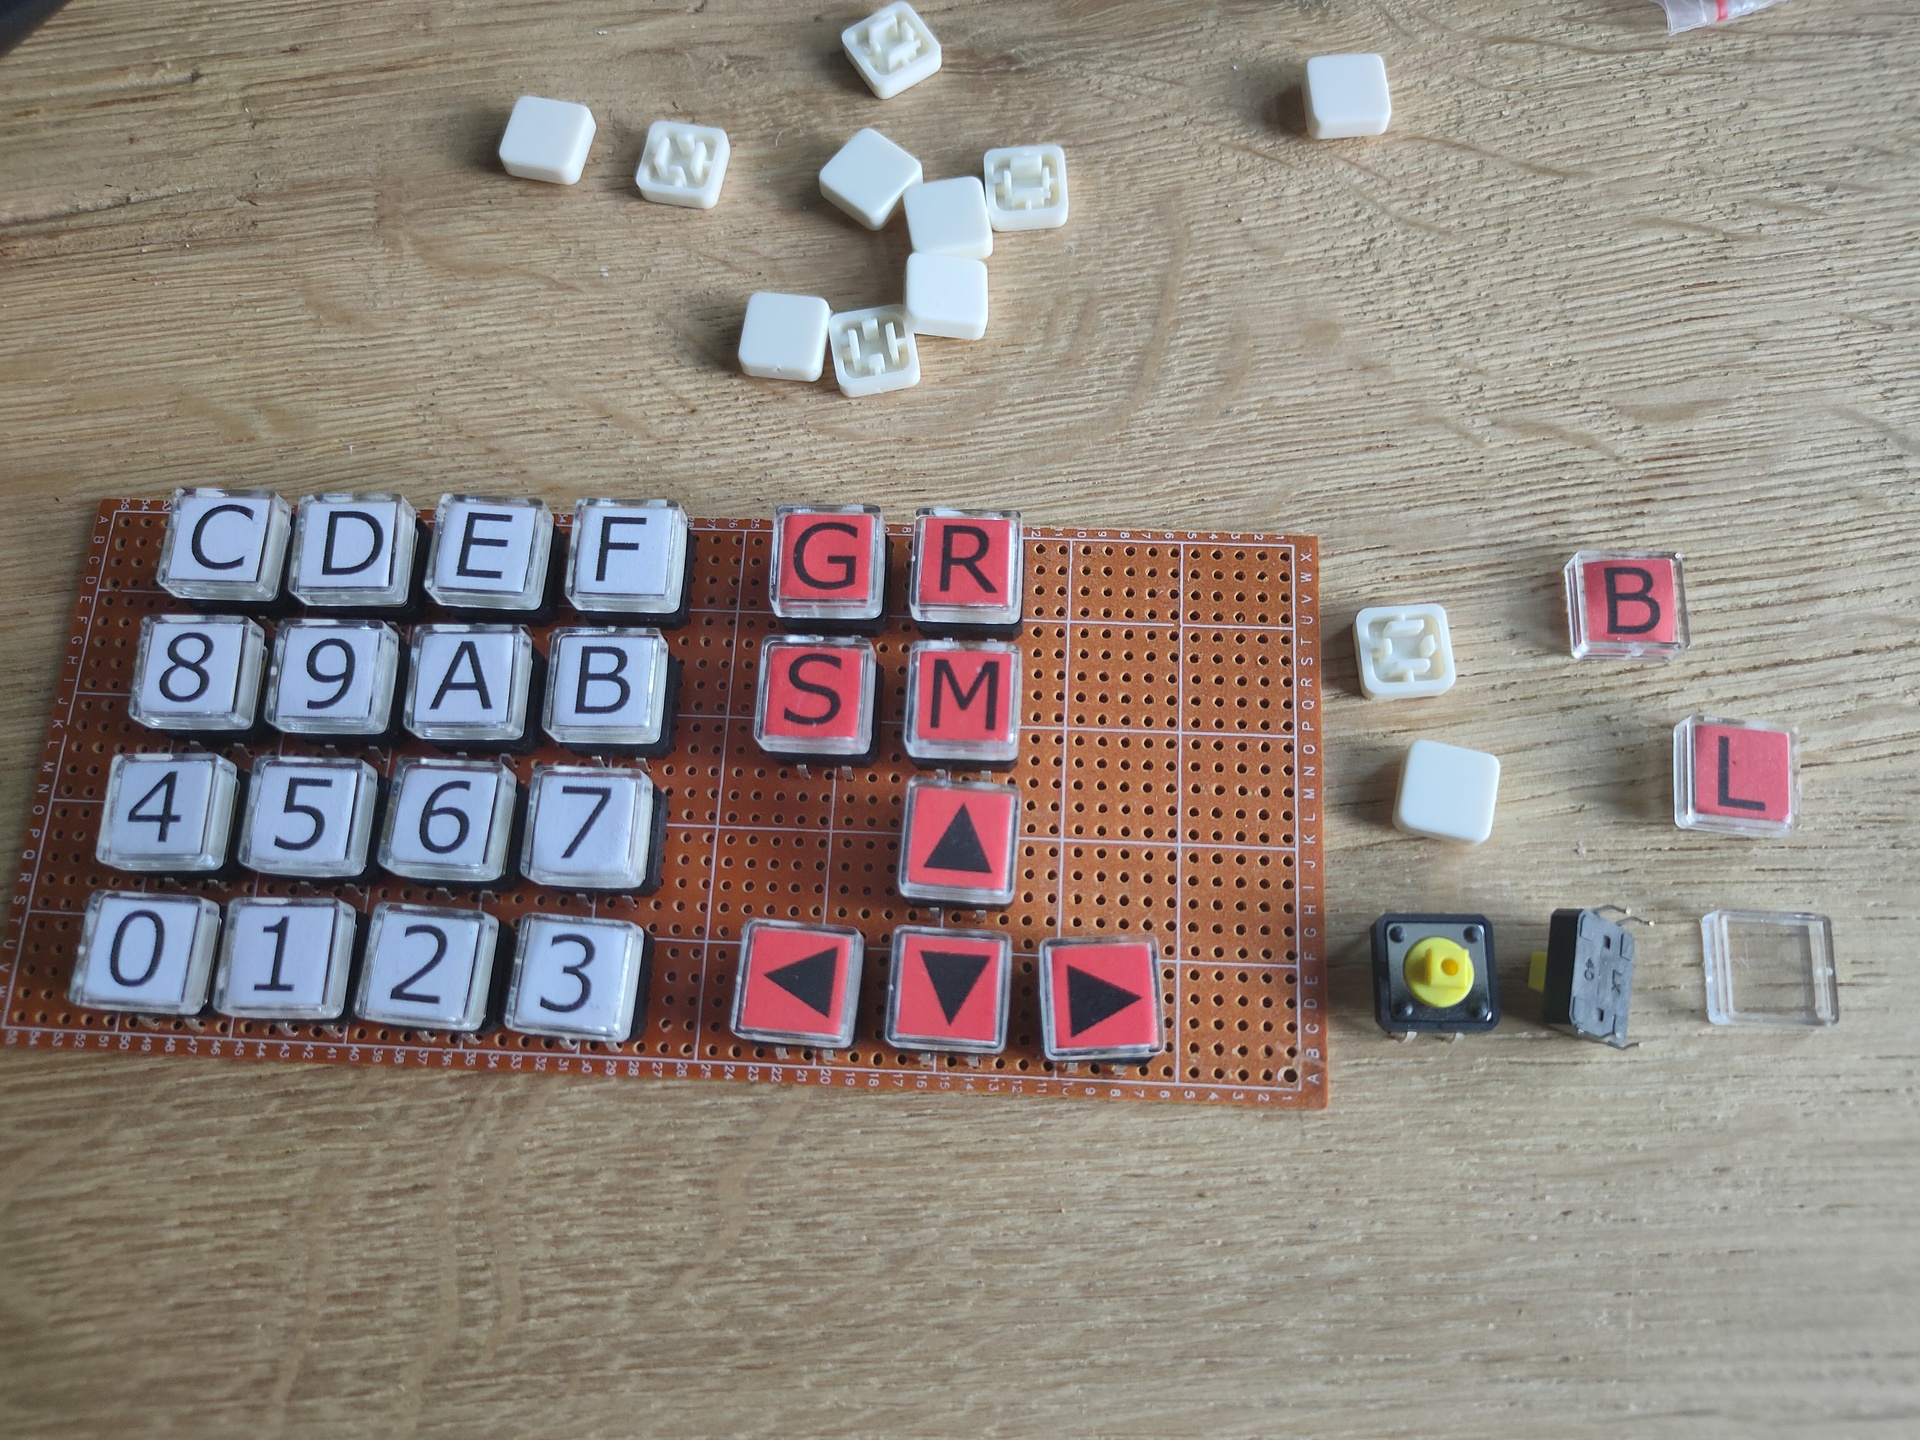
This keyboard i was planning to use