While playing with MuseScore….
(Typesetting some scores for Pipes and Flute)
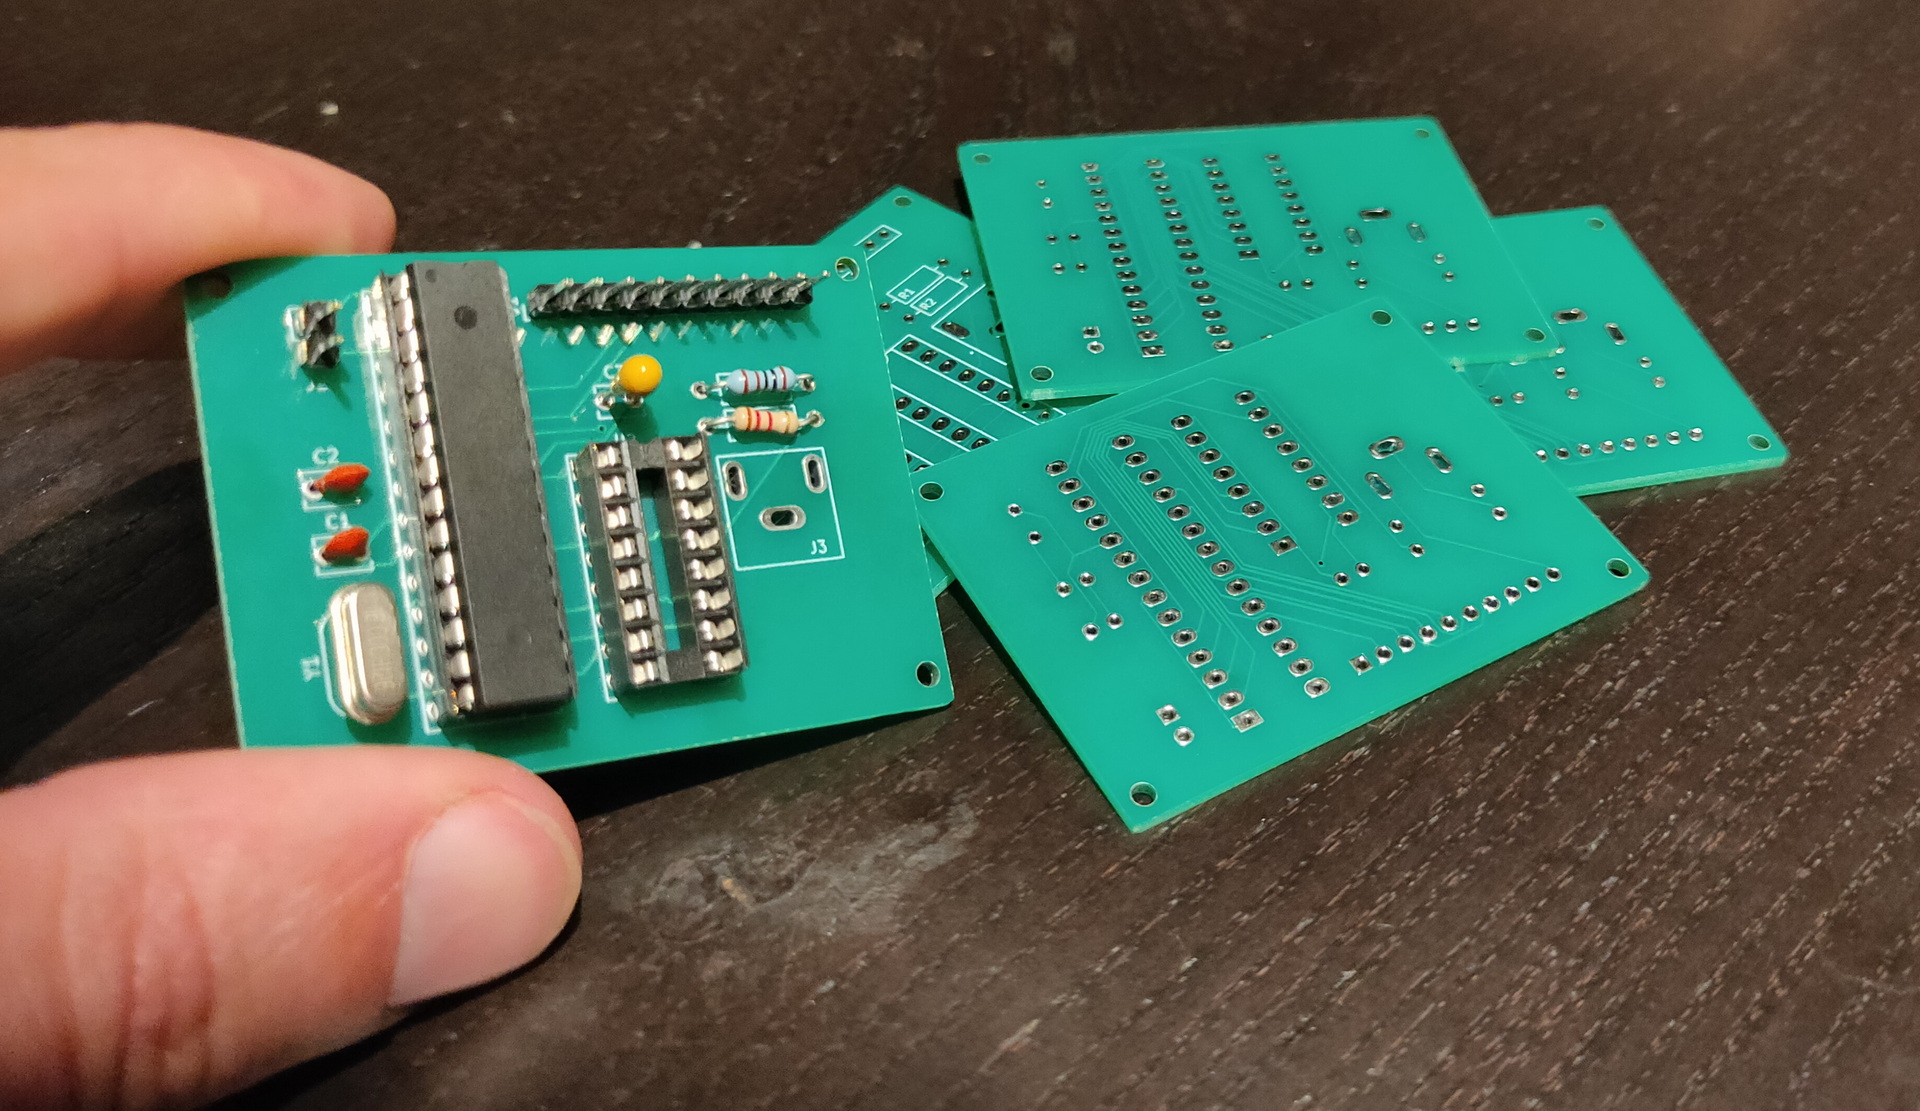
This came in: WOOOT
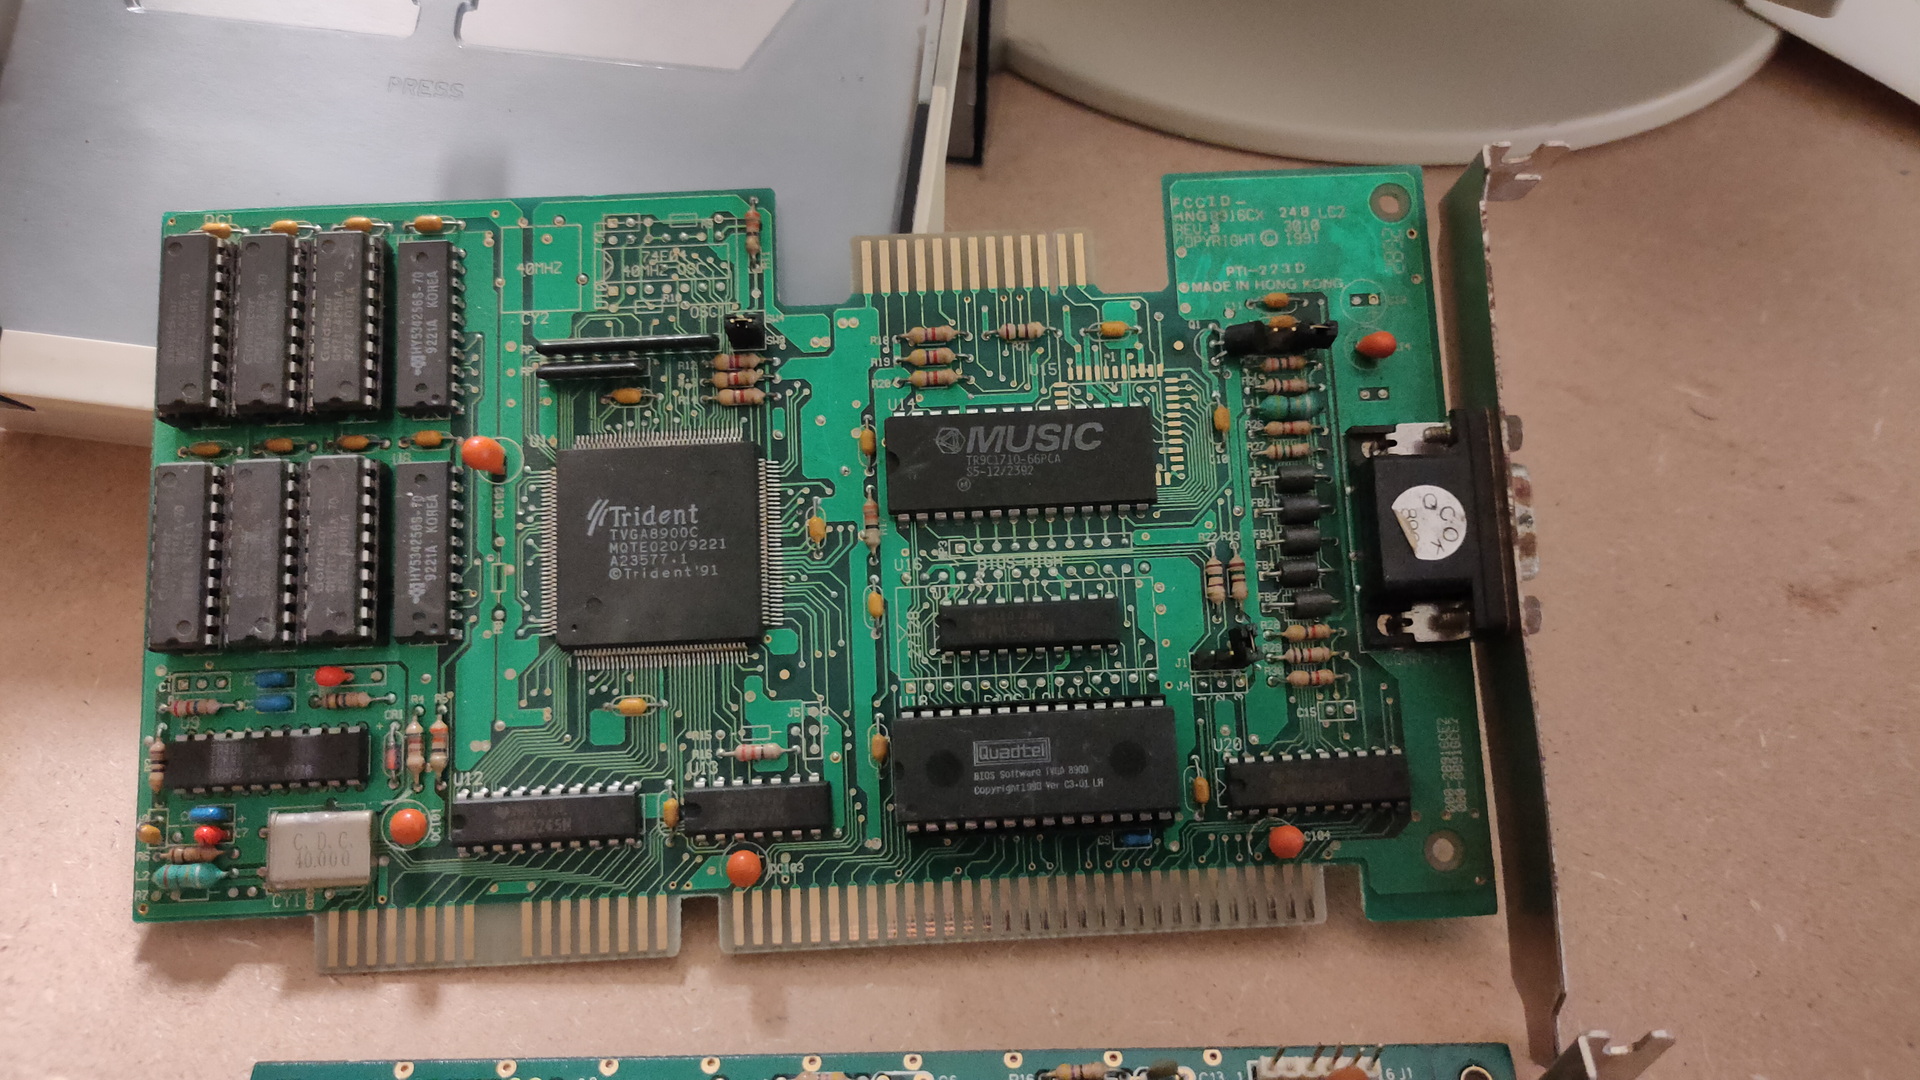
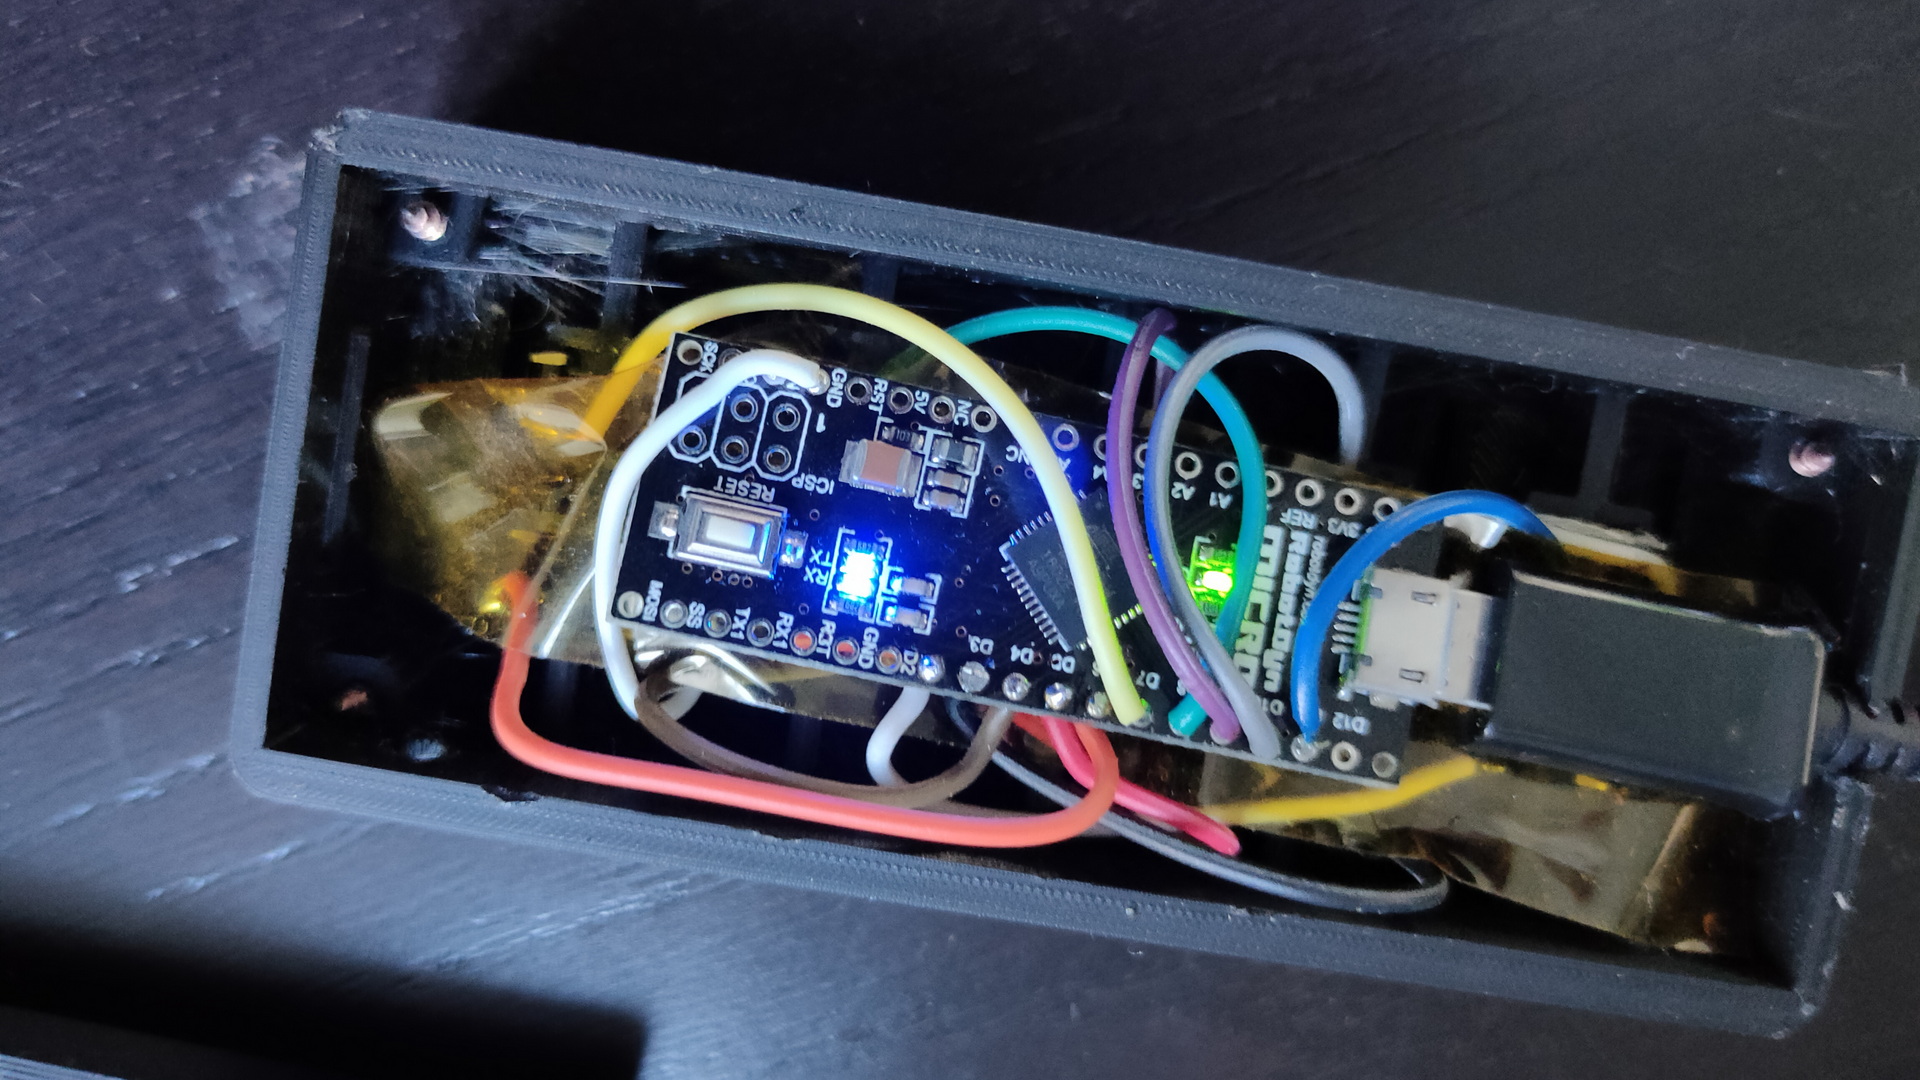
This is a Trident VGA card. While having a 16bit ISA connector, it can work in a 8bits ISA slot.
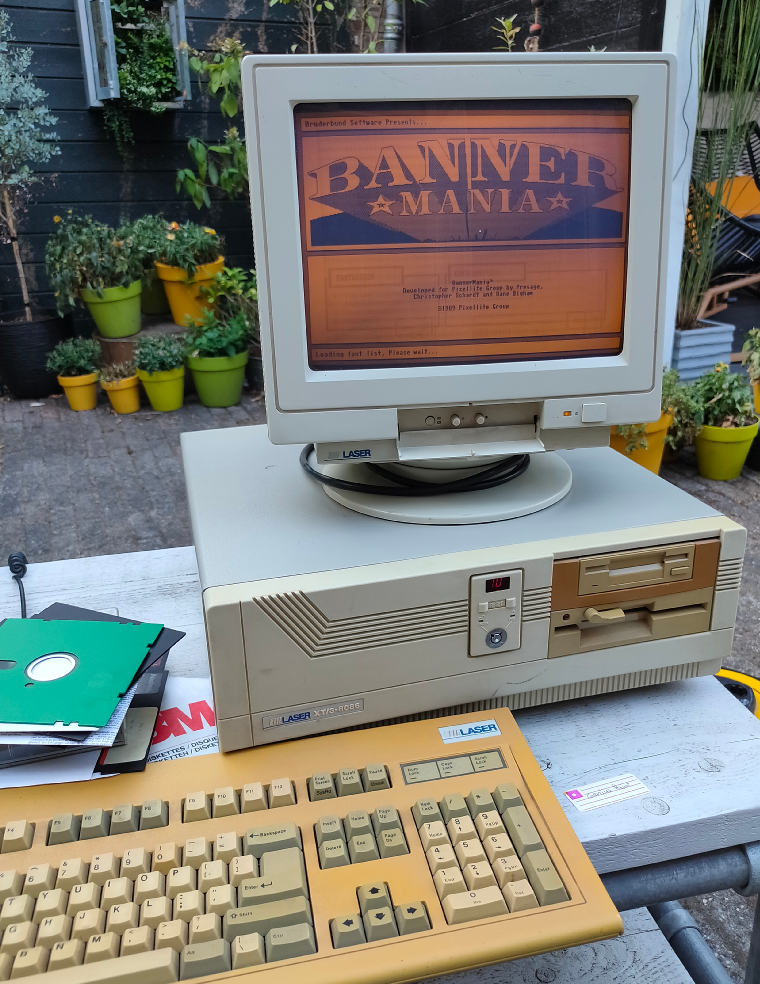
A while ago i bought a Laser XT/3, that’s the one my parents had.
This is where i did a lot of assembly programming on.
It’s a 8086 cpu, 640K and has a Hercules/CGA graphics card.
I found loads of assembly files and i want to see if i can get it running again.
While some code was written for hercules, ( That’s the monochrome image you see in the example above ) and a few for EGA (4 colors).
Most of it was written for VGA. Probably on a later machine like a 80386?
But i know there are vga cards for 8 bit msdos computers, and i found one. ( This one is even autodetect, so no jumpers to figure out)
So i’ve put this card in the machine, turned it on, and it works!
I’ve got only 2 examples living on the harddisk of the machine, both black and white … 🙂
I have to search for interesting code in hundreds of files.
Hercules Card
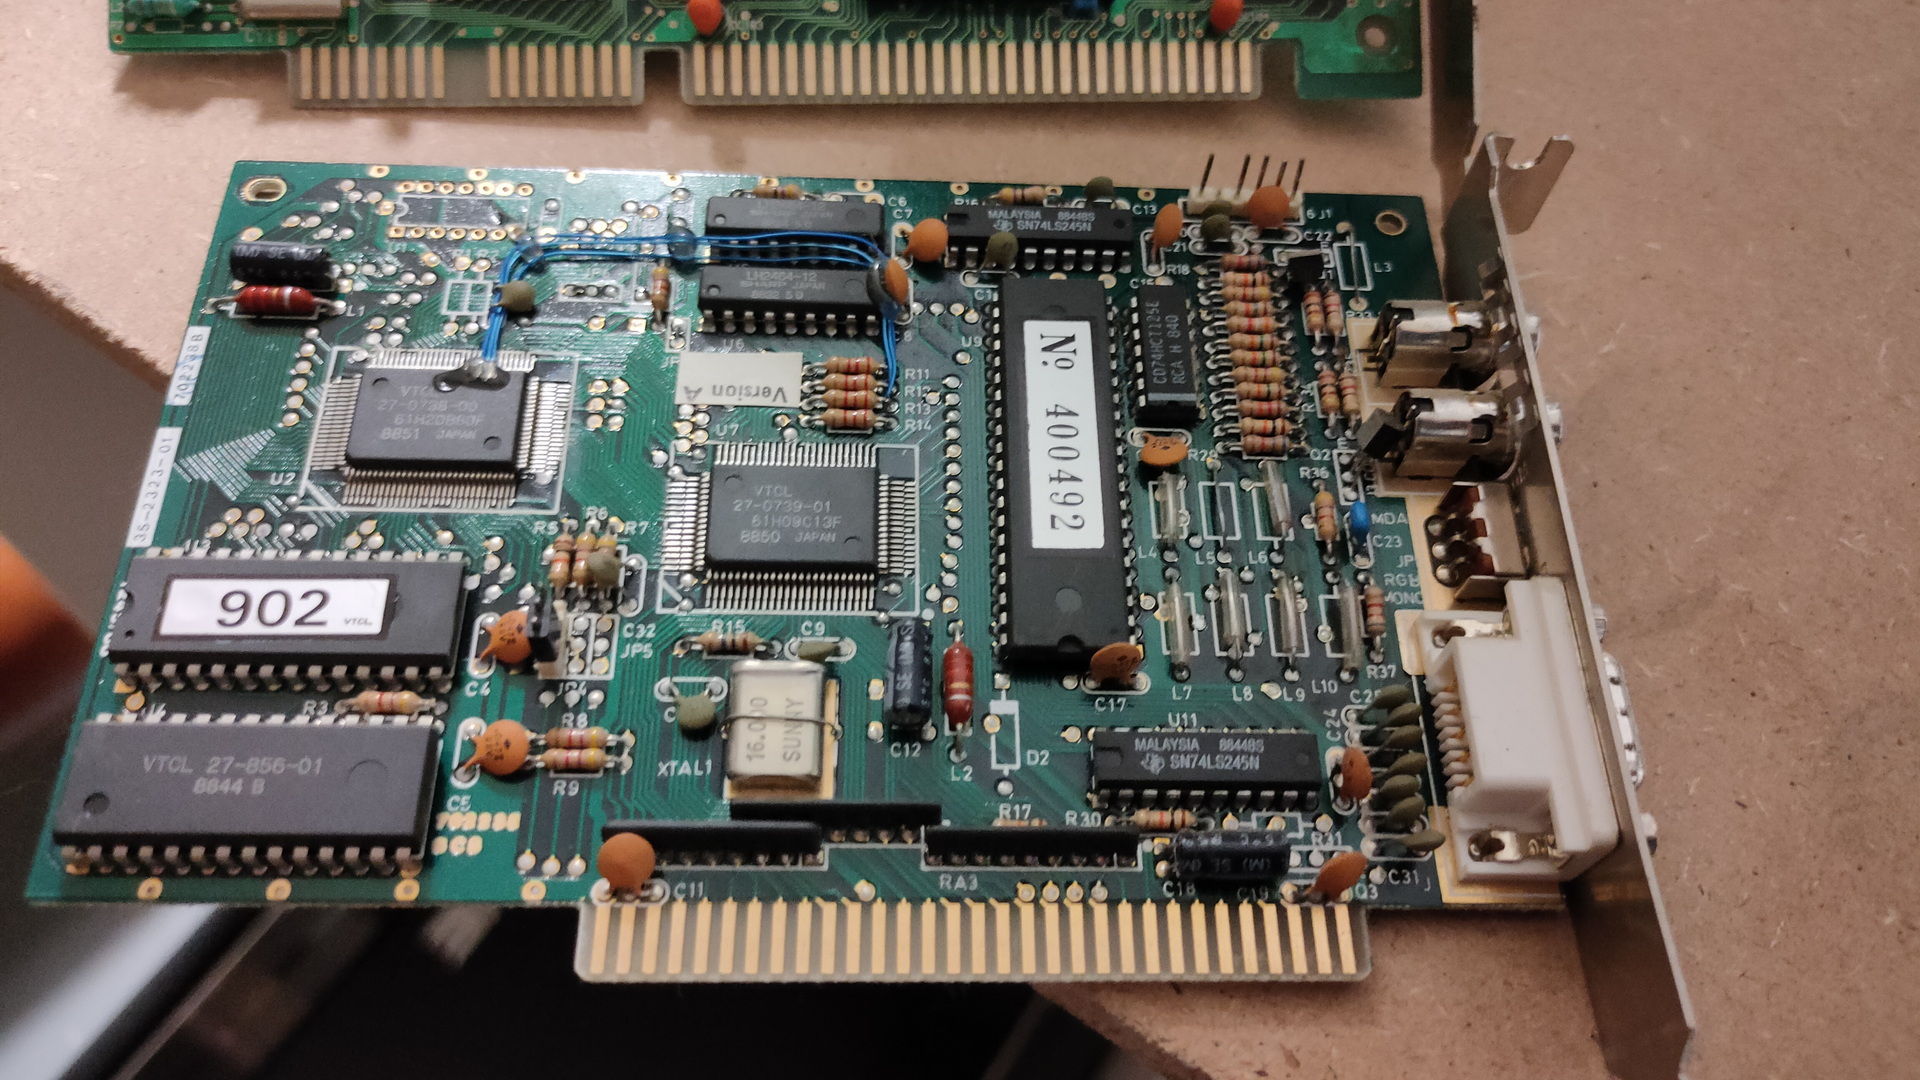
There is not much info available about this card:
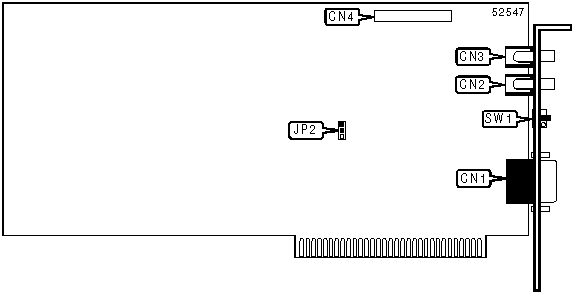
- Max resolution (Hercules) : 720×348
- 15 pin analog monitor port (CN1)
- BIOS enabled JP1 Pins 1 & 2 closed
- BIOS disabled JP1 Pins 2 & 3 closed
- CGA selected SW1 On
- MDA (Hercules) selected SW1 Off
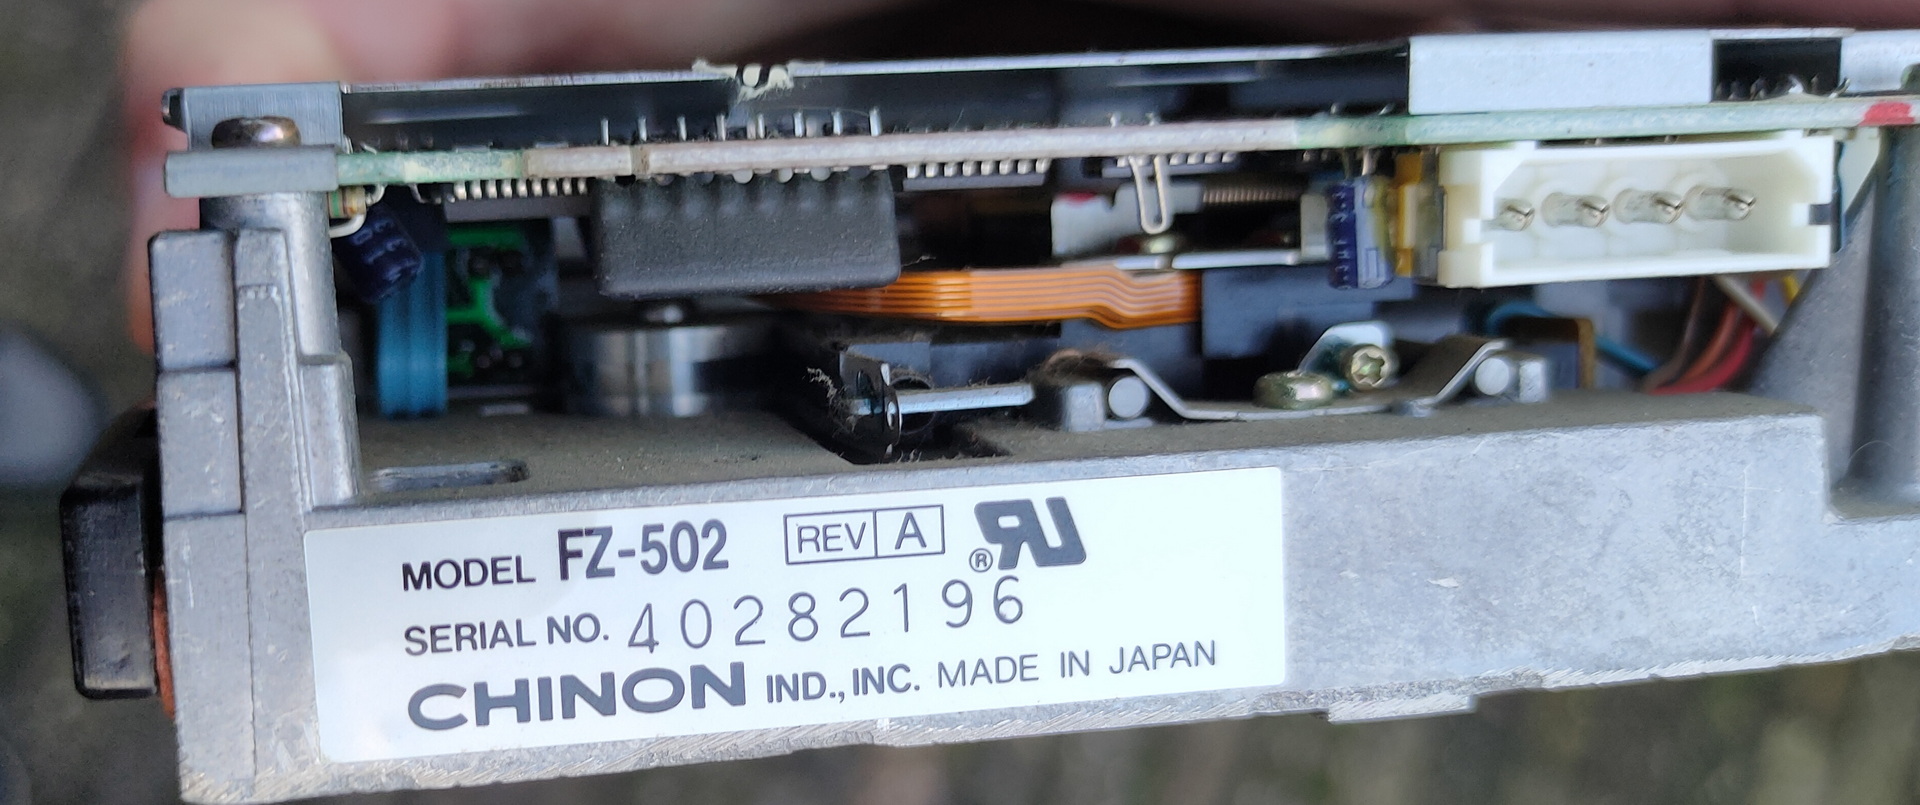
Floppy drive boot
My friend EDK and I made some demo’s like
And a boot demo, which was able to start from a bootsector, went into a graphic mode and ran a demo with sound. Edk wrote a sector loader for this.
I have some 5.25 inch floppy disks, labelled boot demo. So i wanted to try this today …
I needed to change the boot order, so i went online to search for jumper settings.
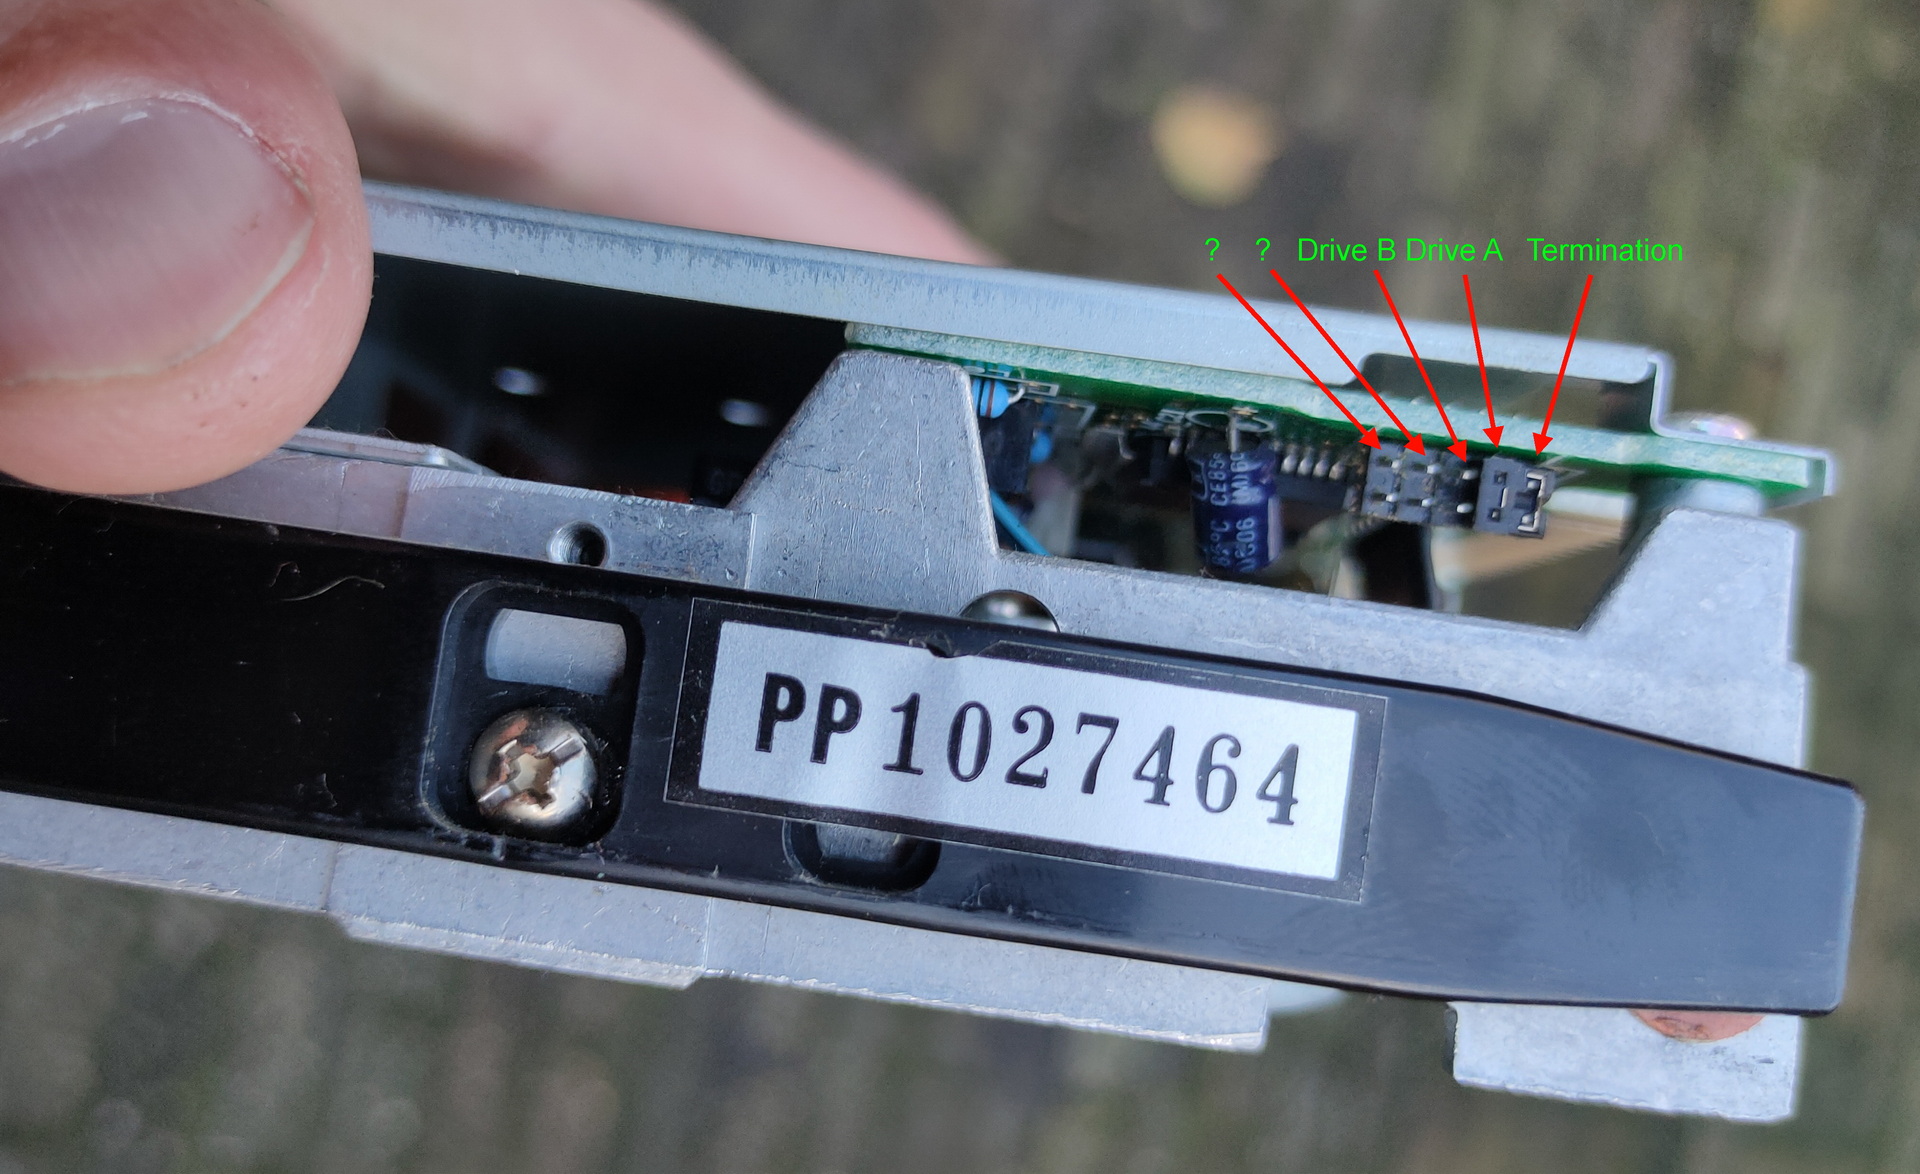
I see a led when it tries to boot, but my disks are probably formatted 720Kb instead of 360Kb, which this drive is.
So …. TODO!
Find a 720Kb floppy drive (5.25 inch), and sort through my code!
There is a 8bit soundblaster compatible soundcard that i bidding on online, hopefully i’ll get it
Assembly and modes
I wasn’t sure how to sort the assembly code into Hercules and VGA compatible, but i used this table (There are also extended modes for higher resolutions)
| mode 0x00 | text 40×25 gray |
| mode 0x01 | text 40×25 16 colors |
| mode 0x02 | text 80×25 |
| mode 0x03 | text 80×25 16 color |
| mode 0x04 | graphics mode (CGA) 320×200 |
| mode 0x05 | graphics mode (CGA) 320×200 |
| mode 0x06 | graphics mode (CGA) 640×200 (B/W) |
| mode 0x07 | text 80×25 Hercules |
| mode 0x0F | graphics mode 640×350? gray |
| mode 0x10 | graphics mode 640×350? |
| mode 0x11 | graphics vga 2 colors |
| mode 0x12 | graphics vga 16 colors |
| mode 0x13 | graphics 320×200 256 colors |
# Set VGA mode
    mov ax,13h
    int 10h         ;screen 320x200 256 colours

# Exit VGA mode
    mov ax,3
    int 10h         ;screen  80x25 text
    mov ax,4c00h
    int 21h         ;back to DOS