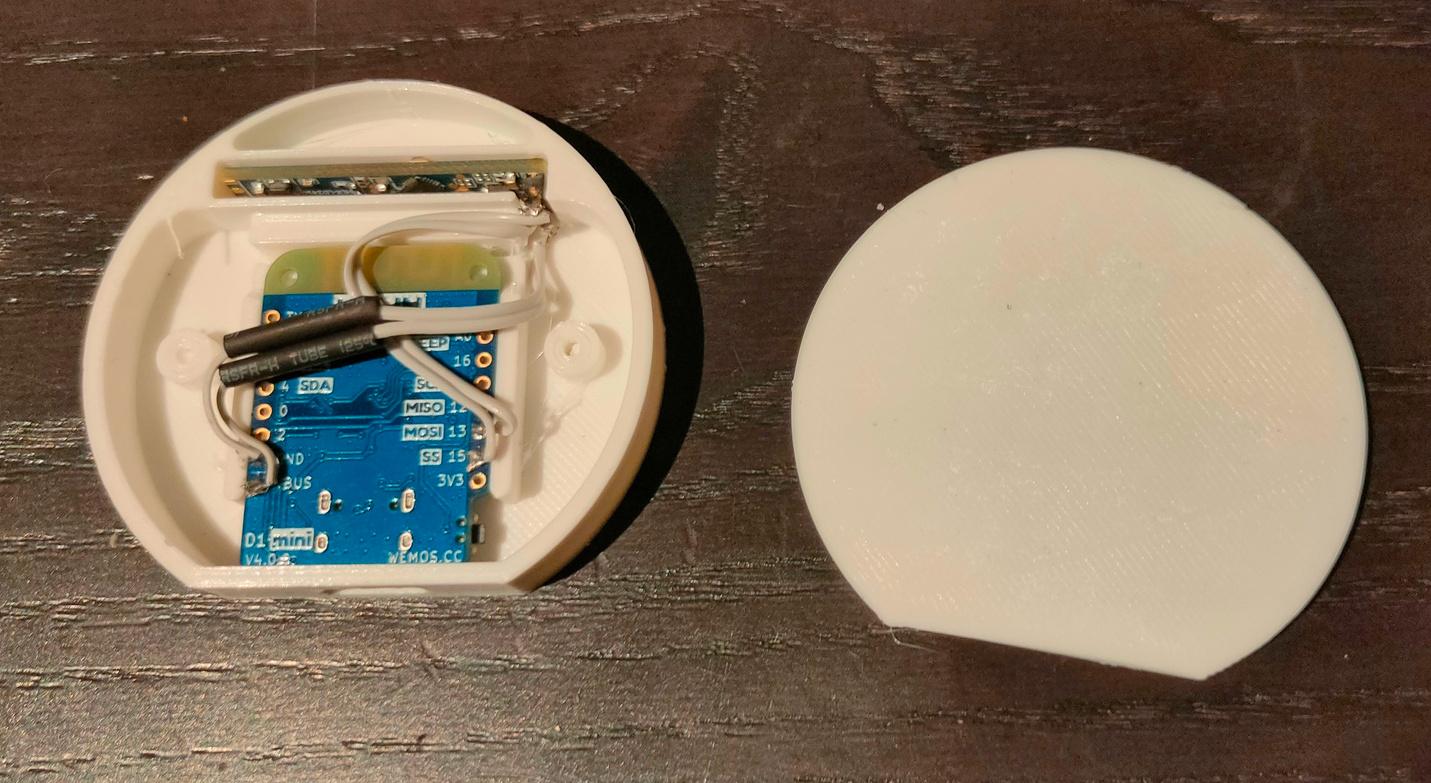
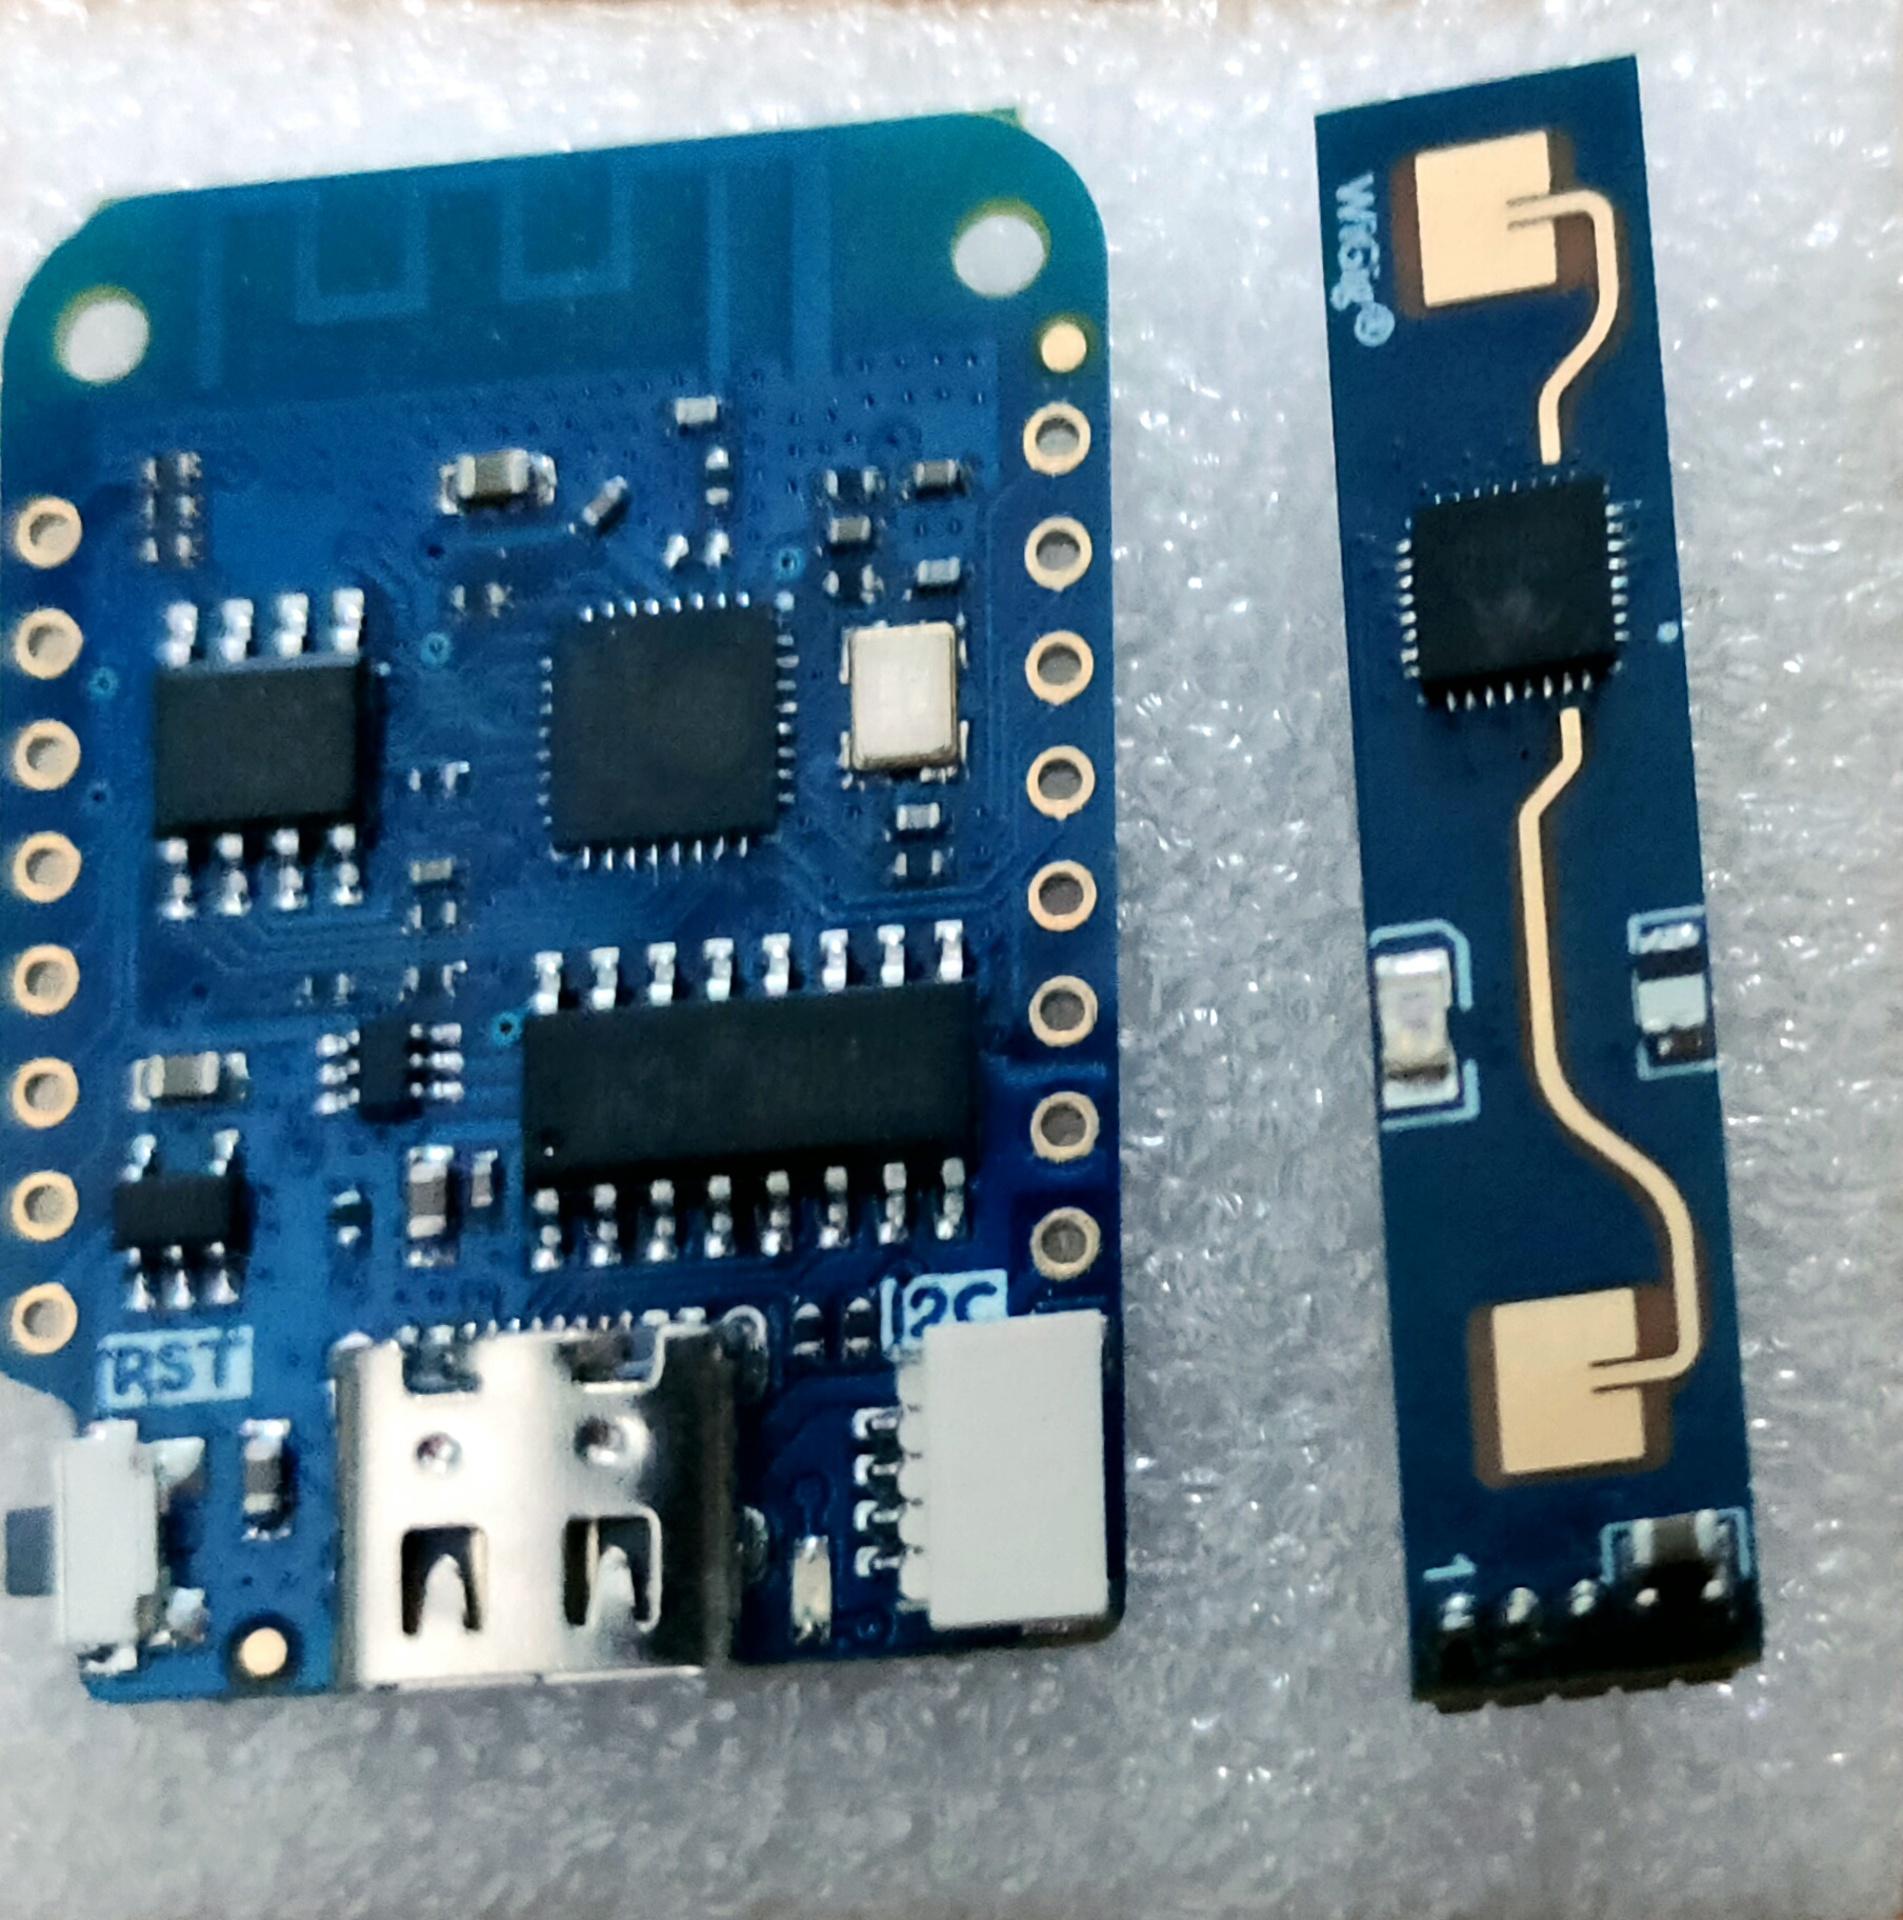
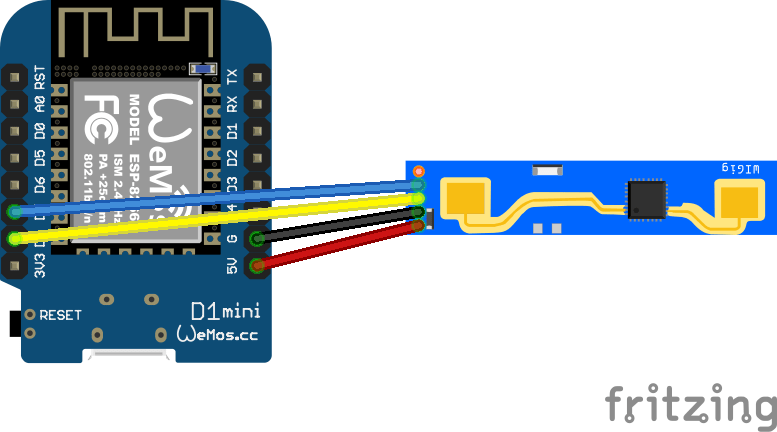
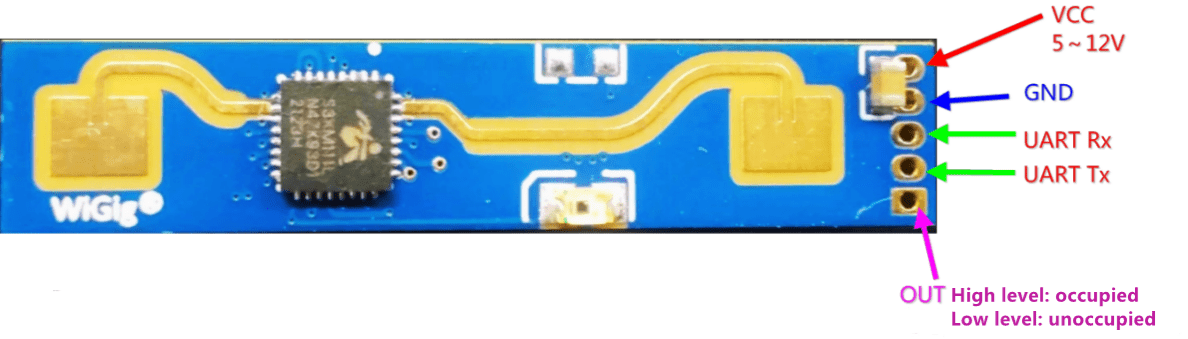
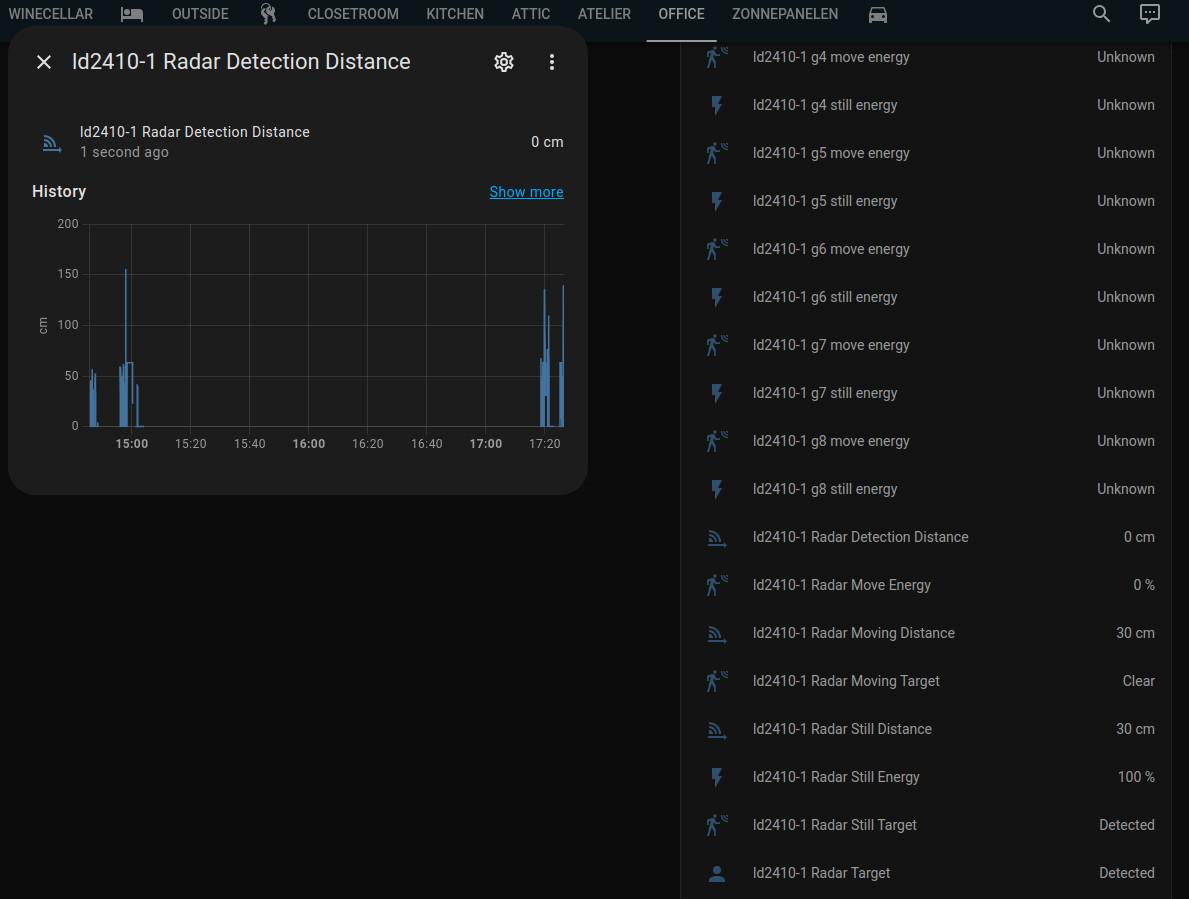
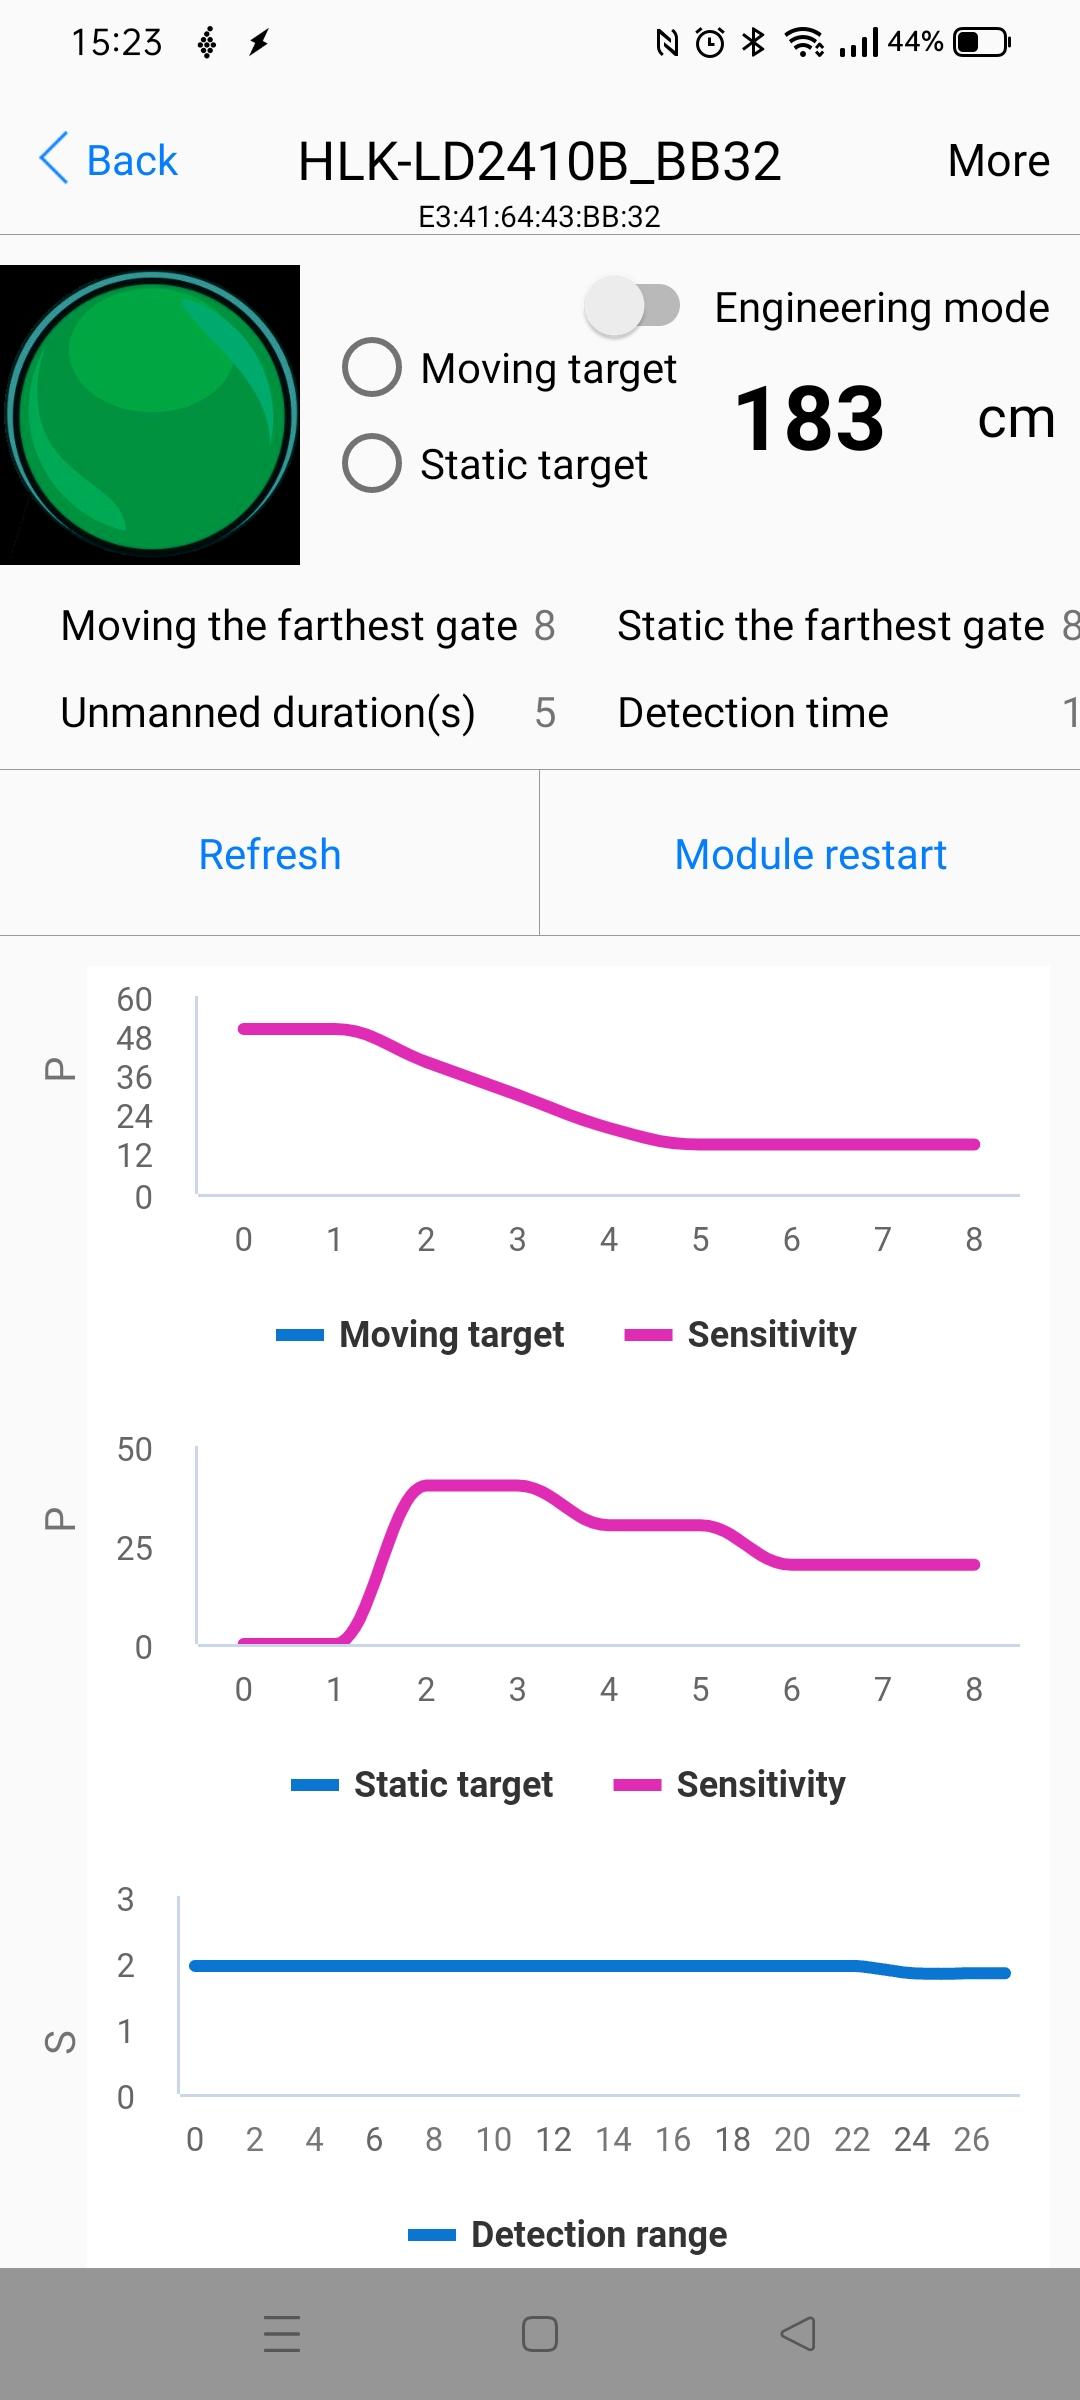
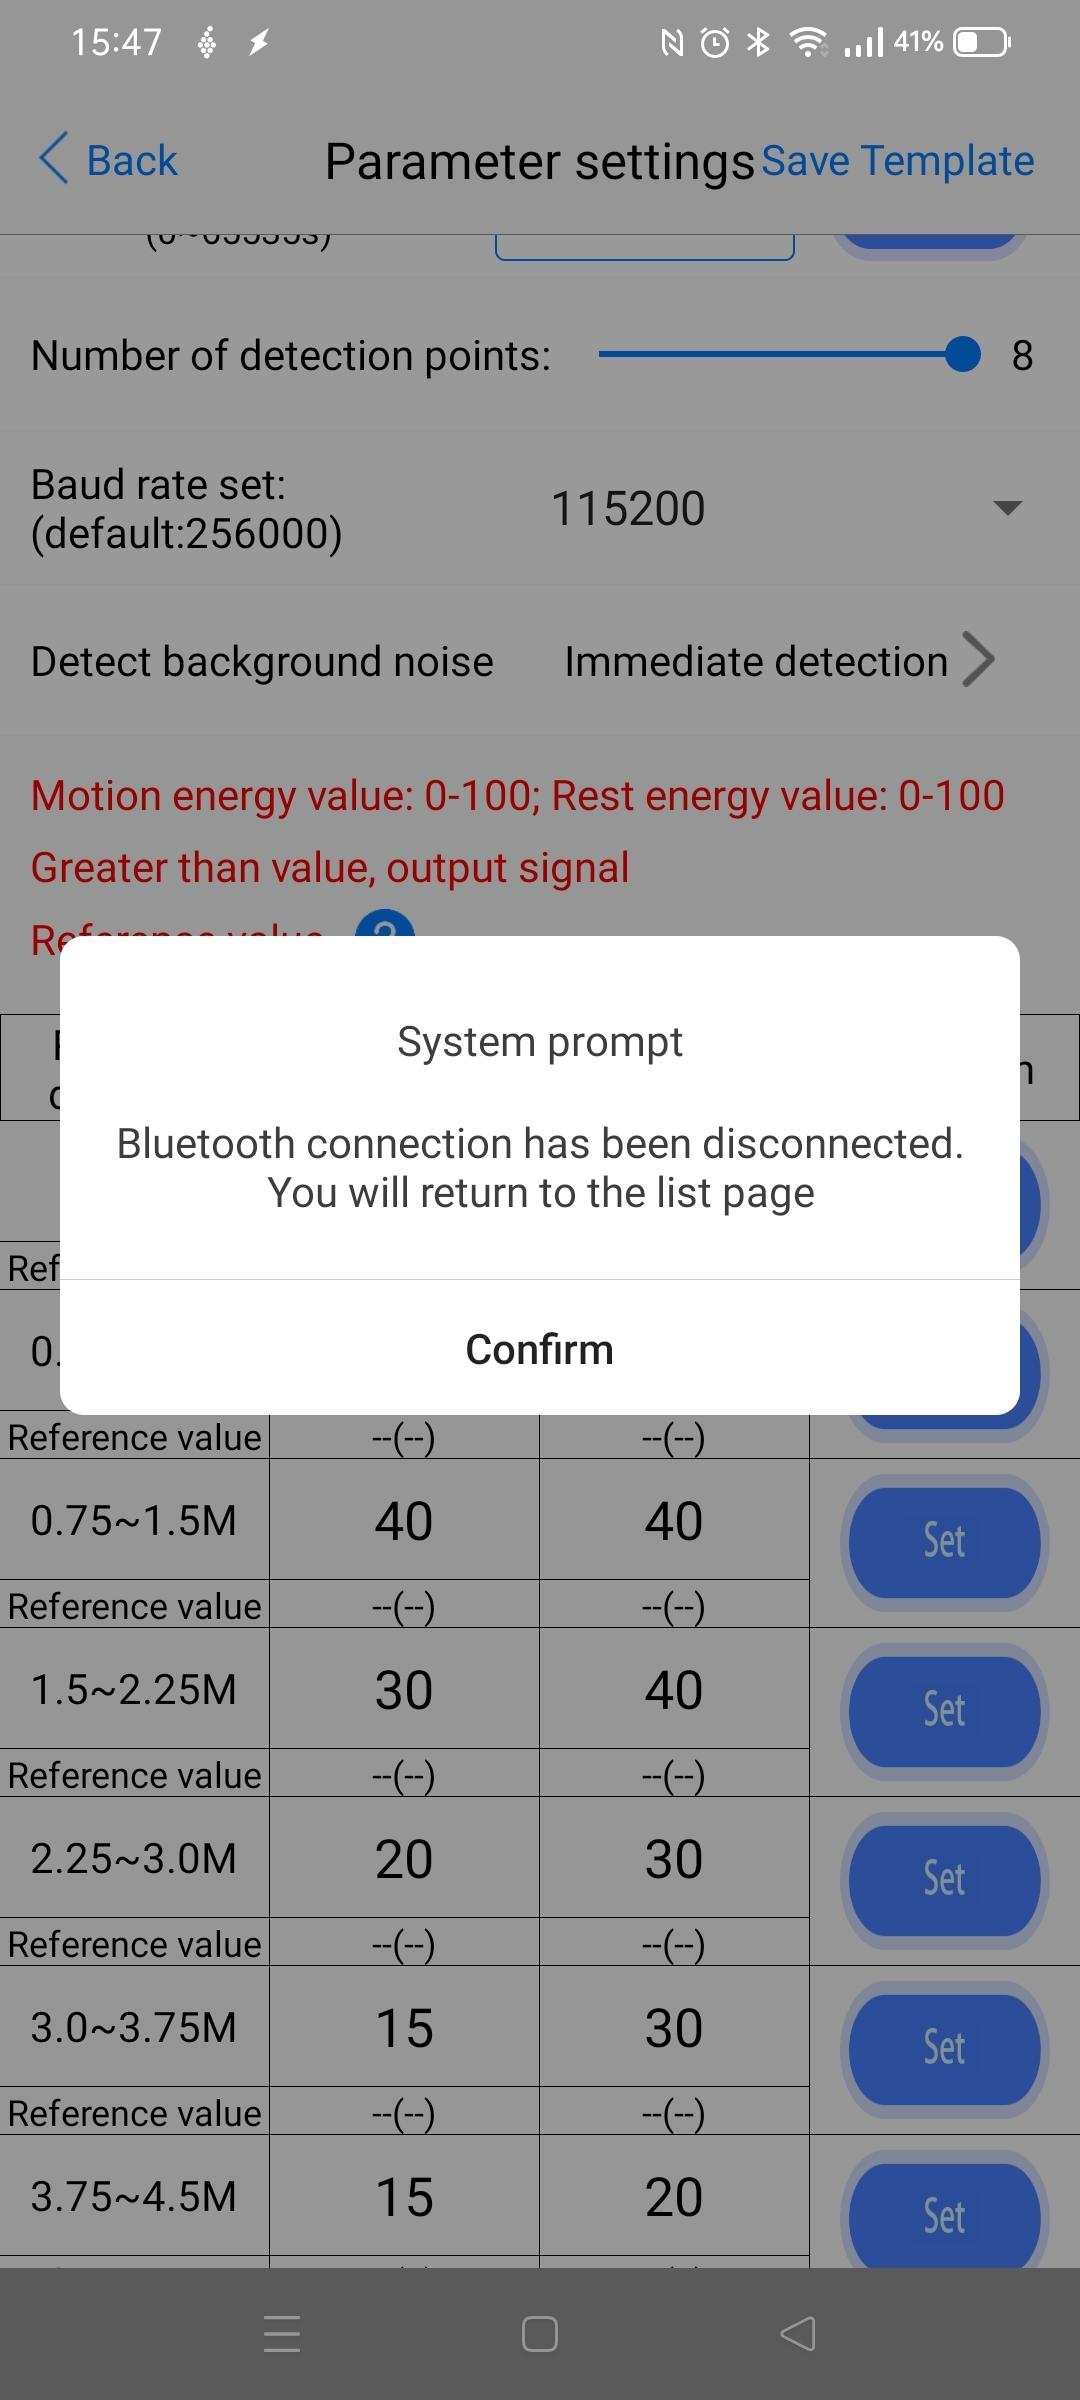
Update: https://www.henriaanstoot.nl/2024/01/14/hlk-ld2410b-with-a-wemos-mini-d1-v4-connected-to-home-assistant-using-esphome/
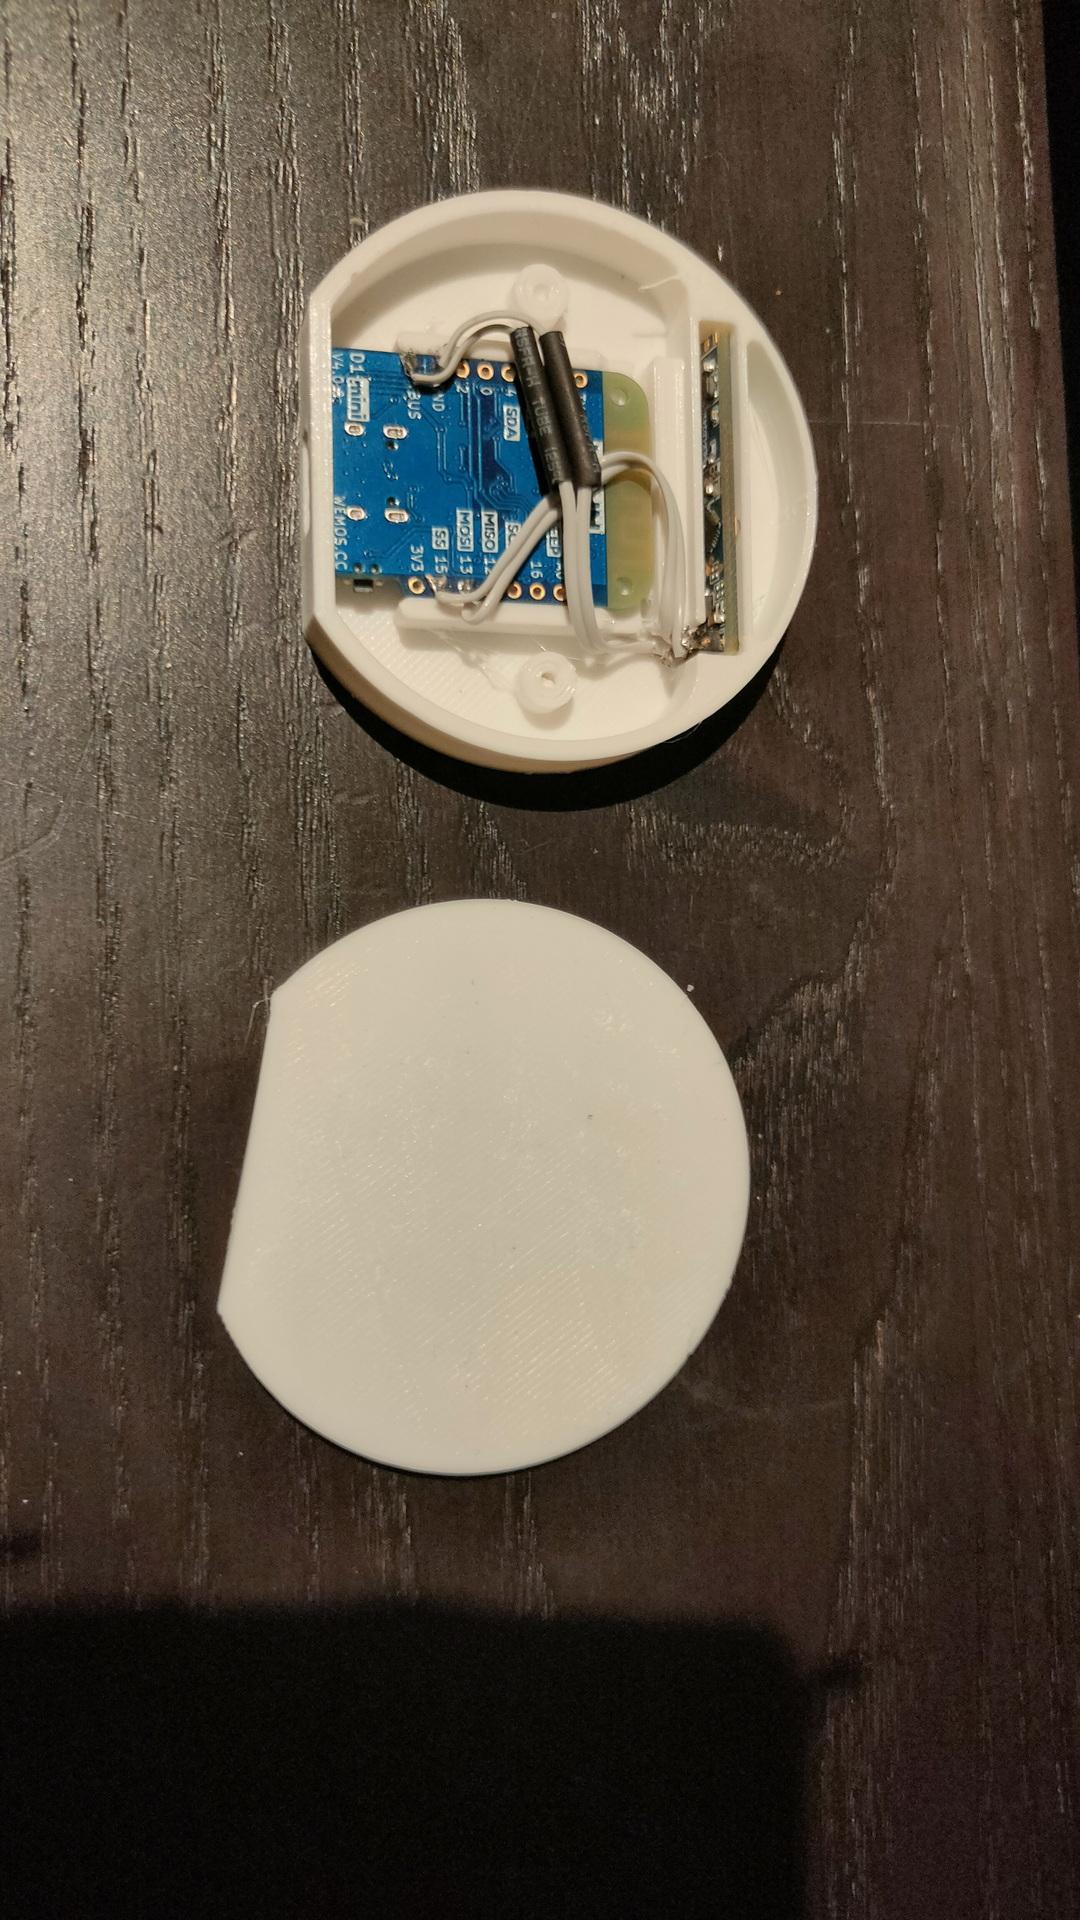
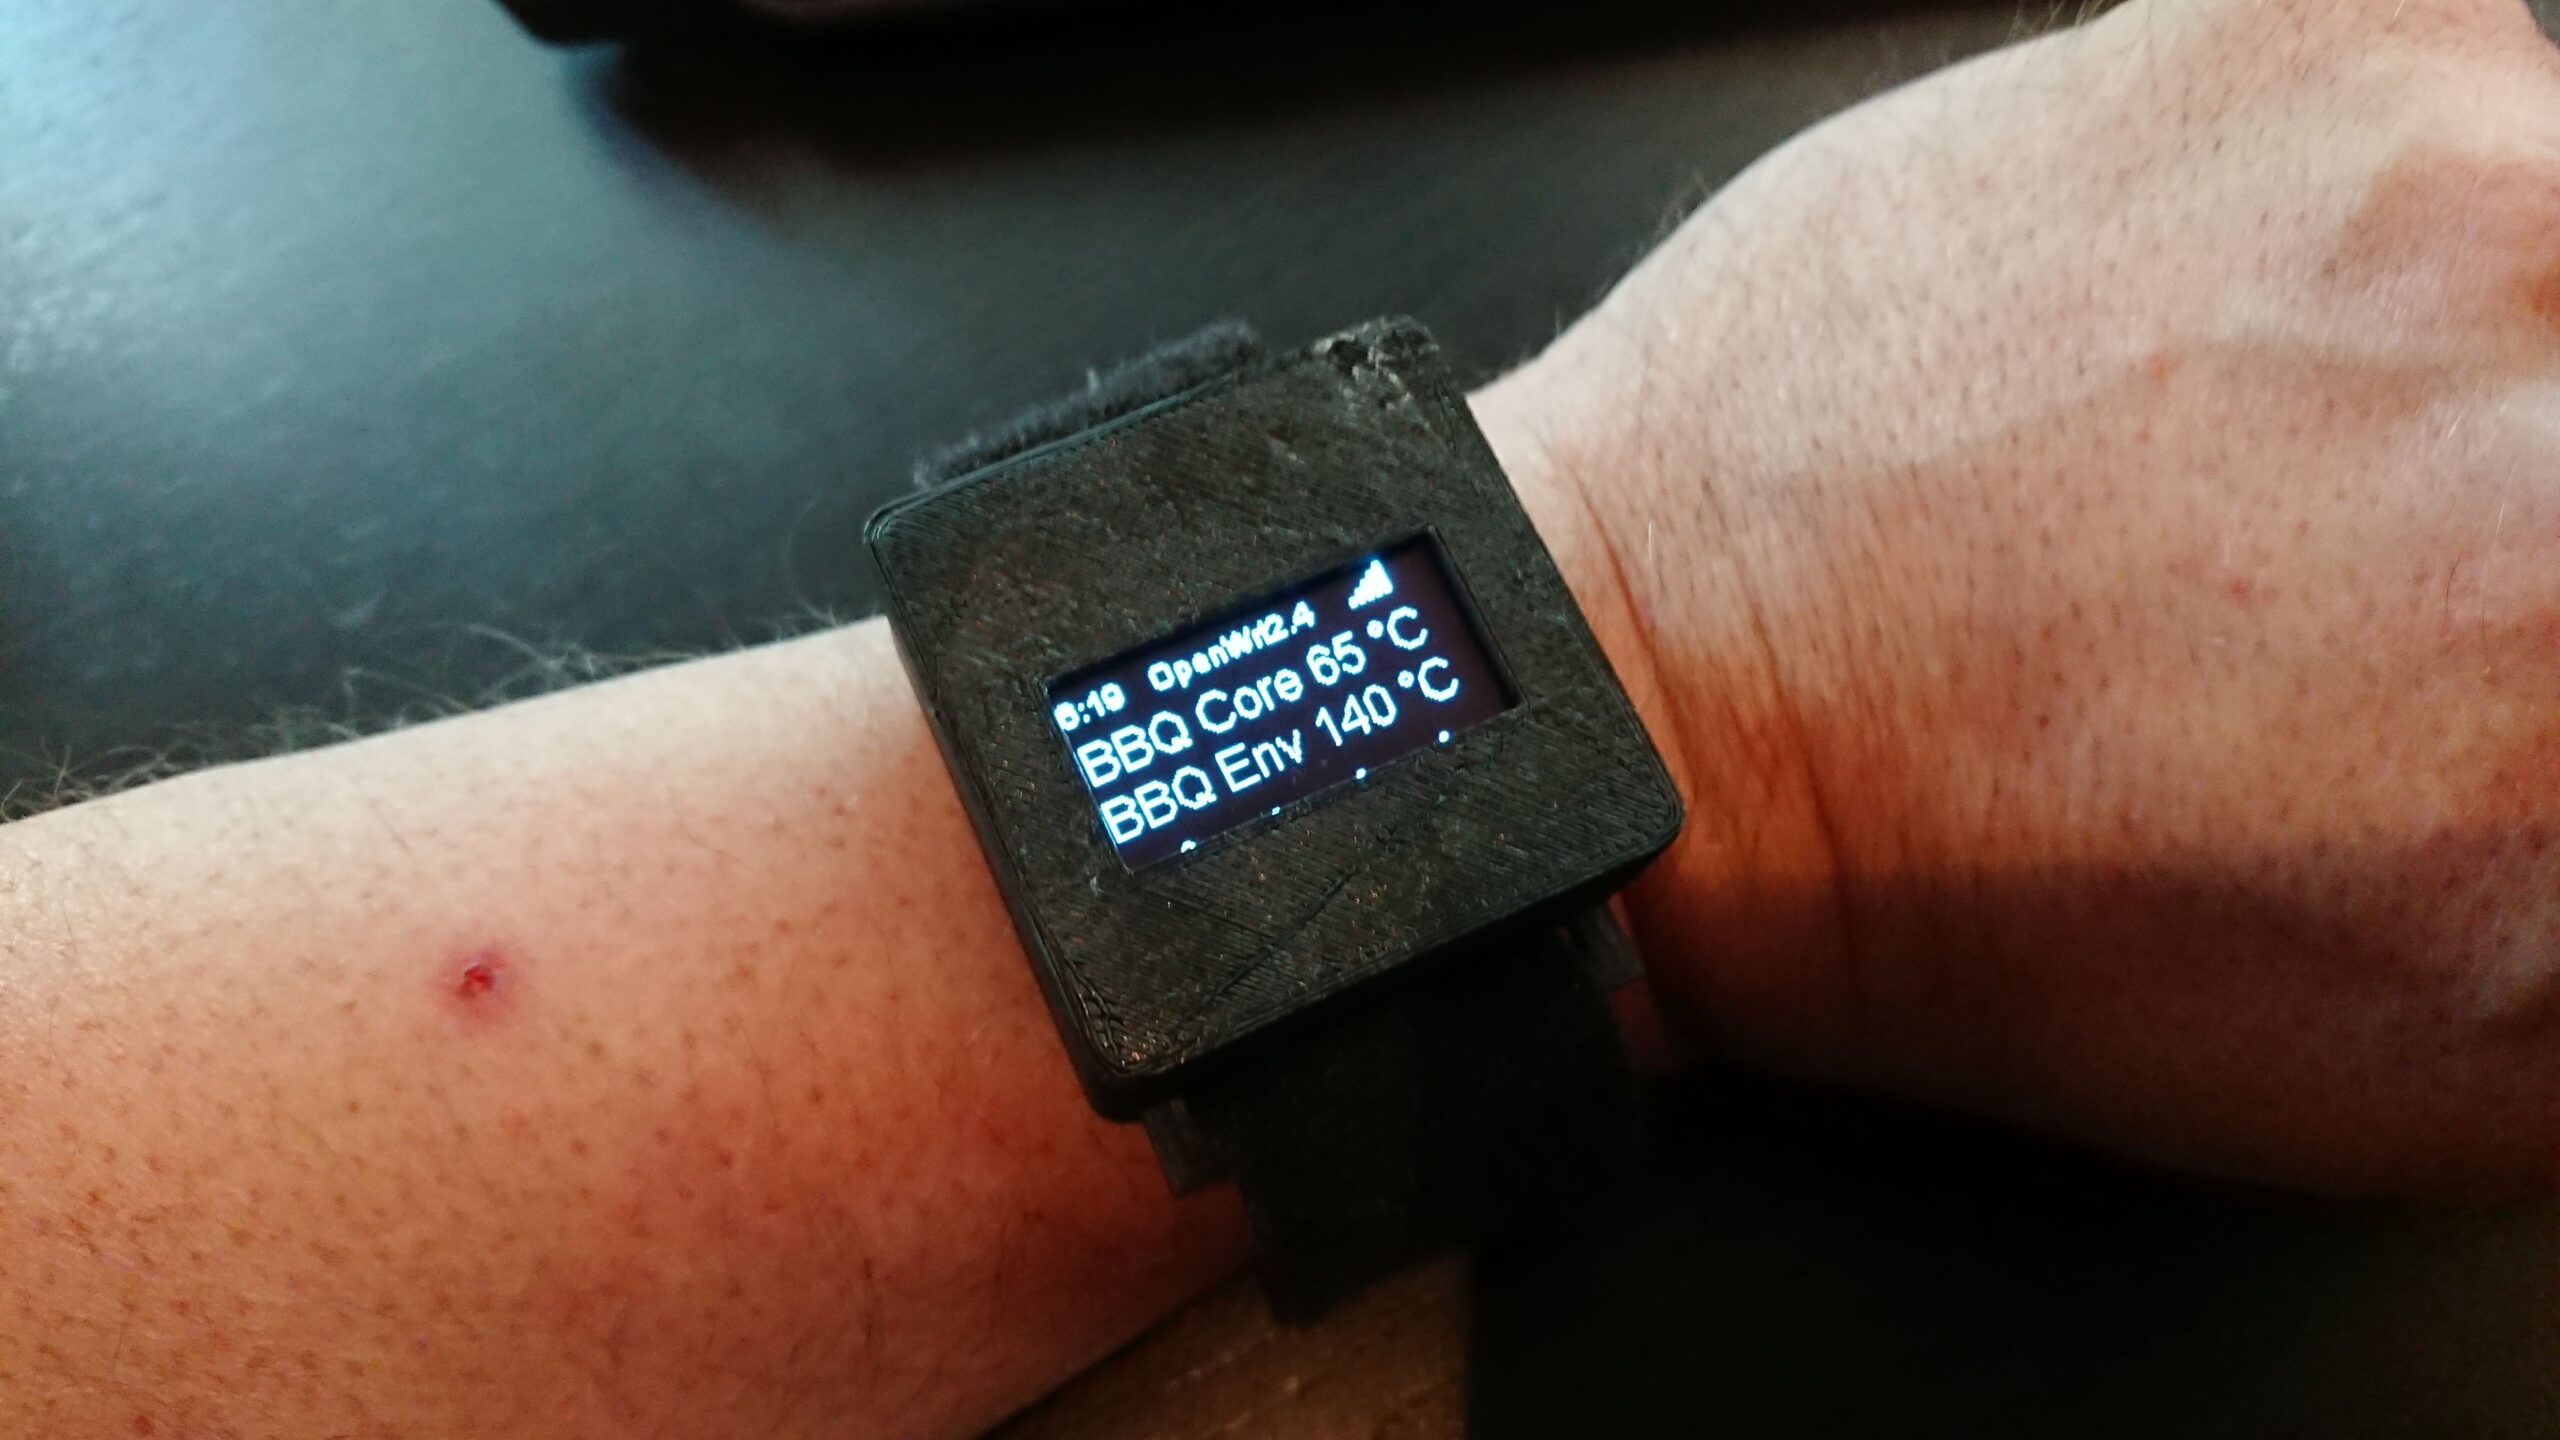
Update: BBQ watch
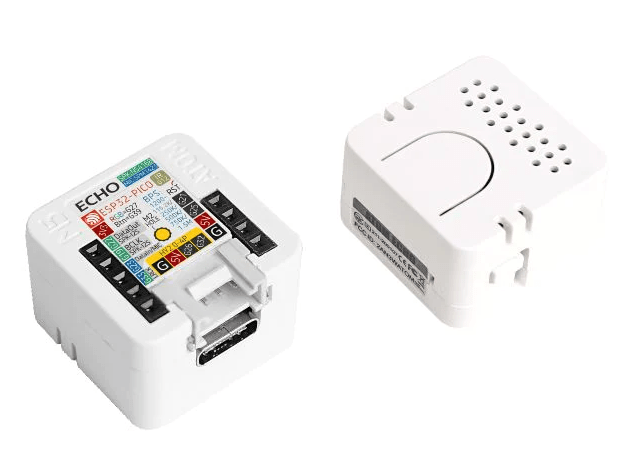
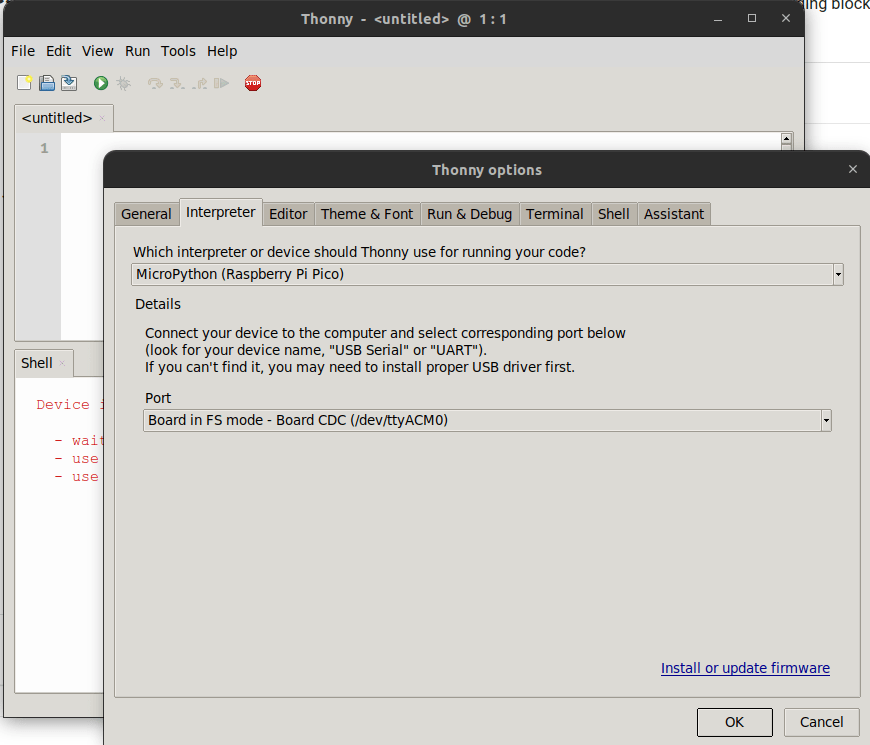
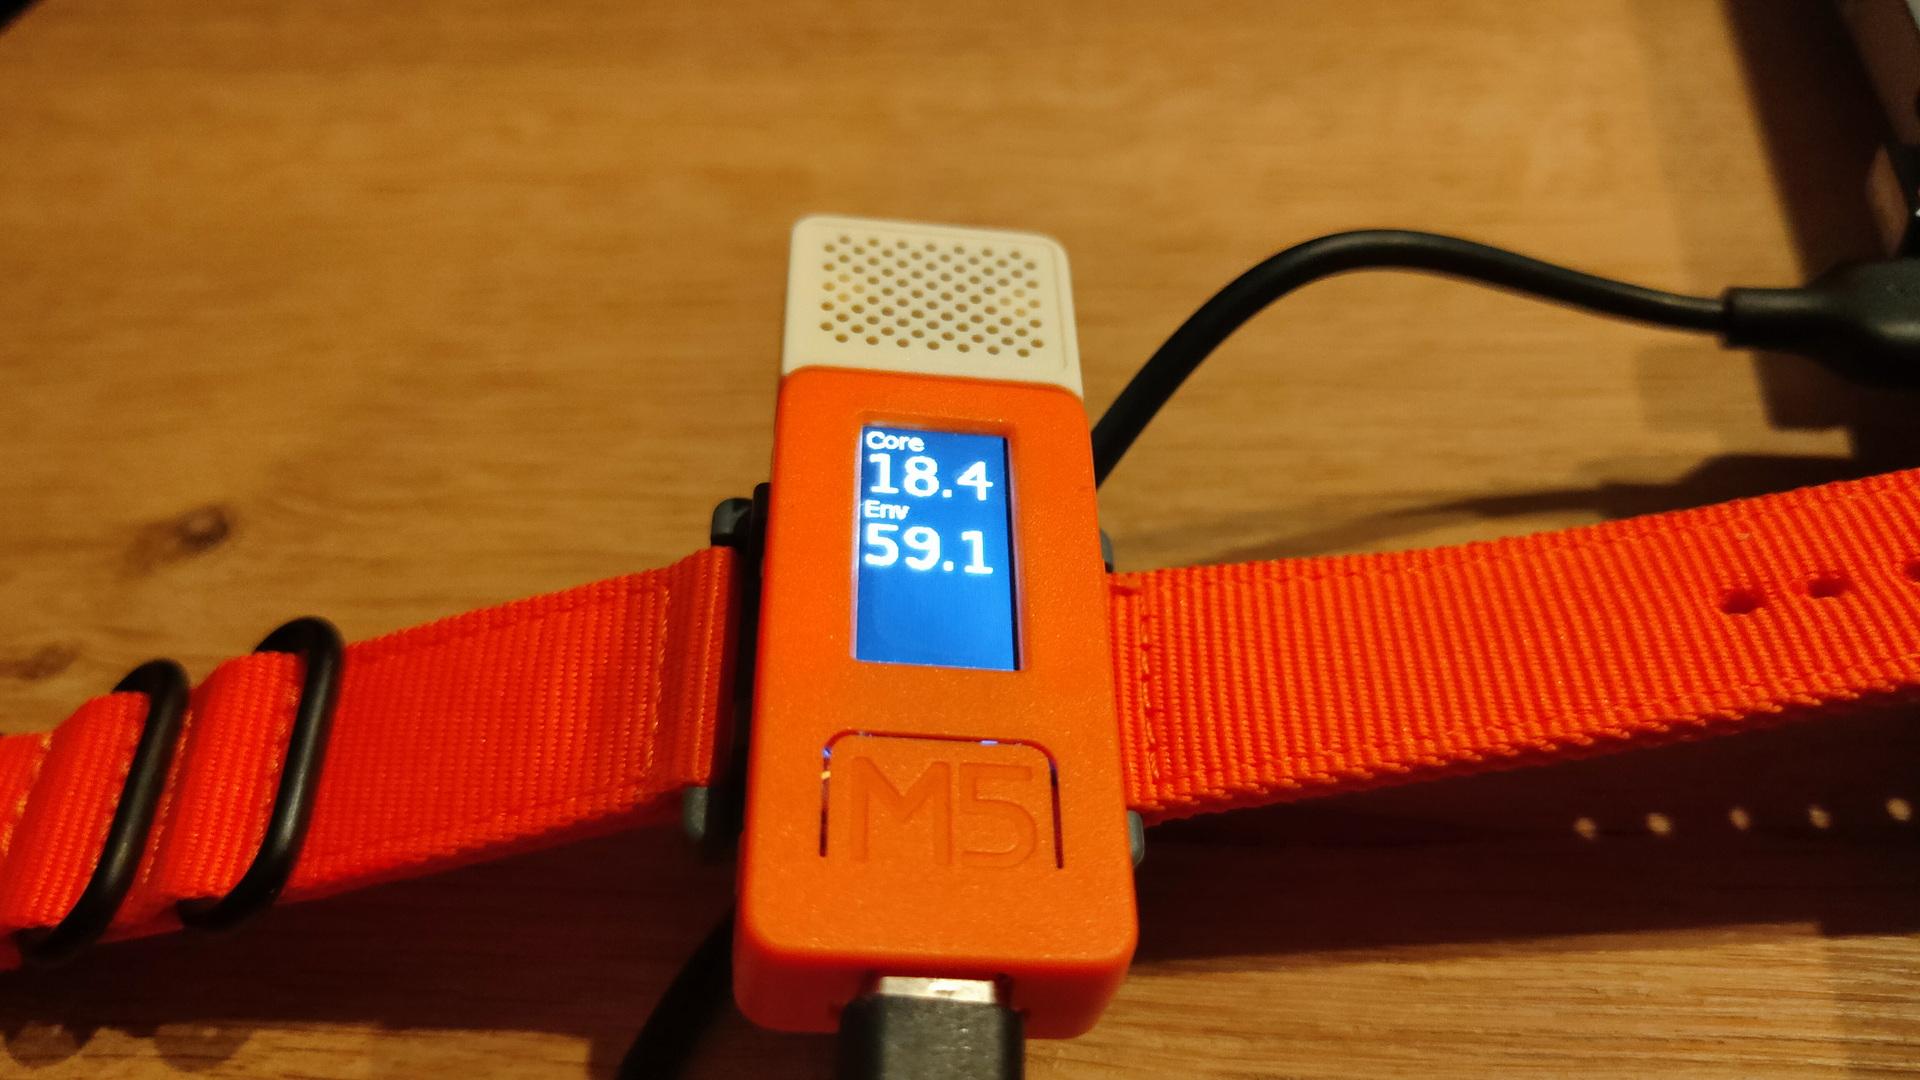
Not posted in the past, new version using ESPHOME and a m5stickc
ESP32 dac’s drawing on oscilloscope ( no additional components)
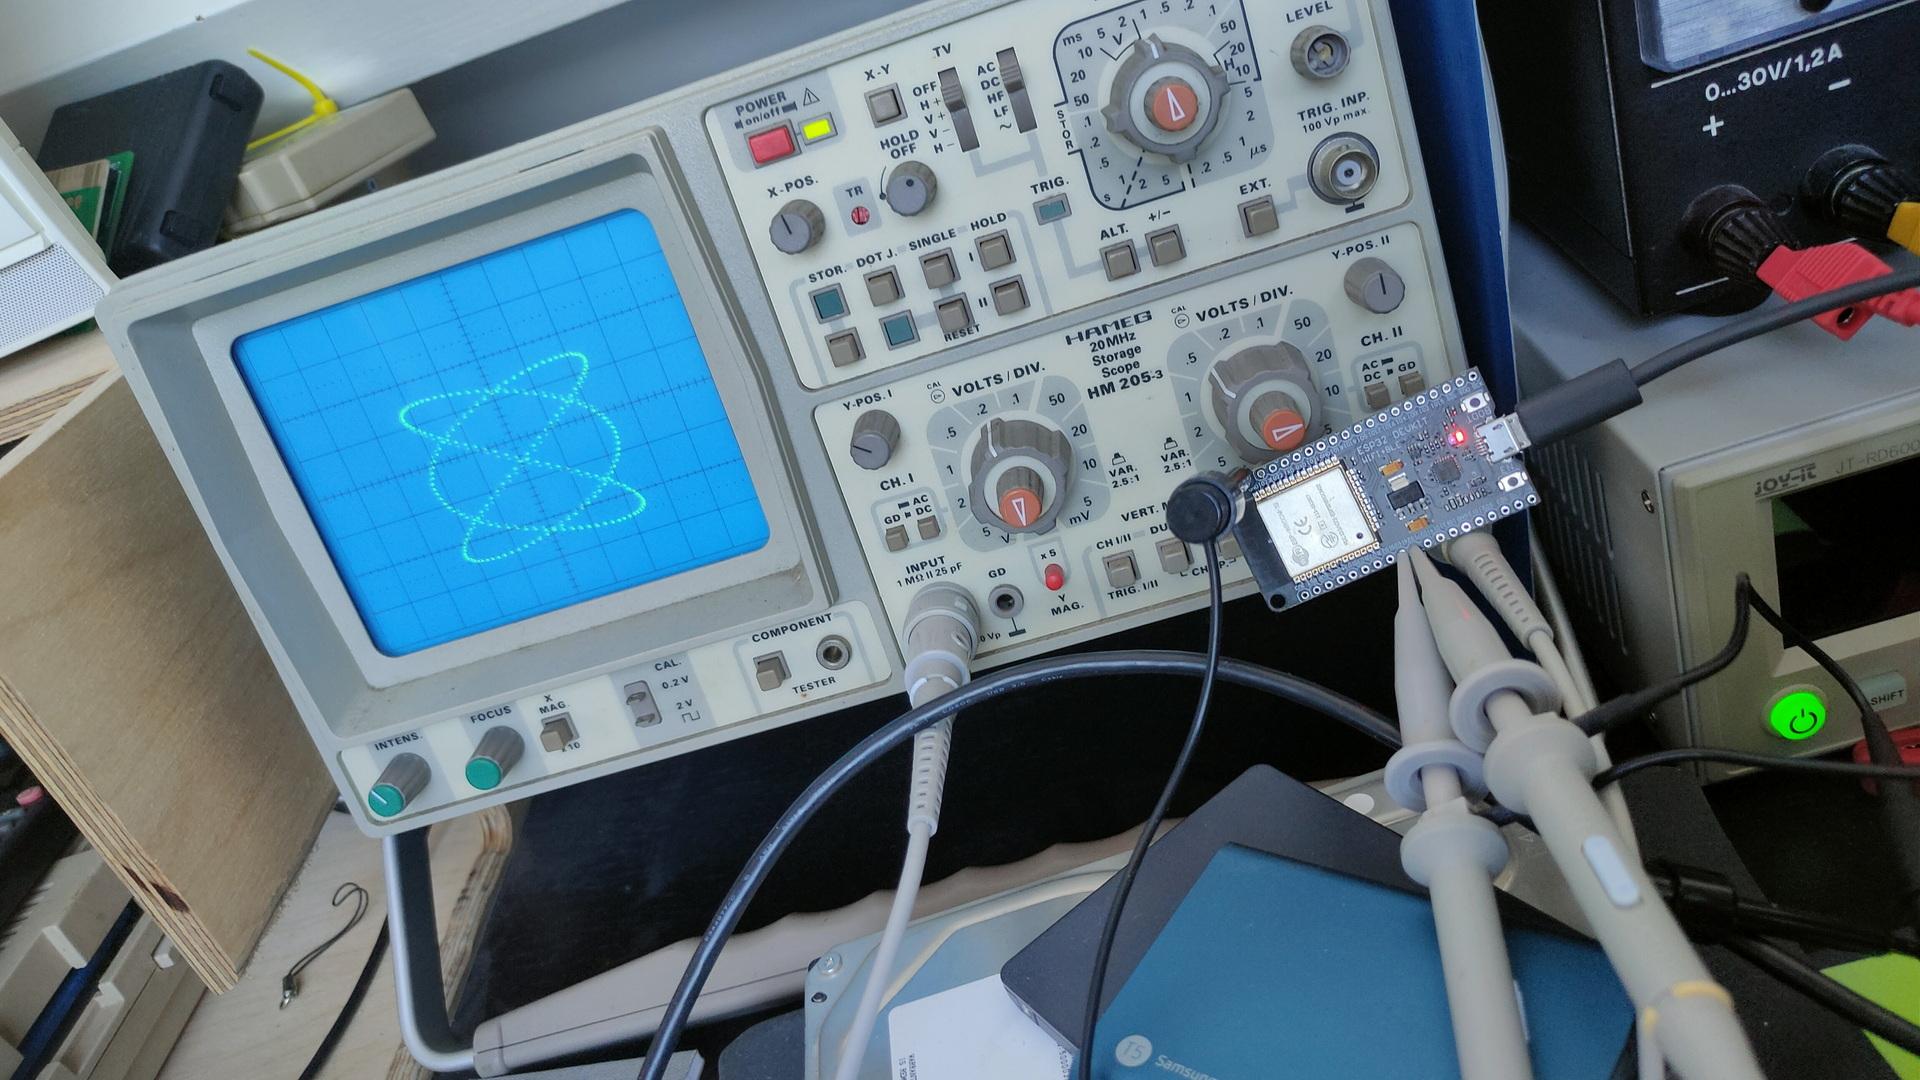
For above i used sin/cos functions 2:3, which creates Lissajous figures.
See: https://www.henriaanstoot.nl/1992/01/01/oscilloscope-graphics-using-a-amiga-bonus-vectrex/
3 battery operated buttons (no wires needed) to control my shelly dimmer at the dinner table.

(This cheapass button only sends ON commands)

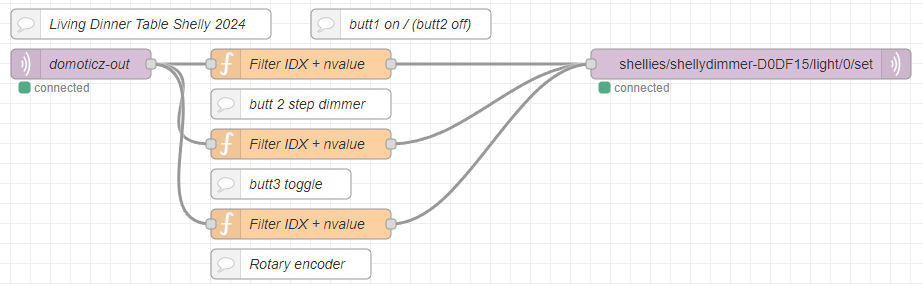
Node red code
[
    {
        "id": "8190a851.8d02b8",
        "type": "mqtt in",
        "z": "44d7a4fb.e41a5c",
        "name": "domoticz-out",
        "topic": "domoticz/out",
        "qos": "0",
        "broker": "8c74c5f6.9a7a48",
        "inputs": 0,
        "x": 190,
        "y": 600,
        "wires": [
            [
                "543a2fa3.af27c",
                "c70d463.da52ab8",
                "ffa2f6be.afe618"
            ]
        ]
    },
    {
        "id": "543a2fa3.af27c",
        "type": "function",
        "z": "44d7a4fb.e41a5c",
        "name": "Filter IDX + nvalue",
        "func": "var varPayload = JSON.parse(msg.payload);\nvar varidx = varPayload.idx;\nvar varnvalue = varPayload.nvalue;\nif(varidx == 2473)\n{\nmsg.payload = {};\nmsg.payload.turn = \"on\";\nmsg.payload.brightness = 50;\nreturn msg;\n}",
        "outputs": 1,
        "noerr": 0,
        "initialize": "",
        "finalize": "",
        "libs": [],
        "x": 410,
        "y": 600,
        "wires": [
            [
                "d7b0f308db912817"
            ]
        ]
    },
    {
        "id": "c70d463.da52ab8",
        "type": "function",
        "z": "44d7a4fb.e41a5c",
        "name": "Filter IDX + nvalue",
        "func": "var varPayload = JSON.parse(msg.payload);\nvar varidx = varPayload.idx;\nvar varnvalue = varPayload.nvalue;\nif(varidx == 2474)\n{\nmsg.payload = {};\nmsg.payload.turn = \"on\";\nvar count = context.get(\"counter\") || 0;\ncount = (count+1) % 6;\ncontext.set(\"counter\", count);\ncount = count * 20; \nmsg.payload.brightness = count;\nreturn msg;\n}",
        "outputs": 1,
        "noerr": 0,
        "initialize": "",
        "finalize": "",
        "libs": [],
        "x": 410,
        "y": 680,
        "wires": [
            [
                "d7b0f308db912817"
            ]
        ]
    },
    {
        "id": "ffa2f6be.afe618",
        "type": "function",
        "z": "44d7a4fb.e41a5c",
        "name": "Filter IDX + nvalue",
        "func": "var varPayload = JSON.parse(msg.payload);\nvar varidx = varPayload.idx;\nvar varnvalue = varPayload.nvalue;\nif(varidx == 2475)\n{\nmsg.payload = {};\nmsg.payload.turn = \"off\";\n//msg.payload.brightness = 0;\nreturn msg;\n}",
        "outputs": 1,
        "noerr": 0,
        "initialize": "",
        "finalize": "",
        "libs": [],
        "x": 410,
        "y": 760,
        "wires": [
            [
                "d7b0f308db912817"
            ]
        ]
    },
    {
        "id": "35f35737.b4f2c8",
        "type": "comment",
        "z": "44d7a4fb.e41a5c",
        "name": "Living Dinner Table Shelly 2024",
        "info": "",
        "x": 250,
        "y": 560,
        "wires": []
    },
    {
        "id": "b080c84e.2c3968",
        "type": "comment",
        "z": "44d7a4fb.e41a5c",
        "name": "butt1 on / (butt2 off)",
        "info": "",
        "x": 510,
        "y": 560,
        "wires": []
    },
    {
        "id": "ac892b87.1c7358",
        "type": "comment",
        "z": "44d7a4fb.e41a5c",
        "name": "butt3 toggle",
        "info": "",
        "x": 390,
        "y": 720,
        "wires": []
    },
    {
        "id": "b5bdbd65.c4e1c",
        "type": "comment",
        "z": "44d7a4fb.e41a5c",
        "name": "butt 2 step dimmer",
        "info": "",
        "x": 410,
        "y": 640,
        "wires": []
    },
    {
        "id": "d7b0f308db912817",
        "type": "mqtt out",
        "z": "44d7a4fb.e41a5c",
        "name": "",
        "topic": "shellies/shellydimmer-D0DF15/light/0/set",
        "qos": "",
        "retain": "",
        "respTopic": "",
        "contentType": "",
        "userProps": "",
        "correl": "",
        "expiry": "",
        "broker": "8c74c5f6.9a7a48",
        "x": 860,
        "y": 600,
        "wires": []
    },
    {
        "id": "8c74c5f6.9a7a48",
        "type": "mqtt-broker",
        "name": "MQTTSERVER",
        "broker": "MQTTSERVER",
        "port": "1883",
        "clientid": "",
        "usetls": false,
        "compatmode": true,
        "keepalive": "15",
        "cleansession": true,
        "birthTopic": "",
        "birthQos": "0",
        "birthPayload": "",
        "closeTopic": "",
        "closePayload": "",
        "willTopic": "",
        "willQos": "0",
        "willPayload": ""
    }
]
Vector graphics on my demo arduino nano.