We are planning to redo our garden. And I am making a water and light plan for it.
I thought I could do it myself using 12V and RS485/Modbus.
So these are my plans. (NOTE, this is a work in progress)
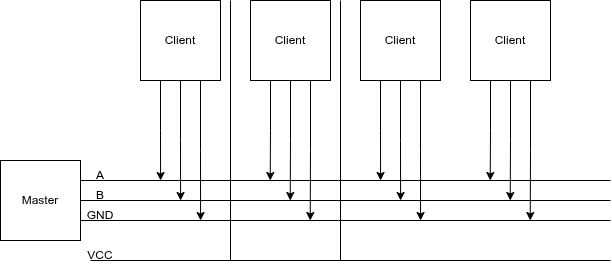
I’m going to put 4-wire ground cable in our garden, and a RS485/Modbus master controller in my shed. 4 Wires will have 12V low voltage, ground and RS485 A/B wires. This way I can control till 64 devices on a single cable.
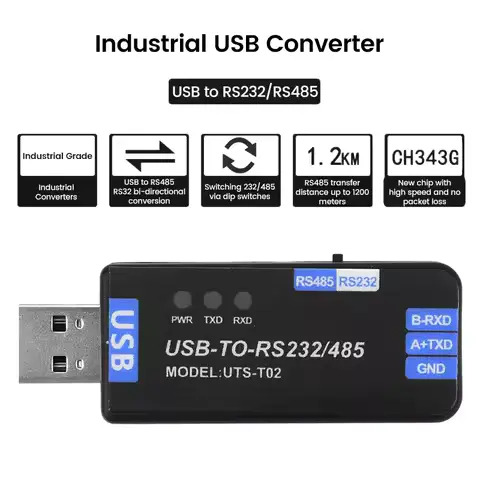
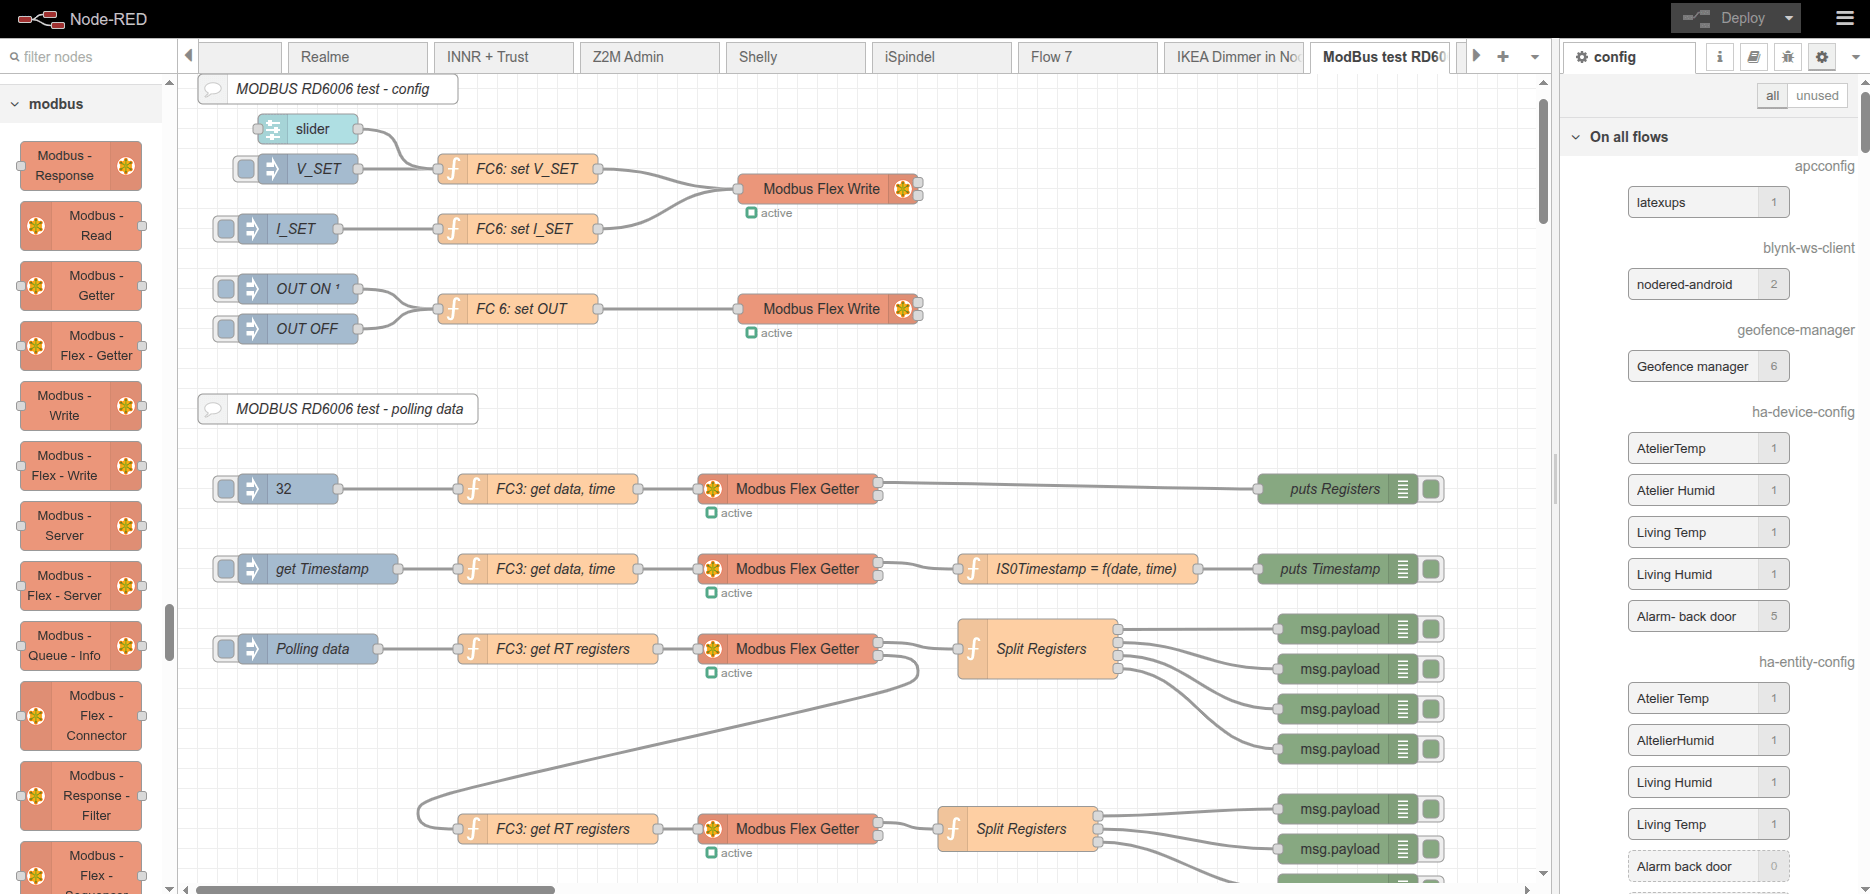
Below, a USB stick to connect the RS485 cables to a Raspberry Pi? Software is probably going to be a NodeRed instance connected to Home Assistant.
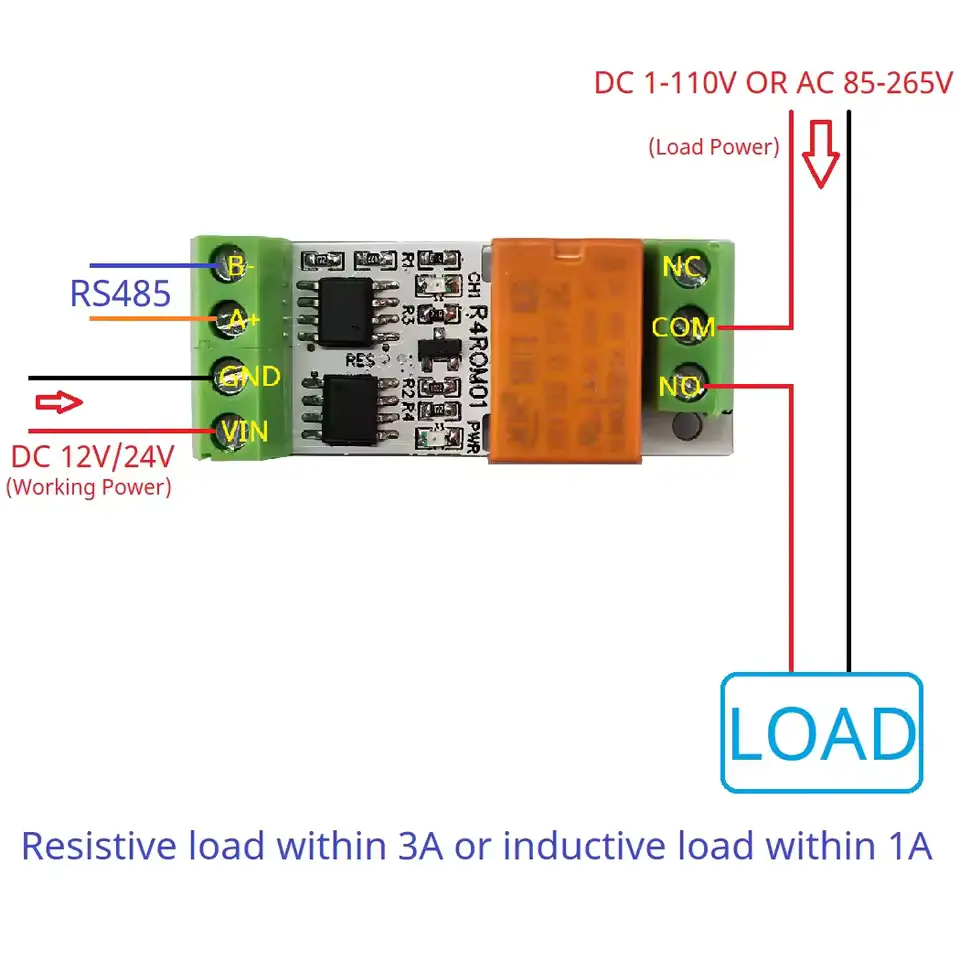
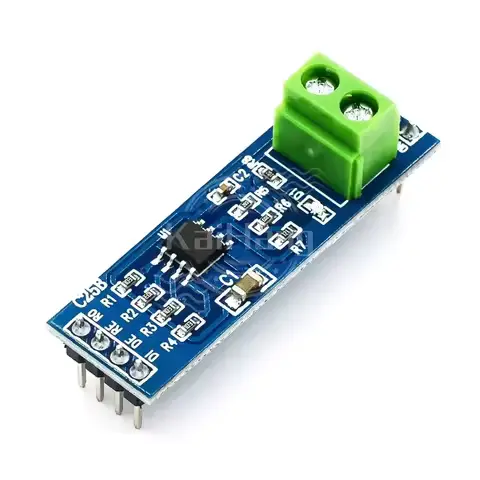
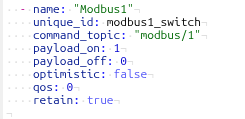
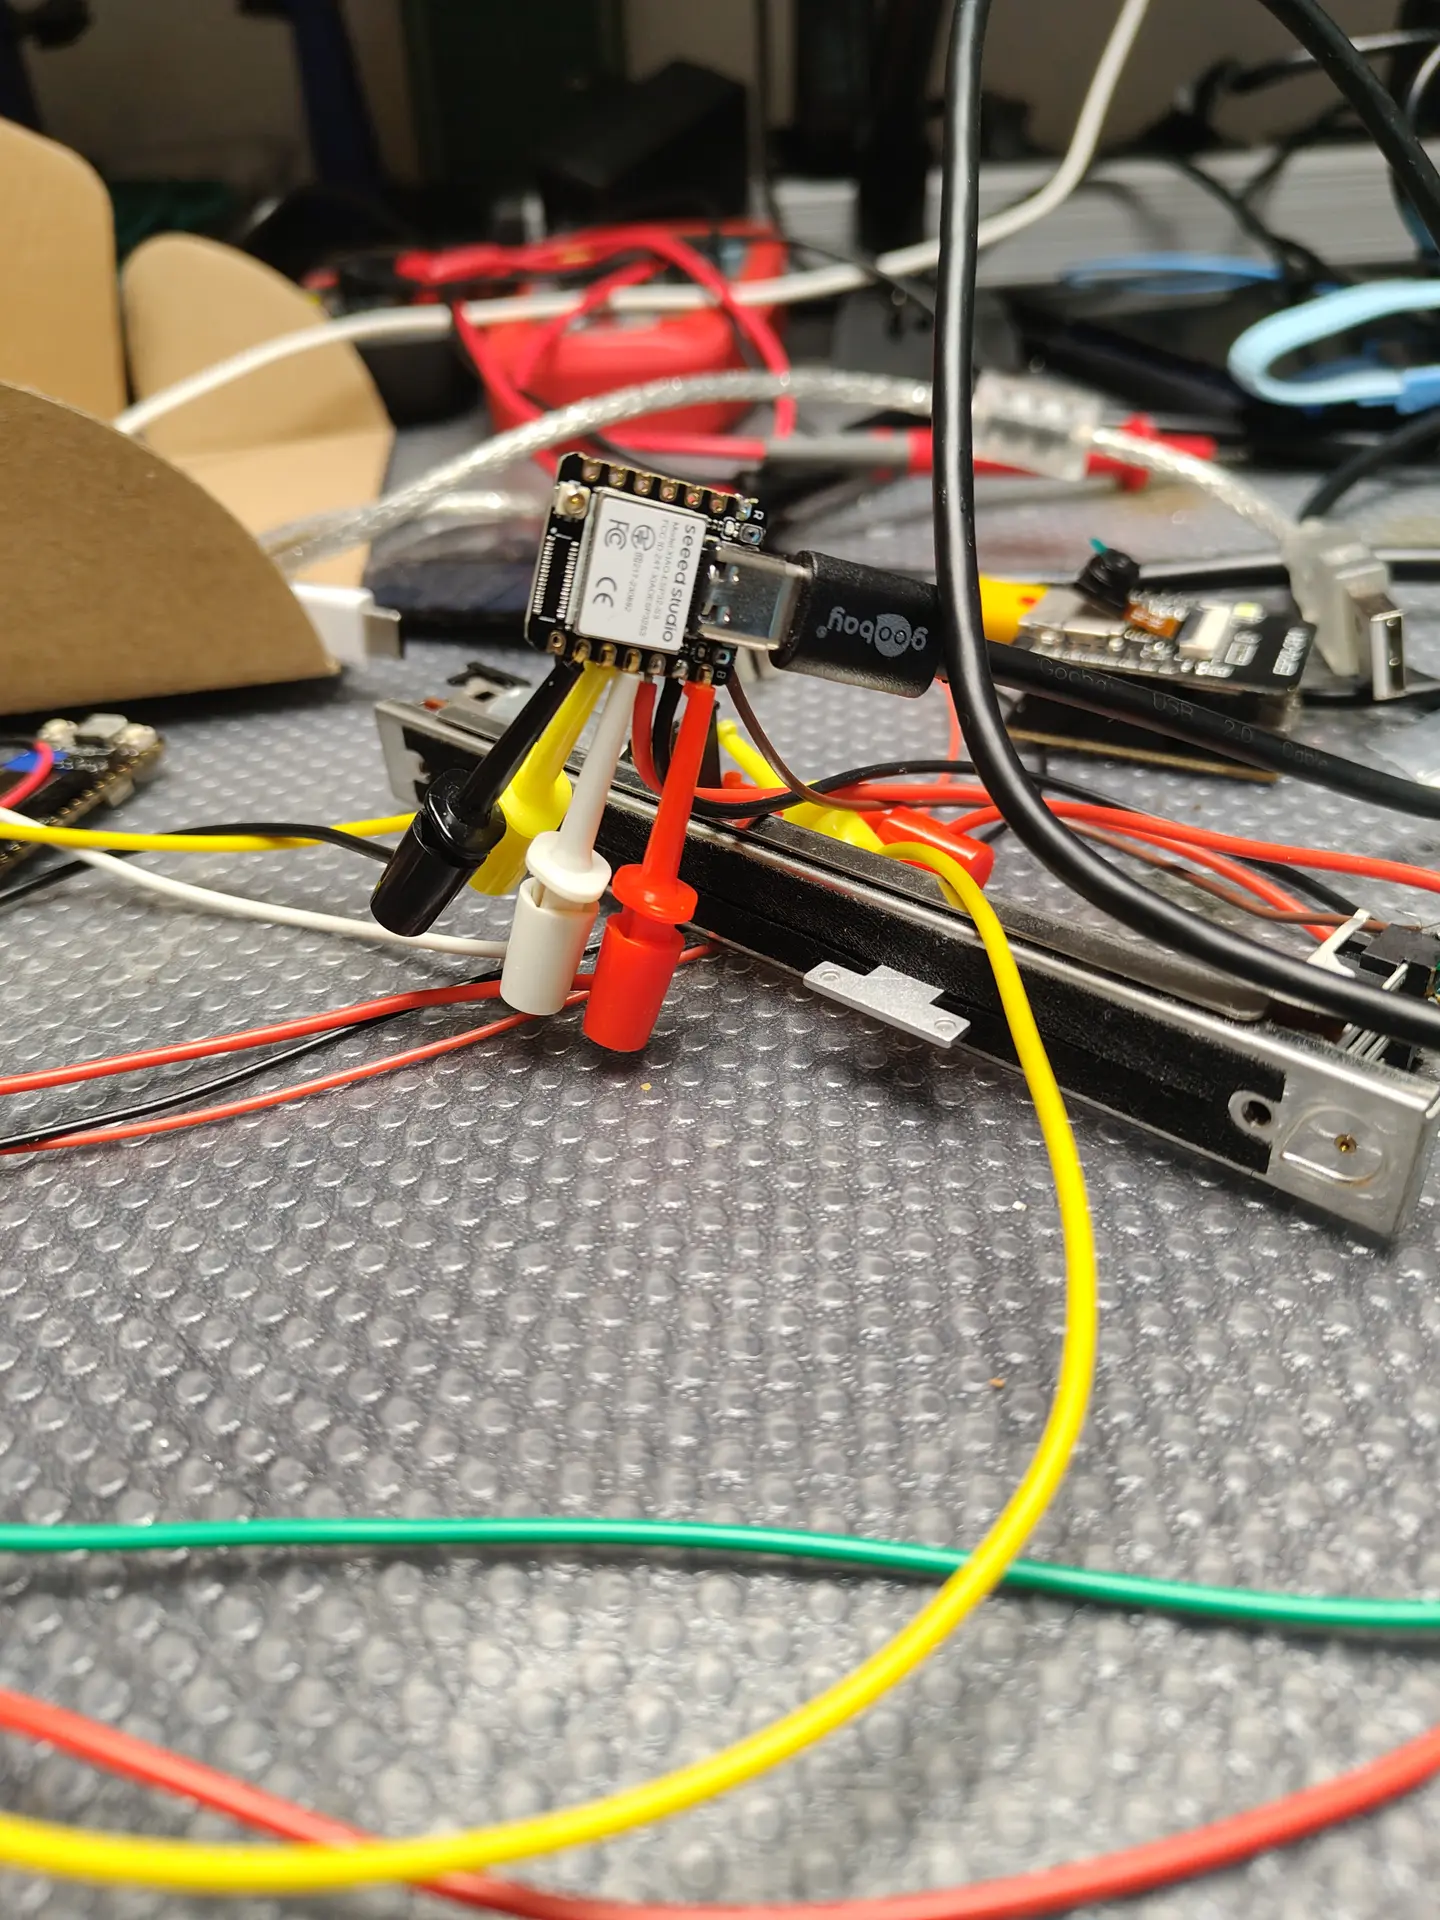
On/Off lights using a RS485 board and relay. These can be bought on a single PCB and can control 220V. I am probably going to use generic outside lamps and refit them for 12V led or 220v, with those RS485 controllers.
Test PCB
The above left part will be encased in resin or alike. Right PCB is for testing only.
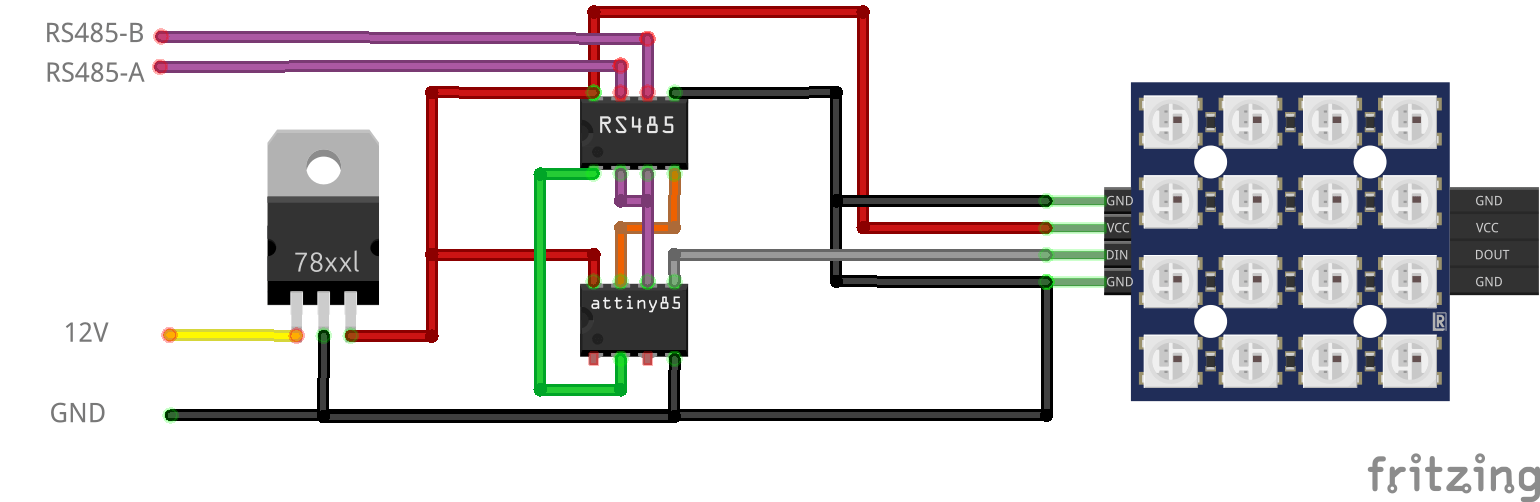
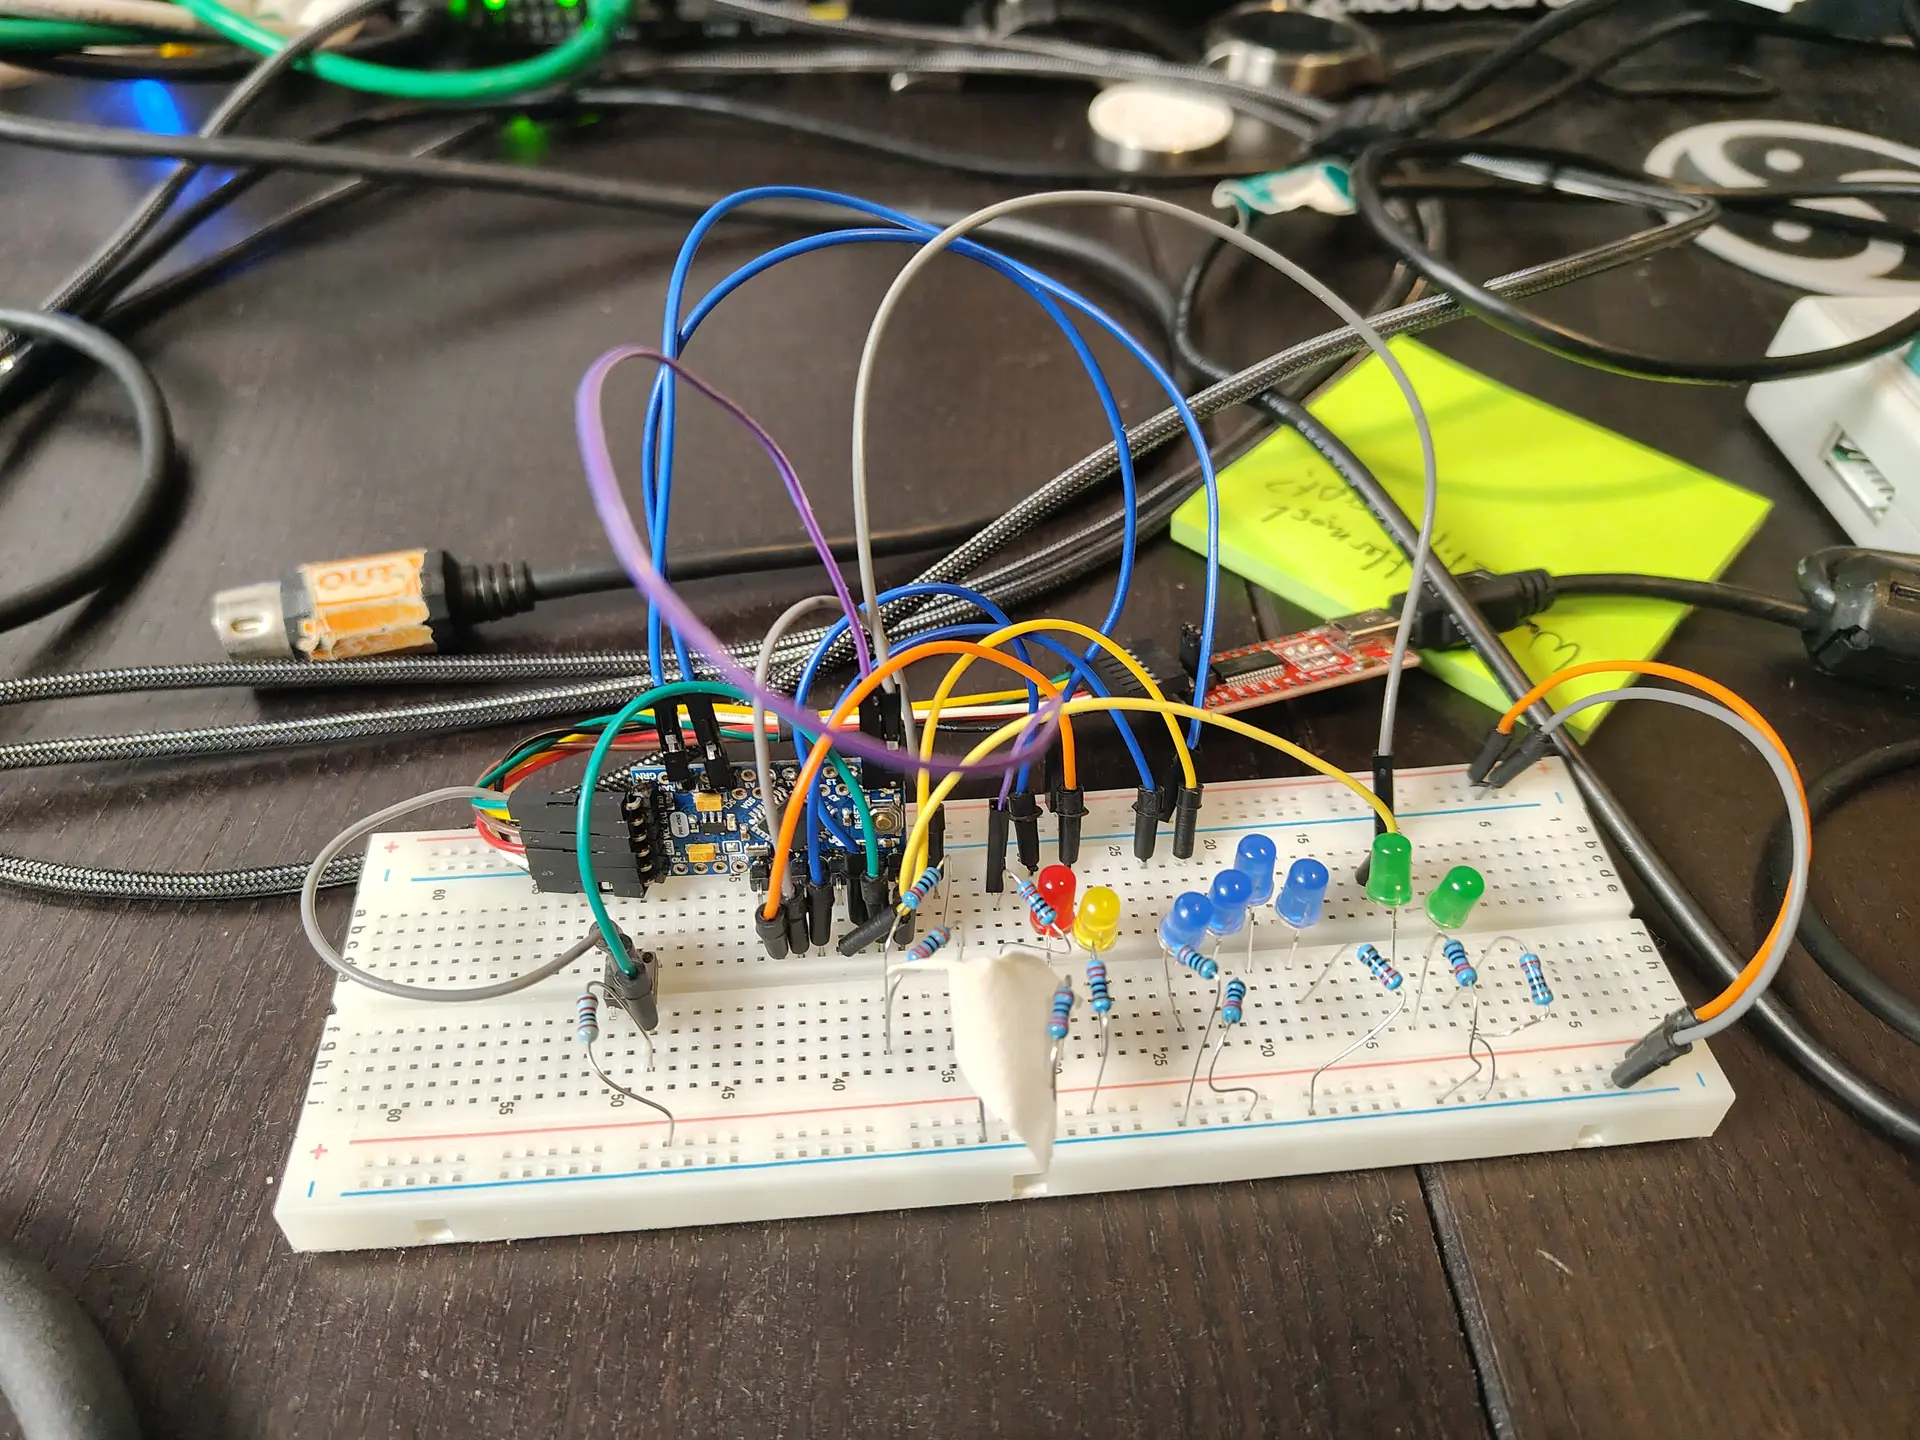
For dimming RGB lights, I made the below design.
NOTE: This needs 120ohm end resistor and capacitors over the 7805.
12V to 5V using a 7805, RS485 8pin DIL/DIP and a ATTiny85 8pin DIL/DIP. Plus a 4×4 RGB Matrix. These also encased in resin.
More information on the ATTiny85 and programmer can be found here:
Deeply impressed by your blog content which means a lot to electronic enthusiasts.
I'd like to sponsor your project by providing free PCB prototyping,
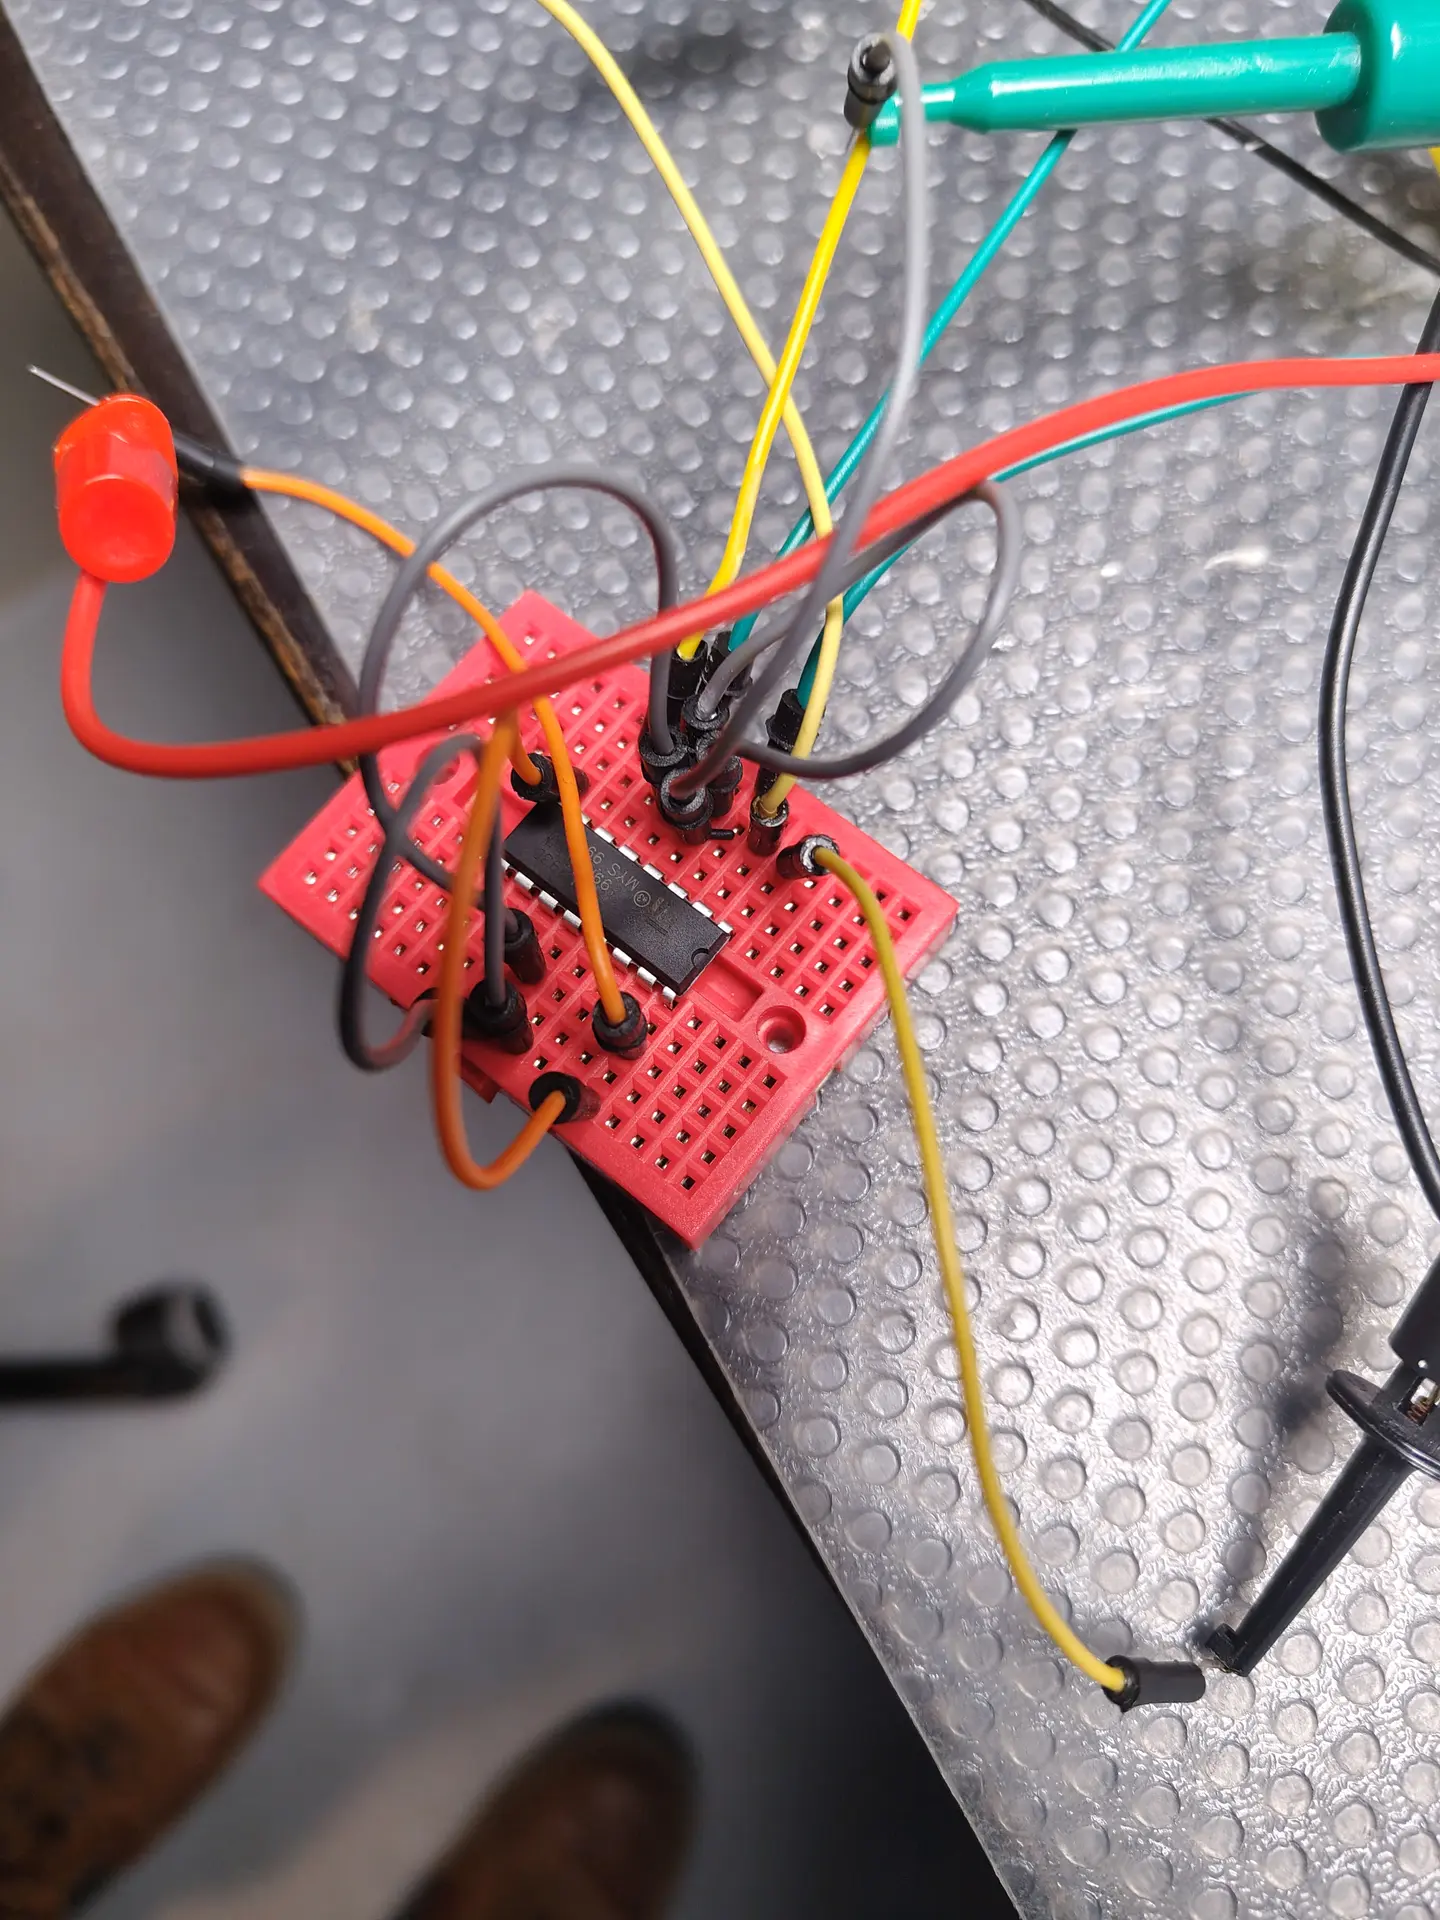
ROM SWITCHER
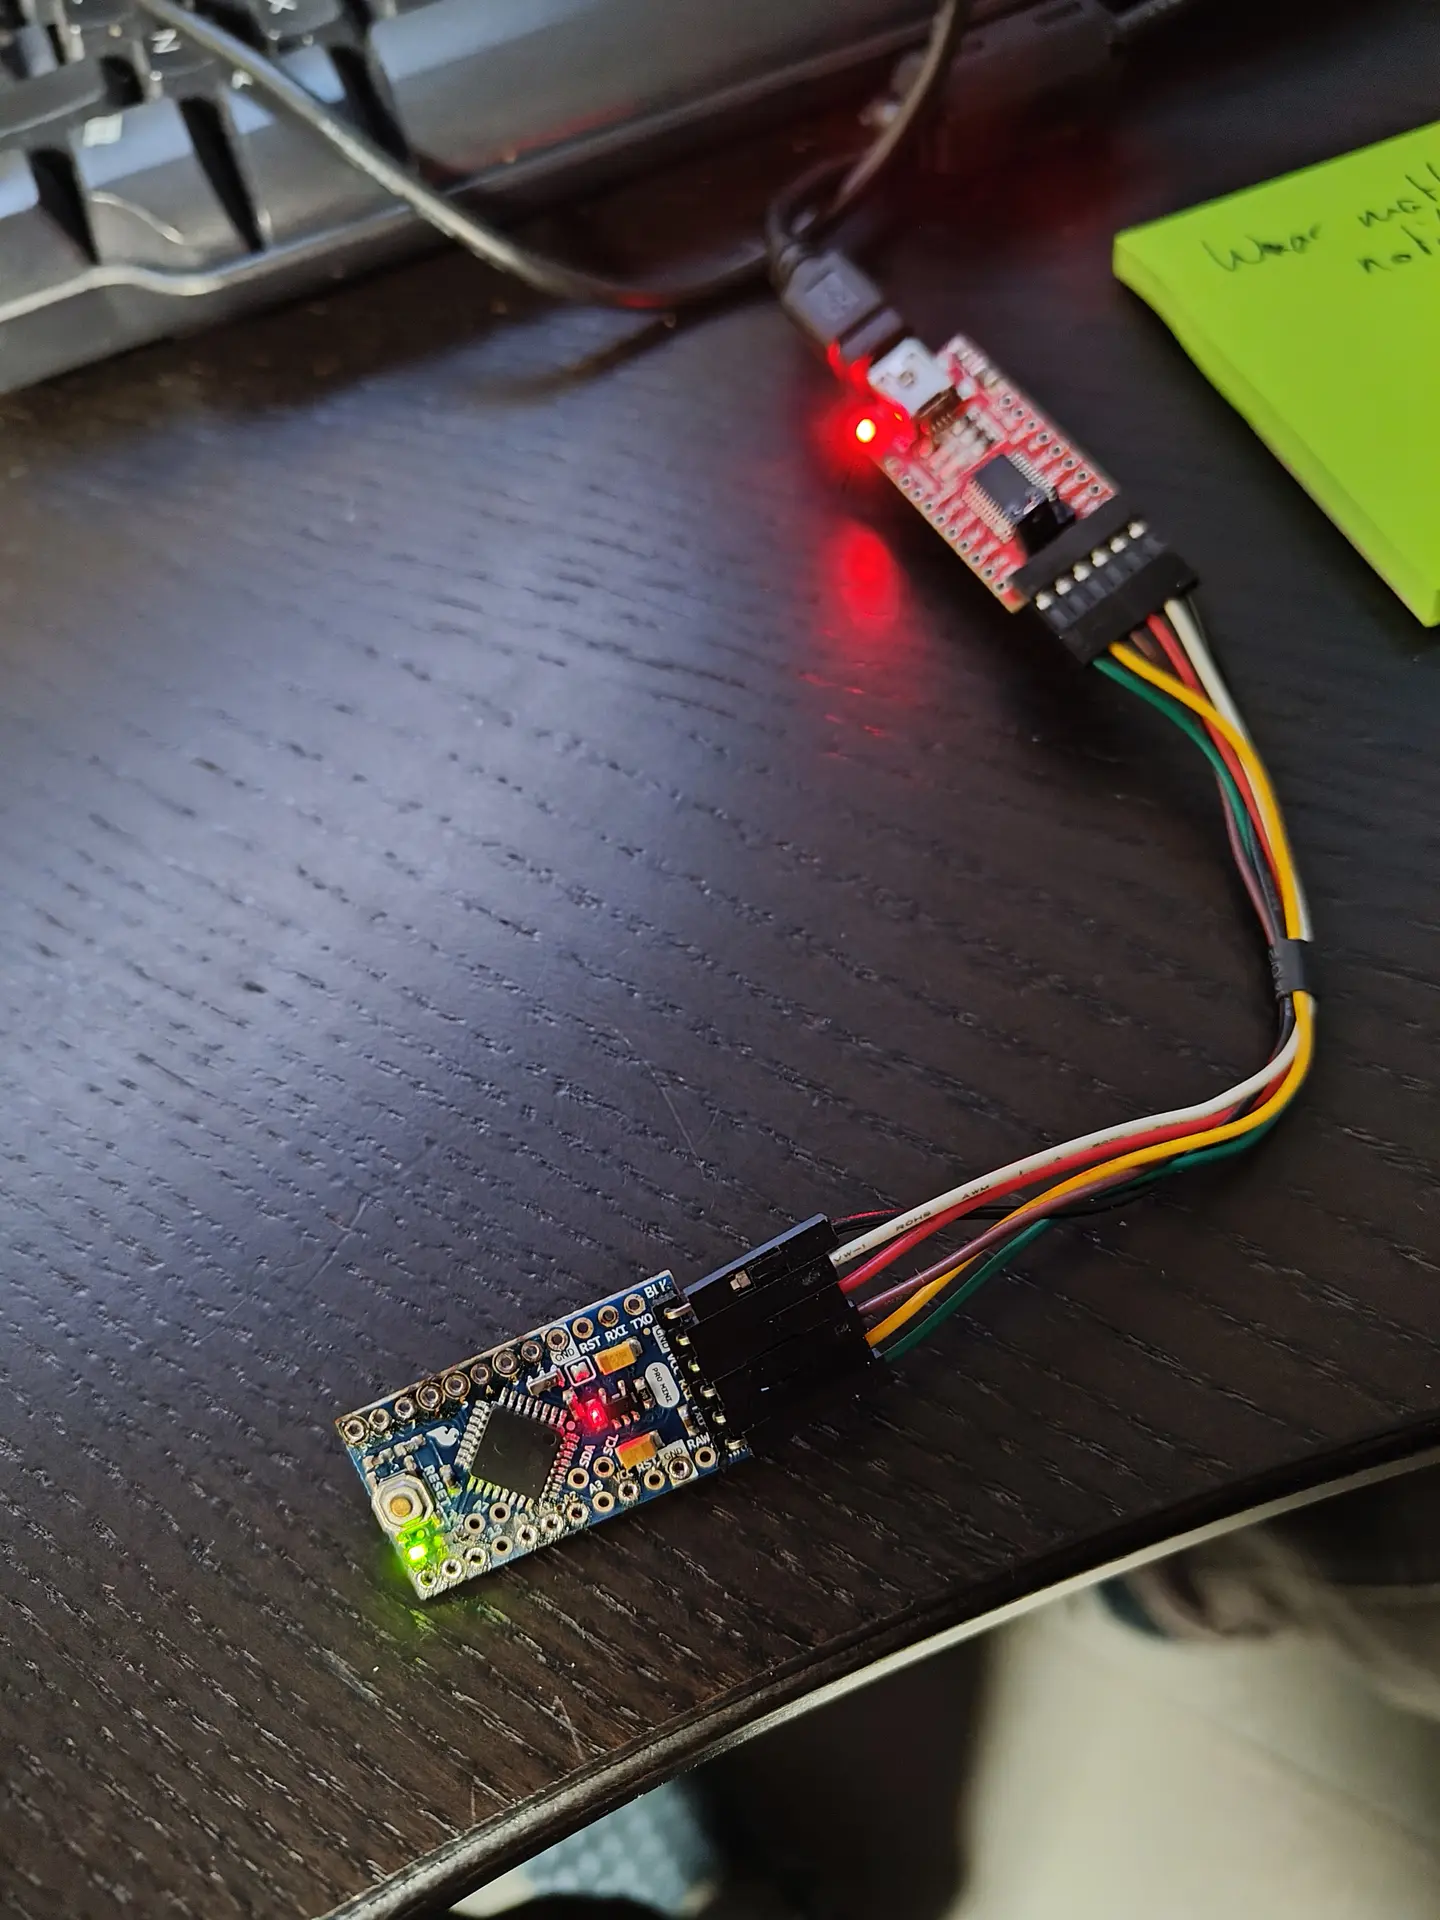
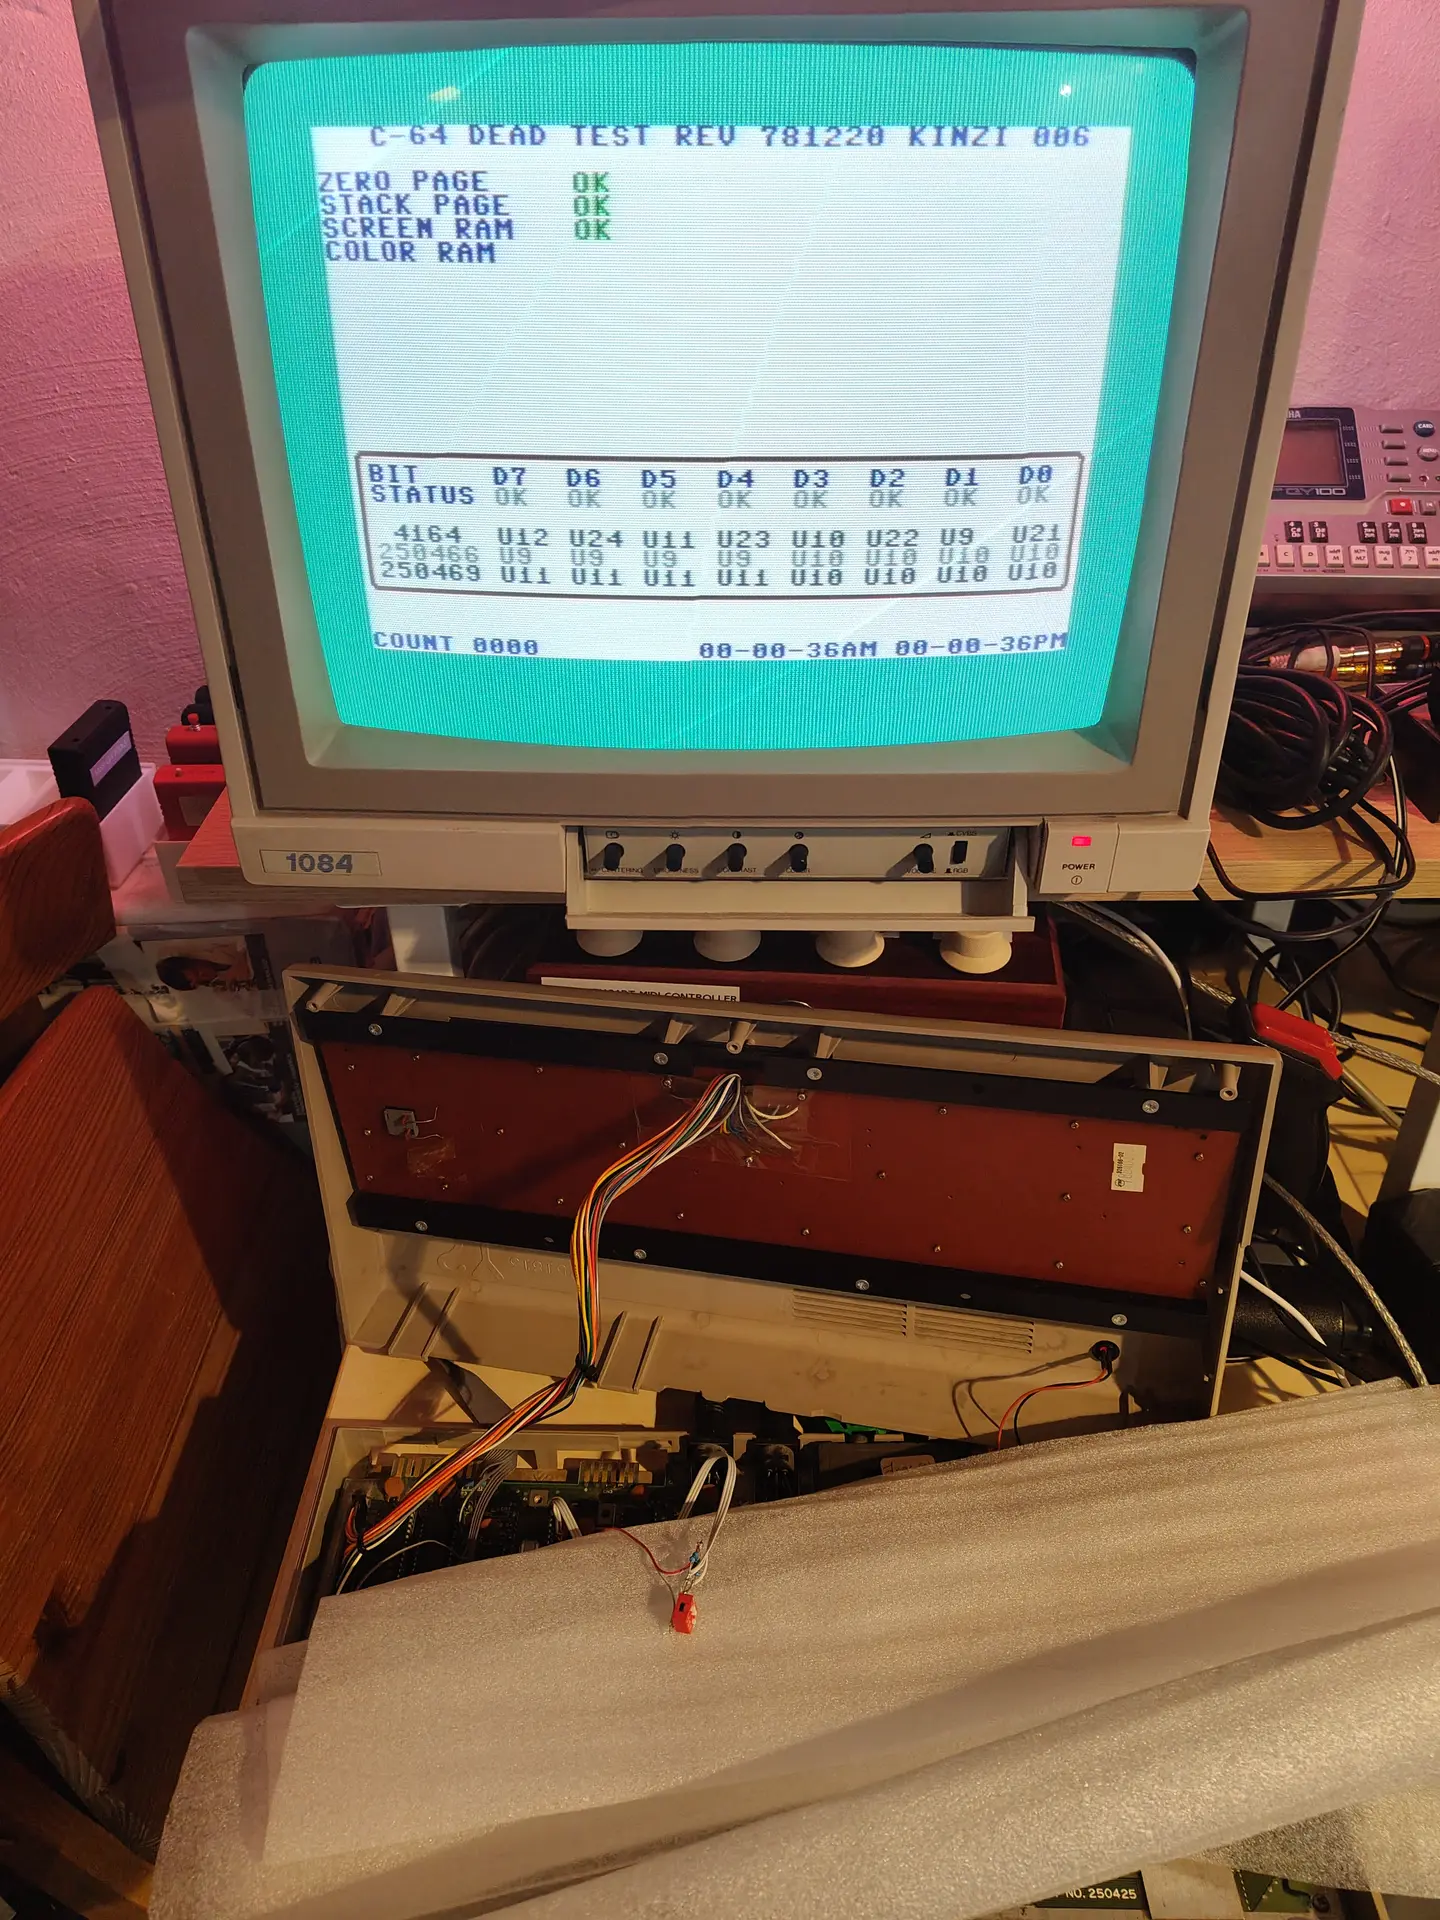
I made a rom switcher in the past. Now I’m using an Arduino to switch Kernal and Character rom. (Partly idea from Adrian)
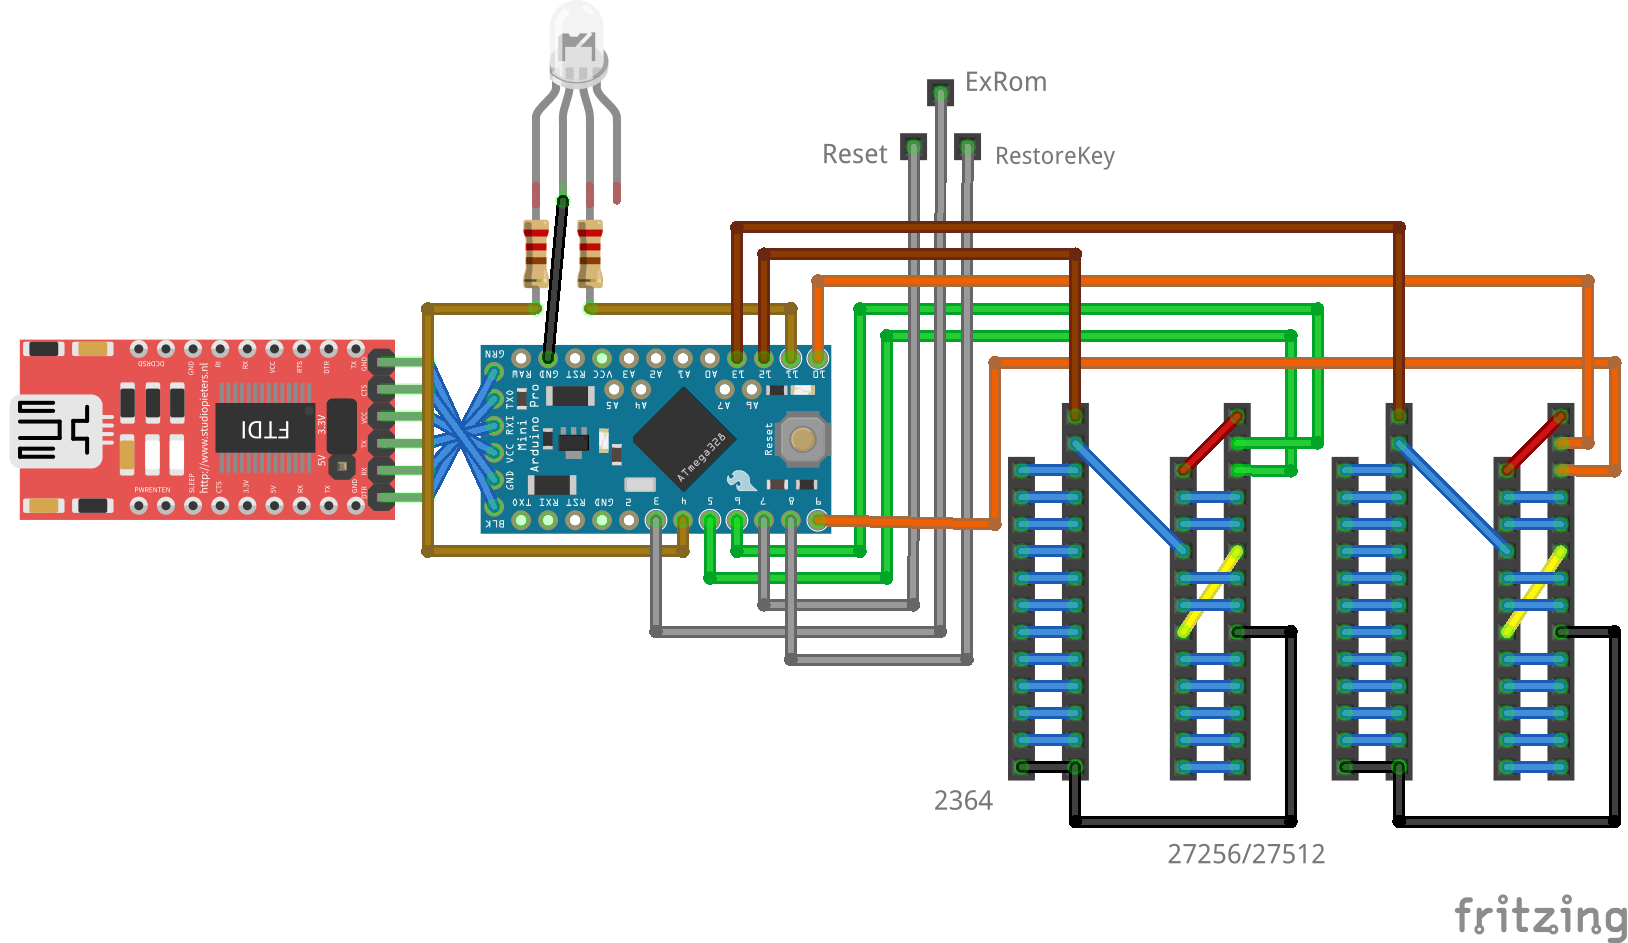
Where the F* is my schematic. Ah here it is.
Above right picture:
Tactile button (emulates restore key)
Red led – reset
Yellow led – Exrom
Blue leds, Address lines select ROM part in 27512 EPROM
Green leds, Address lines select ROM part Character ROM
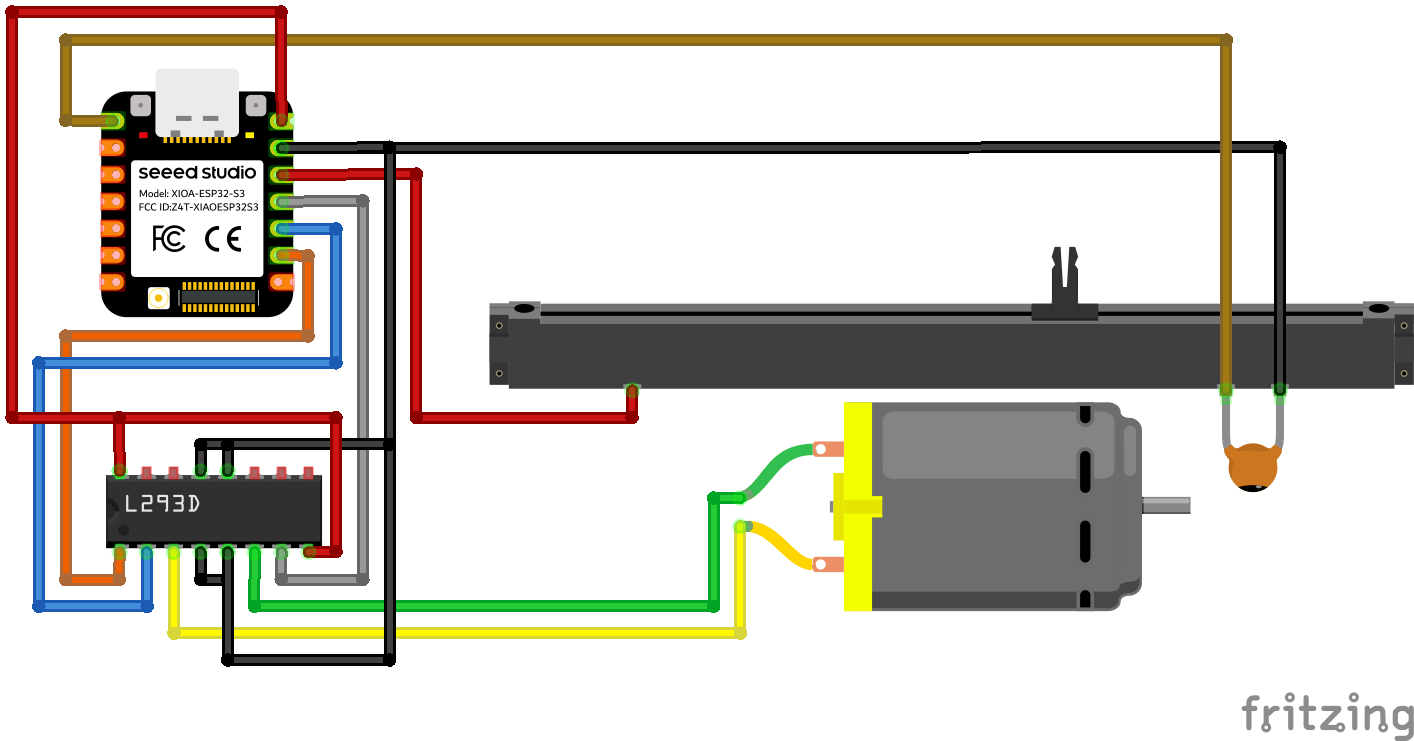
Motorized Fader Potentiometer
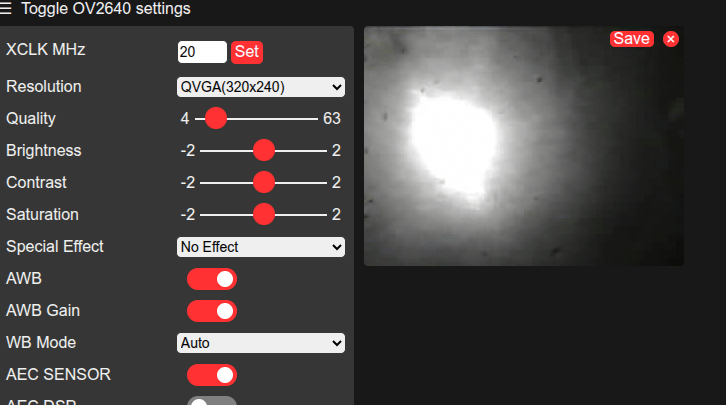
I don’t trust some B&B’s so I made a camera detector. (I always scan the wifi and Access Points) This one lets you know if there are IR enabled camera’s. (Night vision)
Picture 1:
1 = org camera module, IR filter is hard to remove. (See pink color)
2 = other module, IR filter is at bottom
3 = IR Filter, I removed this.
Picture 2:
IR light blast from a “hidden” camera. (I need to adjust focus of lens)
While I made this for my Commodore C64, it is applicable for many things.
It started with some cheap displays from Ali, and some leftover Wemos D1 from my Pressure Lab project.
I Started measuring the audio output from sound devices and from my C64. I soon discovered that I needed some way to get the offset and amplification correct for the analogue input of a Wemos. (0-3v3)
So a little op-amp circuit was born, but not without some struggles. I forgot many things about amplifiers. It was one of the first school books I got rid of. (Sorry mister Rafaela)
After searching the internet and posting a question on Reddit I ended up with the following.
R1 and R2 are 100M. The potentiometer P1 allows me to set the offset. R3 is 1M C1 is 100nF to decouple the audio signal from the RCA.
R4 is 47K and C2 is 330nF (thanks tycho205) Cimportant=1/(2πfR2) where f is the lowest frequency of interest. In this case Cimportant should be about 330nF
LM324 is a quad amplifier, leftover from another project. Note, the SINGLE RAIL power.
P2 potentiometer is 2M (leftover) and gives me a variable amplifying opportunity.
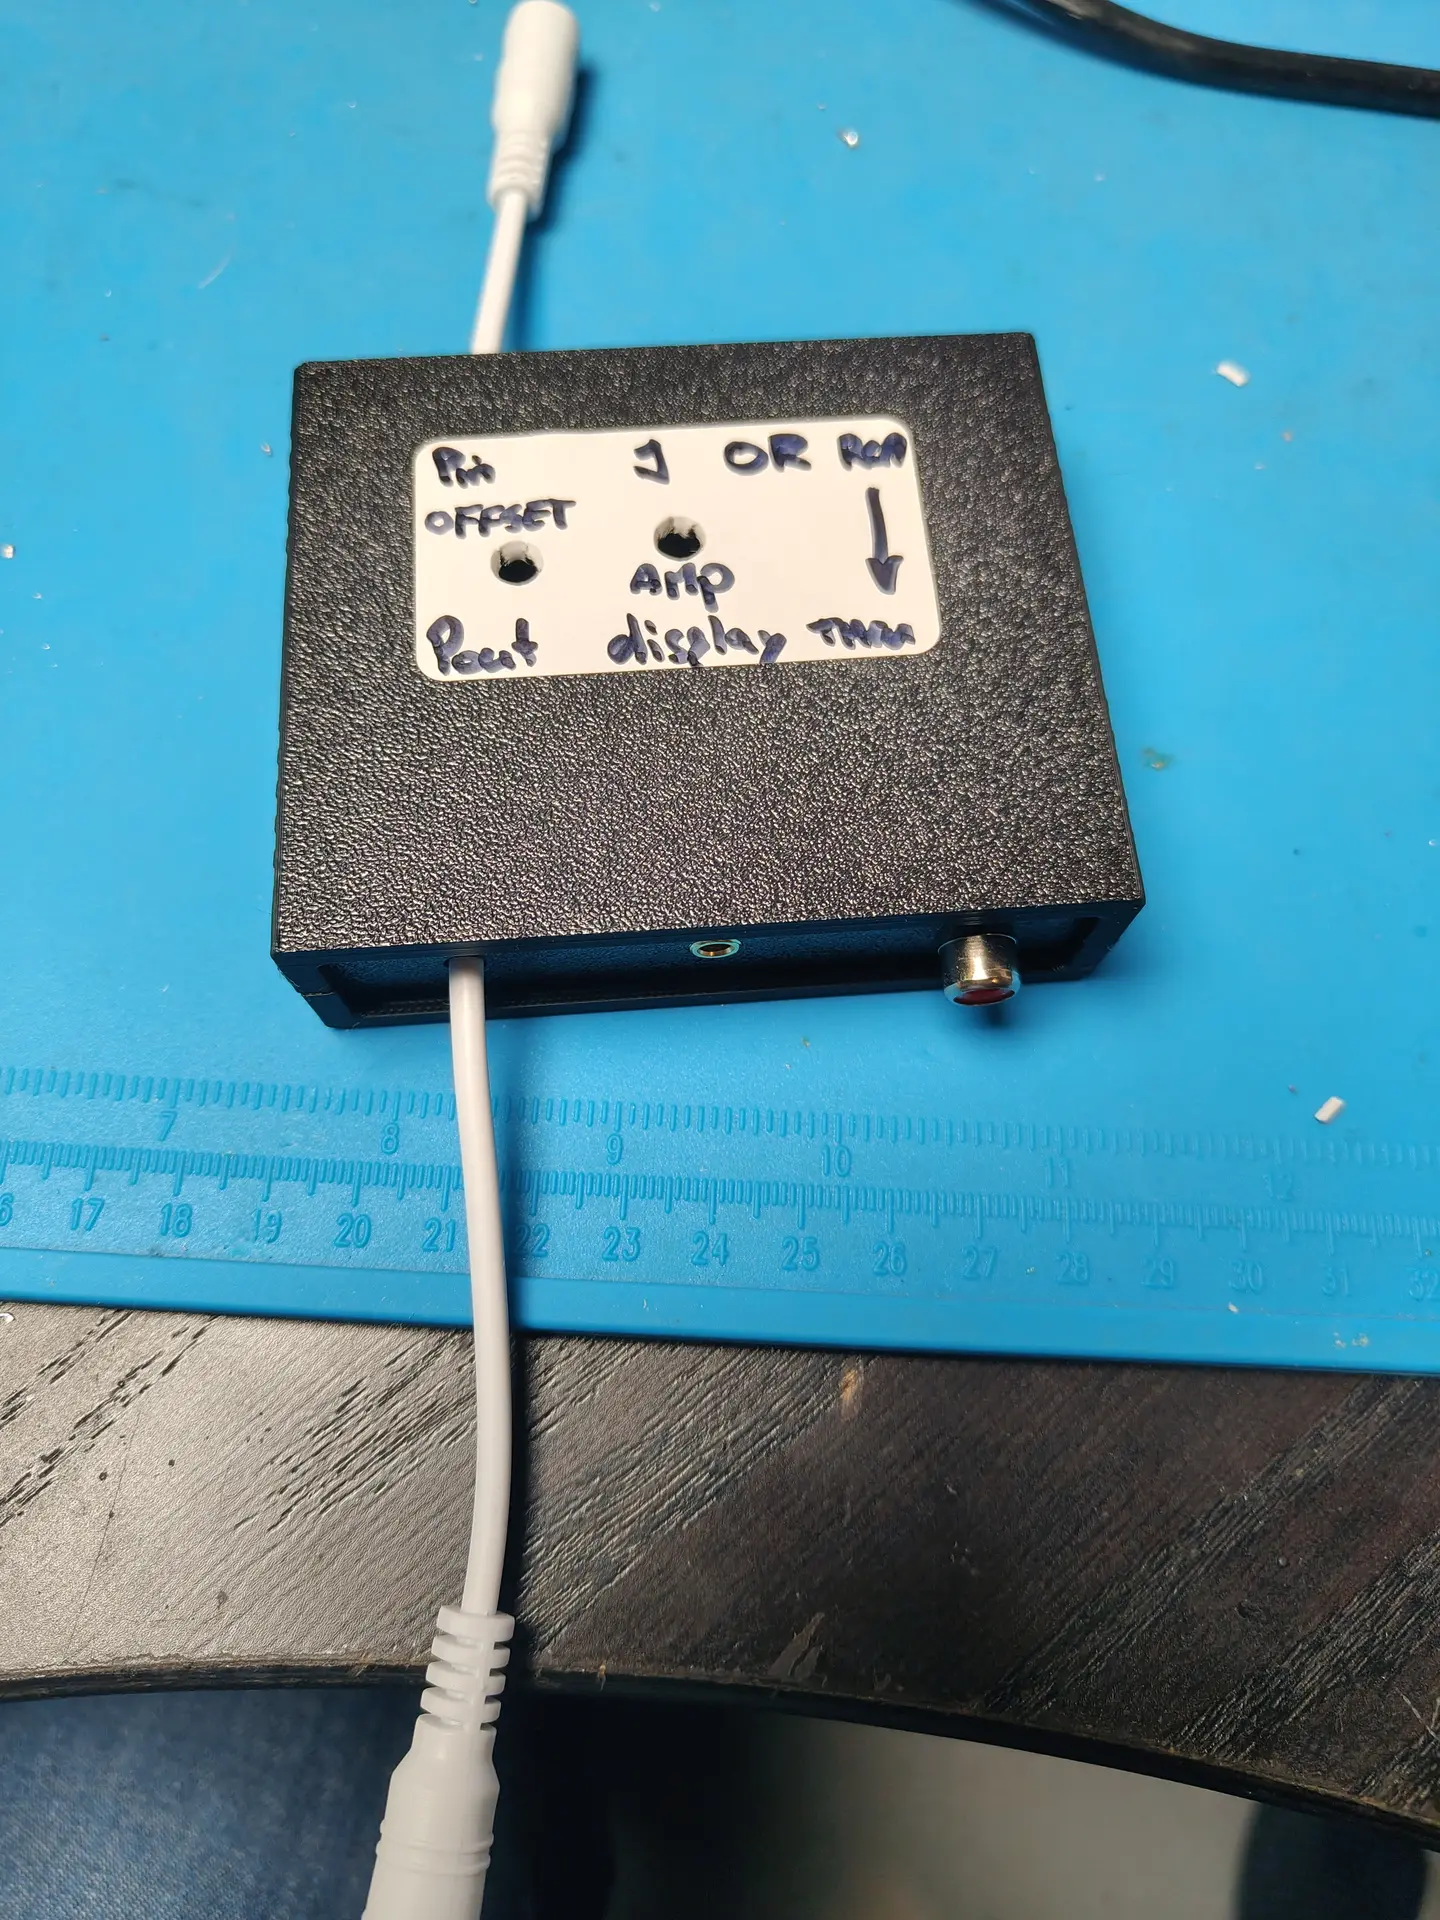
A = Audio input
B = Setting the offset with P1
C = Setting the amplification
Below input signal (note negative values) above amplified signal with offset!
The displays are 3 Wemos controllers with a cheap I2C display. These are just fast enough to do FFT.
Analogue in is the output from the OP-amp offsetter ..
CODE
Needs cleaning up, and a better stabilize routine.
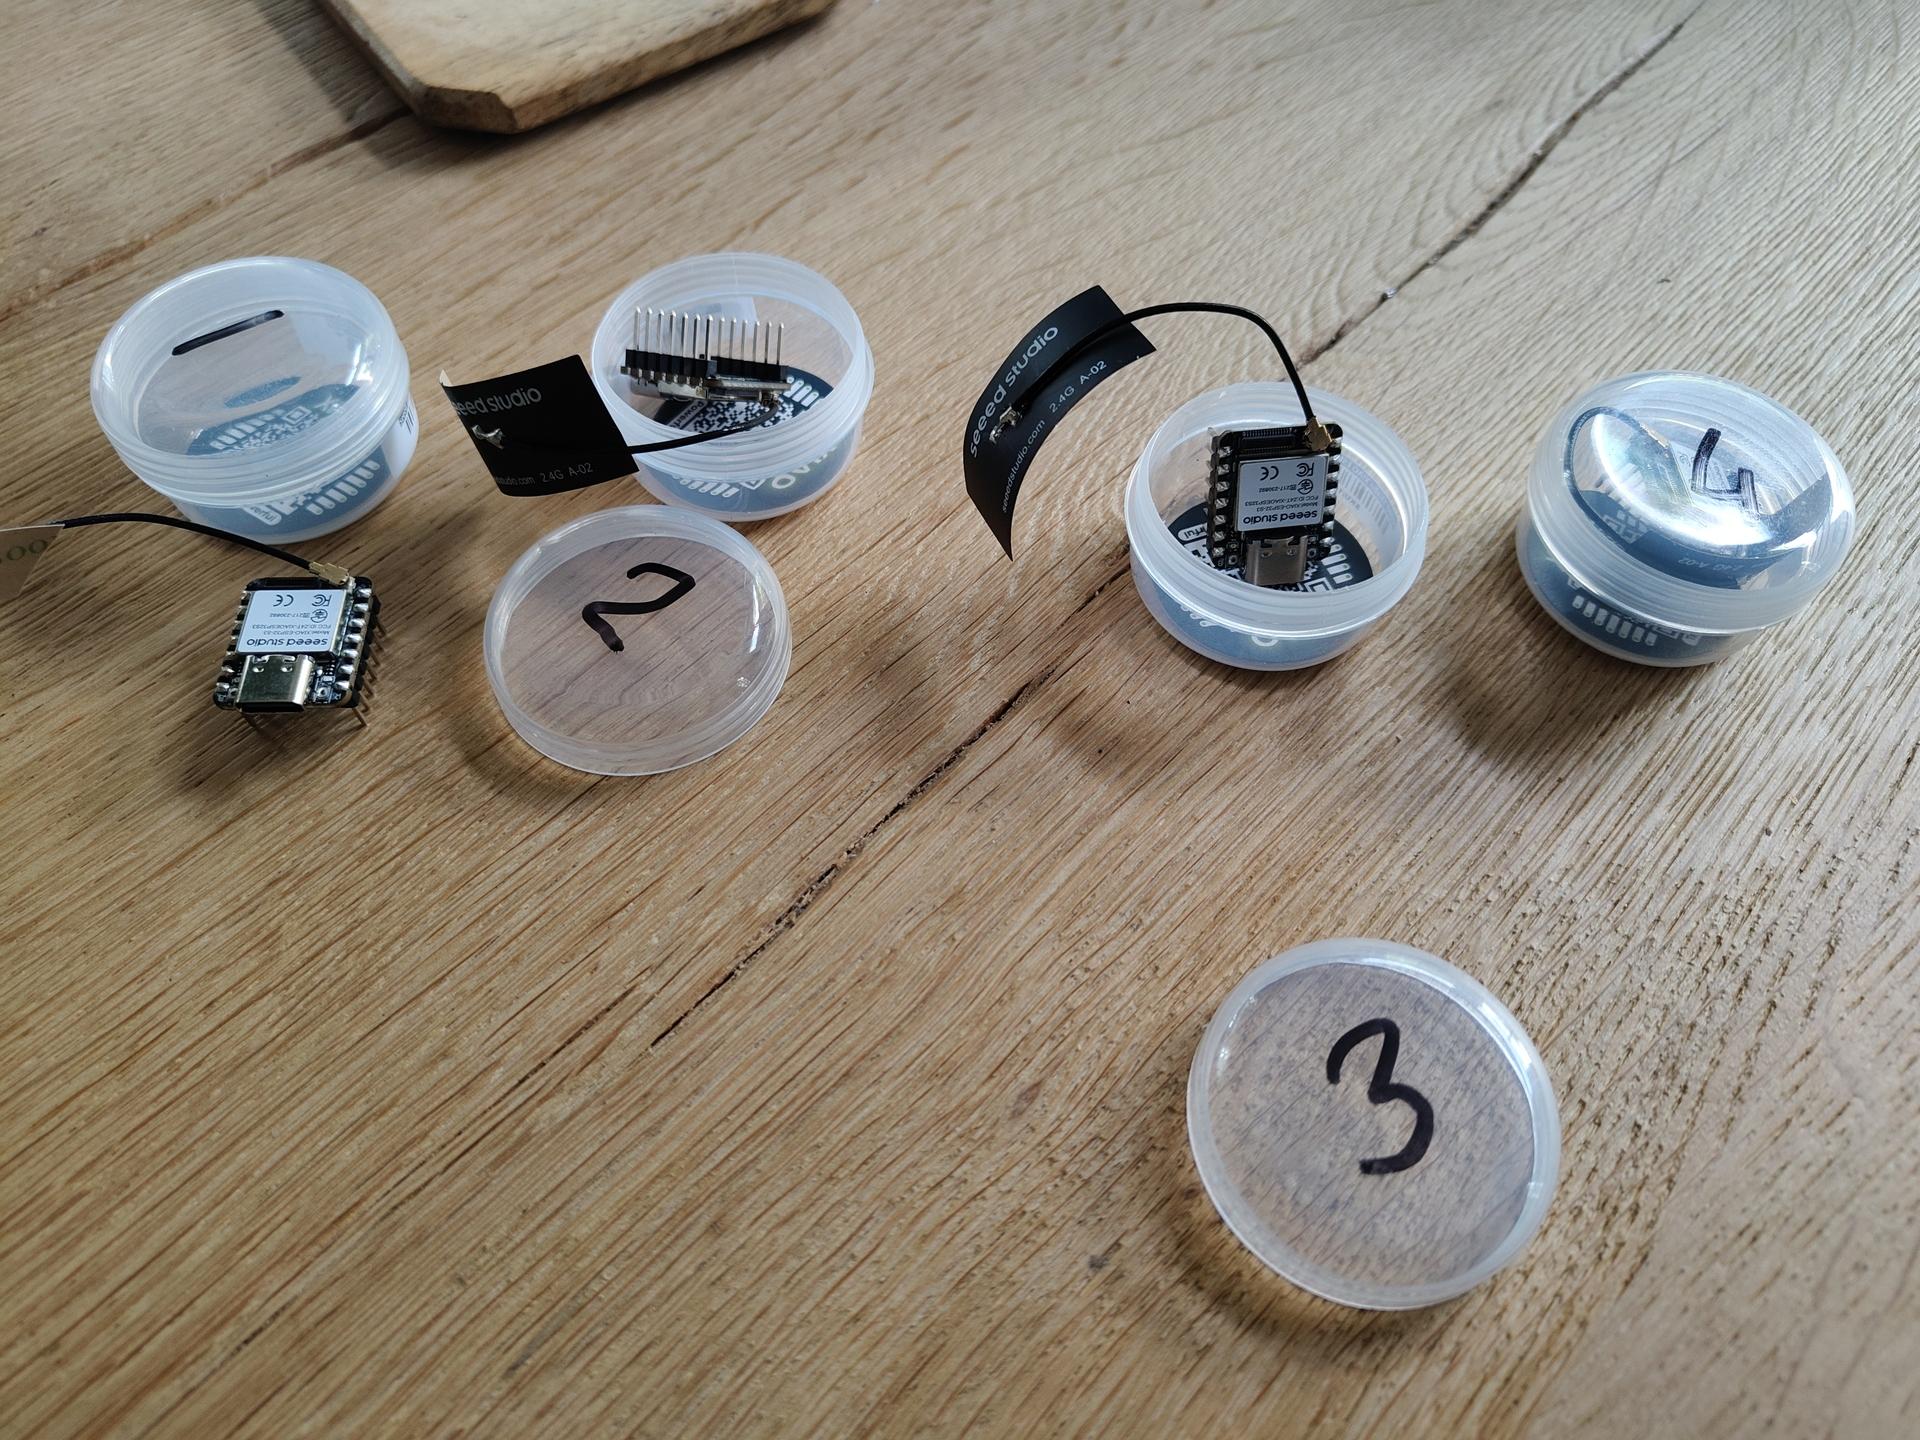
I bought 4x Xiao-S3 mini controllers. I want to place these all over my house to scan for Bluetooth and Wifi Clients. So I can do a location search for Mobile Phones, Keys and more.
Also the Bluetooth tags I used for the Scanner Game can be used!
I want to post a location to Home Assistant, But I also played with 3D view.
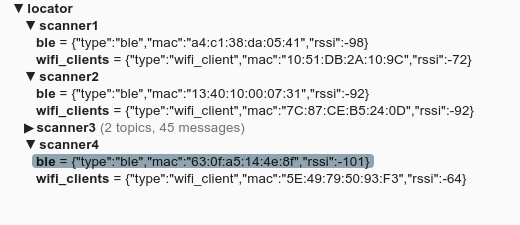
Using MQTT I can subscribe to the topic locator/scanner1/ble or locator/scanner1/wifi_clients
Problems I ran into.
Too many duplicates, fixed. Can not scan Wifi when connected, so I connect every 30s. Could not find all wifi clients, needed to scan all channels!
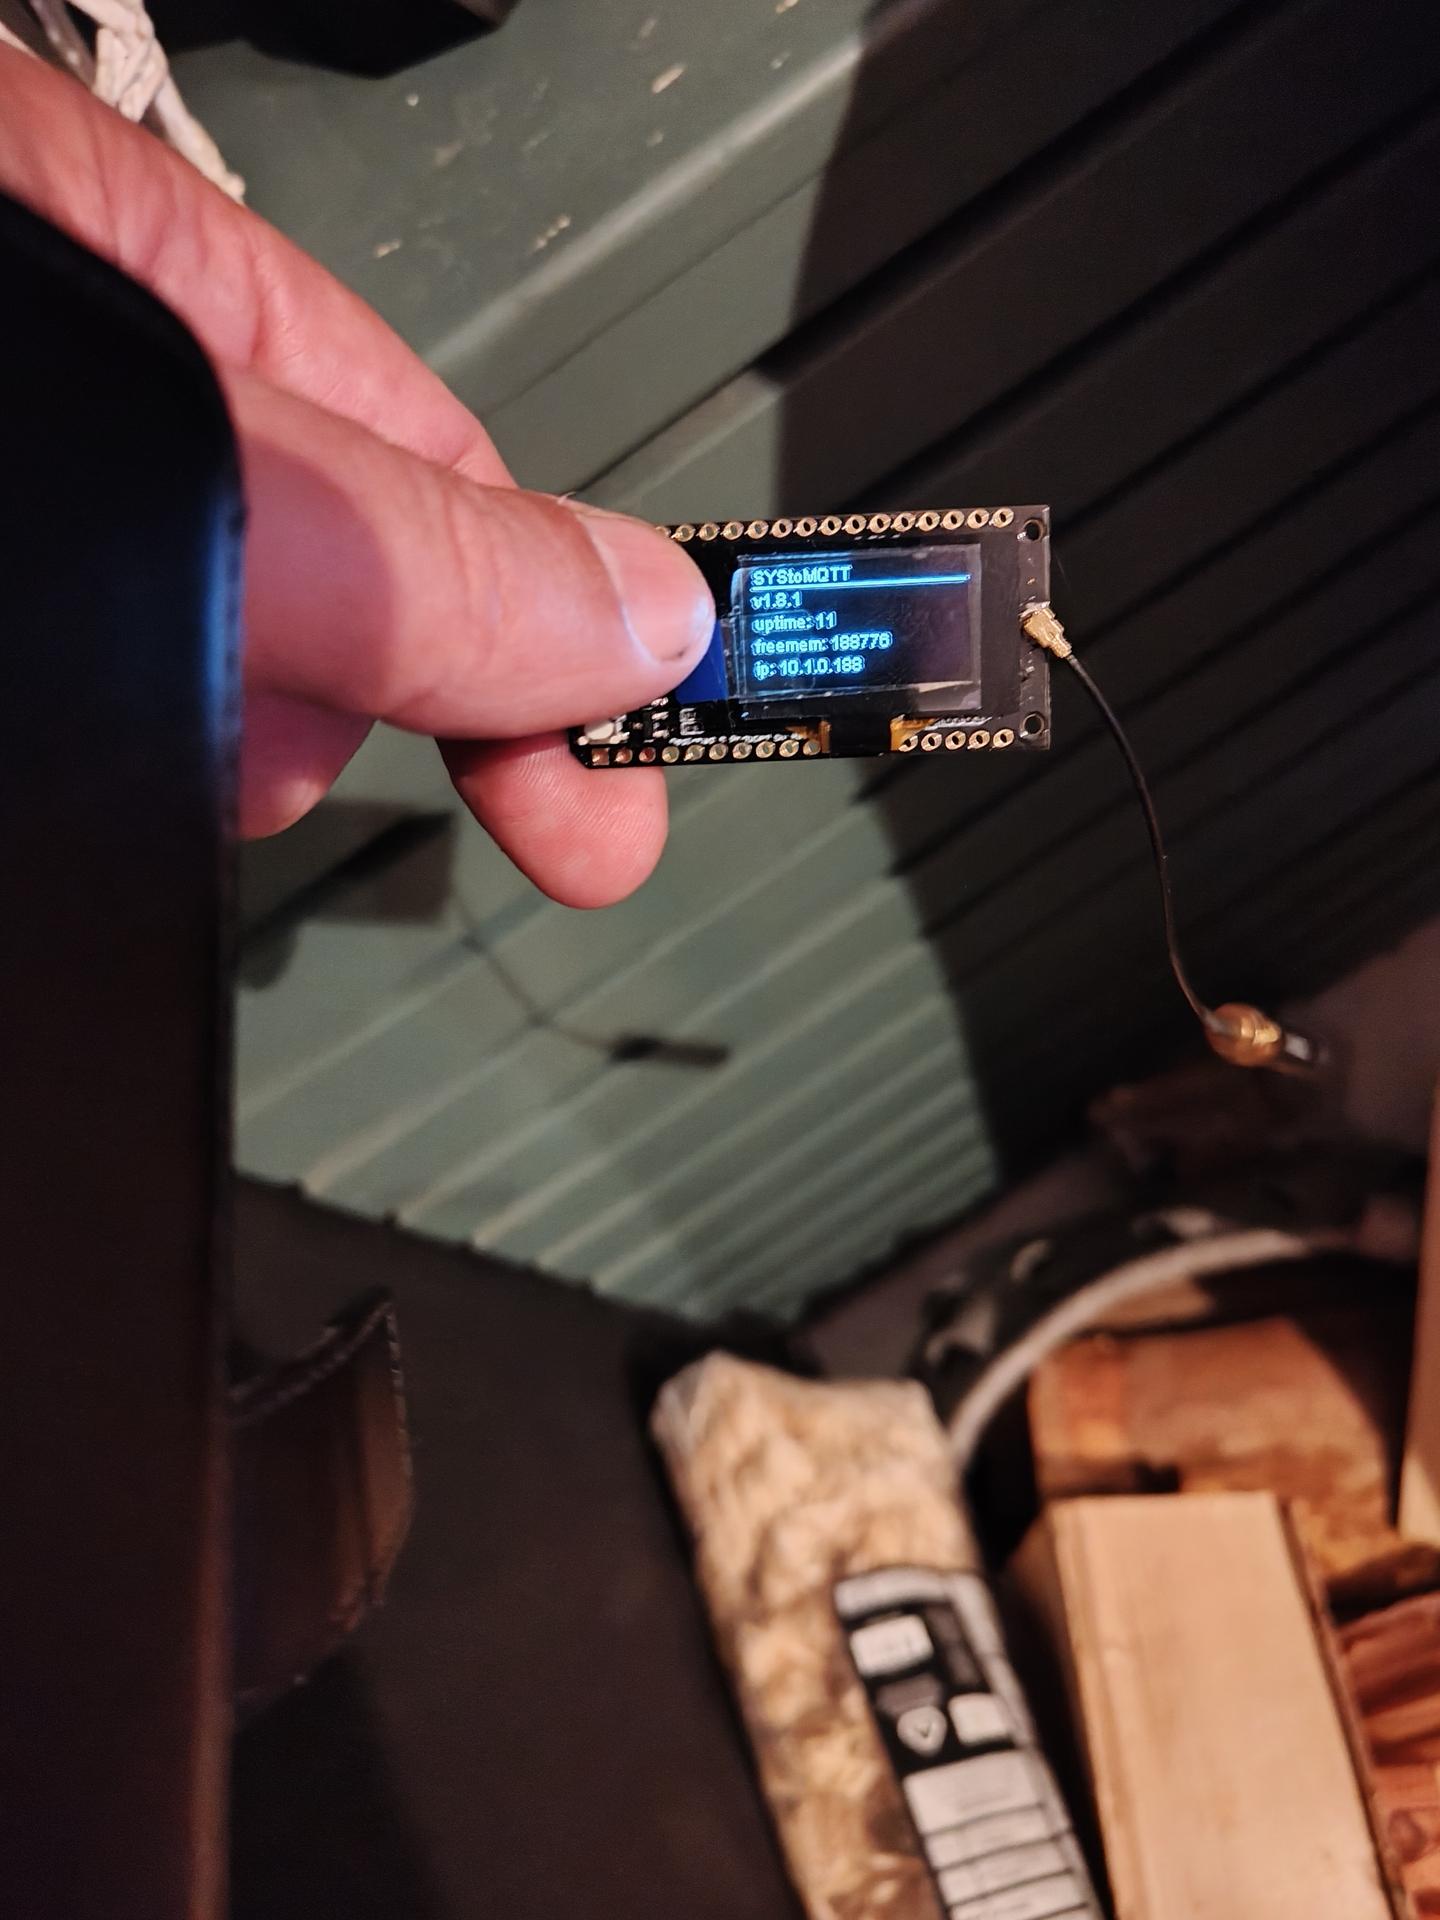
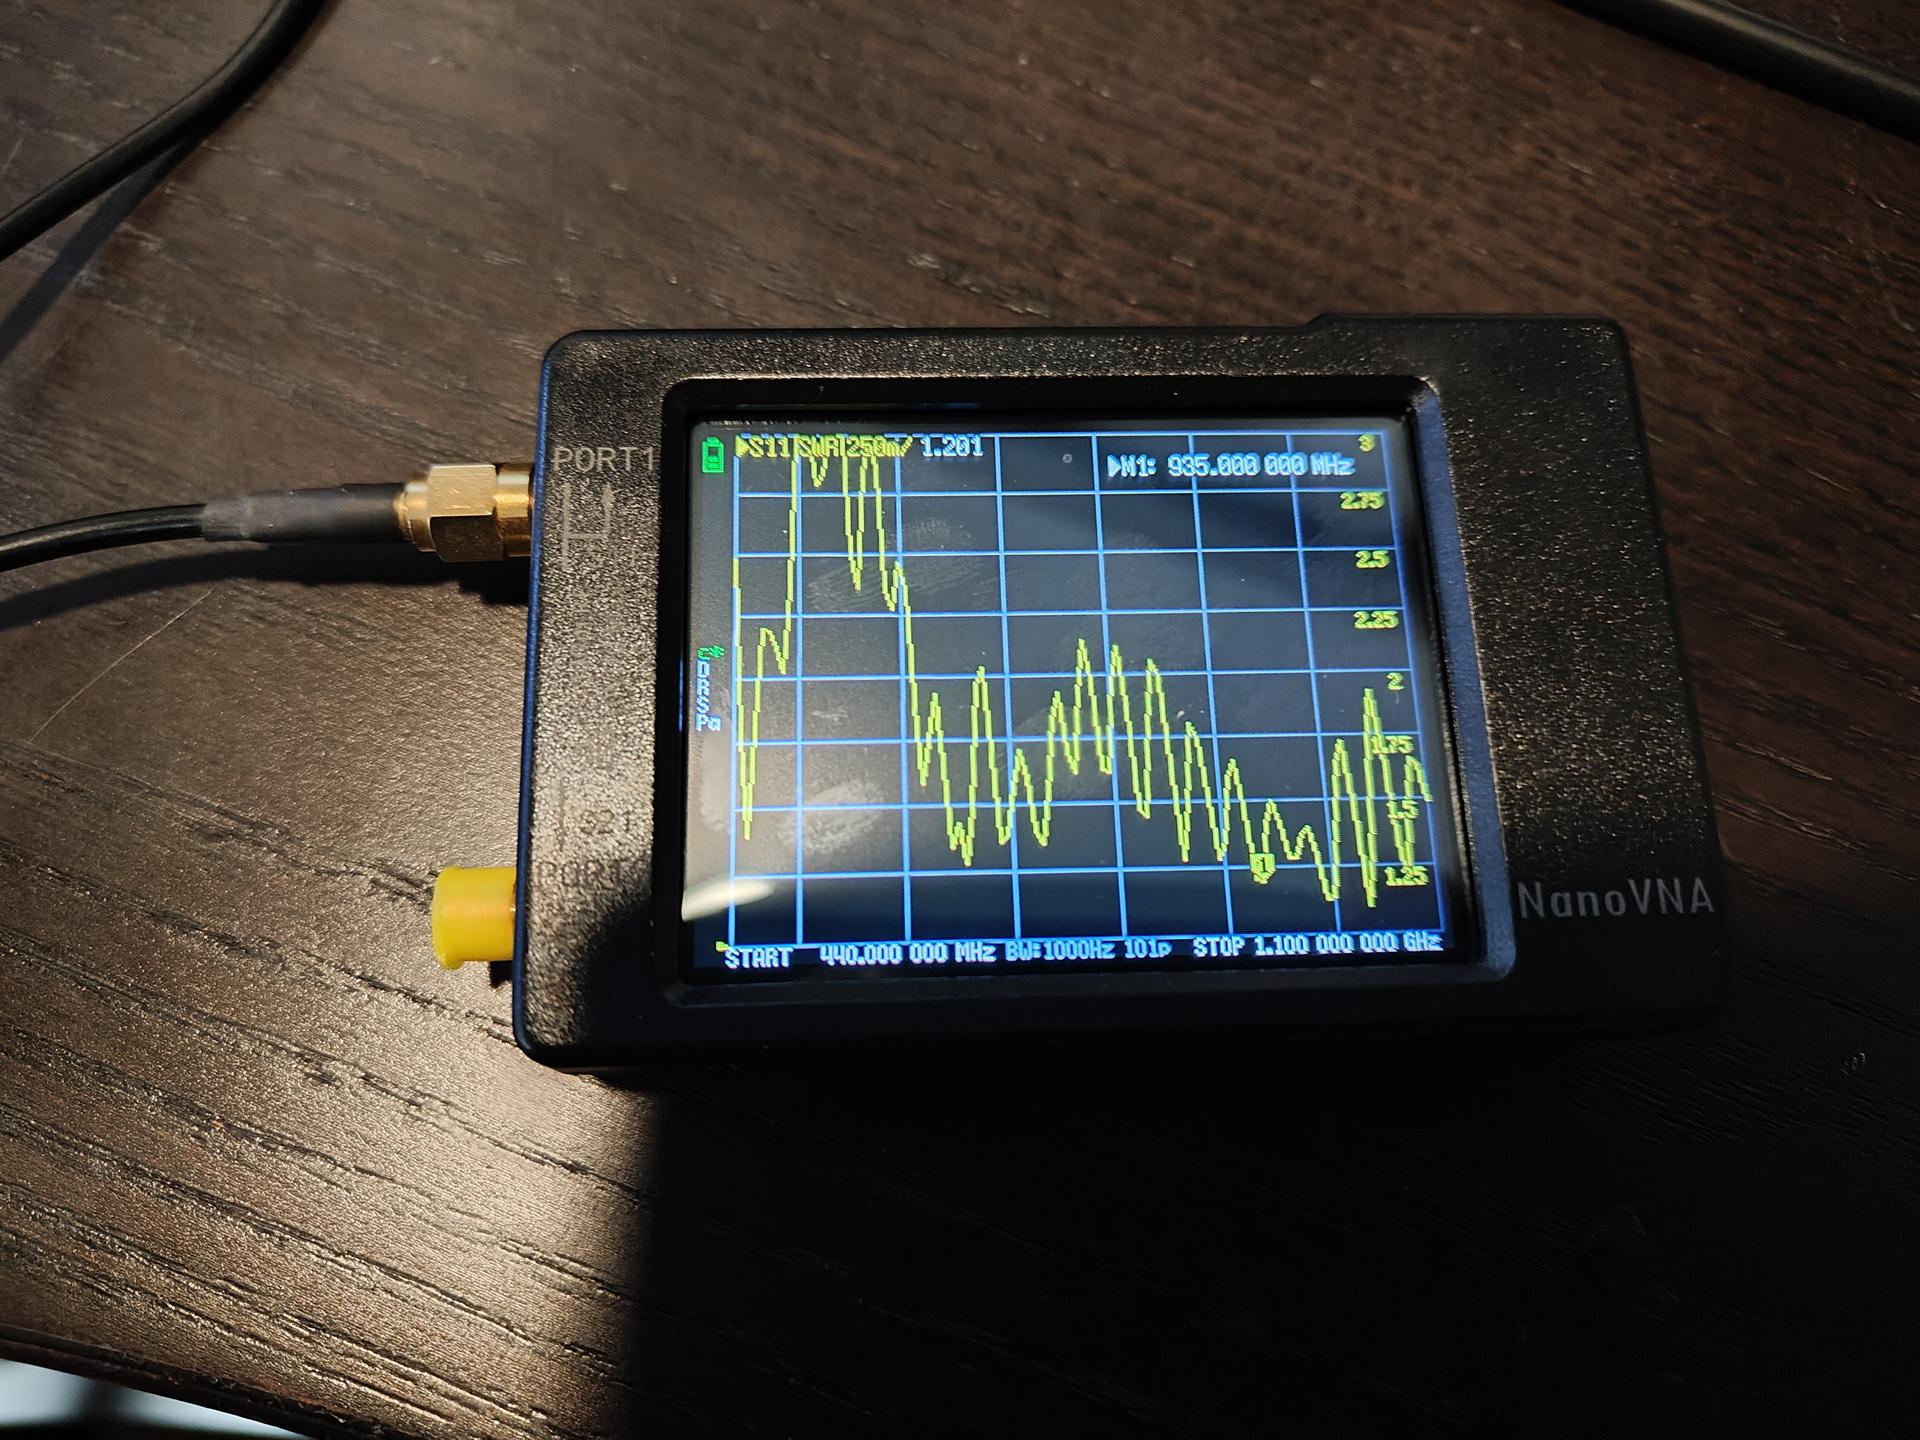
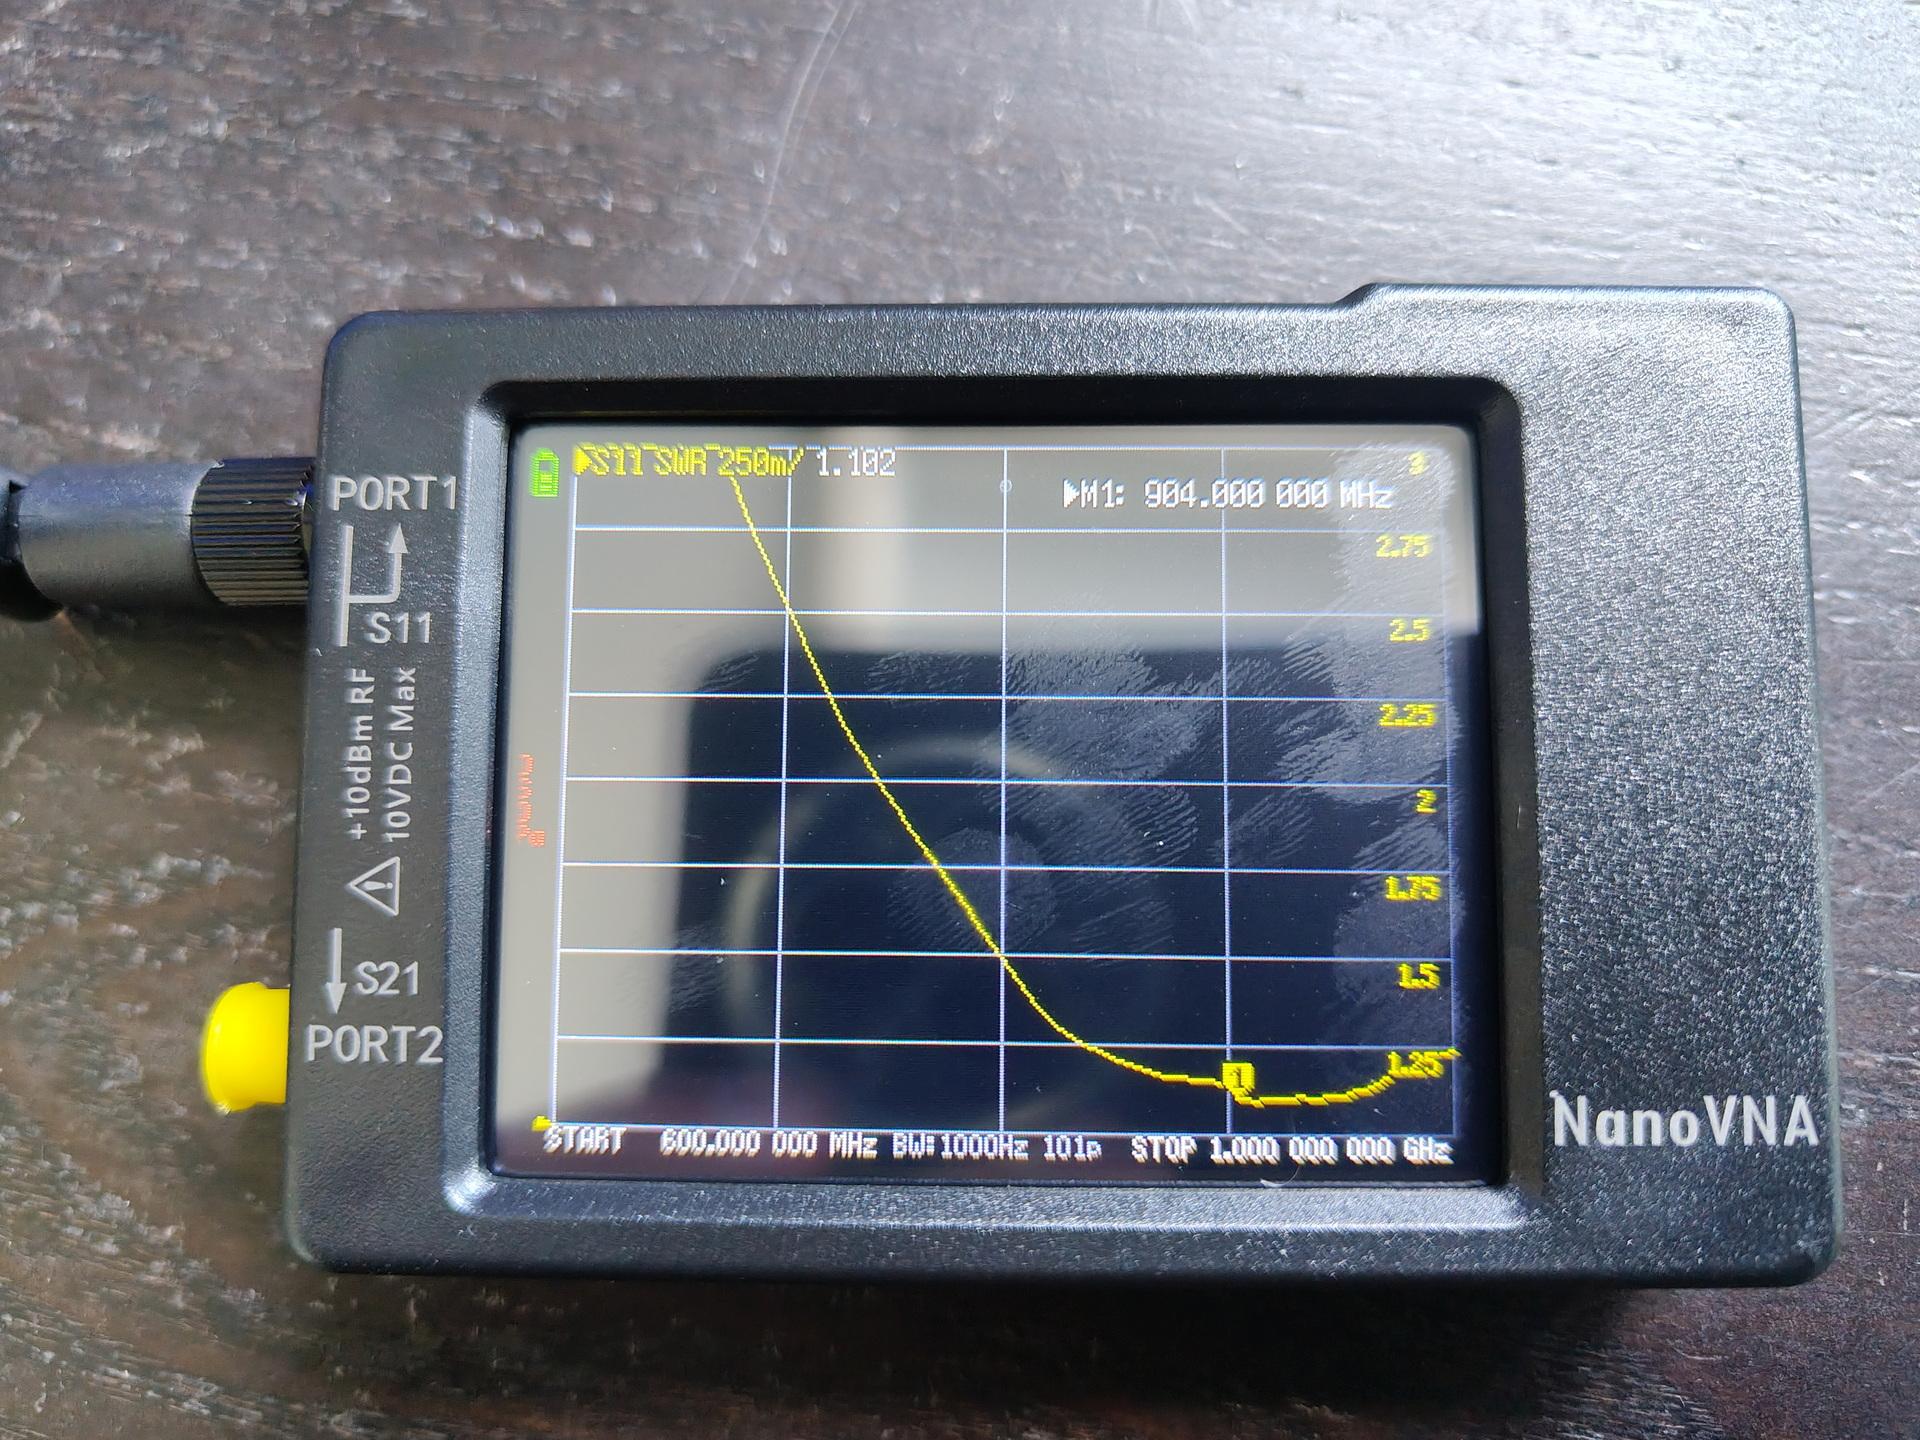
Not happy with the performance, I bought a Nano-VNA. (Vector network analyser)
Looks like 915 Mhz antenna
Due to the many options, I was lost at first. Maybe I have to ask Bigred. Calibrating I get now, but I can’t easily calibrate an antenna with fixed cable.
Much to learn, but that’s what I want. 🙂
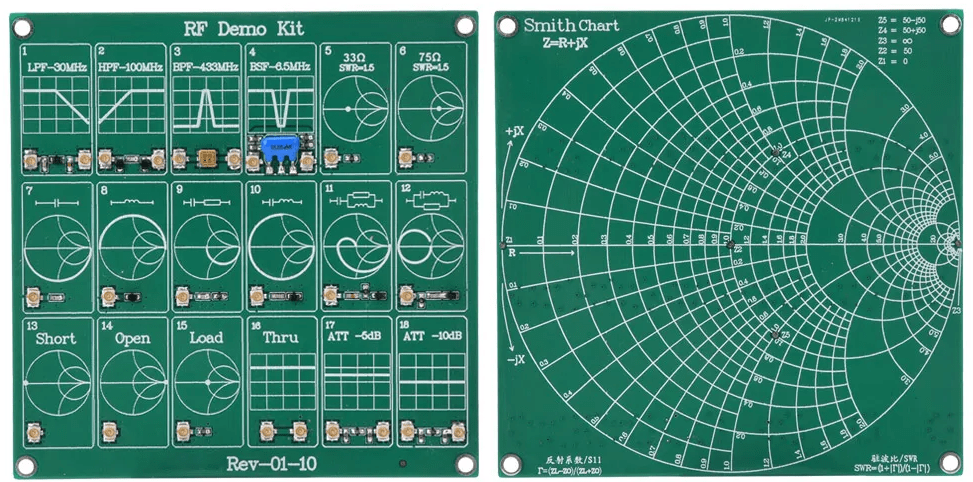
I bought a VNA/Antenna test board from Ali.
Feature:
RF Demo Kit RF test board demo calibration board for learning Vector Analyzer and Antenna Analyzer test calibration.
The board is fully integrated with 18 functional modules.
Equipped with 2 UFL patch cords for convenient use.
Each module is carefully selected for high quality and reliability.
The board is small and lightweight, easy to carry.
Specification:
Product type: RF Demo Kit
Filters:
A. Short low-pass filter (LPF): 30 MHz
B. FM high-pass filter (HPF): 100 MHz
C. Commonly used SAW band-pass filter (BPF): 433 MHz
D. Video ceramic notch (band-stop filter, BSF): 6.5 MHz
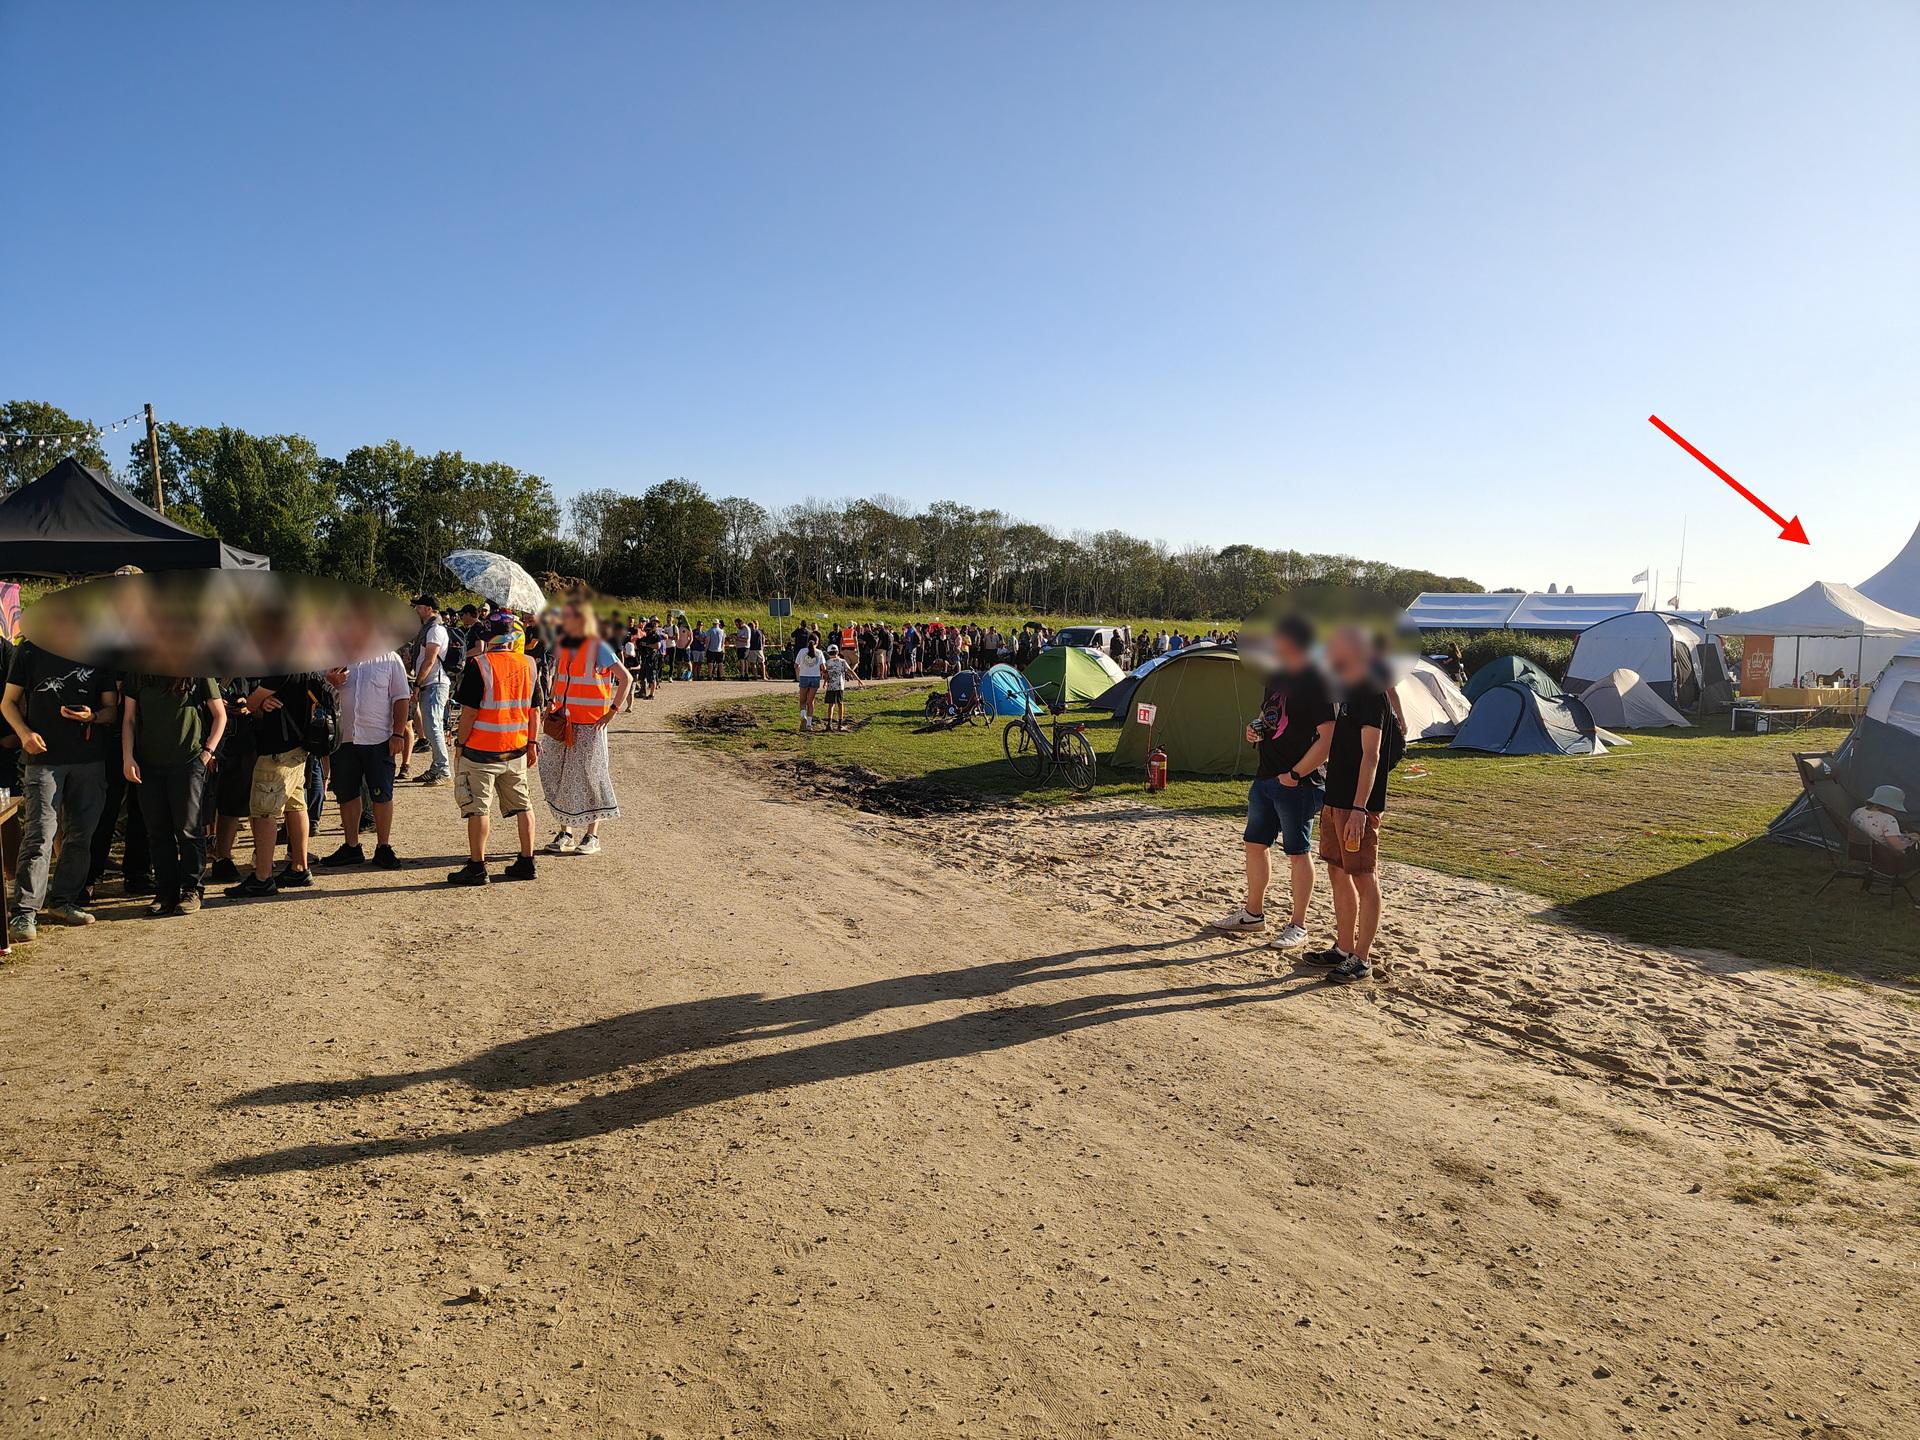
We went to WHY2025 a hackers camp in the Netherlands.
The first time I went was in 1997, with Bigred. Many followed after that. Tyrone, Bigred were also there from our old Crew. Coline joined me several times since 2005.
I joined the Badge team, and was making spacers for the Badges in bulk using my 3D printer. Also made some fancy cases.
CasesSpacers
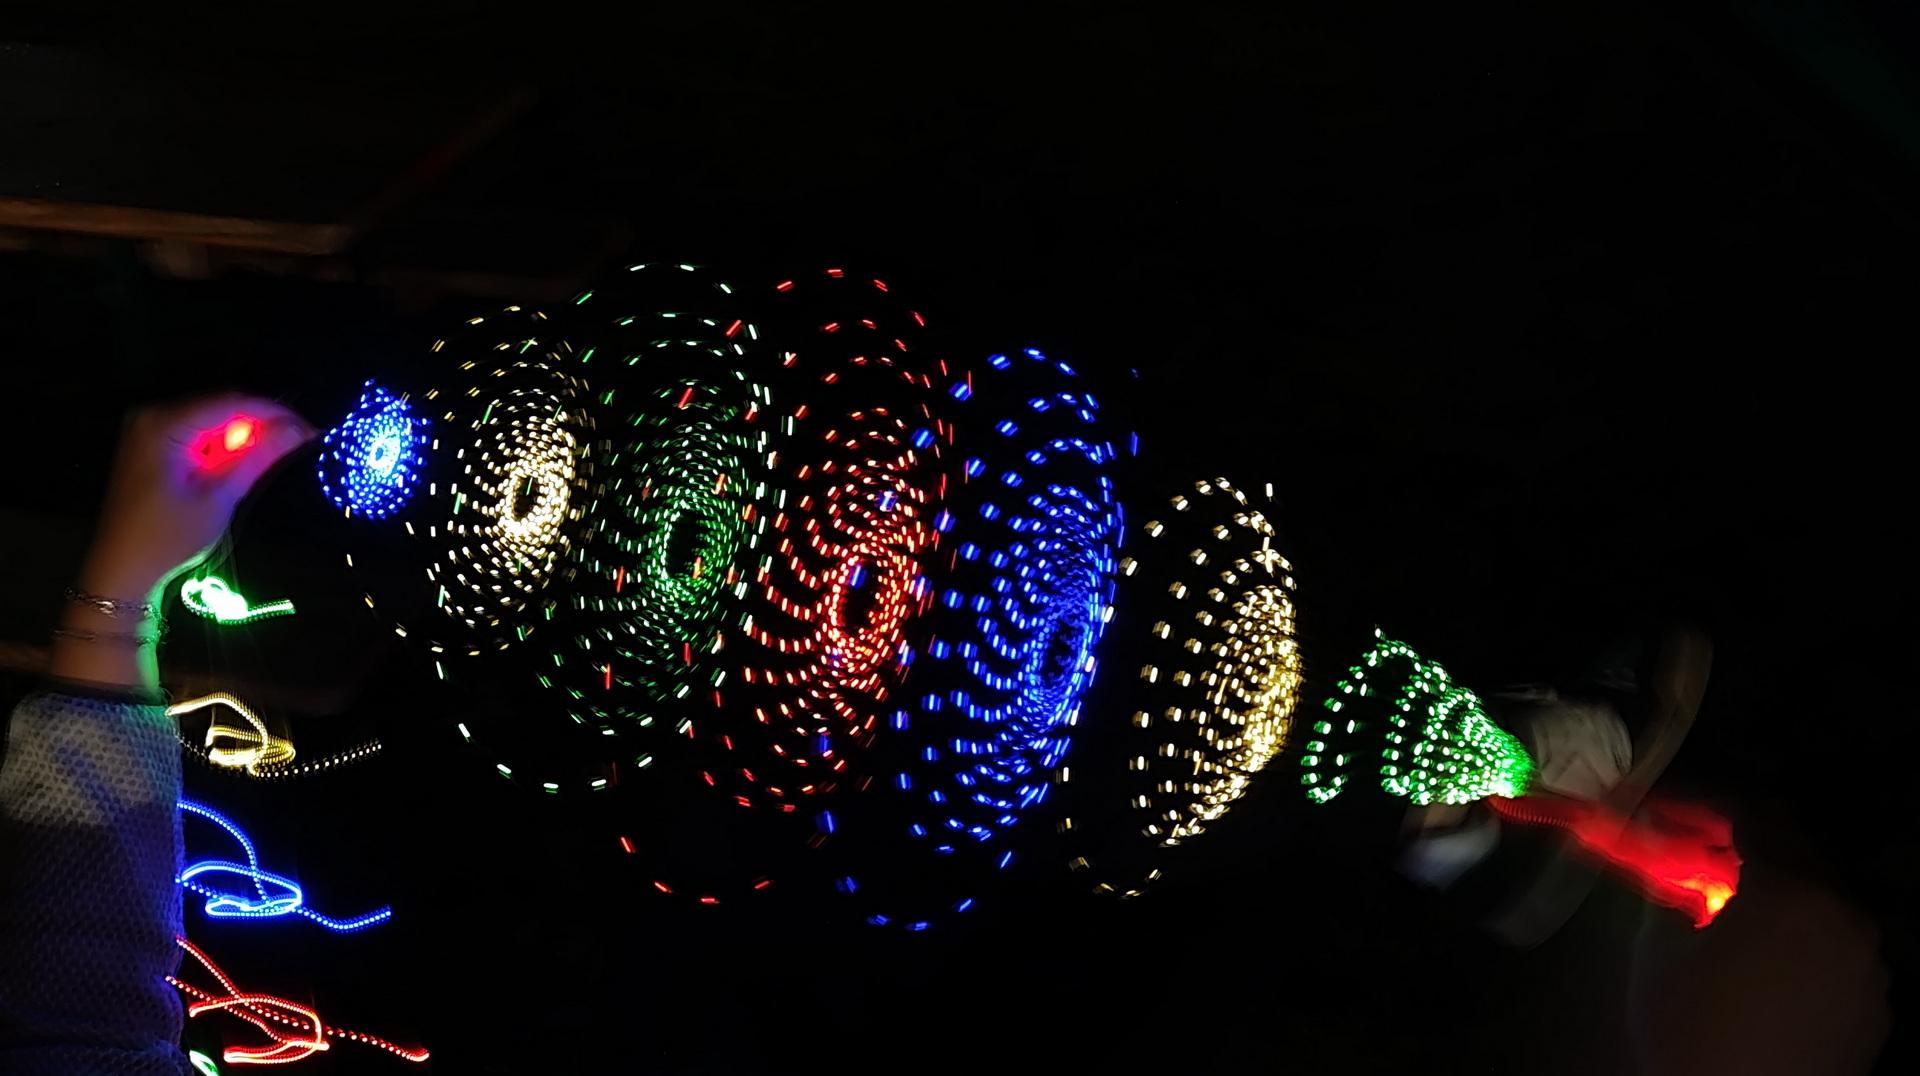
In case of doubt .. more leds!
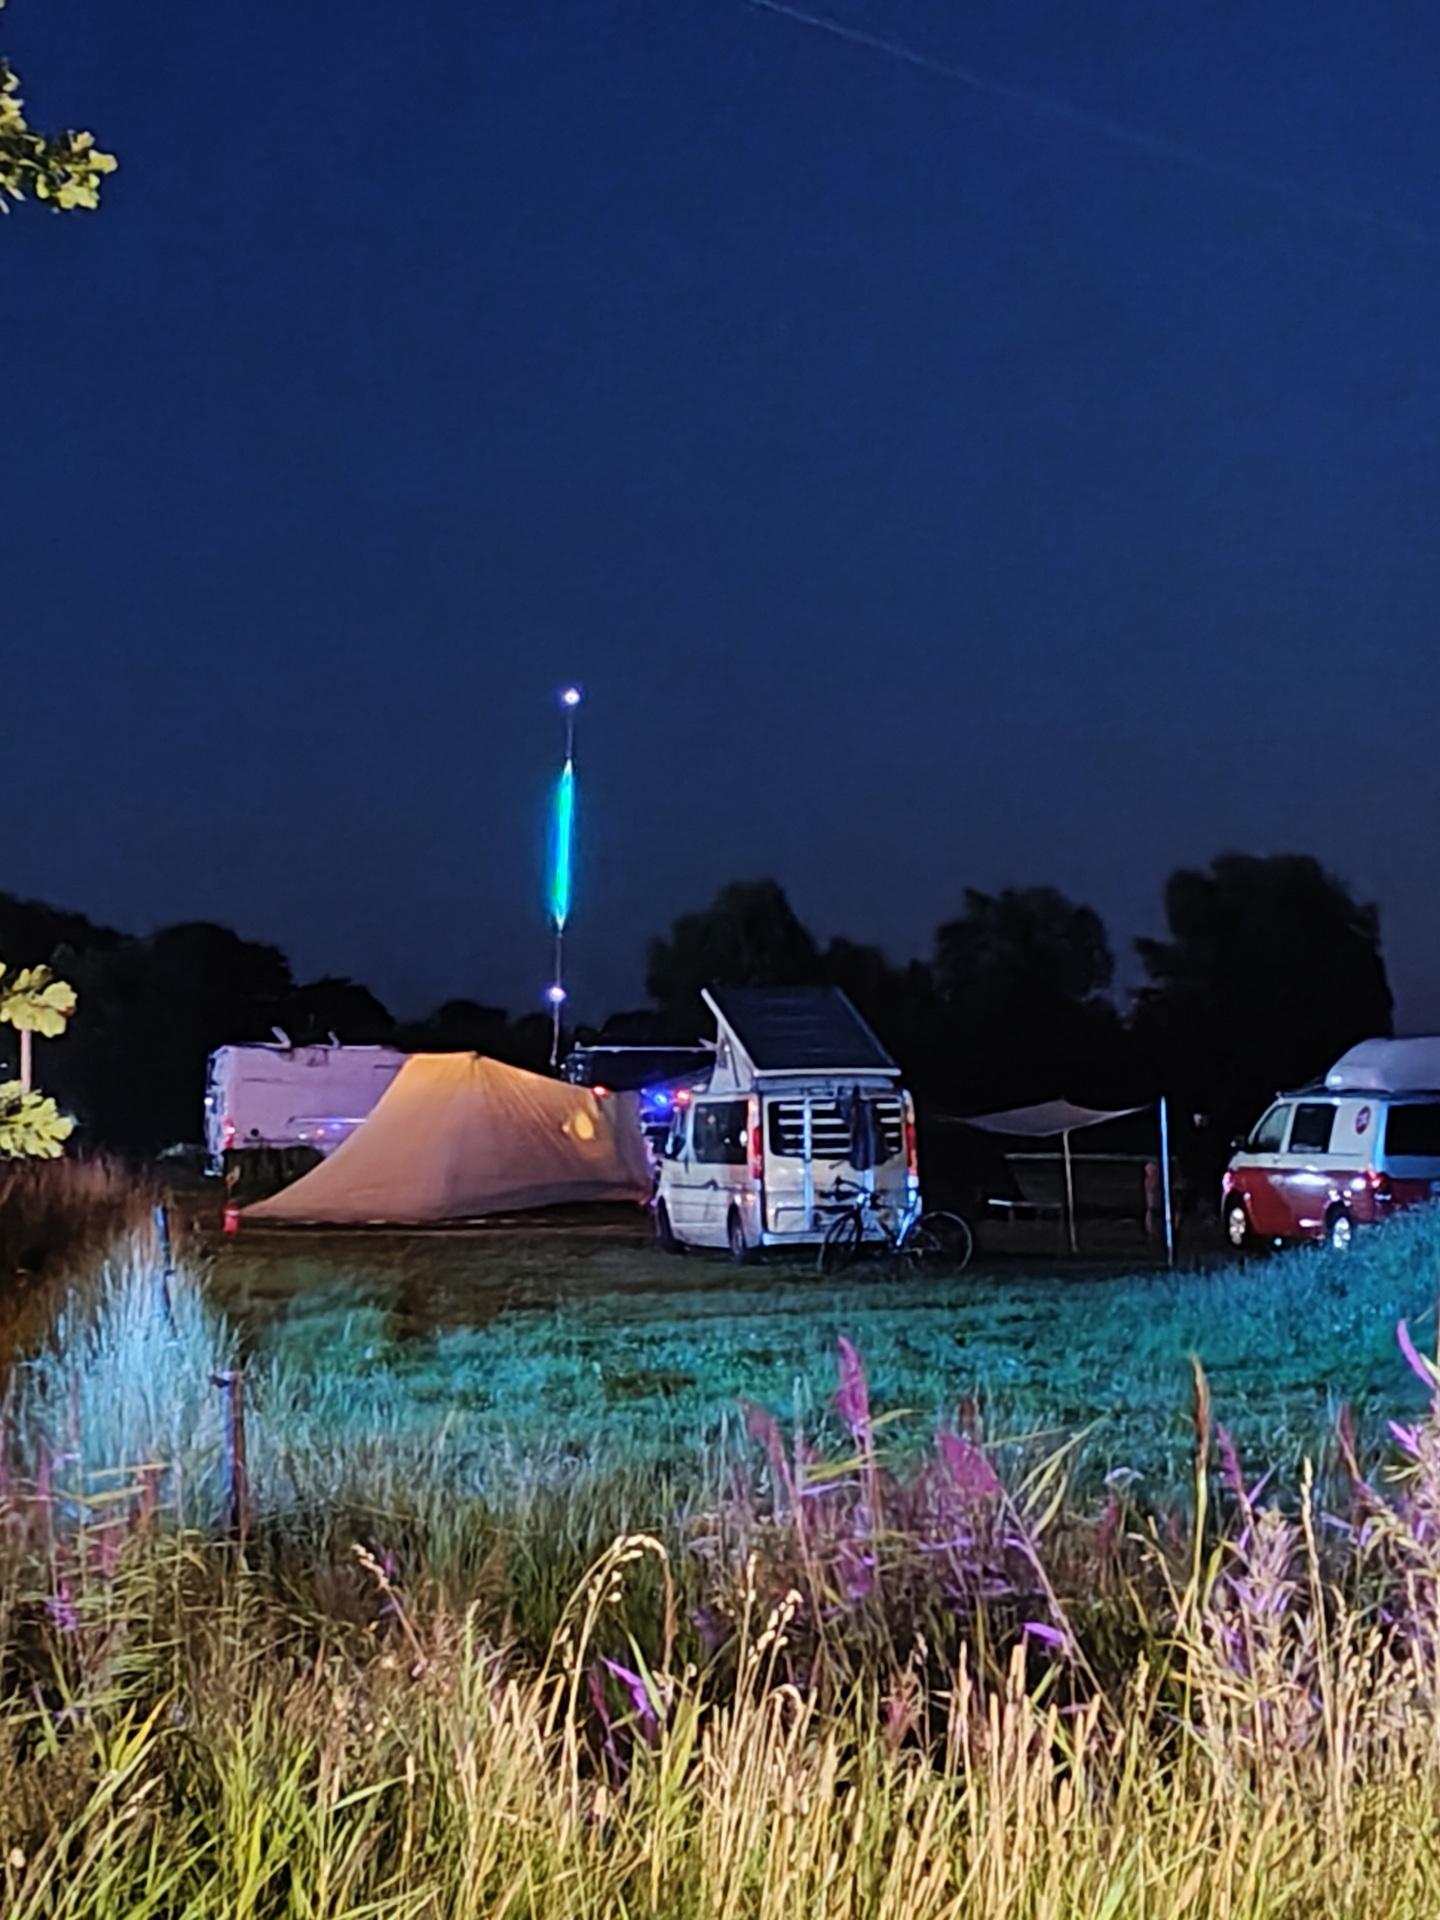
Our campsite with 7m Led stringMust have more leds!
Nice weather, good friends. New friends. Booze. Food and Hacking. We visited a lot of talks and enjoyed the music. (And fire)
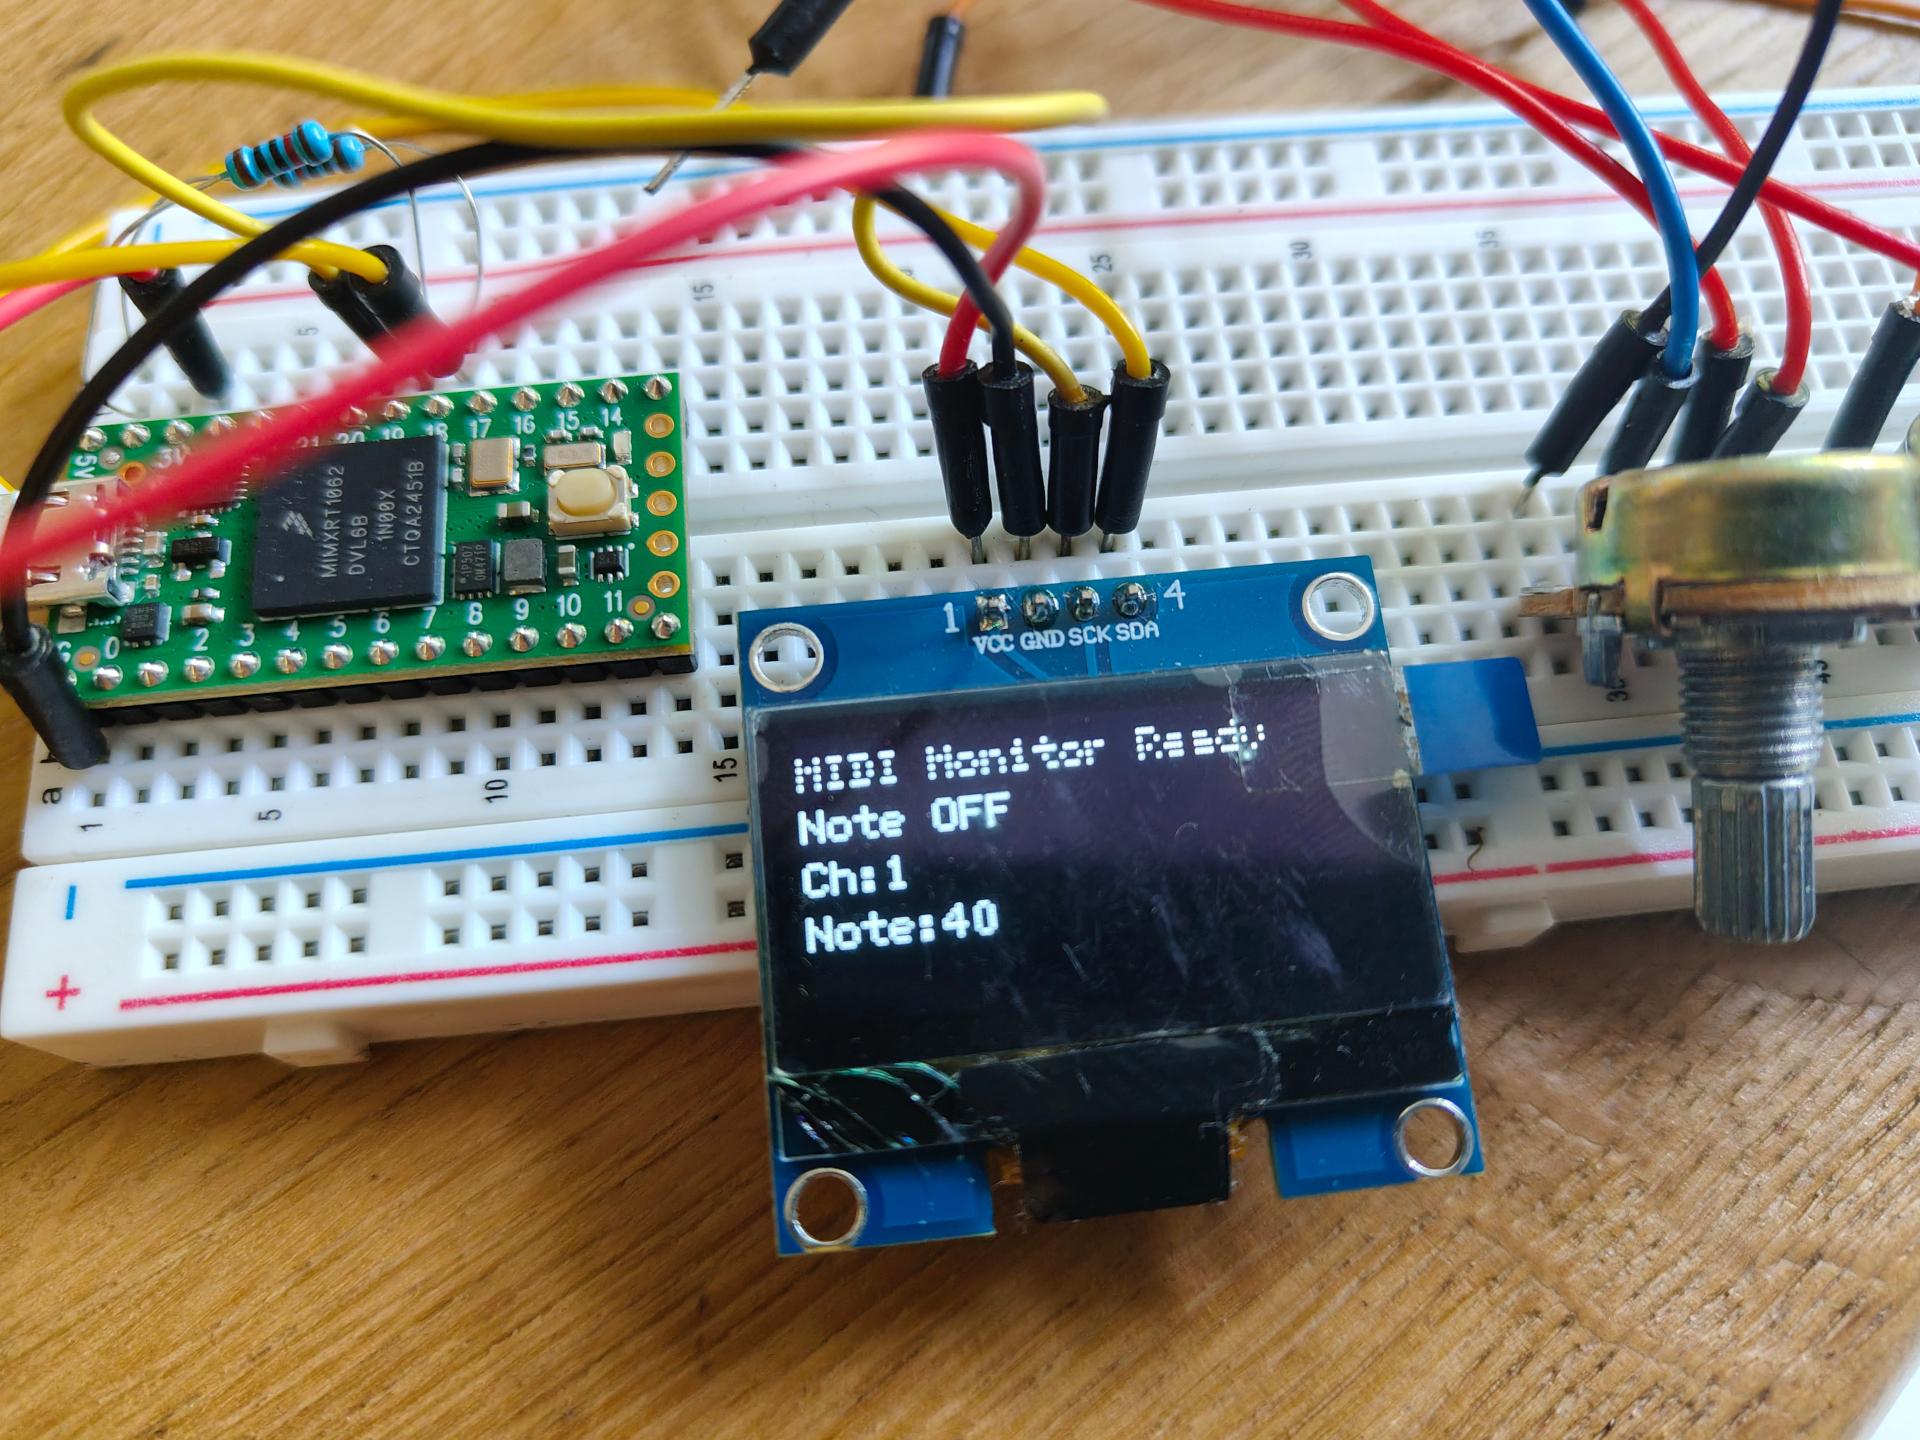
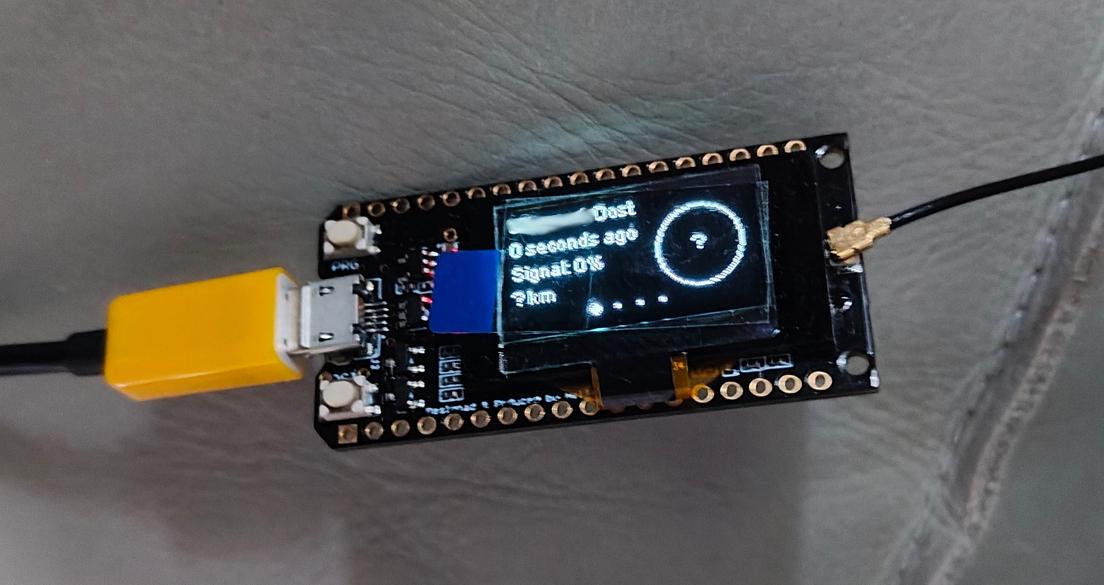
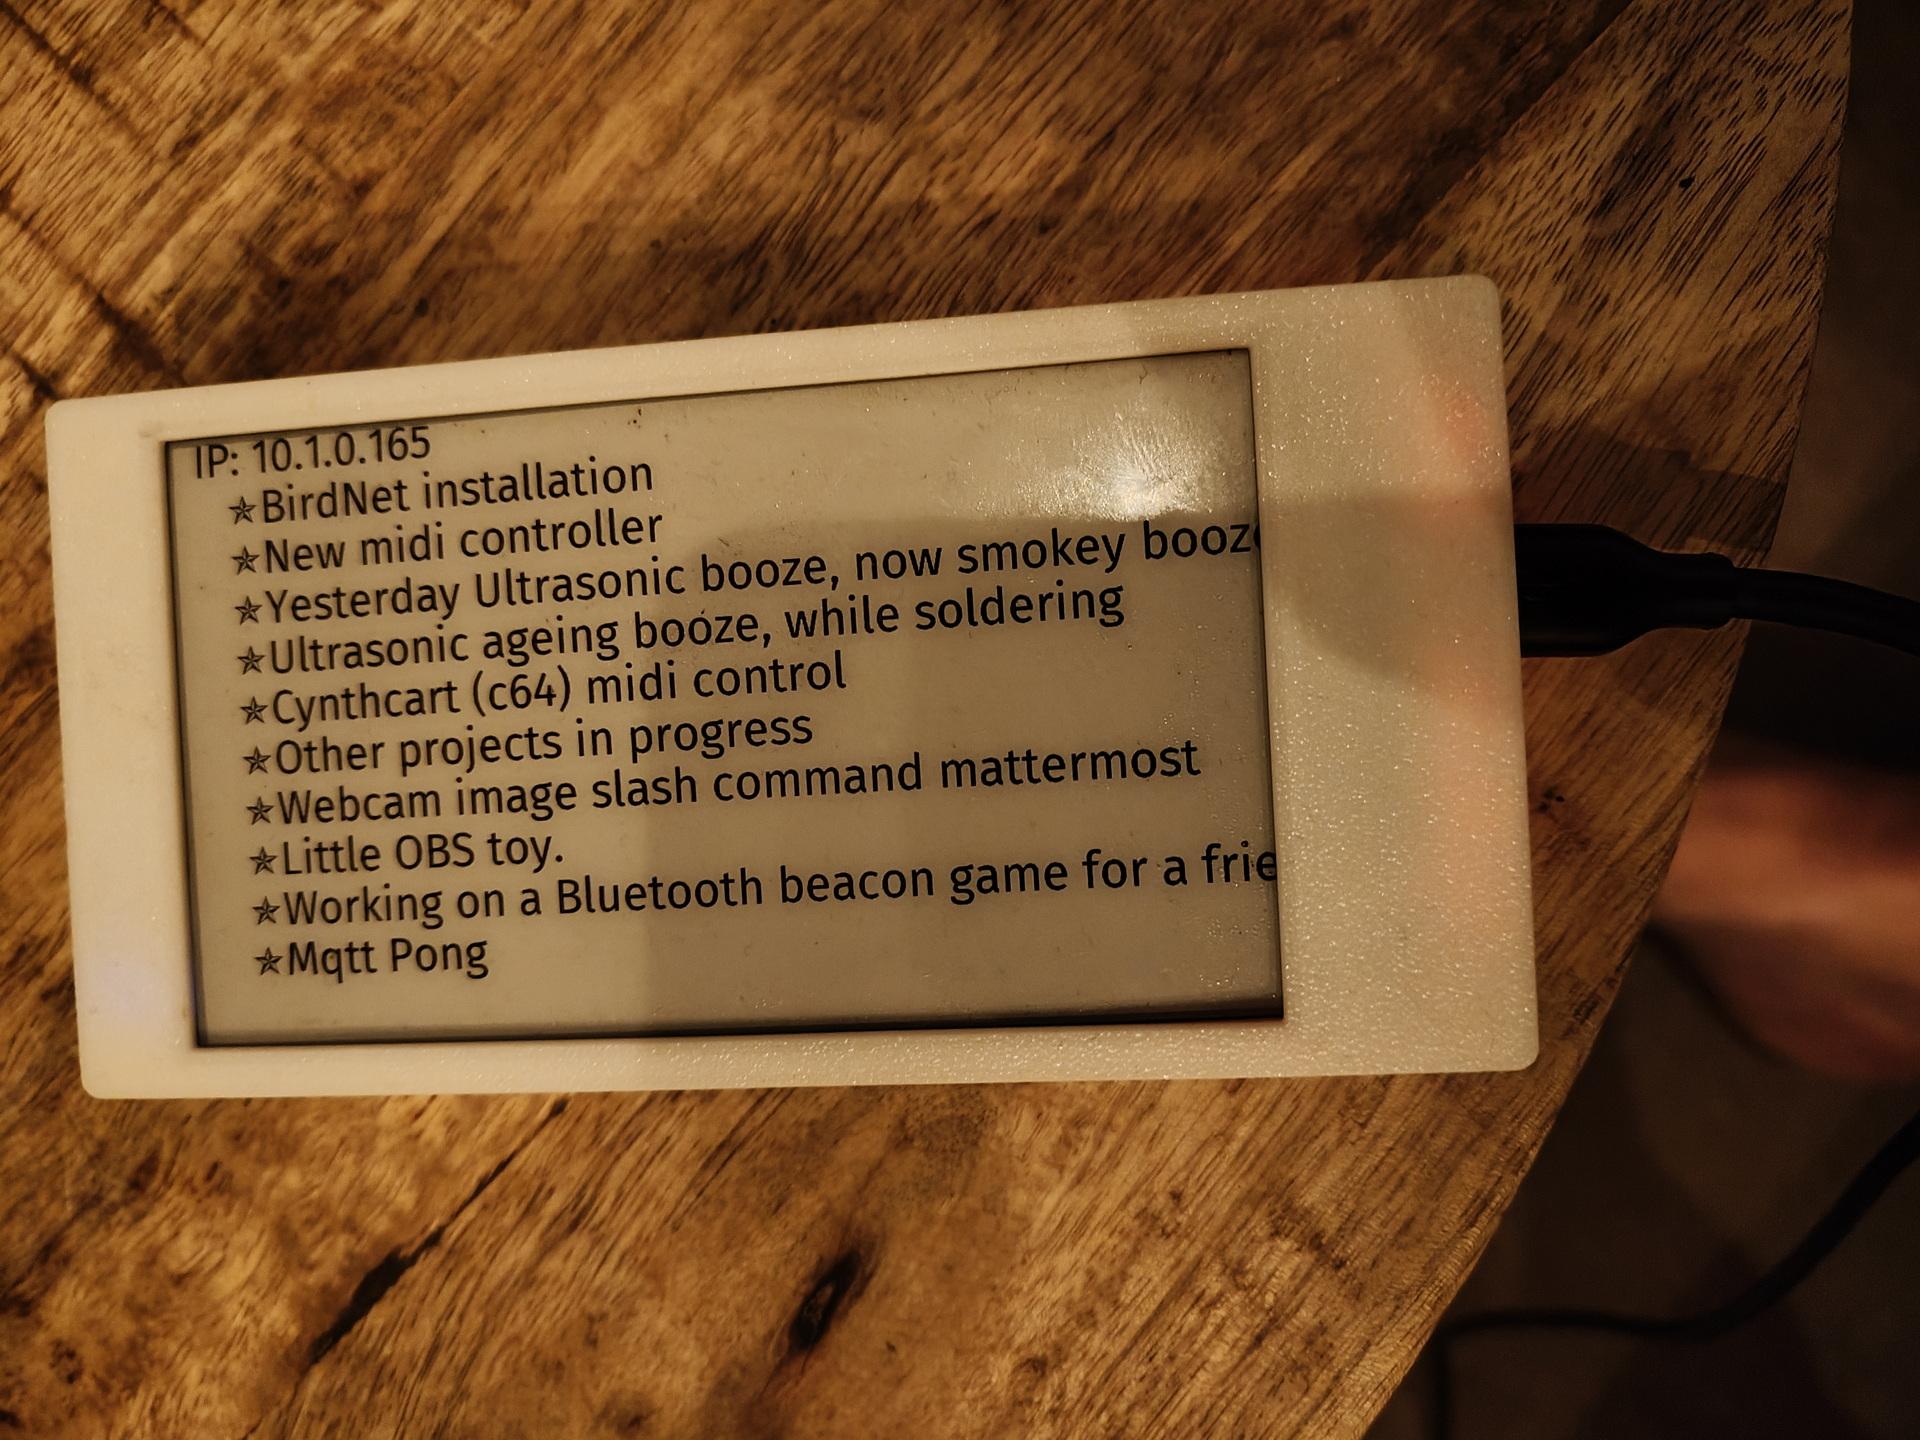
I worked on: RSS feed on a epaper display, Midi monitor and the MQTT Pong website.
RSS Feed display
While waiting in line for the Badge:
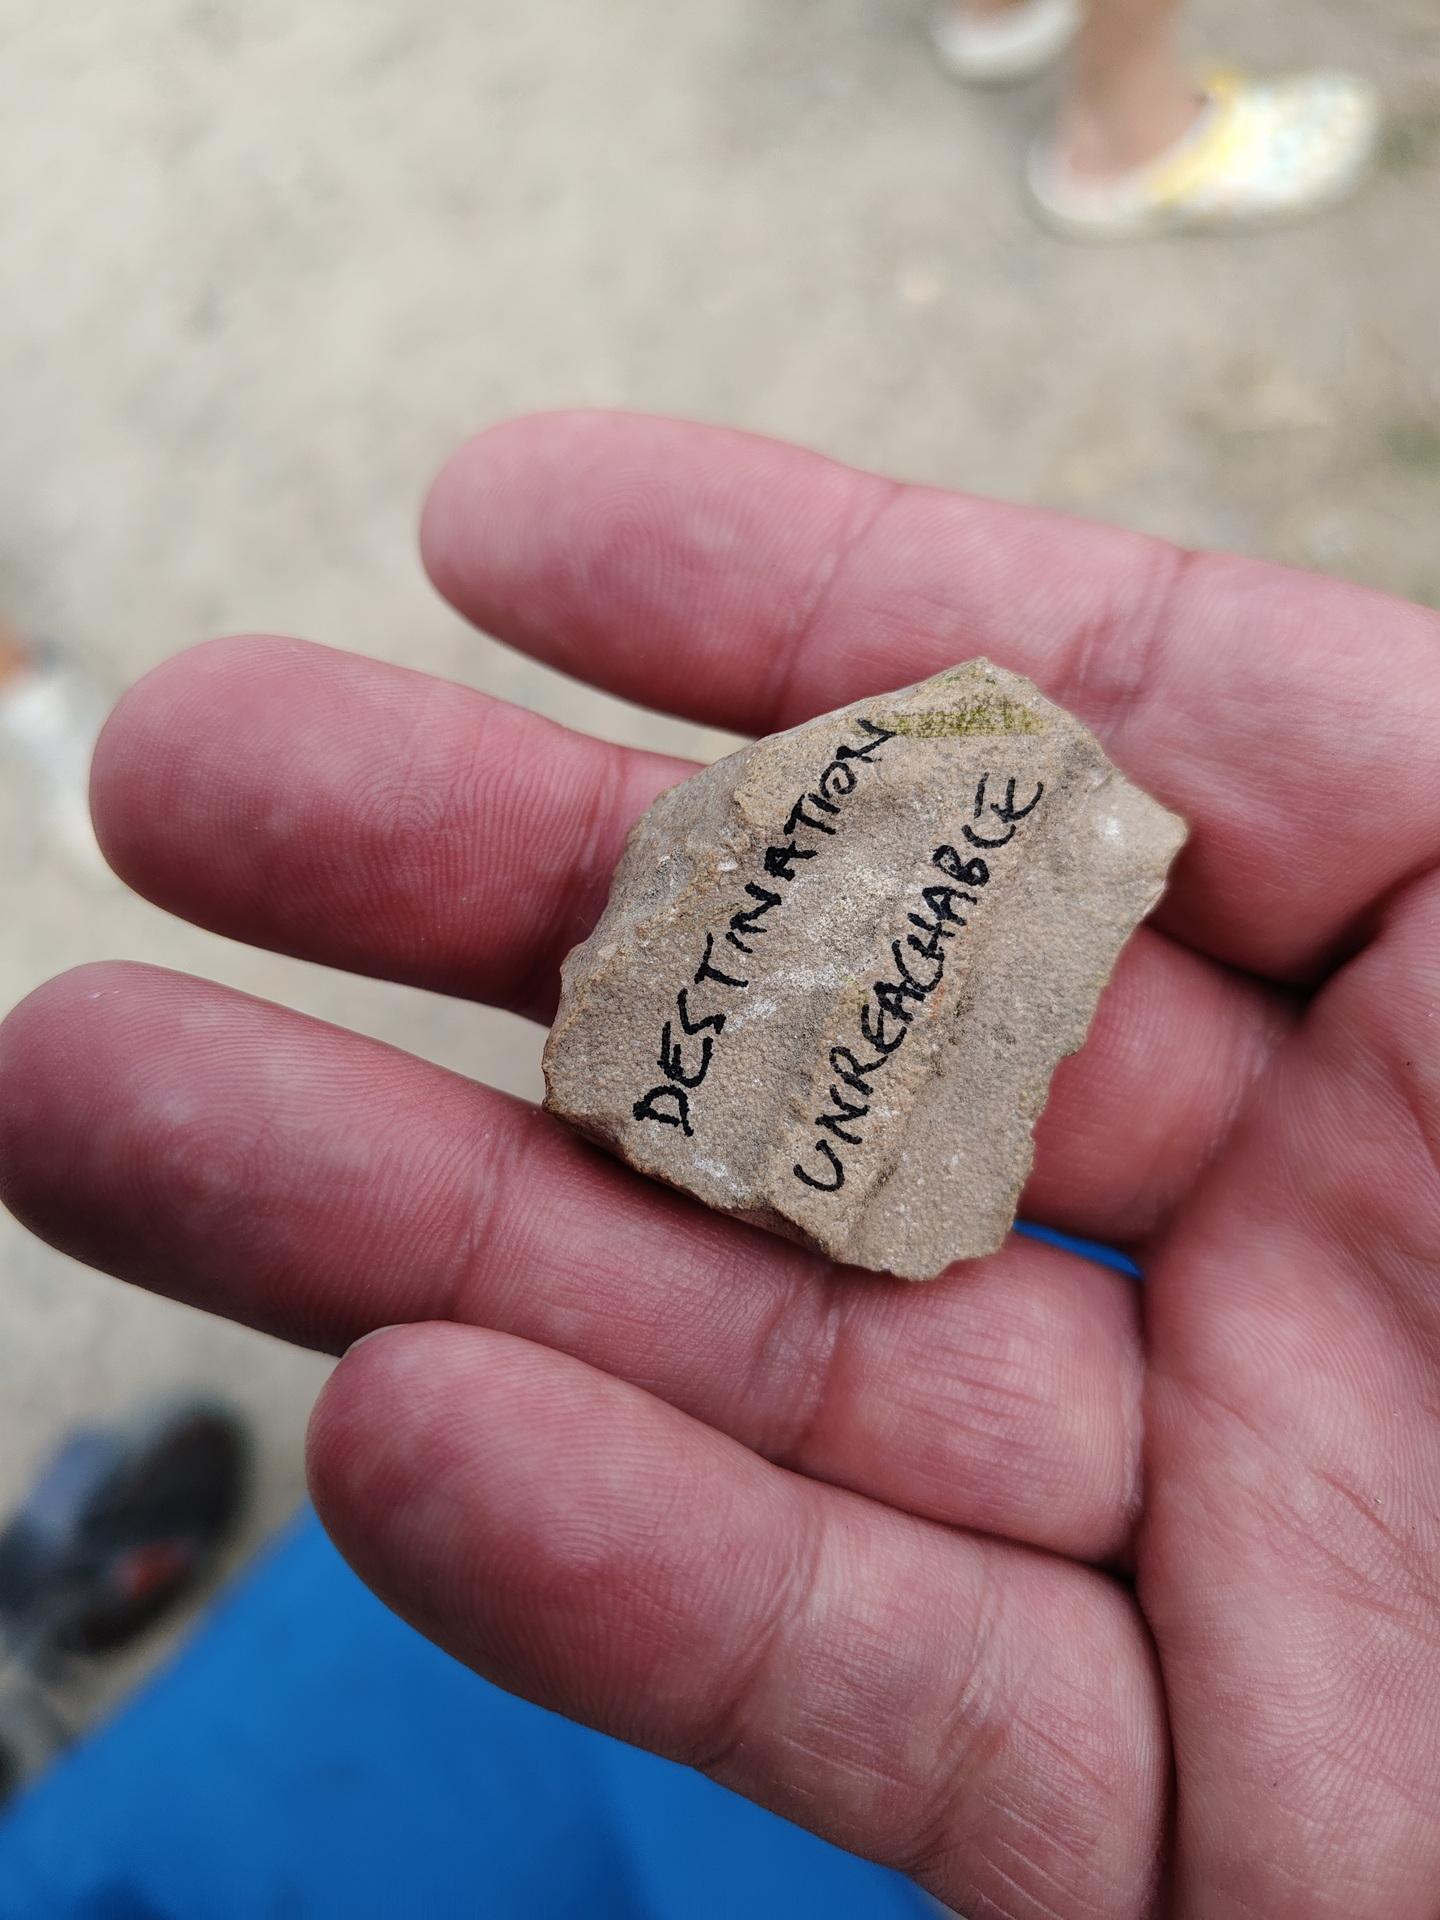
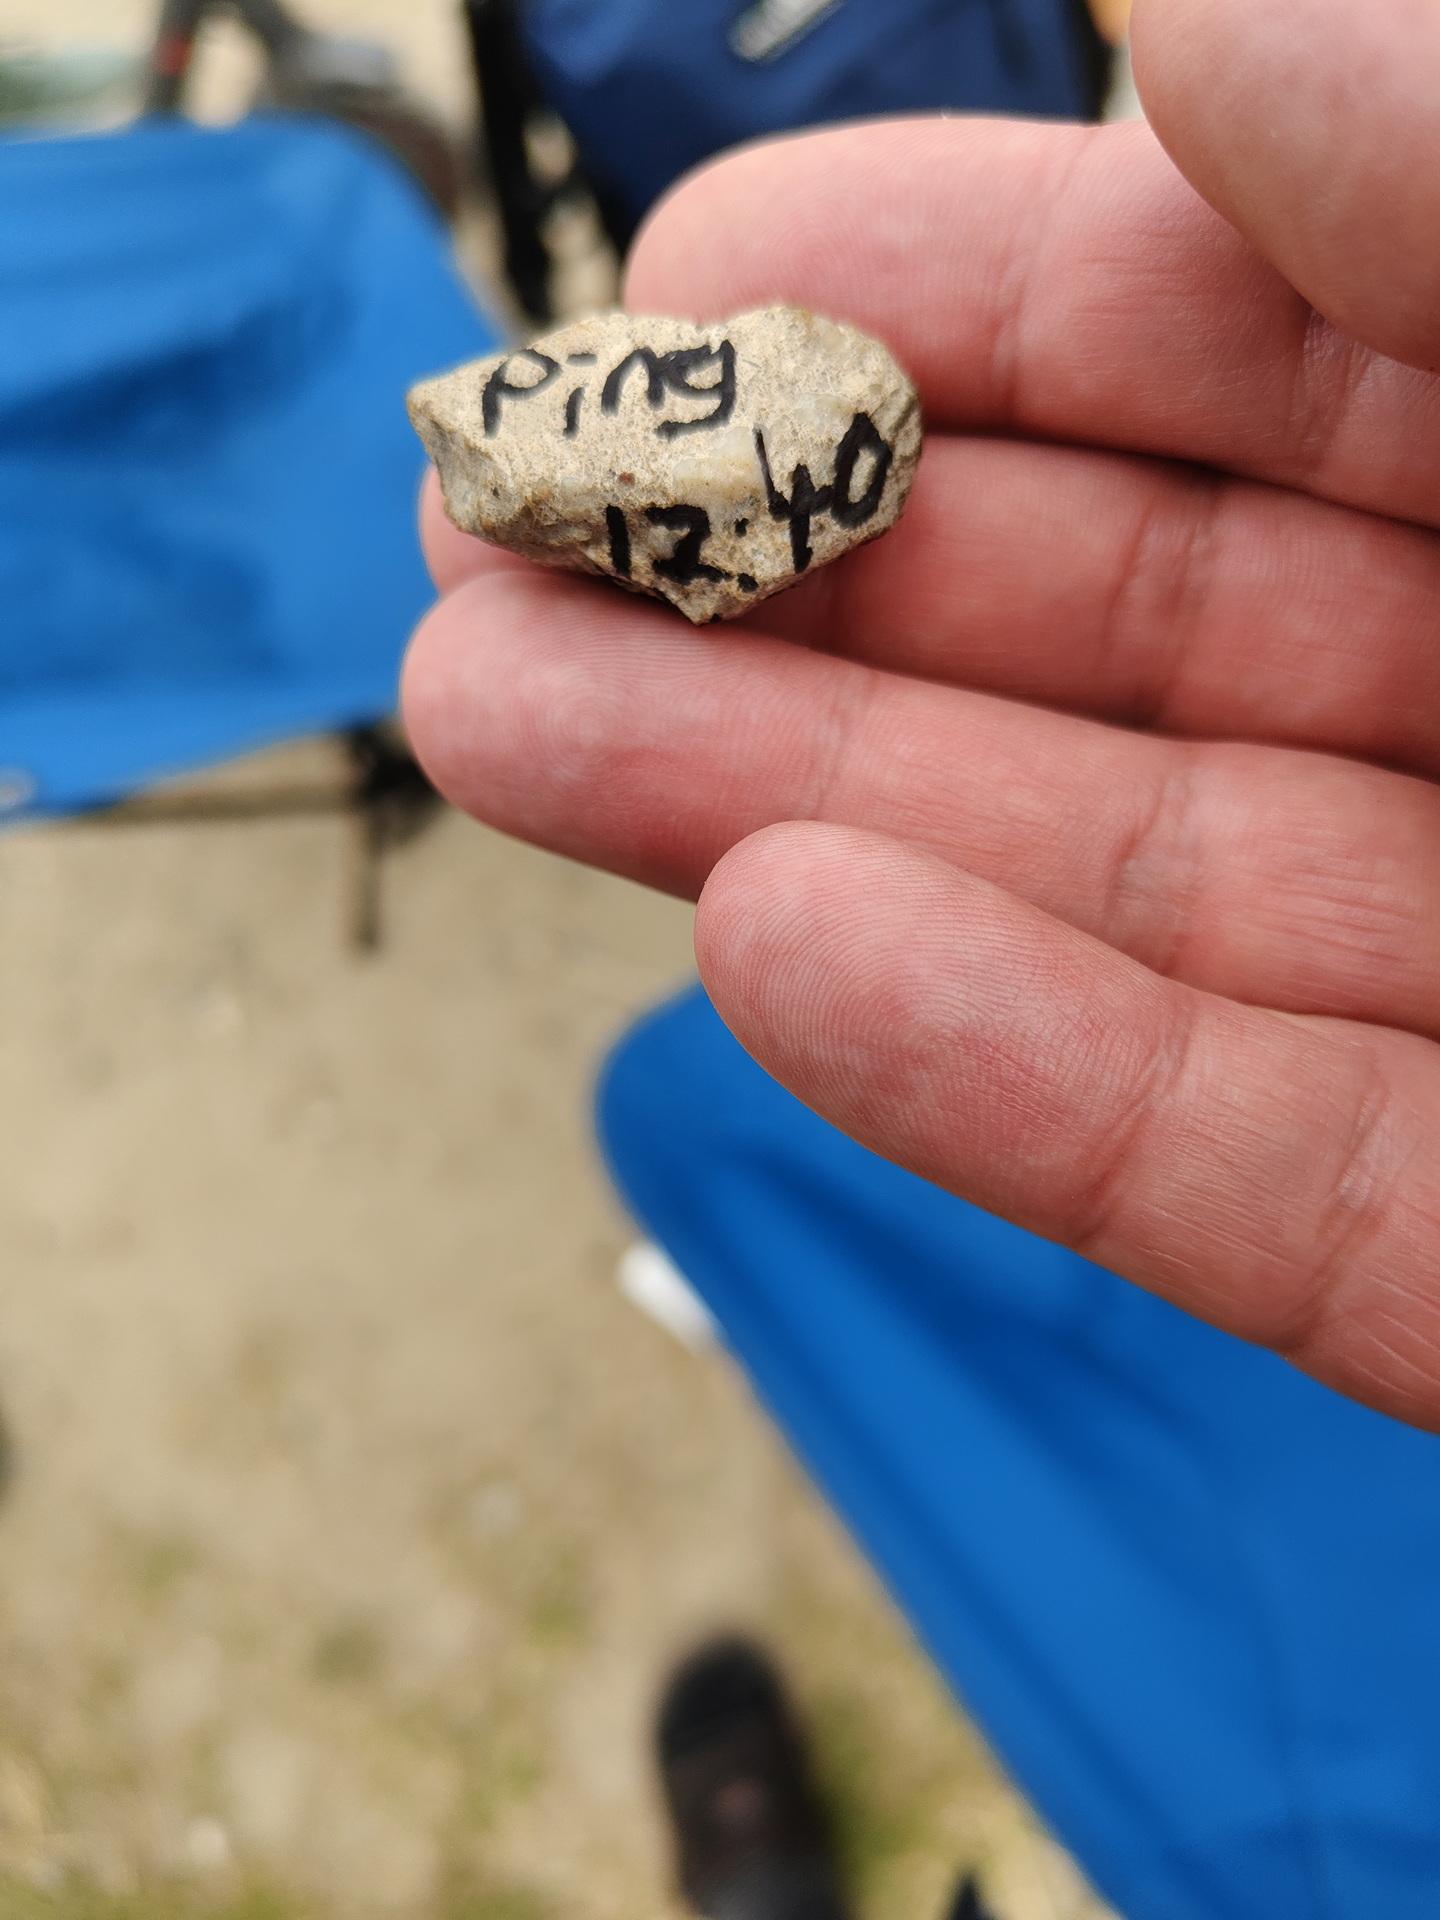
A stone was passed from behind! It was a ping request. We passed it forward, and 15 minutes later a TTL time exceeded stone came from the front of the line. You gotta love those nerds!
Some other stones
The Badge: This should have got much potential .. Many misses, much to learn.
I bought Peterson’s Vogelgids, just for fun. It’s an old version, but that’s on purpose.
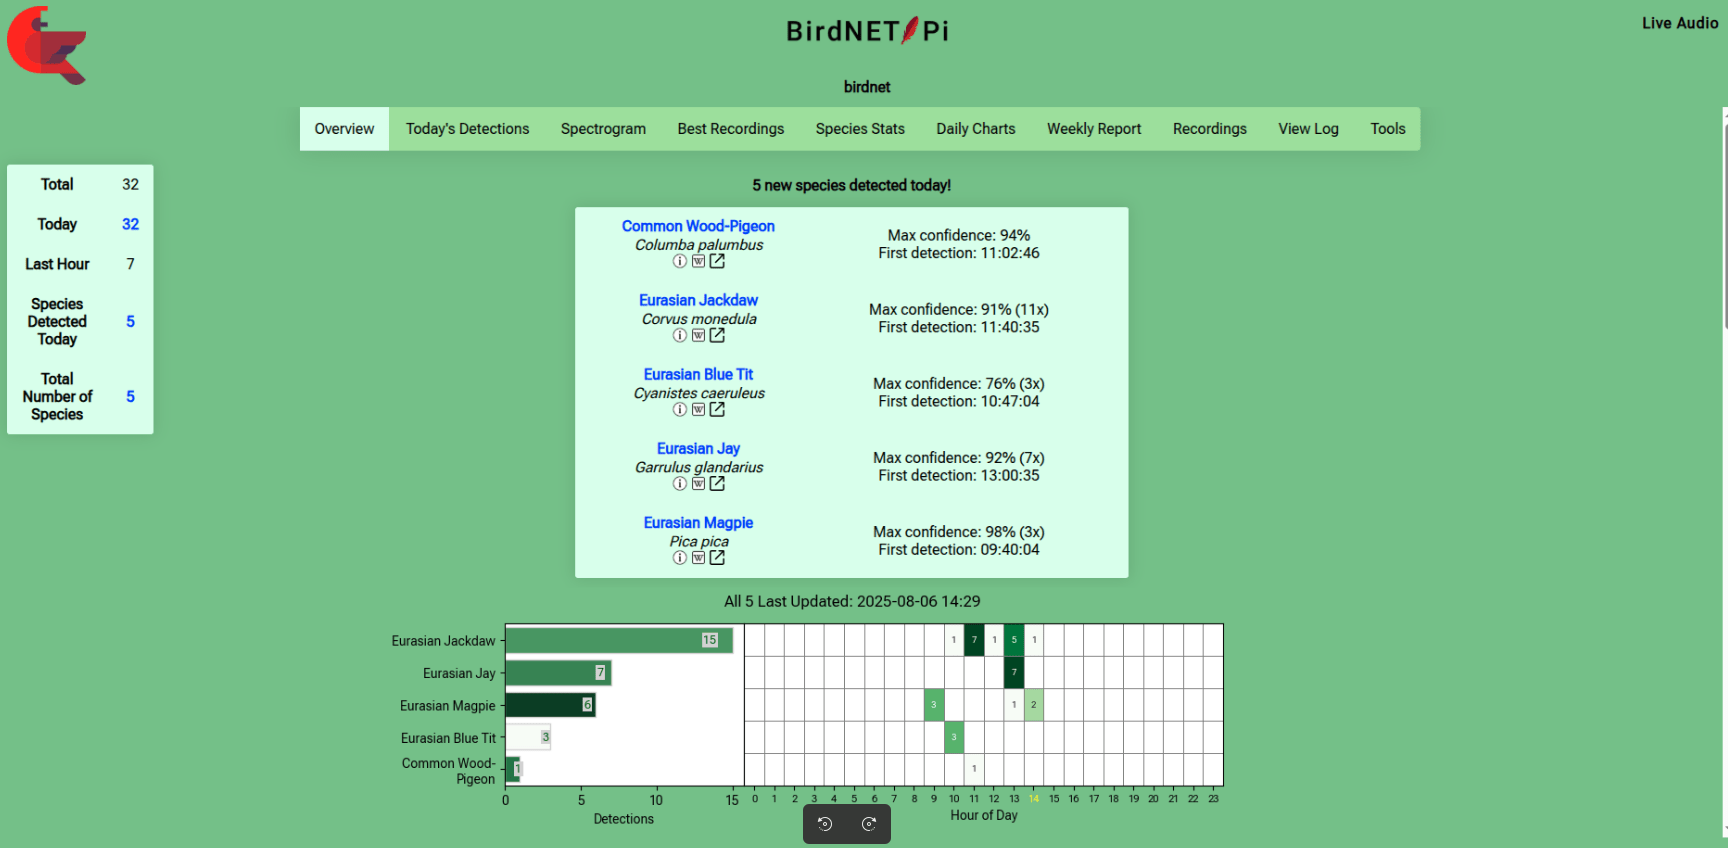
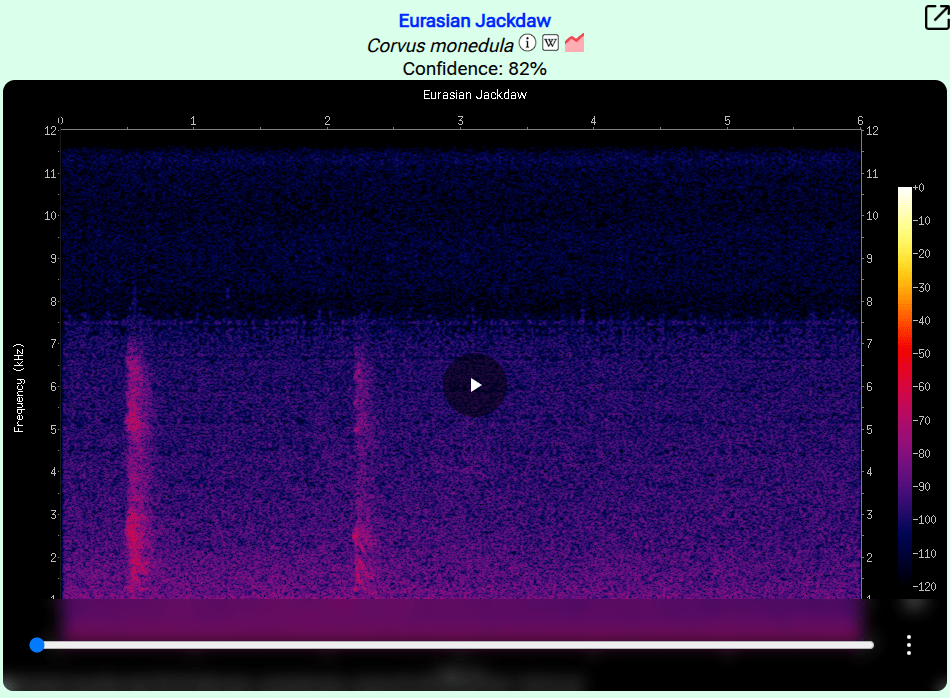
Then I saw a little project named BirdNet Pi. (I used the Android app already)
This is a Raspberry installation which recognises bird sounds. And gives you statistics about the detected birds. Cool for identifying birds in my garden.
Next to do : Integration in Home Assistant
Bert Visscher has the same book.
"If something is worth doing, it's worth overdoing."