A while ago I bought a little machine learning kit.
I’ve been reading at listening to ML podcasts and websites.
One on Spotify I liked was:
Also, the following Coursera was interesting
https://www.coursera.org/learn/machine-learning
I’ve been testing using Python on my Laptop.
(see other posts)
And a camera with esp32 using face detection.
See here multiple posts about these experiments.
https://www.henriaanstoot.nl/tag/machinelearning/
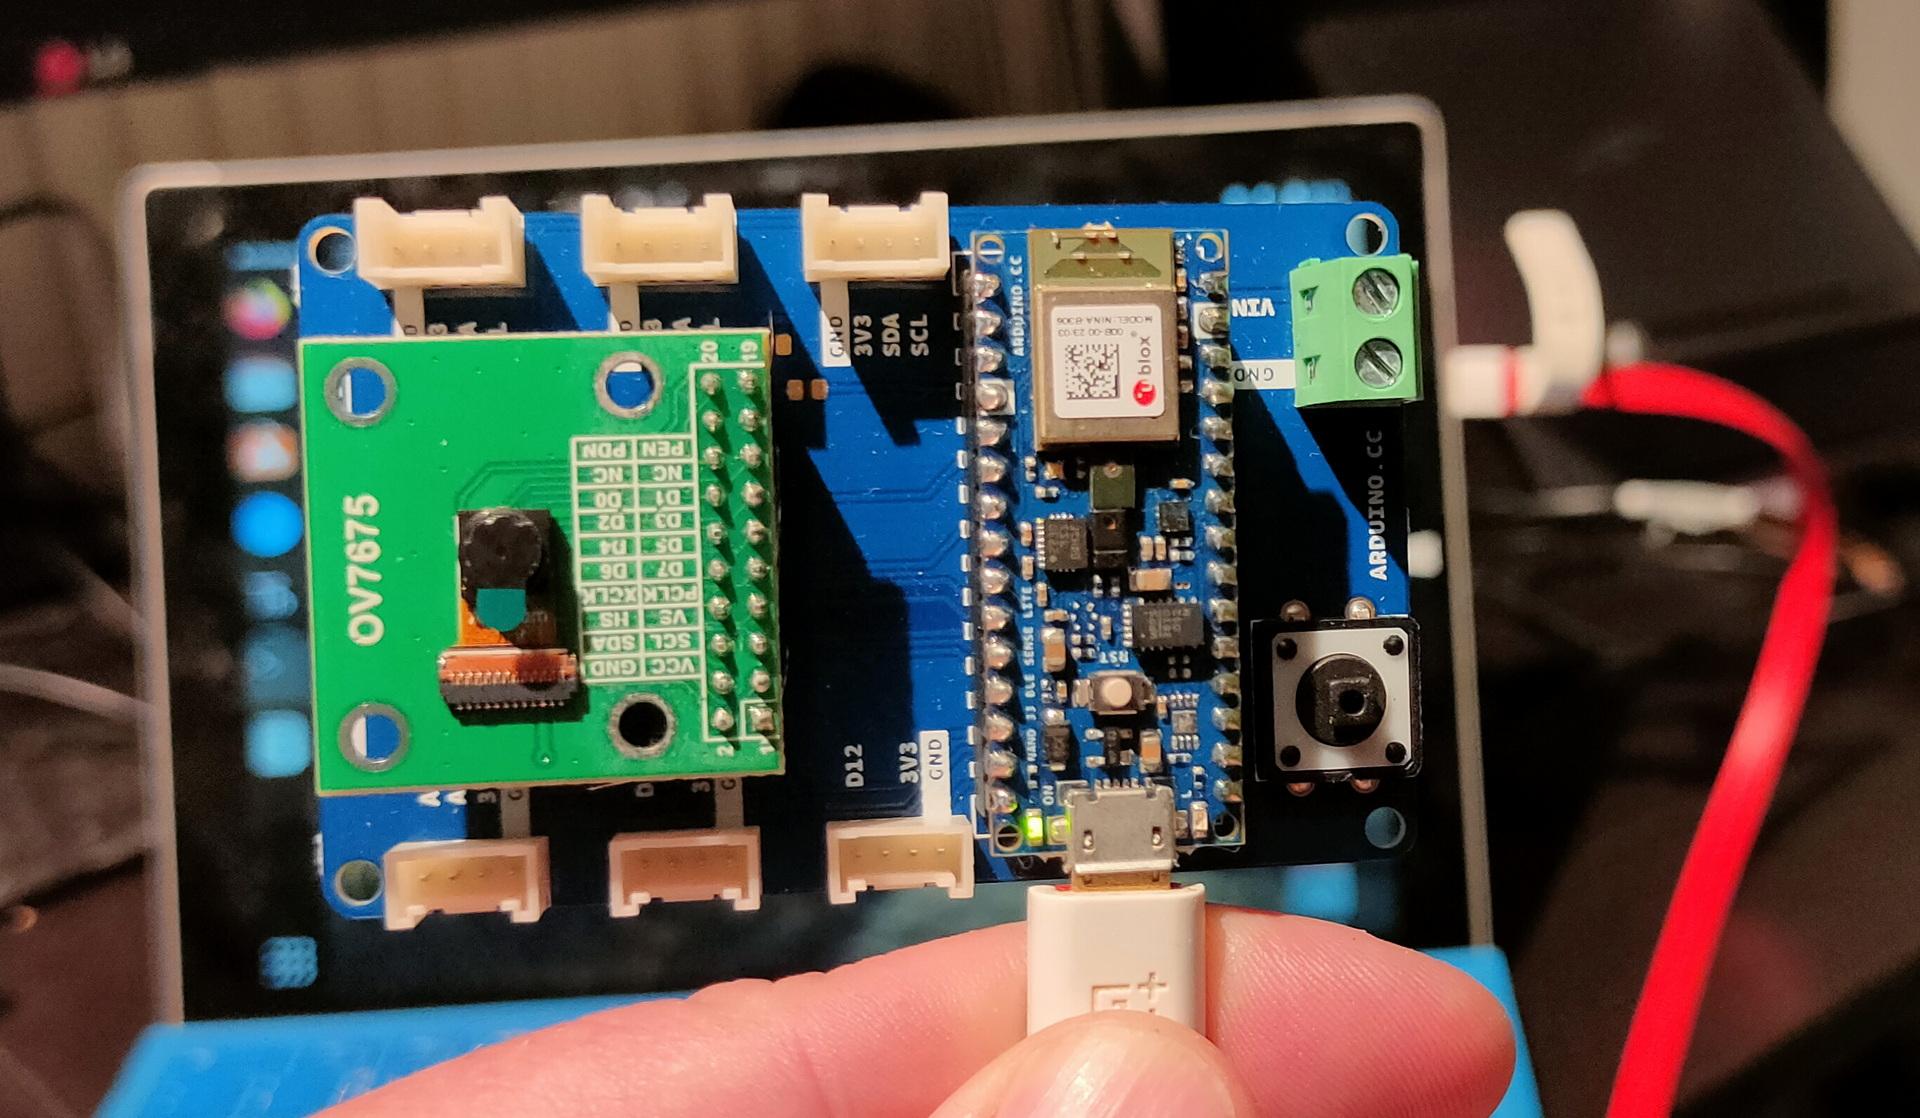
Today the first experiments using this kit.
- Arduino Nano 33 BLE Sense board
- OV7675 Camera
- Arduino Tiny Machine Learning Shield
- USB A to Micro USB Cable
- 9 axis inertial sensor: what makes this board ideal for wearable devices
- humidity, and temperature sensor: to get highly accurate measurements of the environmental conditions
- barometric sensor: you could make a simple weather station
- microphone: to capture and analyse sound in real time
- gesture, proximity, light color and light intensity sensor : estimate the room’s luminosity, but also whether someone is moving close to the board
- Microcontroller nRF52840
- Operating Voltage 3.3V
- Input Voltage (limit) 21V
- DC Current per I/O Pin 15 mA
- Clock Speed 64MHz
- CPU Flash Memory 1MB (nRF52840)
- SRAM 256KB (nRF52840)
- EEPROM none
- Digital Input / Output Pins 14
- PWM Pins all digital pins
- UART 1
- SPI 1
- I2C 1
- Analog Input Pins 8 (ADC 12 bit 200 ksamples)
- Analog Output Pins Only through PWM (no DAC)
- External Interrupts all digital pins
- LED_BUILTIN 13
- USB Native in the nRF52840 Processor
- IMU LSM9DS1 (datasheet)
I just started and will update this page, with other experiments.
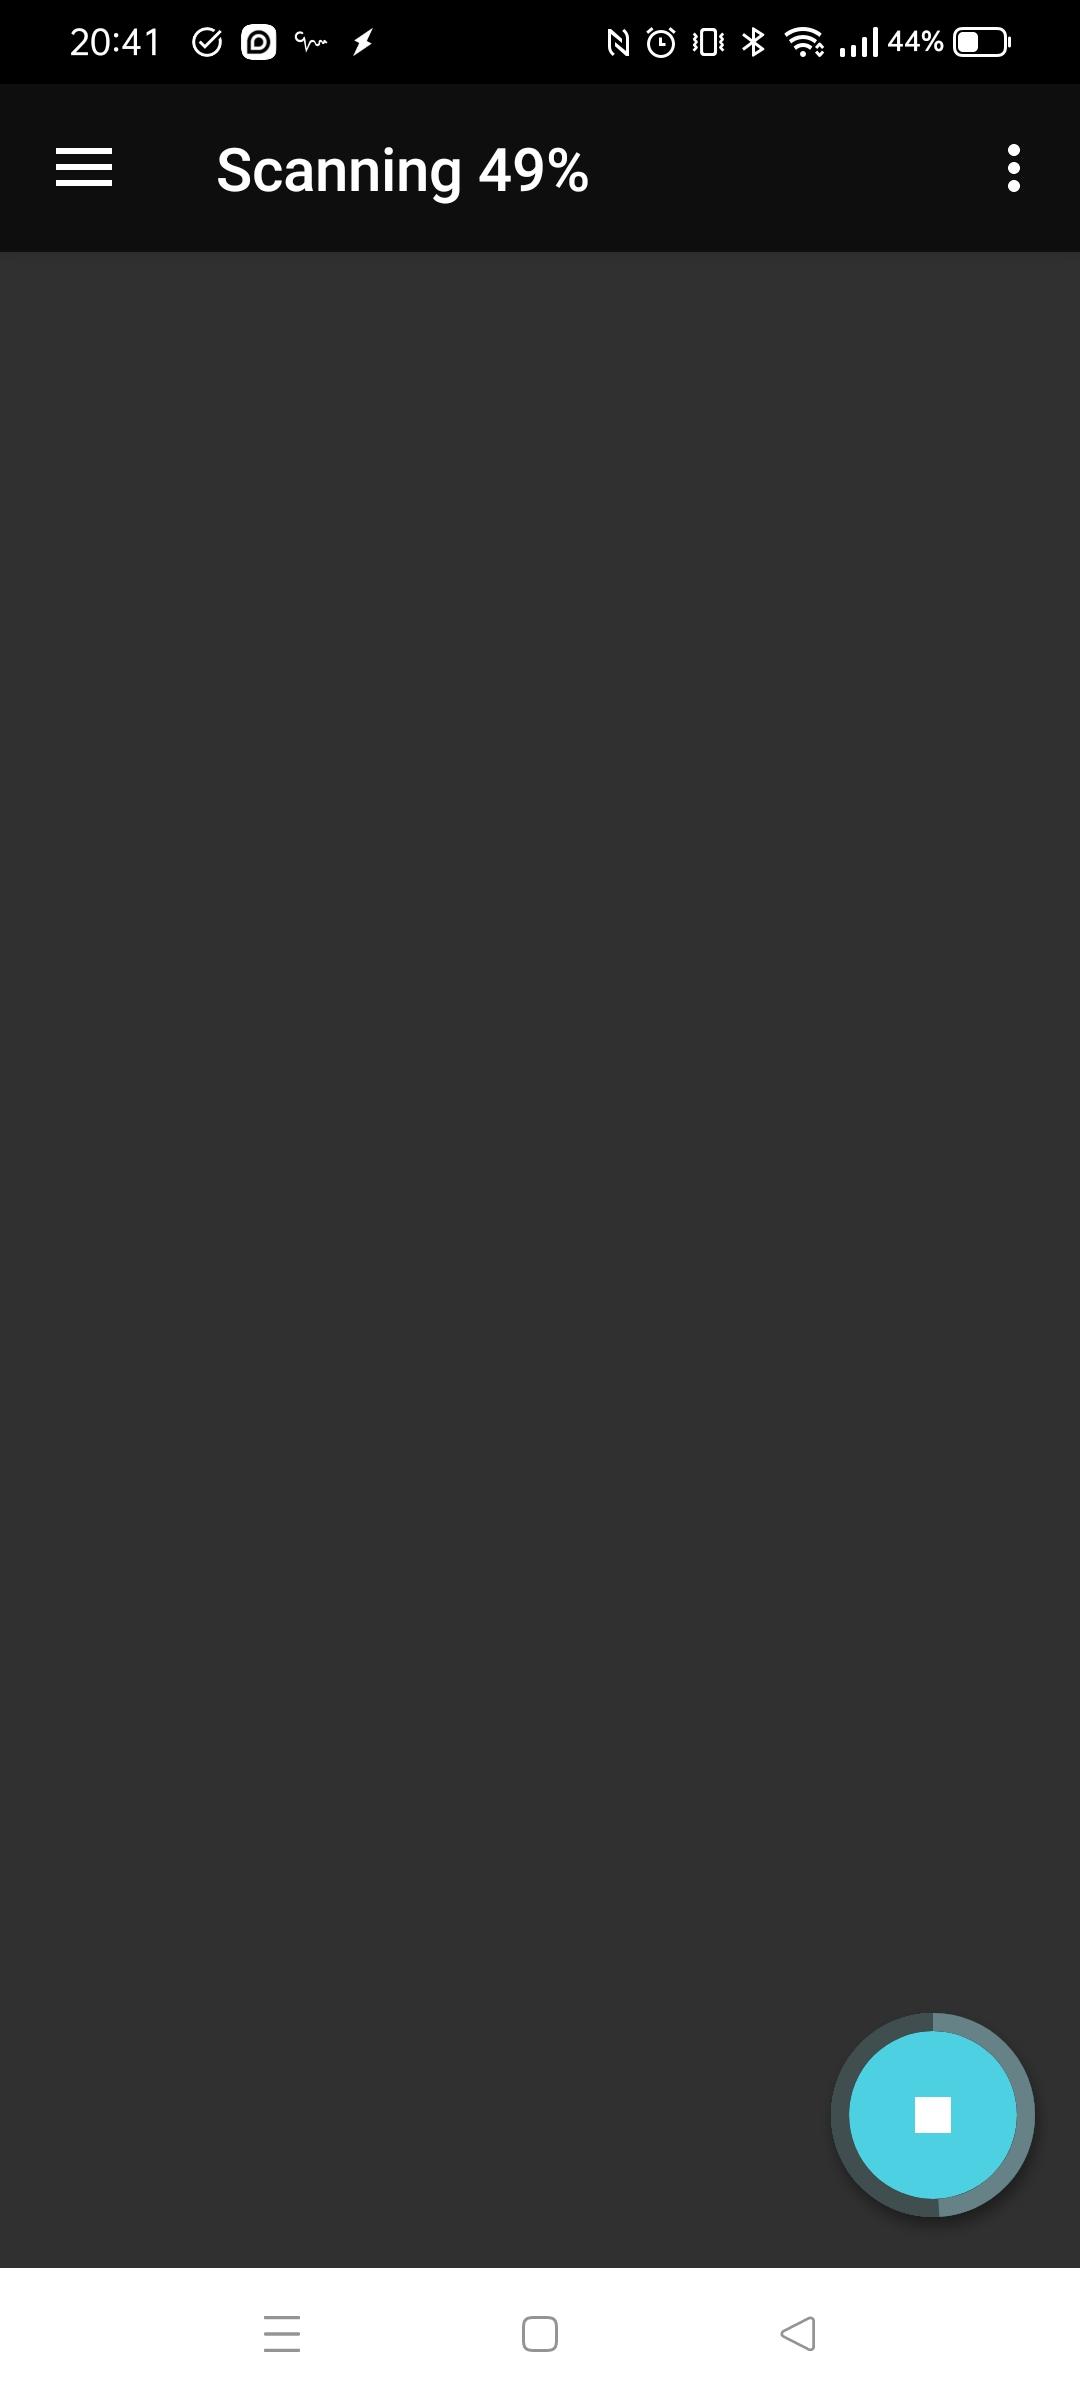
Note: displaying Arduino output without installing the IDE
stty -F /dev/ttyACM0 raw 9600
cat /dev/ttyACM0
................................
................................
................................
................................
................................
................................
................................
................................
................................
................####............
...............##..#............
..............##...##...........
..............#.....#...........
..............###...#...........
..............##.....#..........
..............##.....#..........
...............#....##..........
...............######...........
................................
................................
................................
................................