Tag Archives: electronics

Screens and DIY projects

Below some examples and connection diagrams to control displays.
More code and complete schematics will be added on this page or on a separate projects page.

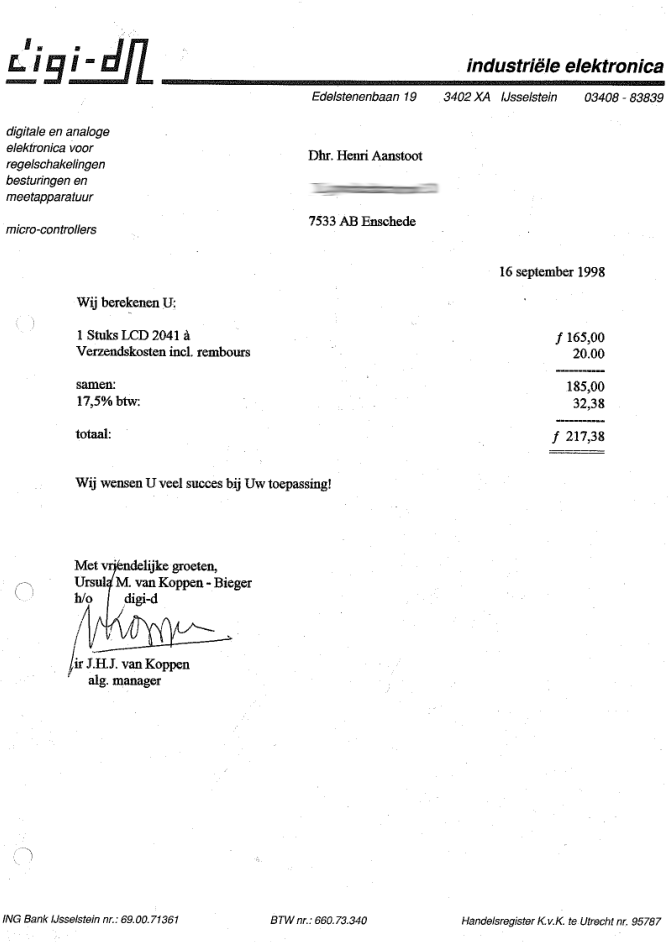
UPDATE 20230119 Cost of 20×4 display in 1998

LCD
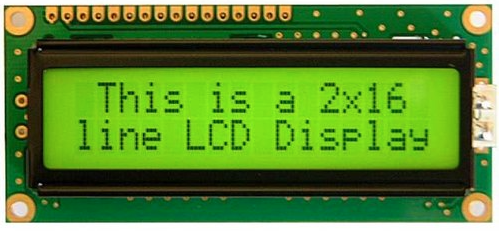
I’ve used a LCD display like this (HITACHI HD44780) on my PC in the 90s, and also written code to use this as a monitoring device on my amiga.
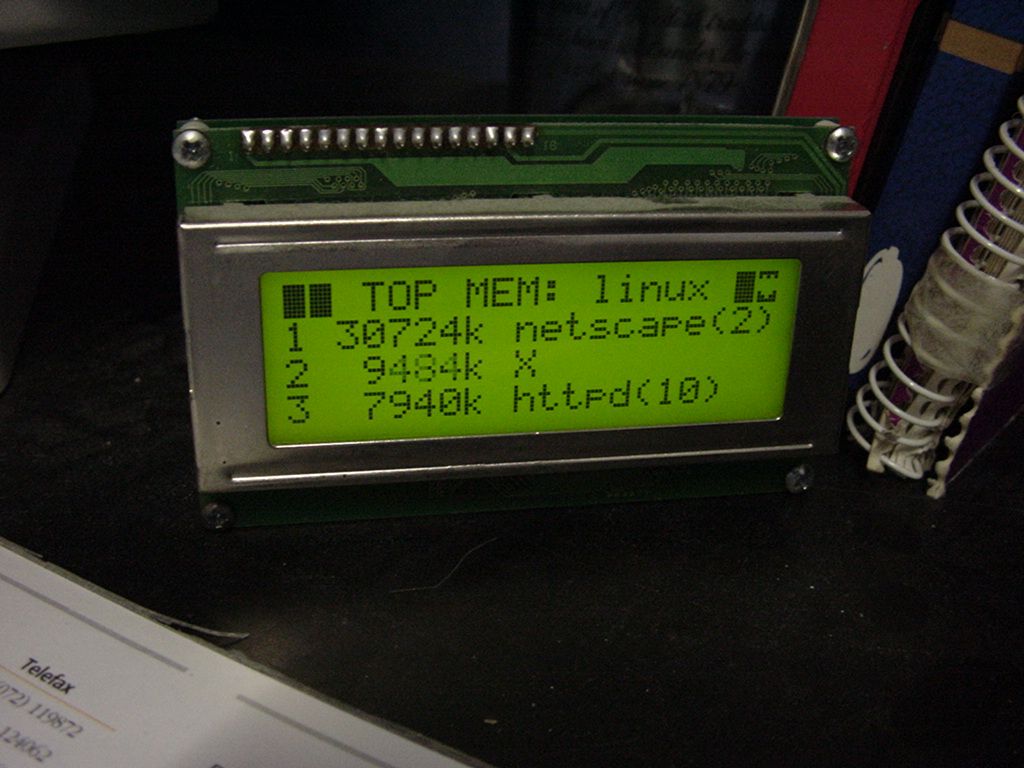
On Linux i used LcdProc – This module also was equiped with a serial connector
Now (2023) it is 8 euros!
When bought now fl to euro 98 Euro or 107 $
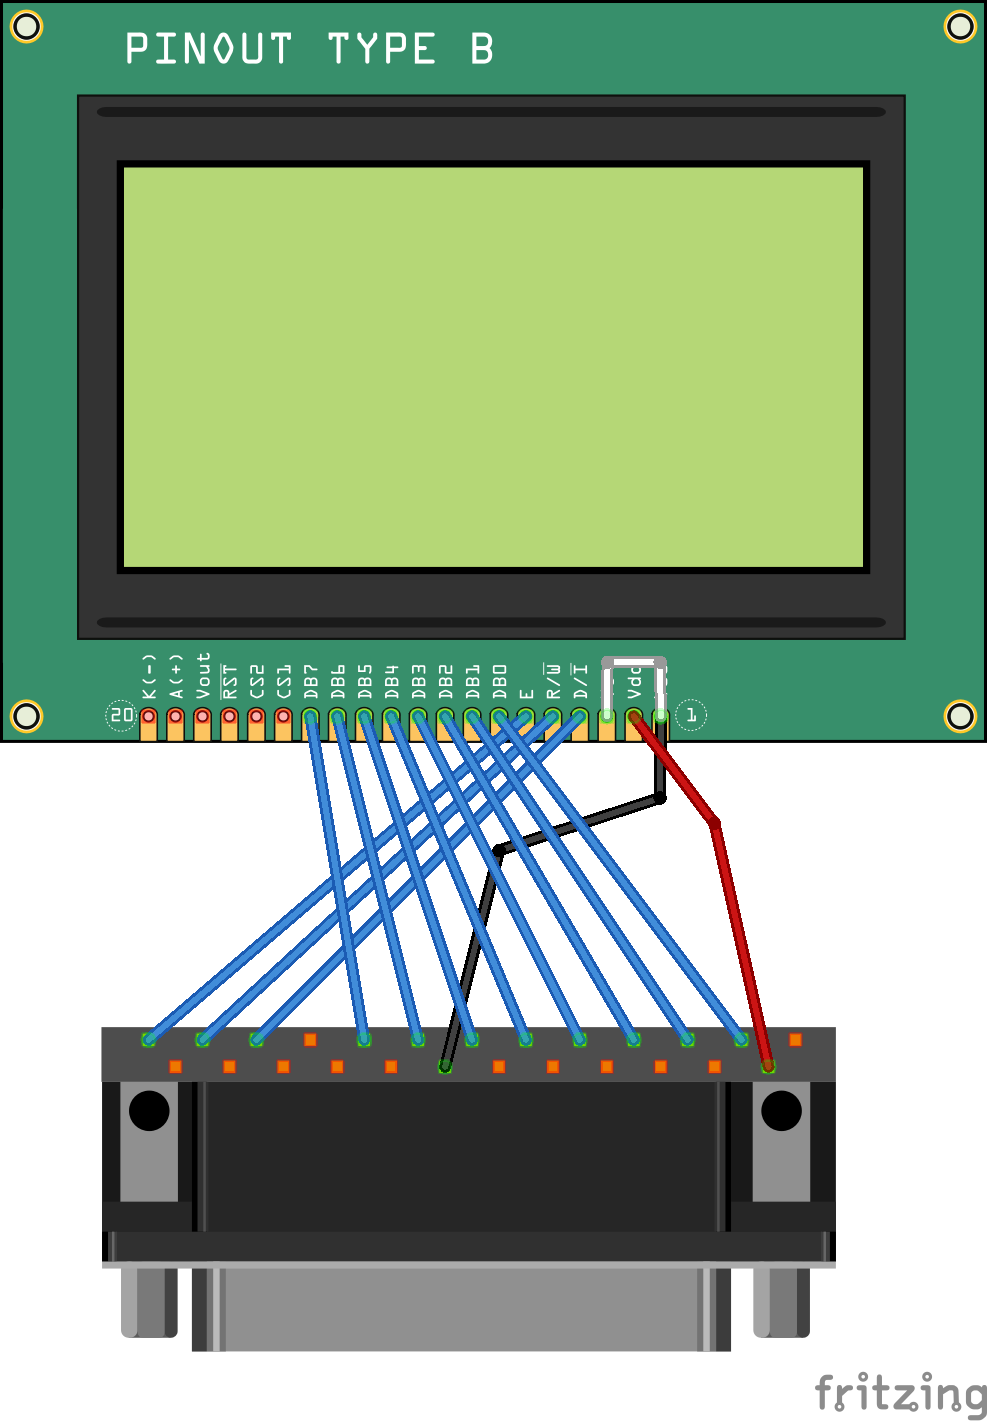
;LCD Display Module             Parallel port
;        1 Vss                  20 GND
;        2 Vdd                  14 +5V
;        3 Vlc                  20 GND (contrast LCD display)
;        4 RS (register select) 11 BUSY
;        5 R/W                  12 POUT
;        6 E (enable)           13 SEL
;        7 DB0                   2 D0
;        8 DB1                   3 D1
;        9 DB2                   4 D2
;       10 DB3                   5 D3
;       11 DB4                   6 D4
;       12 DB5                   7 D5
;       13 DB6                   8 D6
;       14 DB7                   9 D7
Amiga code part
        bsr     initprt         ; CIA 8520 init
        bsr     initlcd         ; init lcd display module
        move.l  #0,d0
        rts

initprt:move.b  #$ff,$bfe301    ; parallel port is output
        move.b  $bfd200,d0
        ori.b   #$07,d0         ; select, p-out and busy
        move.b  d0,$bfd200      
        rts

initlcd:move.w  #$38,d0         ; multiple reset
        bsr     send
        bsr     delay2
        move.w  #$38,d0
        bsr     send
        bsr     delay2
        move.w  #$38,d0         ; 2*8 lines
        bsr     send
        bsr     delay2
        move.w  #$01,d0         ; clear display
        bsr     send
        bsr     delay2          ; wait
        move.w  #$0c,d0         ; display on
        bsr     send
        move.w  #$06,d0         ; Entry Mode Set
        bsr     send
        rts

send:   bsr     delay
        btst    #8,d0           ; test rs bit
        beq     reg0
        bsr     rs1             ; select register 1
        bra     skip
reg0:   bsr     rs0             ; select register 0
skip:
        bsr     delay
        bsr     rw0             ; read/write=0 
        bsr     delay
        bsr     e1              ; enable = 1
        bsr     delay
        move.b  d0,$bfe101      ; push data
        bsr     delay
        bsr     e0              
        bsr     delay
        rts

delay:  move.w  #$20,d1
dloop:  subi    #1,d1
        bne     dloop
        rts

delay2: move.w  #$800,d1
dloop2: subi    #1,d1
        bne     dloop2
        rts
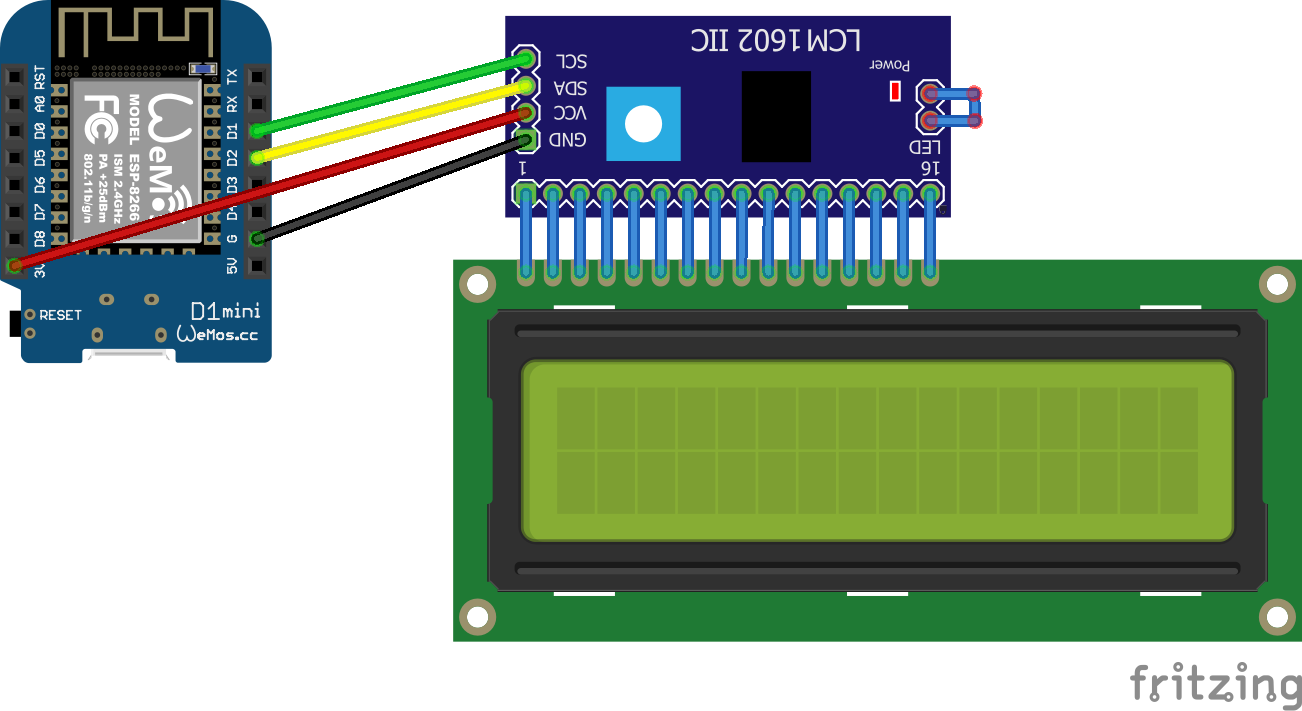
Part of my MQTT display alarm thingy
#include <ESP8266WiFi.h>
#include <PubSubClient.h>
#include <Wire.h> 
#include <LiquidCrystal_I2C.h>  
LiquidCrystal_I2C lcd(0x27, 20, 4);
const char* ssid = "MYACCESSPOINT";
const char* password = "MYPASSWORD";
const char* mqtt_server = "mymqttserver";
const byte ledRed = 12;
const byte horn = 13;
int button = 2;
int press = 0;
boolean buttonToggle = true;


// Todo : DISPLAY 2ND LINE, DISPLAY SILENT, ...

WiFiClient espClient;
PubSubClient client(espClient);
bool toggle = false;
void setup_wifi() {
  delay(100);

  Serial.print("Connecting to ");
  Serial.println(ssid);
  WiFi.begin(ssid, password);
  while (WiFi.status() != WL_CONNECTED)
  {
    delay(500);
    Serial.print(".");
  }
  randomSeed(micros());
  Serial.println("");
  Serial.println("WiFi connected");
  Serial.println("IP address: ");
  Serial.println(WiFi.localIP());
}

void callback(char* topic, byte* payload, unsigned int length)
{
  if (length > 0) {
    toggle = true;
  }

  if (length == 0) {
    toggle = false;
  }

  Serial.print("Command from MQTT broker is : [");
  Serial.print(topic);

  Serial.println();
  Serial.print(" publish data is:");
  lcd.clear();
  lcd.backlight(); // turn off backlight

  {
  
    for (int i = 0; i < length; i++)
    {
      Serial.print((char)payload[i]);
      if (i < 16){
      lcd.setCursor(0, 0);
      lcd.setCursor(i, 0);
      } else {
      lcd.setCursor(0, 1);
      lcd.setCursor(i-16, 1);
      }
      lcd.write((char)payload[i]);
    }
  }


  Serial.println();
} 

void reconnect() {
  
  while (!client.connected())
  {
    Serial.print("Attempting MQTT connection...");
    
    String clientId = "mqttlcd";
    clientId += String(random(0xffff), HEX);

    if (client.connect(clientId.c_str()))
    {
      Serial.println("connected");

      client.subscribe("mqttlcd/message");
    } else {
      Serial.print("failed, rc=");
      Serial.print(client.state());
      Serial.println(" try again in 5 seconds");
      delay(6000);
    }
  }
} 

void setup() {
  Serial.begin(115200);
  pinMode(button, INPUT);
  digitalWrite(2, HIGH);
  pinMode(ledRed, OUTPUT);
  digitalWrite(ledRed, LOW);
  pinMode(horn, OUTPUT);
  digitalWrite(horn, LOW);
  setup_wifi();
  client.setServer(mqtt_server, 1883);
  lcd.init(); 
  lcd.backlight();
}

void loop() {

  
  if (!client.connected()) {
    reconnect();
  }
  if (toggle == true) {
    digitalWrite(ledRed, HIGH);
    digitalWrite(horn, HIGH);
    delay(200);
    digitalWrite(ledRed, LOW);
    digitalWrite(horn, LOW);
    delay(200);
  }
  if (toggle == false) {
    digitalWrite(ledRed, LOW);
    digitalWrite(horn, LOW);

  }

  client.setCallback(callback);
  client.loop();

  press = digitalRead(button);
  if (press == LOW)
  {
    if (buttonToggle)
    {
      digitalWrite(ledRed, HIGH);
      digitalWrite(horn, HIGH);
      buttonToggle = !buttonToggle;
    }
    else
    {
      digitalWrite(ledRed, LOW); 
      digitalWrite(horn, LOW);
      buttonToggle = !buttonToggle;
      toggle = false;
      client.publish("mqttlcd/button","pressed");
      lcd.clear();
      lcd.noBacklight(); // turn off backlight
    }
  }
  delay(500);  //delay for debounce
}

Oled

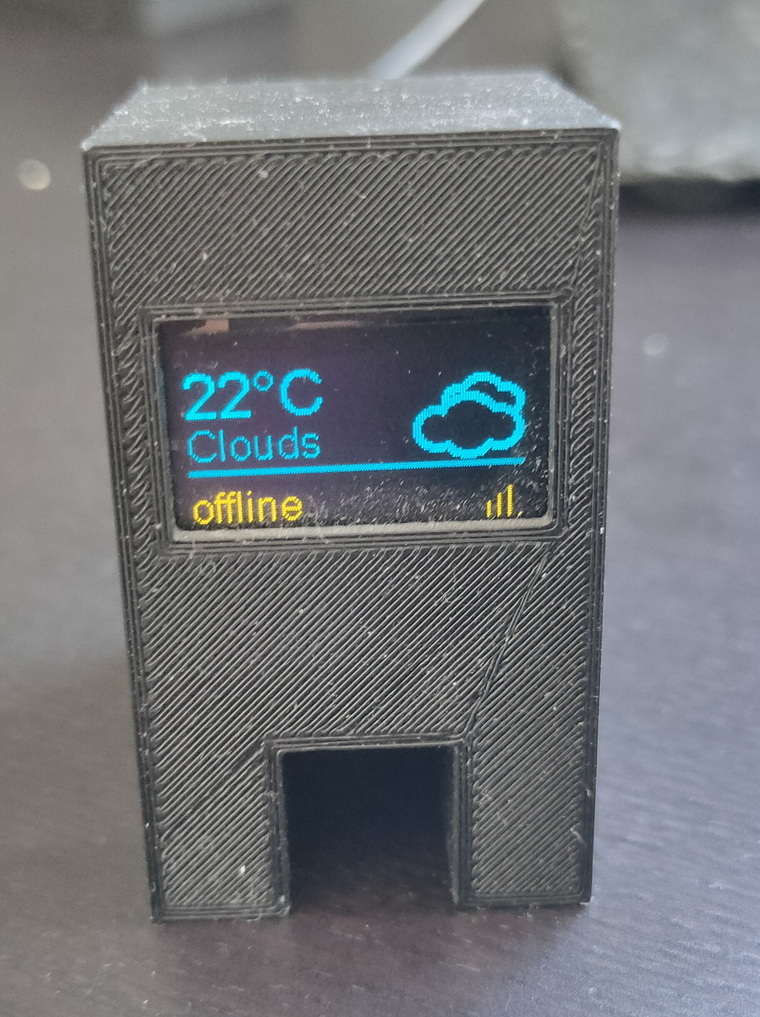
There are several oled displays, mostly controllable with i2c but some of them are SPI

SSD1306 – I2c connected
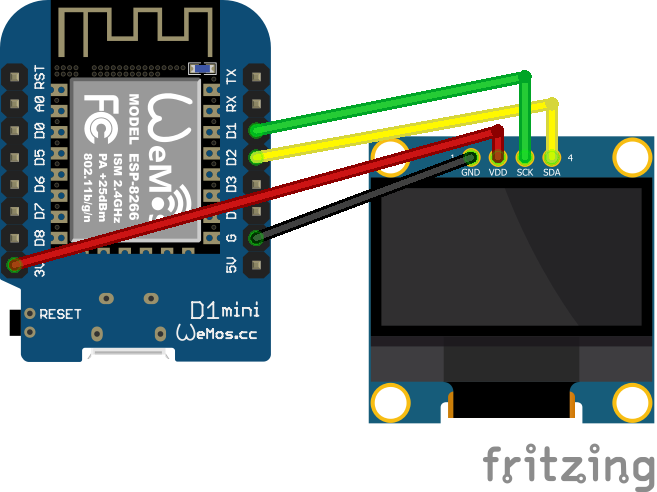
Using a wemos – Octoprint project for example
Octoprint (Note: this is NOT a multicolor display 1/4 of the display is yellow. )
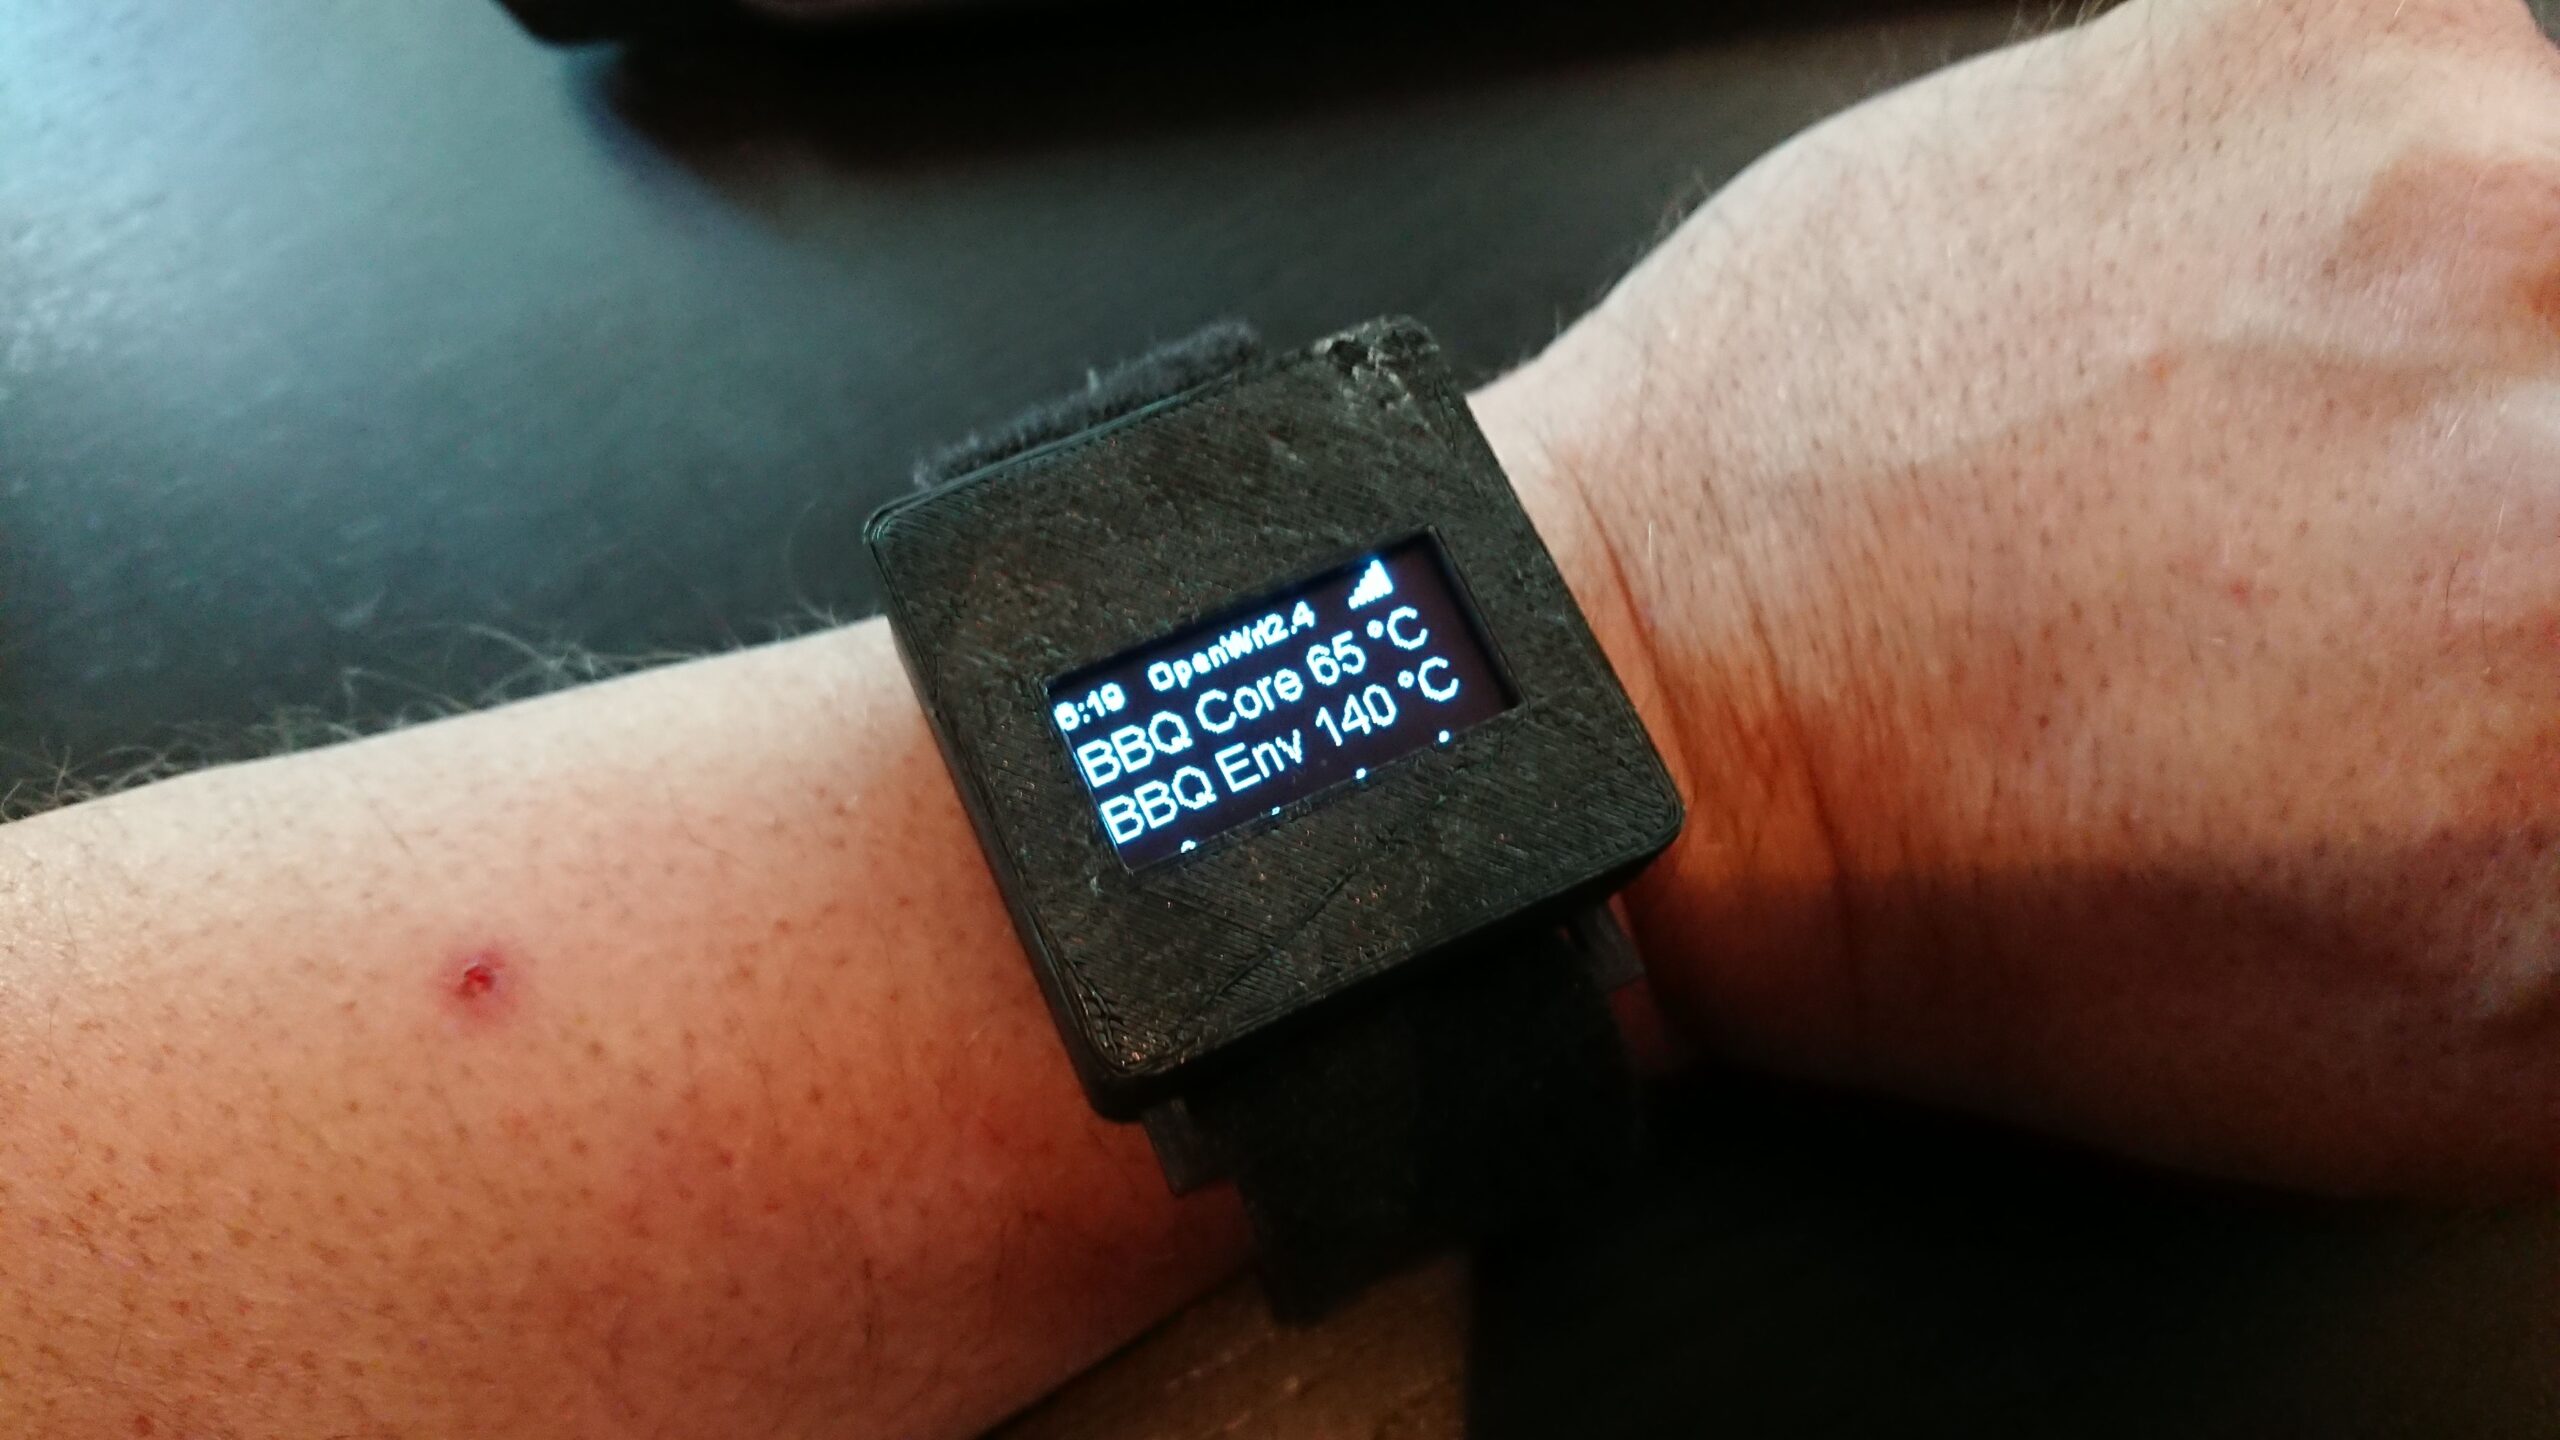
My notification watch. Runs on a ESP12F connects to Wifi, has a piezo sound element
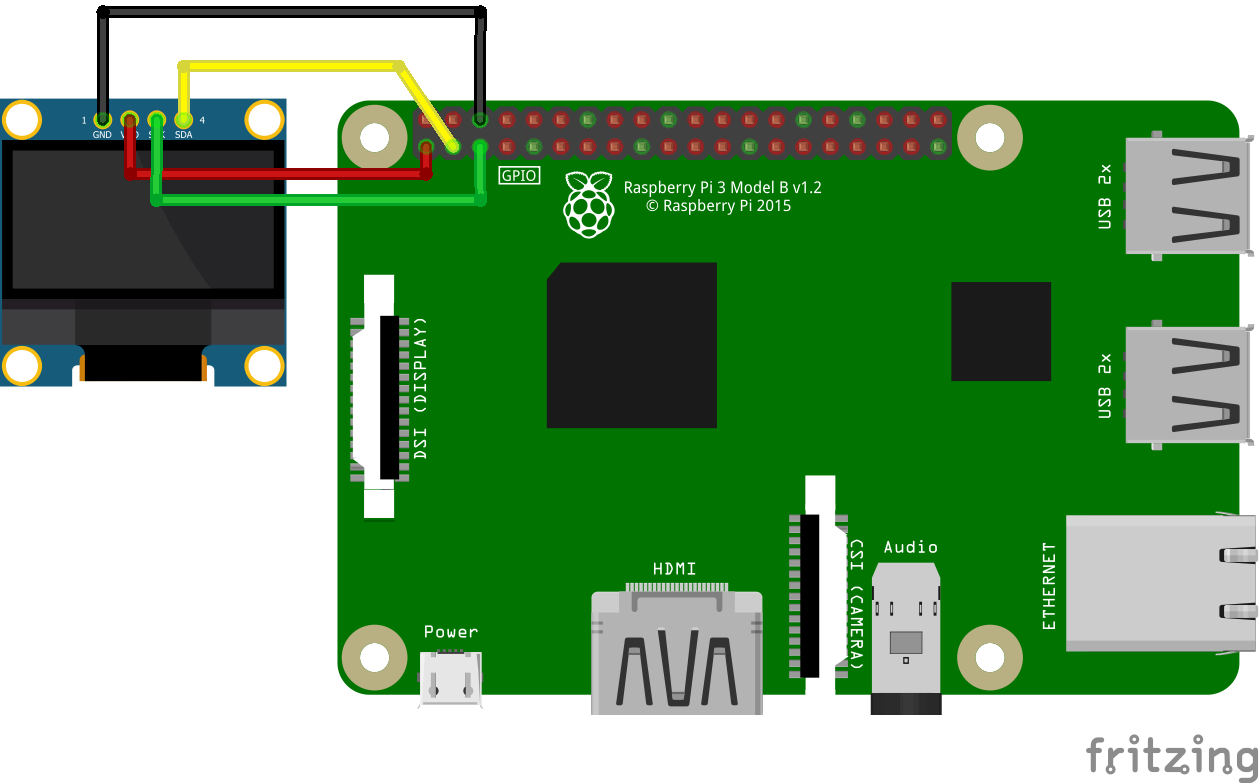
Using a raspberry (Part of my Lab Sensors Project)
pip3 install adafruit-circuitpython-ssd1306
git clone https://github.com/adafruit/Adafruit_Python_SSD1306 (old)
Edit file - comment SPI section

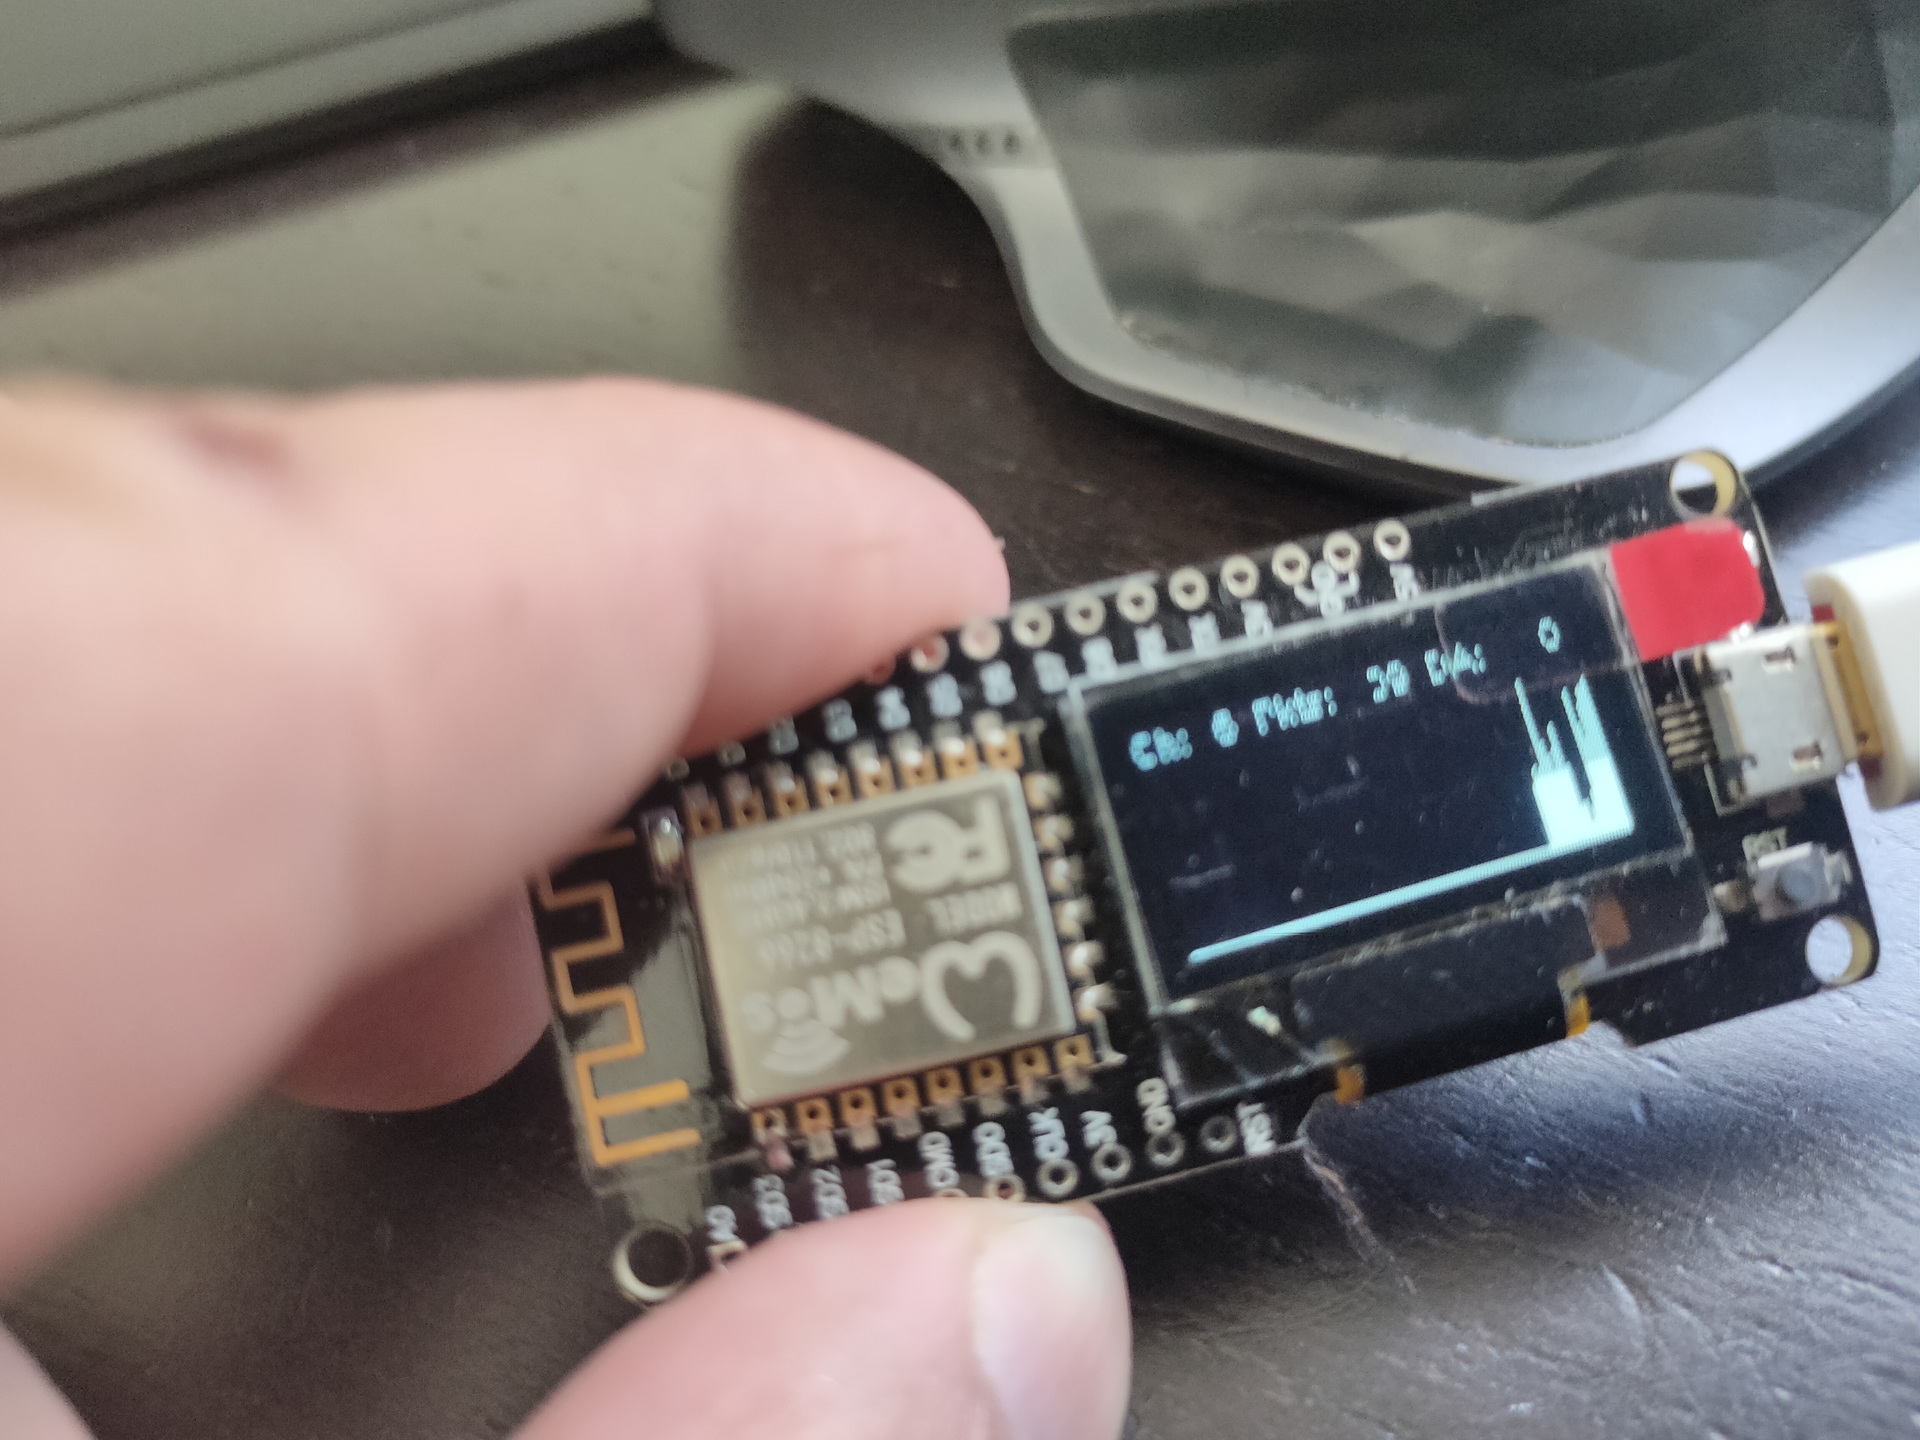
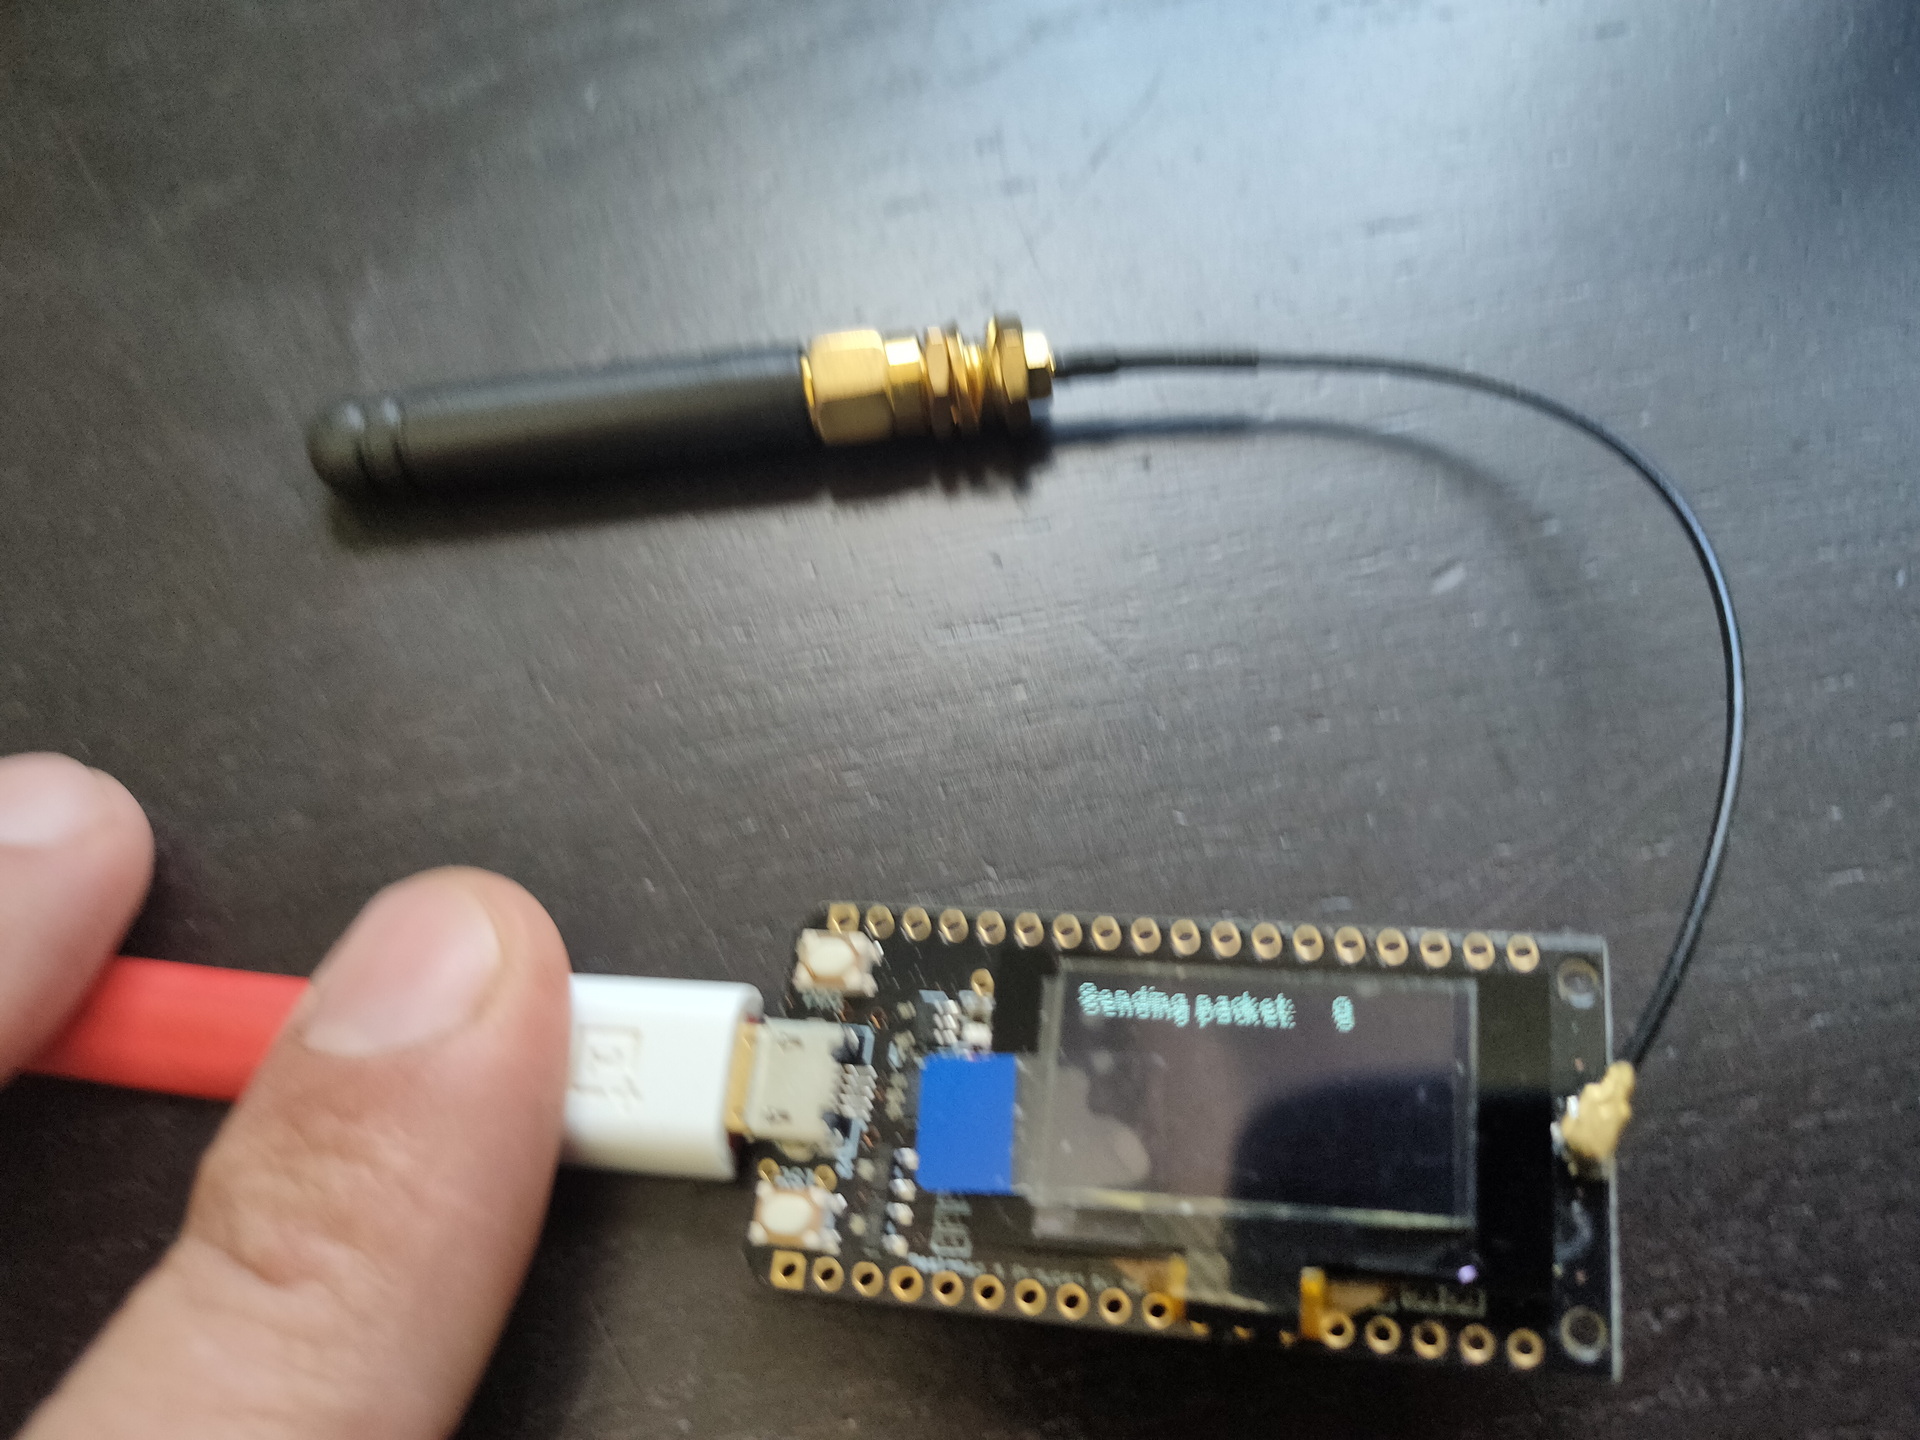
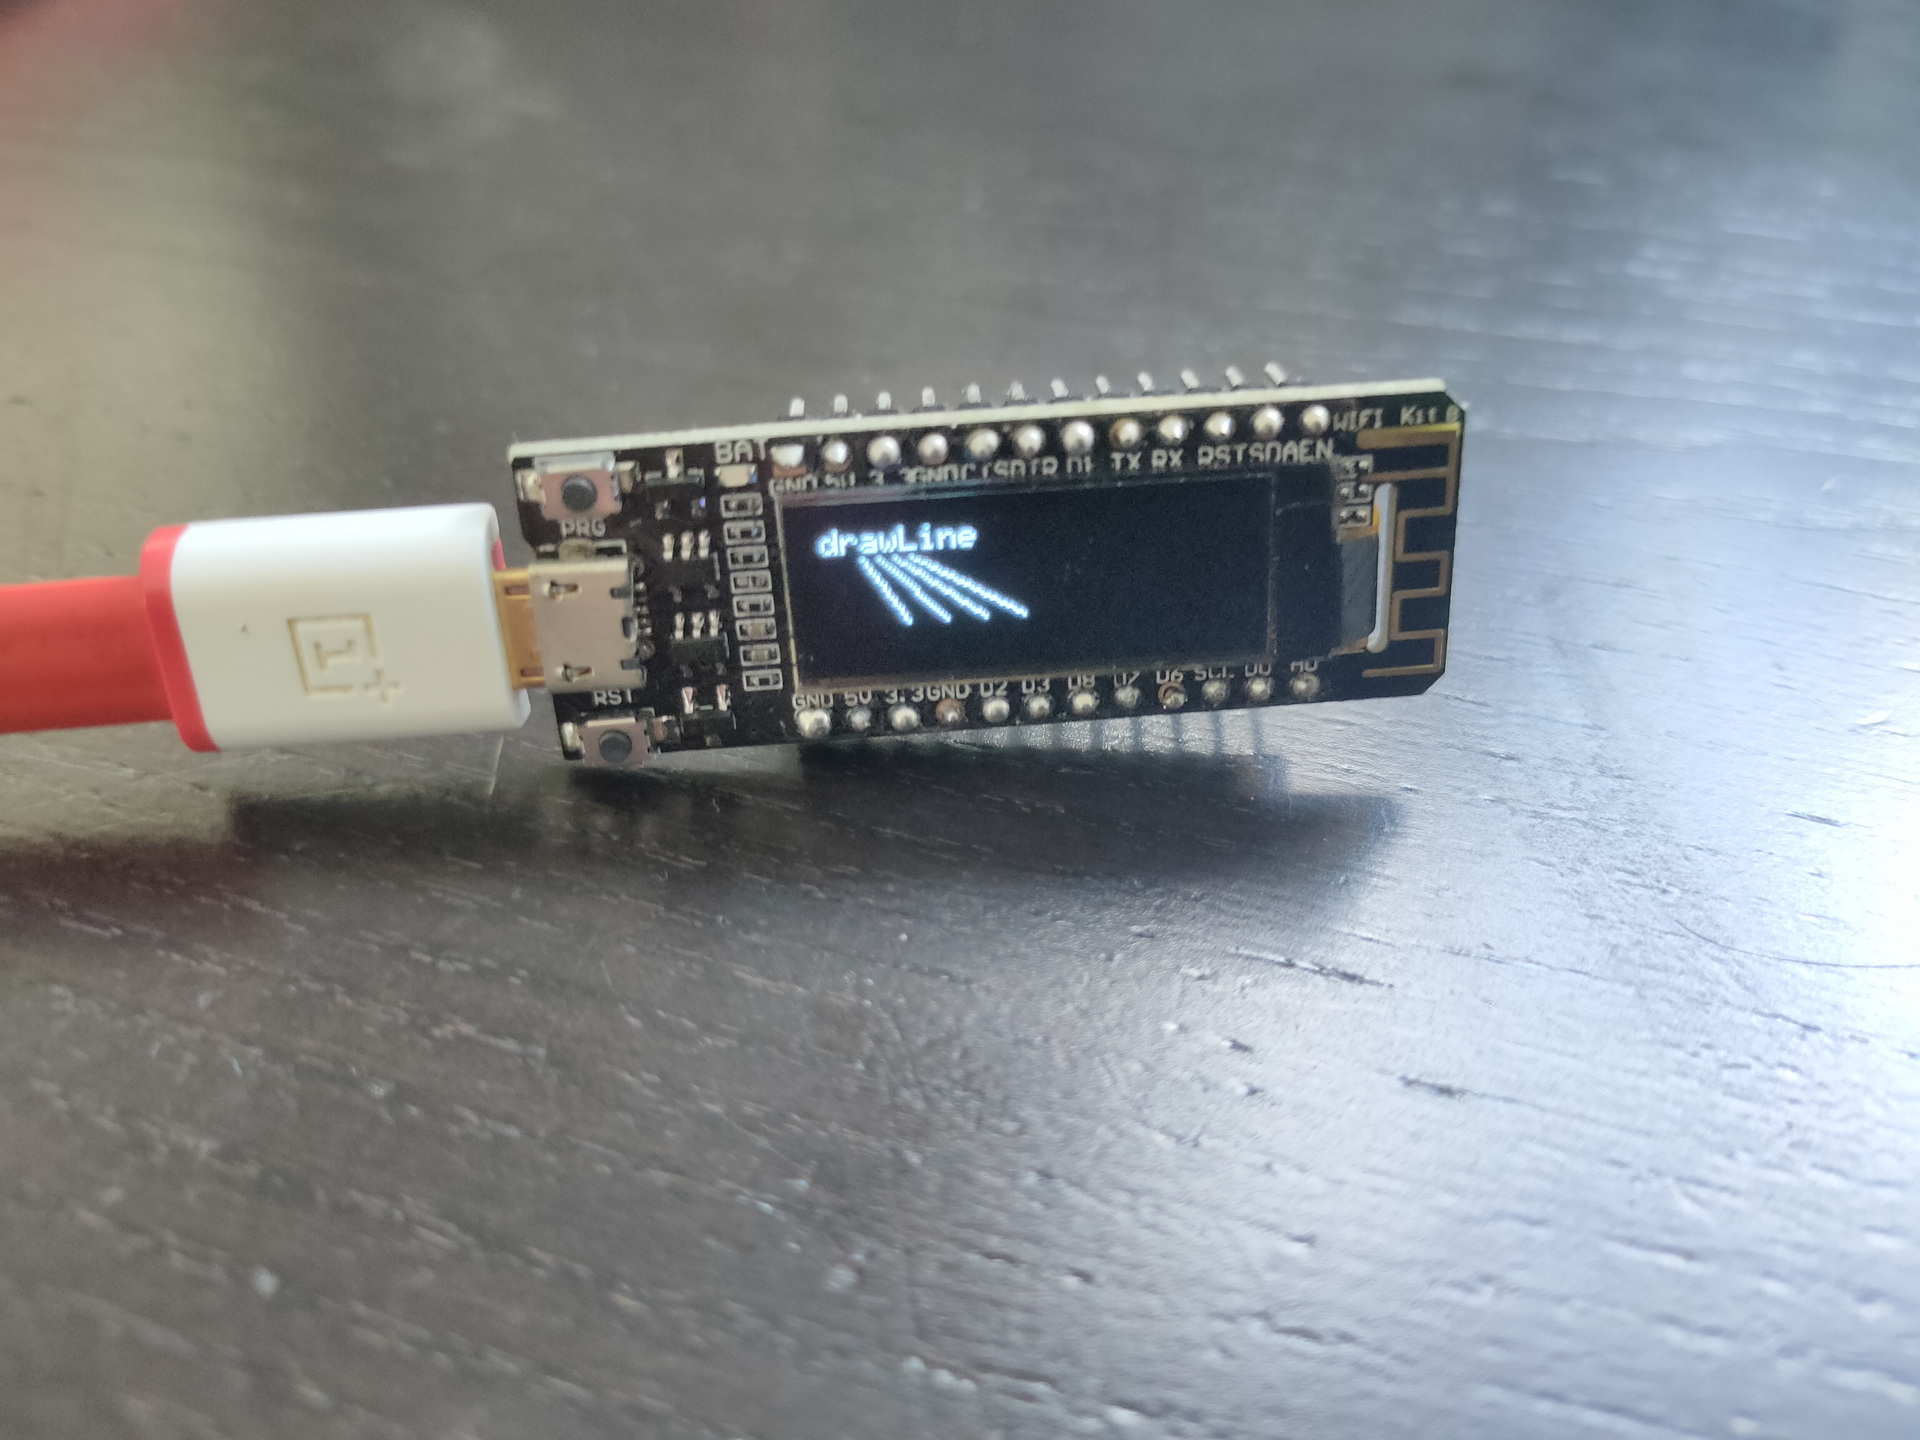
Some arduino’s have embedded displays like those i’ve used for a Lora project.
Other means of connecting : SPI
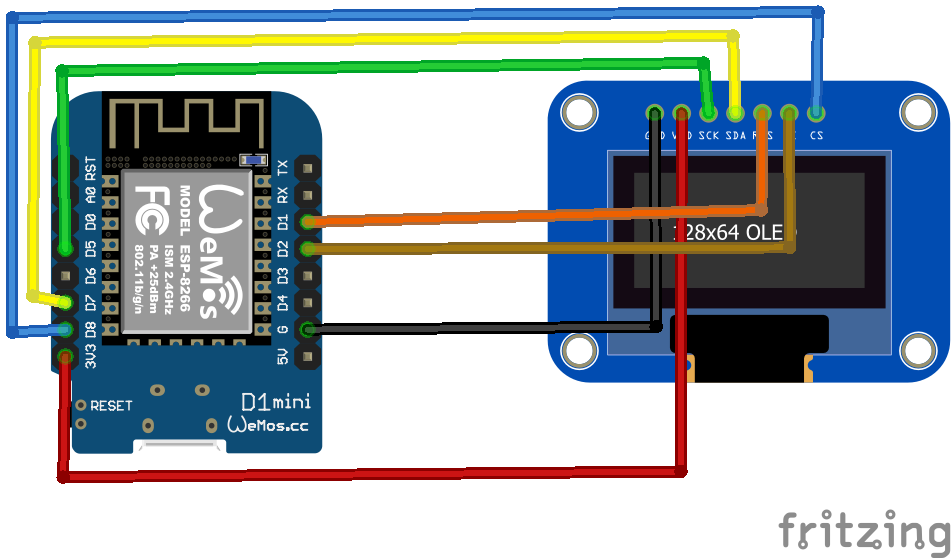
SPI connected display

Nextion

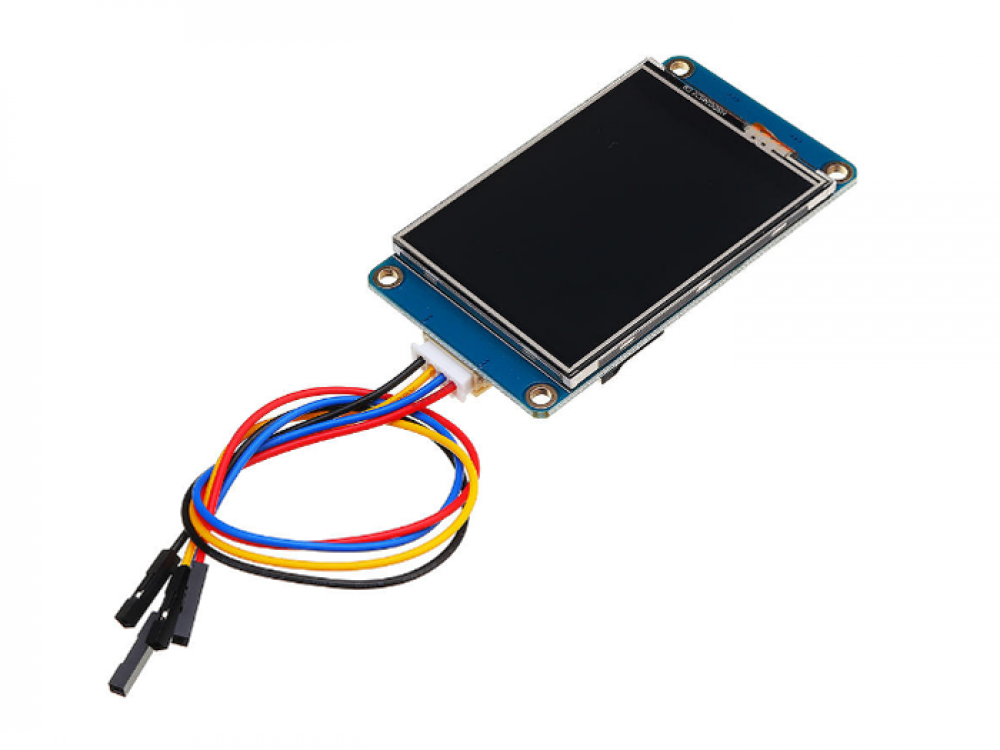
Nextion is a Human Machine Interface (HMI) solution combining an onboard processor and memory touch display with Nextion Editor software for HMI GUI project development.

Using the Nextion Editor software, you can quickly develop the HMI GUI by drag-and-drop components (graphics, text, button, slider, etc.) and ASCII text-based instructions for coding how components interact on the display side.

Nextion HMI display connects to peripheral MCU via TTL Serial (5V, TX, RX, GND) to provide event notifications that peripheral MCU can act on, the peripheral MCU can easily update progress, and status back to Nextion display utilizing simple ASCII text-based instructions.
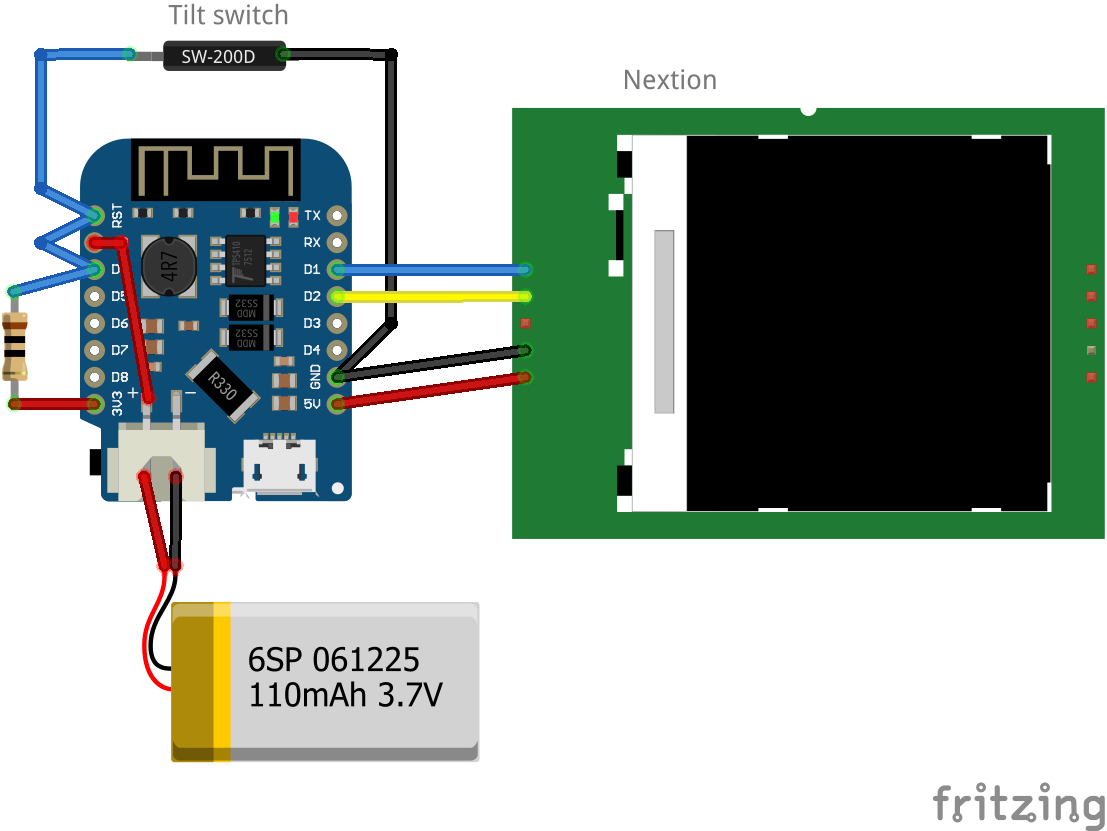
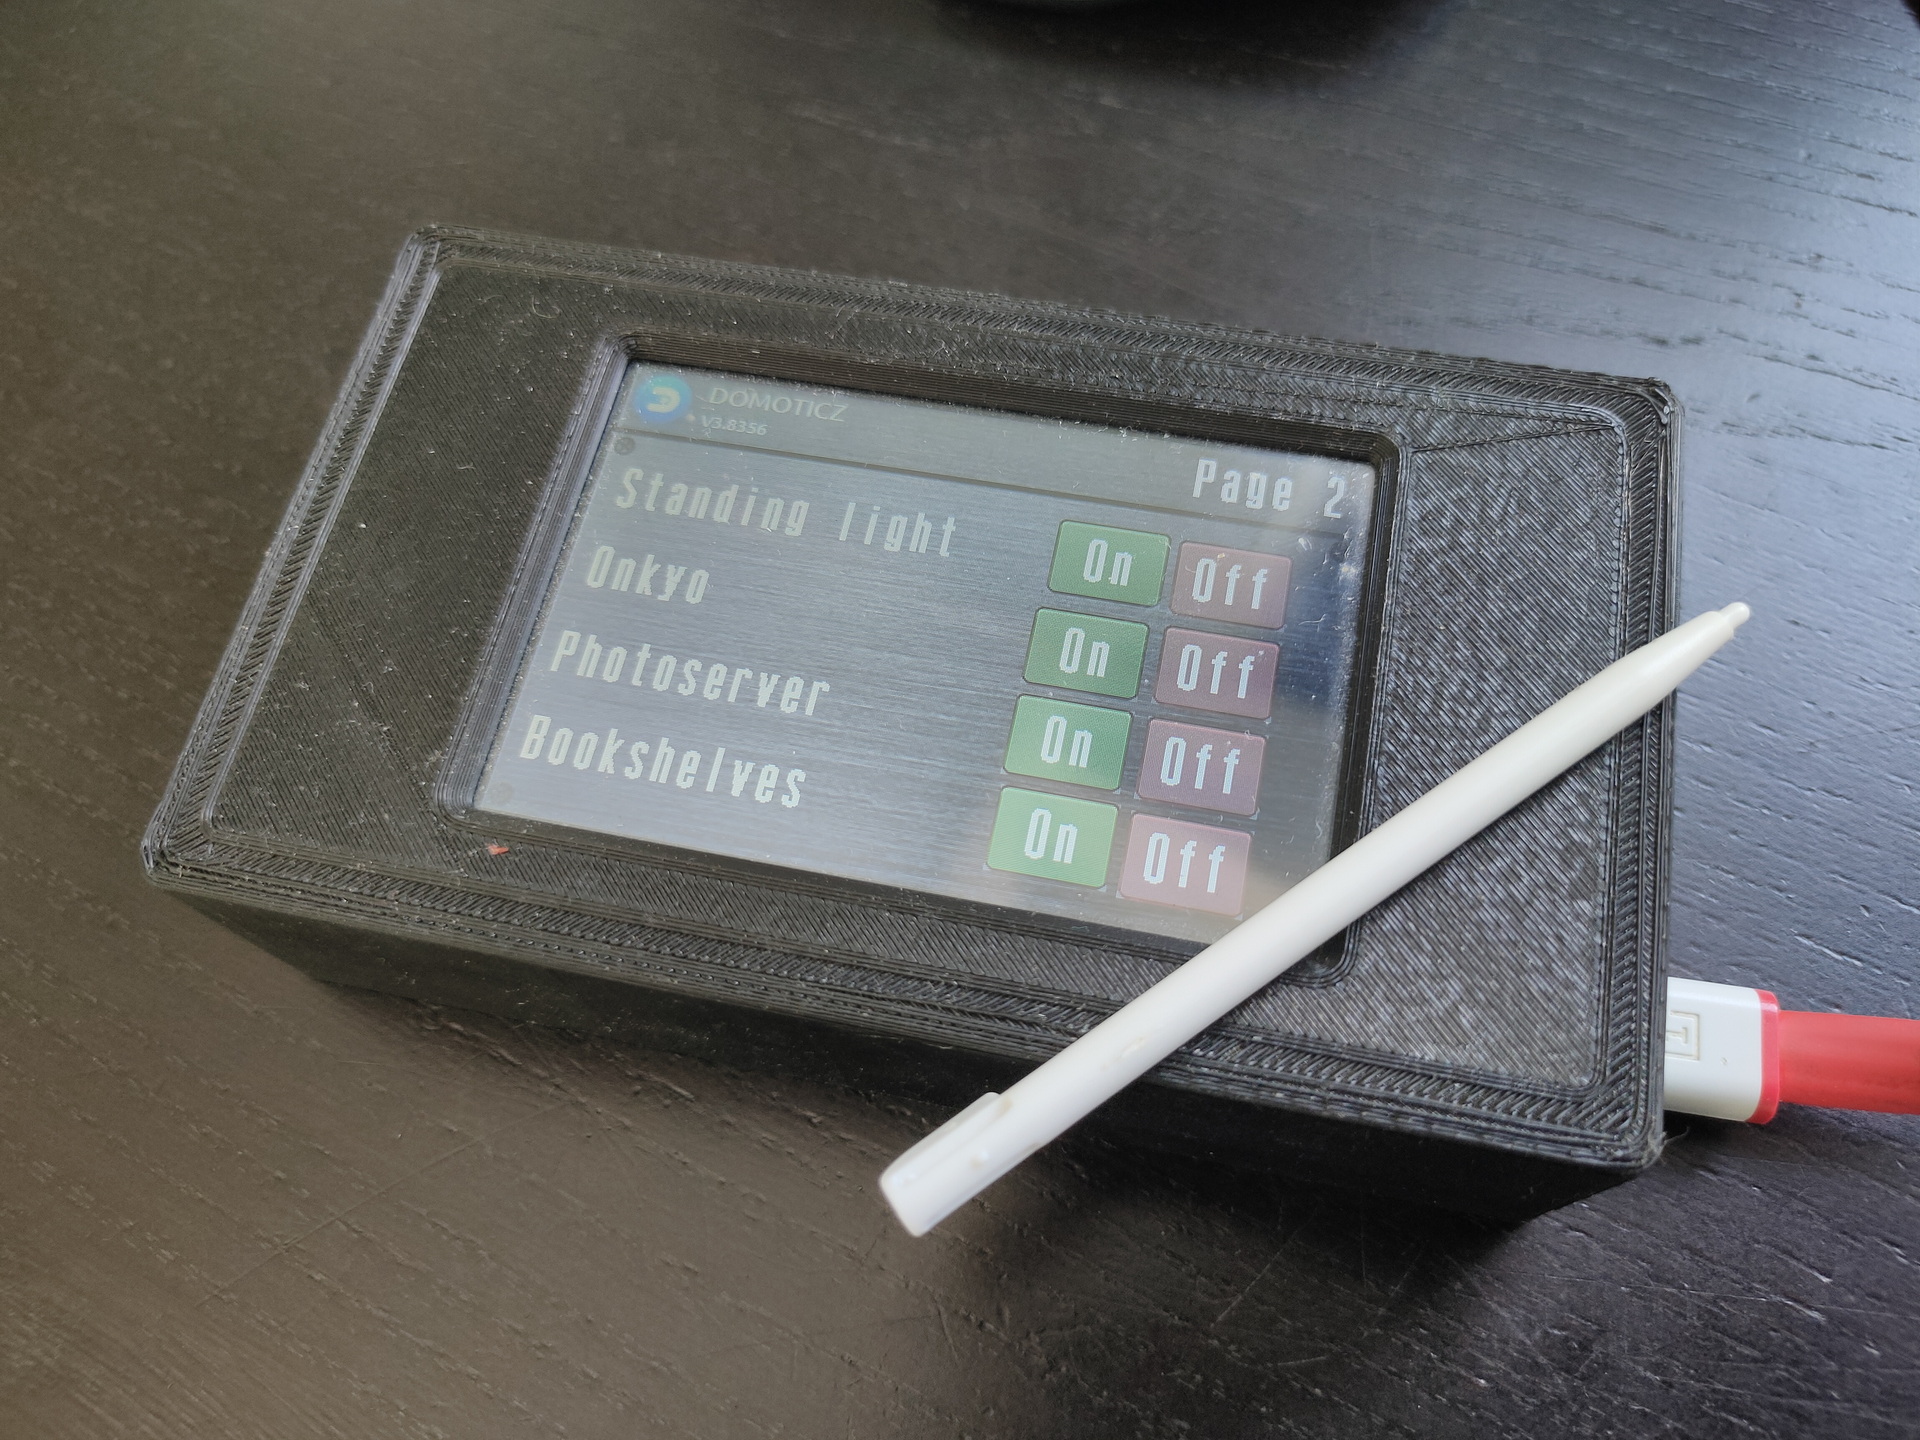
My nextion domoticz box, tilt to wakeup
Domoticz controller

My biltong box using a Nextion

Raspberry displays

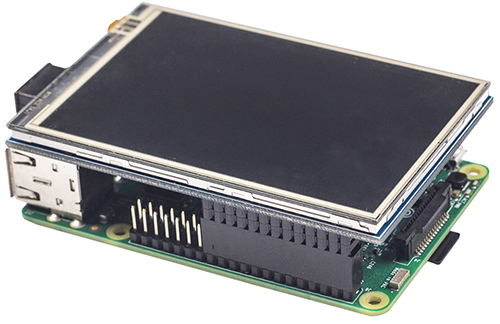
 3.5inch RPi Display – 480×320 Pixel – XPT2046 Touch Controller
edit cmdline.txt
add "fbcon=map:10 fbcon=font:ProFont6x11 logo.nologo"
at the end
edit config.txt
add between custom comments at the bottom
dtoverlay=piscreen,speed=24000000,rotate=90
# Or check http://www.lcdwiki.com/3.5inch_RPi_Display

Above display’s i’ve used for Picore Players and the Lidar POC

To try: Getting above display running with a arduino
https://github.com/PaulStoffregen/XPT2046_Touchscreen

Raspberry HDMI display
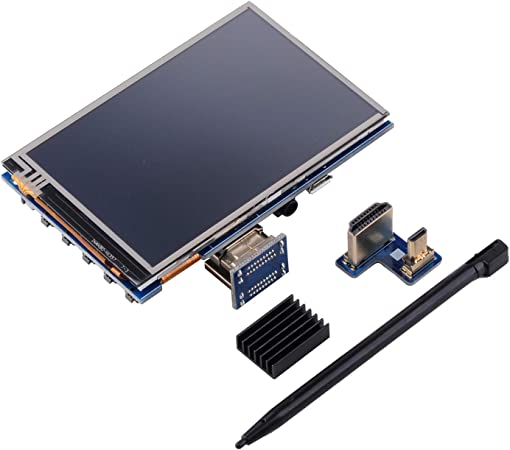
Easiest of them all, just connect with HDMI, there is a adaptor for hdmi-hdmi (versions 1,2,3) and hdmi-mini-hdmi for RPi4 variants.

Epaper and 7-Segment displays

Other means of displaying information are for example

Epaper
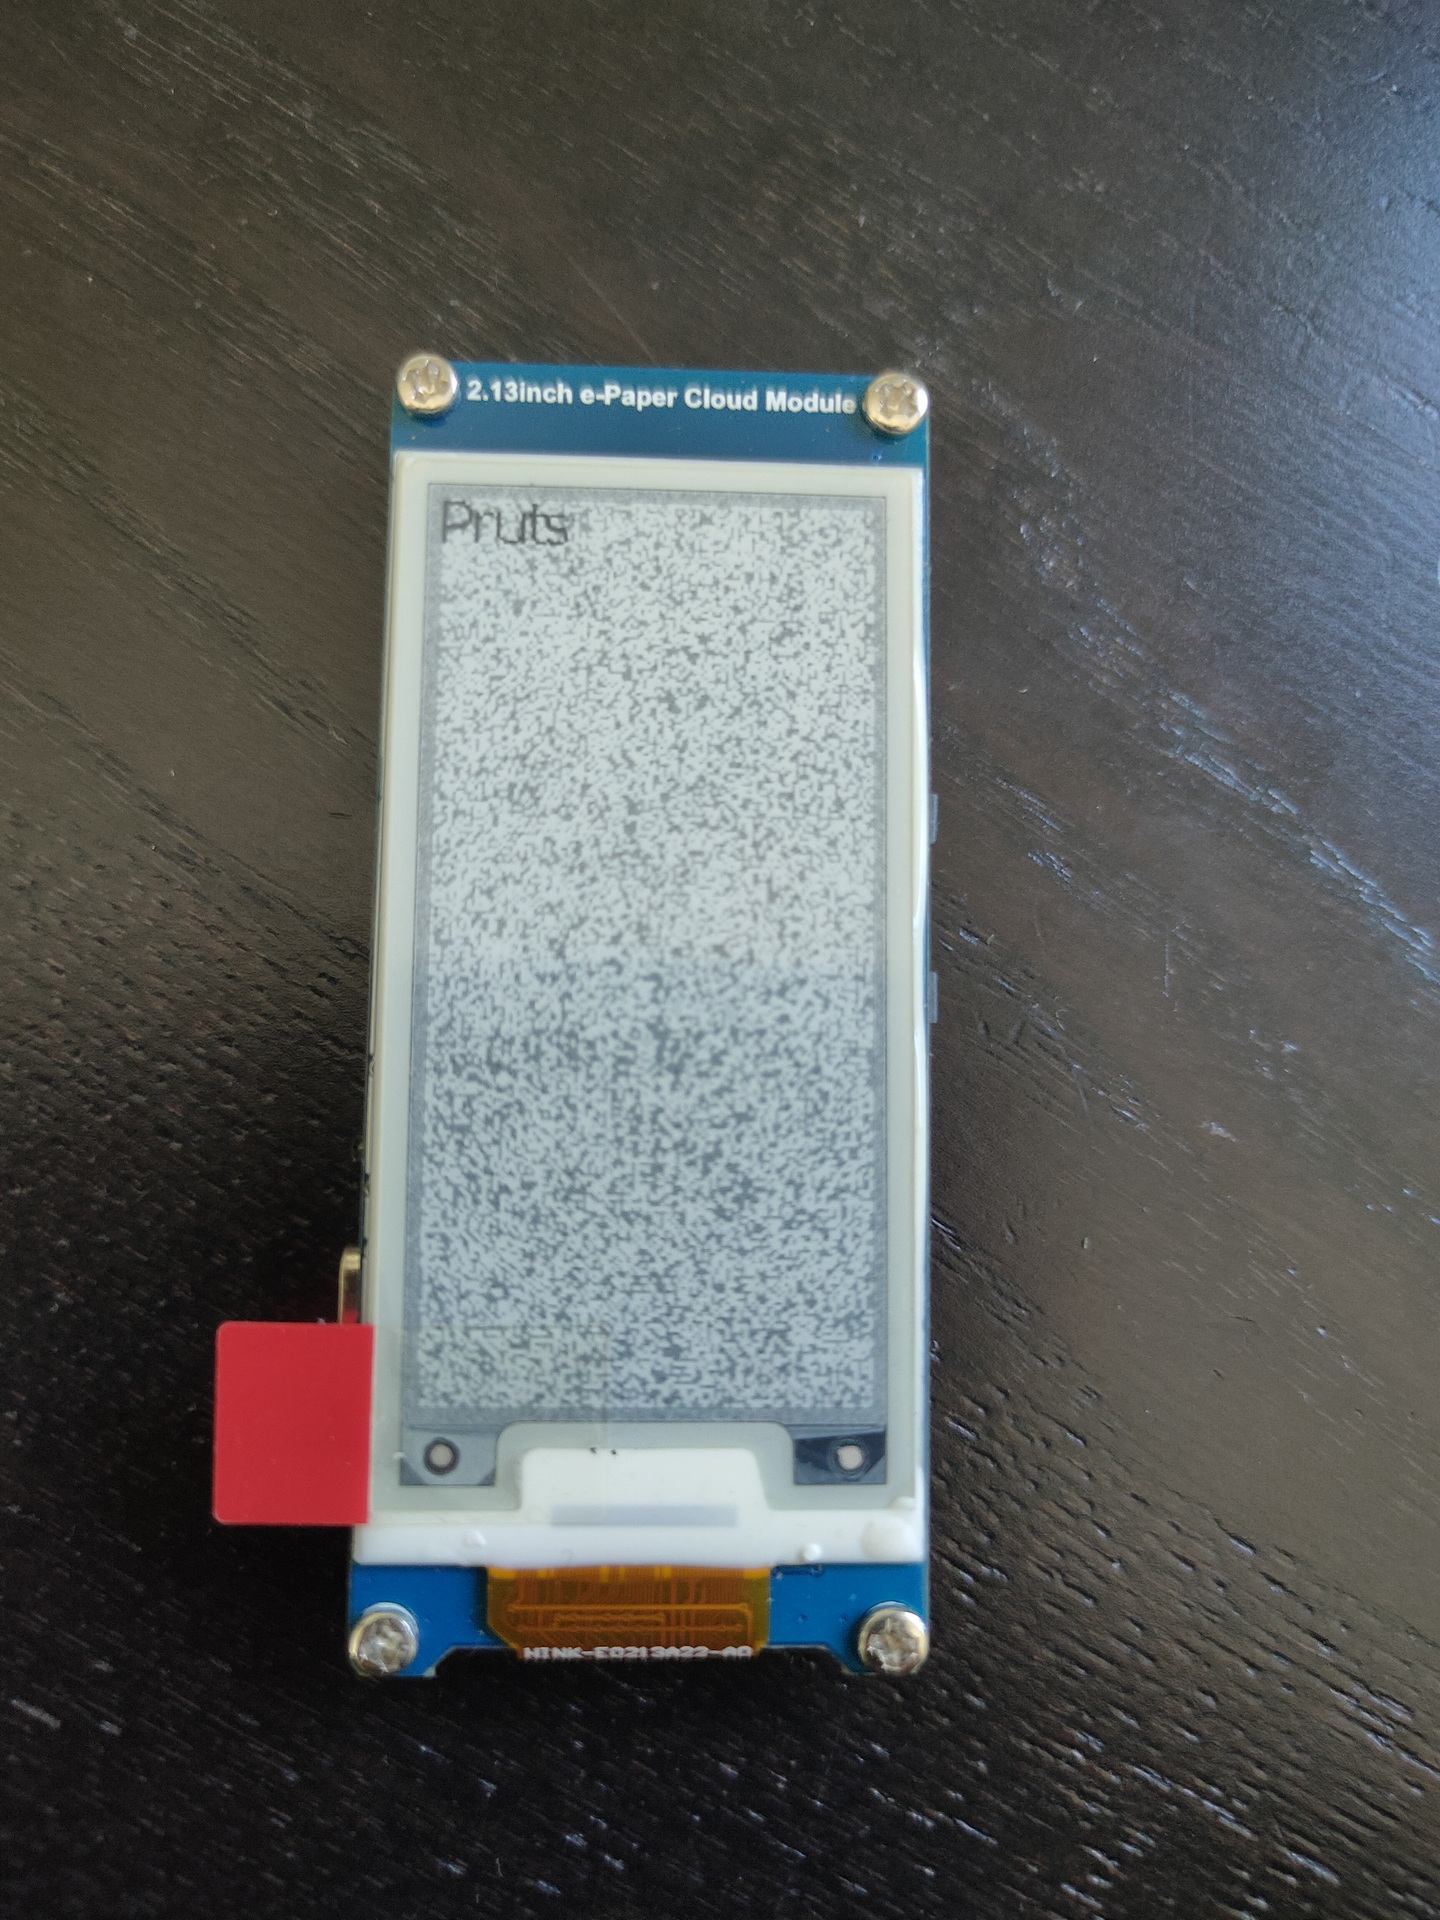
ESP with epaper module, disconnected power for a while, artifacts appear.

7 Segment displays

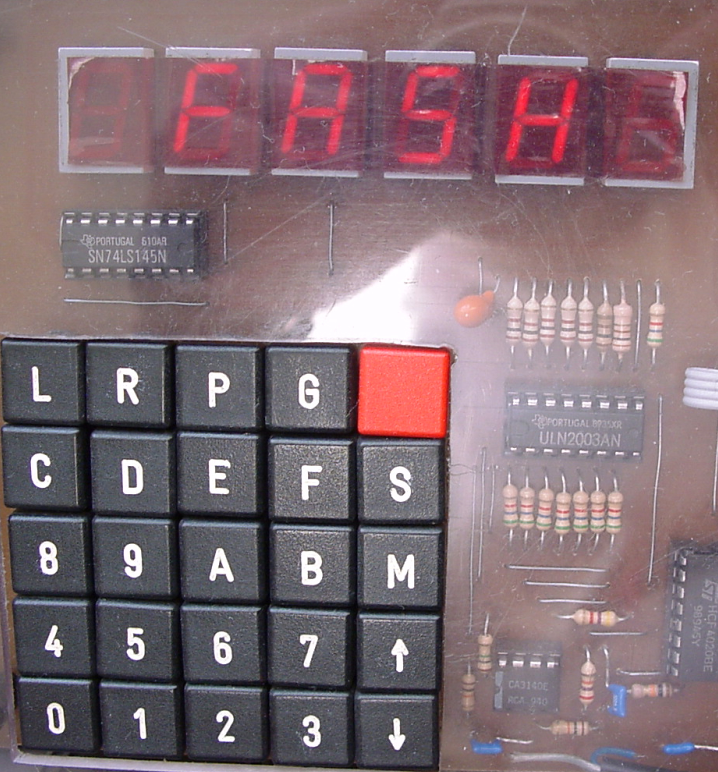
I used a lot of 7-Segment display’s in the past. They look cool and are hardcore.

My homebrew computer uses this
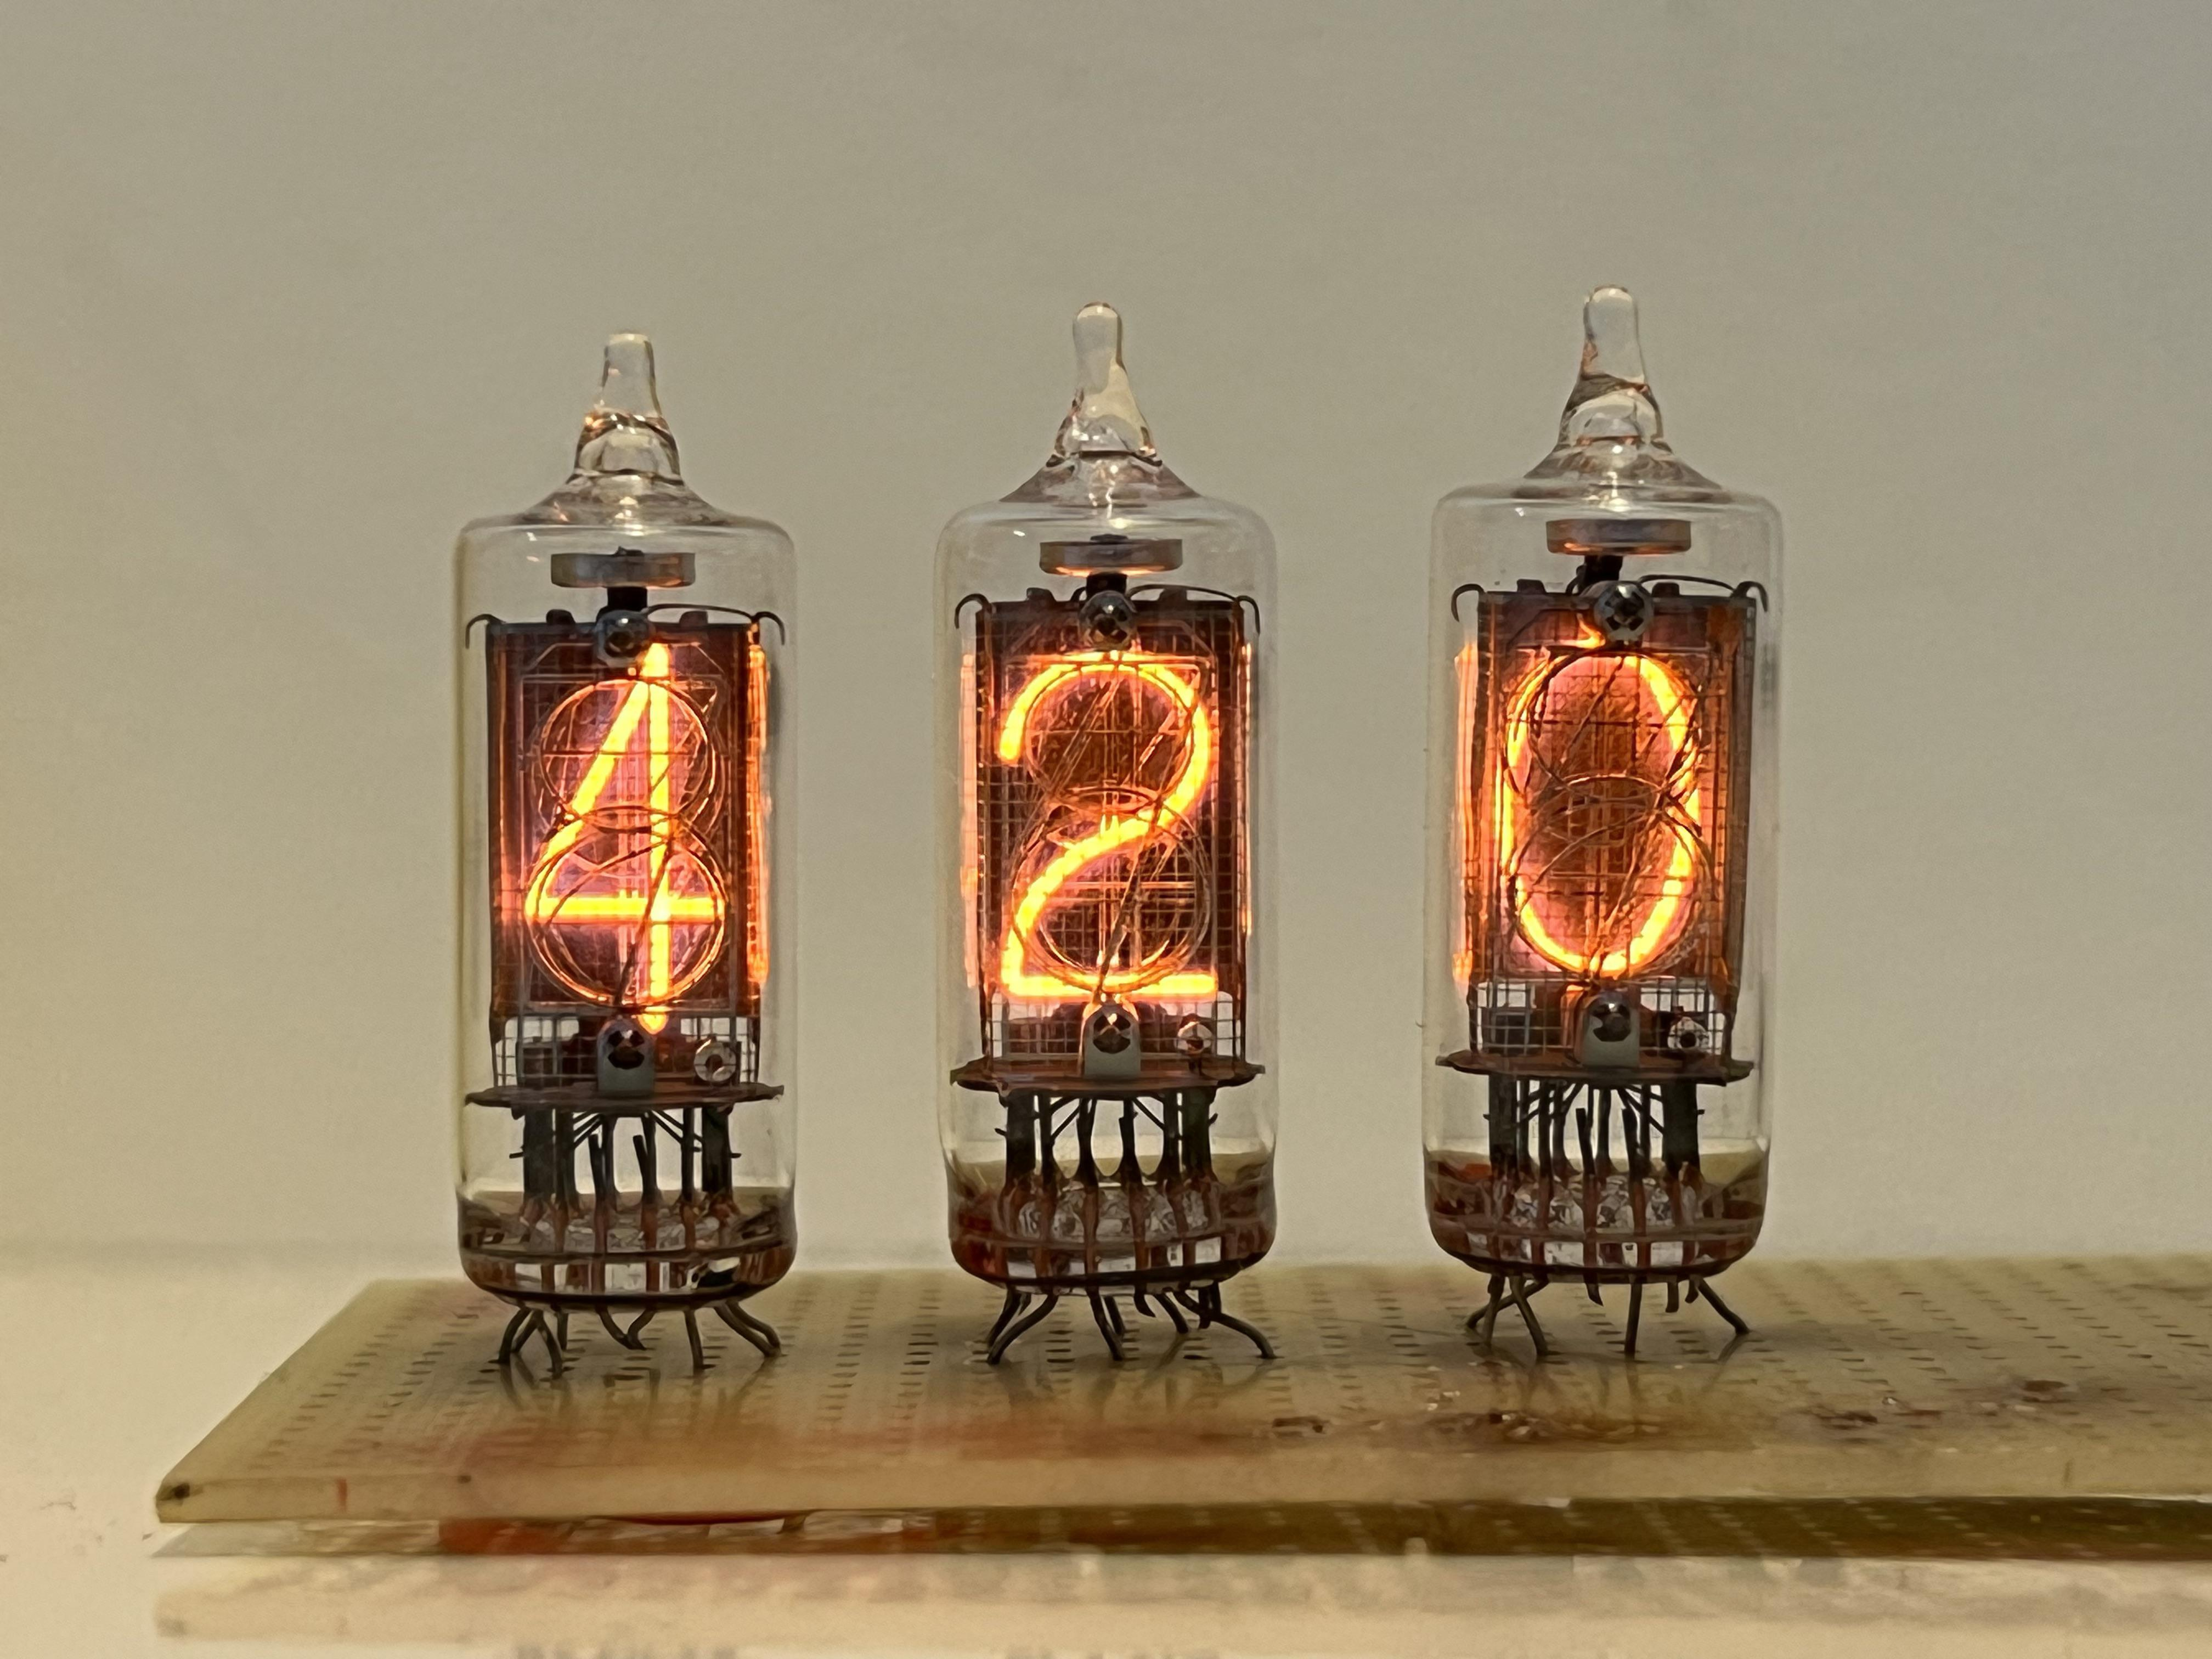
Nixie tubes!

And there are https://en.wikipedia.org/wiki/Nixie_tube .. I’ve never had those
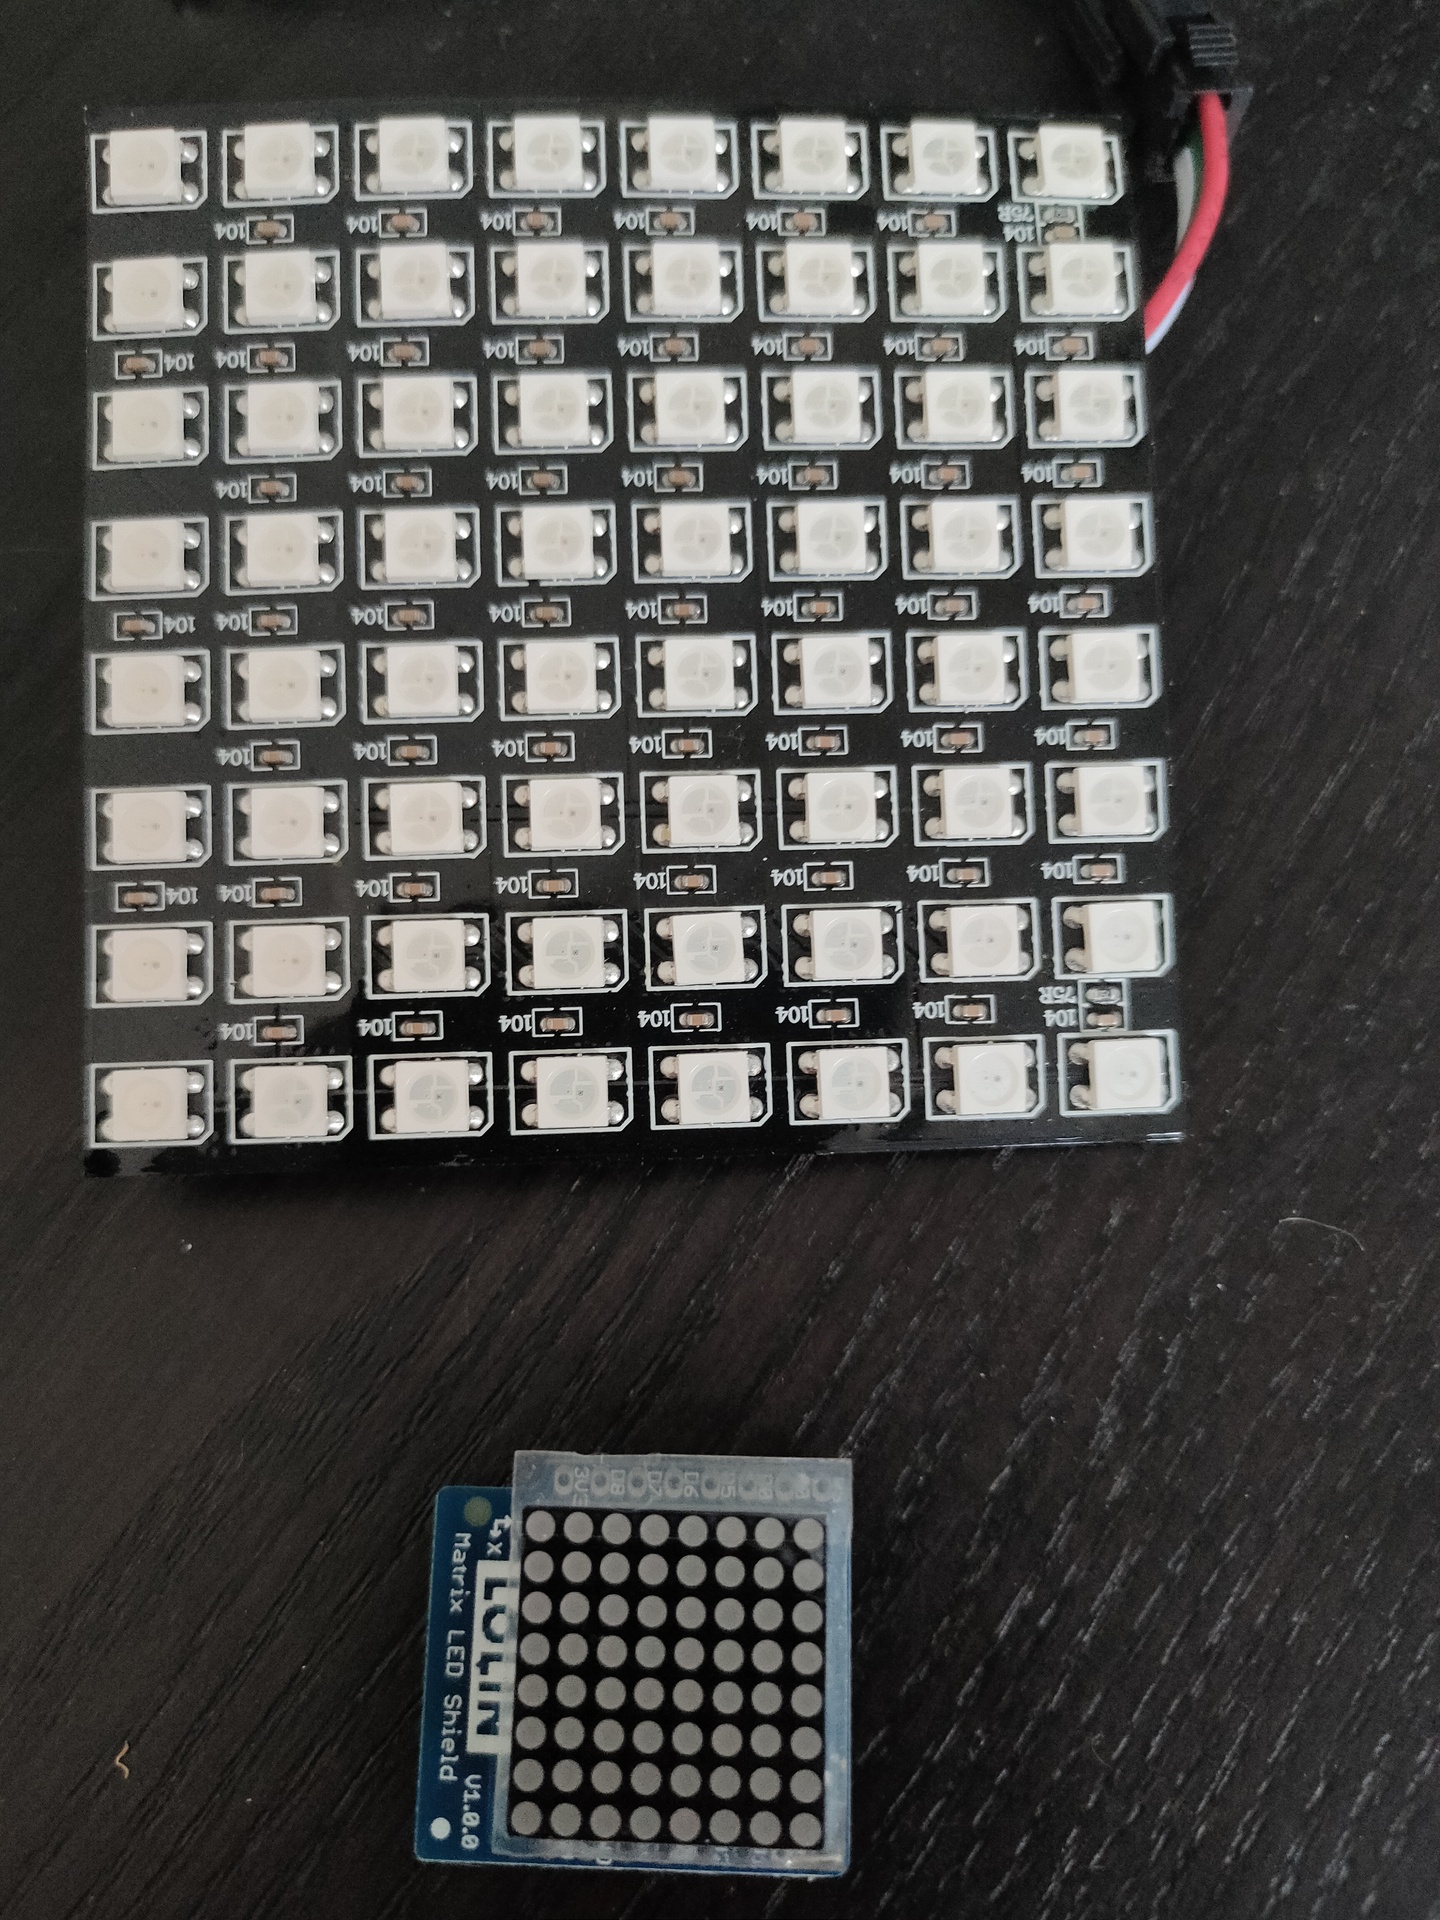
Above bigger 2D display i used with Wled and a digital microphone, so its sound reactive. The lower part i got in recently .
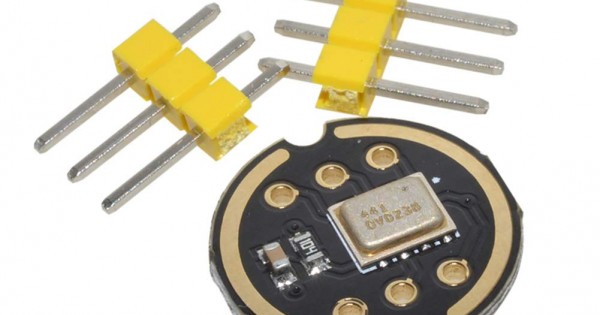
inmp441 digital microphone

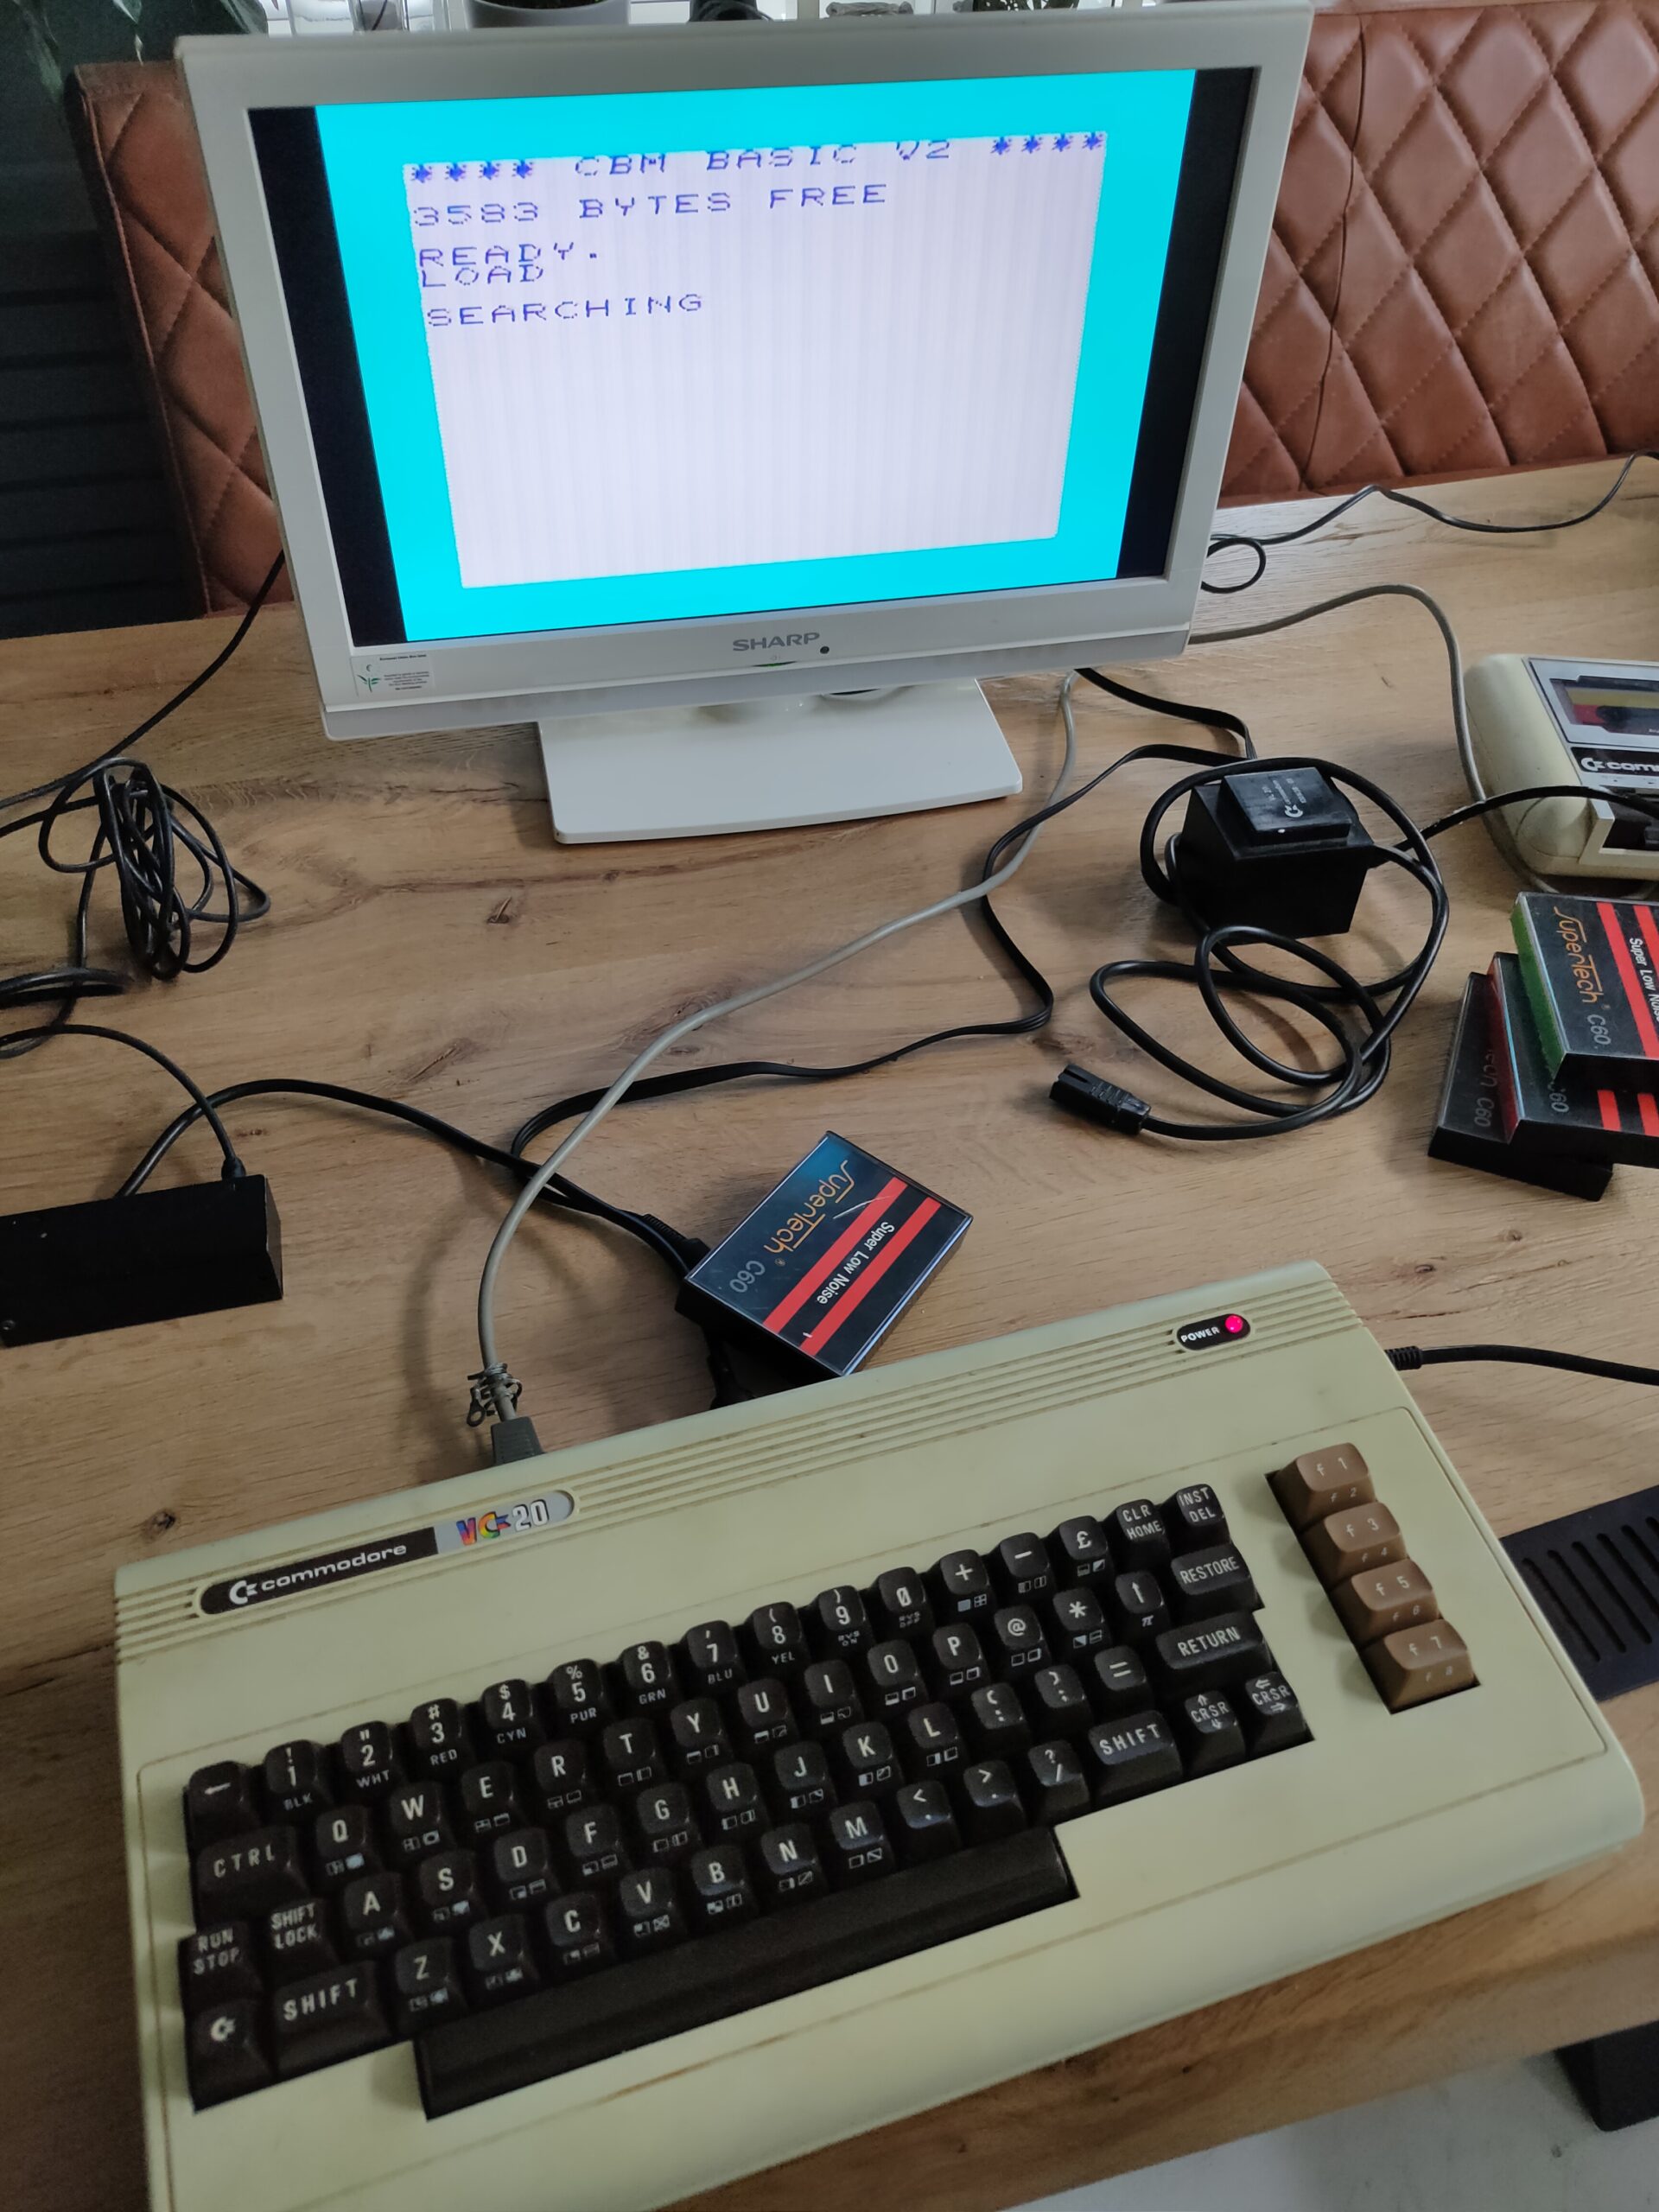
Commodore day

Update: 20220514 – Vic Graf cartridge and more

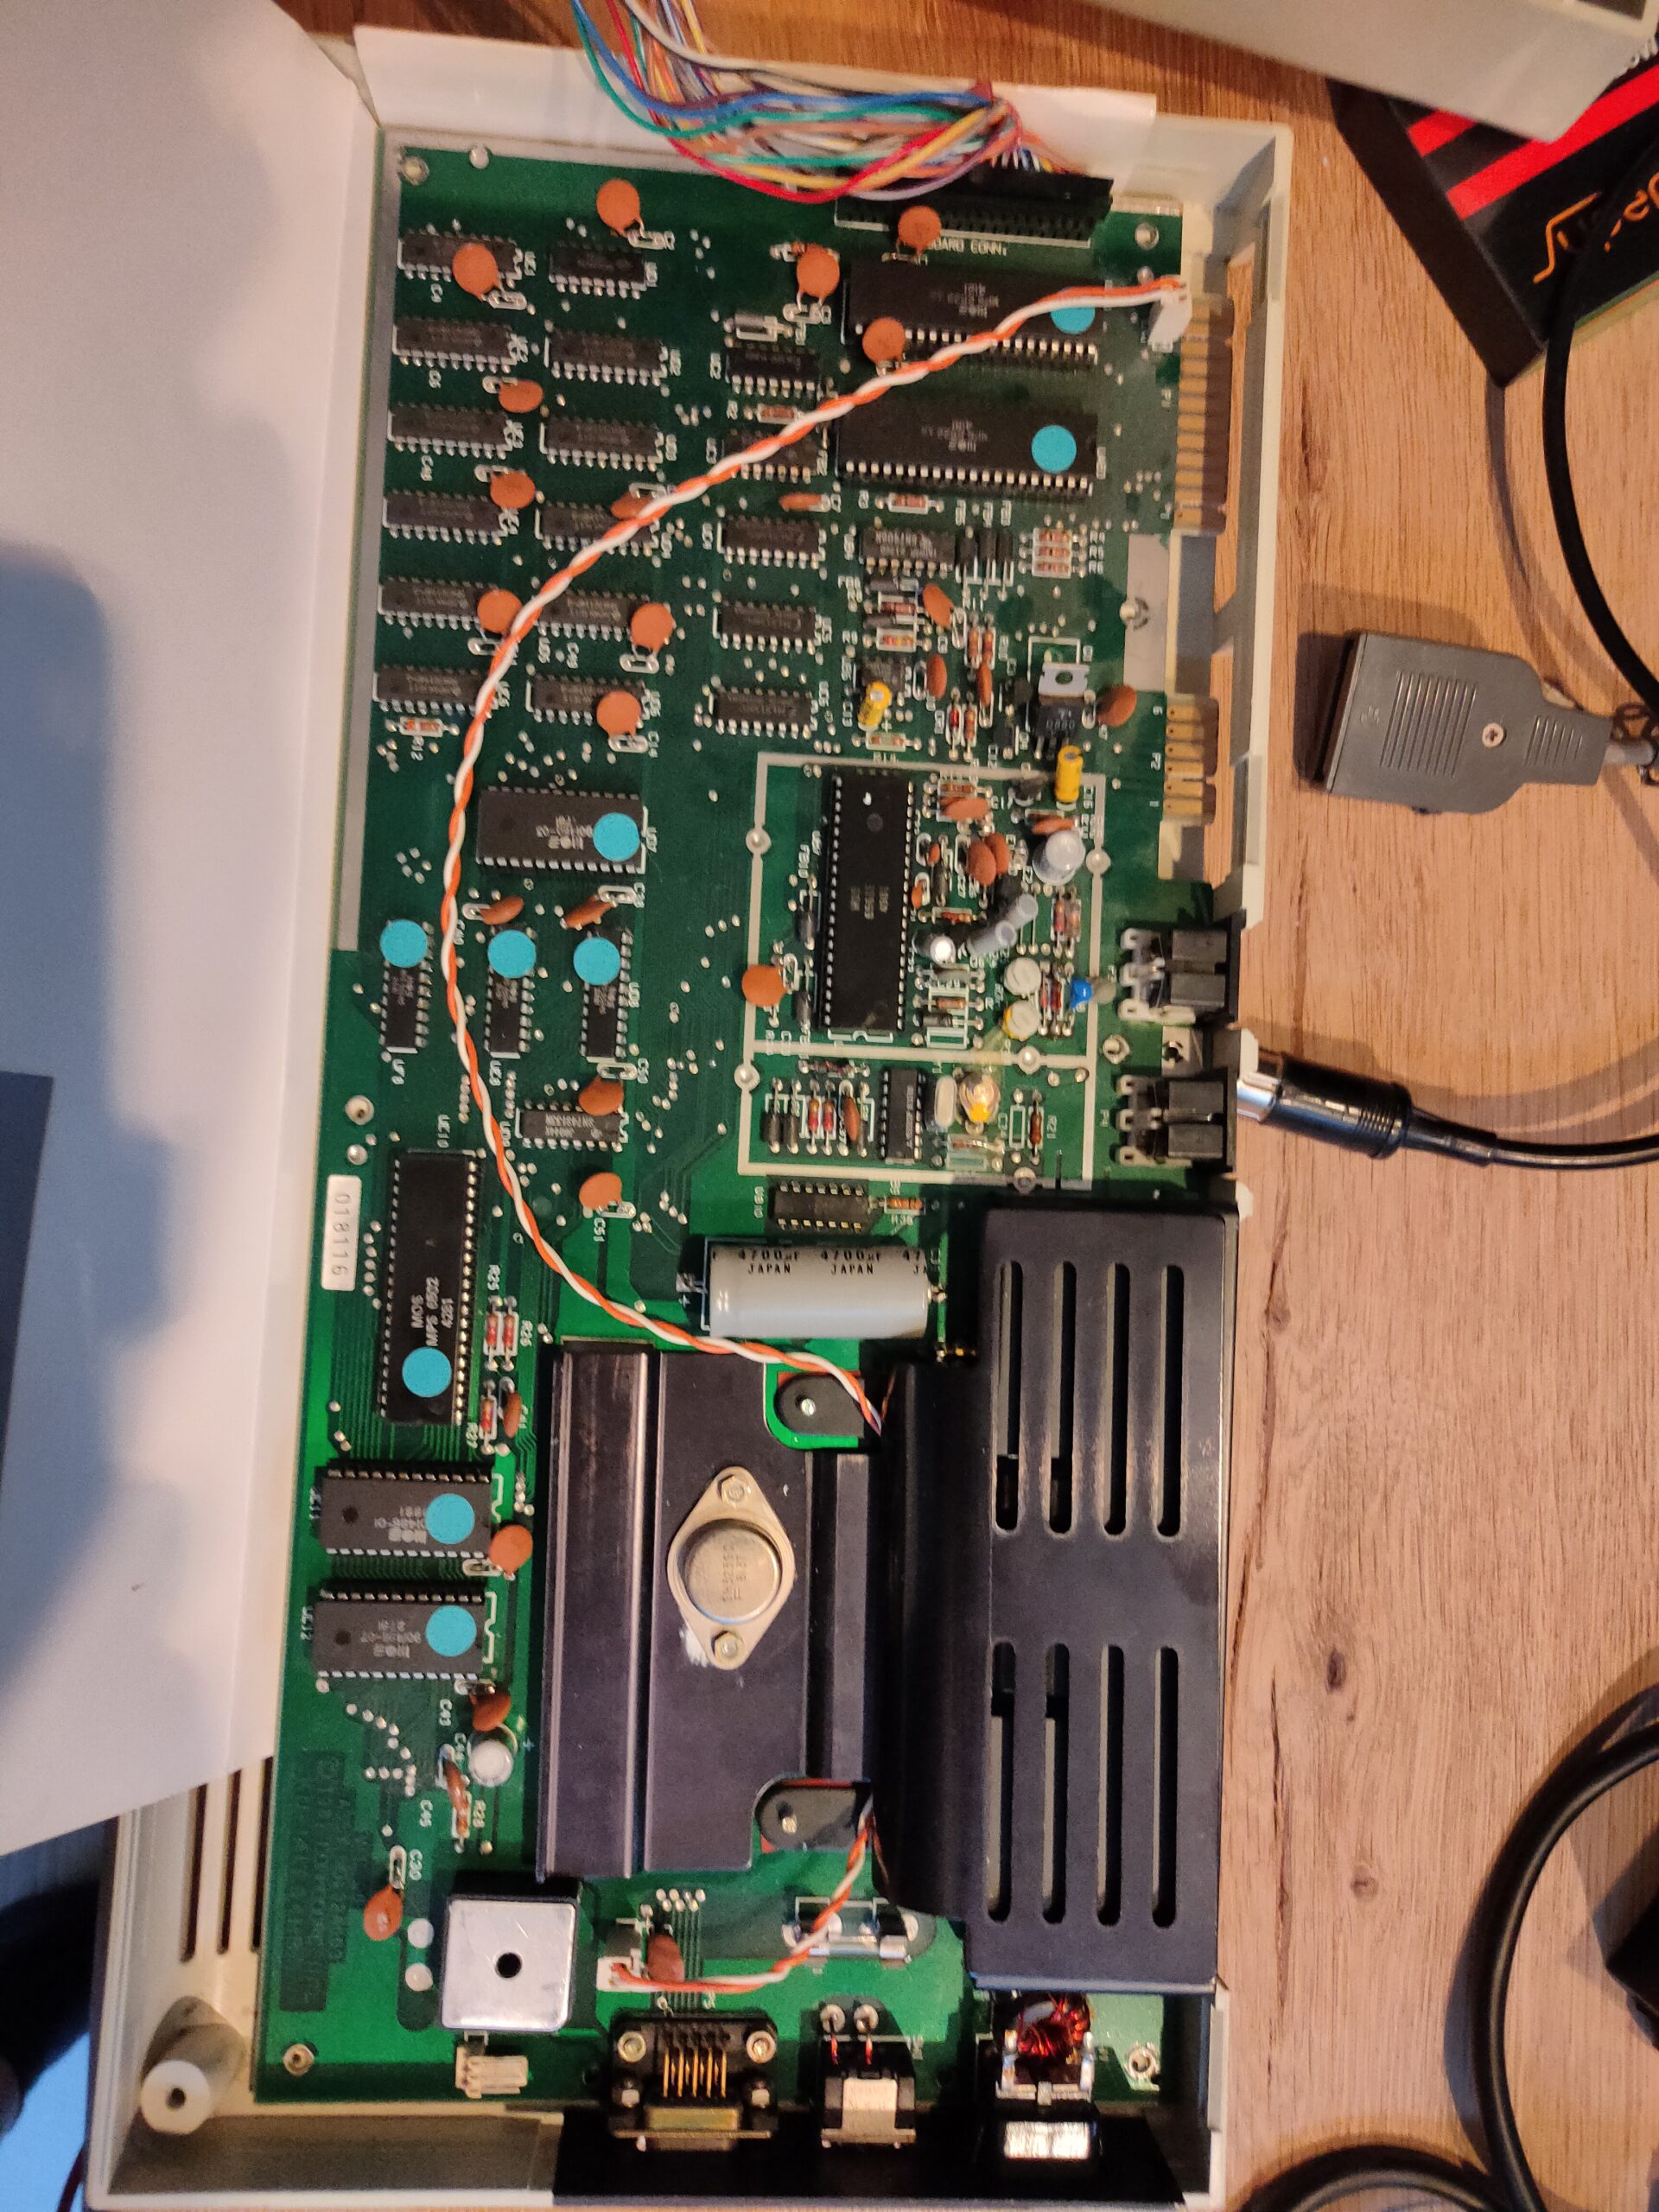
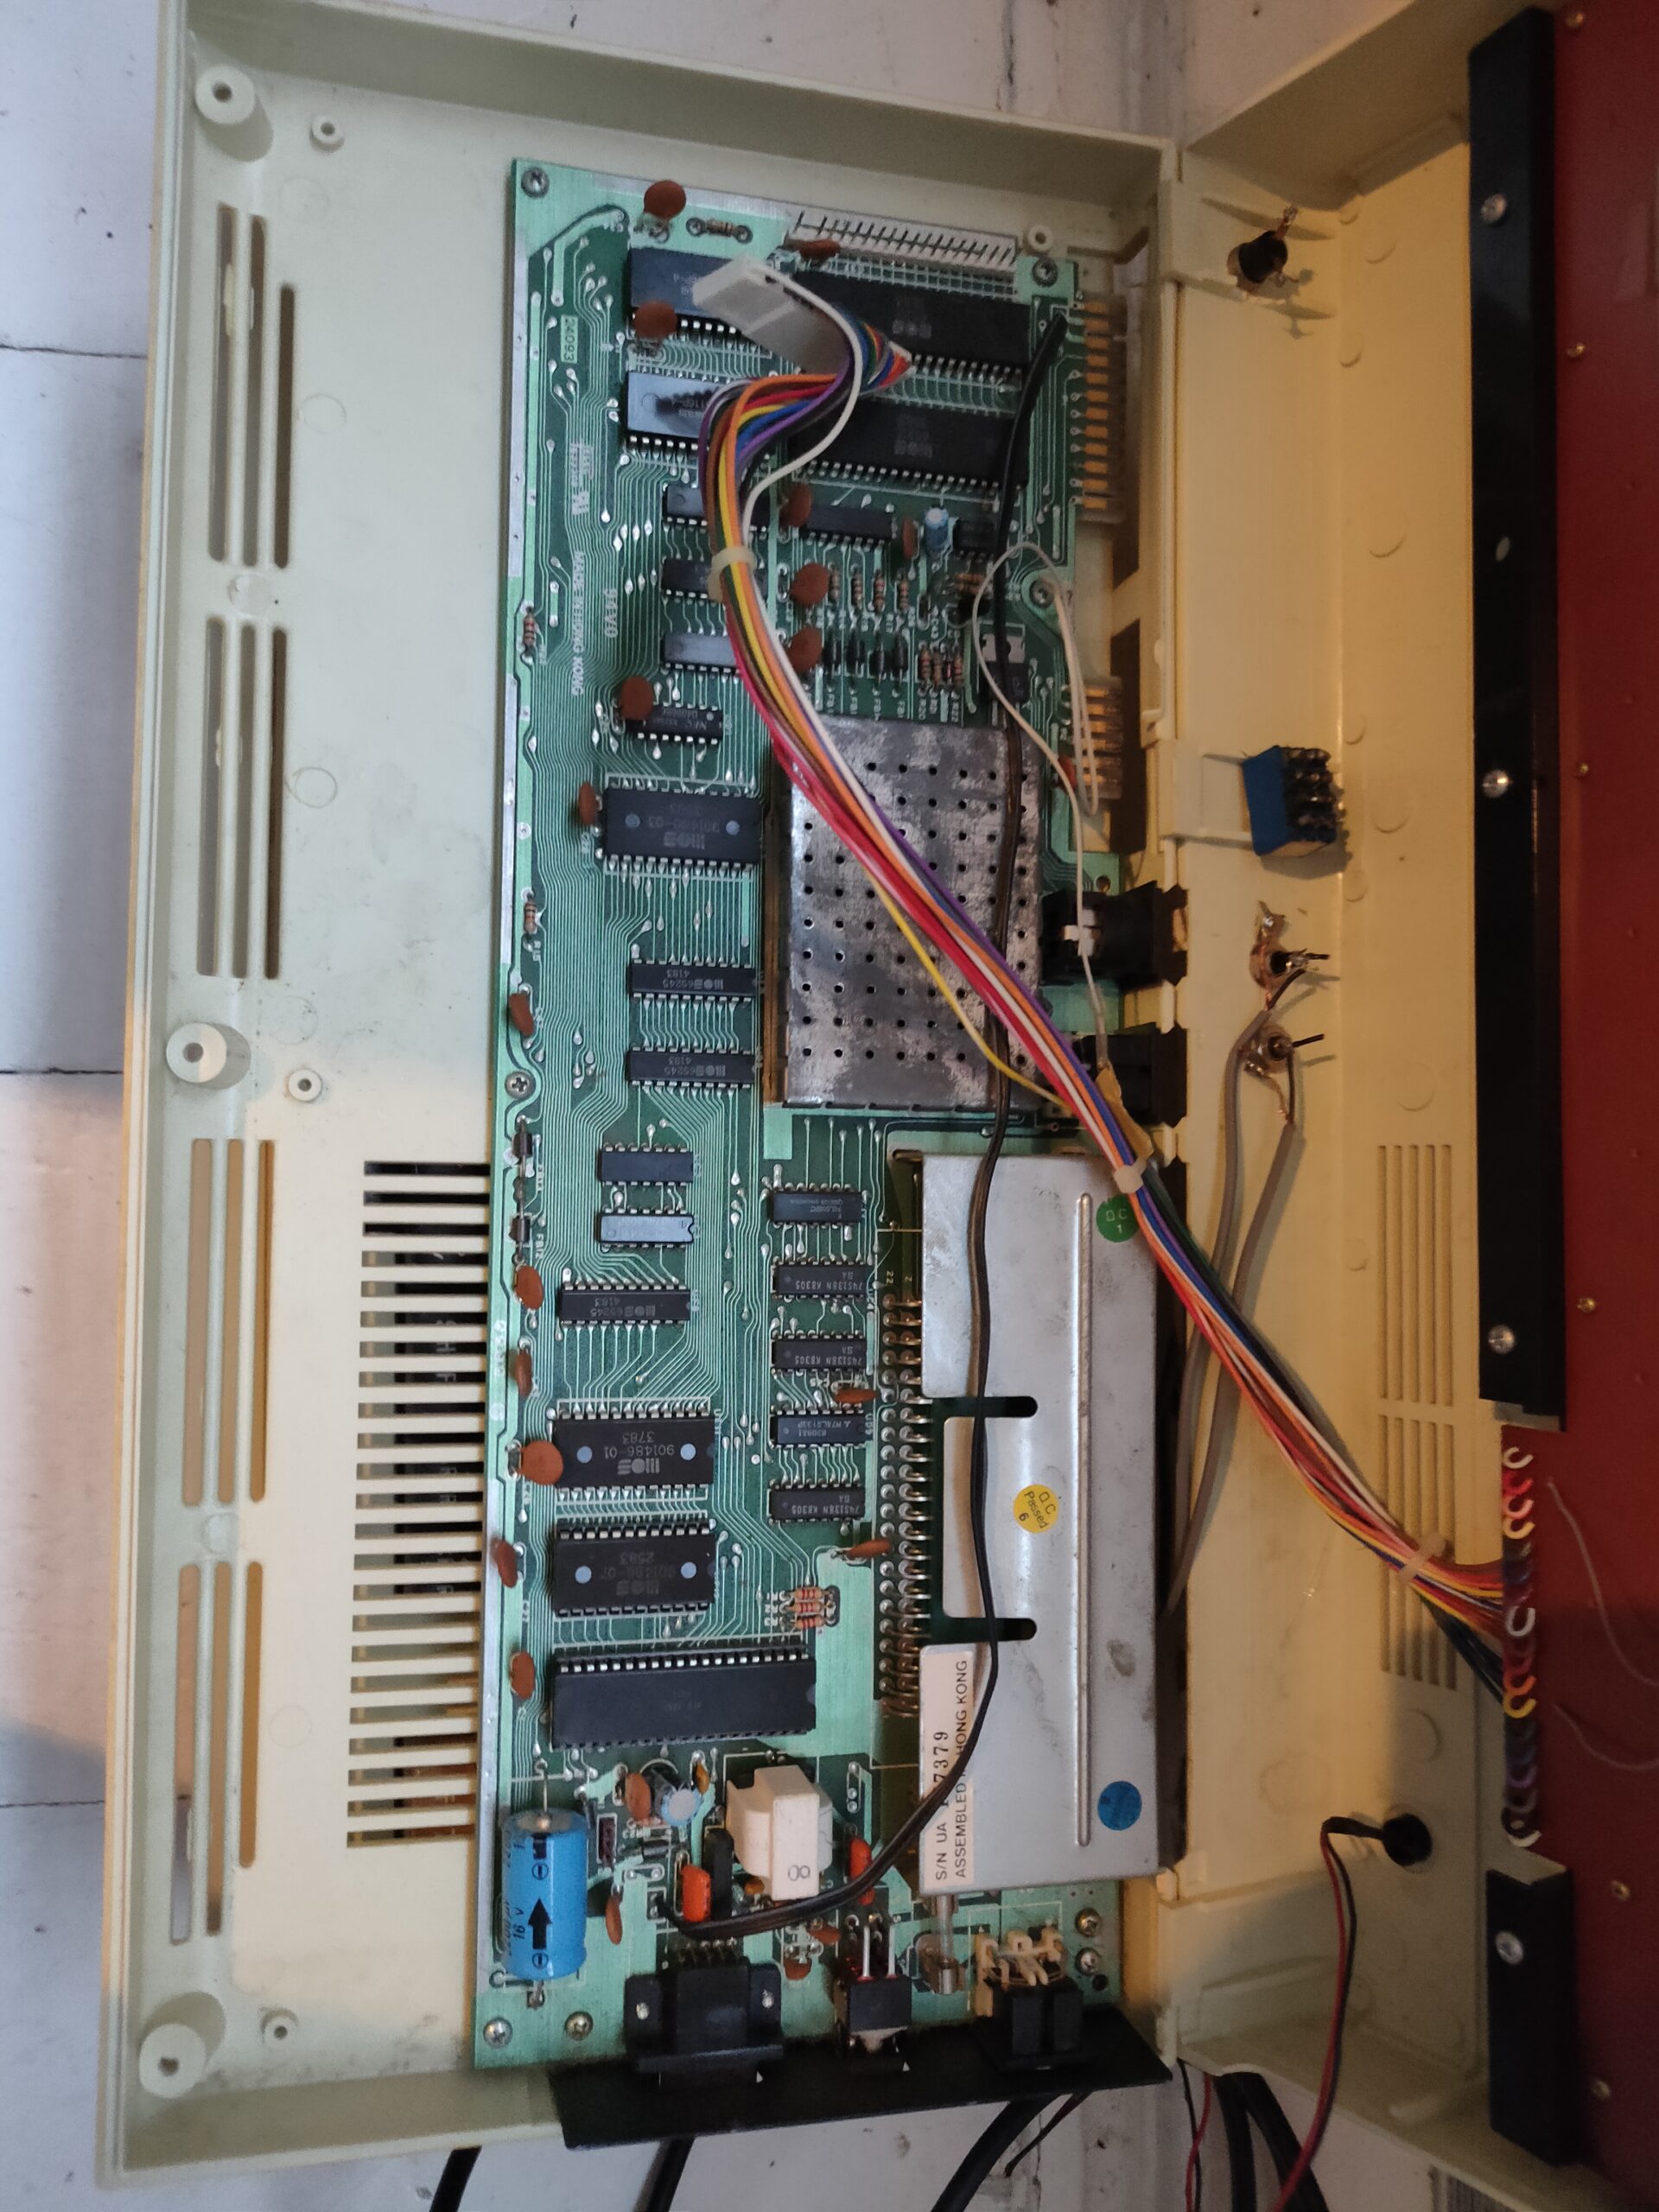
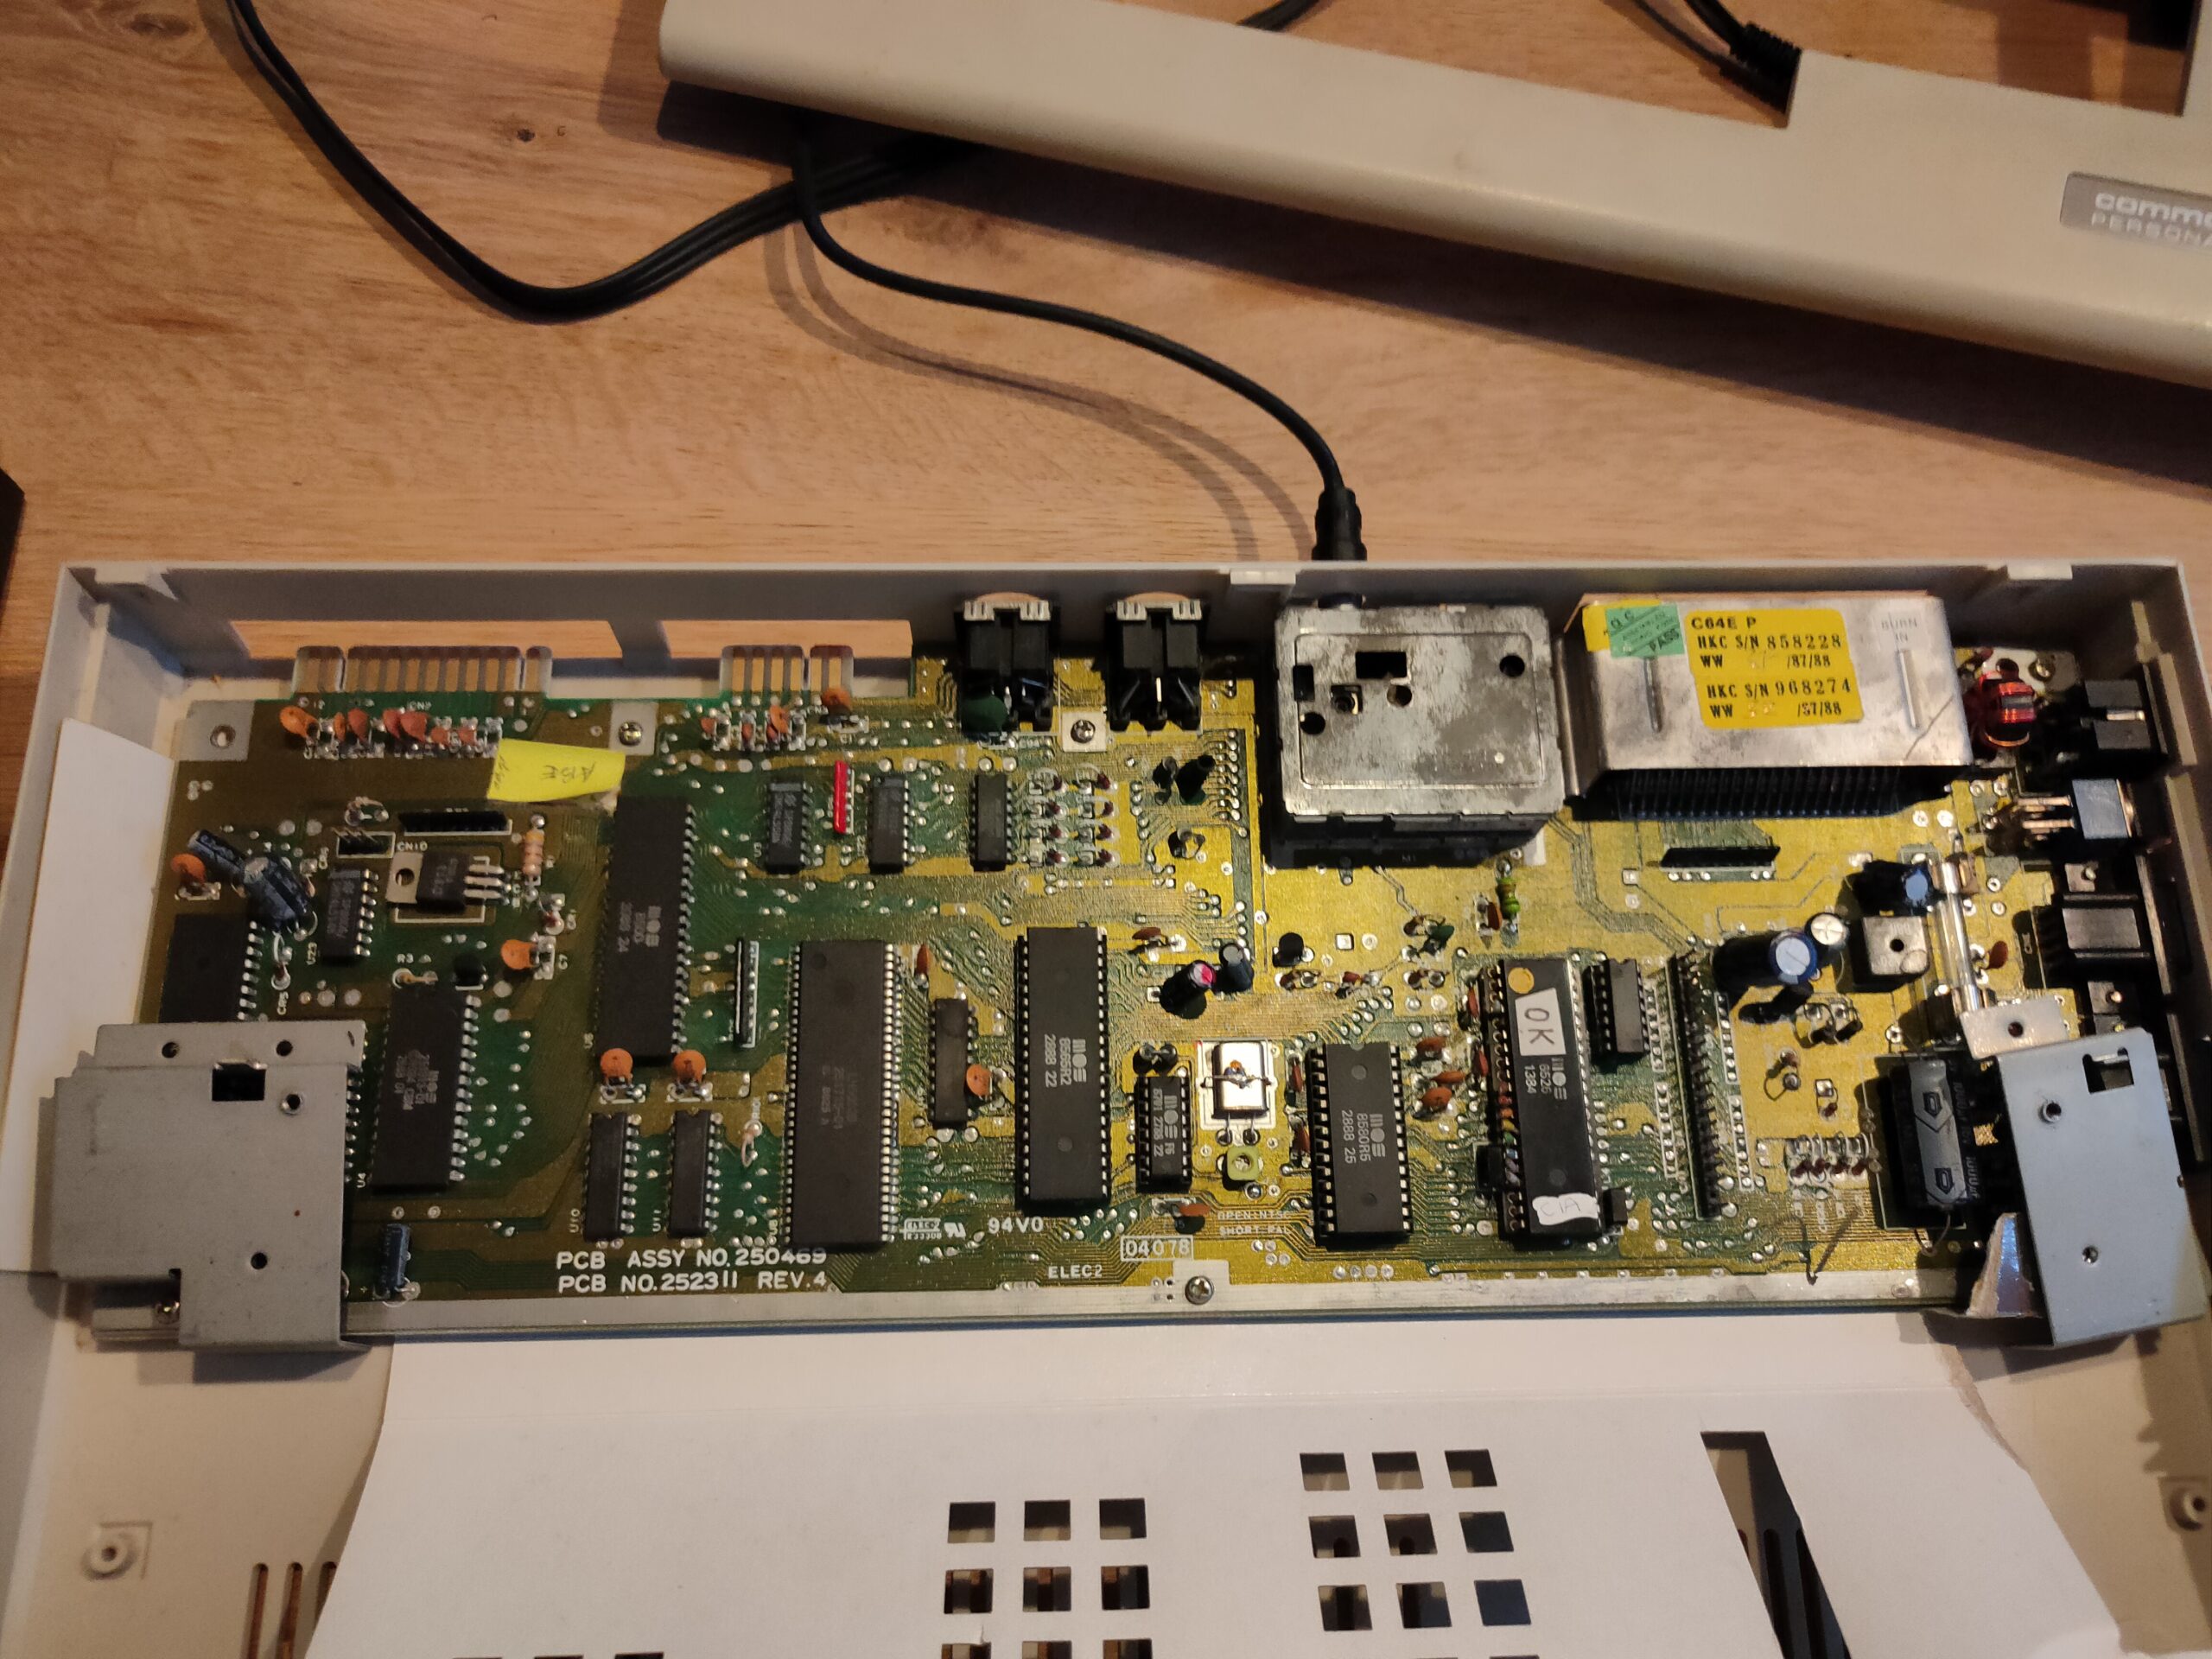
One Vic-20 working ( switched some keyboards and chips around )
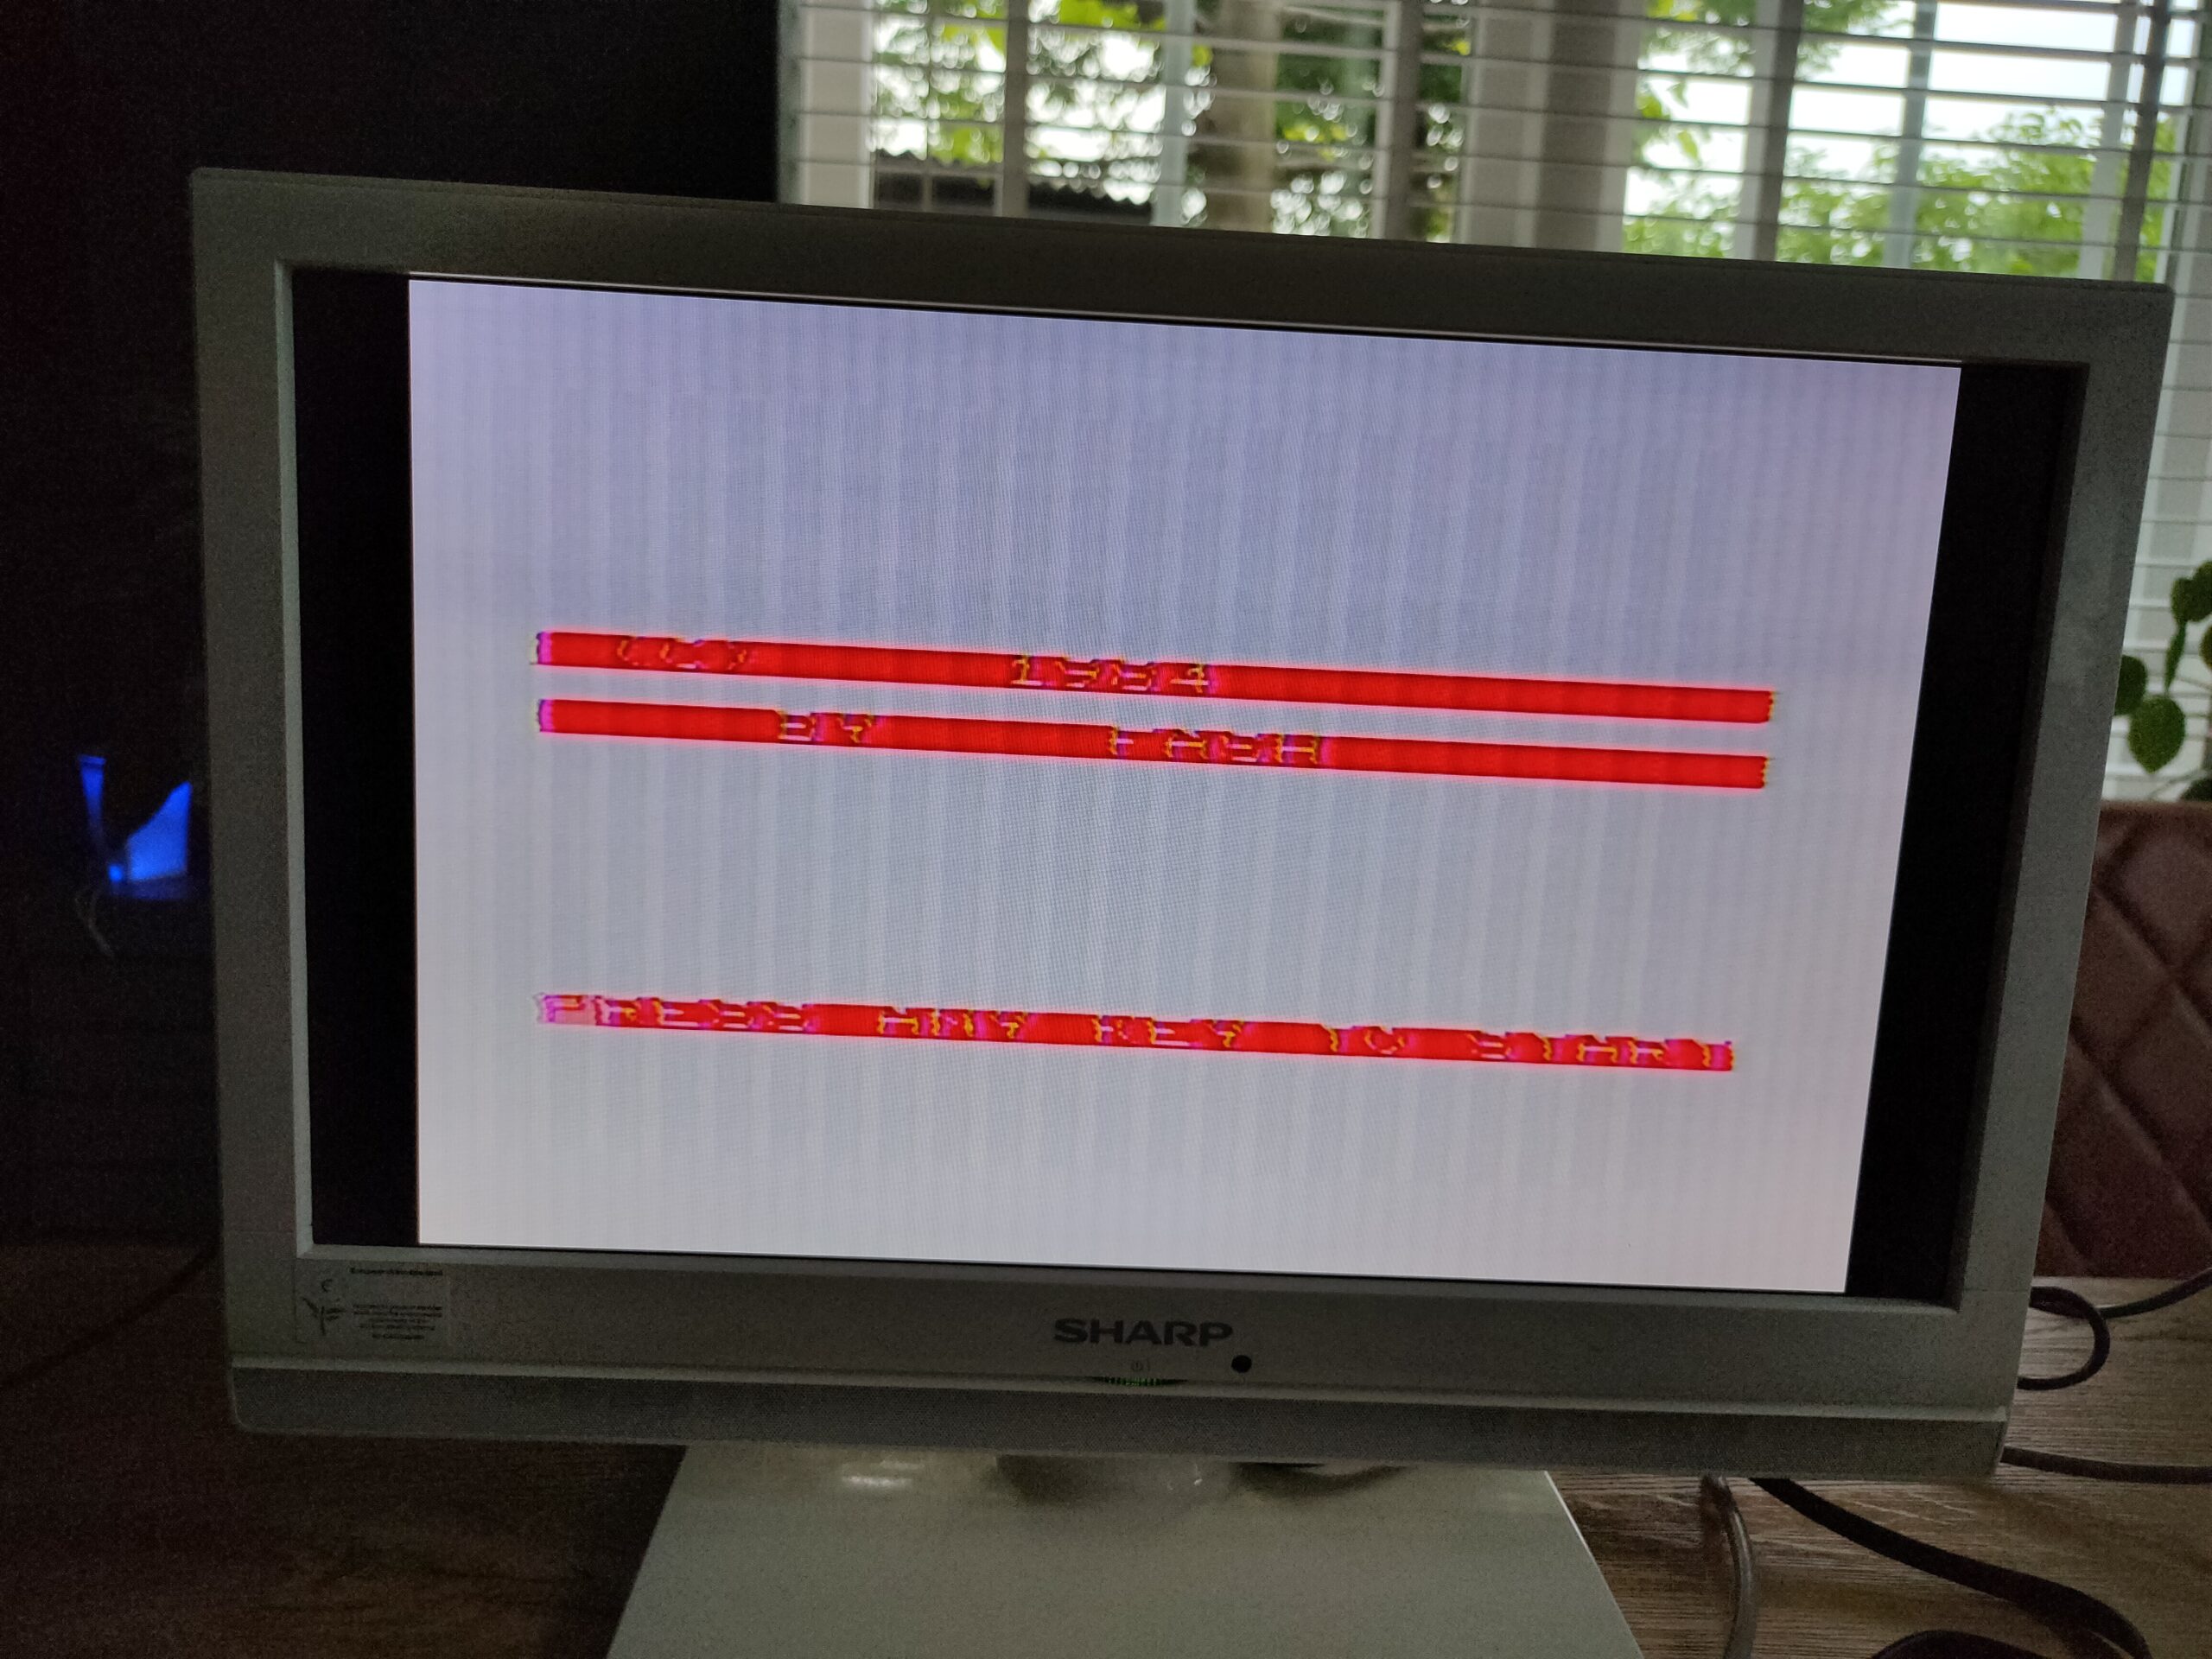
Something i made in 1984? .. then the fuse in my vic-20 power blew (250v 160mA)
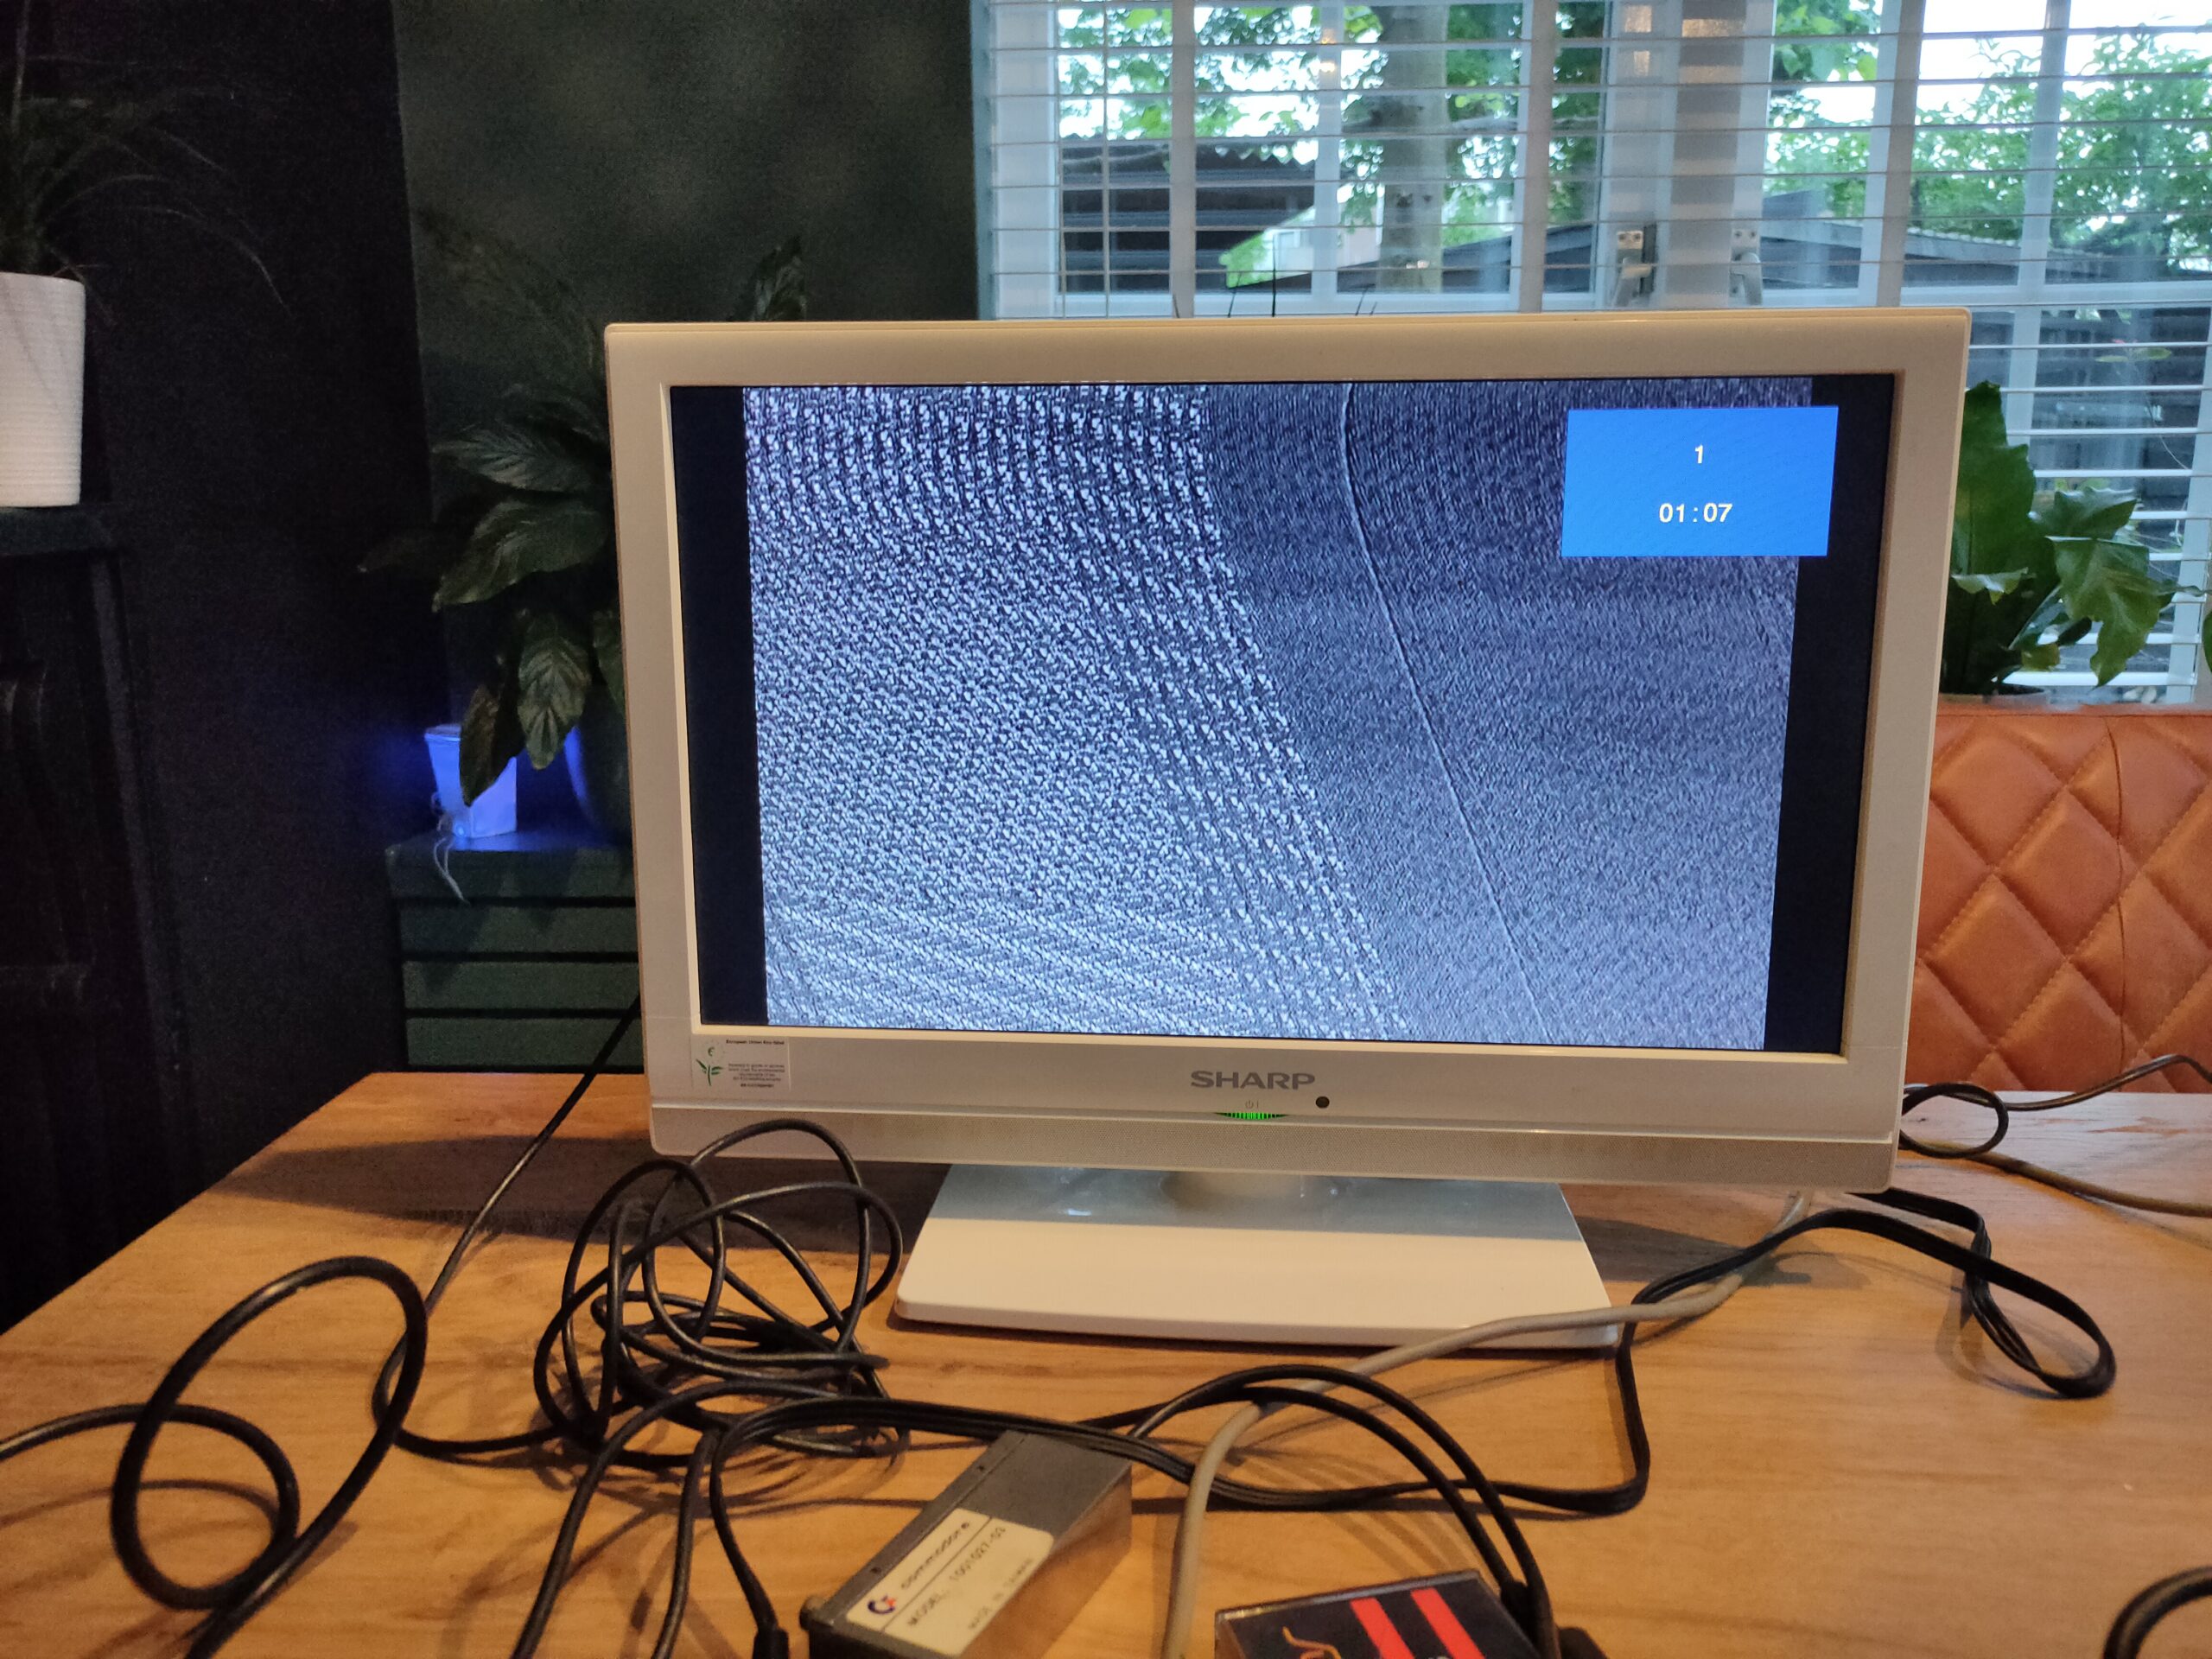
Another Vic-20 – with a Bad U31 (Oscillator)? or Vic video chip?
Vic Graf Cartridge, graph a function with annoying sound

Manual : https://archive.org/details/VIC_Graf_1982_Commodore/page/n11/mode/2up

I’ve got a load of cartridges, some of them i tested:

  • Vic-20 – Super expander plus 3K ram ( also some draw and sound functionality in this one )
  • Vic-20 – 32K Ram expander (switchable)
  • Vic-20 – 3K expander
  • C64 – KCS power cardridge
  • C64 – Final Cartridge III
  • C64 – Data Manager 2 – Data Base, hard to find information on this one, will post later on this one.

Started to build a Drawbridge

For my amiga i started to build a floppy disk reader/writer using a arduino.
I found a superb project by rob smith.
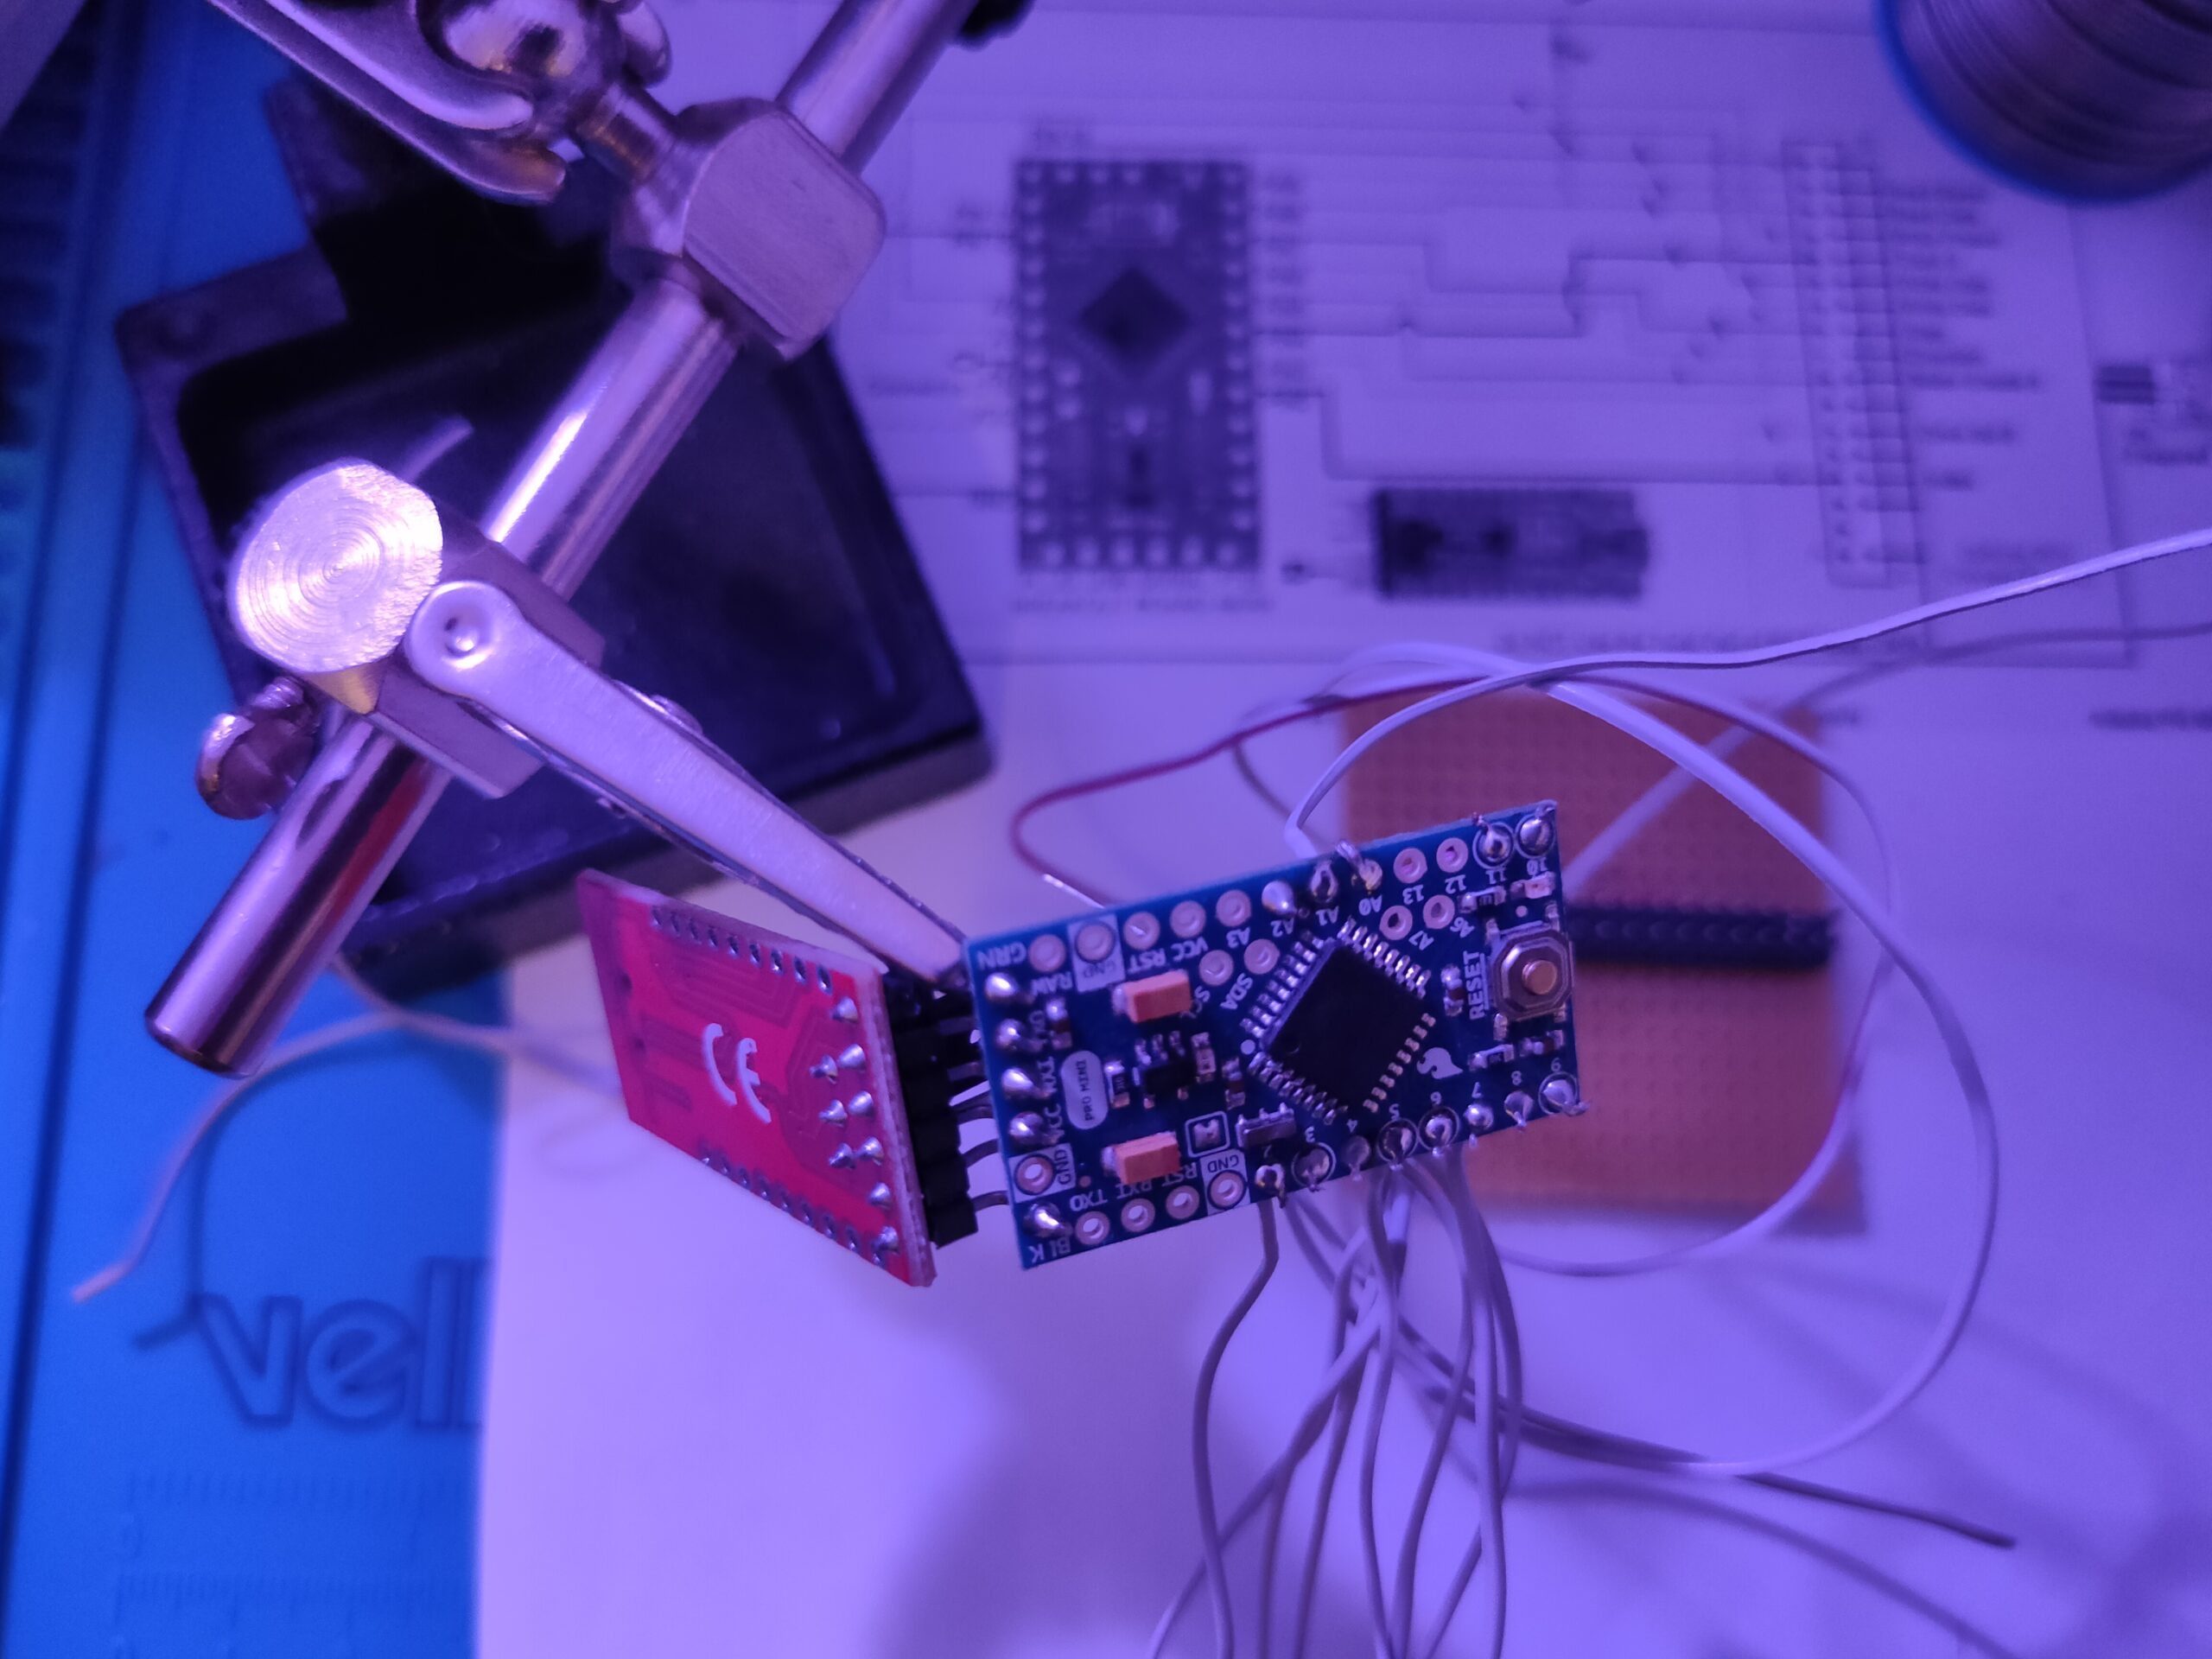
It uses only a arduino pro and a FTDI USB to serial breakout board, to raw read and write disks.
I wanted to convert my own created amiga disks to PC image to use in a emulator like vice.

http://amiga.robsmithdev.co.uk/instructions/promini

I’m not going to copy his website, with all instructions. Only my personal experiences.

Starting with … don’t use a IDE cable, and start soldering .. it is a diskdrive cable .. connector doesn’t fit! ..

Getting components and flashing arduino … no brainer

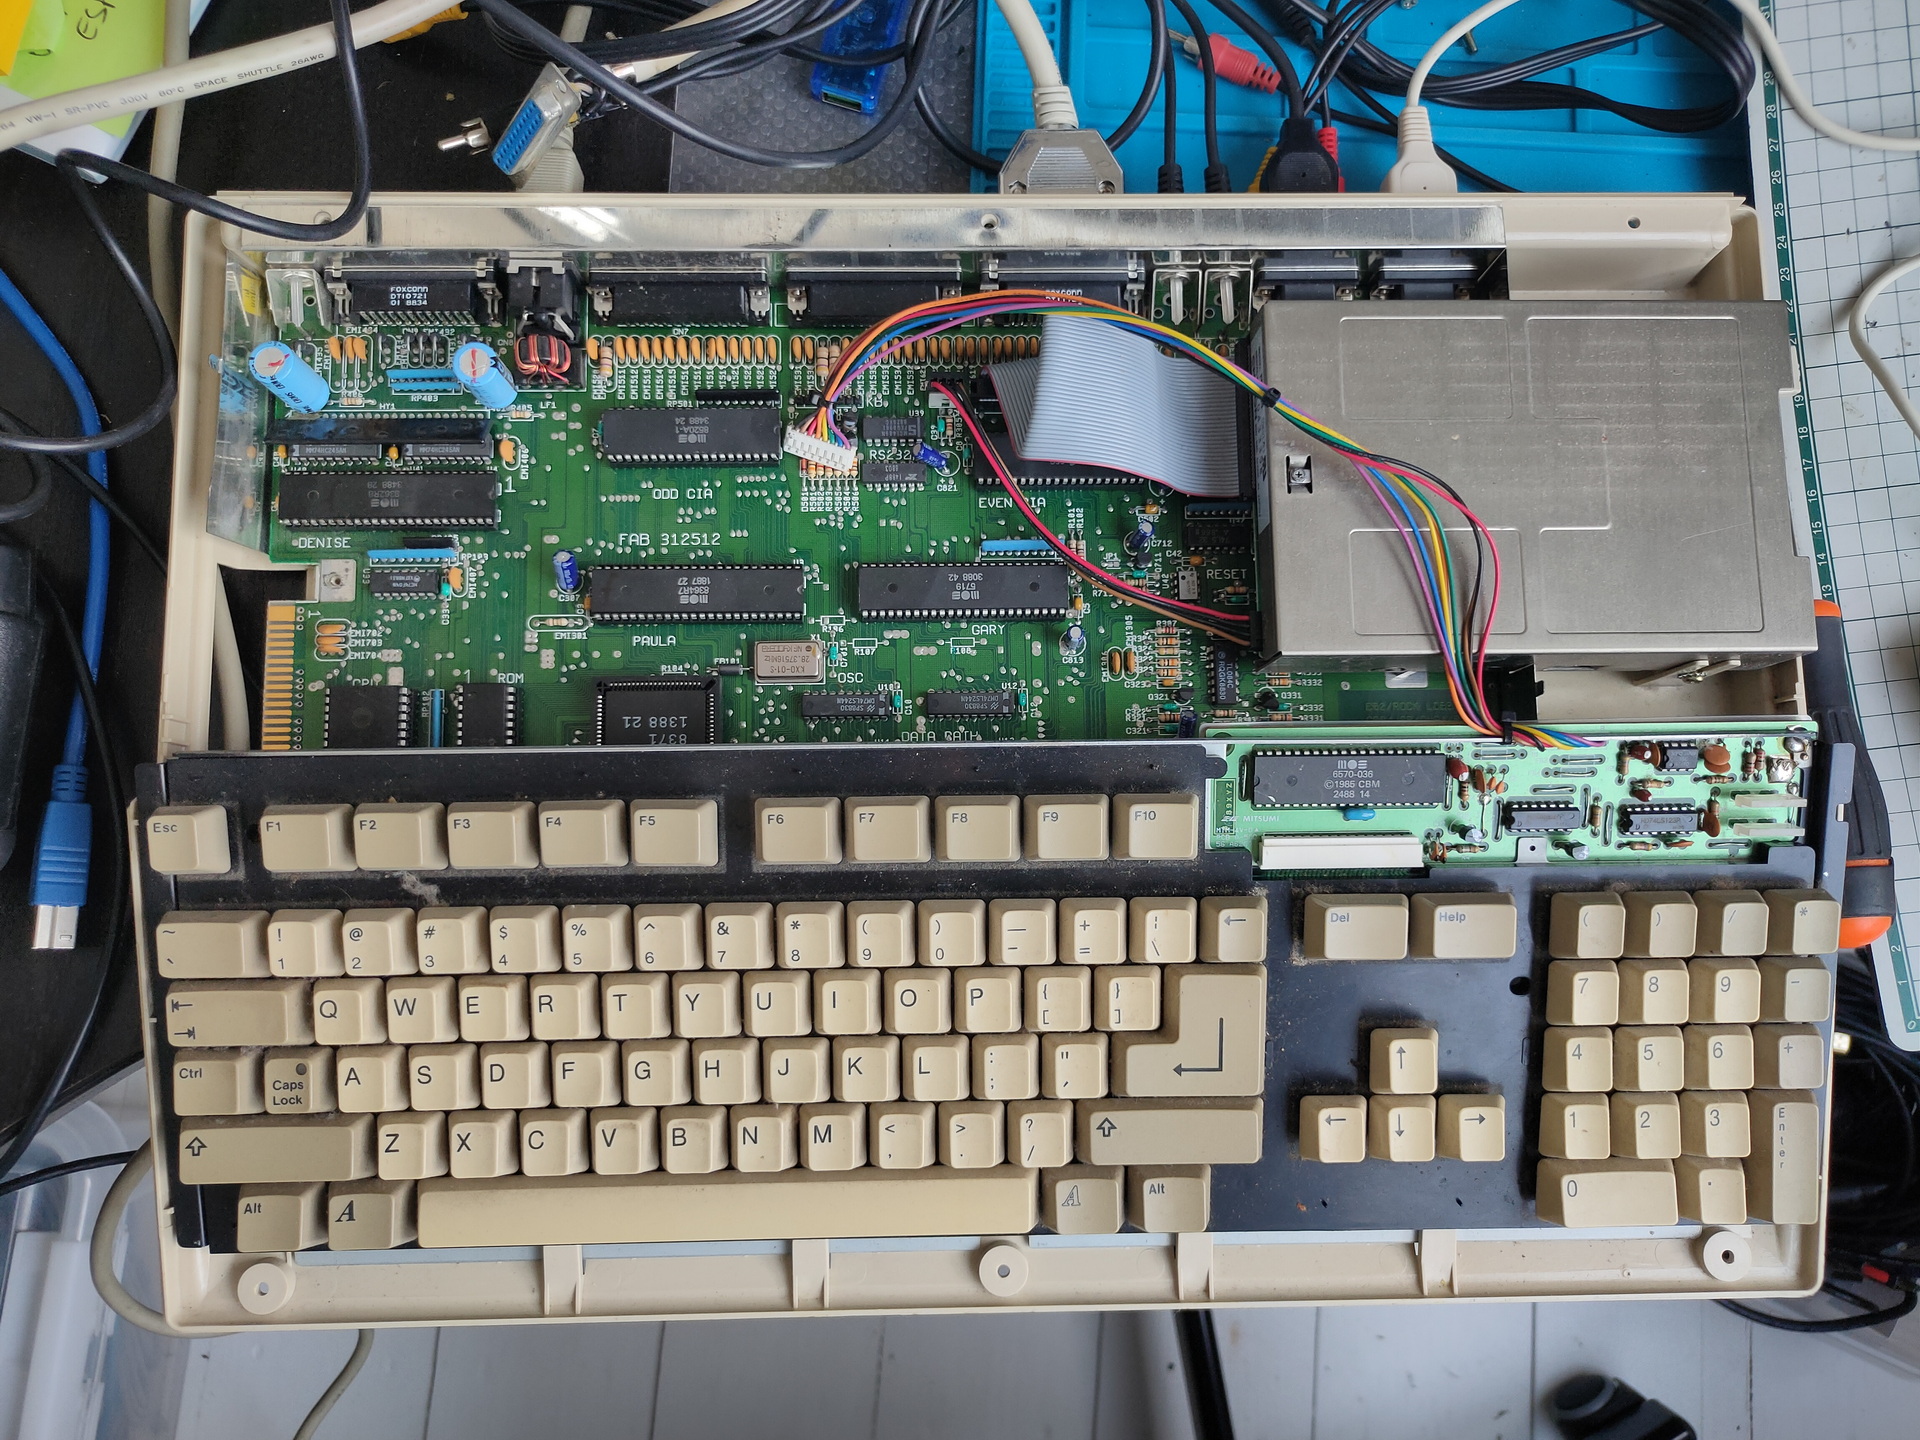
Working Amiga 500

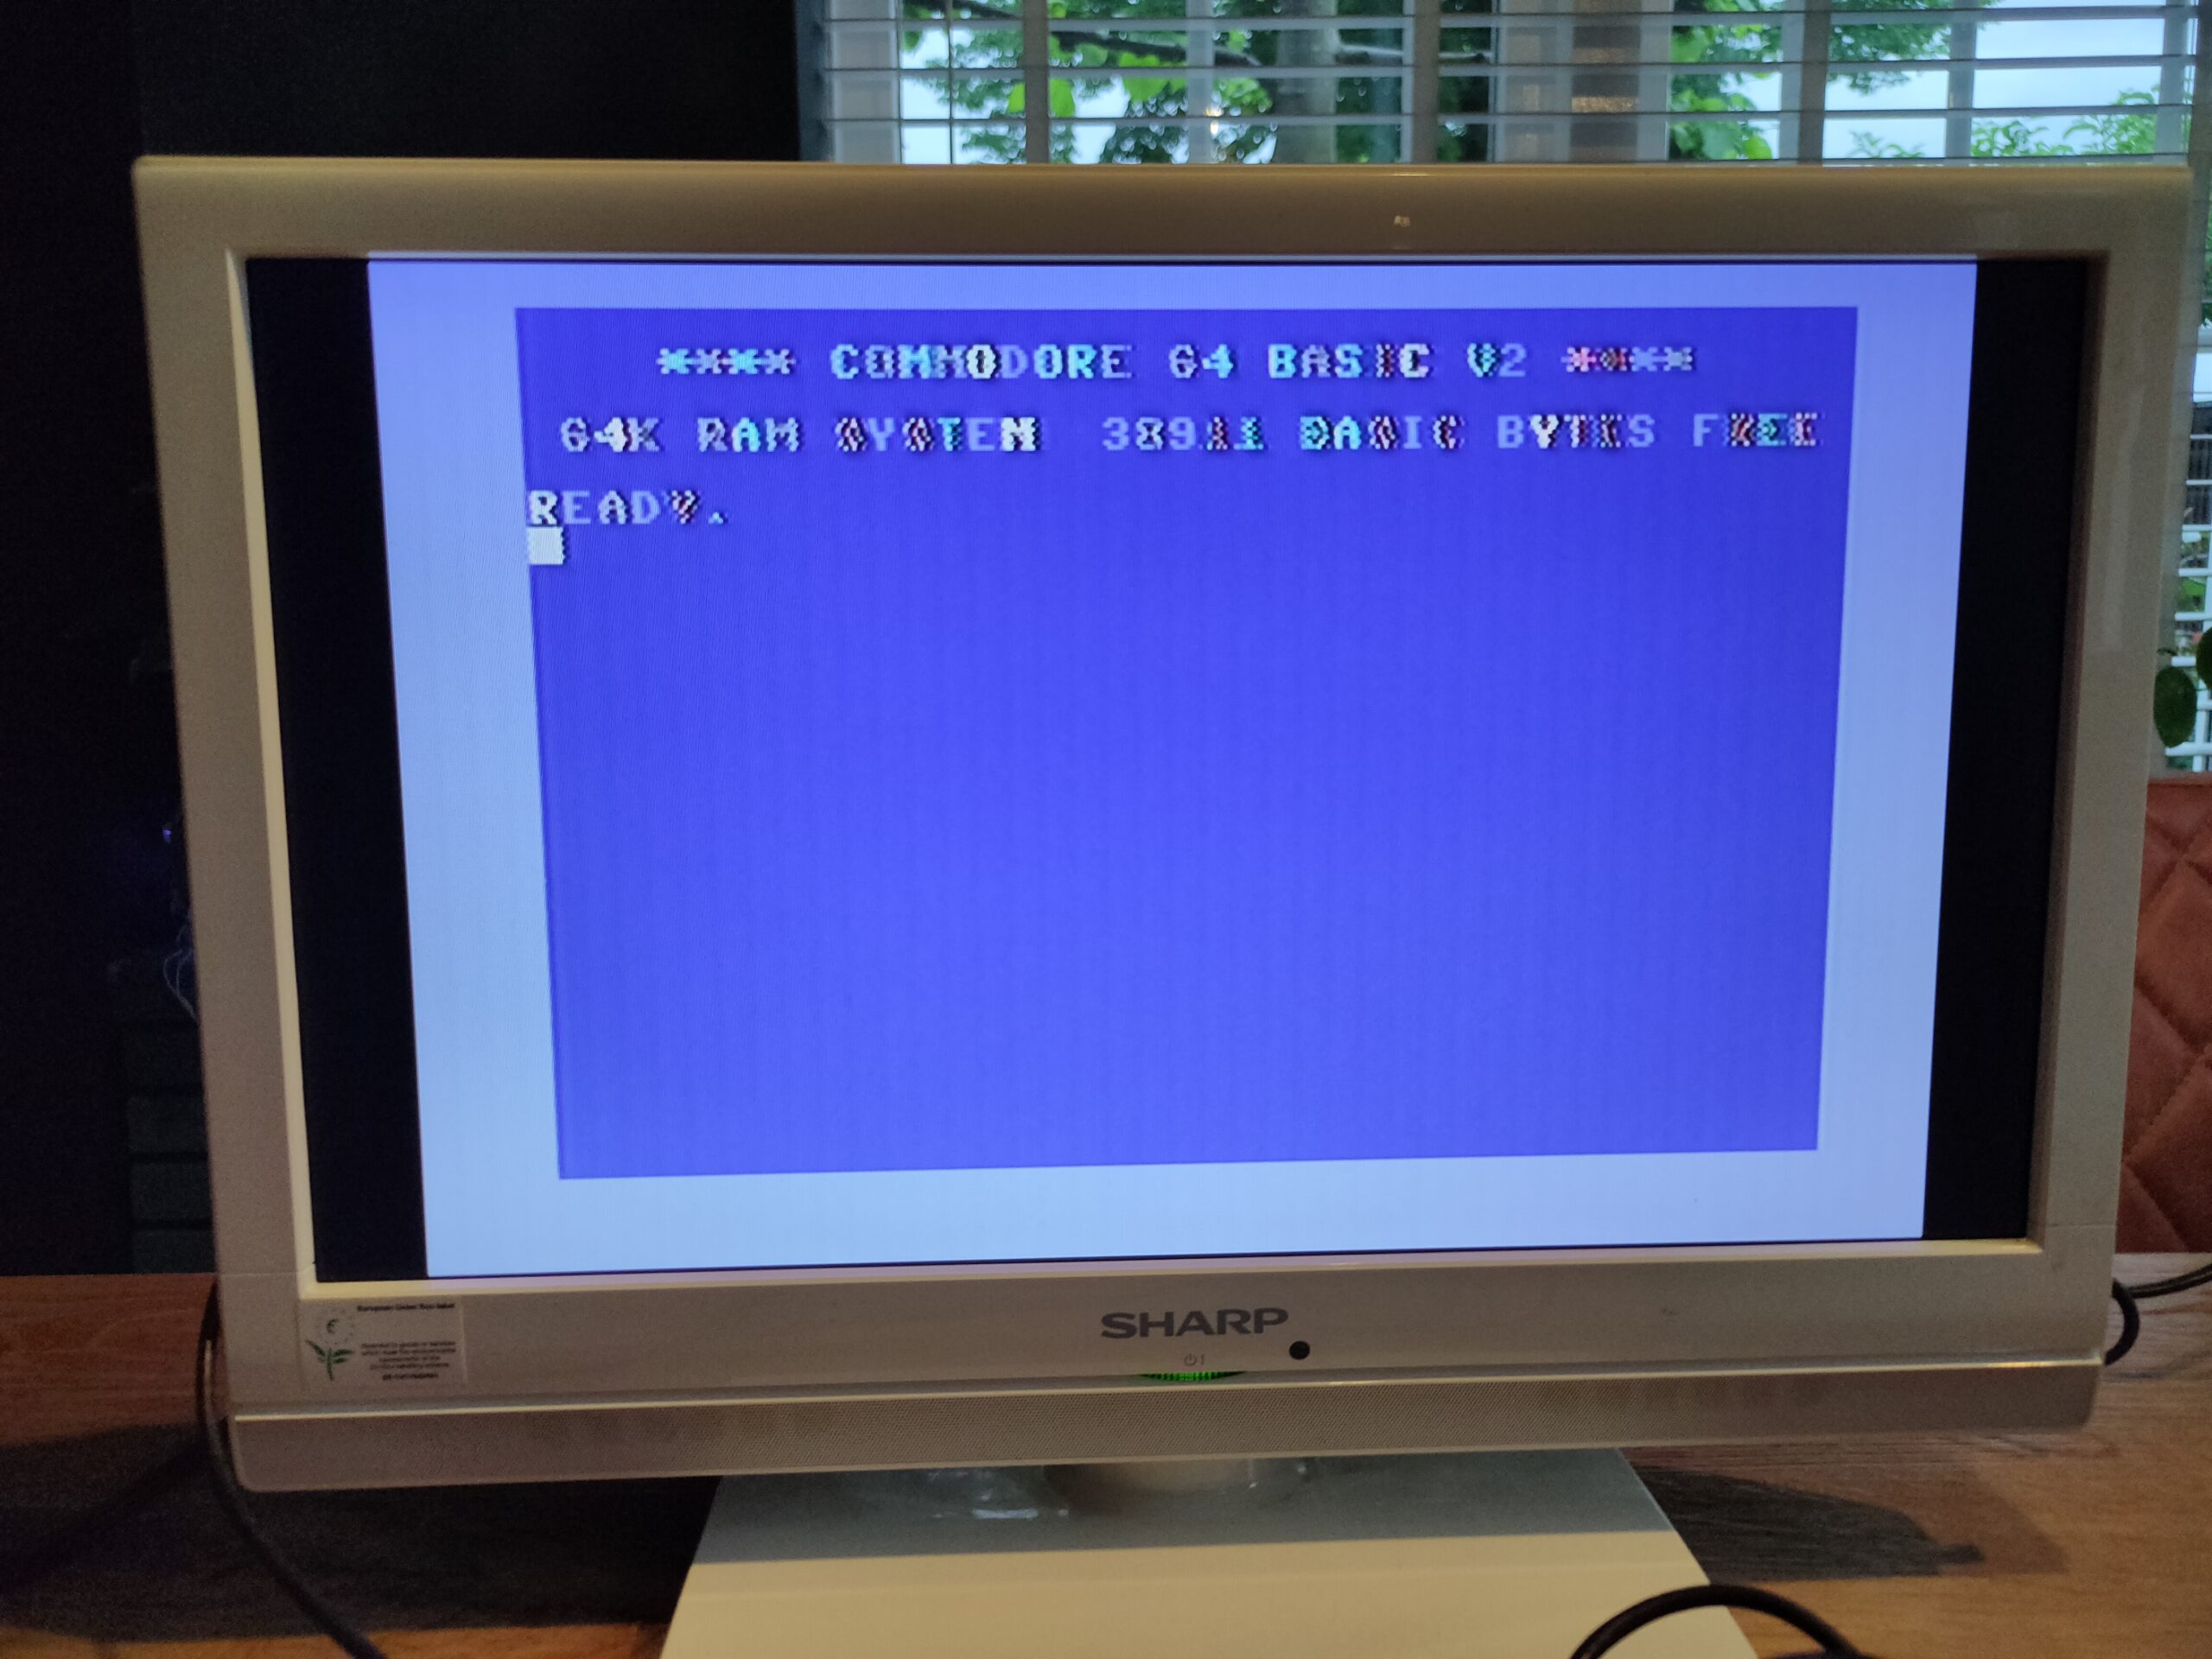
Got a working amiga again. \o/ woot
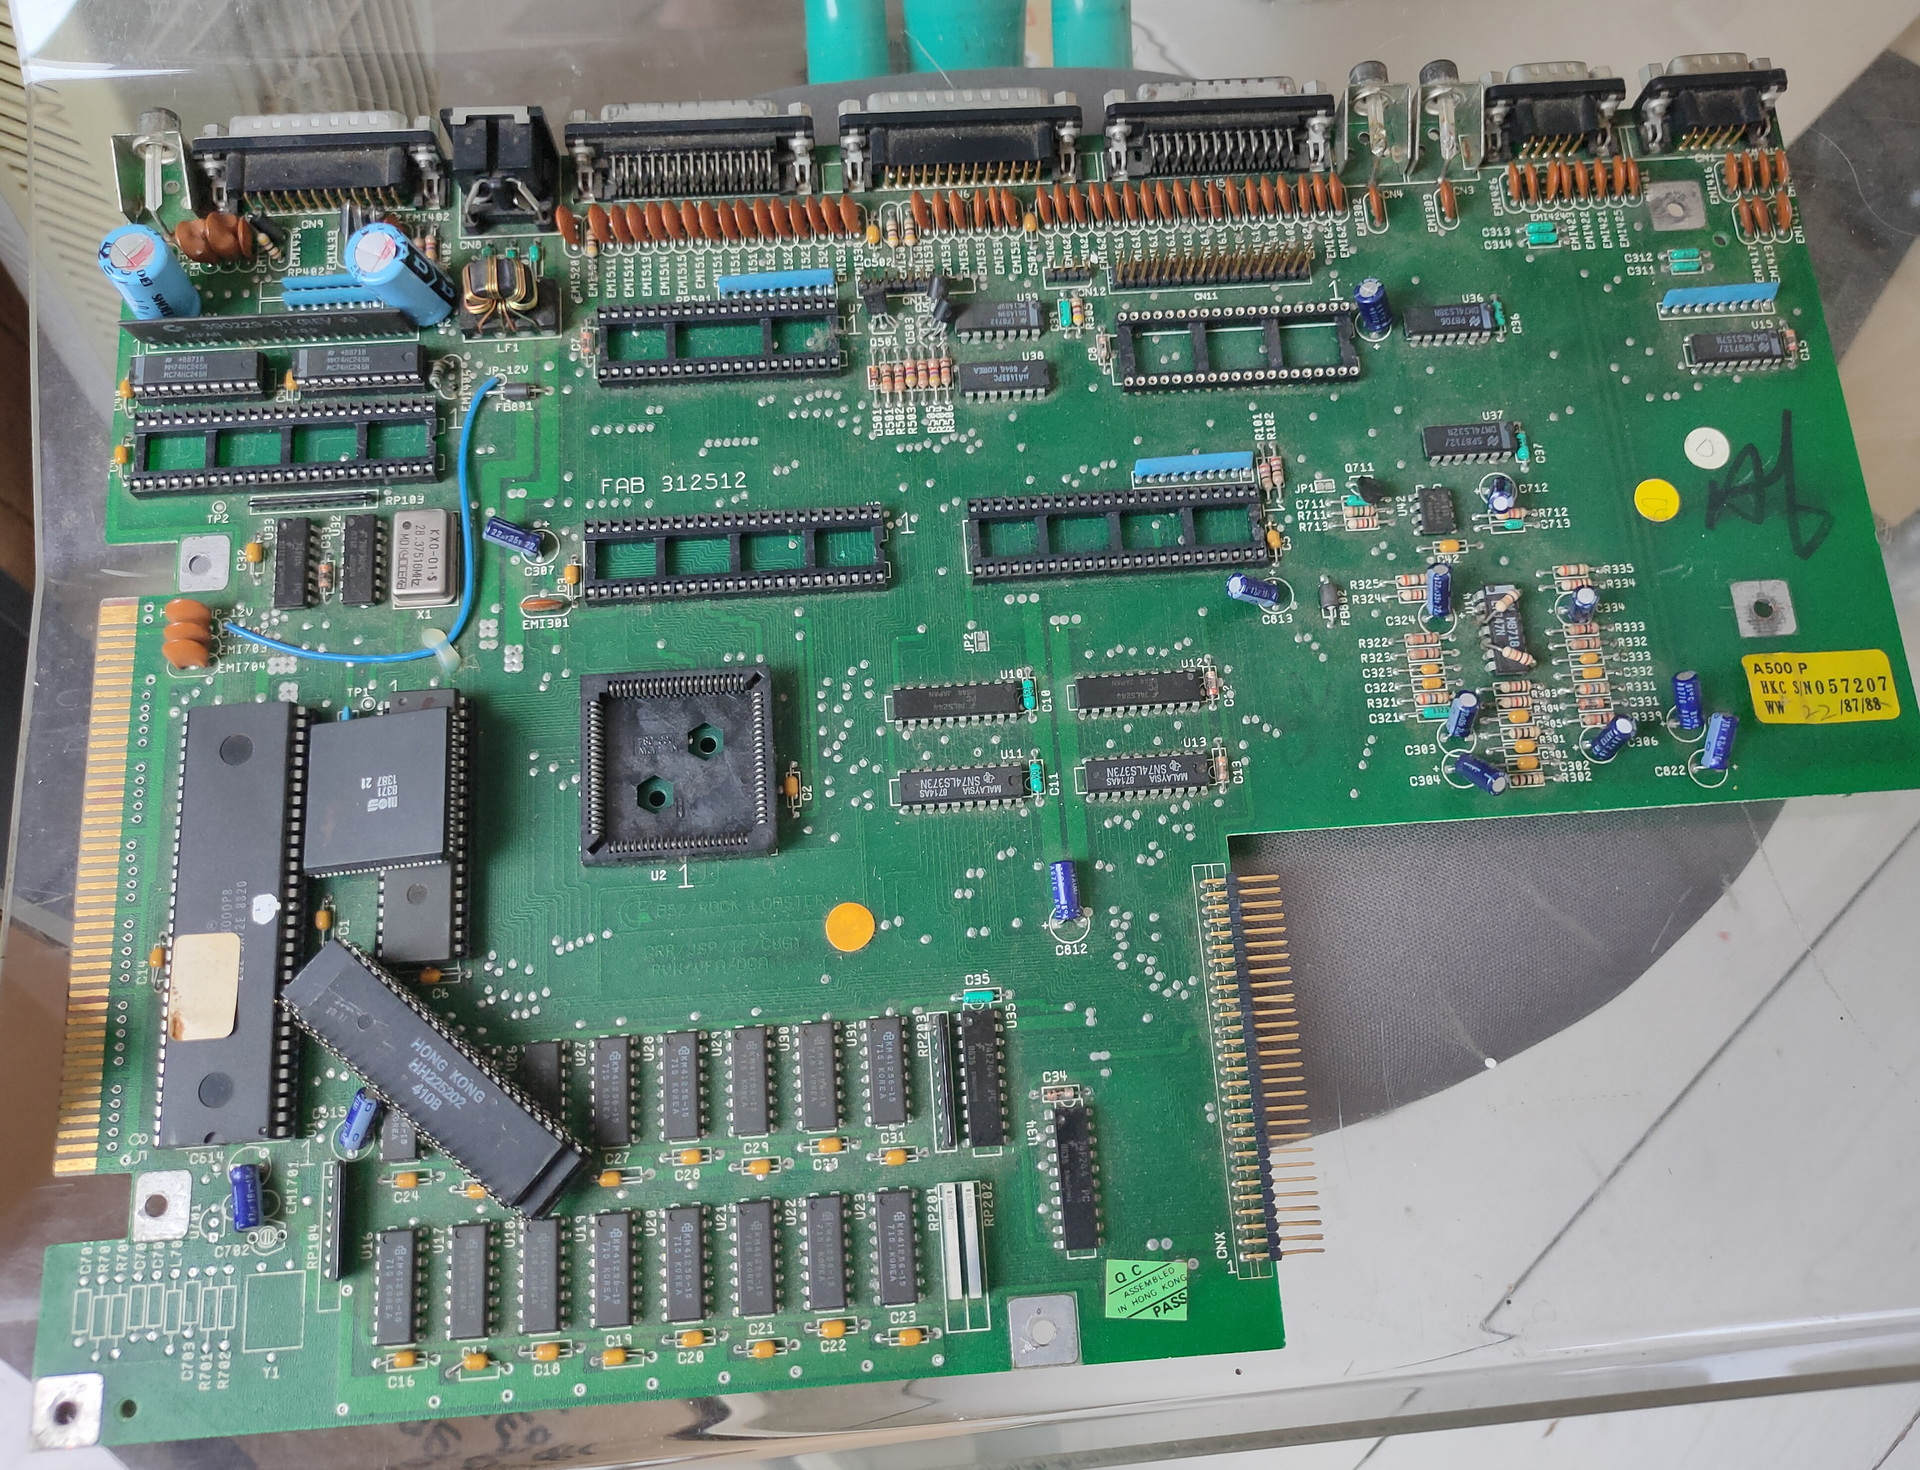
Needed to replace Paula chip, cleaning and some TLC.

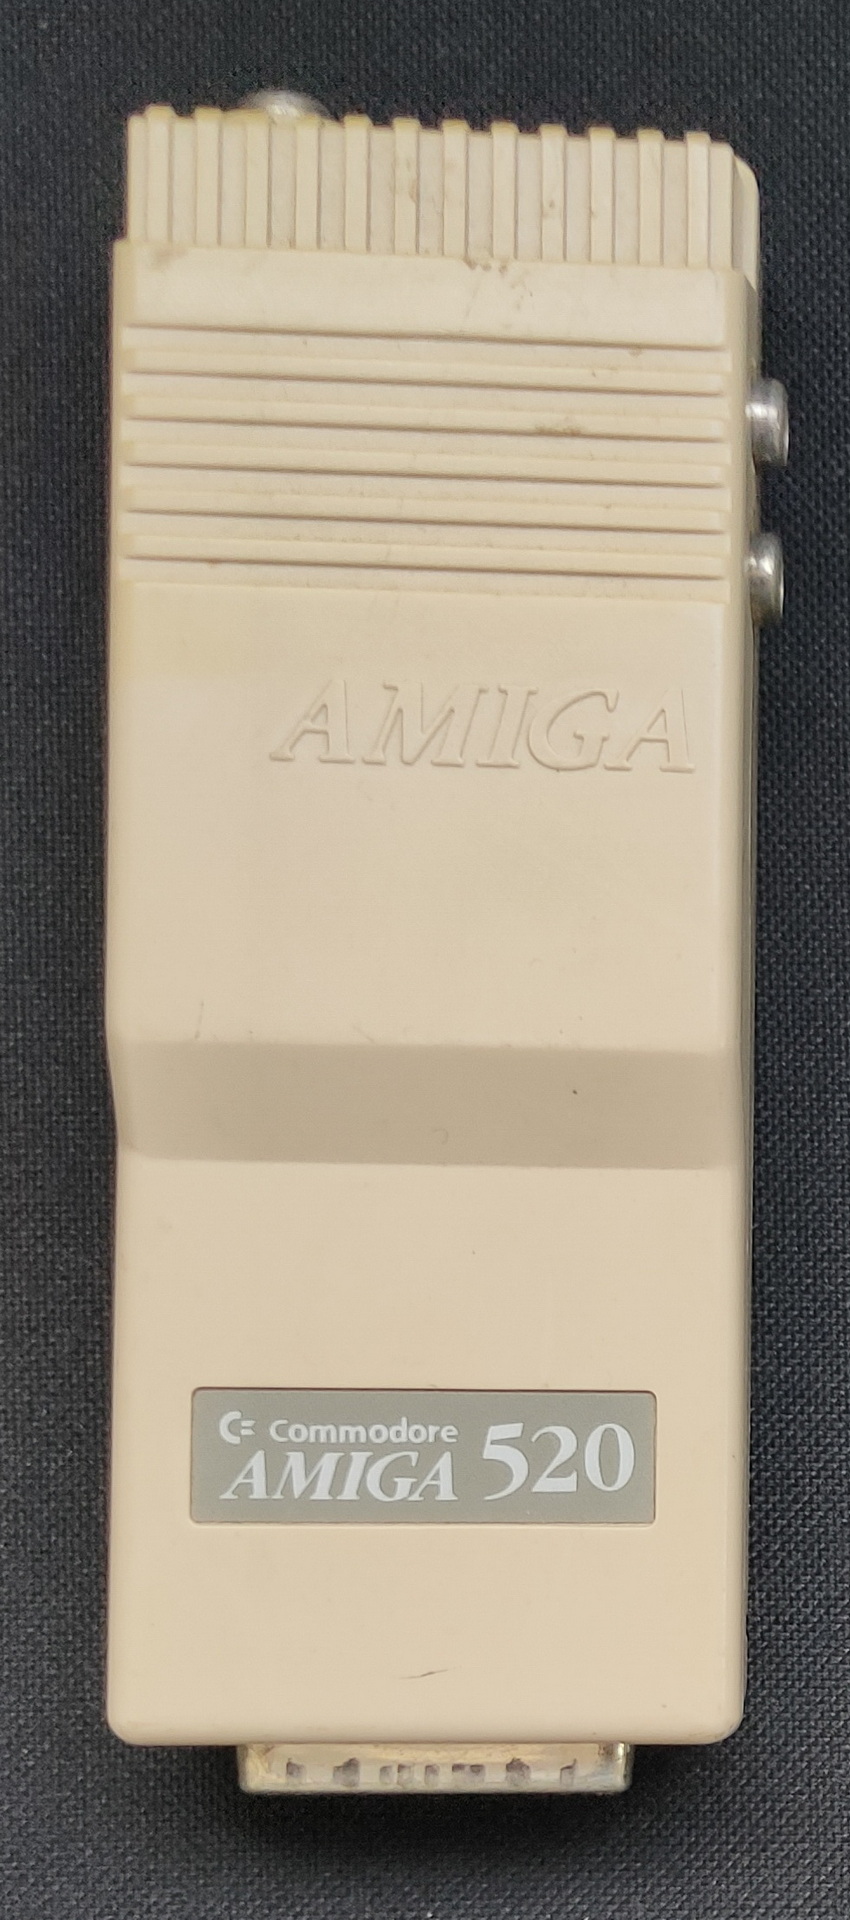
Modulator
Chip donor

Scart cable i’ve got is one without the resistors, so my monitor isn’t detecting the signal.
Using a A520 modulator works. At least RF, don’t know why RCA/composite video isn’t working.

Even a memory expansion and second drive (5.24 inch) are working.

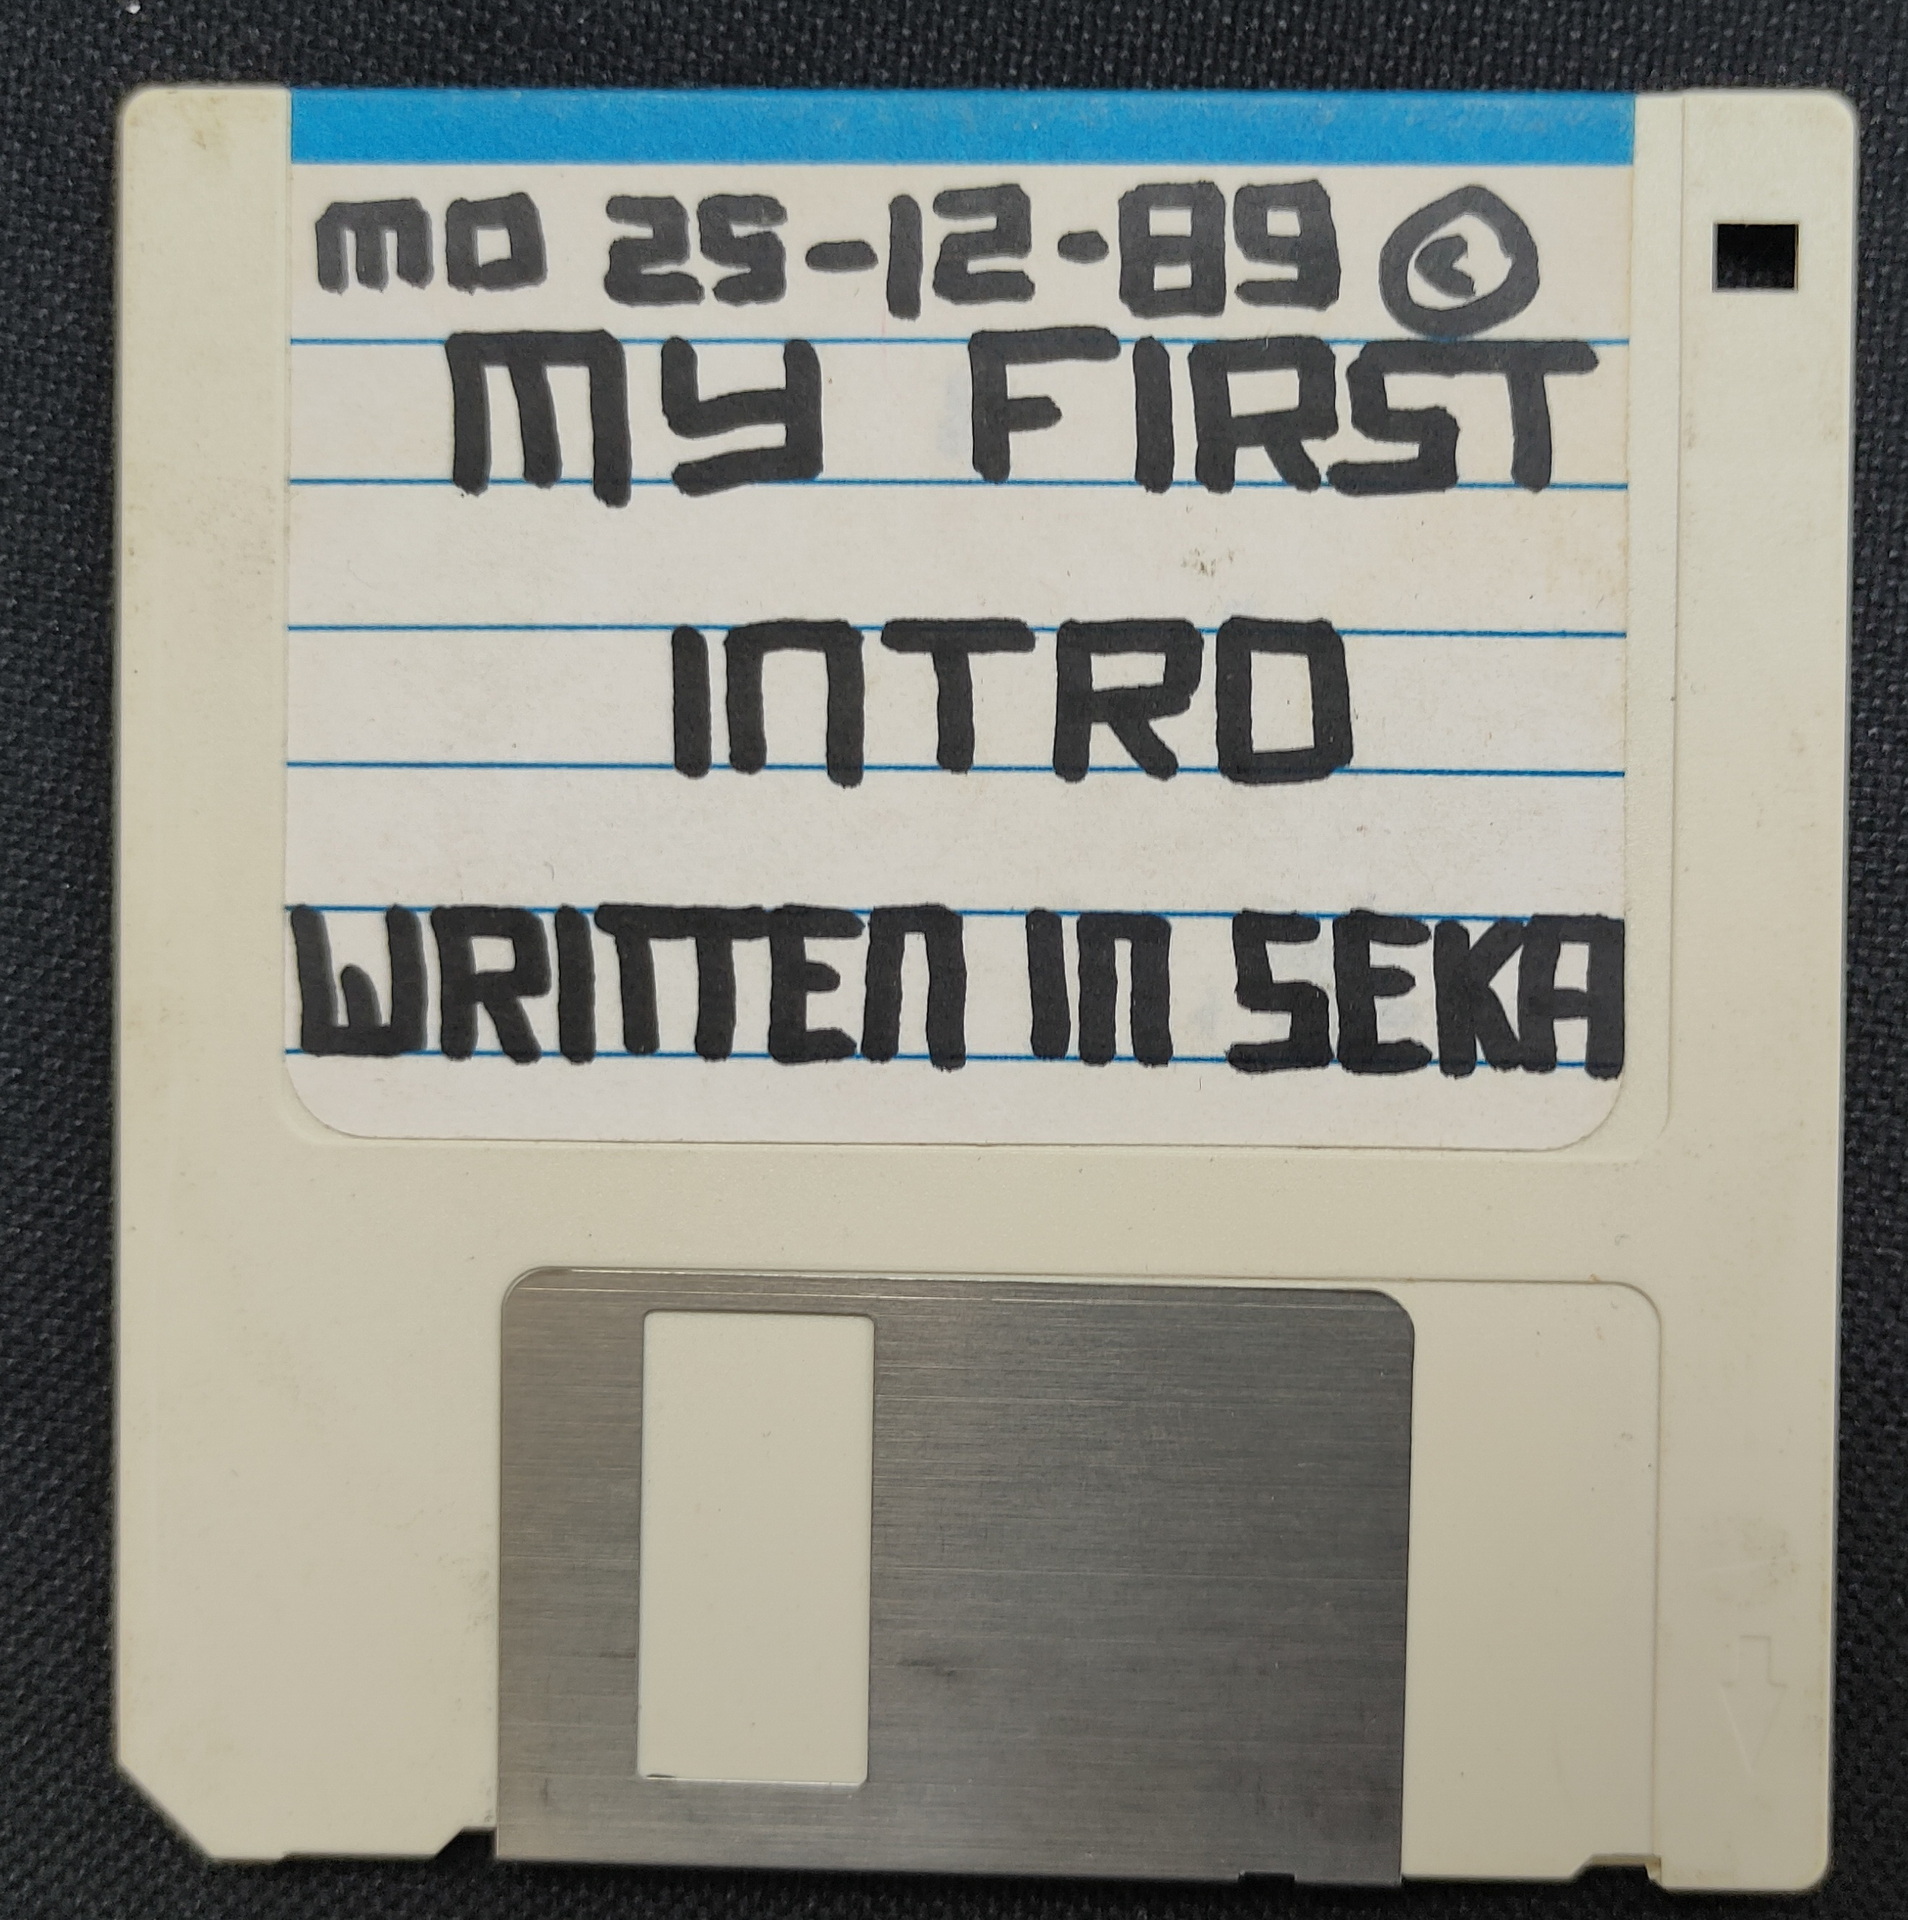
One of the first disks i tested

To do:

  • Fix something to get disk images from and to my pc.
  • (My old catweasel card only fits in a ISA slot which i don’t have any more)
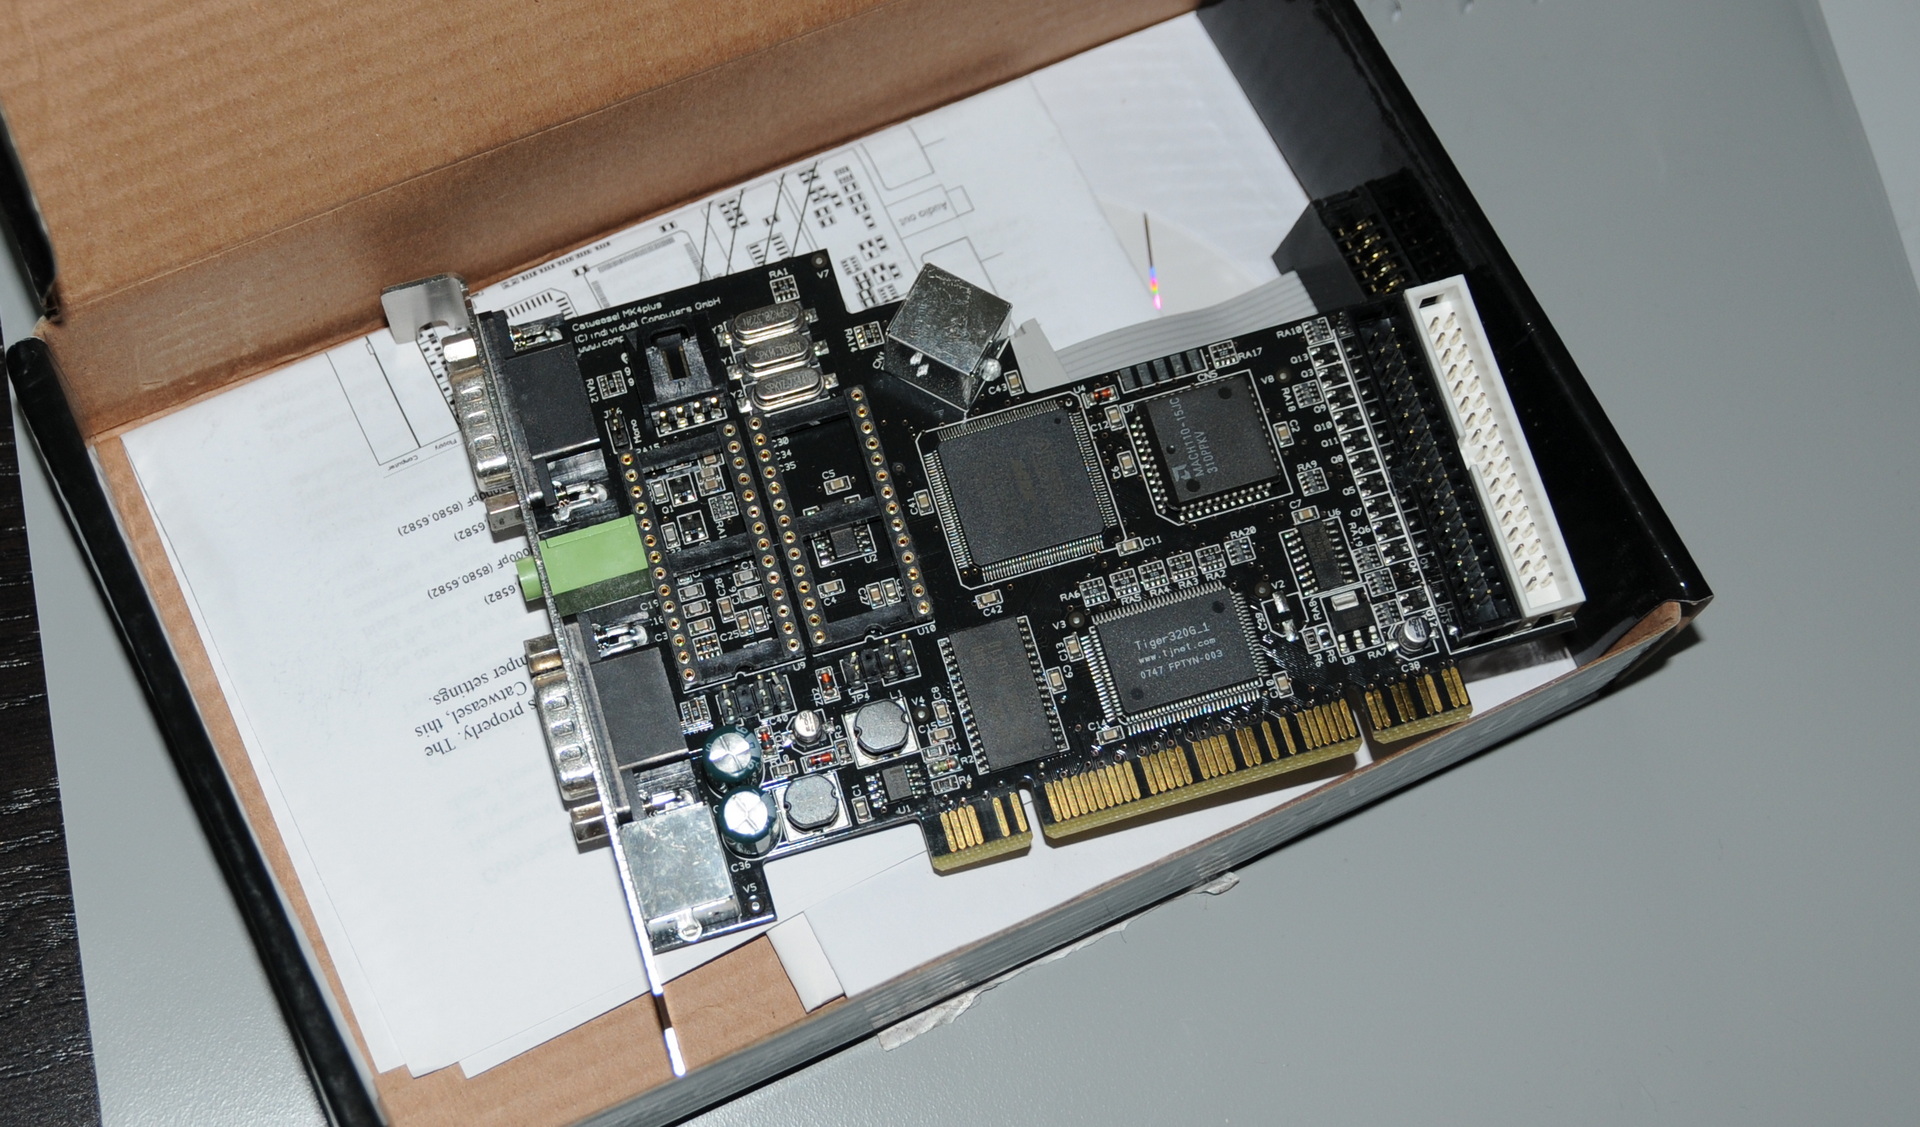
  • I was wrong .. i’ve got a IV Catweasel .. PCI it is
  • Fix scart
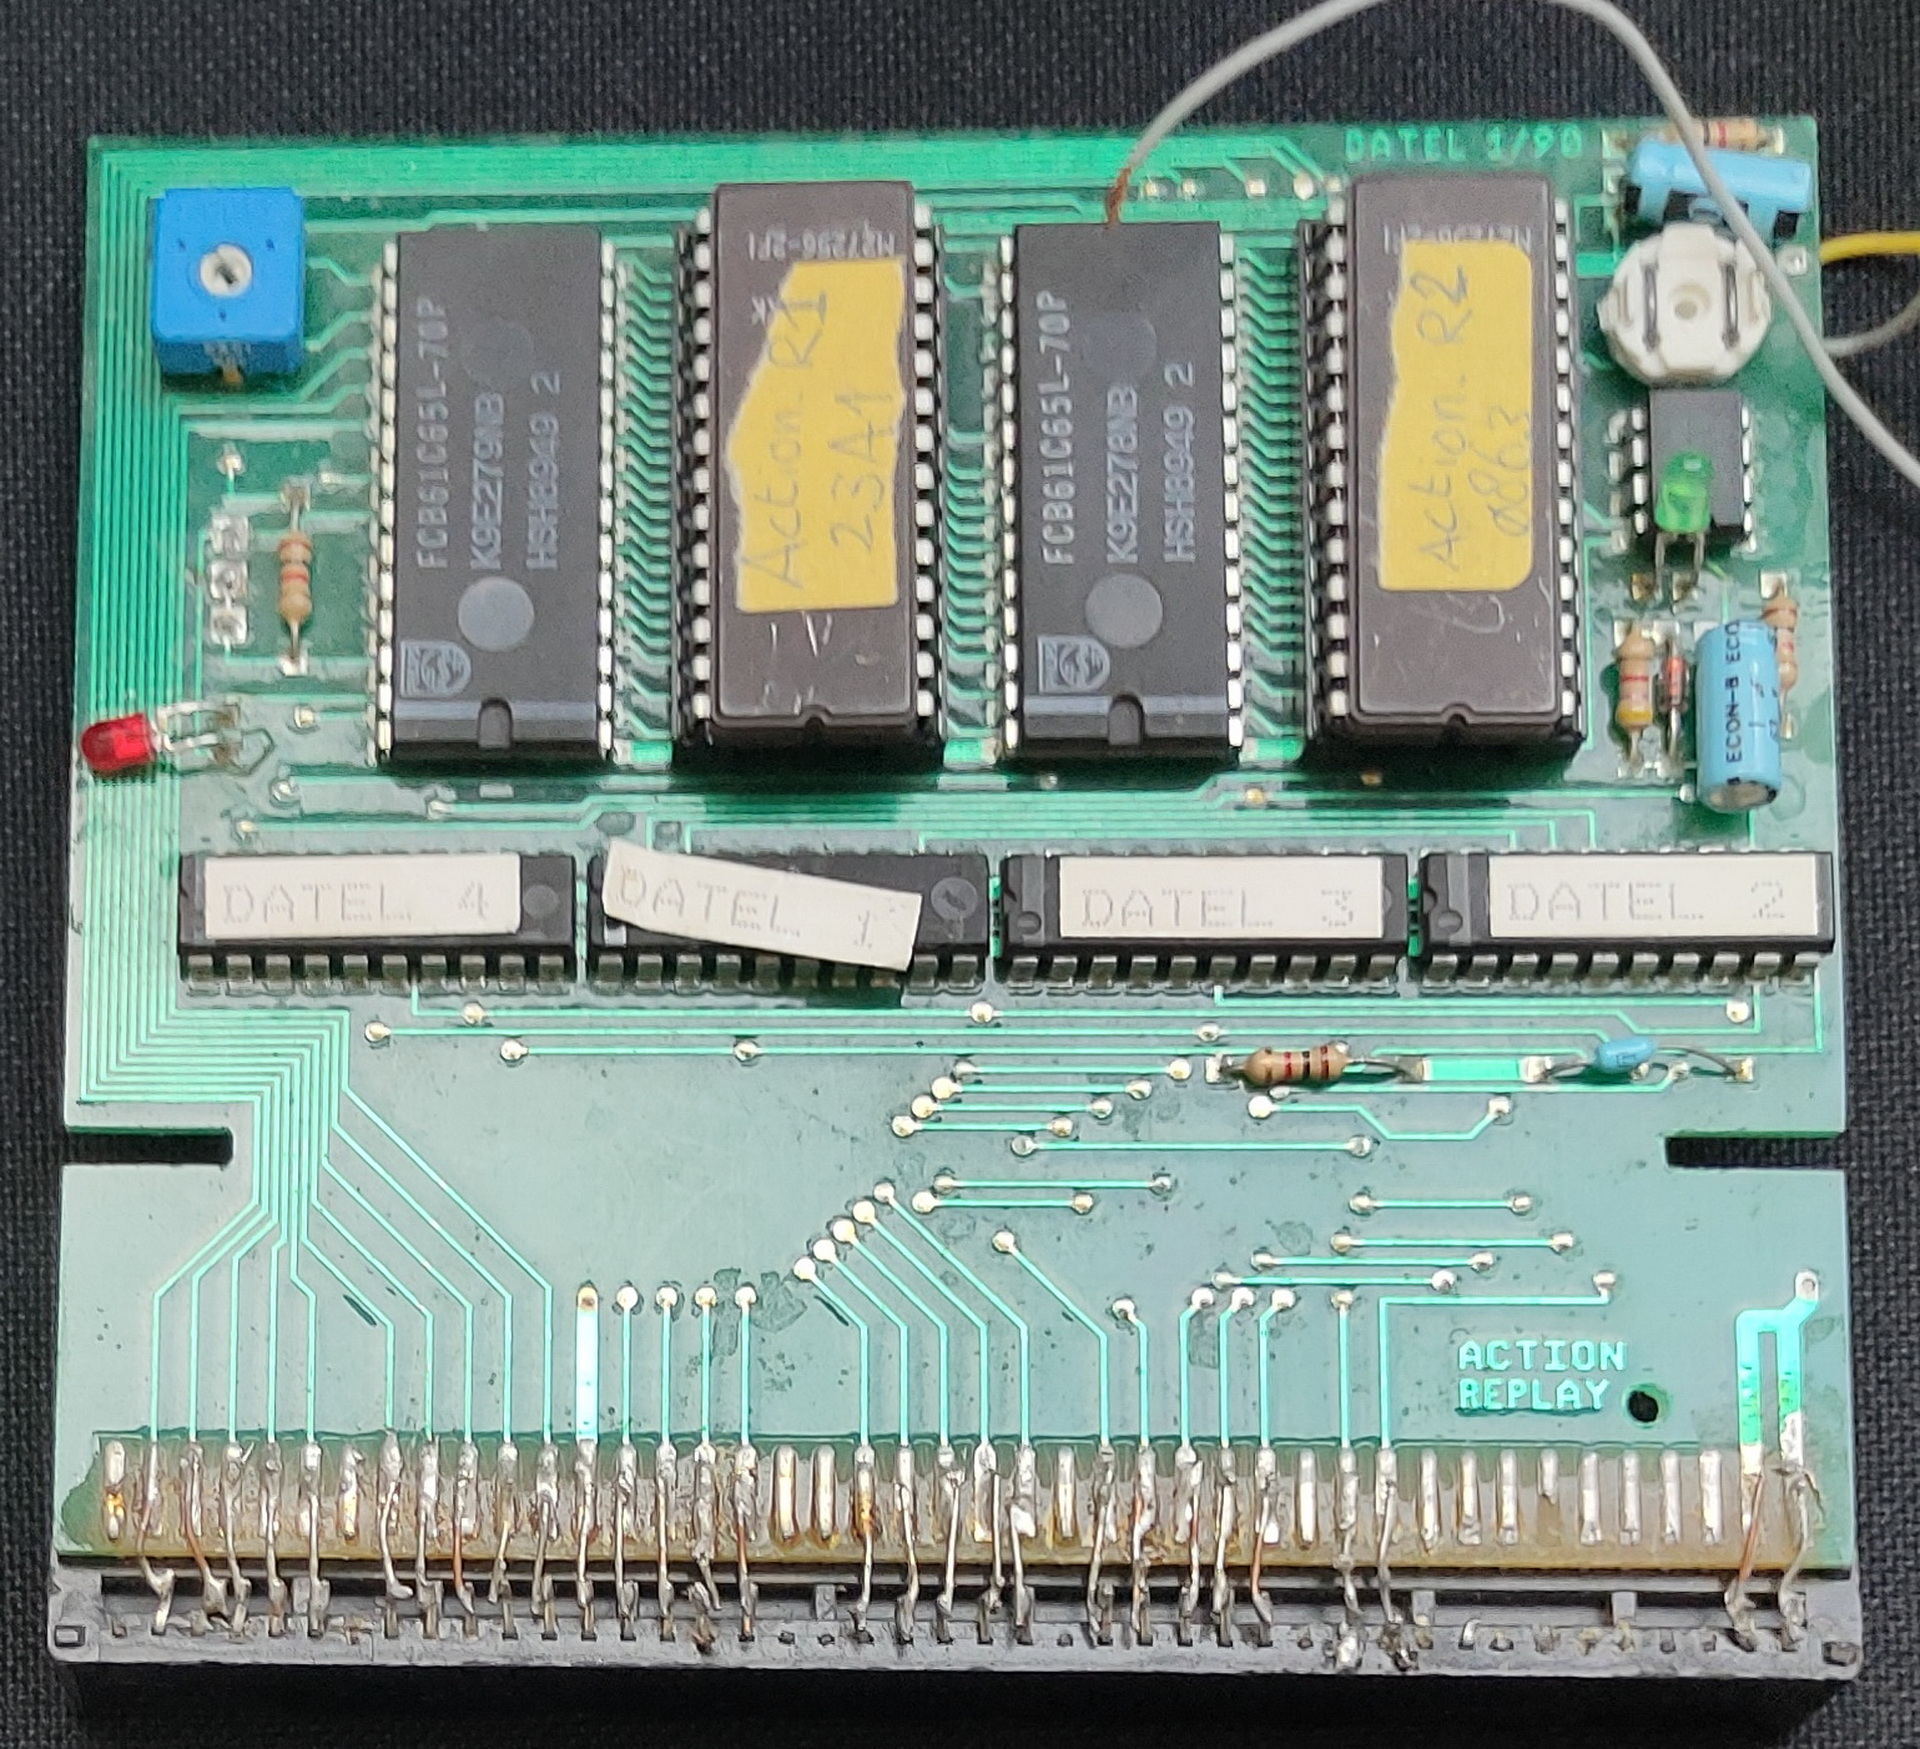
  • Fix my Action Replay, which i soldered into a non working state apparently .. 🙂
  • Get a better mouse!
Catweasel IV

Disks to convert:

  • Personal text files from ages ago
  • My first seka demo
  • My oscillator drawing program
  • Other assembly source files

Got another one running today also:

Wannahaves

Fun .. but do i need it?

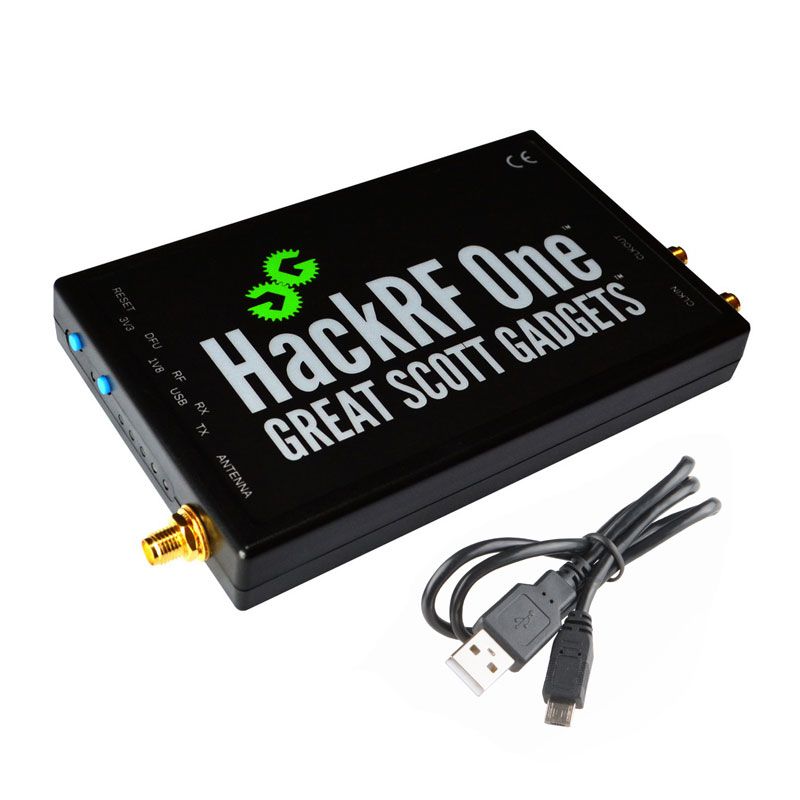
HackRF One

HackRF One from Great Scott Gadgets is a Software Defined Radio peripheral capable of transmission or reception of radio signals from 1 MHz to 6 GHz. Designed to enable test and development of modern and next generation radio technologies, HackRF One is an open source hardware platform that can be used as a USB peripheral or programmed for stand-alone operation.

  • 1 MHz to 6 GHz operating frequency
  • half-duplex transceiver
  • up to 20 million samples per second
  • 8-bit quadrature samples (8-bit I and 8-bit Q)
  • compatible with GNU Radio, SDR#, and more
  • software-configurable RX and TX gain and baseband filter
  • software-controlled antenna port power (50 mA at 3.3 V)
  • SMA female antenna connector
  • SMA female clock input and output for synchronization
  • convenient buttons for programming
  • internal pin headers for expansion
  • Hi-Speed USB 2.0
  • USB-powered
  • open source hardware

I’ve got dvb alternative below now. Hackrf cannot be bought anymore

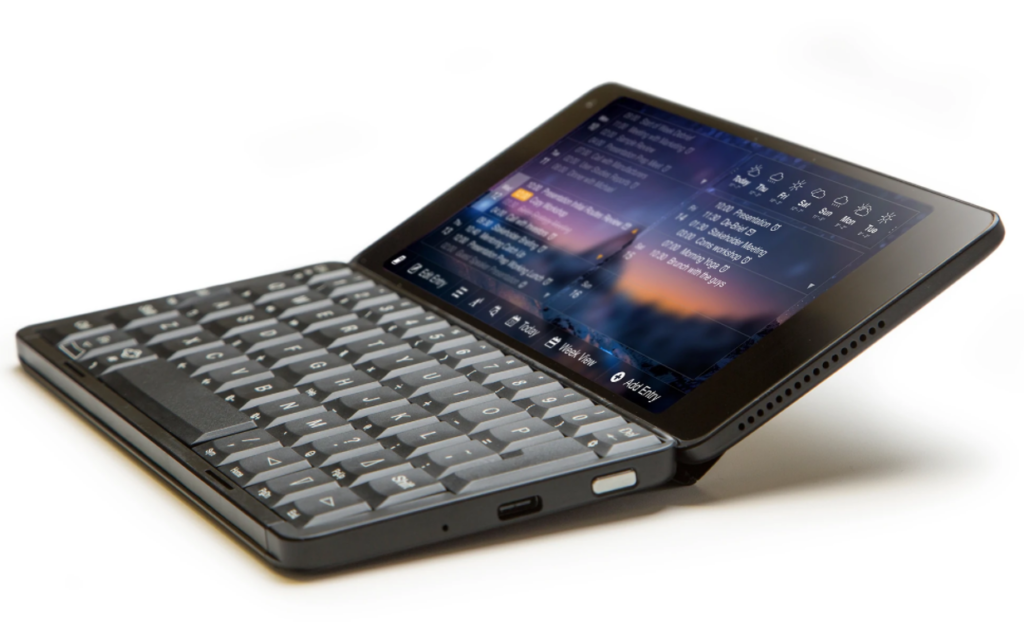
Gemini PDA

Android / Linux PDA

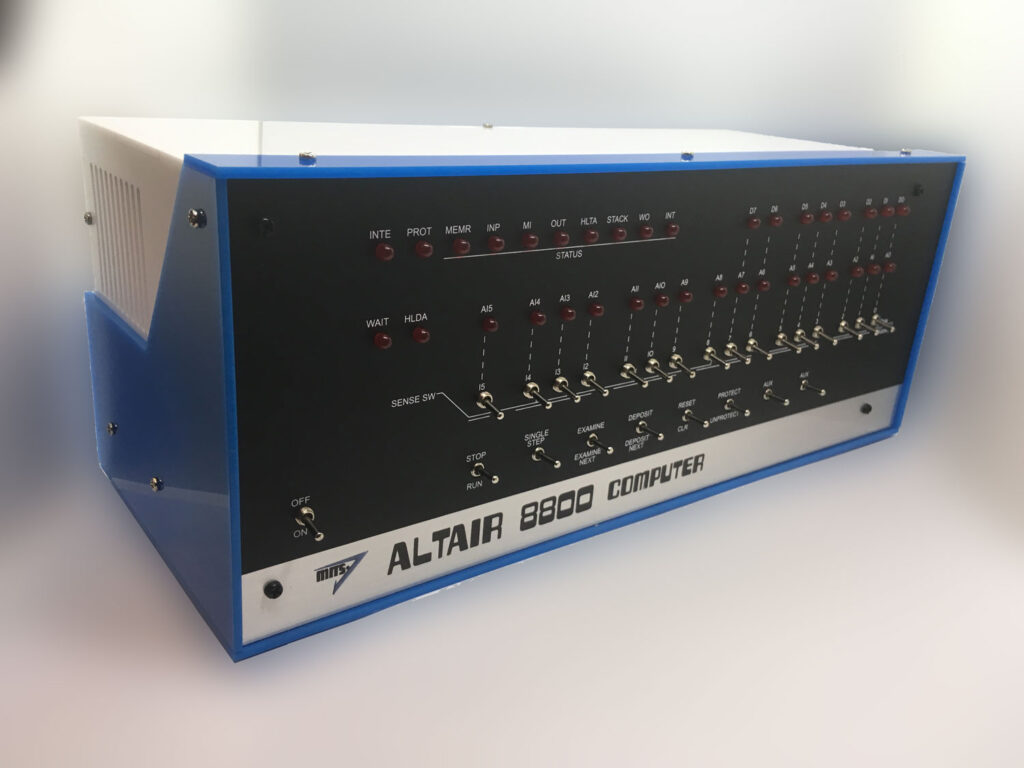
ALTAIR 8800 EMULATOR KIT

The Altair 8800 is a microcomputer designed in 1974 and based on the intel 8080 CPU. Using only switches to program and leds for output.
Even my DIY build computer has a hex keyboard input and 7segments display.

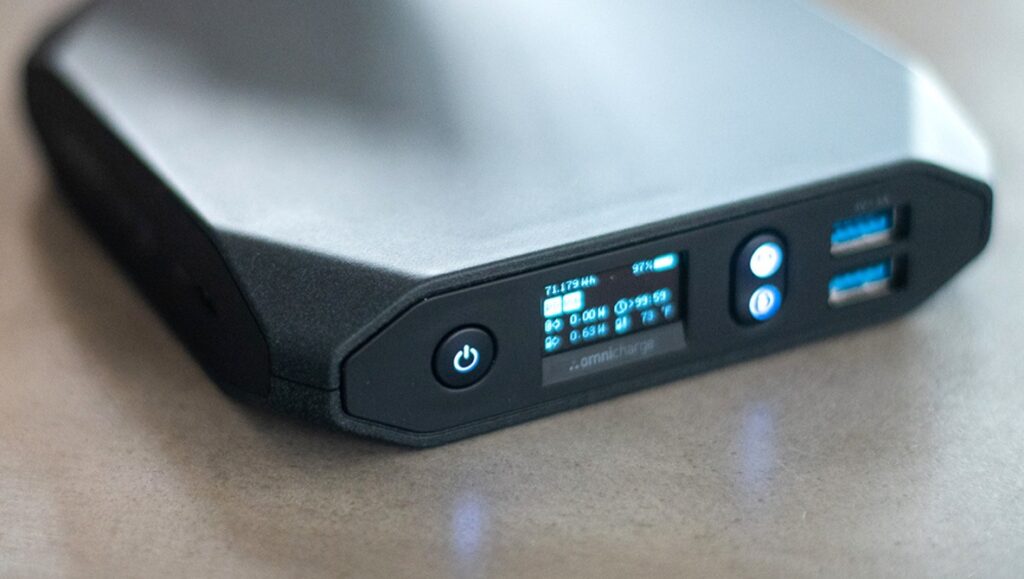
Omnicharge 20+ Usb C Wireless Power Bank 20,000mAh Power Delivery 3.0 + Quick Charge 3.0

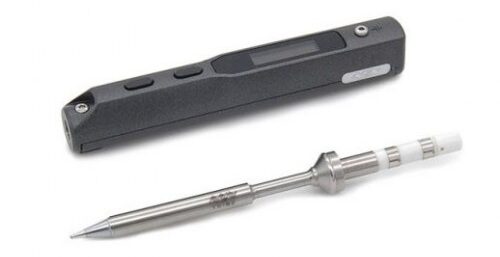
You can use this as a mobile soldering station using a TS100 soldering iron.

HAVE IT

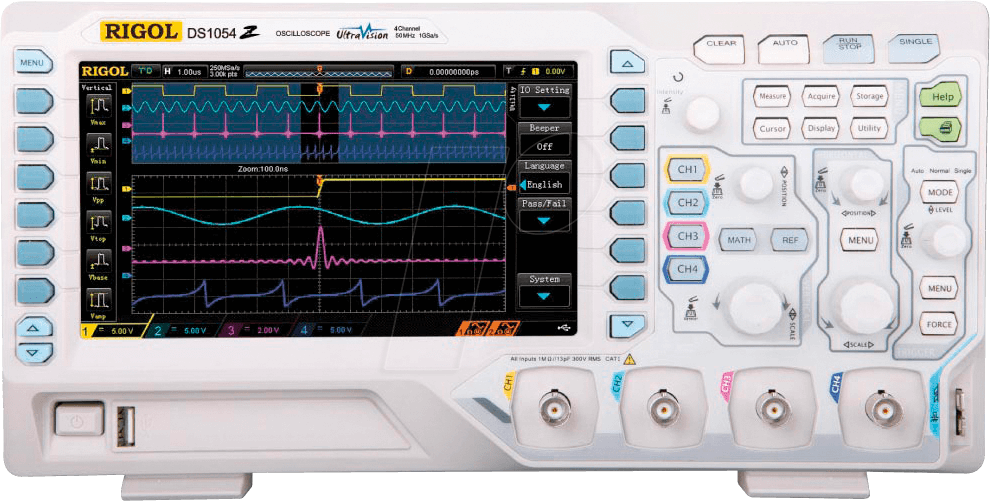
Rigol Oscilloscope DS1054

HAVE Z VERSION (LOGIC ANALIZER)

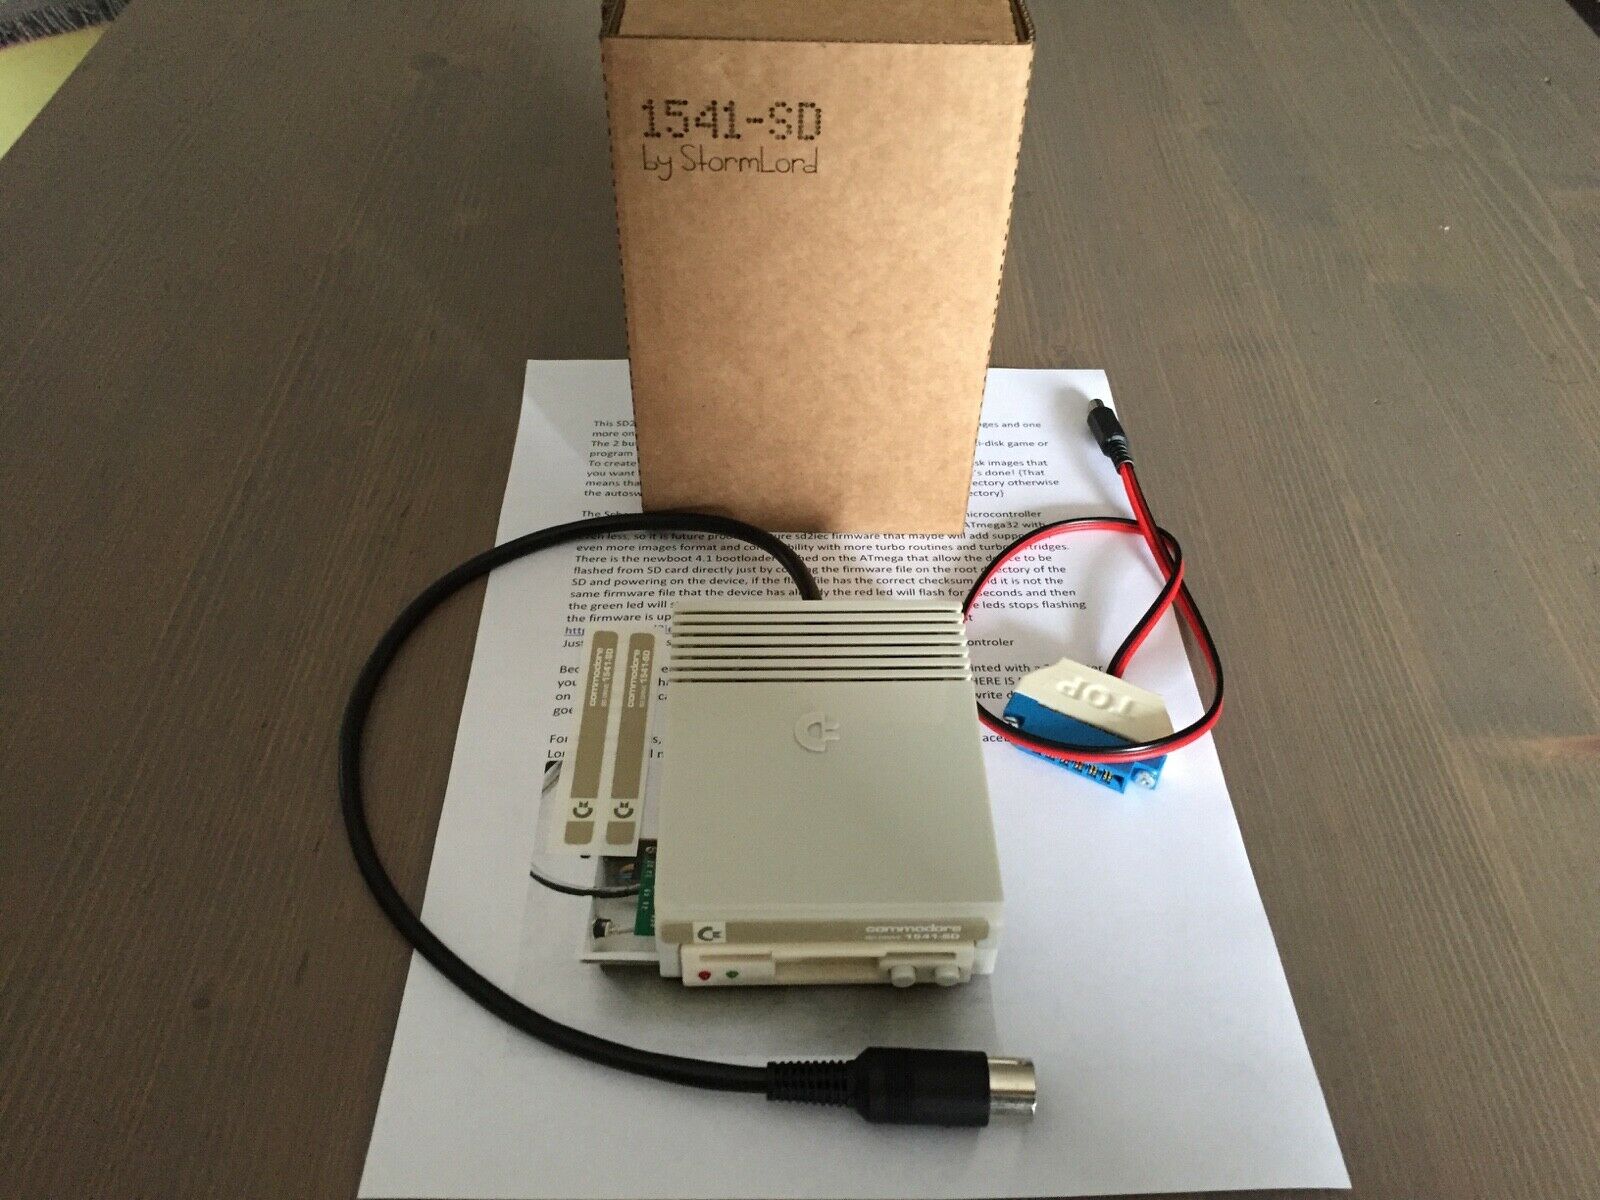
SDCard reader for C64 and other commodore machines

Got this one now, superb. And a Meatloaf DIY

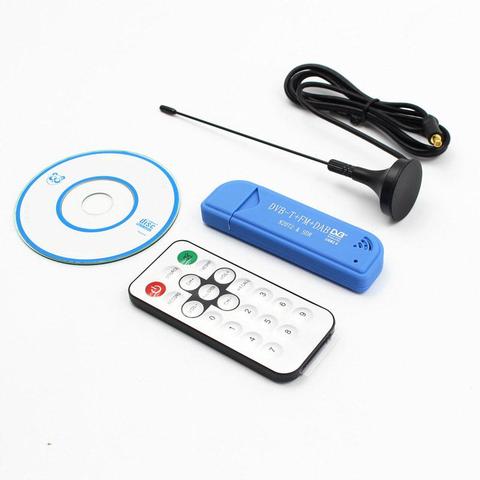
 Tv Stick Dab Fm Dvb-t RTL2832 R820T Sdr RTL-SDR Dongle Stick Digitale Tv Tuner Ontvanger TVSDVBS816

Update : got this one, review later on.

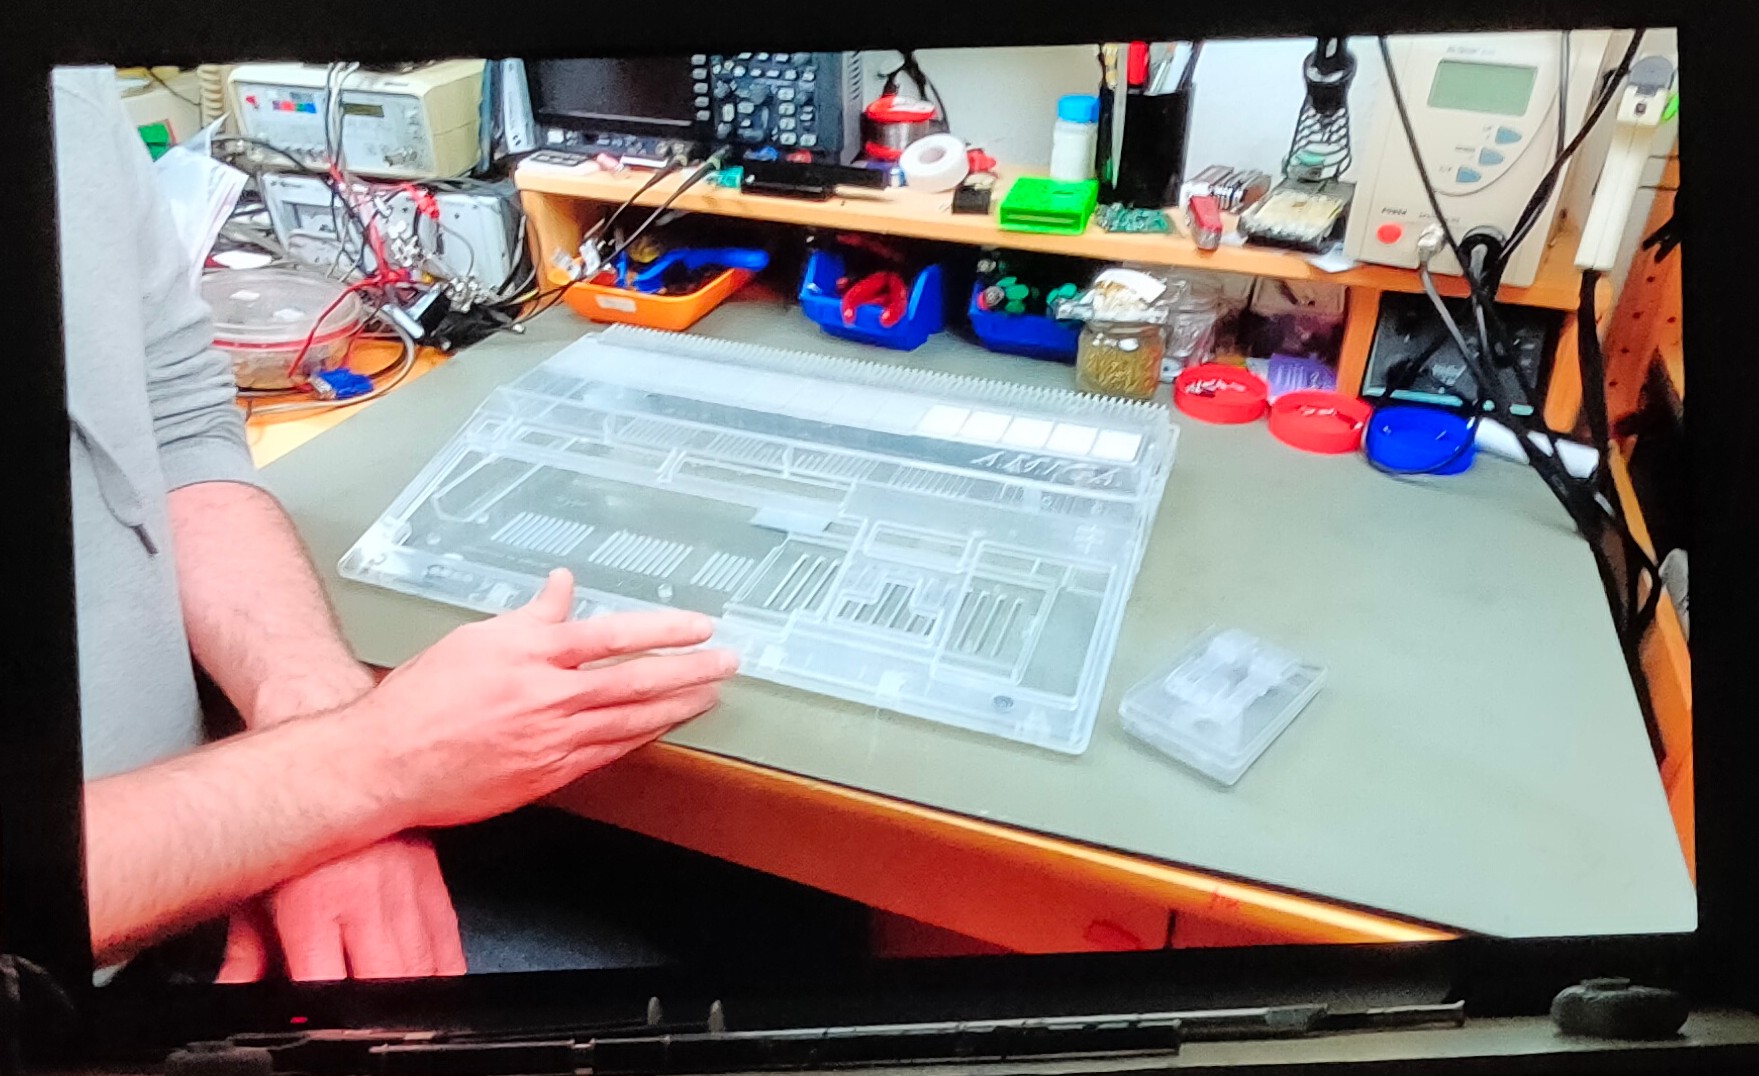
Clear case for amiga and tank mouse

Hacking a hikvision doorcam

I don’t like cloud enabled devices, except if it is my own cloud!

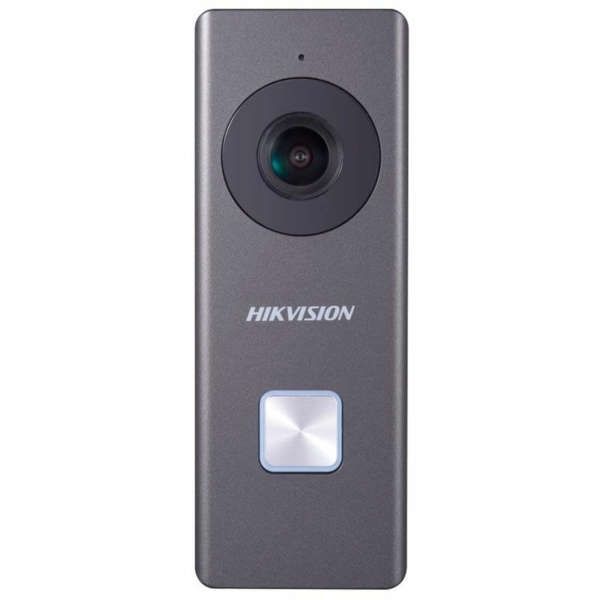
I bought a Hikvision doorcam, when i researched the diverse doorcams where was a hikvision which could use a existing doorchime.

When i got mine in, it did not have this feature.
Damn what to do!

Where where several solutions i could think off:

  • Use as is .. a no-go for me
  • Offload SSL on a proxy and try to reverse engineer the https communication
  • Or a hardware solution

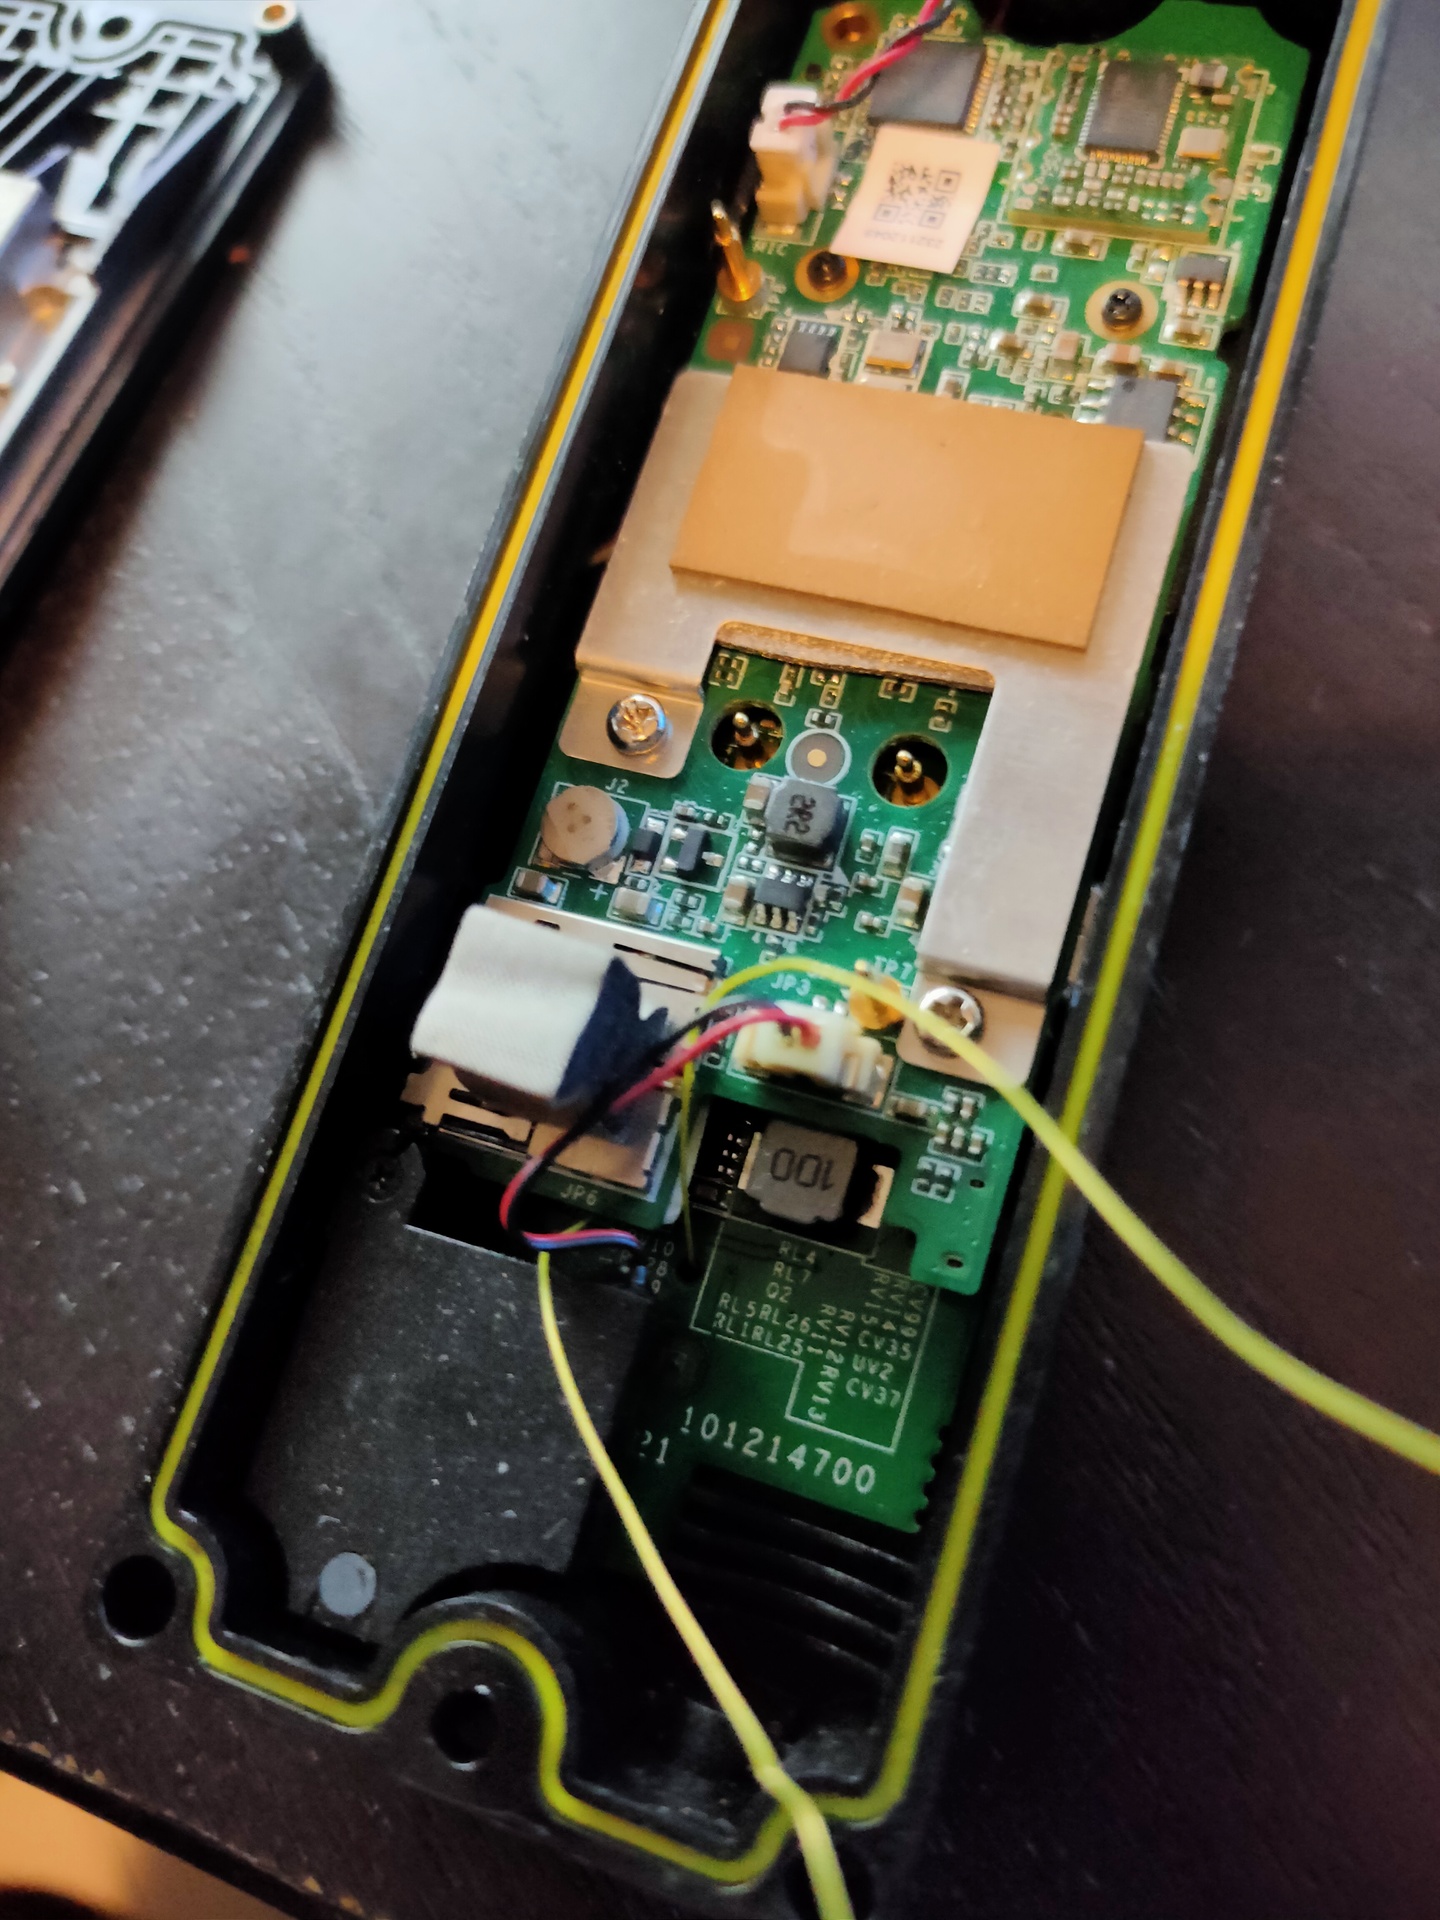
I looked at the electronics and tried to find out how things where connected and where things where you could make use of.
I soldered some wires to a little print where the pushbutton was located.
Now i could read the button press, video was easily captured by using a RTSP port.

Does it work? … yes, but i’m not happy about it

Video playback in Zoneminder or VLC

rtsp://admin:secretpassword@hikvisionip:554/Streaming/Channels/101

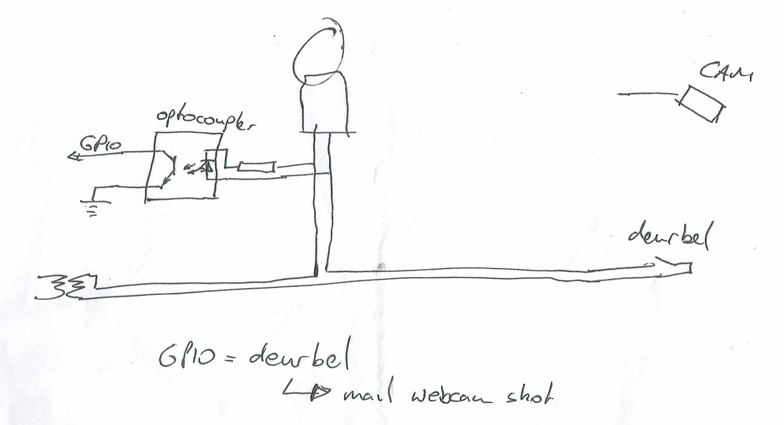
A solution i used before for a generic doorbell

Just read the gpio pin with Arduino or raspberry.
A generic optocoupler will work, just check your resistor.

Electronic pipes

While they are not the real thing, and sound mostly bad. These little electronic devices are great on the move.

Great for using with headphones. Nice to have one of those in your backpack on holiday.

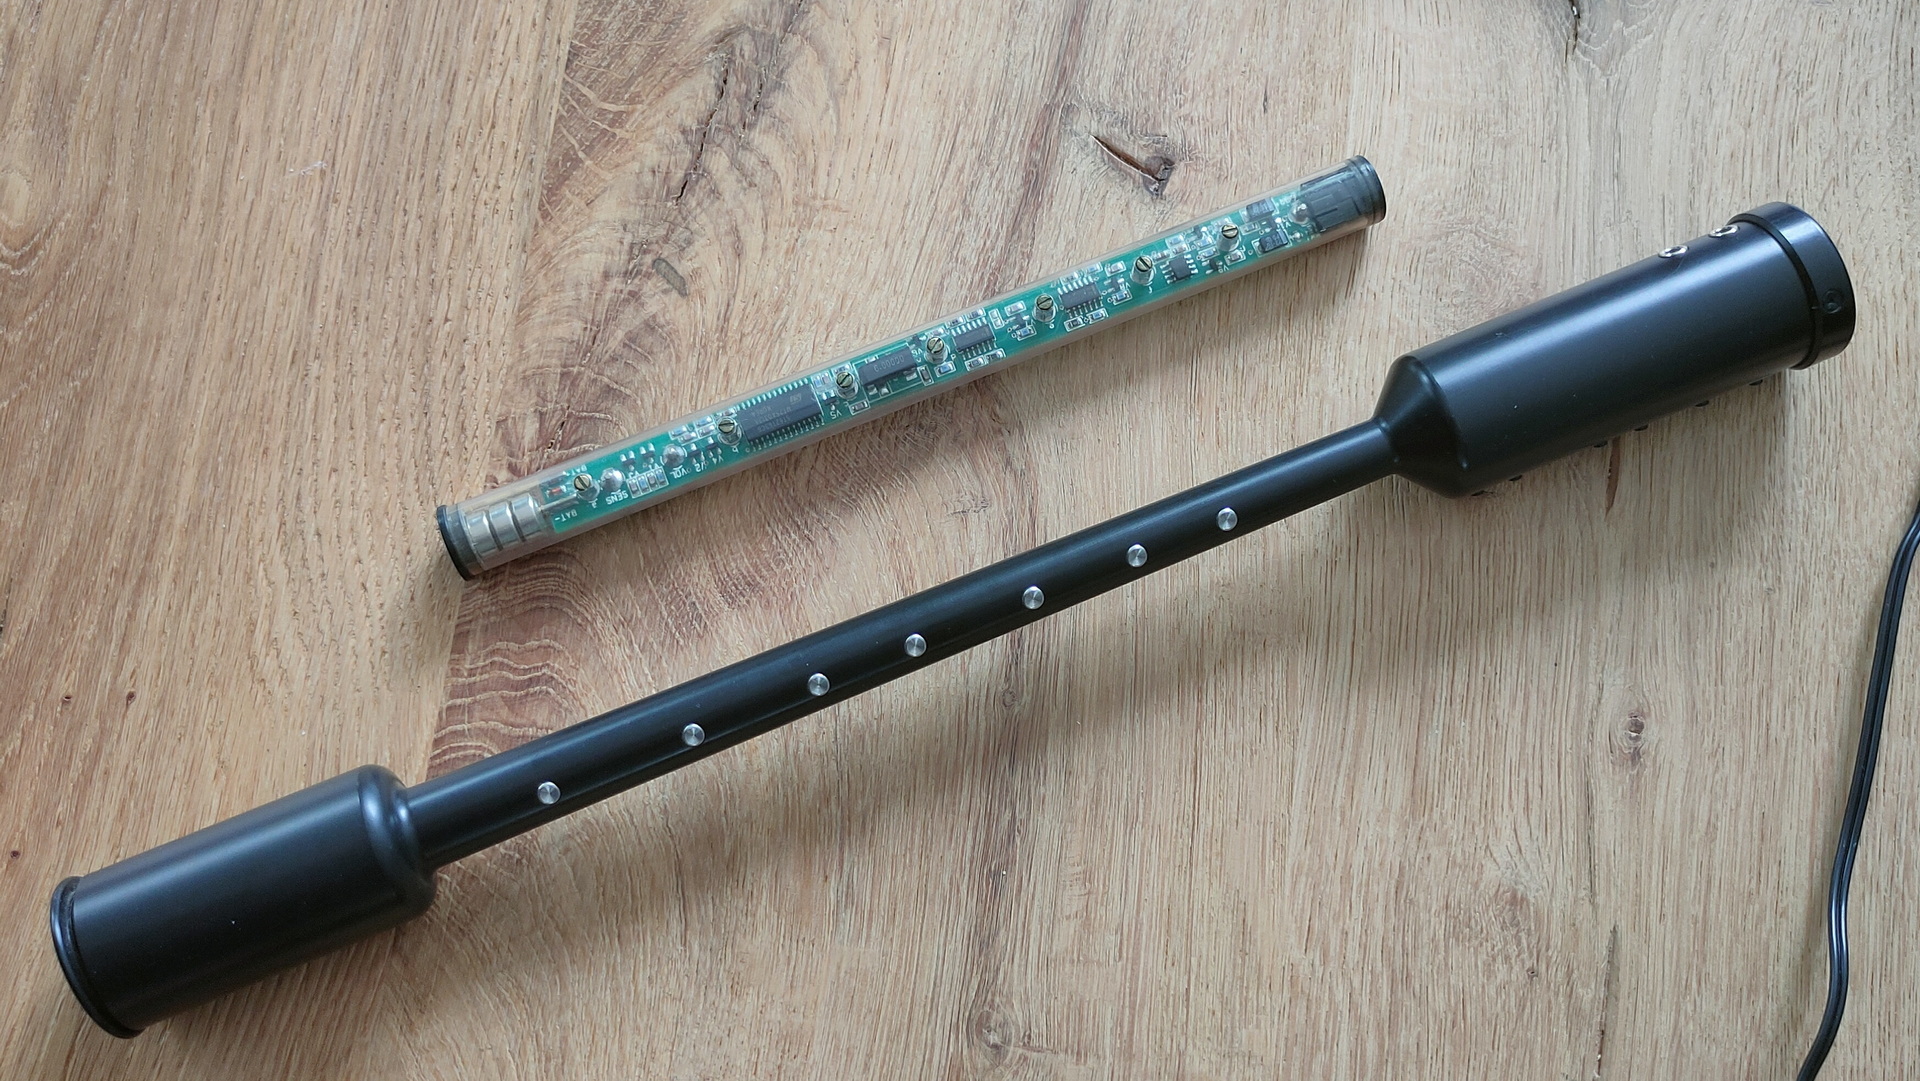
I’ve bought a Technochanter in 2004 and a deger in 2005, both with their benefits.
(I’ve got a little batterypowered mixer with dual output, so Coline and I can play a duet in silence 🙂 )

Technochanter at the top, the black one is the Deger

Both can play accidentals like natural C/F and more.

Links

http://www.fagerstrom.com/
https://www.deger.com/

I designed a electronic bagpipe in the 90’s myself, but it never was a success. ( Shall update this page when I find the schematics )

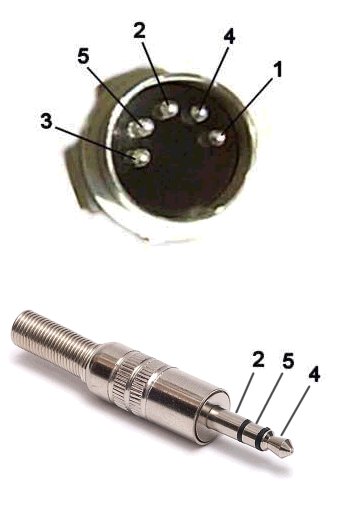
In 2010 I bought a Yamaha QY100 seqencer. I can connect the deger using a DIY midi cable, and use its buildin instruments.

Specs deger:

  • Same size and finger spacing as a long practice chanter.
  • Dual output: PHONES and MIDI! Headphones and MIDI devices can directly connect to the DegerPipes Chanter. It’s also possible to connect the phones output to an amplifier or a stereo.
  • The chanter contains all electronic components as well as the battery. No external box or additional equipment is needed.
  • Authentic Bagpipe sound including drones generated by wavetable sound synthesis. Highland Pipe and Smallpipe sounds integrated.
  • Perfectly tuned chanter scale and drones by usage of crystal oscillator and microprocessor control.
  • The Pitch is adjustable in a range of more than three octaves. This enables you to play together with other instruments in any key.
  • The drones volume is variable and can also be switched off.
  • Through MIDI output every MIDI compatible tone generator or other MIDI equipment can be used (for example PC with notation program).
  • An extended cromatical scale is available allowing you to play tunes which are not playable on the real pipe chanter.
  • Driven by a cheap standard 9V Battery, Accumulators are also usable.
  • Up to 100 hours of playing with only one battery.
  • Automatic power off after a minute of no activity.
  • A Metronome is integrated within the Chanter.
Deger Midi Cable

Specs Technochanter:

  • Fits in your pocket: only Ø16 x 225 mm (Ø5/8″ x 9″)
  • Uses earphones (not included): therefore perfect to play on buses, trains etc. Ideal for the commuter.
  • Natural C and F.
  • Pitch alterable.
  • Unforgiving at detecting crossing noise.
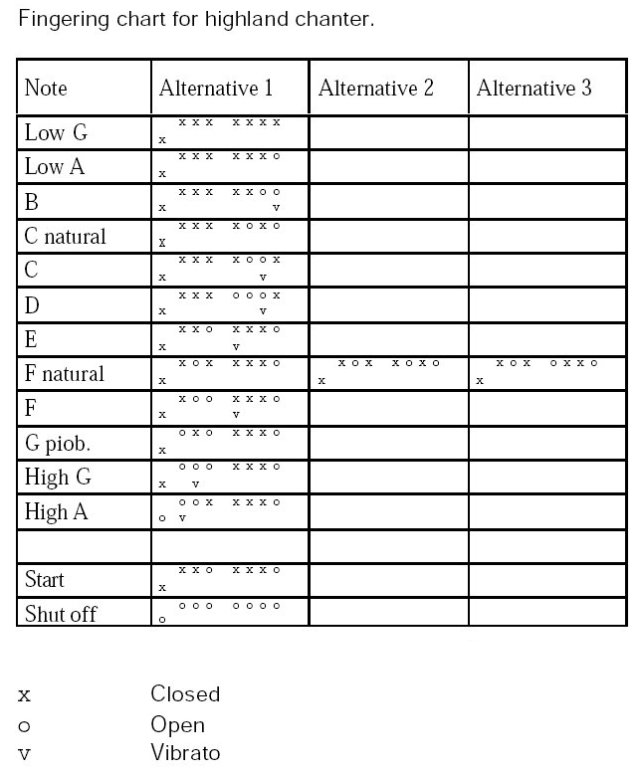
Finger Chart


Below a link to the QY100

Hardware scroller

I came across a really old post from 1996.
It was from a good friend of mine Martin.

It was a while before this post, which was by Fido mail, that he came to our house with a great idea. (1993)

FidoNet is a worldwide computer network that is used for communication between bulletin board systems (BBSes). It uses a store-and-forward system to exchange private (email) and public (forum) messages between the BBSes in the network, as well as other files and protocols in some cases. (Dial-up!)


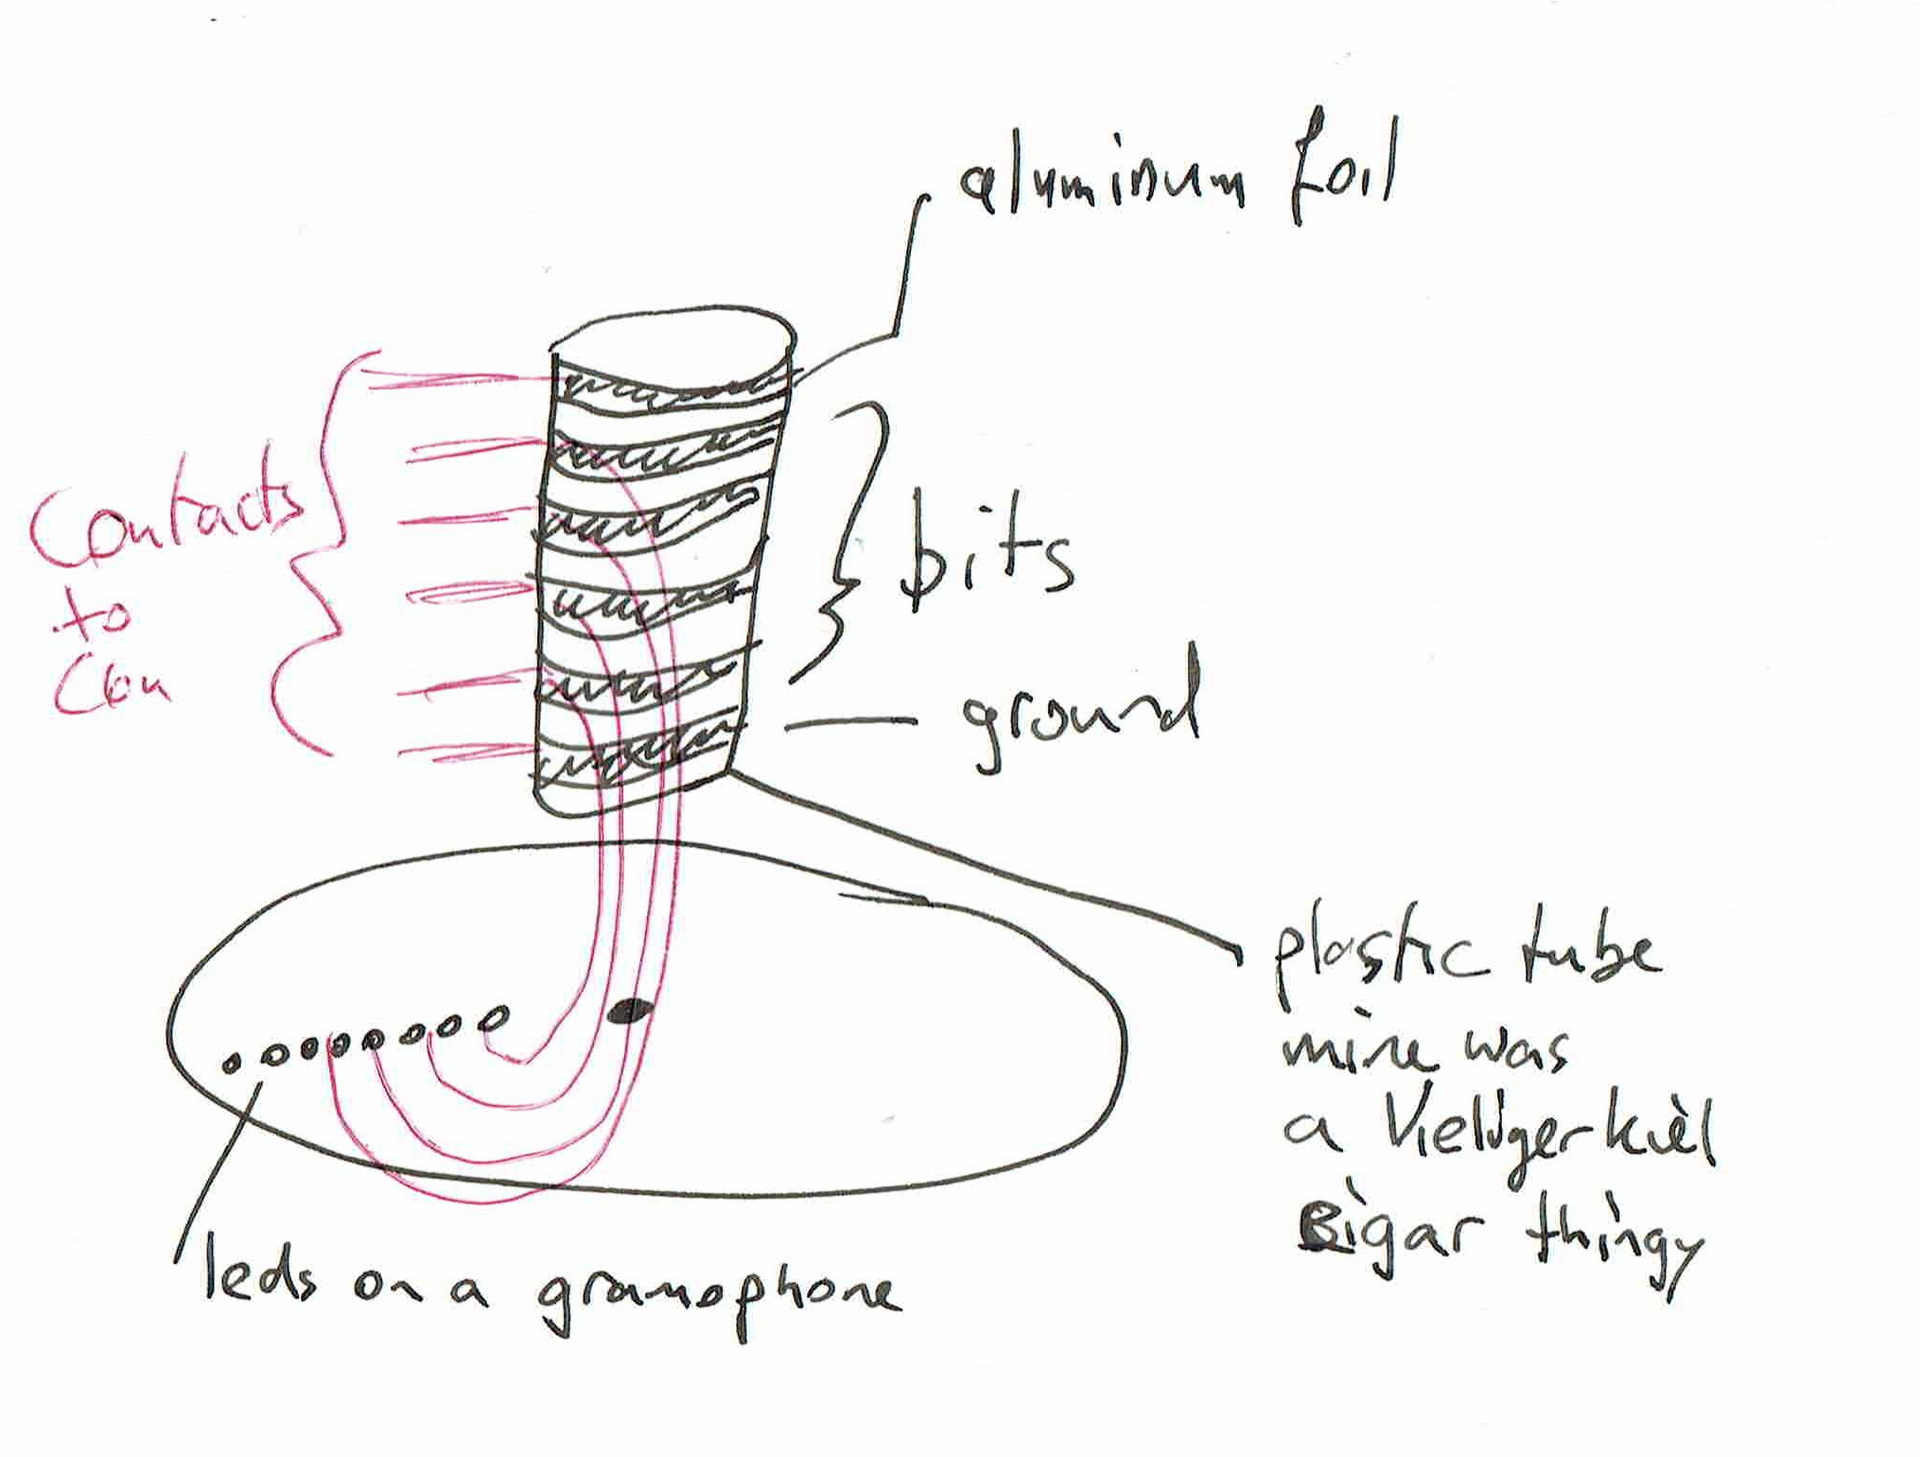
He took a record player and connected leds to it. Connecting this to a C64 and synching the speed of rotation and the output, he wanted to display text on this.

Probably this was the mistery tape i mentioned here:

So he did the most of the programming, i made a version of my own and added a sync bit to it. This enabled it to get the scolling text more “in place”

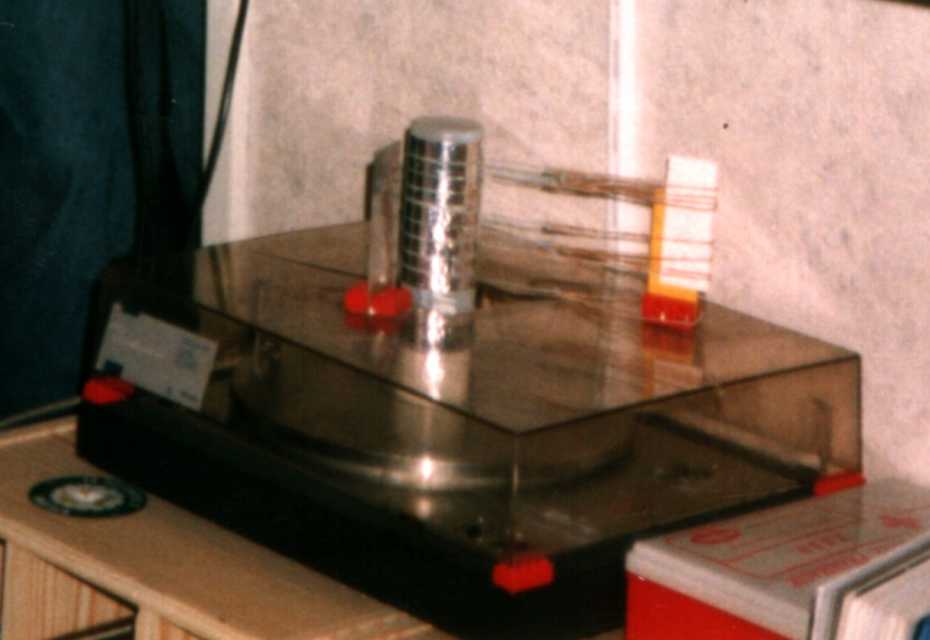
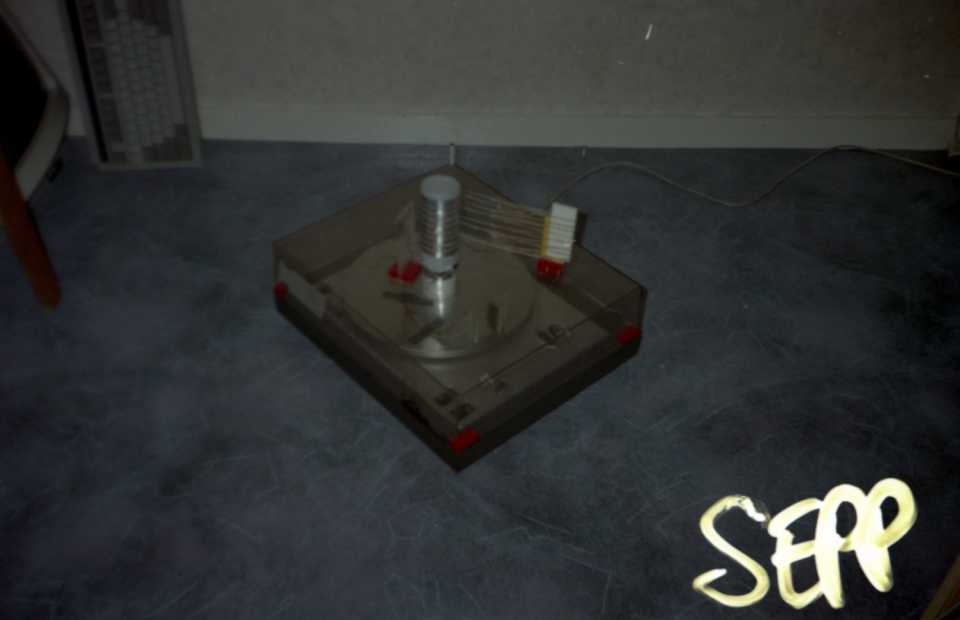
Some pictures from Sepp’s website

--- Terminate 3.00/Pro
 * Origin: Sepp Mail Development Department (2:283/334.13)

Ä Mail van en voor mij ÄÄÄÄÄÄÄÄÄÄÄÄÄÄÄÄÄÄÄÄÄÄÄÄÄÄÄÄÄÄÄÄÄÄÄÄÄÄÄÄÄÄÄÄÄÄÄÄBewarenÄ
Msg  :  781     [1-3089]                   Loc
From : Martin ********                     02-Apr-96  00:59:51  2:283/334.13
To   : Henri Aanstoot                                           2:283/334
Subj : Hardware scroller
ÄÄÄÄÄÄÄÄÄÄÄÄÄÄÄÄÄÄÄÄÄÄÄÄÄÄÄÄÄÄÄÄÄÄÄÄÄÄÄÄÄÄÄÄÄÄÄÄÄÄÄÄÄÄÄÄÄÄÄÄÄÄSEPP.INTERESSANTÄ
* Written in: TUKKER=PROAT
Ha die Henri!
 MM>> Heb je de laatste KIJK al gezien??? Die eikels hebben onze 8-ledjes-
 MM>> hardware-scroller na zitten maken, alleen scrollt-ie bij hunnie niet
 MM>> in de vorm van een cirkel, maar hebben ze mijn ruitenwisserversie
 MM>> gebruikt... En het enige wat-ie doet is de tijd aangeven...
 HA> Bah, wat een na-apers.
Ja, vreselijk...

 HA> Maar die van ons was toch beter!
Inderdaad... kunnen ze nog wat van leren... :-)

 MM>> Btw is jouw prototype nog operationeel??? De mijne niet, omals de
 HA> Nee, ik wil heb eigenlijk opnieuw bouwen! (was ik al een tijdje van plan)
Met full-colour LEDs, 16 hoog???

 MM>> elastiekjes die ik heb gebruikt in de loop der tijd helemaal poreus
 MM>> We moeten maar weer eens iets compleet revolutionair nieuws uitvinden,
 MM>> ik heb nog wel een paar innovatieve ideejen...
 HA> Als je gaat kijken wat ze allemaal van mijn gejat hebben .......
Nou, vertel...

To the loo,

Martin ********