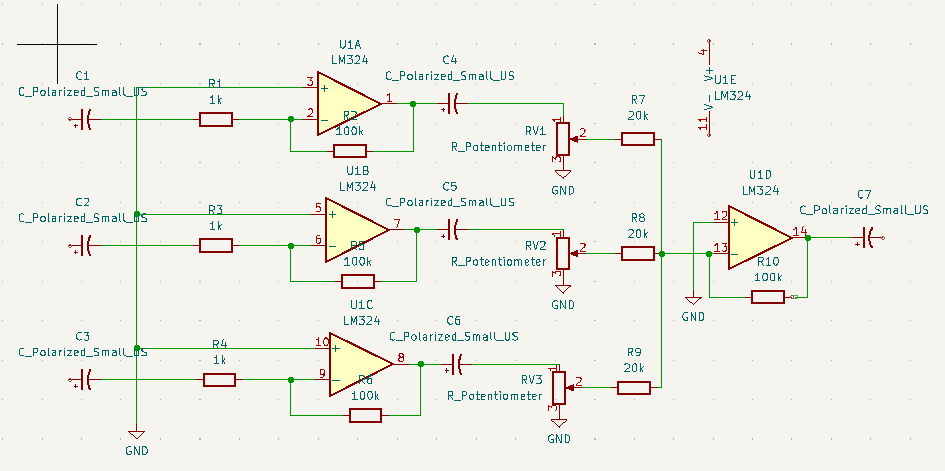
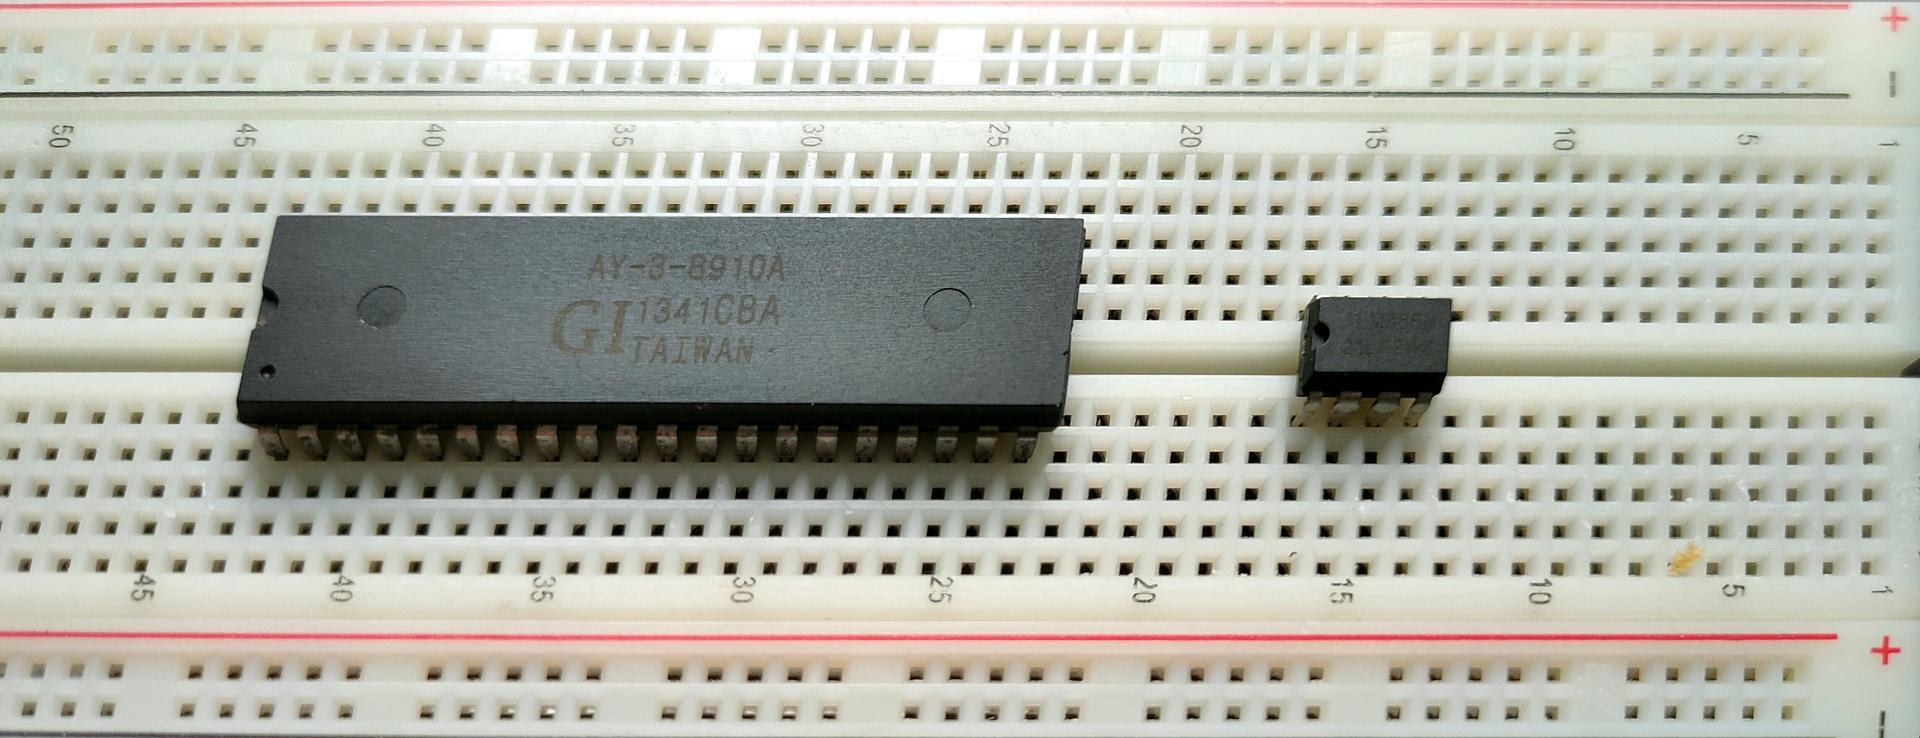
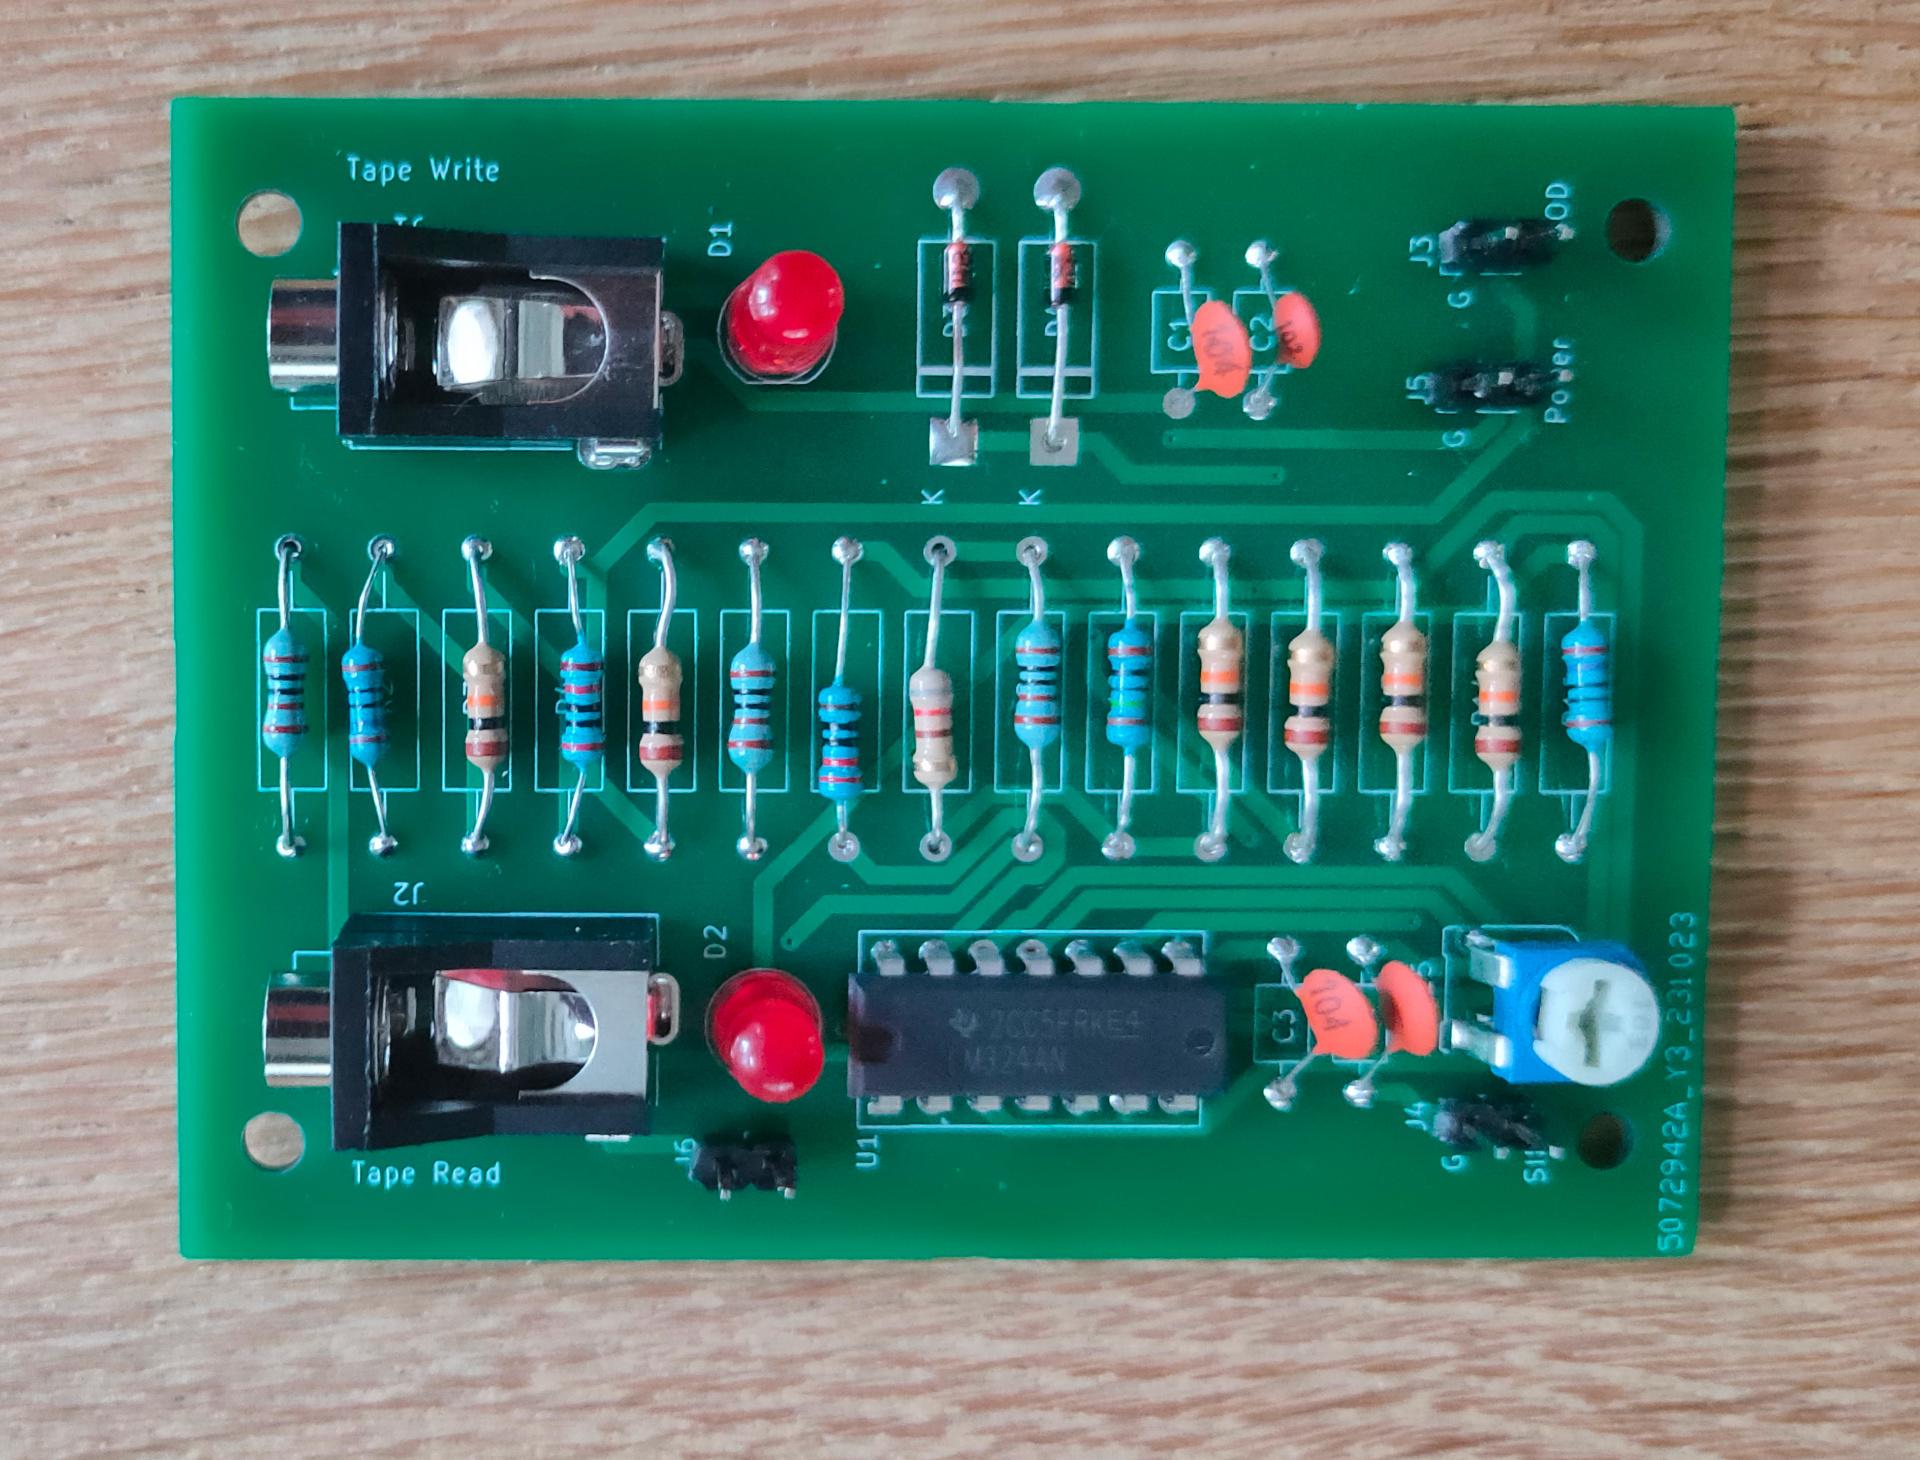
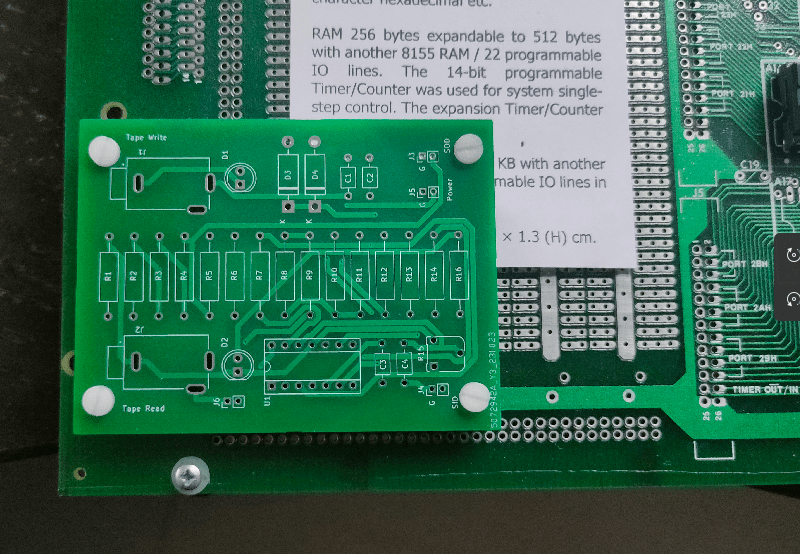
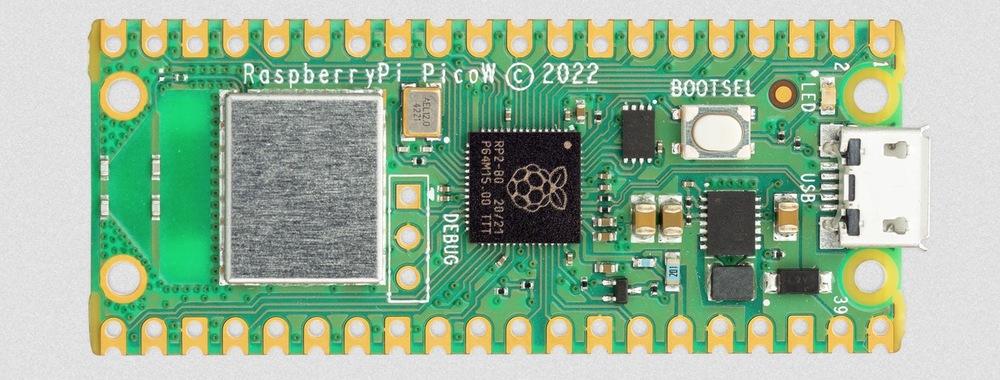
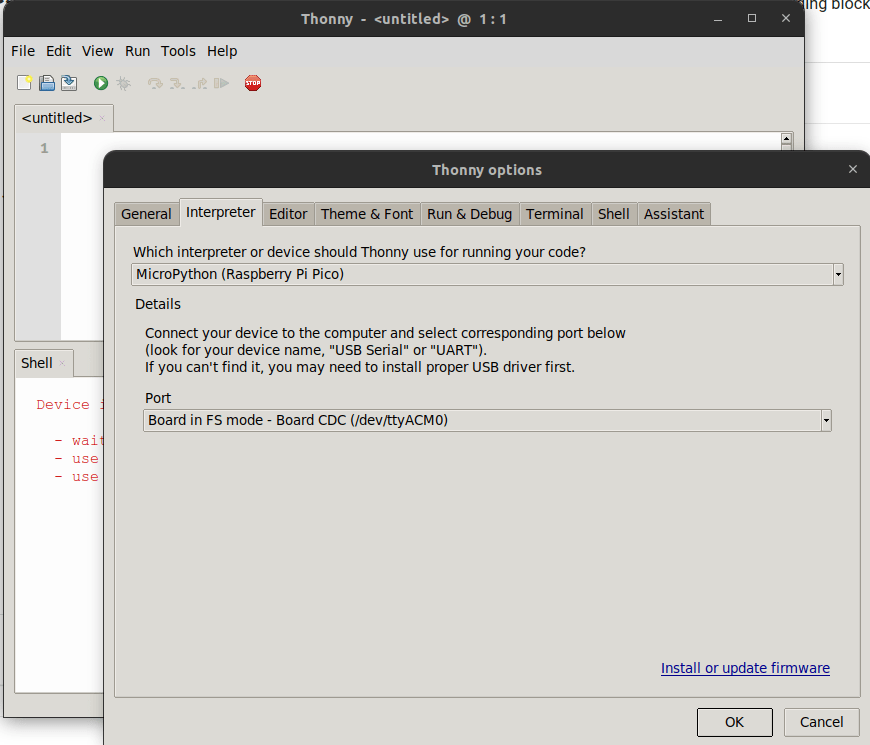
At the back the 8 pin single channel lm368 amplifier. At the front the 3 channel setup. I still have to tweak the resistors, and potmeters. Then I can make a permanent PCB, and figure out the connections to the 6502.
At the moment, the Arduino Nano is playing some real sound samples by using the registers of the sound chip. The music is being played by sending the register dumps directly to the chip.
Much like i’ve been using SID register dumps to play songs in another project.
This is version 0.1 .. do not use. If its wrong, or can do better please mail me. Oh it needs a 1k resistor from the 20K’s to ground I think.
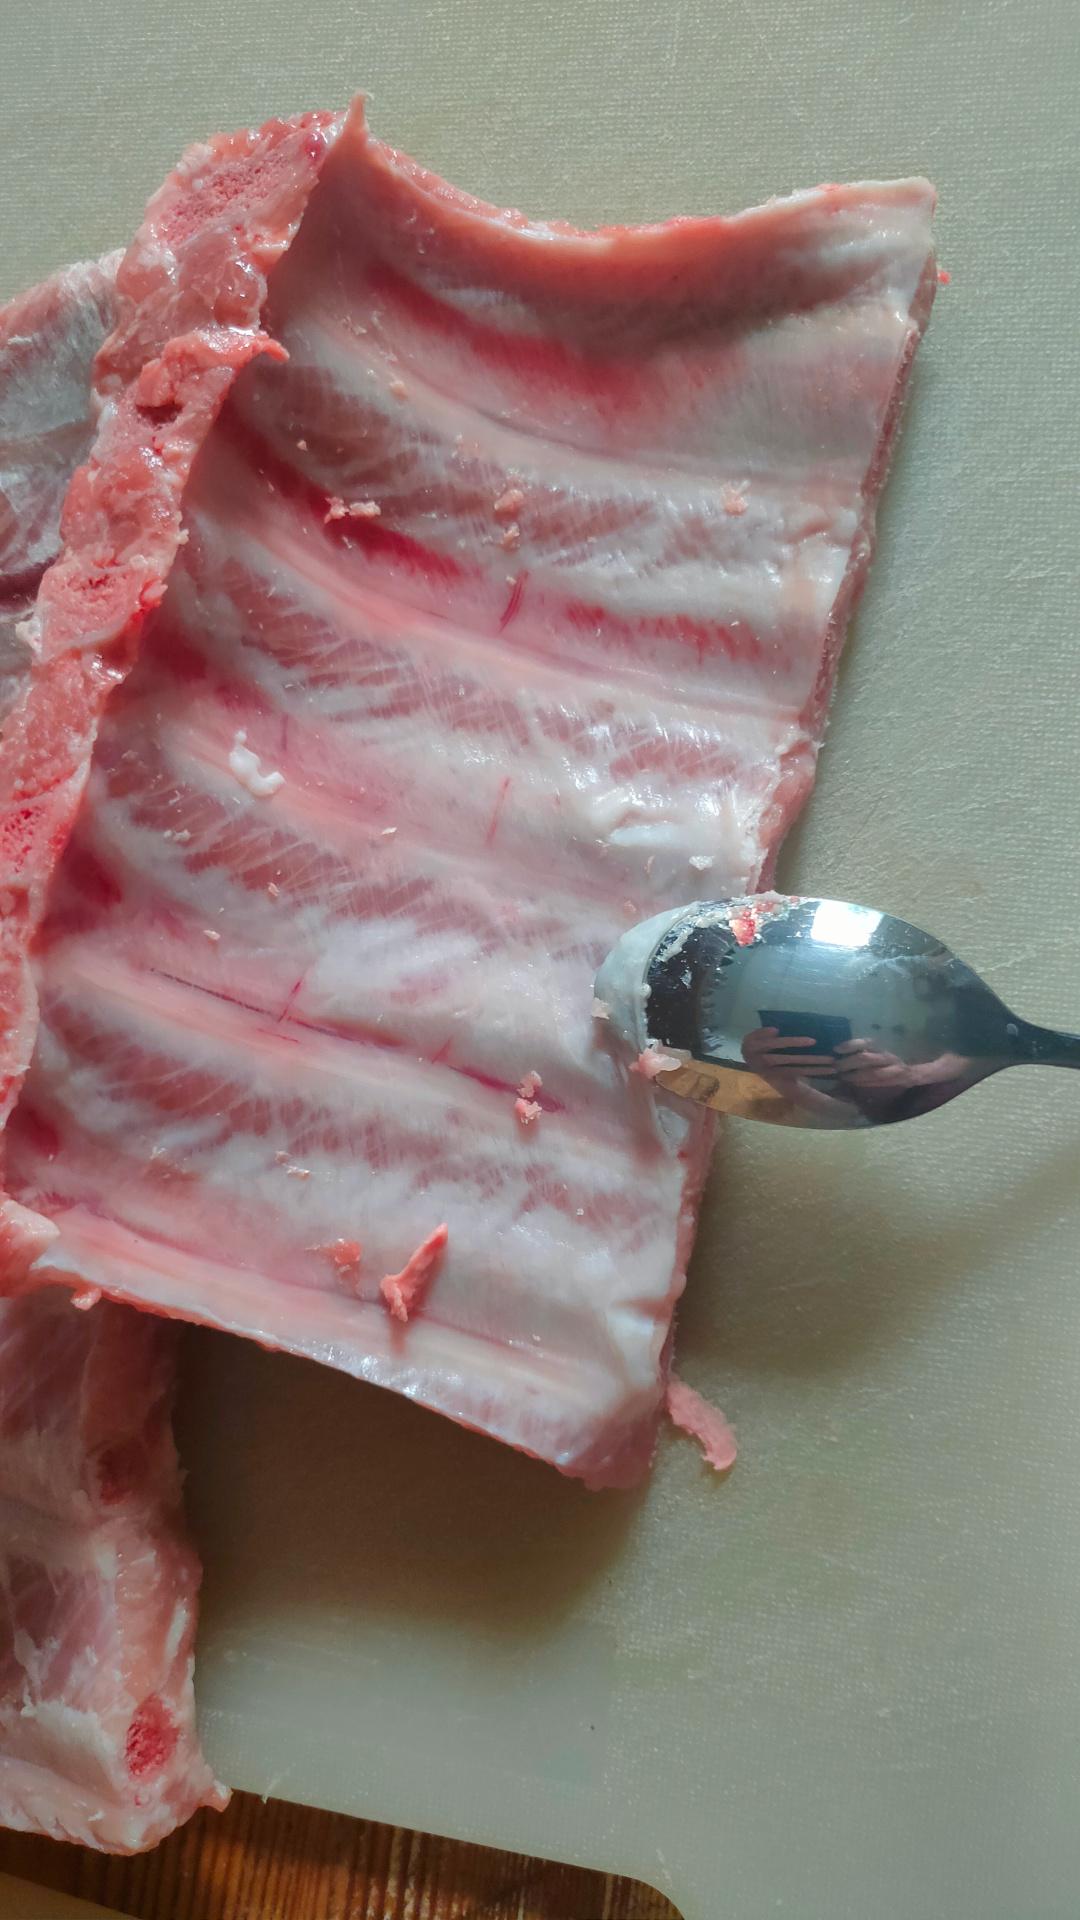
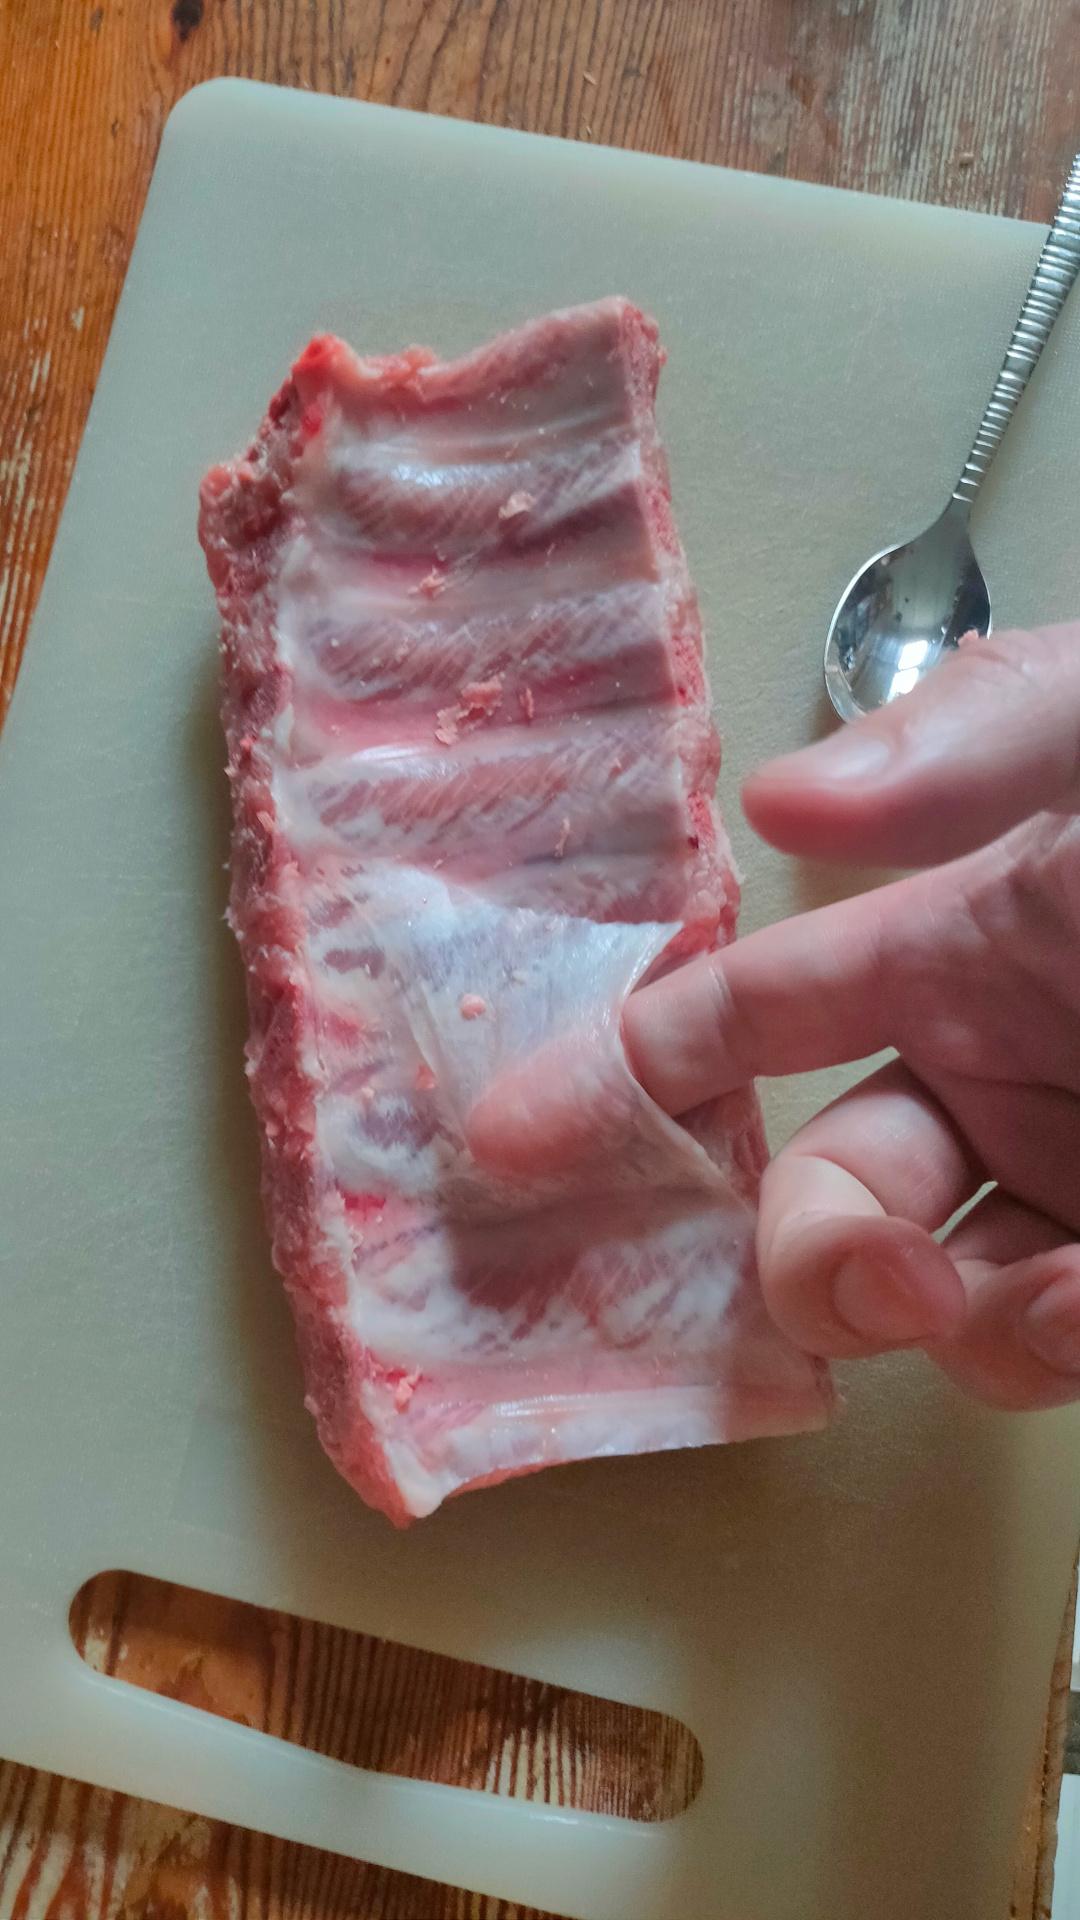
Use a little spoon NOT a knifeGet your fingers underneath the membranePreparing the ribs, getting the membrane off.
This time I used a rub with the following ingredients: Seasalt, garlic, brown sugar, mustard seeds, paprica, cilantroseeds, black pepper, red pepper, oregano, thyme and cumin.
Doing a simple 3-2-1 smoke session, so .. what to do in dose 6 hours?
Lets make something using a Sense hat and Python. Same HAT I used for my xmas ornament thingy in our tree.
Generate a large maze (80×80 for now)
Paint the maze using colors on the SenseHat
Read joystick movement and scroll the maze accordingly, keeping the player in the middle
Now I have to paint my ribs with BBQ sauce, and leave it in the smoker for yet another hour. (Nice glazing)
Next steps for the maze:
Use a better way to generate (reverse backtracking as I made for my other maze thing)
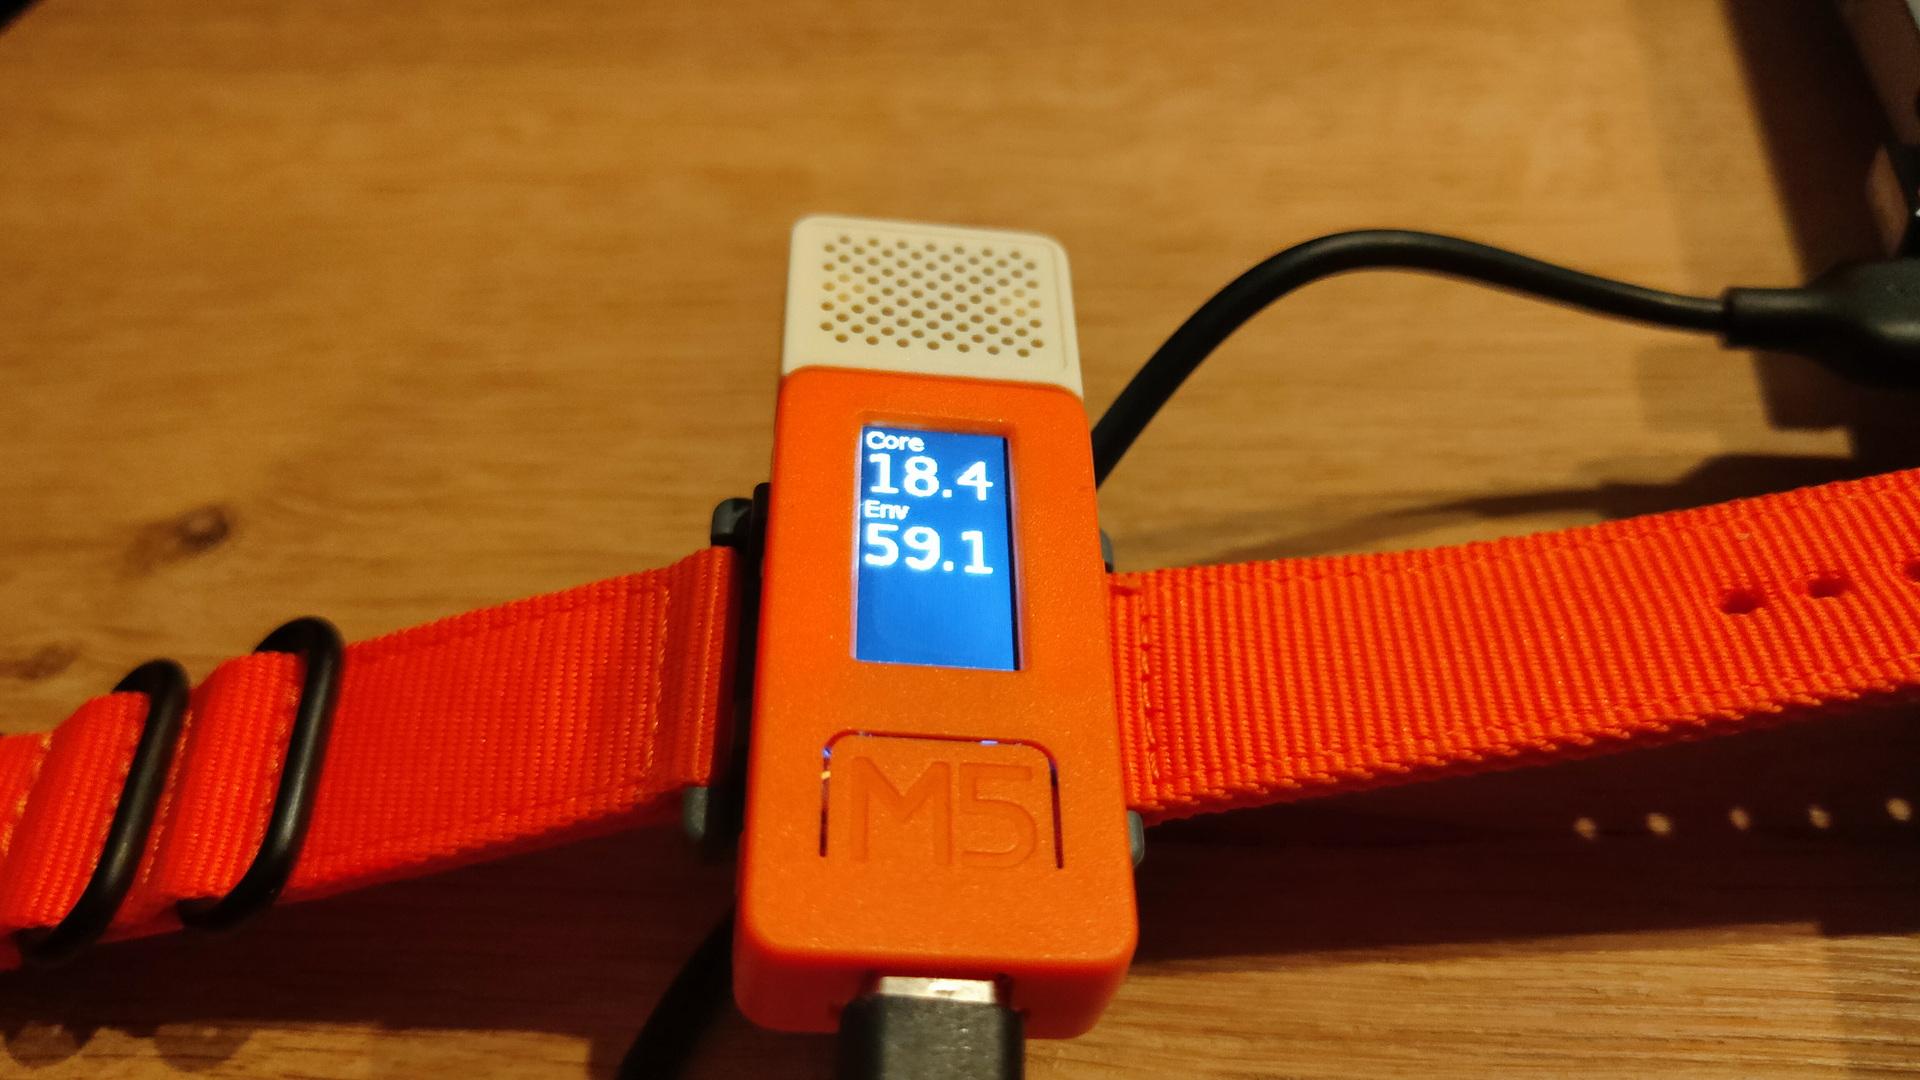
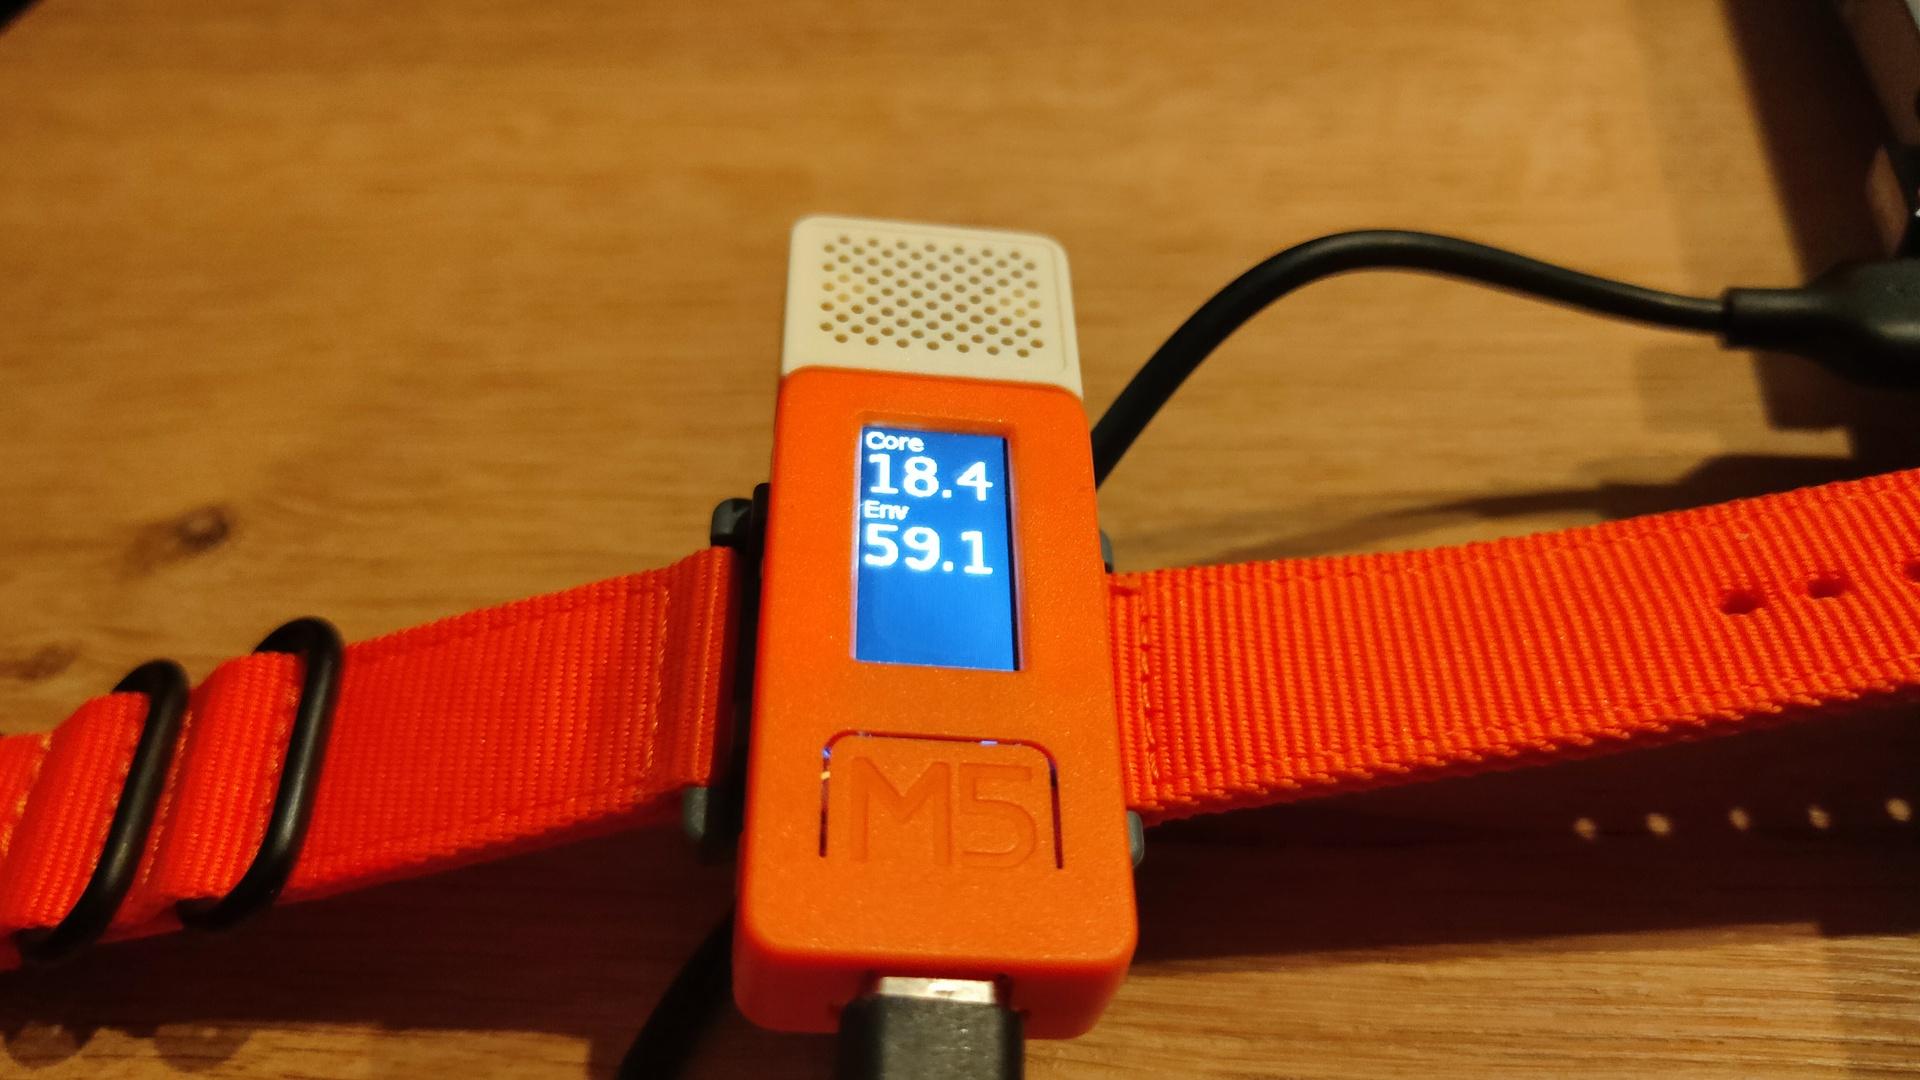
Not posted in the past, new version using ESPHOME and a m5stickc
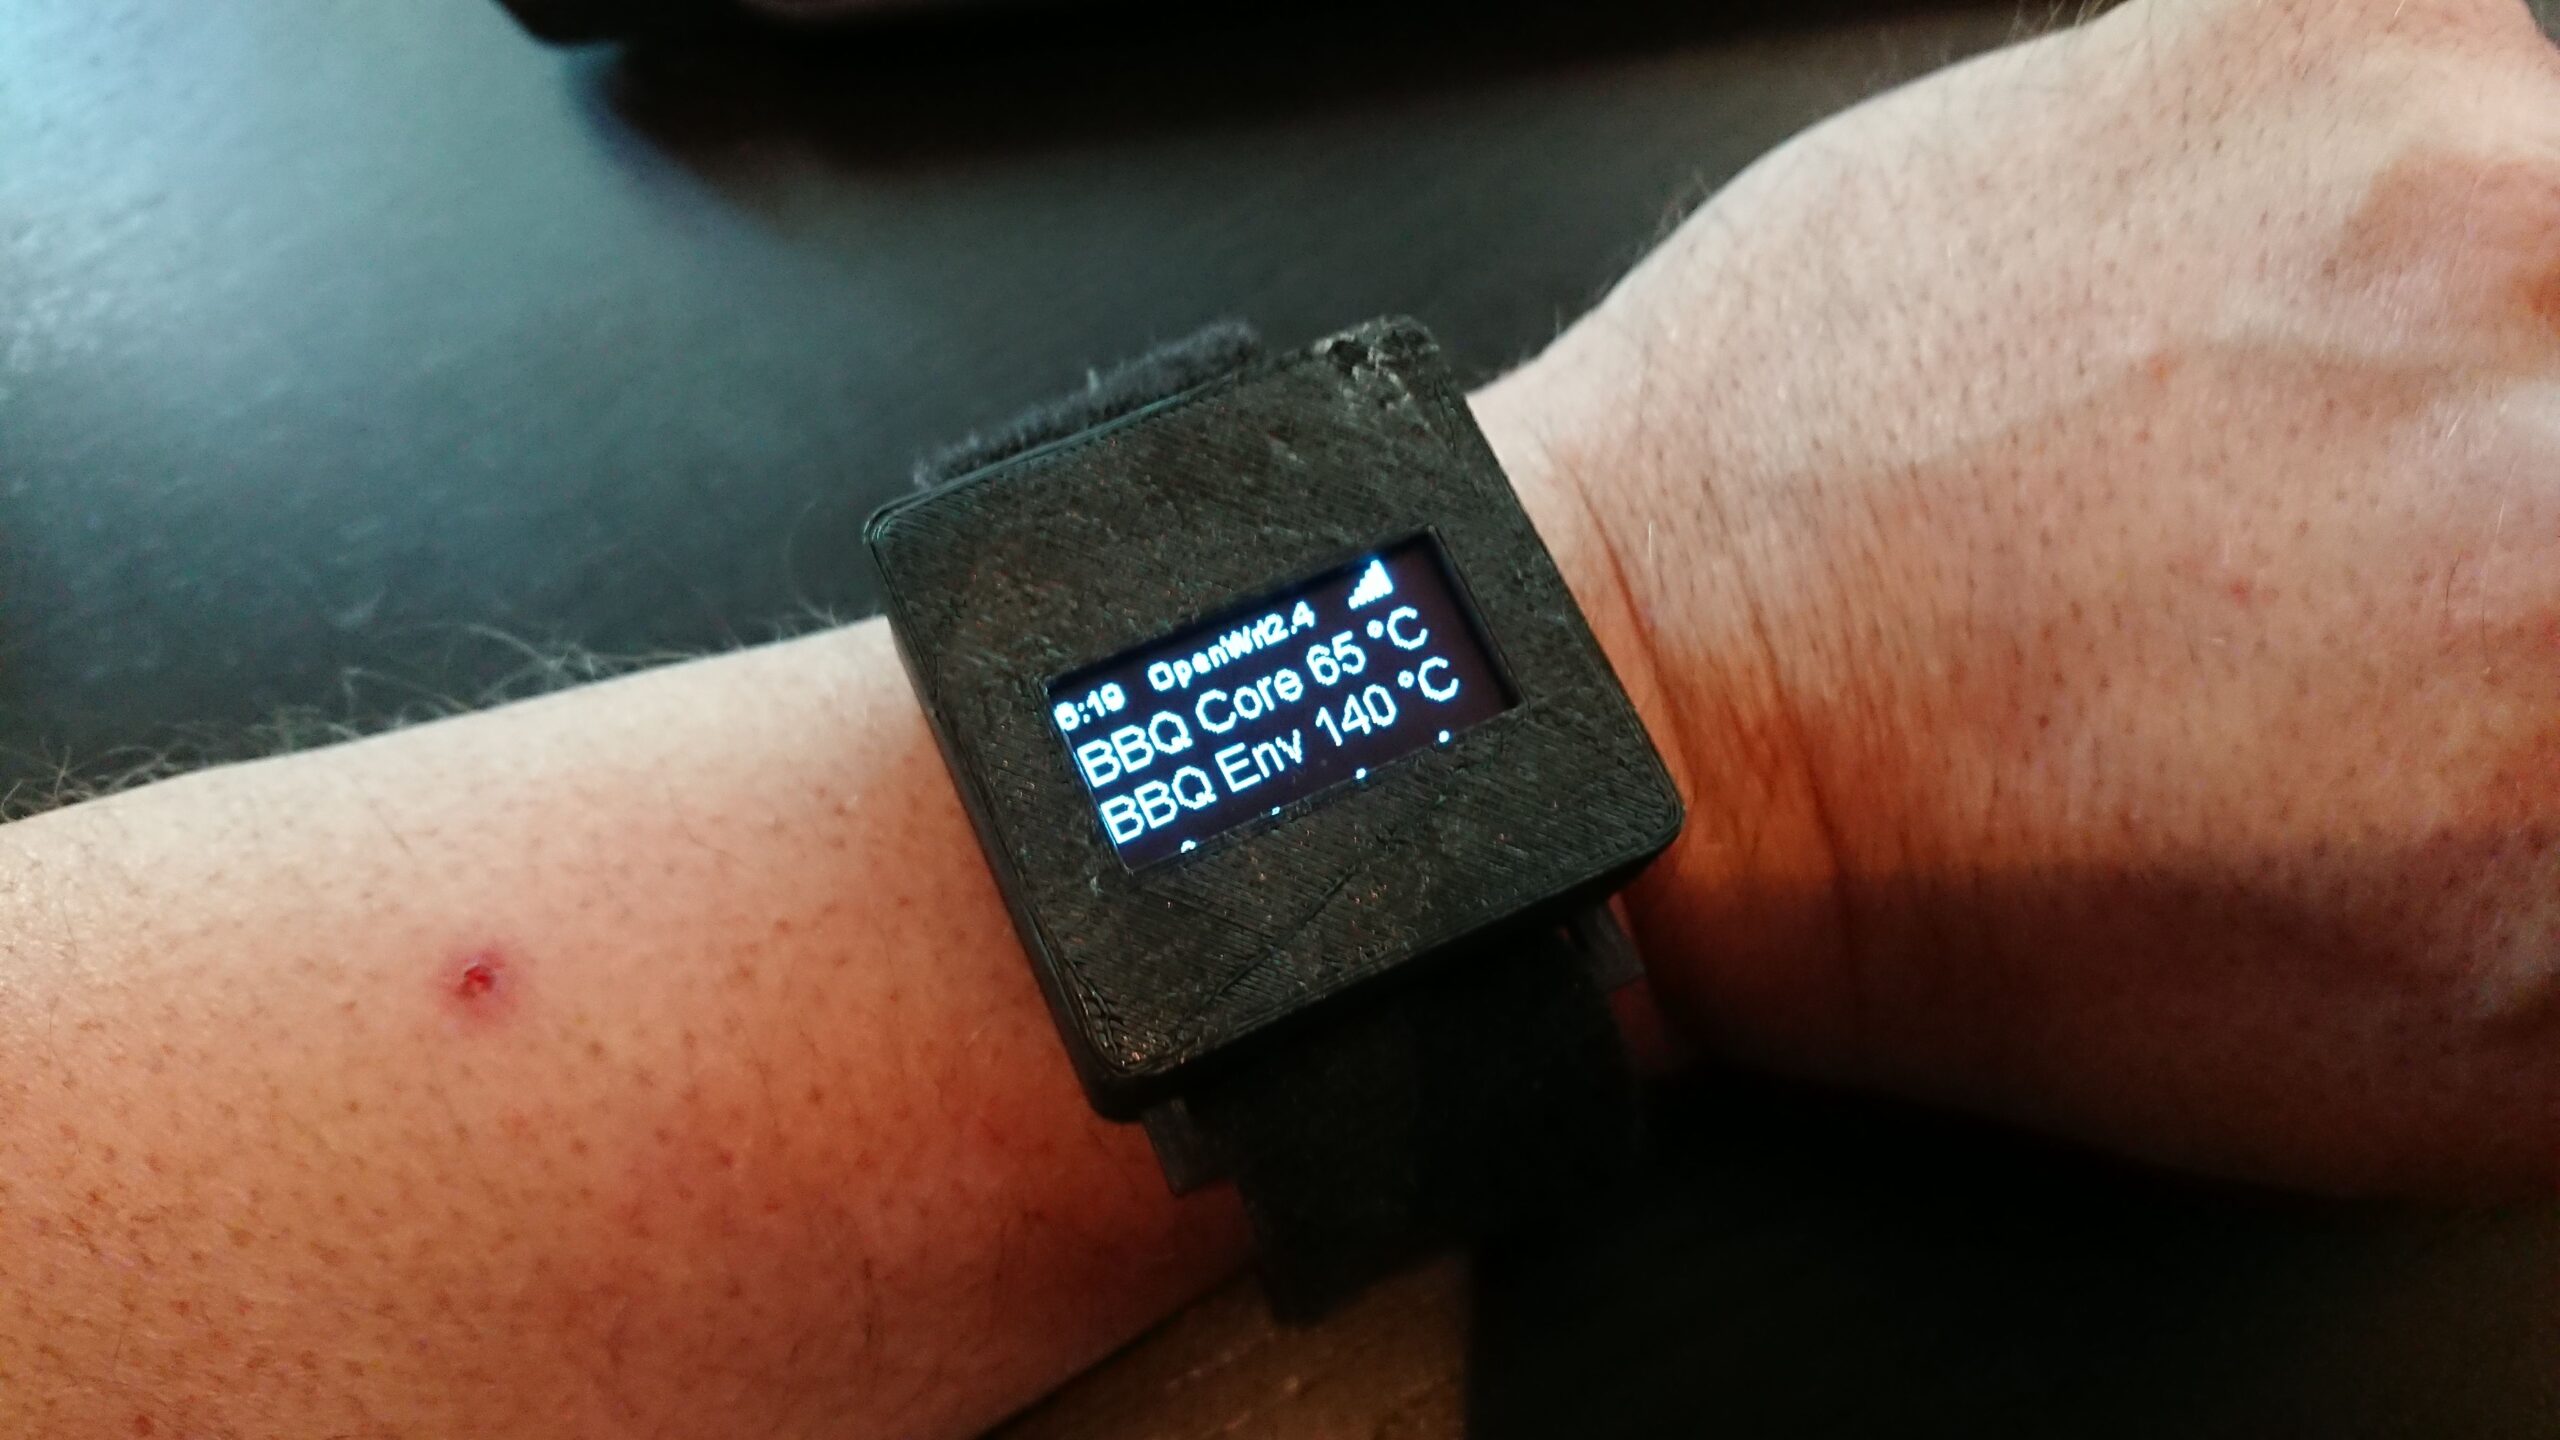
Previous version using a ESP12
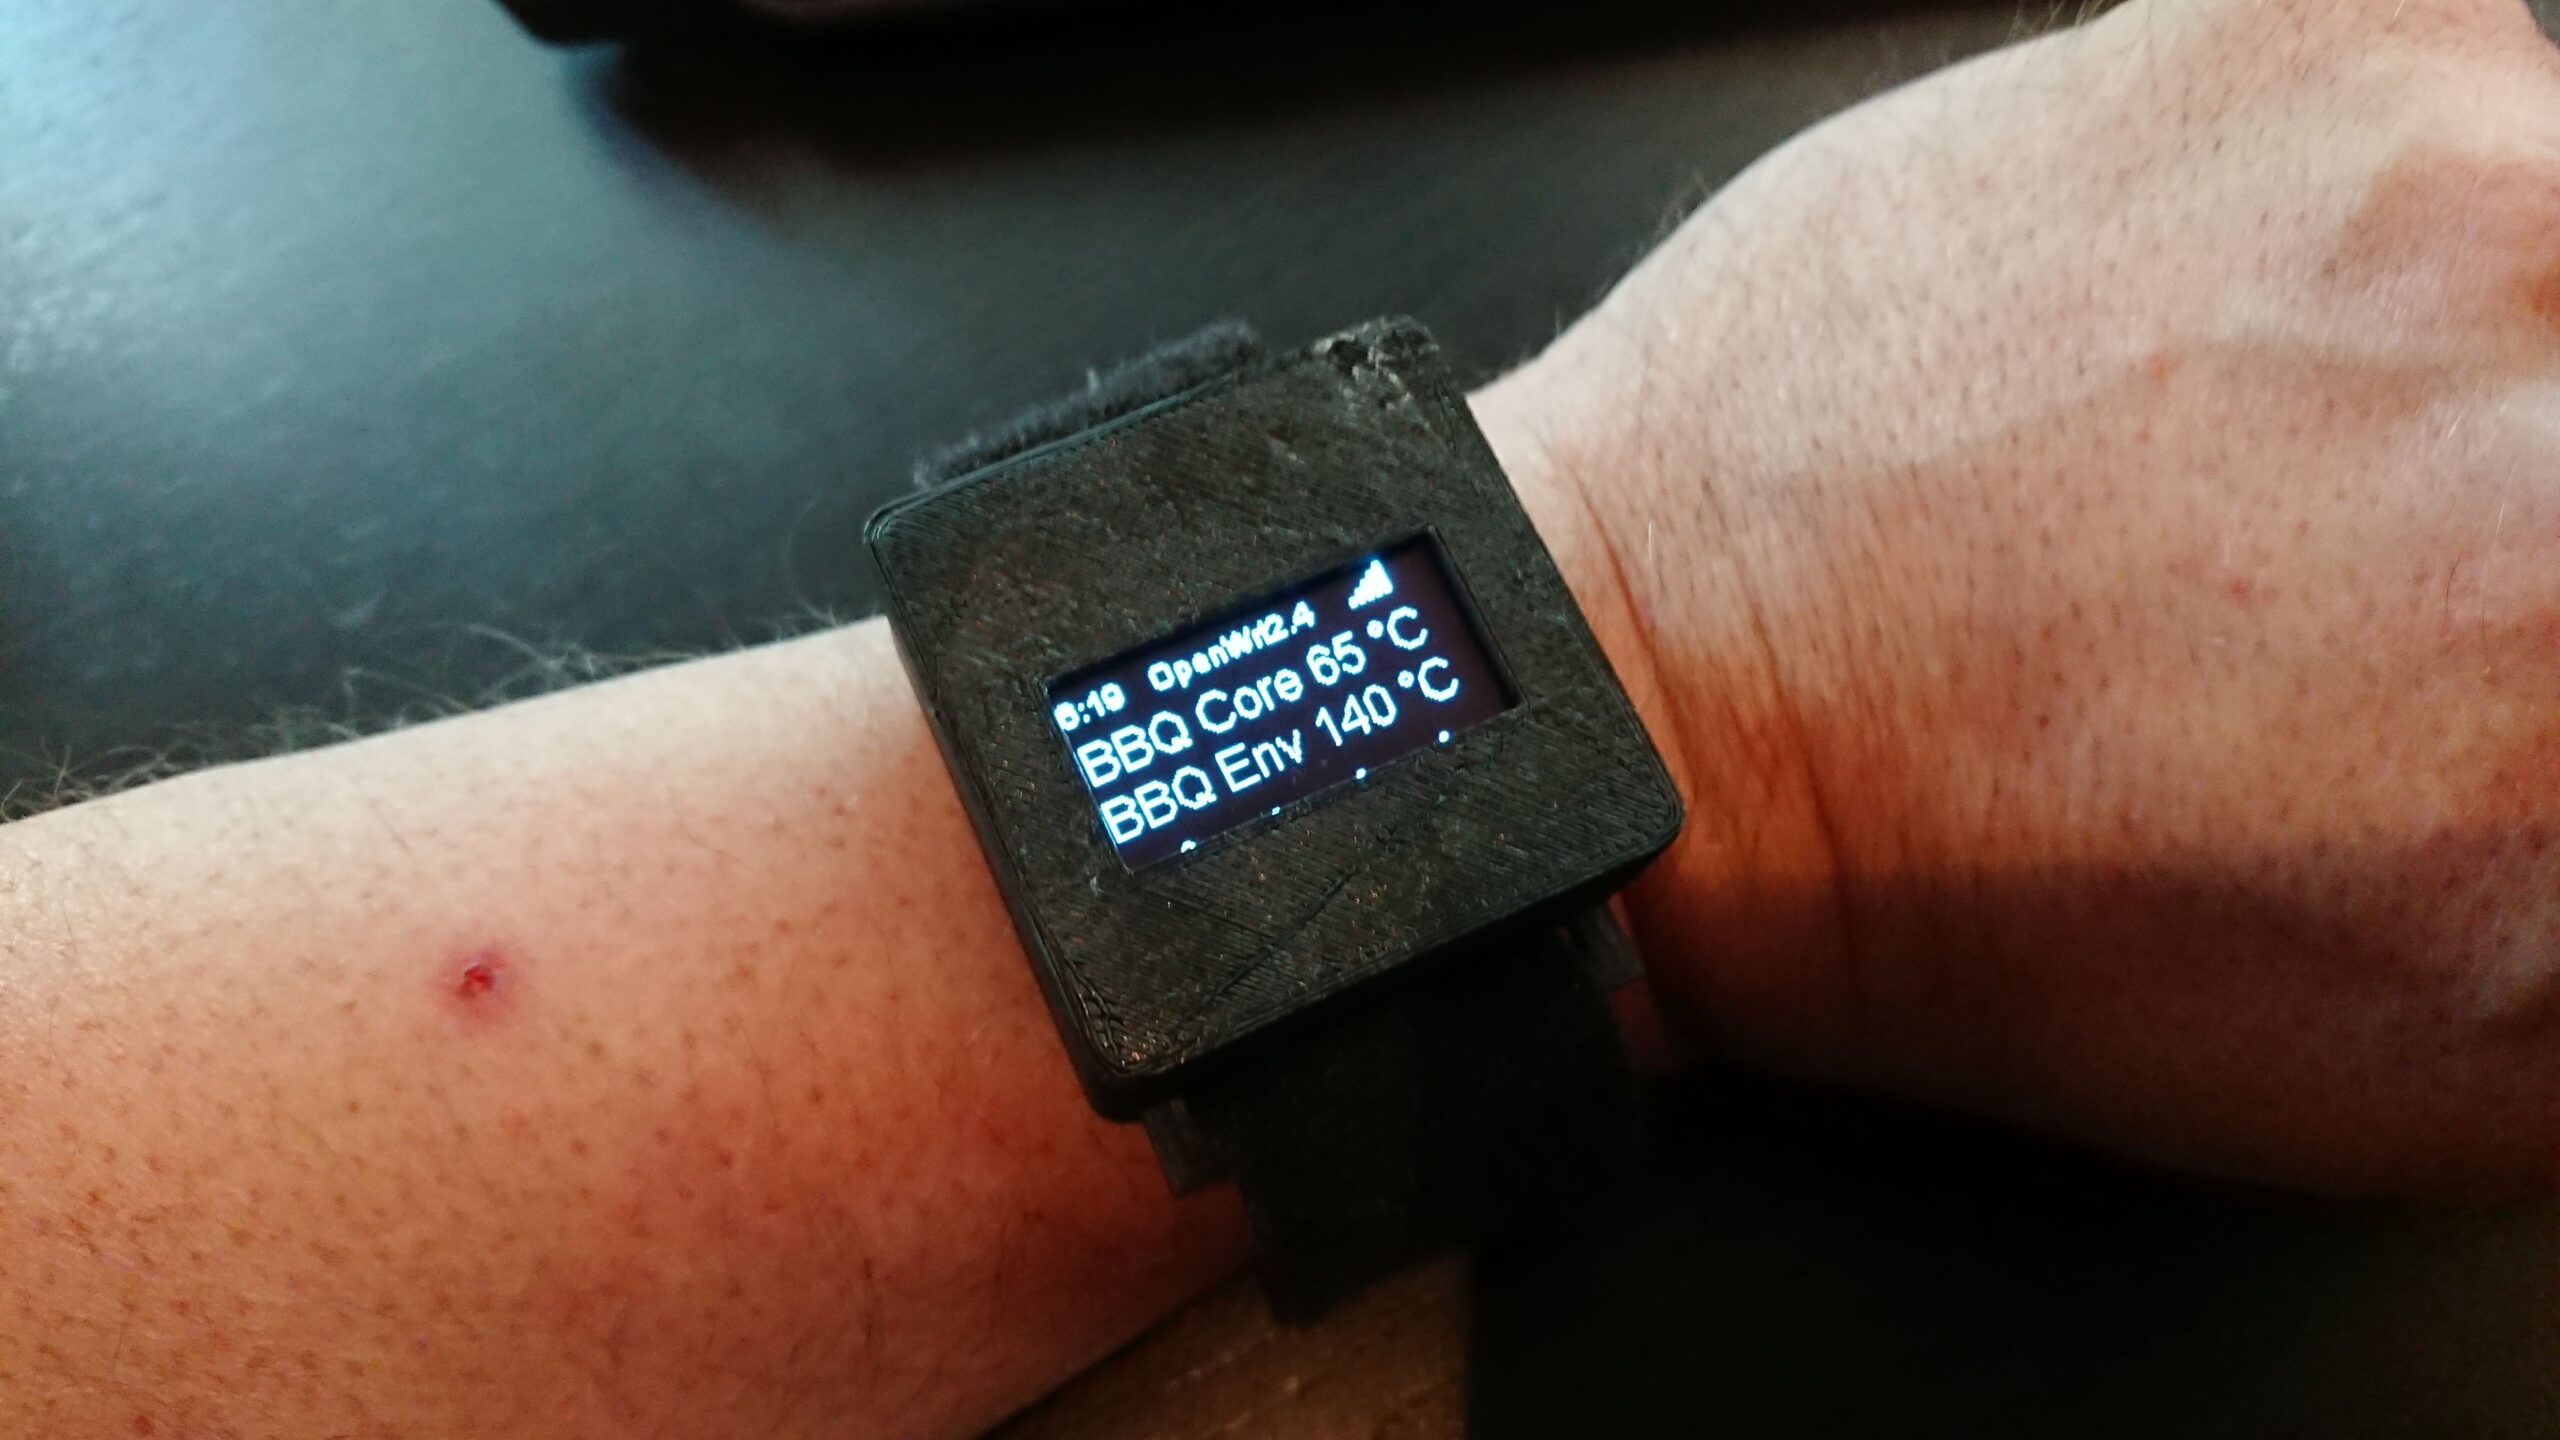
A “watch” with core and environment temperature of my smoker with a alarm, and button for timers.
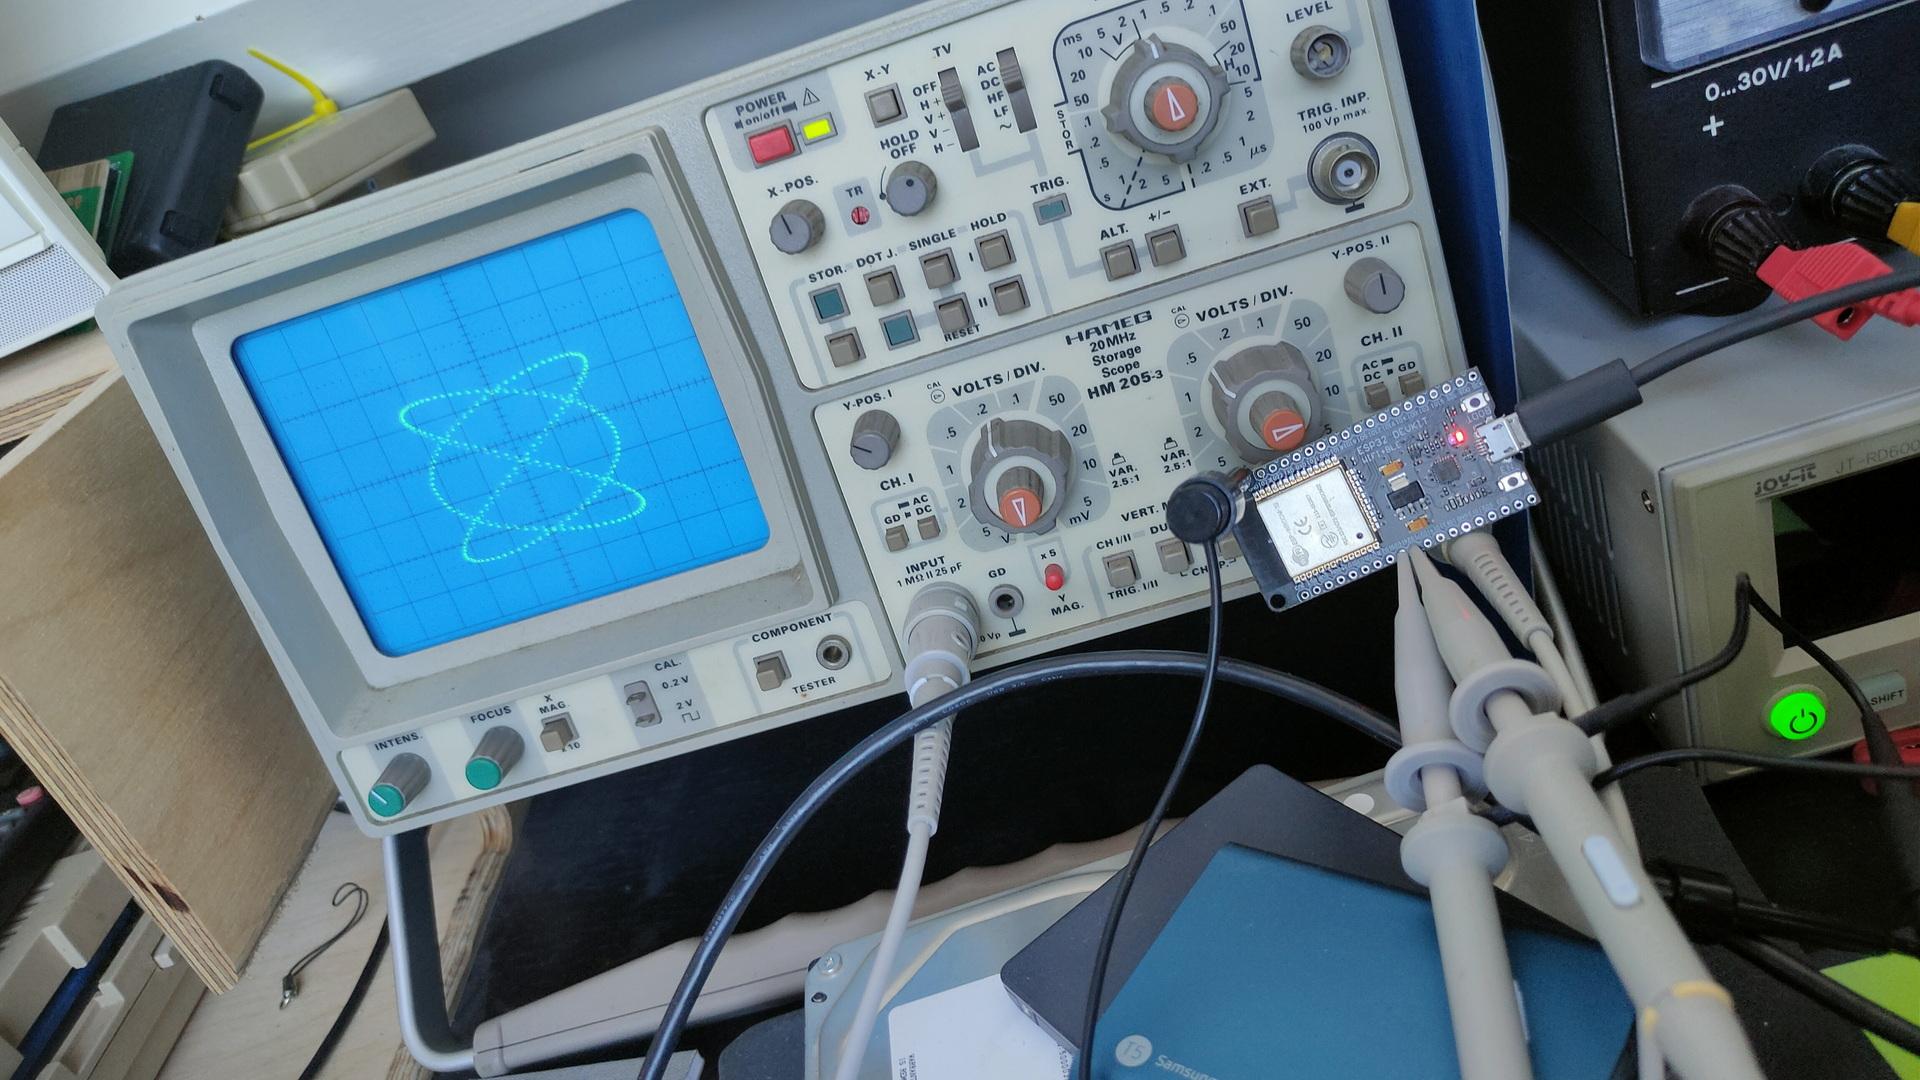
ESP32 dac’s drawing on oscilloscope ( no additional components)
ESP32 in front of scope, two clips for x and y
For above i used sin/cos functions 2:3, which creates Lissajous figures. See: https://www.henriaanstoot.nl/1992/01/01/oscilloscope-graphics-using-a-amiga-bonus-vectrex/
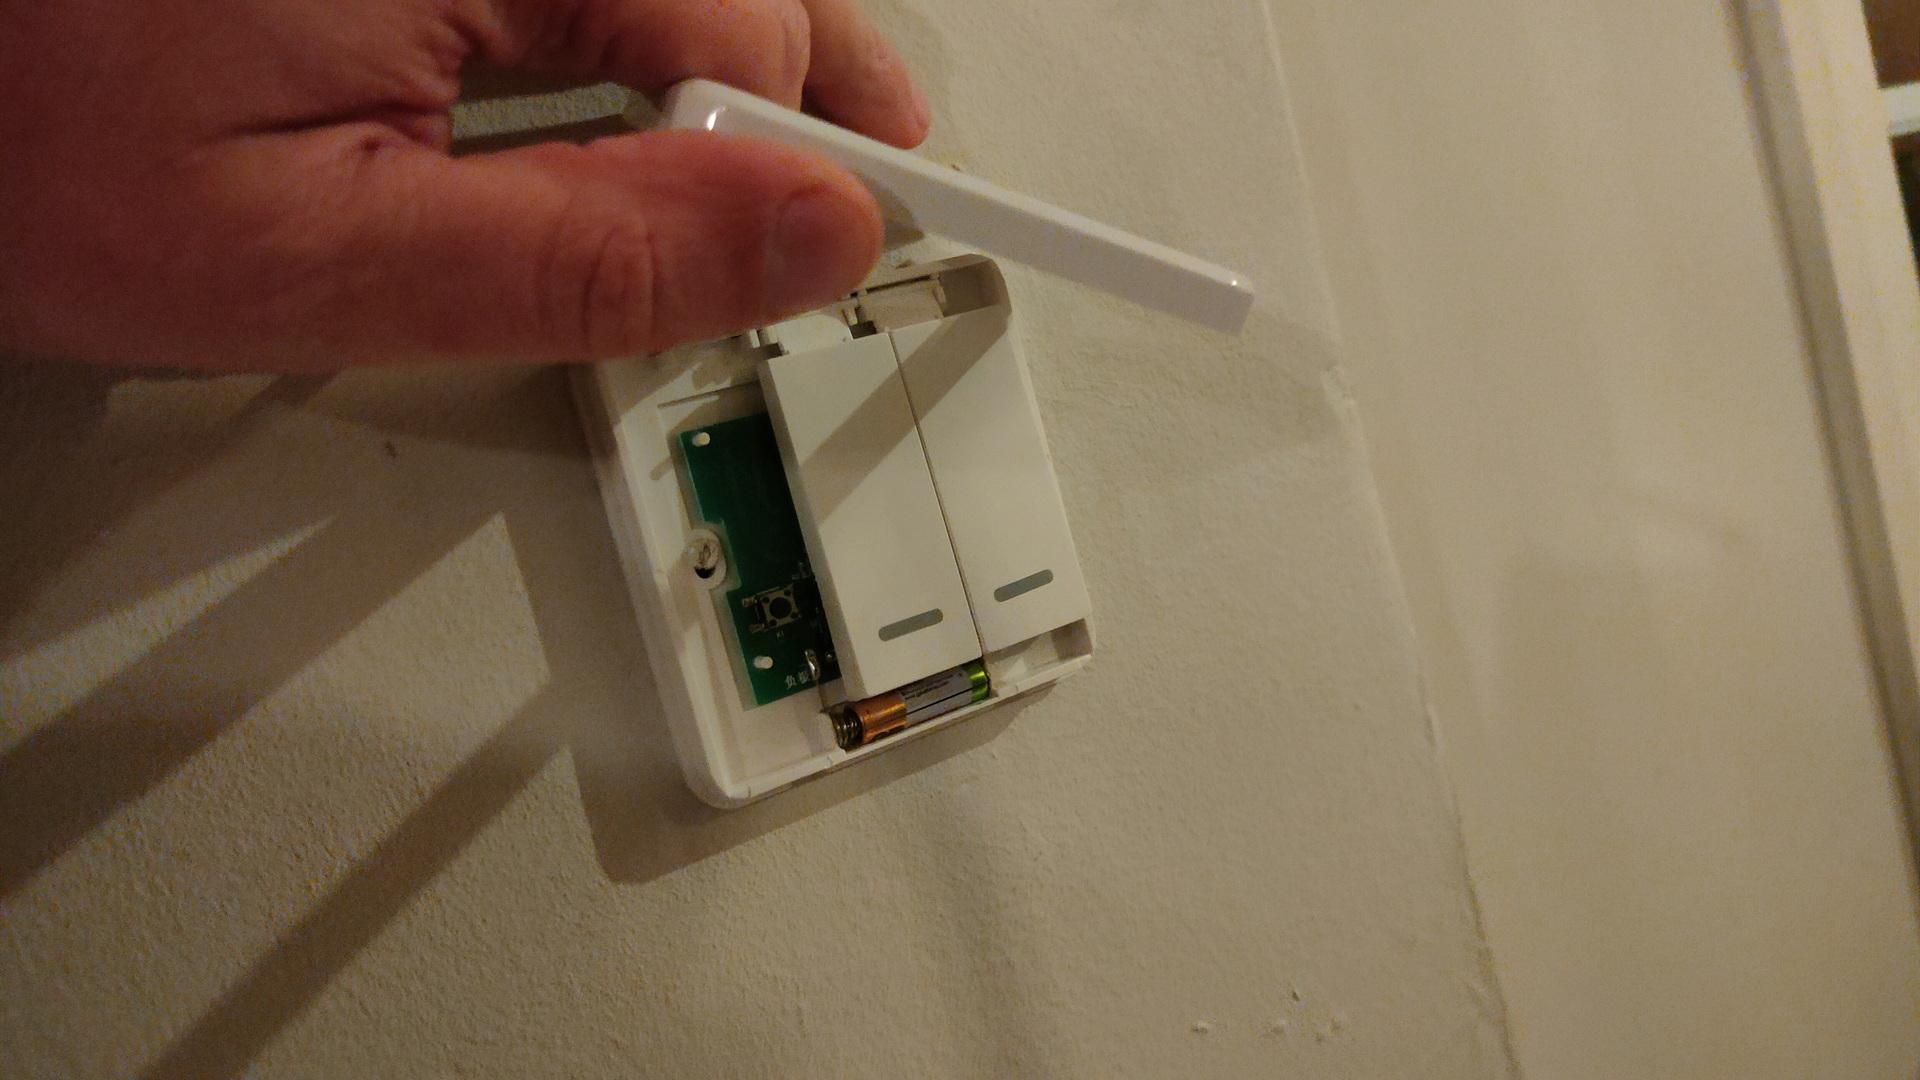
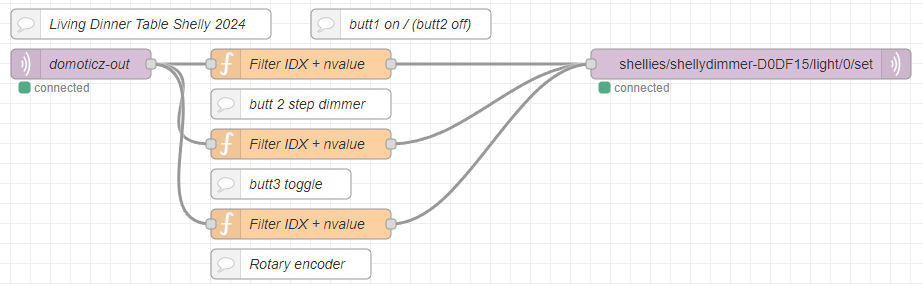
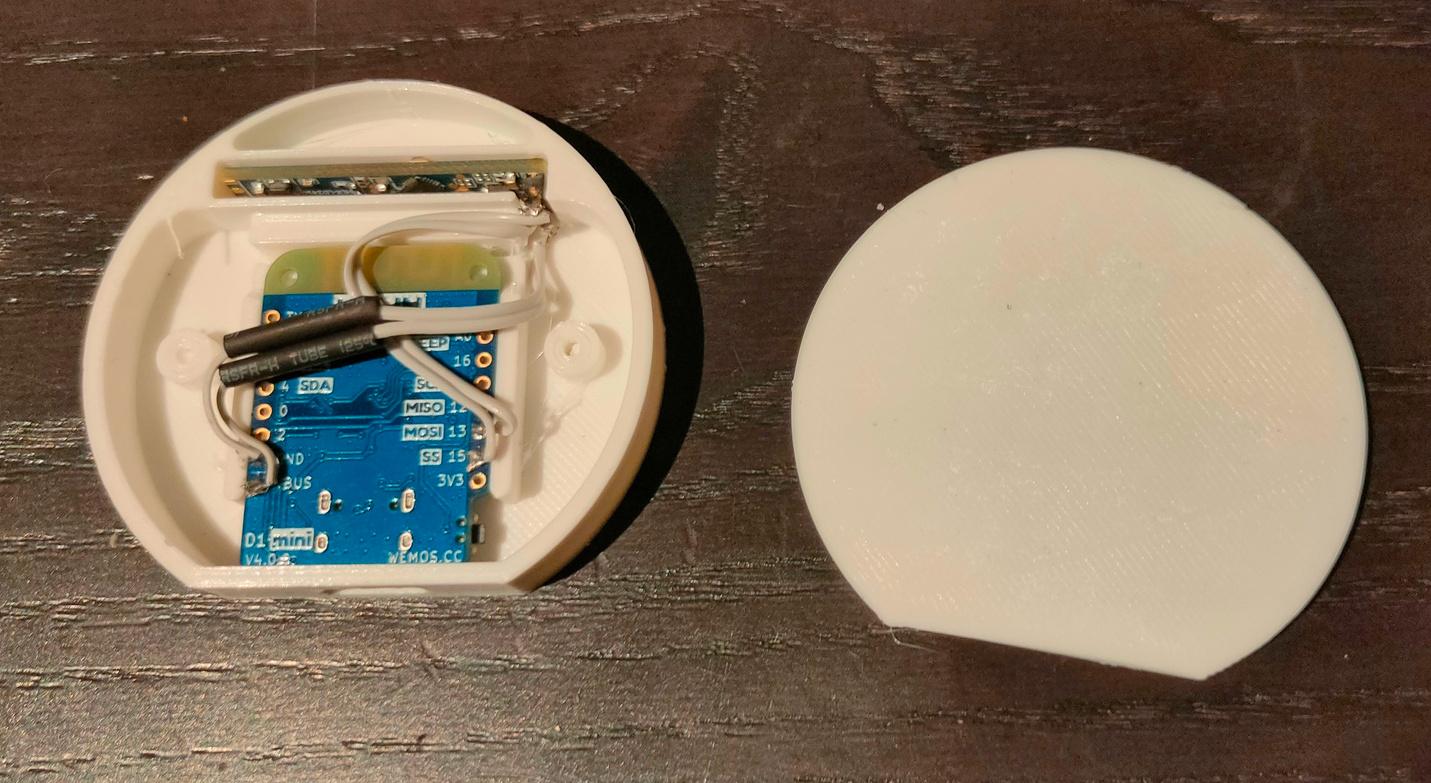
3 battery operated buttons (no wires needed) to control my shelly dimmer at the dinner table.
left button on, middle steps per 20% and 3rd button off. (This cheapass button only sends ON commands)
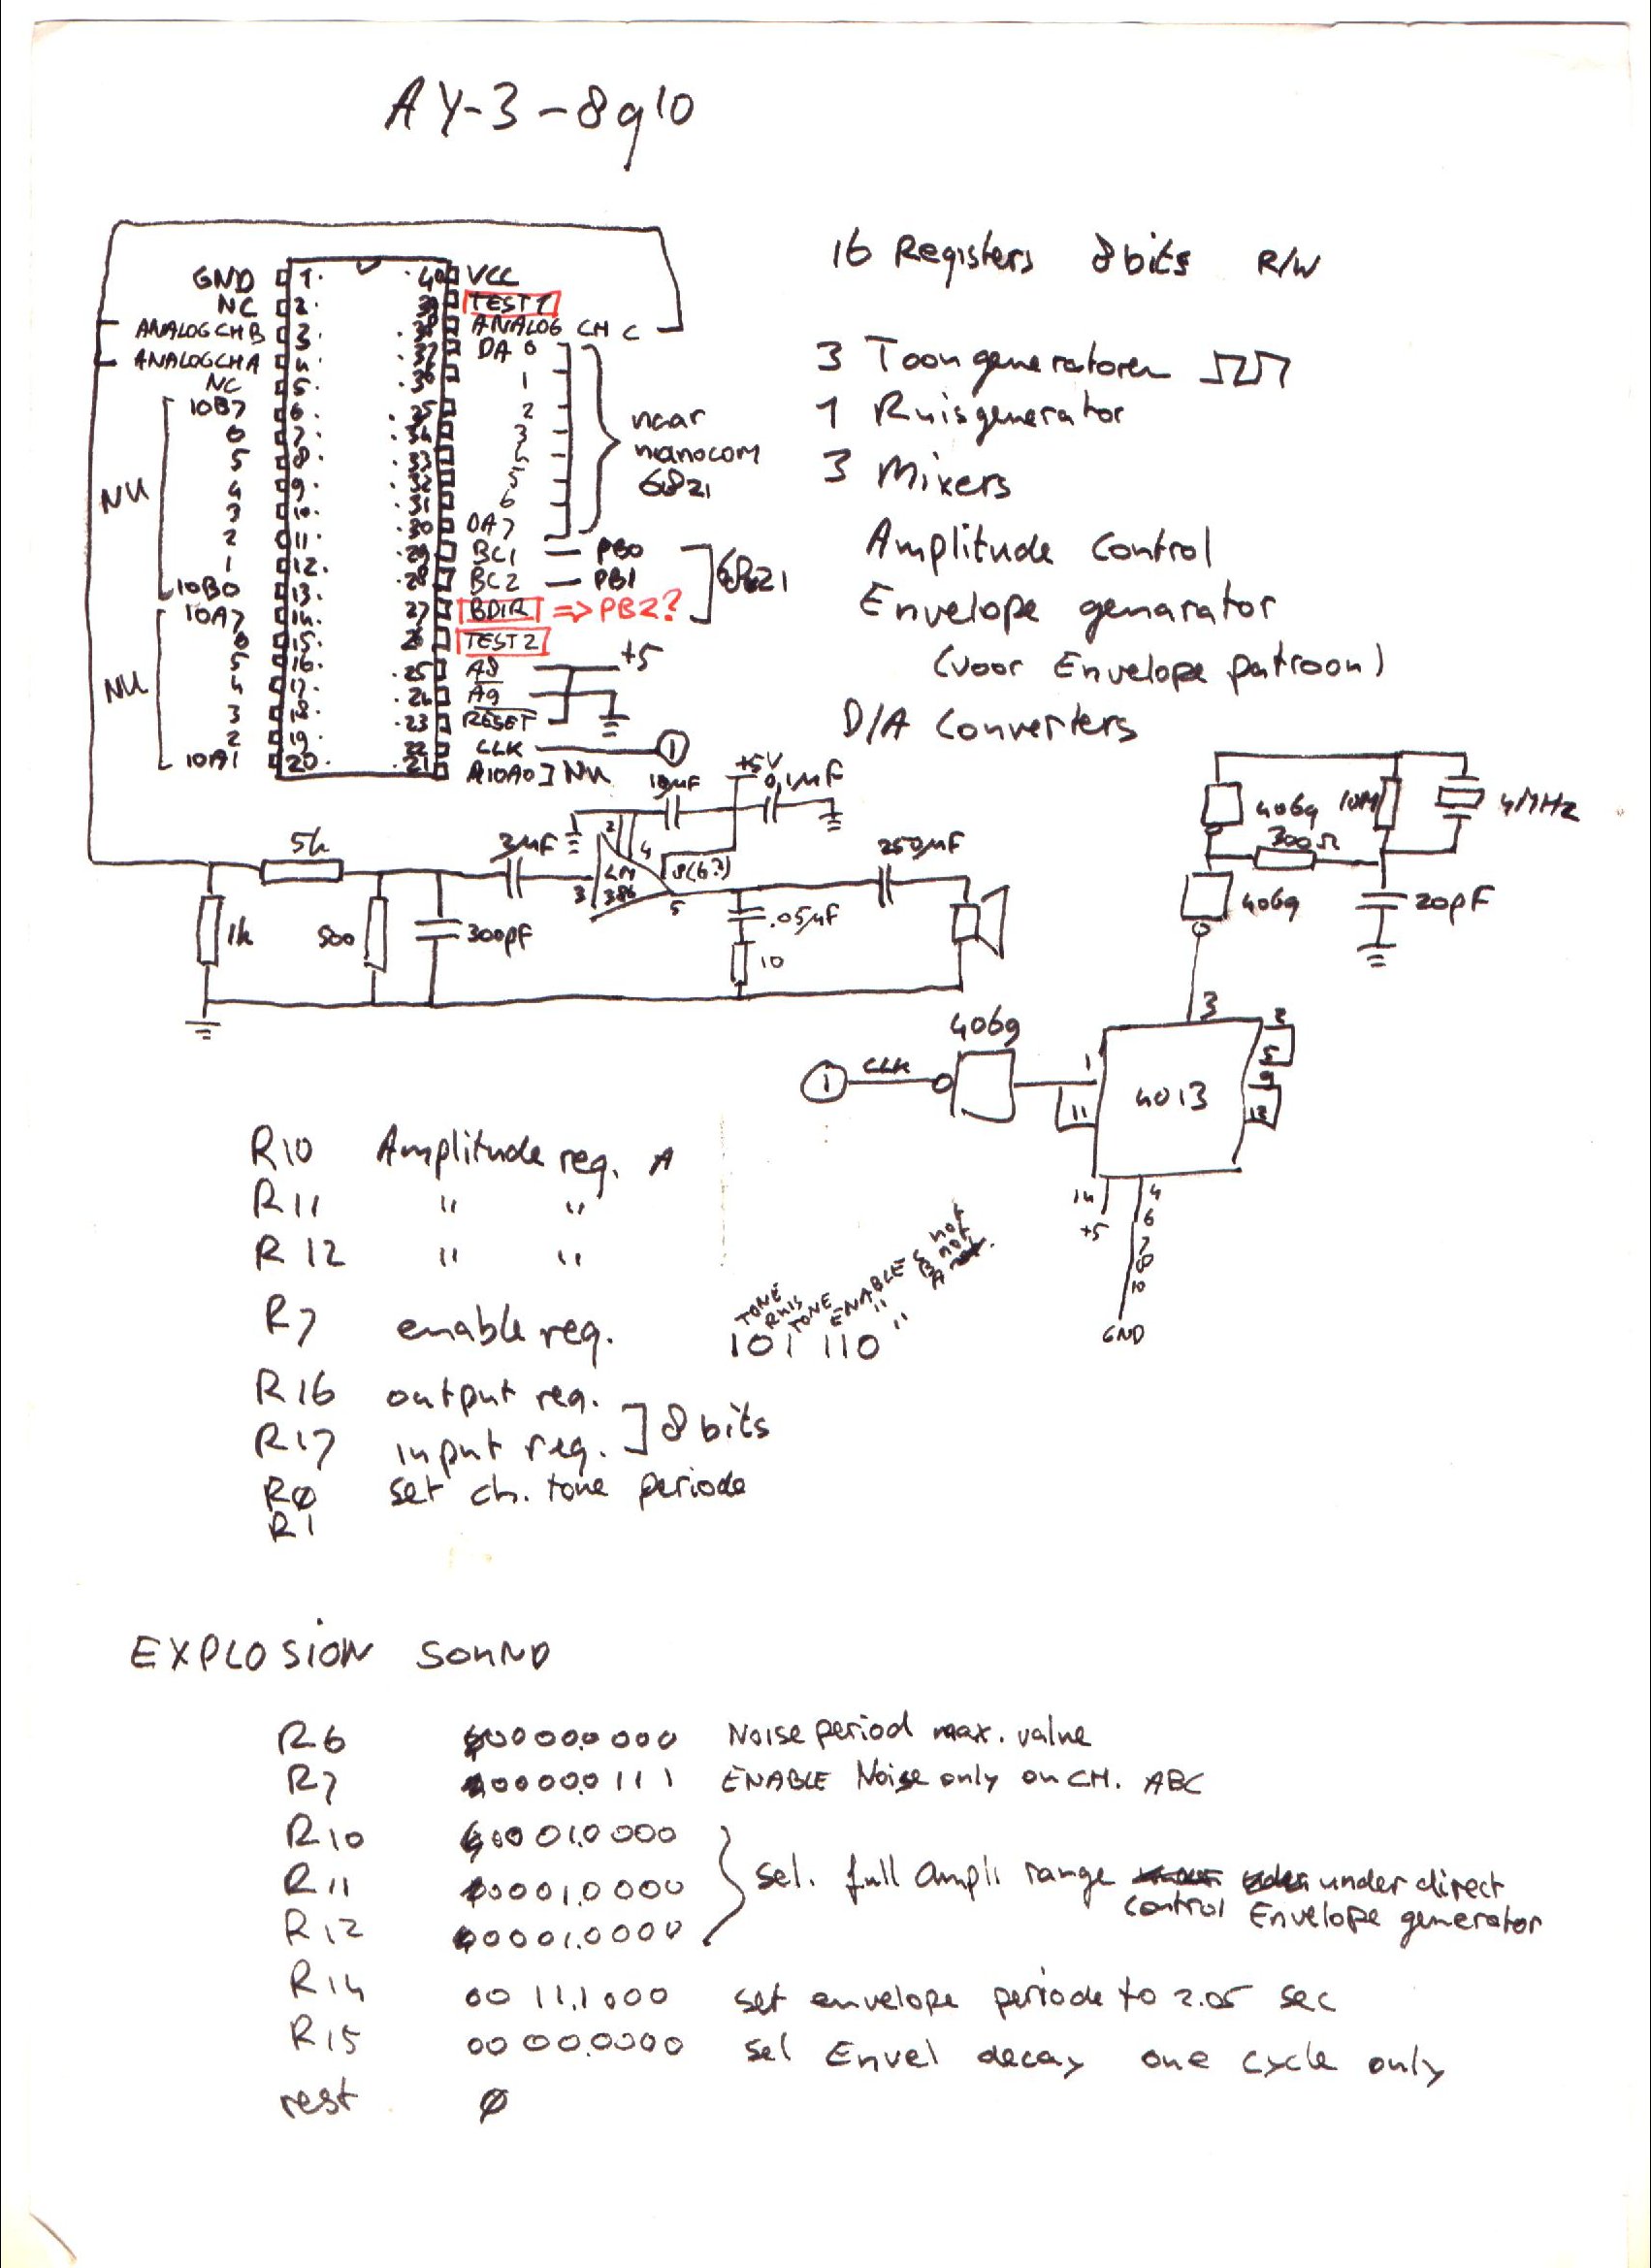
I’ve written about General Instrument AY-3-8910 before, here is some work I did today.
This sound chip i wanted to implement in my amiga, and now it’s a alternative for my 6502 computer. ( As an alternative setup for the SID chip. ) Btw this is the same kind of chip used in the Atari ST.
Above a Kicad drawing I made today, a little different from my design from the 90’s.
Below a movie clip I recorded today. Running a test setup using an Arduino nano and a sdcard reader. The sound is bad, this is due to clipping and the absence of multiple resistors and capacitors. Music is a register dump from a YM music file. Amplifier is a bare LM386.
UPDATE: 20240225
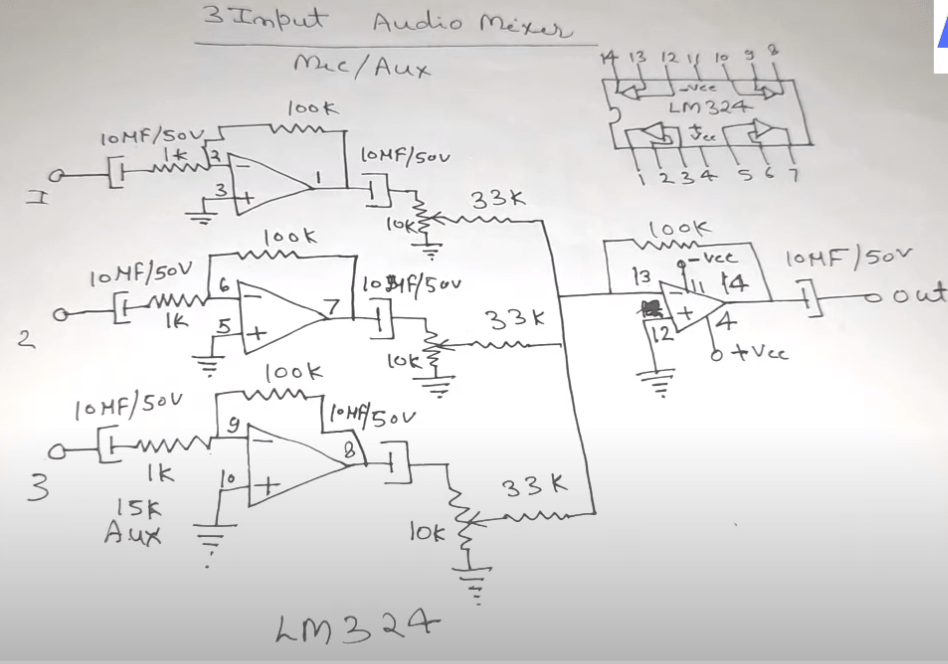
I don’t like tying those three outputs together, and amplifying those.
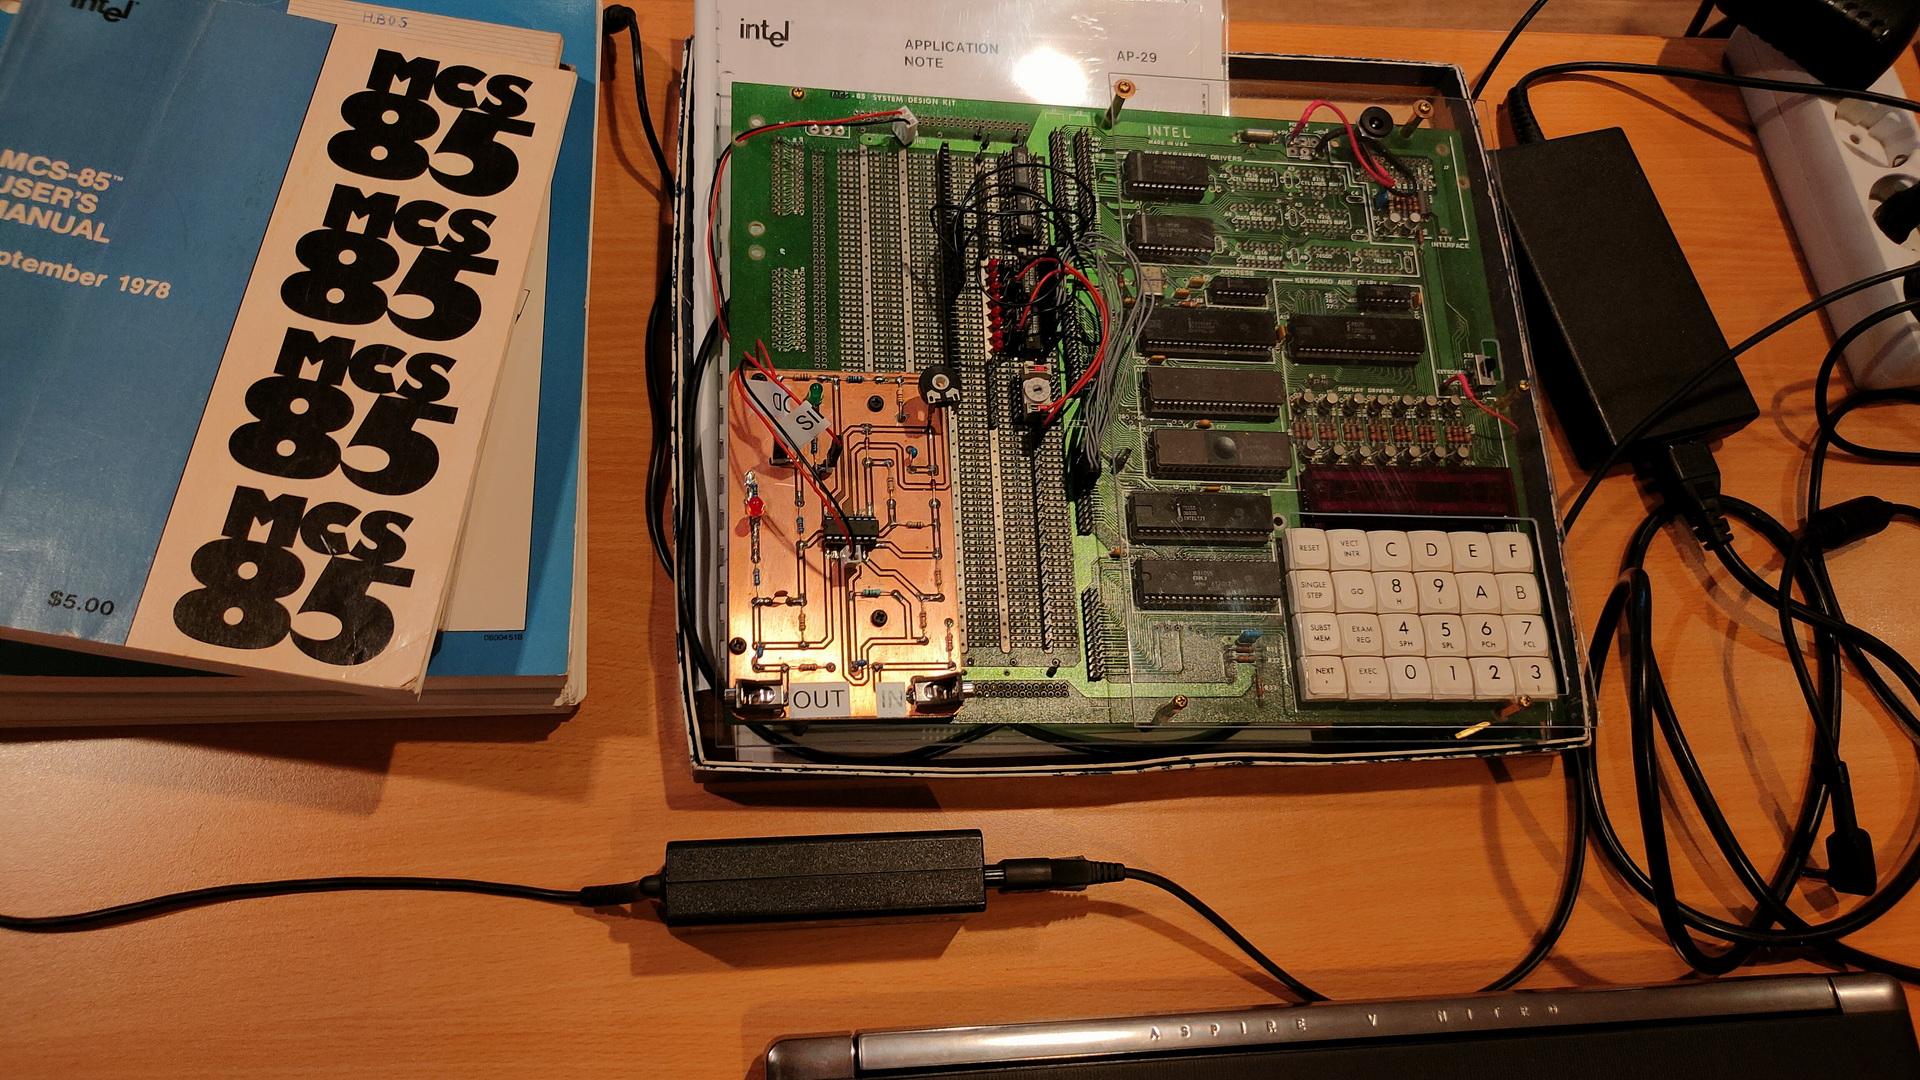
So I’m going to use a LM324 i’ve got left from my 8085 interface, and make a 3-channel amplifier.
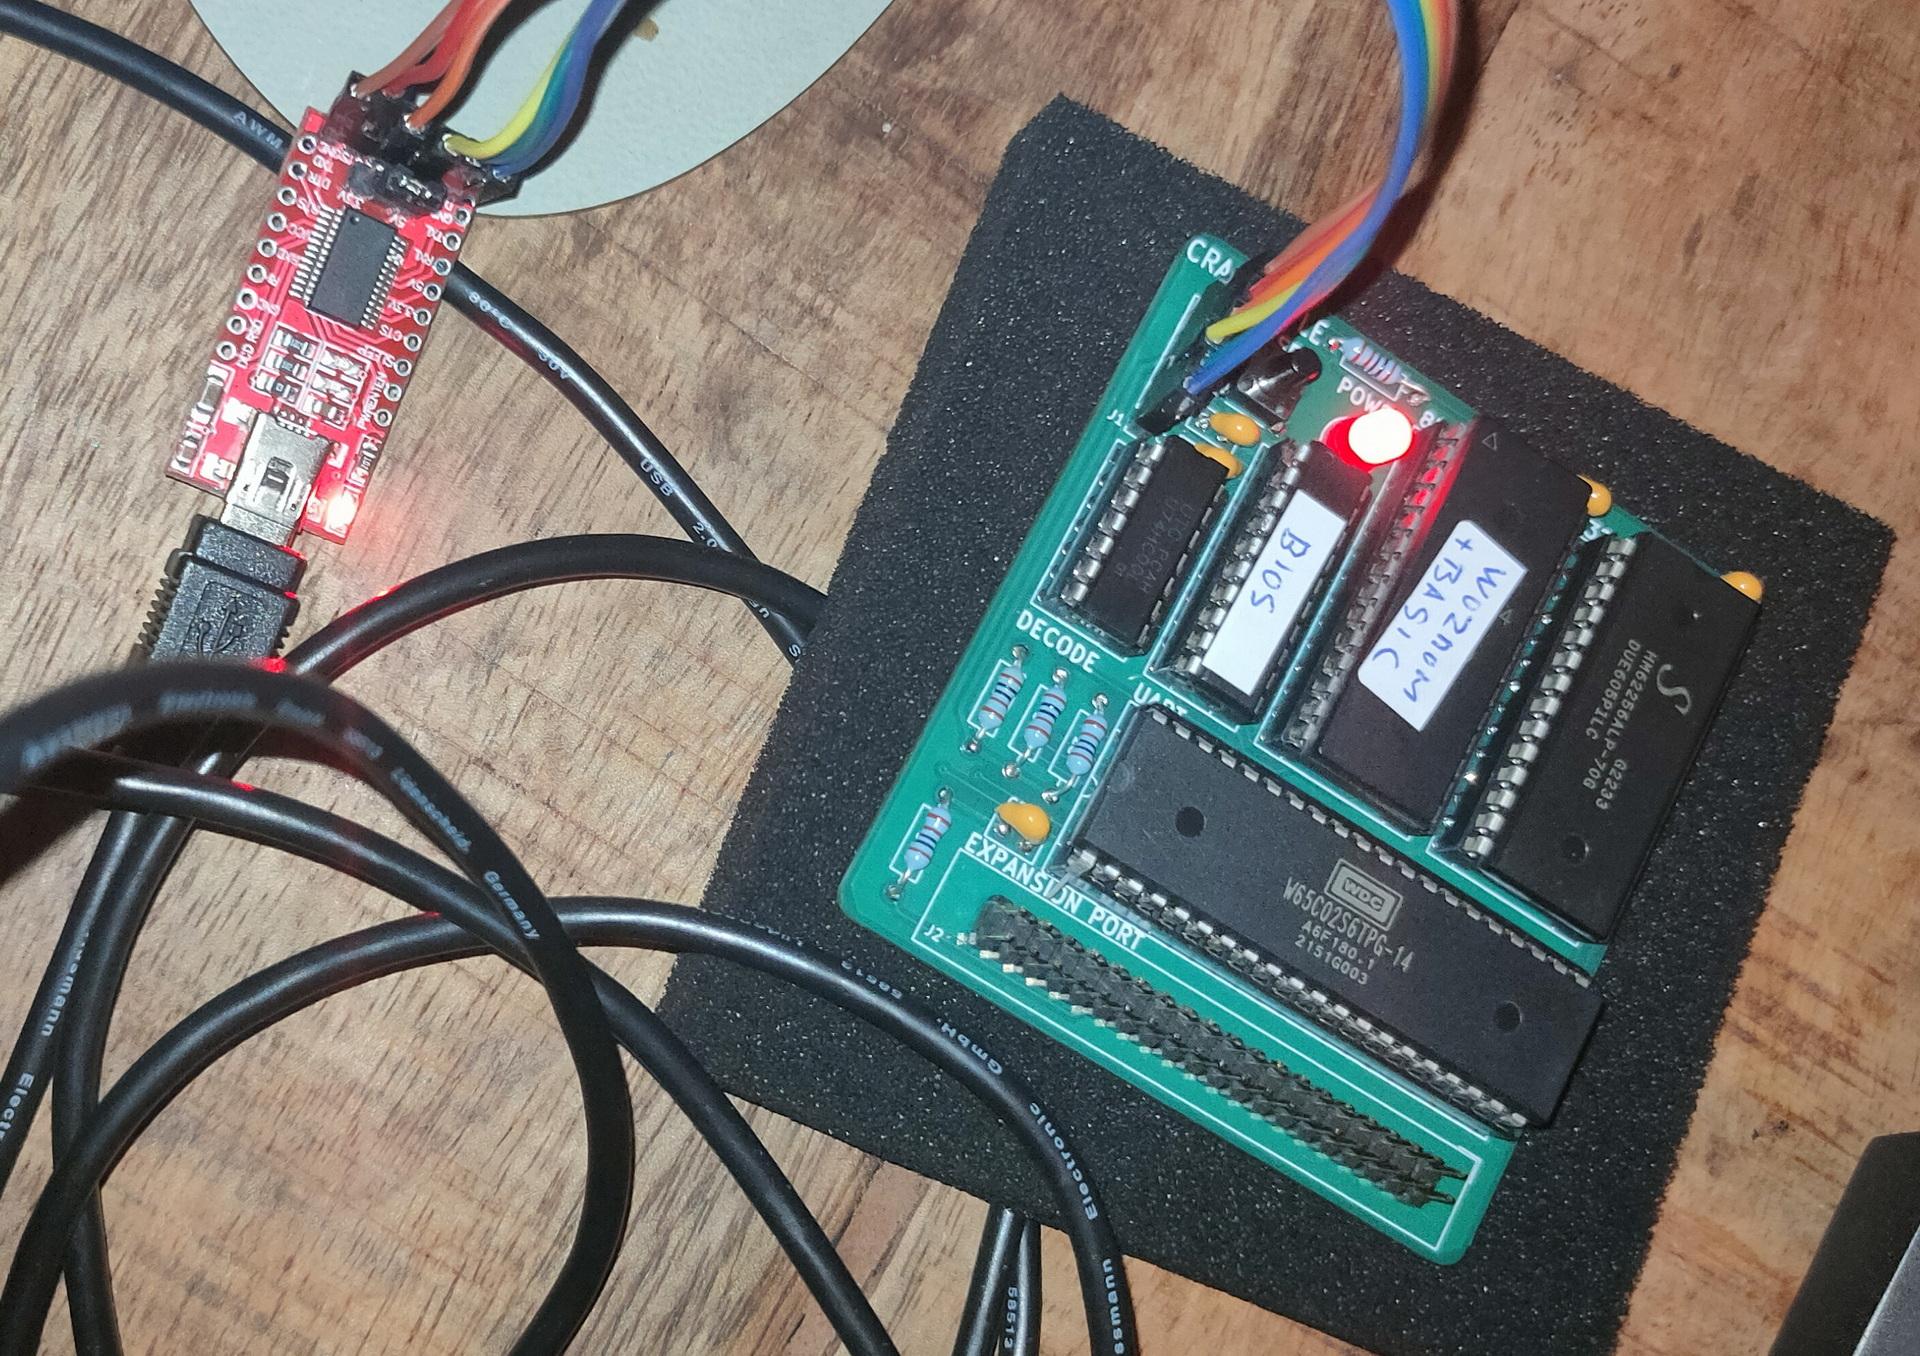
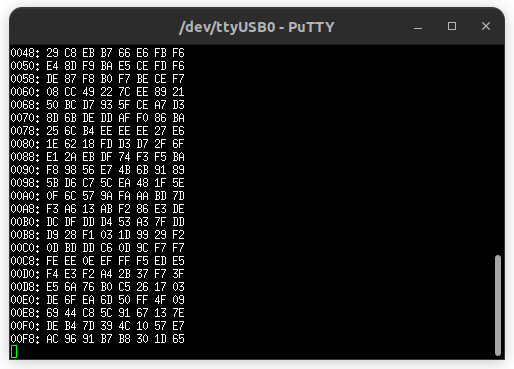
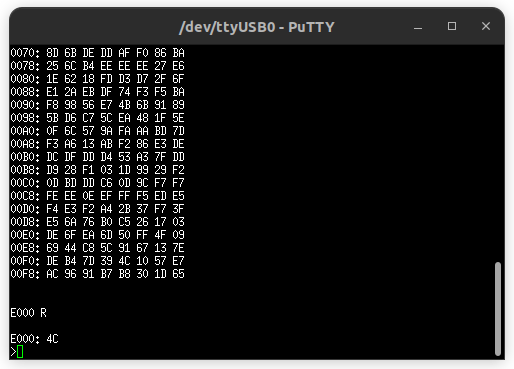
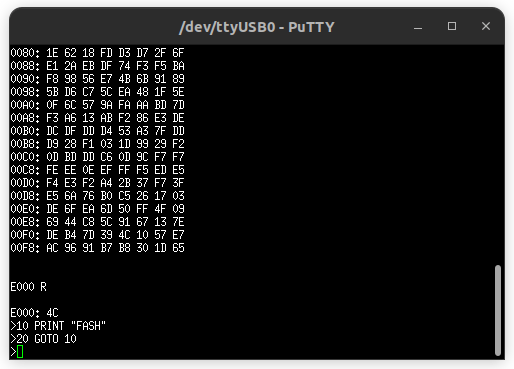
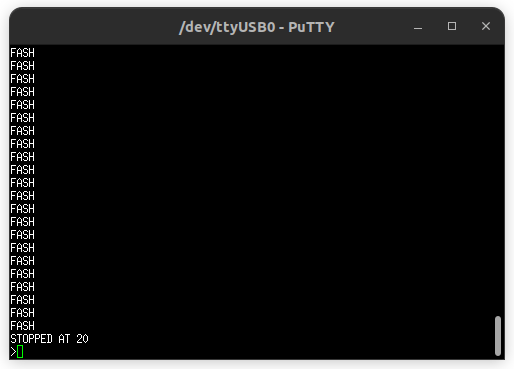
It has an EPROM with Wozmon and Basic for now. I have to redo the address decoder, but I like the simple serial interface by Geoffrey. (I hate the PIC18F15Q41, made by Microchip, but still the best minimal option .. for now)
Probably the last time i’ve used a pic was in 1998
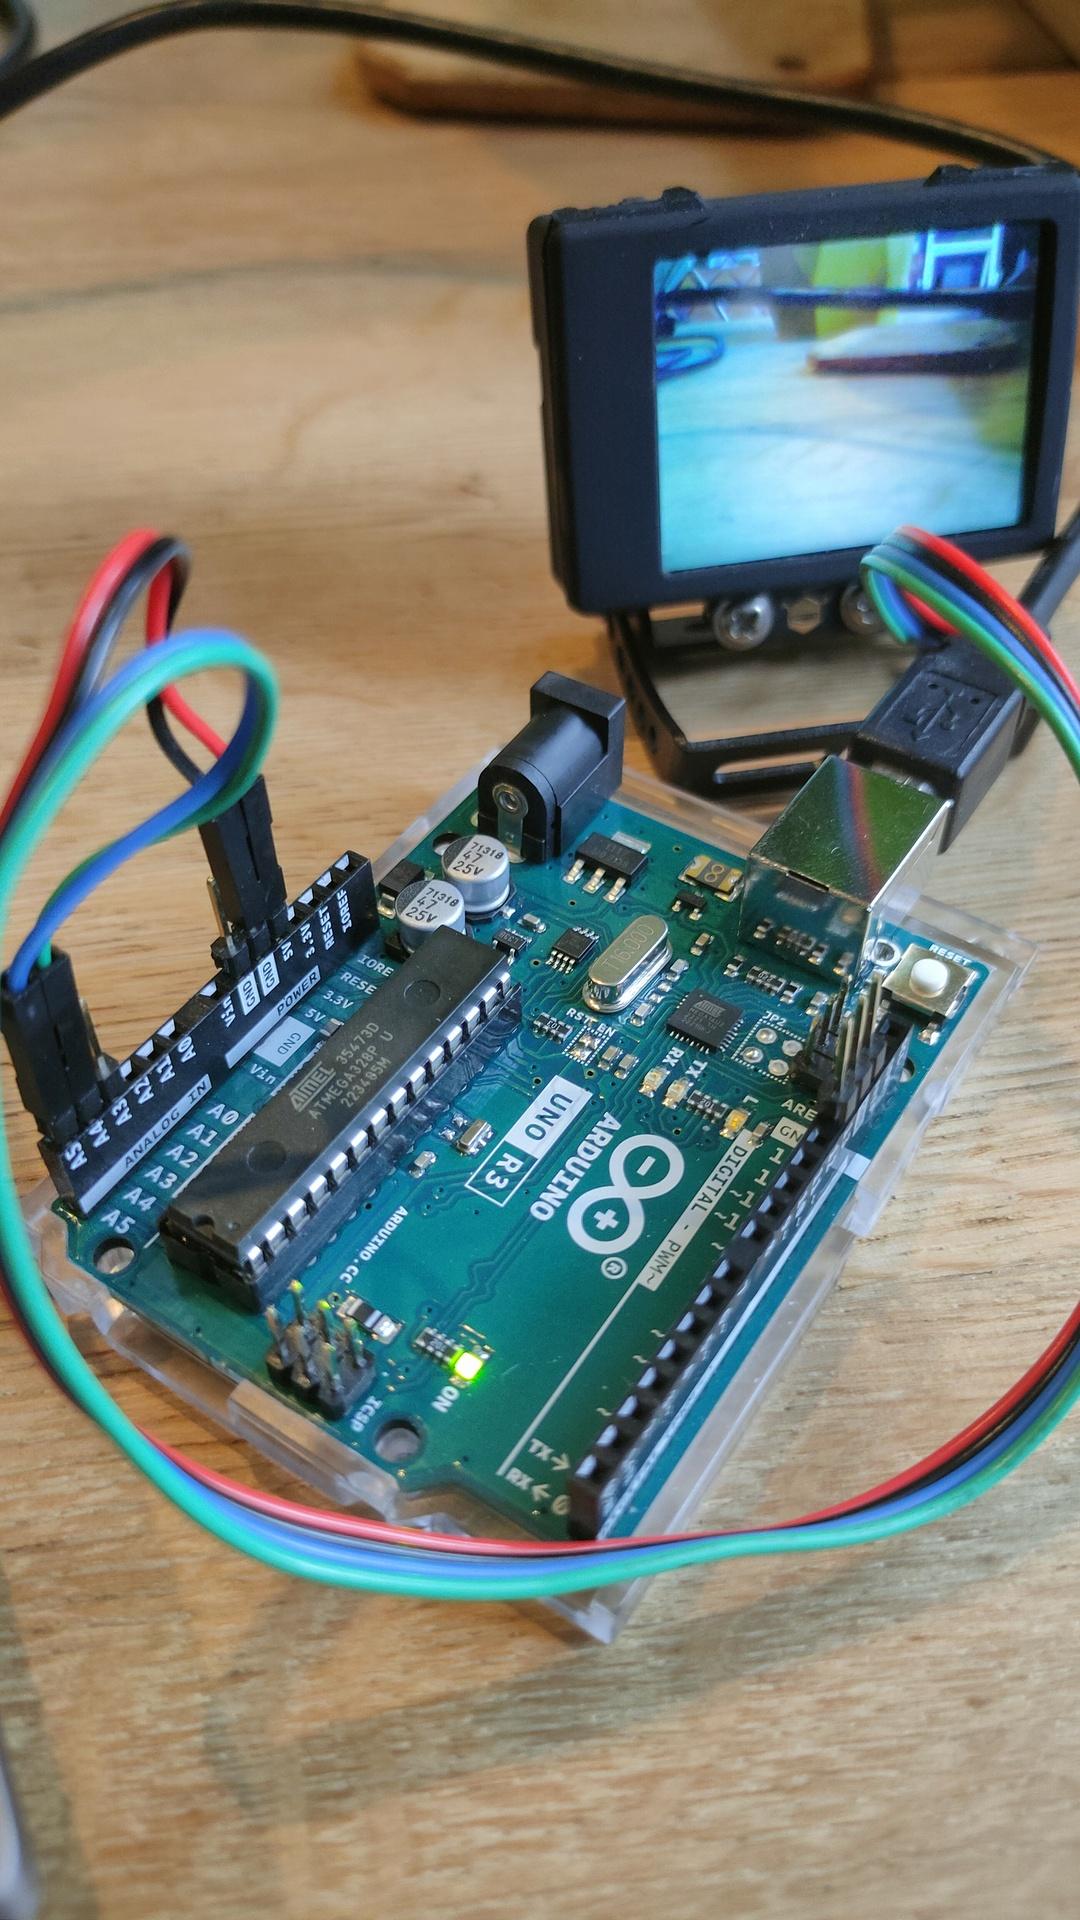
The HuskyLens is an easy-to-use AI machine vision sensor. It is equipped with multiple functions such as:
Face recognition
Object tracking
Object recognition
Line trace
Color recognition
Tag recognition (QR code).
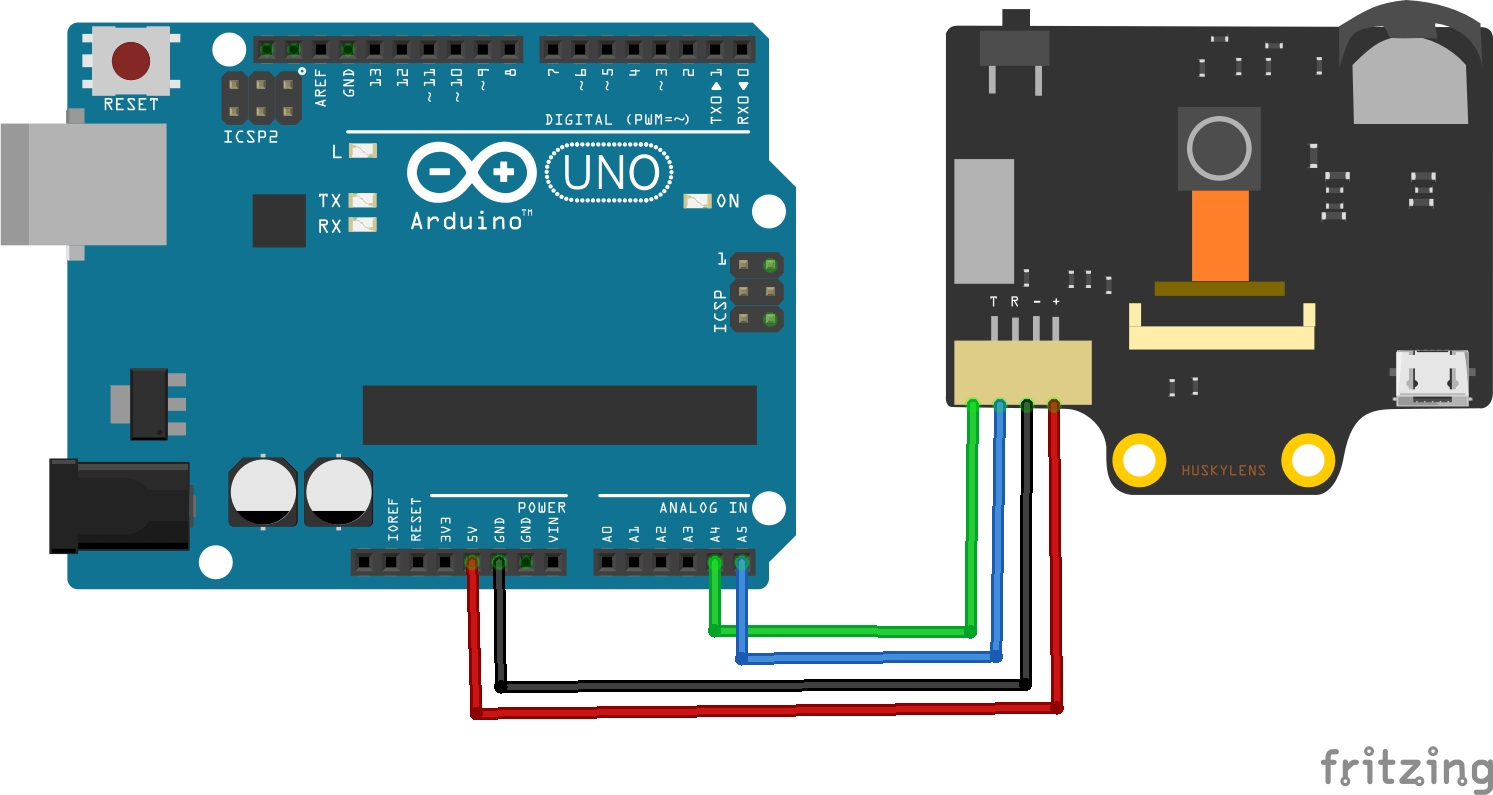
Via the UART / I2C port you can among others: boards connect:
Arduino
micro:bit
Raspberry Pi
Steps to take: Press Face detection, when a cross in a square is displayed, press the button on your HuskyLens
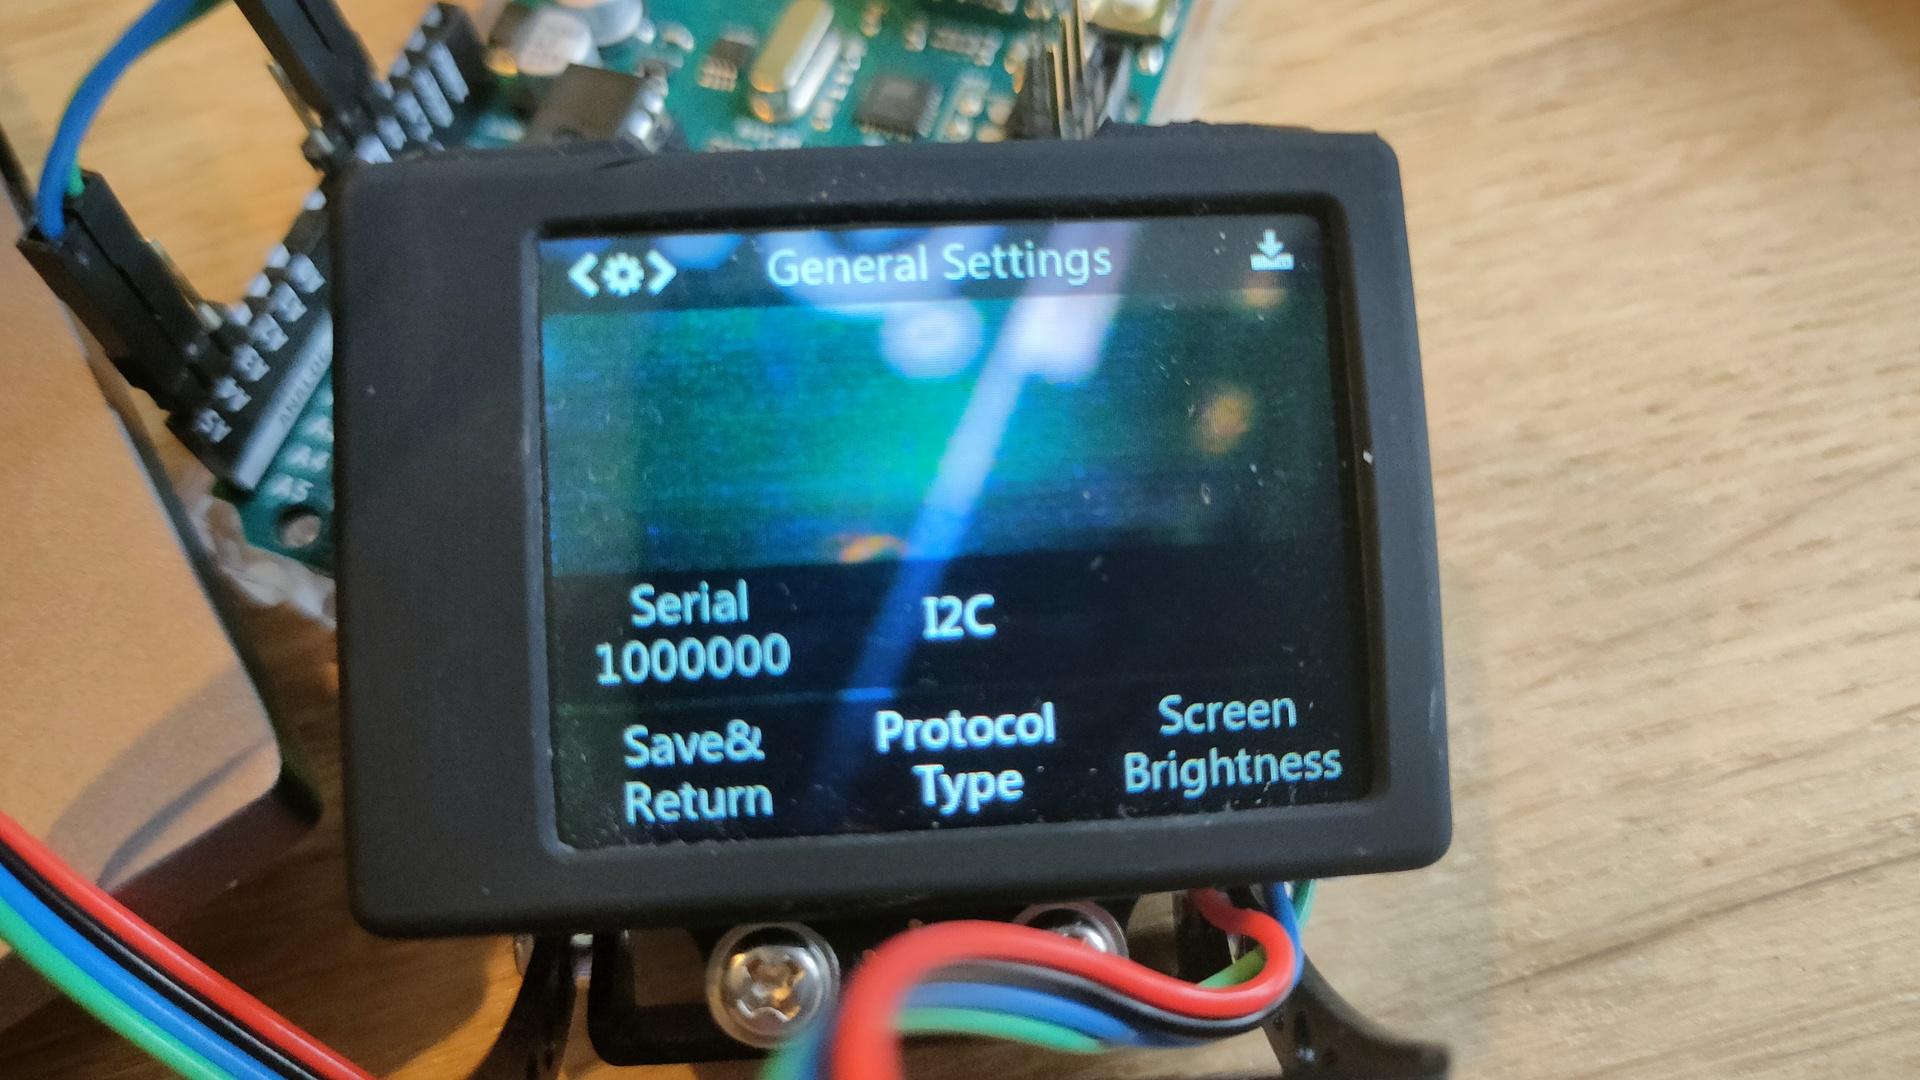
Set your husky protocol to I2C in the settings.
Minimal Code needed
/***************************************************
 HUSKYLENS An Easy-to-use AI Machine Vision Sensor
 <https://www.dfrobot.com/product-1922.html>
****************************************************/

#include "HUSKYLENS.h"

HUSKYLENS huskylens;
//HUSKYLENS green line >> SDA; blue line >> SCL
int ID0 = 0; //not learned results. Grey result on HUSKYLENS screen
int ID1 = 1; //first learned results. colored result on HUSKYLENS screen
int ID2 = 2; //second learned results. colored result on HUSKYLENS screen
// and so on.....

int arjprevious = 0;
void printResult(HUSKYLENSResult result);
void setup() {
    Serial.begin(115200);
    Wire.begin();
    while (!huskylens.begin(Wire))
    {
        Serial.println(F("Begin failed!"));
        Serial.println(F("1.Please recheck the \"Protocol Type\" in HUSKYLENS (General Settings>>Protocol Type>>I2C)"));
        Serial.println(F("2.Please recheck the connection."));
        delay(100);
    }

     huskylens.writeAlgorithm(ALGORITHM_FACE_RECOGNITION);
}

void loop() {
   if (huskylens.requestLearned())          //request blocks and arrows tangged ID != 0 from HUSKYLENS
   if (huskylens.requestBlocksLearned())    //request blocks tangged ID != ID0 from HUSKYLENS

    {
        for (int i = 0; i < huskylens.countArrows(ID0); i++)
        {
            HUSKYLENSResult result = huskylens.getArrow(ID0, i);
        }
        int arj = huskylens.count(ID1);
        if ( arj != arjprevious )
        {
        if ( arj == 1 )
            {
            Serial.println("Learned face detected");
            }
            else
            {
            Serial.println("Learned face not detected");
            }
            arjprevious = arj;
        }
    }
    else
    {
        Serial.println("Fail to request objects from Huskylens!");
    }
}
Learned face detected ID1
Learned face not detected
Learned face detected ID1
Learned face not detected
Learned face detected ID1
Learned face not detected
"If something is worth doing, it's worth overdoing."