I wanted this to be a multipart loader, instead of a trackloader. A trackloader can load sector parts which I would like more. But the C64Pico can’t do disk images. (Mcume)
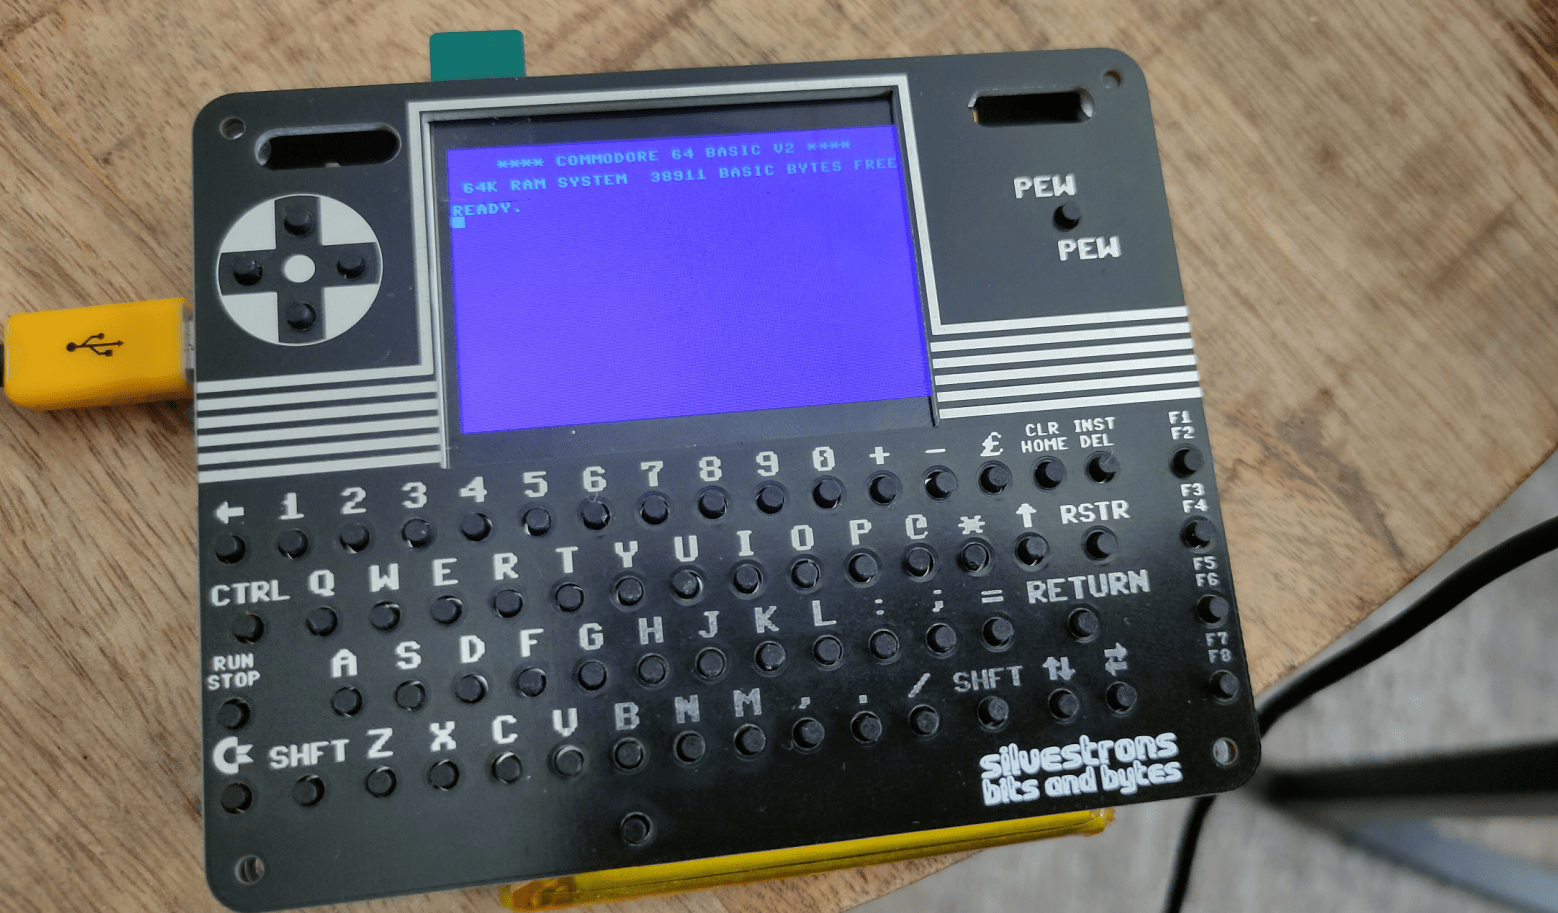
C64Pico based on MCUME see building of this in other posts.
2nd reason: While I’ve written a track loader for 8086, I never did it for C64. As a kid I didn’t have a C64, so all knowledge I have is from later years. I’ve written only a few C64 machinecode programs.
Showing first part assembly (without text Hello 2nd part)
Showing second part (no sysheader) needs to be loaded at $2000
Compile using Acme
make disk image
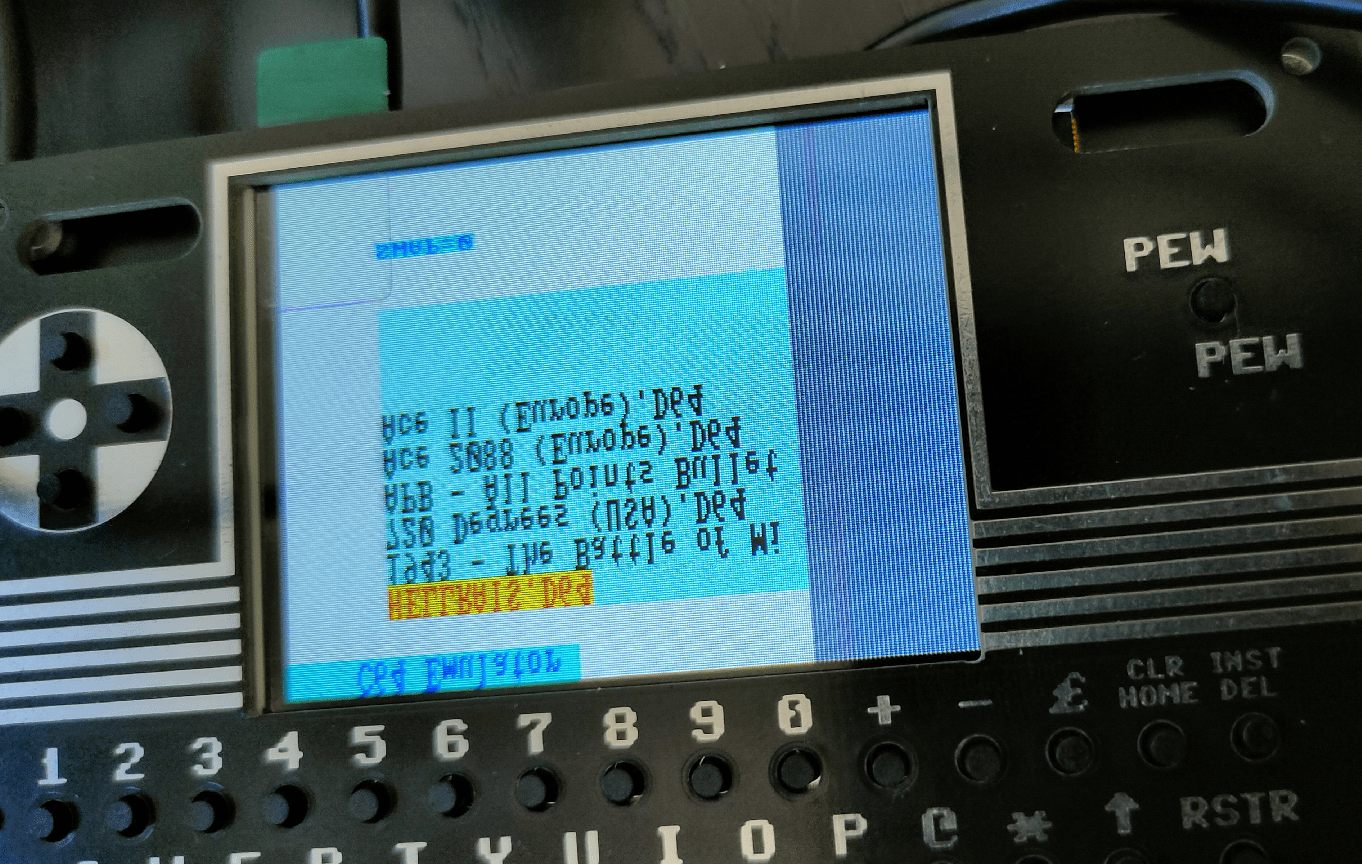
and run using autostart x64 (Vice emulator)
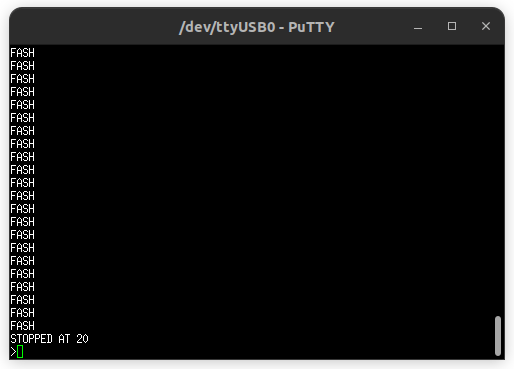
You see the first text from the 1st assemby code, then it will load the second at $2000 and does a jmp to this address. Second text will but displayed.
While i’ve been using KickAss in the past and some other 6502 compilers, I manly use acme.
Makefile I created to compile, create a C64 diskimage and run the program is as below. (No exomizer tools in this Makefile)
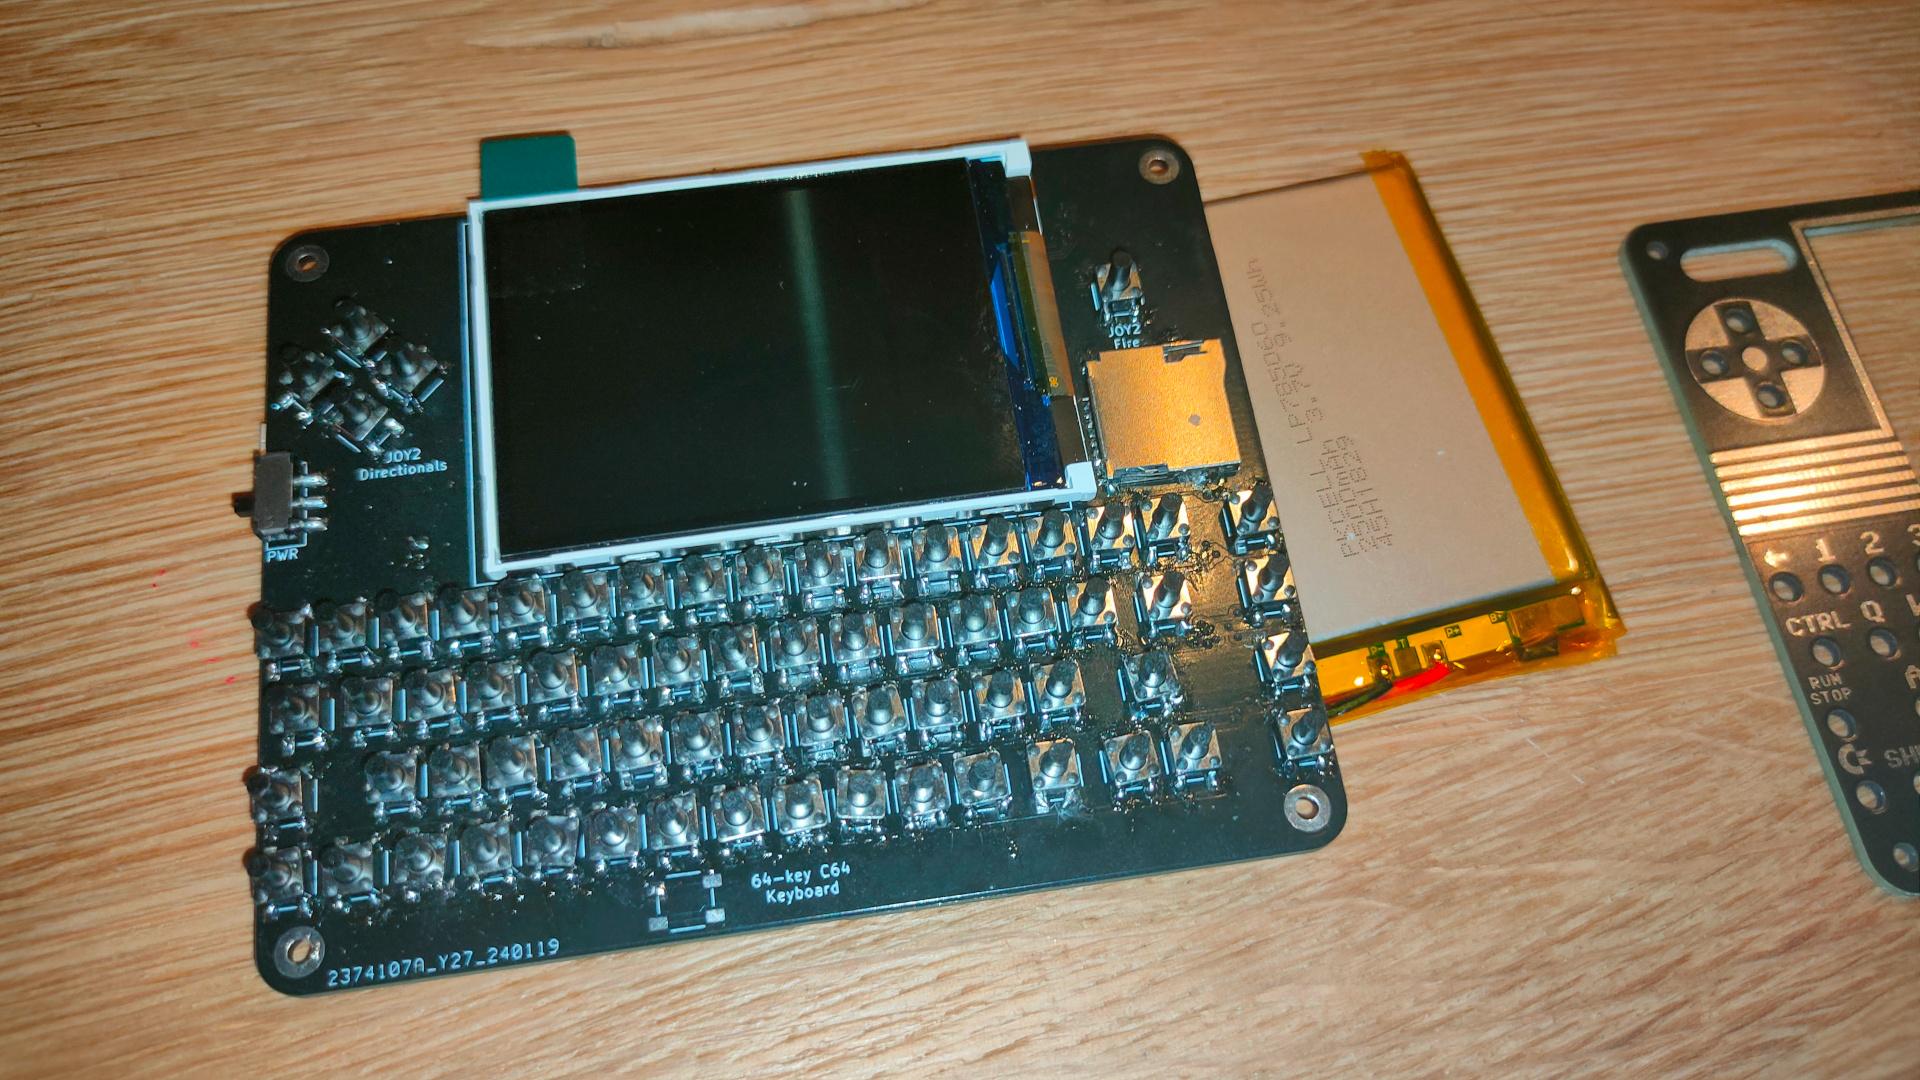
Today we worked on this project again. (Bigred and me)
There were some problems we needed to fix since last time:
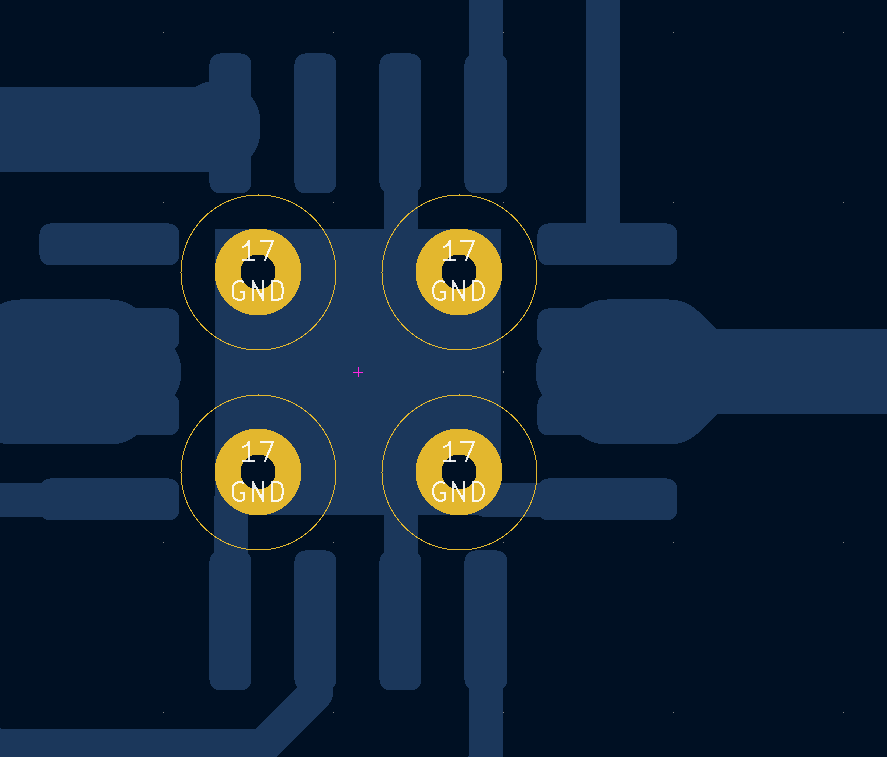
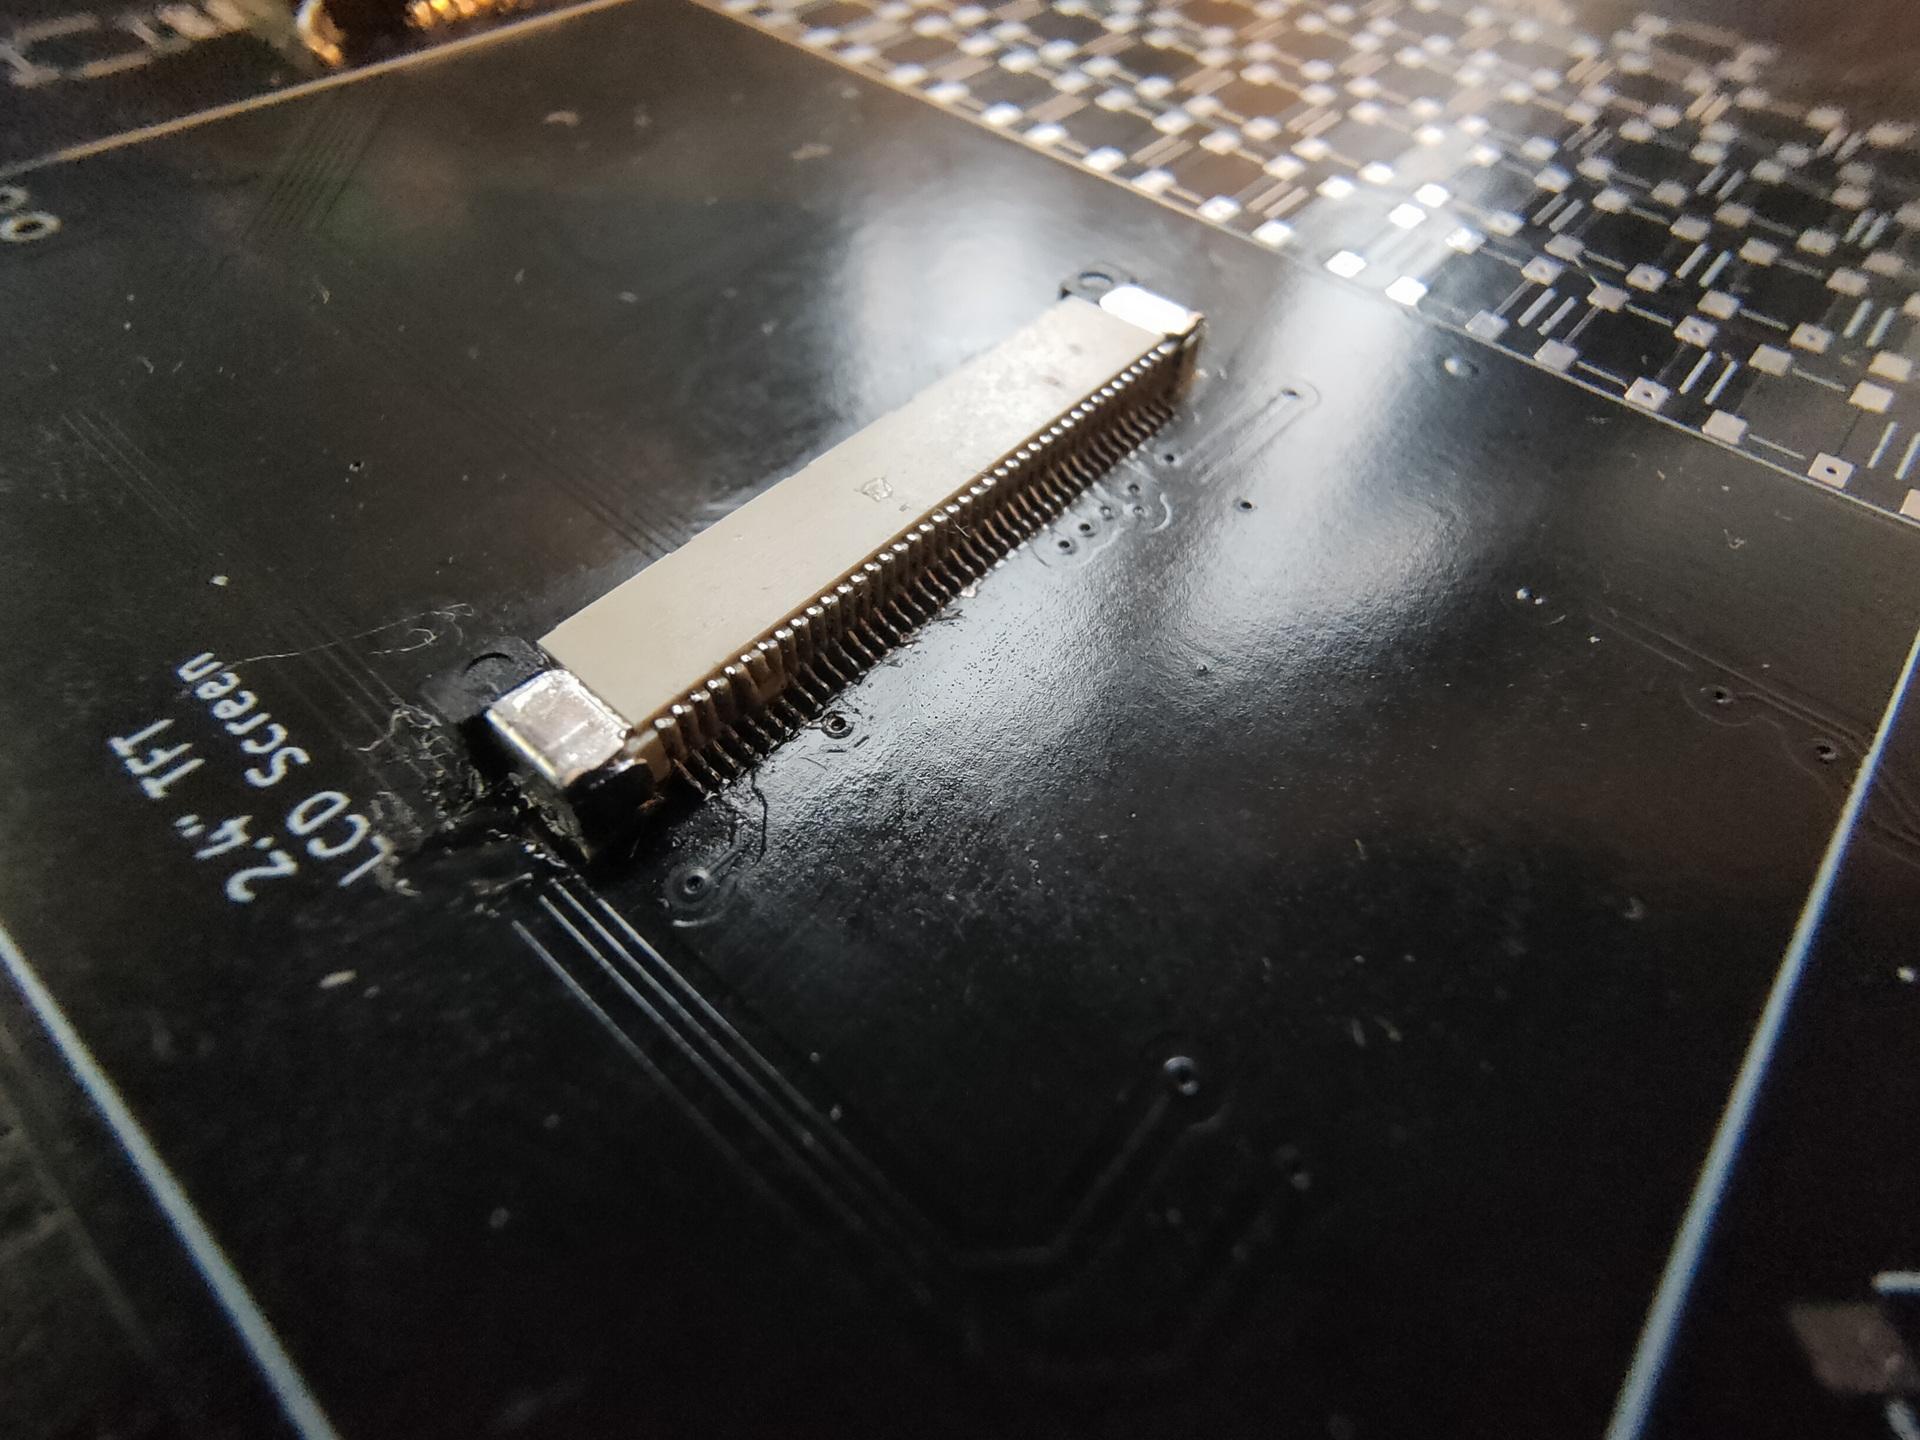
It was quite hard to get the correct parts. Our display connector was only fitted with connection pins on the wrong side of the connector. (up/down) So I bought a connector with both positions populated. So we had to replace this hard to solder (40 pin) connector.
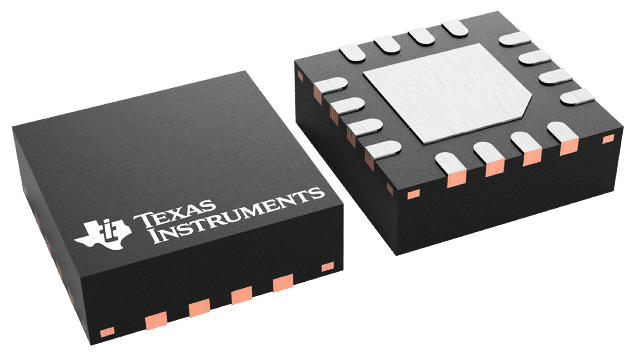
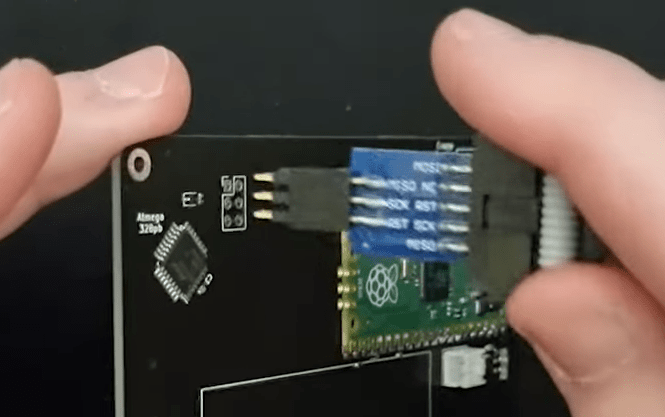
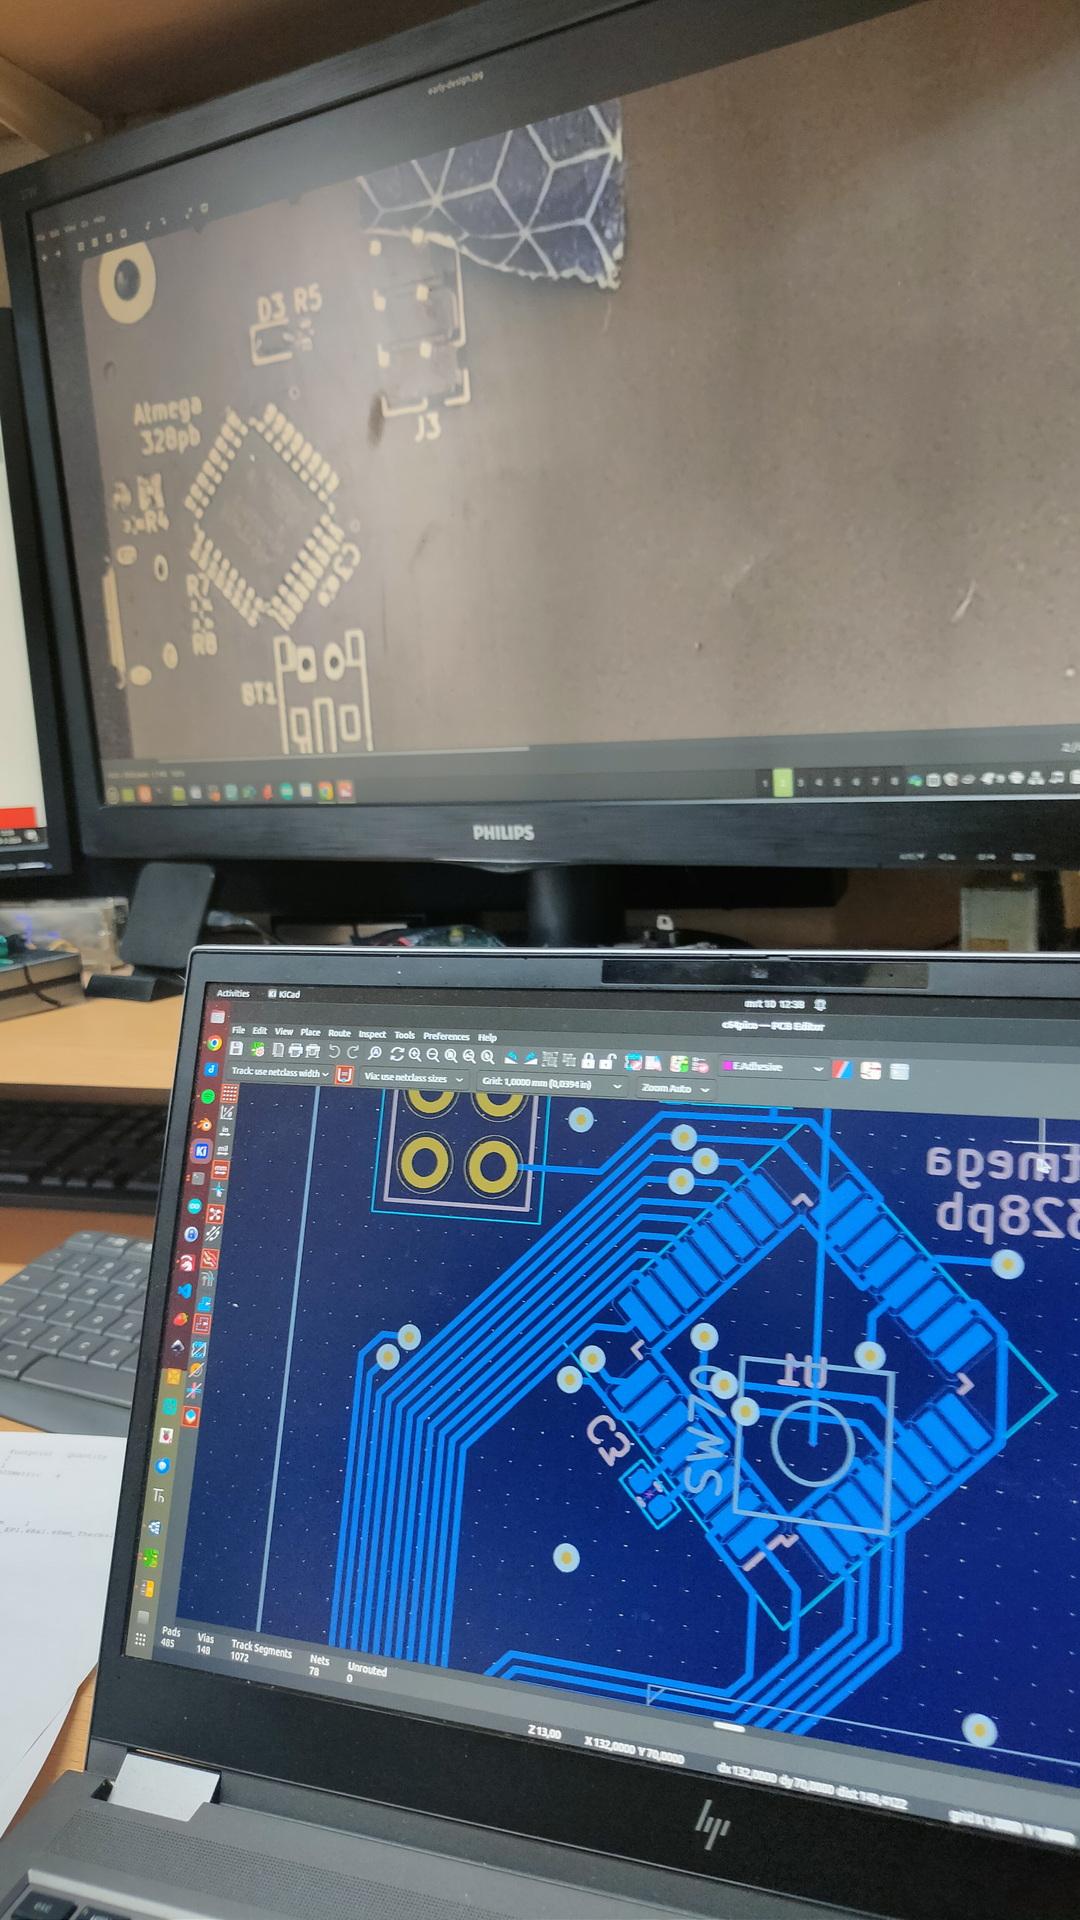
It was not clear what the orientation should be of the atmega328pb. We looked at the pinout, and followed the VCC/GND. But these are also available of the opposite side of the chip. (We missed that) Later, we saw a tiny line on the PCB, which showed the pin 1 placement. So we had to remove and replace the chip. When turning on the power, (with incorrect placement) probably fried R5 (10k resistor), on both our boards. Had to replace those also.
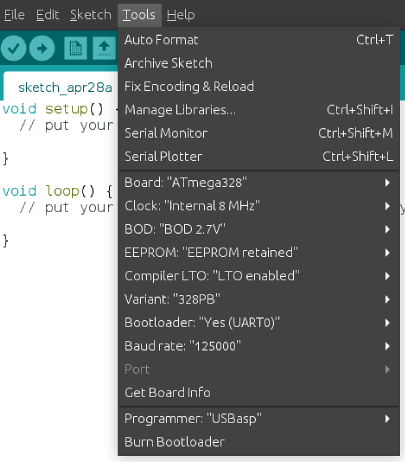
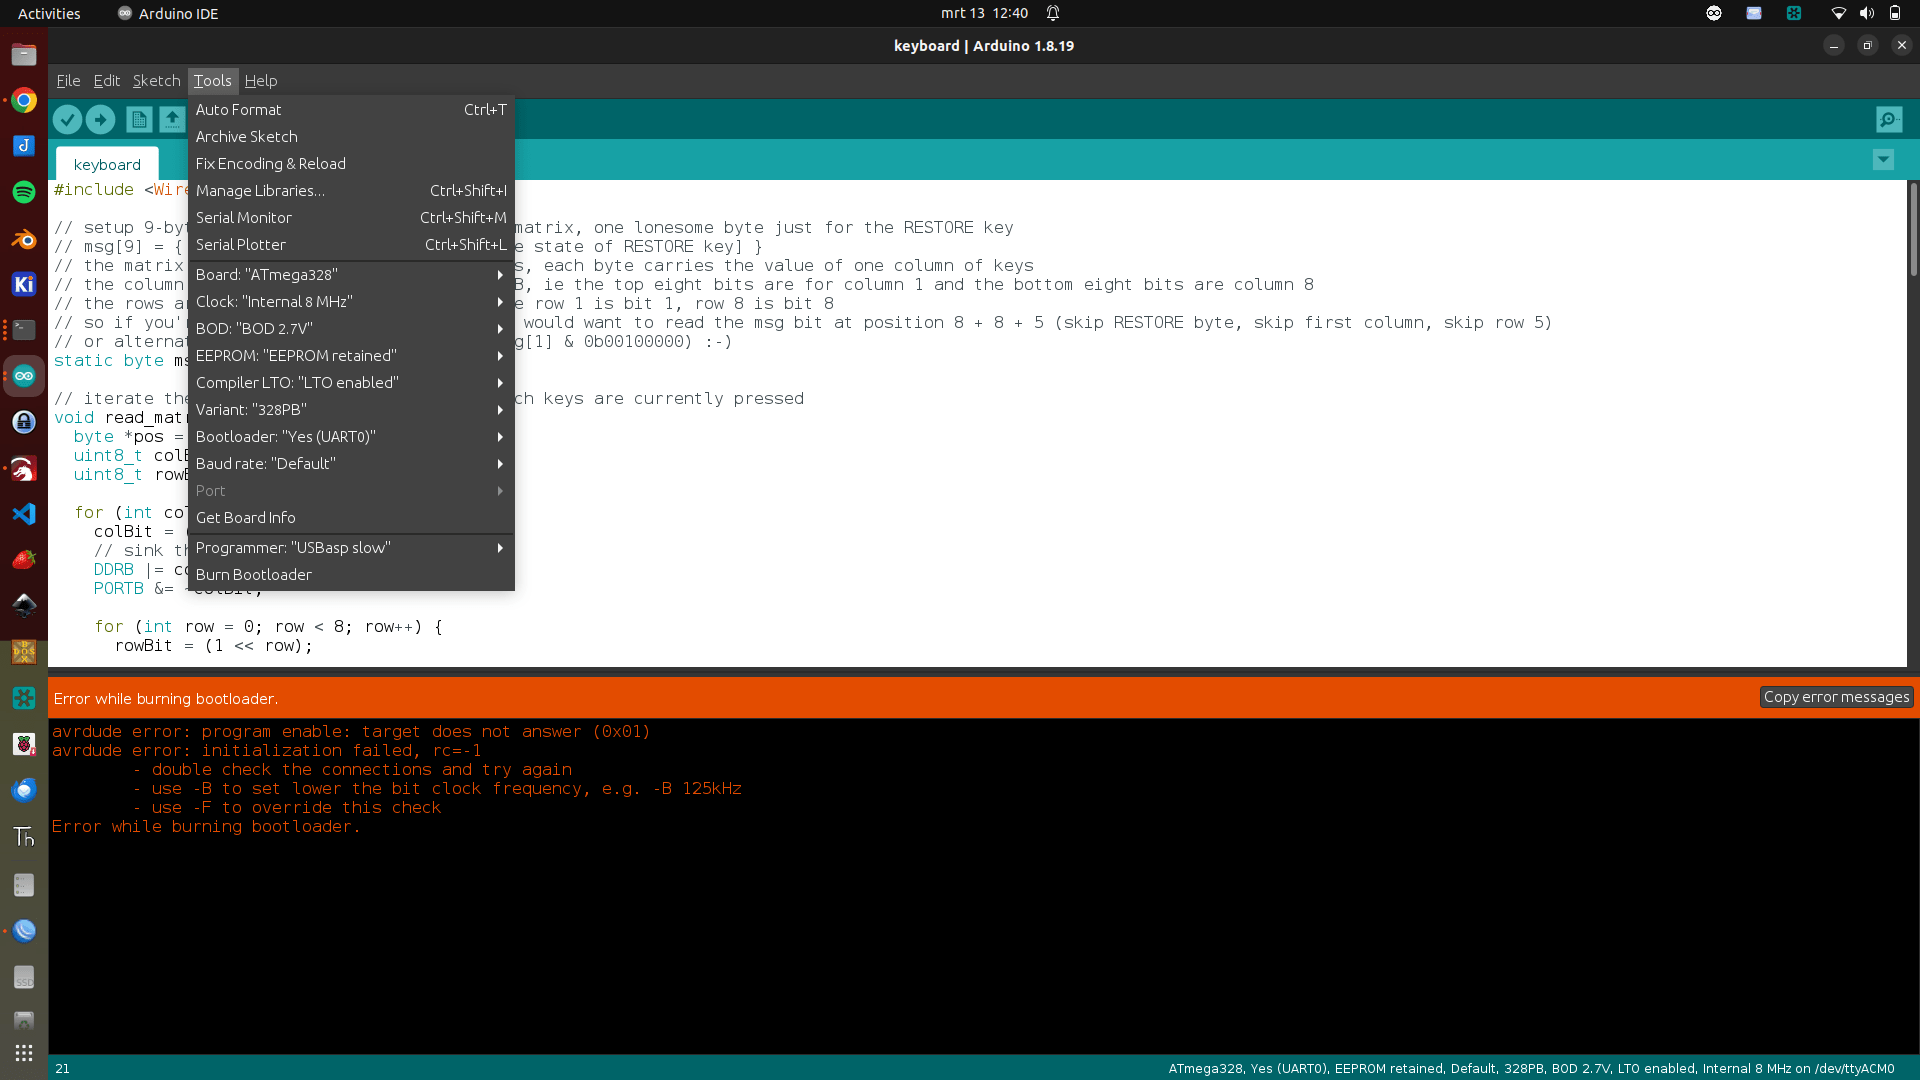
Programming the atmega328pb was not easy, see below fixes.
Compiling the pico firmware resulted in a black screen. Below the fixes I had to make to get the screen working.
Other things still to fix.
Bigreds screen.
atmega328p didn’t work for Bigred, so probably needs to replace with the pb version.
My battery controller is not charging. See bottom of page
Some of my buttons are working. The pewpew and some of the cursor keys (not as I expect, there are some up/down issues) And none of the other keys are working.
Some other things we noticed.
sdcard: remove partitions, format using mkfs.exfat Create a c64 directory on this filesystem where you can put the d64 files!
0402 SMD is far too small for me. There is enough room on the board to use 0805 for example. Even THT is possible, there are only a few components.
Some components are TOO close together, removing a component resulted in other small parts disconnecting also.
My friend Bigred said: If I can see it, I can solder it. But it is not easy. This probably keeps a lot of people from building it!
I modded it and was planning to rebuild this using pluggable eurocard-prints. Then it got lost, somewhere.
Today I went to Almelo with Tyrone. In the morning reverse engineering a lift controller print, and afternoon going to a guy selling a lot of Retro stuff.
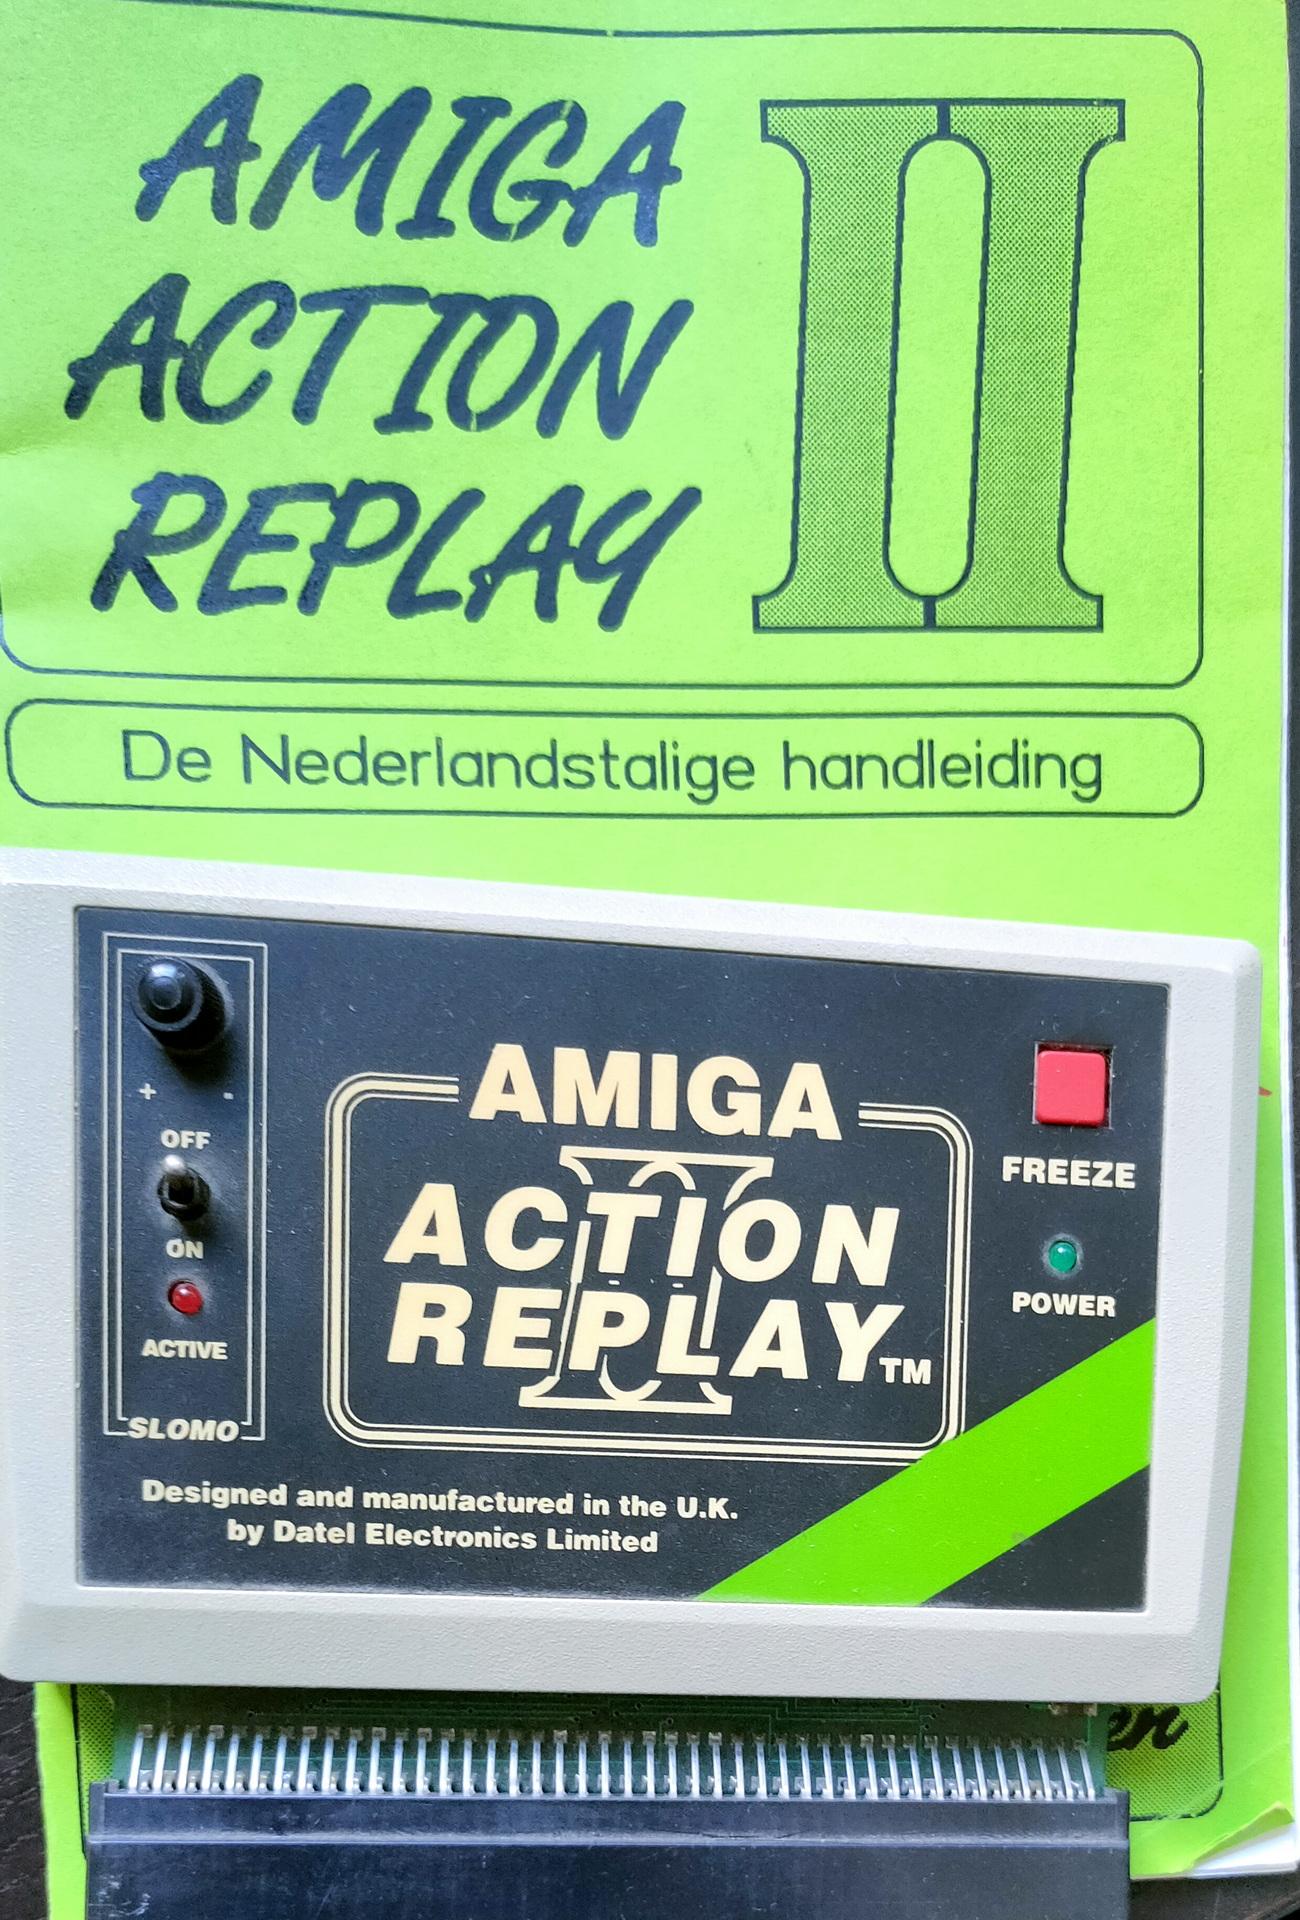
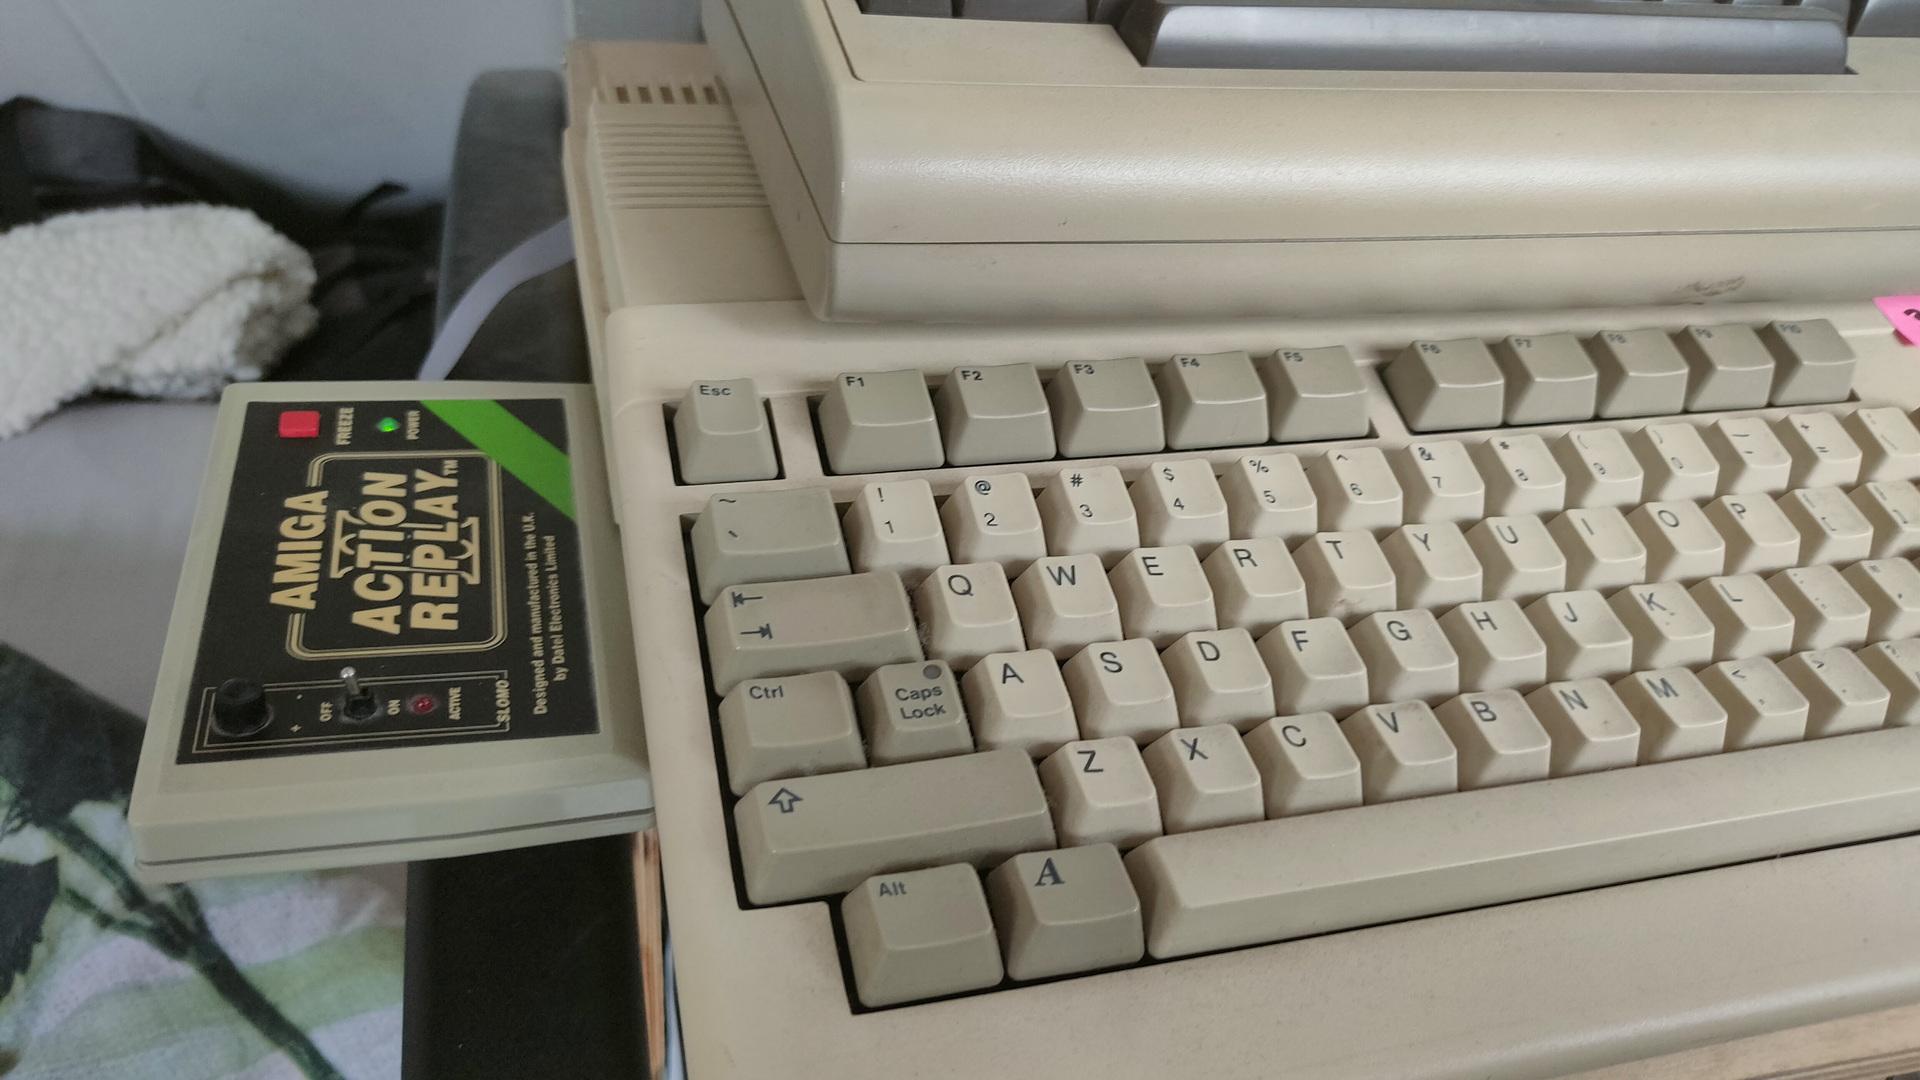
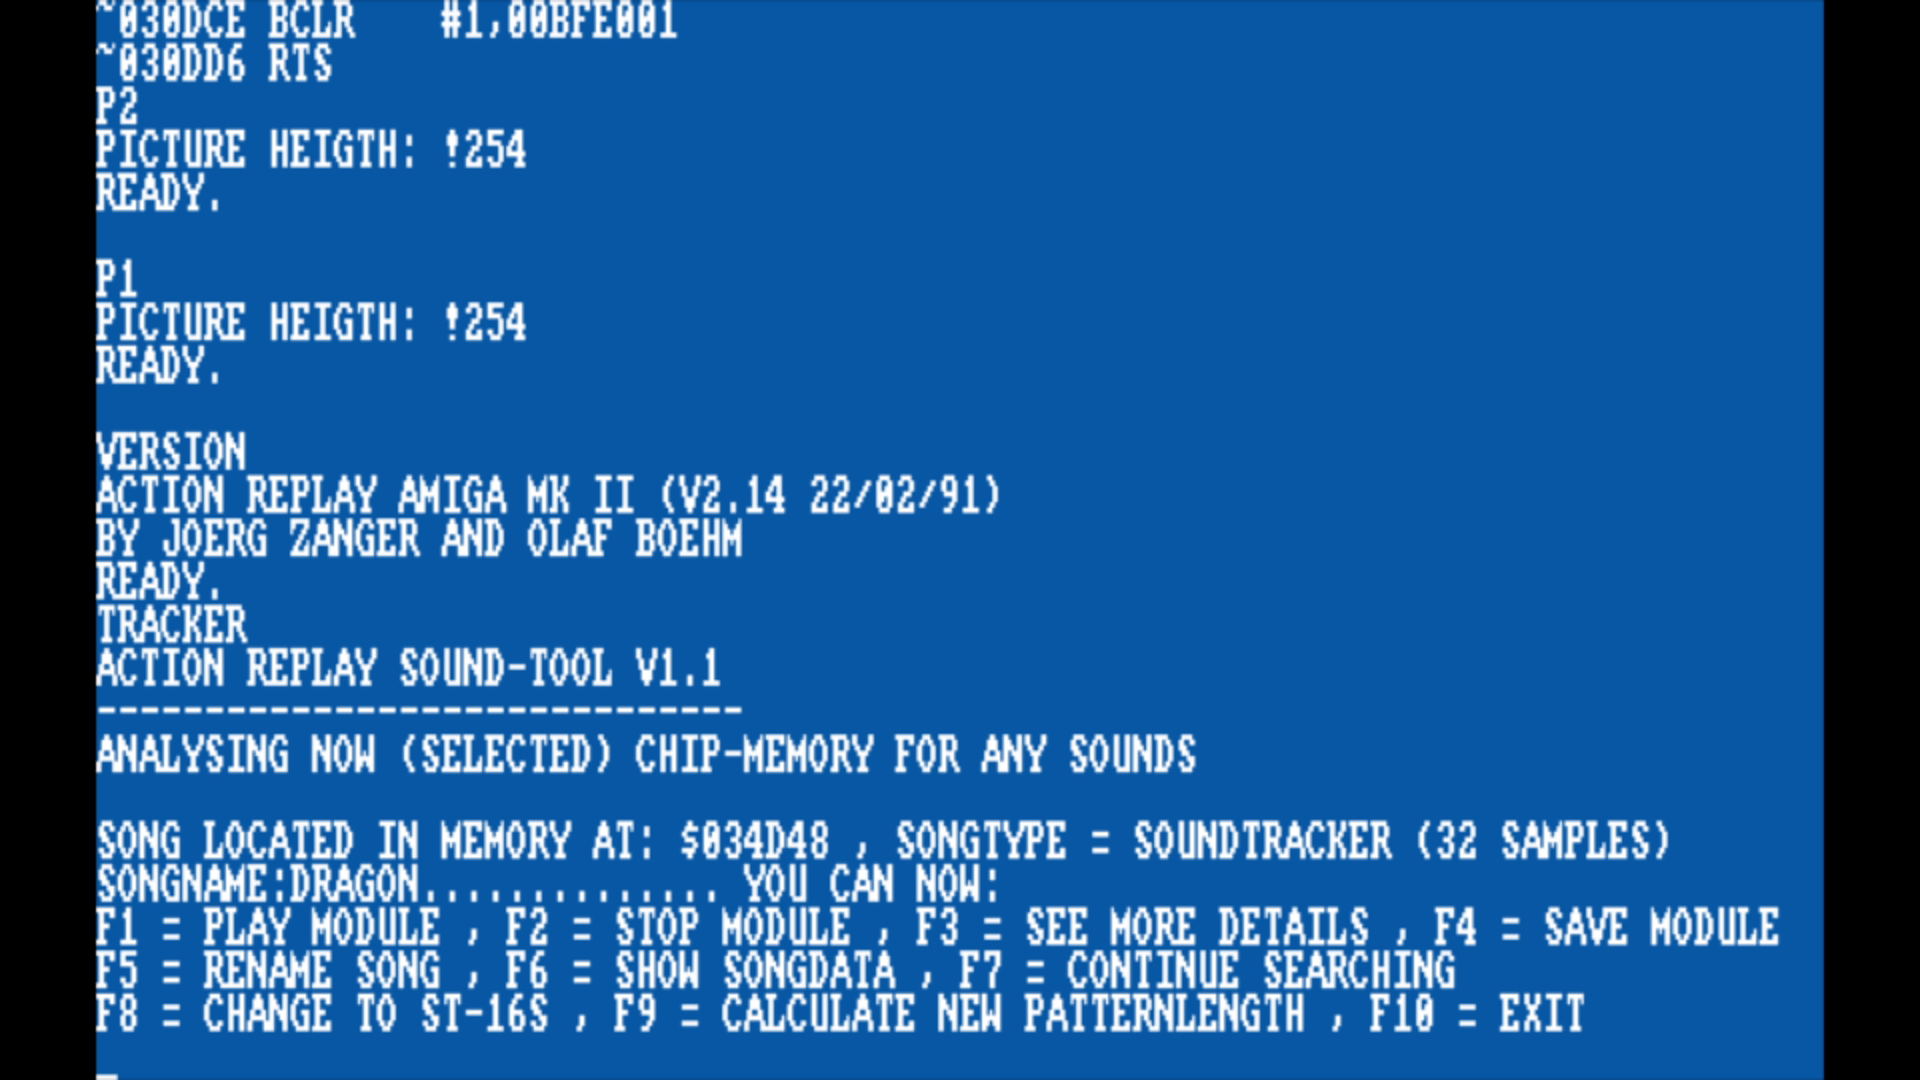
And there it was, an Action Replay II for Amiga just catching dust.
I had to buy it, and got a sh*tload of 27256 Eproms for free!
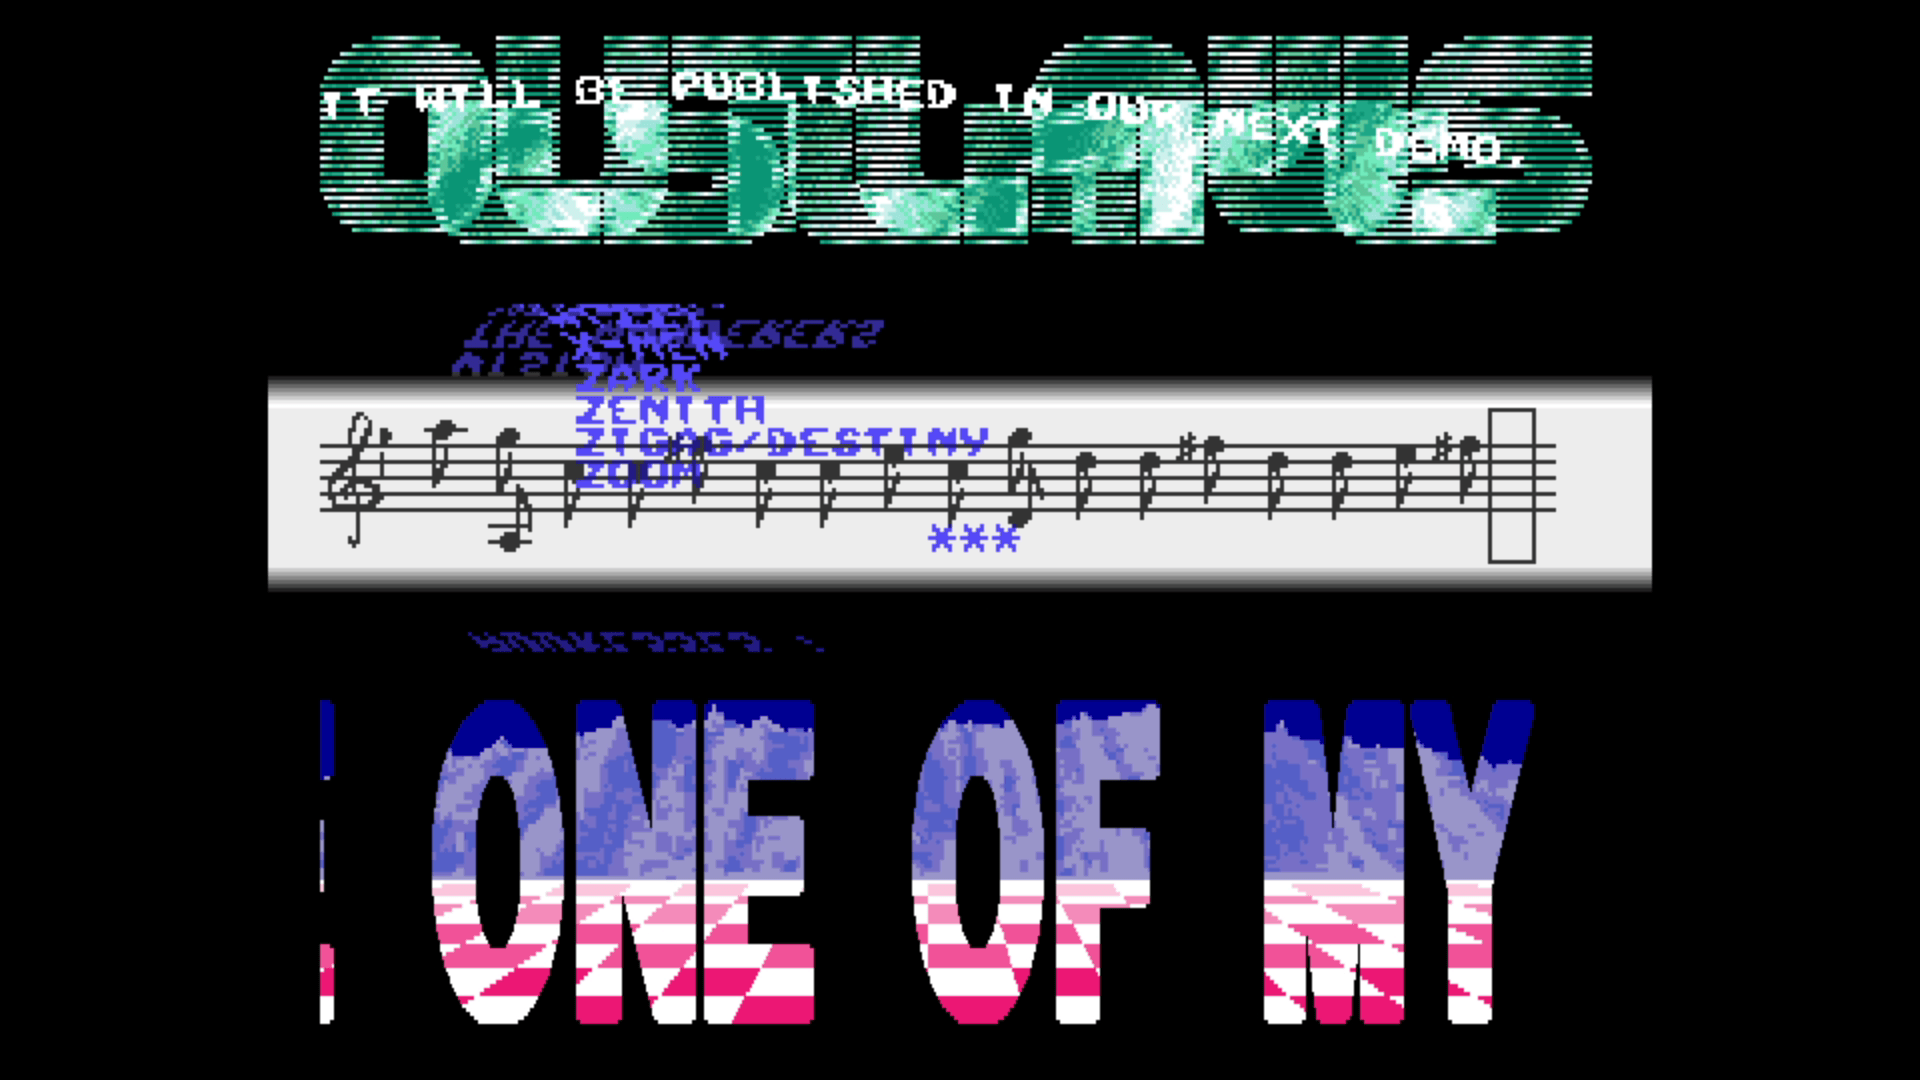
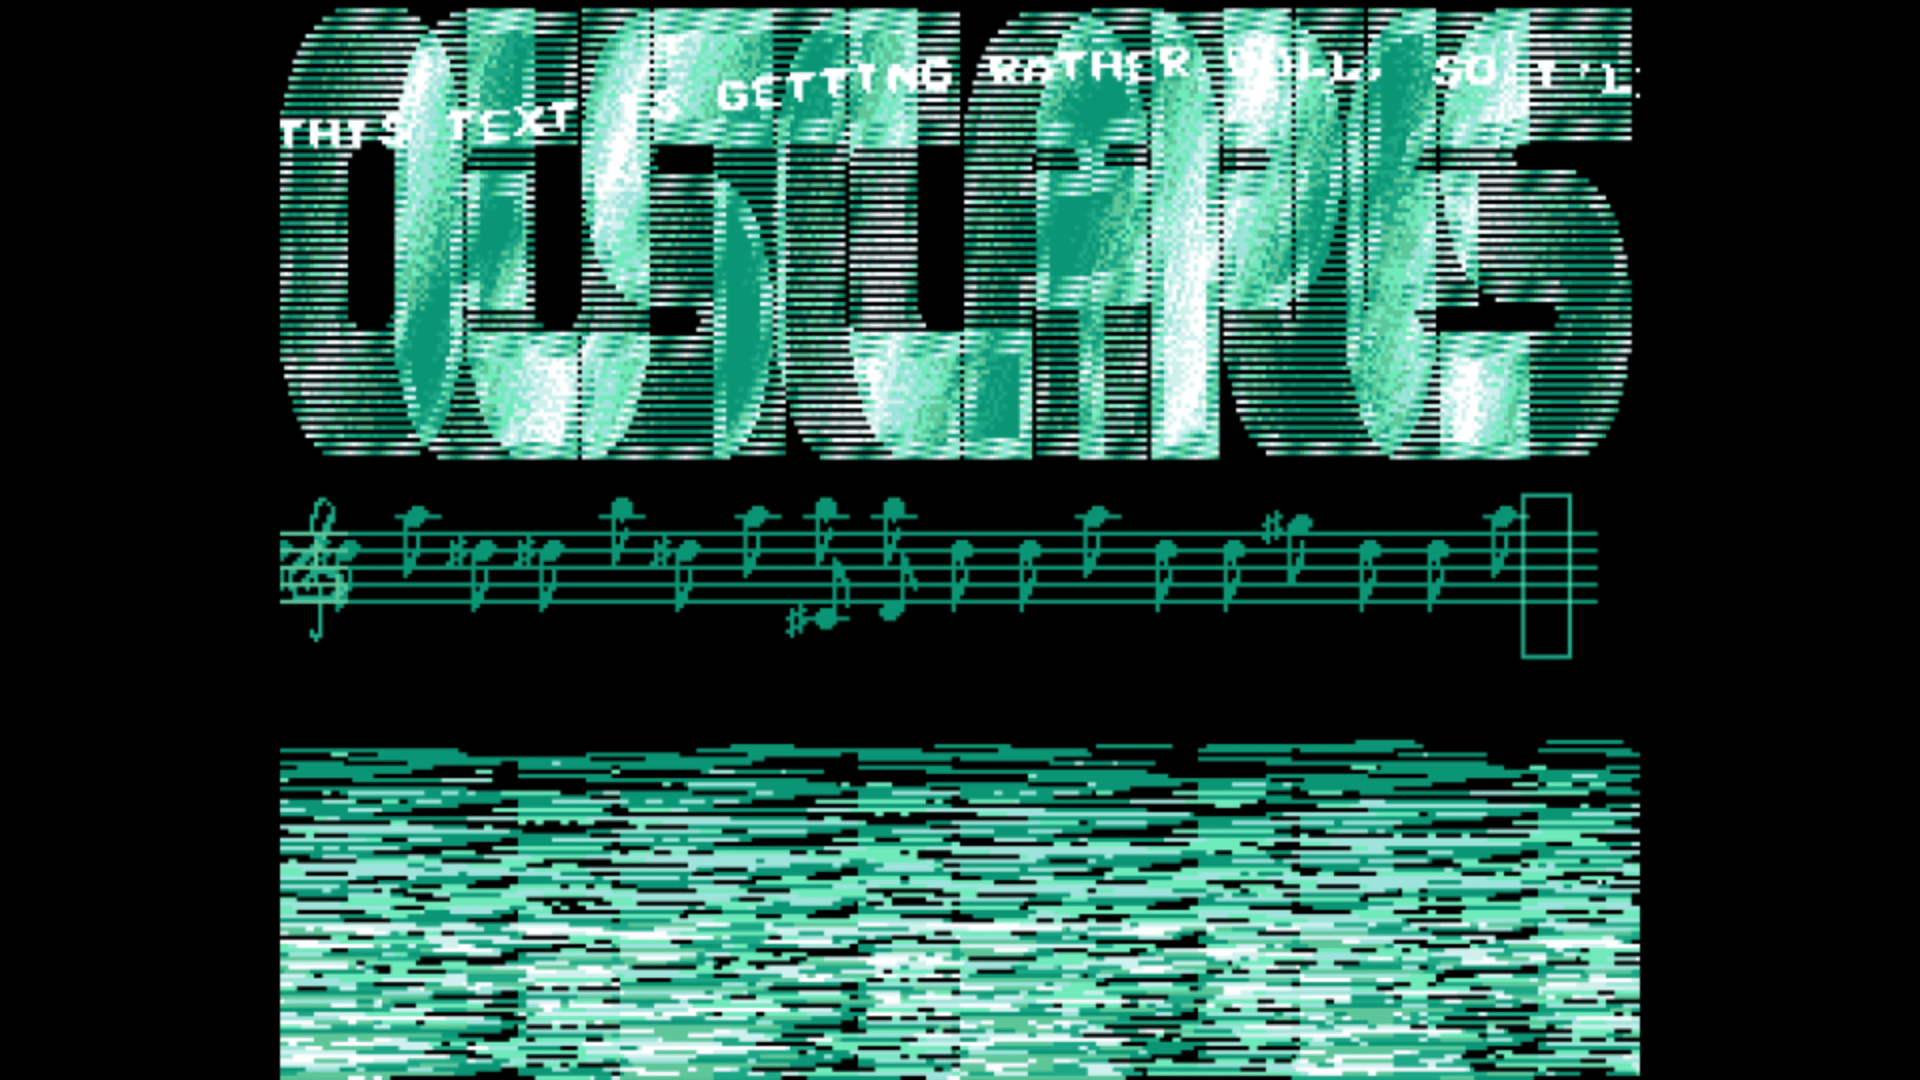
With my own copy of the manualRipping graphics and music
Action Replay Mk I
This version is compatible with the A500/A1000 version only. It also plugs into the side expansion port. It introduces the following features:
1.0 Version
Shows and modifies registers (even read-only ones) and memory contents.
Trainer maker.
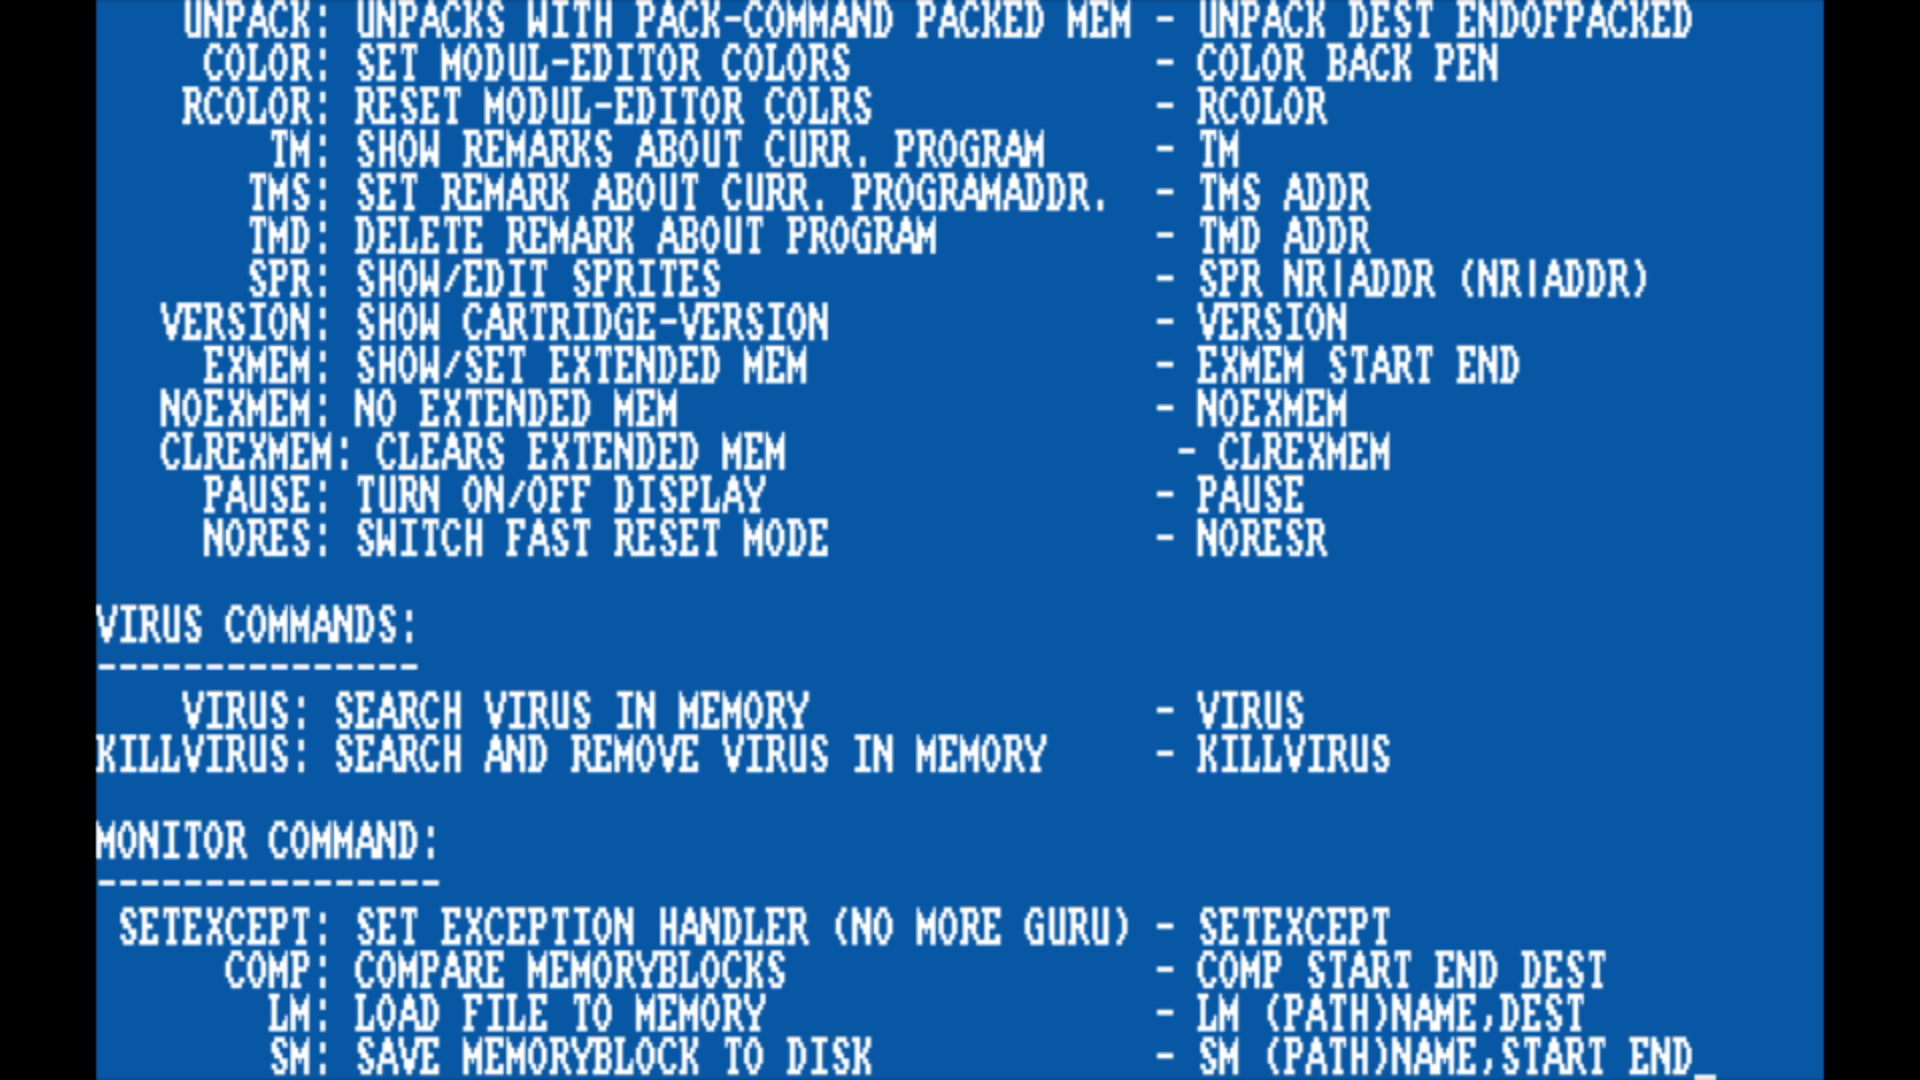
M68000 assembler / disassembler.
Copper assembler / disassembler.
Sprite editor.
Virus detector.
Picture / music (tracker format) / sample ripper.
Save computer memory (freezed programs) to disk.
Shows computer status (disk parameters, ChipRAM, FastRAM…).
Features added to the 1.5 Version
Mempeeker.
Ability to save freezed programs to RAM.
RAM testing.
Illegal opcode – jumps to freezer mode.
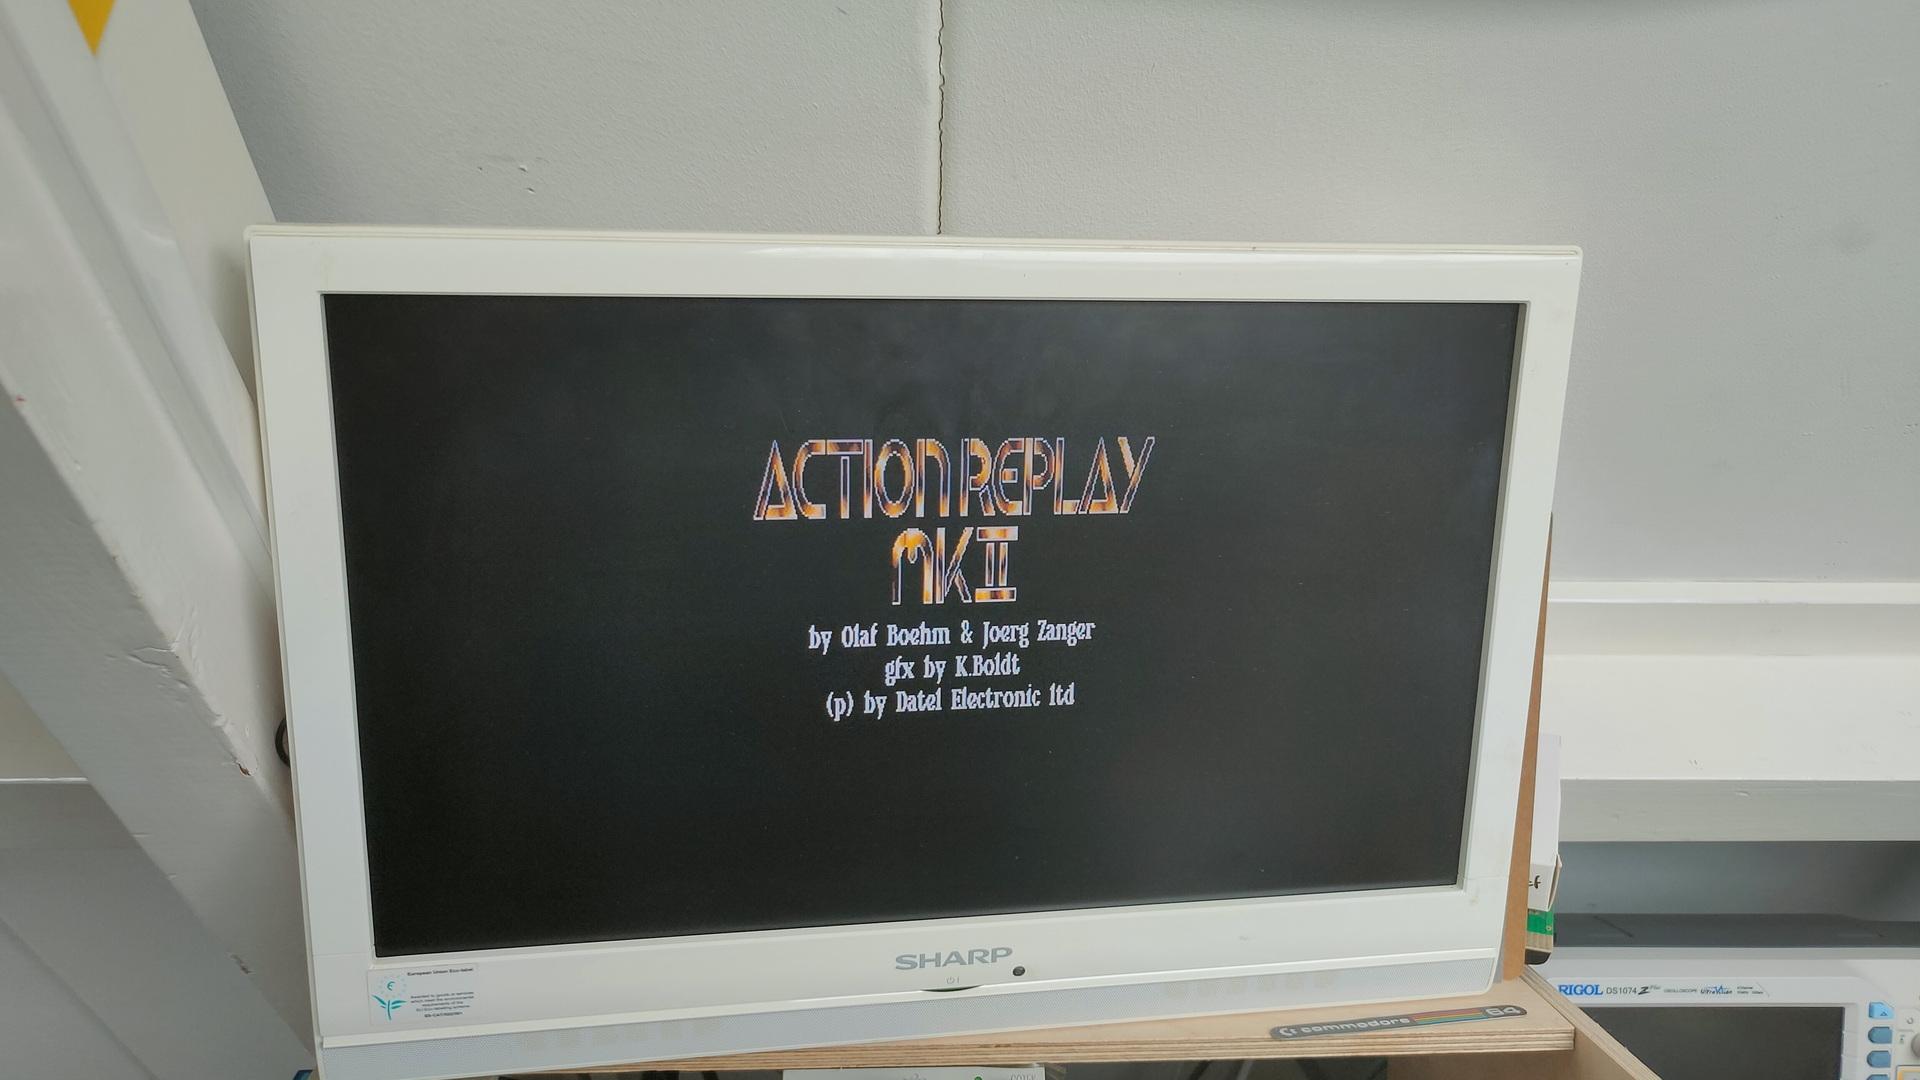
Action Replay Mk II
A special A2000 version is available for this particular revision. Instead of plugging into the side expansion port it plugs into the 86 pin CPU slot.
Features added since MK 1.5 version
Boot selector.
Picture editor.
Sound tracker.
Turbo fire manager (separately for both joysticks).
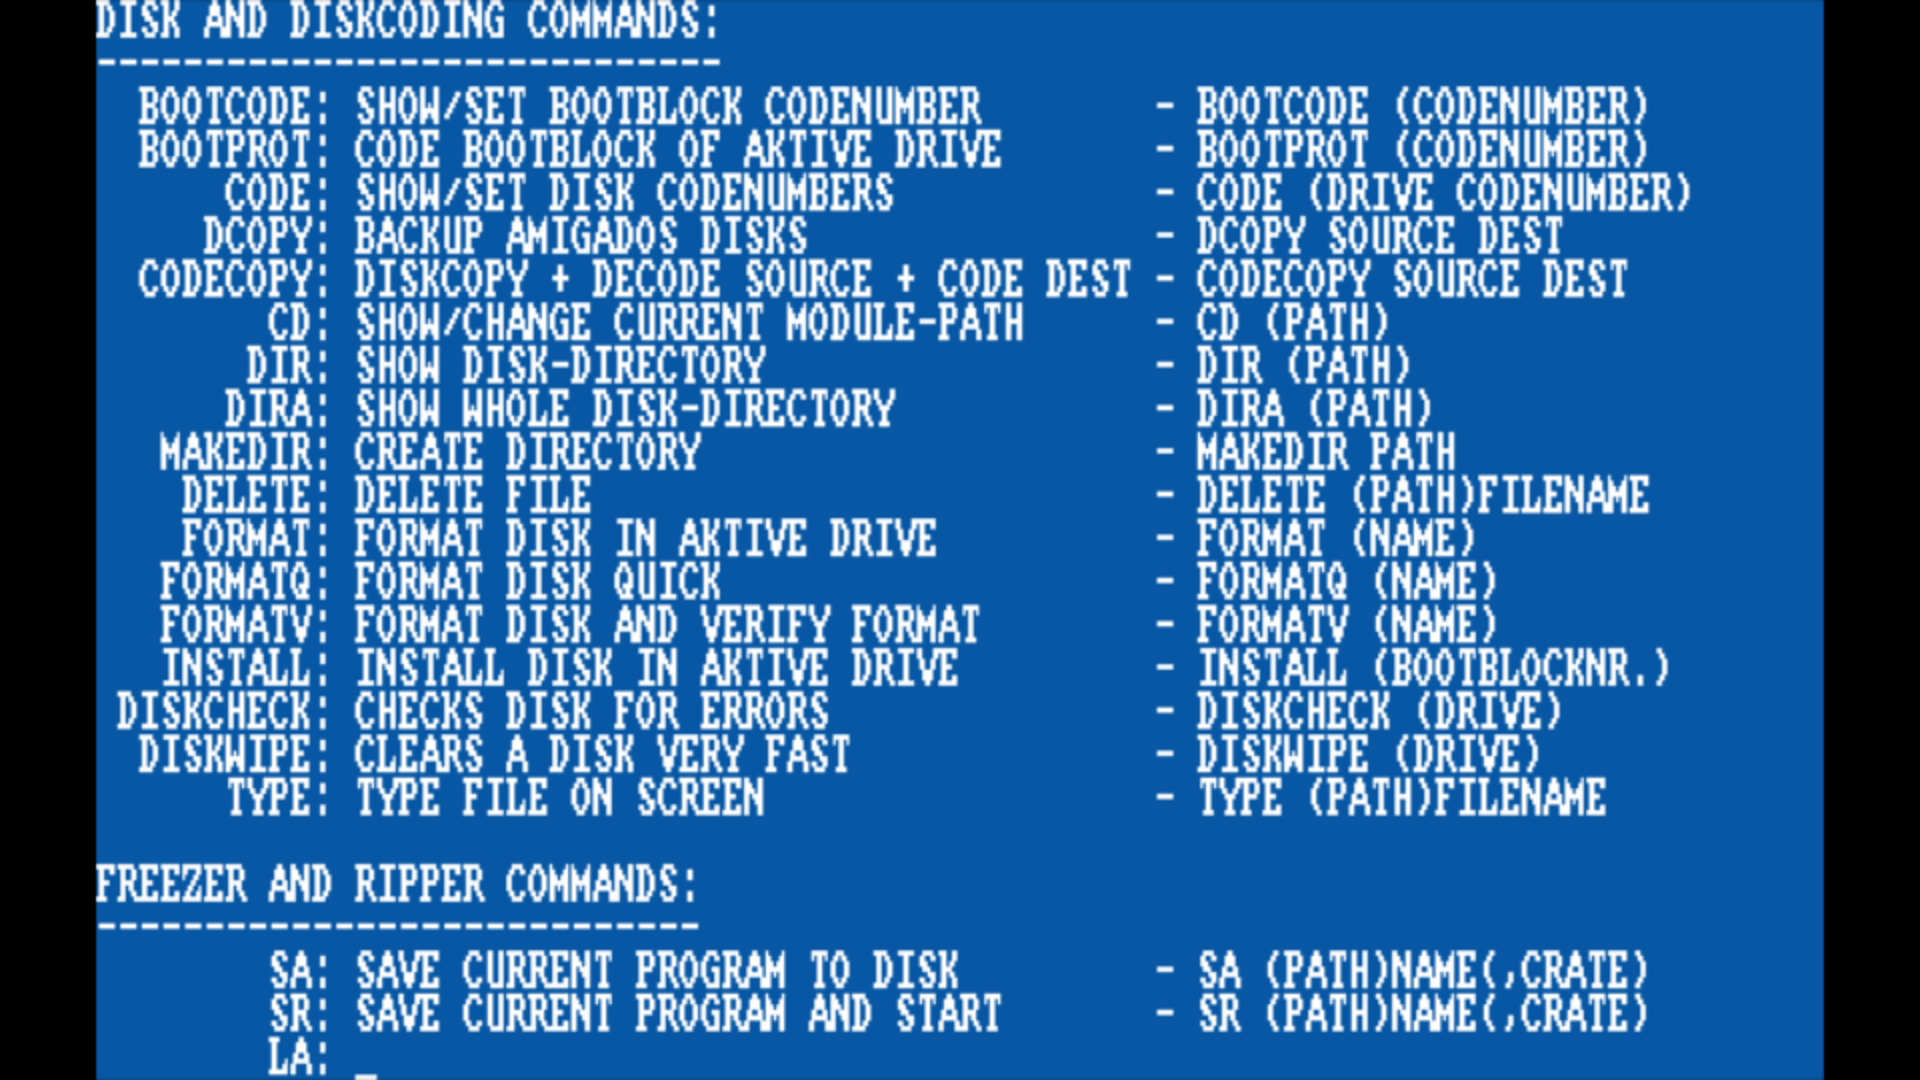
Disk encoder.
Start menu.
Disk monitor.
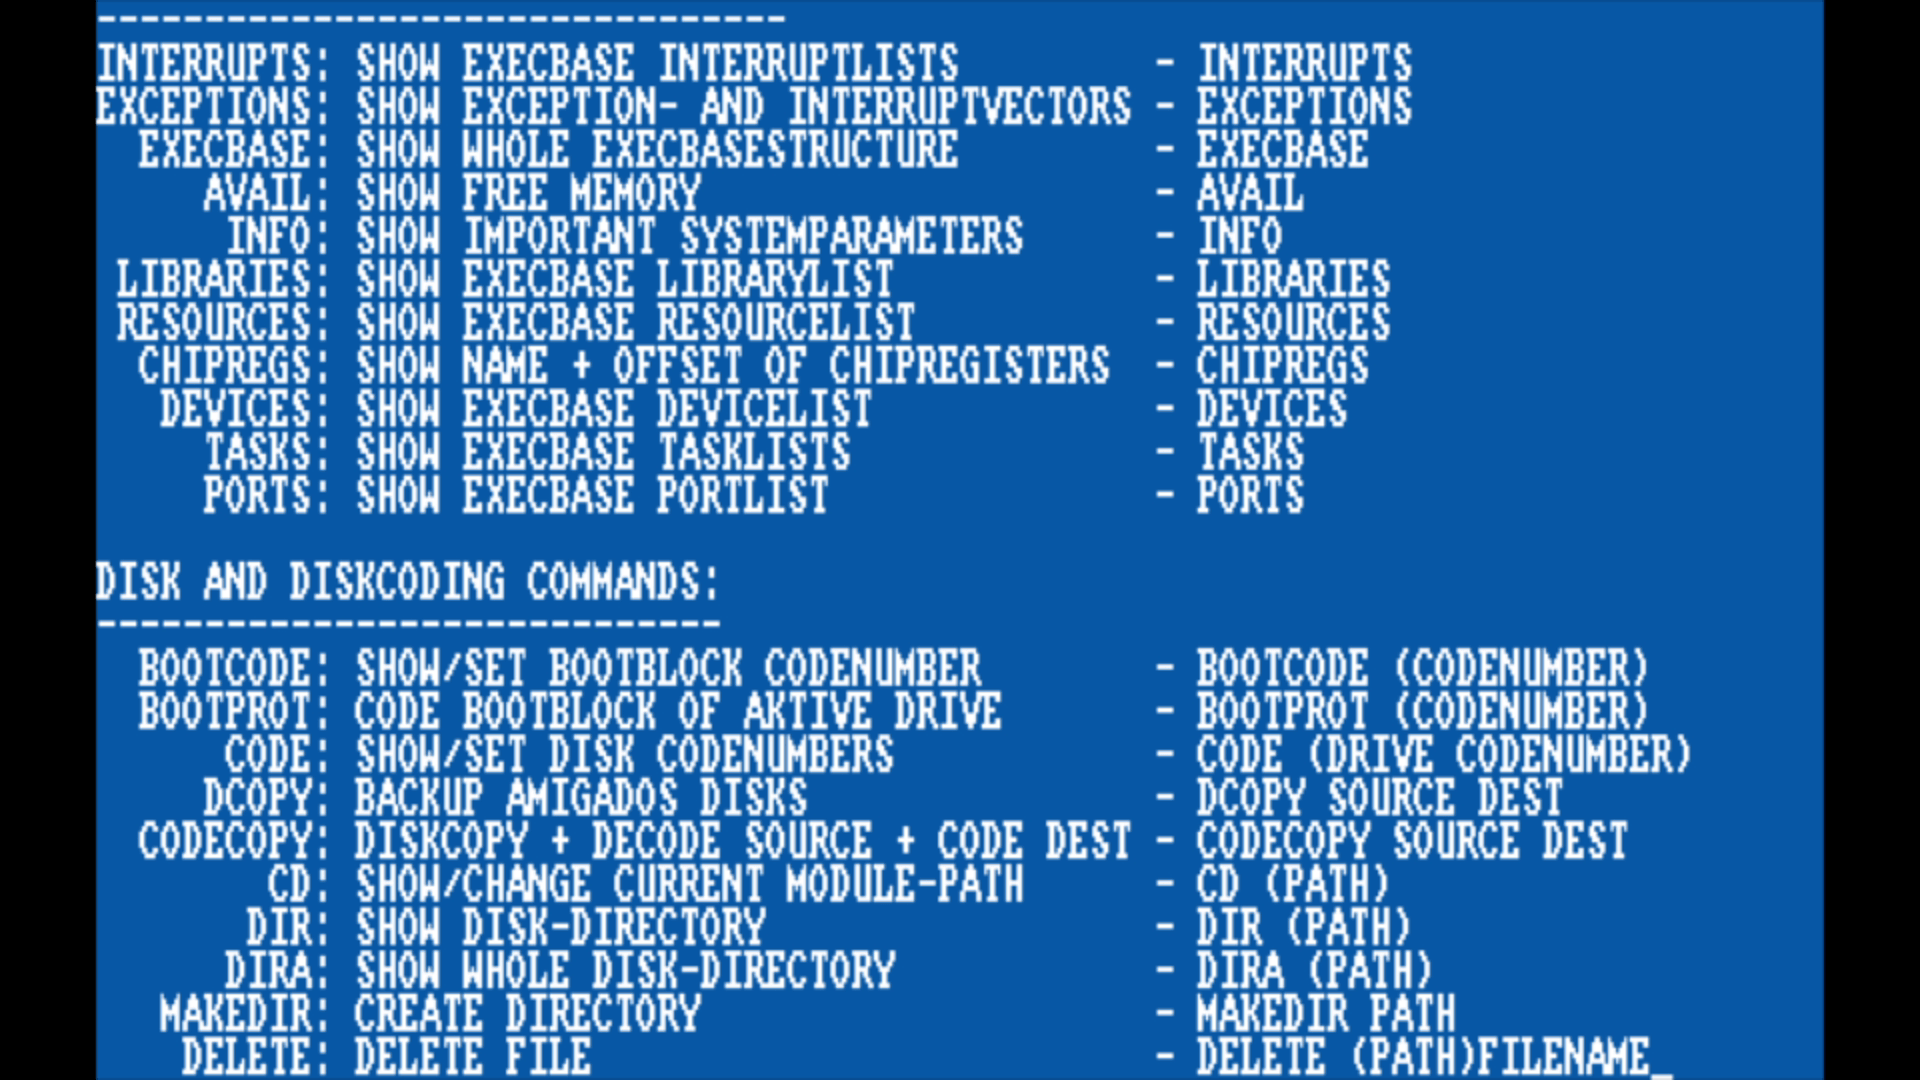
Integrated DOS commands (Dir, Format,…).
Diskcopy.
80 characters display with two-way scrolling.
Calculator.
Notepad.
Memory and drive switch (enabling / disabling).
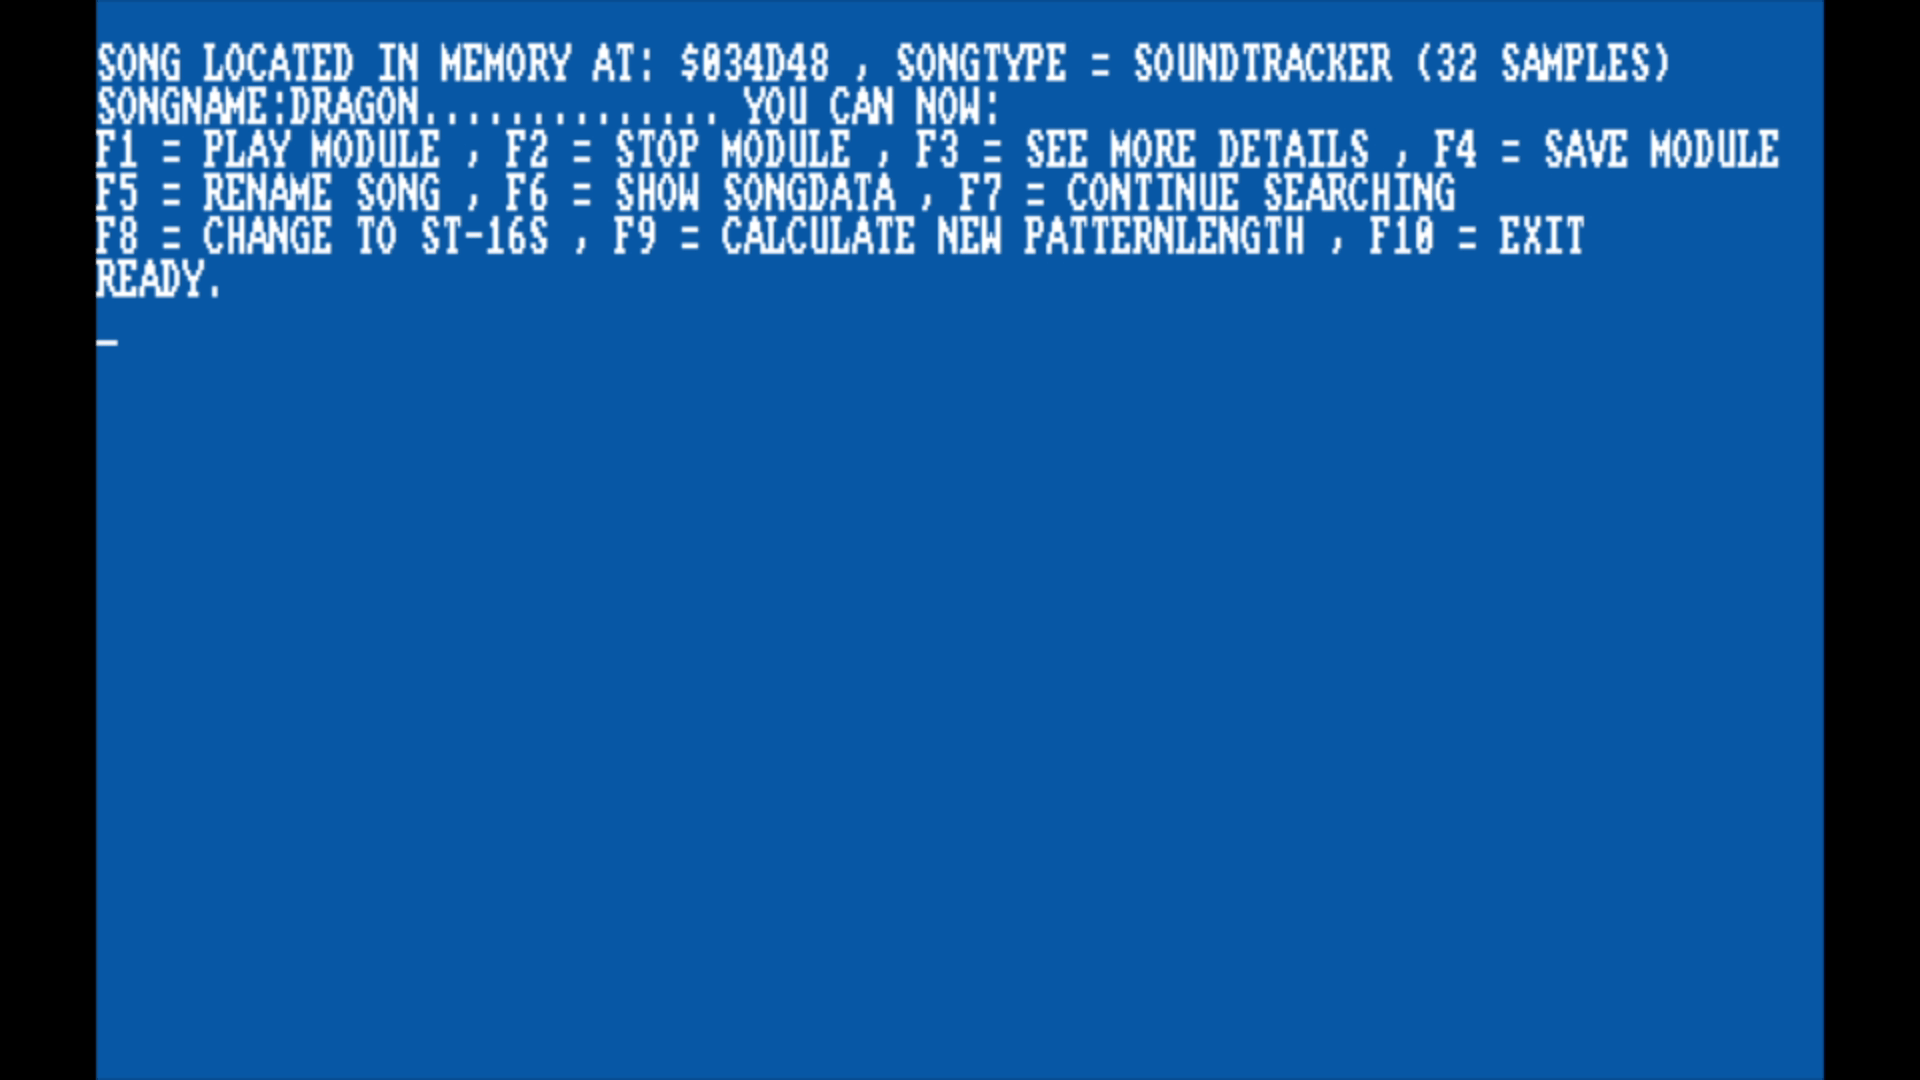
Music ripper now finds all tracker formats (SoundTracker, NoiseTracker, other formats with 32 samples).
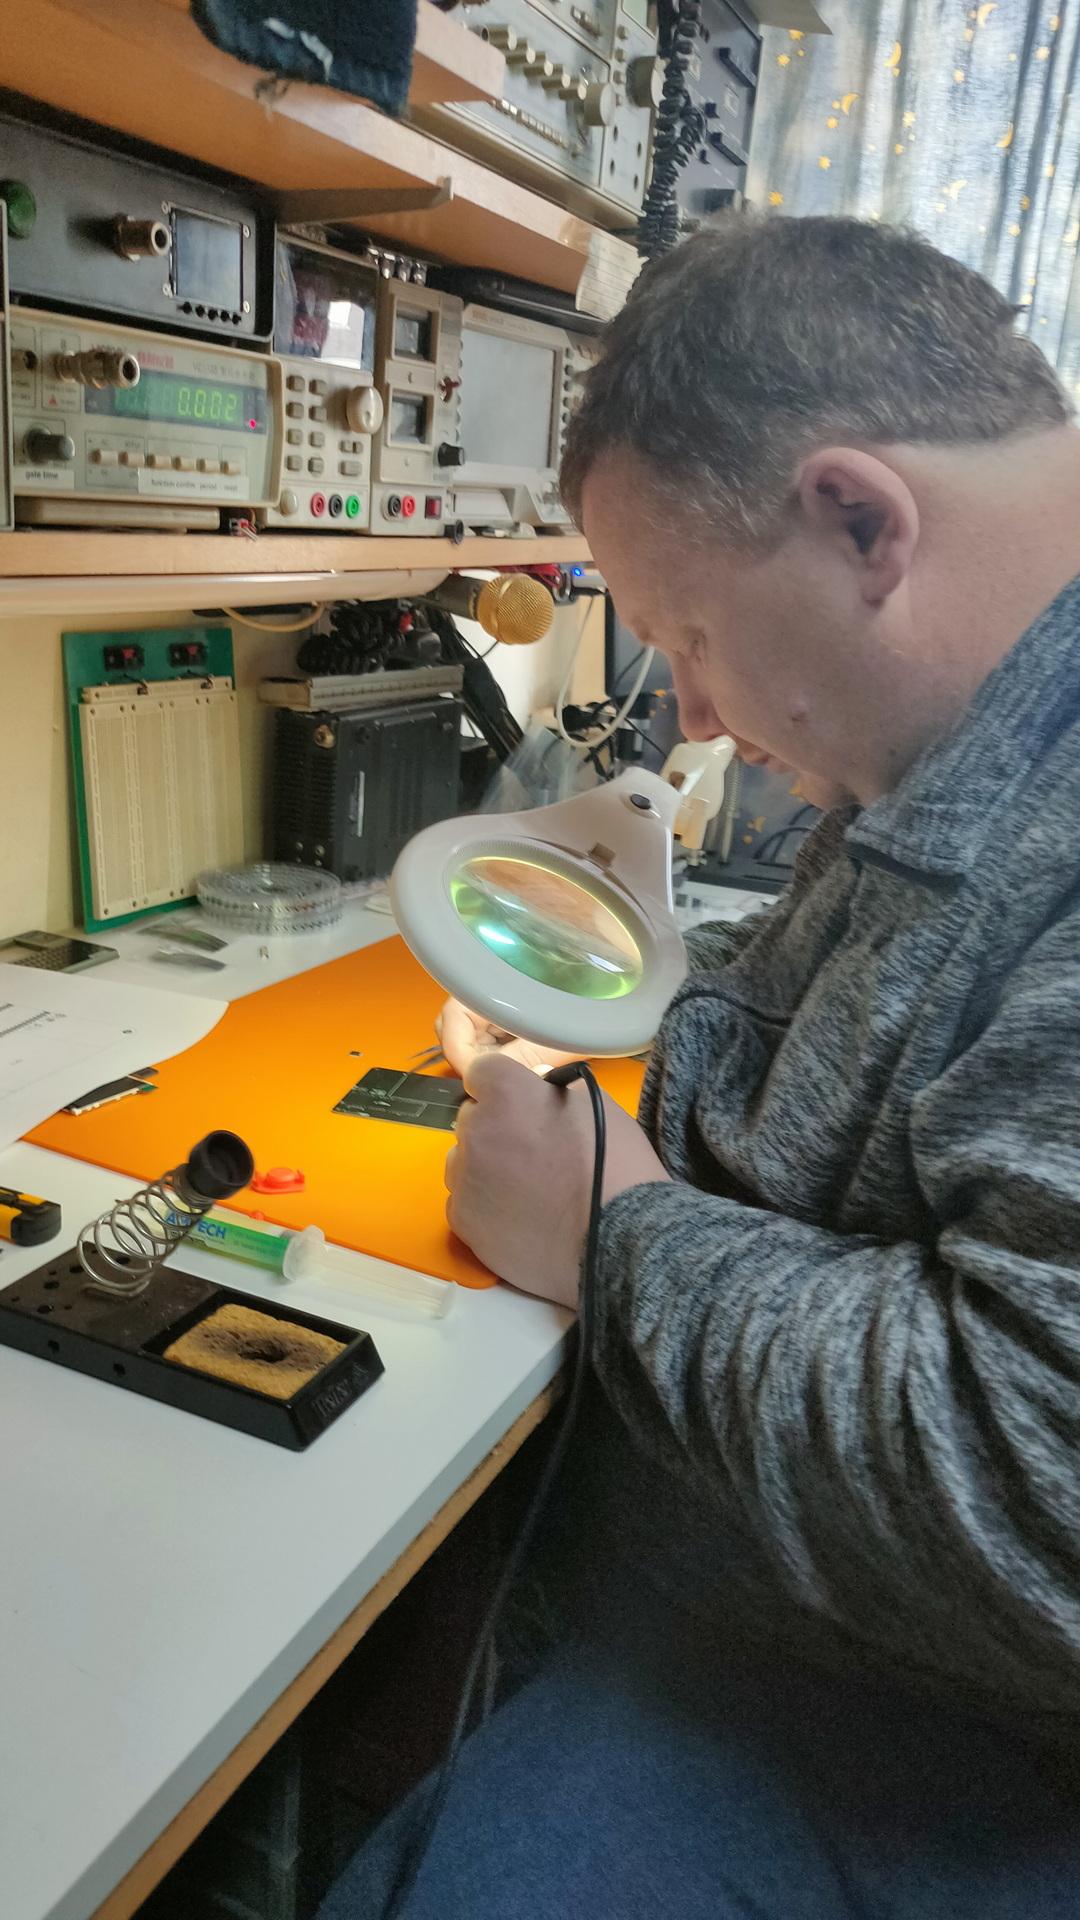
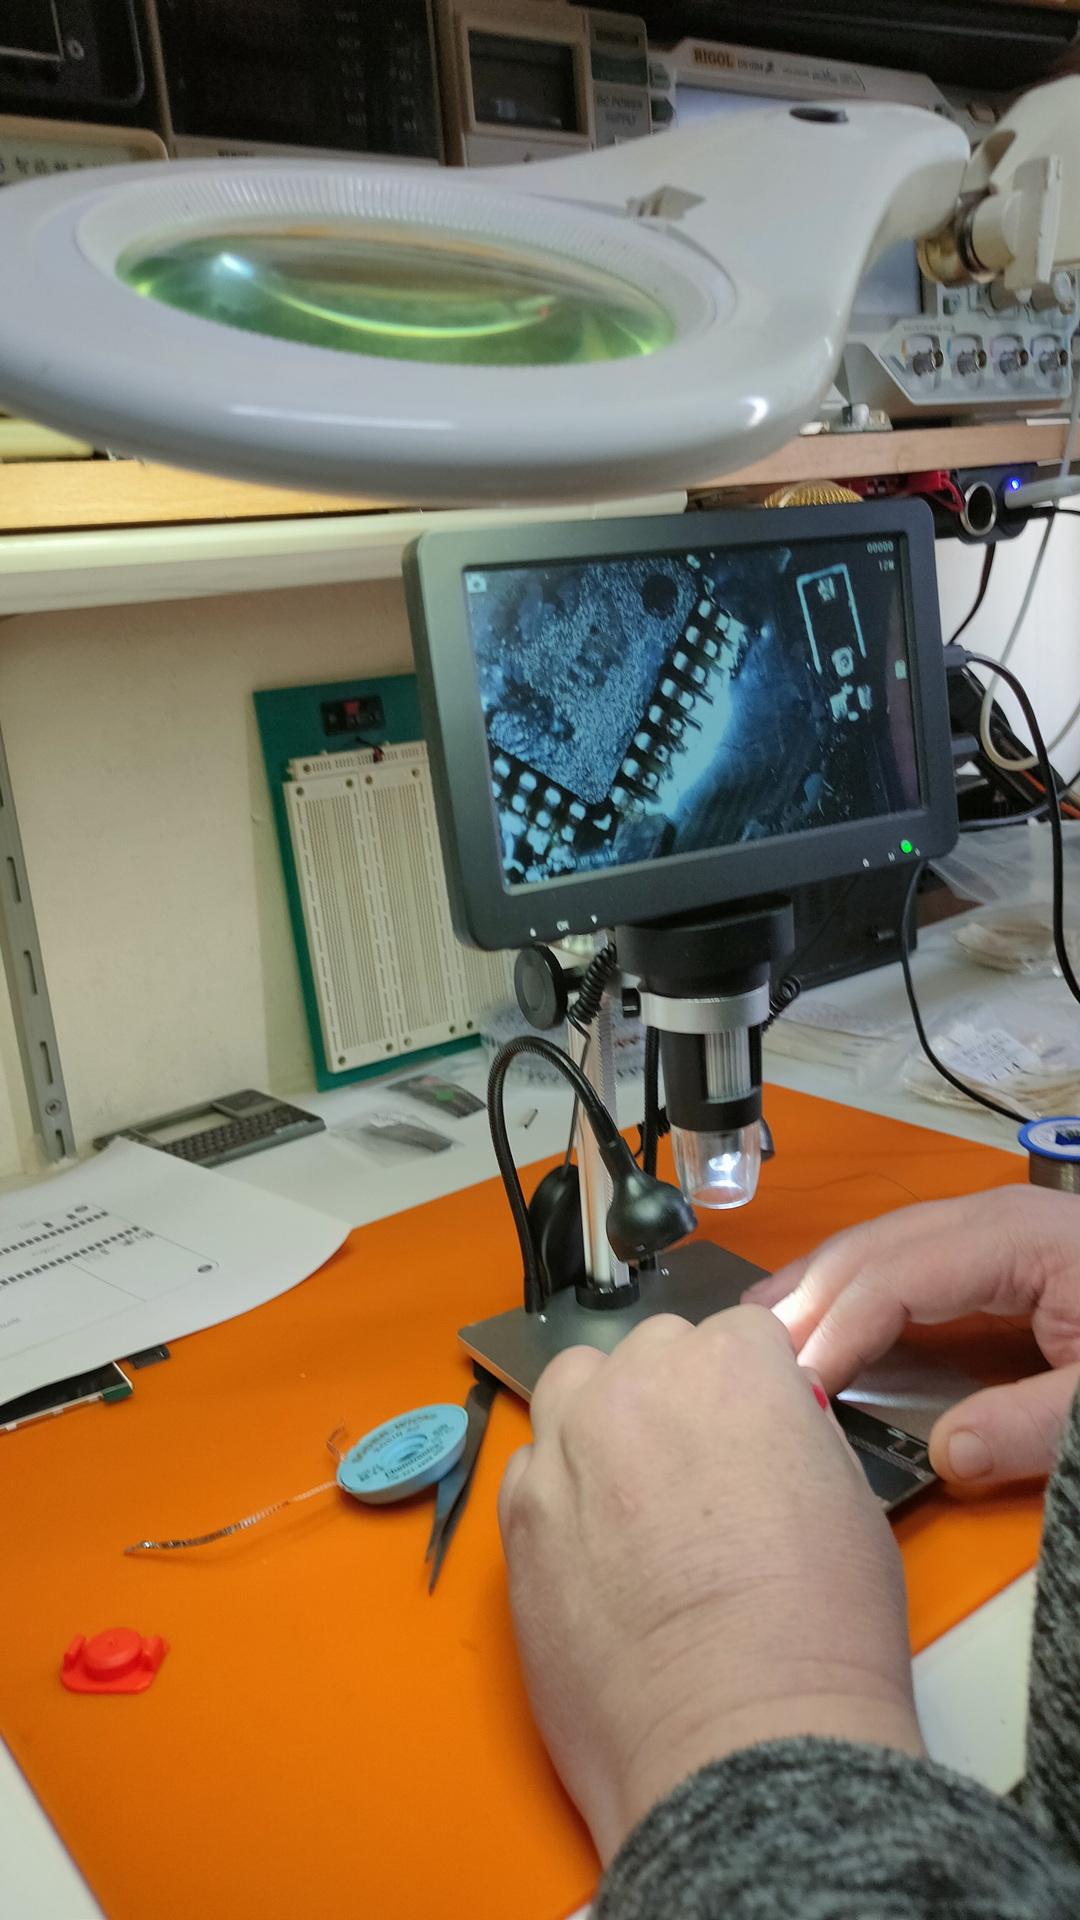
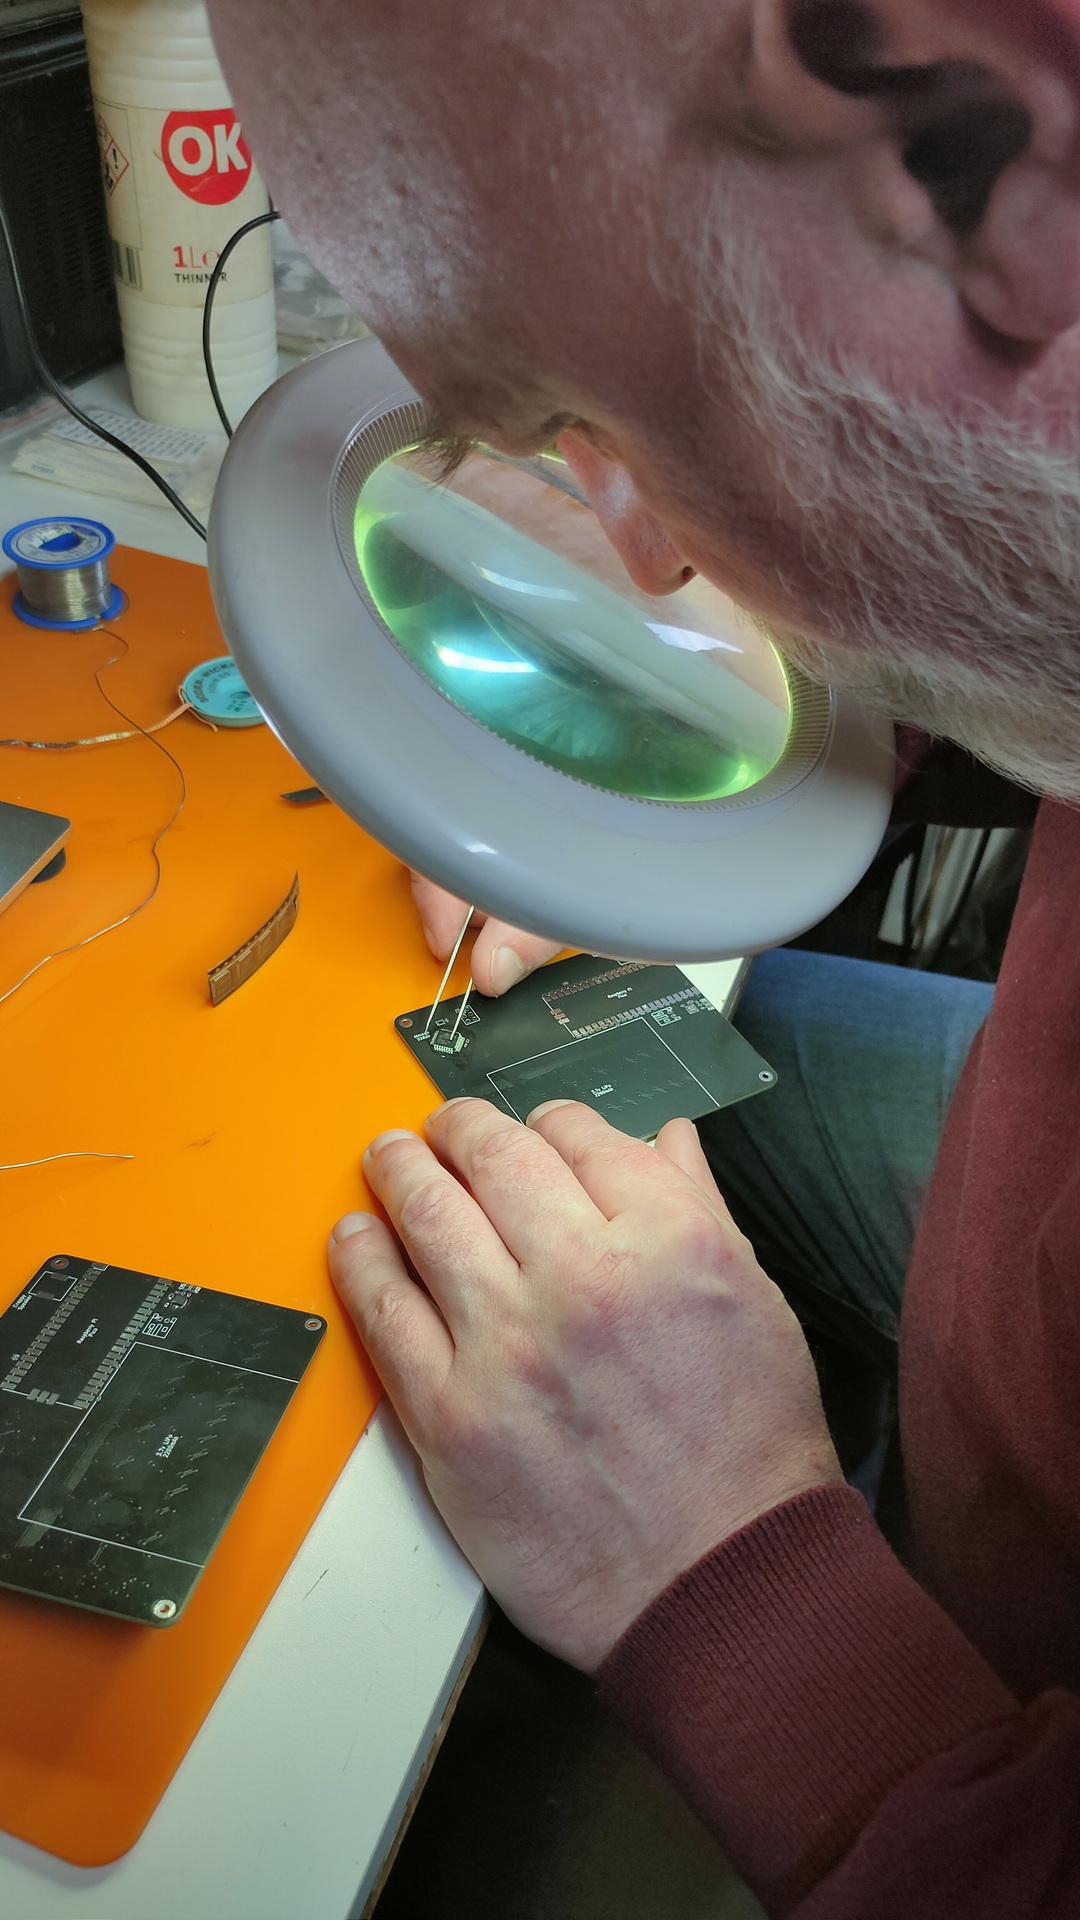
I was afraid to start this myself, SMD is on another level for me. But my good friend Marco said … No problem!
So I ordered components online, which was not easy. Selecting the correct parts, sizes and options.
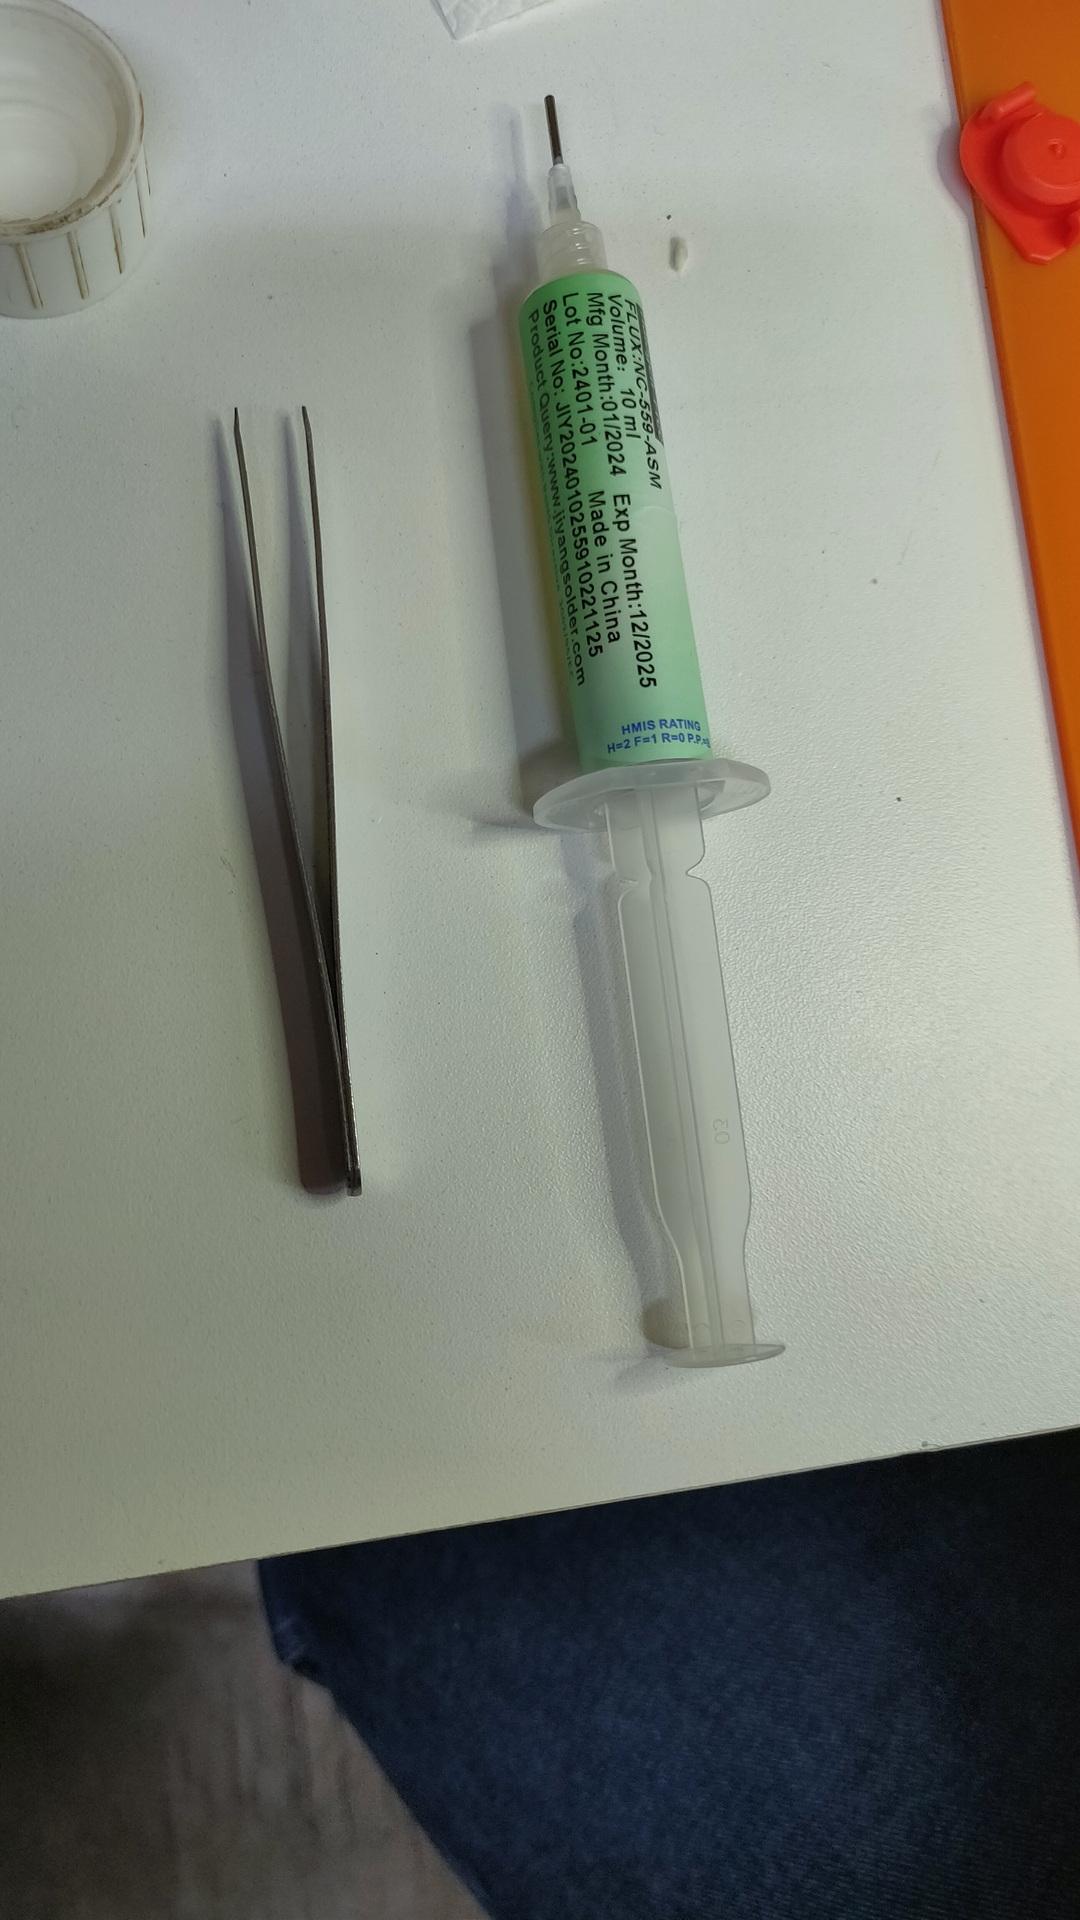
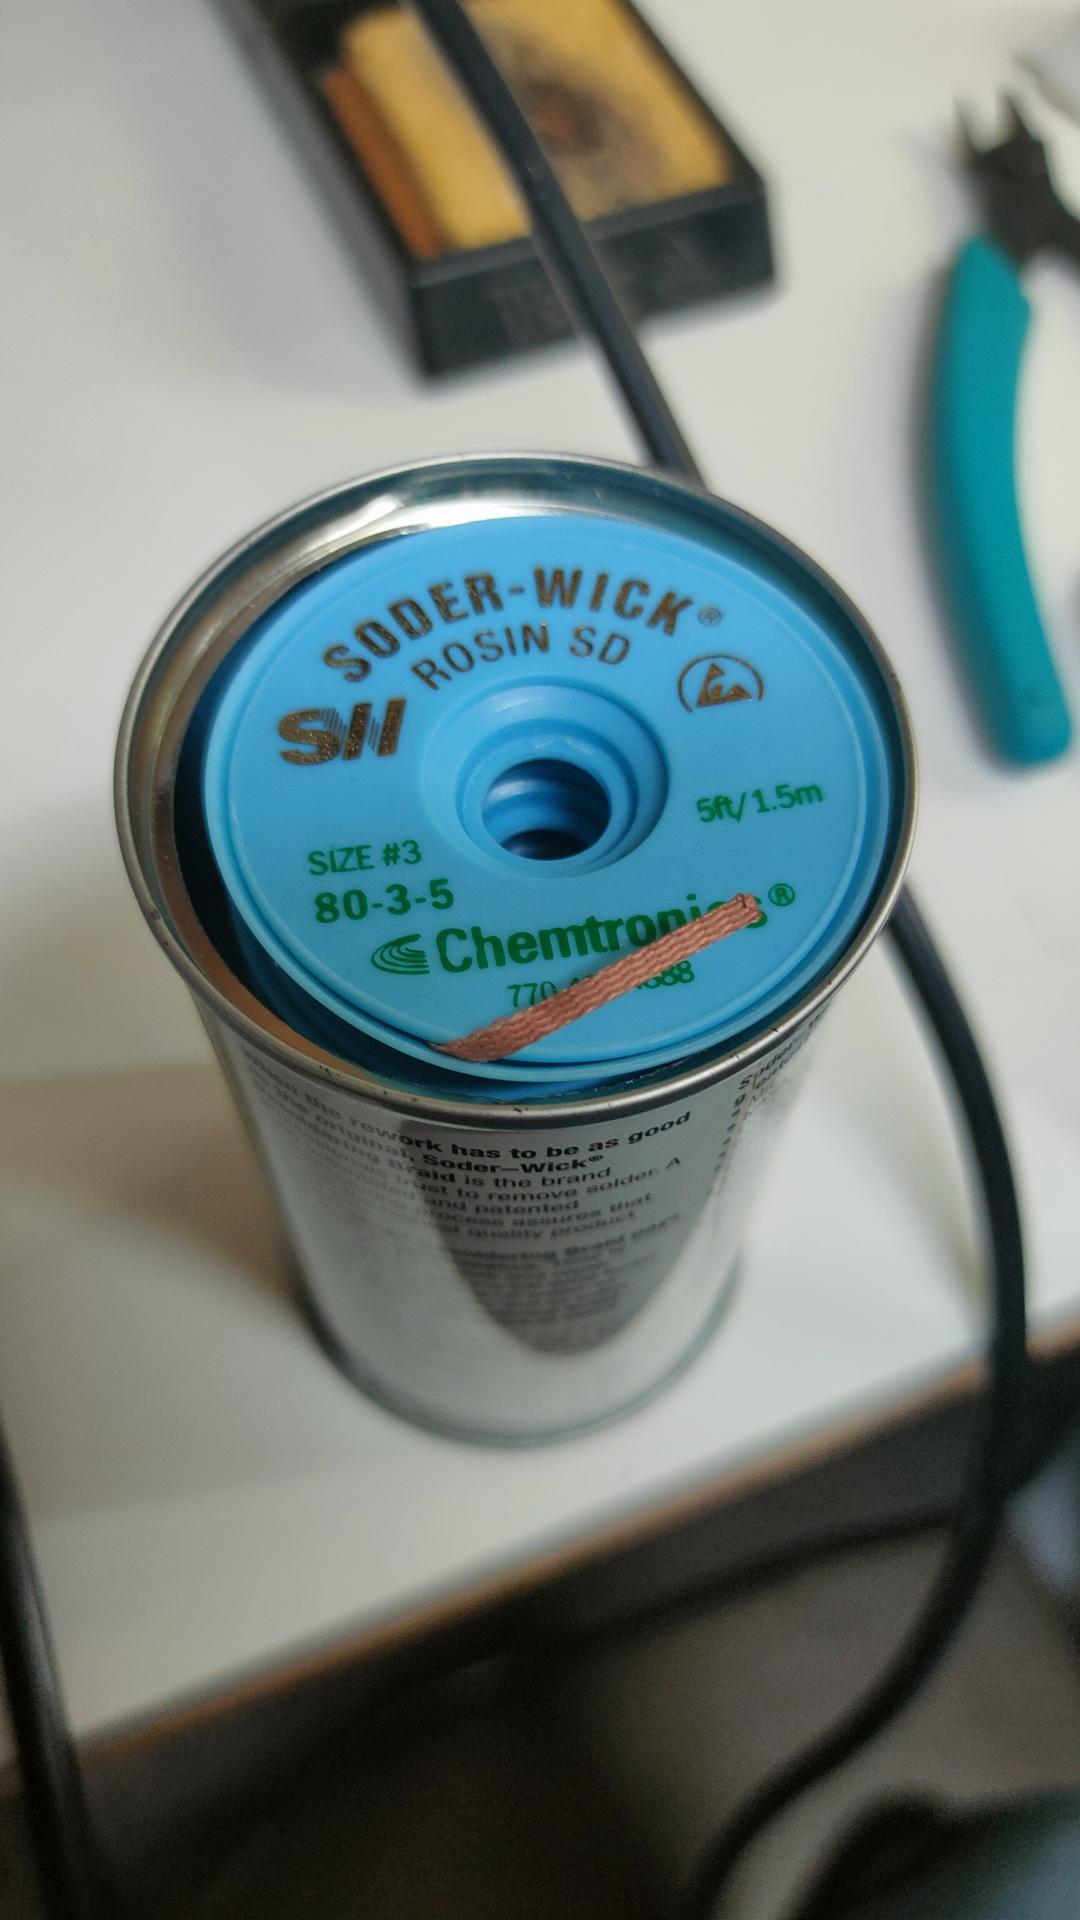
Finding orientations of the componentsThe master at work, he has always been our soldering master (see GPC)Using a microscopeFluxWickI have to do one myself
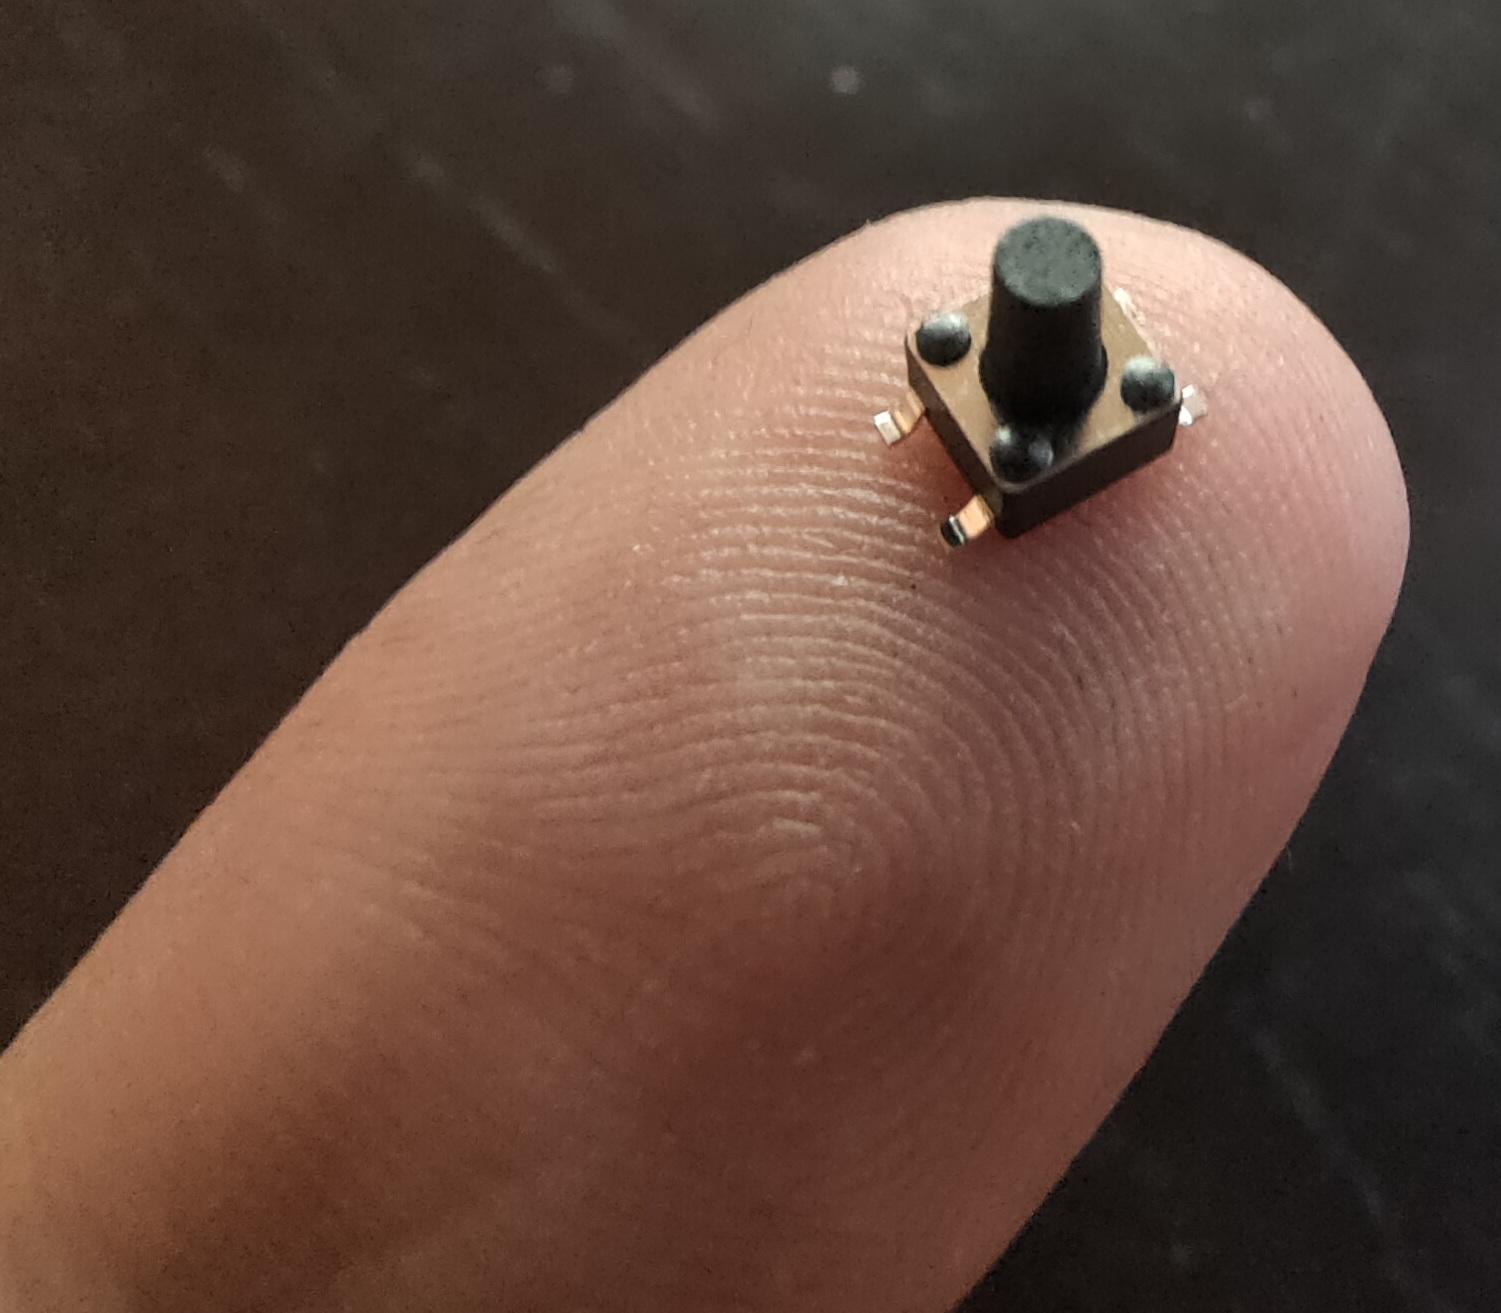
These things are really really small
1.6mm x 0.8mm40 connections / 20mm !
Using tweezers to place the components was even difficult. The slippery tiny bastard got catapulted everywhere. (Or got stuck on fingers, soldering iron and alike) Many small components got lost into the 7th dimension. Never to be found again.
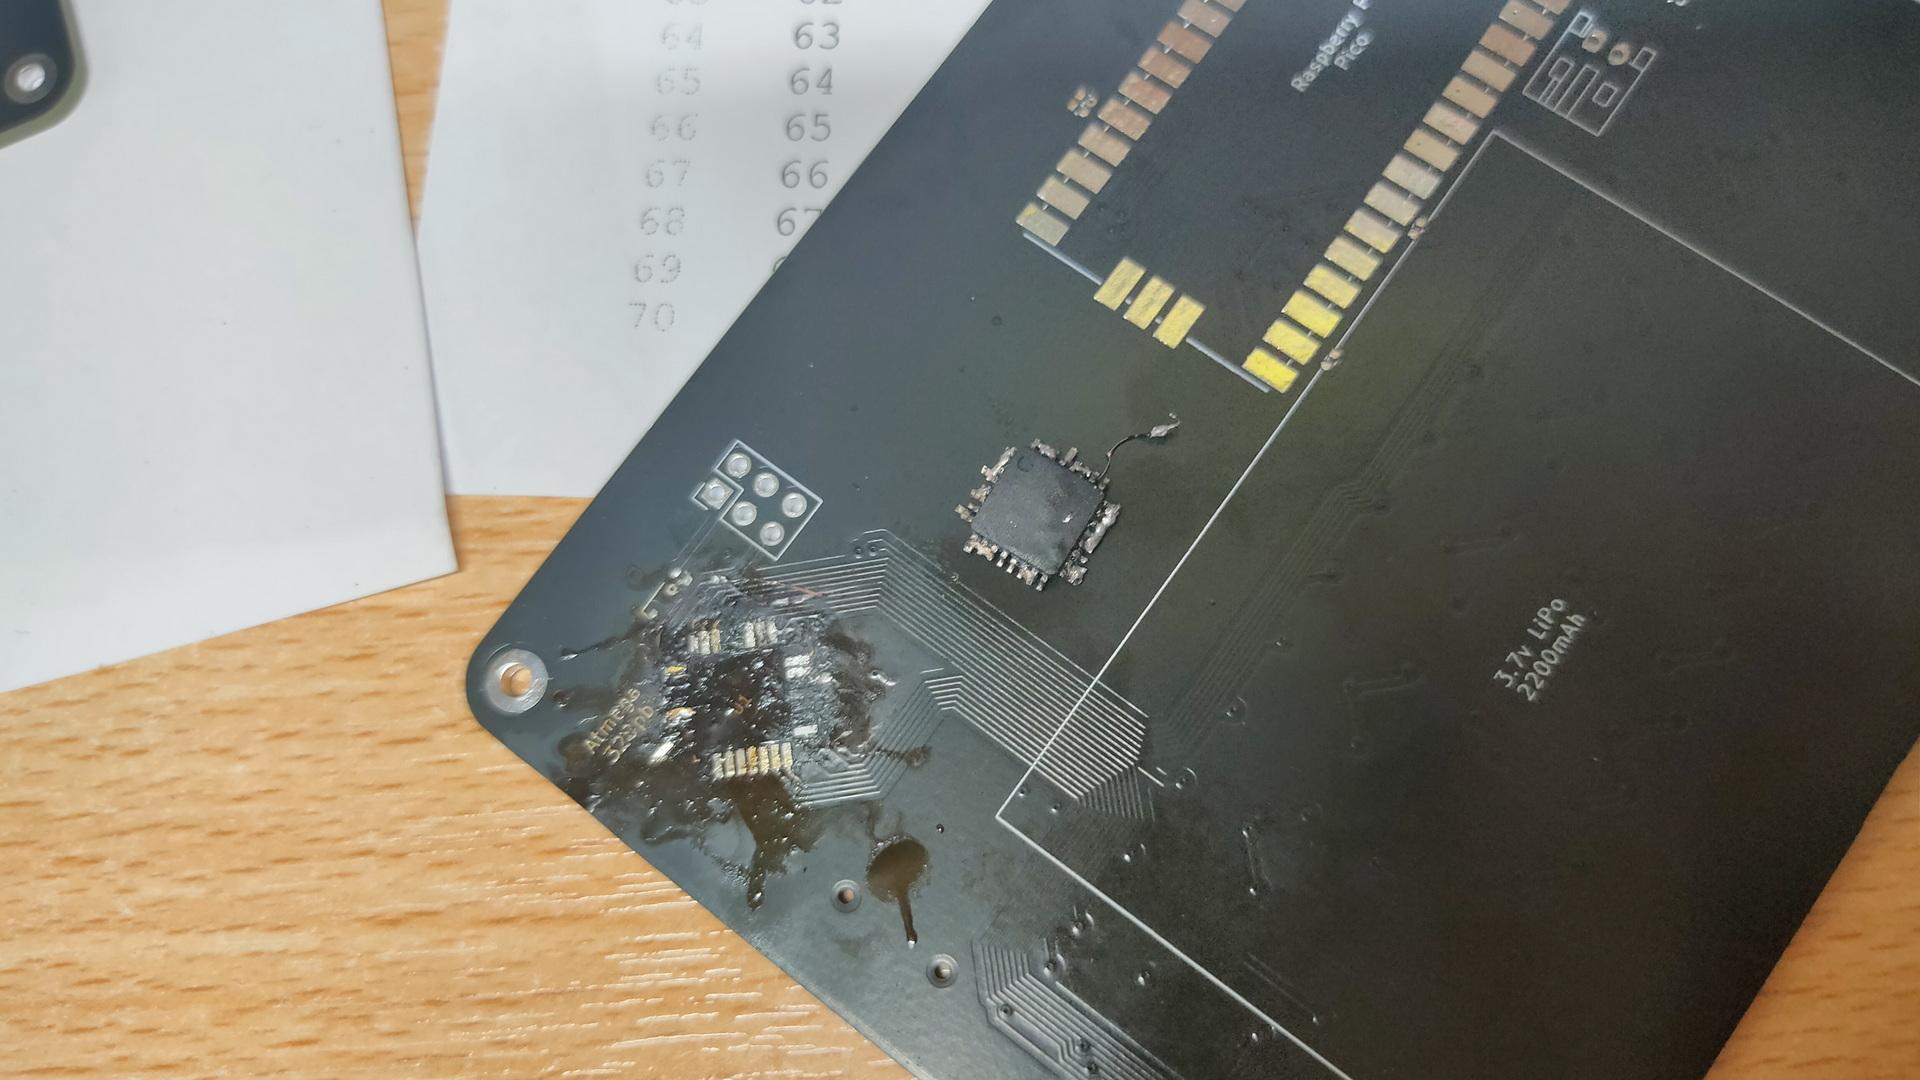
Awesome to work on this together, but Marco said that I have to try it myself. Welllll, I got 3/4 of the ATmega328PB-A perfectly soldered, then I notished that it was crooked. Desoldering was a mess, and I heated the PCB TOO much with the heatgun.
My messed-up PCB, and f*cked-up IC. Leave it to the professionals.
Next step for me is soldering the 75 mini buttons!
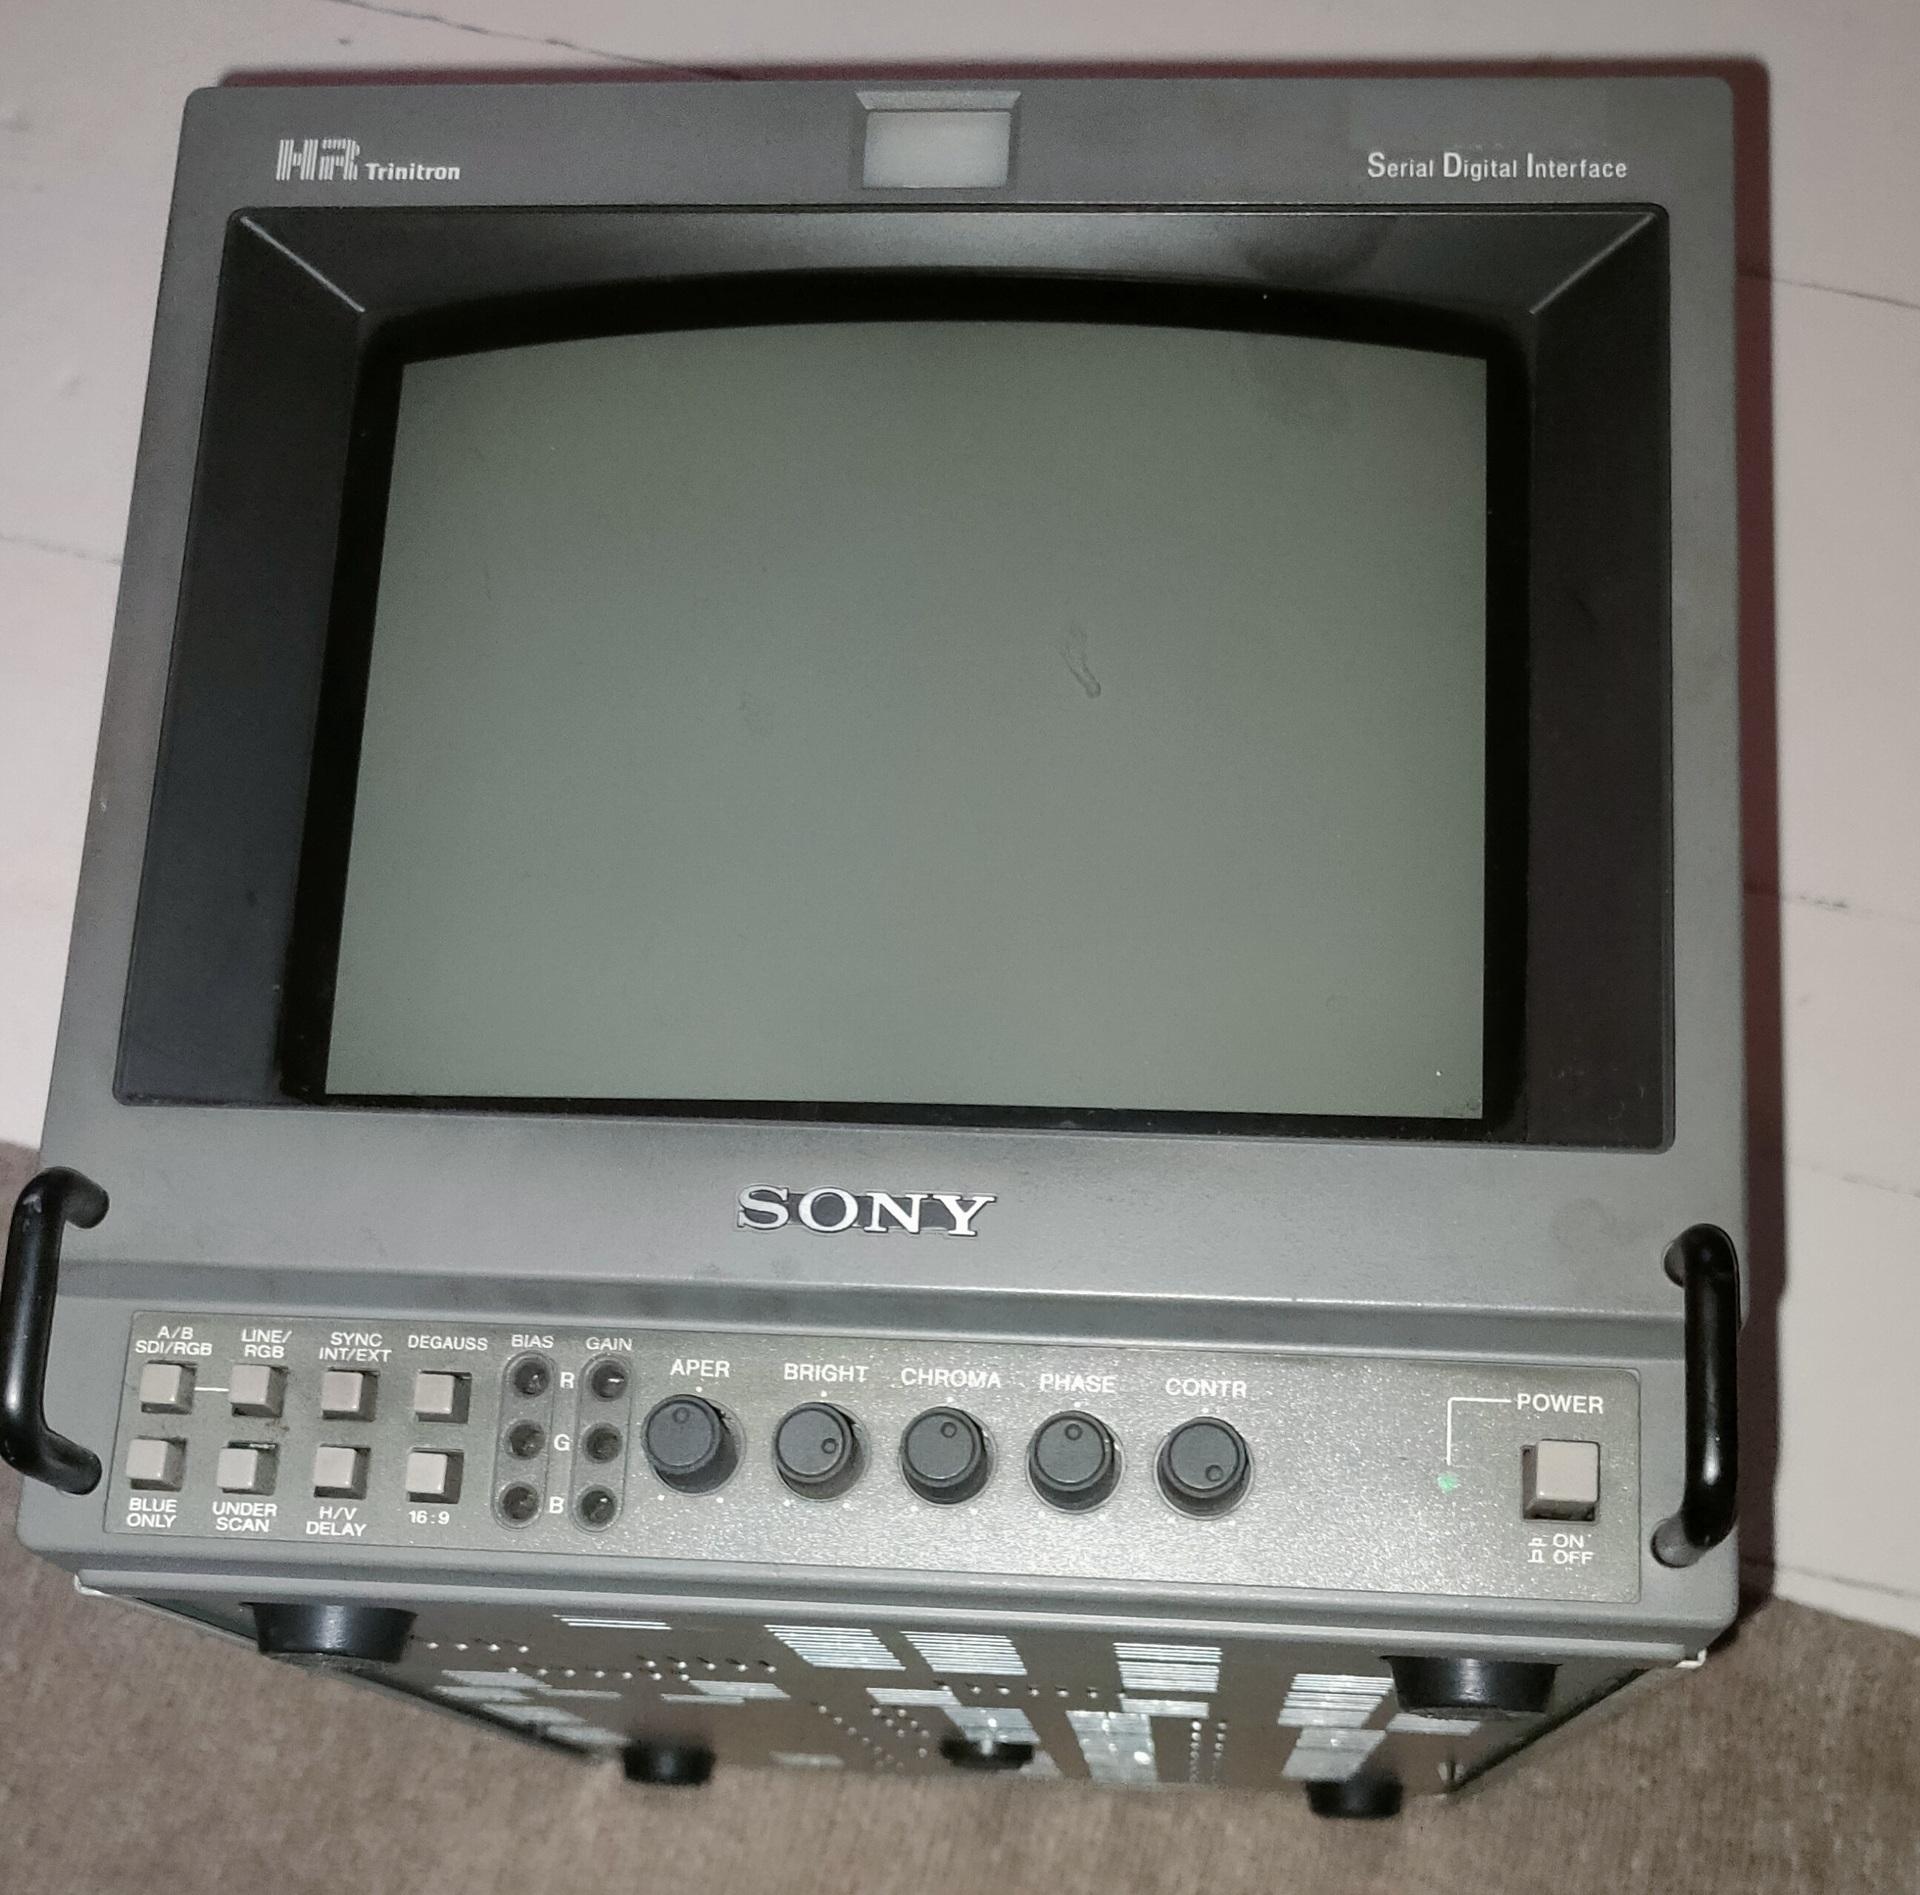
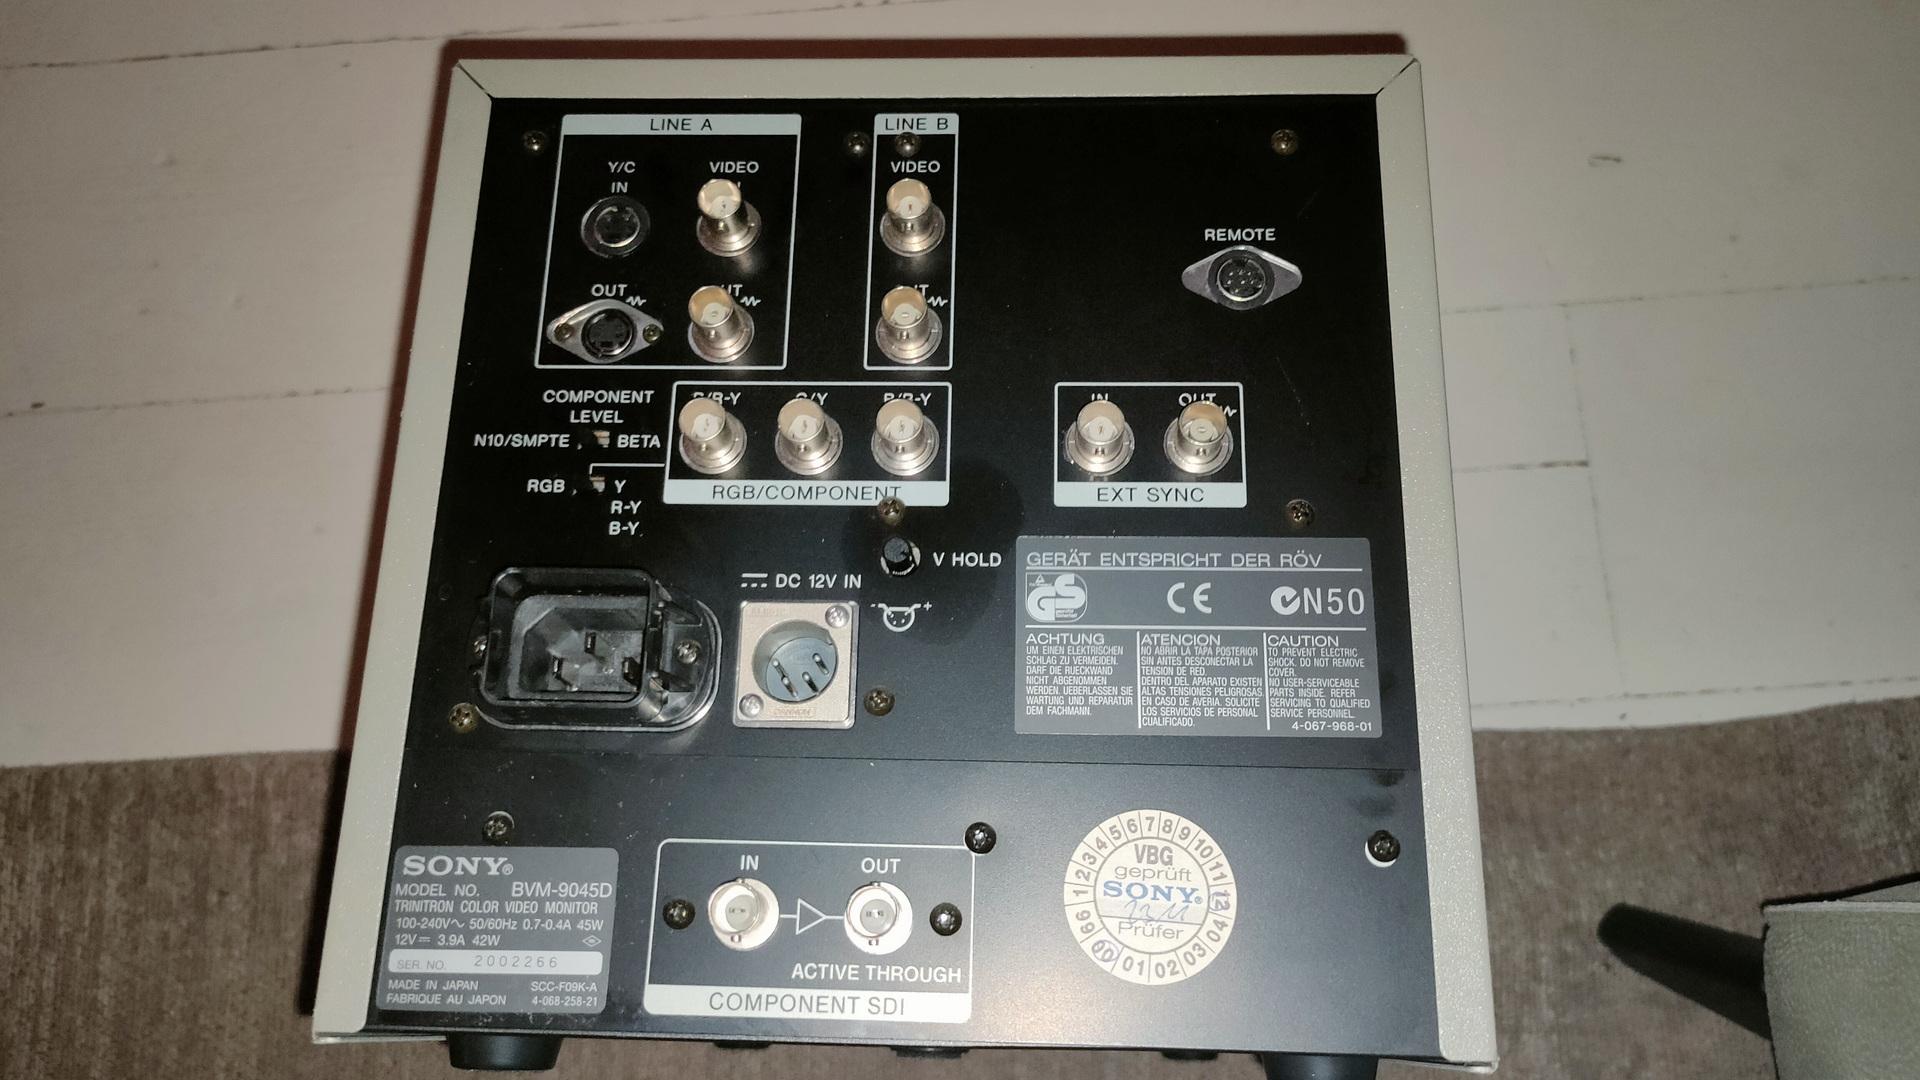
Got a Trinitron display from him, I was looking for this for a long time.
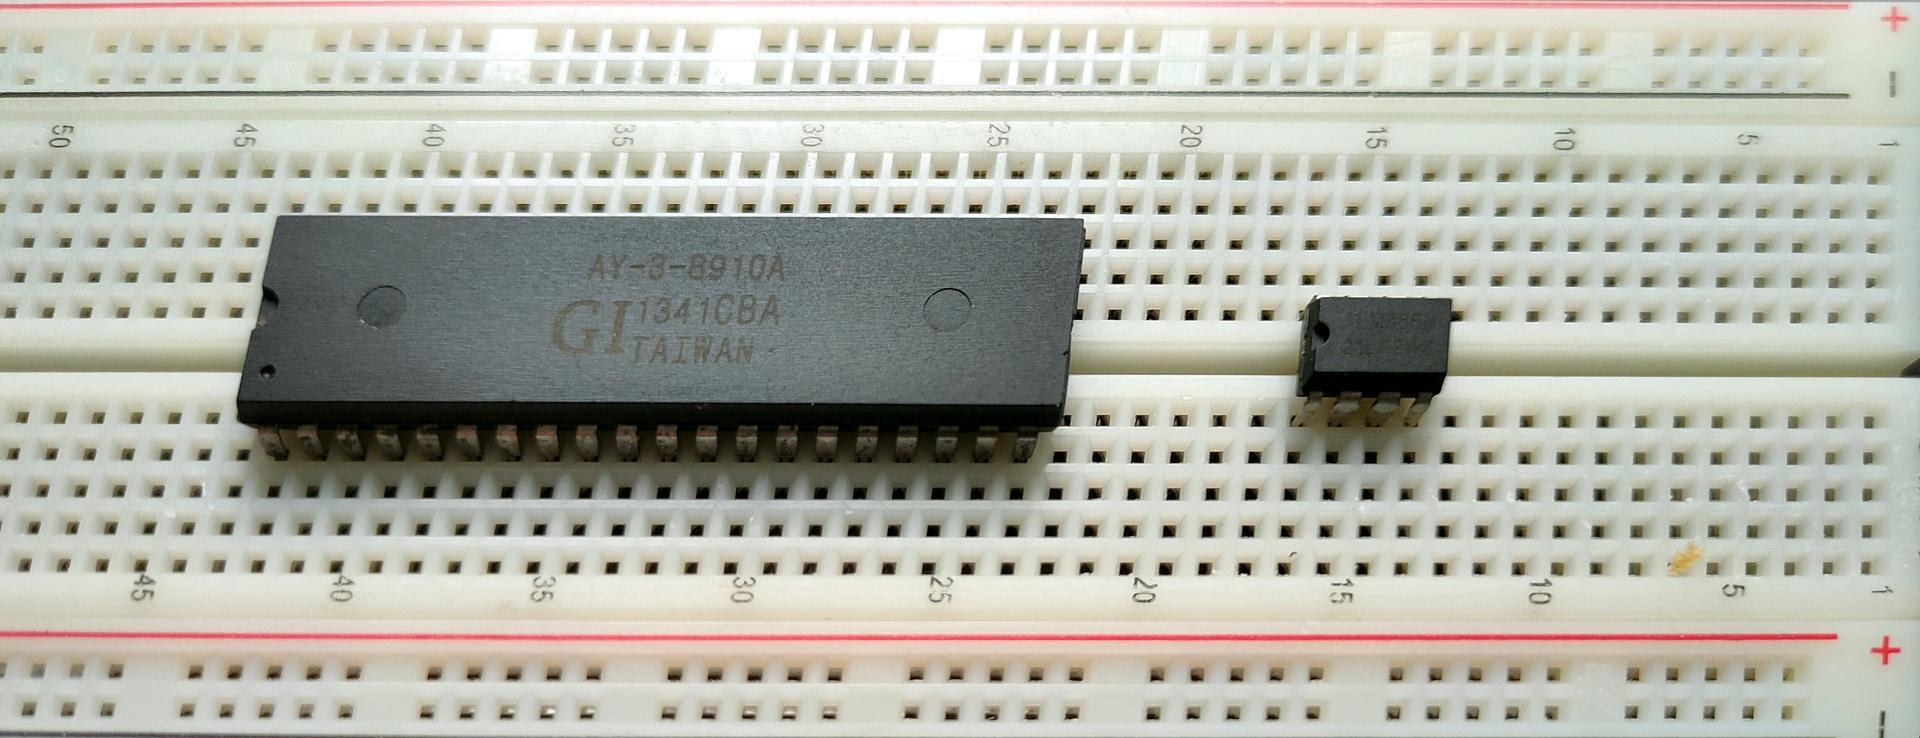
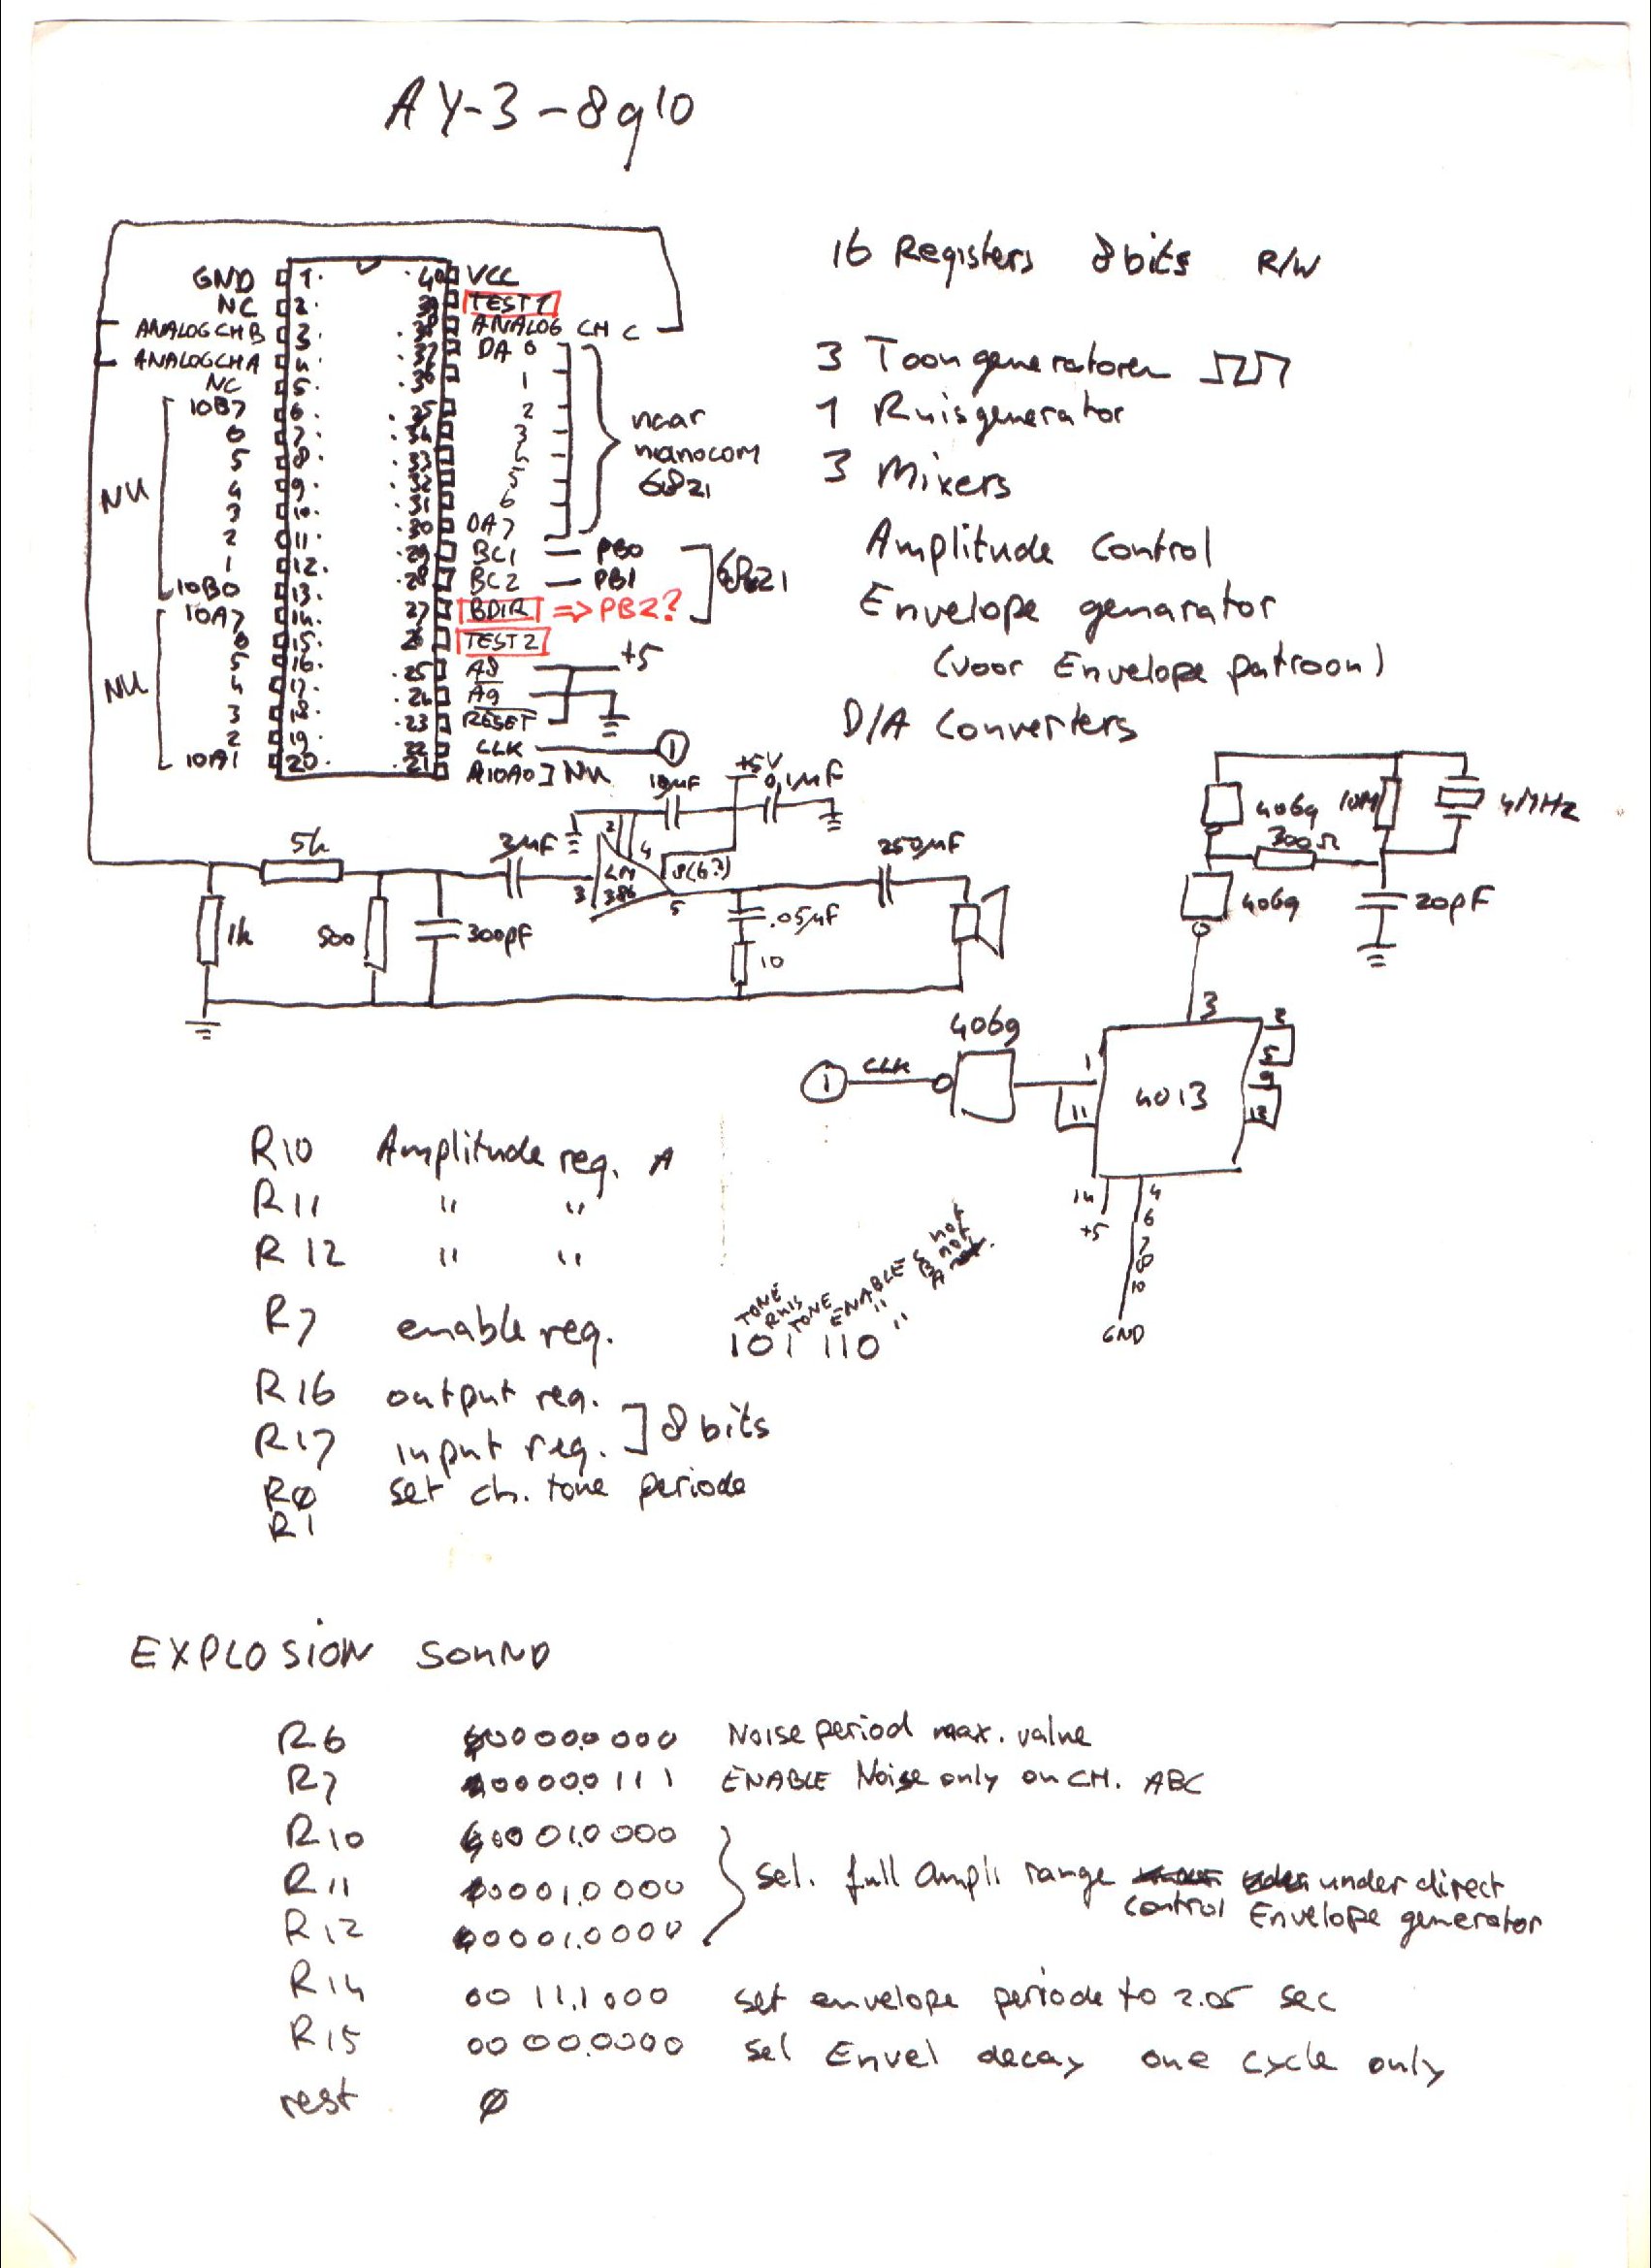
I’ve written about General Instrument AY-3-8910 before, here is some work I did today.
This sound chip i wanted to implement in my amiga, and now it’s a alternative for my 6502 computer. ( As an alternative setup for the SID chip. ) Btw this is the same kind of chip used in the Atari ST.
Above a Kicad drawing I made today, a little different from my design from the 90’s.
Below a movie clip I recorded today. Running a test setup using an Arduino nano and a sdcard reader. The sound is bad, this is due to clipping and the absence of multiple resistors and capacitors. Music is a register dump from a YM music file. Amplifier is a bare LM386.
UPDATE: 20240225
I don’t like tying those three outputs together, and amplifying those.
So I’m going to use a LM324 i’ve got left from my 8085 interface, and make a 3-channel amplifier.
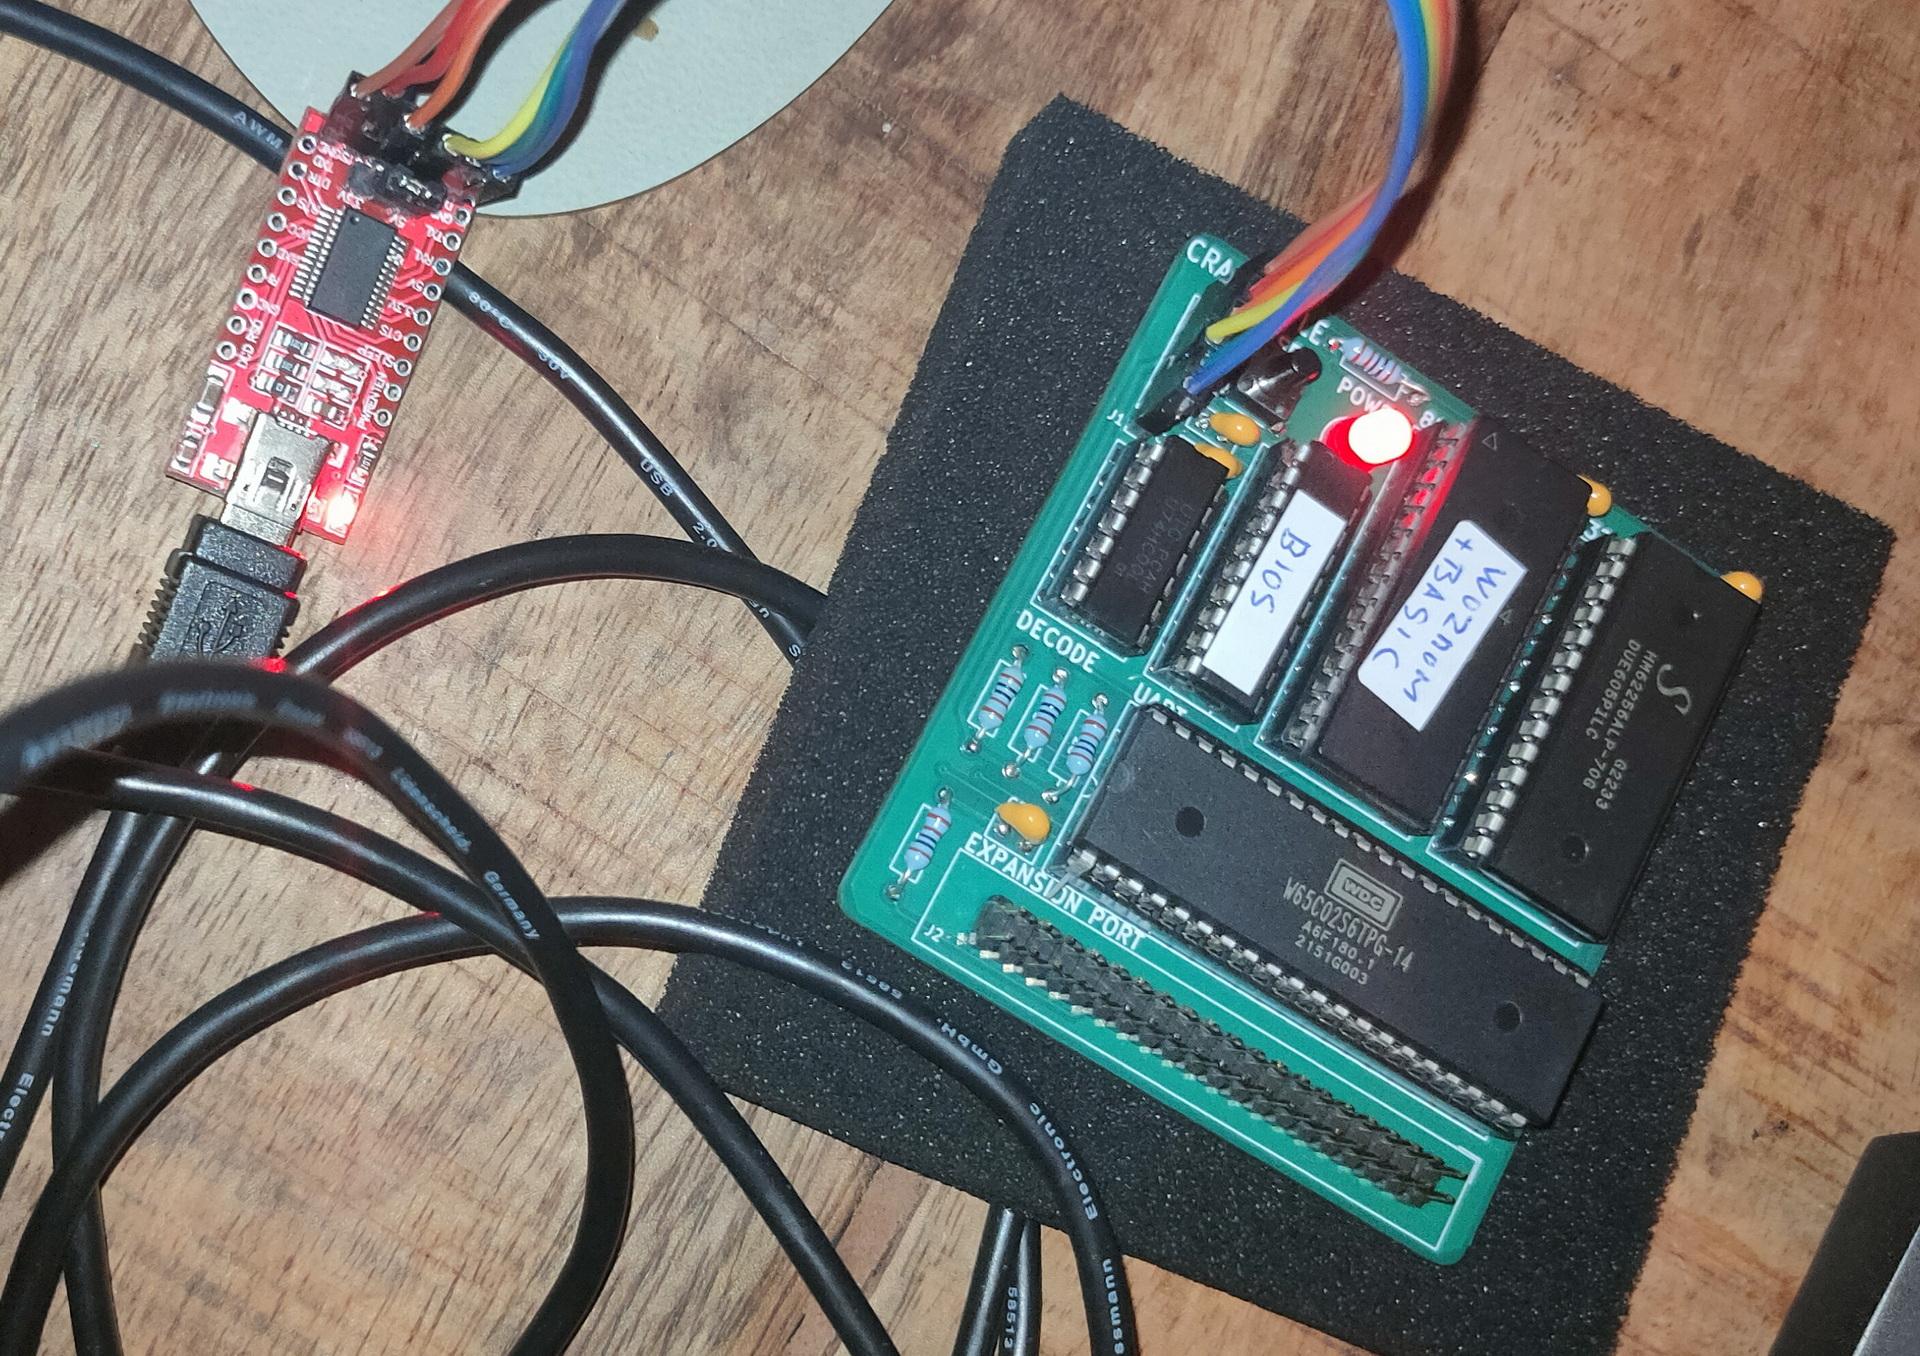
It has an EPROM with Wozmon and Basic for now. I have to redo the address decoder, but I like the simple serial interface by Geoffrey. (I hate the PIC18F15Q41, made by Microchip, but still the best minimal option .. for now)
Probably the last time i’ve used a pic was in 1998
I’ve posted in the past something about pl/m. Today i got this running again in a dosbox.
The PL/M programming language (an acronym of Programming Language for Microcomputers) is a high-level language conceived and developed by Gary Kildall in 1973 for Intel’s microprocessors.
PLM86 PROGRAM.PLM
LINK86 PROGRAM.OBJ, PLM\DOSLIBS.LIB, PLM\UTILS.LIB TO %1.LNK INITCODE
LINK PROGRAM.LNK;;;
Tic Tac Toe in PLM
bke:do;
/*DOEL:                                              */
/*Dit programma is boter kaas en eieren voor twee    */
/*spelers, er wordt gecontroleerd of iemand gewonnen */
/*heeft. (Je speelt niet tegen de computer)          */
/*UPDATE:12/2/90,15/2/90,18/2/90  RELDATE:19/2/90    */
/*PROGRAMMER:H.M.Aanstoot                            */
/*UPDATE 5/3/90 1:13:23                              */
/*De volgende 4 regels zorgen ervoor dat de compiler */
/*de PLM  DOS,UTIL routines die op disk staan        */
/*meestuurt naar de linker                           */
/* bla bla 2de versie met STRINGS!! eindelijk gelukt */

$include(plm\doslibs.inc)
$include(plm\doslibs.dcl)
$include(plm\utils.dcl)
dcl naam(3)           pointer;
dcl plaats(9)         word;
dcl teken(2)          pointer;
dcl aanzet            word;
dcl loop              word;
dcl a                 word;
dcl winnaar           word;
dcl nummer            word;
dcl item              word;
dcl error_status      word;

spelerzet:procedure;
call dsso(naam(aanzet));
call dsso(@(', geef een getal: $'));
invoer:
nummer=dsin;
nummer=nummer-48;
if nummer<1 or nummer>9 then goto invoer;
if plaats(nummer)<>0 then goto invoer;
call dso(nummer+48);
plaats(nummer)=aanzet;
end spelerzet;

update:procedure;
item=1;
call dsso(@(cr,lf,'+-----+-----+-----+',cr,lf,eos));
call dsso(@('|     |     |     |',cr,lf,eos));
call dso(124);call zet;call dso(124);call zet;call dso(124);call zet;
 call dsso(@(124,cr,lf,eos));
call dsso(@('|     |     |     |',cr,lf,eos));
call dsso(@('+-----+-----+-----+',cr,lf,eos));
call dsso(@('|     |     |     |',cr,lf,eos));
call dso(124);call zet;call dso(124);call zet;call dso(124);call zet;
 call dsso(@(124,cr,lf,eos));
call dsso(@('|     |     |     |',cr,lf,eos));
call dsso(@('+-----+-----+-----+',cr,lf,eos));
call dsso(@('|     |     |     |',cr,lf,eos));
call dso(124);call zet;call dso(124);call zet;call dso(124);call zet;
 call dsso(@(124,cr,lf,eos));
call dsso(@('|     |     |     |',cr,lf,eos));
call dsso(@('+-----+-----+-----+',cr,lf,eos));

  call dsso(@('    1   2   3',cr,lf,eos));
  call dsso(@('    4   5   6',cr,lf,eos));
  call dsso(@('    7   8   9',cr,lf,eos));
end update;


zet:procedure;
if plaats(item)=0 then call dsso(@('     $'));
if plaats(item)=1 then call dsso(@('  X  $'));
if plaats(item)=2 then call dsso(@('  O  $'));
item=item+1;
end zet;

check:procedure;
   do a=1 to 2;
   if plaats(1)=a and plaats(2)=a and plaats(3)=a then winnaar=a;
   if plaats(4)=a and plaats(5)=a and plaats(6)=a then winnaar=a;
   if plaats(7)=a and plaats(8)=a and plaats(9)=a then winnaar=a;

   if plaats(1)=a and plaats(4)=a and plaats(7)=a then winnaar=a;
   if plaats(2)=a and plaats(5)=a and plaats(8)=a then winnaar=a;
   if plaats(3)=a and plaats(6)=a and plaats(9)=a then winnaar=a;

   if plaats(1)=a and plaats(5)=a and plaats(9)=a then winnaar=a;
   if plaats(3)=a and plaats(5)=a and plaats(7)=a then winnaar=a;
   end;
end check;


hoofdprogramma:
winnaar=3;
naam(1)=@('Speler 1$');
naam(2)=@('Speler 2$');
naam(3)=@('Niemand$');
do a=1 to 9; plaats(a)=0; end;
teken(1)=@('kruisje$');
teken(2)=@('rondje$');
aanzet=1;

    do loop=1 to 9;
    call update;
    call check;
    if winnaar<>3 then goto gewonnen;
    call spelerzet;
    aanzet=3-aanzet;
    end;

call update;
gewonnen:
call dsso(naam(winnaar));
call dsso(@(' heeft gewonnen',cr,lf,eos));
if winnaar=3 then call dsso(@('Helaas, pindakaas!$'));
			 else call dsso(@('Gefeliciteerd ermee!$'));

call dexit(error_status);
end;