This is a work in progress, below are my Lab notes.
I want to rewrite pieces we made for a demo, loading images and effects from a floppydisk bootloader.
Without looking at old code (which was written using Masm), I wanted to learn the steps using Fasm.
I started with a boot sector program, It should do the following.
- Set graphic mode, and start a trackloader
- Load sector 2 and 3 which contains the color palette for the image.
- Next sectors, cylinders and heads contain the raw image
I got it working, half that is.
In the past I used real disks, and now a virtual disk, maybe thats the difference?
First Code
use16
org 0x7c00

mov ah,0x0
mov al,0x13
int 10h

mov ax, 0a000h
mov es, ax
xor di, di
mov ax, 50
mov cx, 64000
rep stosb

loophere:
	jmp loophere


times 510 - ($-$$) db 0

dw 0xaa55
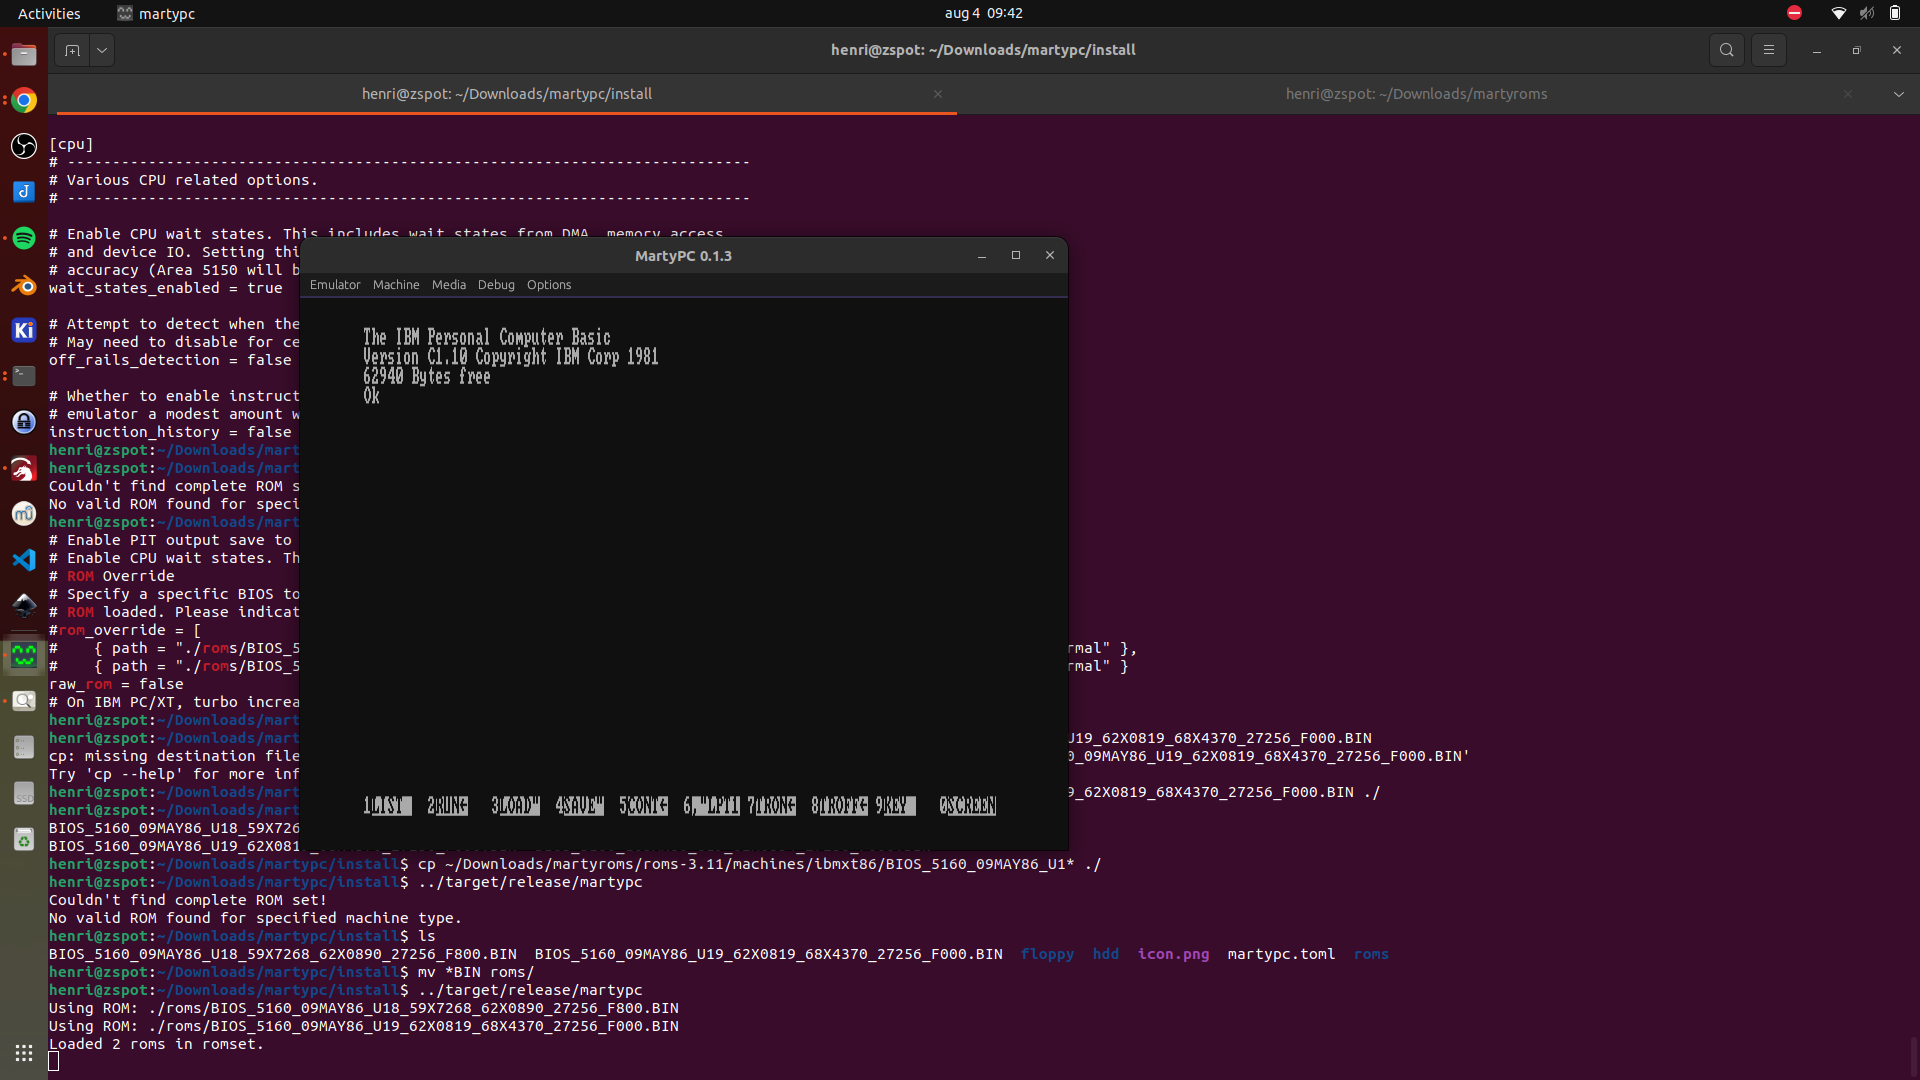
Compiling and starting:
fasm mybootblock.asm
qemu-system-x86_64 --drive format=raw,file=mybootblock.bin
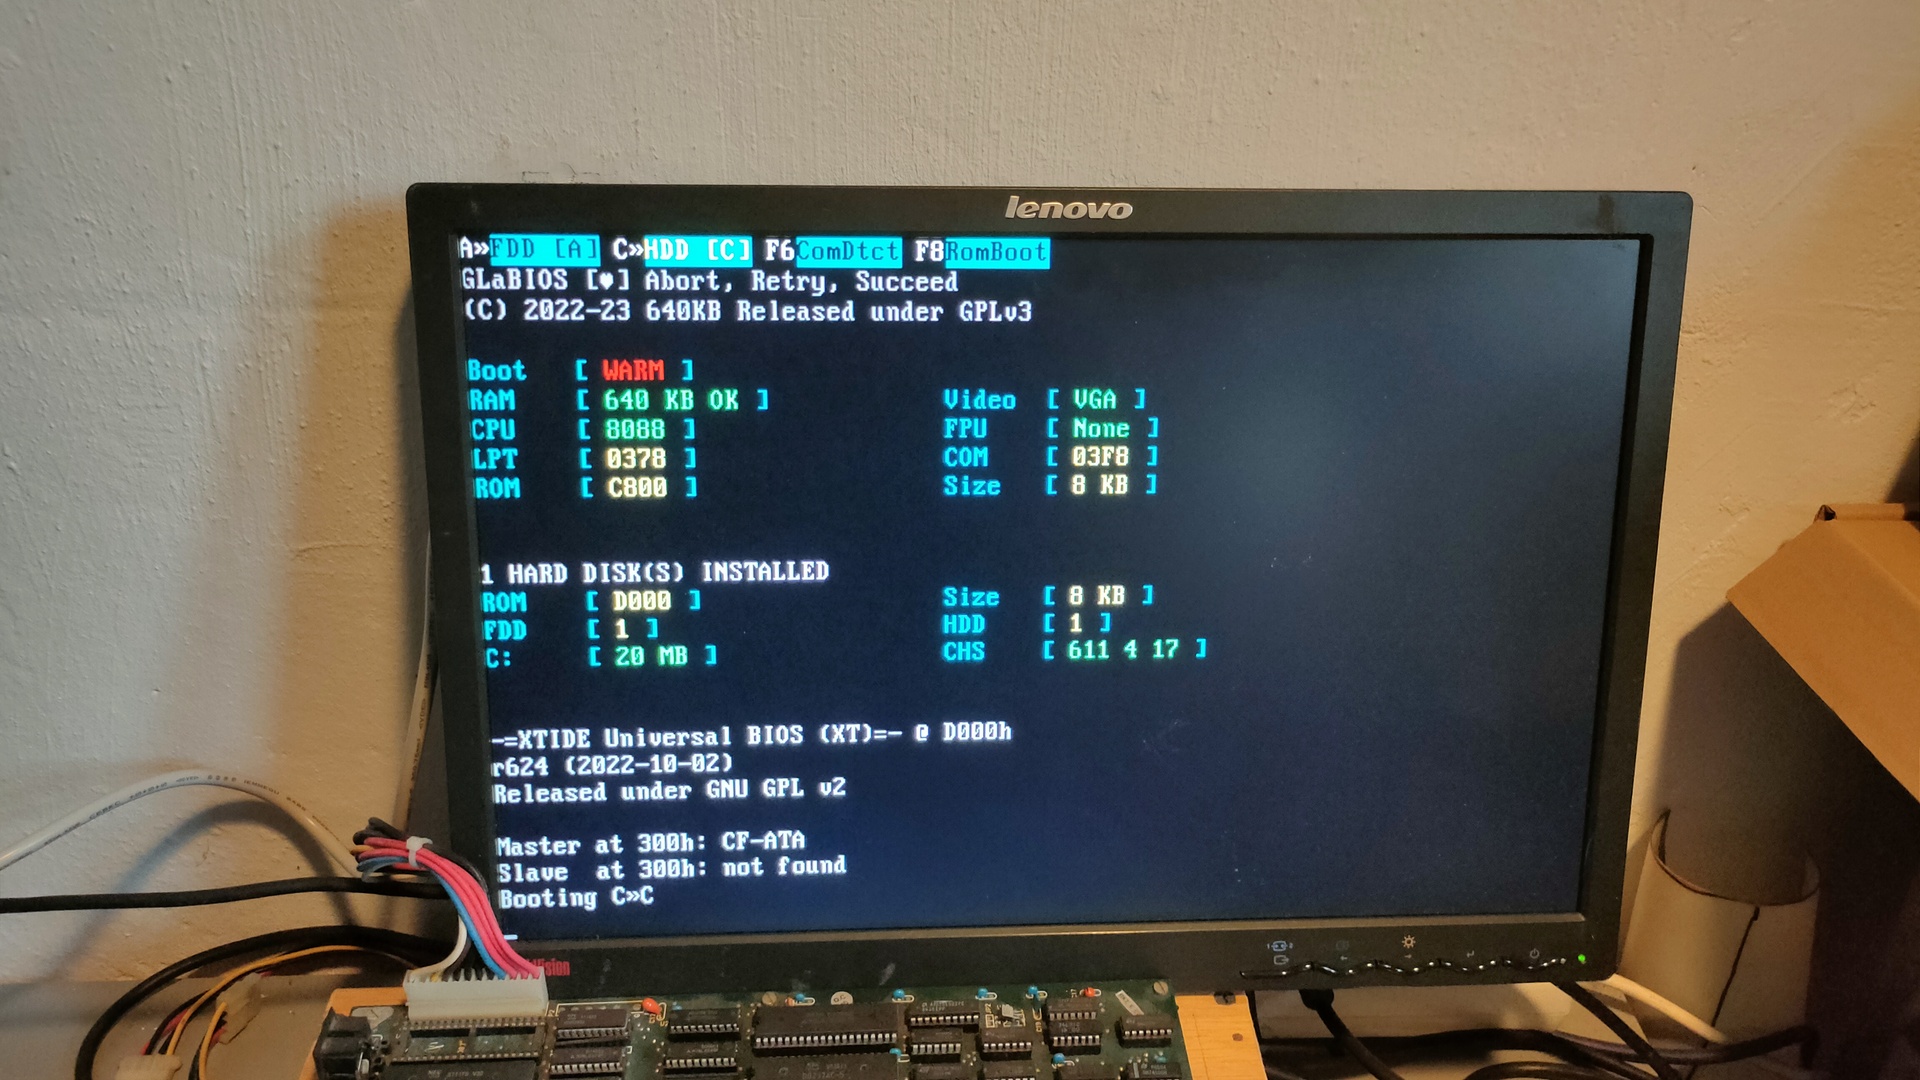
This works, it sets the graphical mode and clears the screen.
Second Code
Skipping the int 25h version
## Track read part
    xor ax, ax    ; DS = 0
    mov ds, ax
    cld
    mov ah, 2h    ; int13h function 2 track read
    mov al, 2     ; number of tracks ( should be 2 for reading only palette)
    mov ch, 0     ; from cylinder number 0
    mov cl, 2     ; the sector number 2 - second sector (starts from 1, not 0)
    mov dh, 0     ; head number 0
    xor bx, bx    ; BX = 0
    mov es, bx    ; ES = 0
    mov bx, 7e00h ; Offset from above
    int 13h

    call setpal

## End part with setpalette routine
## appending palette.colors
## and a raw image

setpal:
    mov dx,3c8h
    xor al,al
    mov di, ax
    out dx,al
    inc dx
    mov cx,256*3
    mov si,07e00h
    rep outsb
    ret
times 510 - ($-$$) db 0

dw 0xaa55
include 'palette.colors'

times 2048 - ($-$$) db 0
file 'image.raw'
Seems there is still a header on the RAW file, lets look at how I made this.
NOTE! .. Below converts an image with a STANDARD VGA palette, not a custom one as used above
- Load a image in Gimp
- Resize to 320×200
- Import the standard VGA palette from:
https://raw.githubusercontent.com/icebreaker/floppybird/master/data/rgb/palette/VGA.gpl - Gimp menu Image > Mode > Indexed and select your just imported palette. (Do not remove unused colors)
- Flip vertical (bmp writes image upside/down)
- Export as BMP Compatibility Options > Do not write color space information
Looking with ghex at the file I saw that there was a header 0x415 bytes large.
(Probably still palette colors in there)
dd if=shoes.bmp of=cutshoe.bmp bs=1 skip=1078 (0x415h + 3?)
worked for me
Loading the extra tracks didn’t work for me?!?!
But how could I define tracks/sectors and heads on a virtual floppy?
I tried to write sectors using debug.com
start dosbox
imgmount a: /tmp/floppy.img -t floppy
debug.com bootsector.bin
-r bx 01

-r cx 512
; set bx:cx for size
-w 100 0 0 1
; write from address 100, drive 0 (a), sector 0, number of sectors

; testing
-l 100 0 0 1
;load sector to addr 100 drive 0 sector 0 number of sectors

This used to work with real disks on a real machine, not in dosbox ?!?!

my way to create a disk in linux

dd if=bootblock.bin of=disk1.img bs=512 count=1 seek=0
dd if=palette.col of=disk1.img bs=512 count=1 seek=1 # or 2?
dd if=shoes.raw of=disk1.img bs=512 count=10000 seek=17
It looks like I can’t read futher than 18 sectors on a virtual floppy.
What next? Head=1? Cylinder=1?
Below the info from a floppy image before altering.
DOS/MBR boot sector, code offset 0x3c+2, OEM-ID “MSDOS5.0”, root entries 224, sectors 2880 (volumes <=32 MB), sectors/FAT 9, sectors/track 18, serial number 0x1c2a0d0f, unlabeled, FAT (12 bit), followed by FAT
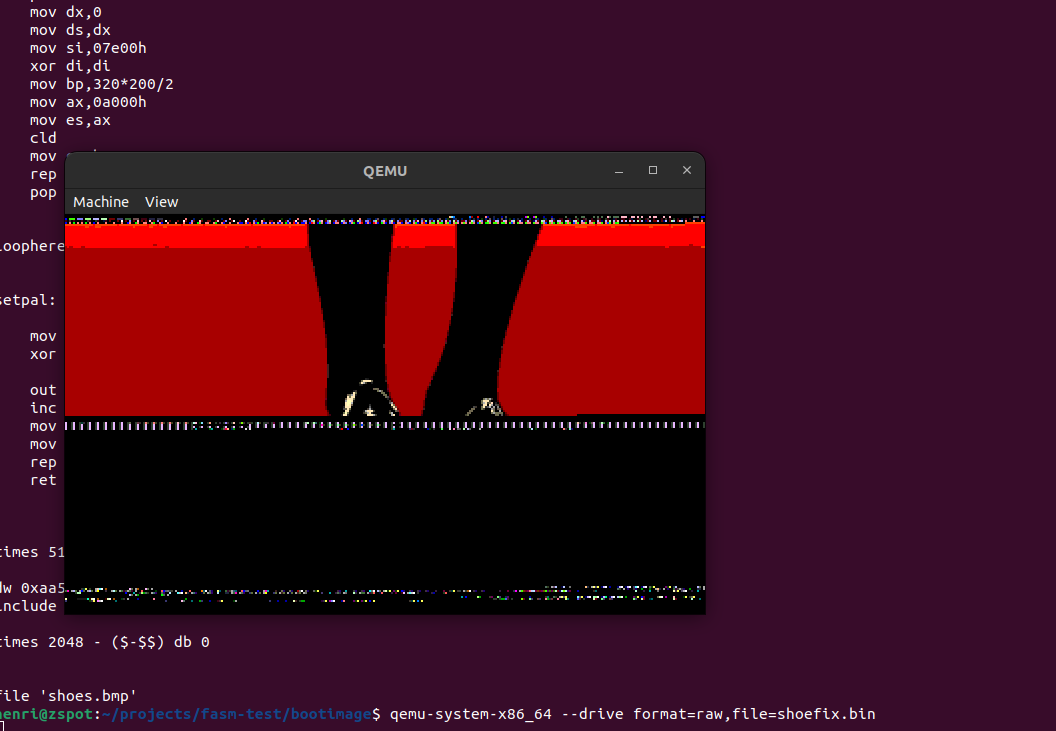
Appending the RAW to a executable gave me problems to.
(Without making a bootdisk)
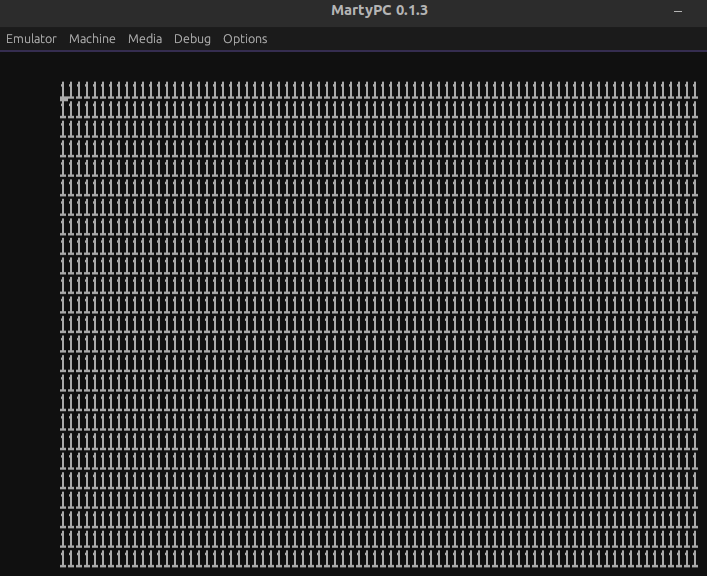
Above and below weird data. Appending the data to the executable needs some work also.
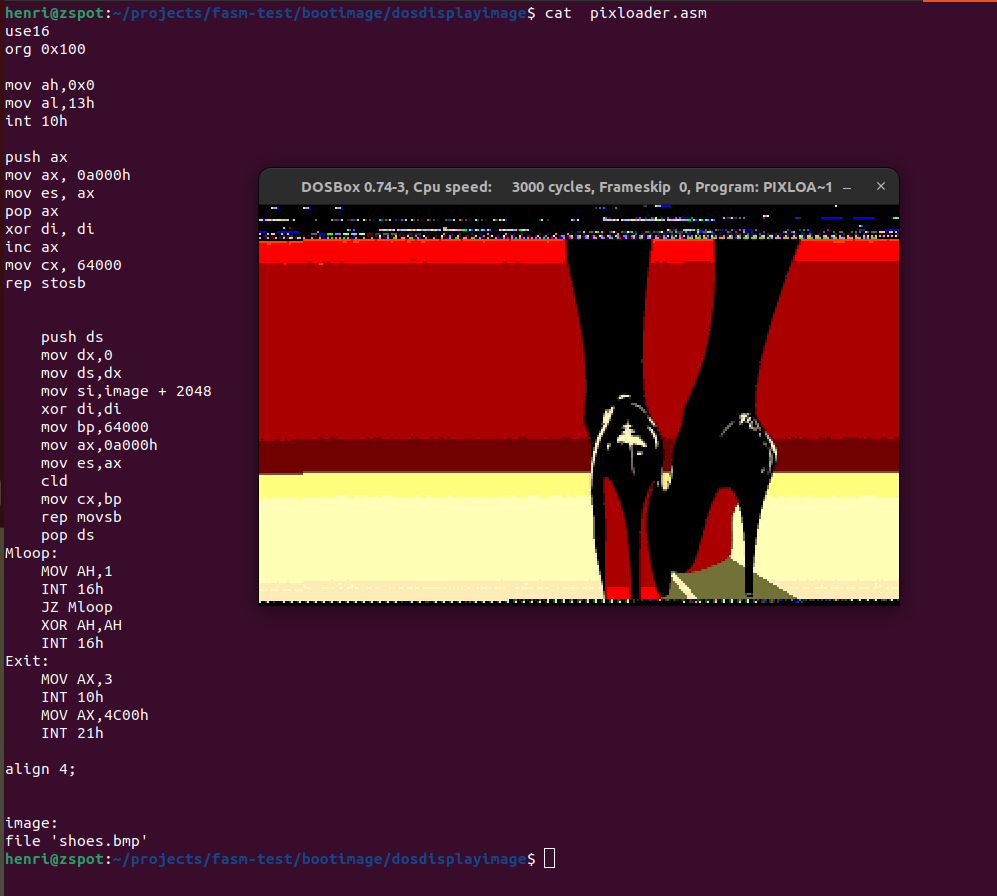
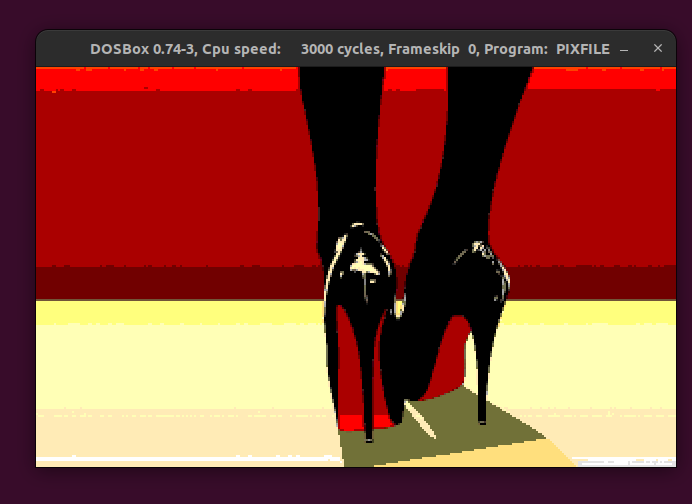
At least for today let me display this image correctly 🙂
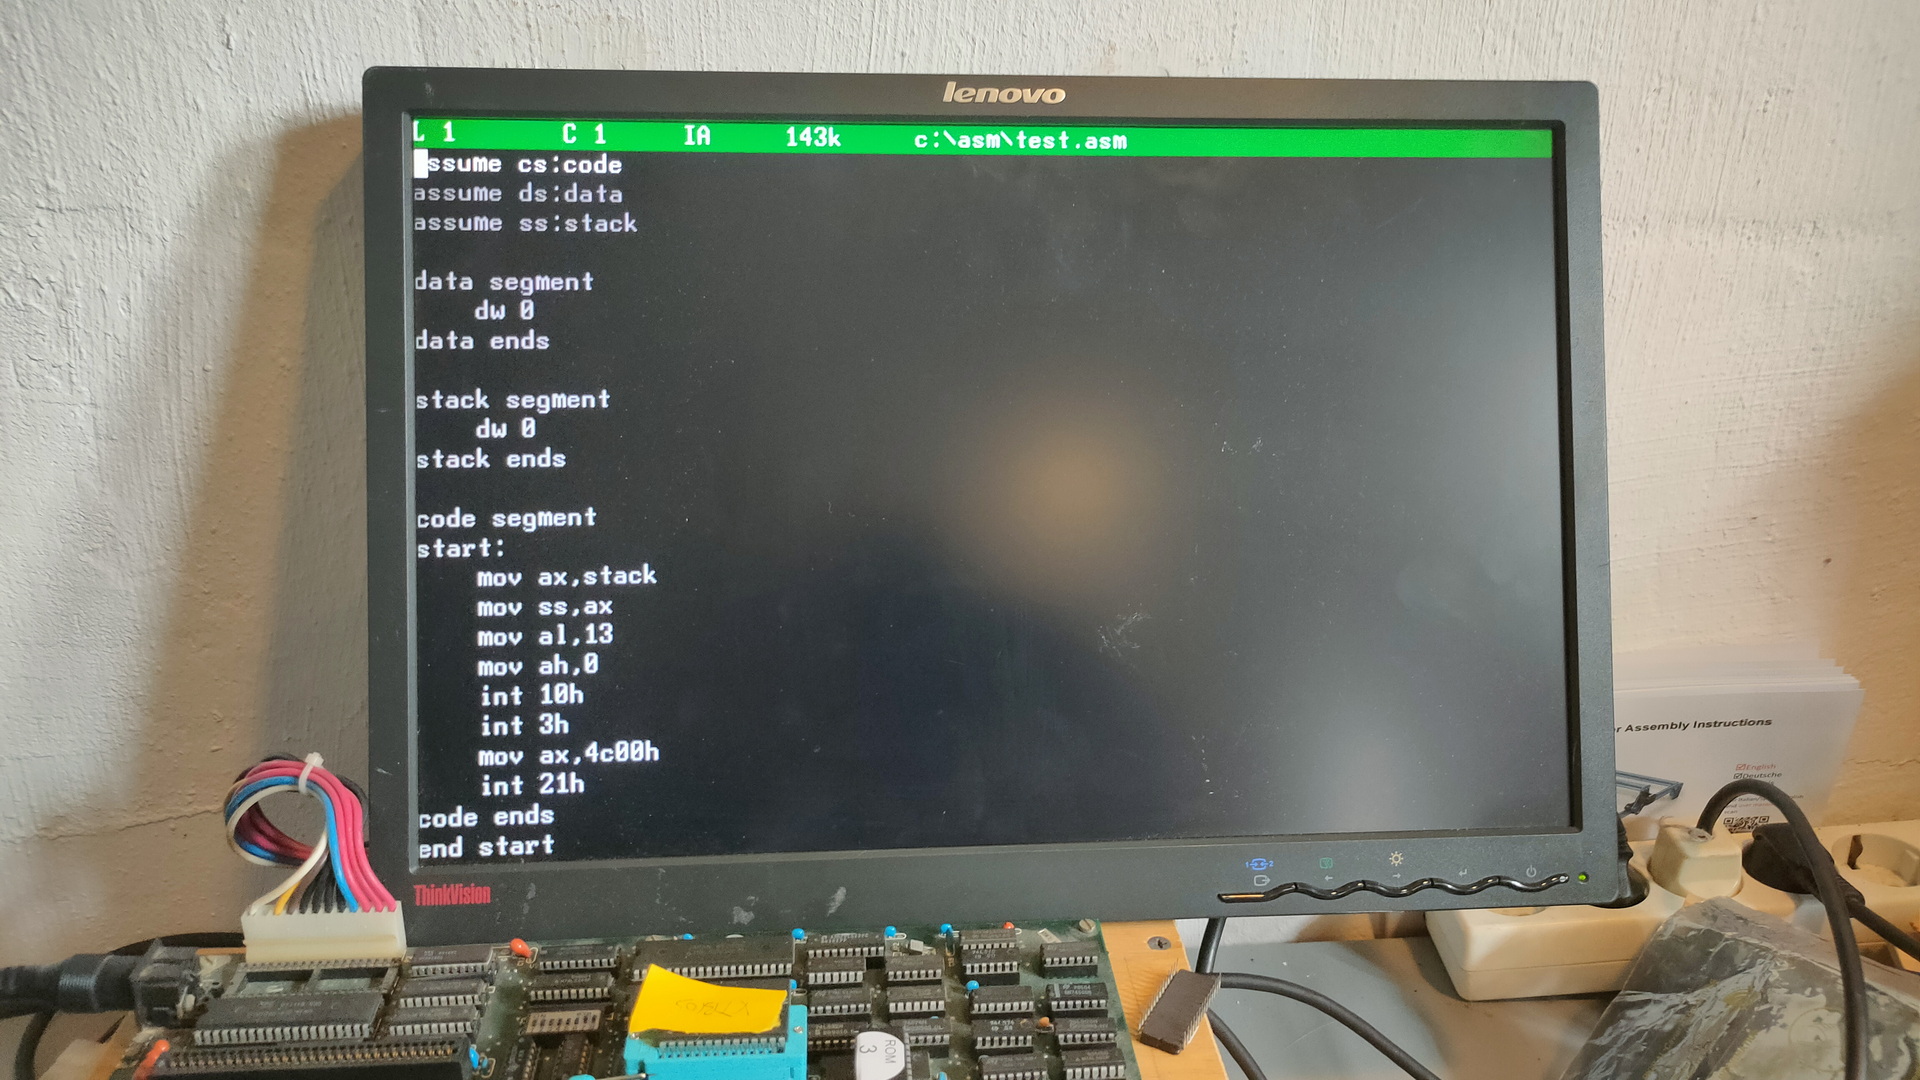
use16
org 0x100

; set mode 320x200 256 colors palette
	mov ah,0x0
	mov al,13h
	int 10h

; clear screen routine, not really needed
clearscreen:
	push ax
	mov ax, 0a000h
	mov es, ax
	pop ax
	xor di, di
	inc ax
	mov cx, 64000 ; 320x200
	rep stosb

; call file loader
	call Loadfile

; after displaying the image or displaying an error, wait for keypress to exit
waitforkeyloop:
	MOV AH,1
	INT 16h
	JZ waitforkeyloop
	XOR AH,AH
	INT 16h
Exit:
	MOV AX,3	; default text mode 3
	INT 10h
	MOV AX,4C00h	; exit to dos (terminate process)
	INT 21h

Loadfile:
	MOV DX,filename
	MOV AX,3D00h	; open filehandle
	INT 21h
	JC Err1
	MOV BX,AX   	; filehandle
	MOV CX,0FFFFh 	; size
	mov dx,0a000h 	; destination 0000:a000h - Screen memory
	mov ds,dx

	MOV DX,0
	MOV AH,3Fh	; read from file
	INT 21h
	JC  Err1
	MOV AH,3Eh	; close filehandle
	INT 21h

	RET
; print error
Err1:
	push cs		; make ds same as cs
	pop ds
	MOV DX,TxtErr1	; error
	MOV AH,09h
	INT 21h
	RET

filename DB "shoes.bmp",0
TxtErr1 DB "shoes.bmp not found!",7,10,13,"$"
Tomorrow .. back to the track loader