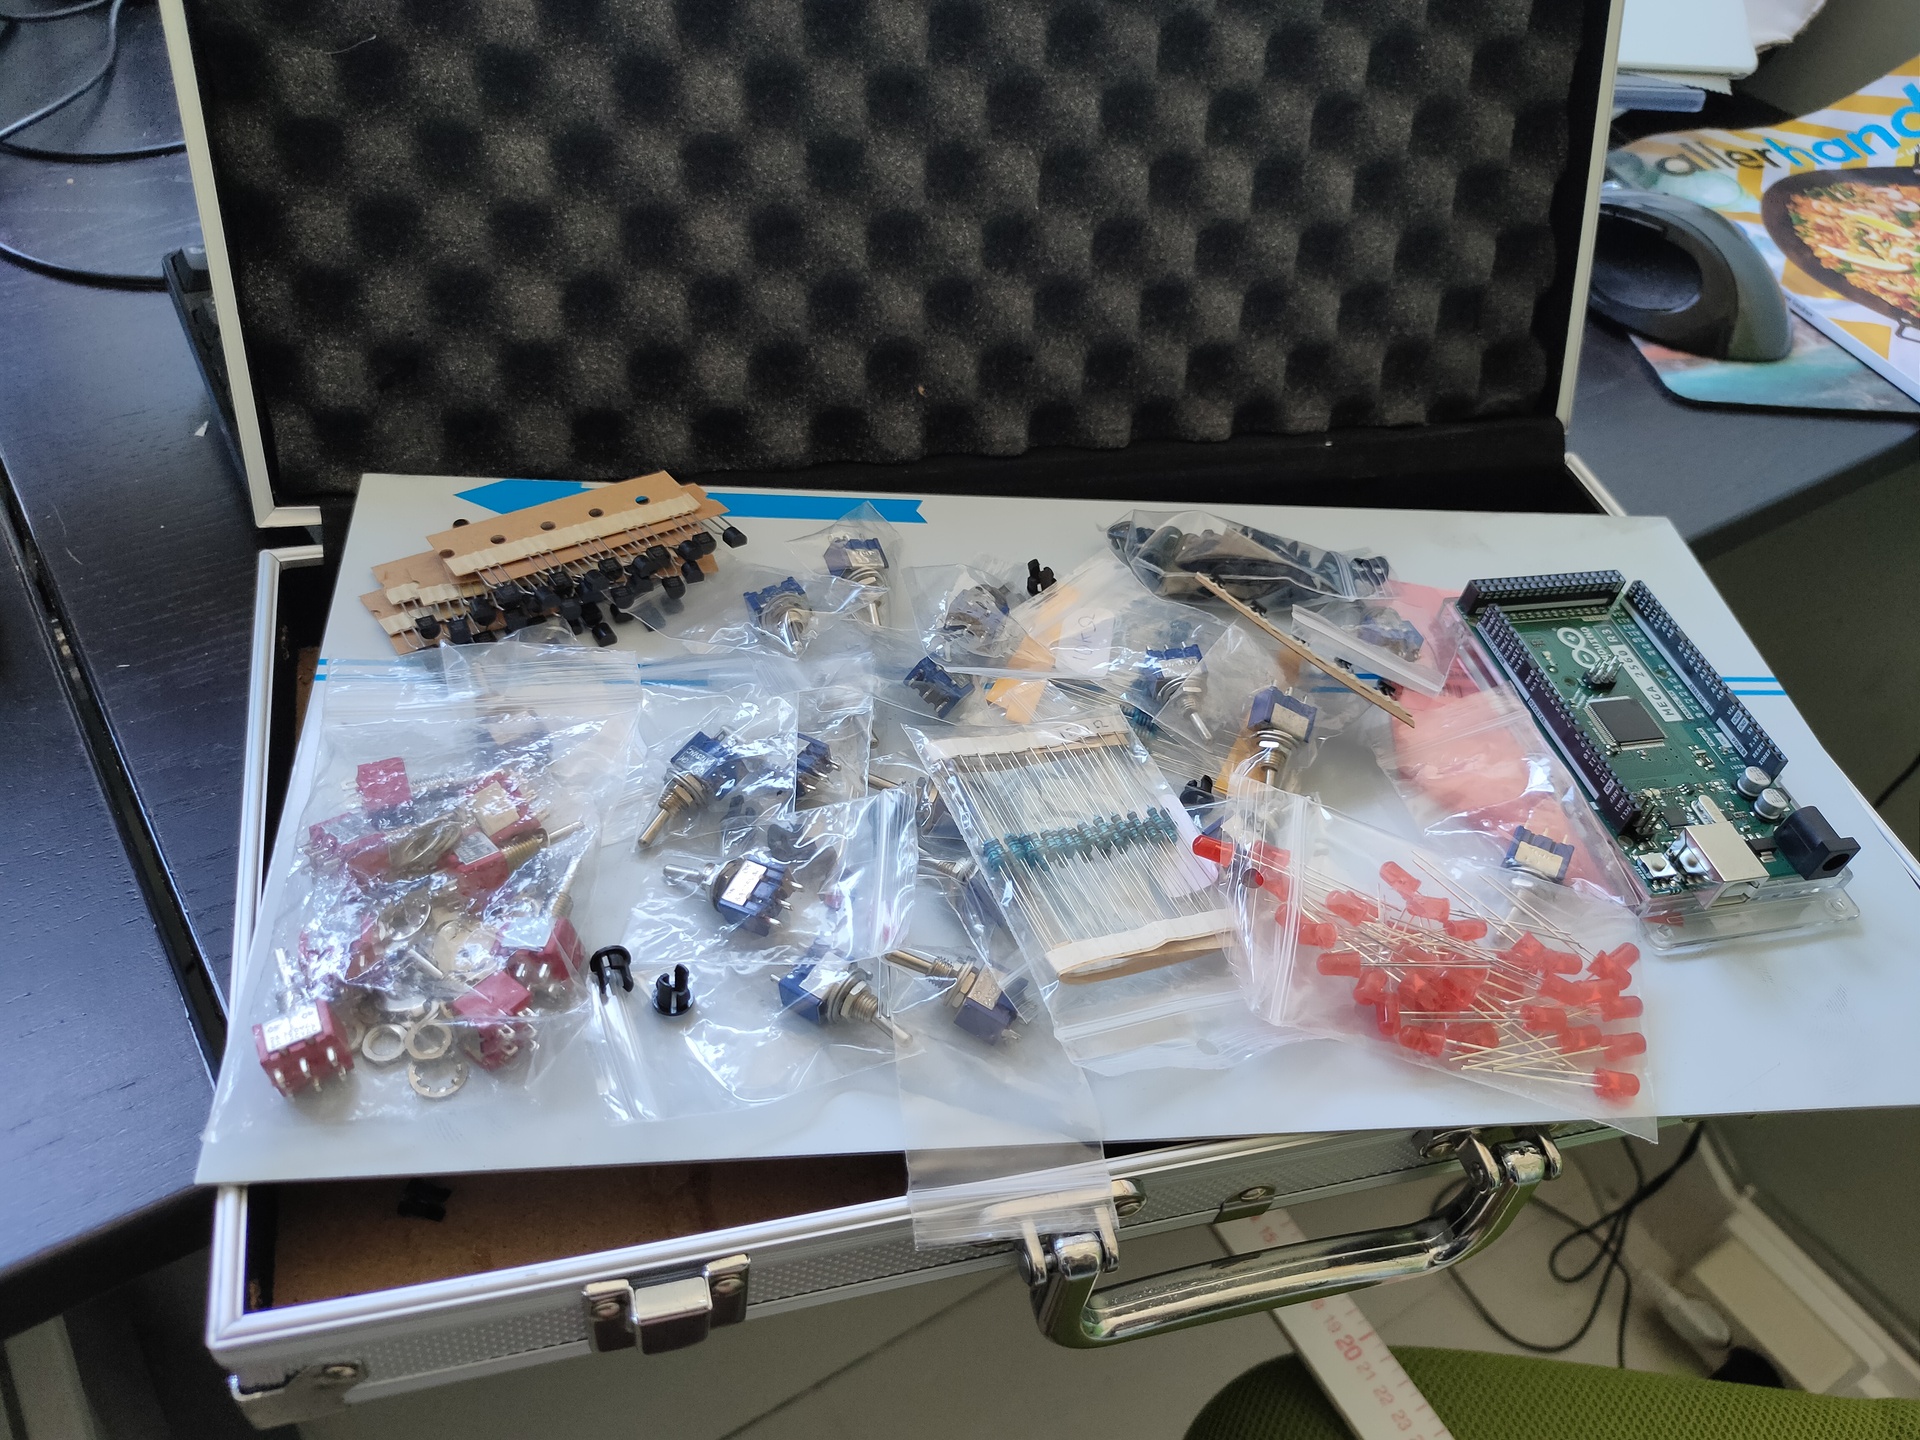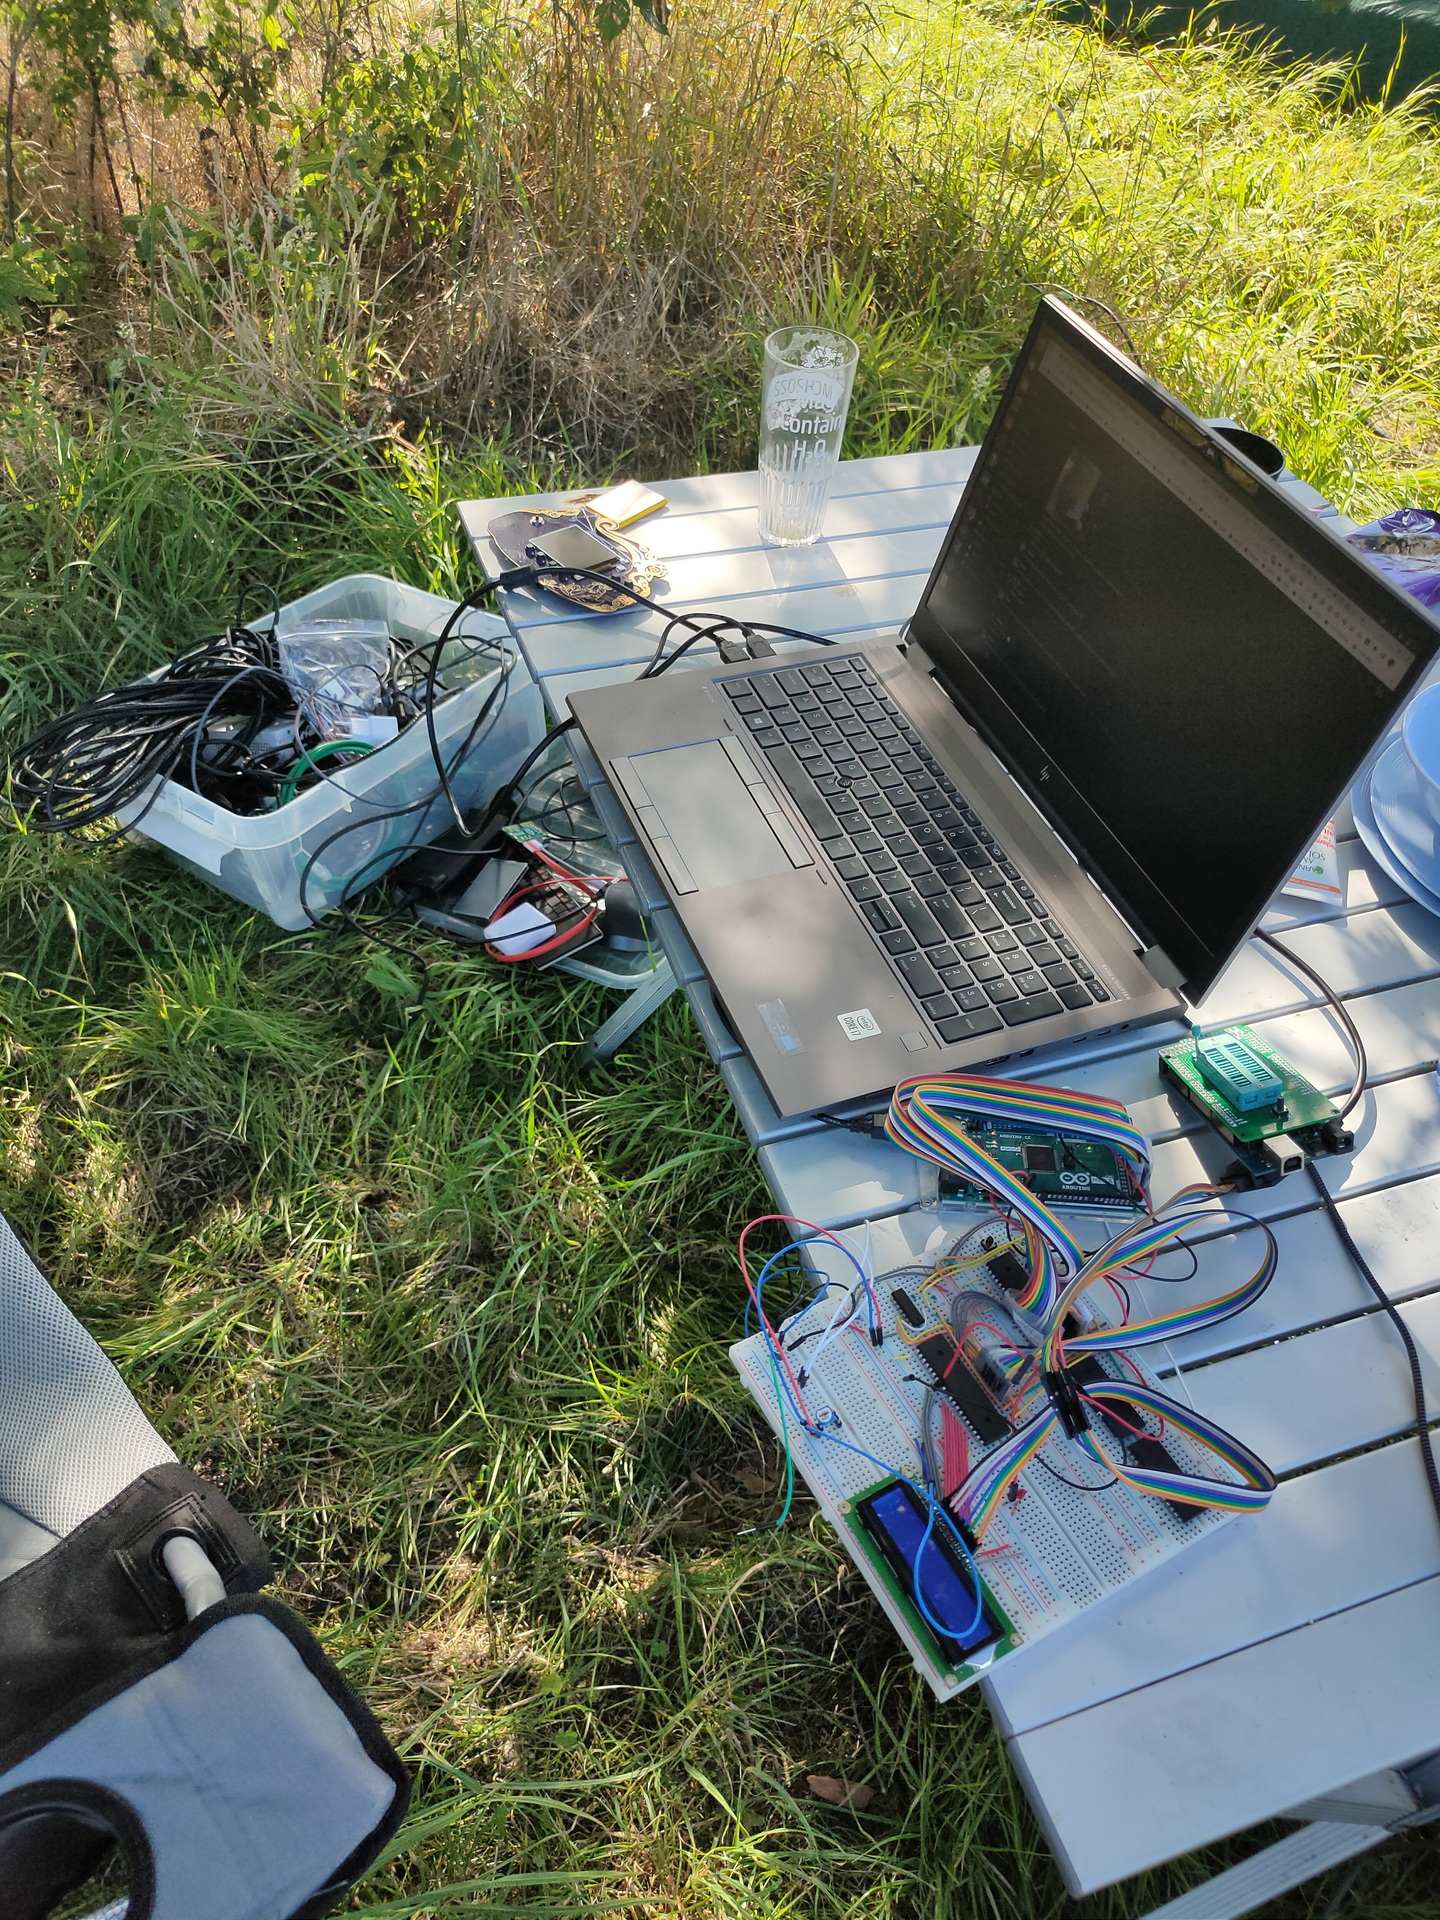
I’ve got the tools and Bigred made me enthusiastic again.
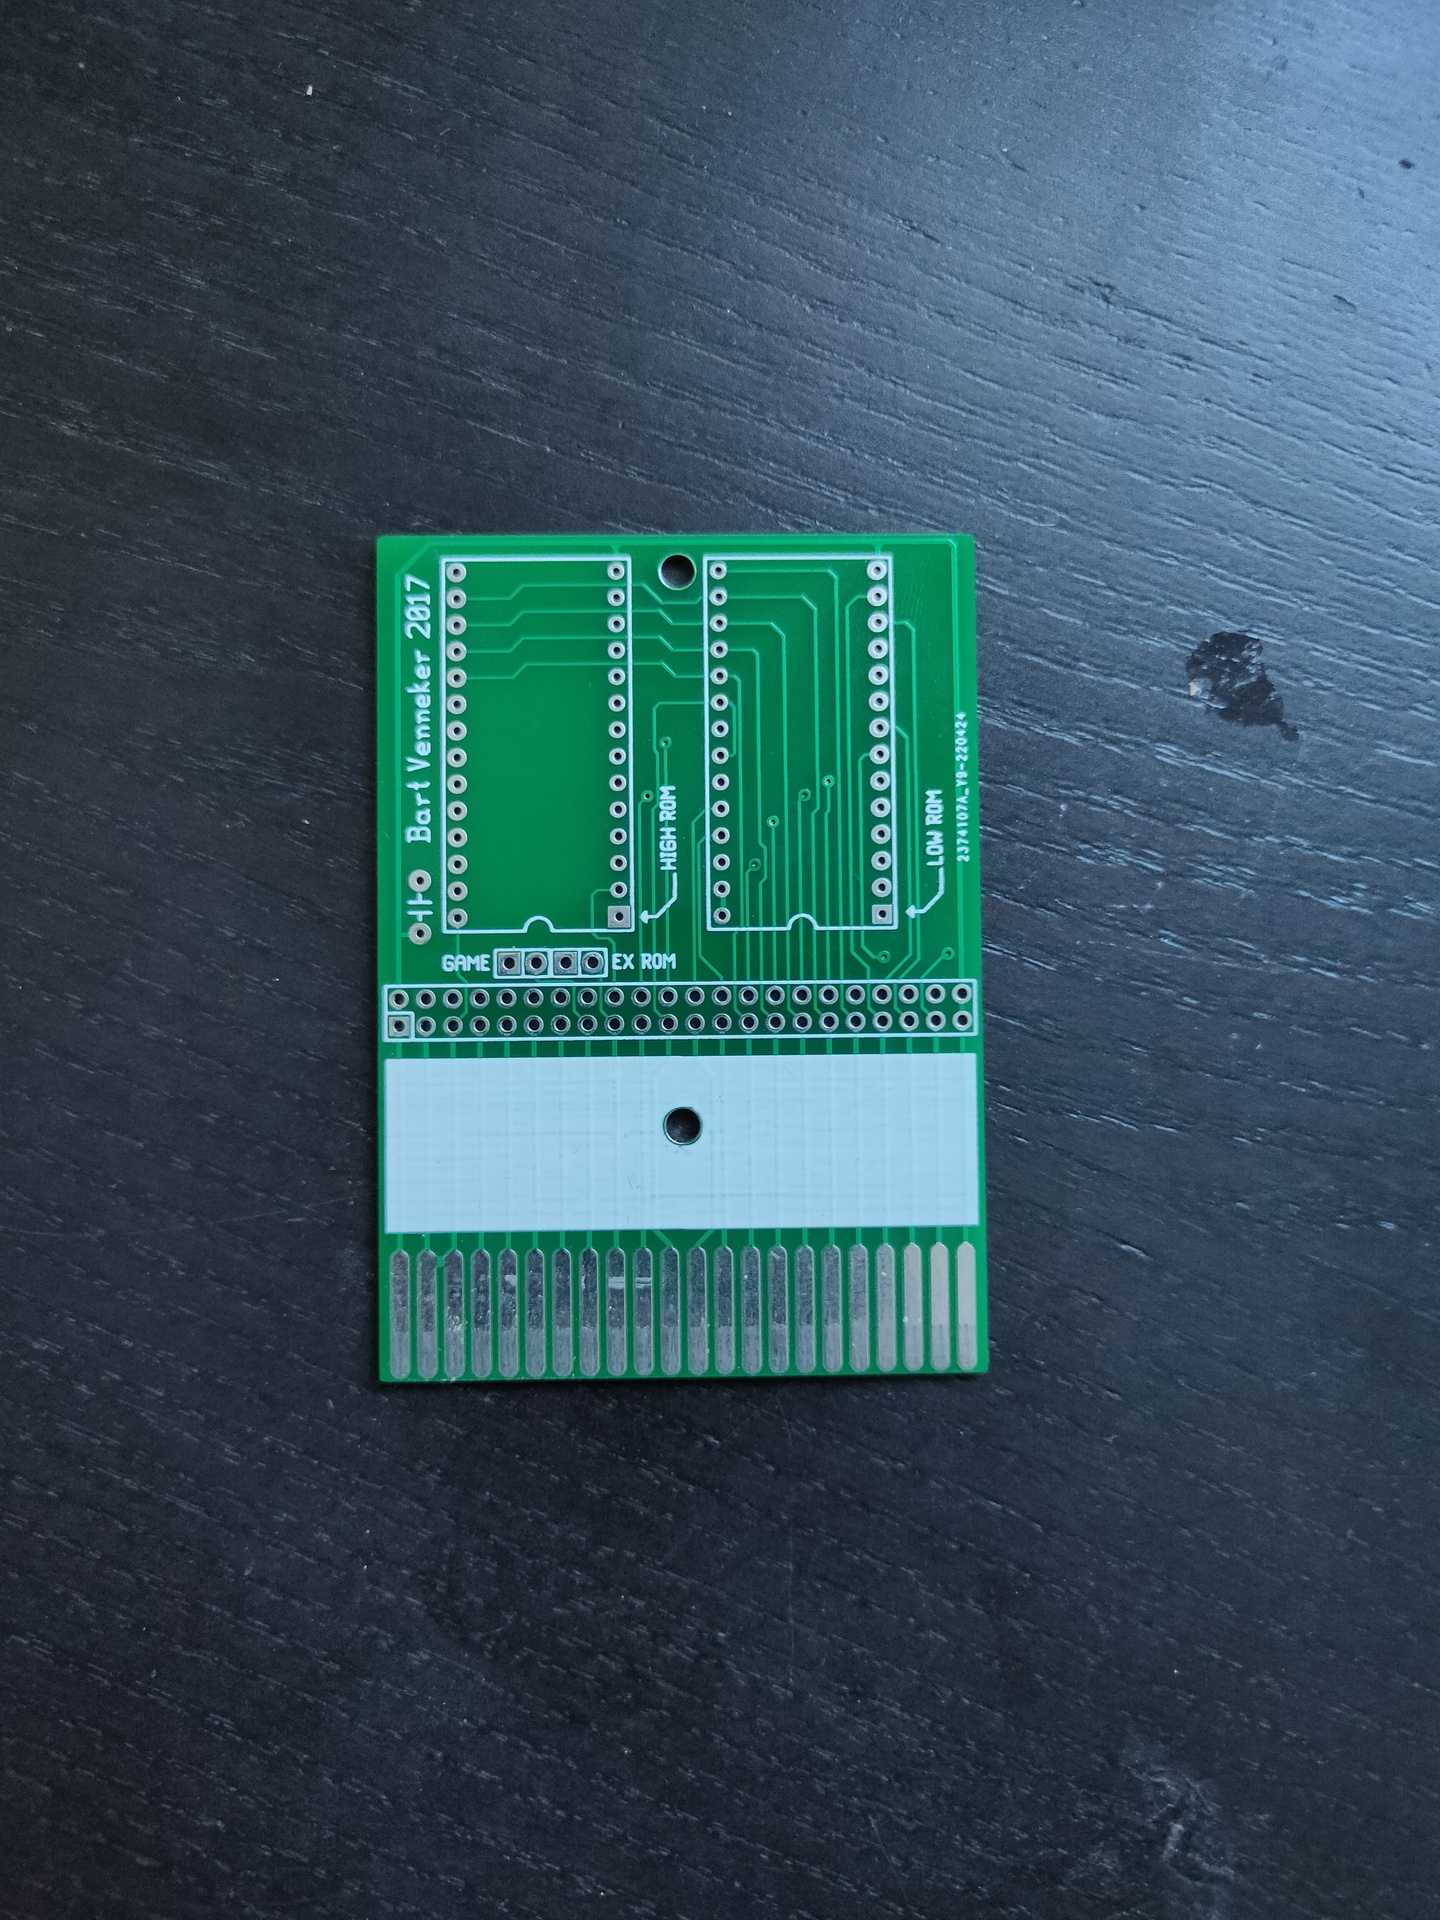
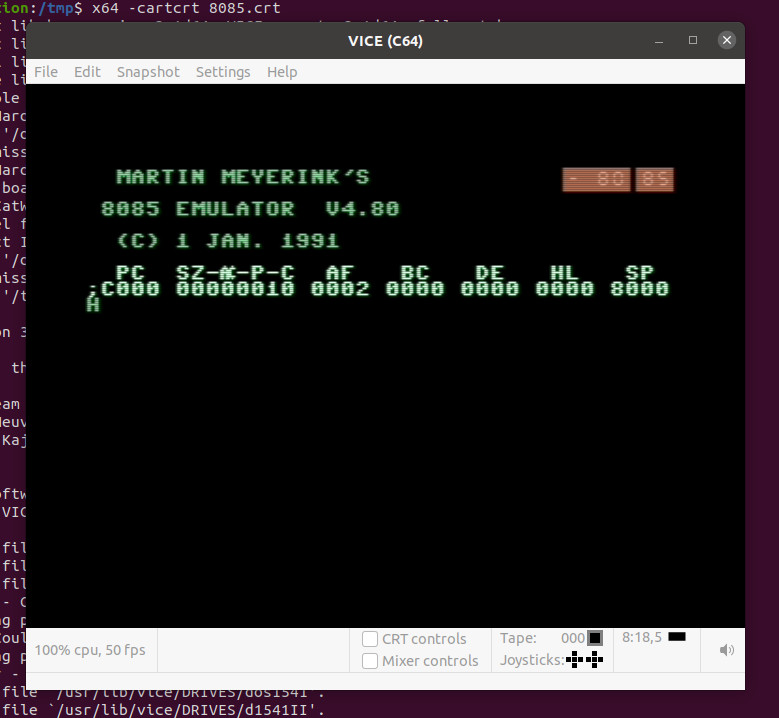
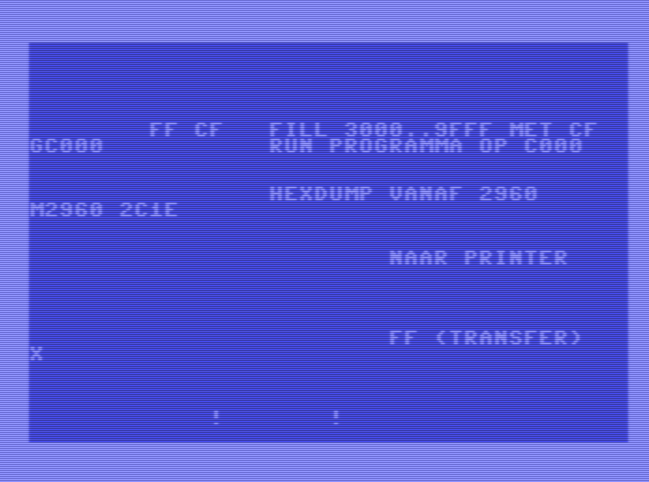
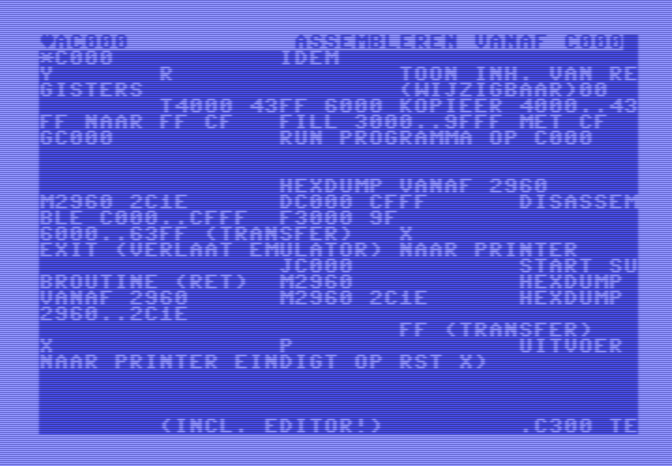
My goal is to make a C64 Cartridge from a PRG. And Not any program, it is the 8085 Emulator from Sepp.
Serveral problems i have to ‘fix’
- The program is 17K, Cartridges can only be 16K.
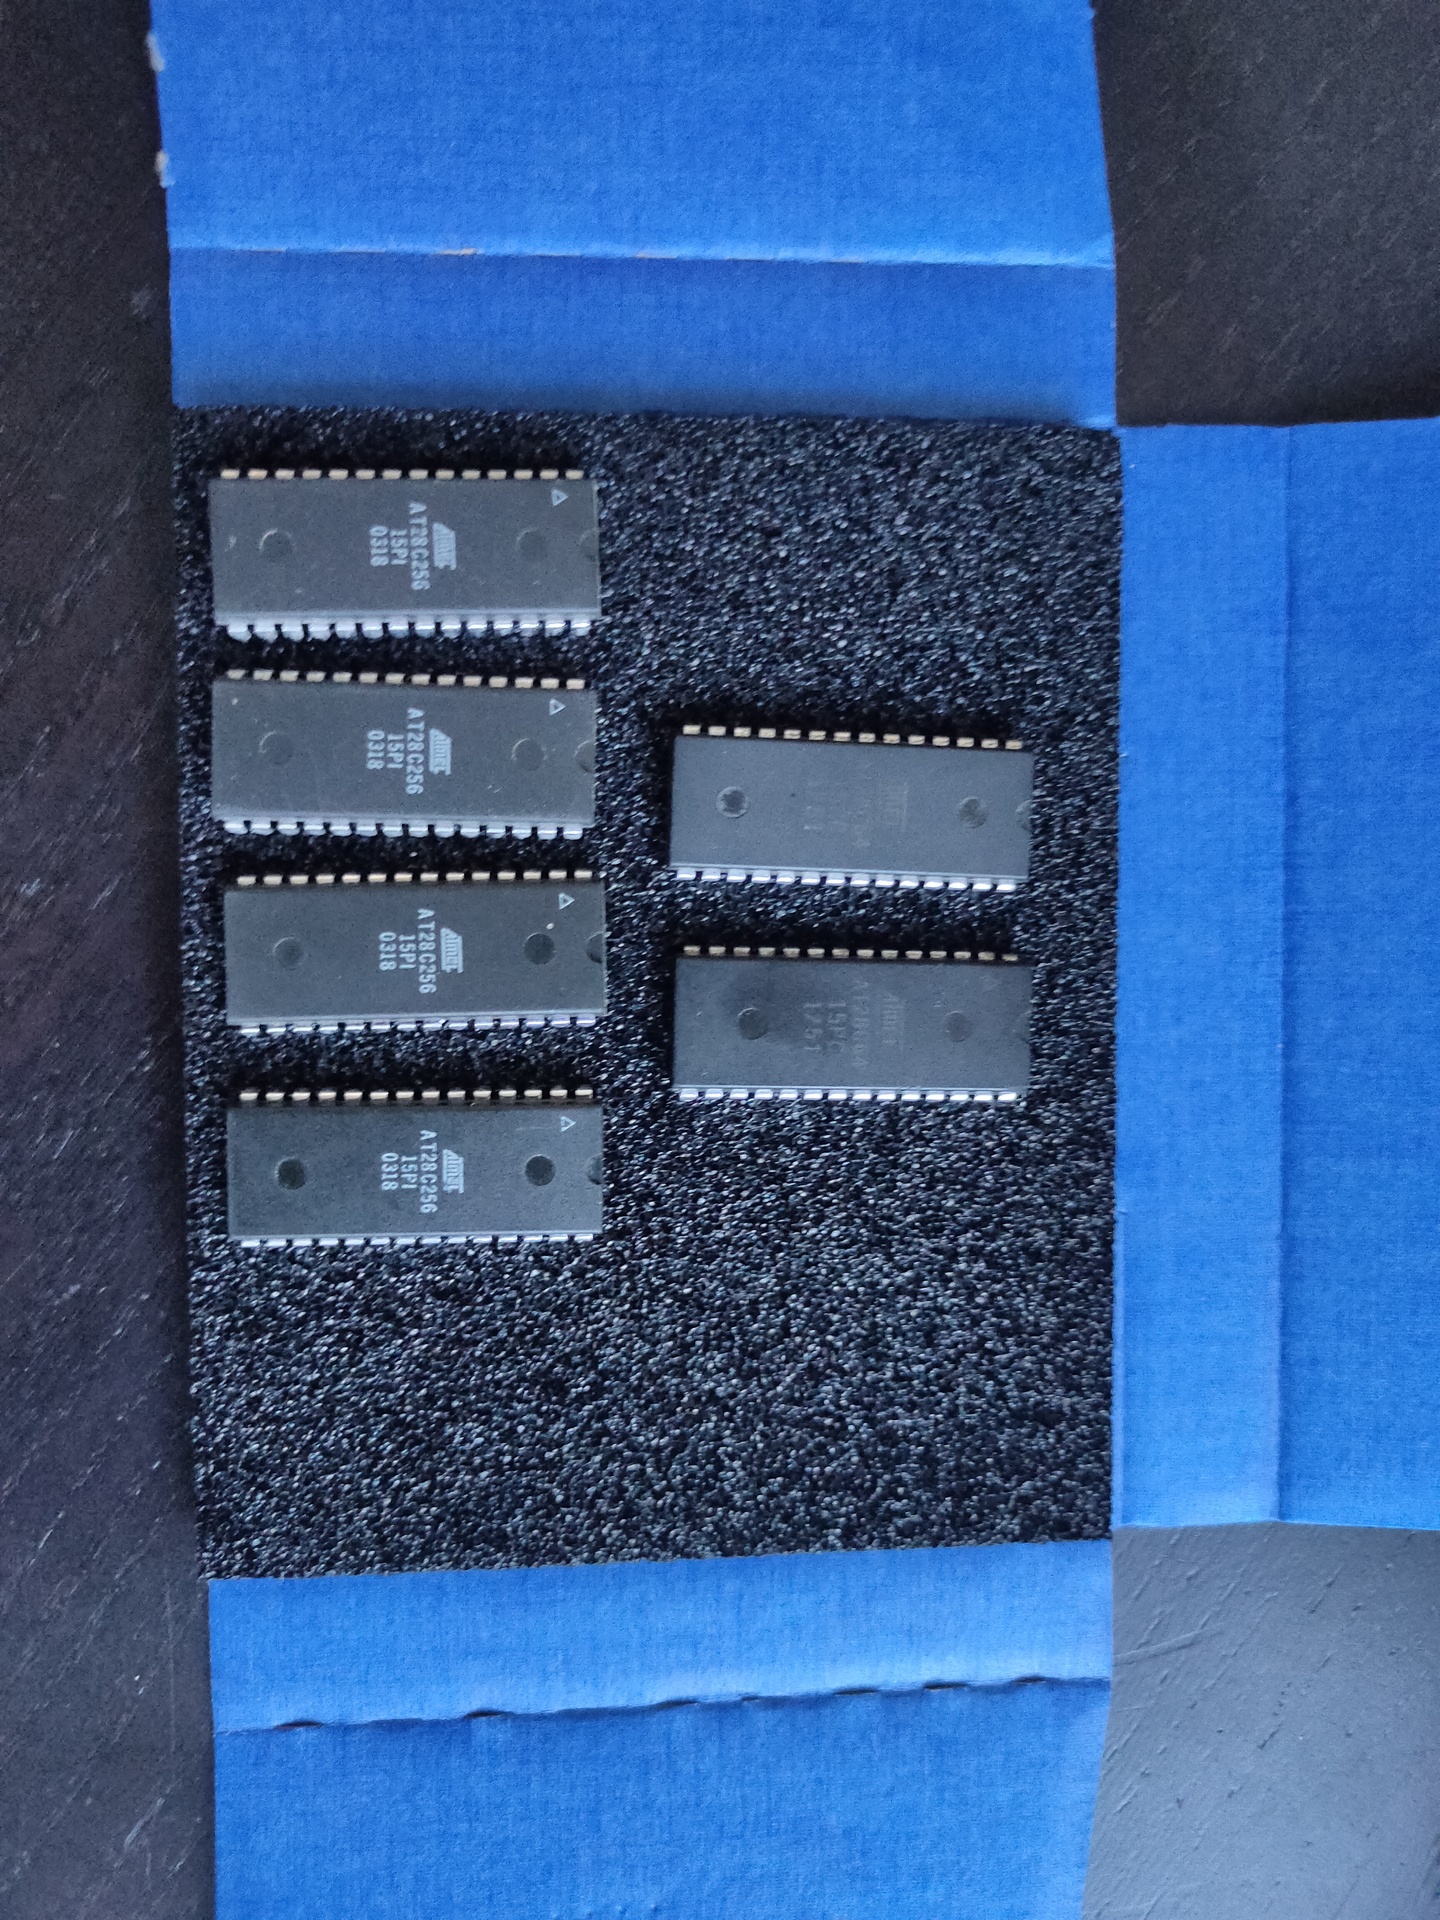
So i have to use 2x 8K and compress the data.
This means it have to be uncompressed at start time.
( I was thinking of using exomiser for this ) - Program starts normally at $0820 and probably is not optimised to run anywhere else.
So a starting routine has to copy the program from cartridge memory to the correct location
Luckily i have the source! How cool is that
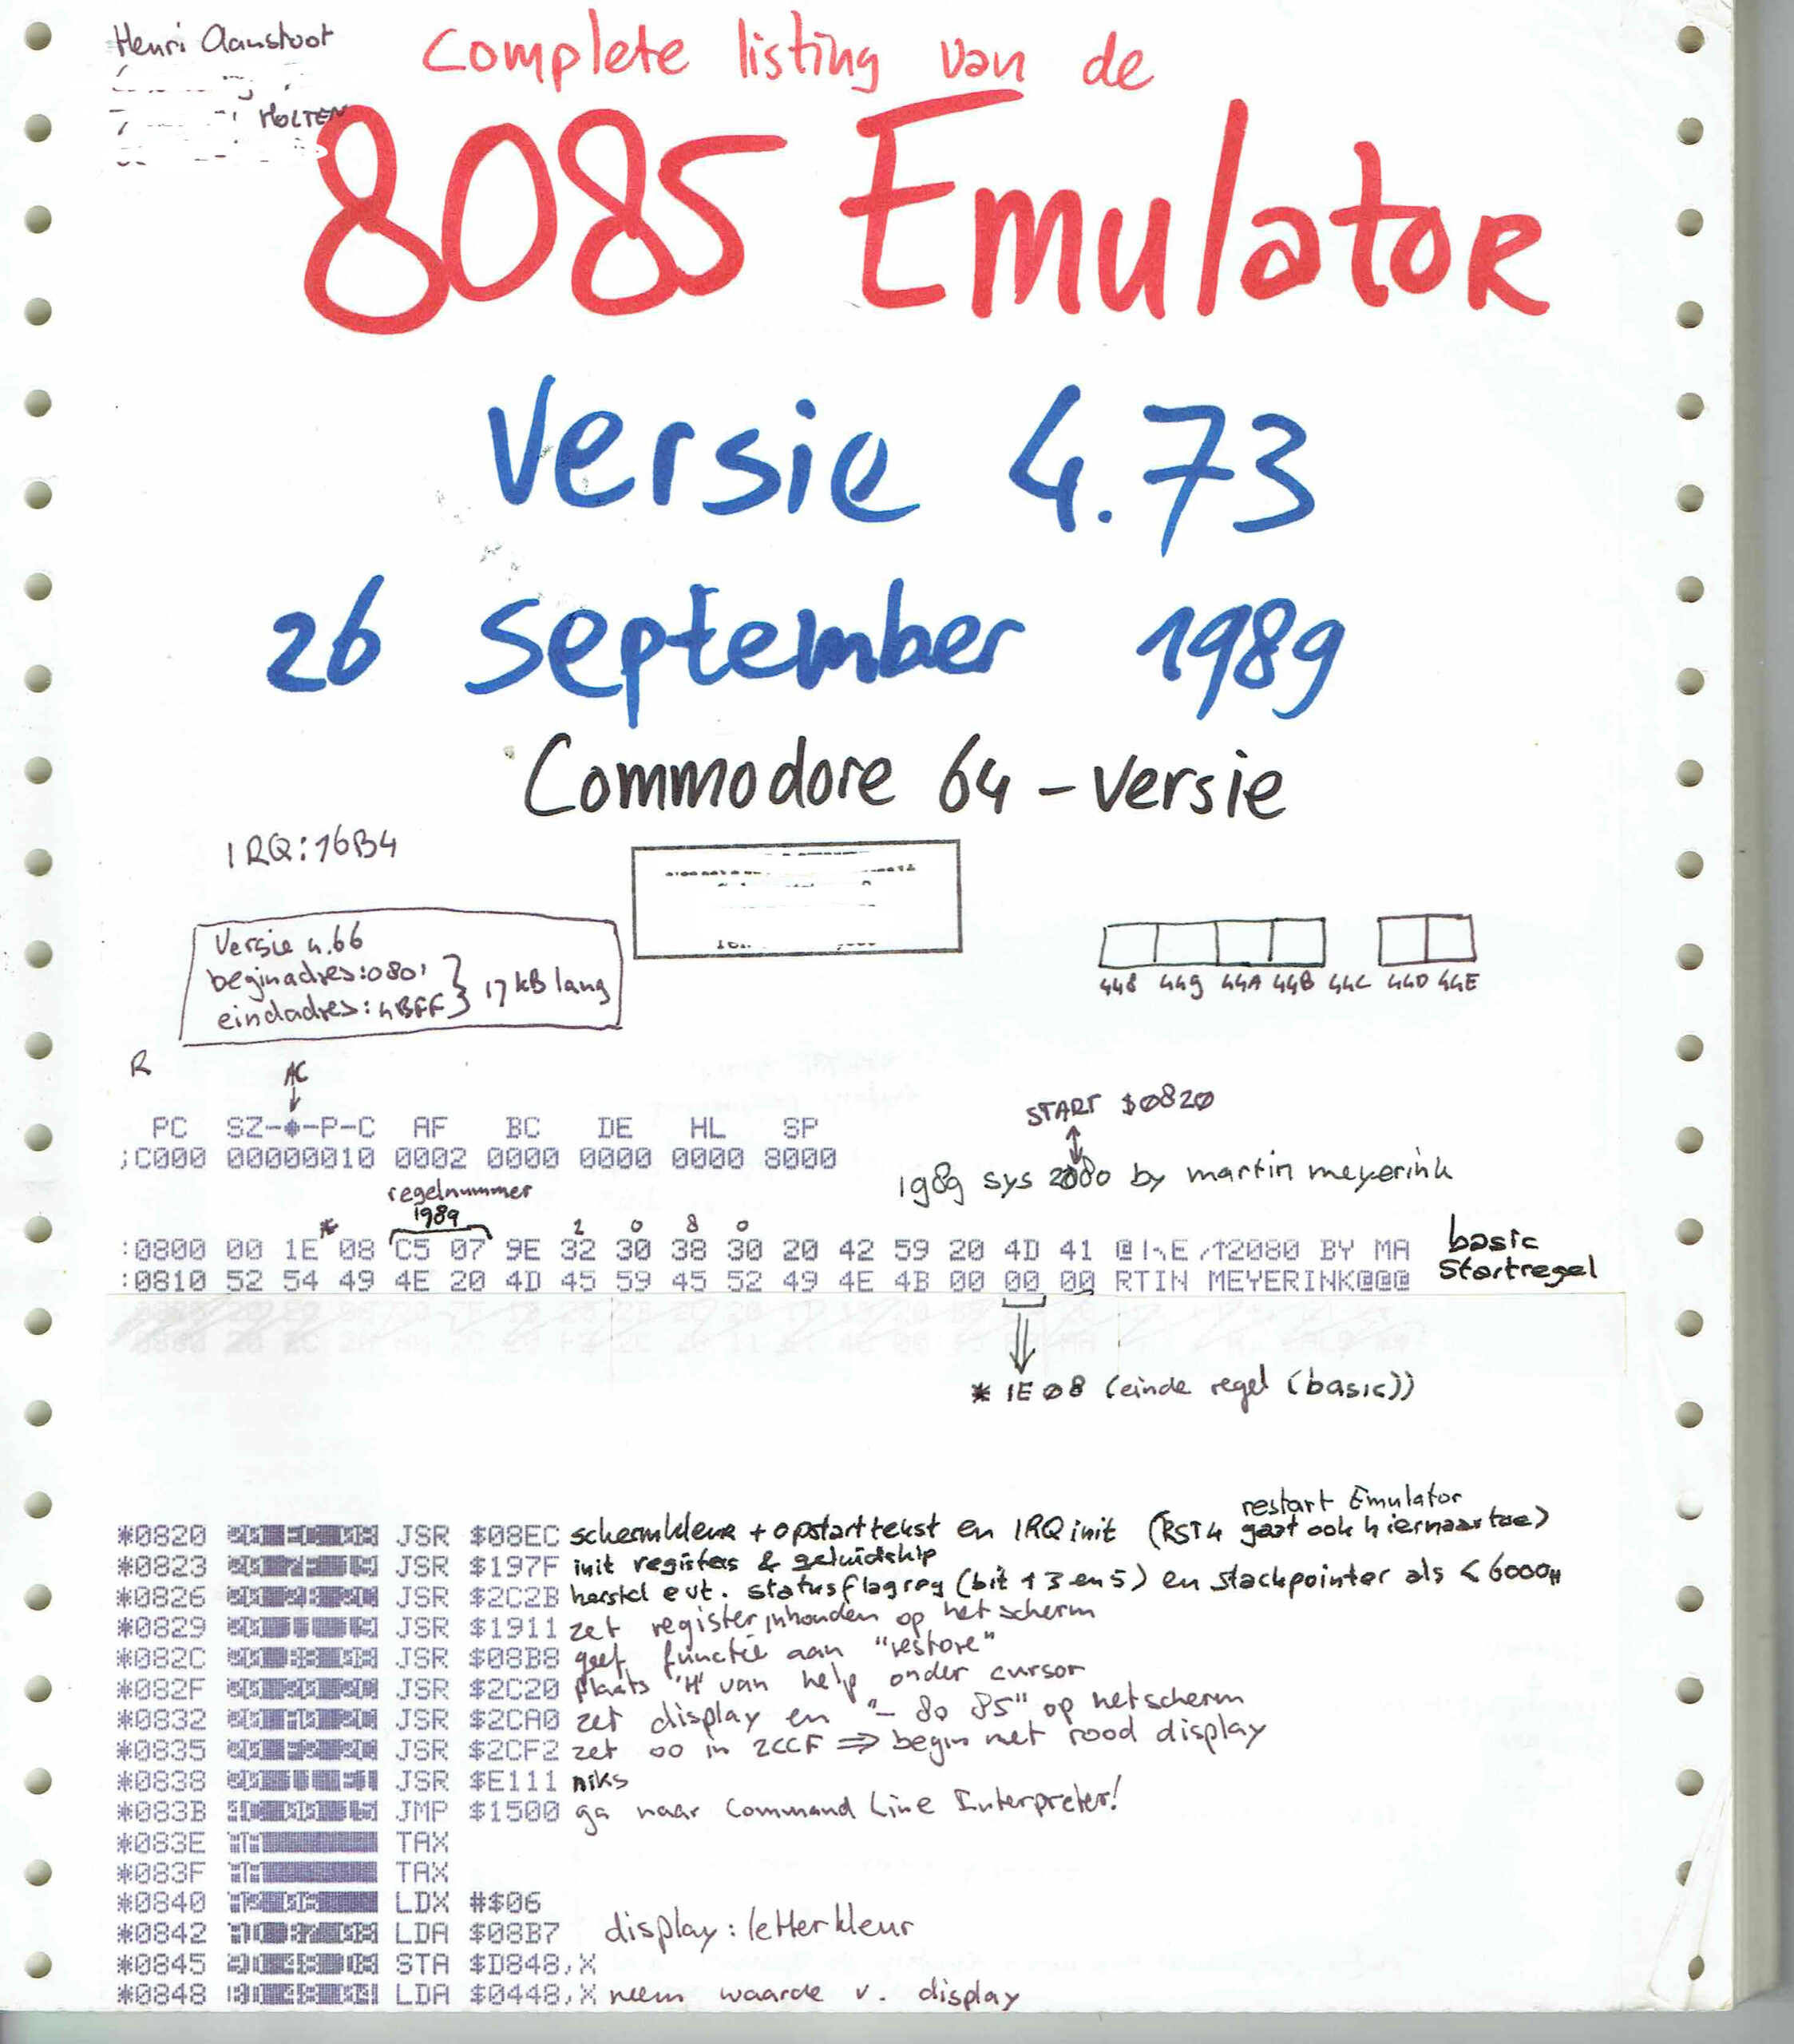
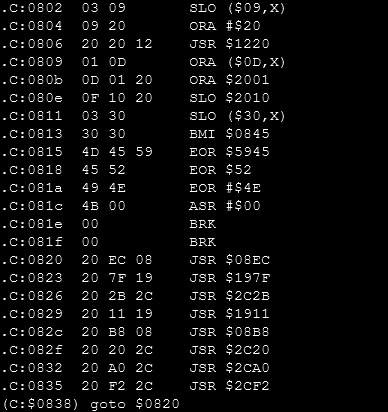
For version 4.73 it states : Starting at $0820 .. but my hexdump is off by one??!?
root@battlestation:/home/fash/Projects/minipro# hexdump -C /tmp/8085.prg  | head
00000000  01 08 1e 08 c5 07 9e 32  30 38 30 20 42 59 20 4d  |.......2080 BY M|
00000010  41 52 54 49 4e 20 4d 45  59 45 52 49 4e 4b 00 00  |ARTIN MEYERINK..|
00000020  00 20 ec 08 20 7f 19 20  2b 2c 20 11 19 20 b8 08  |. .. .. +, .. ..|
00000030  20 20 2c 20 a0 2c 20 f2  2c 20 11 e1 4c 00 15 aa  |  , ., ., ..L...|
00000040  aa a2 06 ad b7 08 9d 48  d8 bd 48 04 20 88 39 9d  |.......H..H. .9.|
00000050  48 04 ca 10 ee a9 60 8d  4c 04 4c 50 47 00 a9 d0  |H.....`.L.LPG...|
00000060  2c a9 f0 8d 45 1f 4c 11  e1 1e 93 0d 20 20 4d 41  |,...E.L.....  MA|
00000070  52 54 49 4e 20 4d 45 59  45 52 49 4e 4b 27 53 0d  |RTIN MEYERINK'S.|
00000080  0d 20 38 30 38 35 20 45  4d 55 4c 41 54 4f 52 20  |. 8085 EMULATOR |
00000090  20 56 34 2e 38 30 0d 0d  20 20 28 43 29 20 31 20  | V4.80..  (C) 1 |
00000020 00 20 ec starts with 00 at $0020 .. and not 20 ?!?!
Tools used until now:
- Vice – C64 Emulator
x64 -cartcrt 8085.crt - c1541 – Linux disk tool for C64 images.
Used this to extract the 8085emulator PRG - prg2crt.py – a convertor from PRG to a cartrid file which can be used by Vice
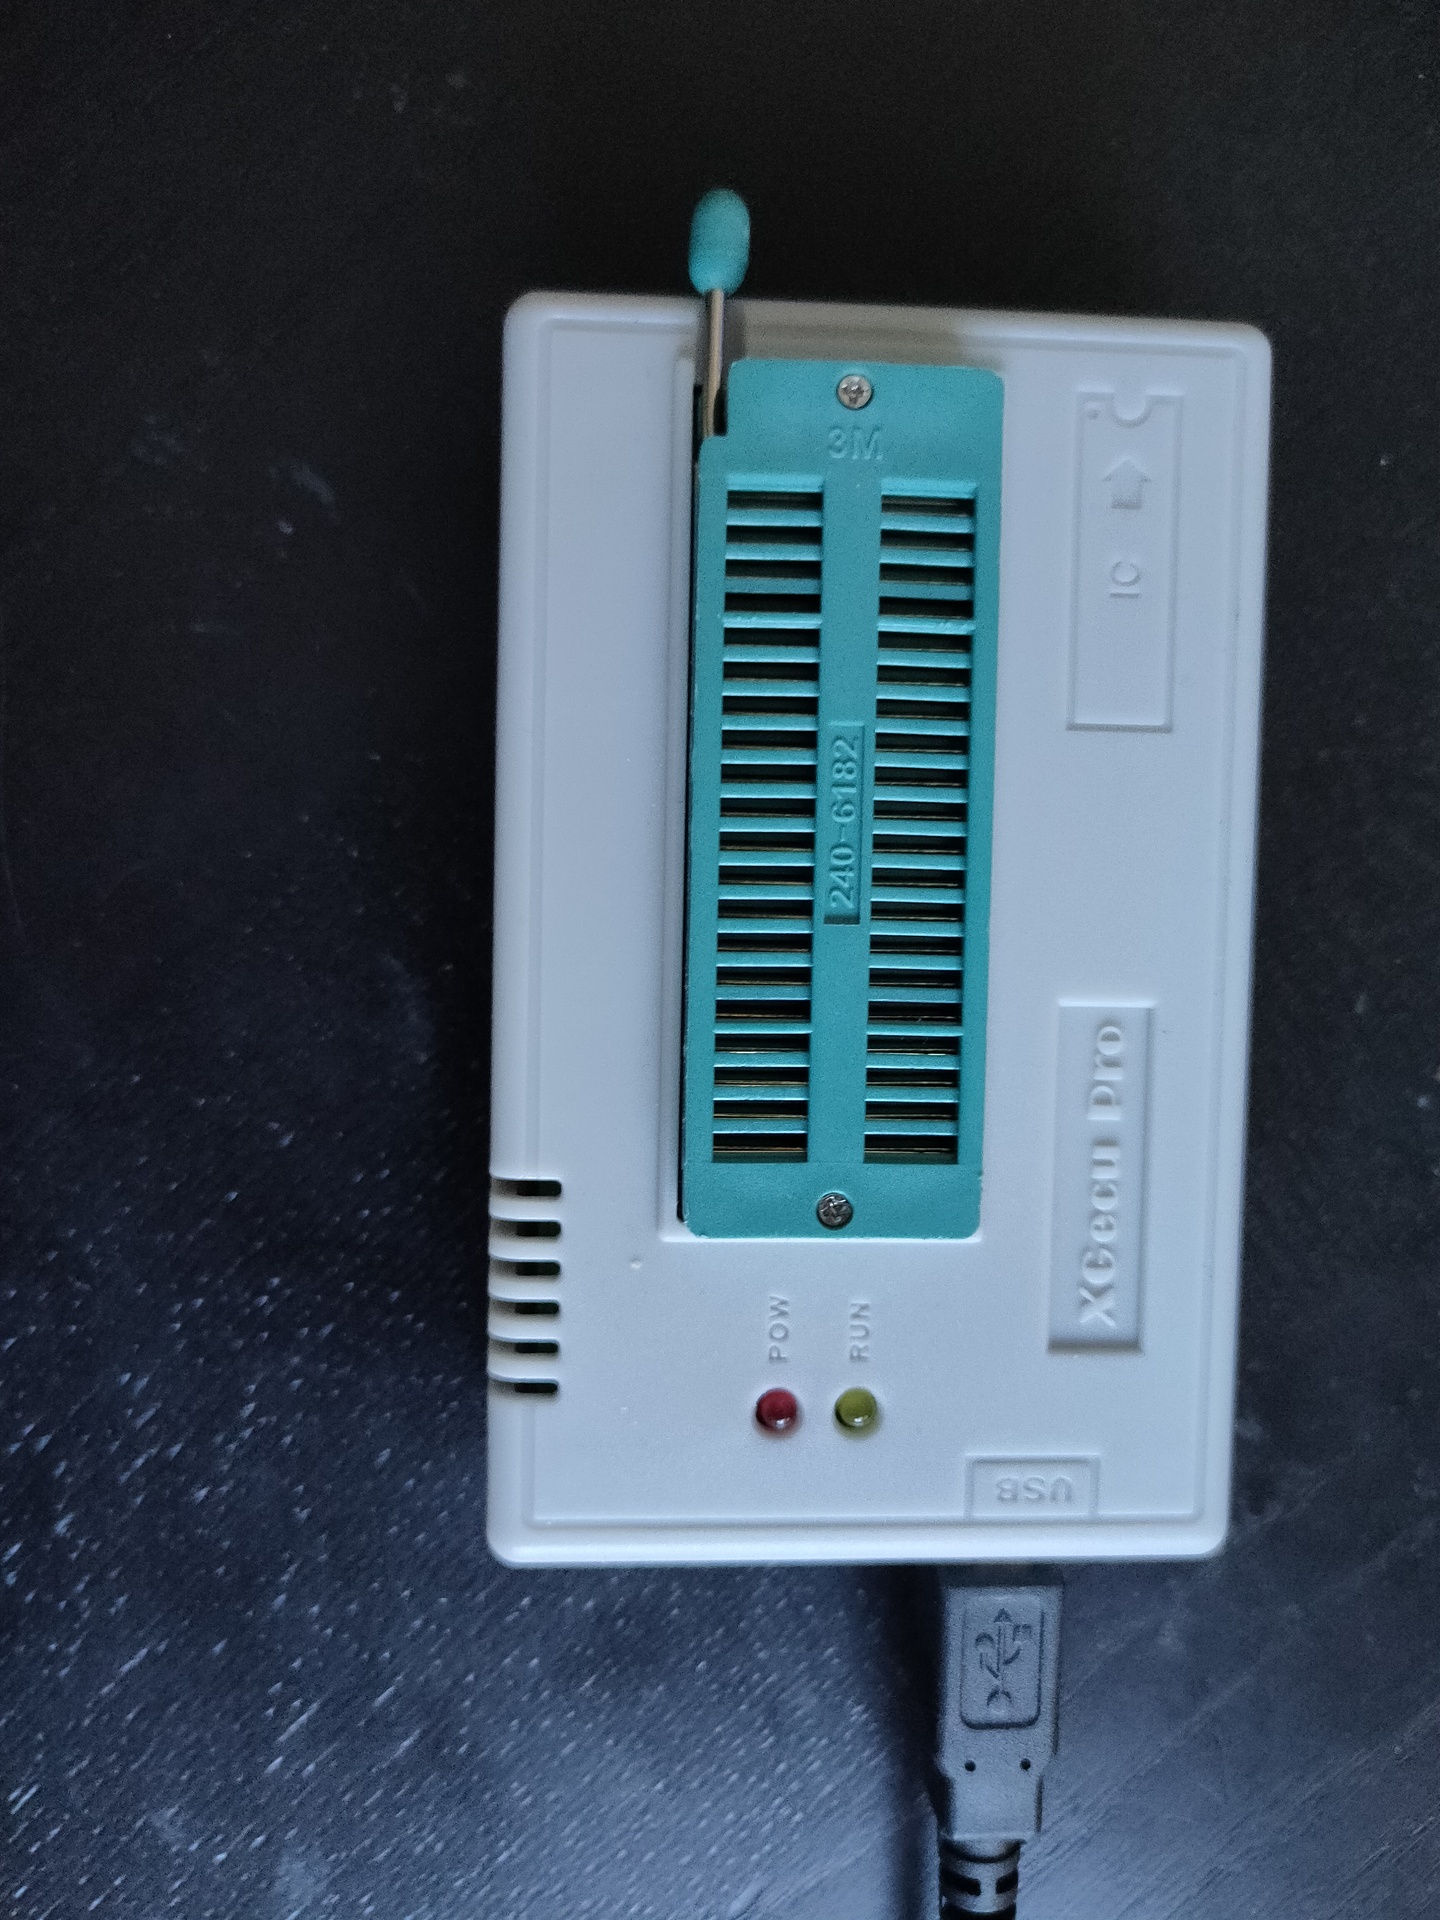
python2 prg2crt.py 8085.prg 8085.crt - minipro – eeprom programming tool for Linux
minipro -p AT28C64 -w /tmp/test.bin - cartconv (tool from vice to convert crt <-> bin)
cartconv -t normal -i test.bin -n ‘my cart’ -o test.crt - xa – Cross assembler 65xx/R65C02/65816
- ACME – the ACME Crossassembler for Multiple Environments
Card Low starts at $8000, so that’s the place where those roms are going to be.
To place on this address:
Copy routine : from ($8000 + this copy routine) to $0820
When to decompress??
jmp routine to $0820
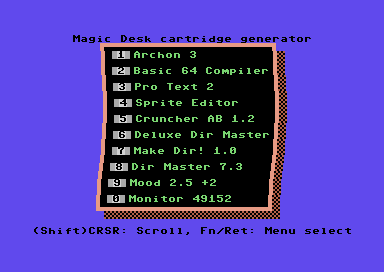
Also nice: Magic Desk Cartridge Generator V3.0
UPDATE: 20220811
exomizer sfx 0x0820 8085.prg -o data.exo # Compress and start at 0x0820
xa frame.asm -o frame.bin # Add code and write binary
x64 --cart16 frame.bin # Test cartridge with Vice
frame.asm
;----------------------------------------------------------
; example usage
; xa frame.asm -o frame.bin
; cartconv -t normal -i frame.bin -n 'my cart' -o frame.crt
; x64 -cartcrt frame.crt
;----------------------------------------------------------
;no load-adress for bin-file, so no header here
*=$8000
.word launcher ;cold start
.word launcher ;warm start
.byte $c3 ;c
.byte $c2 ;b
.byte $cd ;m
.byte $38 ;8
.byte $30 ;0
launcher
stx $d016
jsr $fda3 ;prepare irq
jsr $fd50 ;init memory
jsr $fd15 ;init i/o
jsr $ff5b ;init video
;make sure this sets up everything you need,
;the calls above are probably sufficient
ldx #$fb
txs
;set up starting code outside of cartridge-area
move_starter
ldx #(starter_end-starter_start)
loop1
lda starter_start,x
sta $100,x
dex
bpl loop1
jmp $100
;---------------------------------
starter_start
ldx #$40 ;64 pages = 256 * 64 = 16384 Bytes
ldy #0
loop
src
lda exomized_data,y
dst
sta $801,y
iny
bne loop
inc src+2-starter_start+$100
inc dst+2-starter_start+$100
dex
bpl loop
;make sure settings for $01 and IRQ etc are correct for your code
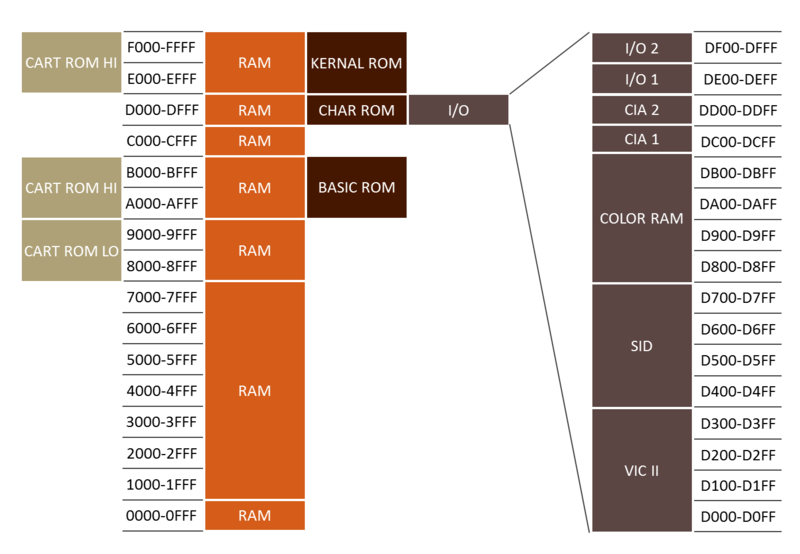
;remember THIS table from AAY64:
; Bit+-------------+-----------+------------+
; 210| $8000-$BFFF |$D000-$DFFF|$E000-$FFFF |
; +---+---+-------------+-----------+------------+
; | 7 |111| Cart.+Basic | I/O | Kernal ROM |
; +---+---+-------------+-----------+------------+
; | 6 |110| RAM | I/O | Kernal ROM |
; +---+---+-------------+-----------+------------+
; | 5 |101| RAM | I/O | RAM |
; +---+---+-------------+-----------+------------+
; | 4 |100| RAM | RAM | RAM |
; +---+---+-------------+-----------+------------+
; | 3 |011| Cart.+Basic | Char. ROM | Kernal ROM |
; +---+---+-------------+-----------+------------+
; | 2 |010| RAM | Char. ROM | Kernal ROM |
; +---+---+-------------+-----------+------------+
; | 1 |001| RAM | Char. ROM | RAM |
; +---+---+-------------+-----------+------------+
; | 0 |000| RAM | RAM | RAM |
; +---+---+-------------+-----------+------------+
lda #$35 ;cart is always on instead of BASIC unless it can be switched off via software
sta $01
jmp $80d ;for exomizer, i.e.
starter_end
;----------------------------------
exomized_data
.bin 2,0,"data.exo"
;syntax for exomizer 2.0.1:
;exomizer sfx sys game.prg -o data.exo
main_file_end
;fill up full $4000 bytes for bin file ($c000-$8000=$4000)
.dsb ($c000-main_file_end),0
Exomiser info
 Reading "8085.prg", loading from $0801 to $4CE9.
 Crunching from $0801 to $4CE9.
Phase 1: Instrumenting file
-----------------------------
 Length of indata: 17640 bytes.
 [building.directed.acyclic.graph.building.directed.acyclic.graph.]
 Instrumenting file, done.

Phase 2: Calculating encoding
-----------------------------
 pass 1: optimizing ..
 [finding.shortest.path.finding.shortest.path.finding.shortest.pat]
  size 80273.0 bits ~10035 bytes
 pass 2: optimizing ..
 [finding.shortest.path.finding.shortest.path.finding.shortest.pat]
  size 80039.0 bits ~10005 bytes
 pass 3: optimizing ..
 Calculating encoding, done.

Phase 3: Generating output file
------------------------------
 Encoding: 1101112133423160,1122,2010223445667788,032144406789BBCD
 Length of crunched data: 10034 bytes.
 Crunched data reduced 7606 bytes (43.12%)
 Target is self-decrunching C64 executable,
 jmp address $0820.
 Writing "data.exo" as prg, saving from $0801 to $304C.
Memory layout:   |Start |End   |
 Crunched data   | $07E7| $2F18|
 Decrunched data | $0801| $4CE9|
 Decrunch table  | $0334| $03D0|
 Decruncher      | $00FD| $01C0| and $9F,$A7,$AE,$AF
 Decrunch effect writes to $DBE7.
Decruncher:  |Enter |During|Exit  |
 RAM config  |   $37|   $37|   $37|
 IRQ enabled |     1|     1|     1|
UPDATE:20230126
; CODE COPY FROM http://www.lemon64.com/forum/viewtopic.php?t=60786&sid=2559442c8b963d7aac27cb13b493f372
; Thanks for posting: Richard of TND
; this is for a 16KB cart, using ACME!!

      !to "mycart.crt",cart16crt

scr = $0400

DecrunchADDR = 2061 ;SYS 2061   (HEX $080D)

      *=$8000
      !word launcher
      !word launcher
      !byte $c3,$c2,$cd,$38,$30 ;CBM 80


launcher
   sei
   stx $d016
   jsr $fda3 ;prepare irq
   jsr $fd50 ;input memory
   jsr $fd15 ;initialise i/o
   jsr $ff5b ;initialise video memory

;For a more professional boot up. Make
;the border and screen black. AFTER
;the video memory, etc has finished.

   lda #$00
   sta $d020
   sta $d021
   cli

;Switch off the screen.

   lda $d011
   and #%11101111
   sta $d011

;Move transfer code over to the screen
;memory.

   ldx #$00
tloop   lda transfer,x
   sta scr,x
   inx
   bne tloop
   jmp scr

transfer
   ldx #$00
tr1      lda linkedgame,x         ;Move from linked address
  sta $0801,x                        ;Direct to BASIC start address
   inx
   bne tr1
   inc scr+4
   inc scr+7
   lda scr+4
   bne transfer
   jsr $e453 ;load basic vectors
   jsr $e3bf ;init basic ram

   ldx #$fb
   txs

   ;Execute the game, by jumping to the
   ;de-cruncher's start address.
   ;jmp $0820
   jmp DecrunchADDR


;Link crunched game as a PRG file to memory after
;the cartridge build code.

linkedgame
   !bin "8085sys.prg",,2

FileSize = *
!if FileSize >$c000 {
!error "FILE SIZE IS TOO BIG TO FIT 16KB CARTRIDGE"
} else {

   *=$c000
}
Exomizer:
exomizer sfx sys  8085.prg -o 8085sys.prg
 Reading "8085.prg", loading from $0801 to $4CE9.
 Crunching from $0801 to $4CE9.
Phase 1: Instrumenting file
-----------------------------
 Length of indata: 17640 bytes.
 [building.directed.acyclic.graph.building.directed.acyclic.graph.]
 Instrumenting file, done.

Phase 2: Calculating encoding
-----------------------------
 pass 1: optimizing ..
 [finding.shortest.path.finding.shortest.path.finding.shortest.pat]
  size 80273.0 bits ~10035 bytes
 pass 2: optimizing ..
 [finding.shortest.path.finding.shortest.path.finding.shortest.pat]
  size 80039.0 bits ~10005 bytes
 pass 3: optimizing ..
 Calculating encoding, done.

Phase 3: Generating output file
------------------------------
 Encoding: 1101112133423160,1122,2010223445667788,032144406789BBCD
 Length of crunched data: 10034 bytes.
 Crunched data reduced 7606 bytes (43.12%)
 Target is self-decrunching C64 executable,
 jmp address $0820.
 Writing "8085sys.prg" as prg, saving from $0801 to $304C.
Memory layout:   |Start |End   |
 Crunched data   | $07E7| $2F18|
 Decrunched data | $0801| $4CE9|
 Decrunch table  | $0334| $03D0|
 Decruncher      | $00FD| $01C0| and $9F,$A7,$AE,$AF
 Decrunch effect writes to $DBE7.
Decruncher:  |Enter |During|Exit  |
 RAM config  |   $37|   $37|   $37|
 IRQ enabled |     1|     1|     1|
exomizer sfx $\0801 8085.prg -o 8085out.prg
 Reading "8085.prg", loading from $0801 to $4CE9.
 Crunching from $0801 to $4CE9.
Phase 1: Instrumenting file
-----------------------------
 Length of indata: 17640 bytes.
 [building.directed.acyclic.graph.building.directed.acyclic.graph.]
 Instrumenting file, done.

Phase 2: Calculating encoding
-----------------------------
 pass 1: optimizing ..
 [finding.shortest.path.finding.shortest.path.finding.shortest.pat]
  size 80273.0 bits ~10035 bytes
 pass 2: optimizing ..
 [finding.shortest.path.finding.shortest.path.finding.shortest.pat]
  size 80039.0 bits ~10005 bytes
 pass 3: optimizing ..
 Calculating encoding, done.

Phase 3: Generating output file
------------------------------
 Encoding: 1101112133423160,1122,2010223445667788,032144406789BBCD
 Length of crunched data: 10034 bytes.
 Crunched data reduced 7606 bytes (43.12%)
 Target is self-decrunching C64 executable,
 jmp address $0801.
 Writing "8085out.prg" as prg, saving from $0801 to $304C.
Memory layout:   |Start |End   |
 Crunched data   | $07E7| $2F18|
 Decrunched data | $0801| $4CE9|
 Decrunch table  | $0334| $03D0|
 Decruncher      | $00FD| $01C0| and $9F,$A7,$AE,$AF
 Decrunch effect writes to $DBE7.
Decruncher:  |Enter |During|Exit  |
 RAM config  |   $37|   $37|   $37|
 IRQ enabled |     1|     1|     1|
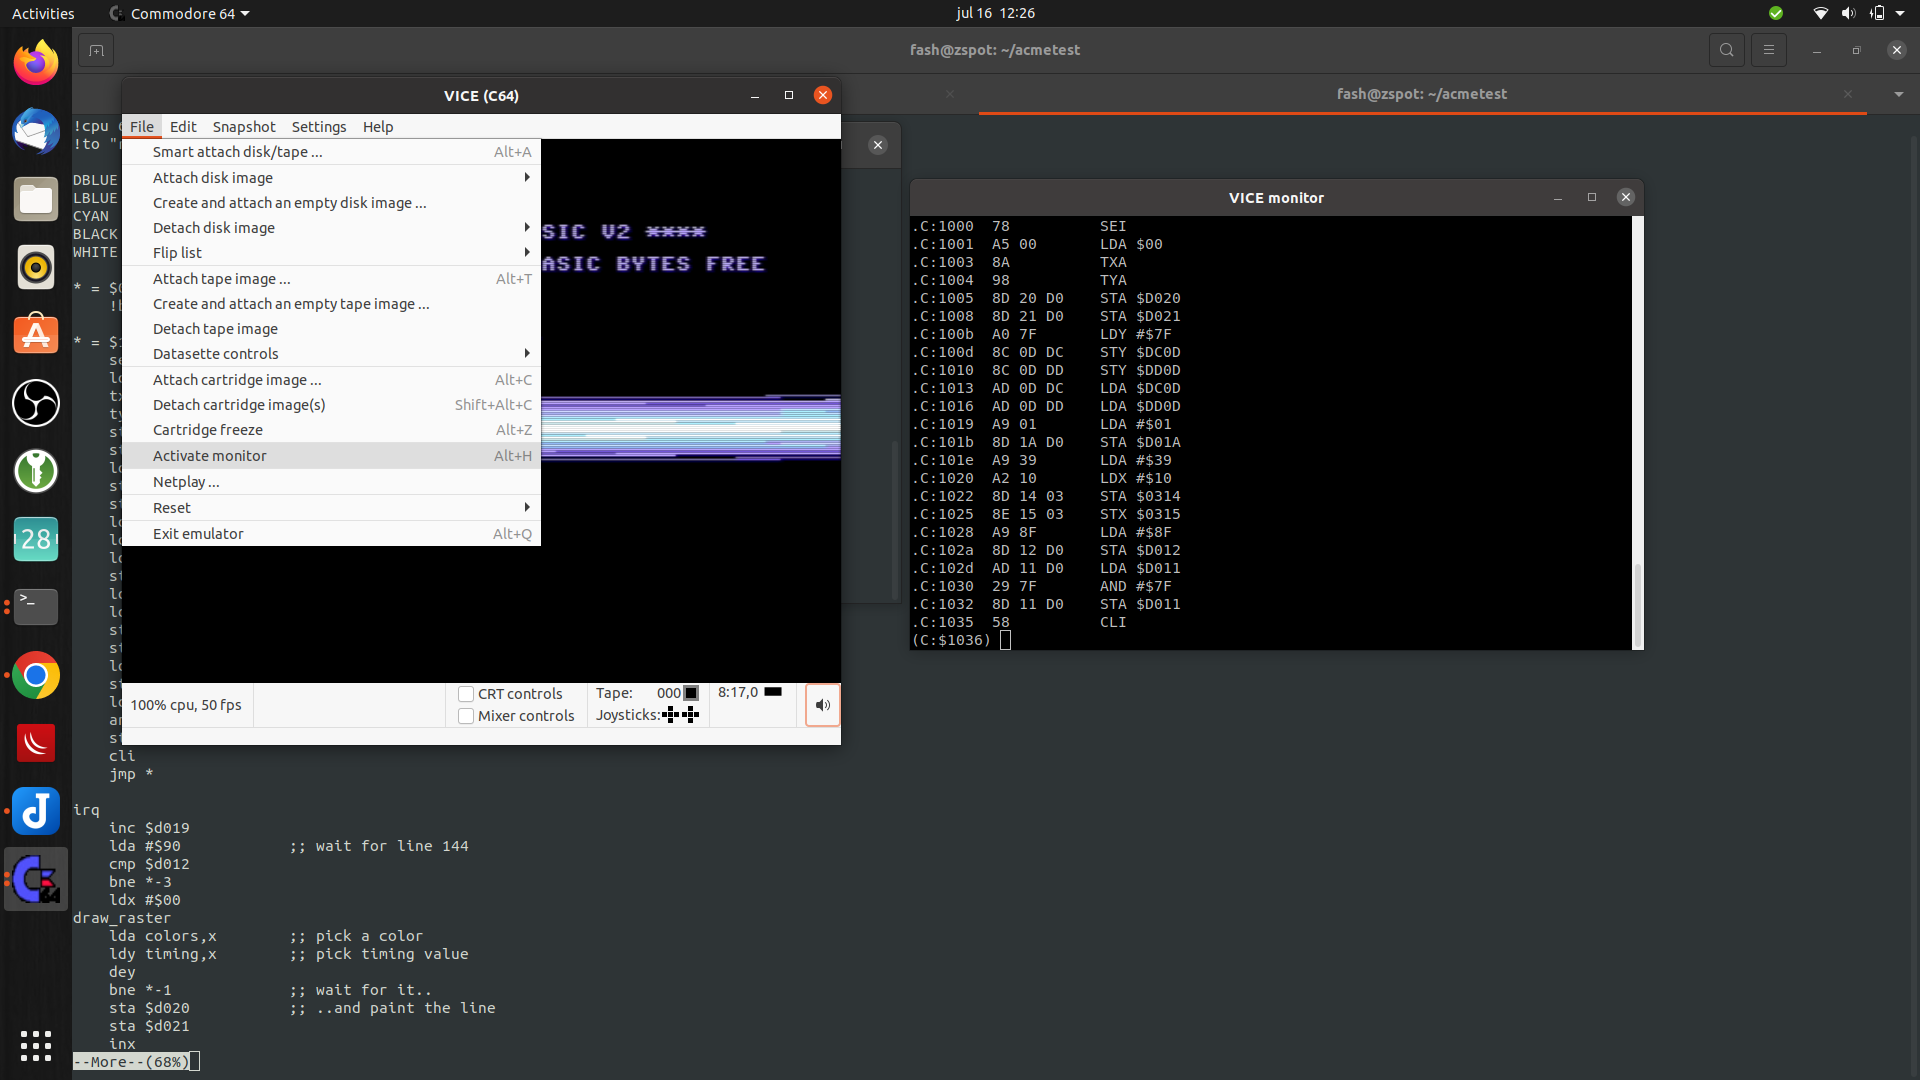
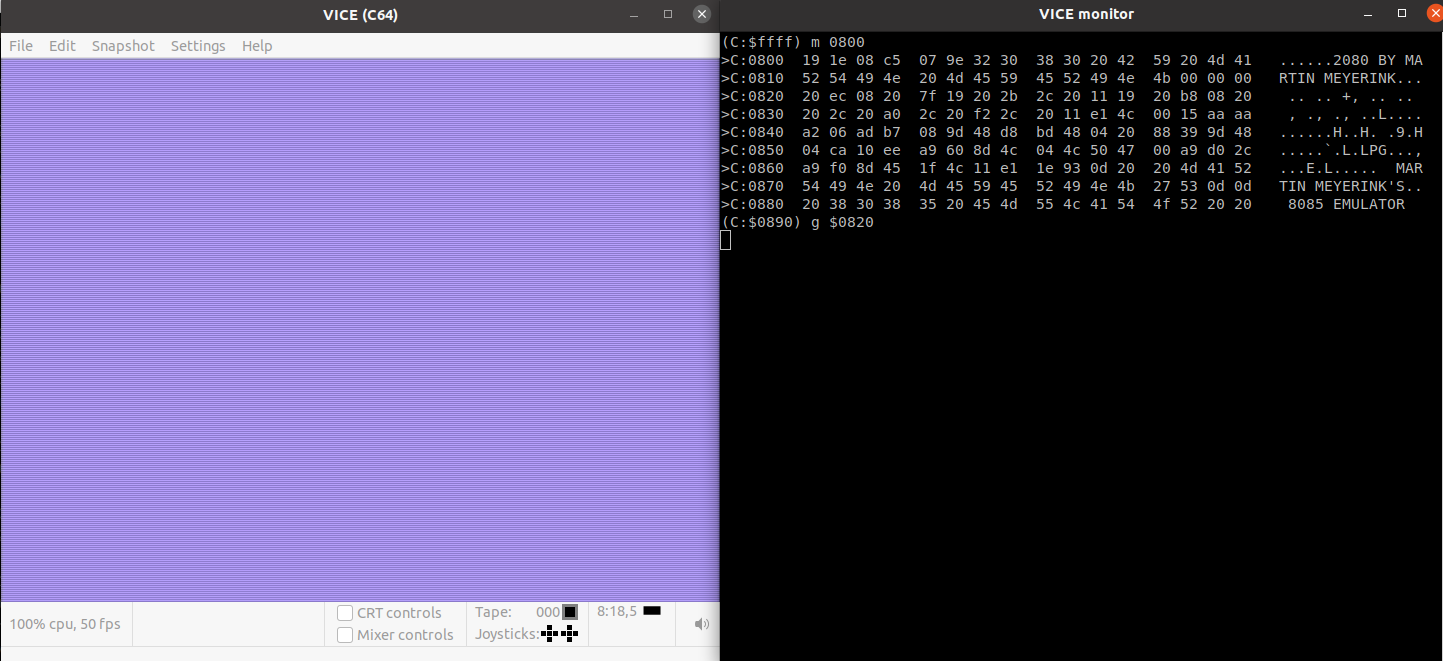
This looks okay: (monitor in vice)
Attaching crt in vice
Maybe one of these problems:
1) you CAN NOT use BASIC routines when a cart is inserted (without weird tricks, i.e.
storing BASIC routines on cart etc)

2) you need to be careful about $01 as you may map in ROM at $8000 without expecting it.

Please refer to this if in doubt:
http://unusedino.de/ec64/technical/aay/c64/memcfg.html

[3] You should also be careful about the usage of KERNAL routines as some of them
sweep across BASIC-code as well!