UPDATE 20230721 Bootdemo
I found some parts of our (Edk and Me) bootloader demo.
It was compiled using masm or tasm.
Encountering a problem converting the code into a raw bin, to put on a floppy I diverted to another setup to try to get things working.
Using old code (below) and a example from YT, I made the following setup.
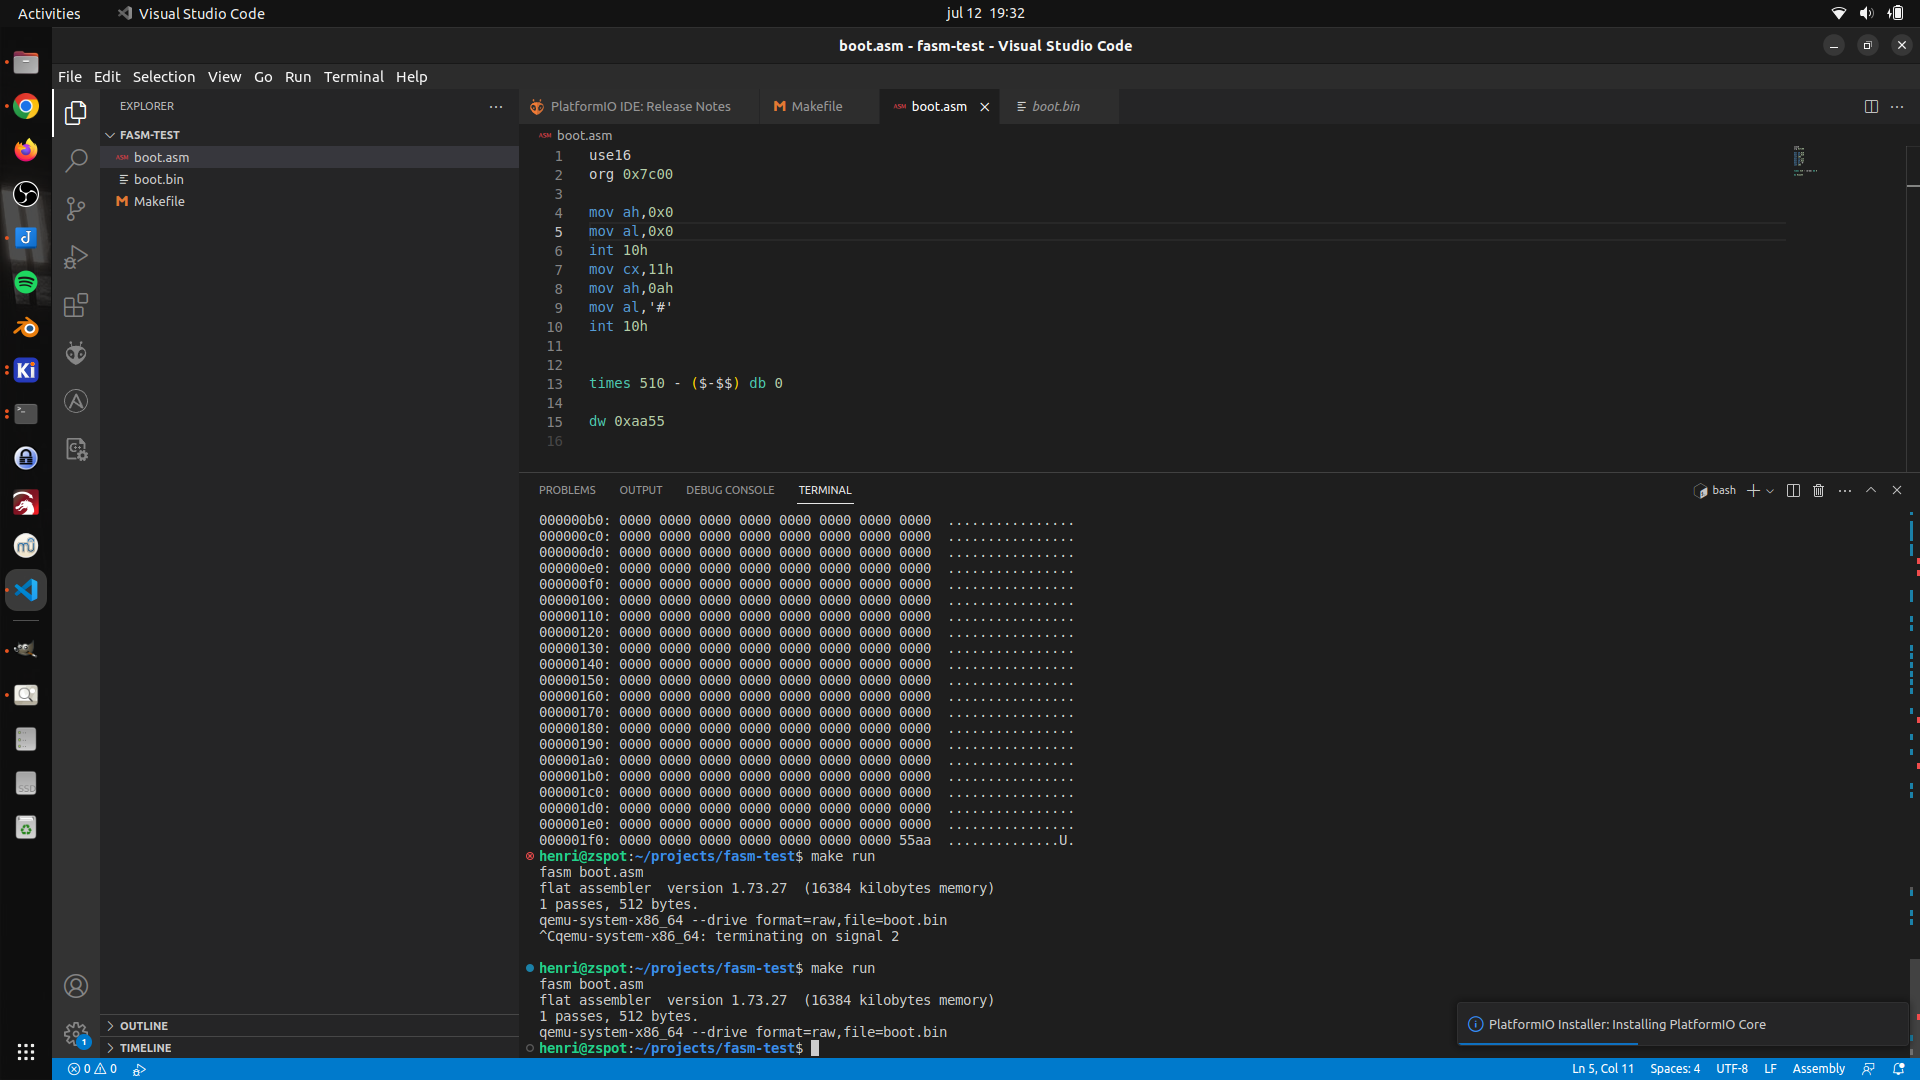
Visual studio code, with the x64 assembly plugin.
xxd as hexviewer.
fasm as assembler (This makes things easier, because it is a native Linux x86 compiler. So no need for dosbox anymore.)
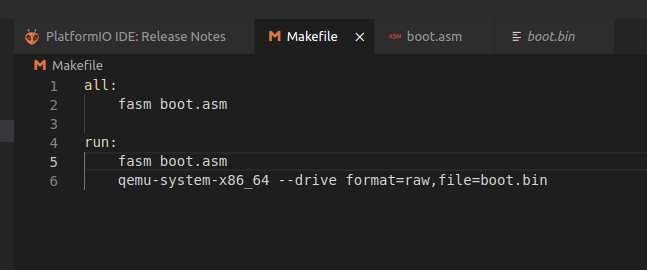
I’ve created a Makefile to automate things.
clean:
        rm -f *obj
        rm -f *.bin

exec:
        fasm demo.asm
        fasm boot.asm
        cat boot.bin loadpart.bin > demo.bin
        qemu-system-x86_64 -boot a -fda demo.bin
Some of our old demo code:
;-------- snip
Start:
    JMP     SHORT BootHere
    NOP
    DB      "FASH-EDK"
    DW      512
    DB      2
    DW      1
    DB      2
    DW      0070h
    DW      02d0h       ;max. aantal sectoren van volume A
    DB      0Fdh        ;media descriptor
    DW      0002h       ;aantal sectoren per FAT
    DW      0009h       ;aantal sectoren per spoor
    DW      2
    DW      0
BootHere:
    mov     bp,5
tryboot:
    push bp
    mov     bx,4000h
    mov     es,bx
    mov     bx,0
    mov     cx,2        ;vanaf sector 2
    mov     dx,0        ;drive A, kant 0
    mov     ah,02h
    MOV     AL,8
    int     13h         ;sector(en) lezen
    pop     bp
    jnc     bootok
    dec     bp
    jnz     tryboot
bootok:
    mov     bp,5
;---------- snap
New setup using fasm (bootloader) boot.asm
    org 0x7c00                  ;  still not sure about this, have not found this in our demo

    mov bx, 0x1000              ; load sector address
    mov es, bx
    mov bx, 0x0

; Sector read function
    mov dh, 0x0                 ; head 0
    mov dl, 0x0                 ; drive 0
    mov ch, 0x0                 ; cylinder 0
    mov cl, 0x02                ; start sector

readdisk:
    mov ah, 0x02                ; read sec
    mov al, 0x02                ; demo is > 512 so 2 sectors
    int 0x13                    ; call bios

    mov ax, 0x1000
    mov ds, ax
    mov es, ax
jmpcode:
    jmp 0x1000:0x0              ; far jmp demo

; Expand bin to 512 byte sector
    times 510-($-$$) db 0
    dw 0xaa55                   ; Sector header (ROM as this at the start)
Graphics demo i wrote a long time ago, converted into fasm loadpart.asm
	mov ah,0
        mov ax, 4f02h   ; Set VESA video mode
        mov bx, 10dh    ; Your video mode number
	int 10h
	mov al,0
drawall:
	mov dx,0
	mov cx,0

drawloop:
	mov ah,0ch
	mov bh,0
	push ax
	int 10h
	pop ax
	inc al
	inc cx
	cmp cx,319
	jc drawloop
	mov cx,0
	inc dx
	cmp dx,199
	jmp drawloop
jmp drawall

; complete sector with zeros
    times 512-($-$$) db 0
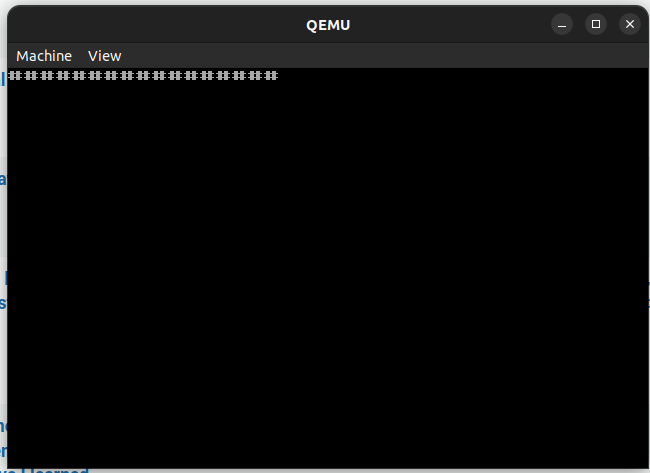
Booting the demo in milli seconds using qemu.
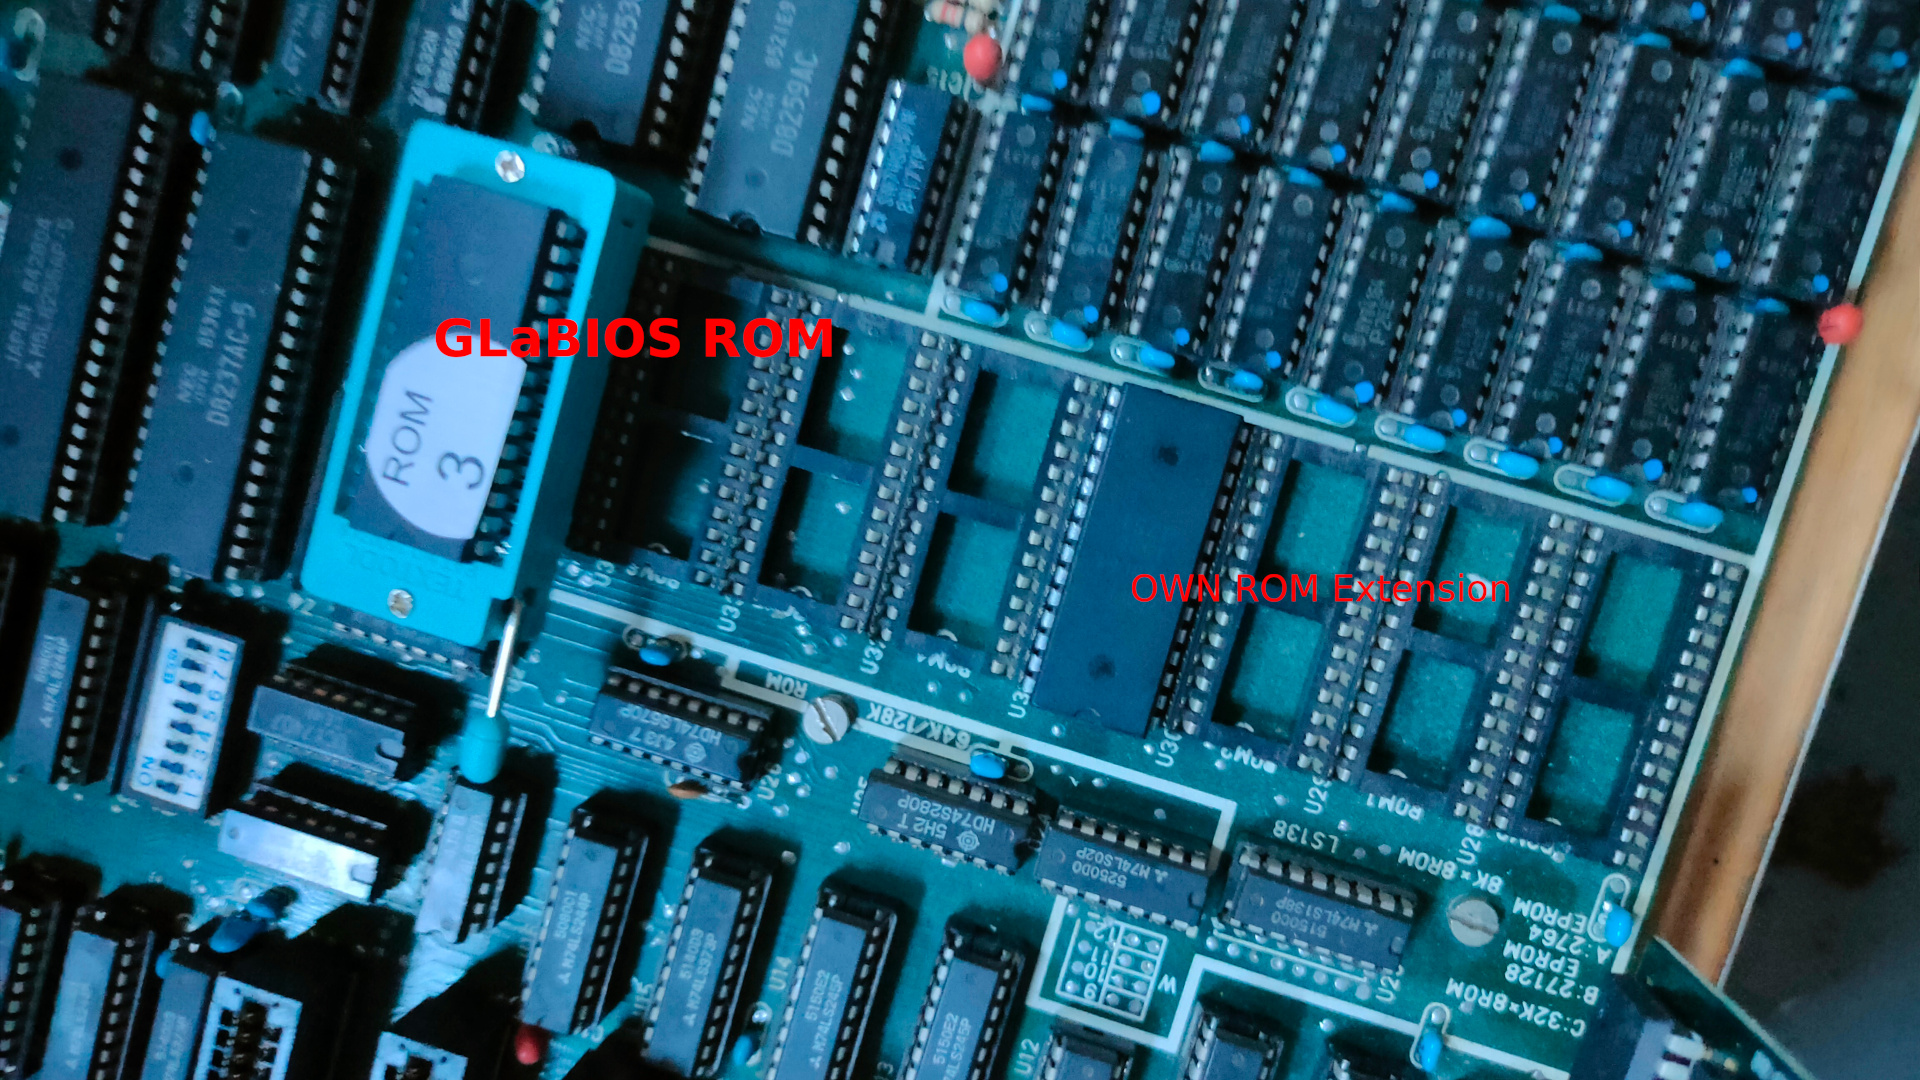
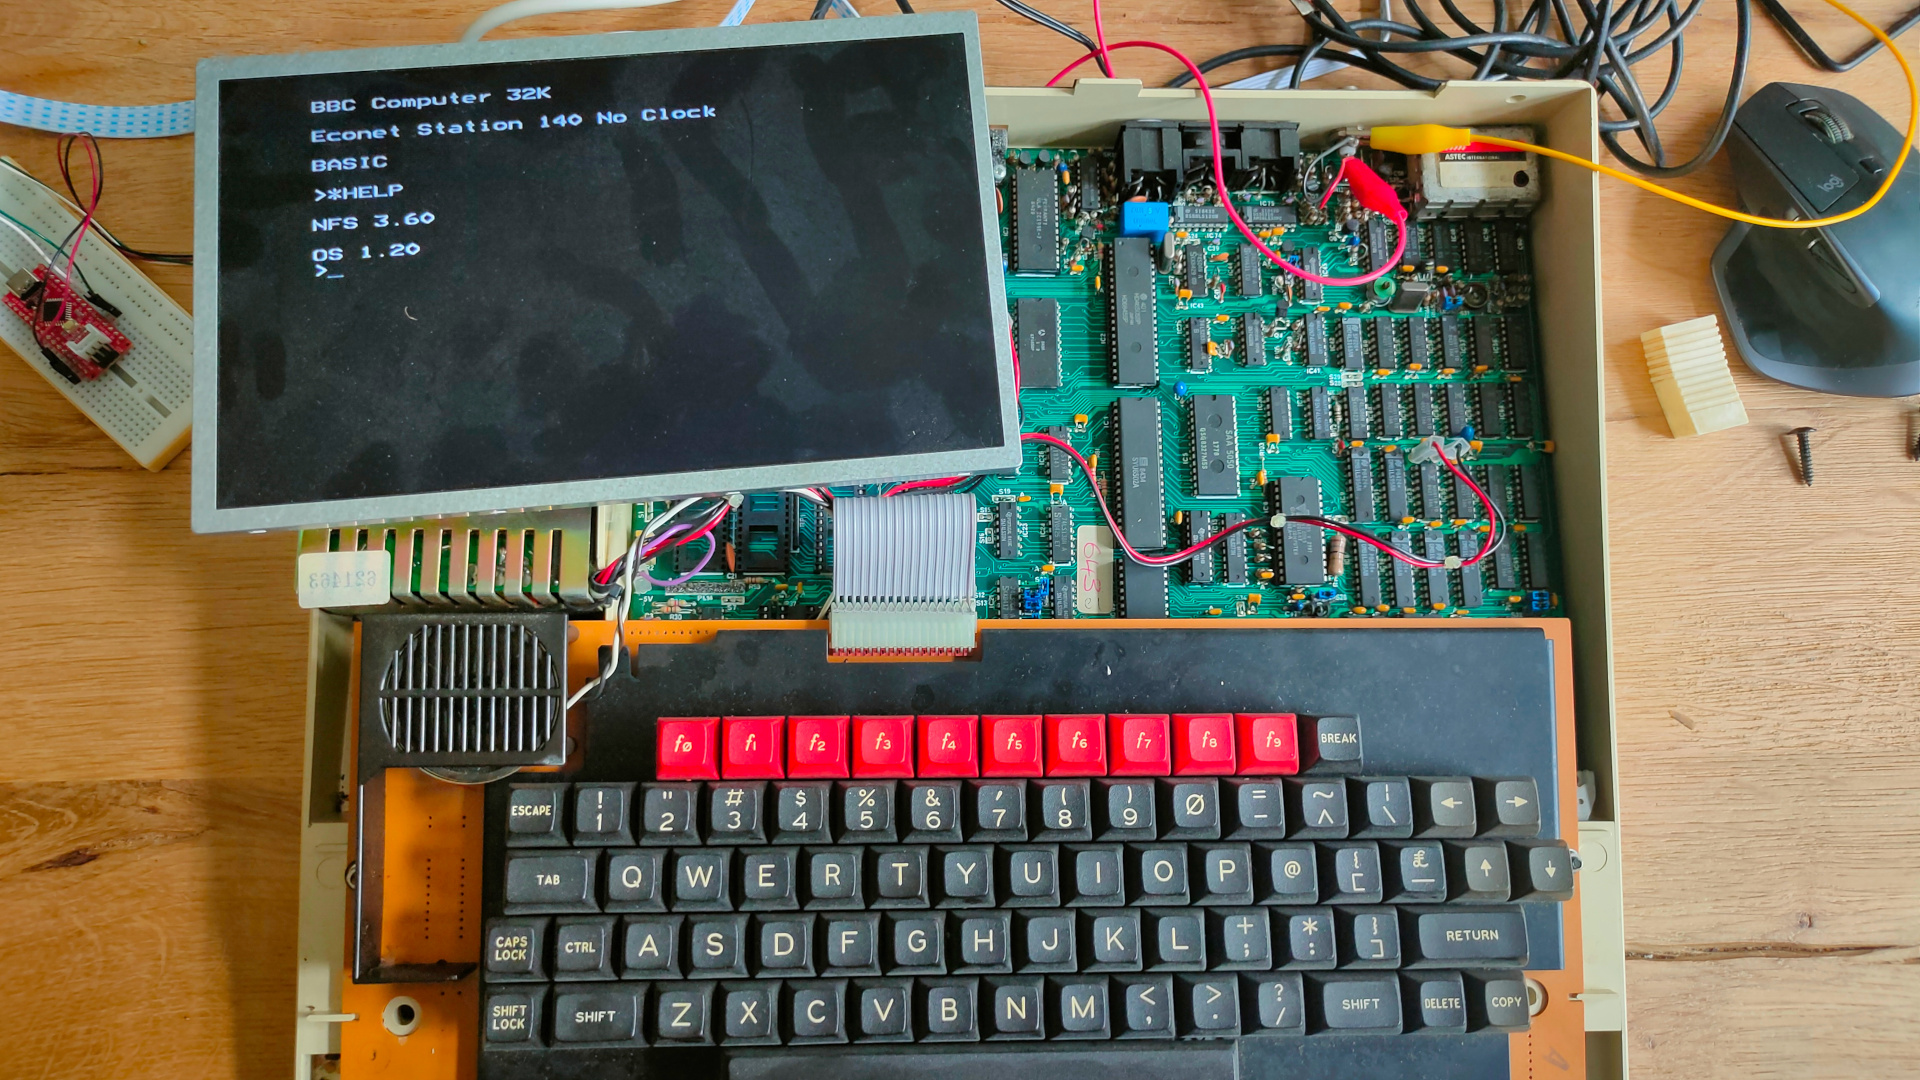
Next to do: Write this to floppy and test on real hardware.
A reset starts the virtual machine and boots from a virtual floppy.
The drawing of the pixels is slow, because I used a int 10h function for every pixel, instead of writing to screen memory directly.
ndisasm – disassemble binary
ndisasm loadpart.bin
00000000  B400              mov ah,0x0
00000002  B8024F            mov ax,0x4f02
00000005  BB0D01            mov bx,0x10d
00000008  CD10              int 0x10
0000000A  B000              mov al,0x0
0000000C  BA0000            mov dx,0x0
0000000F  B90000            mov cx,0x0
00000012  B40C              mov ah,0xc
00000014  B700              mov bh,0x0
00000016  50                push ax
00000017  CD10              int 0x10
00000019  58                pop ax
0000001A  FEC0              inc al
0000001C  41                inc cx
0000001D  81F93F01          cmp cx,0x13f
00000021  72EF              jc 0x12
00000023  B90000            mov cx,0x0
00000026  42                inc dx
00000027  81FAC700          cmp dx,0xc7
0000002B  EBE5              jmp short 0x12
0000002D  EBDD              jmp short 0xc
0000002F  0000              add [bx+si],al
00000031  0000              add [bx+si],al
00000033  0000              add [bx+si],al
00000035  0000              add [bx+si],al
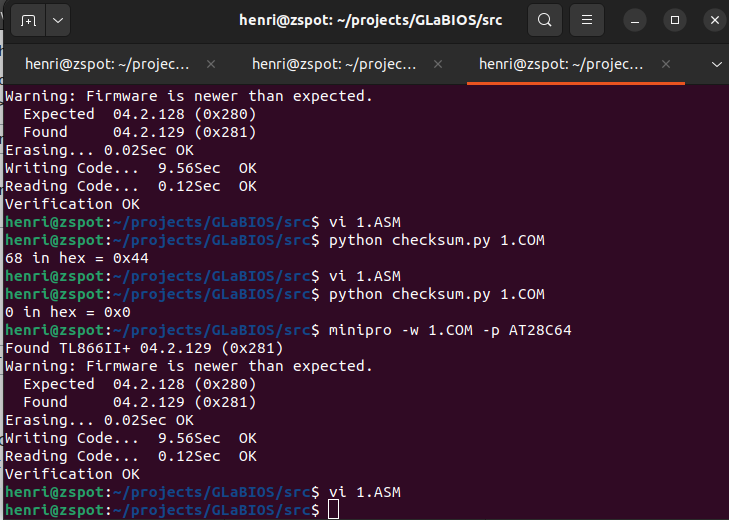
UPDATE 20230721 Bootdemo update
Got a part working again in PCem.
This is from our bootdemo.
A scroller and sector loader in a bootsector.
Needed some include files
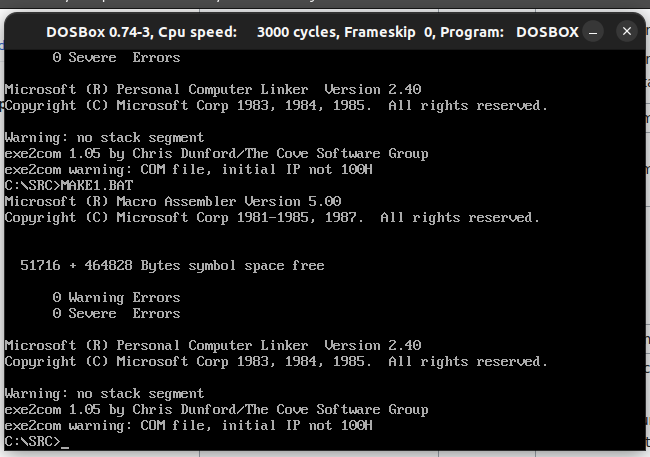
masm, link, exe2com creates a 12- sector sized floppy.
And we’ve got a (little distorted but working) Scroller in boot sector with custom font!
font:   db 64 dup (0)       ;space
        db 0,0,2,2,0,0,0,0  ;!
        db 0,2,2,2,2,0,0,0
        db 0,2,2,2,2,0,0,0
        db 0,2,2,2,2,0,0,0
        db 0,0,2,2,0,0,0,0
        db 0,0,2,2,0,0,0,0
        db 0,0,0,0,0,0,0,0
        db 0,0,2,2,0,0,0,0